Dashboard fitting

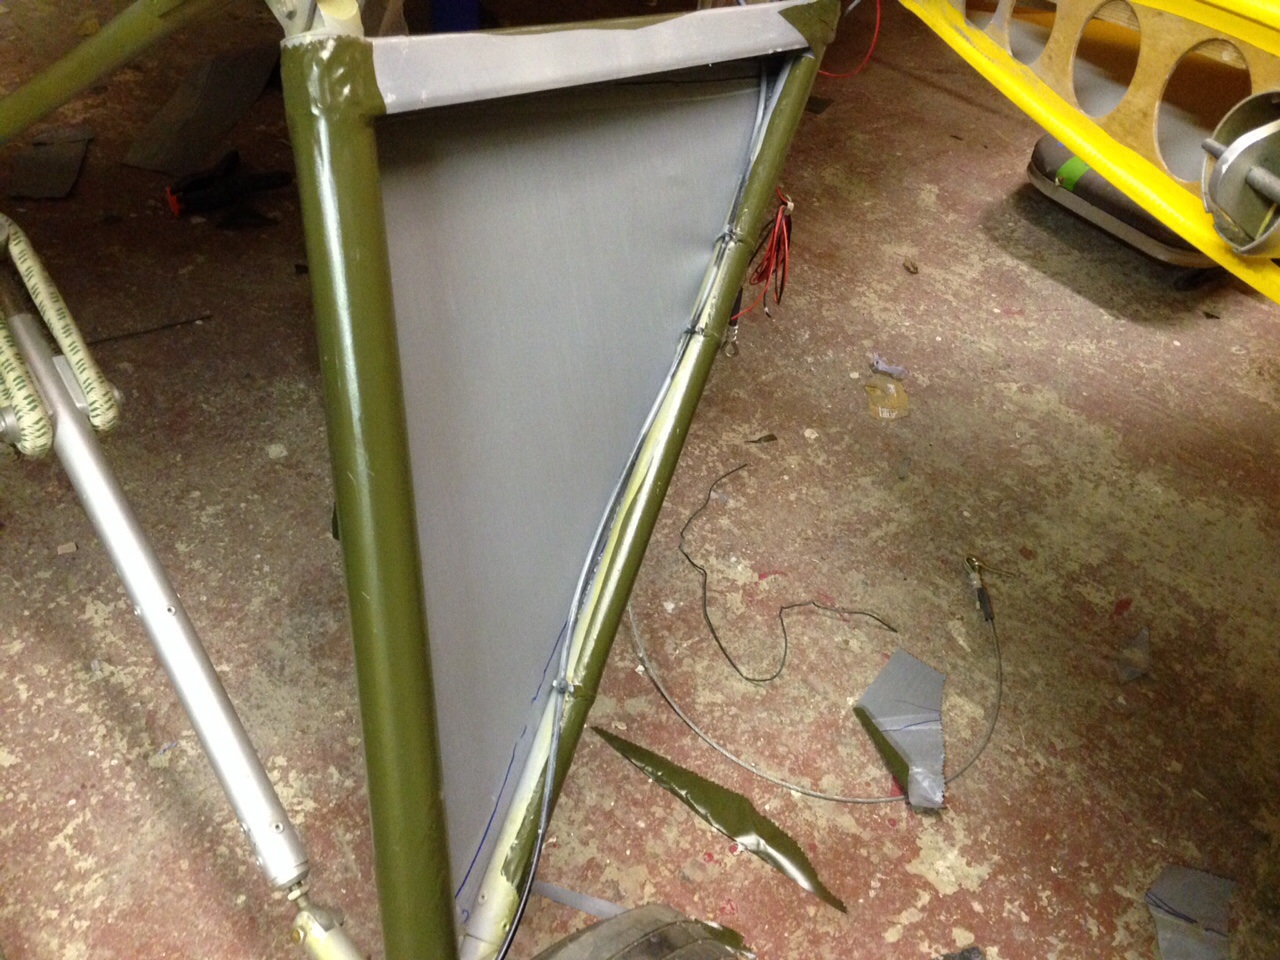
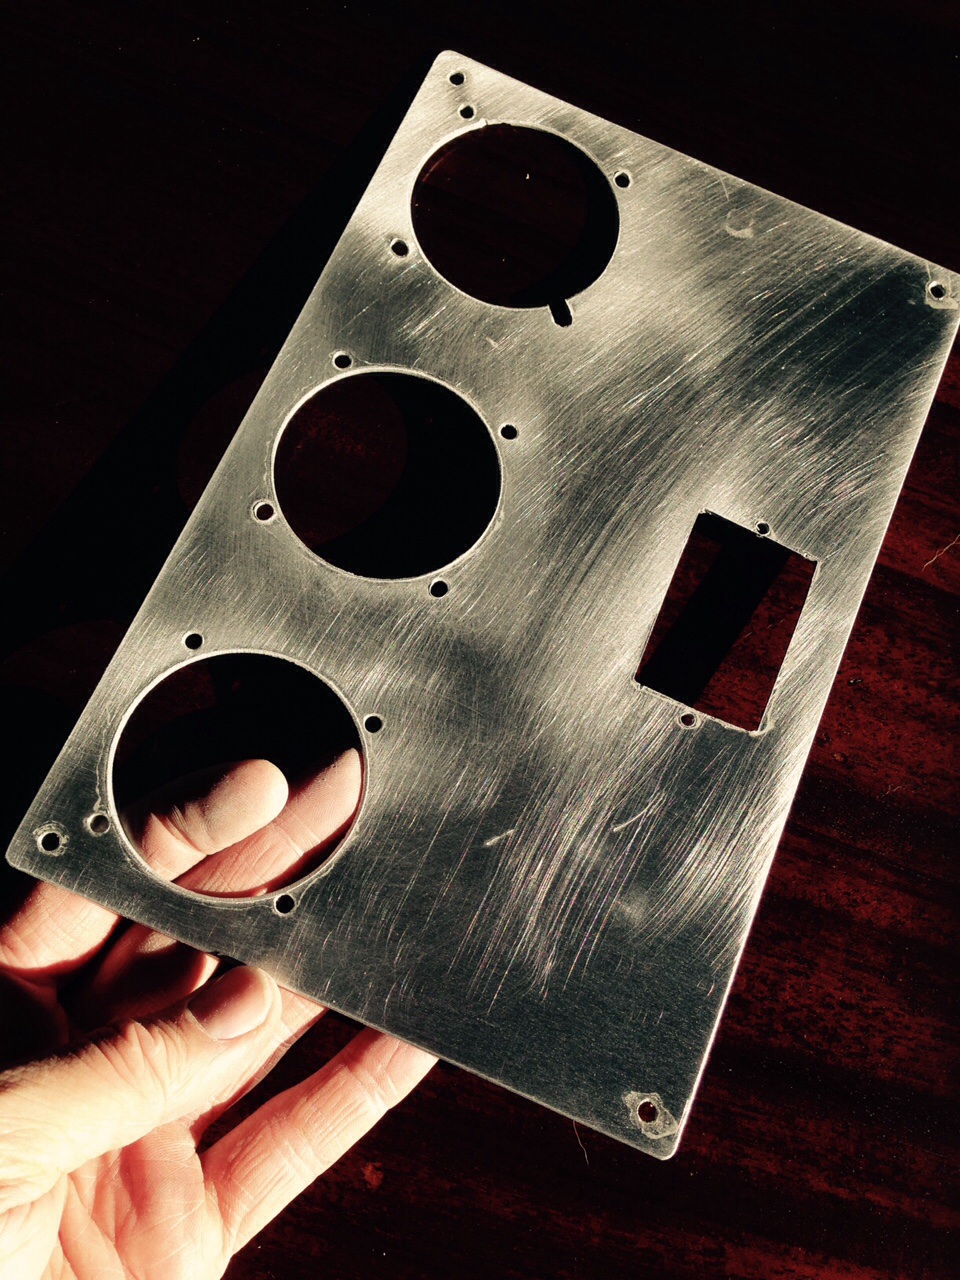
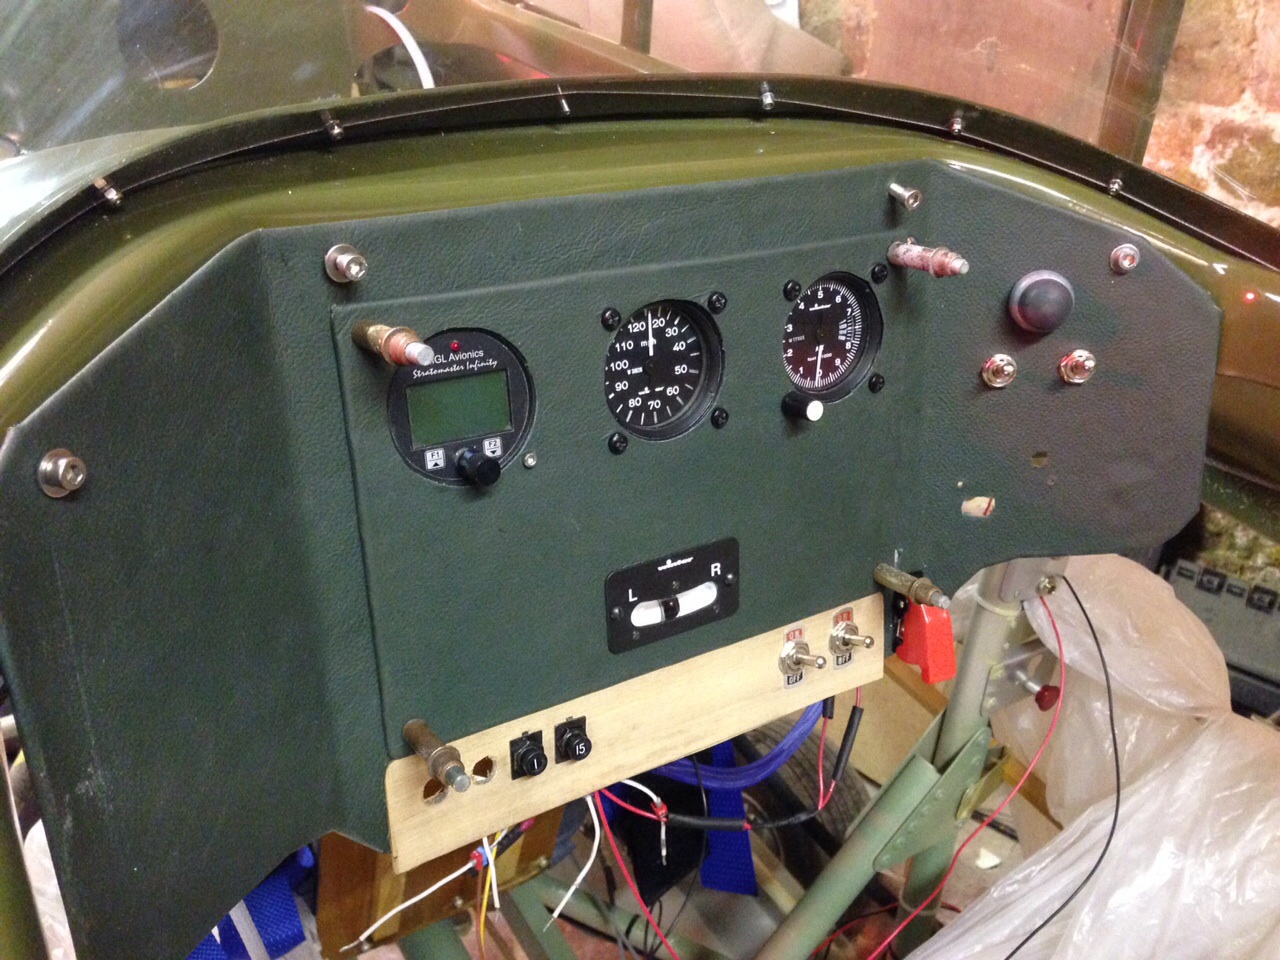
Decided to try a first fit in situ of the panel which is just as well as I had managed to put the Master cut off switch a fraction too close to the centre panel, forcing a slight re-positioning.

image   image

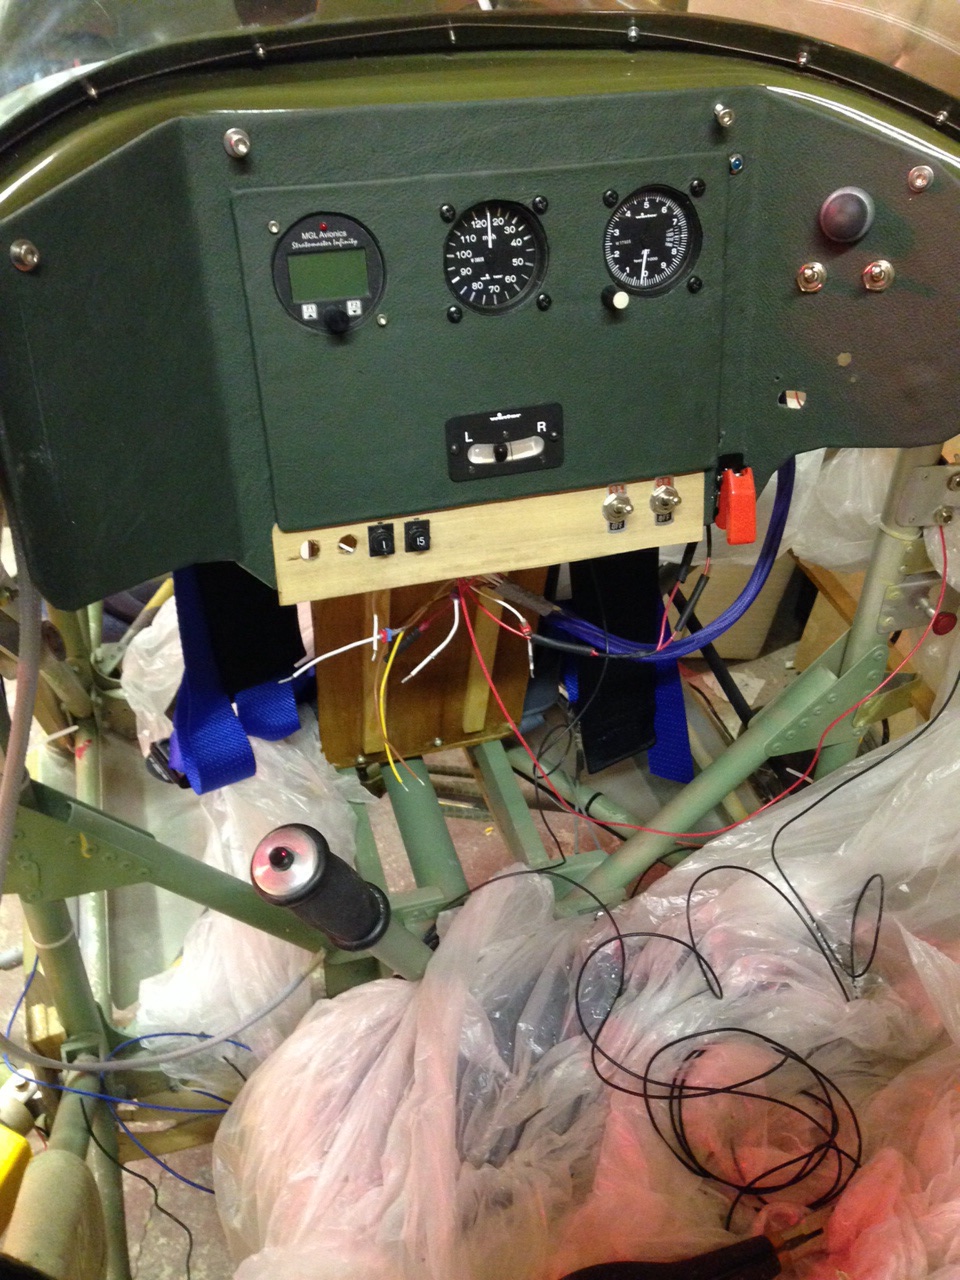
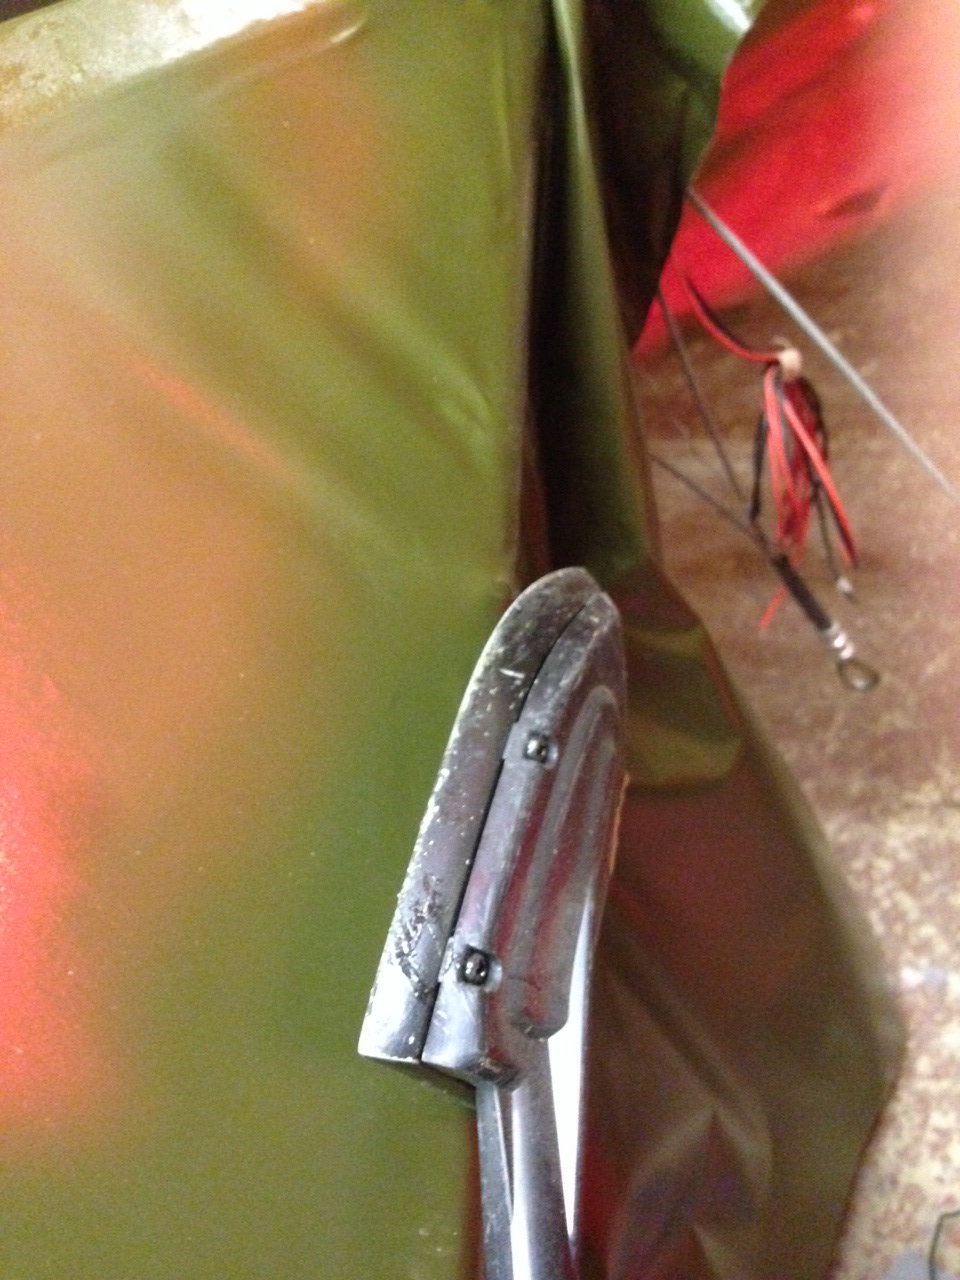
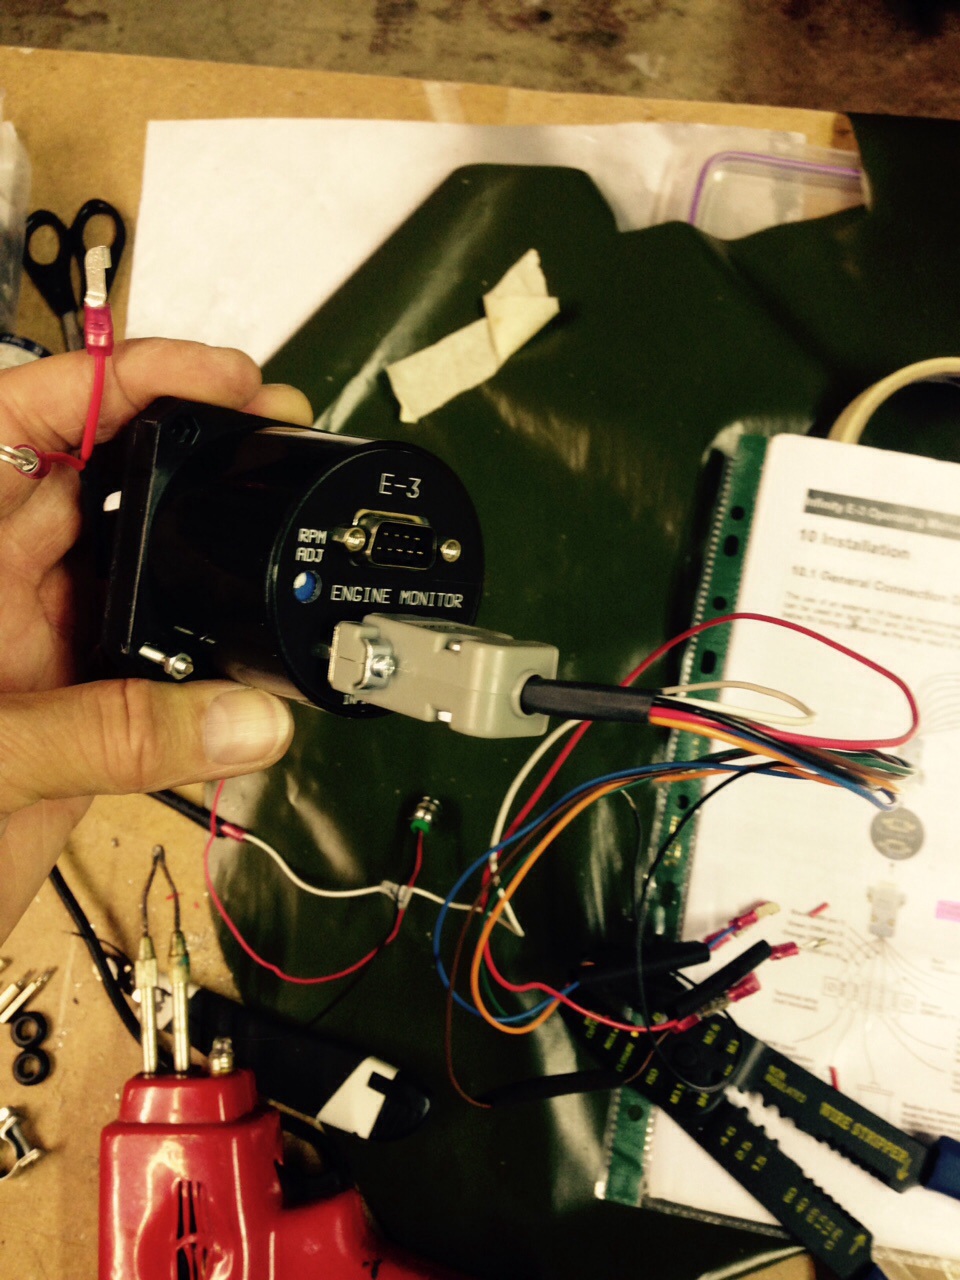
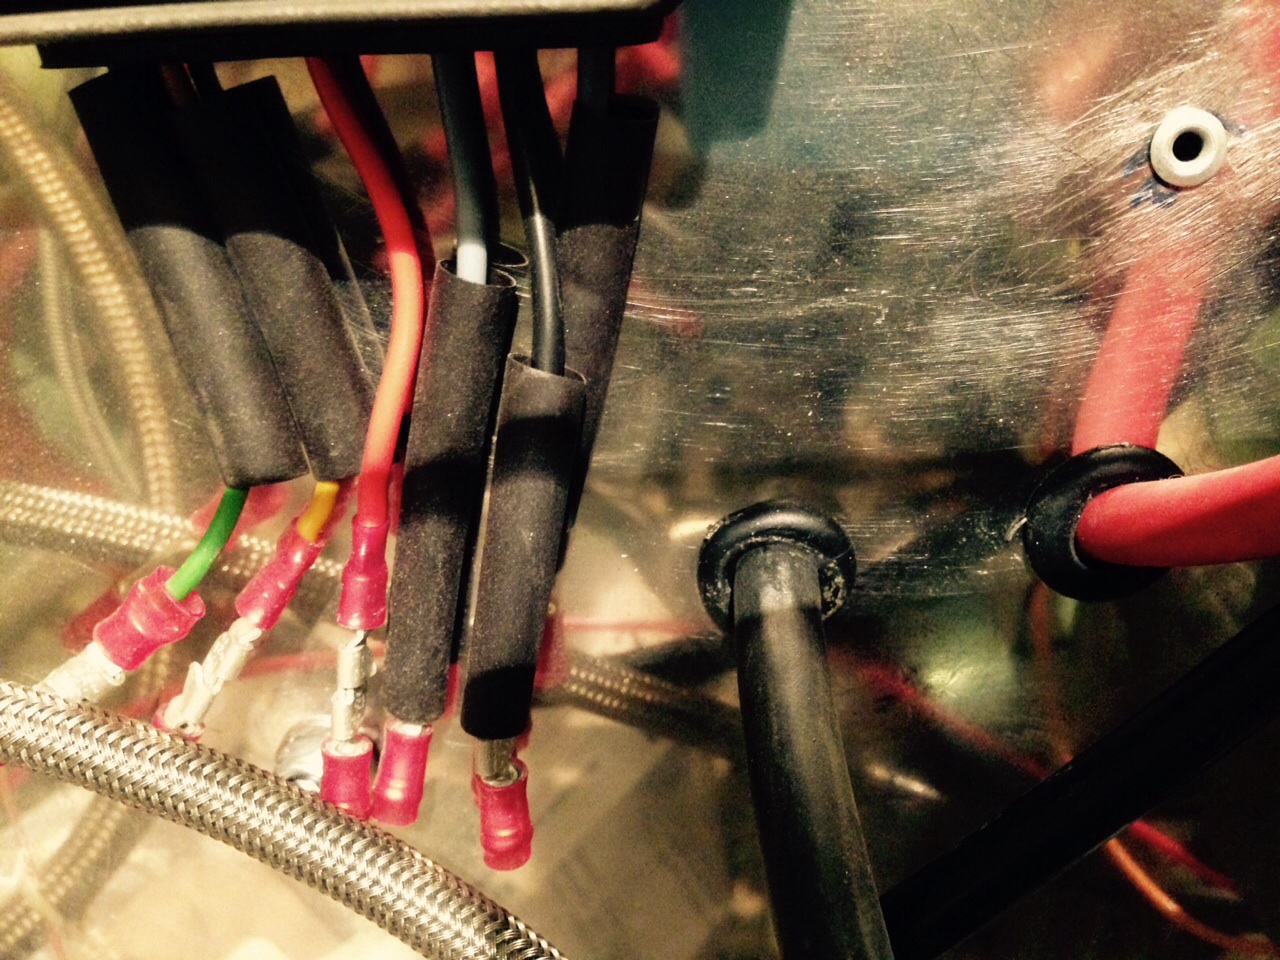
Its now case of picking up the various numbered tail end leads and connecting them both at the ‘sharp end’ (engine CHT, EGT etc) and panel end (terminating at the ‘D’ plugs of the MGL Infinity unit.

Covering undercarriage legs

I had been waiting for an initial engine run before I completed some elements of covering but with a slight delay on a fuel part I decided to crack on with other covering.

image  image

Decided to soften the amount of Cub Yellow oveall and cover the legs in Olive Green. This blends in nicely and I decided to re strip the legs to bare metal to get a good grip on material.

image   image

The legs covered nicely with minimal shrinking required.


Connected up the multi function engine monitor

Connected the power to this neat little unit last night and it lit up like a Christmas Tree which is nice …

image  image

image  image

Had a few obvious warnings as nothing was connected initially but connected the oil temp cable and it read 14 degrees which it was last night 😉

Brake work

I had removed the right brake pedal as it was just scraping the foot panel a little and causing friction. This is now freed up and moves much more freely.

Sam made a couple of brackets that will be used in conjunction with the Bowden cable to connect to the wheel hub brake.

Having checked it it doesn’t grab too hard so may need to try it again later as everything settles in.

Will do the same against the other brake, then I am ready to cover the legs


LAA paperwork off for checking and Flight Test request

As it takes a few weeks to get the build file validated I have sent this off now and have put all the relevant papers and notes and sign offs into one folder, hopefully in a logical check sequence for the LAA using their very useful step by step ‘do and don’t’ check list

image


Got lots of things to be getting on with finishing off ready for engine testing and readiness


Rear dashboard readiness

Time to get the panels day for fitting in situ

Such a warm day yesterday in Jersey so a good time to get the panel covering finished

image image image image

Once dried I can trim out the centres and get the dials back in

Have used handshake connectors throughout which should make life easier for in- out checks


Busy night last night

Had my engineering mentor down with me .. Good Mr Fleming …

he took me back to first principles of solenoid connections and also we stepped through the initial test wiring I had created.

Turns out I had missed a wire ! So checked it all through, drilled the bulkhead for an additional earth wire .. Located a suitable chunky bolt on the back of the engine and attached earth cable. Ran it through new grommet end hole and secured along the way.

image image

Temp attached started cable and flicked mains on and pressed the starter  ! Bingo .. We have life and a quarter turn of the prop !

now to push on with instruments connectivity


Blog at WordPress.com.

Up ↑