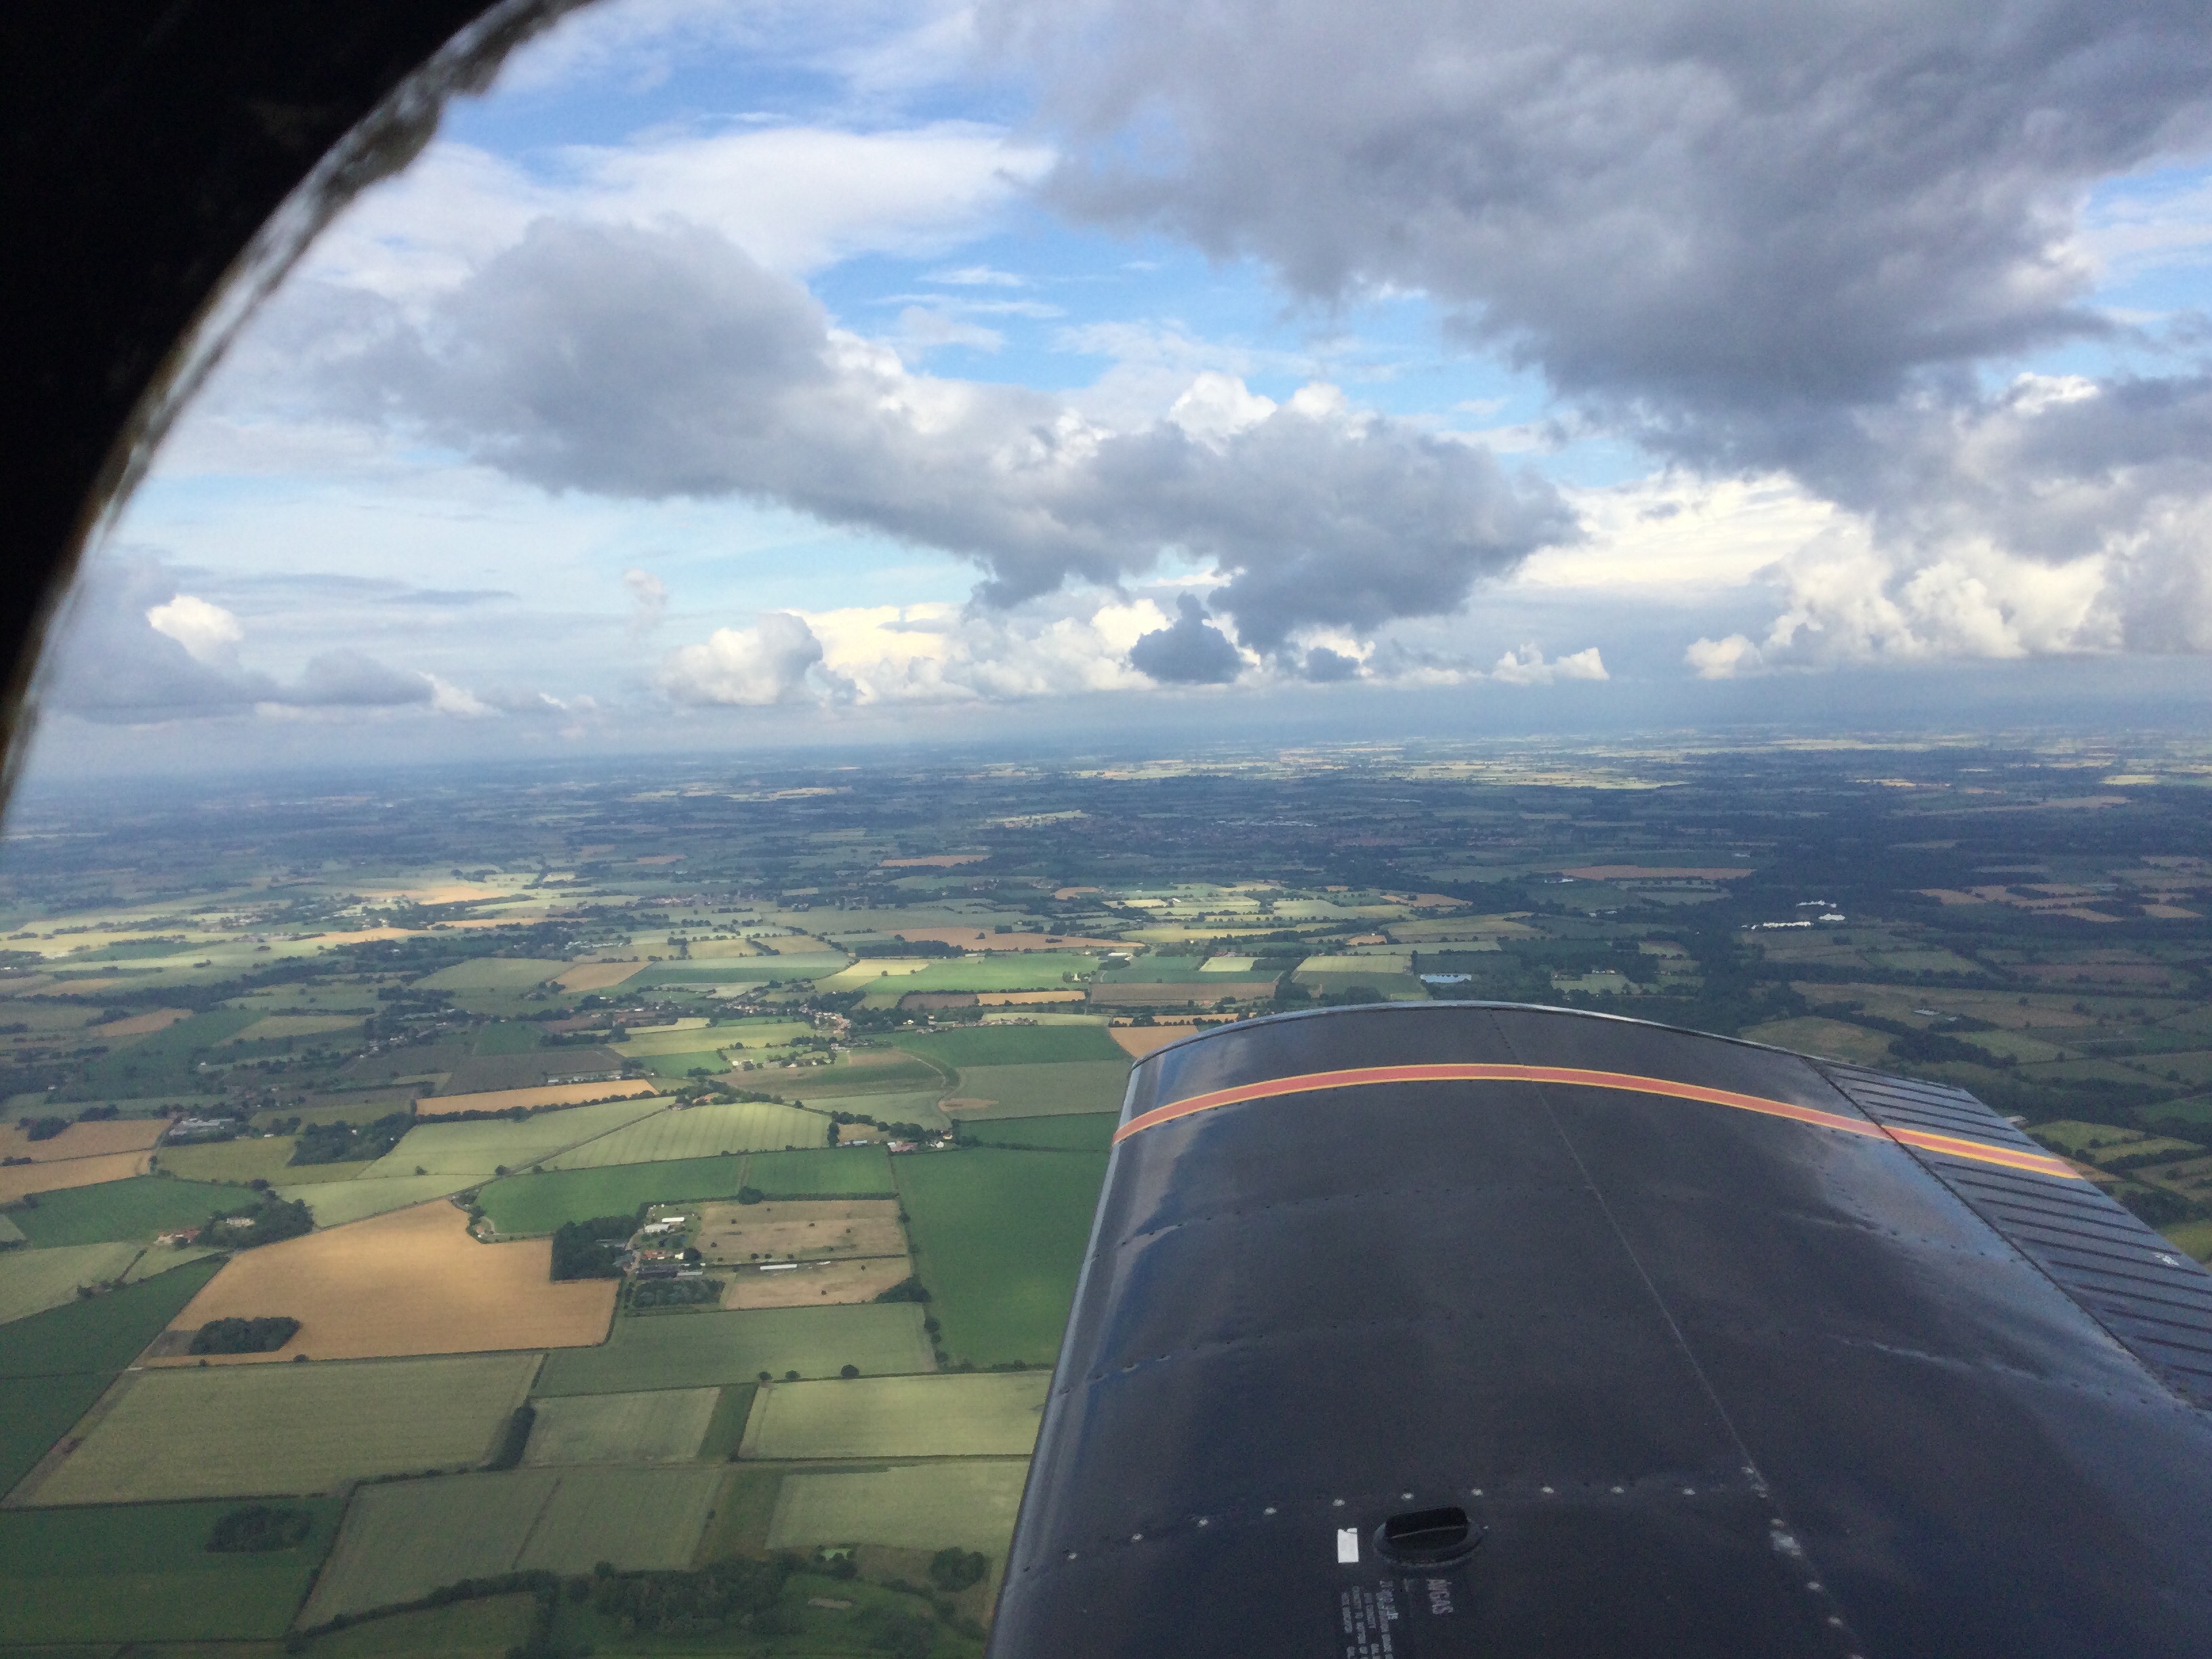
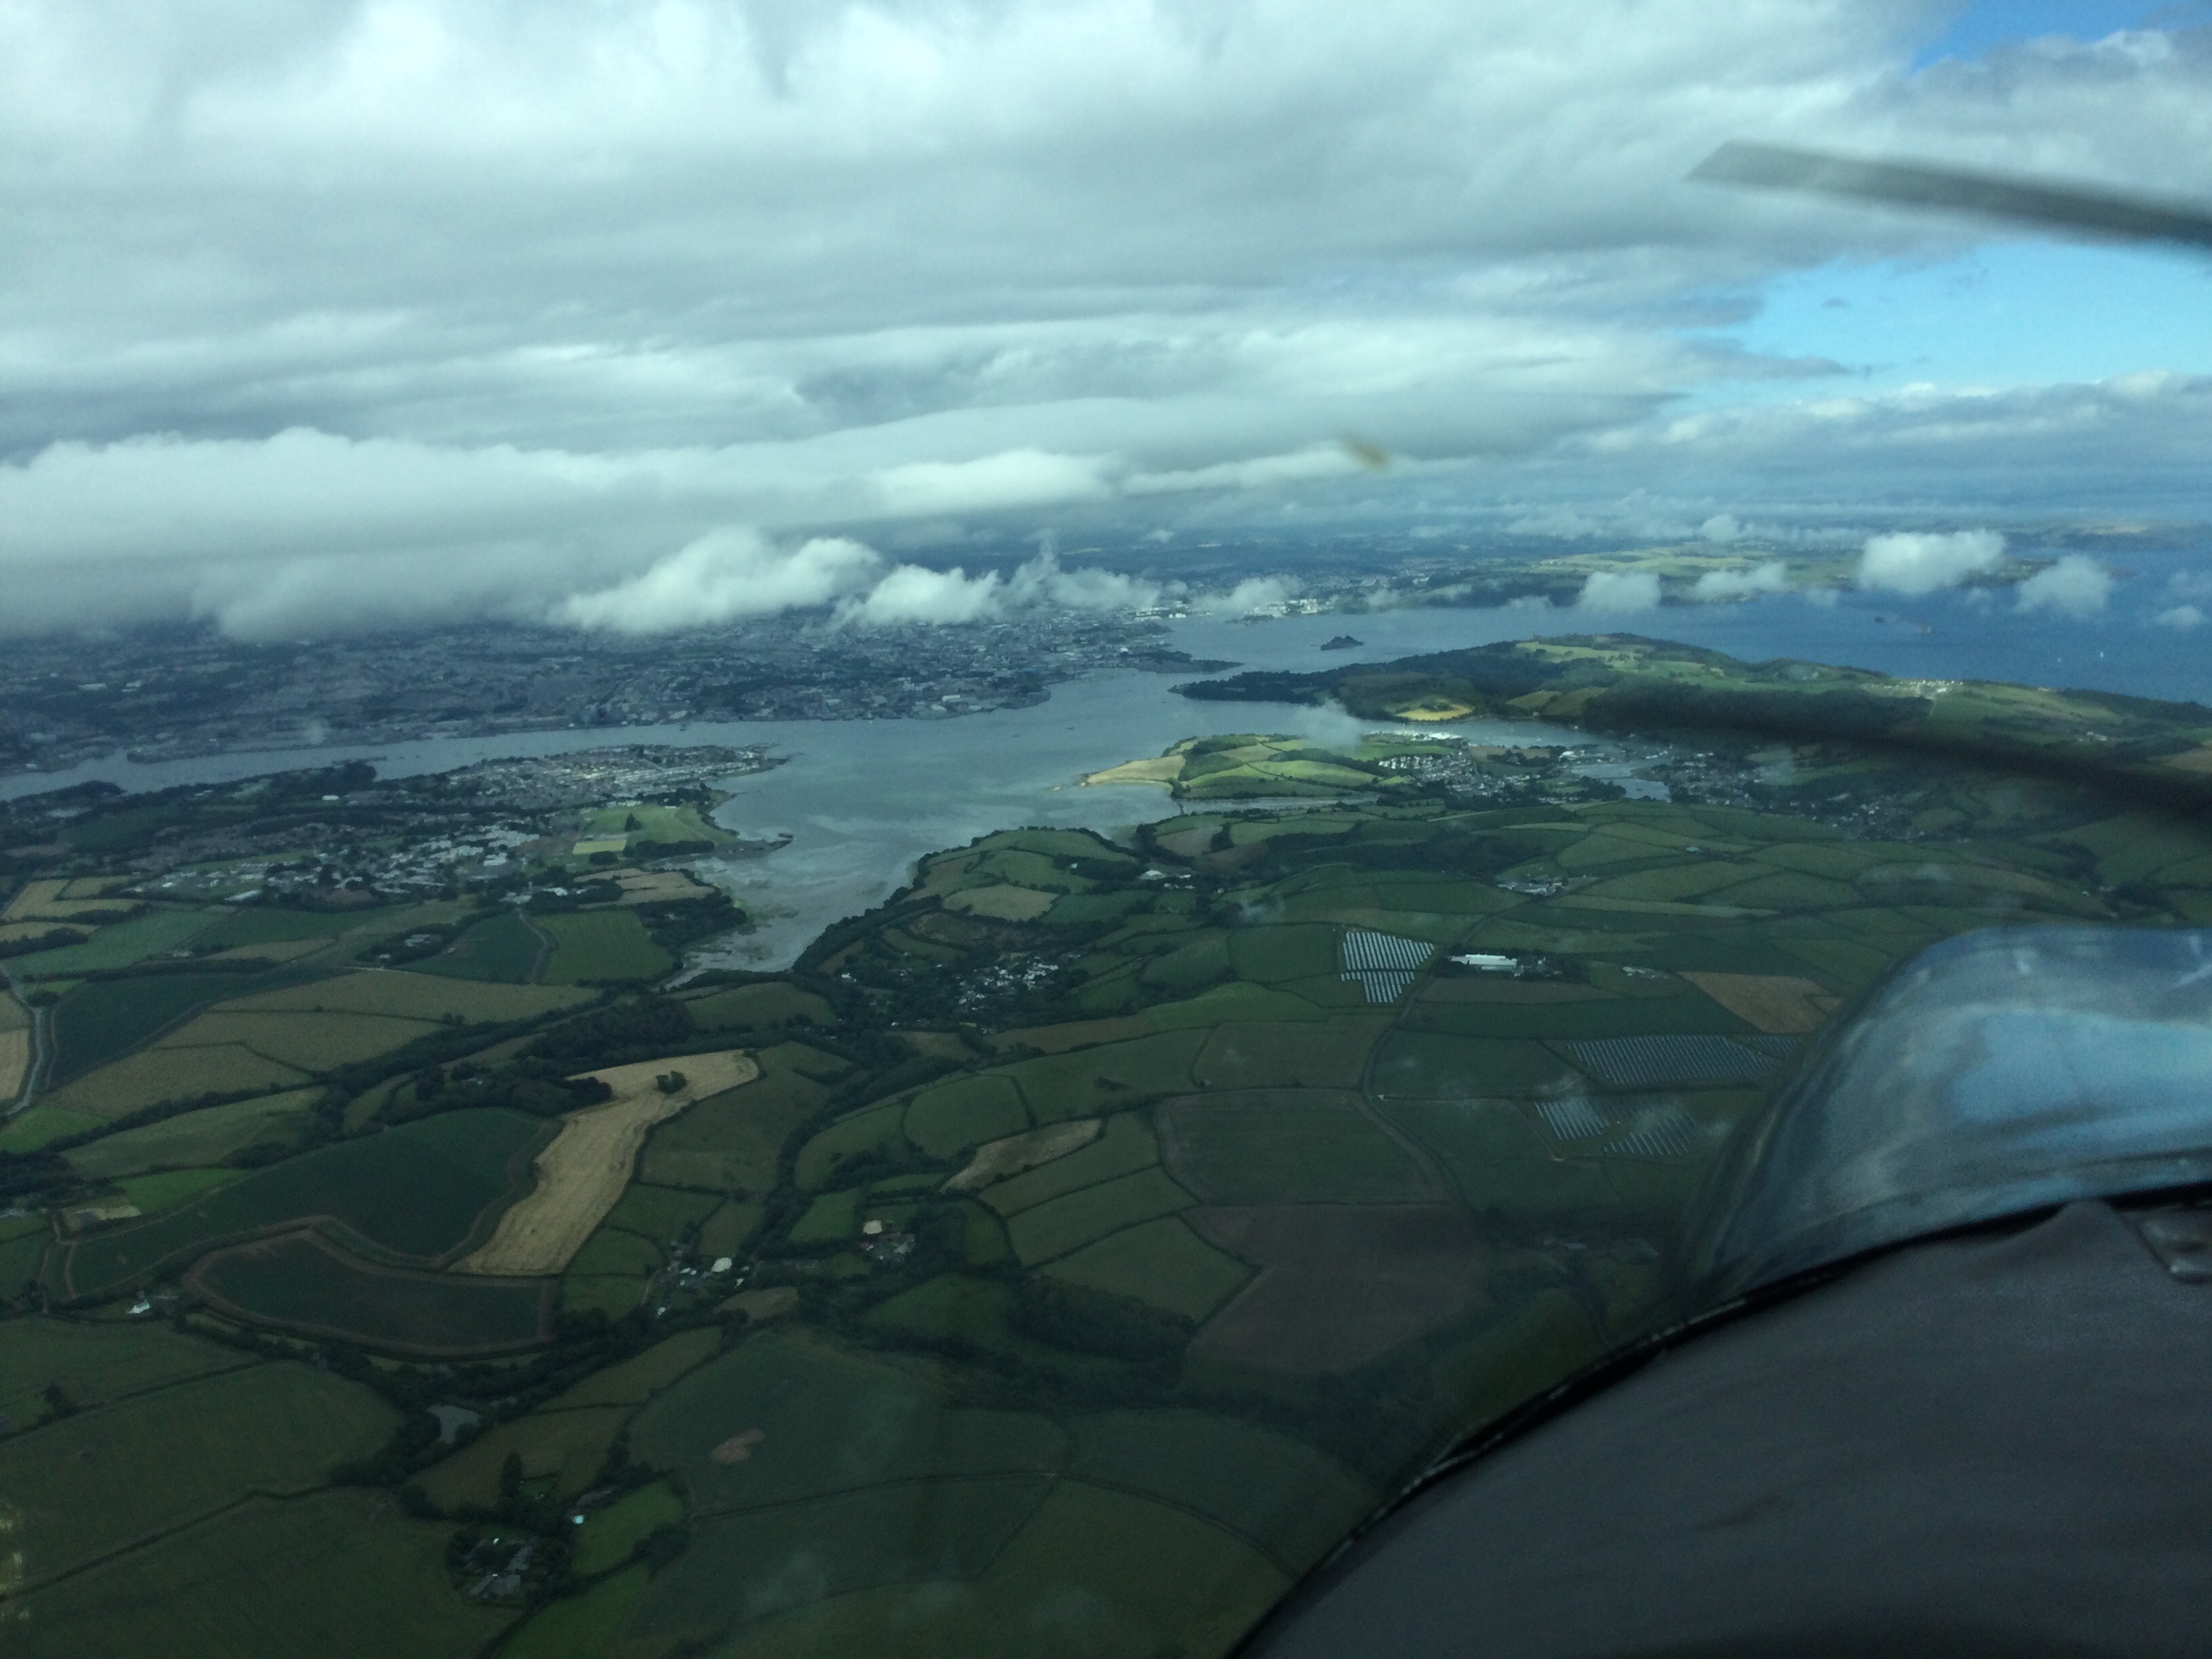
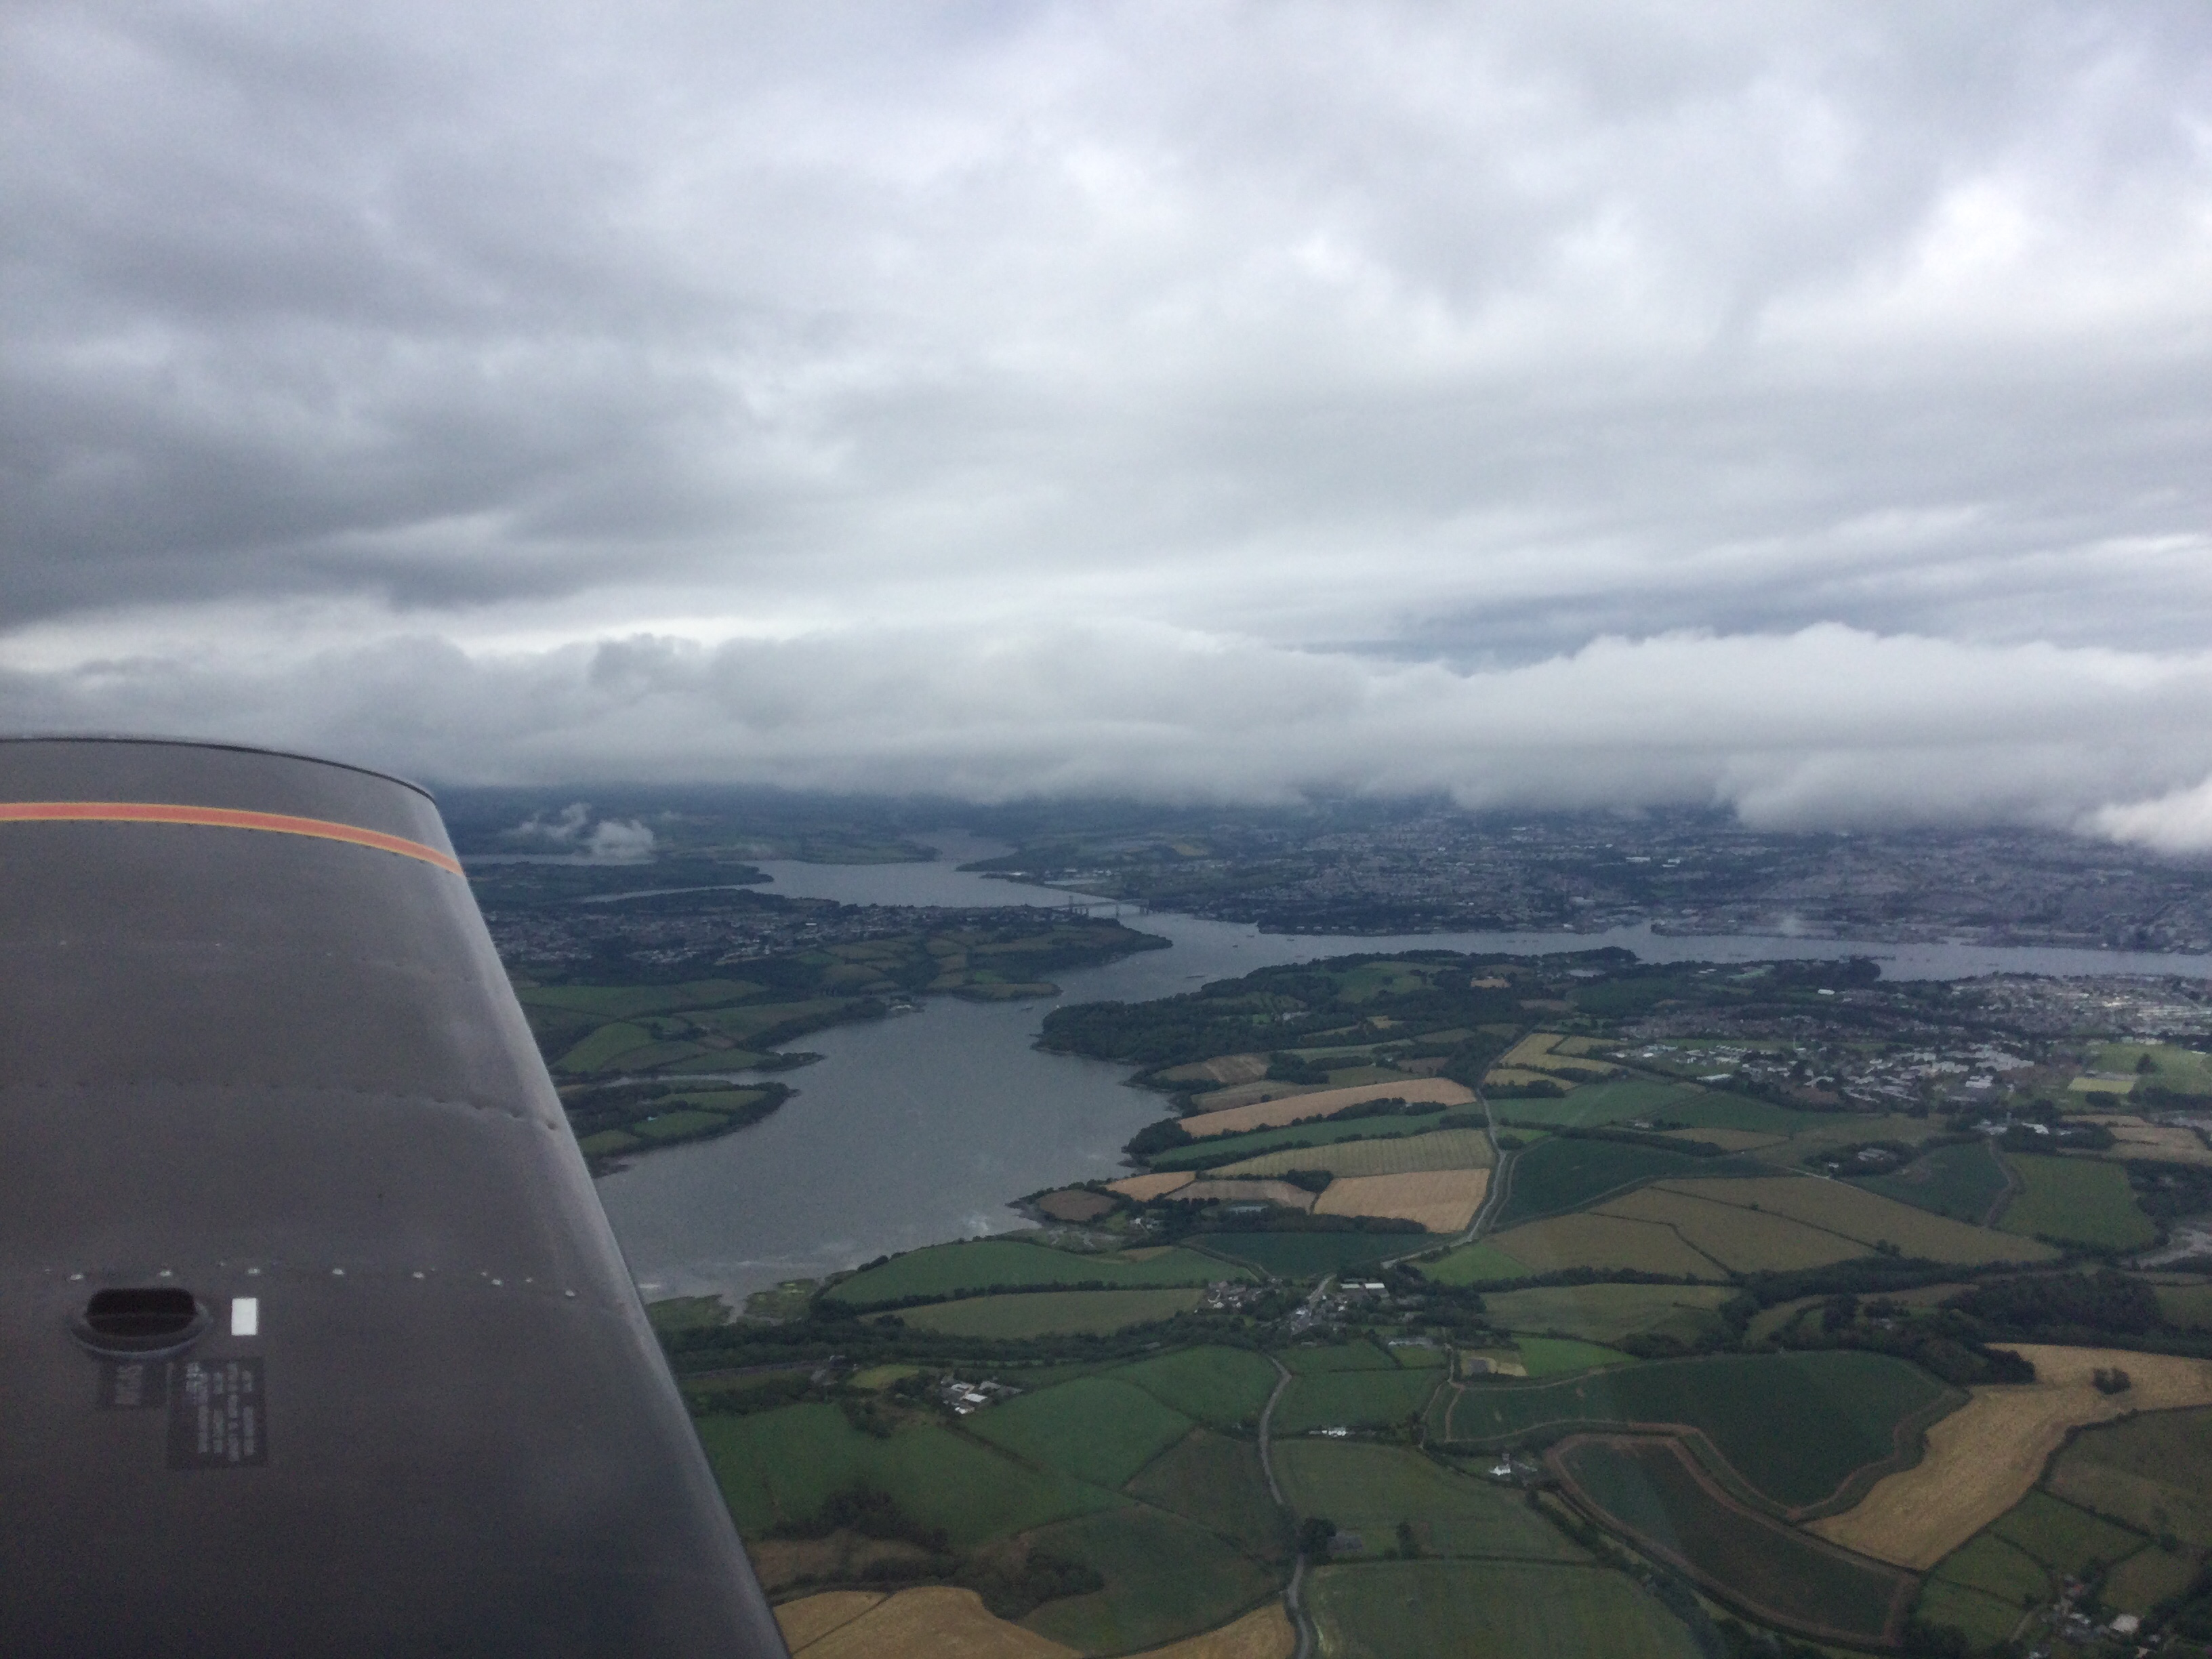
Flew up from Priory Farm to Little Snoring … the first time all the bits have returned to the airfield since I picked them up 8 years ago in a van !
Be good to get it fully checked by the guys that actually build these …. I’m going to keep my tradition of being largely honest and open in this … on the basis that any shared information can only help others think and check things
Starter for 10 …. It was decided the best way to start was to do a full re-rig … I haven’t done a FULL re-rig for a few years but had changed one of the flying wires a couple of years ago .. so used the original dihedral and incidence boards.
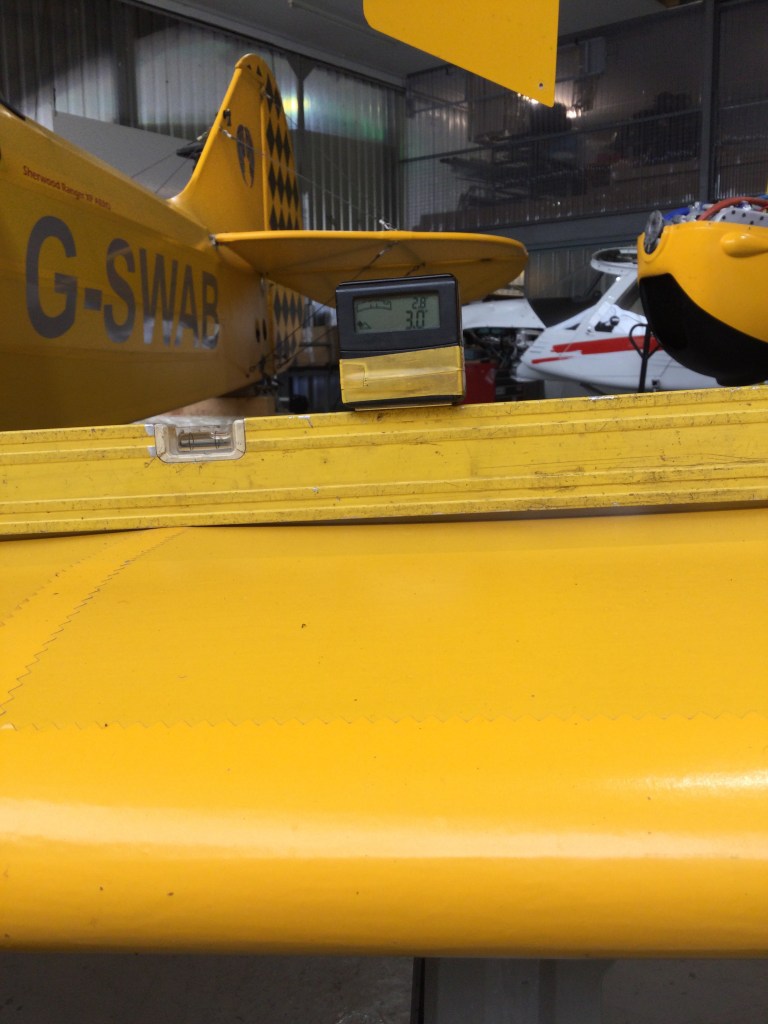
TLAC a have some smarter tools for incidence and so levelled the aircraft inside their super flat hangar … set it in flying angle so lots of packing under the tail with a tie down to prevent it tipping on the nose.
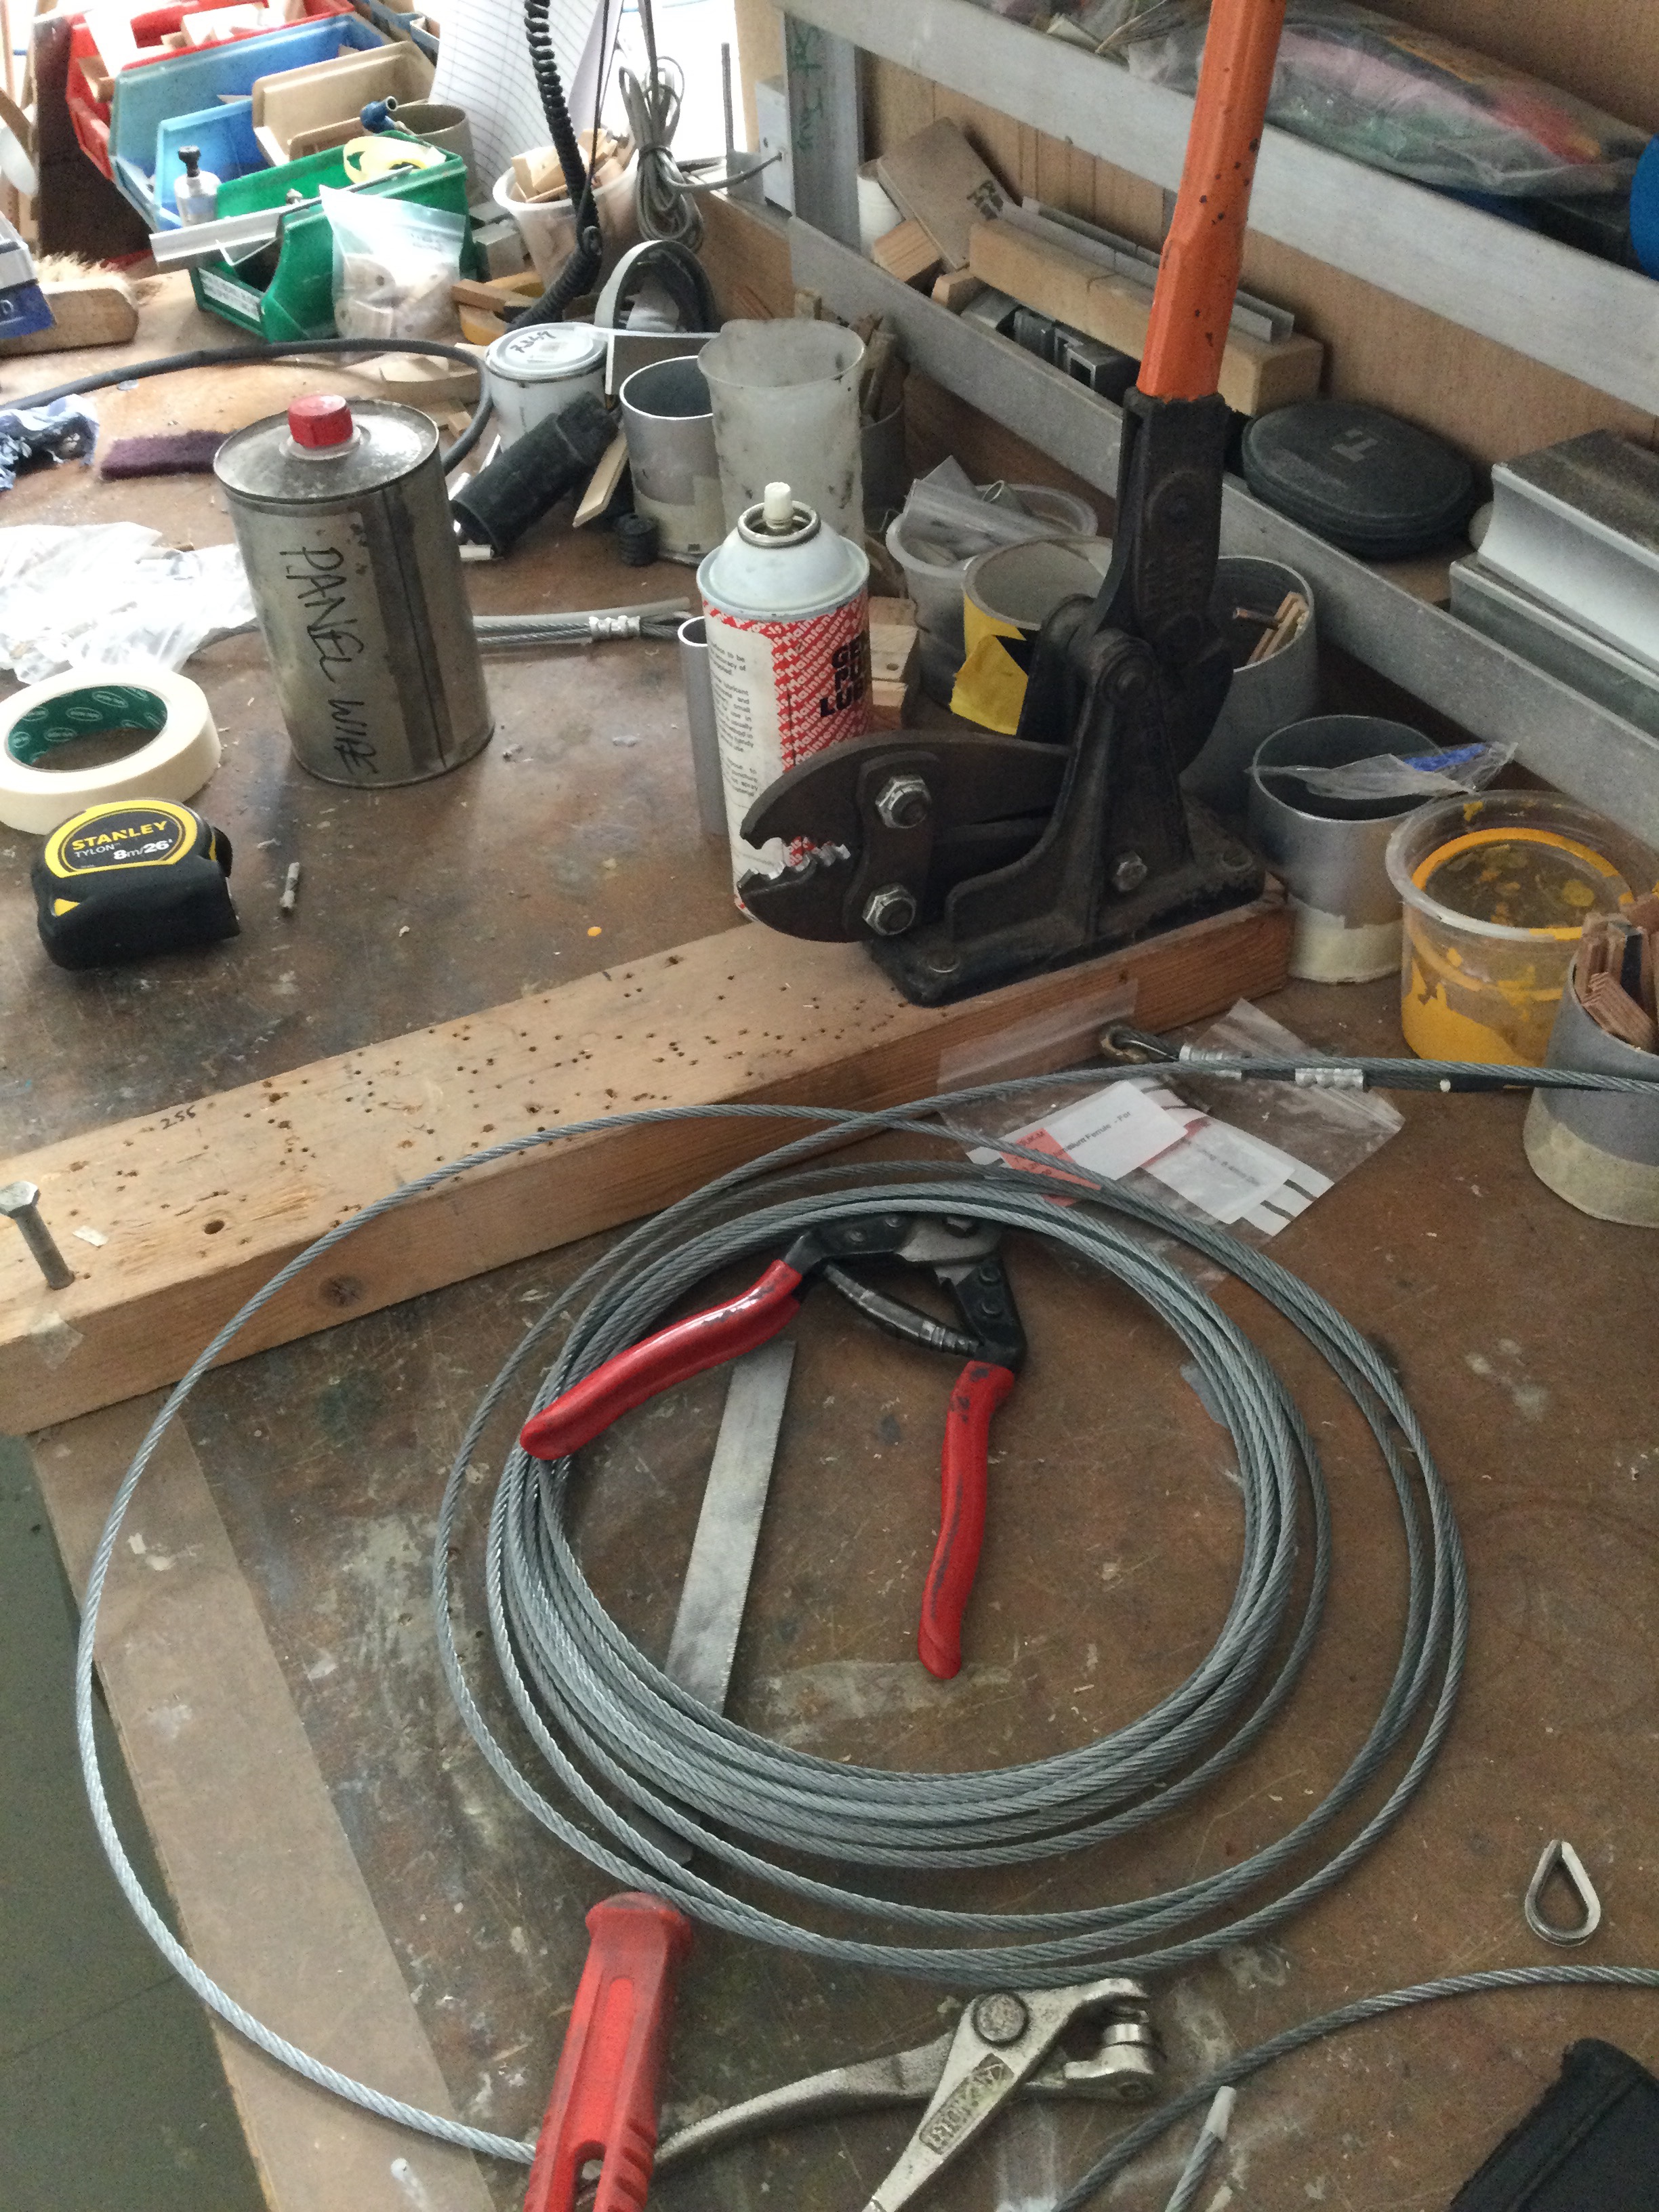
Put trestles under both port and starboard wings and then slackened cables… James had identified some not so good crimps that needed replacing … the original crimps had been but in with a hand held (2 arm) hand tool .. TLAC have a similar unit but have base fitted 1 arm so it’s so much easier to control.
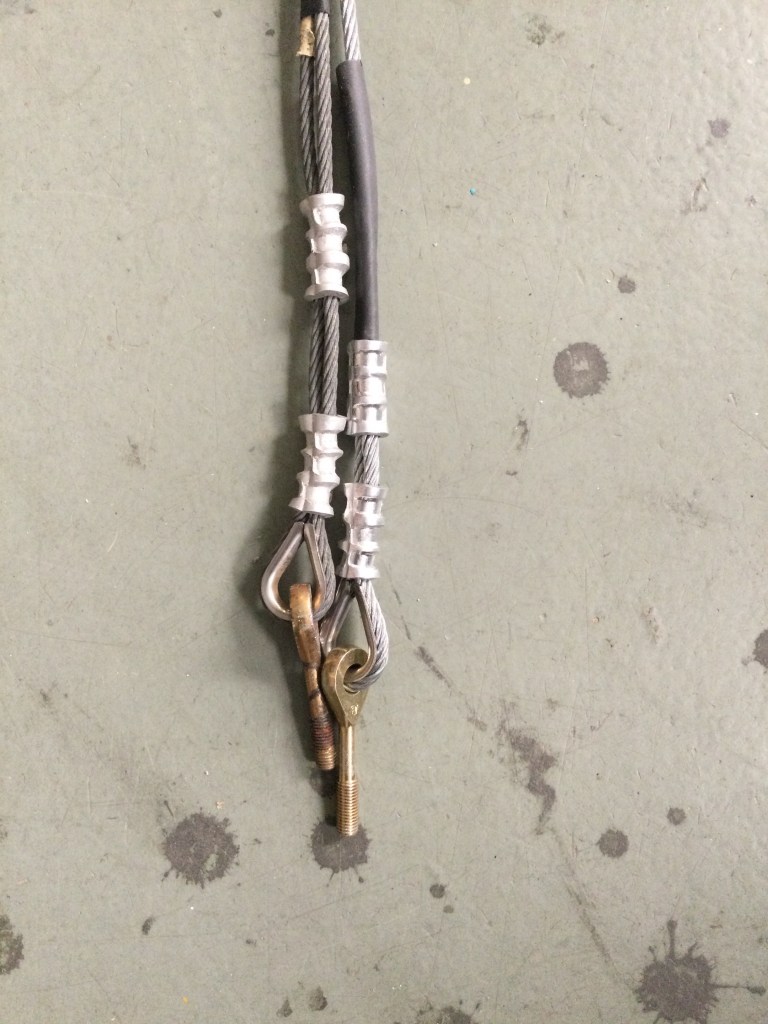
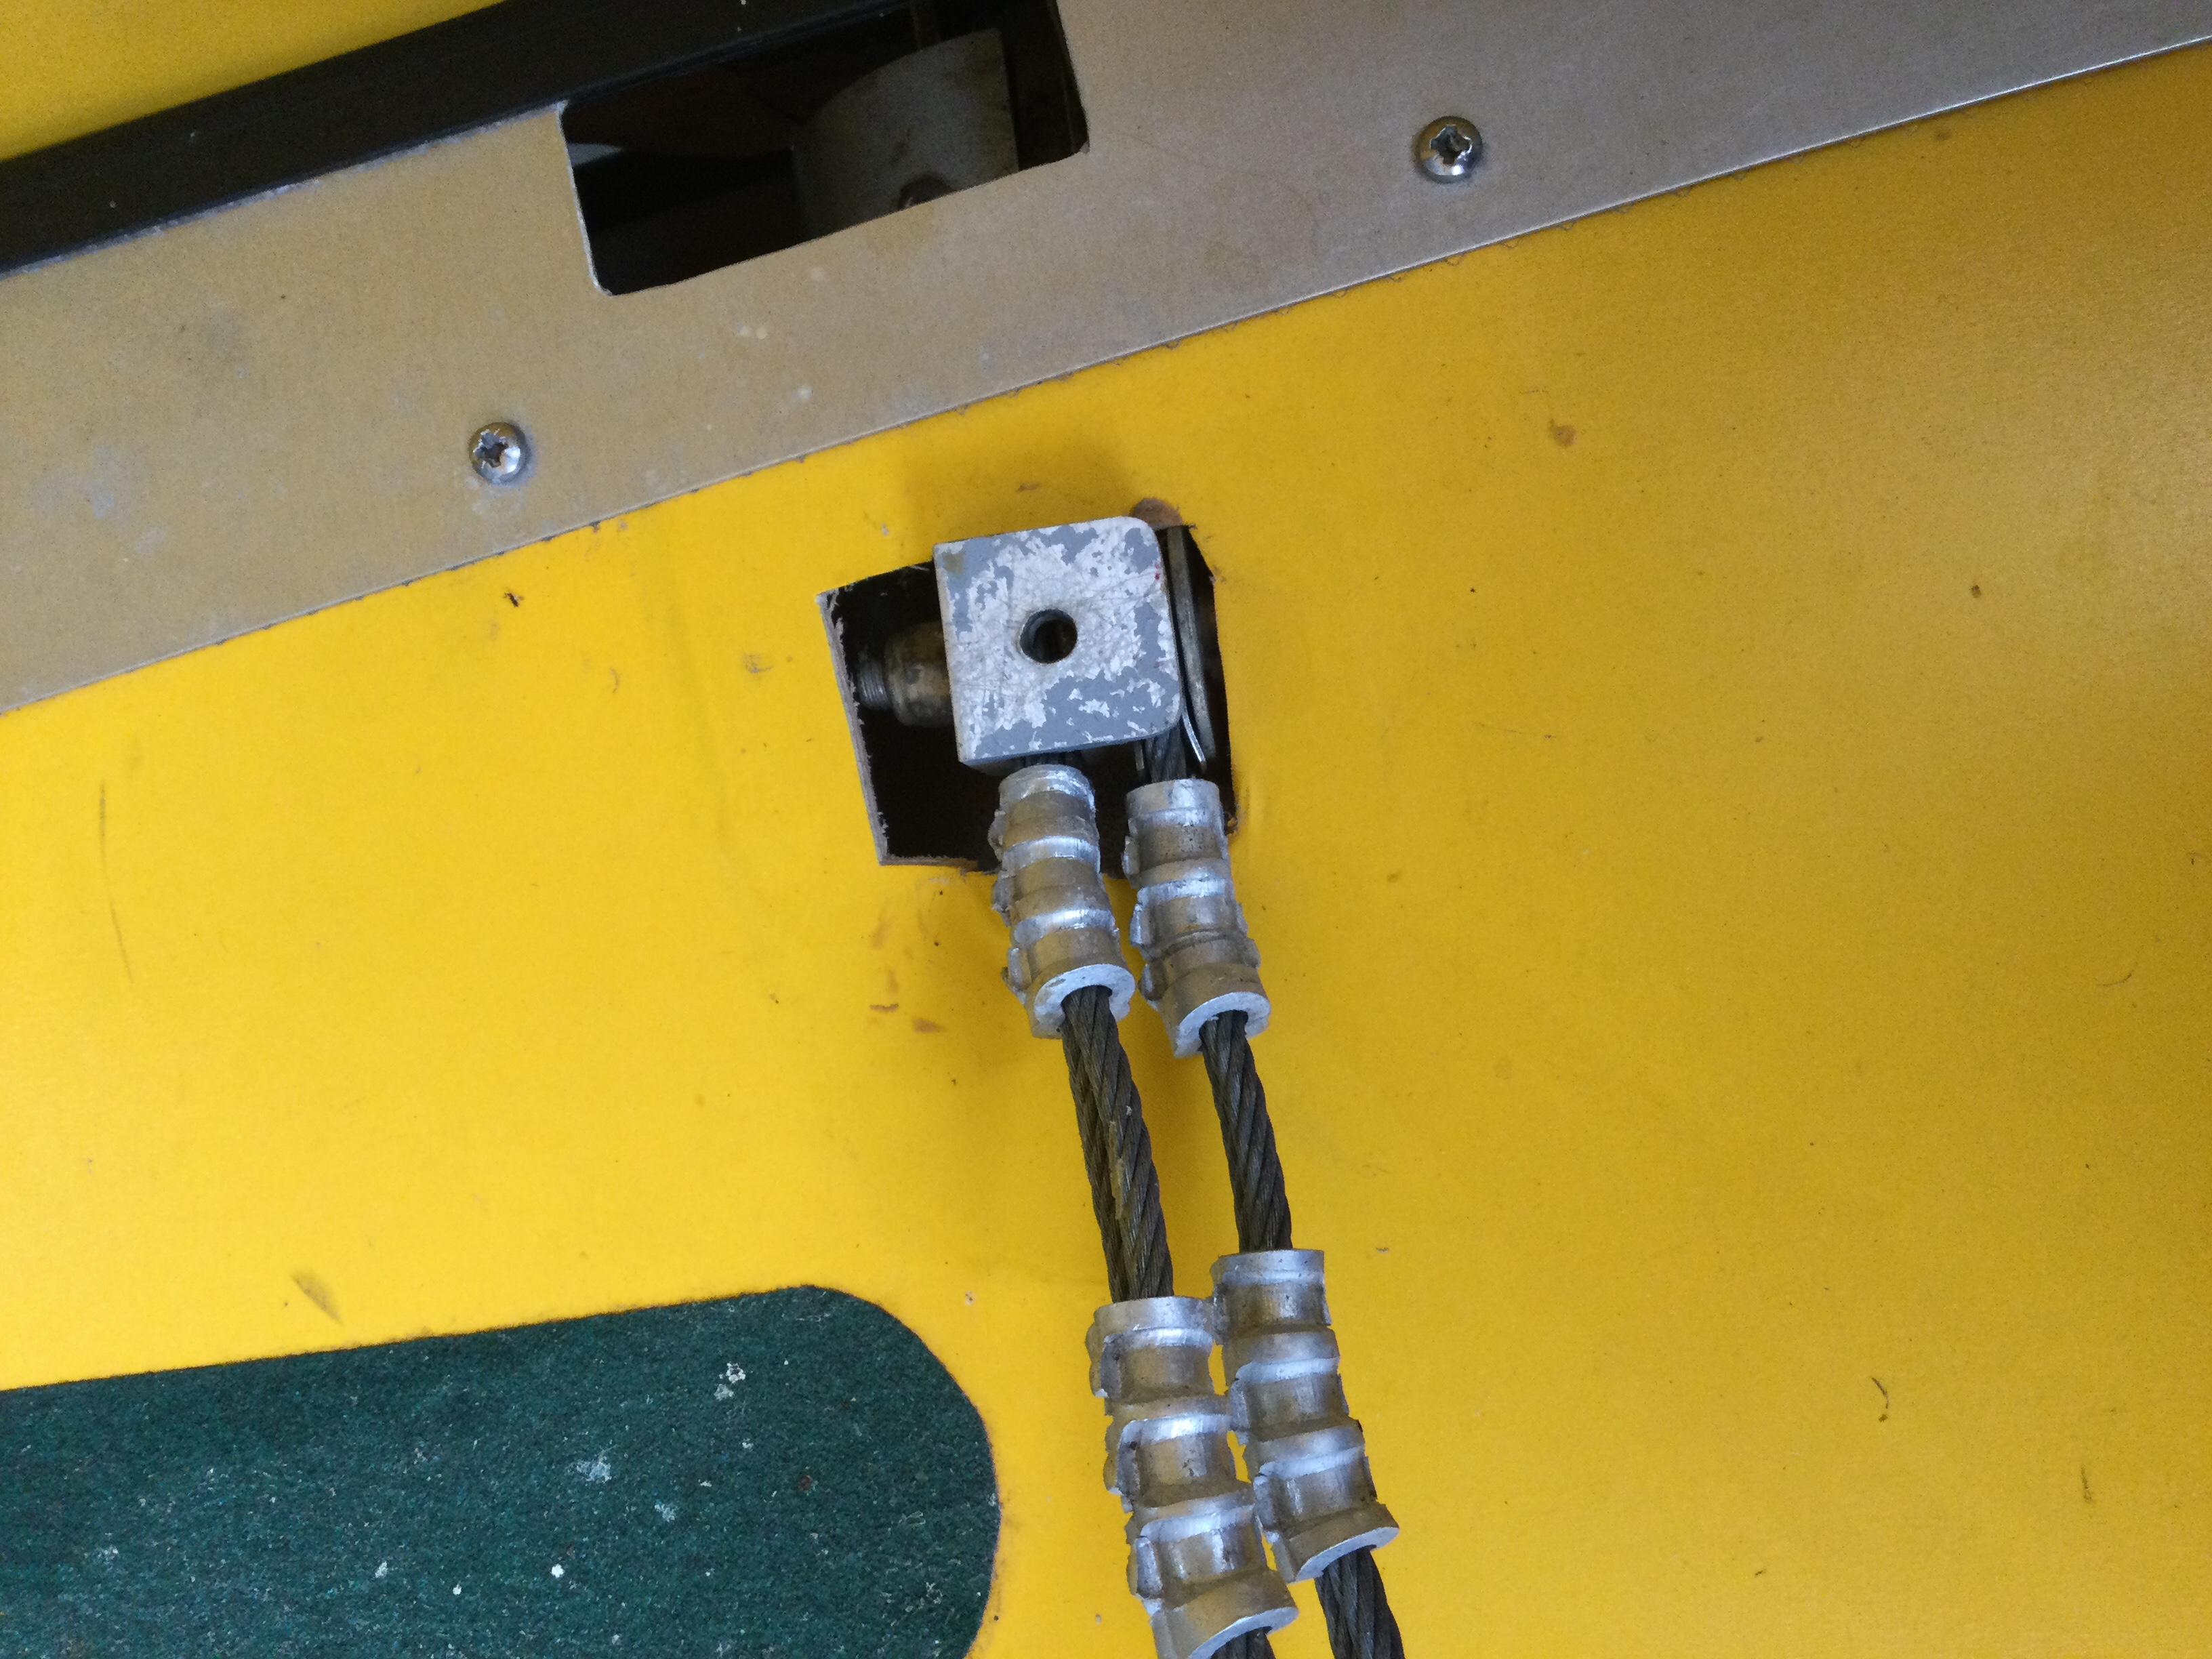
The original gapping between Nicopress ferrules .. 2 are fitted with a gap on landing and flying wires .. was too great .. also I hadn’t rotated the ferrule in the crimp tool POST the first crimp … by crimping all in the same directional plane you get ‘banana’ shaped bend in the cable end
On the left (old) the ‘banana’ bend plus .. I hadn’t realised you should file off the excess ‘squeeze’ to provide a smooth finish .. on right (new)
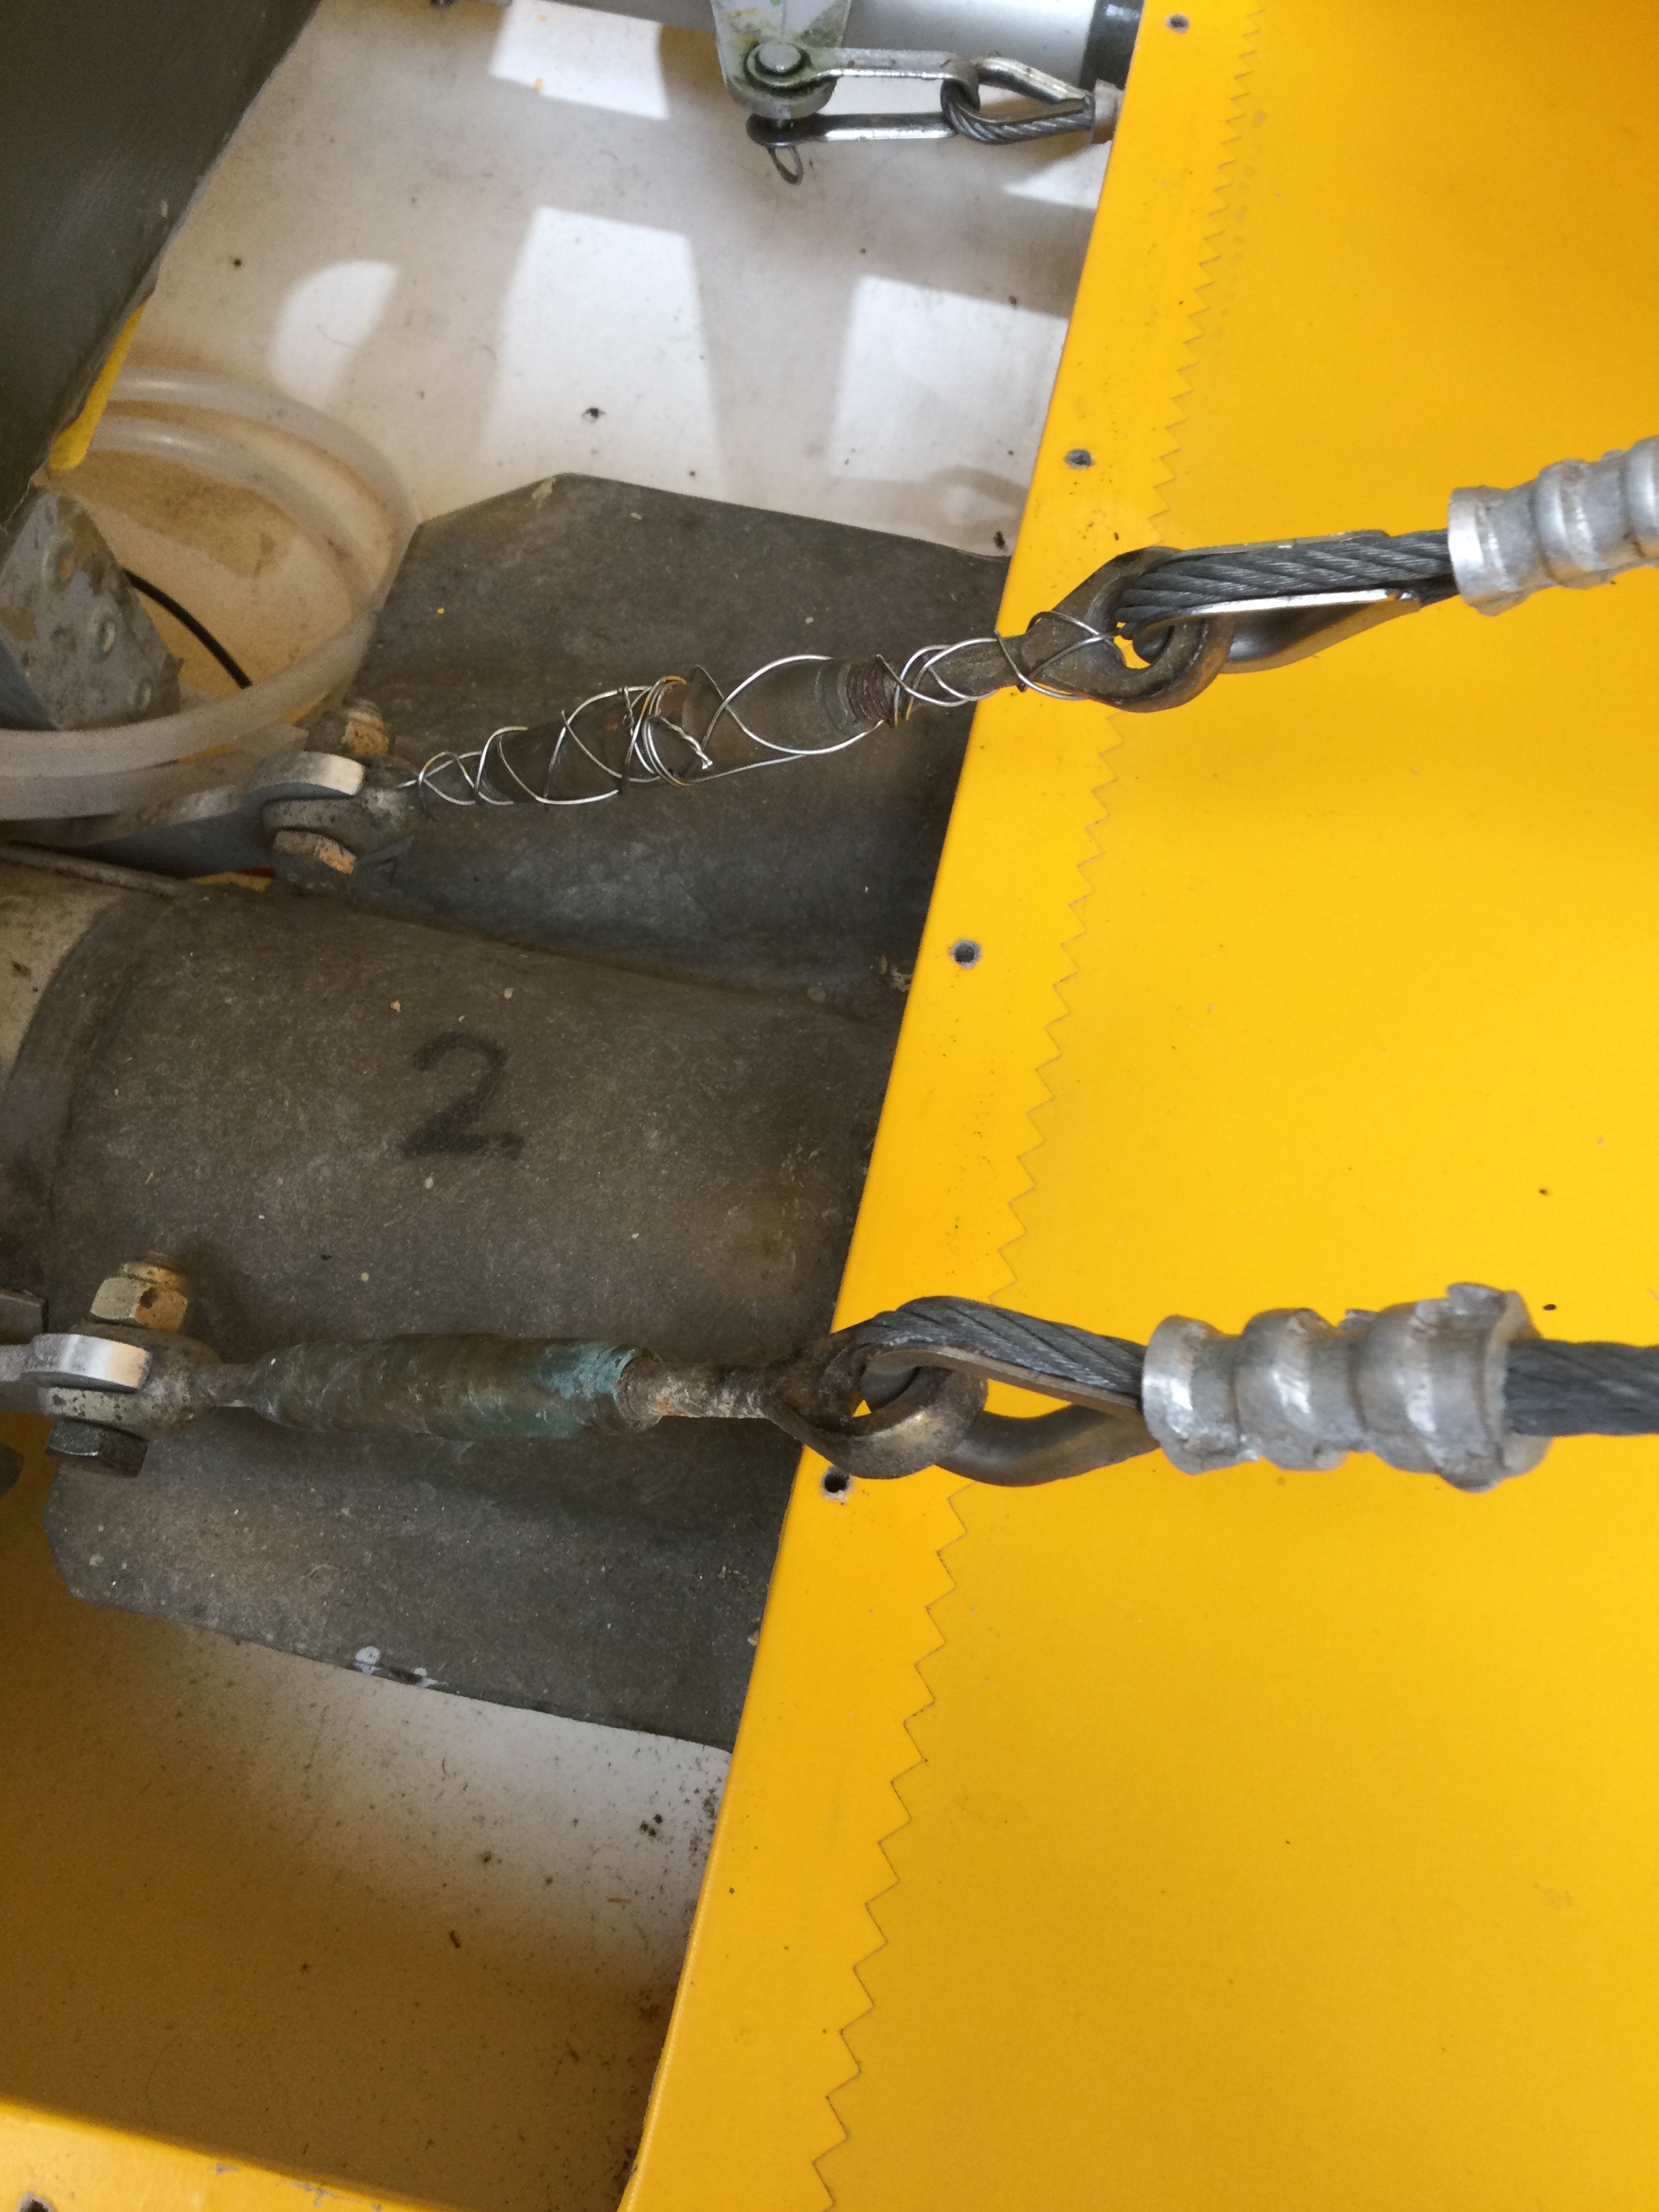
You can also see the other primary reason for re asking these cables is that I had too many threads showing … the rust pick up of 5 years of salty air shows this …
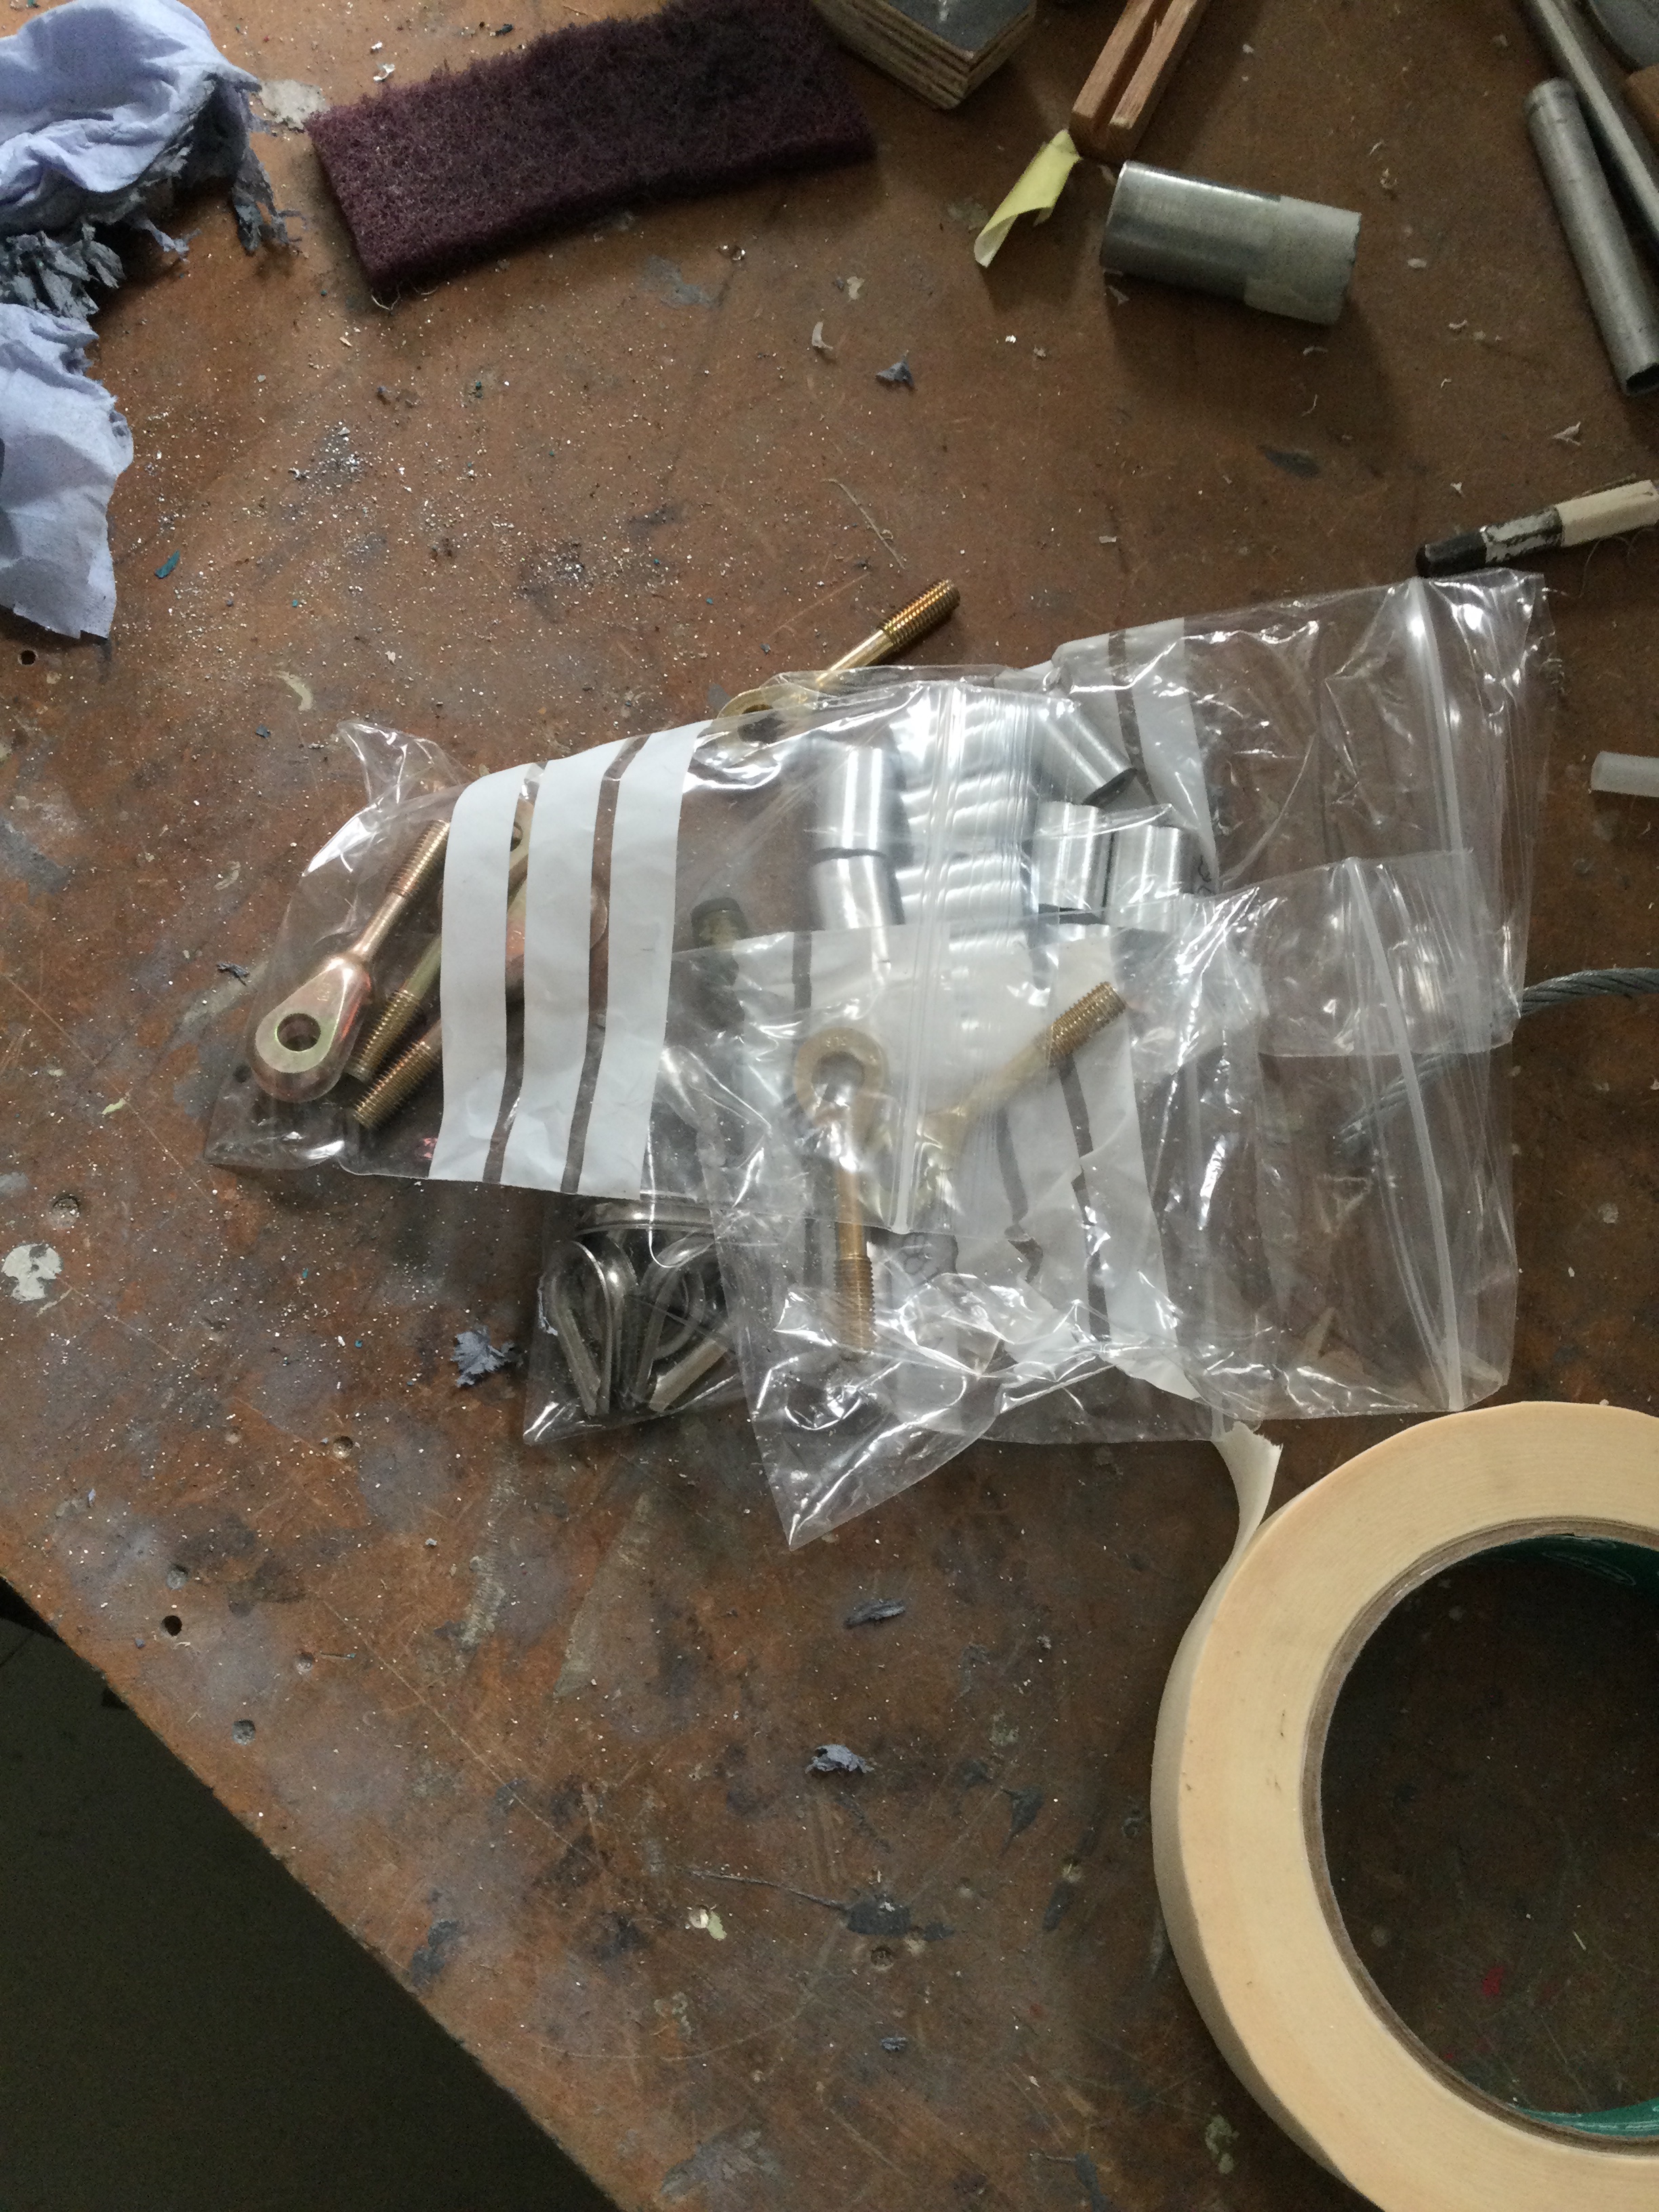
Being in the factory was so so much easier as ALL the new parts were instantly available vs the weeks it used to take to ship down to Jersey in the early days.
It was also noted that the aileron hinges were rolling on the AN bolts … each of the brackets has a hardened steal bearing insert and this should roll within the hinge bracket. The design should be that each aileron bolt clamps with requisite washers to press against this hardened ing … therefore allowing the whole arrangement to not only be square but rotate in unison with that bearing.
These bearings were partly free but some had clearly started to seize over the years. Good use of spray grease and working with a socket and ratchet spanner eased these so that they rolled correctly in situ.
James knows these aircraft inside out and continued his detailed check … one of these tests was to grab the trailing edge of each aileron at each sub aileron rib and then trying to TWIST the aileron … each twist would show if there was any movement of the individual rib against the internal torque tube.
The port upper aileron showed a very small displacement .. on the outer most panel … representing the outer quadrant and so ‘end point’. There are 3 hinges per aileron .. 2 ends and one centre… with intervening ribs equally spaced. All ribs are epoxied to the torque tube and this displacement shows that we need to cut away the underside and investigate.
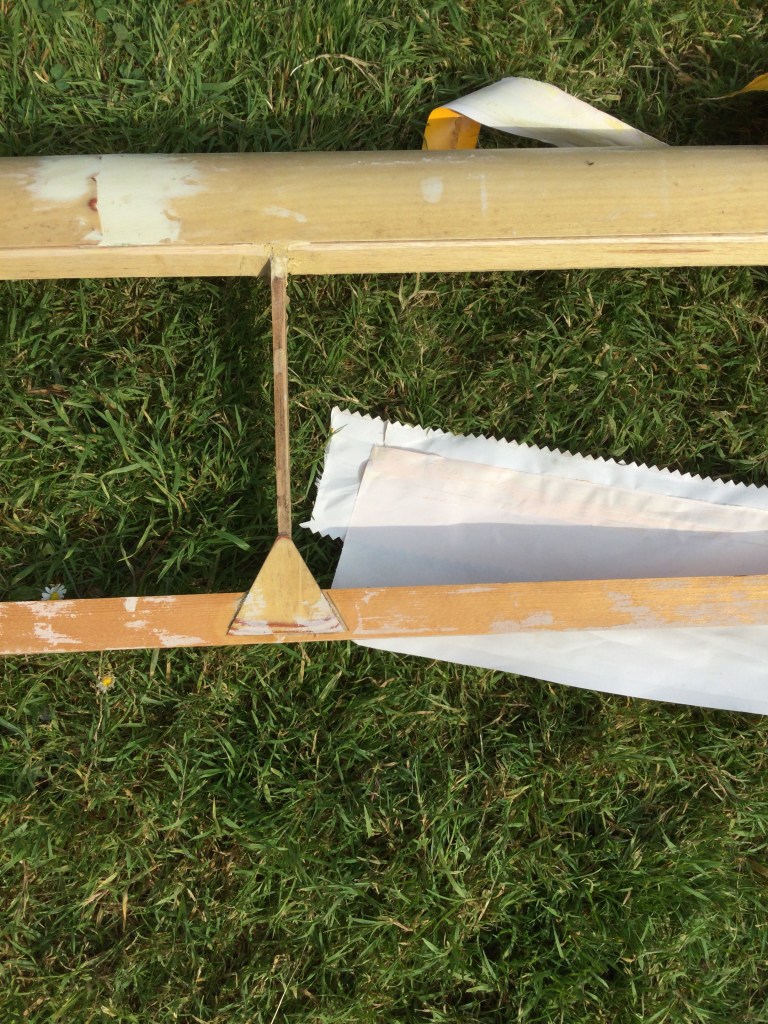
Aileron construction … all 4 were manufactured in my garage roof ,.. largely during the winter months. I’ve just checked back through my blog and noted the ailerons were completed around December 2015 in a specially extended garage roof .. just to aid building the aircraft. I DO remember it being very cold and this clearly didn’t help the curing process …So … currently .. my thinking is that the curing of the epoxy and/or the torque tube prep (roughing up with a coarse grit to provide a ‘key’ for the glue) MAY not have been the best environment to allow good all round positive adhesion …I’m cutting away FULL a length under covering to check ALL rib securing points and also hard checking other aileron TWIST effects.
Aileron full strip to check all joints … have now decided to replace and rebuild 4 new … as removing the rock like fibreglass will only damage the ailerons. Paul has kindly sourced some factory started ailerons … ribs on the torque tube and glued with the special gray compound that looks oh so much better
Just need to aerolite leading edge, trailing edge, top sheet and full gussets …