Having stripped the slightly damaged wing completely of Oratex covering and a more detailed inspection we collectively agreed it should and could be repaired.
This would entail drawing out a proposed ‘repair scheme’ which Algy and The Light Aircraft Company did noting how the damaged leading section of Rib 2 would be sandwiched either side for the spar to the nose ..leaving the old part in place as a KT point and added residual strength.
This has made a super string excellent repair job and, with the addition of a full new Rib 1 we were nearly ready to go.
To gain access however, we had had to remove the partially damaged 1mm ply leading edge so this required new scarfed sections to be made up and fitted.
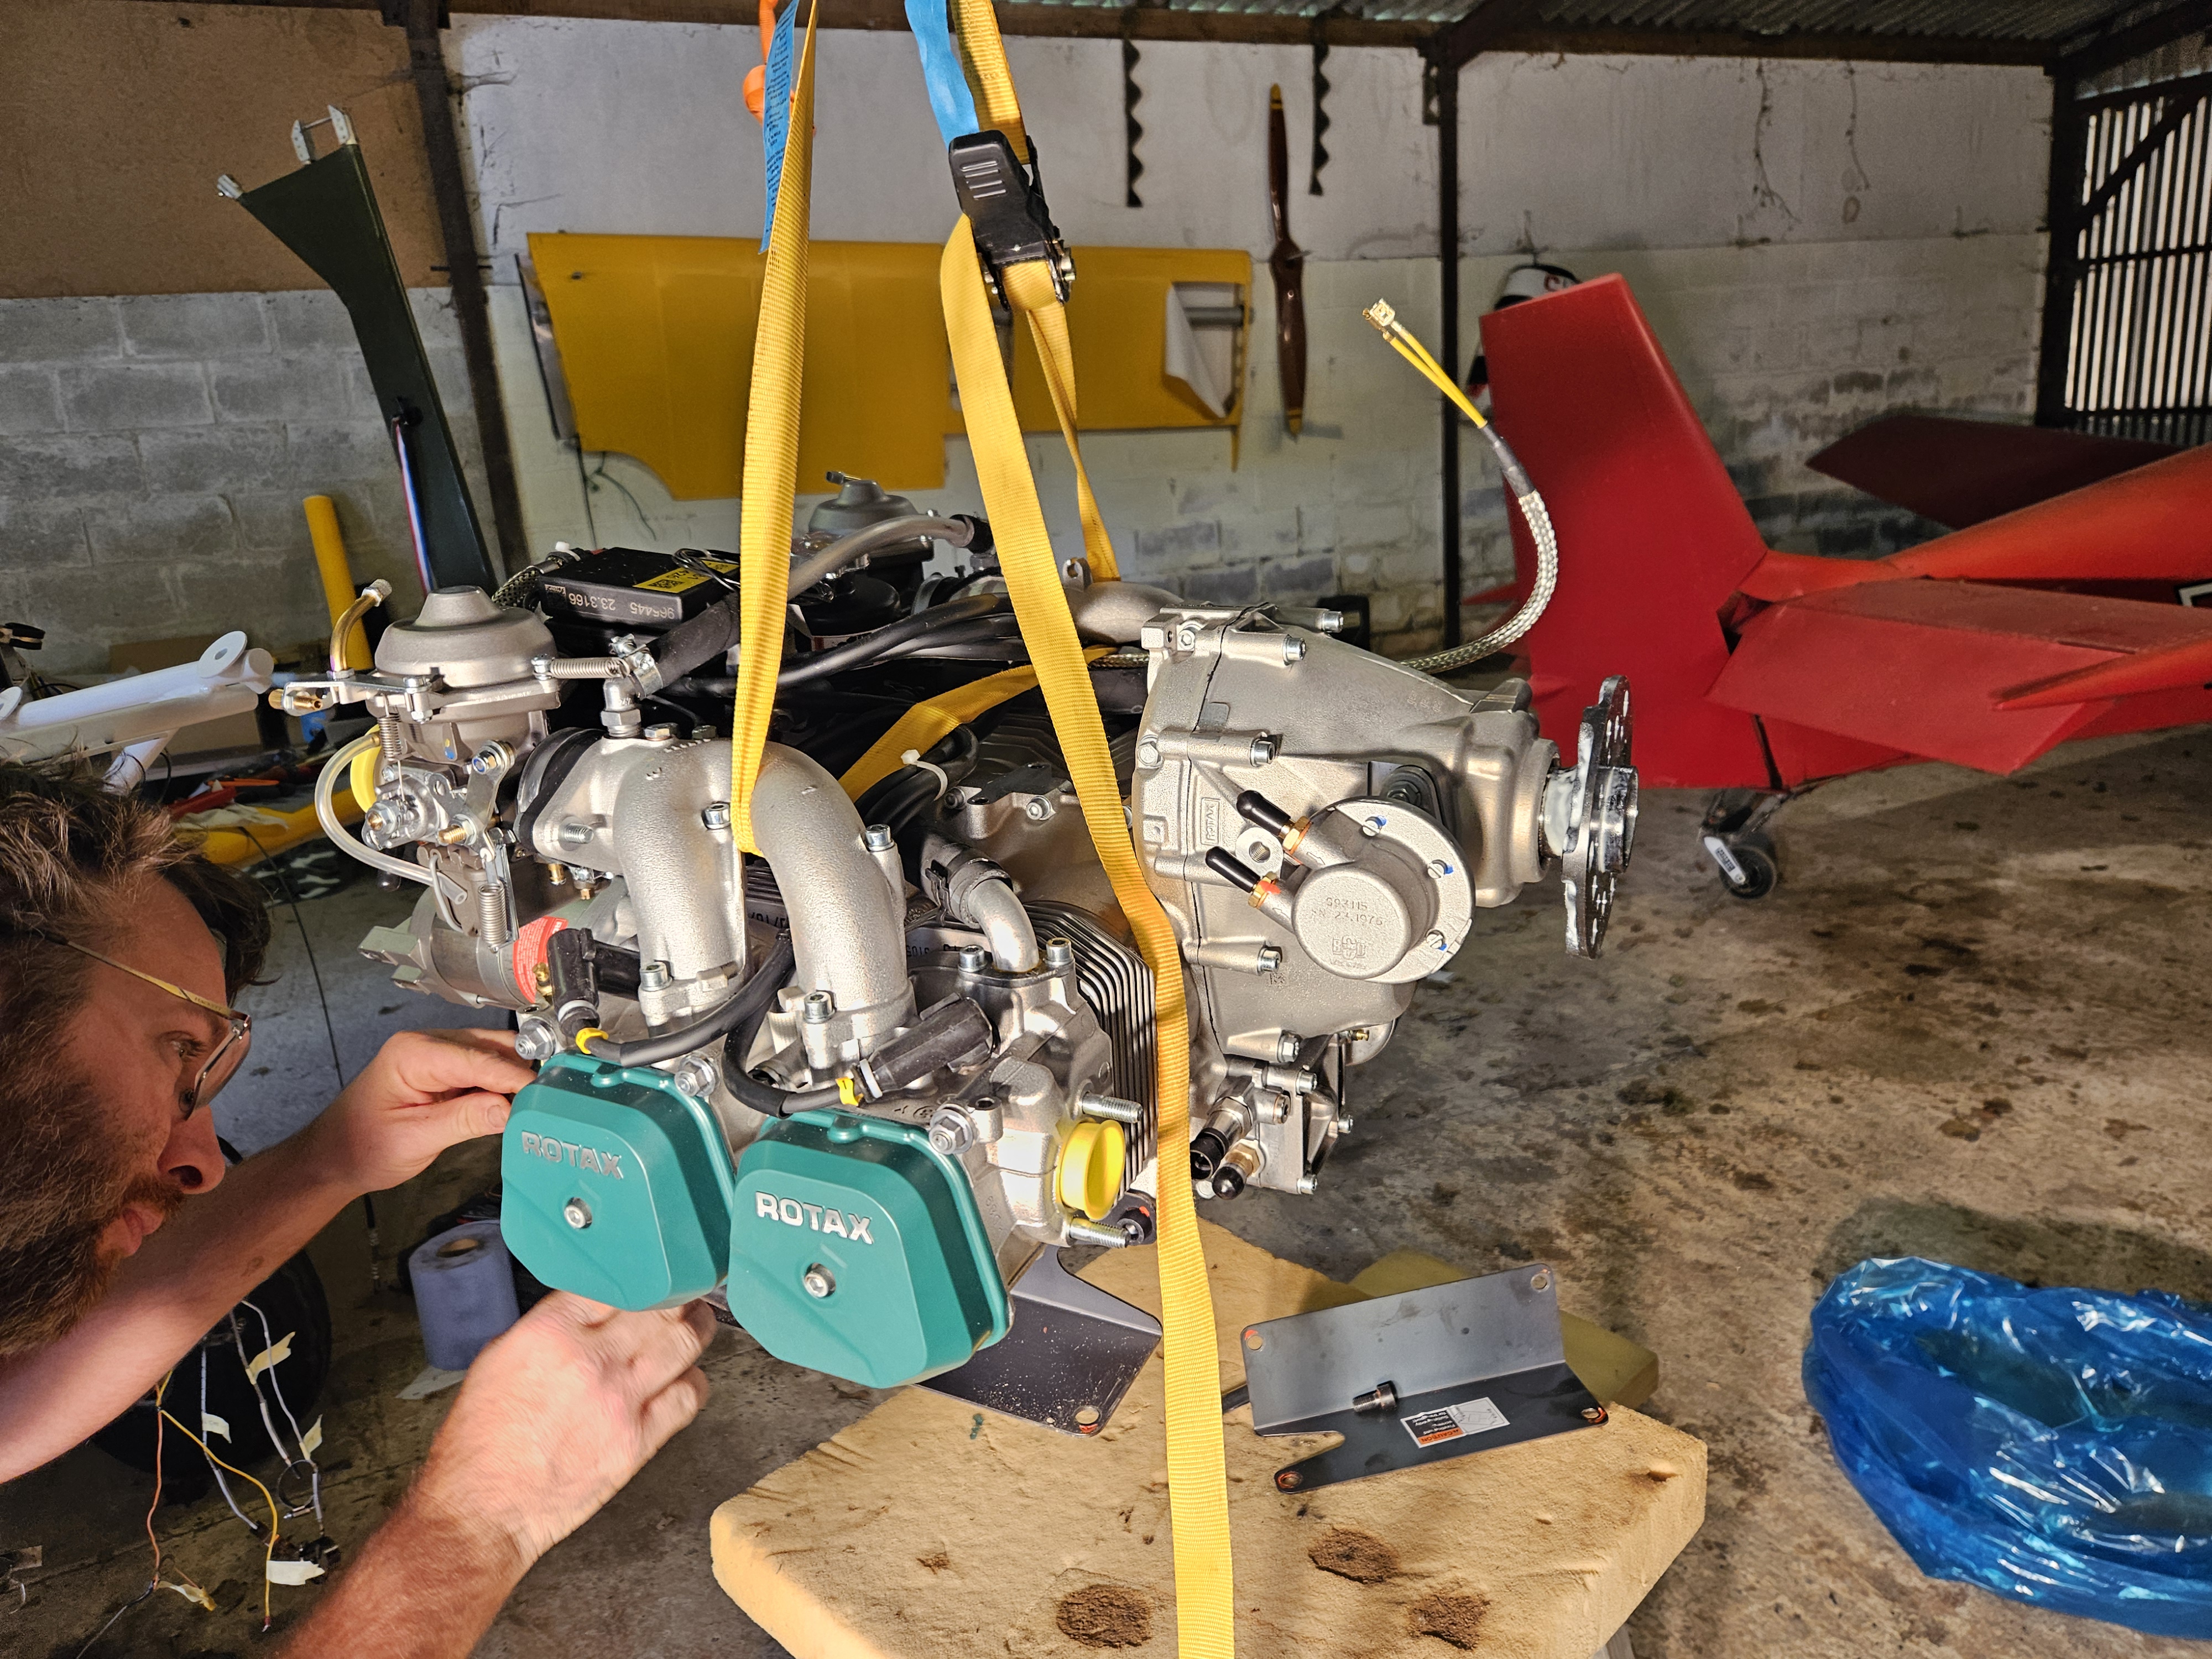
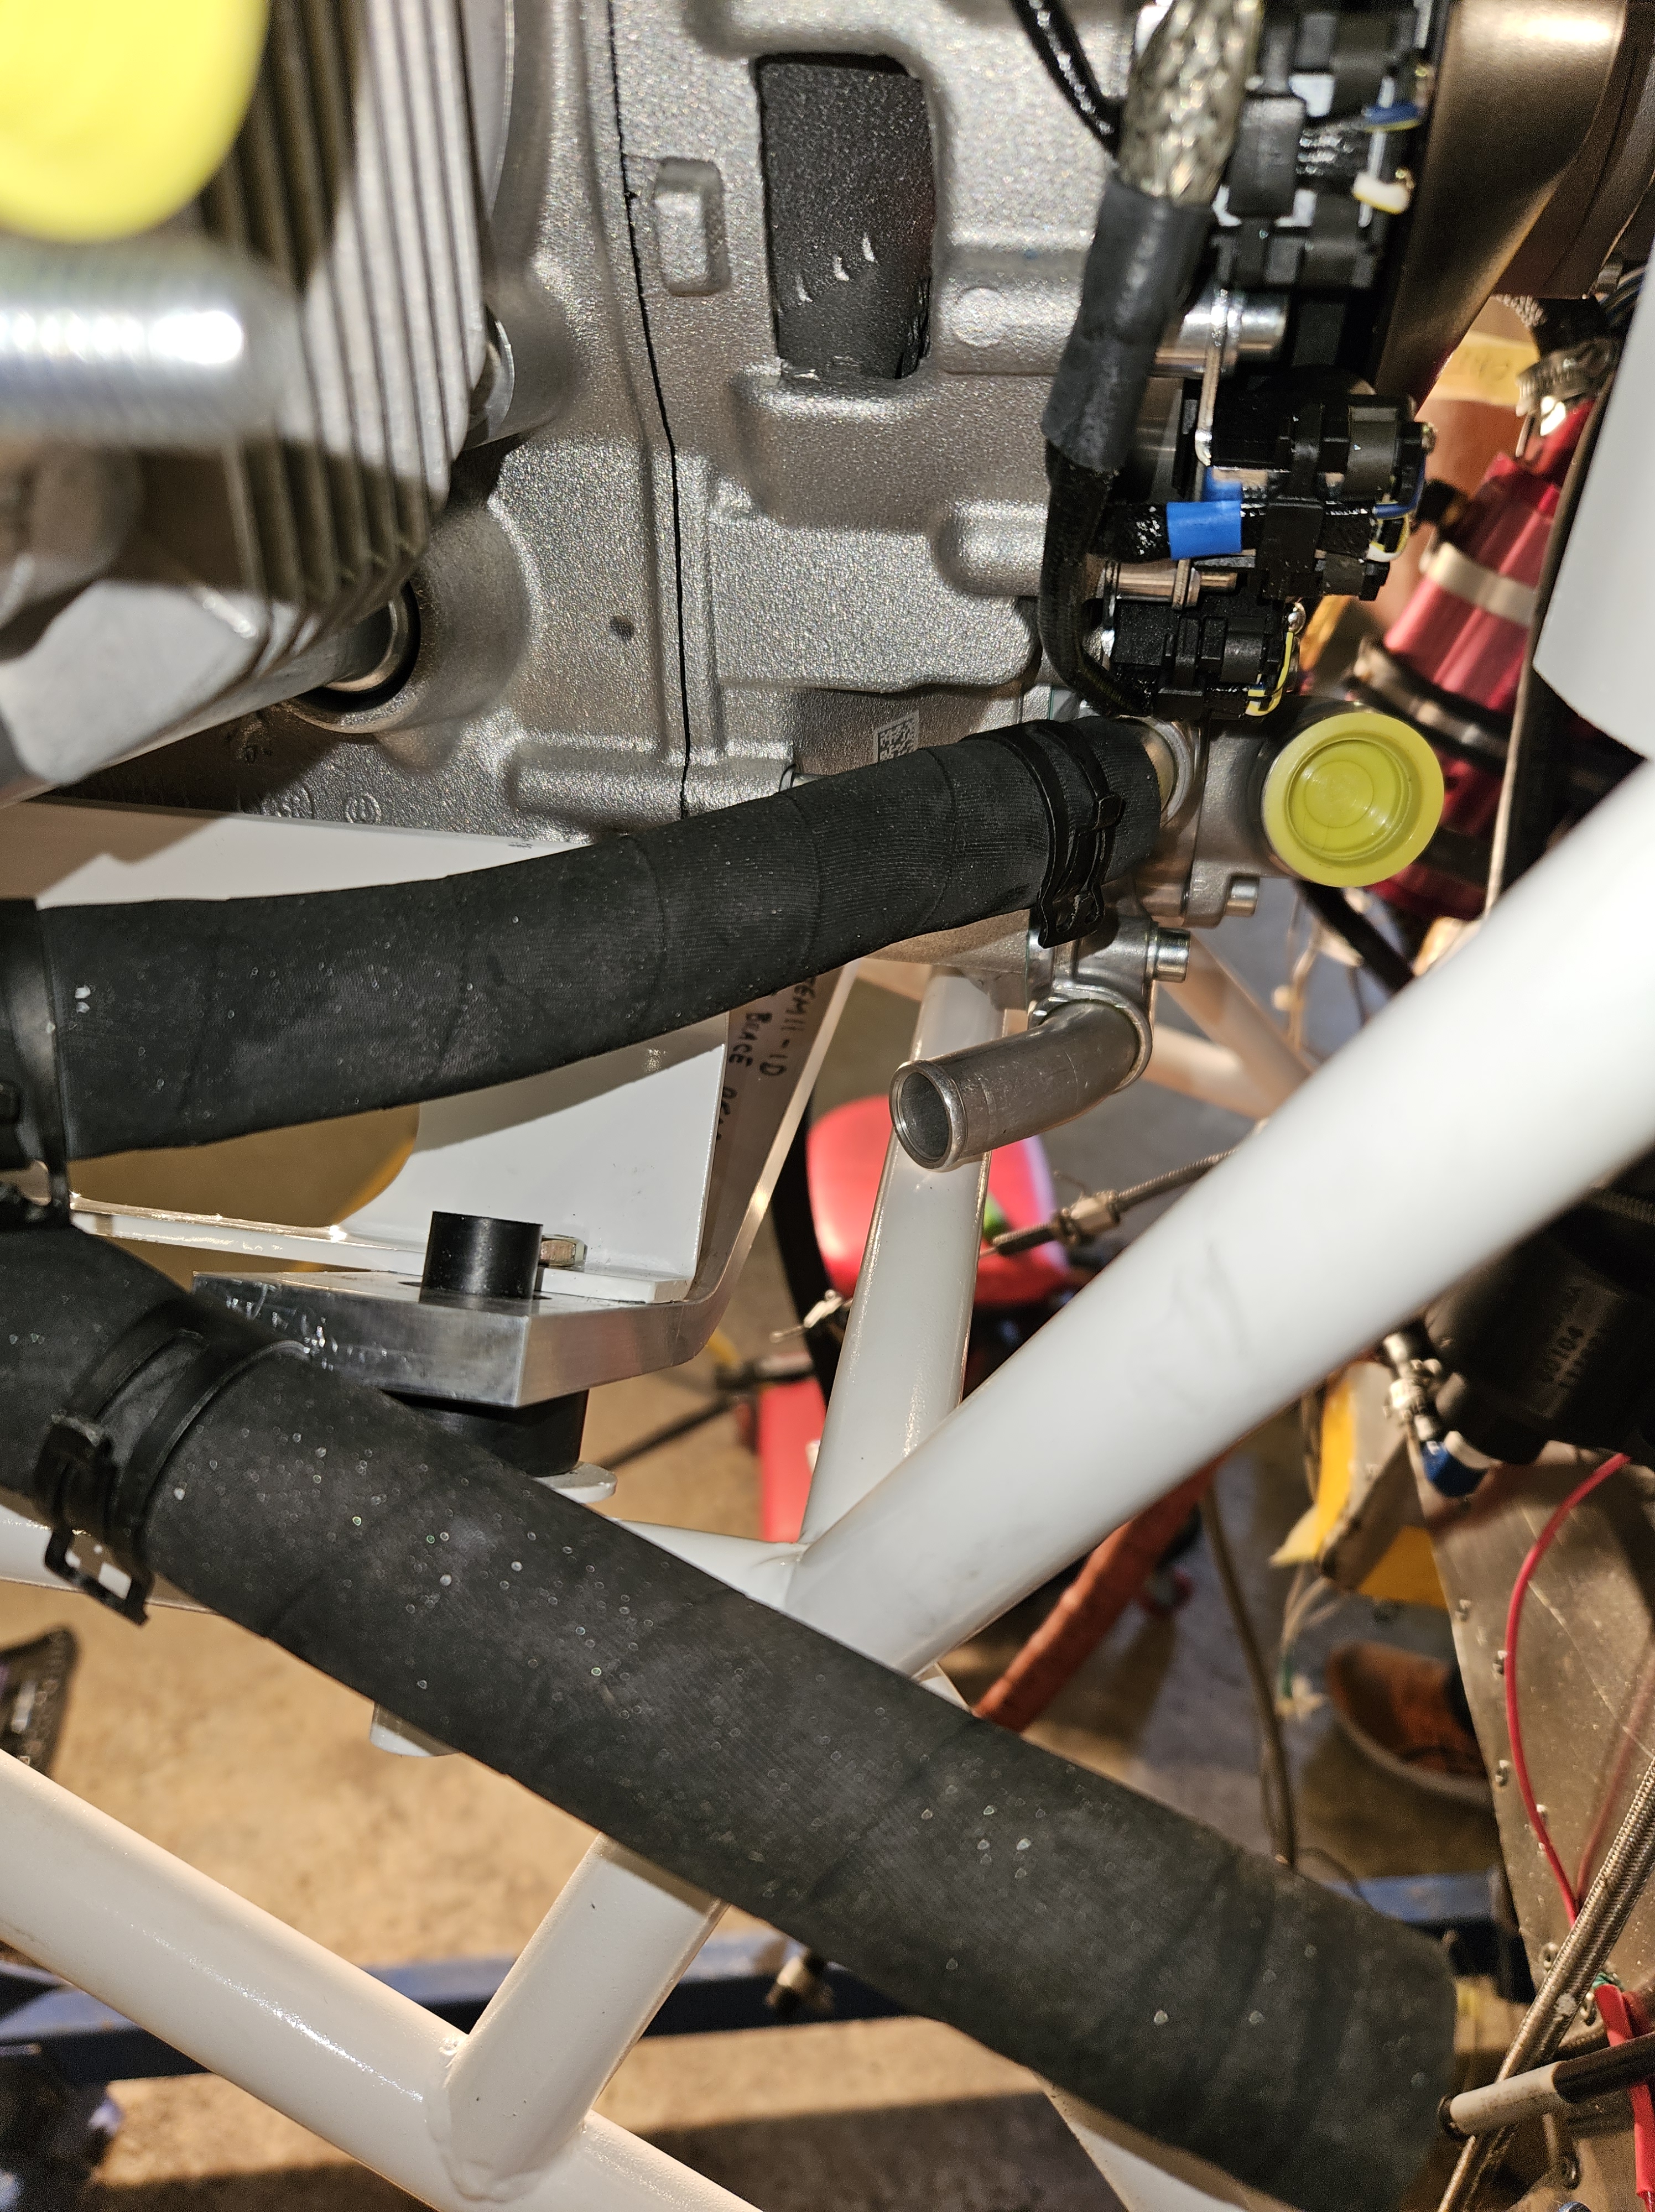
Just 107 days after the incident.. we had the first test fit of the new Rotax engine.
Having fitted and removed the old engine several times, I had got used to the design and features of it, so this new and more complex and modern engine presented some challenges.
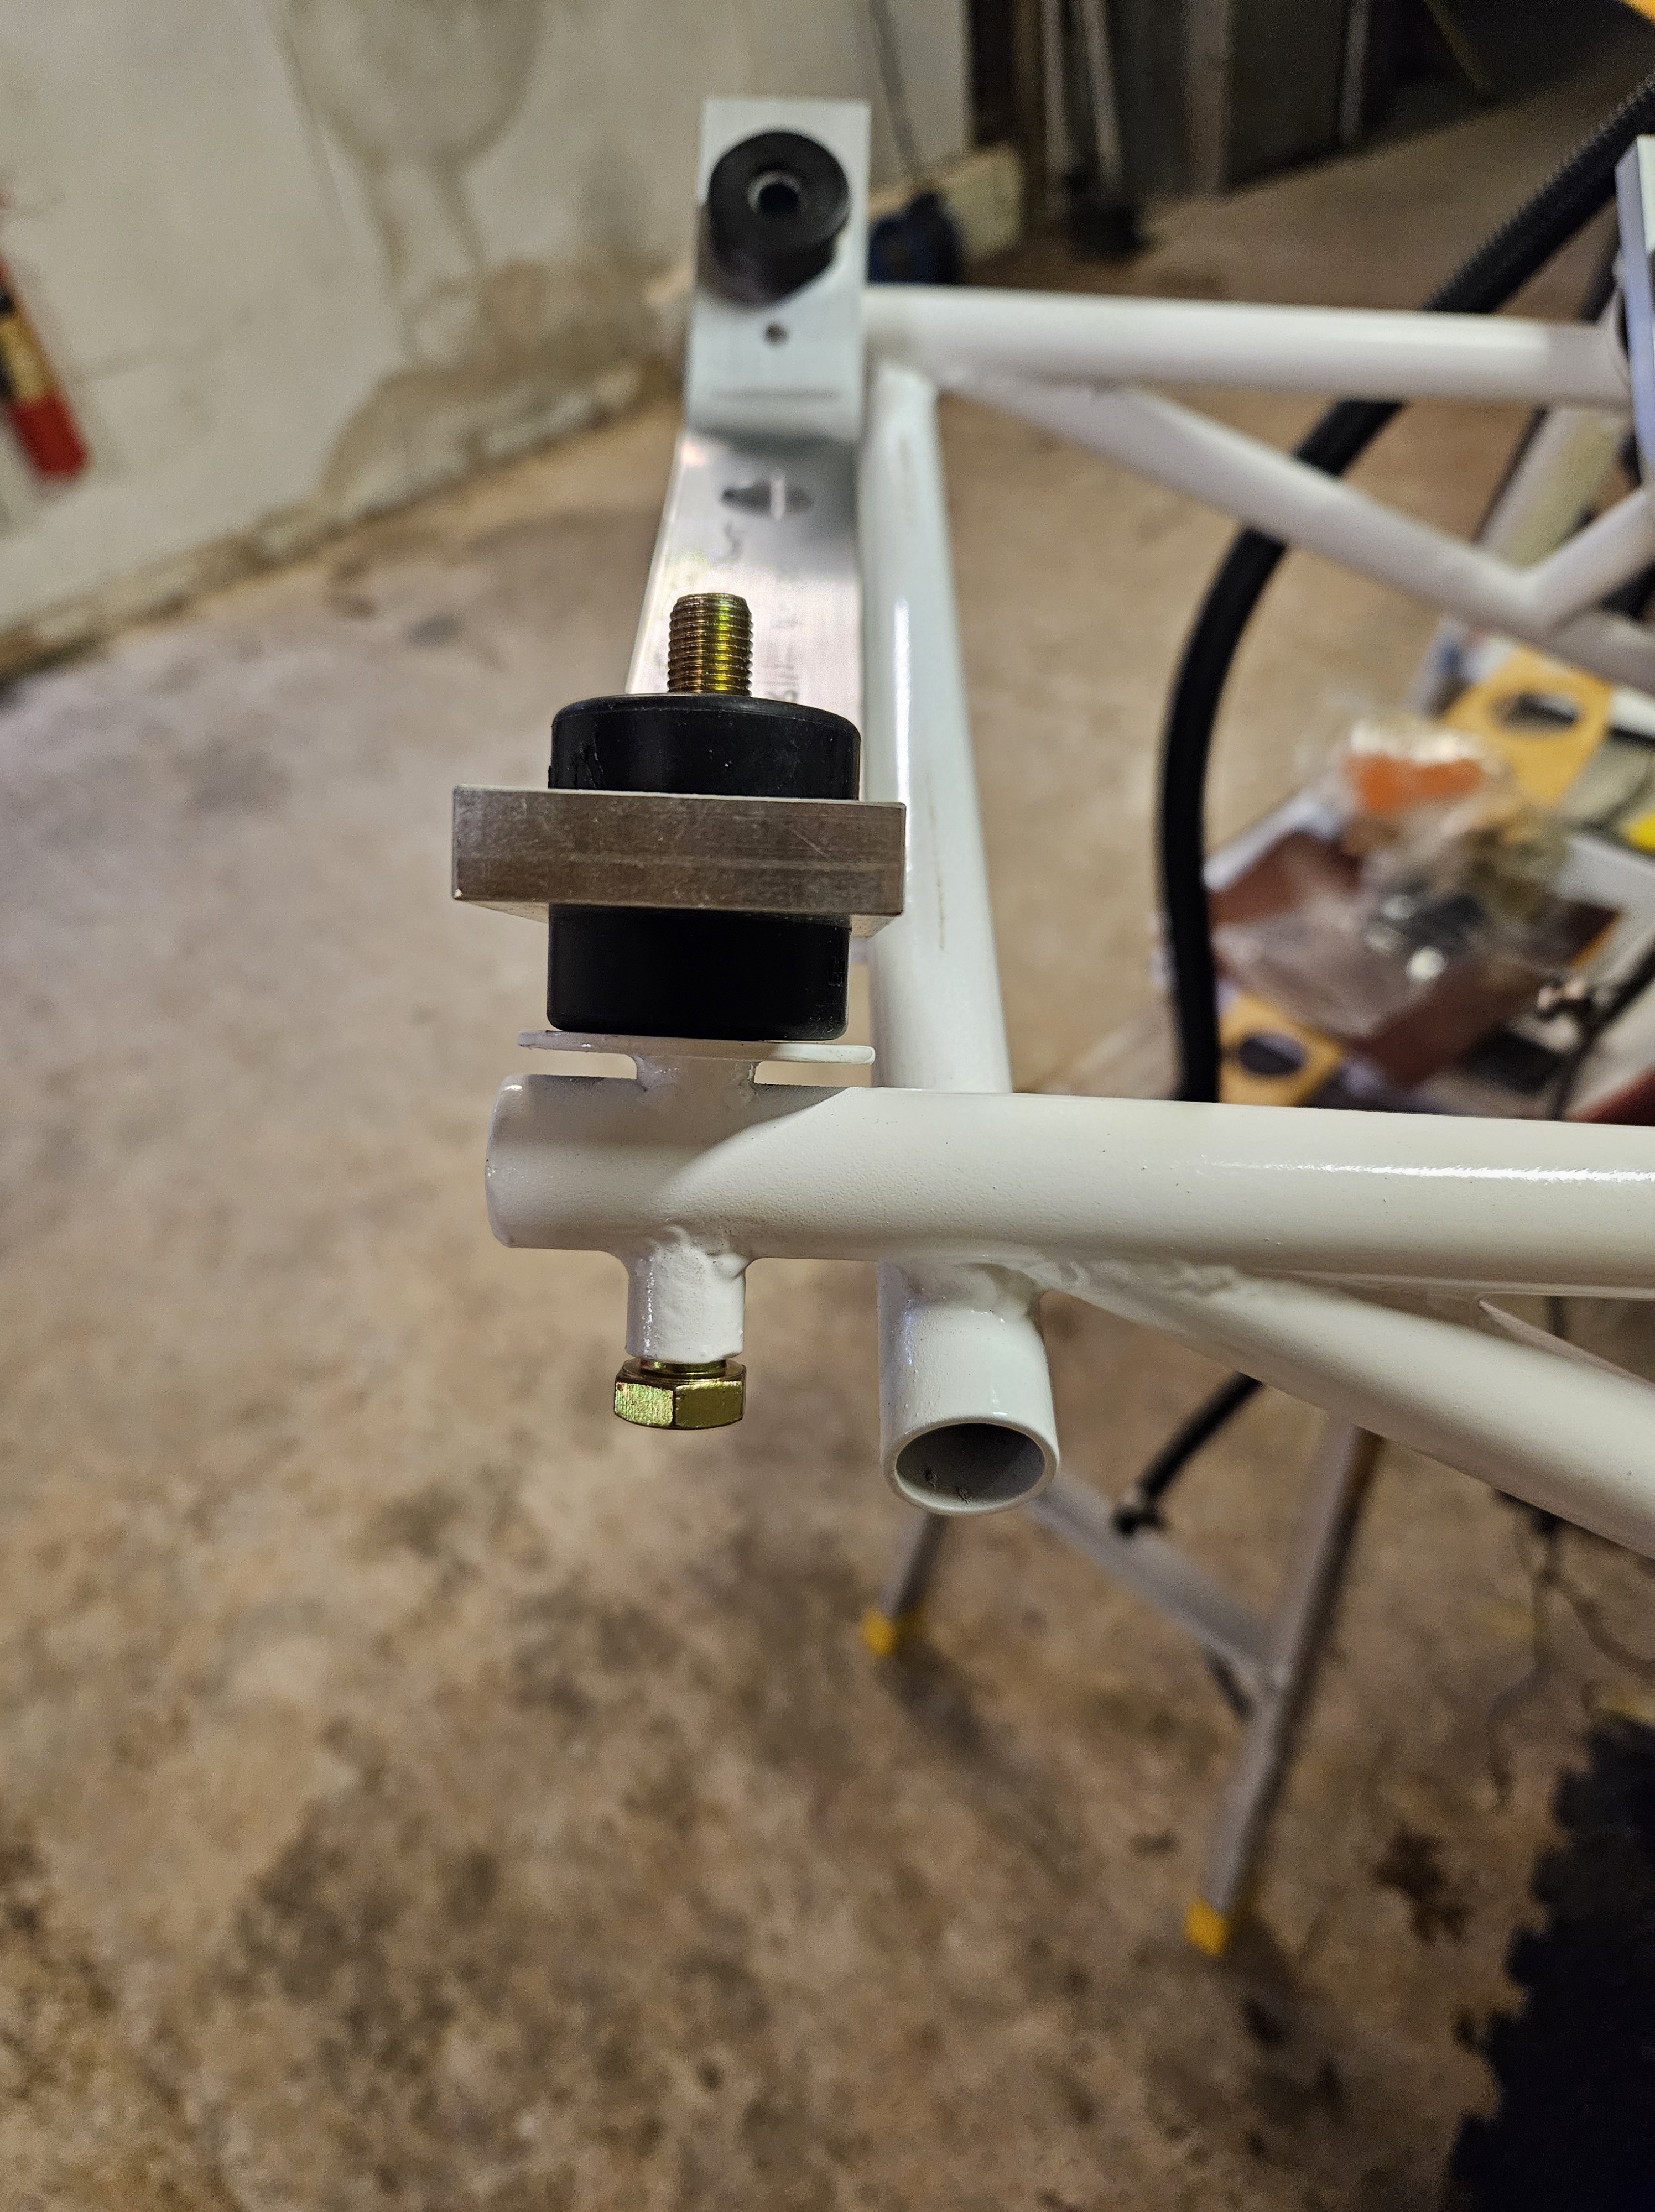
The brackets and flanges provided by The Light Aicraft Company had been beautifully finished and coated and, along with a pack of bolts and washers we set to work.
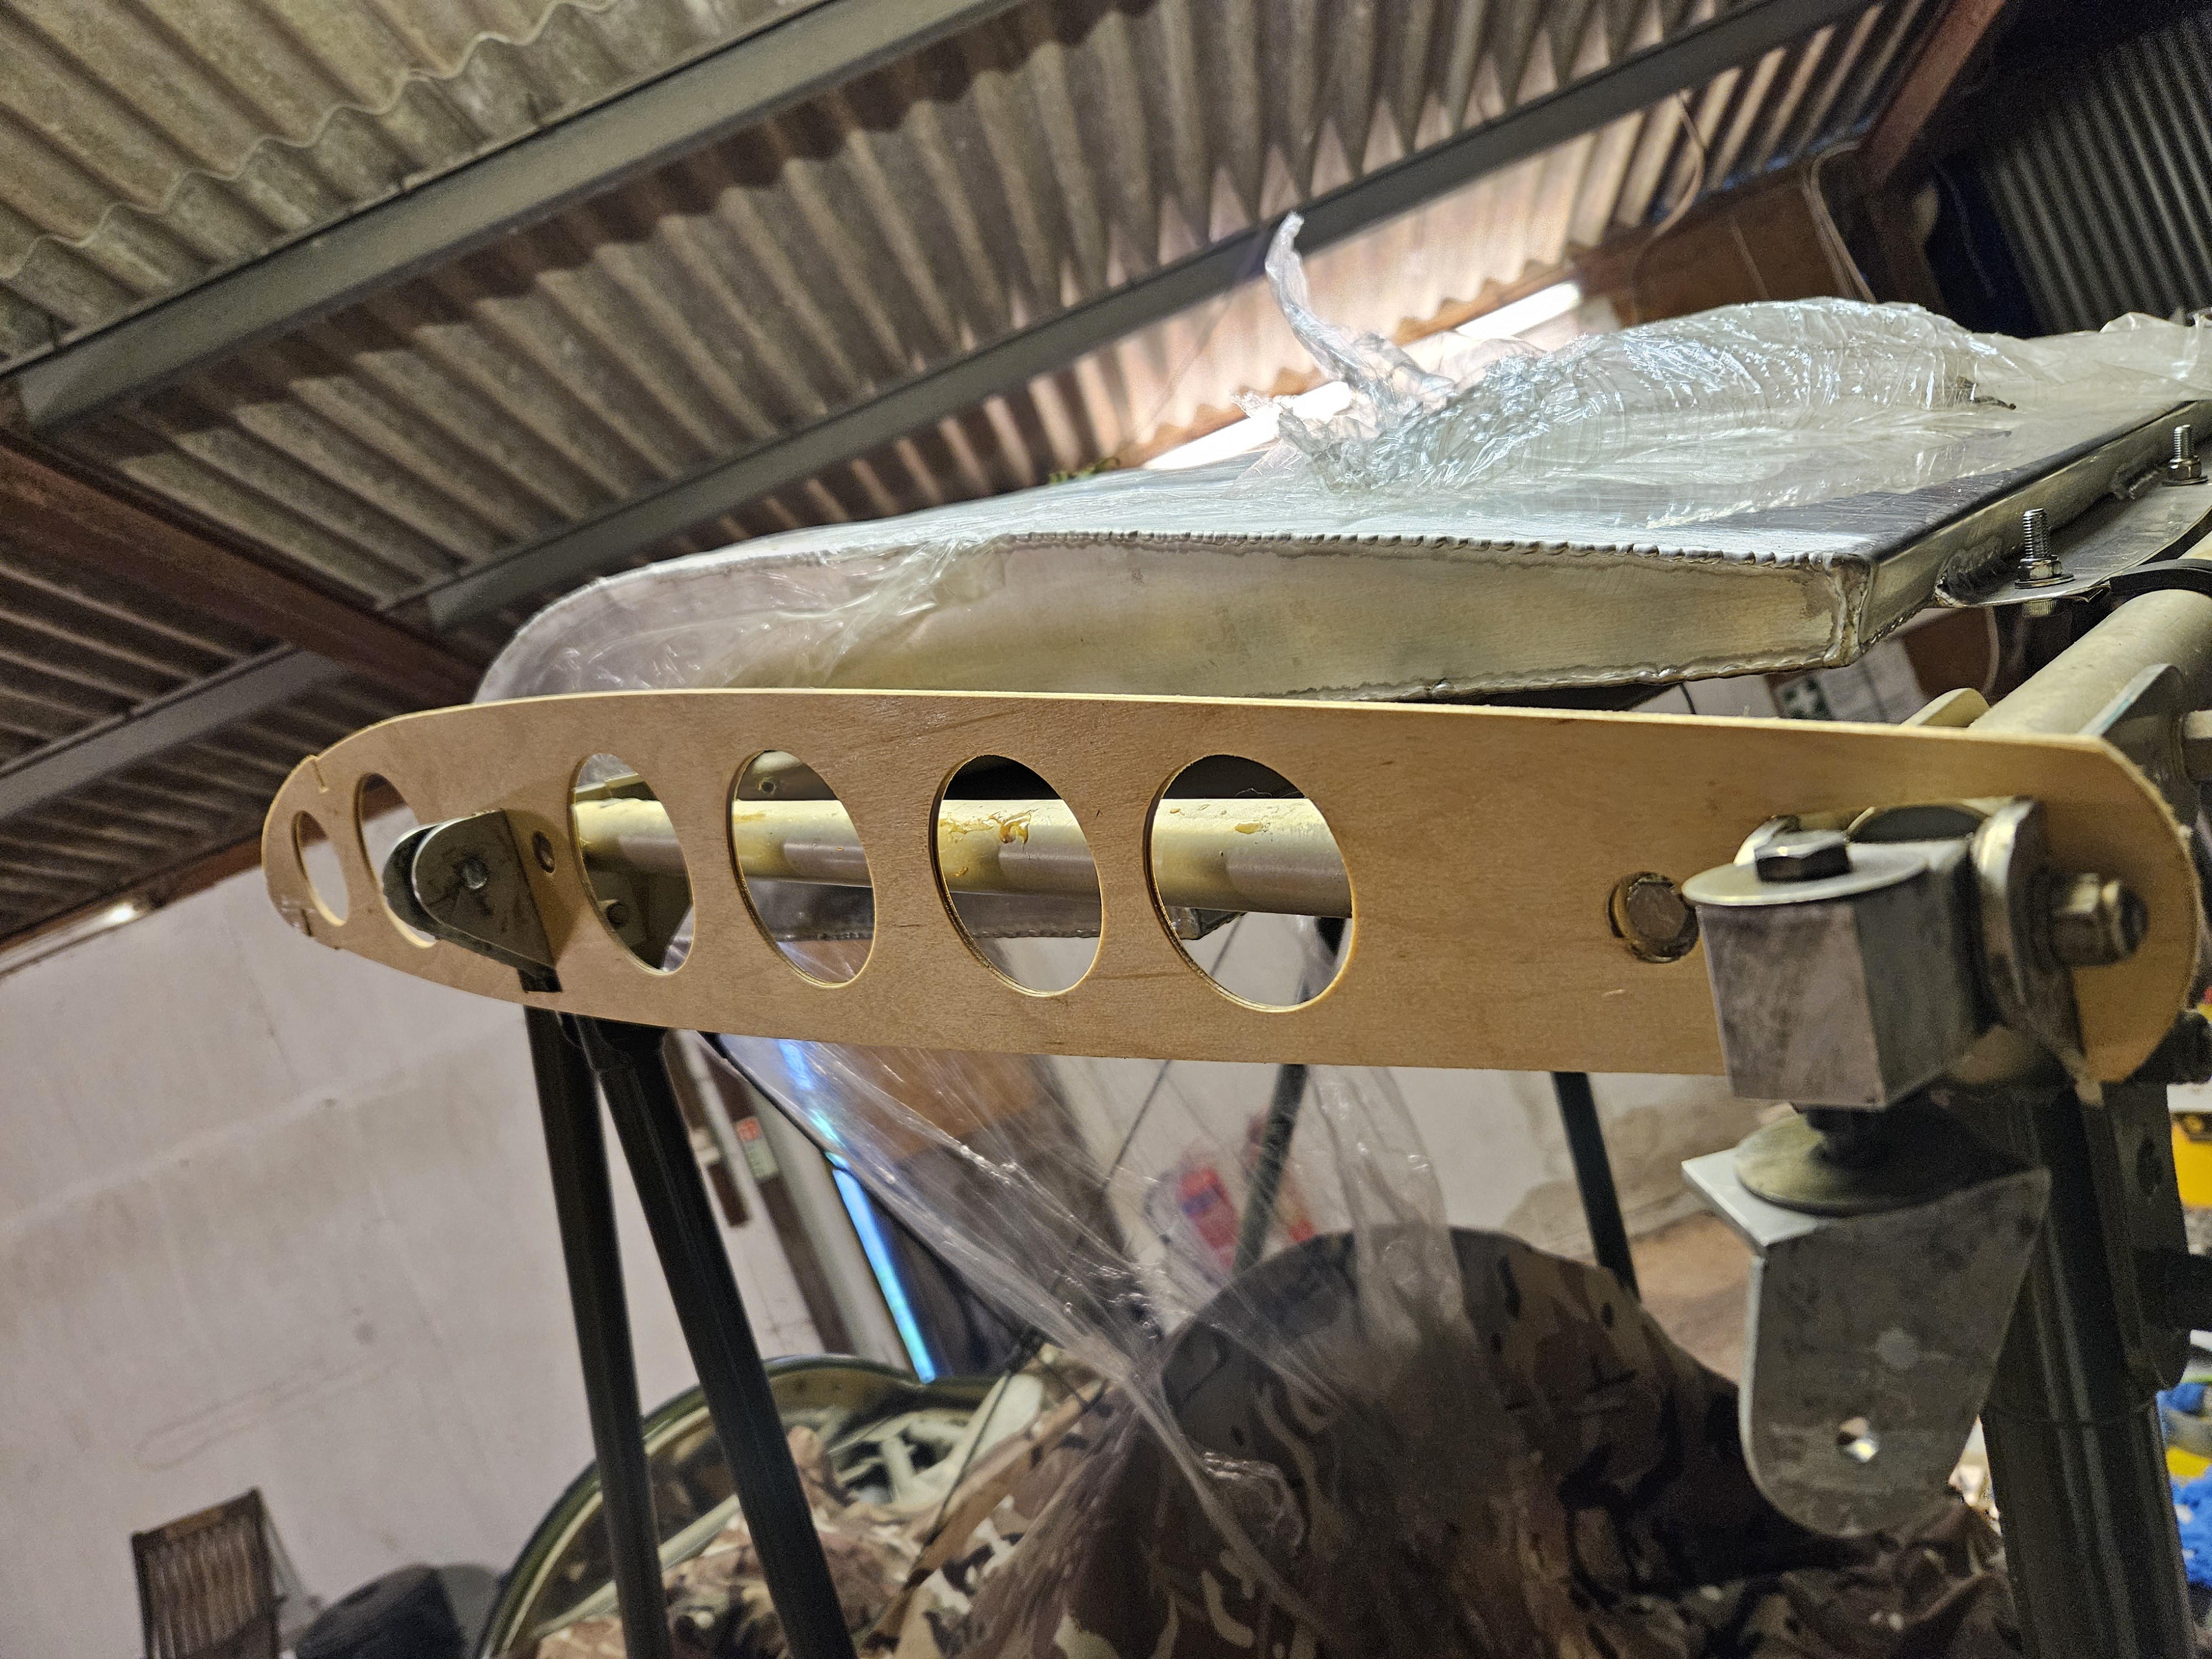
The question was .. should we fit the combined bracket to the engine mount first and then offer the engine up OR fit it all to the engine then offer the engine into the bracket ?
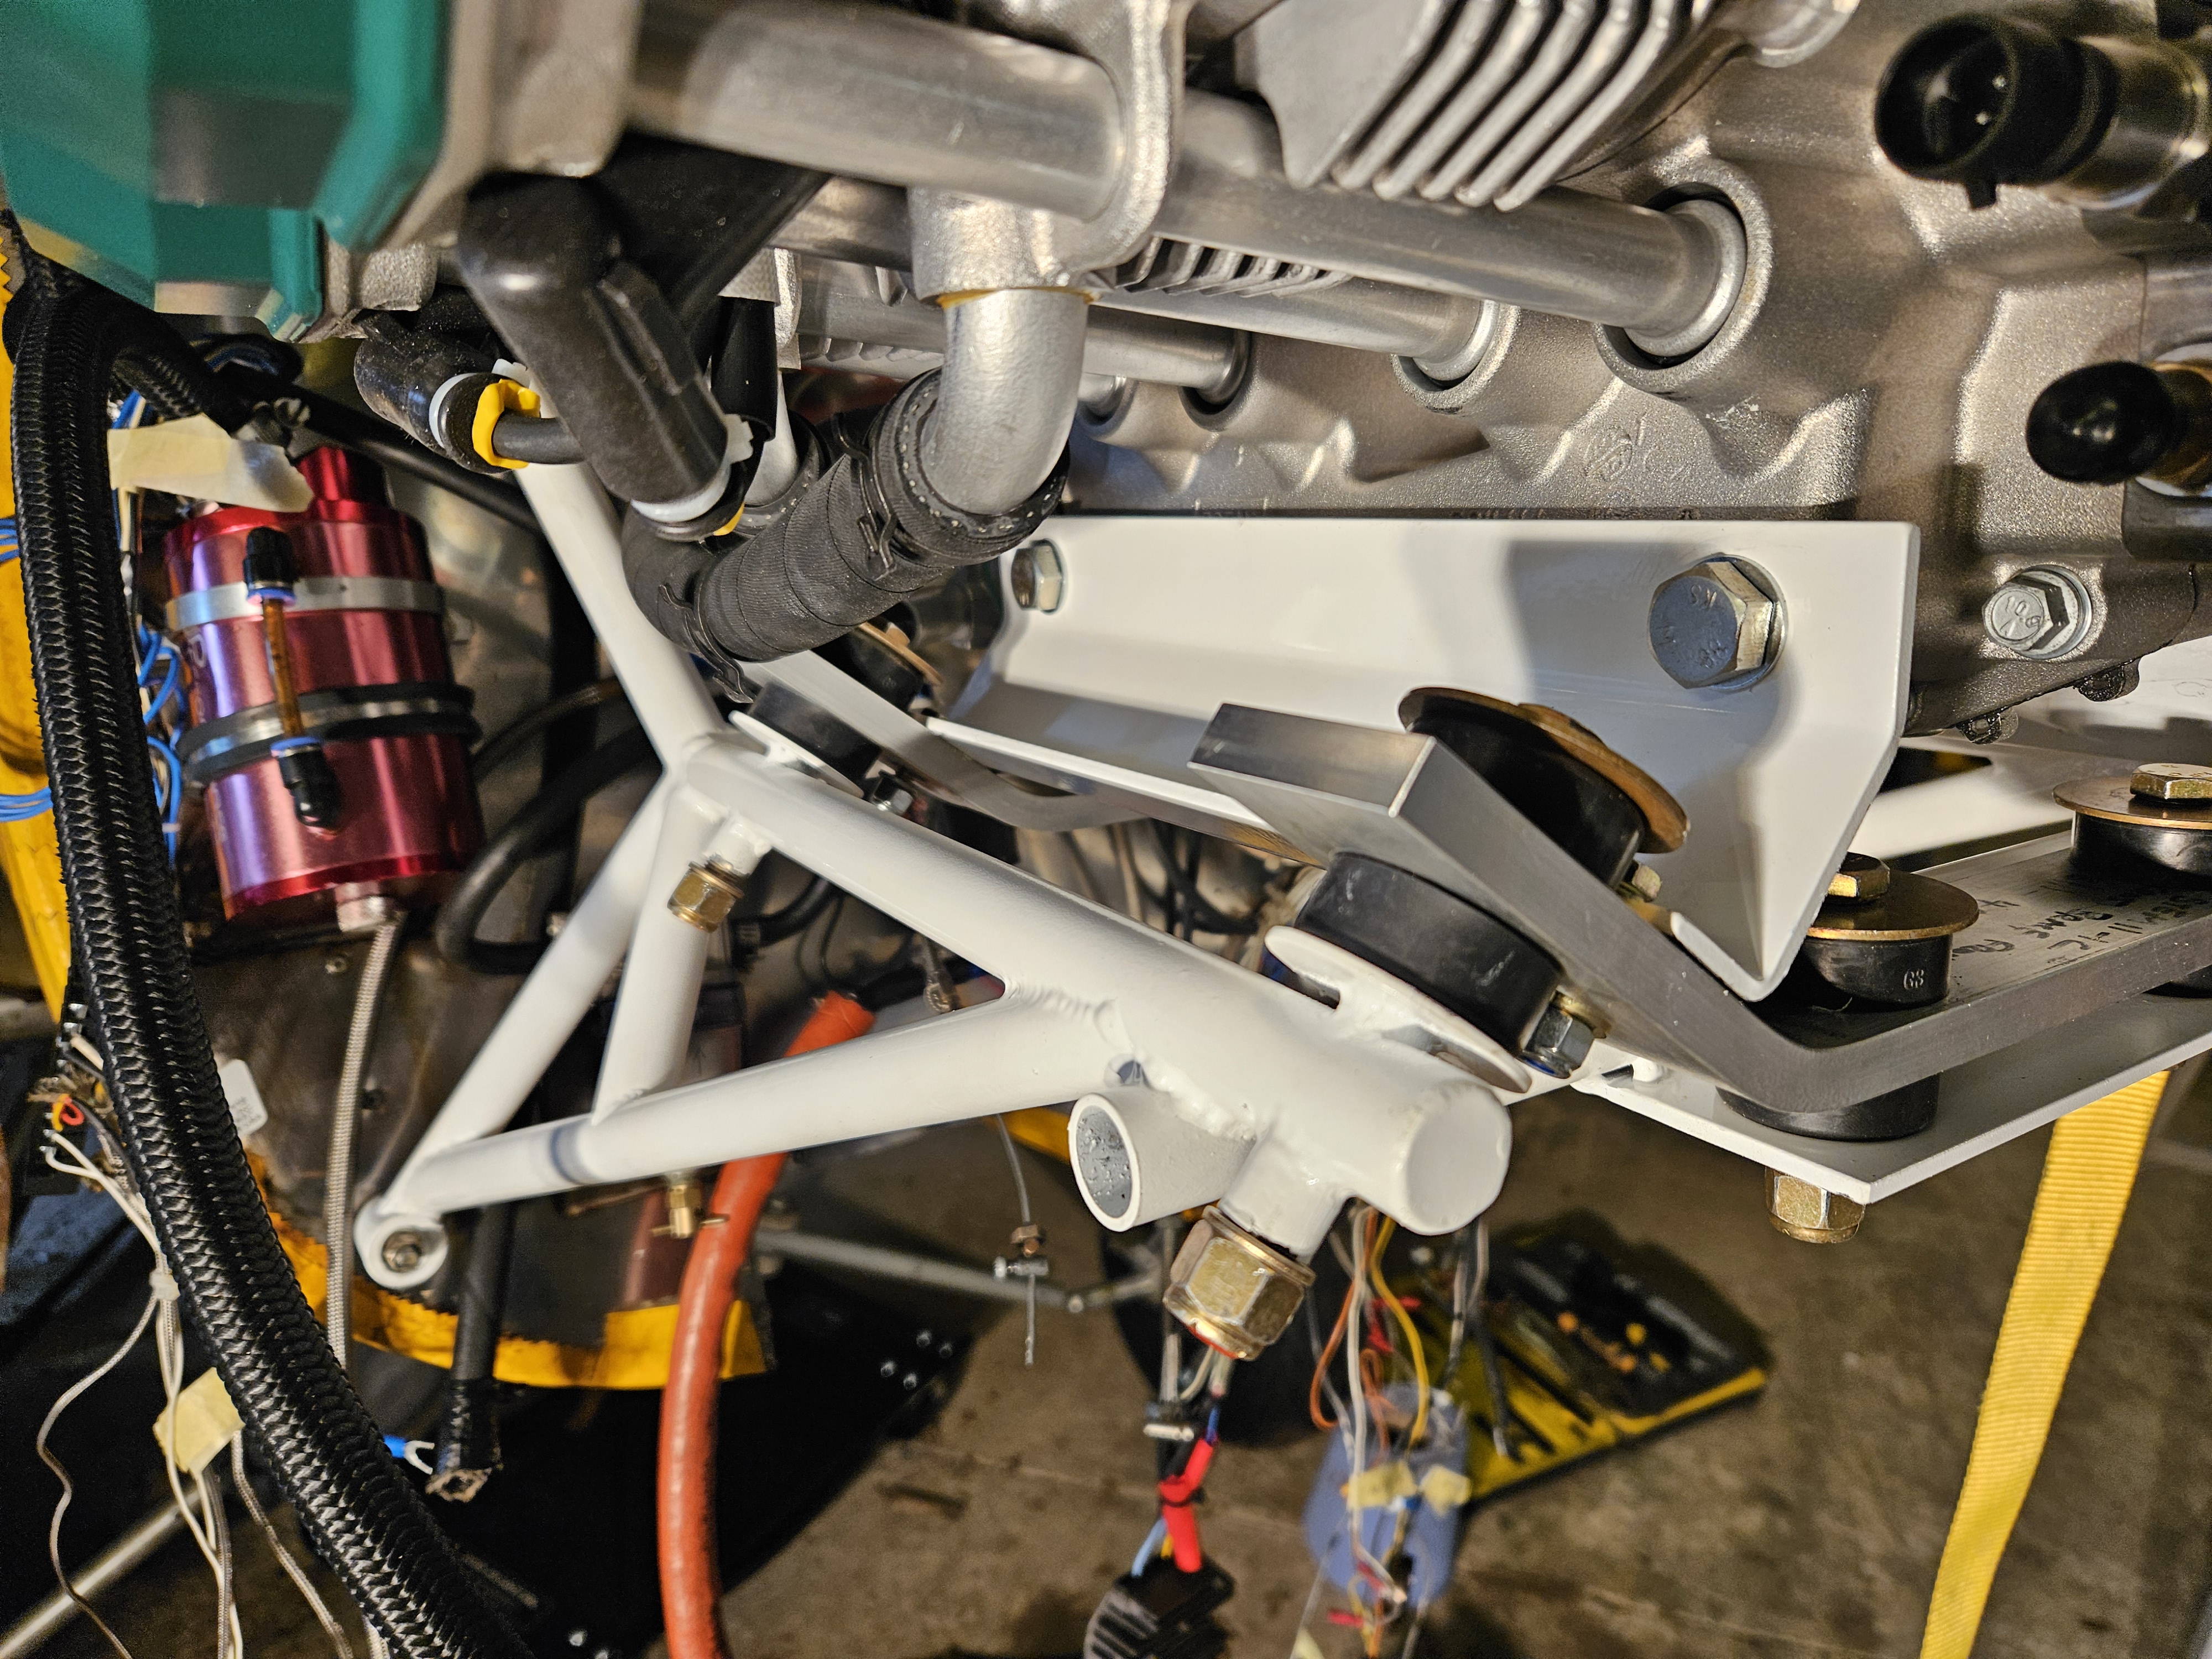
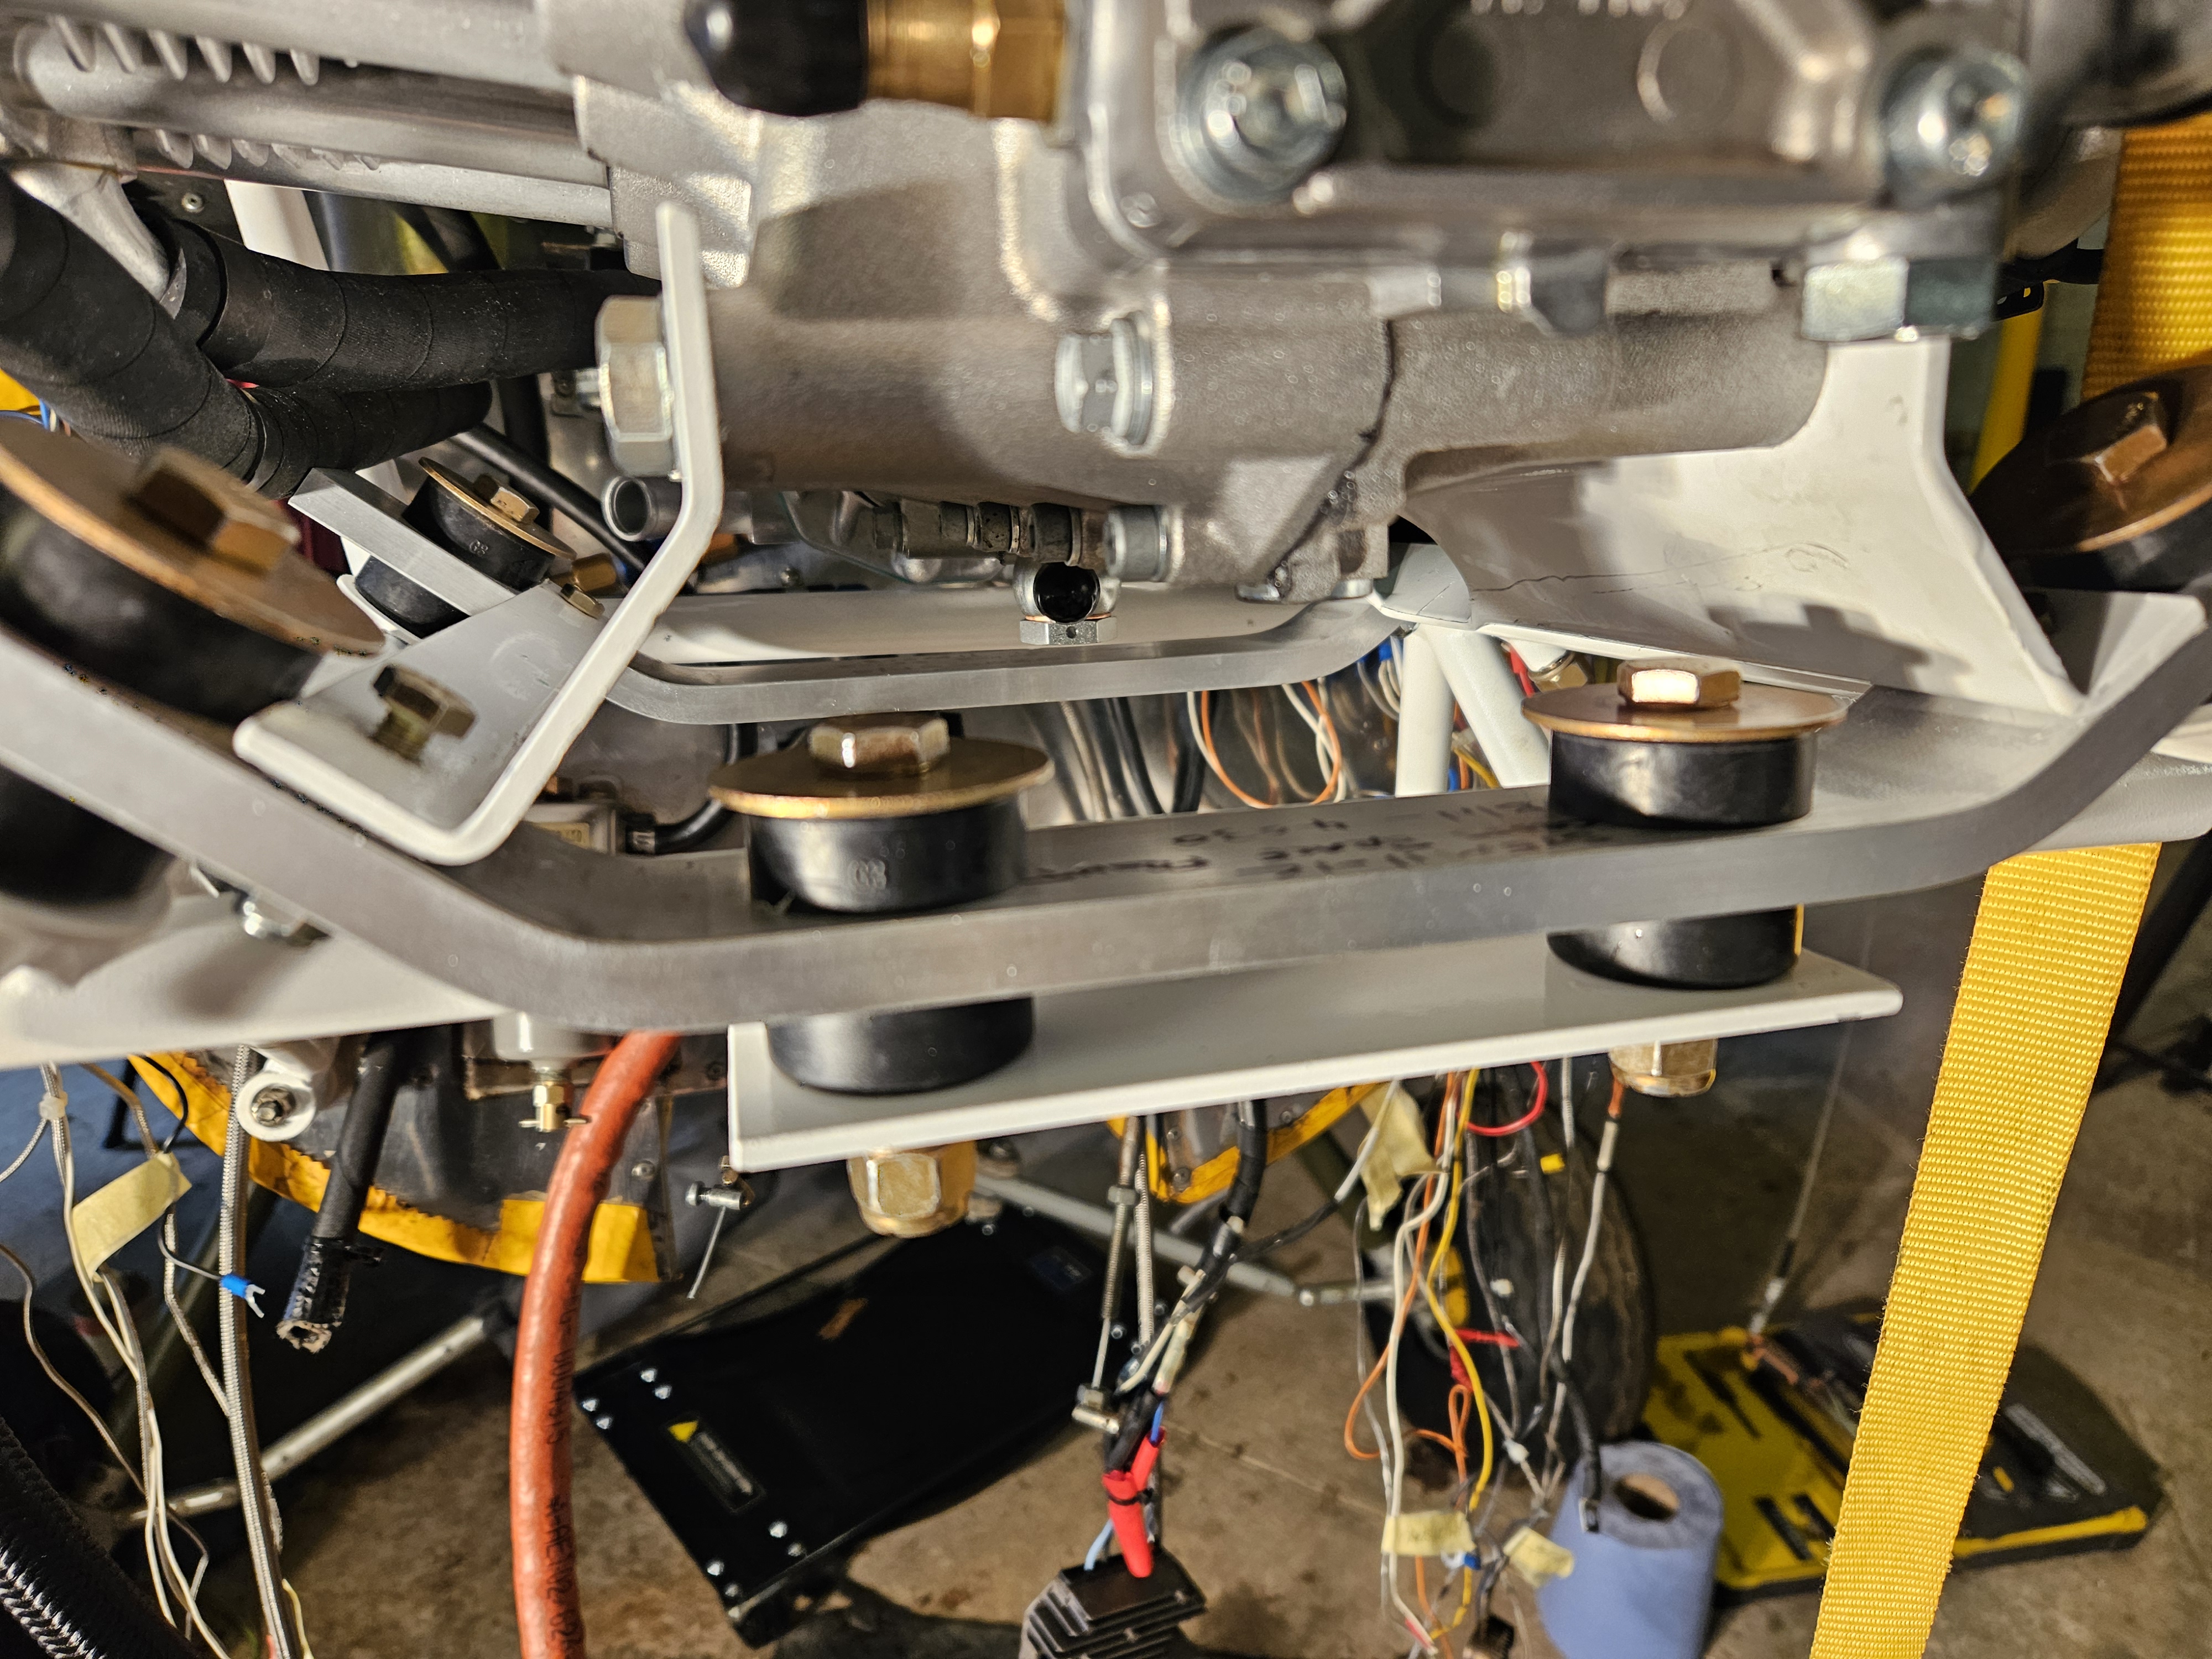
It was a problem .. we tried the former .. fitting the brackets and rubbers neatly to the frame .. then realised this left very little room for manoeuvre as the mounting rubbers impeded the angled engine side plates from allowing a gentle lowering of the hoist to seat the plates.
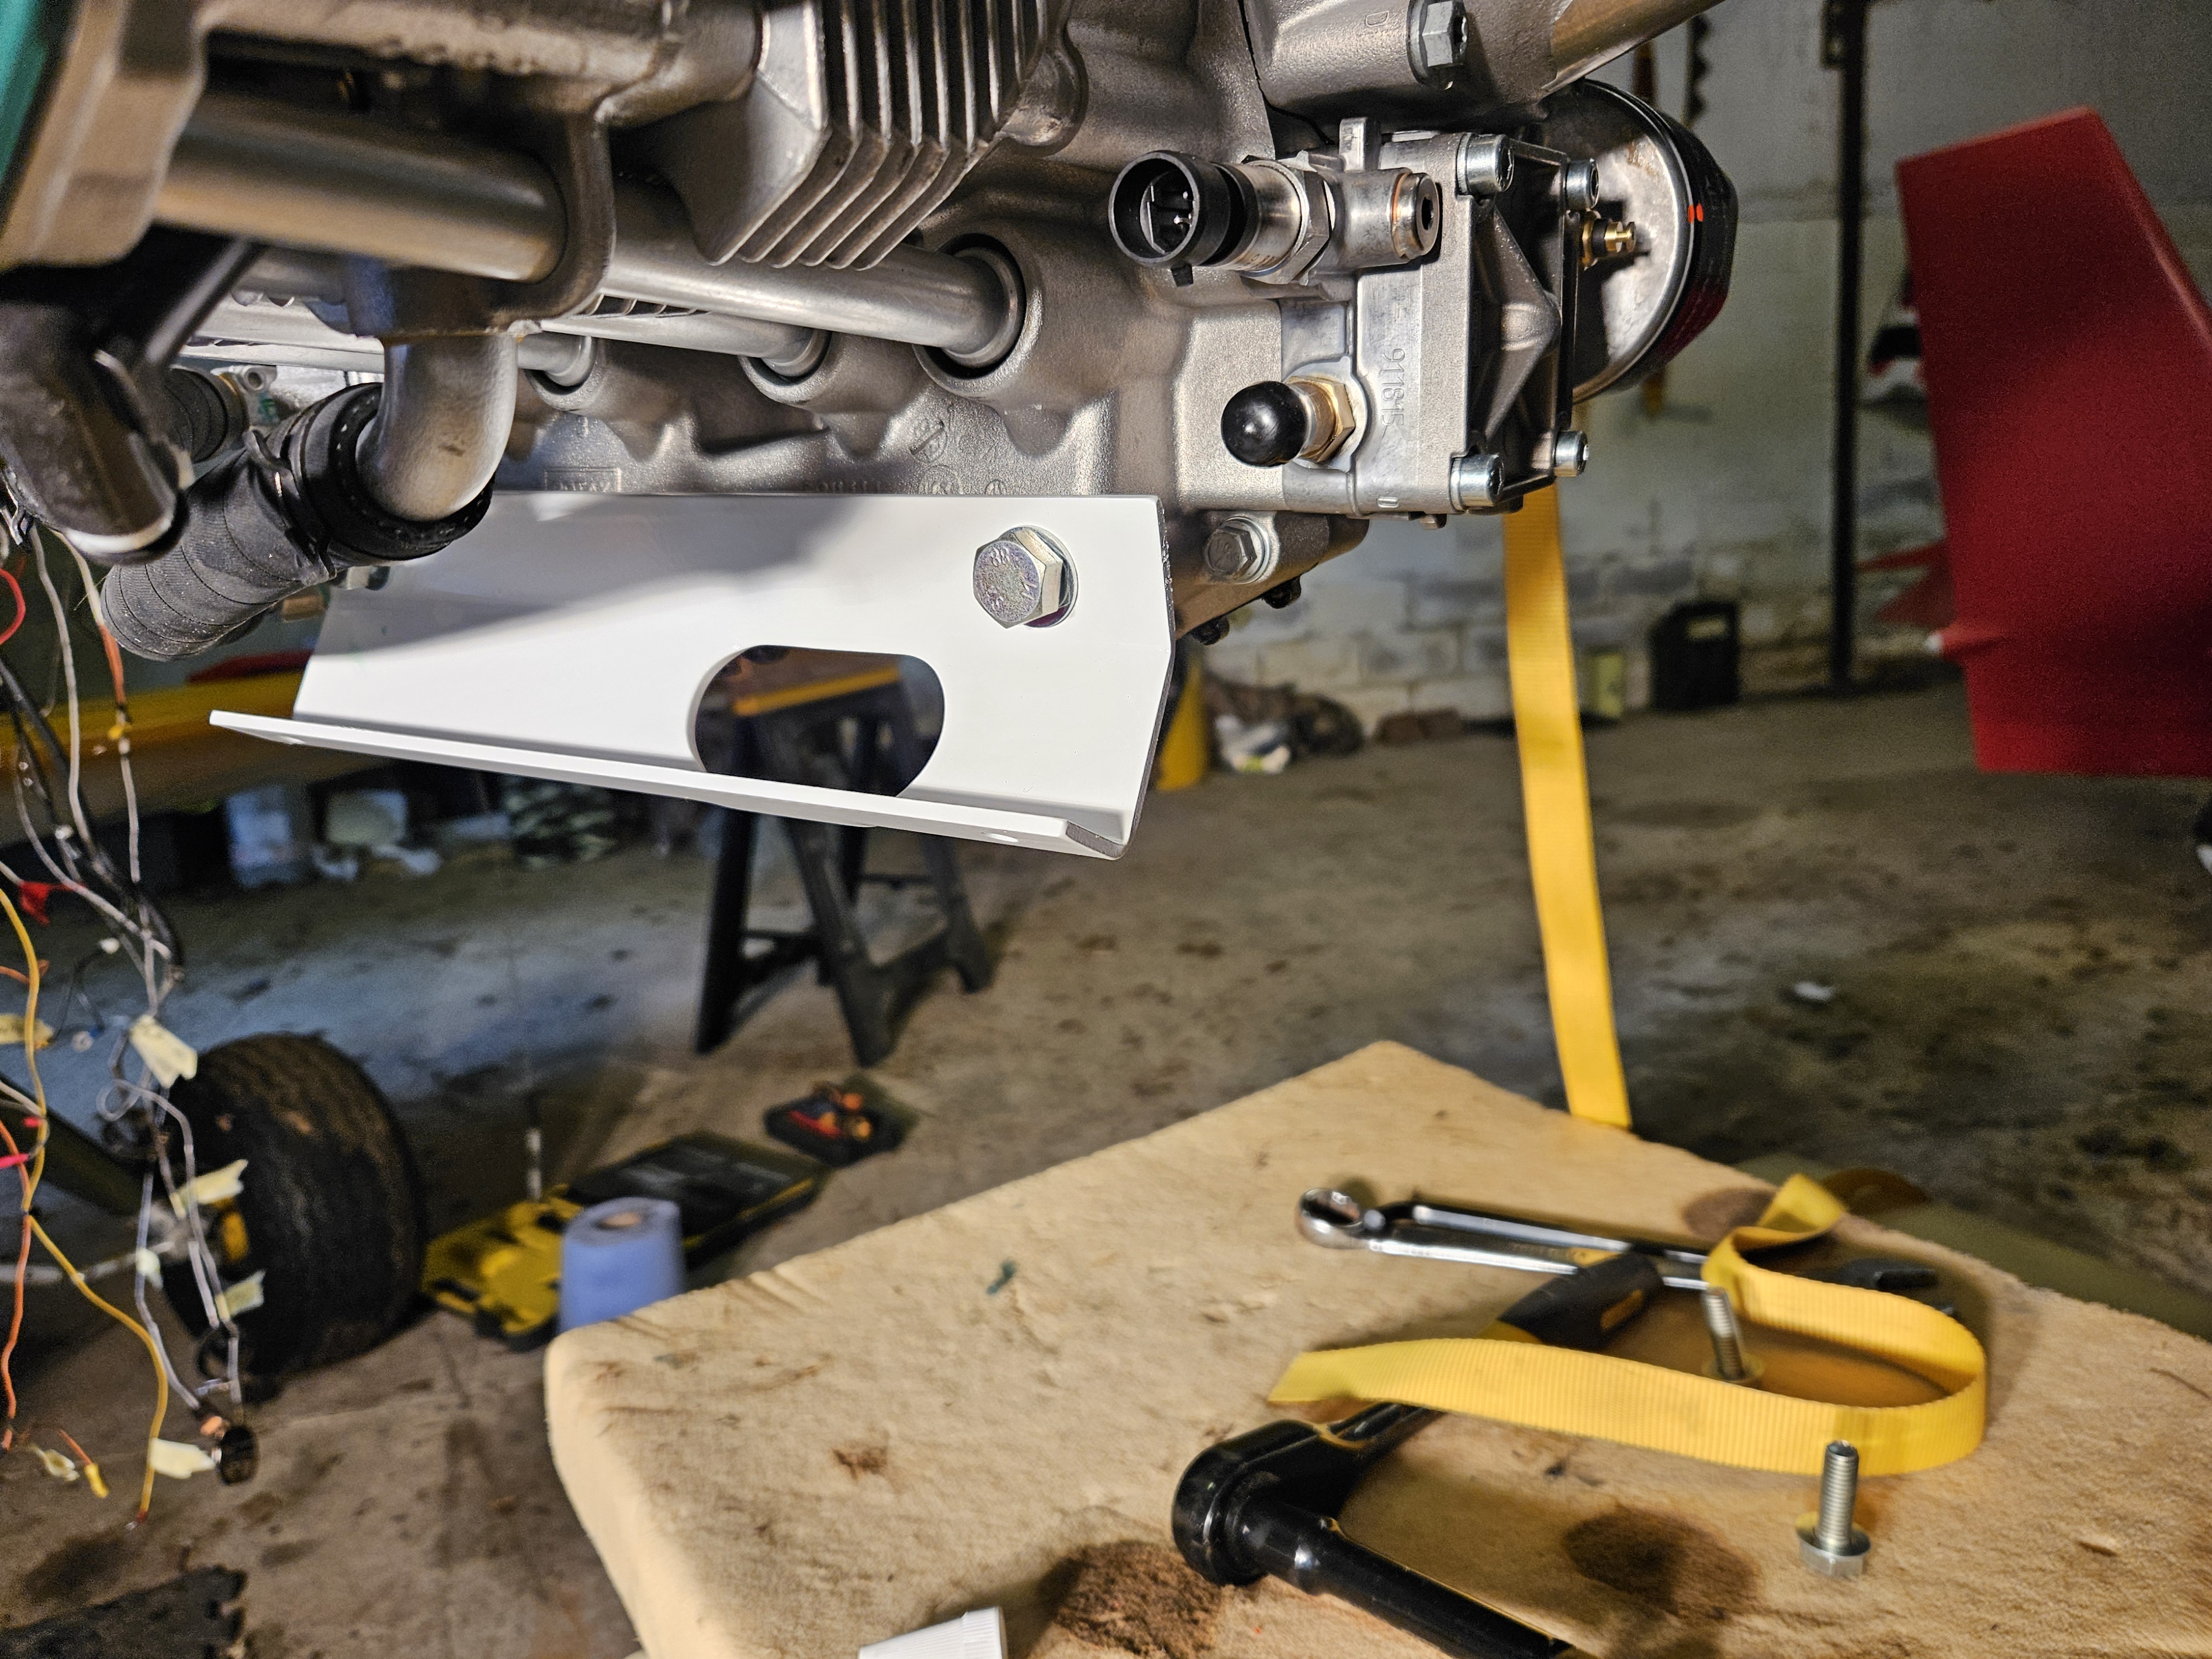
So, after removing and re hoisting .. we made the engine bade cradle up and fitted it to the lower engine brackets.
Although positioning the (rear) long engine bolts through the rubbers was slightly tricky they slid in.
The run of a couple of the cooling pipes is going to need adjusting but, after taking advice from TLAC, it seems that the flange on the outlet pipes are able to be slackened, turned and reset .. with appropriate use of loctite.
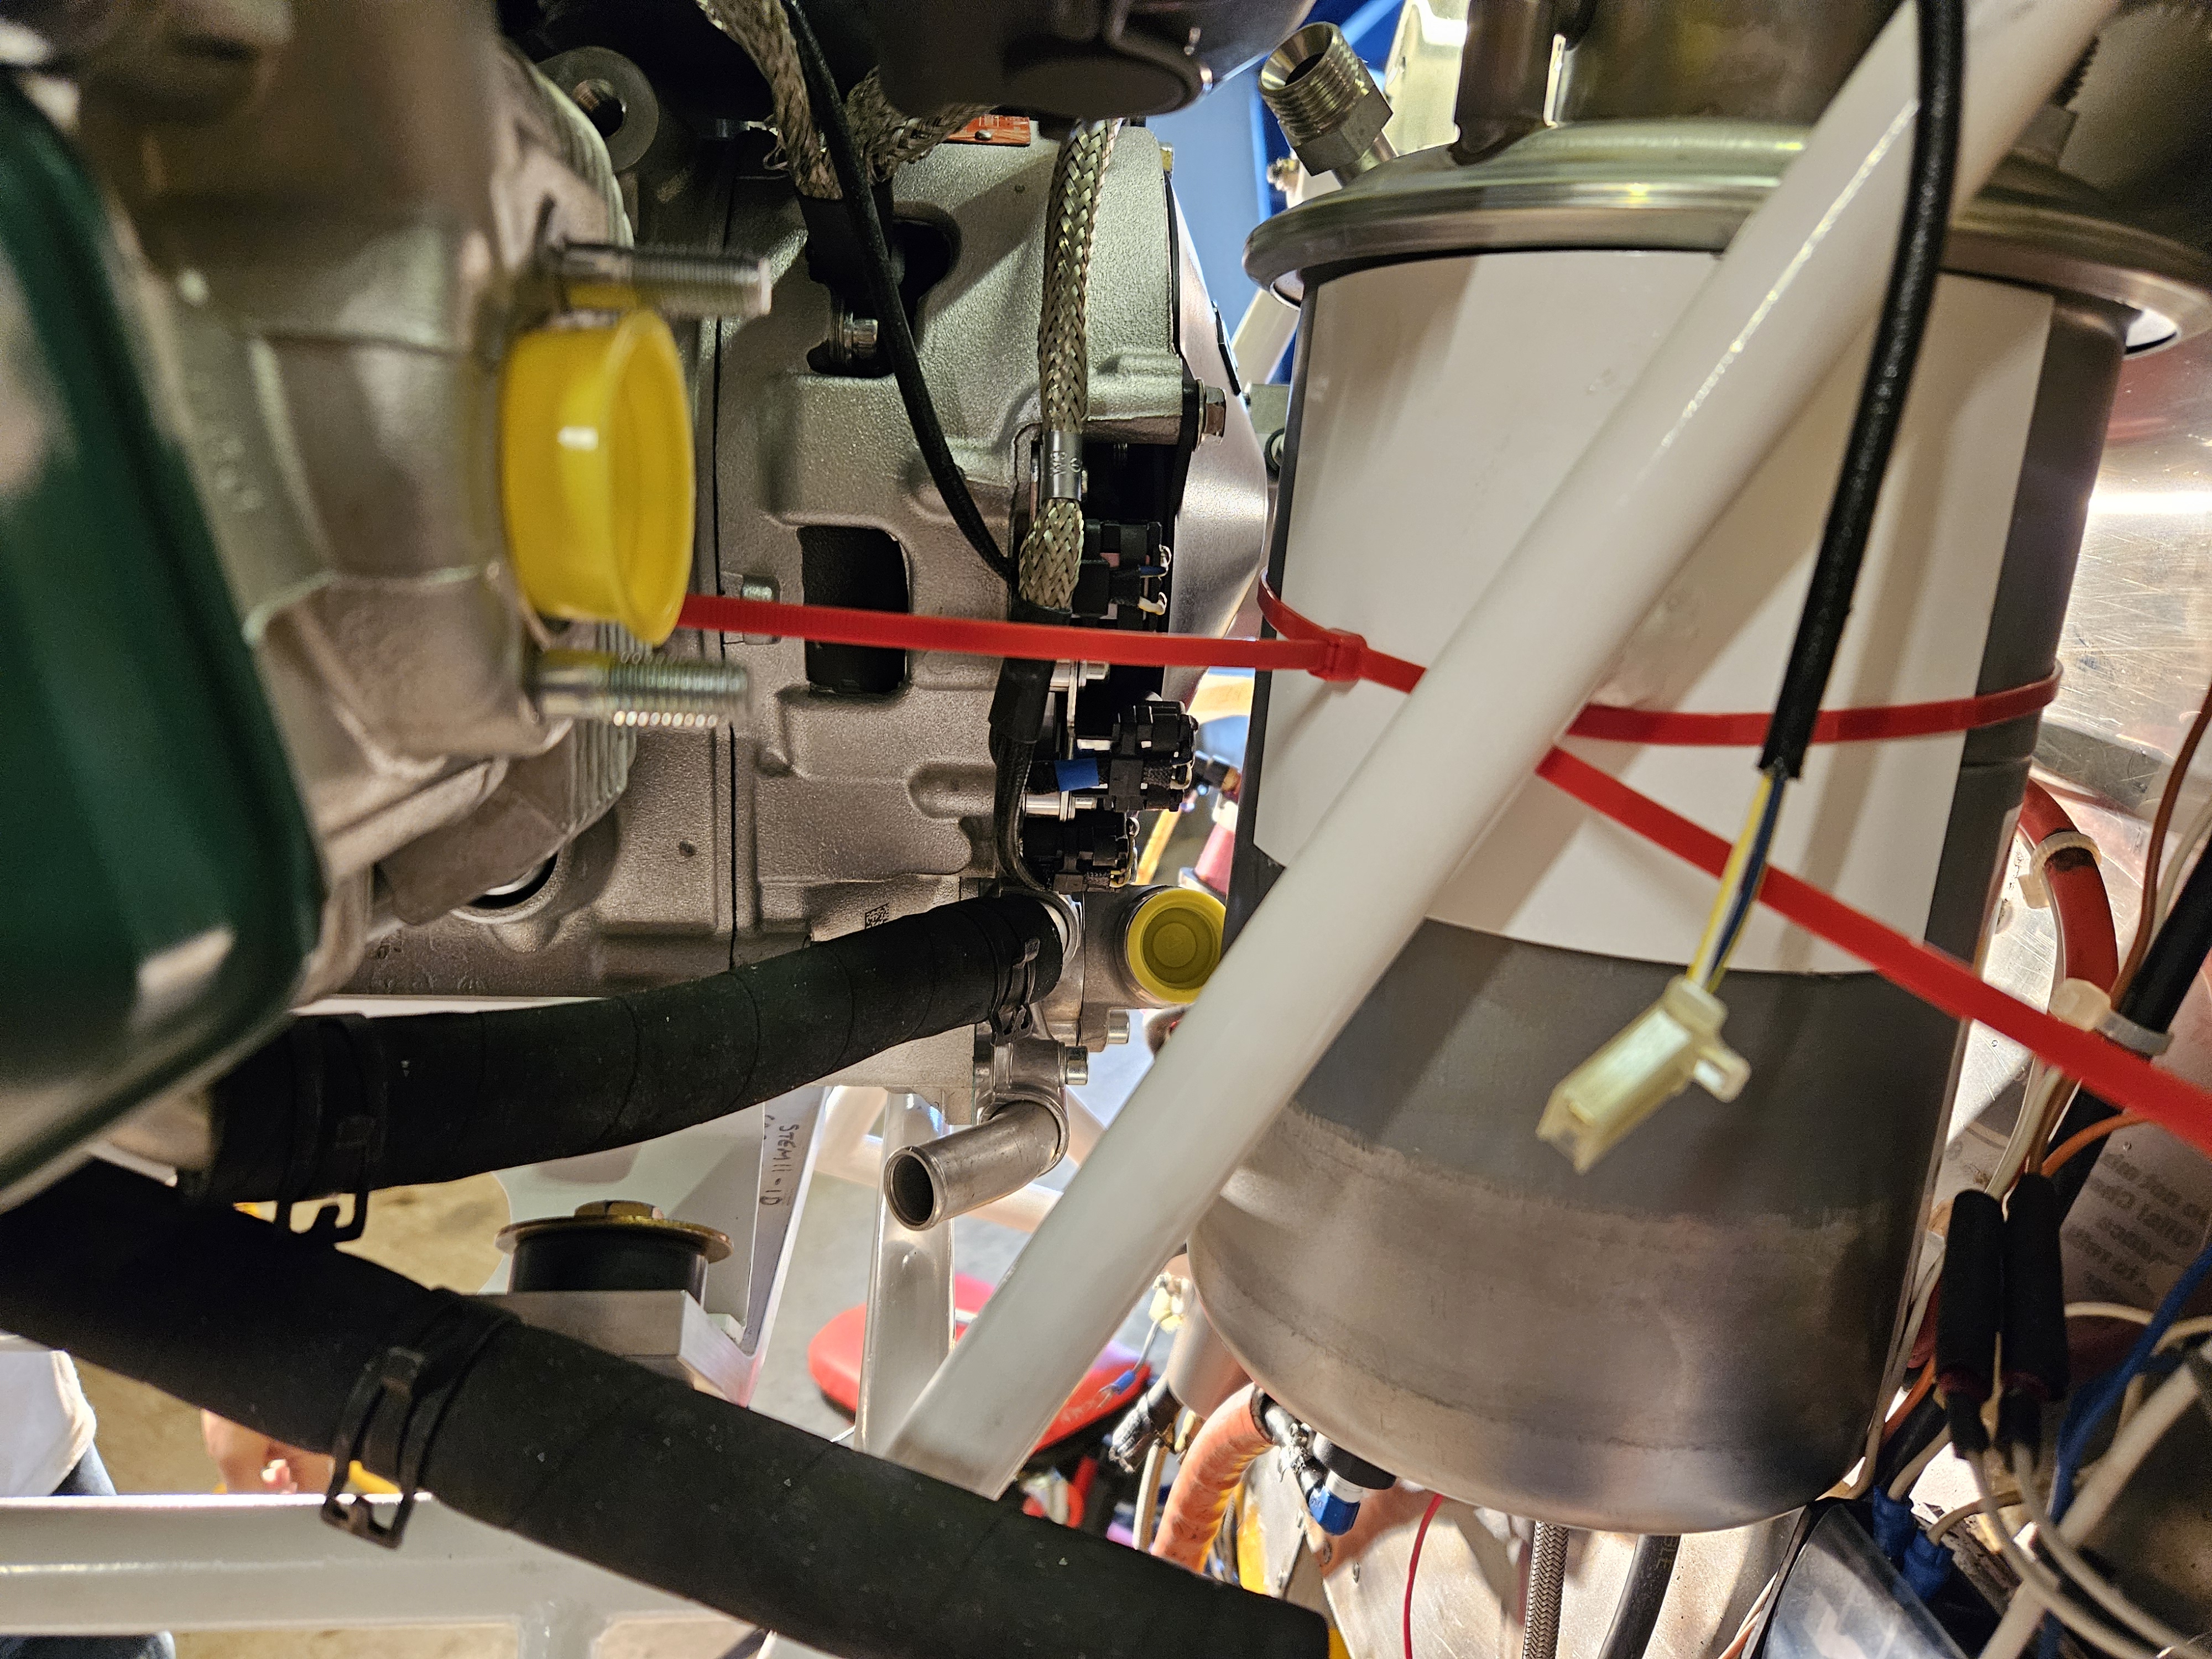
One thing I wanted to check was if the large oil cooling cylinder would fit. The securing ring was released and the chamber offered up from below and then reintroduced the top pieces in situ. Fitted a treat and was held (temporarily) in place with an extended cable tie pending sourcing suitable long jubilee steel straps.