Engine ground run no 3

Whilst awaiting paperwork it’s good to get the engine settled in !

Technically it’s nothing to do with the engine .. it’s me !

Any lay off .. for whatever reason .. just adds a ‘tweak’ to your sensitivities ..

This is, in my view, healthy. Having that edge that says I need to check, double check triple check isn’t a bad thing.

So, it is all this that brings you to ground run the engine for a 3rd time … this will be followed by a 4th, 5th , 6th

Each start, each glance across the dash, each note of readings, each steady increase in throttle (up to.1,800 and she’s pulling on the brakes) back down to 8-900 tick over.

Being told by Bob and Trevor – both local experts, that she sounded sweet and clean and no rattles and smooth ..all increases your comfort and understanding that all is indeed well.

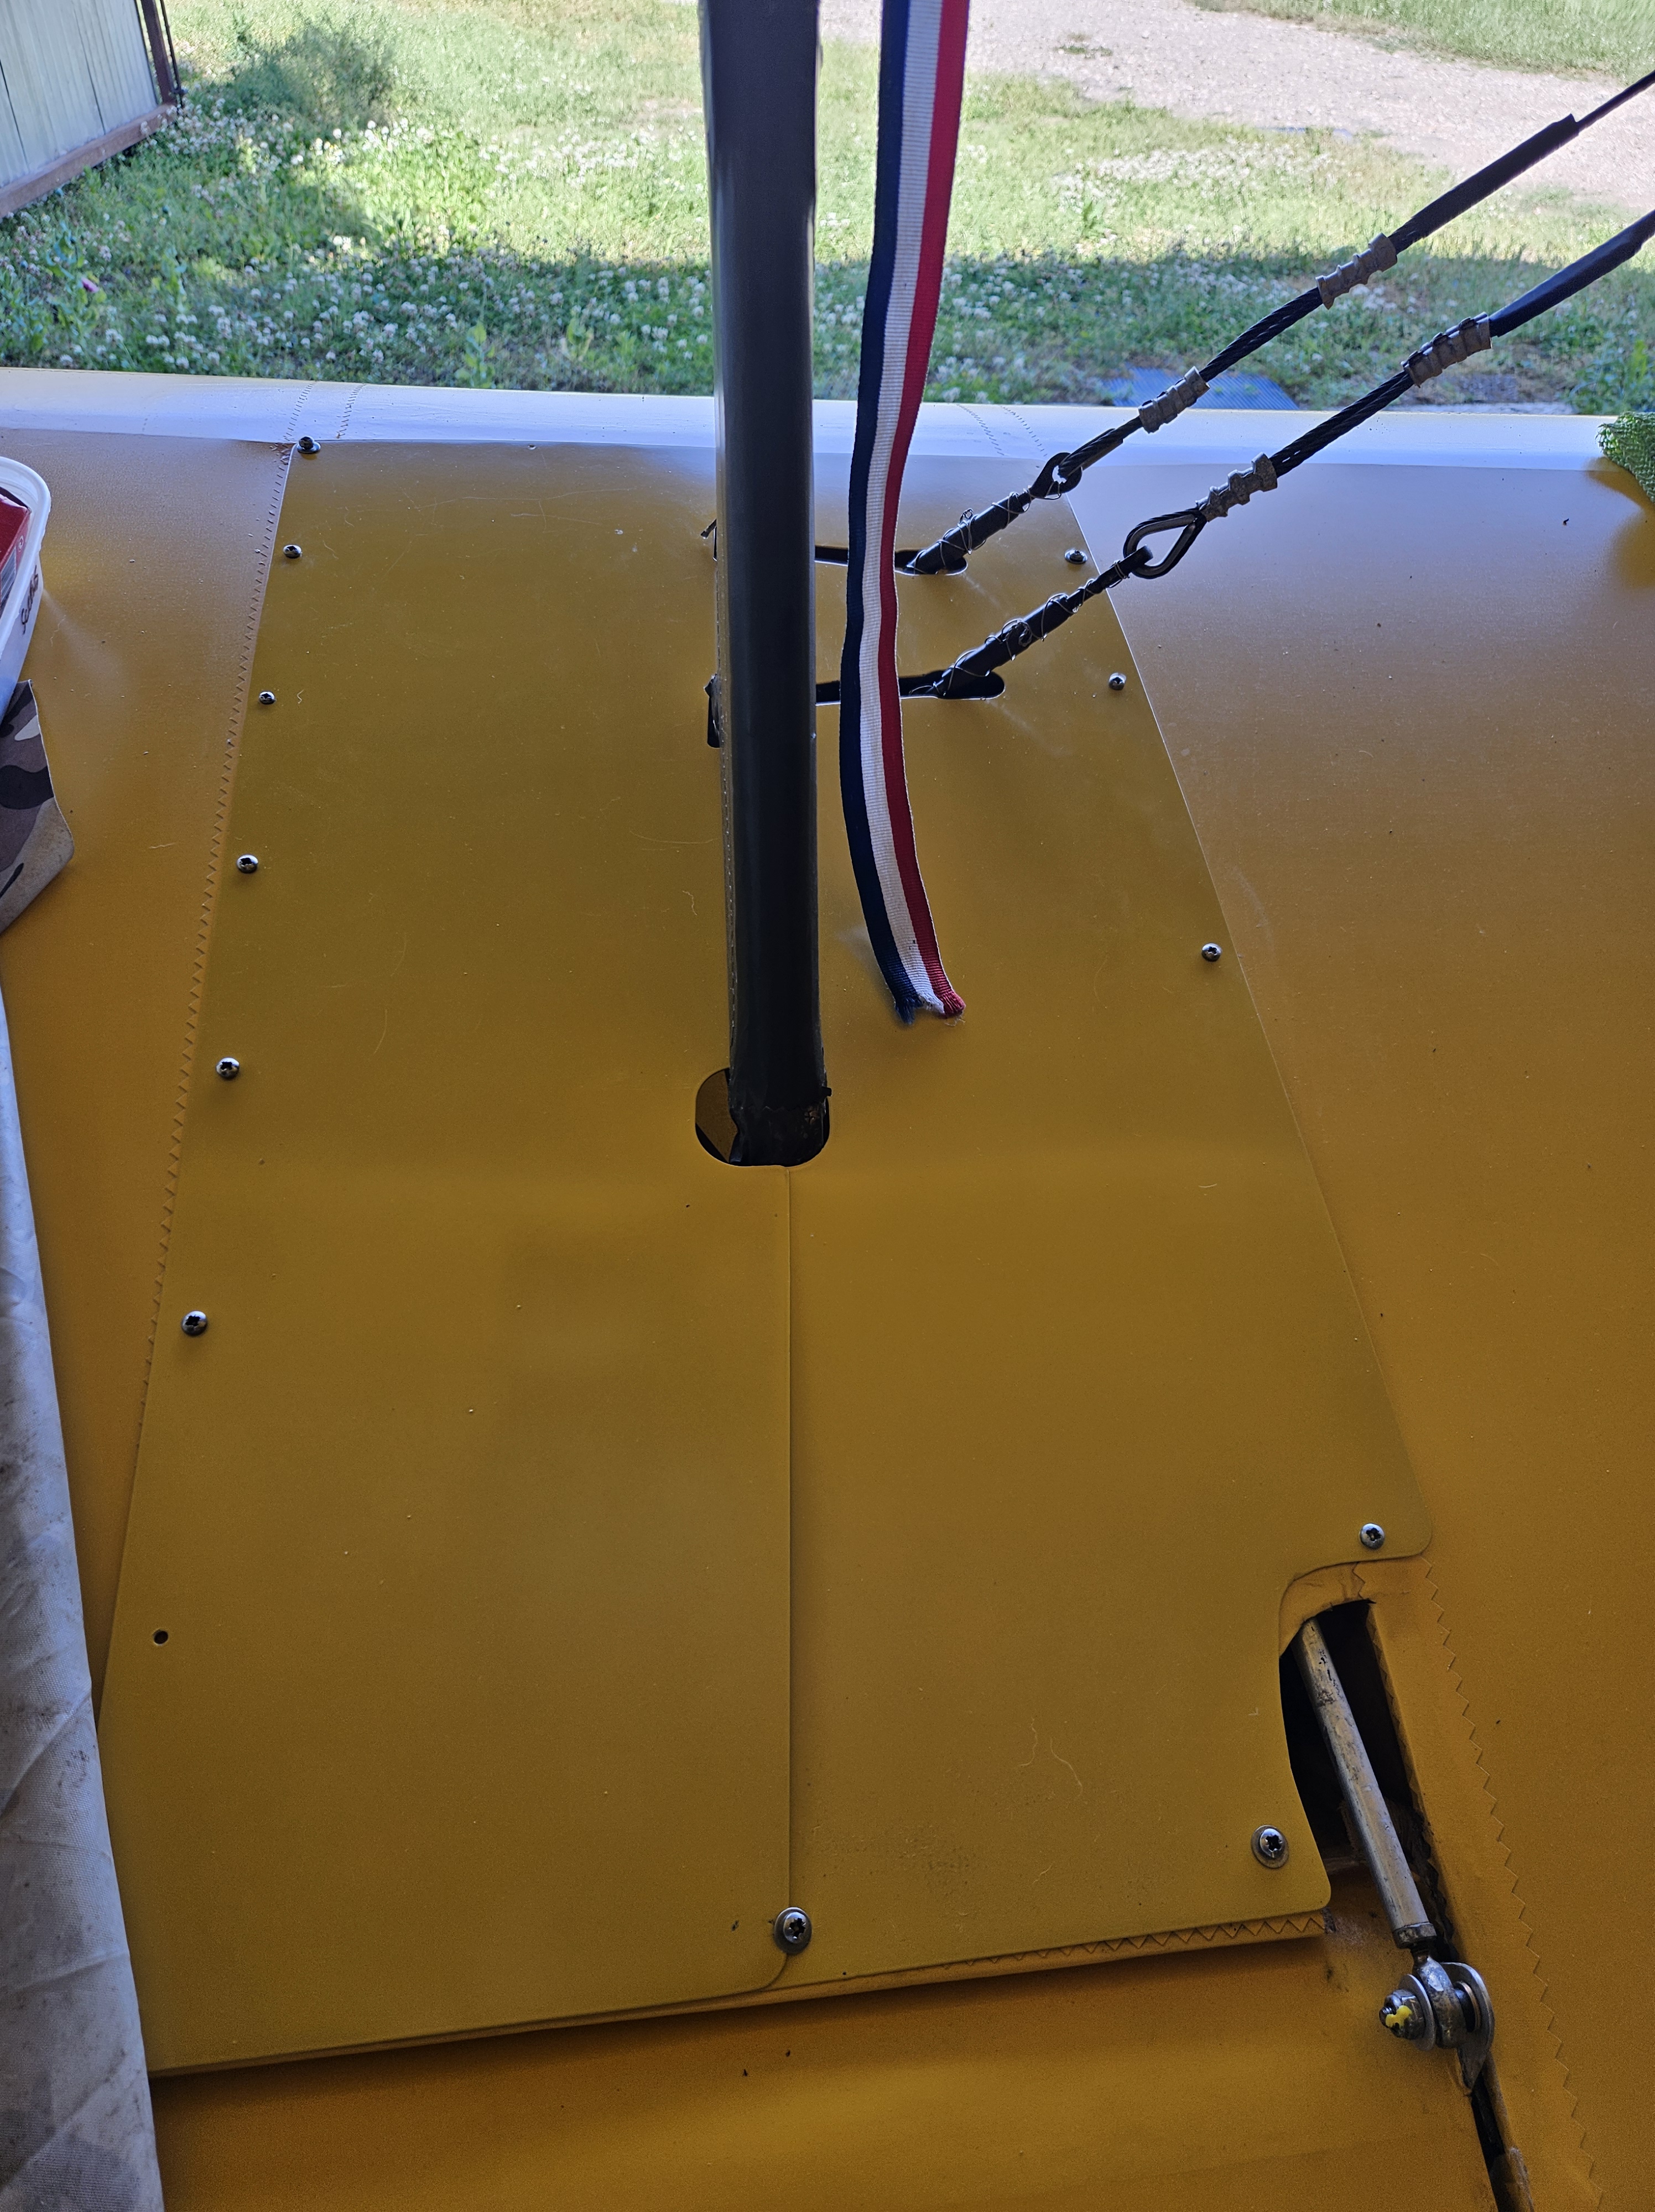
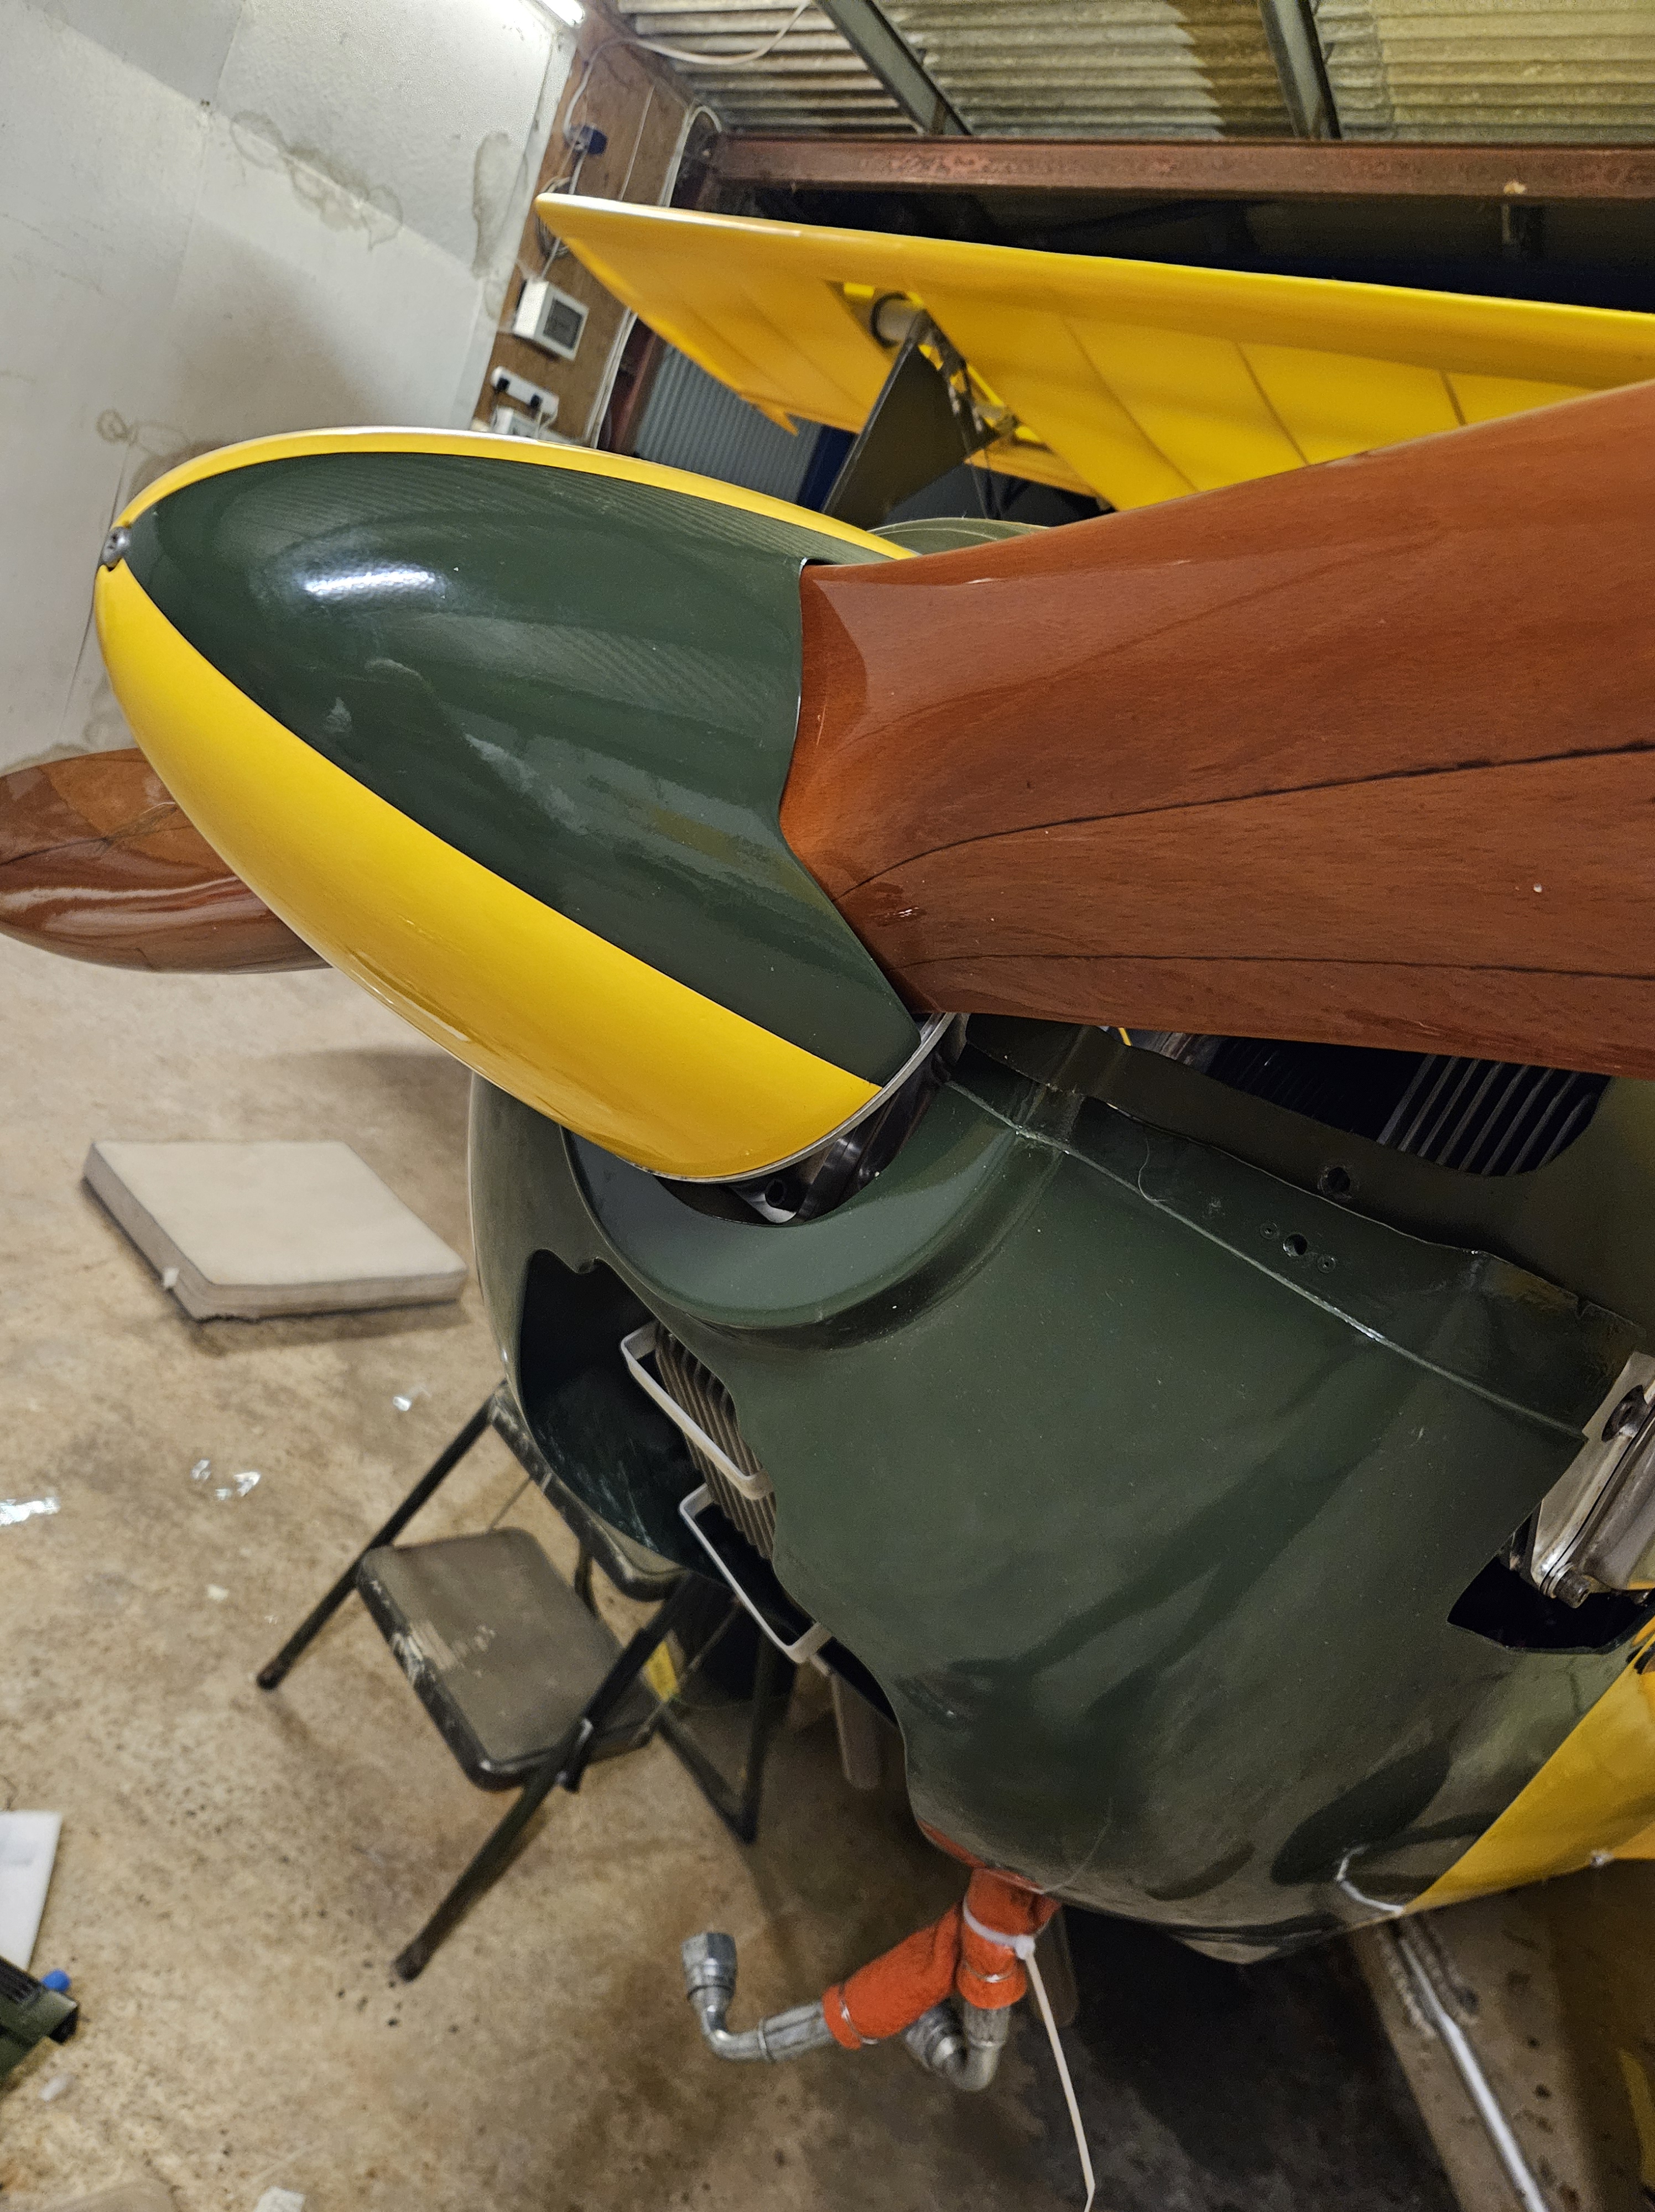
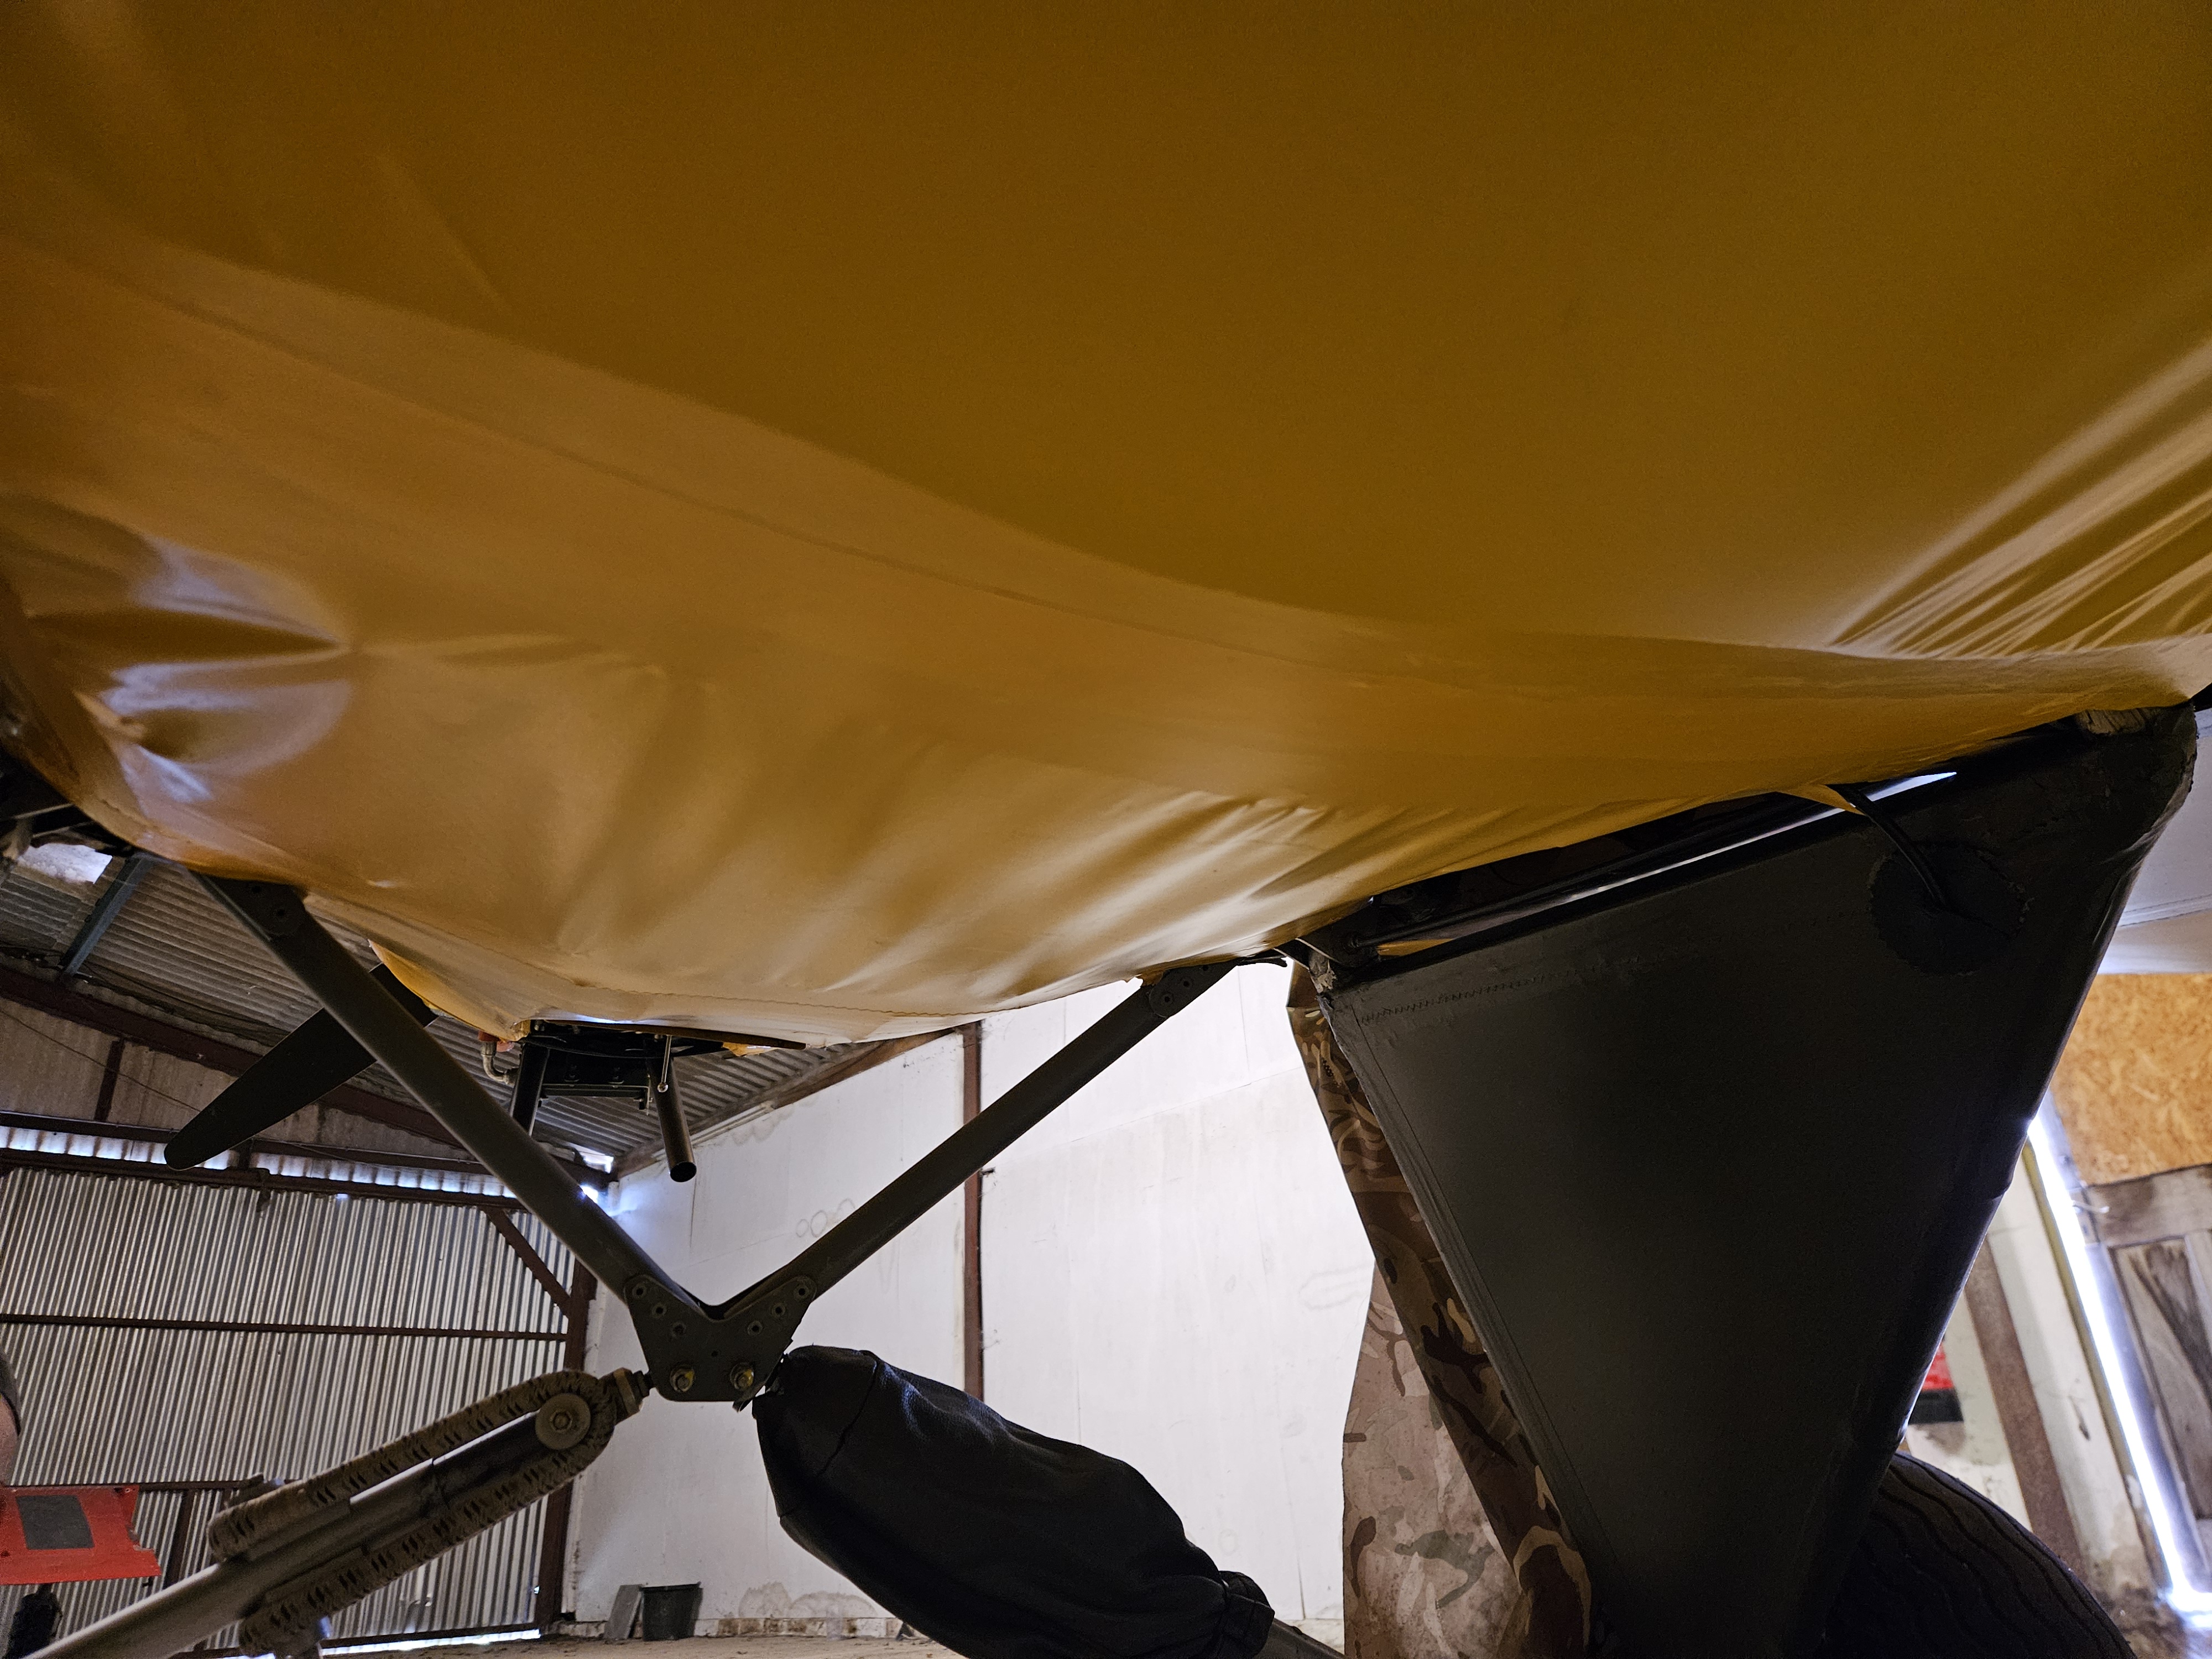
Ive always liked this colour scheme.

The upper deck olive green has the effect of making the nose depth look shallower and more streamlined.

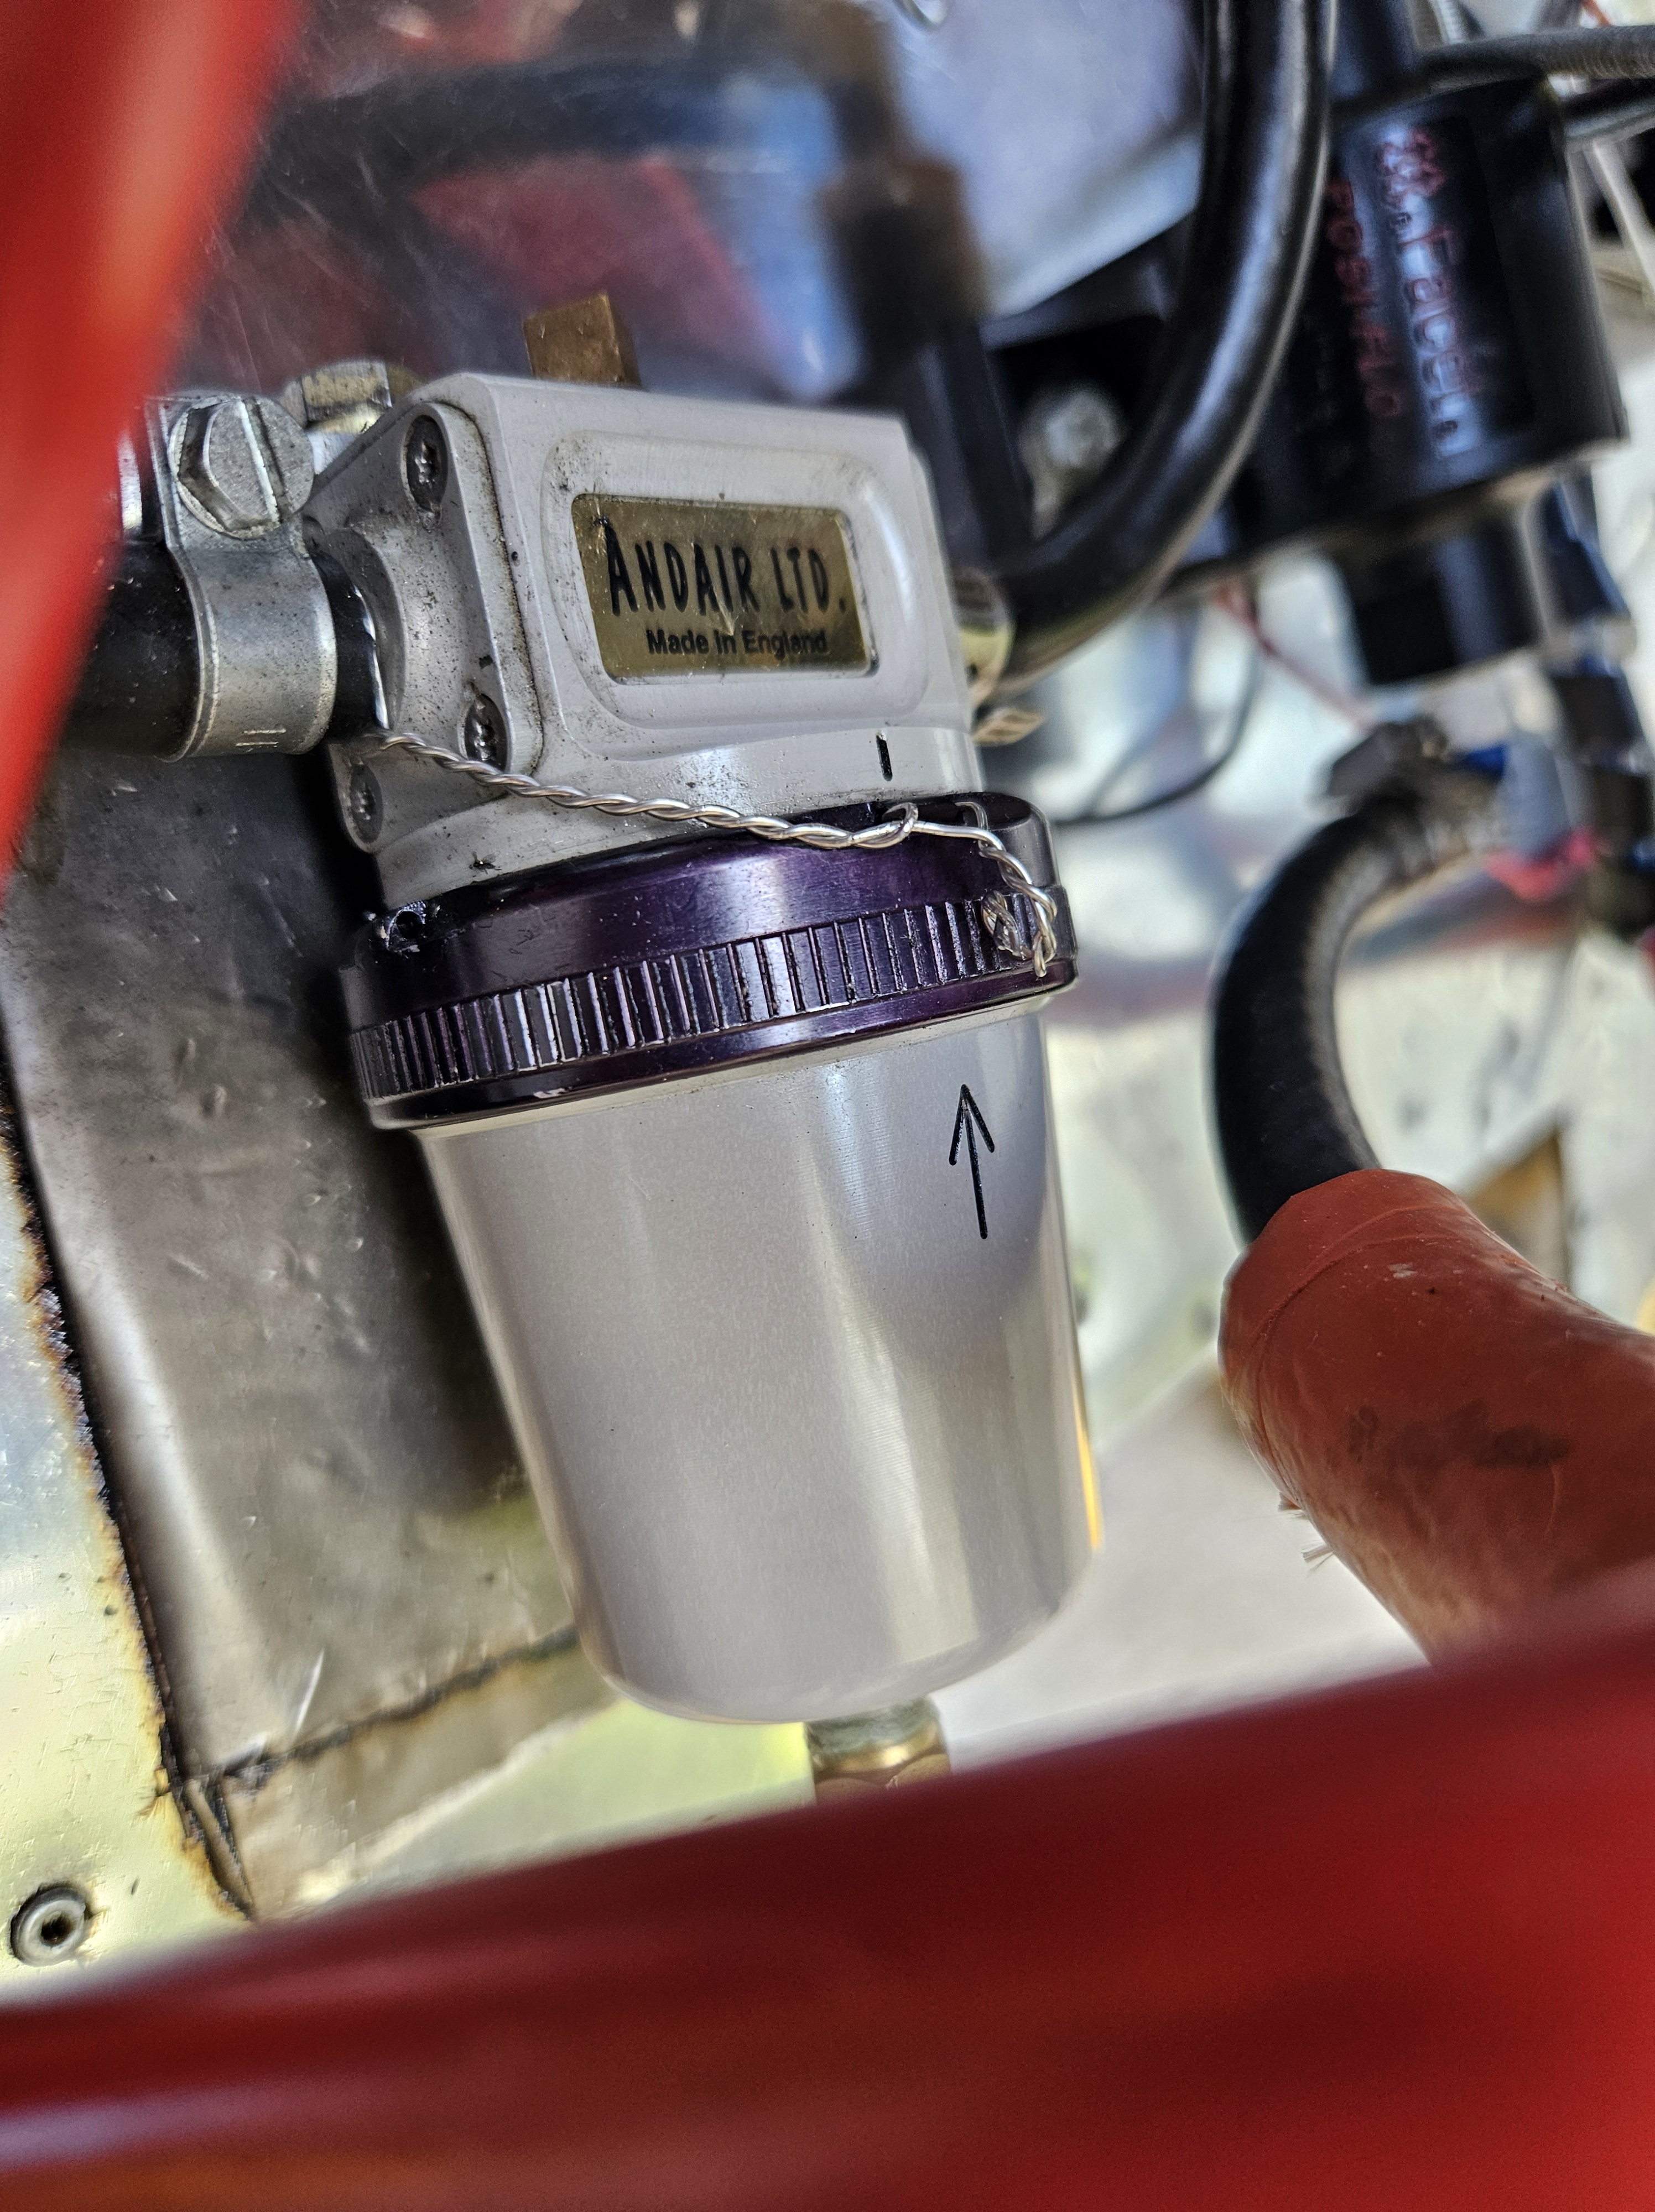
The engine run was fine. Start first turn, choke full movement- post the adjustment last time.

Still just 1 EGT misreading ..but 3 are and 4 CHT all reading well within limits.. even in this hot day (28 degrees)

Always something to do…

As I get nearer to test flight authorisation there are always some bits to complete and get ready.

The inspection panels have been off for some time so needed a tidy and clean and then refit.

Then, there were the leather fairleads that needed to be repaired and replaced. These are glued on top of the Oratex using contact adhesive and linked around the edges to make them look less obstructive

One thing I’d missed on the pre inspection was the fuel bowl wire locking. I’d seen the wire locking in position but failed to see id snipped in 12 months ago when I undid the bowl to inspect for impurities. Having found it clean as a whistle .. amd it should be as there is a pre strainer up stream at the bottom of the tank, id forgotten to re wire.

Cutting away the 2 sections i added new, twisted and looped through the bowl to secure

Inspection

At last..ive reached the point where I can engage with the local inspector.

Tom (Woodhouse) covers a number roof aircraft at Priory Farm and so I thought it would be nice to ask him to look.

What a really nice, genuine guy.. nothing was too much trouble to look at and talk through.

Tom found a few bolts out of safety ..where little or no thread was showing through the nut-bolt combination..

On checking back through the original build manual I realised I had been a little over zealous with use of washers! I’d managed to put washers under the bolt head as well as under the nut .. removing all these put all the bolts into safety !

The image above shows it flush … post washer removal..2 threads showing

The same was found on 1 cross bracing wire in the front cabane. This had been covered for the last 5 years so clearly not visible.

Quite why I used so many washers is a mystery… washers in these positions (on bracing wires) are great for ‘finer’ adjustment .. where you have a fixed length of bracing cable .. removing washers has the effect of tightening the cable (quite significantly per washer) and adding slackens

3 washers! I think that was excessive !

Remove tang … tricky but it cam out relatively easily

Back to single washer, cable nice and taught and colour marked

Paint refresh

Inevitably, the arrival of an aircraft into a field of wheat..no matter how slowly … is going to make some marks on the paint and.materail

I have to say, the Oratex was incredible!

Thinking back, there wasn’t one scratch on the fabric! At all !

I had to remove all the fabric from the Port upper (for inspection to identify it was indeed repairable) .. i removed all underside from P1 back to the leading edge of the tailplane ..

But it simply didn’t have a mark on it.

The lower cowl took the brunt from the crushing of ine of the most forward part ..the oil cooler matrix.

The spinner had quite a graze but I suspect that was from the recovery.. where we pirouetteed to take her back onto her main wheels

Roger, a great painting expert based at Priory Farm, stepped in and has done a amazing job.

The lower cowl, which had a number of holes to accommodate the exhausts and oil matrix, was reinforced with fibreglass matting before colour matching the olive Oratex and what a superb job !

Now awaiting new oil cooler matrix cradle fit

Underside covering

Ironically, one of the most time consuming jobs wasn’t as a result of the incident back on 21 Jun 2024 .. the longest day !

Adding the trim tab seemed to take an inordinate amount of effort, especially as a ‘post build’ add on.

I remember asking the factory all those years ago, ‘where is the piano hinge for the trim tab’ .. we aren’t recommending it was the reply as it’s not hugely effective.

It turns out my weight (a pretty constant 75kg) means I could fly all day hands off and fuel level seems to make little difference.

Will, my son, who was slightly heavier than me found he was constantly having to hold forward ot back stick to maintain straight and level.

I offered to retro fit the tab which meant cutting into that lovely elevator curve .. mine being slightly larger as there are no tell tale pilot holes onnthe trailing edge, so just made it look ‘nice’ !

Maybe it’s that extra surface area that helps her stability ?

Anyway, to fit the steel cable to operate the tab and it’s outer demanded i cut access through the underside to ensure the outer cable was regularly secured and couldn’t bend… a classic radio control modelling issue with unsecured bowden cable – where you can lose anything from 50% to total movement if not secured

Now, cutting material off from a 5 year old aircraft that has been upside down and had lots of smoke oil and fuel over the years makes for an interesting challenge to cleanup and recover.

Cutting out one of the old belly pan ply landing plates and replacing it gave me a much cleaner base from which to work.

Adding panels back in to the underside will facilitate any partial re opening in future..vs one long nose to tail piece of Oratex (which the original covering was)

Final pieces going in today and doublers strips over the overlaps just for good meaurse

It’s a complex shape underneath with curves this way and that and undercarriage in the way .

Pre shrinkage – the aim being to get it as tight as you can before applying heat gun and iron …shrink rate is around 20% so impressive curved smooth finish

Blog at WordPress.com.

Up ↑