Cowl tidy

The cowl took most of the initial brunt force of the field overturn 2 years ago but was beautifully restored by Roger (Doggett) a master craftsman at Priory Farm.

The repair had involved beefing up and neatening my slightly squared openings i to more curved and streamlined affairs

This, in turn, had slightly unbalance the 1/3 to 2/3 intake to exit ratio for cooling.

Cooling is most definitely a black art ! But generally you start with intake hole surface area measures ..and then make sure your exit areas are twice that ..1/3 – 2/3

As they had altered ..and as I was so so keen to gly post the major repair .. I did what my good and decent engineer would do .. black gaffa tapped up the orifice, clear prop and flew !!

Now ..10 months on ..(ok thats a bit longer than it should have taken) .. ive changed to add a thin metal gurney style plate

The theory is, that the slight (and yet to be adjusted) lip on the metal creates a drop in pressure behind the plate and so aids the exit of air meaning your hols probably dont have to be so large !

Ive started with a very small bend .. as it just flat gaffa tape before !

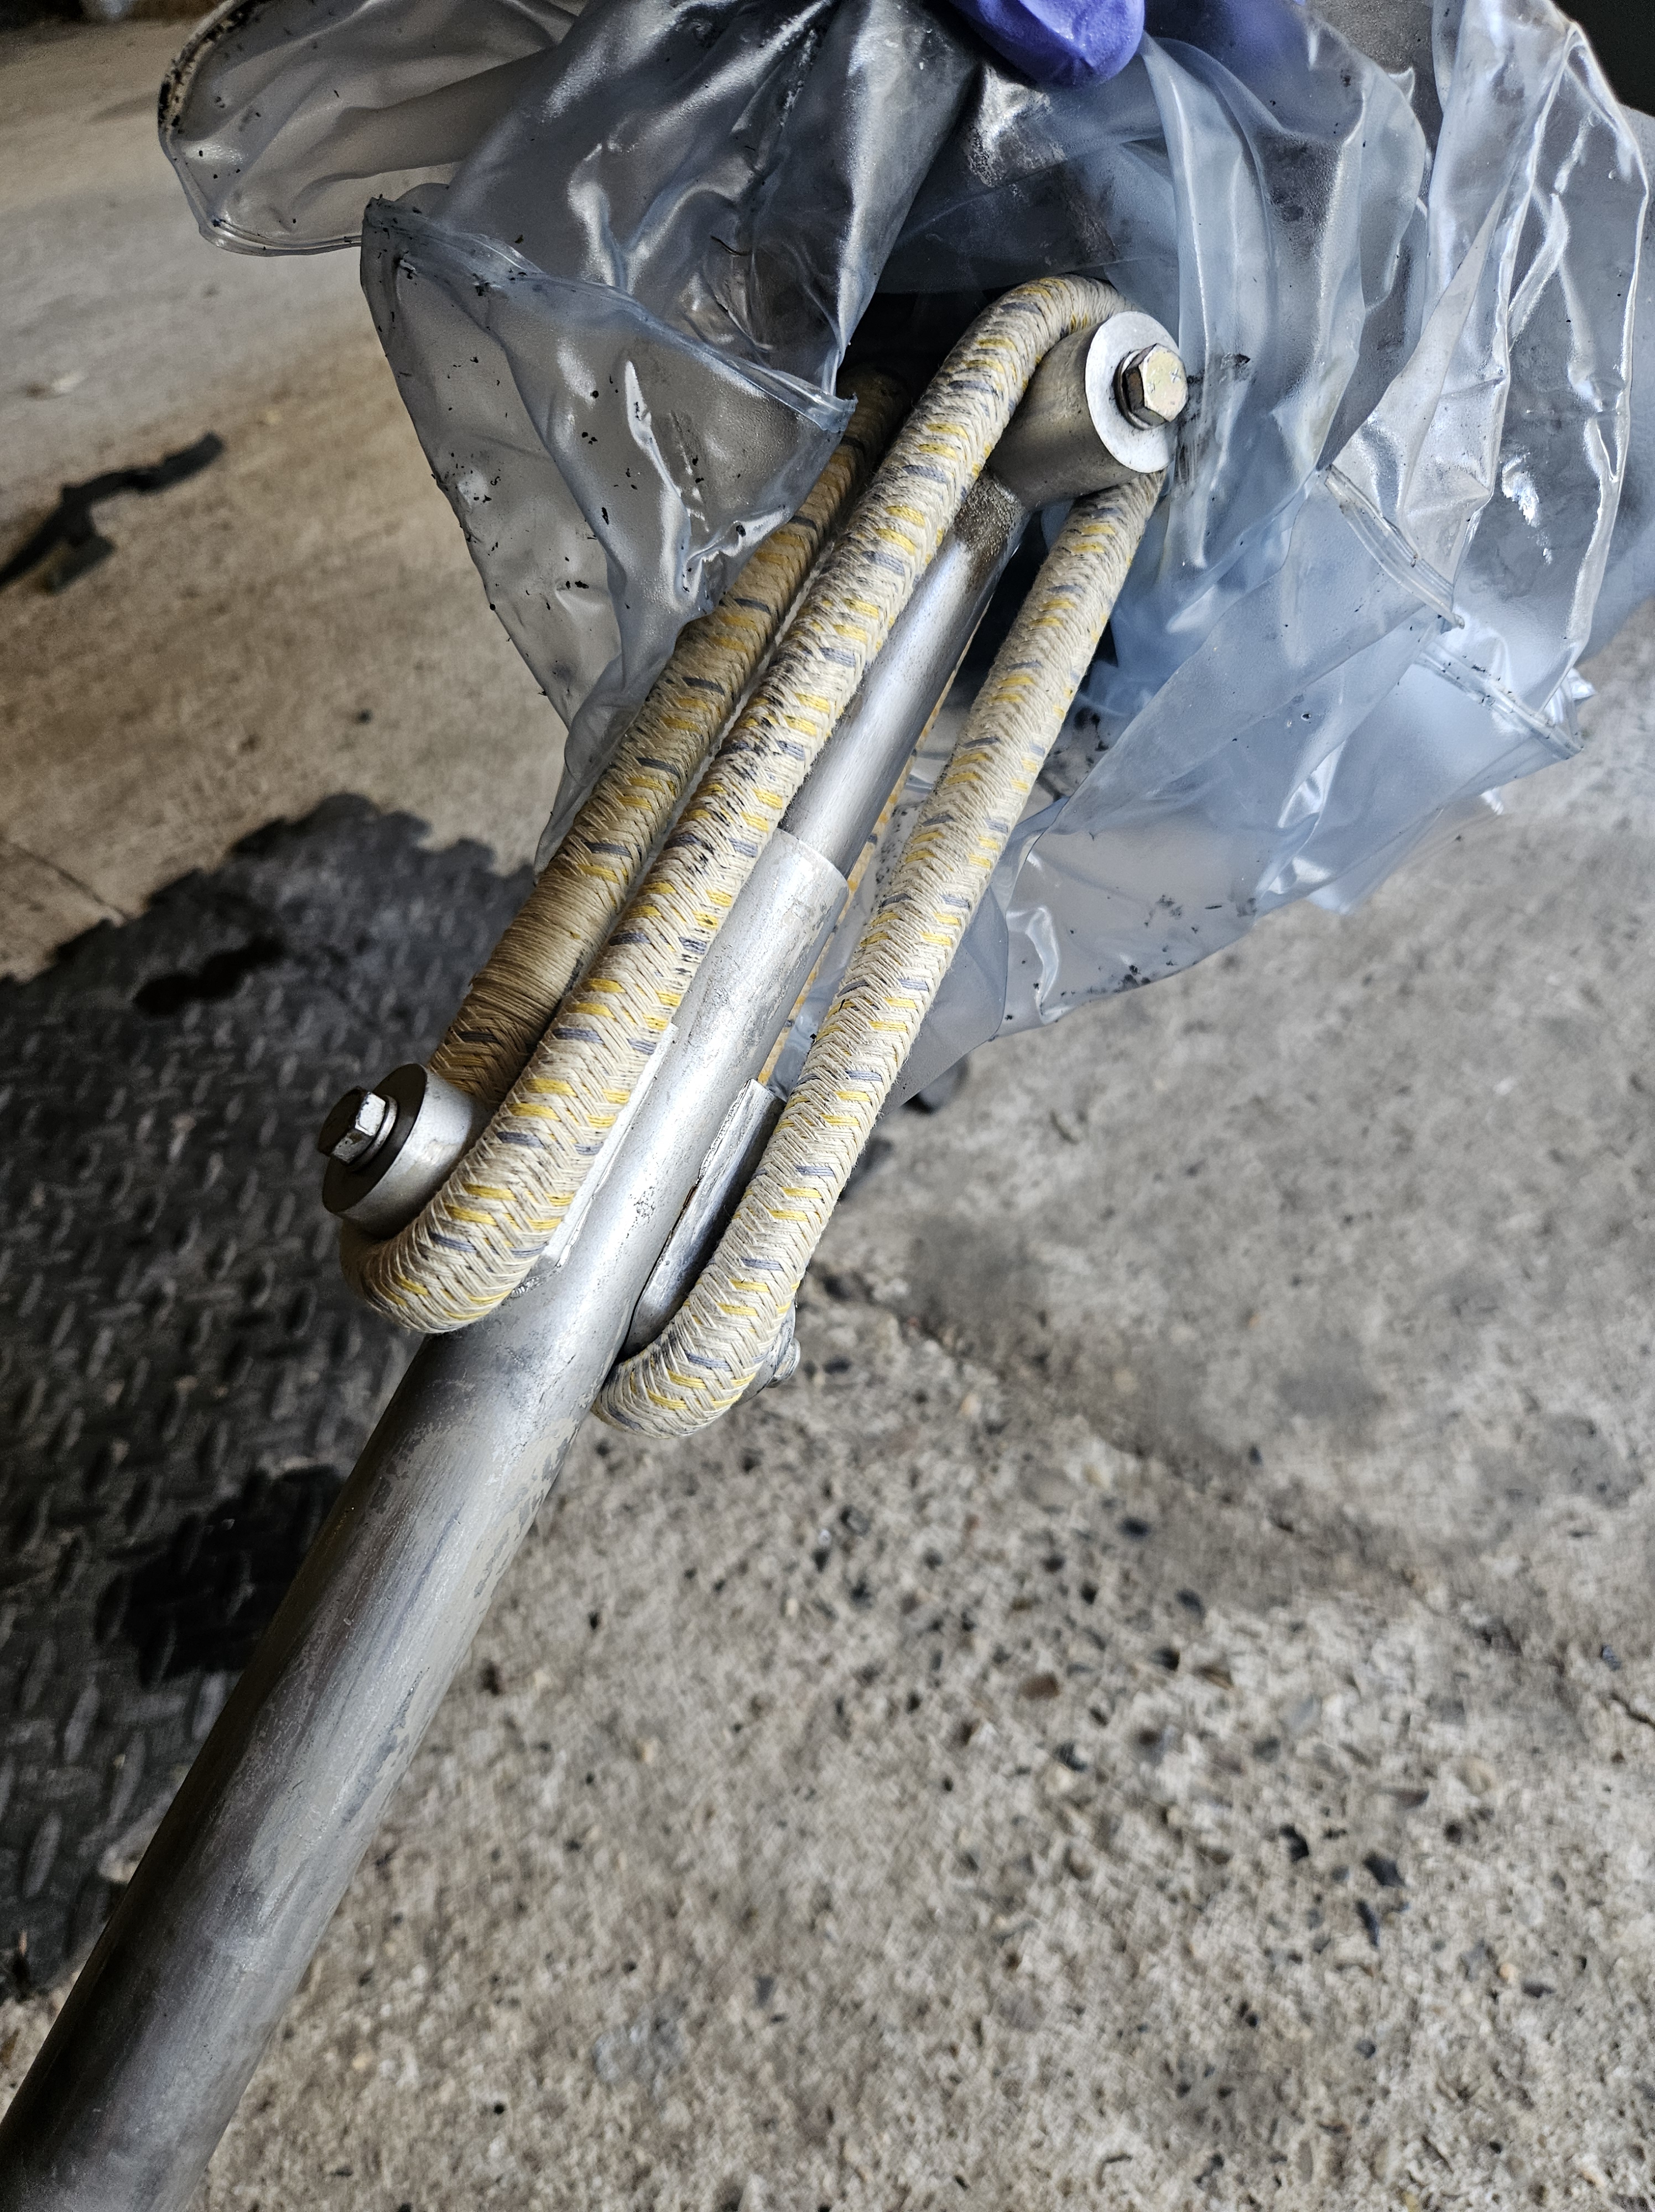
Haven’t used the old metal cutters since the build. Useful to make some small backing plates for the heat resistant rubber flanges where small washers just aint up to the job.

Pre Annual Checks

Next annual is due mid July and the Pernit October

Time to review things and catch up on a few small niggles. The problem, now she’s flying, is you dont want down time .. pop up to the field and think .. ill do that bit later .. just fly her now ..

Its been great to get loads of landings and circuits in this year plus a few fly aways so its good to get all these checks done, albeit a few have been done as i go ..this brings it all together

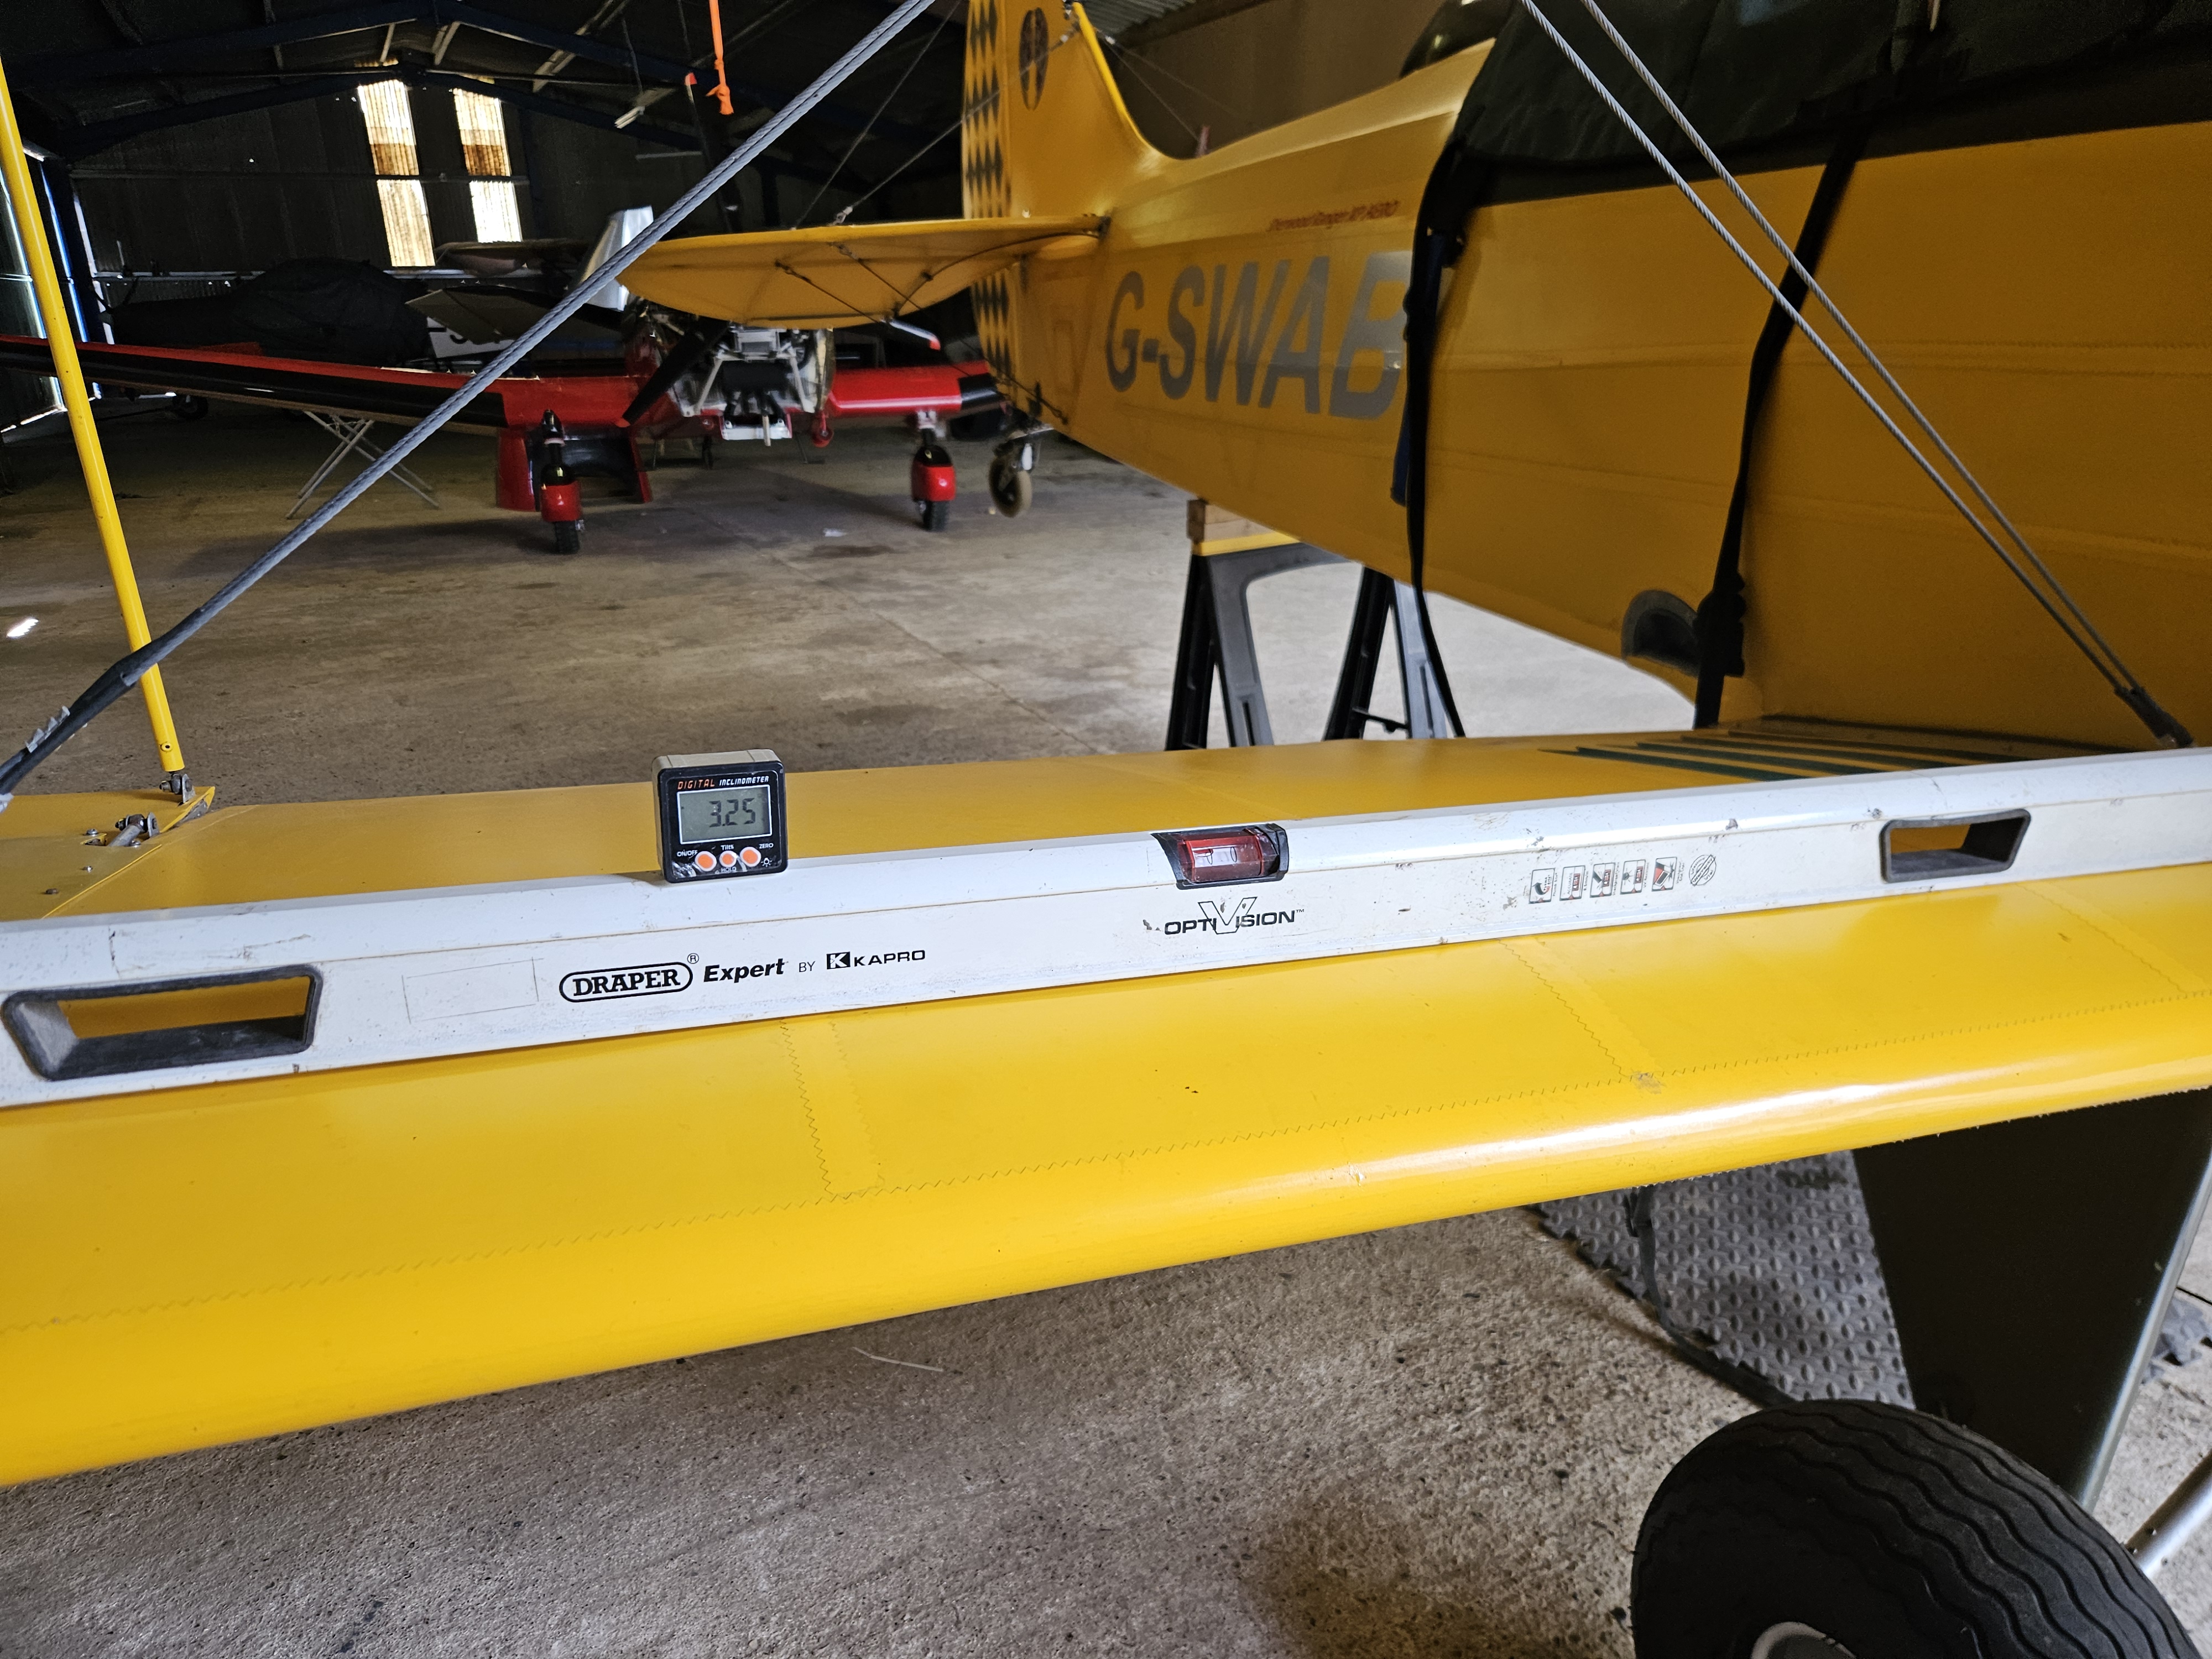
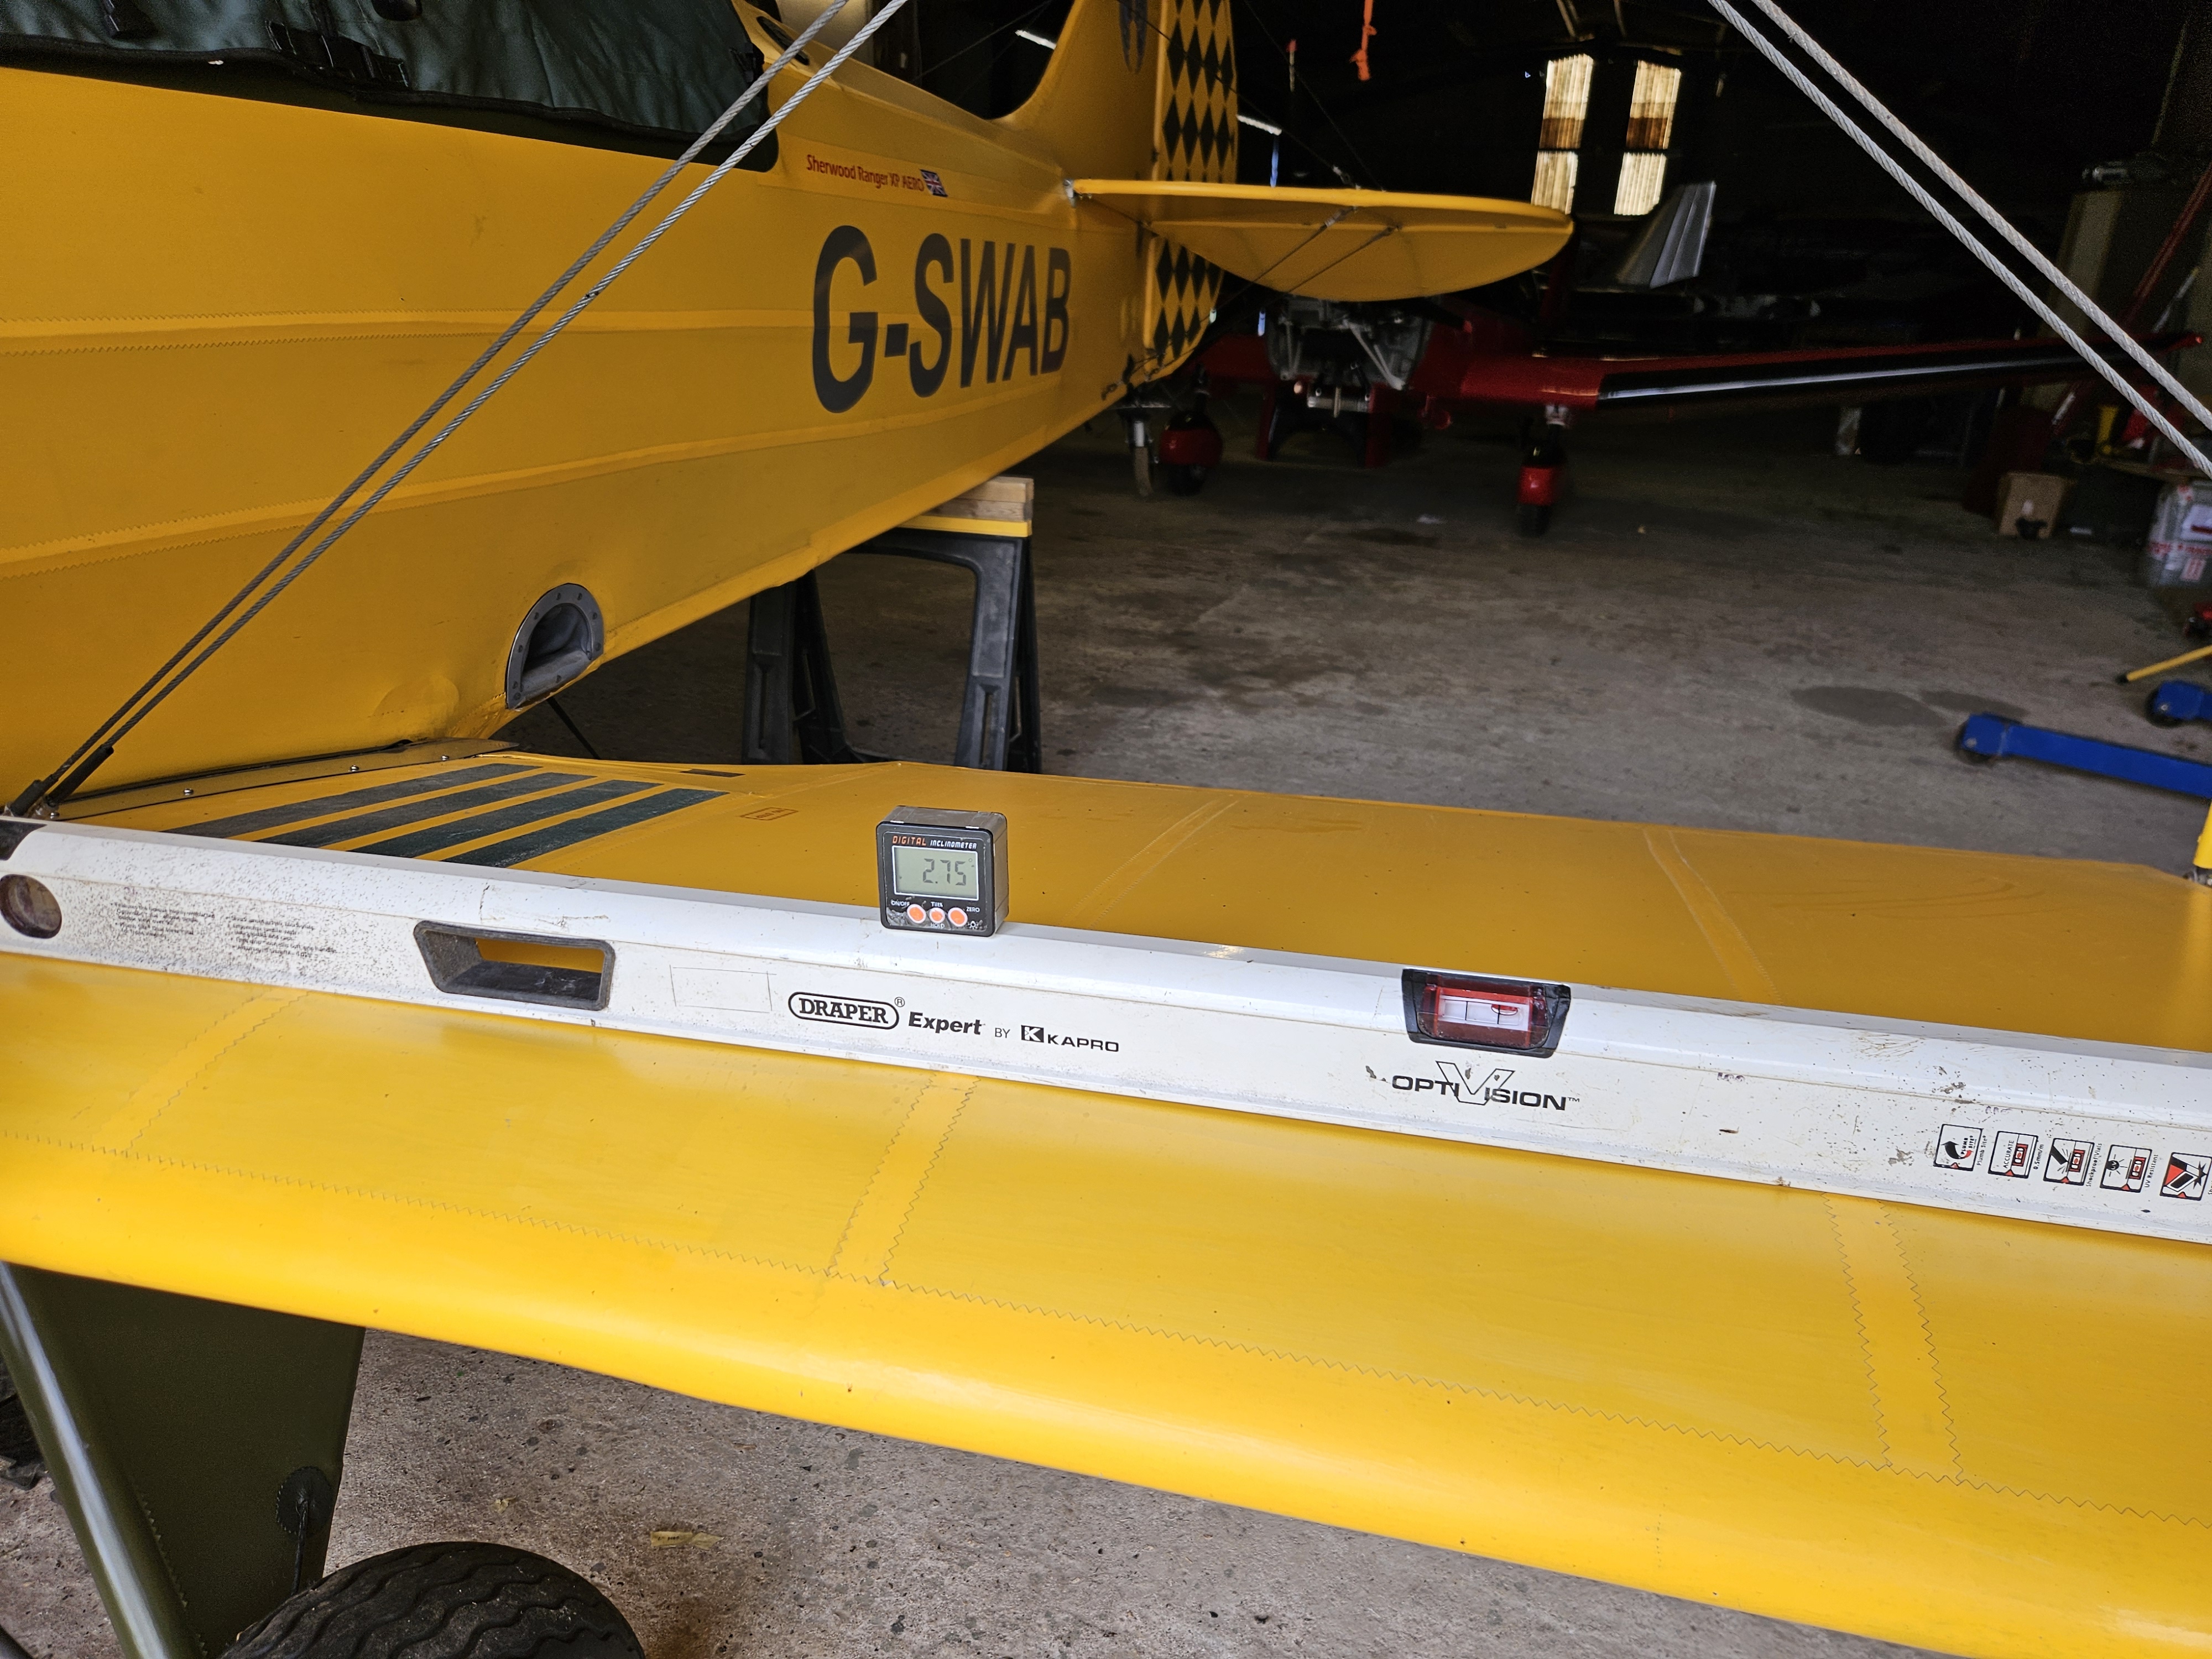
There aren’t standard annual maintenance schedules per se but the LAA produce a useful 150 hour , 12 month checklist, so im using that plus adding some bits ..like dihedral and incidence checks

Nice to be 0.25 degree out .. but balanced .. so maybe just the floor or wayshe was sitting

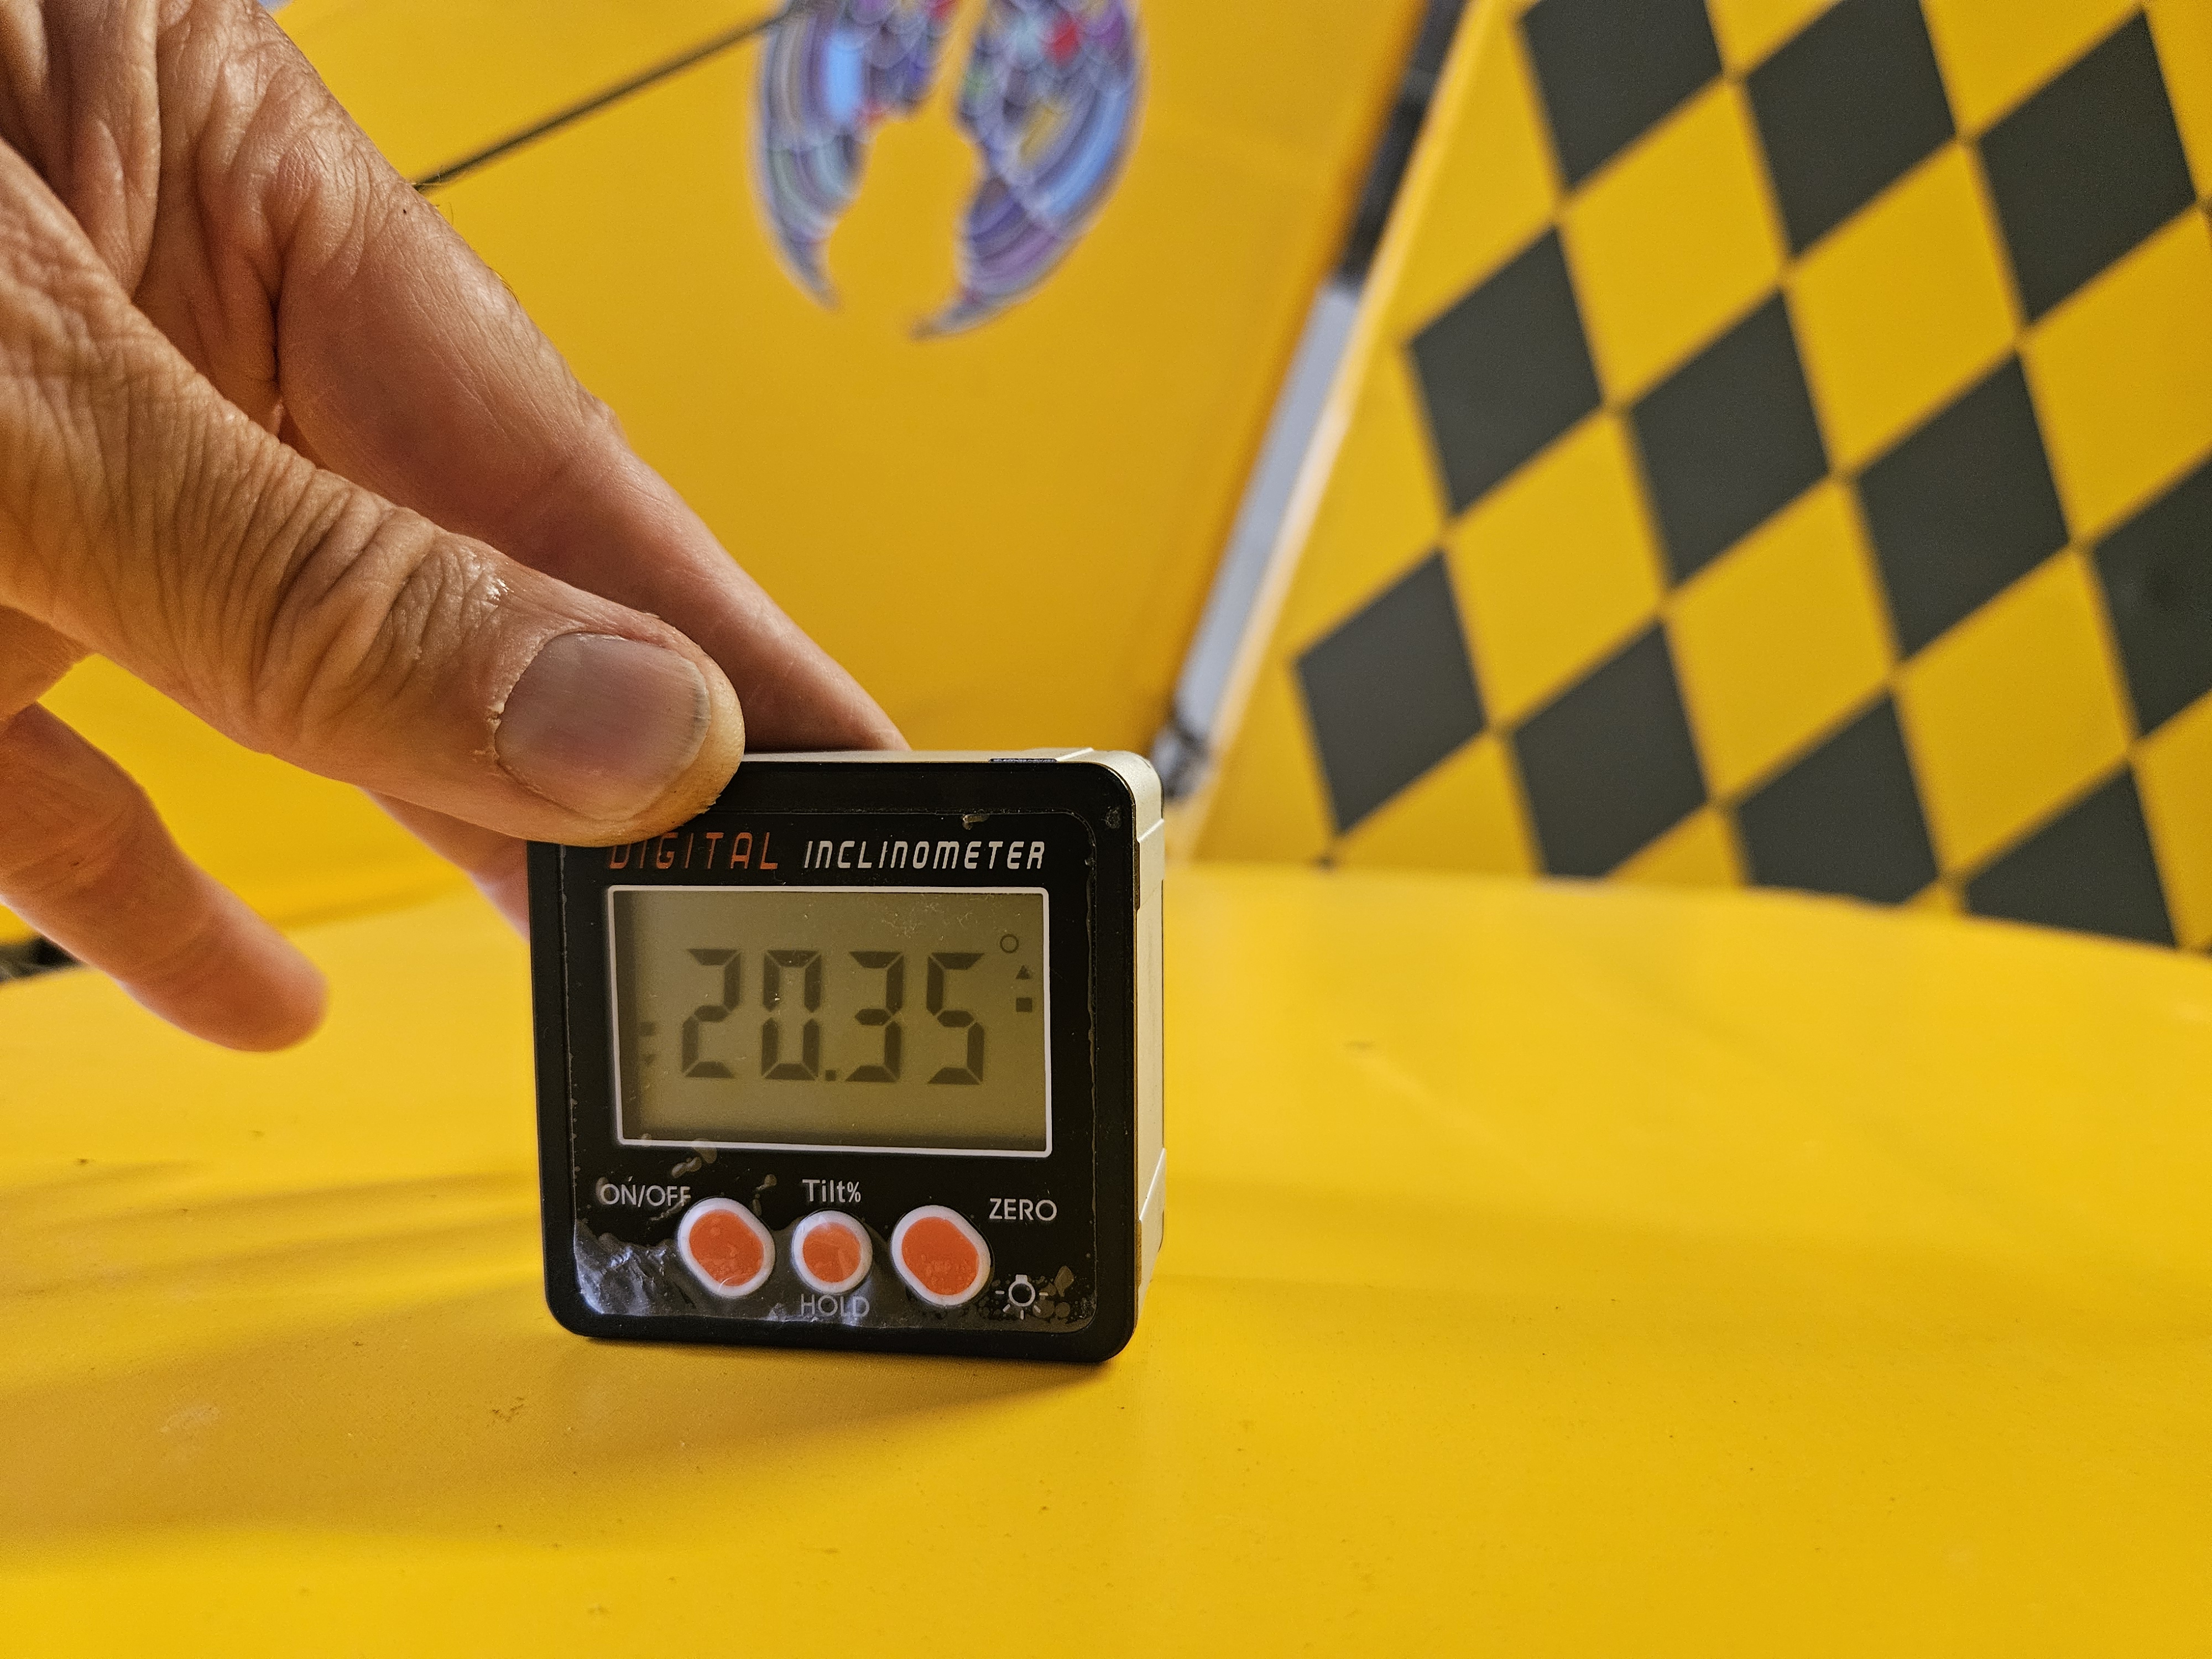
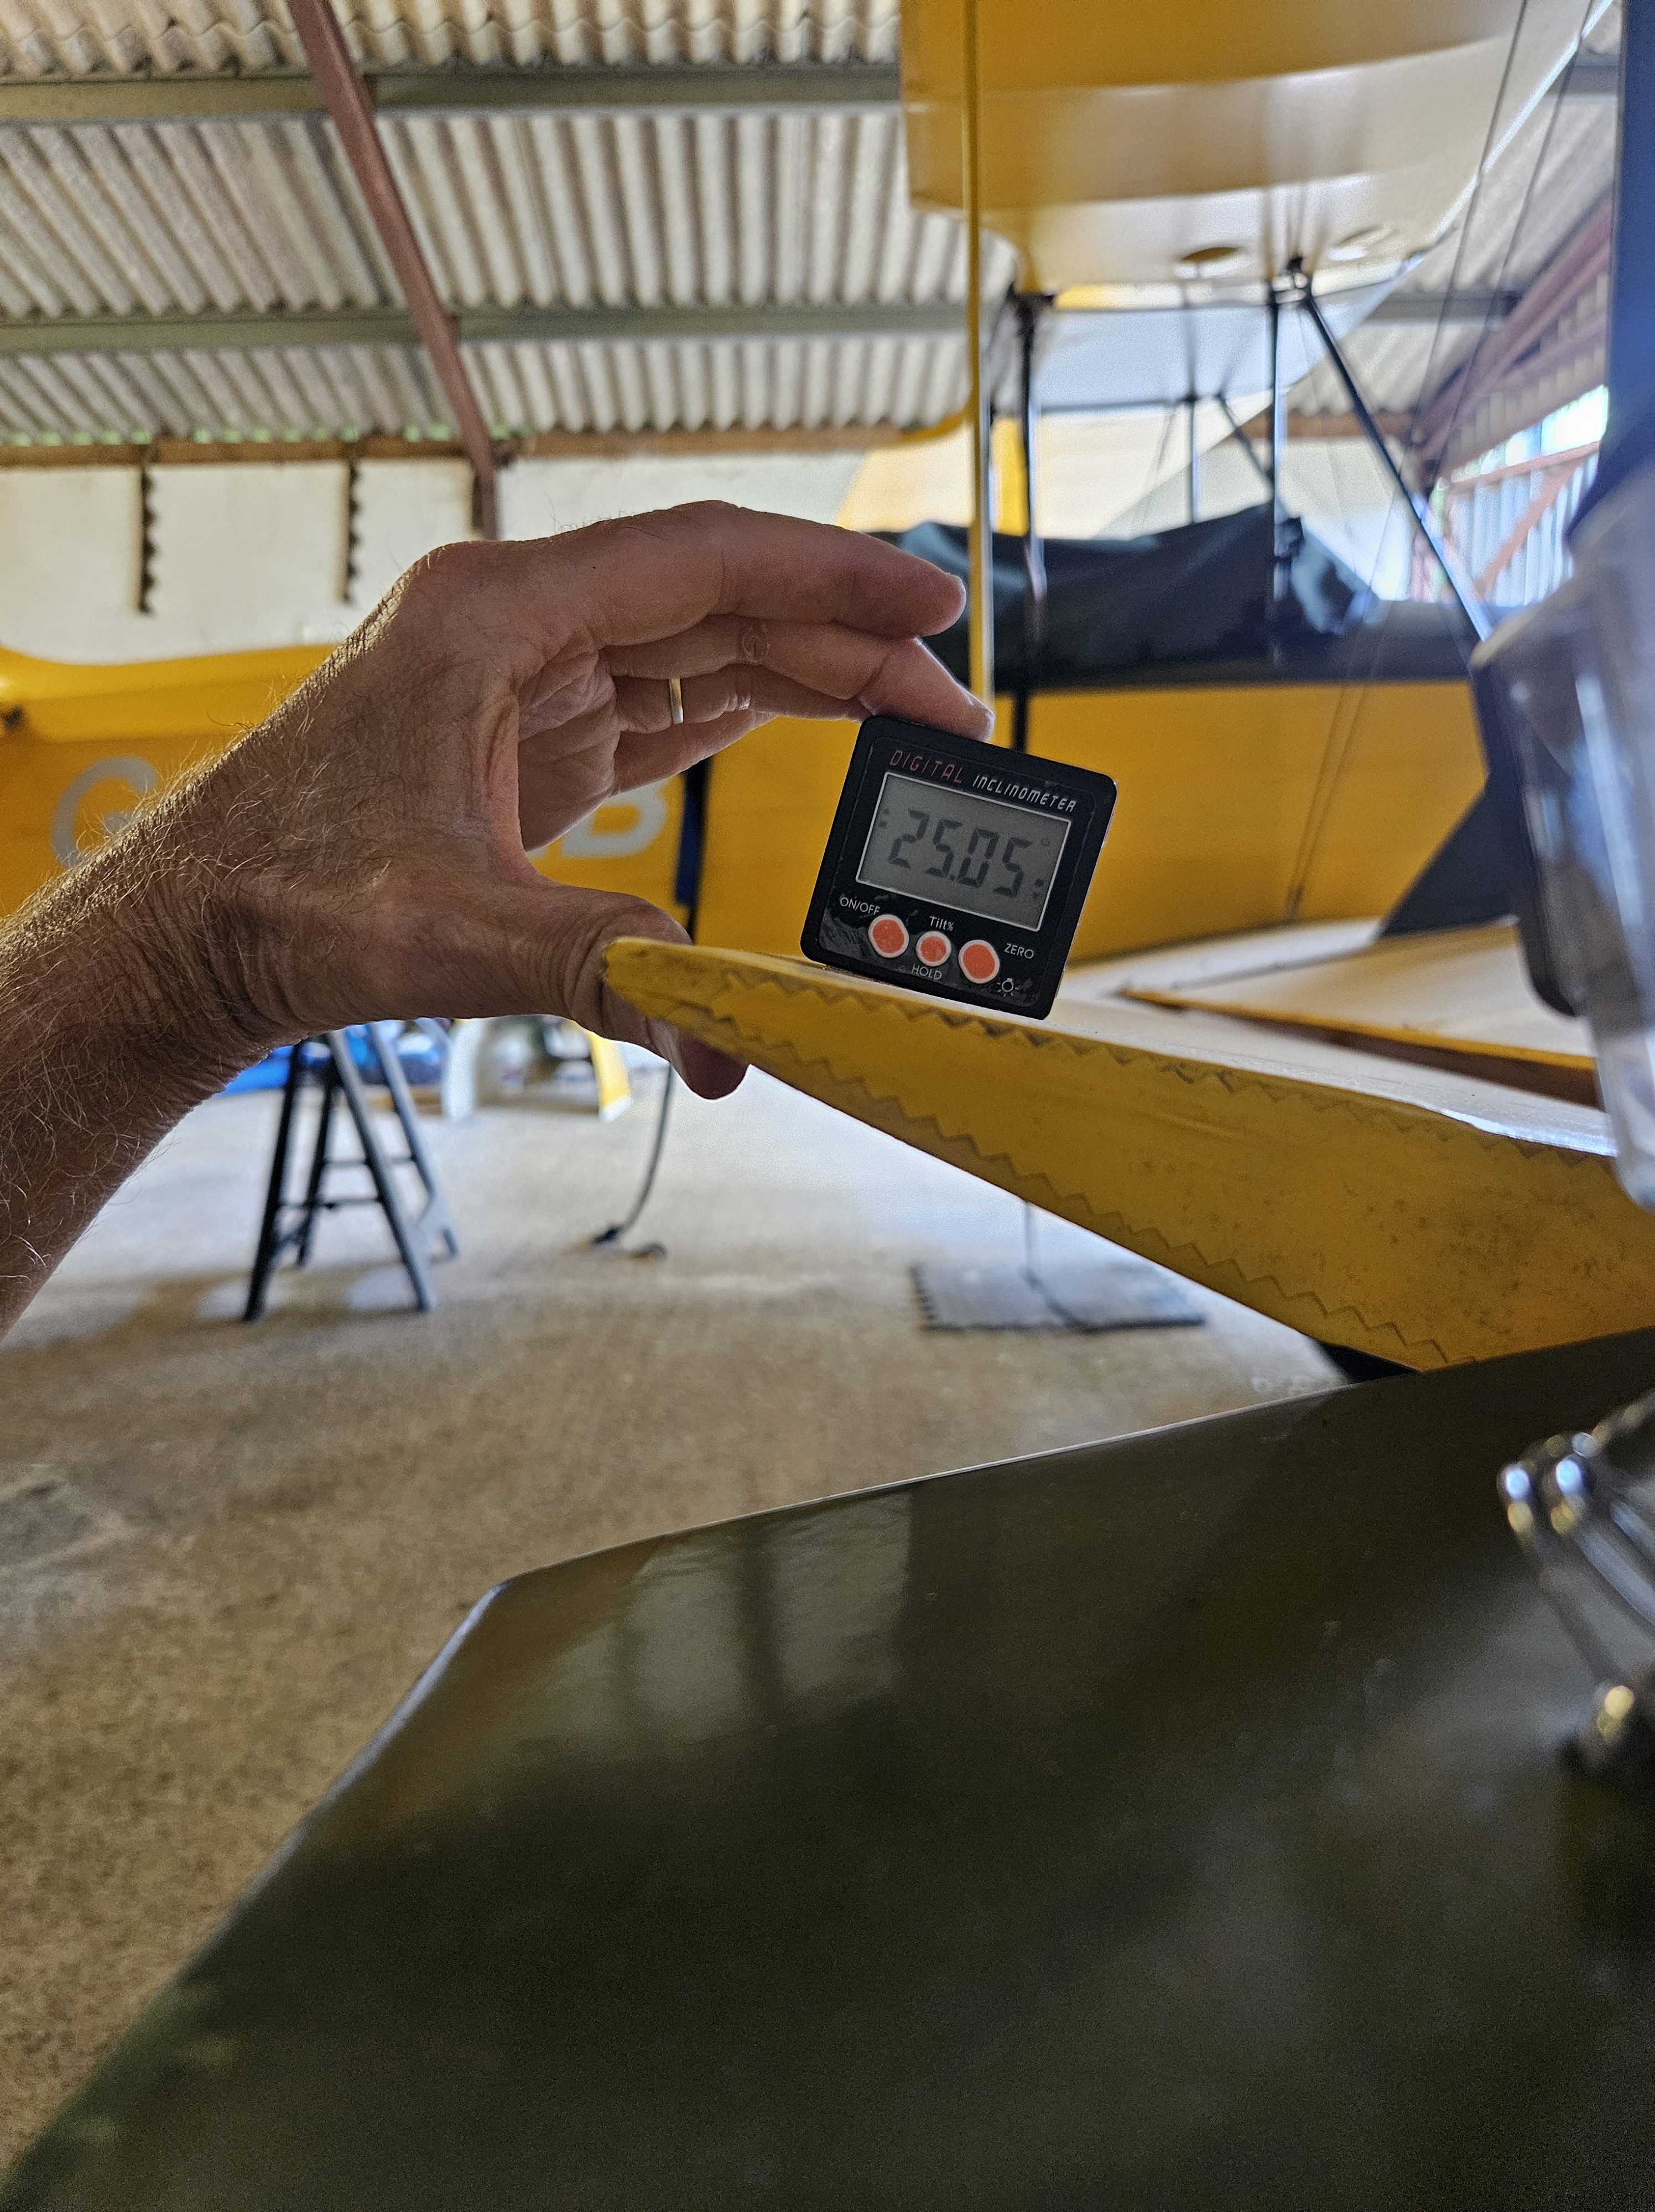
Then deflections…Elevator … Aileron and Rudder

Up aileron

Down aileron

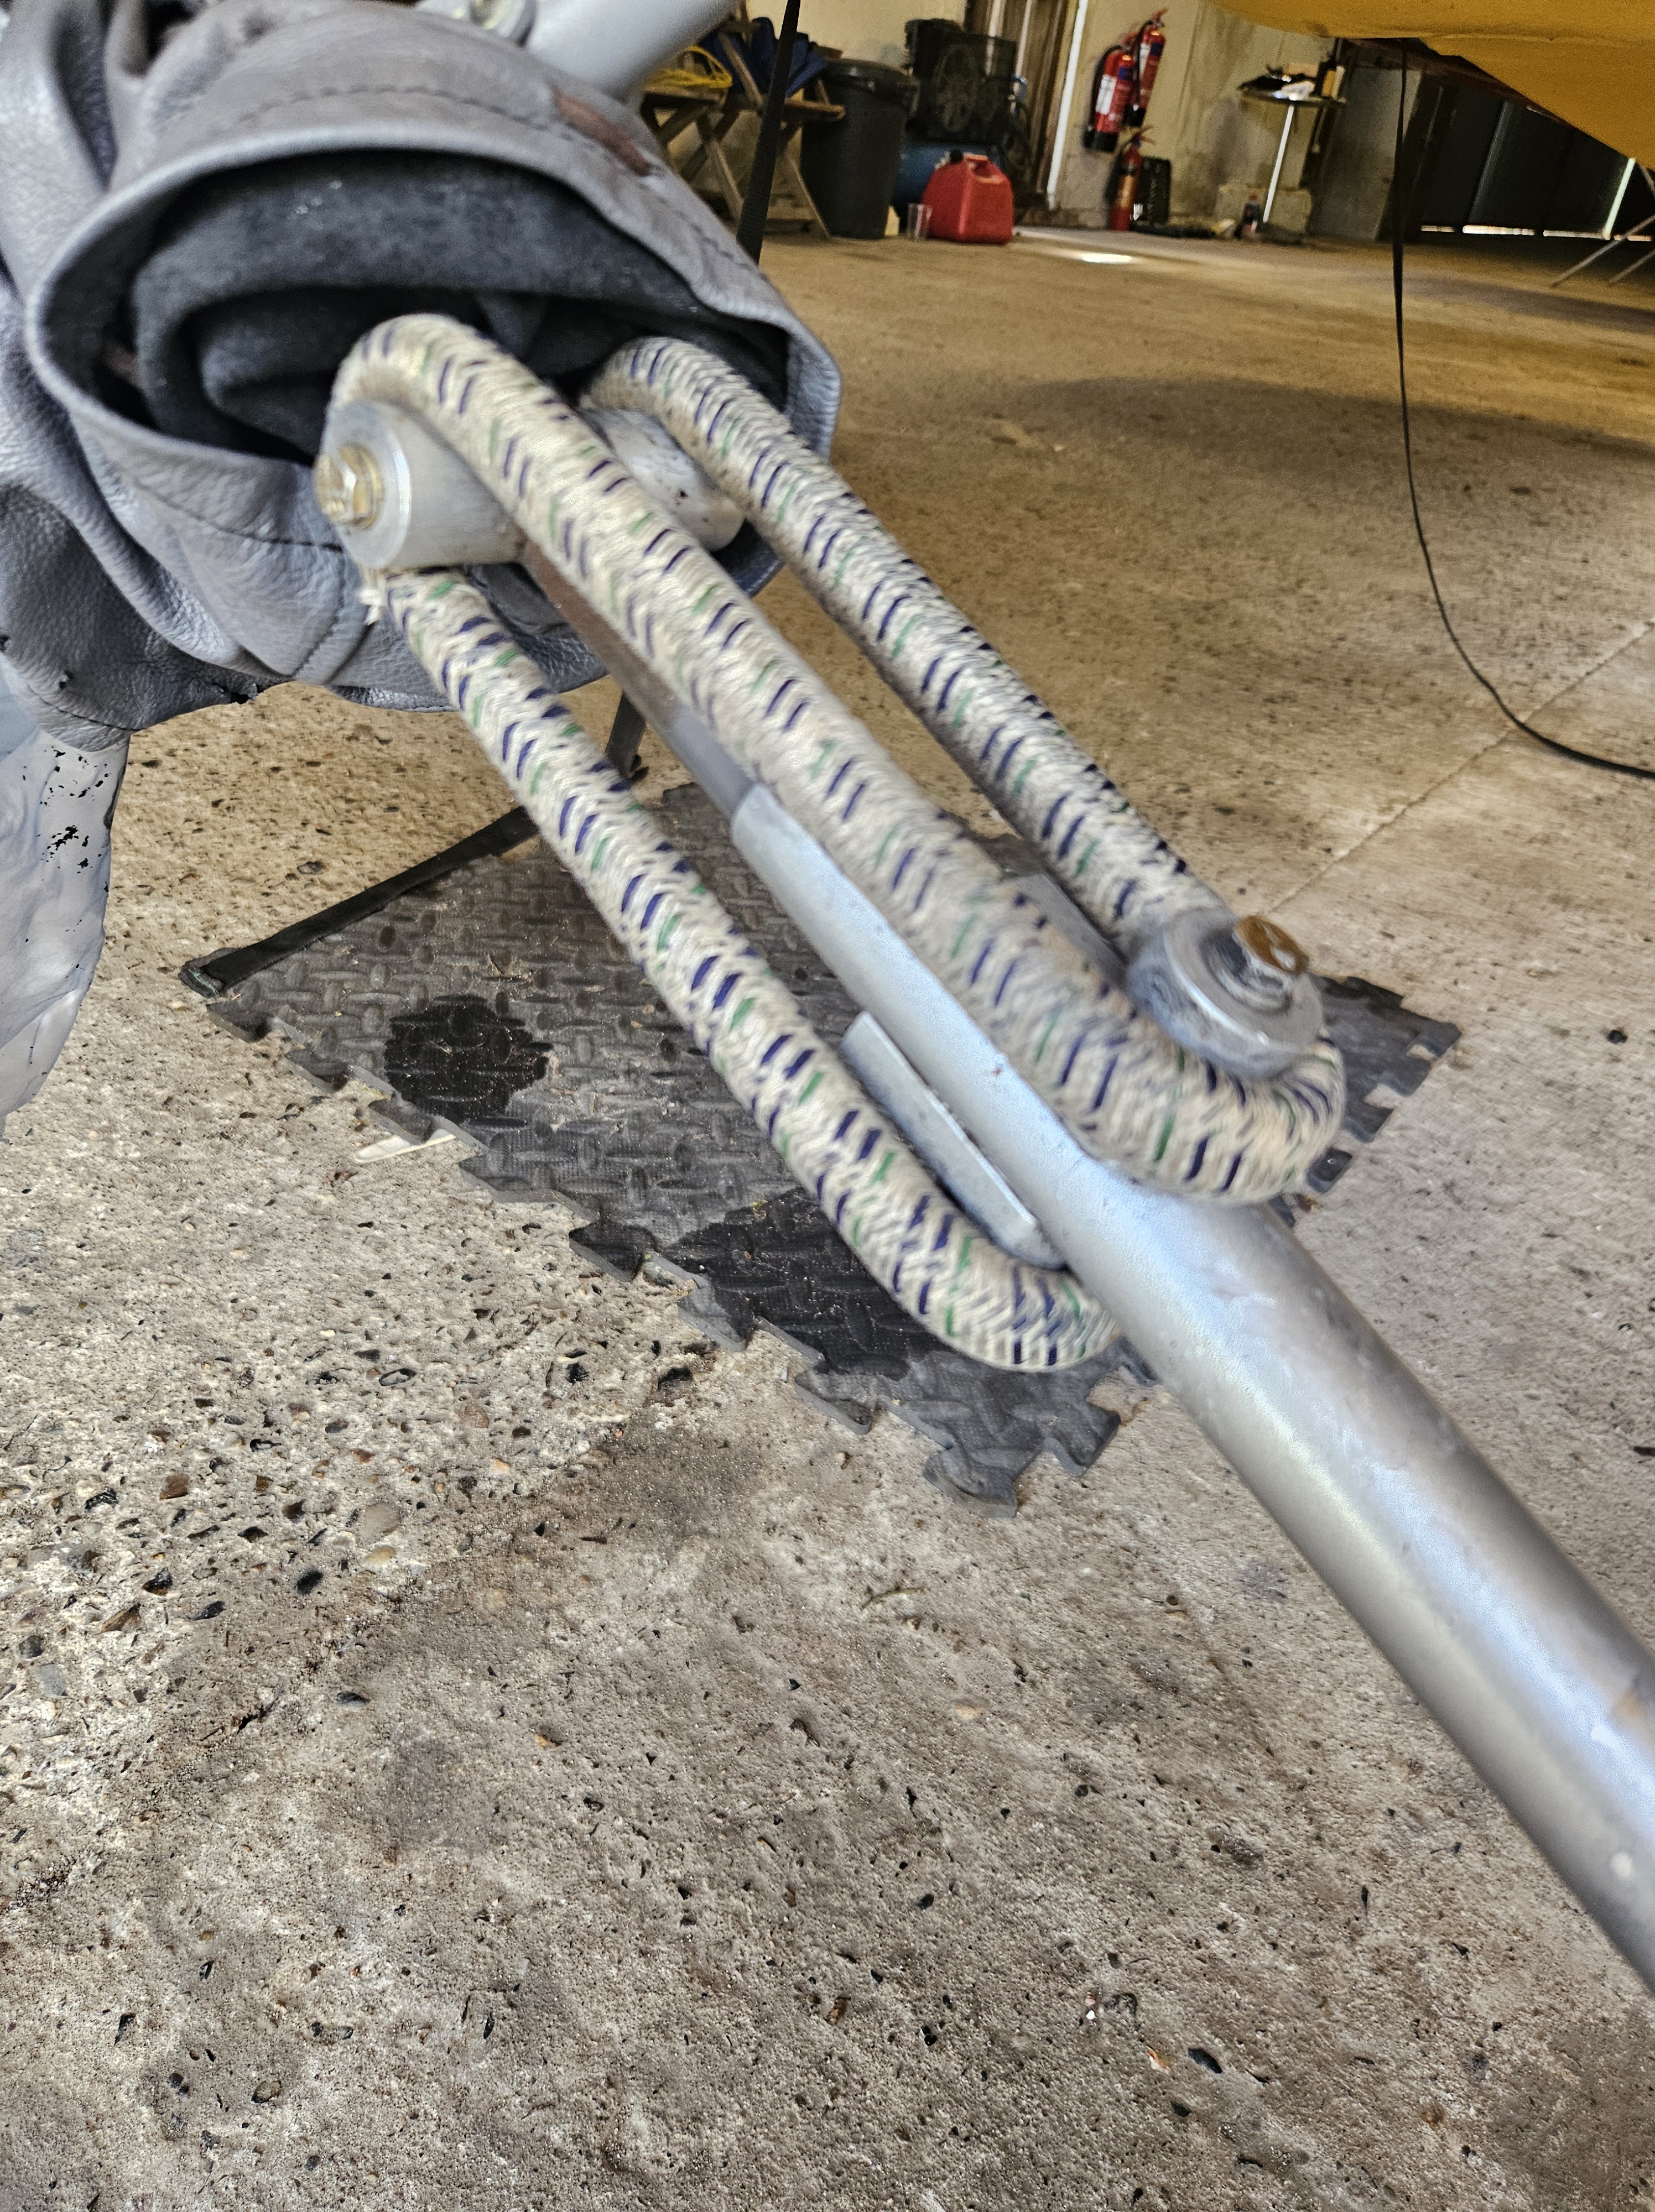
Bungees..check for movement and condition..this one was knly replaced recently post smoke baby oil wetting

Time to jack up and remove the wheels for brake checks. The Ranger doesn’t have jacking points as such but ive use the block of wood and trolley jack method for years and it works well.. as long as you chock both other main and tailwheel.

The pads wear very little .. as my first few months on trailing my heels on the brakes gave way to learning how to taxy properly and use any momentum or friction inertia to control speed better

I still get it wrong sometimes when the wind isn’t quite as expected but also use natural resistance of grass to slow parking.

Anyway .. if you do heel the brakes hard you get an awful screech which is a bit embarrassing 😳

You can see almost zero wear on the pads and a spray and tidy up of any dust around the fittings and inside the hub .. remove and clean spacer and light re grease and its all done

Final check around this area was tyre pressures… running at a whopping 11psi (bot the 25-30 in my first post build few months !) No wonder it was squirrely on Jerseys ling tarmac runway !

Anyway, both were down about 3 ot 4 PSI .. easy check now Sam has bought me a nifty little hand held pressure checker.

Blog at WordPress.com.

Up ↑