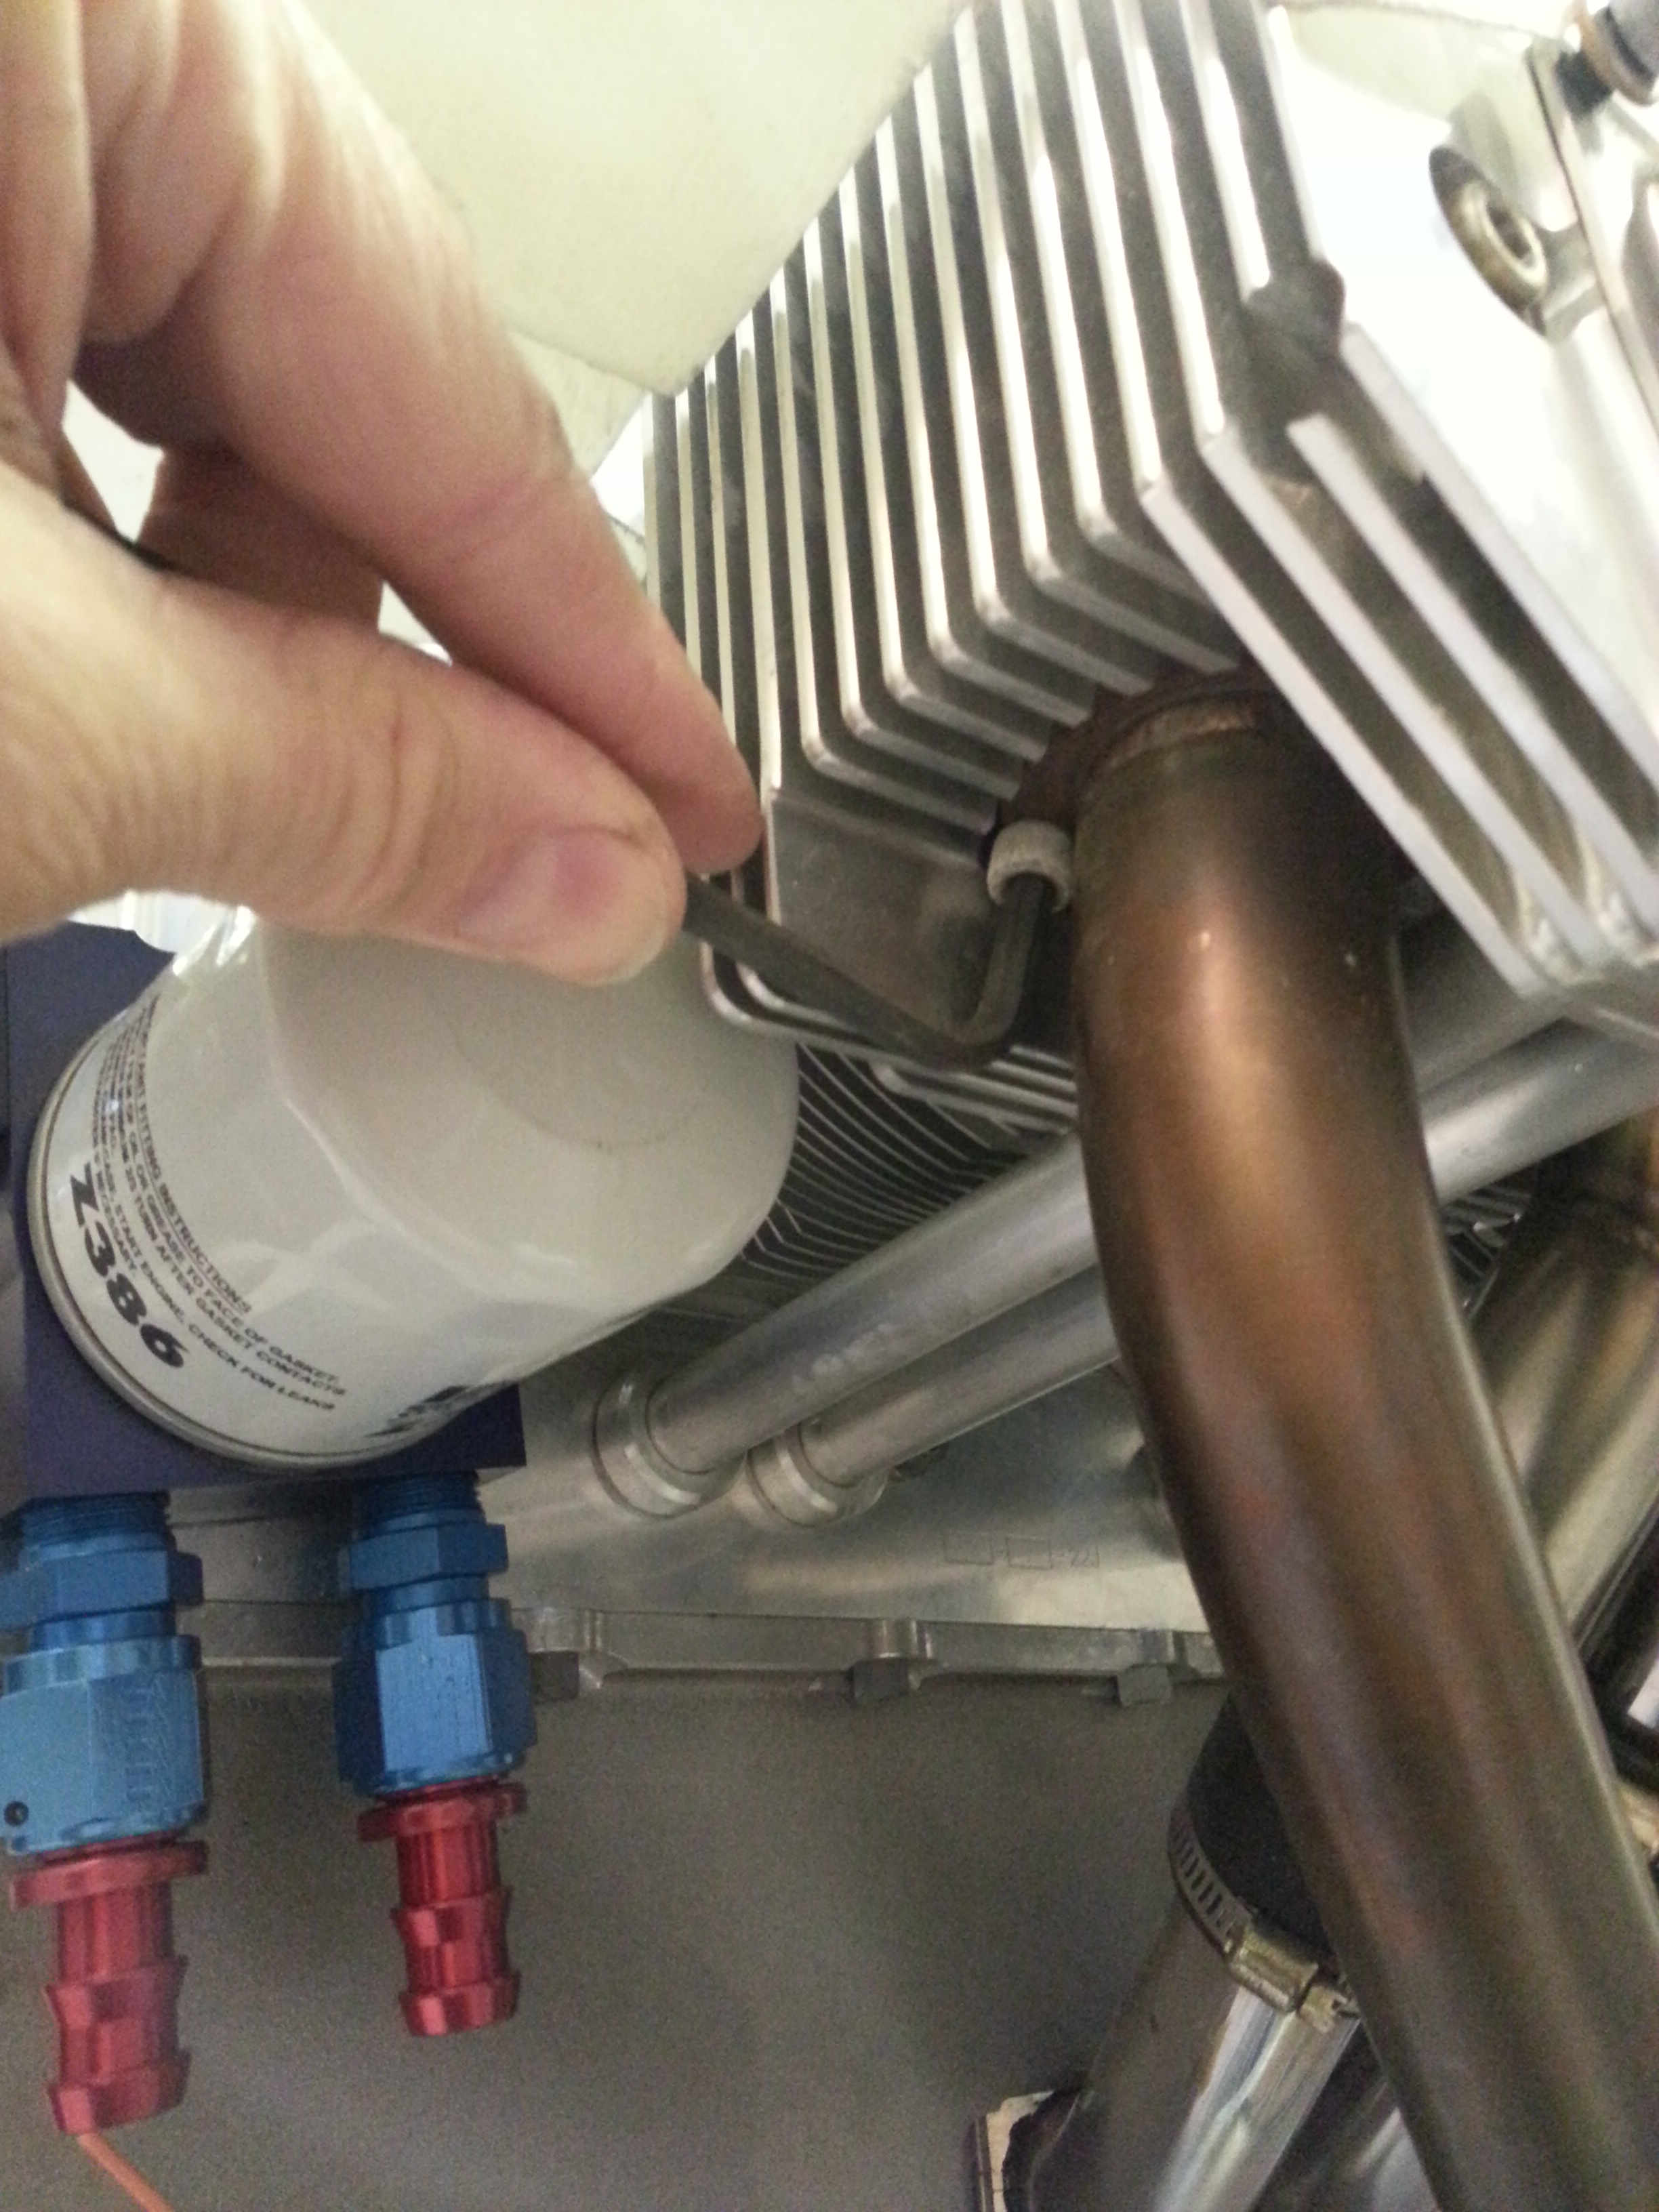
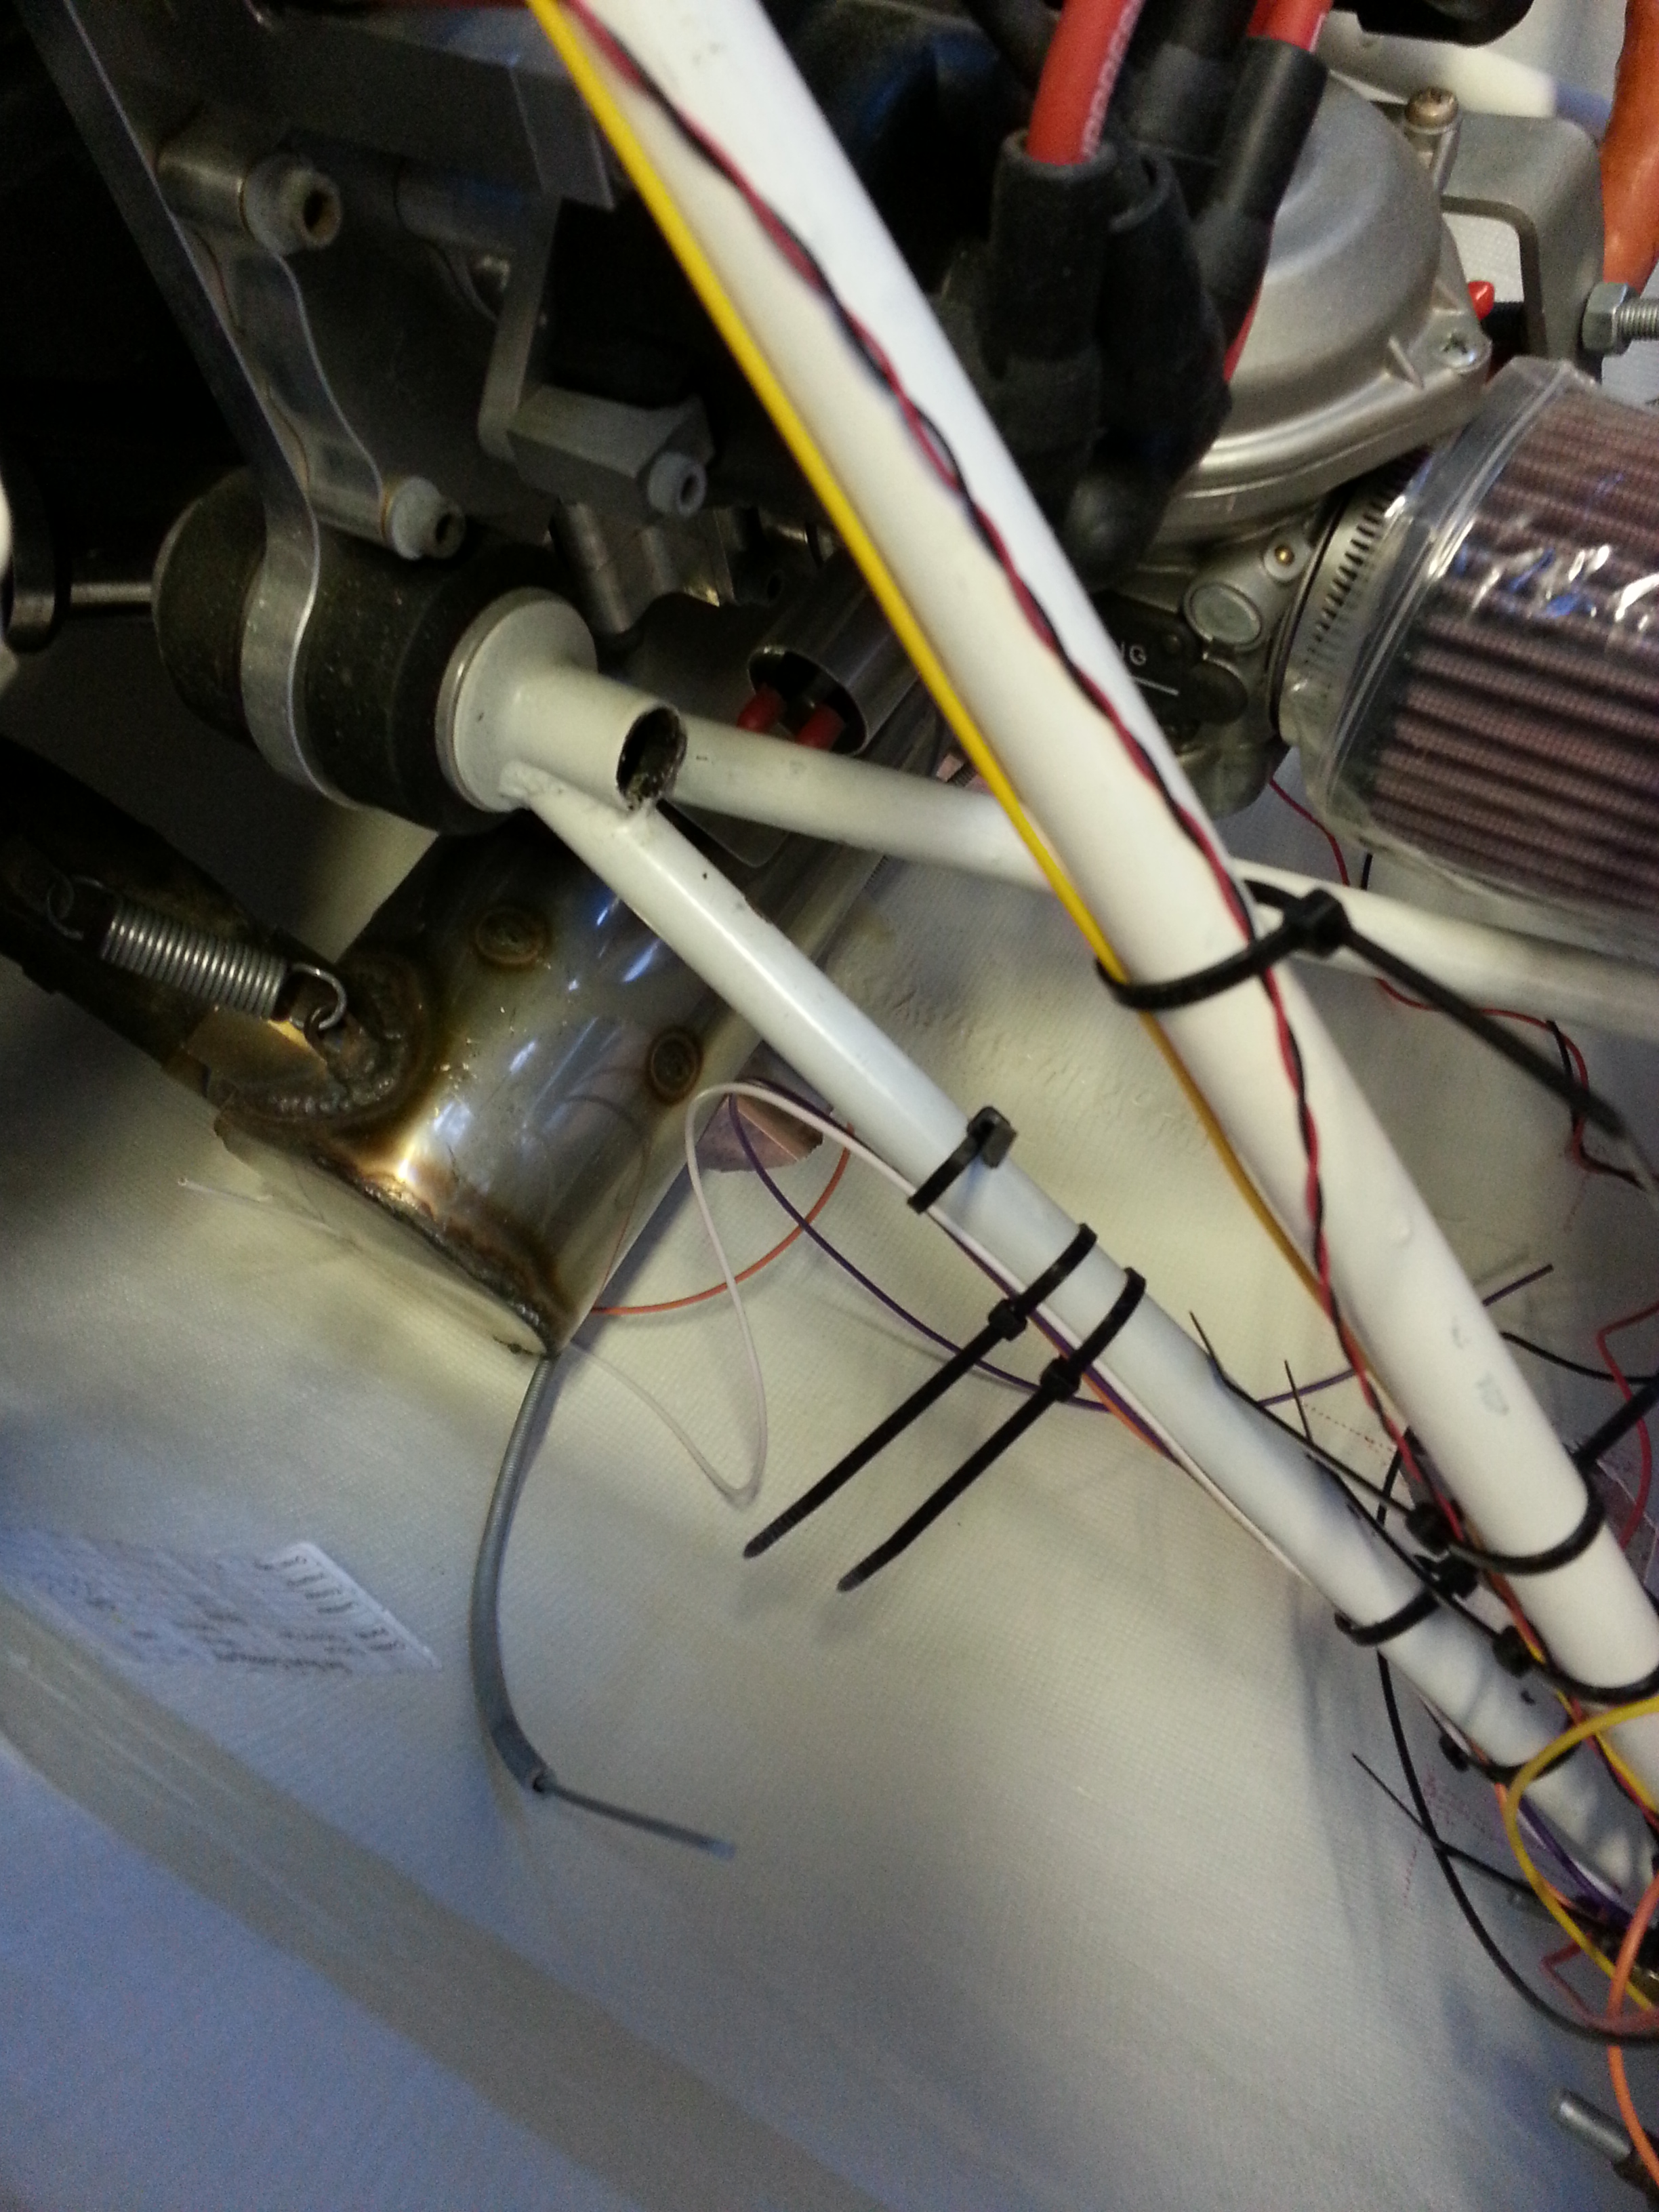
Having tried a number of local stores to source a 4.5 mm allen key my good friend Mike Fleming managed to locate one and hey presto … it first not only the cylinder head cover plates but also the exhaust manifold bolts. The manifold bolts were surprisingly easy to slacken .. had expected quite a bit of grunt.
A couple of turns and the downpipes were freely moving
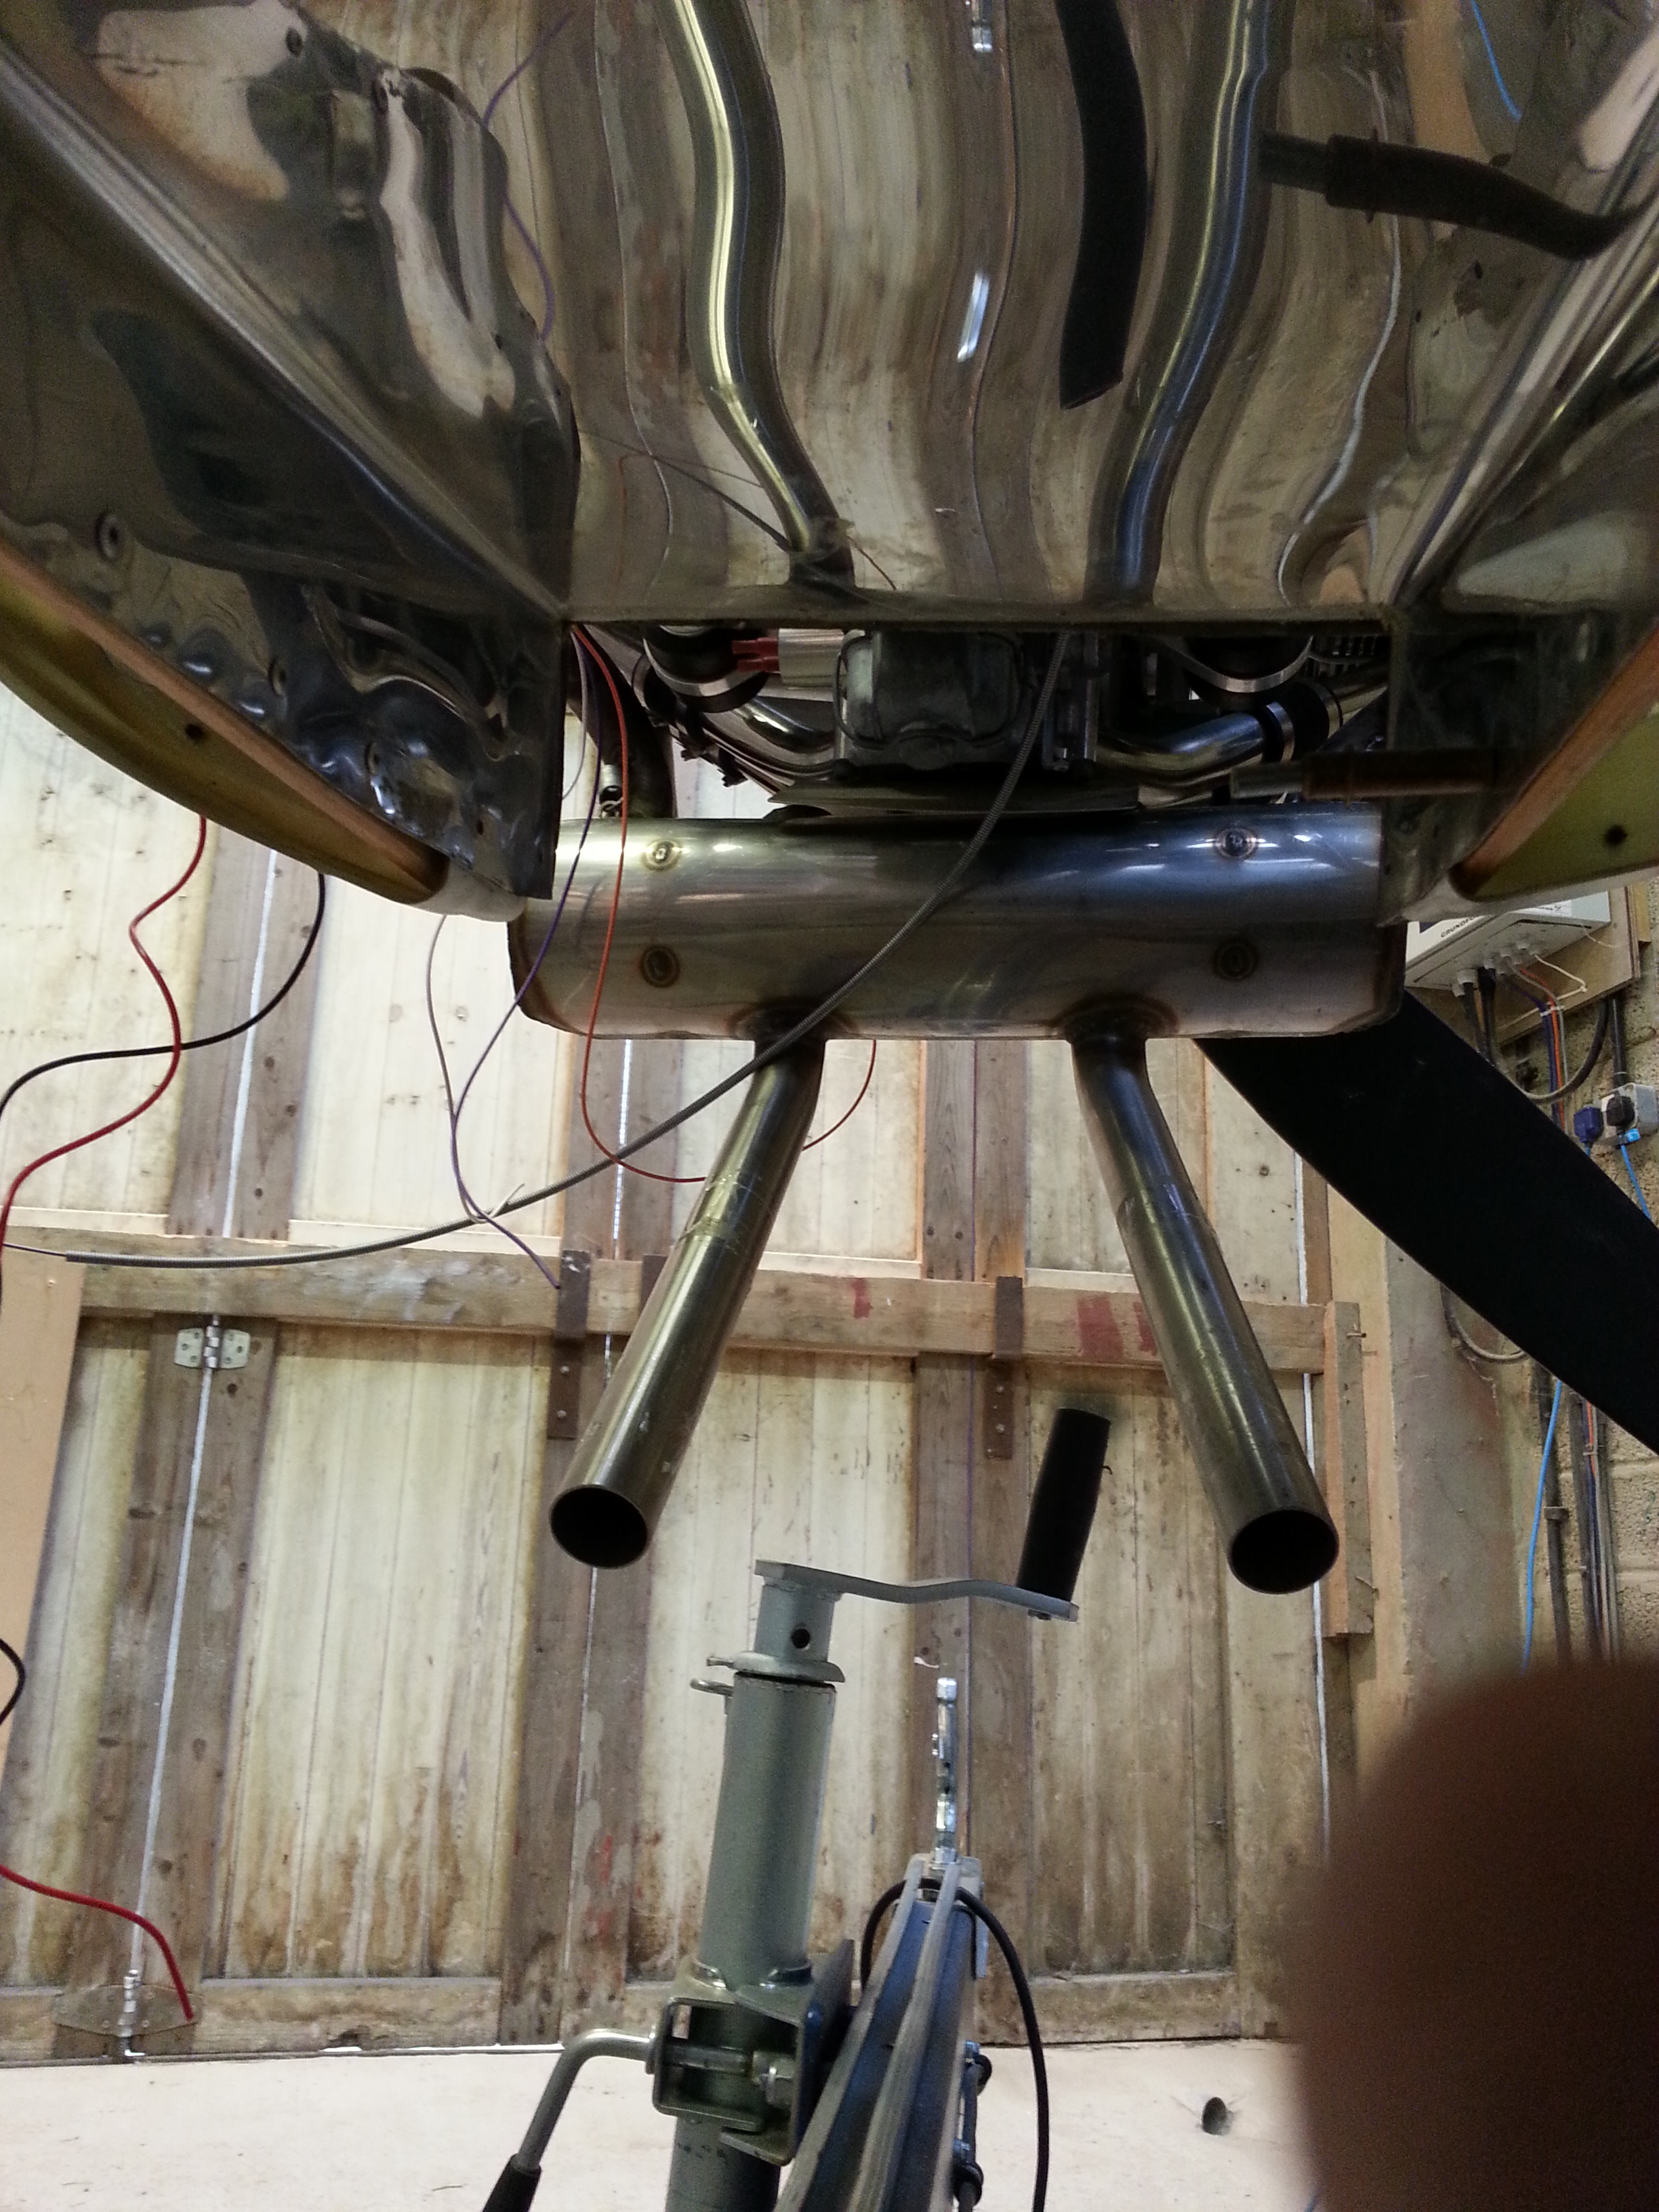
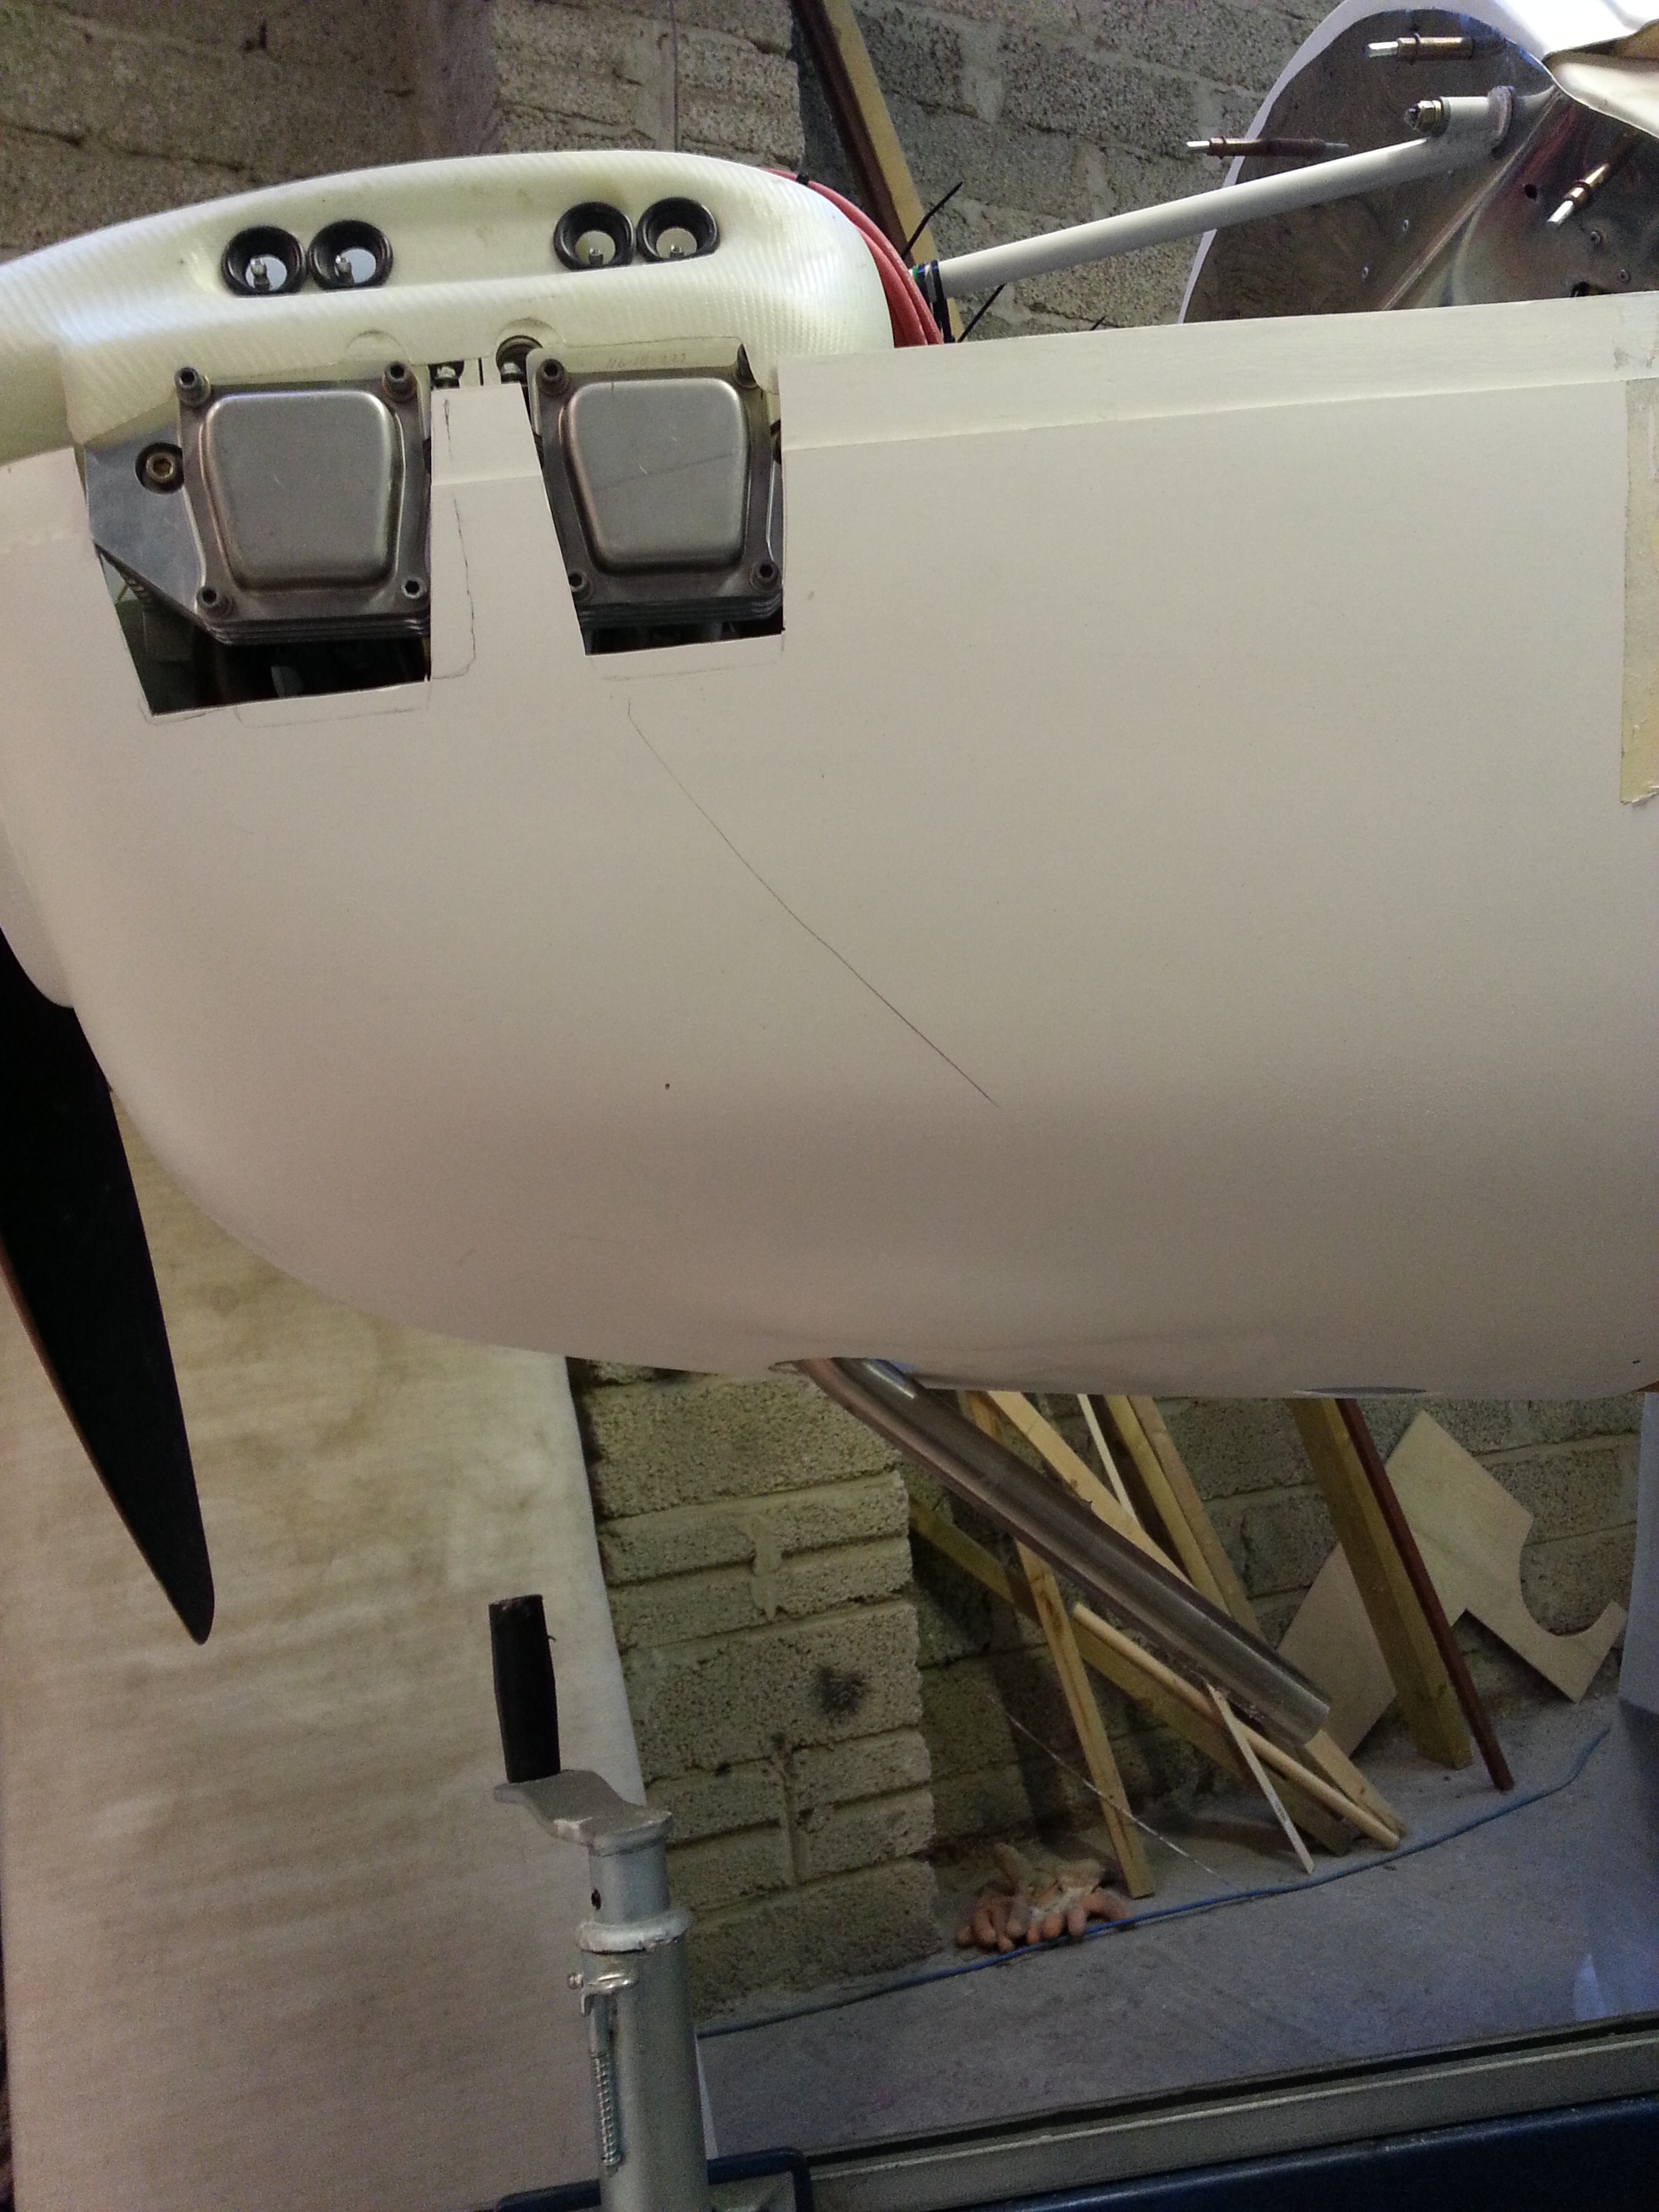
Admission time ! – Yes , I did cut the holes in the wrong place ! Then spotted the TLAC perfectly marked holes !
Nice neat fit … leaves a few minor eeking out of the holes to make sure its a snug fit but looks great.
Paul H S has sourced me a replacement top cowl which has been shipped to my son at Williams F1 ! so they will be wondering where exactly on the FW37 this part actually fits !!! Driving over with a van to drop Benjamin’s house bits off so coming back empty which will mean I get the cowl back in one piece.
I spotted late last night that I had managed to miss the two lower ailerons for the polyurethane treatment and they had picked up a surface colouring whilst in the barn. I sanded it off last night but had no polyurethane in the barn so .. an early morning post 7 am to get it all treated and drying today
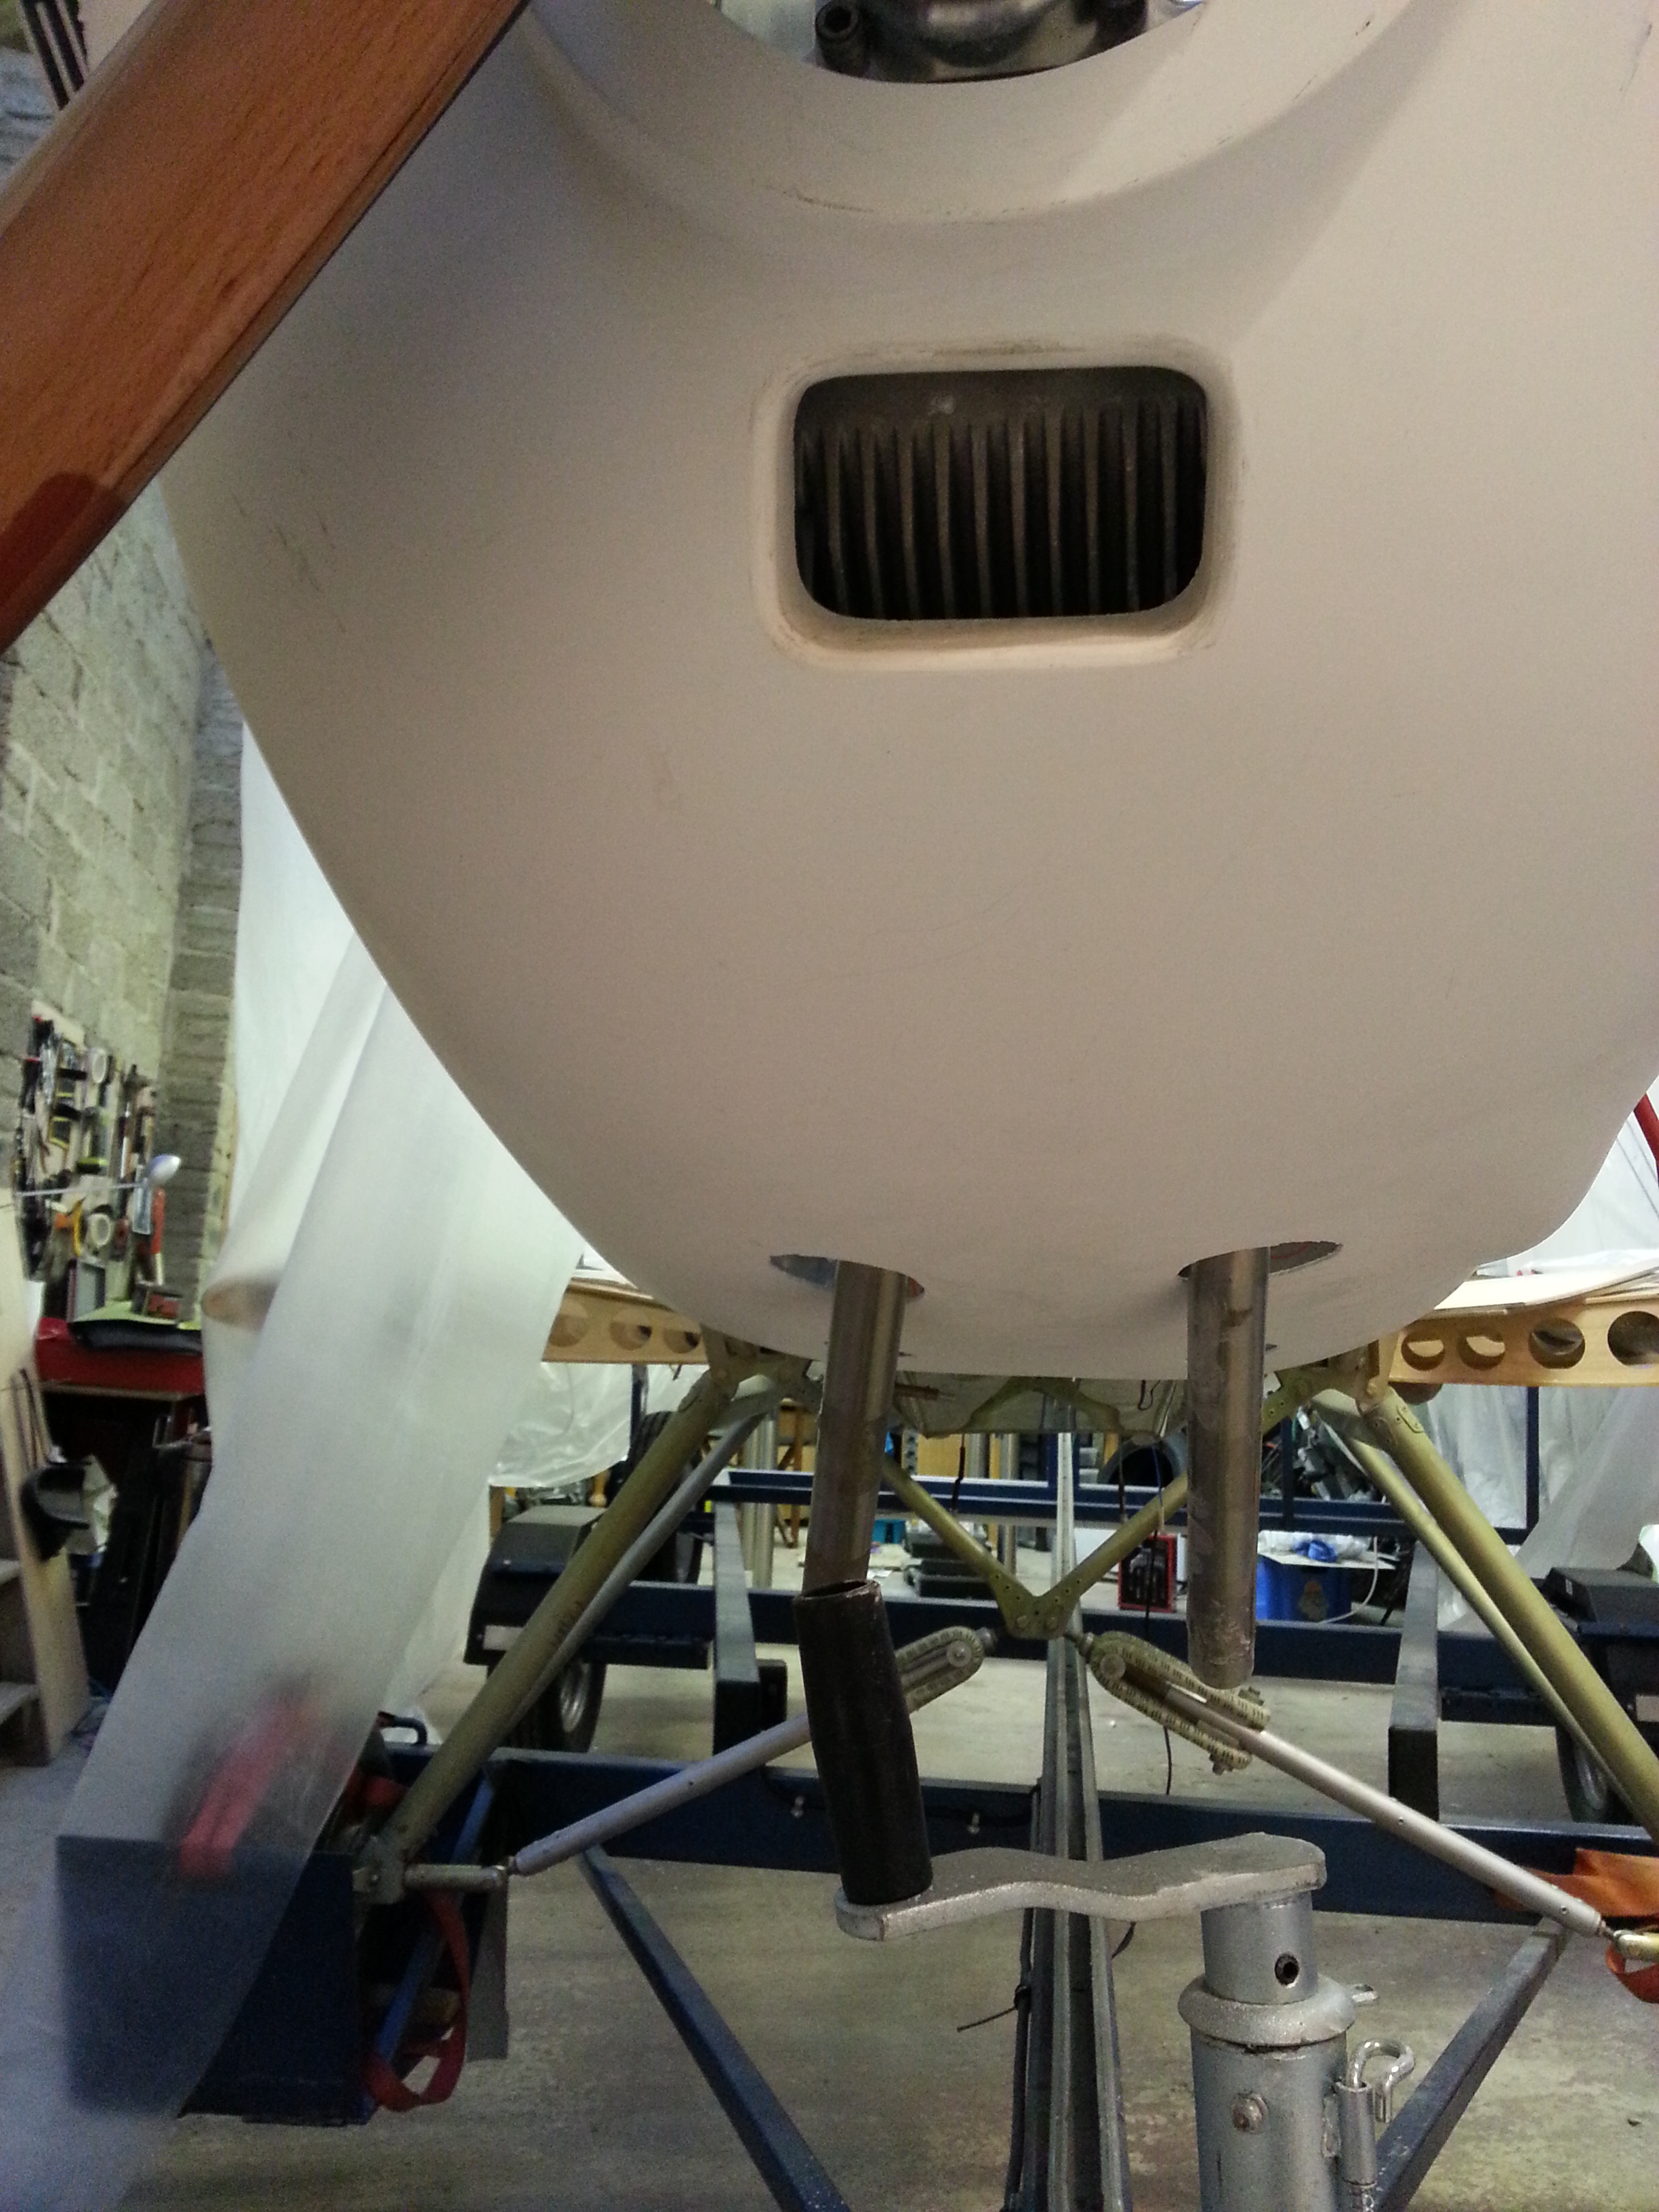
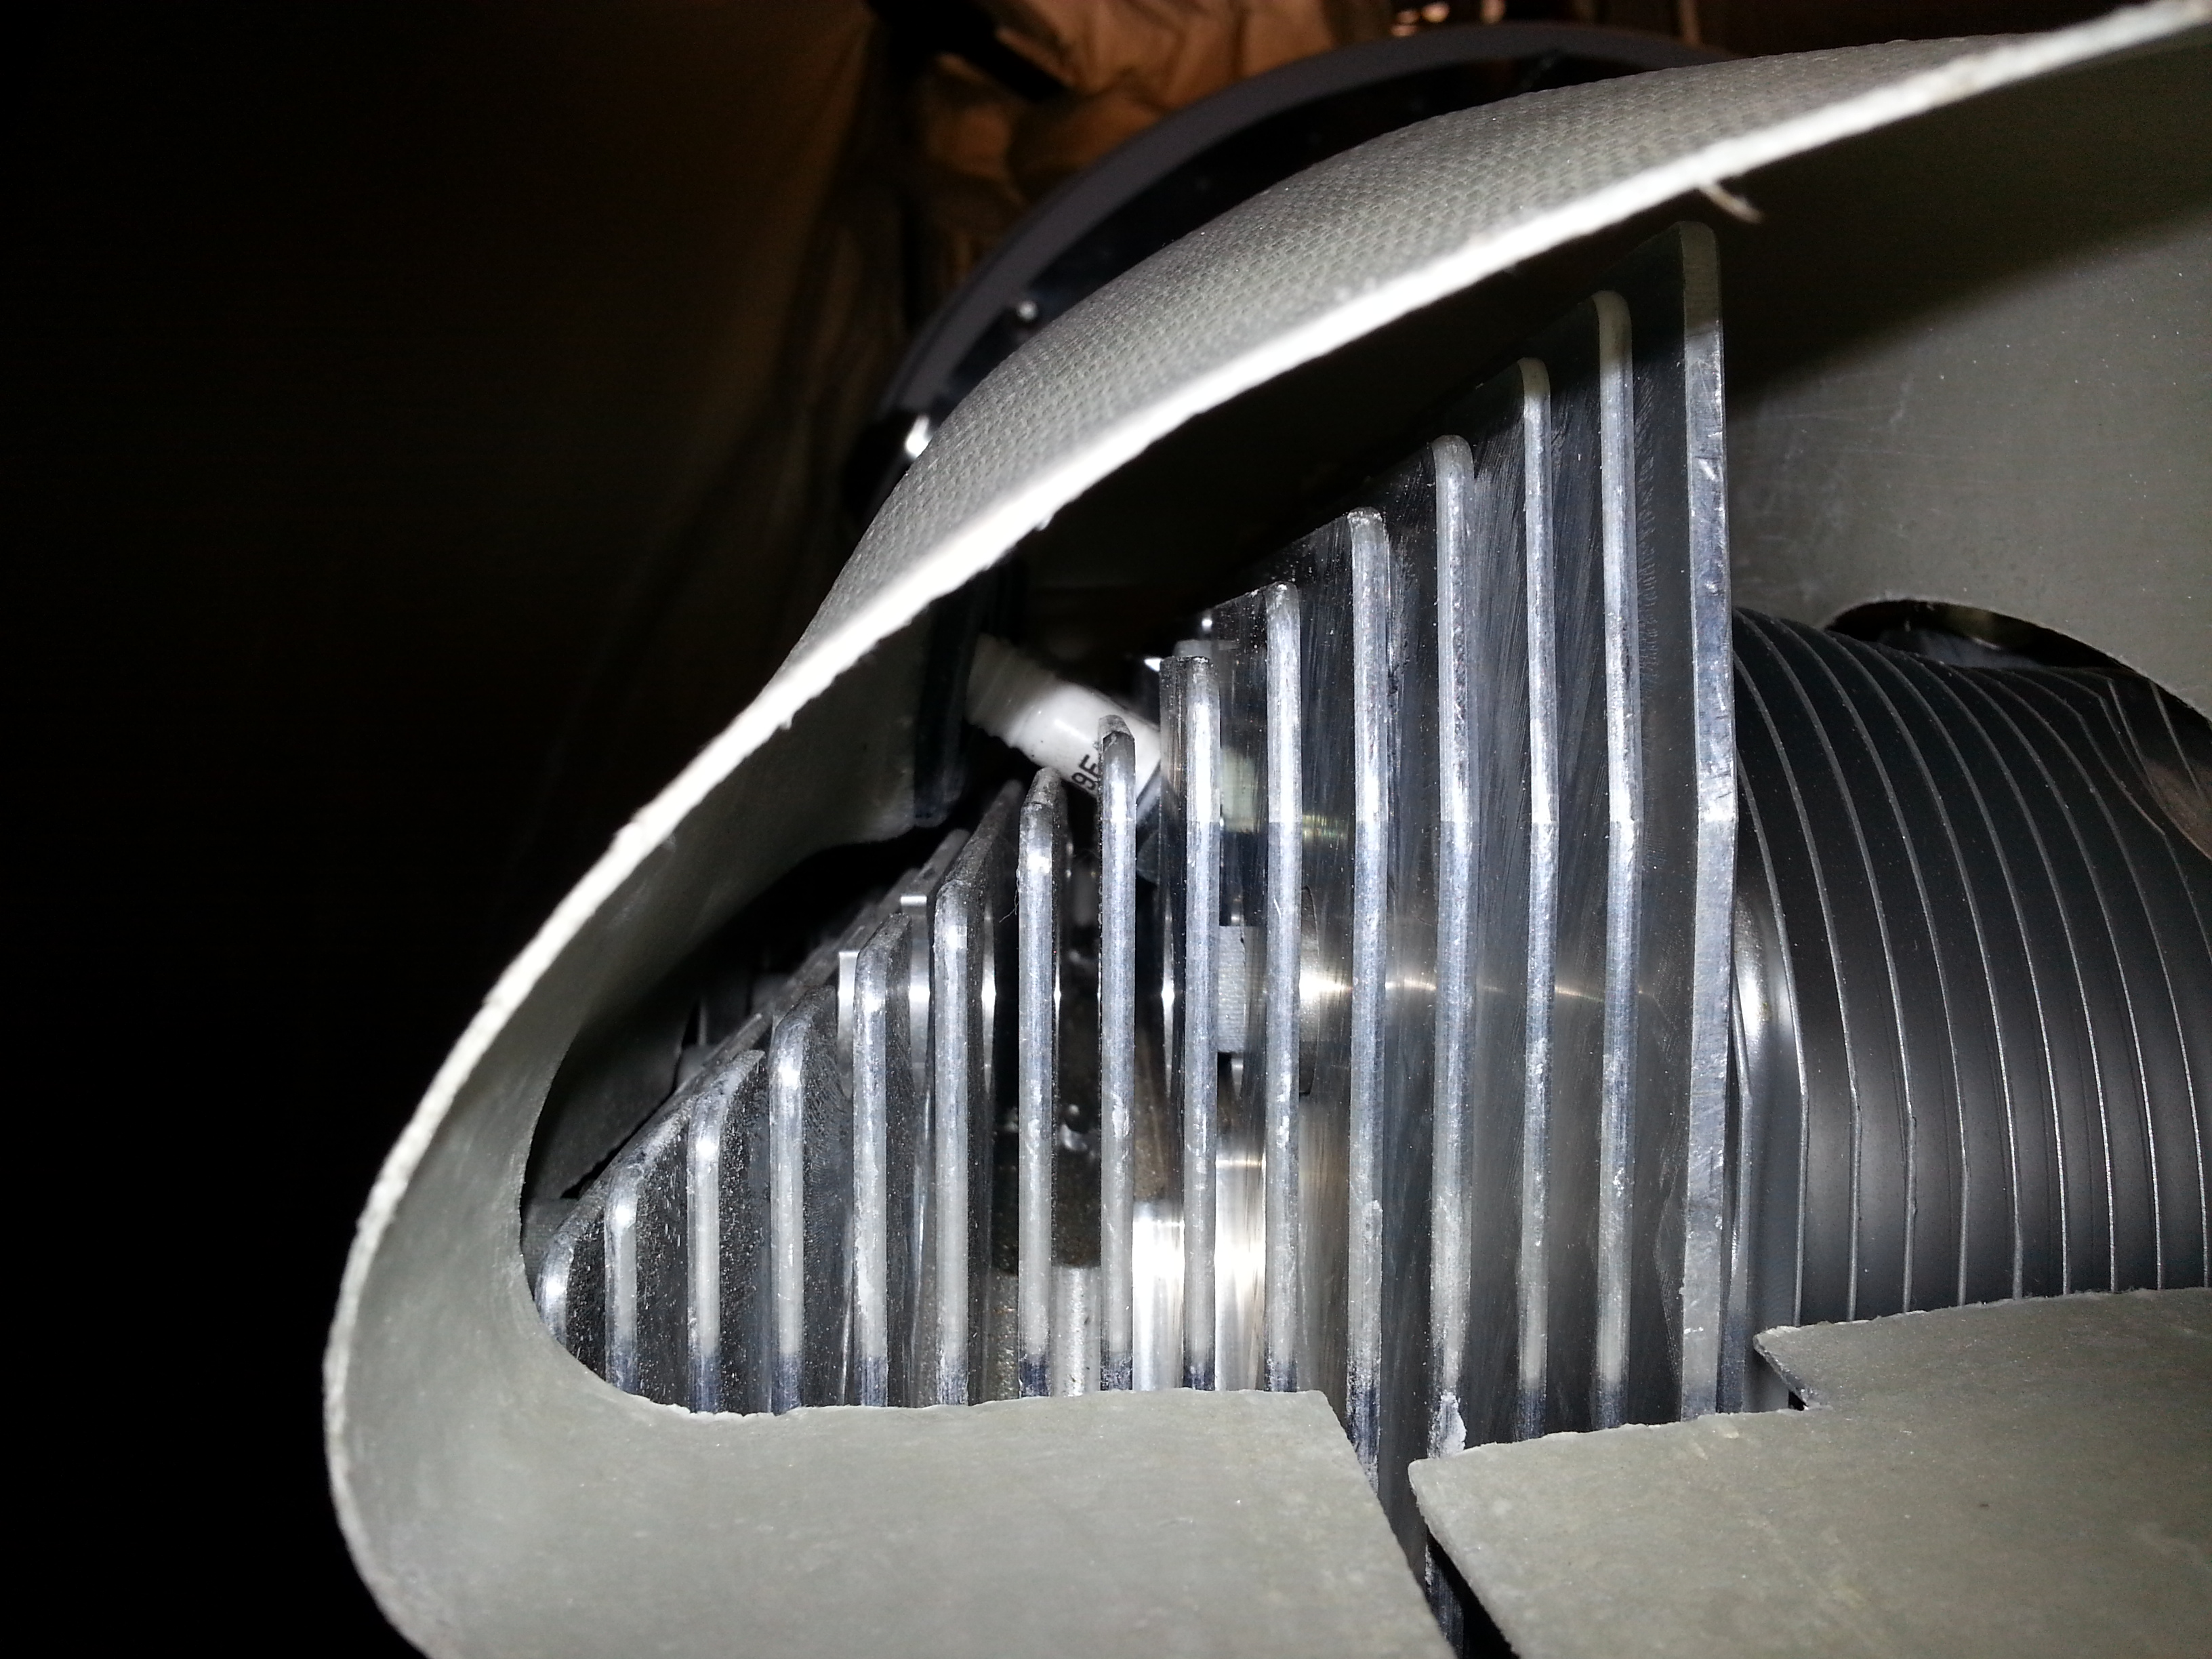
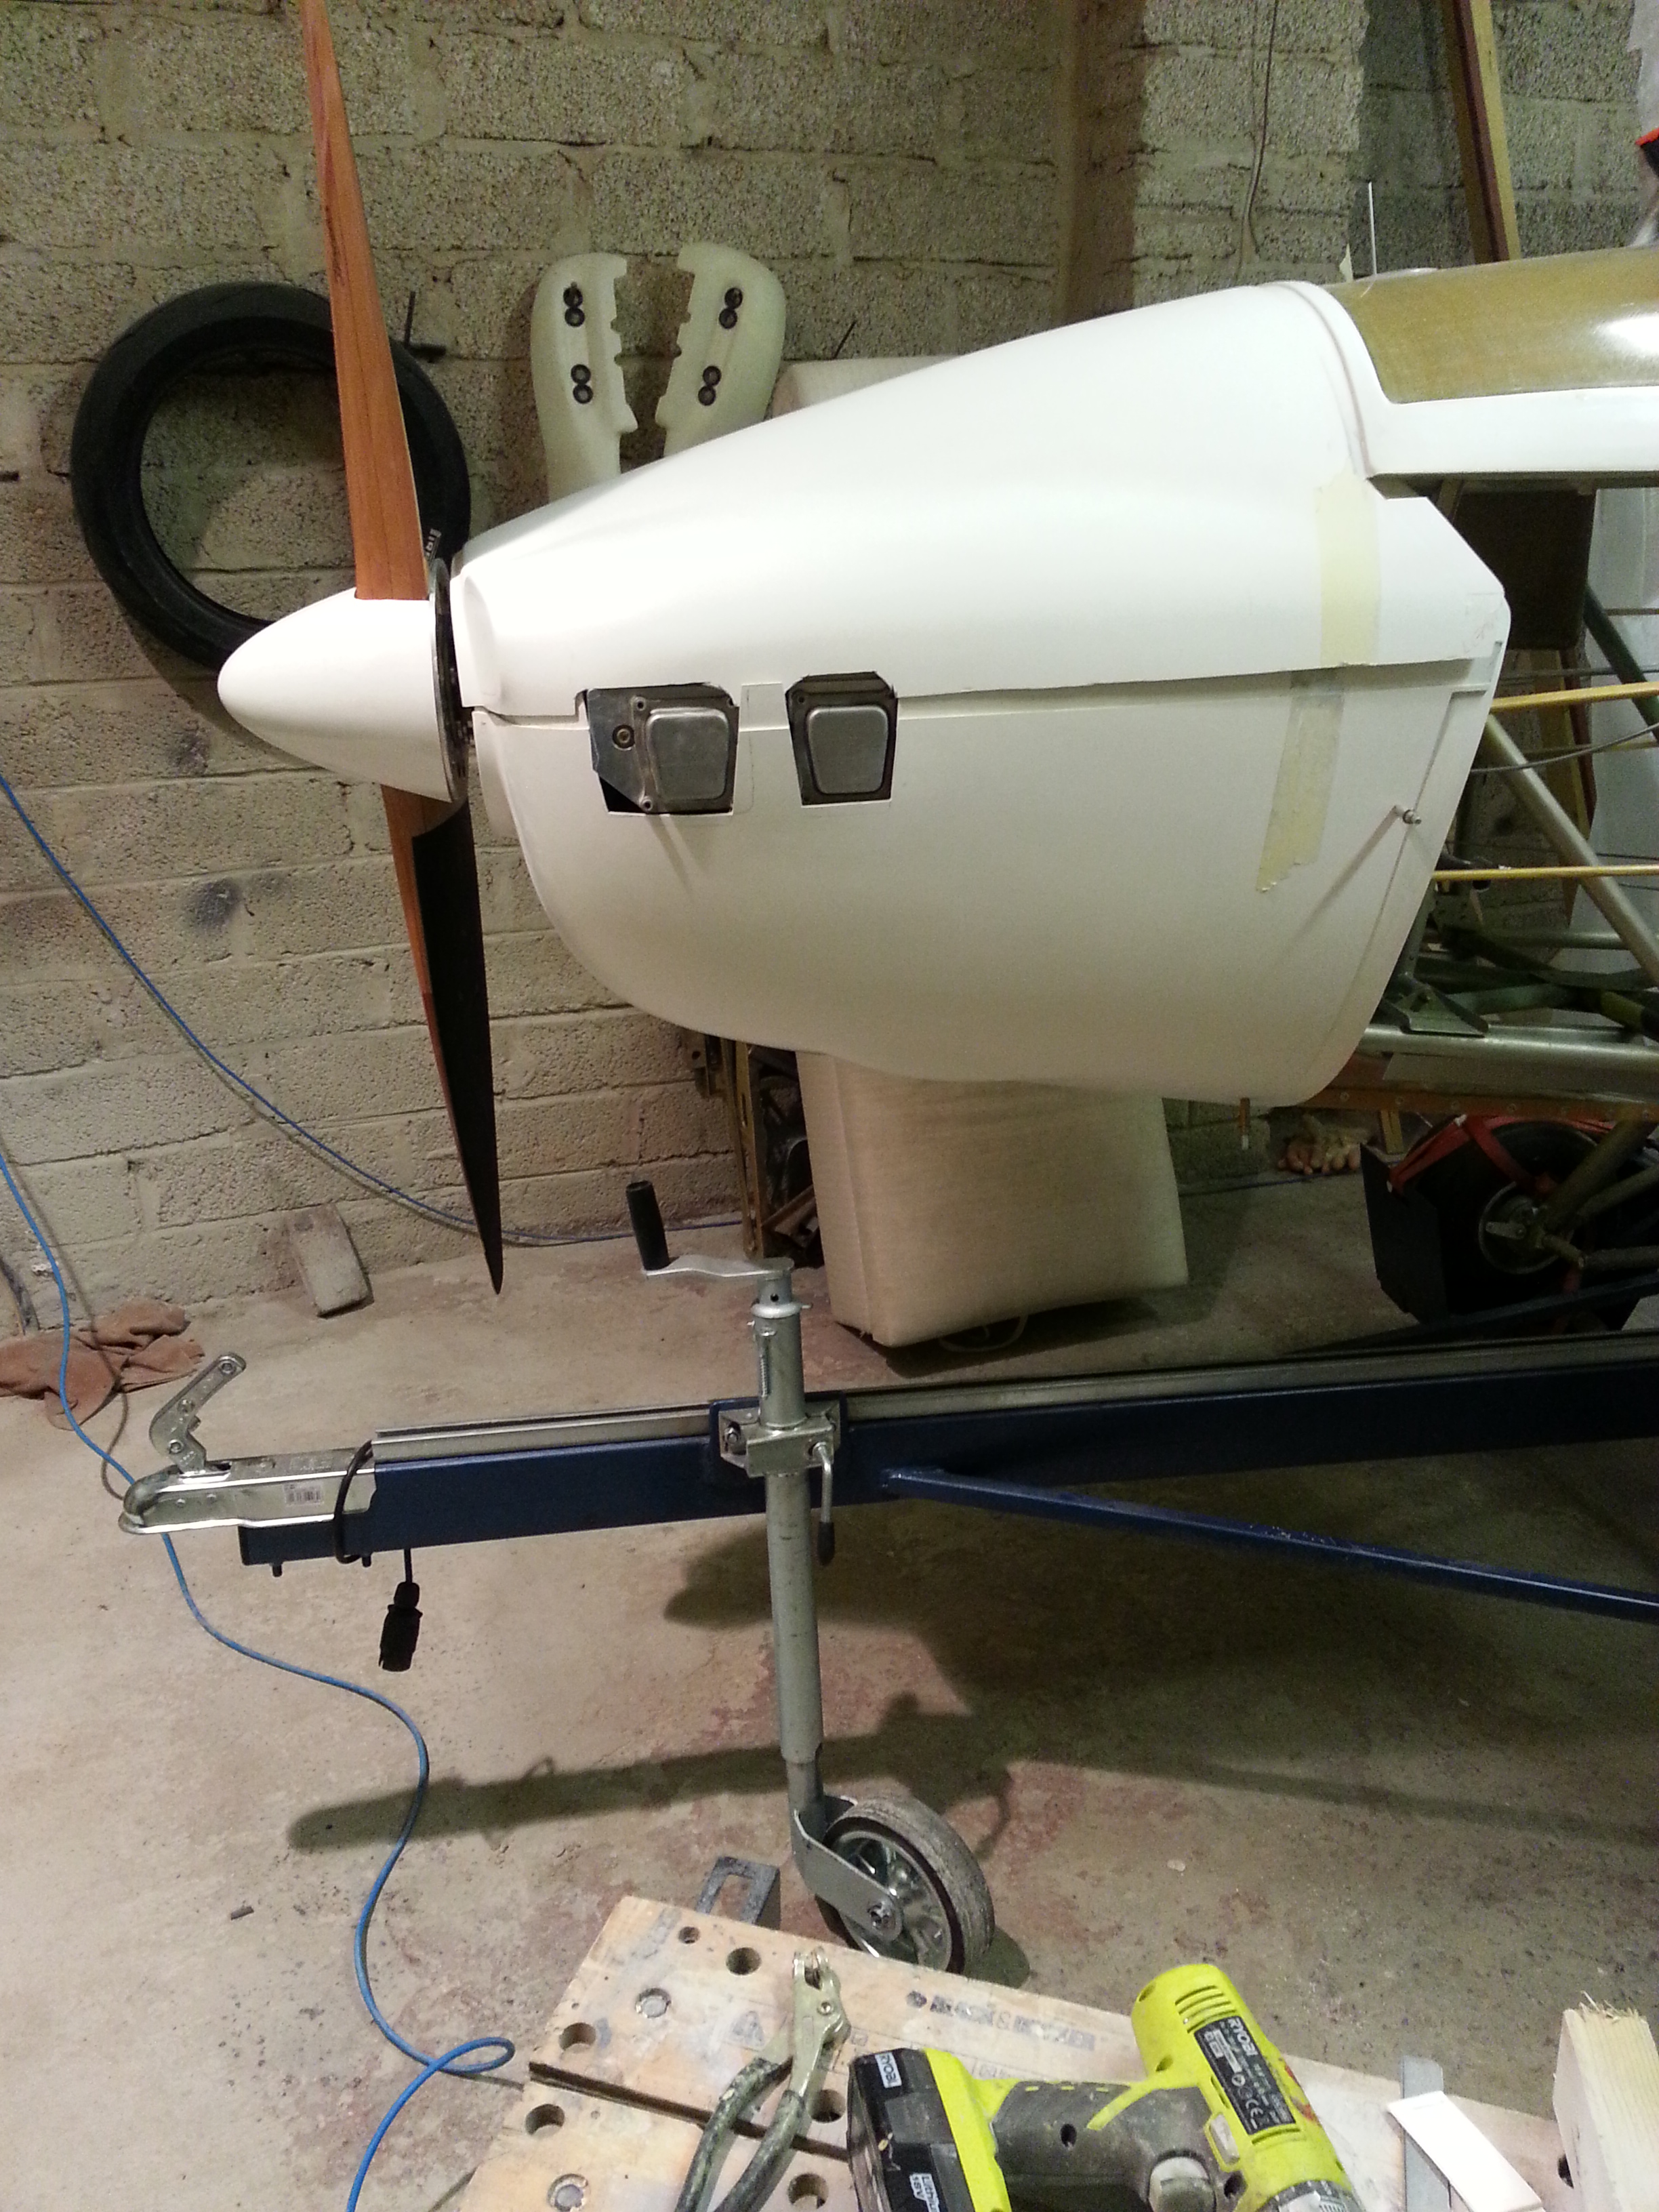
Waiting for replacement top cowl so got on with trimming down the engine cooling shrouds.
These came in the engine box that I bought and already had the mod that puts an air dam in the back of the shroud so that incoming air flows over the cylinder heads and is then forced down the back of the rear cylinder head instead of just washing out at the back.
I found that all the indented hex heads that secure the cylinder top plate and exhaust manifolds are odd sizes and don’t fit any of my socket drive hex heads or even my allen key set !
I cant get at the manifold bolts as the socket will need an extended head to make sure I miss all the cylinder fins etc that shroud the fittings. These all need to be loosened off so that I can get the exhaust temporarily fitted to estimate where the lower cowl needs holes for outlets.
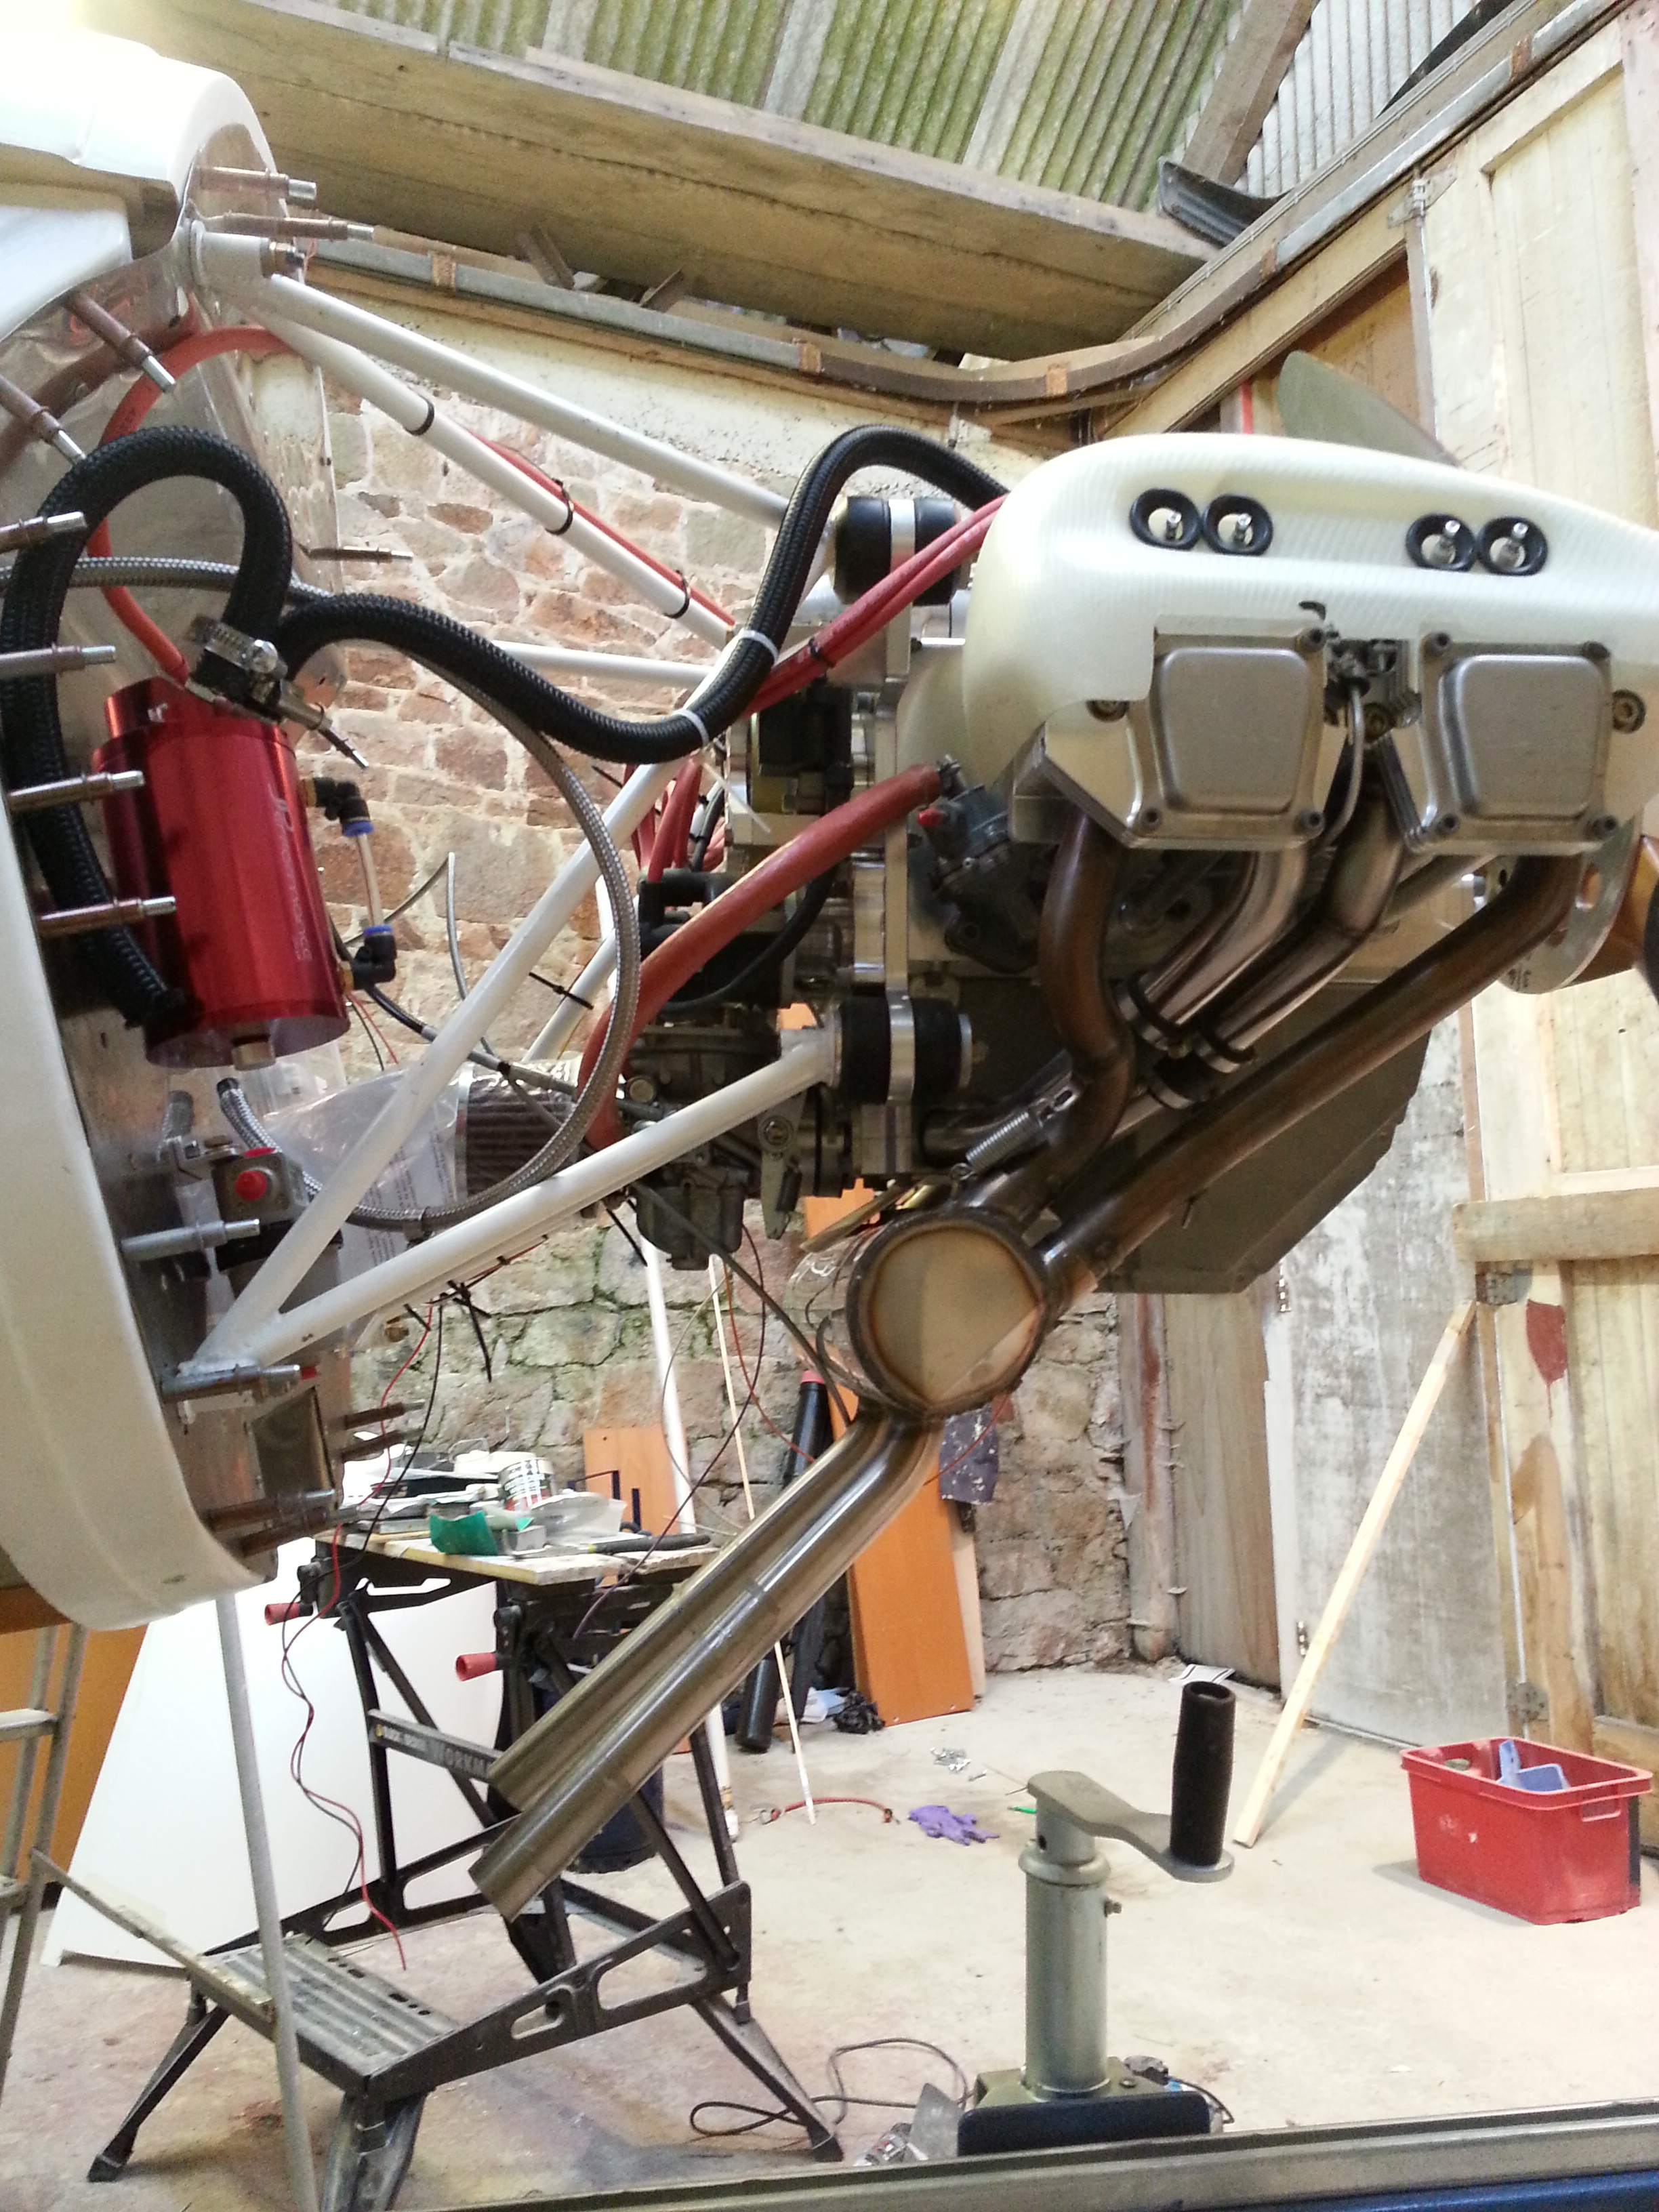
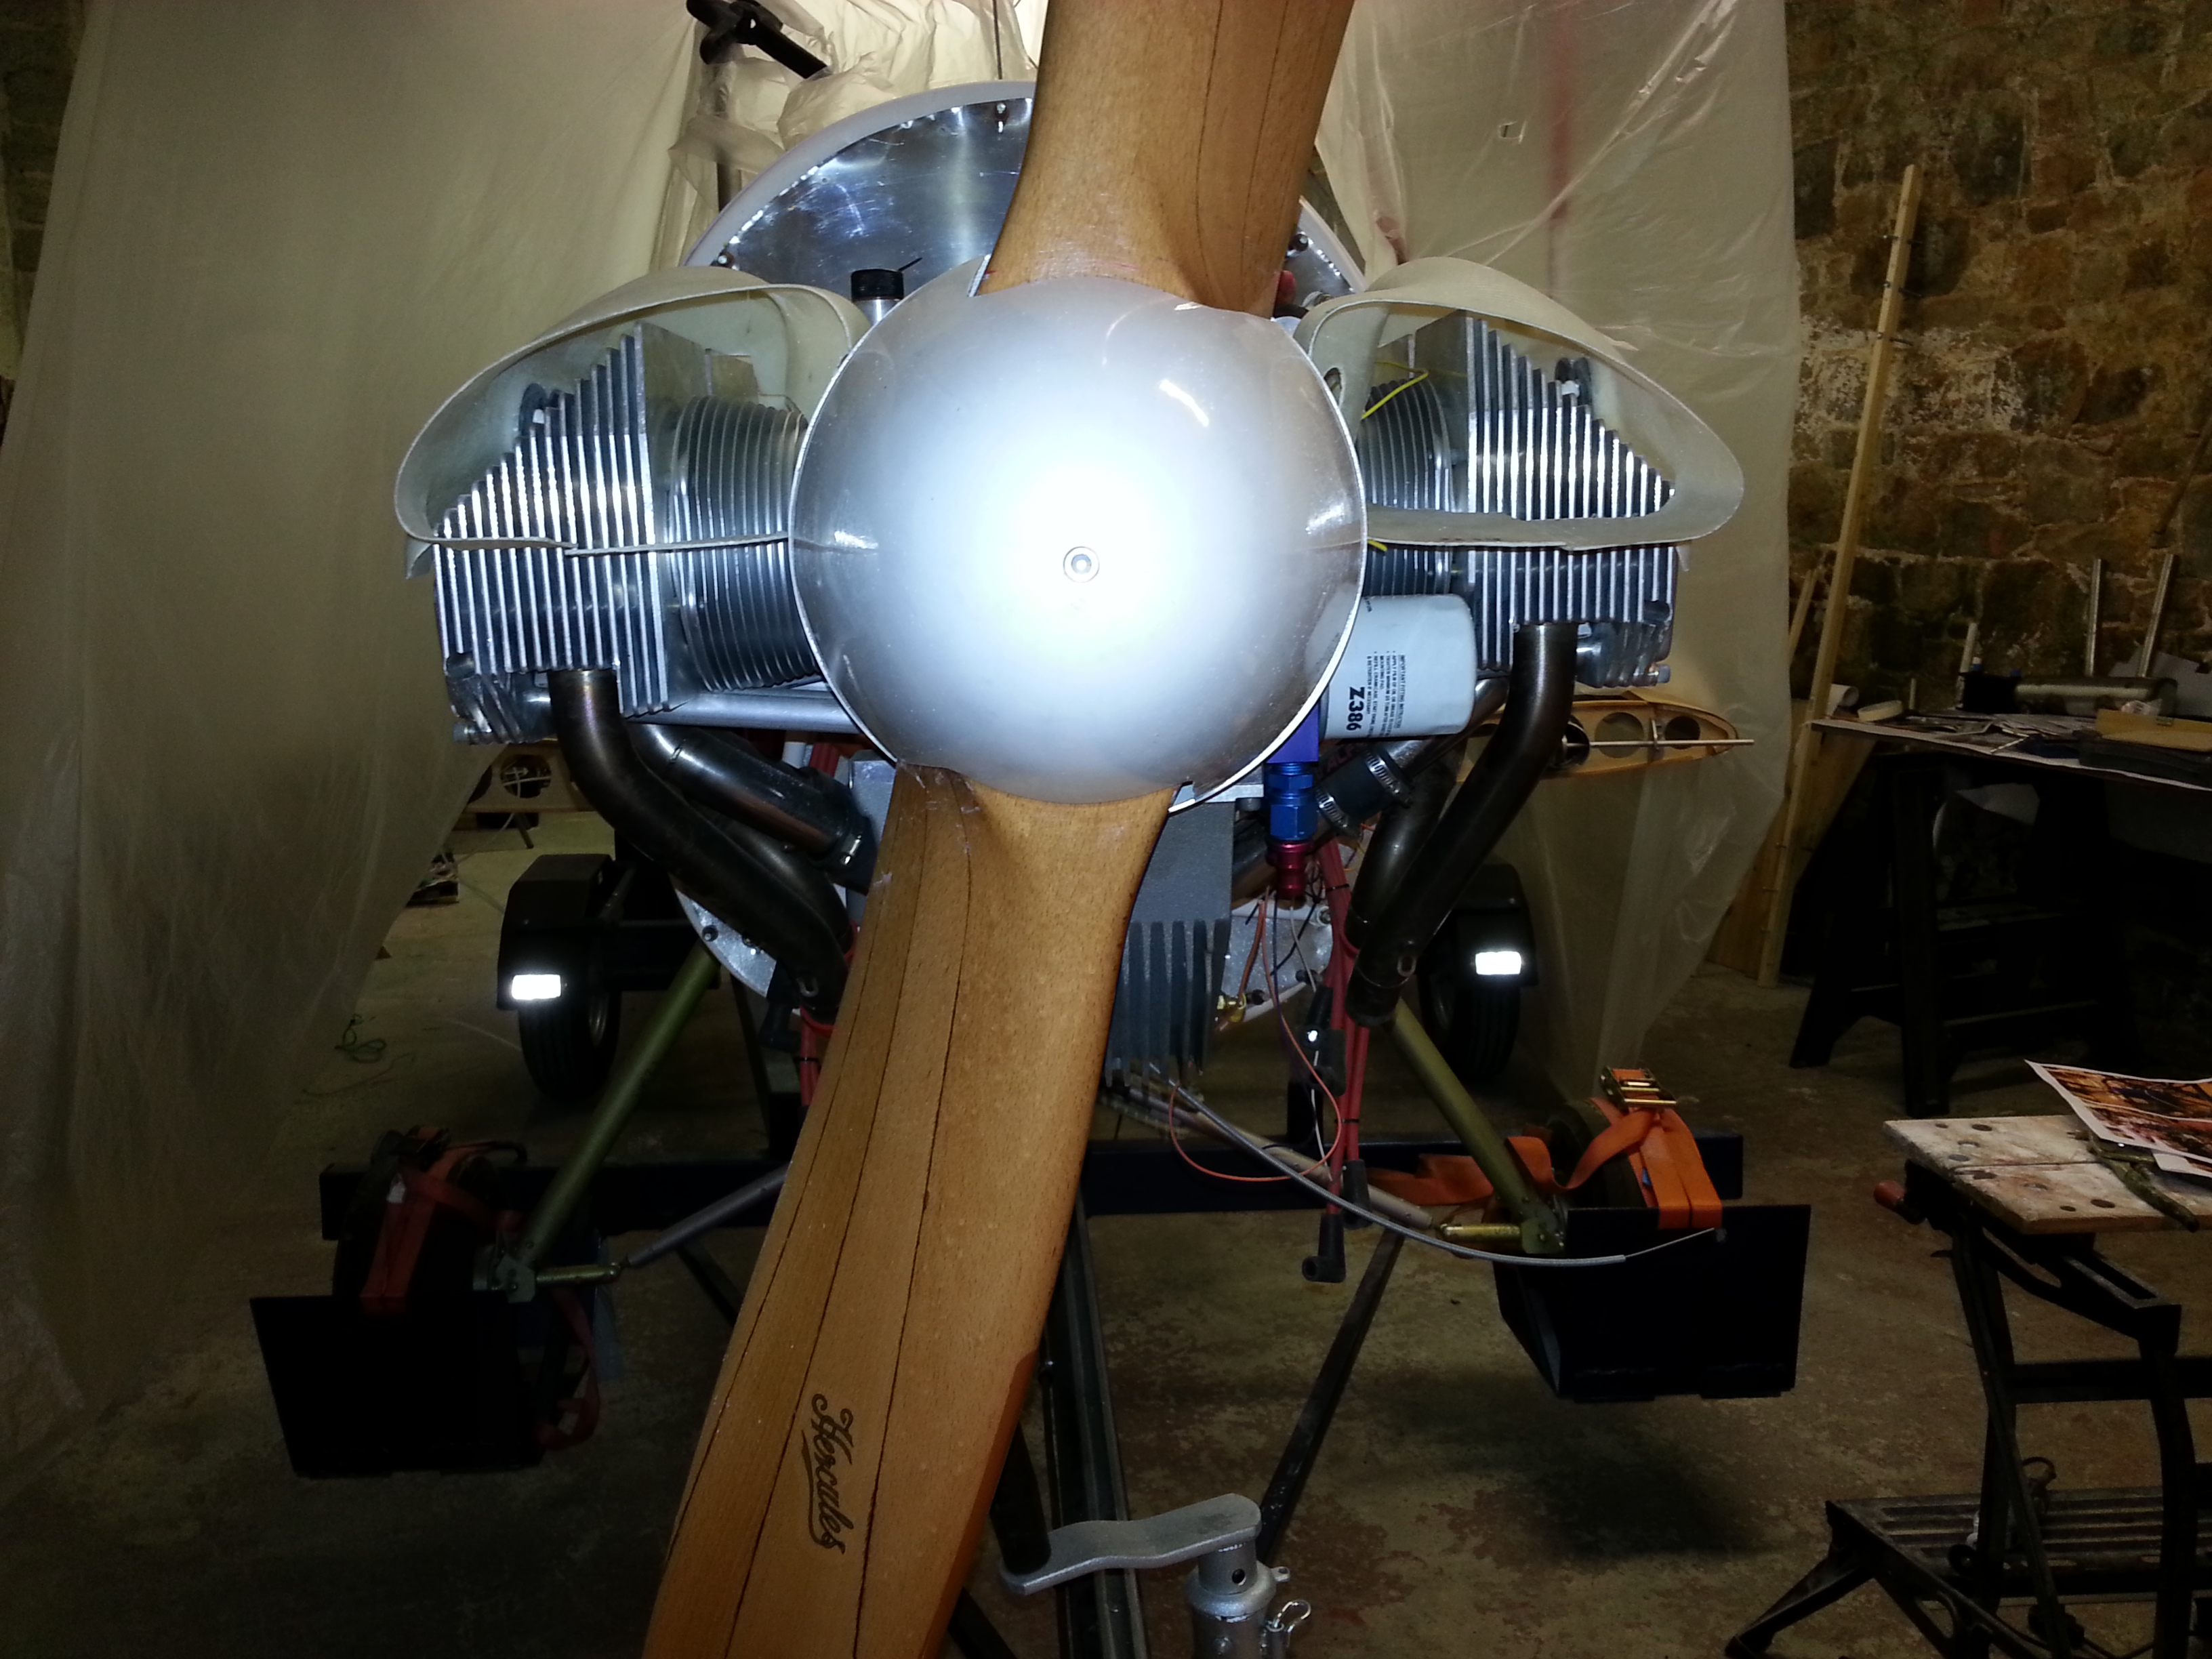
Admission time …. I fitted the top cowl and trimmed to the best fit I could but then had my son Ben visit from Oxford so took the opportunity to have another pair of skilled hands help me get the lower cowl into position …
It was only then that I realised I had over cut the top cowl and would have been better (certainly with the Jab engine) starting with the bottom. The TLAC indicated cut areas on the lower cowl were spot on and only need a little more widening to take account of the larger fins on my Jabiru.
I then put 4 cleco’s in position and it was held like a rock … I could then see that my trimming of the top was not going to work.
I have a couple of options which are being actively reviewed.
1) Buy a new top – pretty expensive and we don’t have January sales in these items !! 😦
2) Run a backing strip of carbon fibre/glass and re-edge the area I have cut
Option 2 looks like a viable option so we are going to try that first .. with option 1 as an obvious fallback.
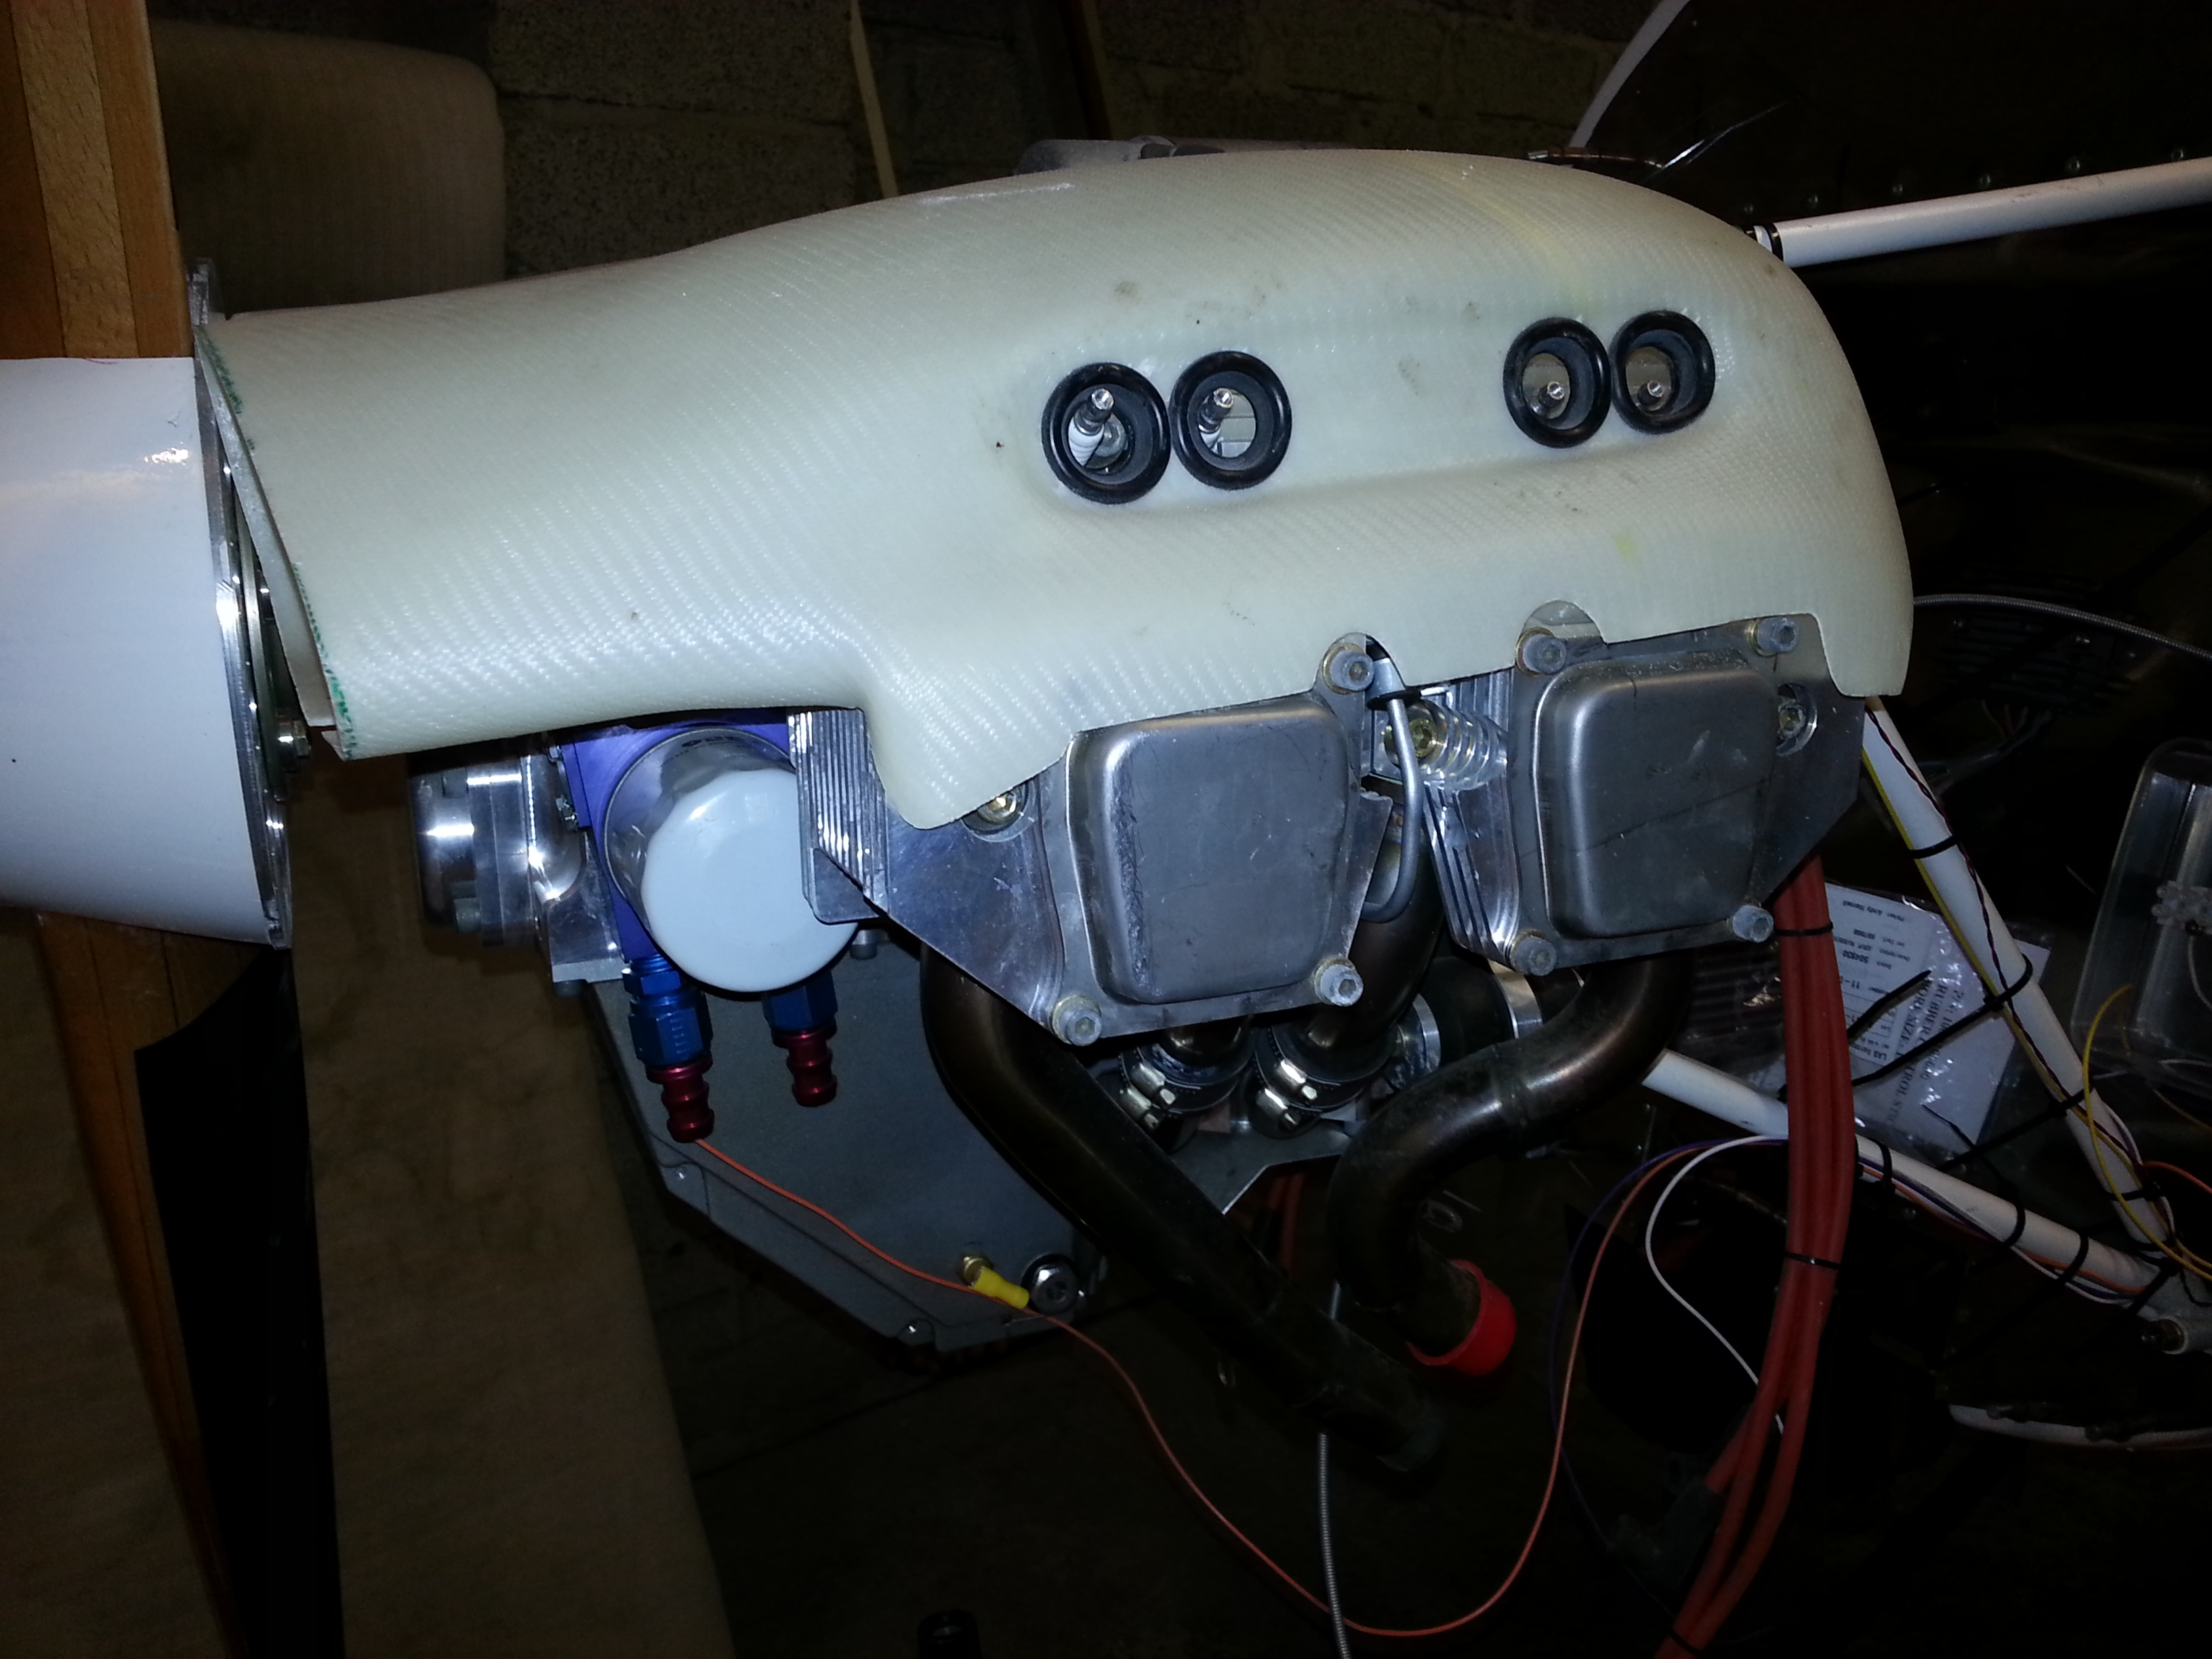
The plan is to get some slim F1 styled scoops (the sort they have just above and behind the drivers head) to act as extra scoops for air but also have a matched pair (one for each side for ‘visual’ balance) to hide the protruding heads.
Watch this space and we will see how the repair goes !
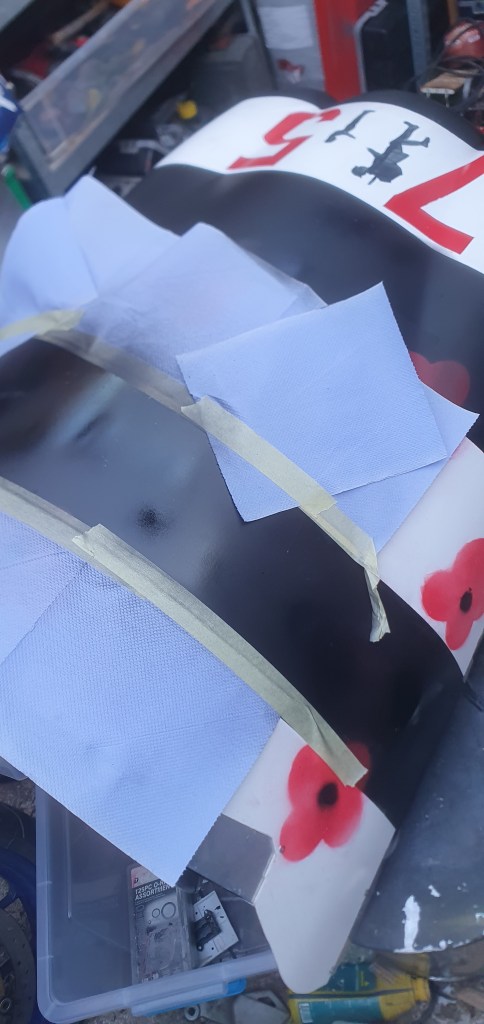
1 May 2020 – very late update .. as I saw someone had been looking at this post recently … well.. option 2 seemed a non starter as ‘why spoil the whole thing for a ‘hapeth of tar’ as they used to say … probably when ships were being built up North ! so .. I paid up and bought new … but … could never bring myself to throw the original .. so it stayed in the back of the barn for years … then .. much later .. I dragged it out .. cut some aircraft alloy strips and riveted in place .. this gave me the increased ‘depth’ back and then had fun aligning drill holes for the fixing bolts
This gave me the option to use either cowl … so I painted up the old (white) one with black stripes … added some poppies and got it ready to celebrate D day invasion landings in July 2019.
I have now just added a number 7 and a 5 to celebrate the 75th year since Jersey was liberated post WWII .. along with some hand painted figures
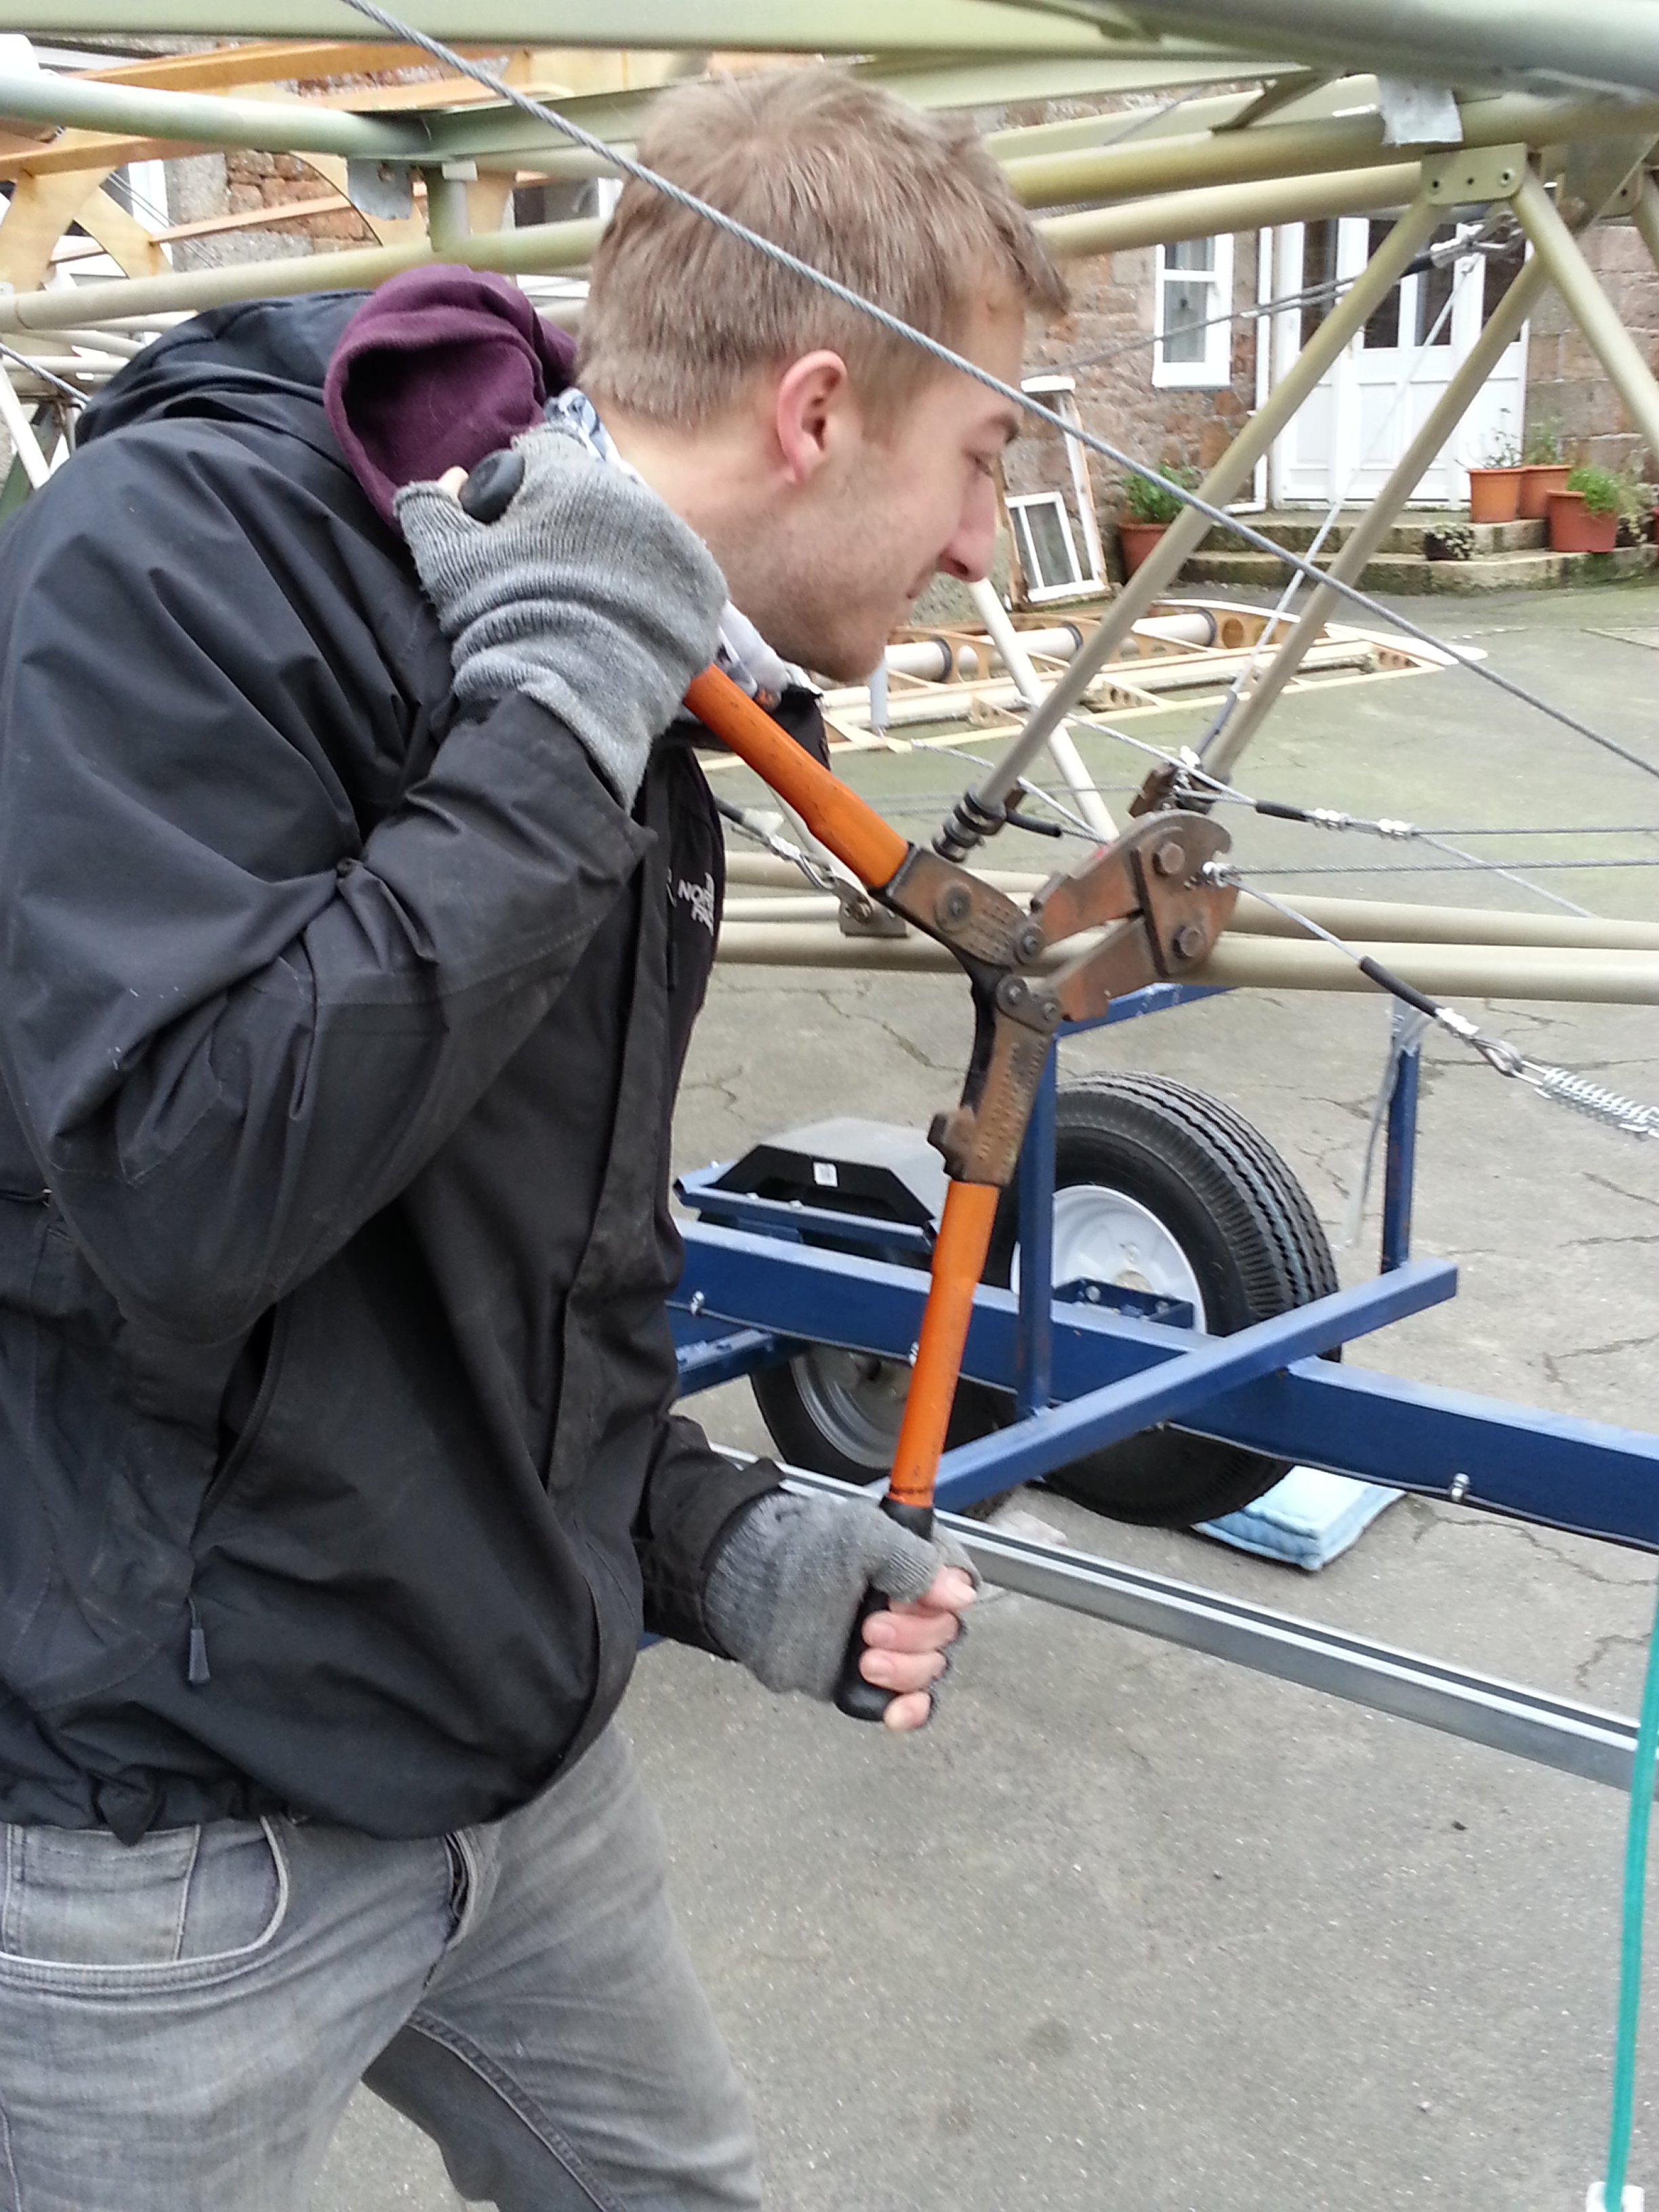
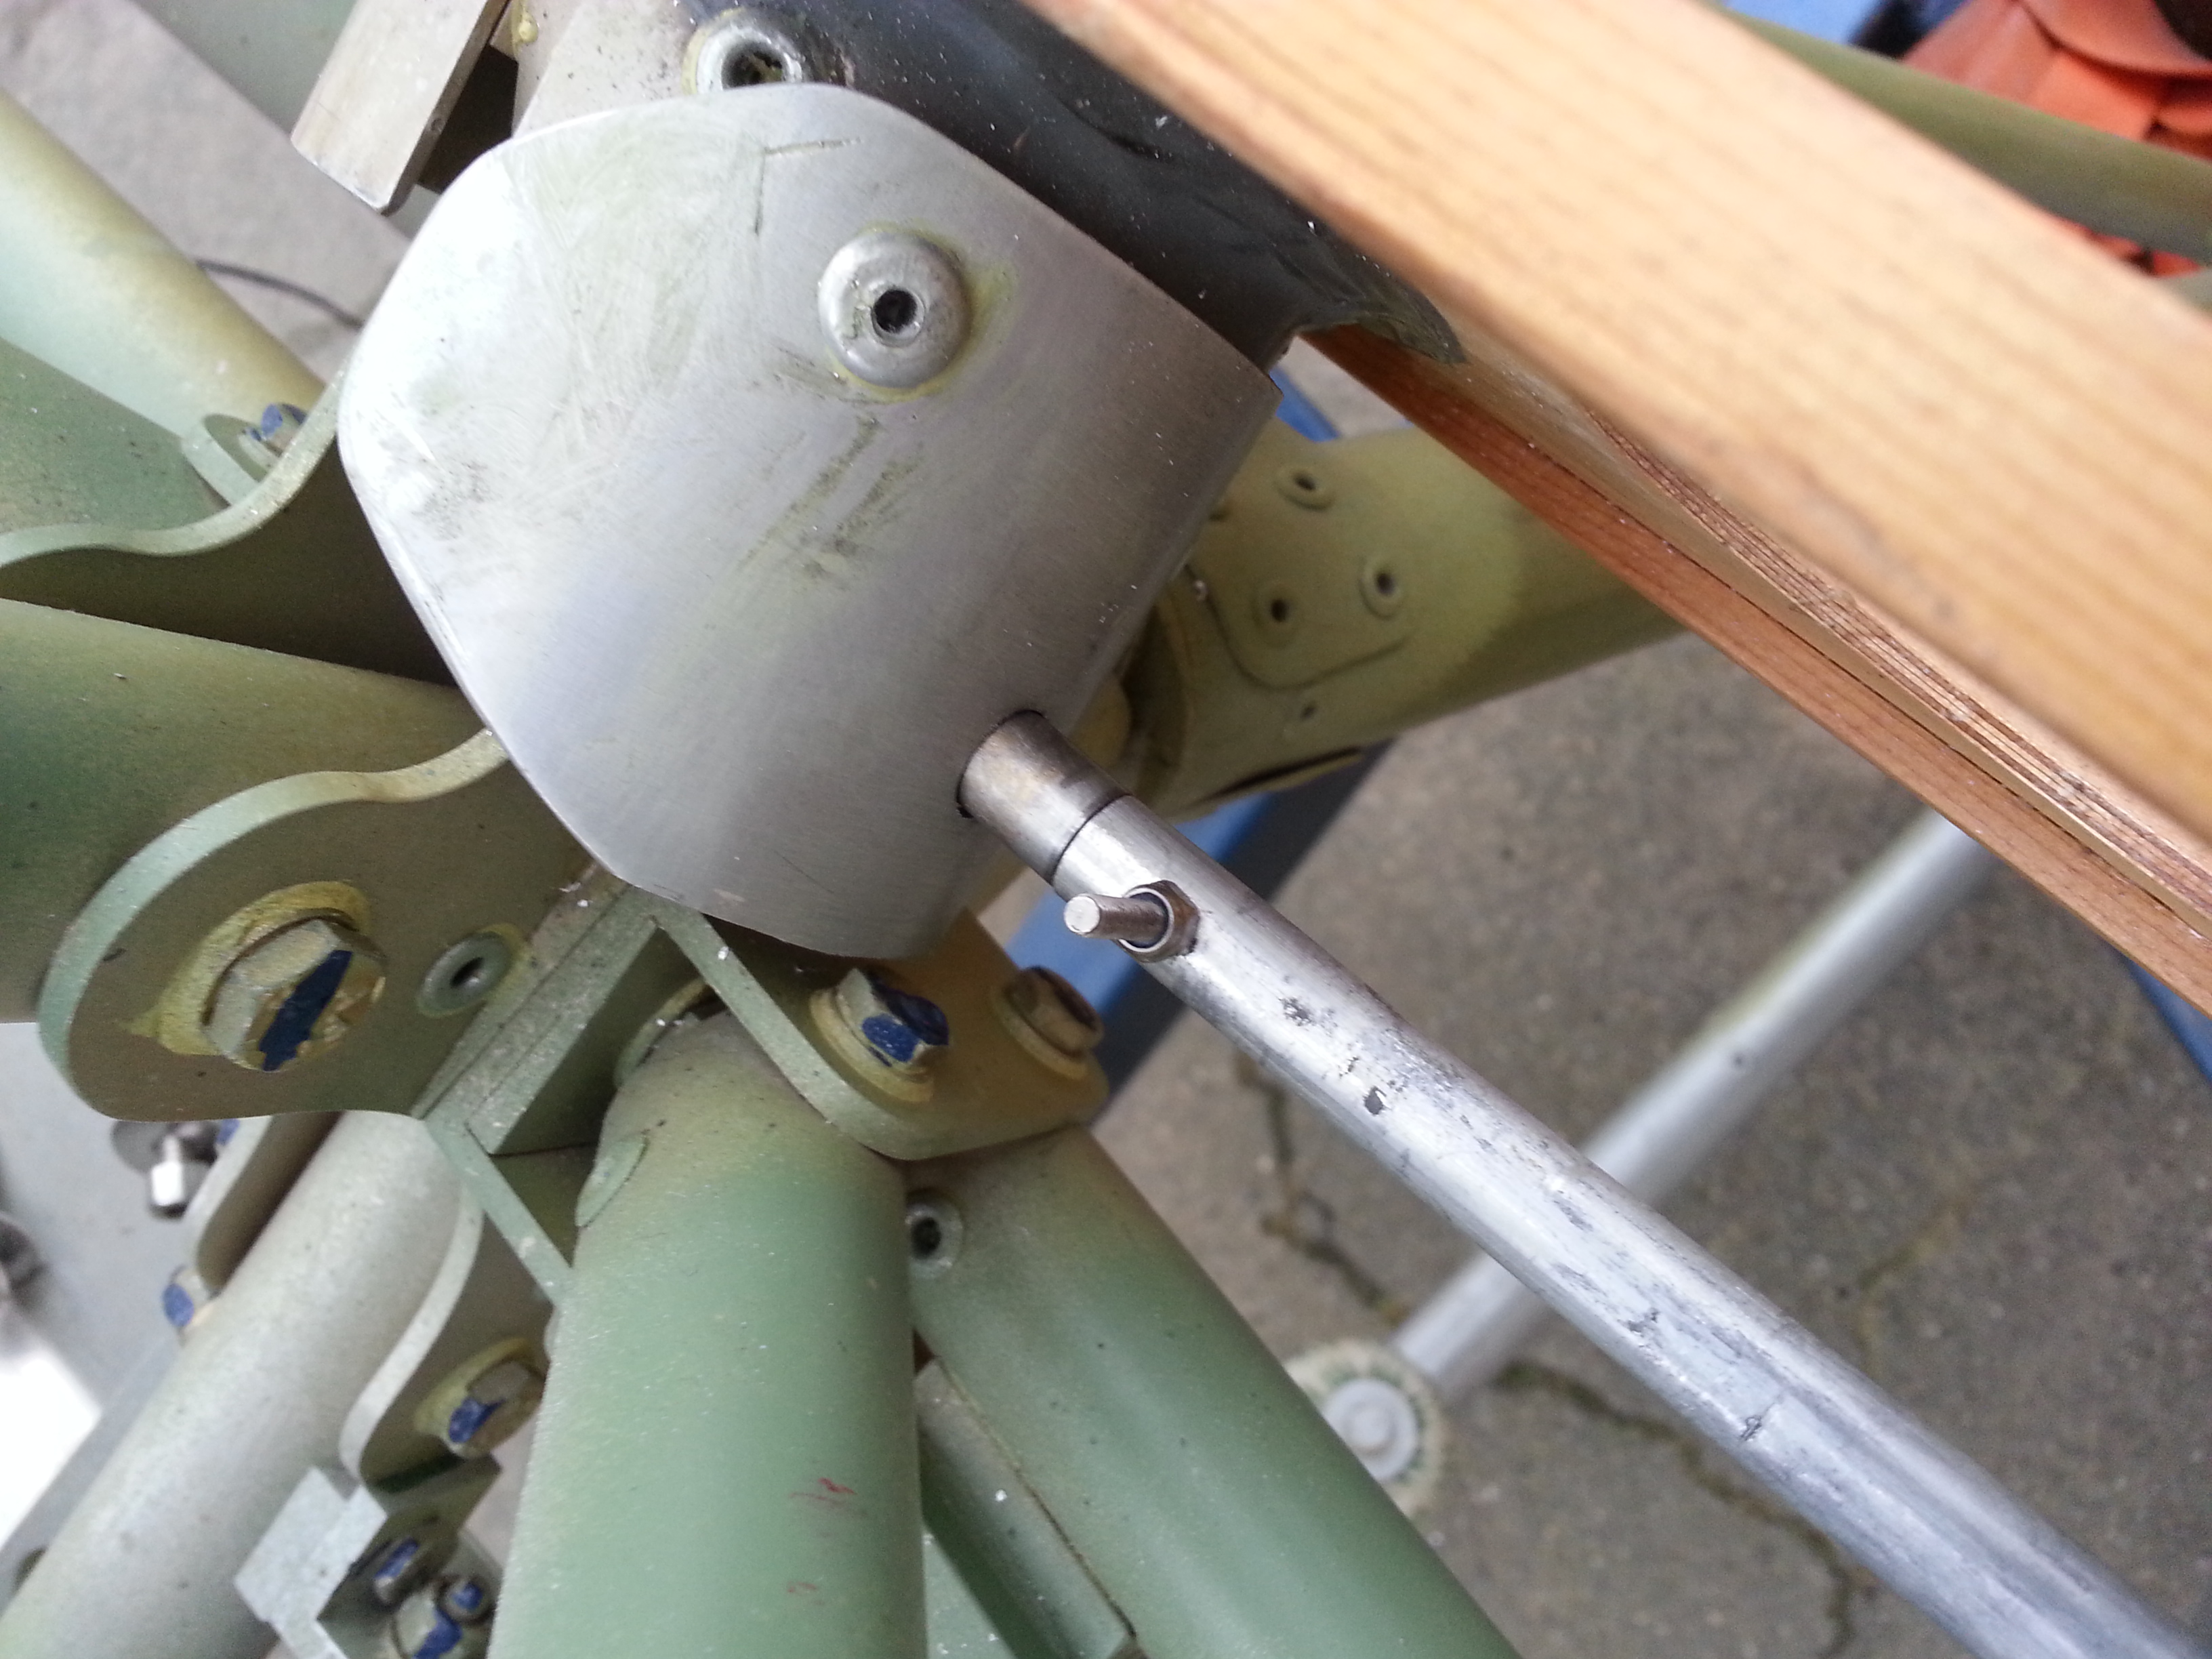
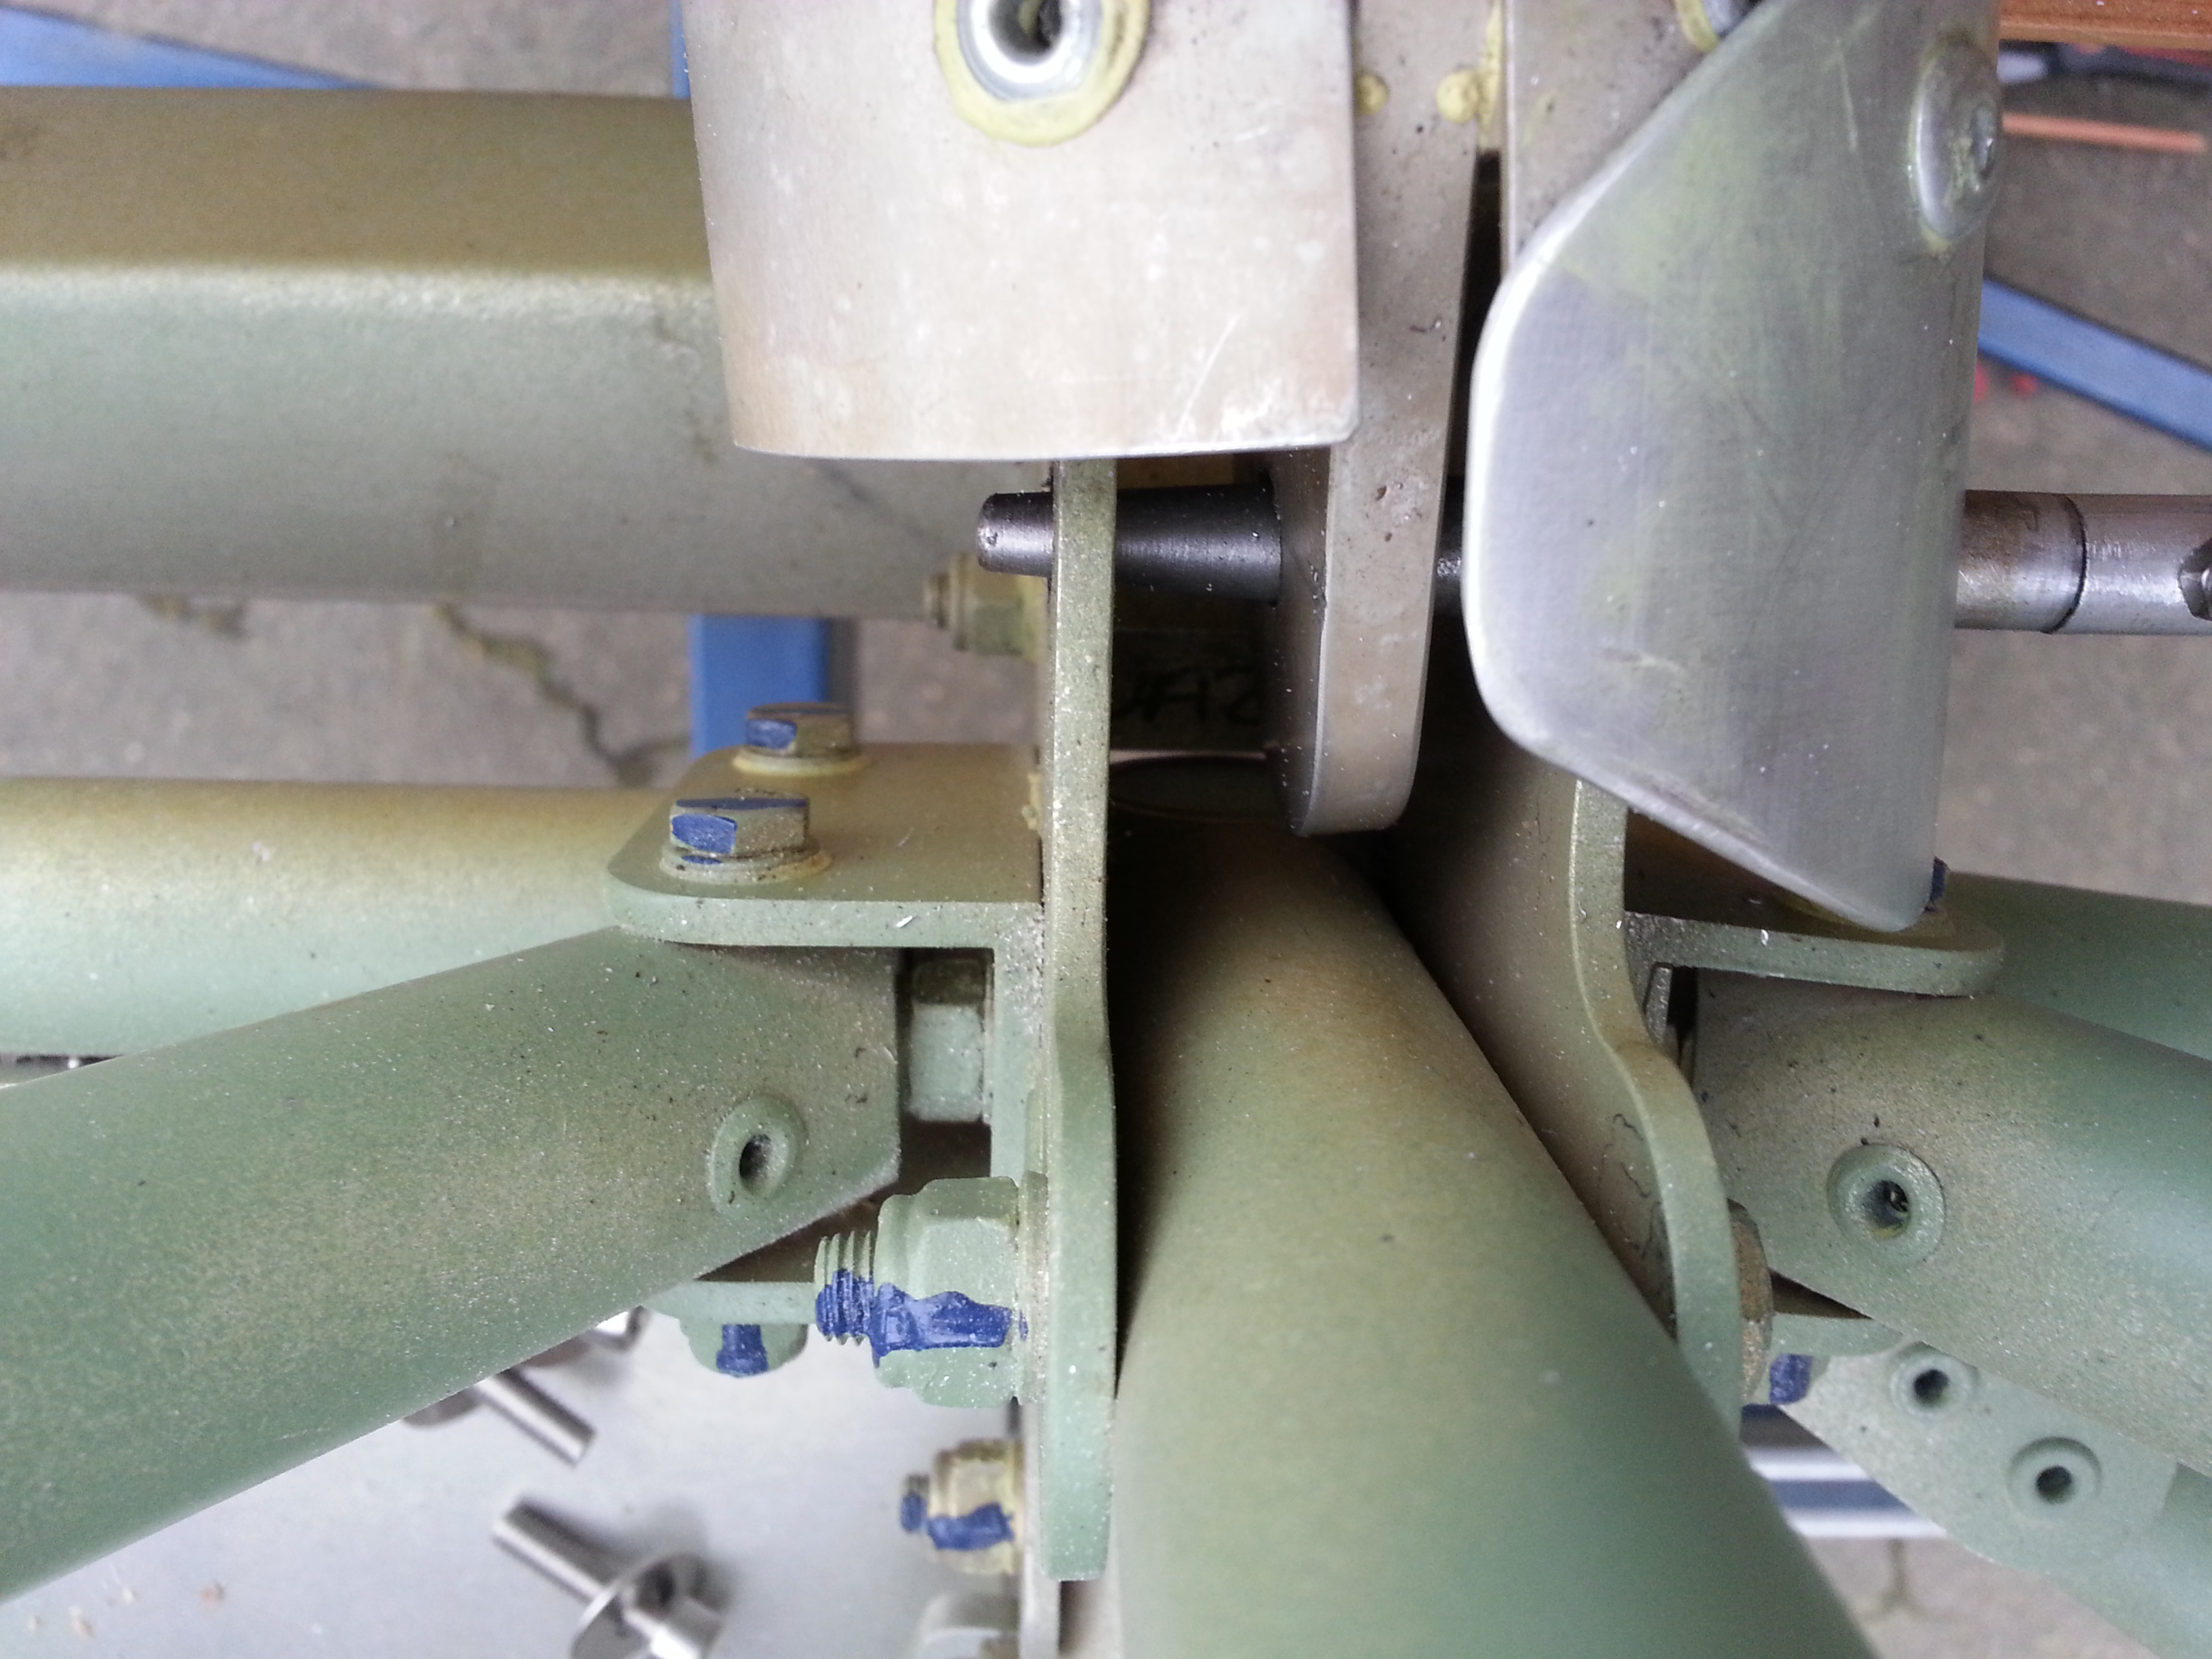
Whilst outside – I could also get the last crimping down … Sam clamped the steerable tailwheel fittings in place ..
He also took loads of very detailed shots with his amazing camera .. will add these when he has edited.
Progress has been slow recently as work has gone crazy around end of year … but engine bits are slowly coming to fruition as well as completing all those 100’s of little jobs.
Cowl is looking good so will start to work on lower part this week. I have the Yellow and Olive paint ready for those parts and the tips to be painted.
Should also start to plan a test covering with the Oratex. Probably tail first
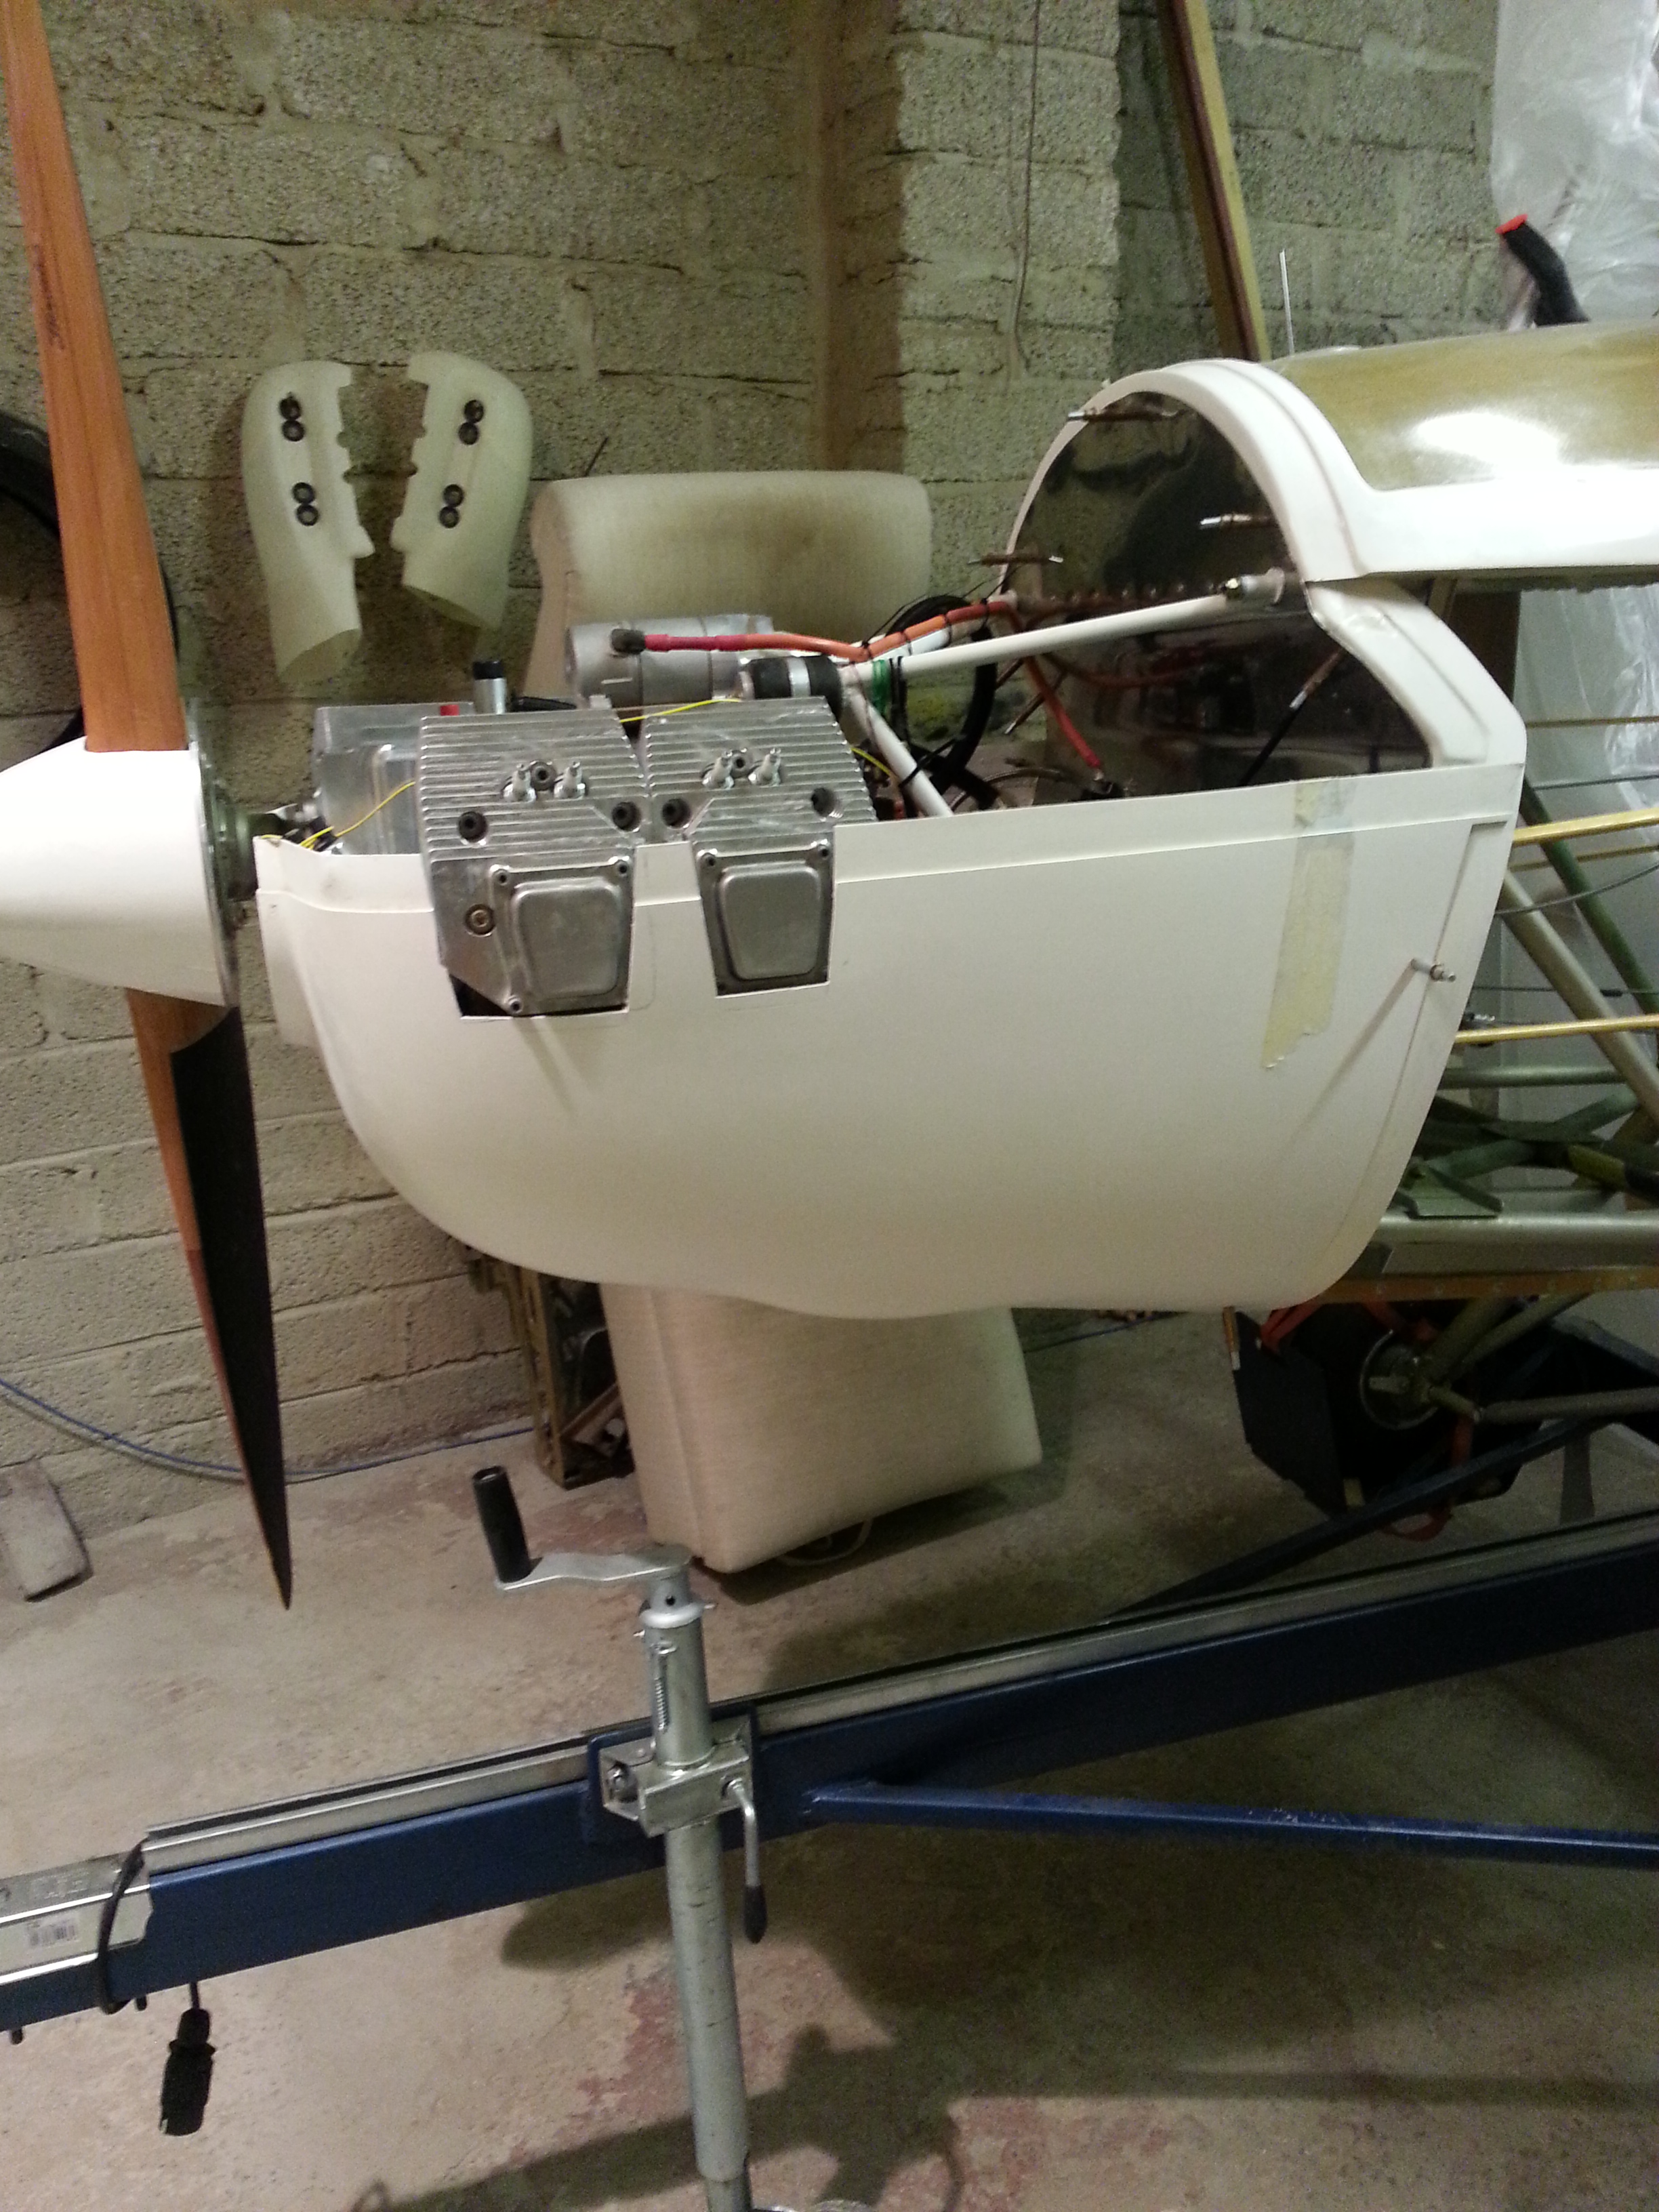
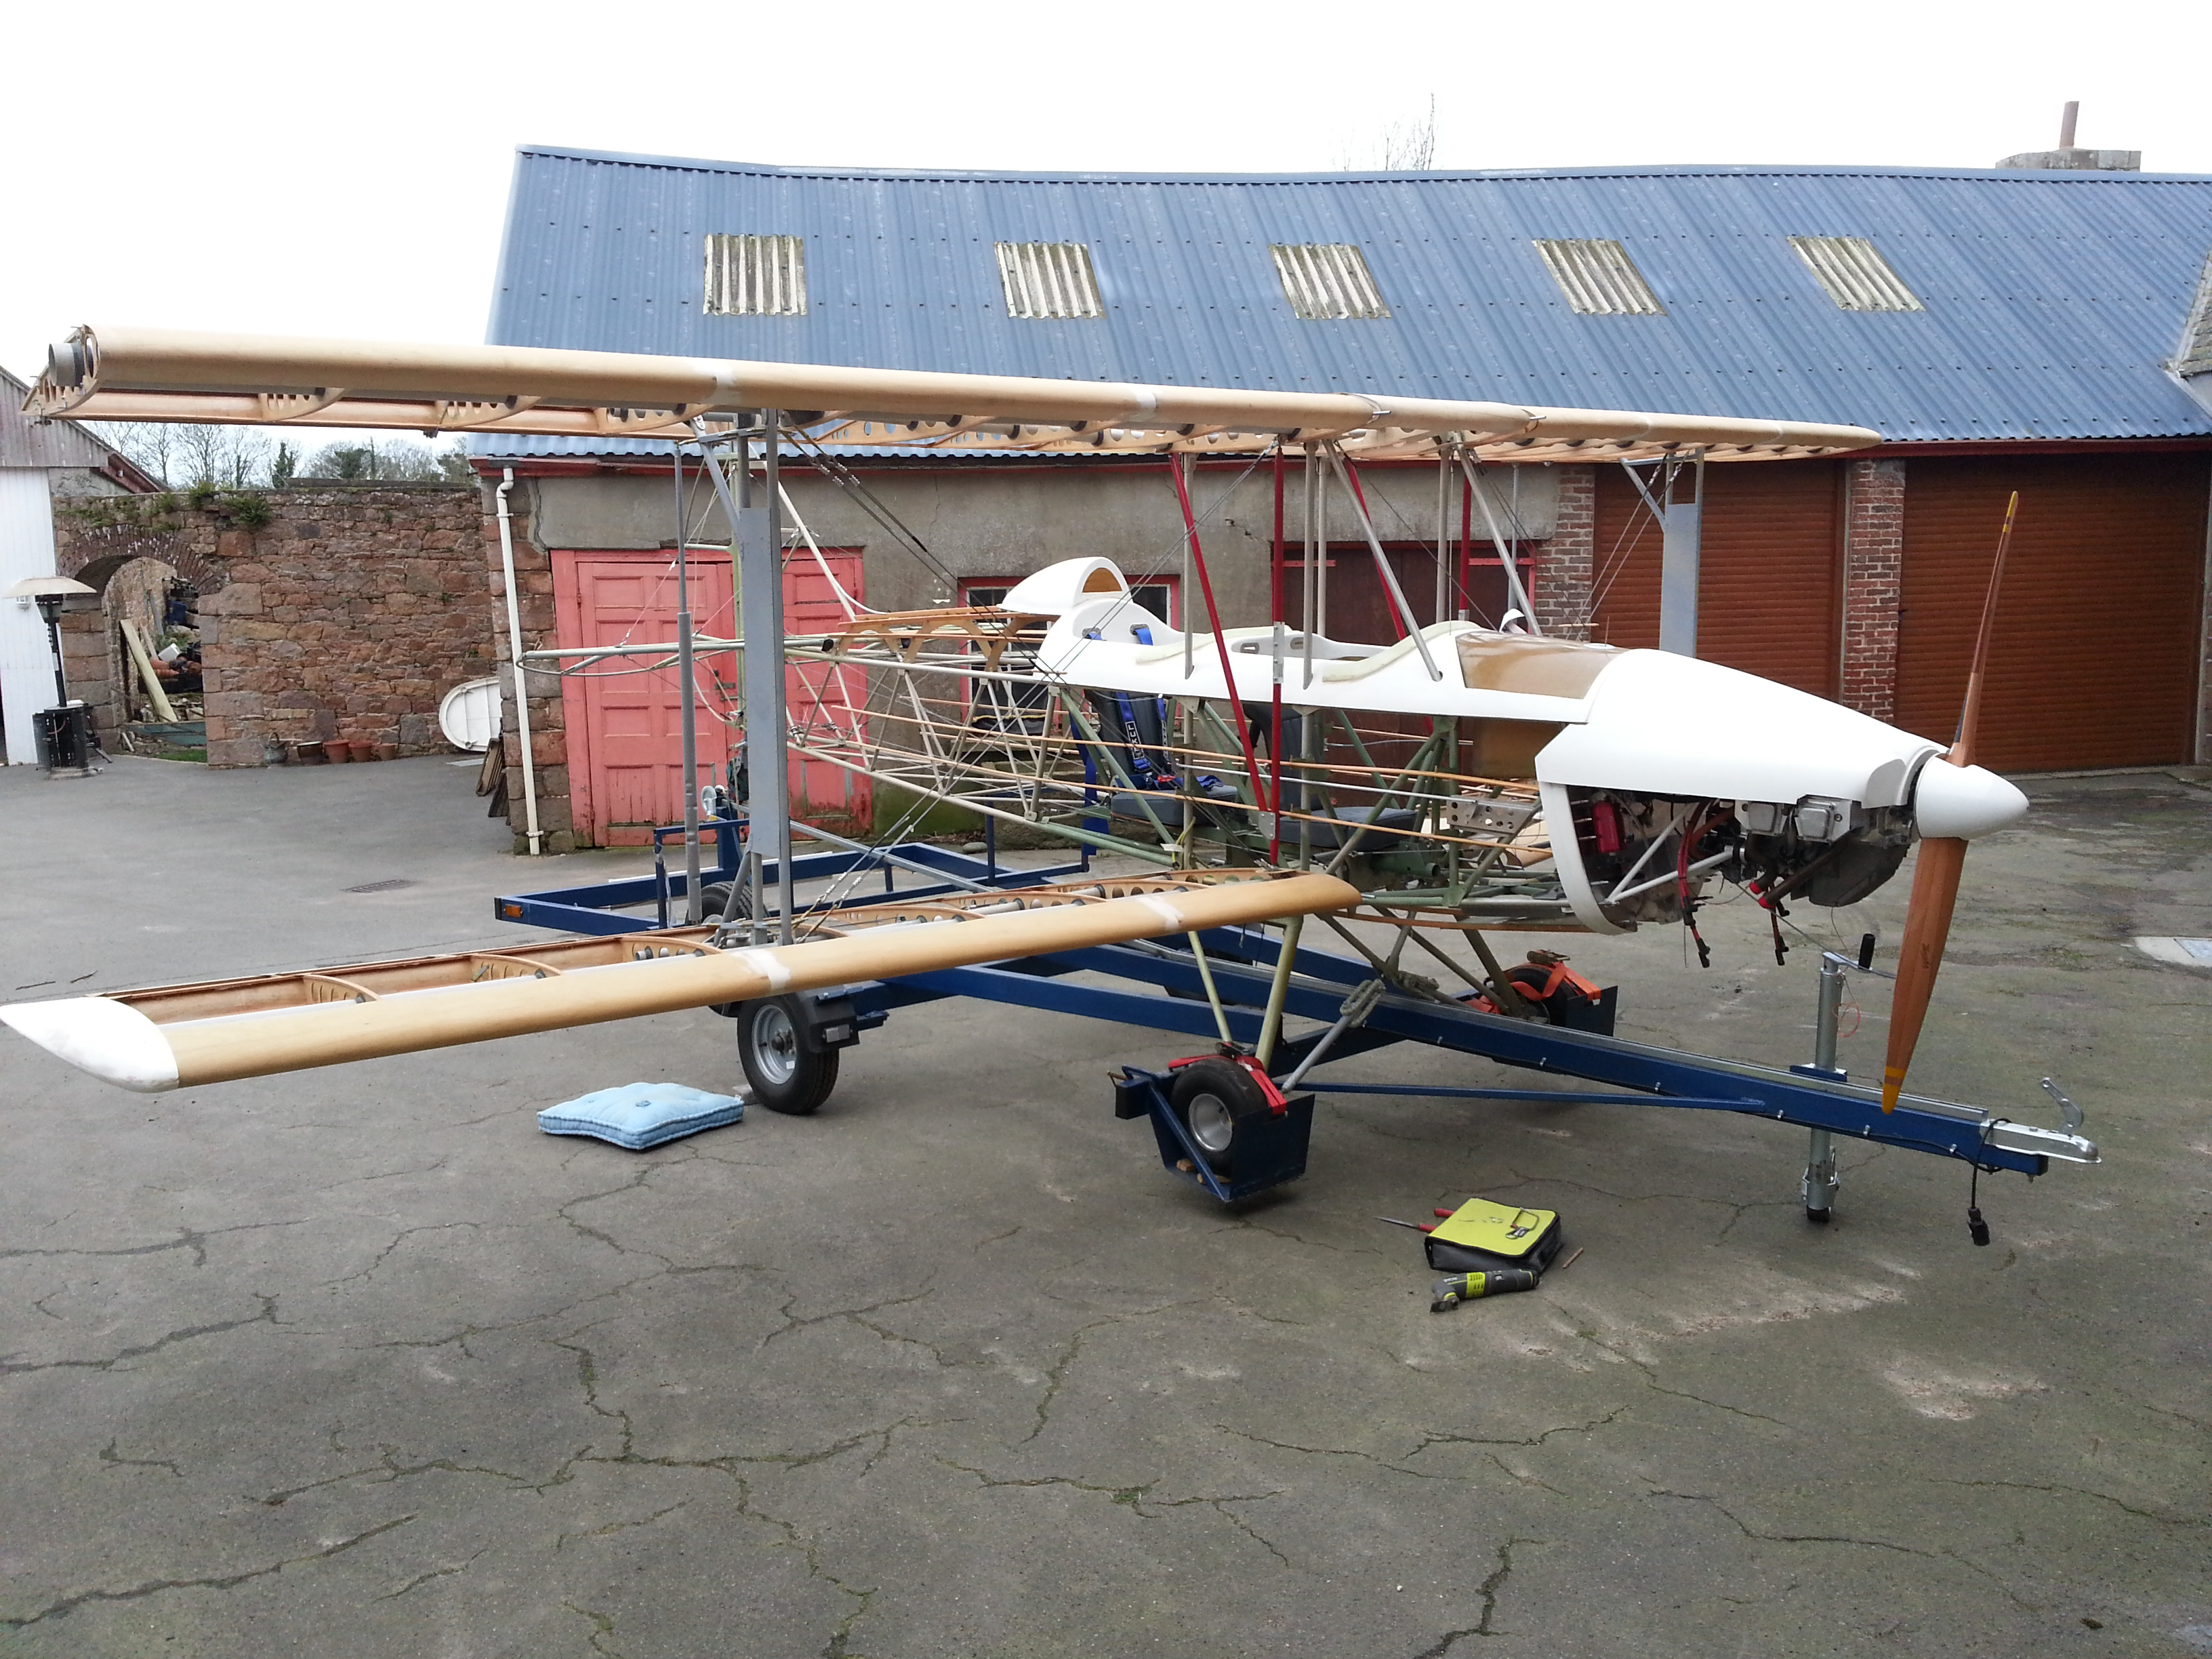
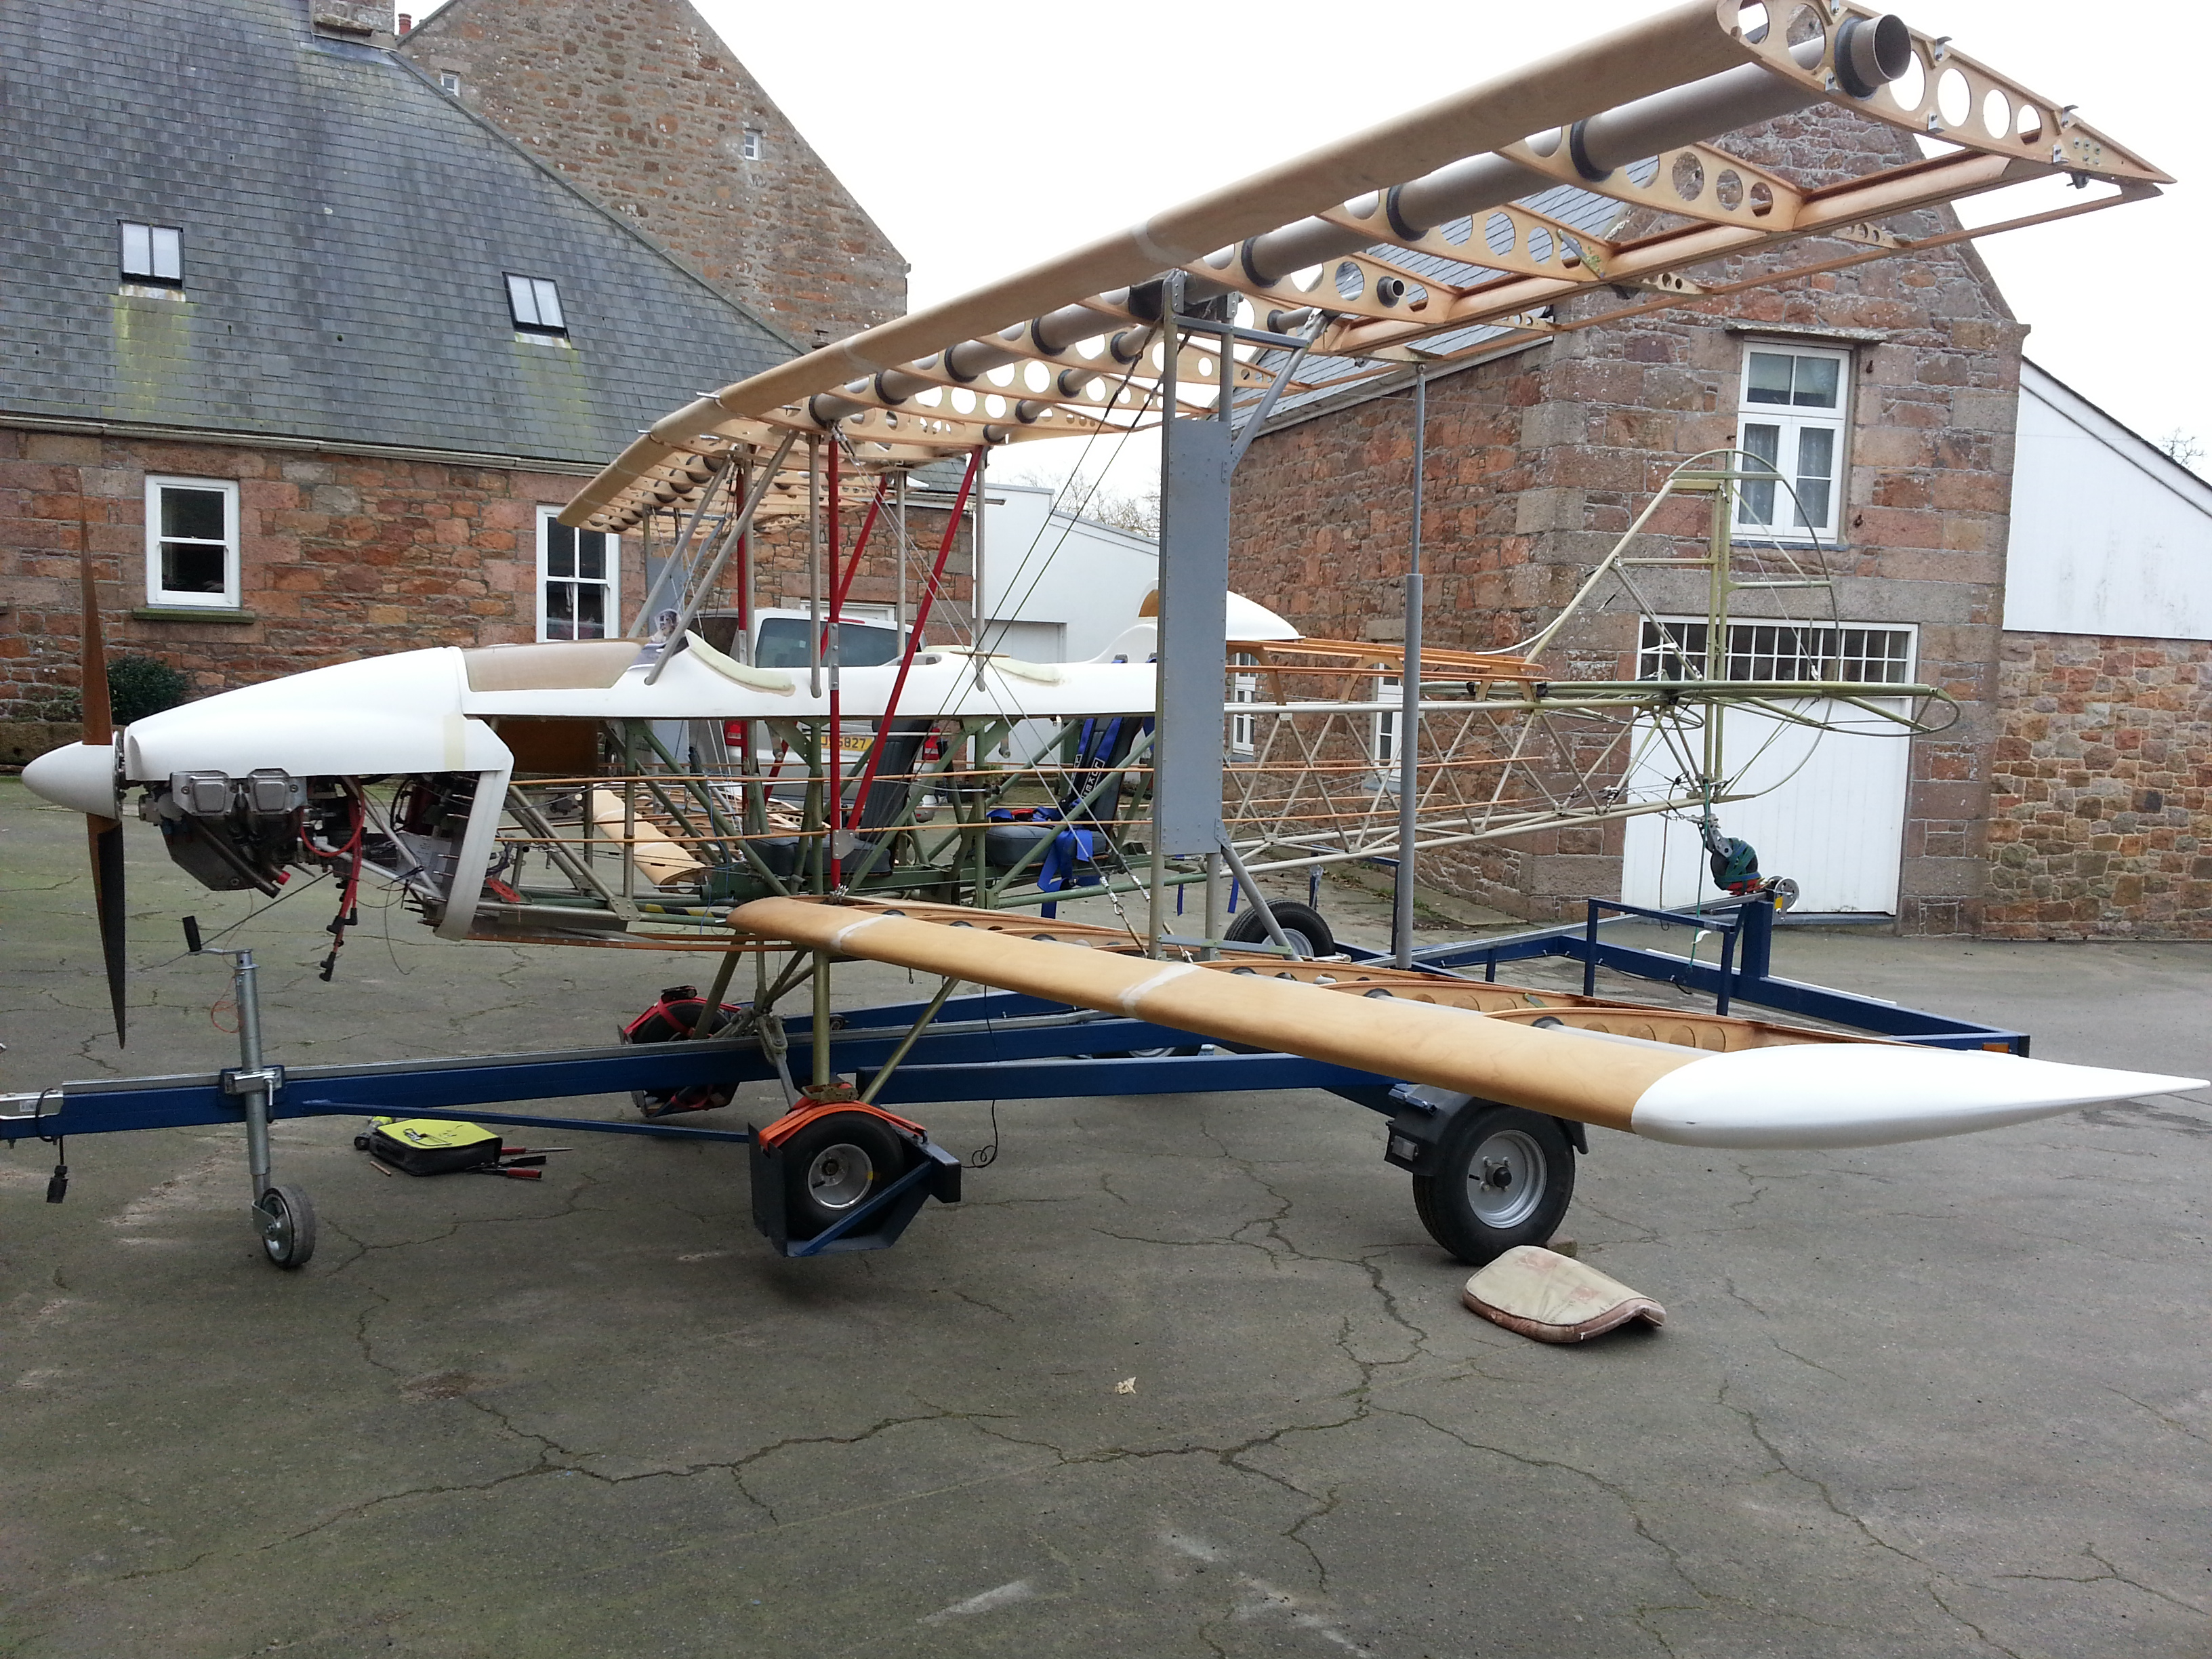
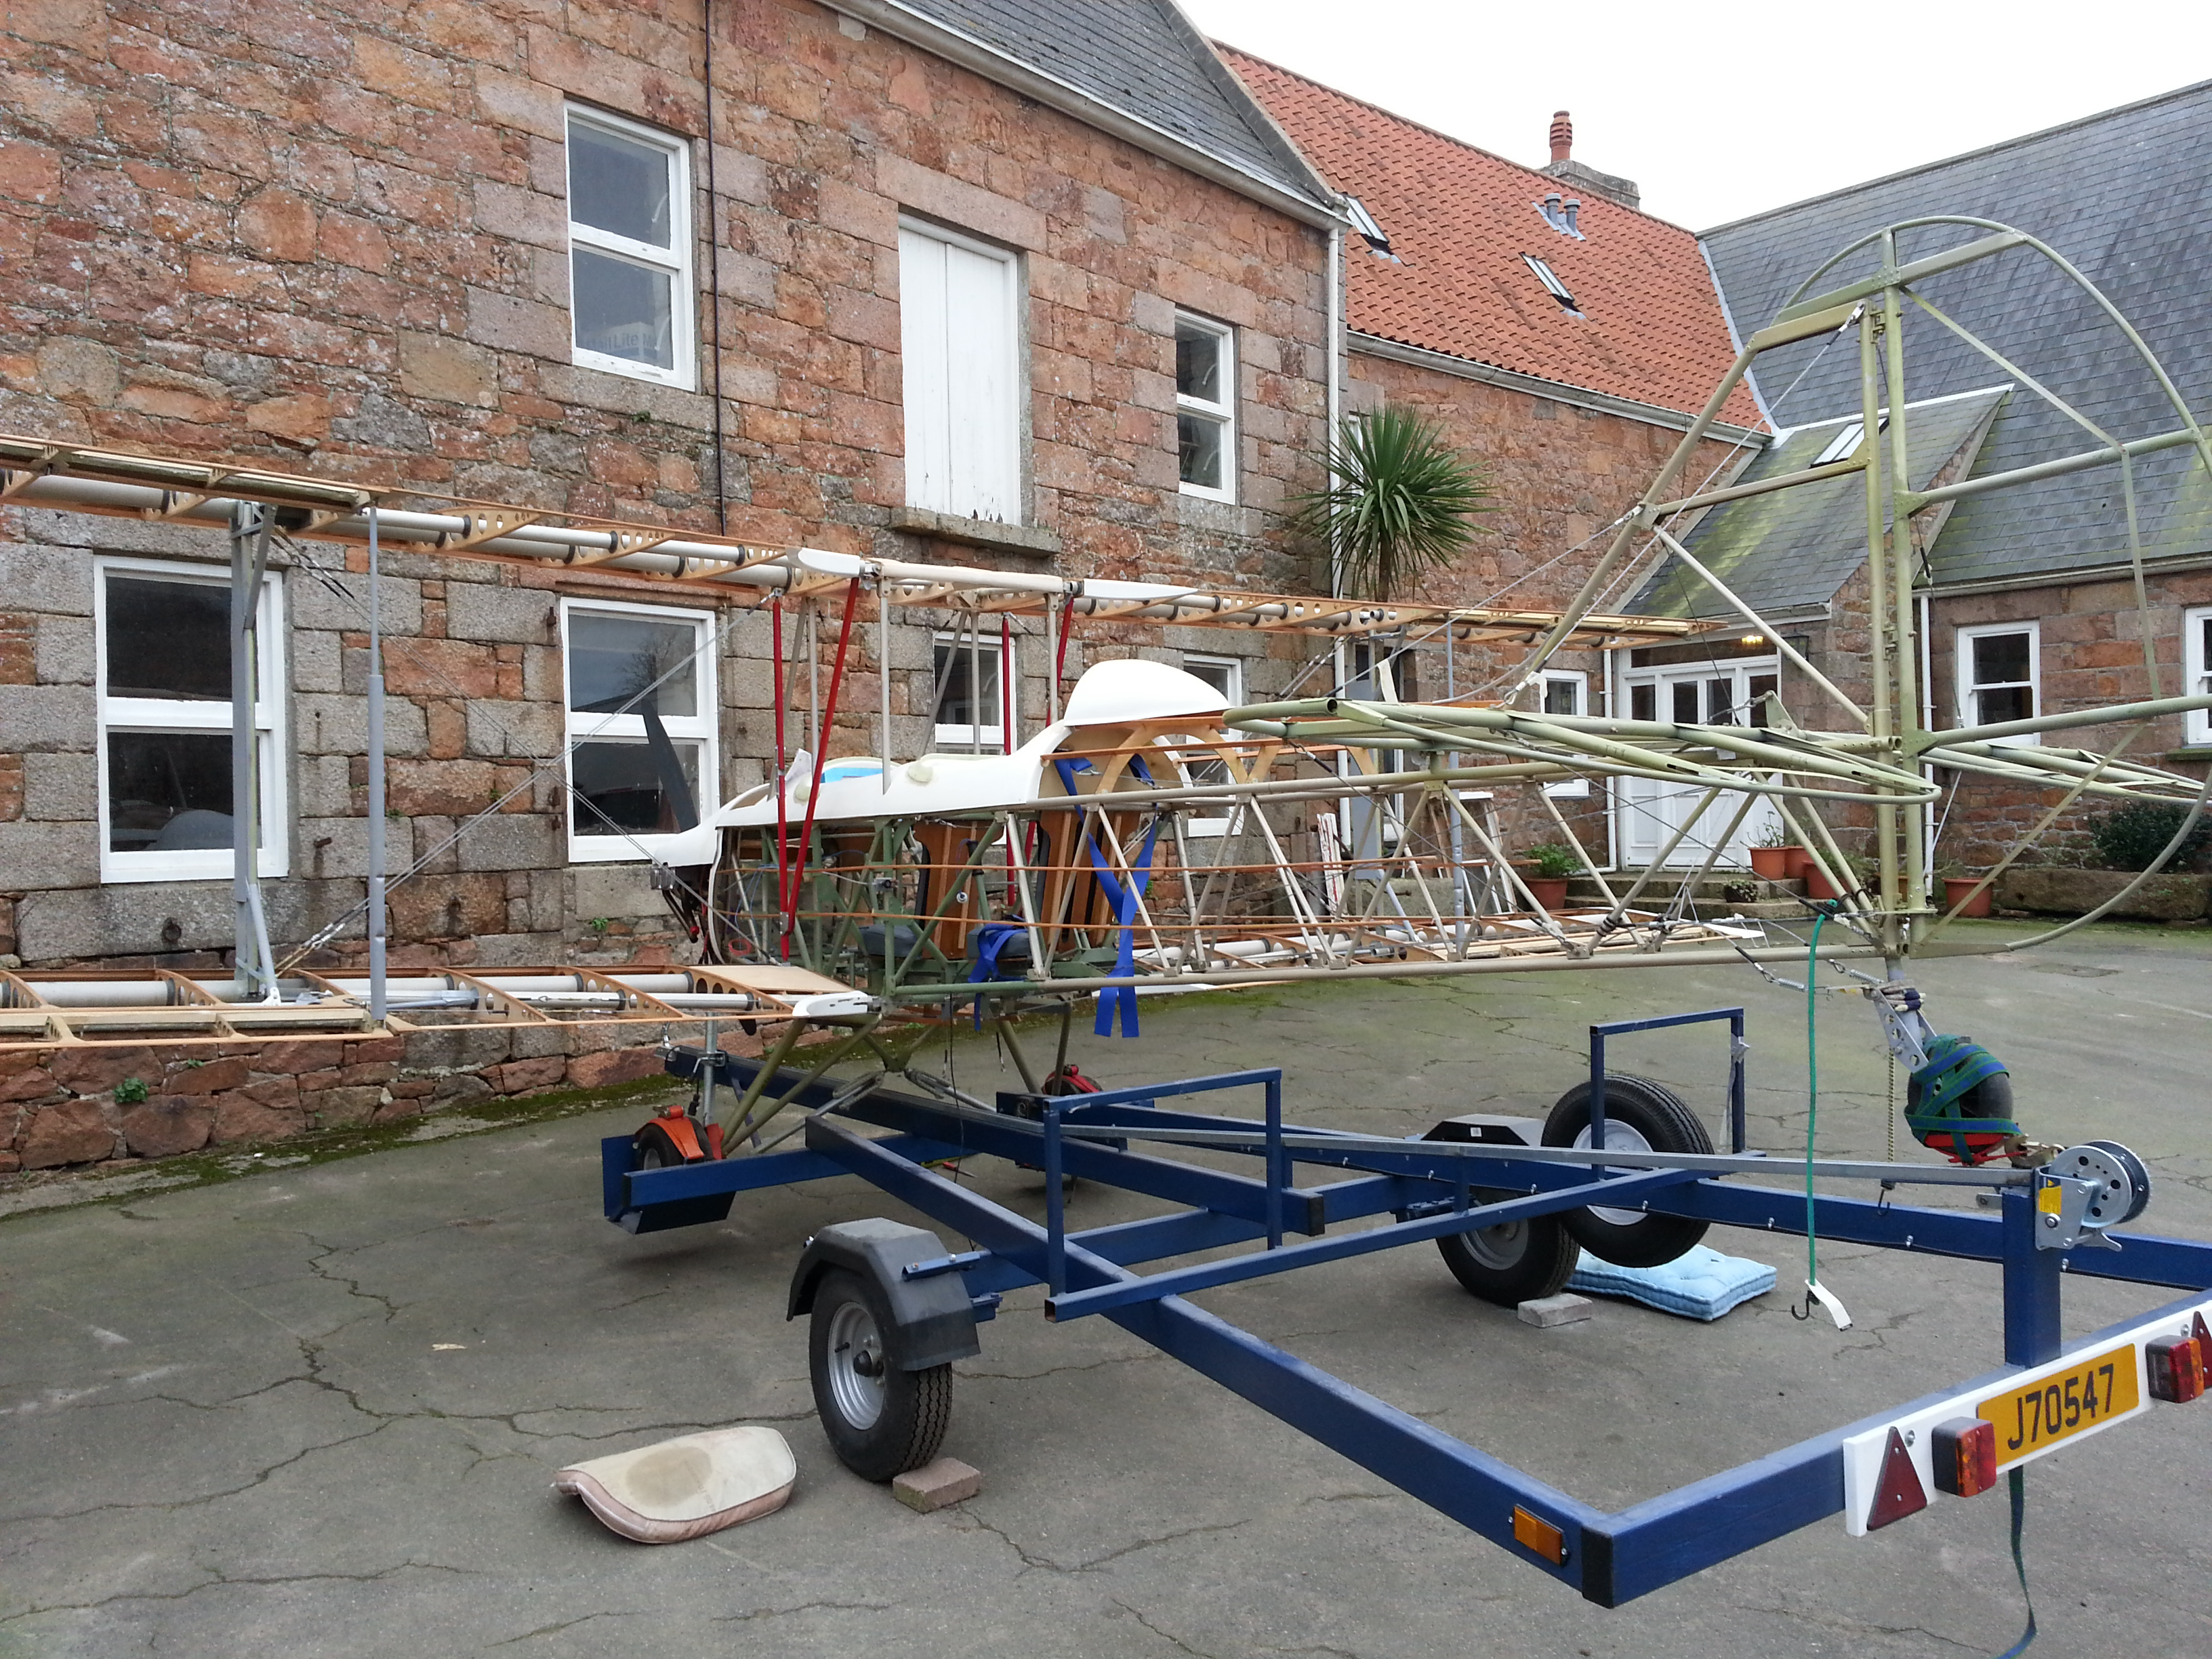
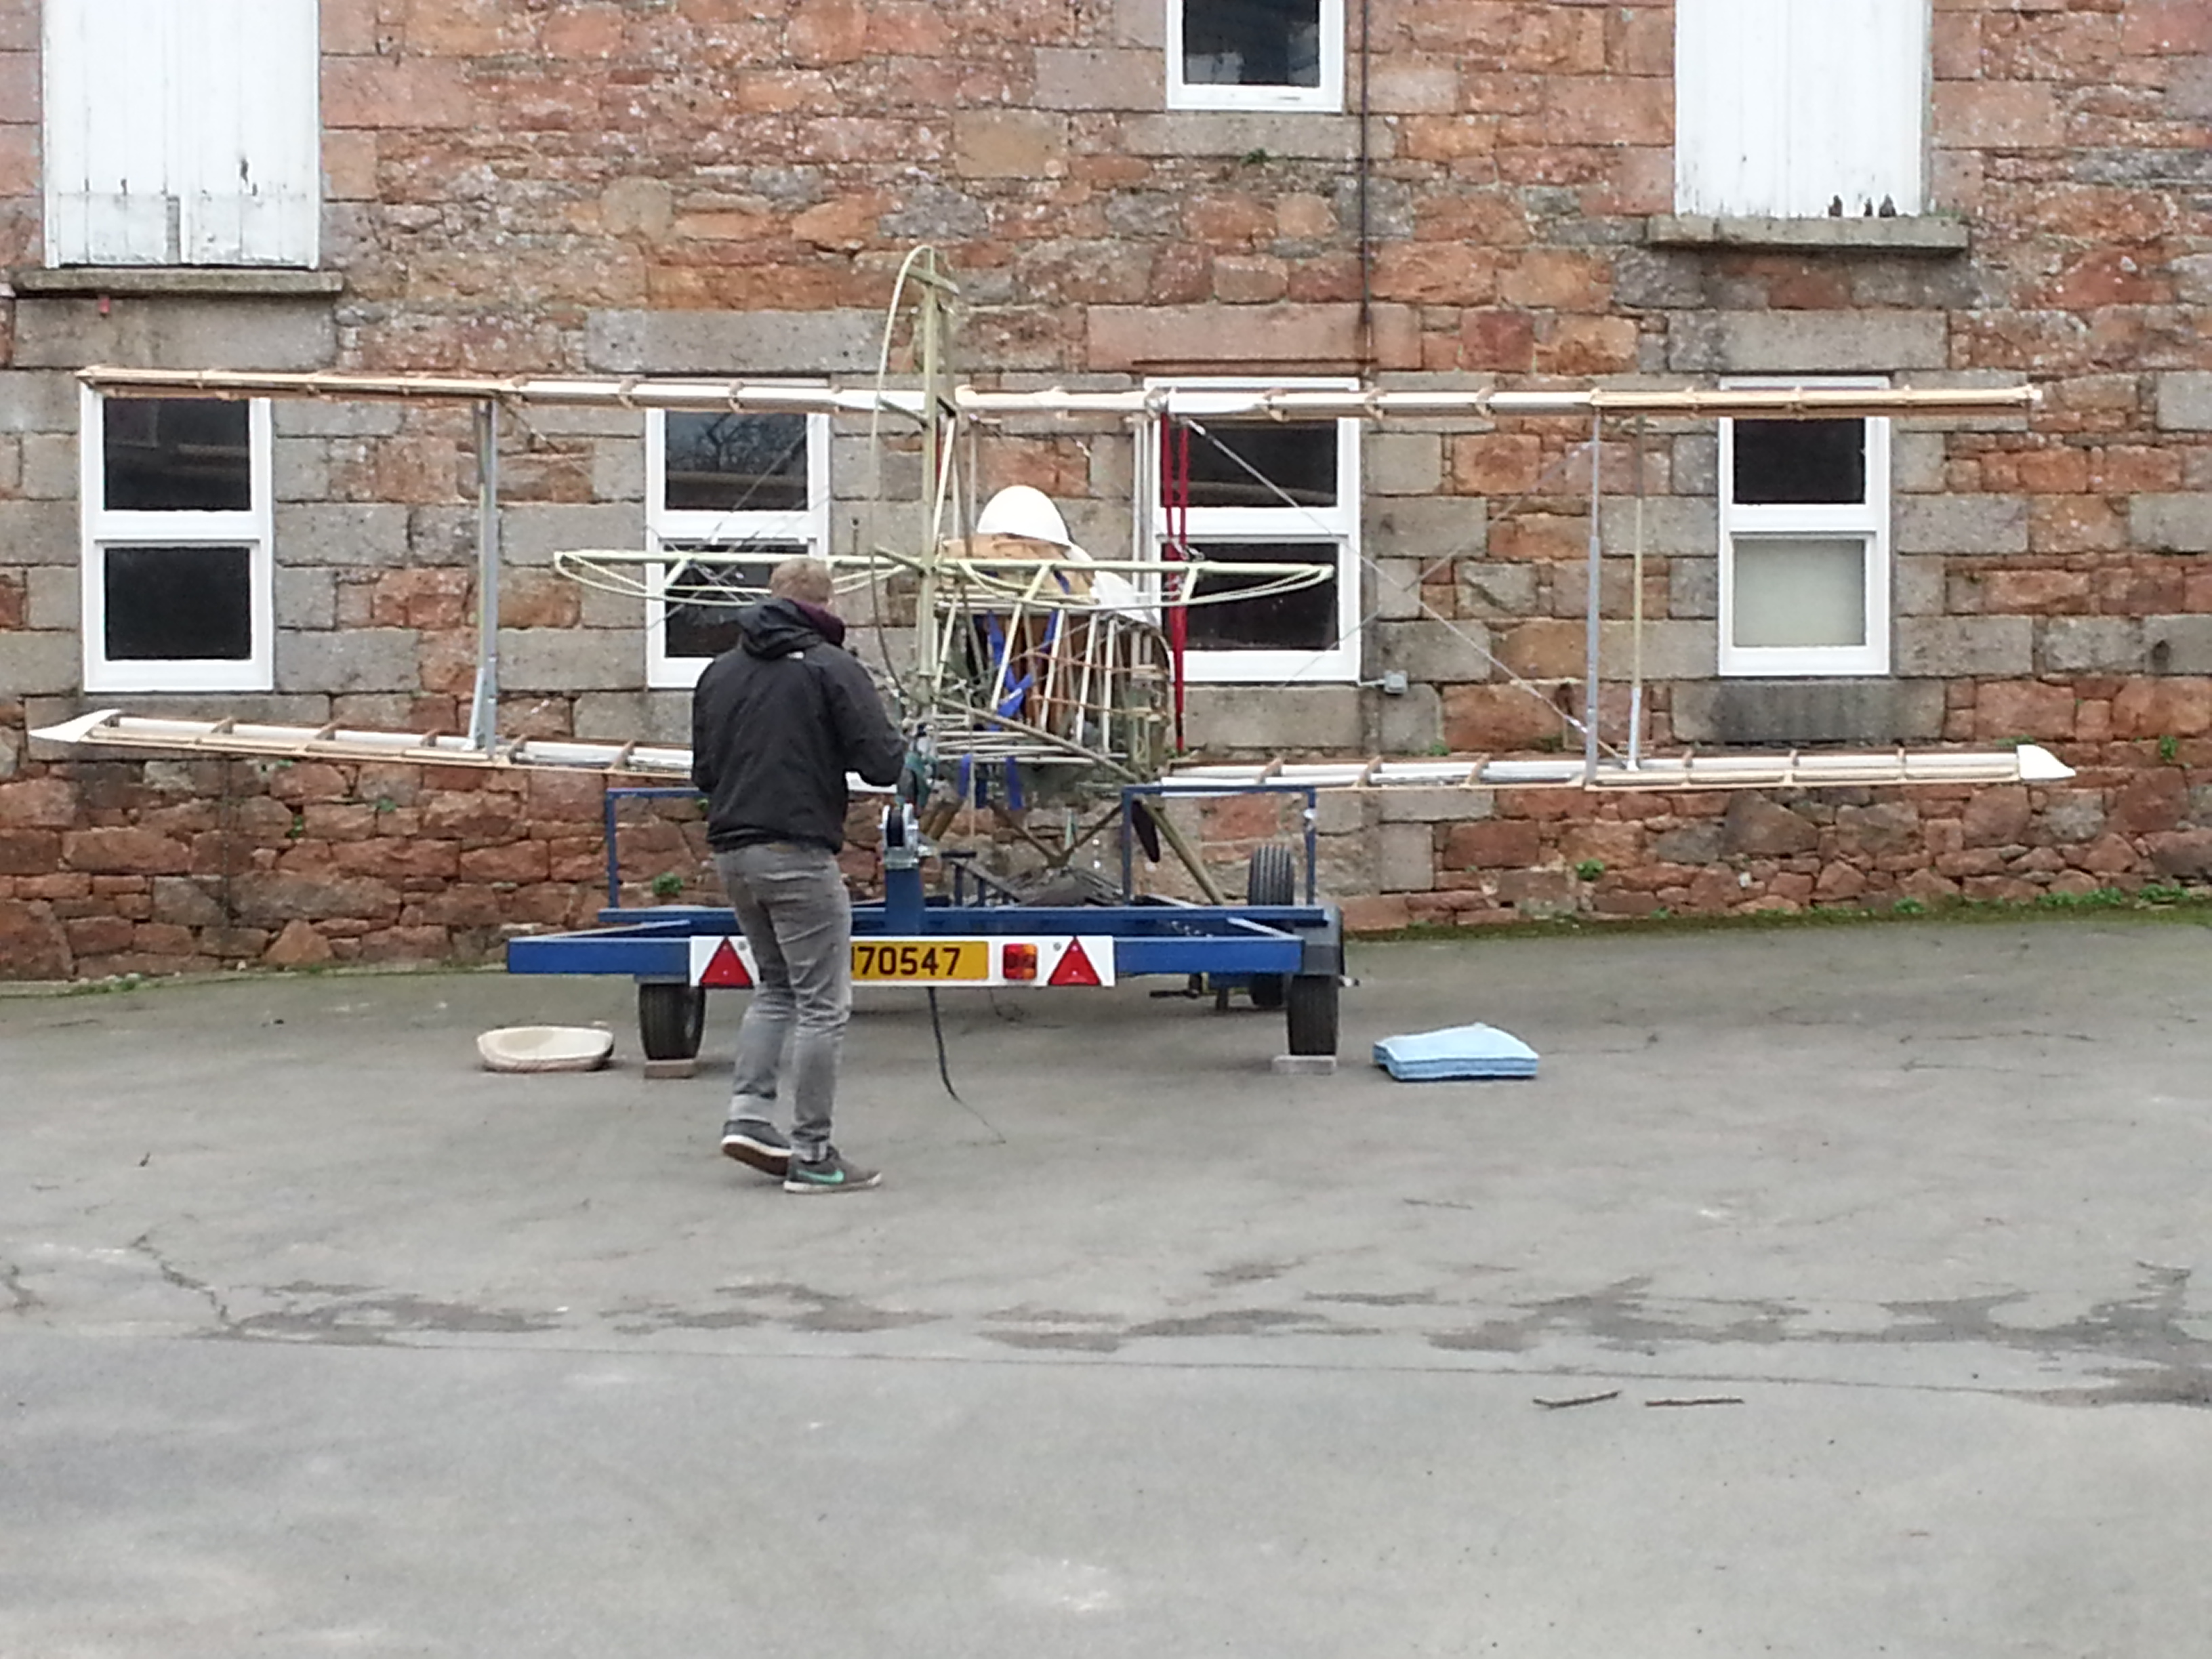
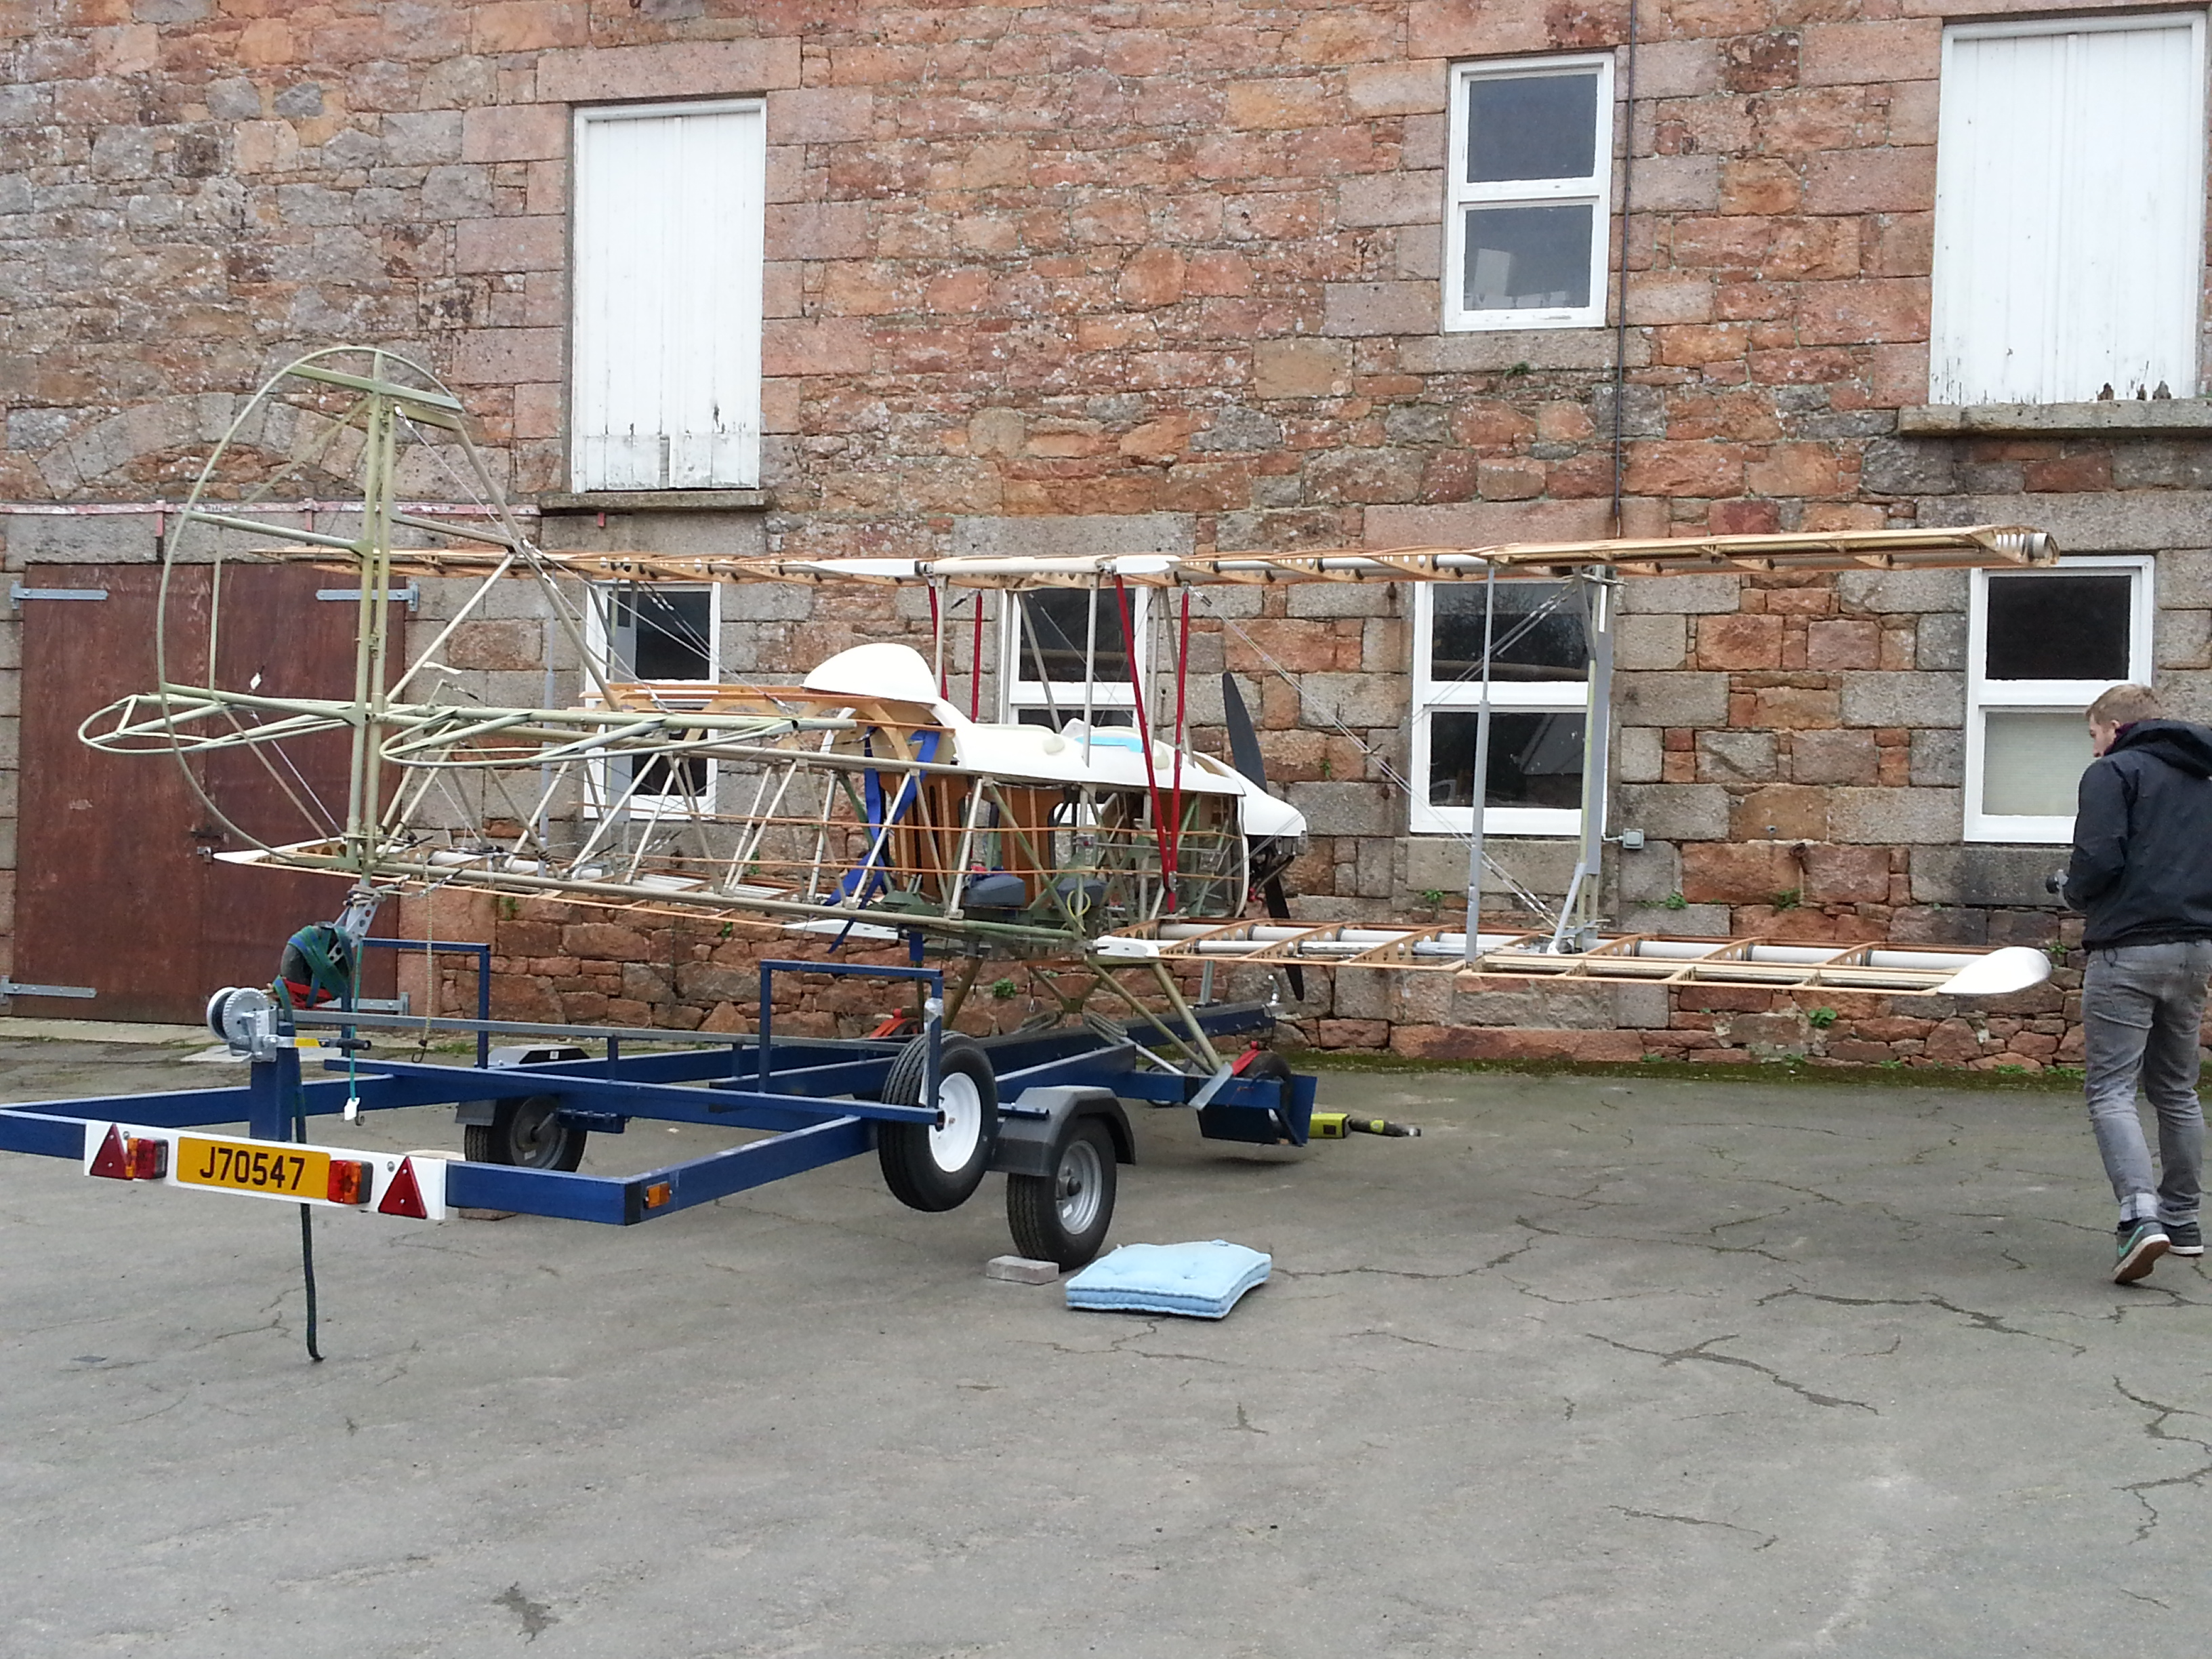
At last we had a weekend without rain and I could get the ‘plane out to do some work that needed the wings fully extended. This included getting the shrouds filed out so that they didn’t impact on the body flanges.
Having fitted them some time ago – I noted that they were catching in two places… a trim down and they are fine
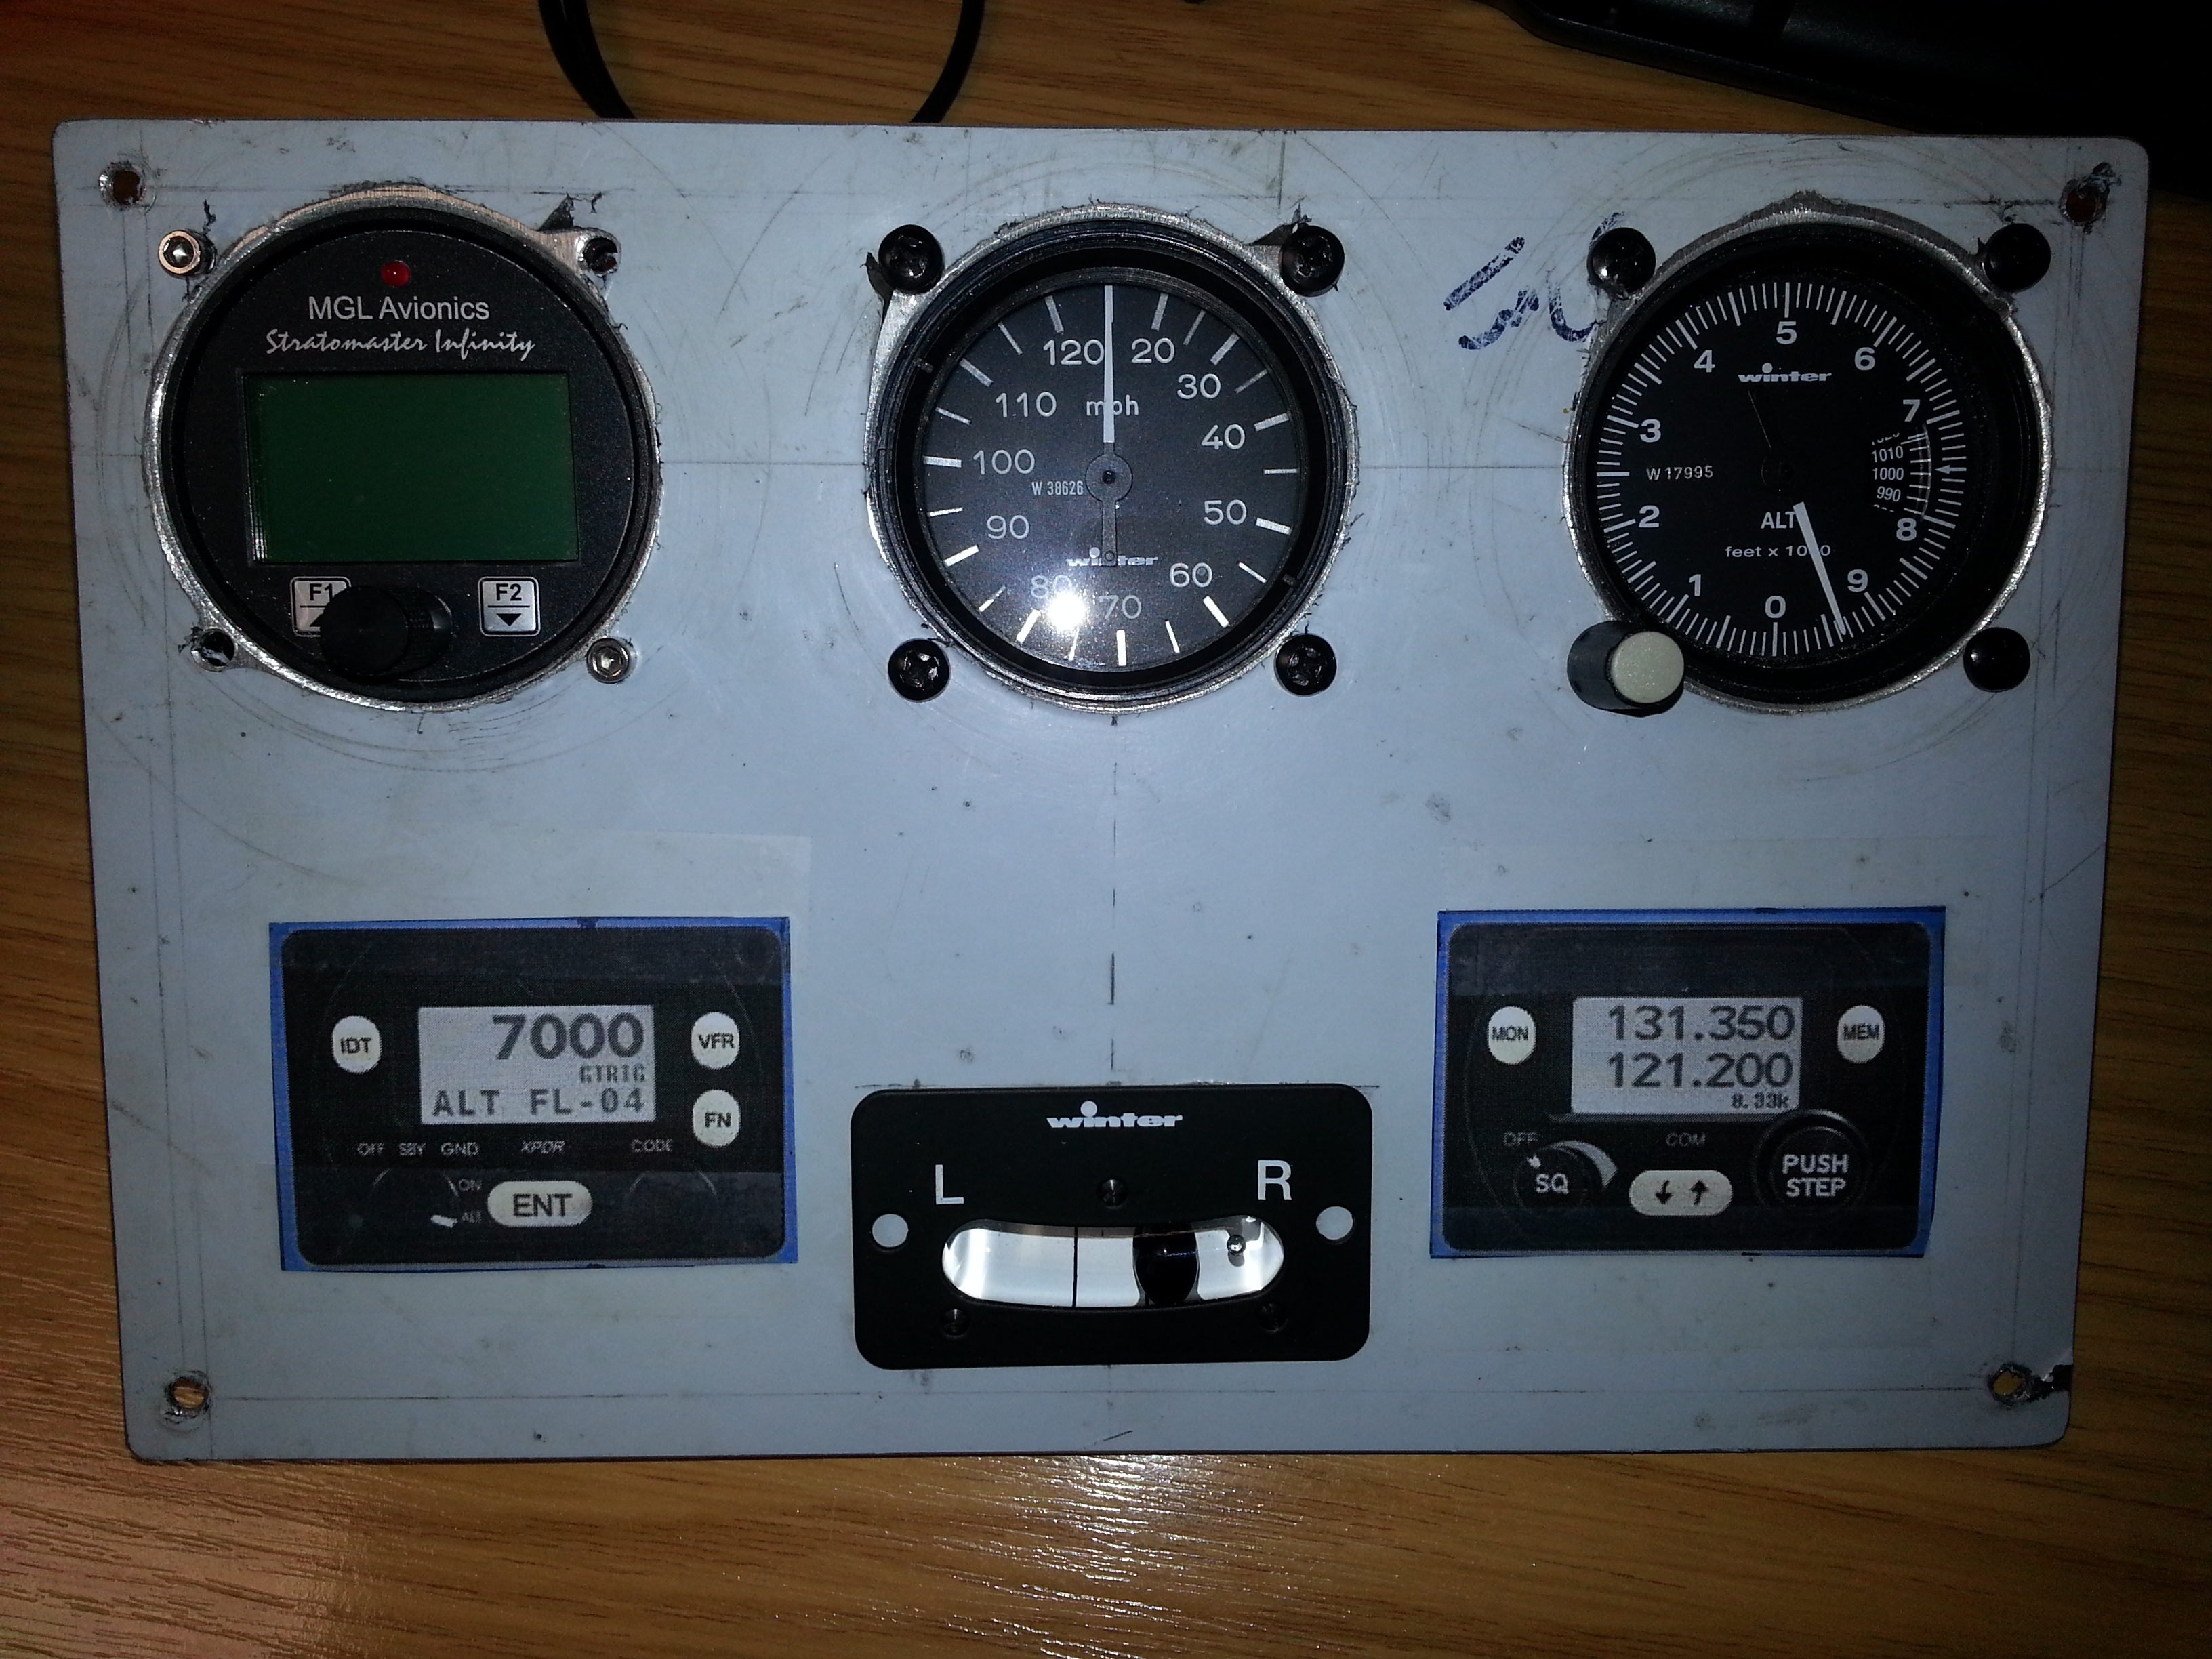
Having decided that Channel Island airspace and usual cross channel flying demands more than a handheld ICOM I have decided to save up and go for the TRIG solutions. Their slim panel mounting and remote box ability makes this a really goo (if not expensive) option.
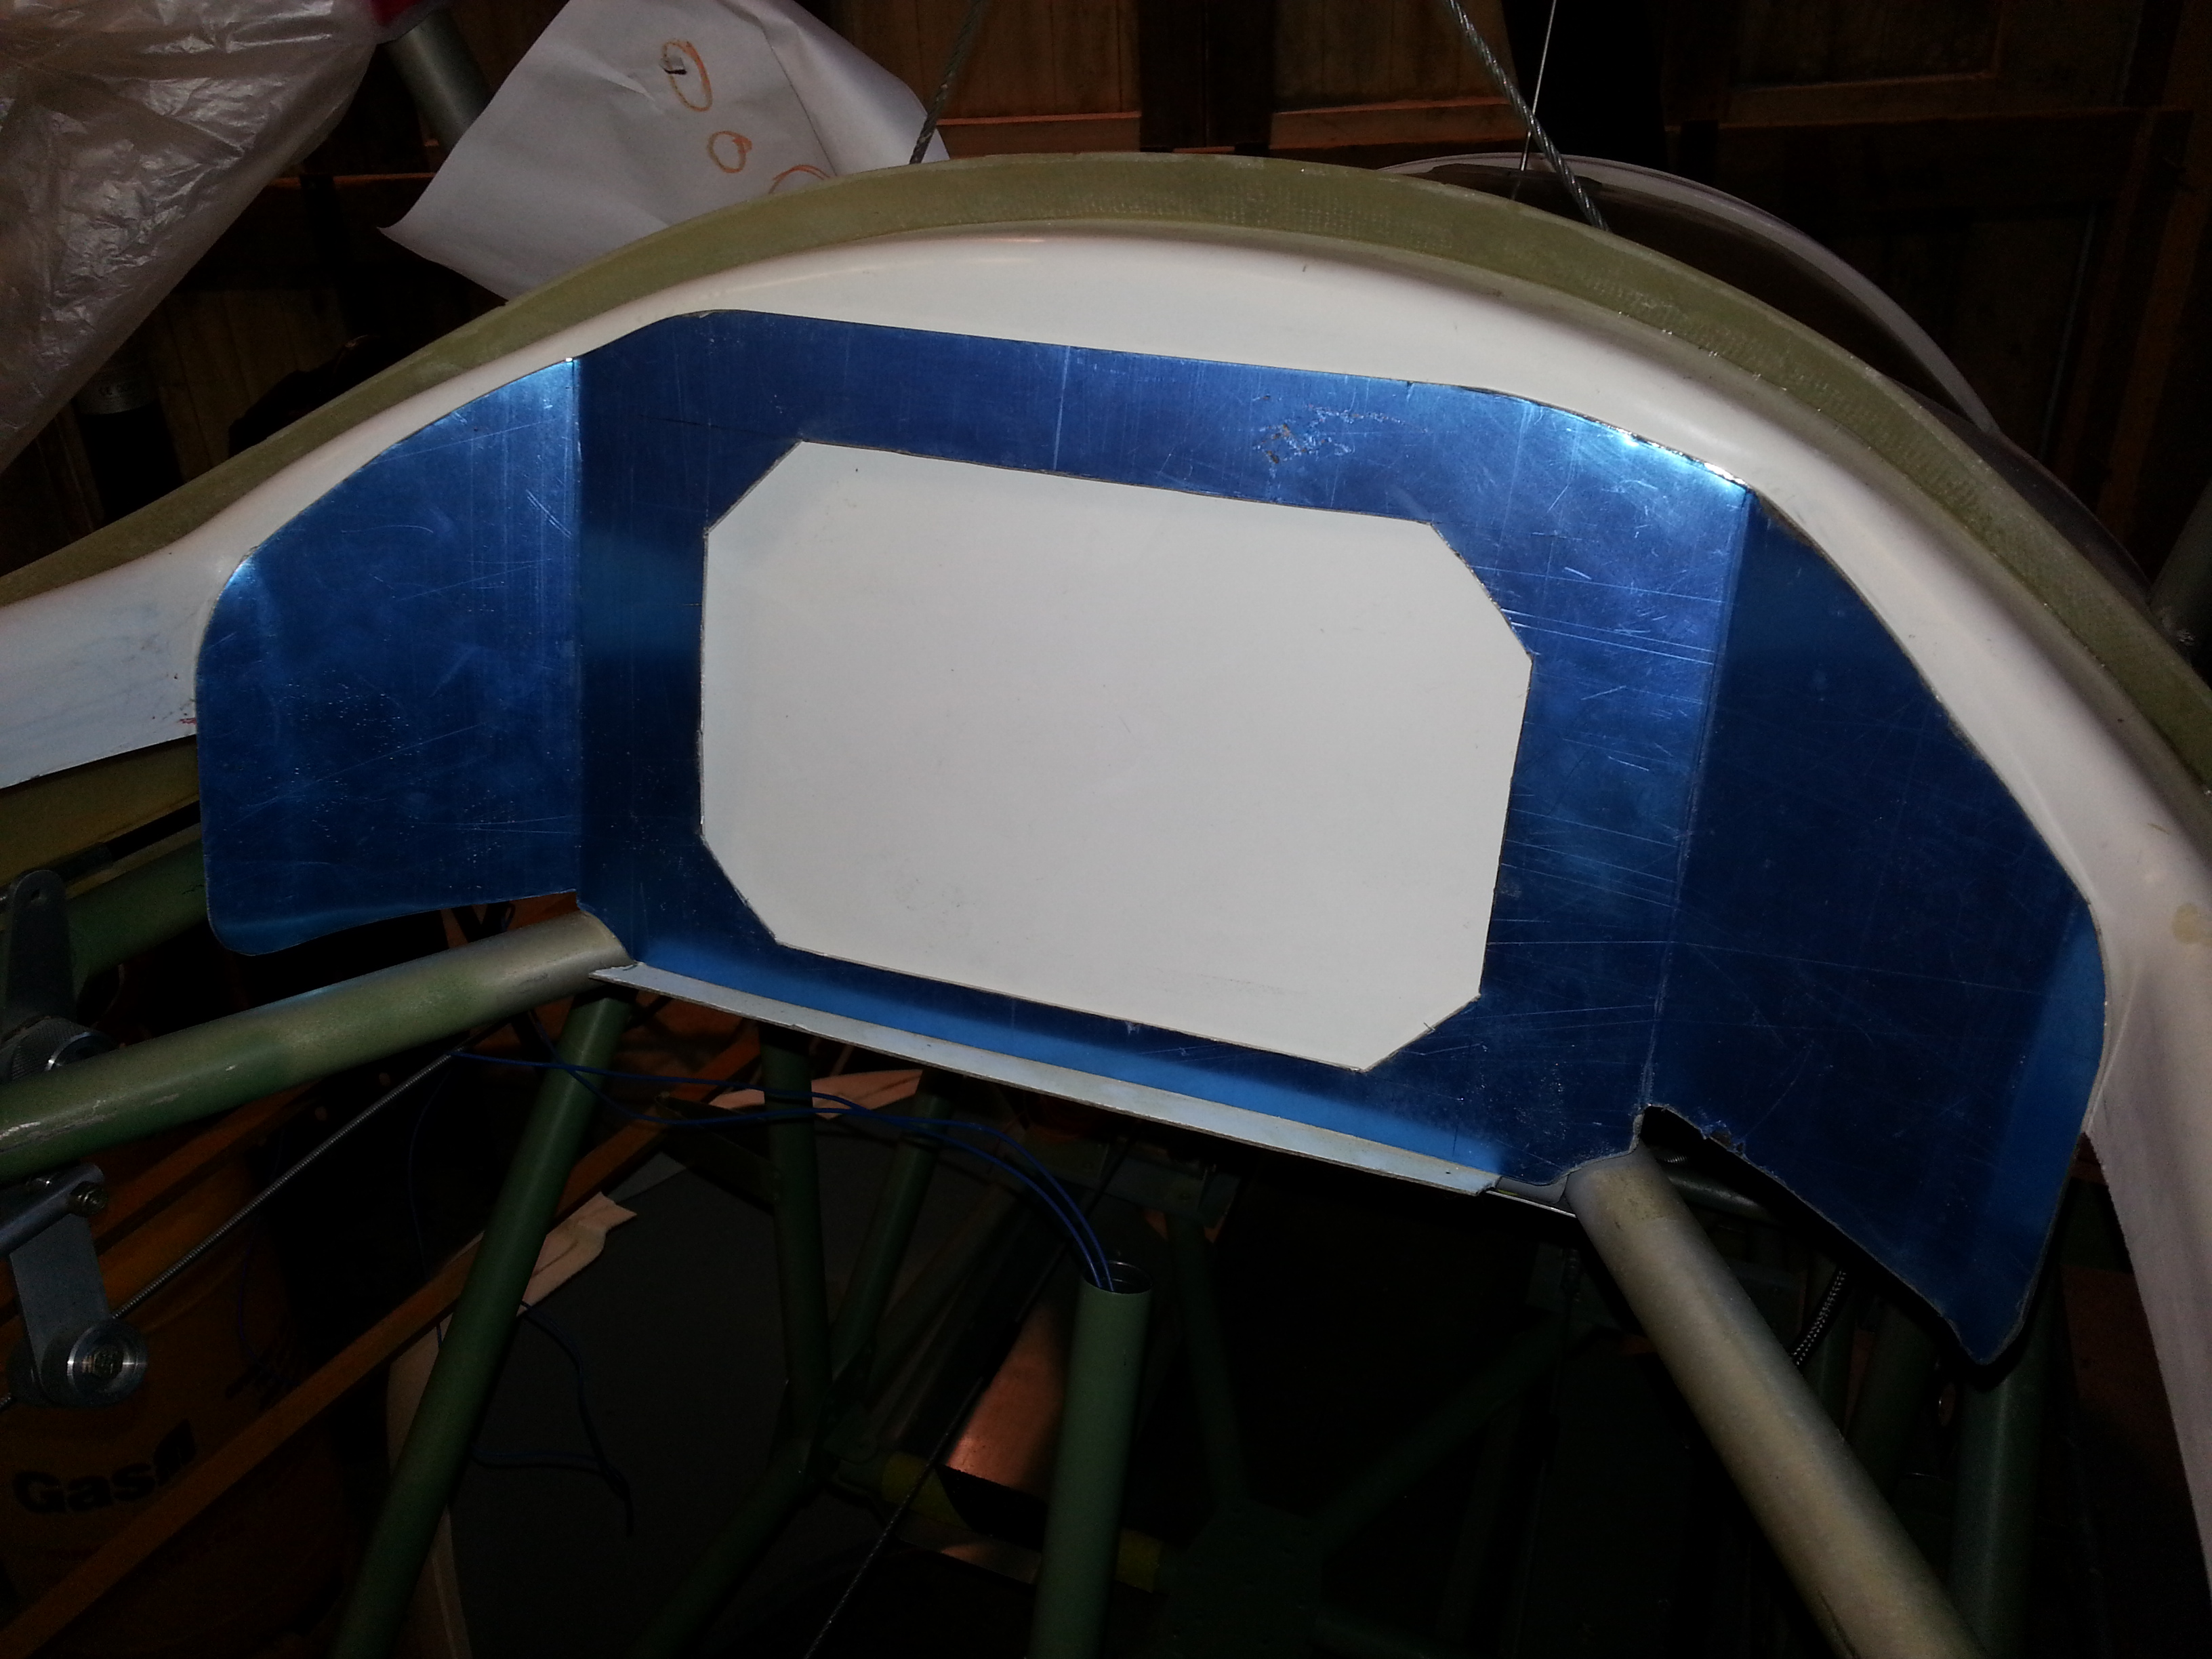
Mocked up the panel look to scale as I had planned to put them on the left and right tab of the panel. By mounting on the central plate I get really easy visibility as well as free space on both left and right panels for other switches like mags etc
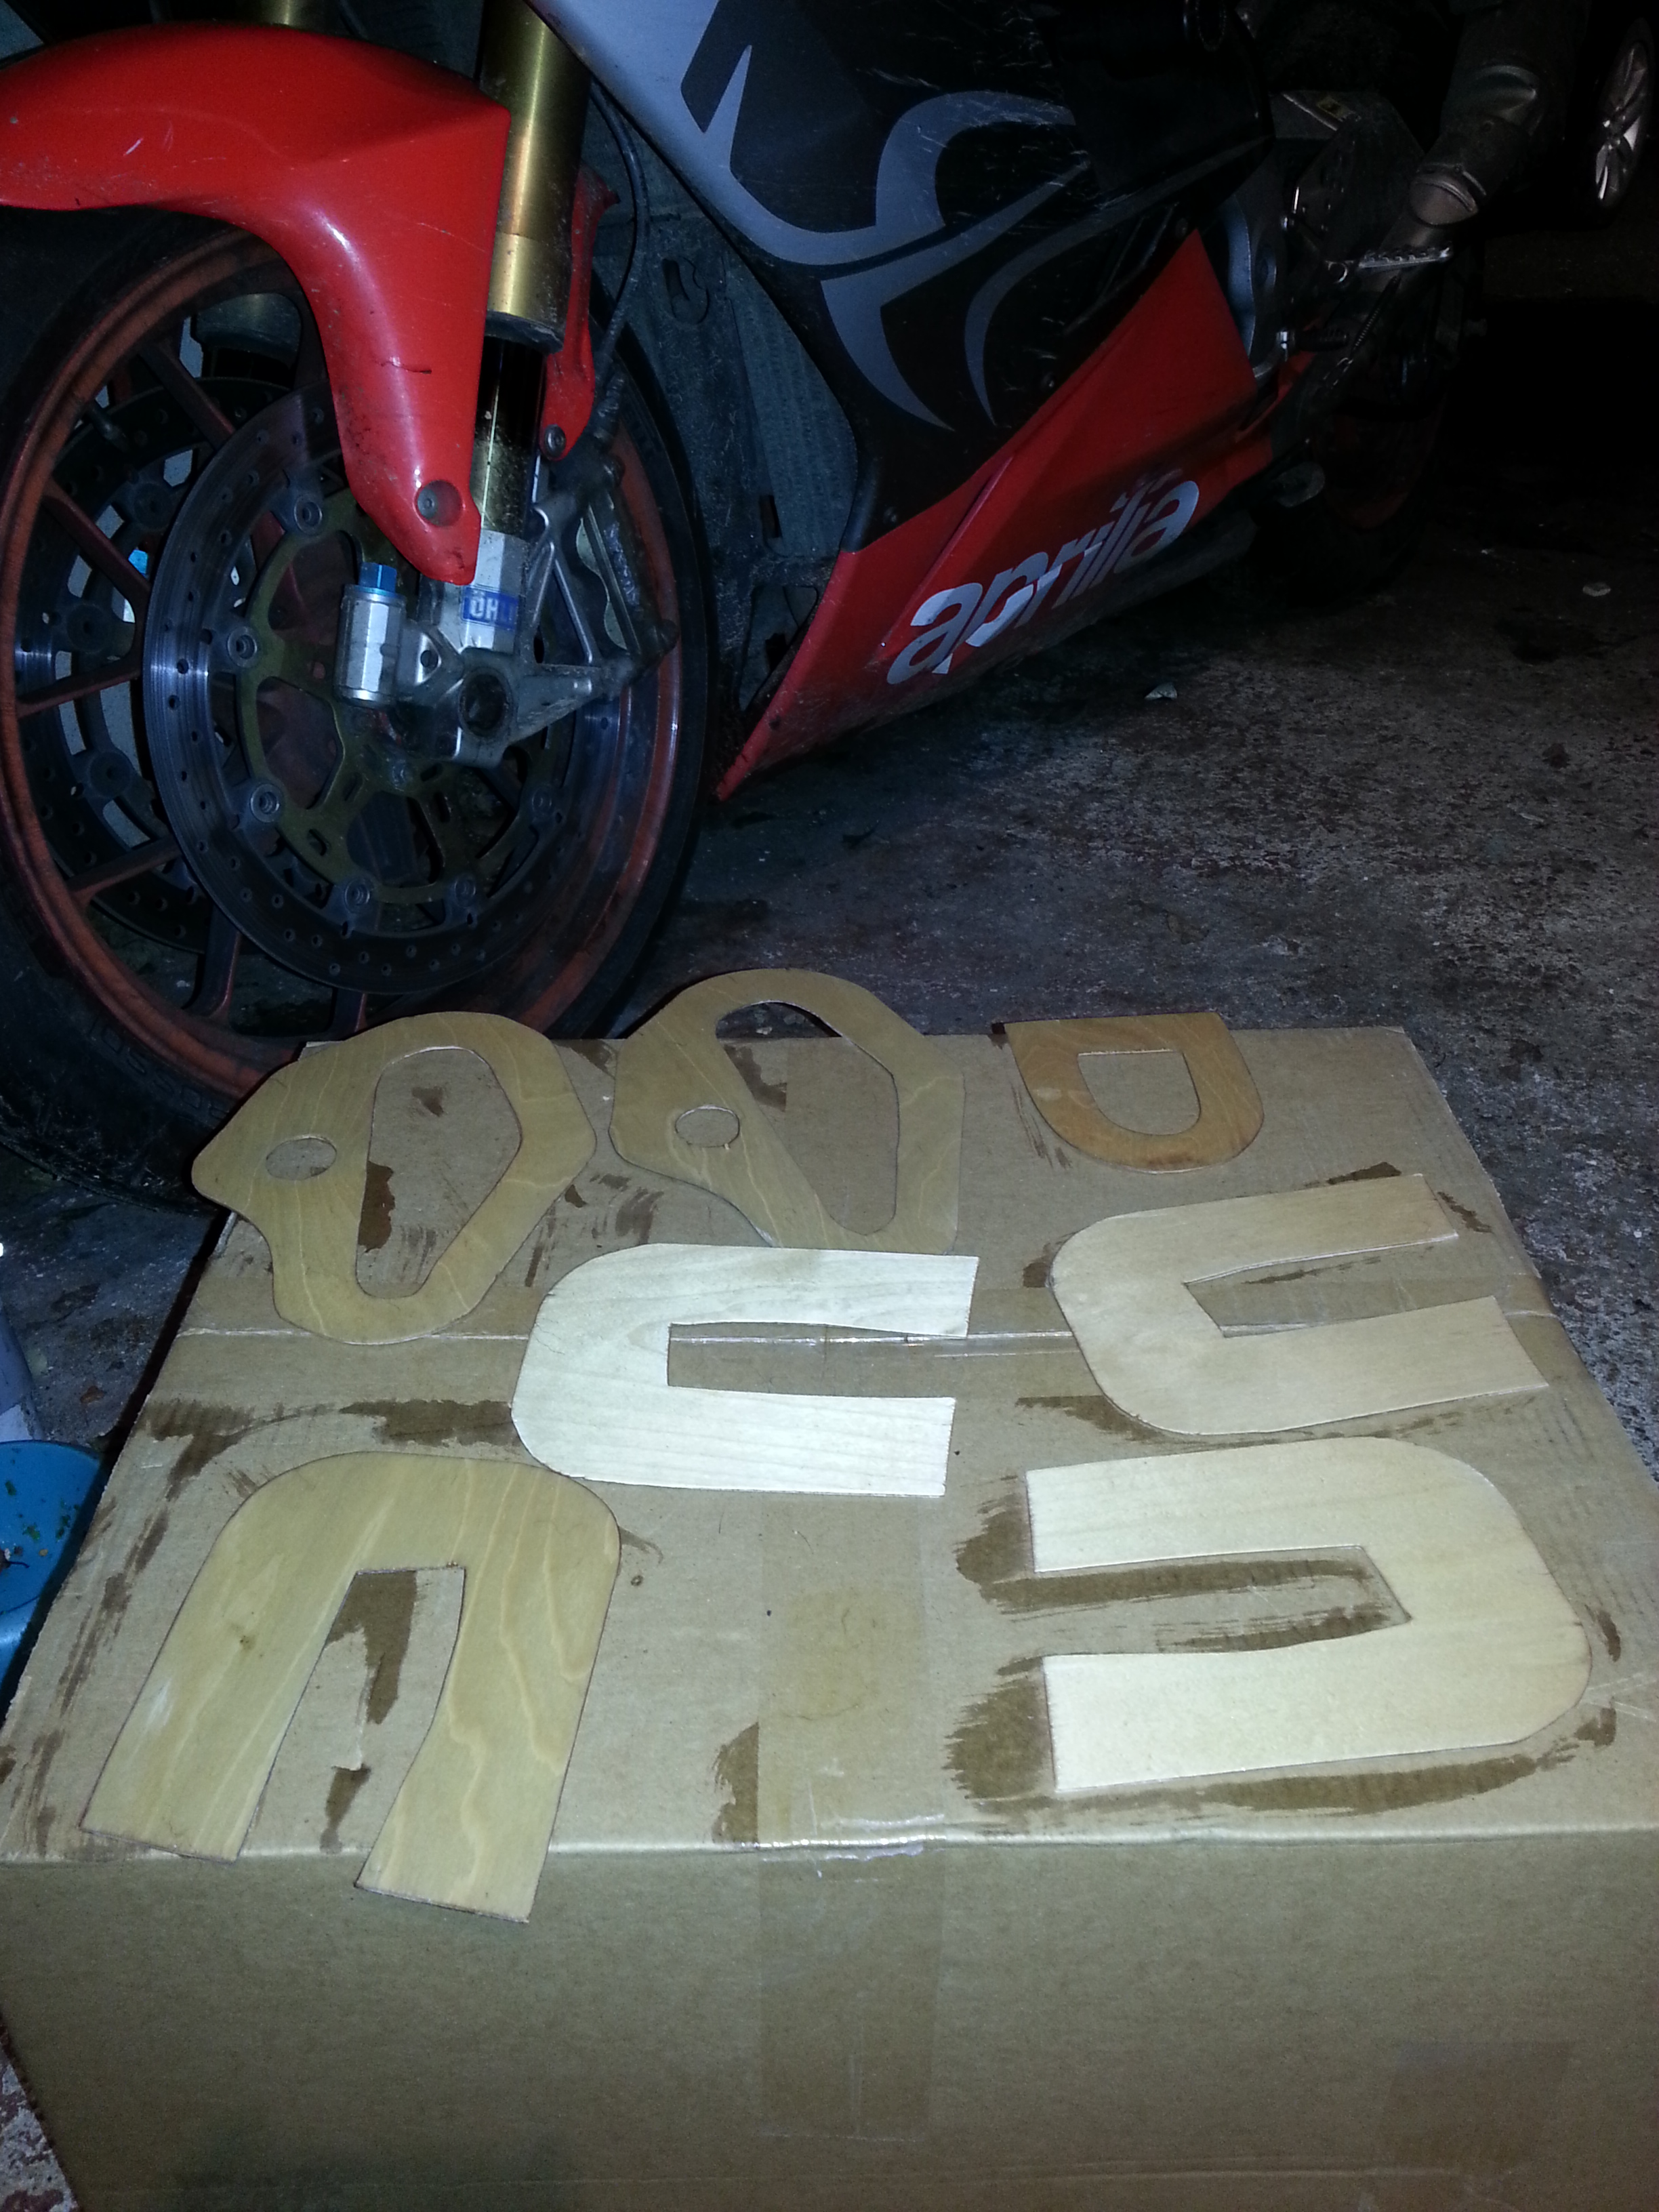
Cut these out some time ago from the TLAC supplied templates. As they have been hanging around for a while at the barn I took them home to dry out and then gave them 10% thinned polyurethane coat.
These can now be bonded to the body with suitable 1/2″ balsa blocks backing for support.
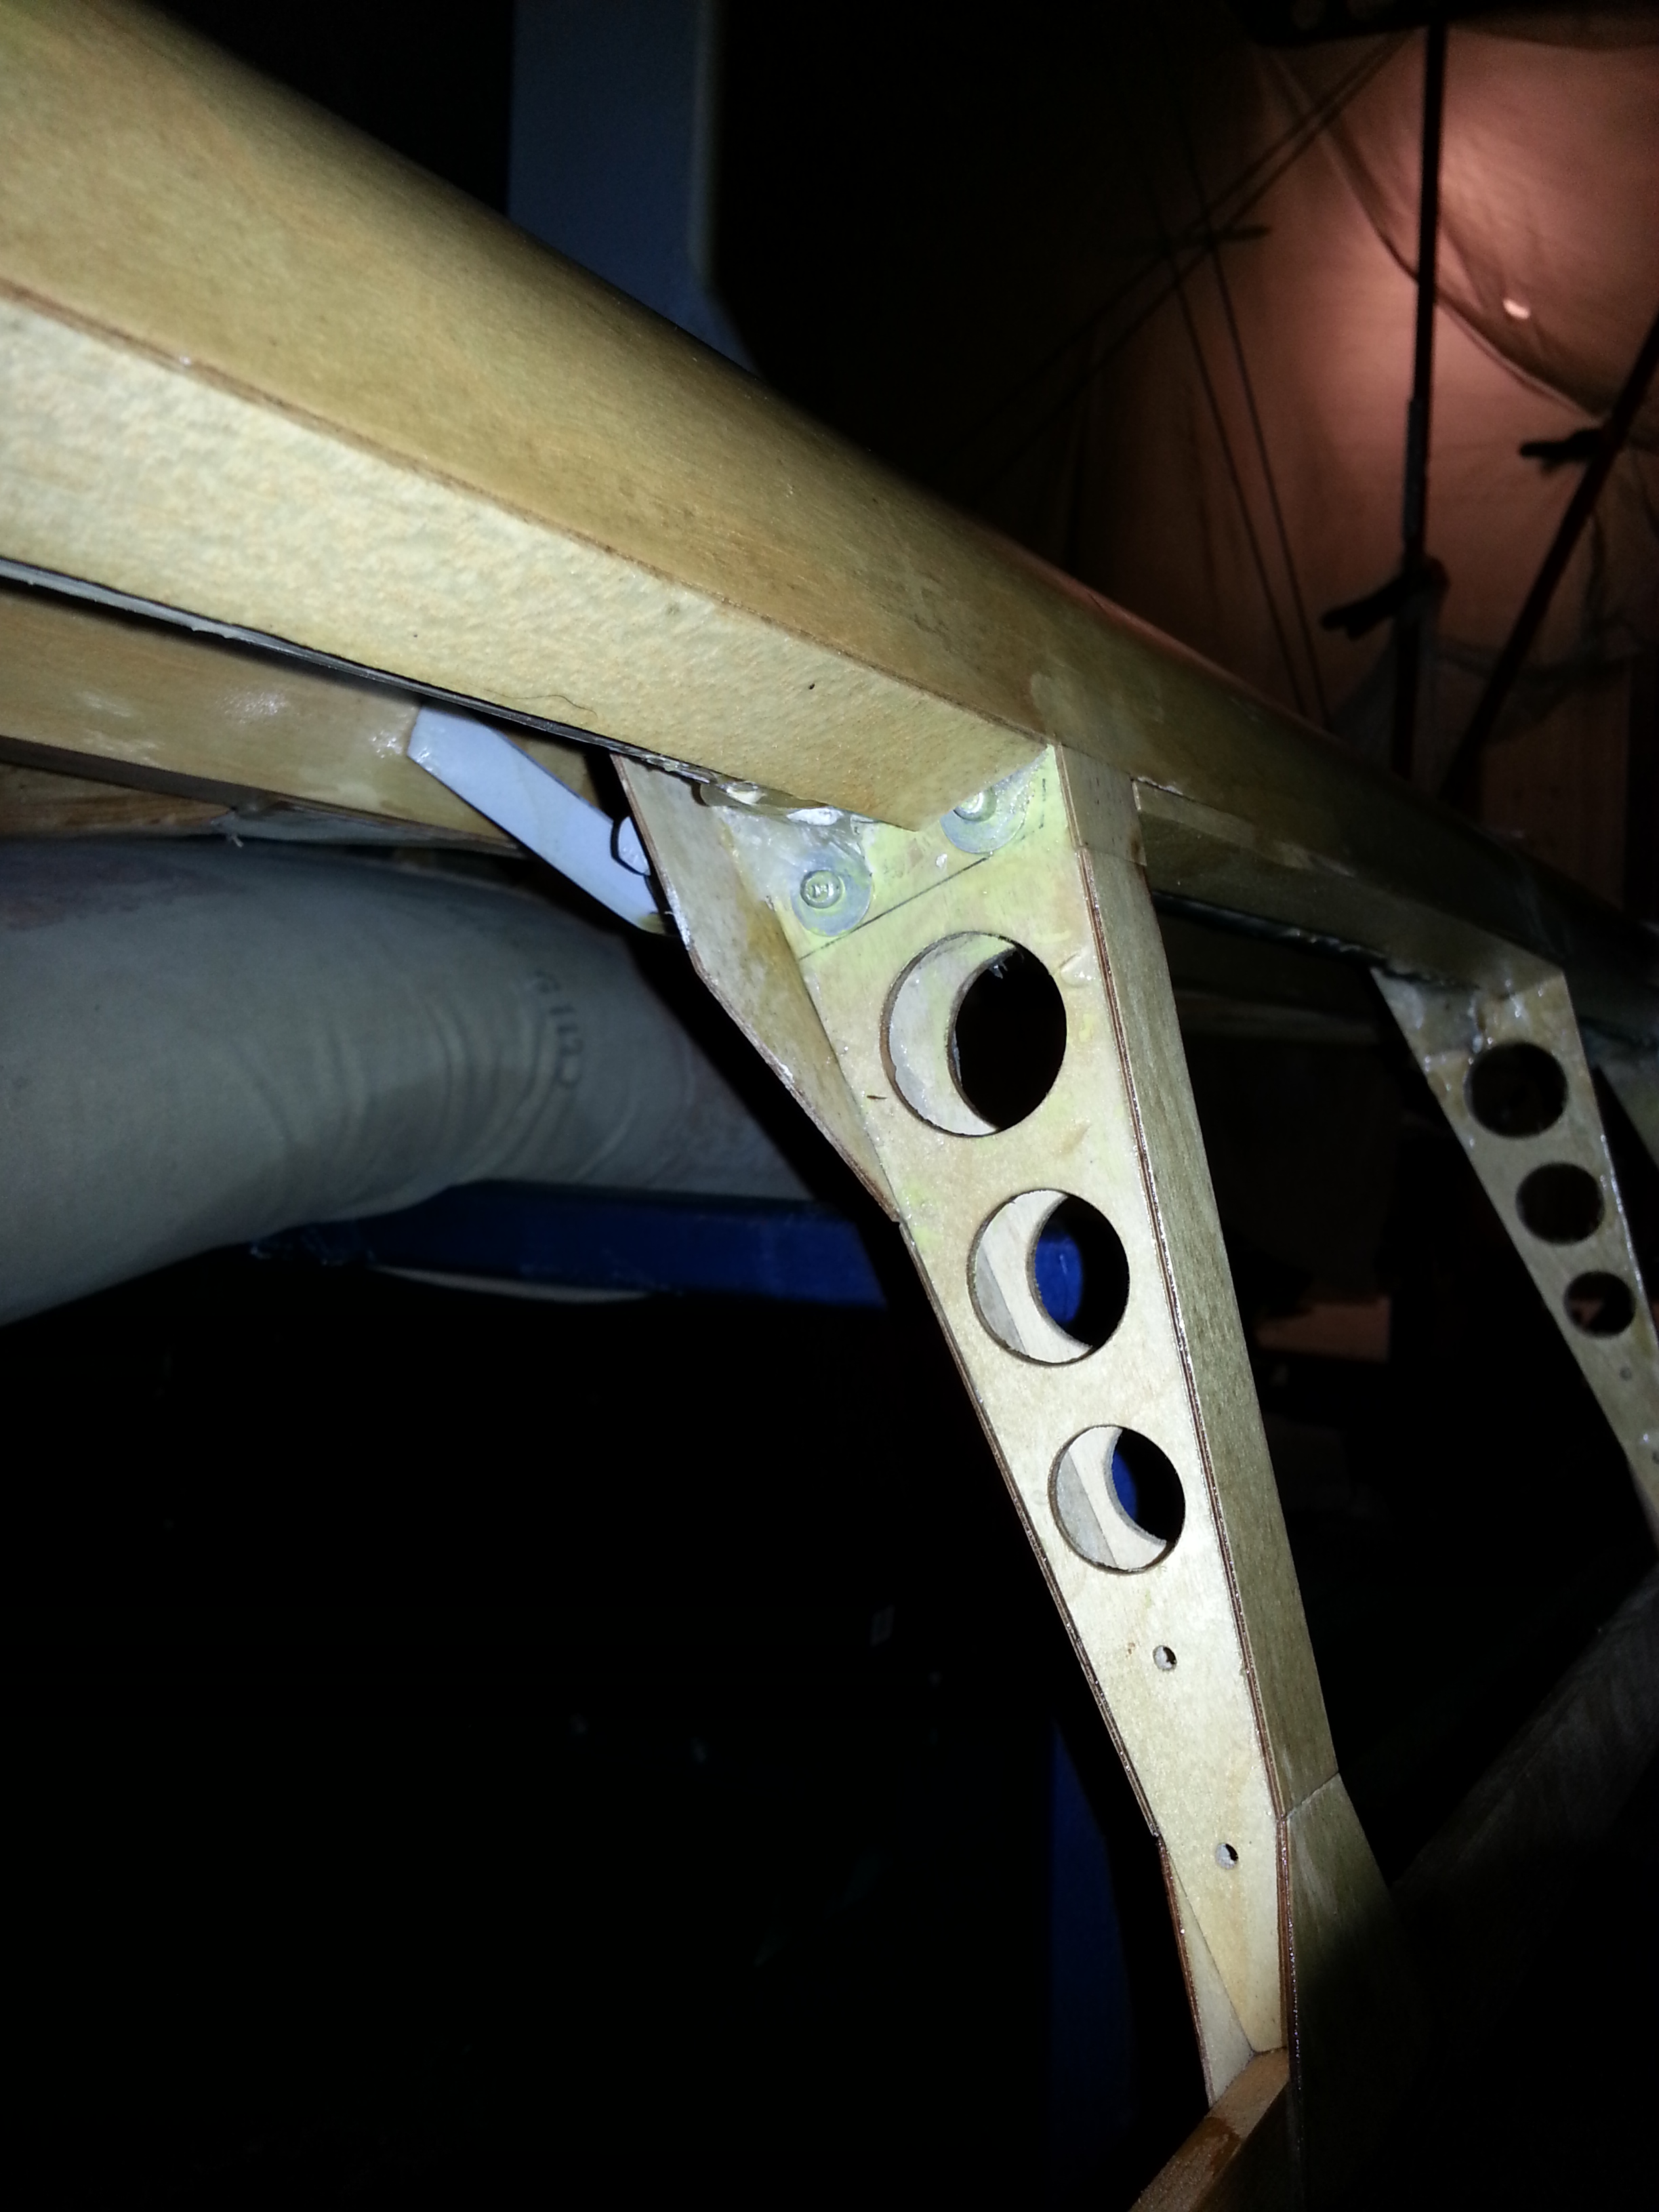
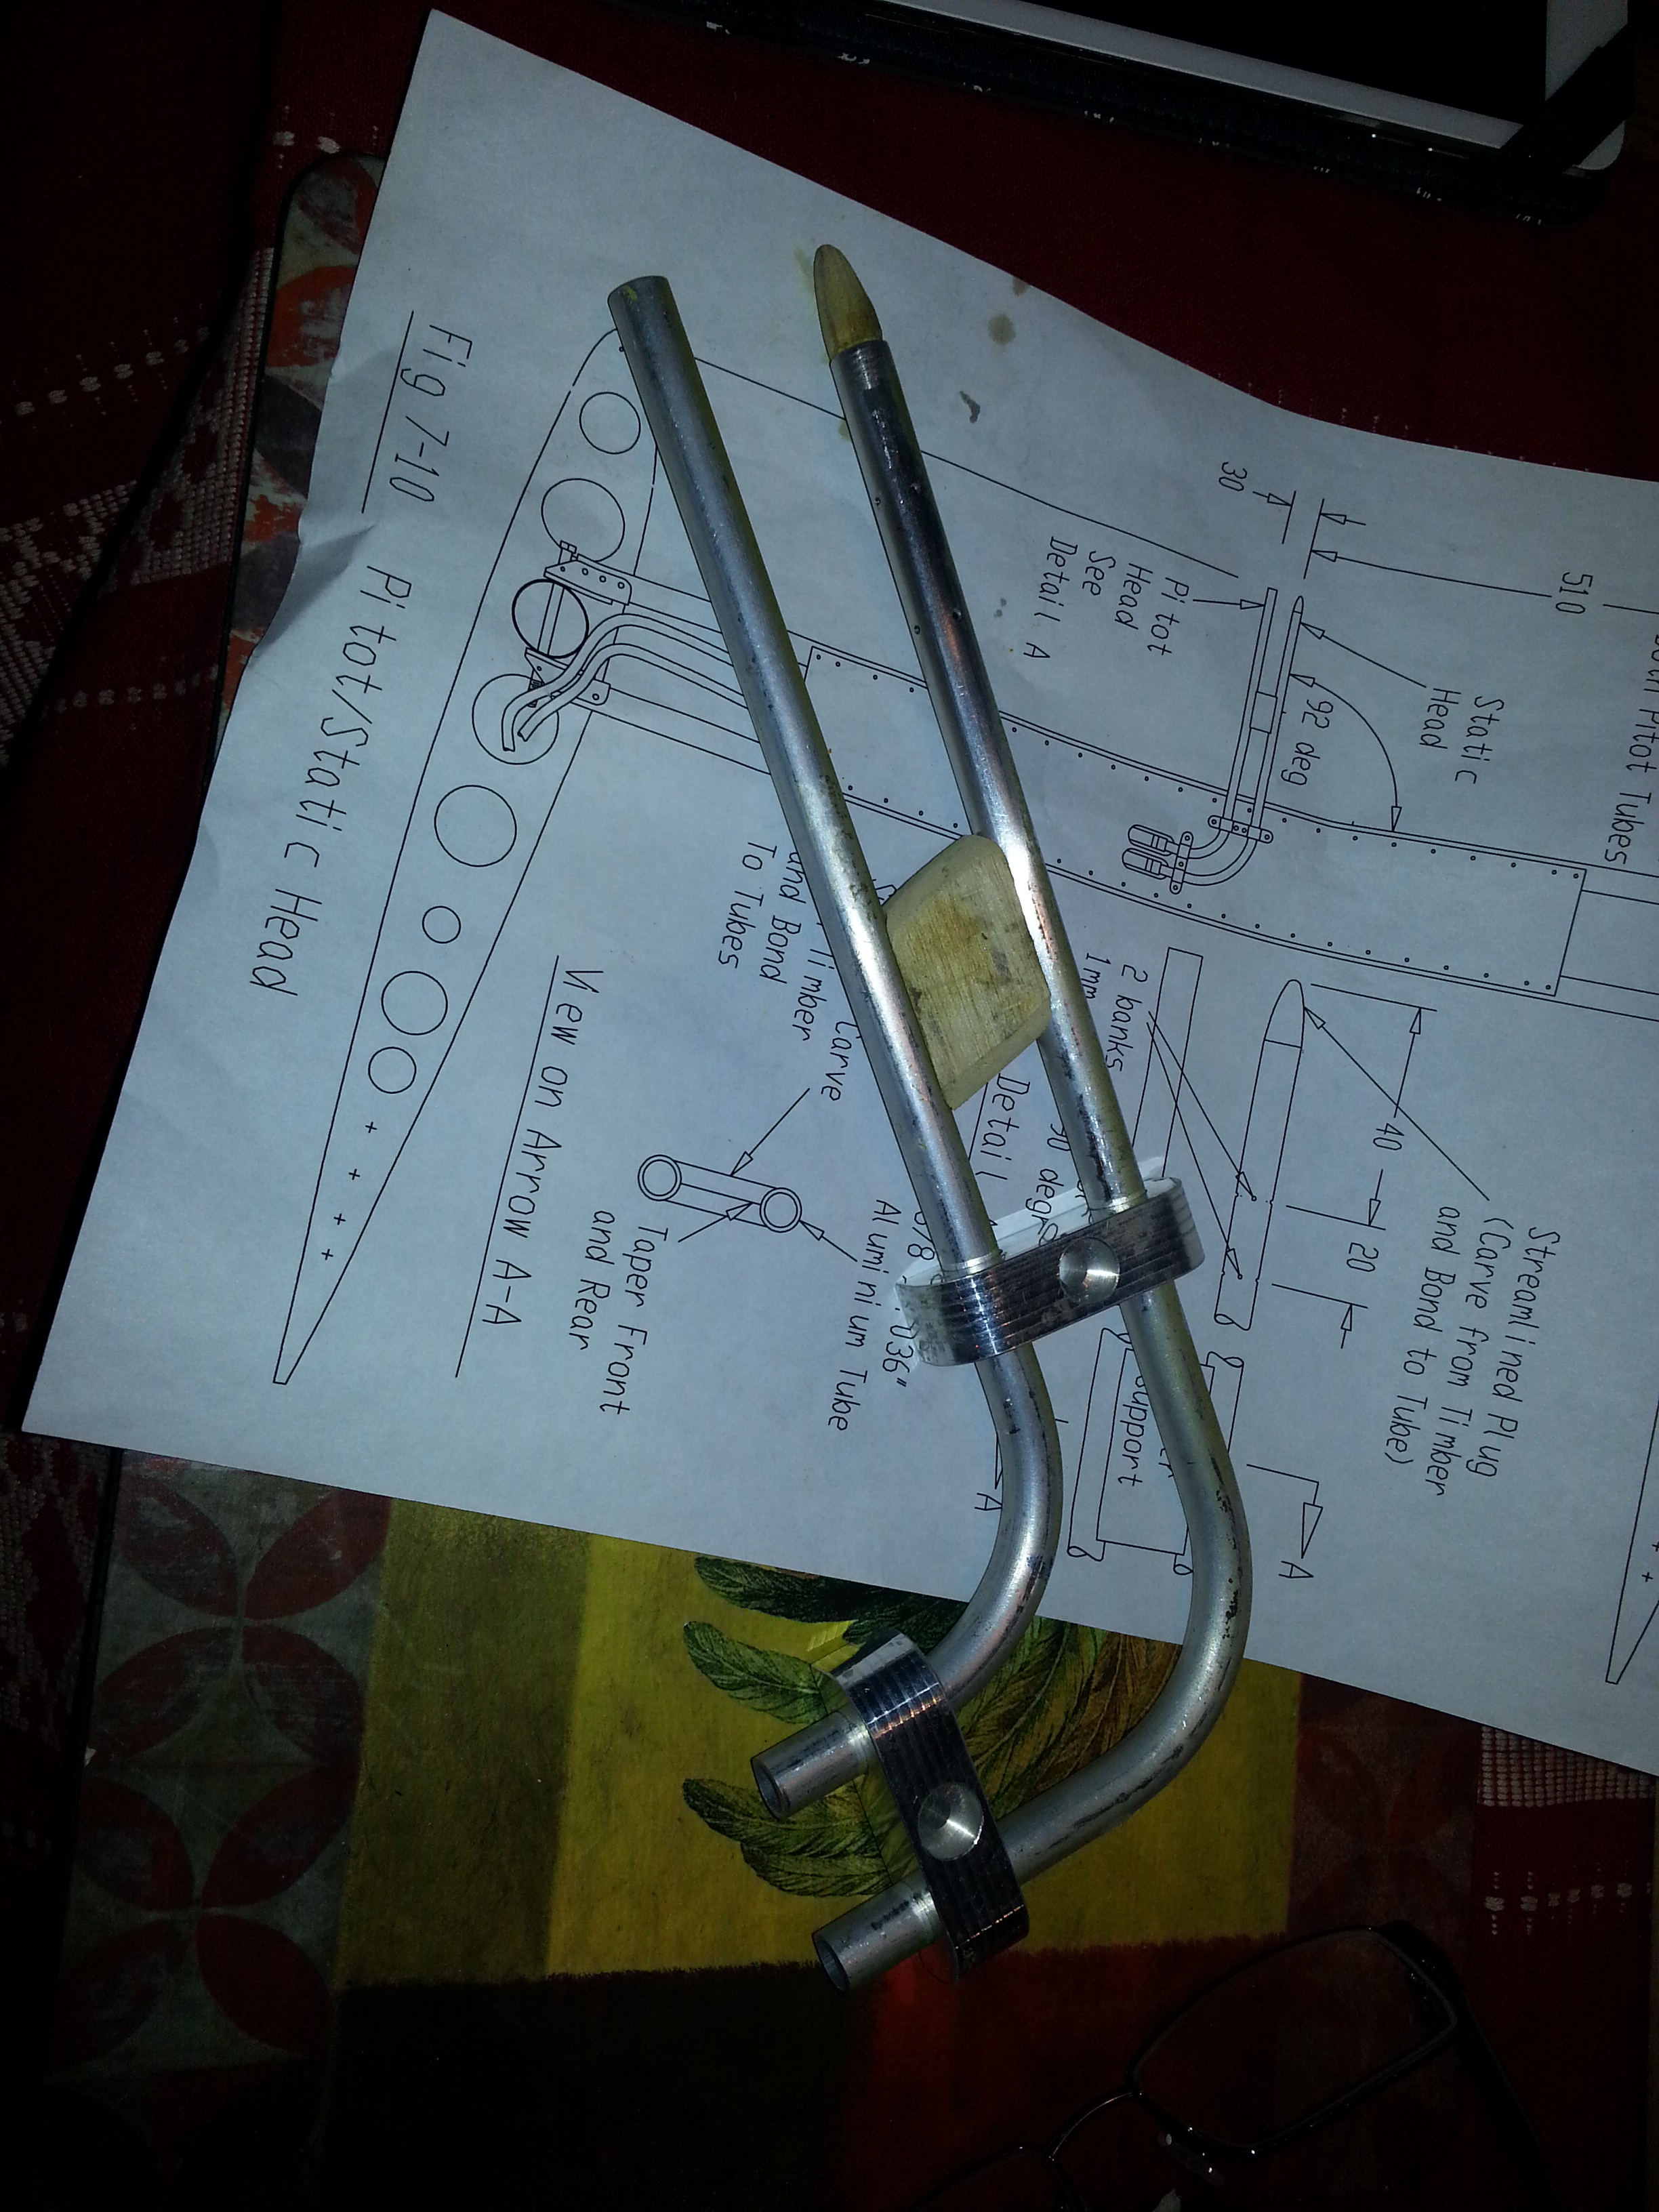
Finished the setting up of these, now drilled and wood block support glued in place and ready for final rub down and treating .. then fit to starboard strut inboard
Need to drill a hole in the rear drag spar fibreglass to route the feed and return tubing (pitot to gauge)
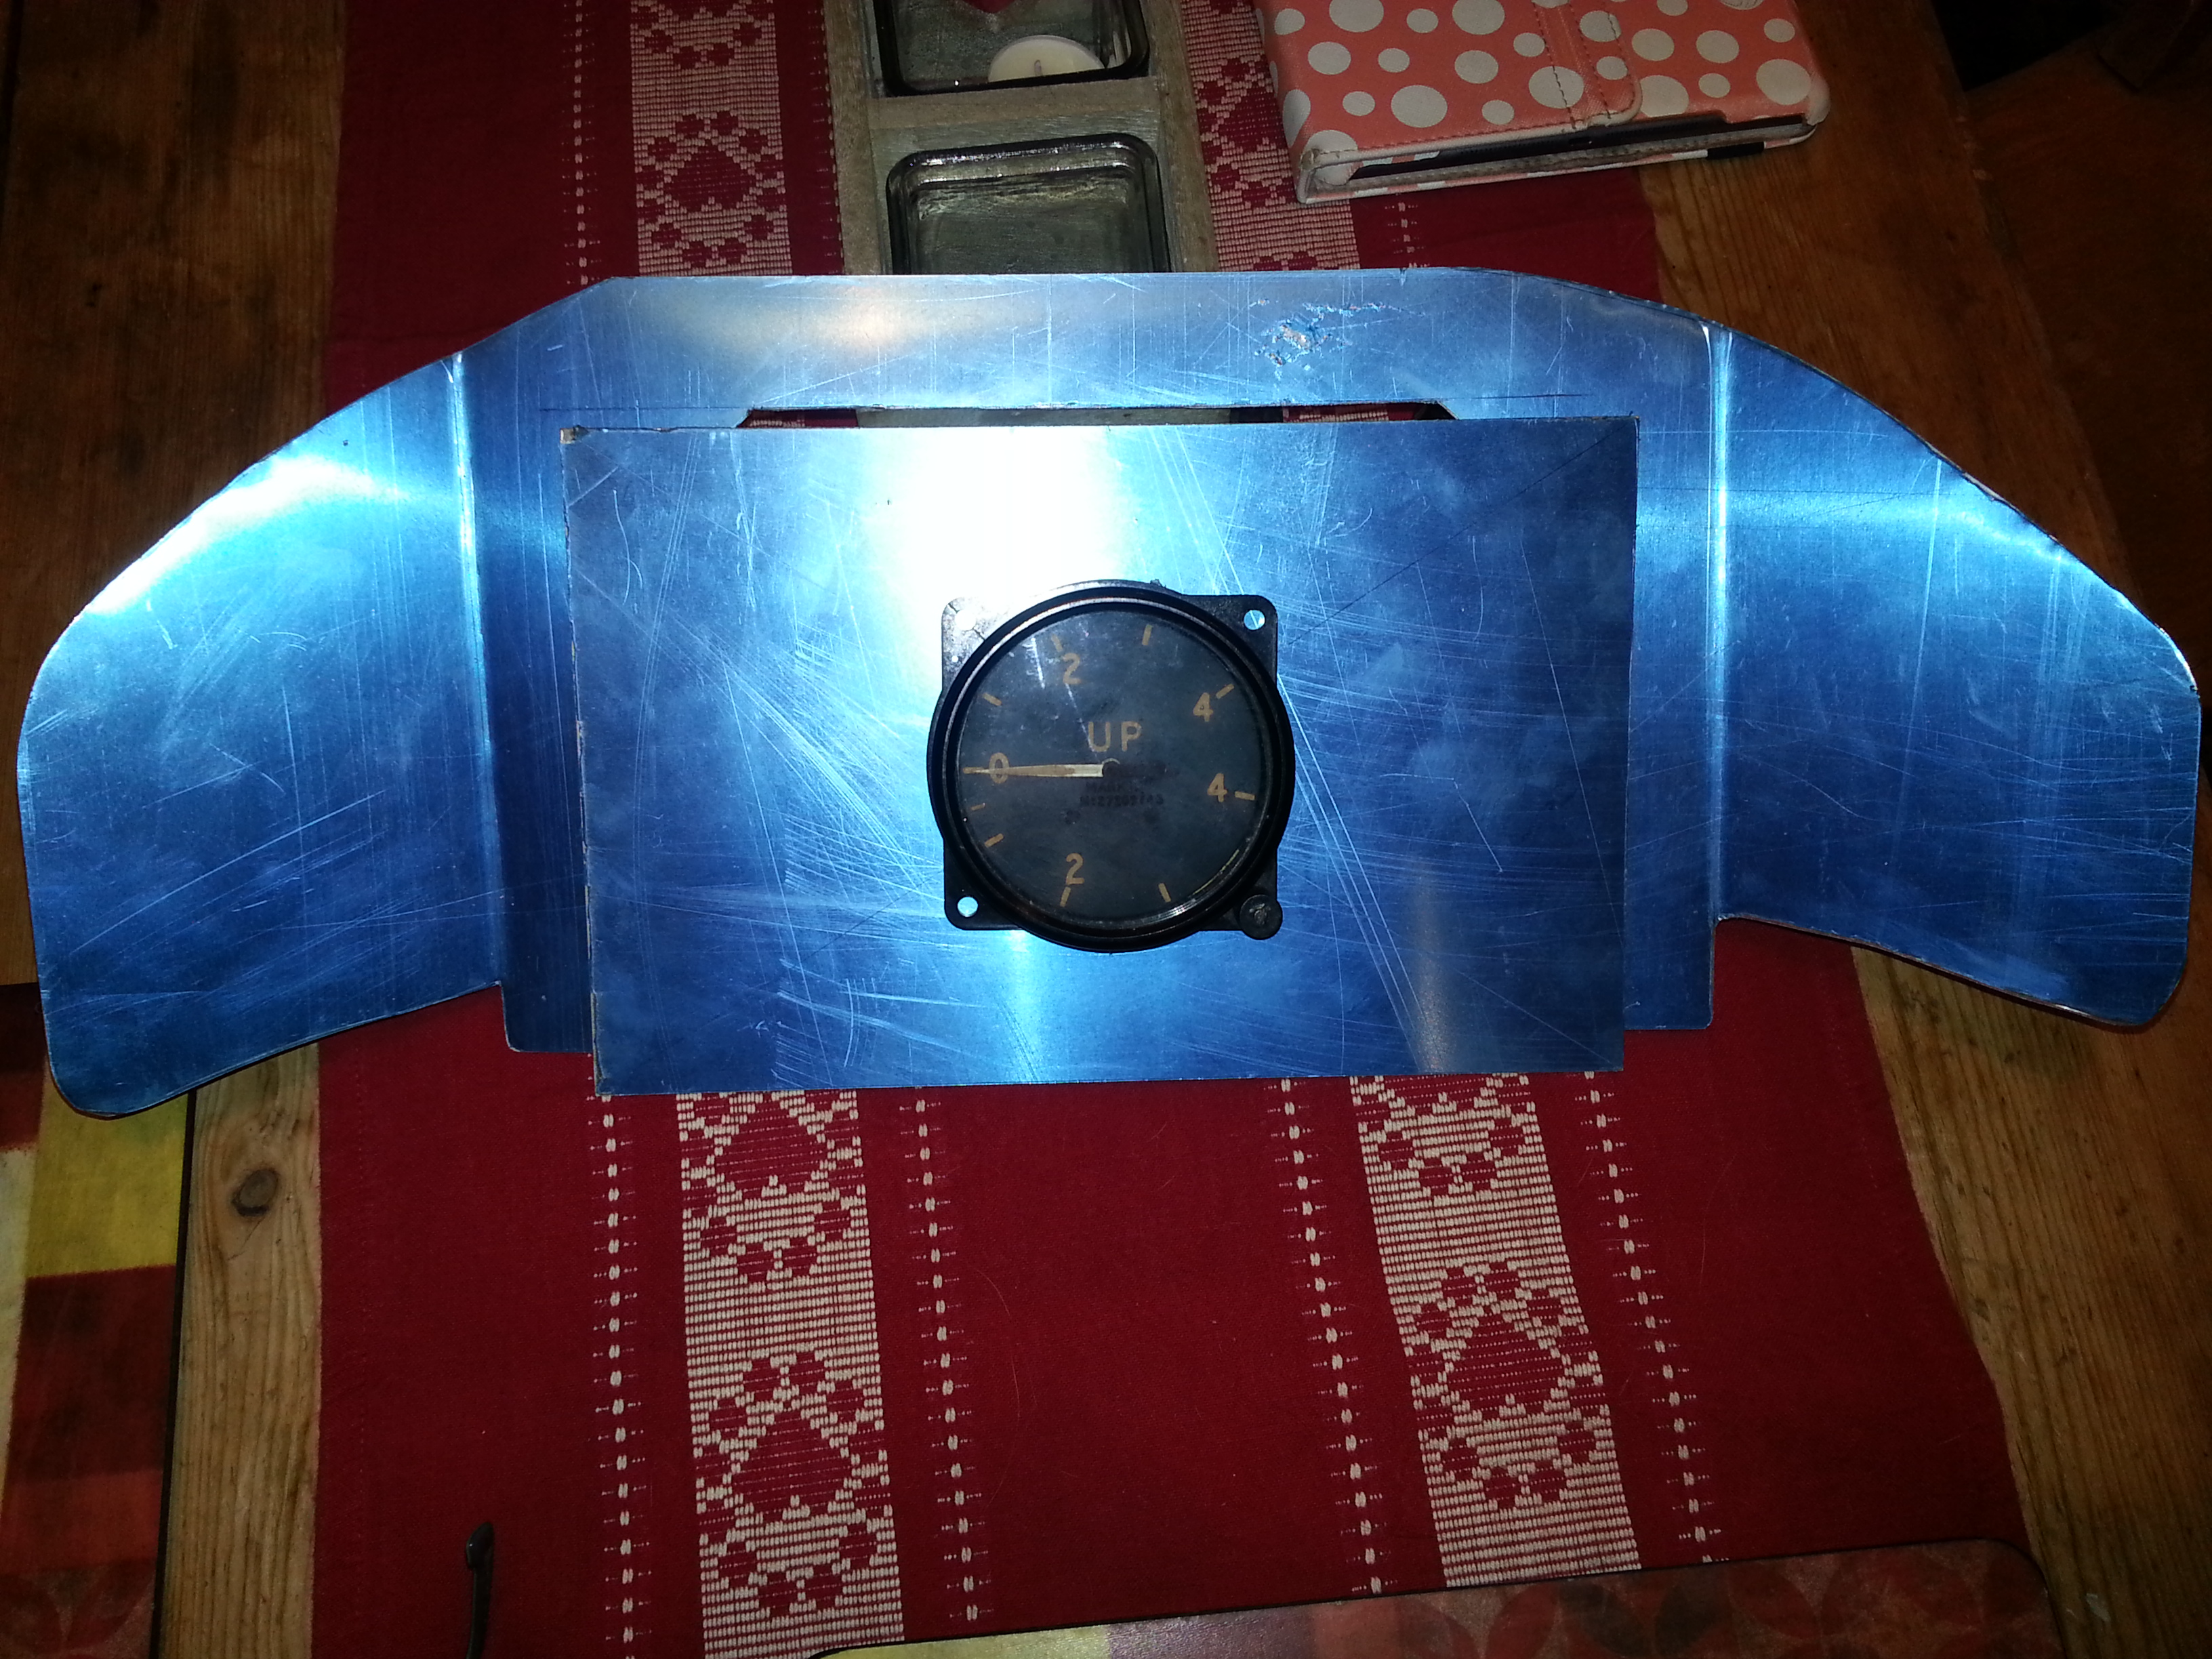
Couldn’t decide exactly what to put in the front panel but Sam, last year, bought me an ex Spitfire variometer which we tested on Boxing day last year by going up in a Piper Cherokee and diving down and back up to 1,000′ over the coast in Jersey !
I have now mapped a central removal panel (similar to rear cockpit) and have mounted the variometer in the middle.
The mockup of the panel was pretty much spot on, with only 15 minutes of filing and small bends to get it to fit exactly within the turtle deck lines.
Once I have decided what else goes into this panel I will cut a piece of my green cow hide ! and stretch/glue to cover the surface before re fitting.