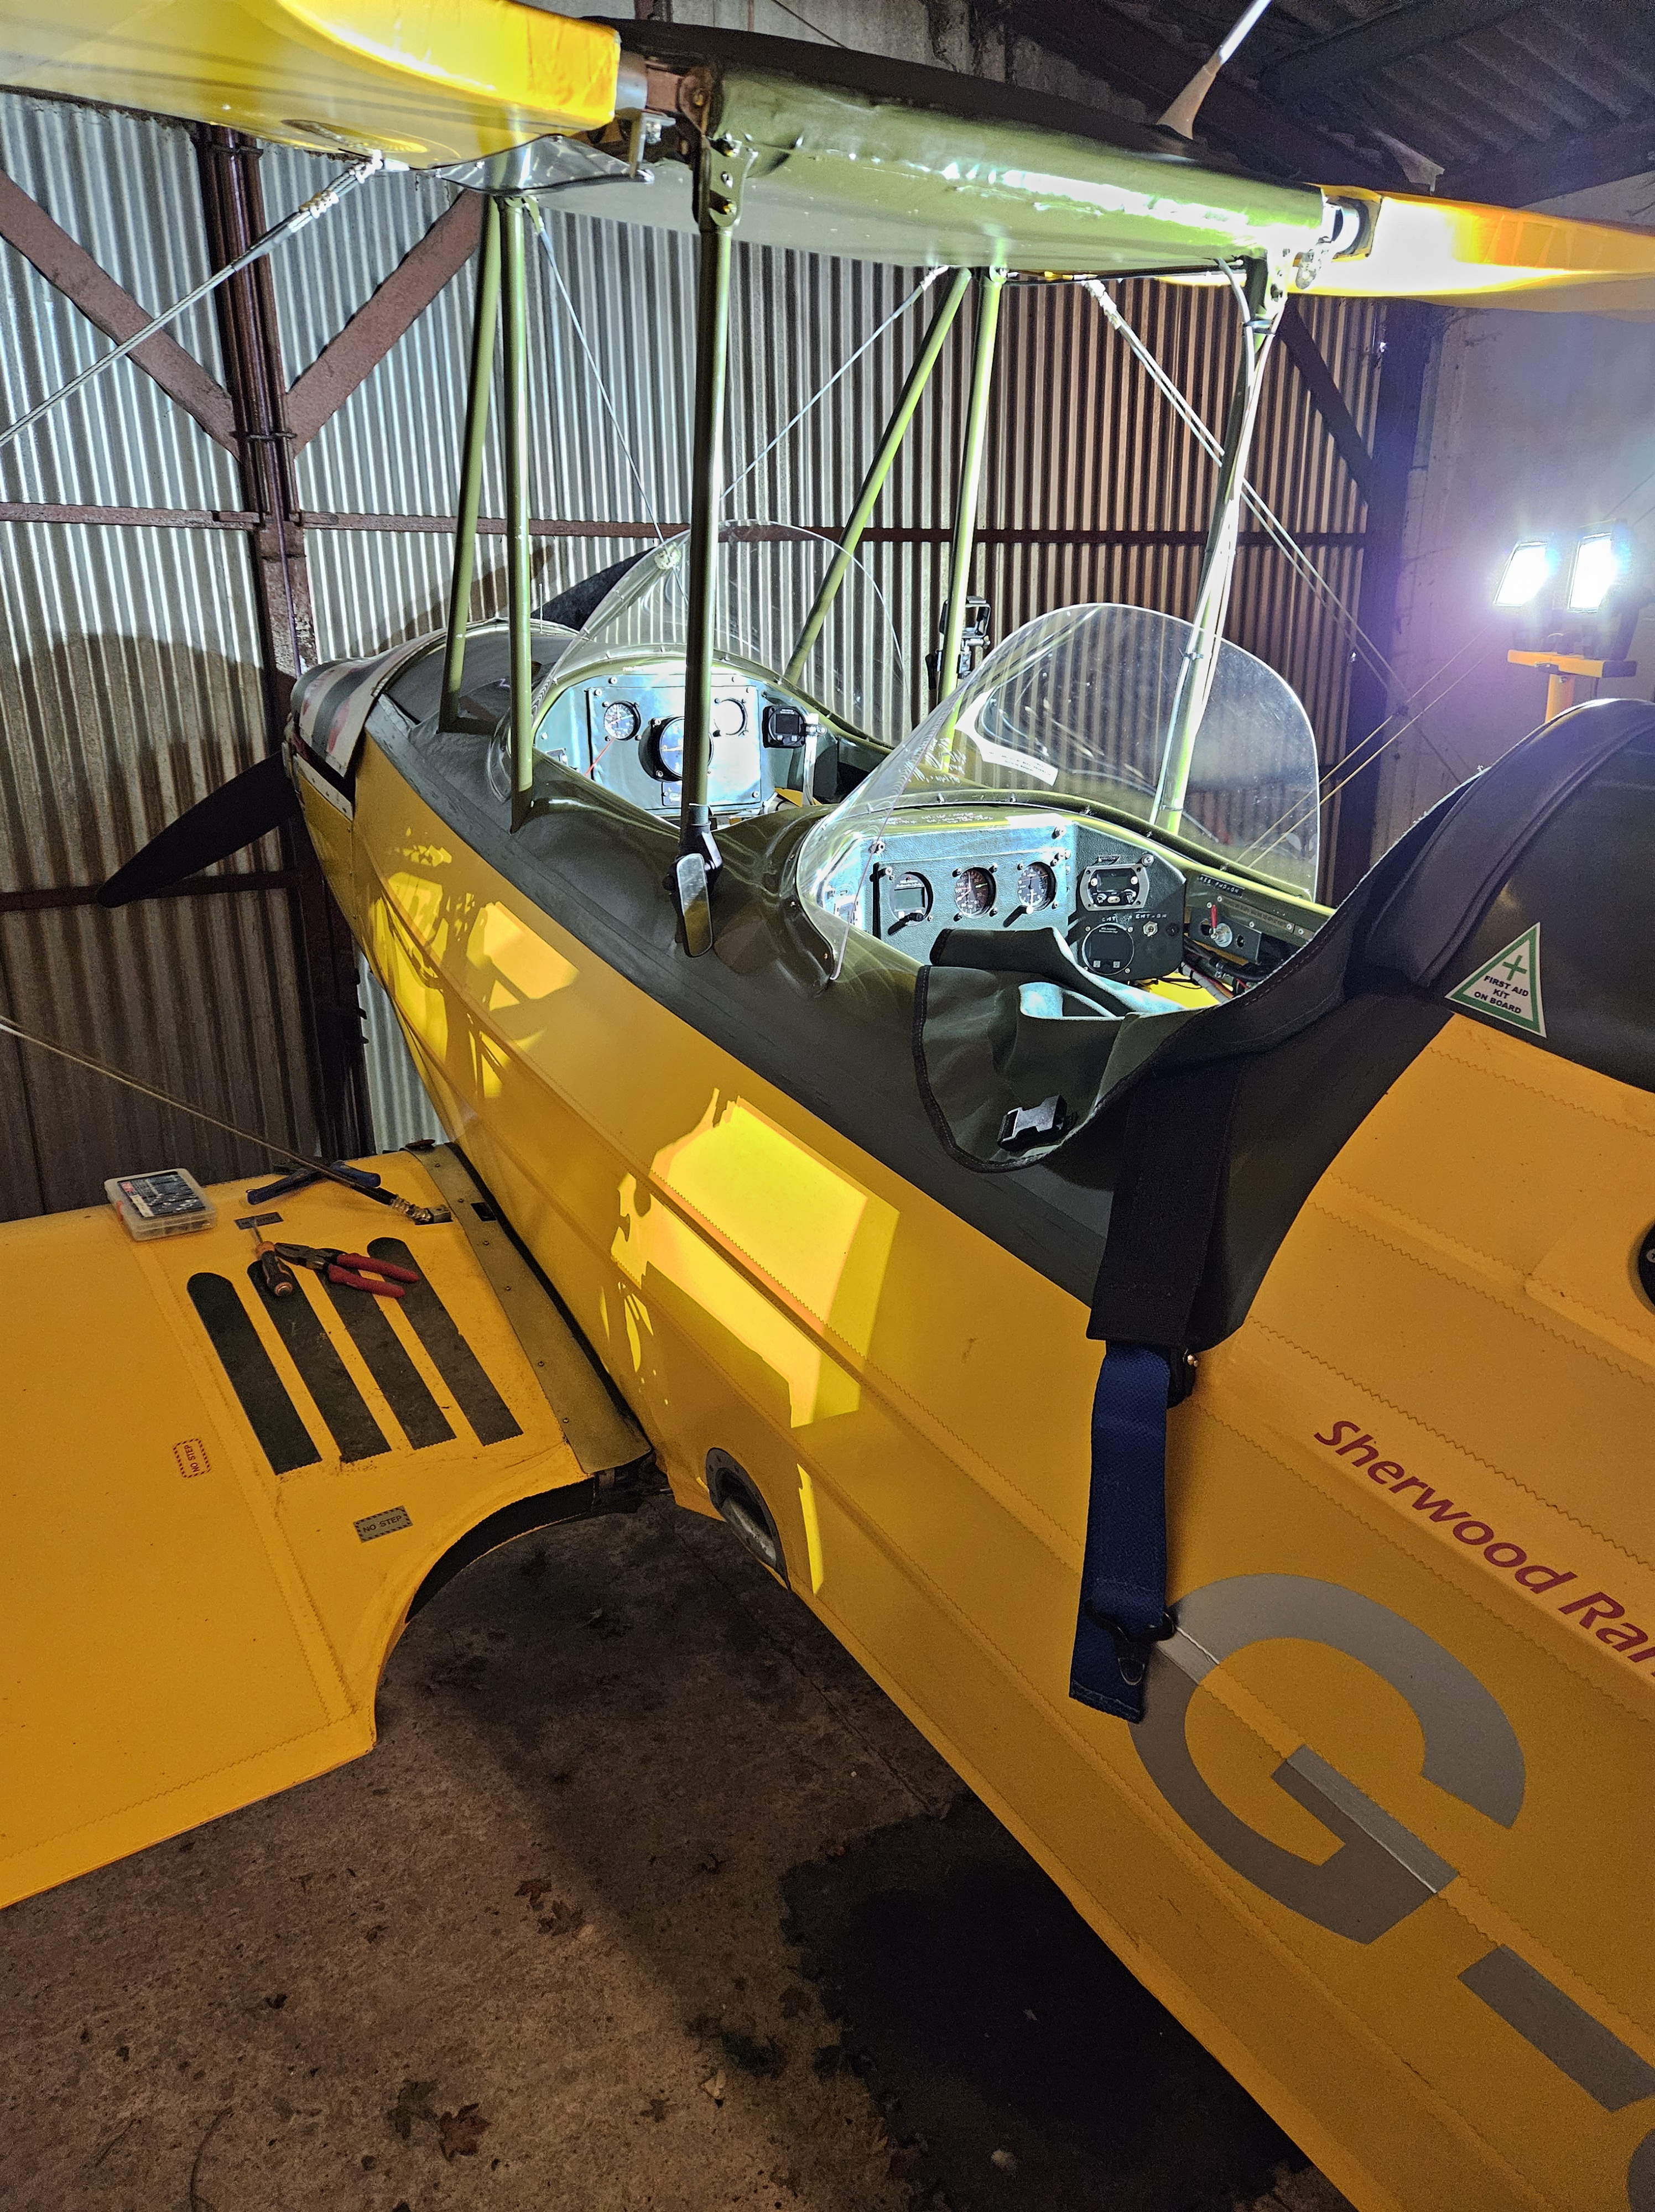
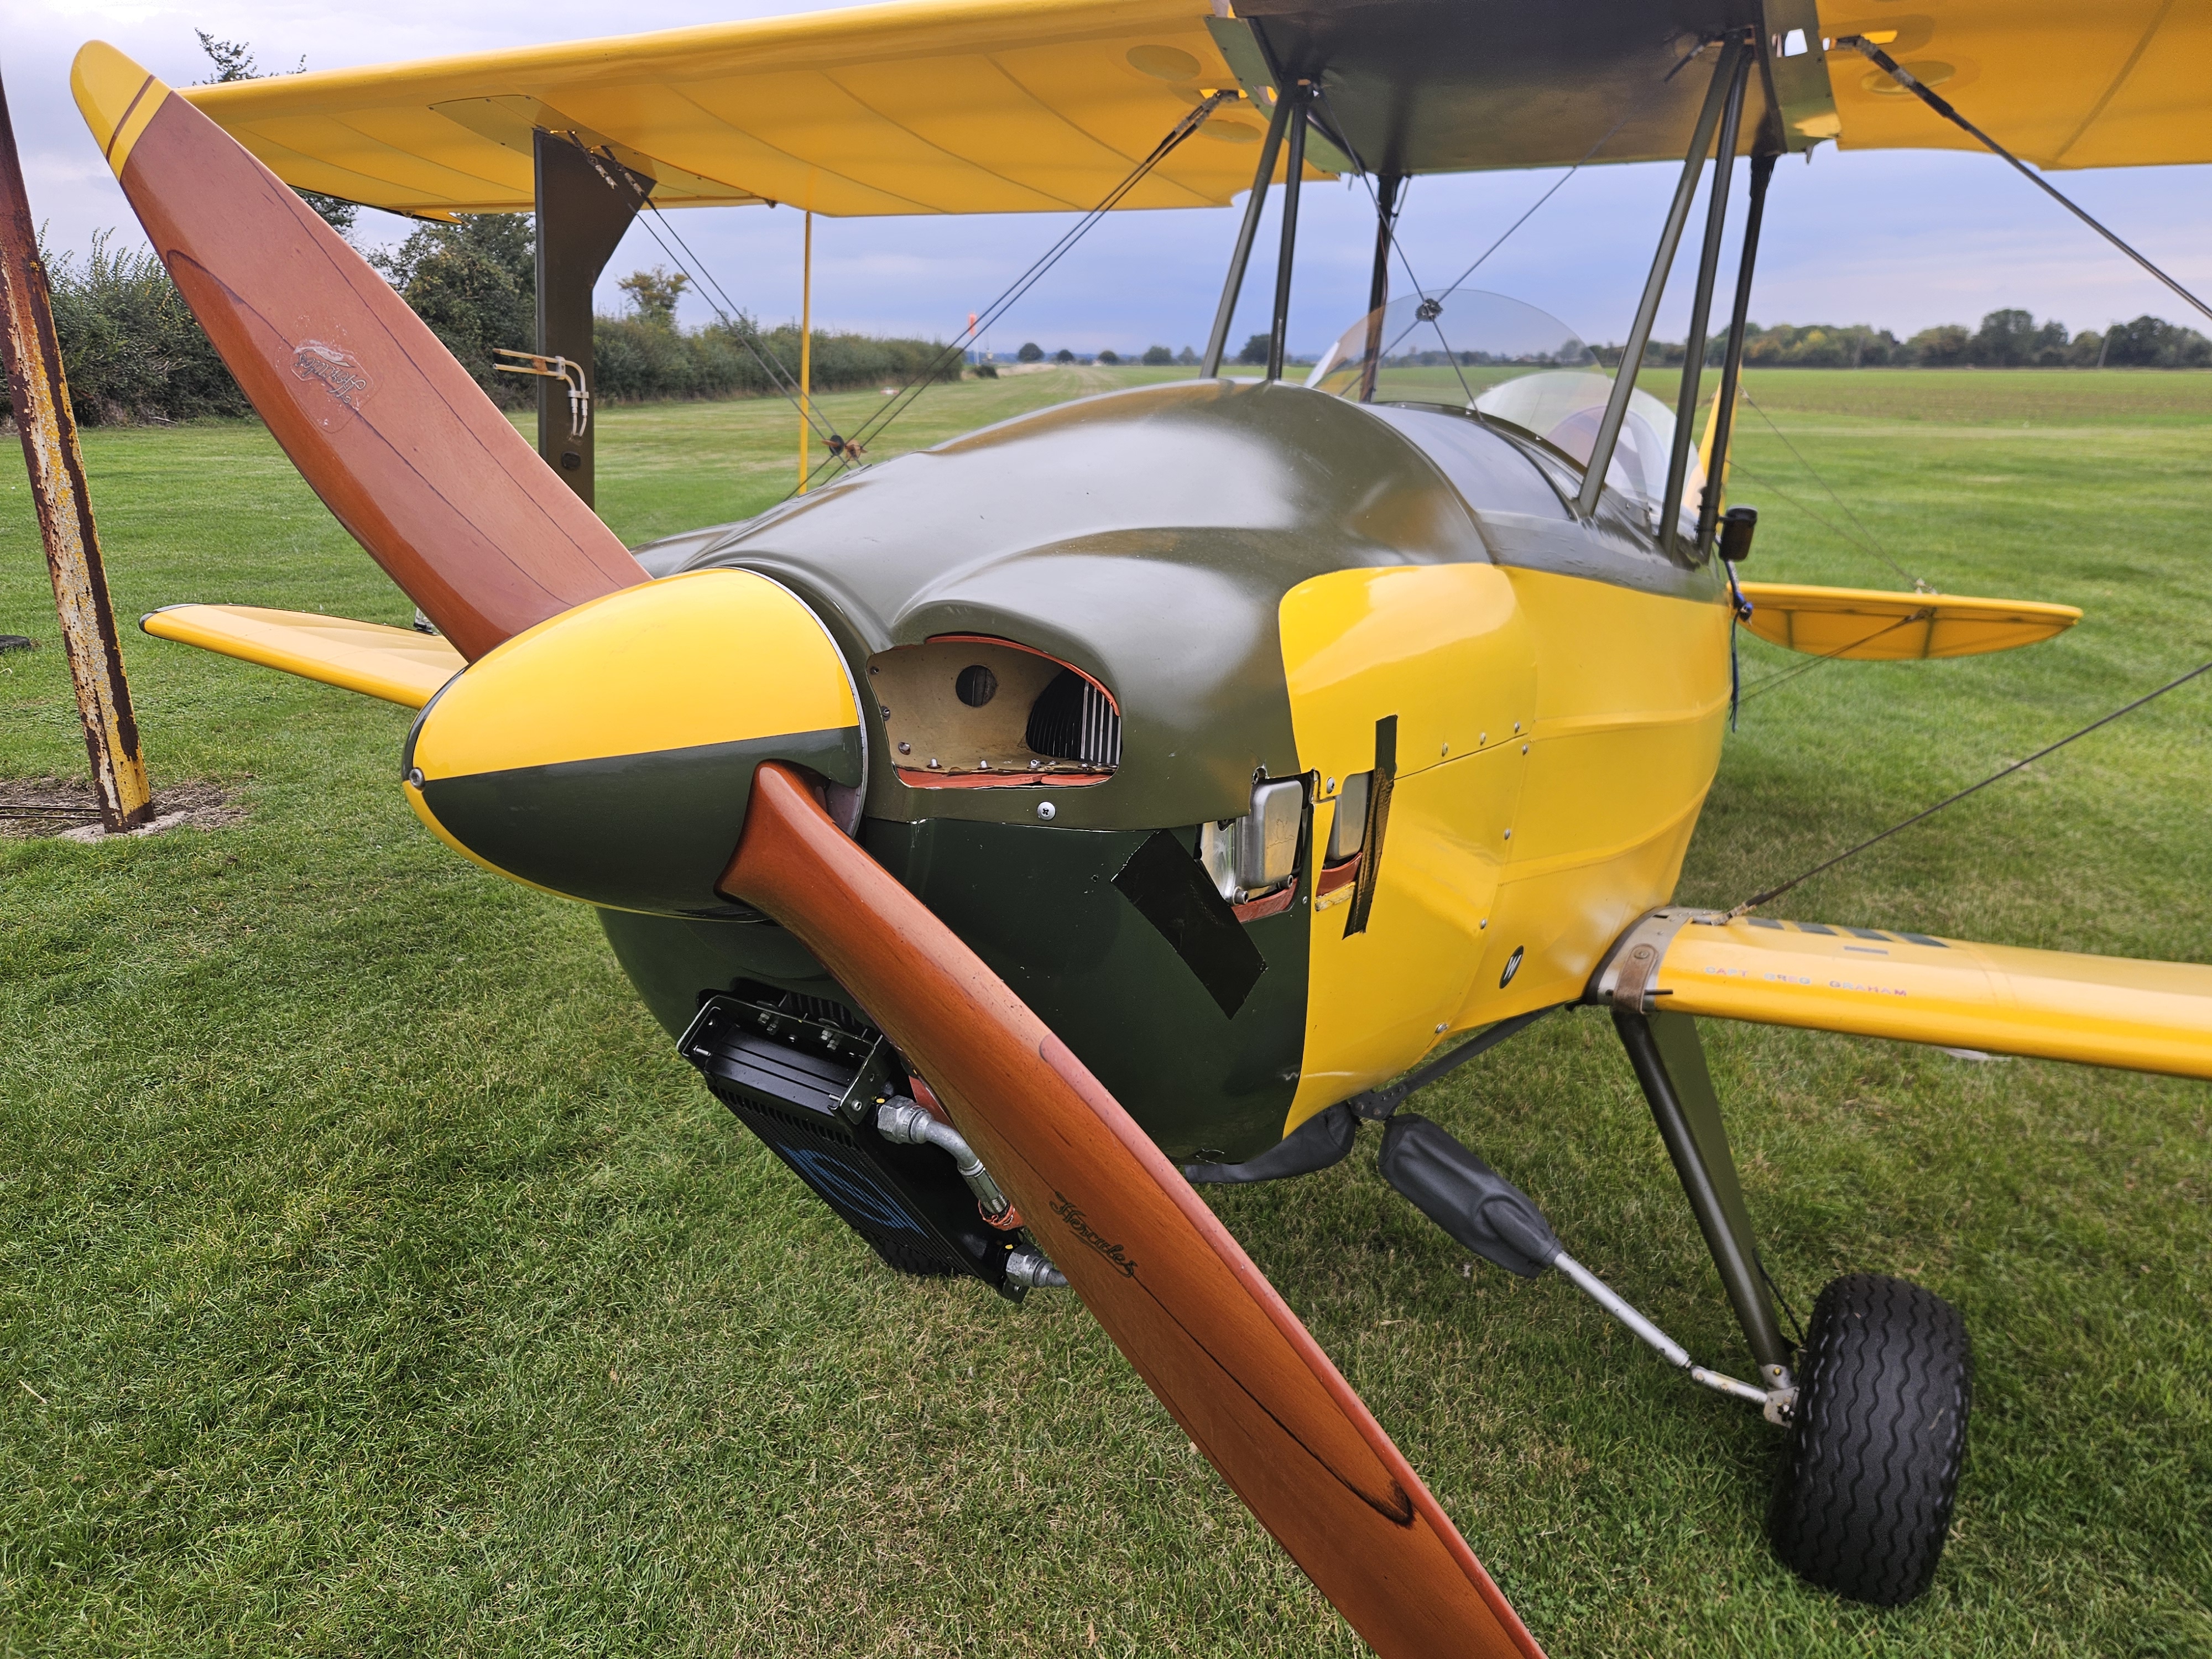
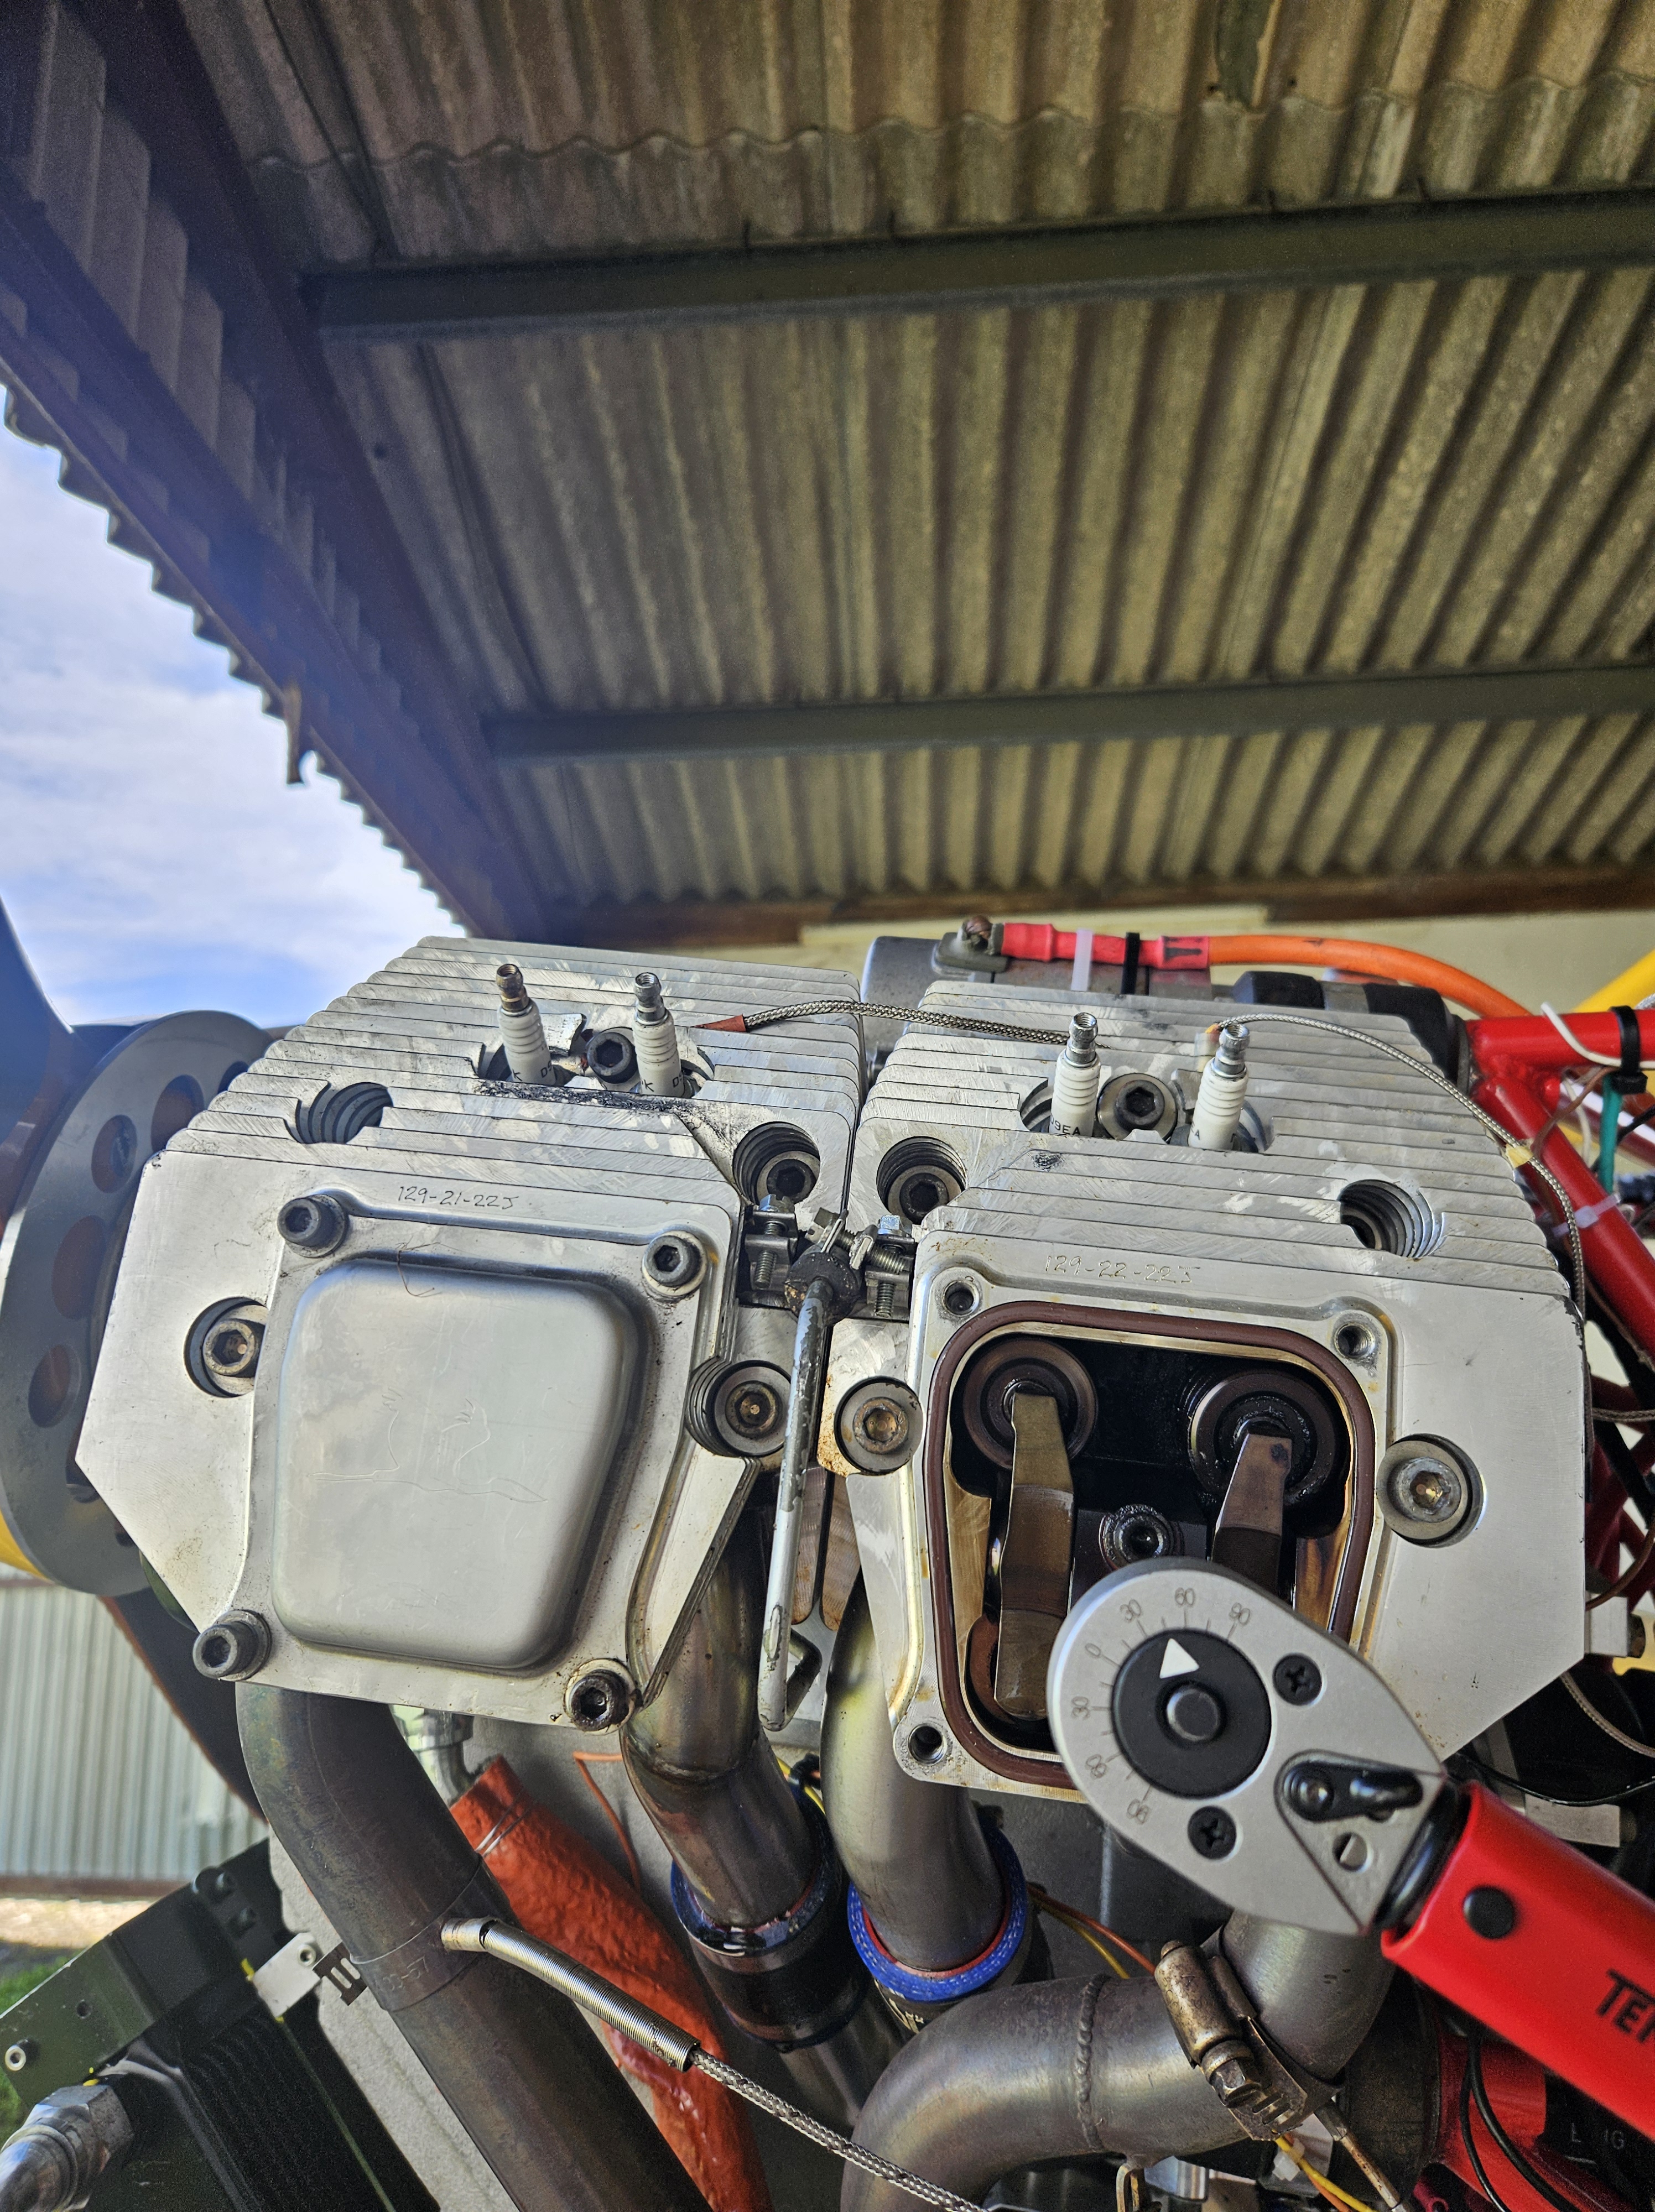
I conducted the air test recently. A cockpit full of cut down LAA air test forms (14 pages therein) .. all reduced in side to A5 and clipped onto the clipboard so that the open cockpit flight didn’t spray it over the Norfolk countryside like confetti !
This gave me all the 100s of checkpoints for the flight test that I could capture for the subsequent manual form completion on the ground (quite why we havent got an editable version of this or an online Database escapes me)
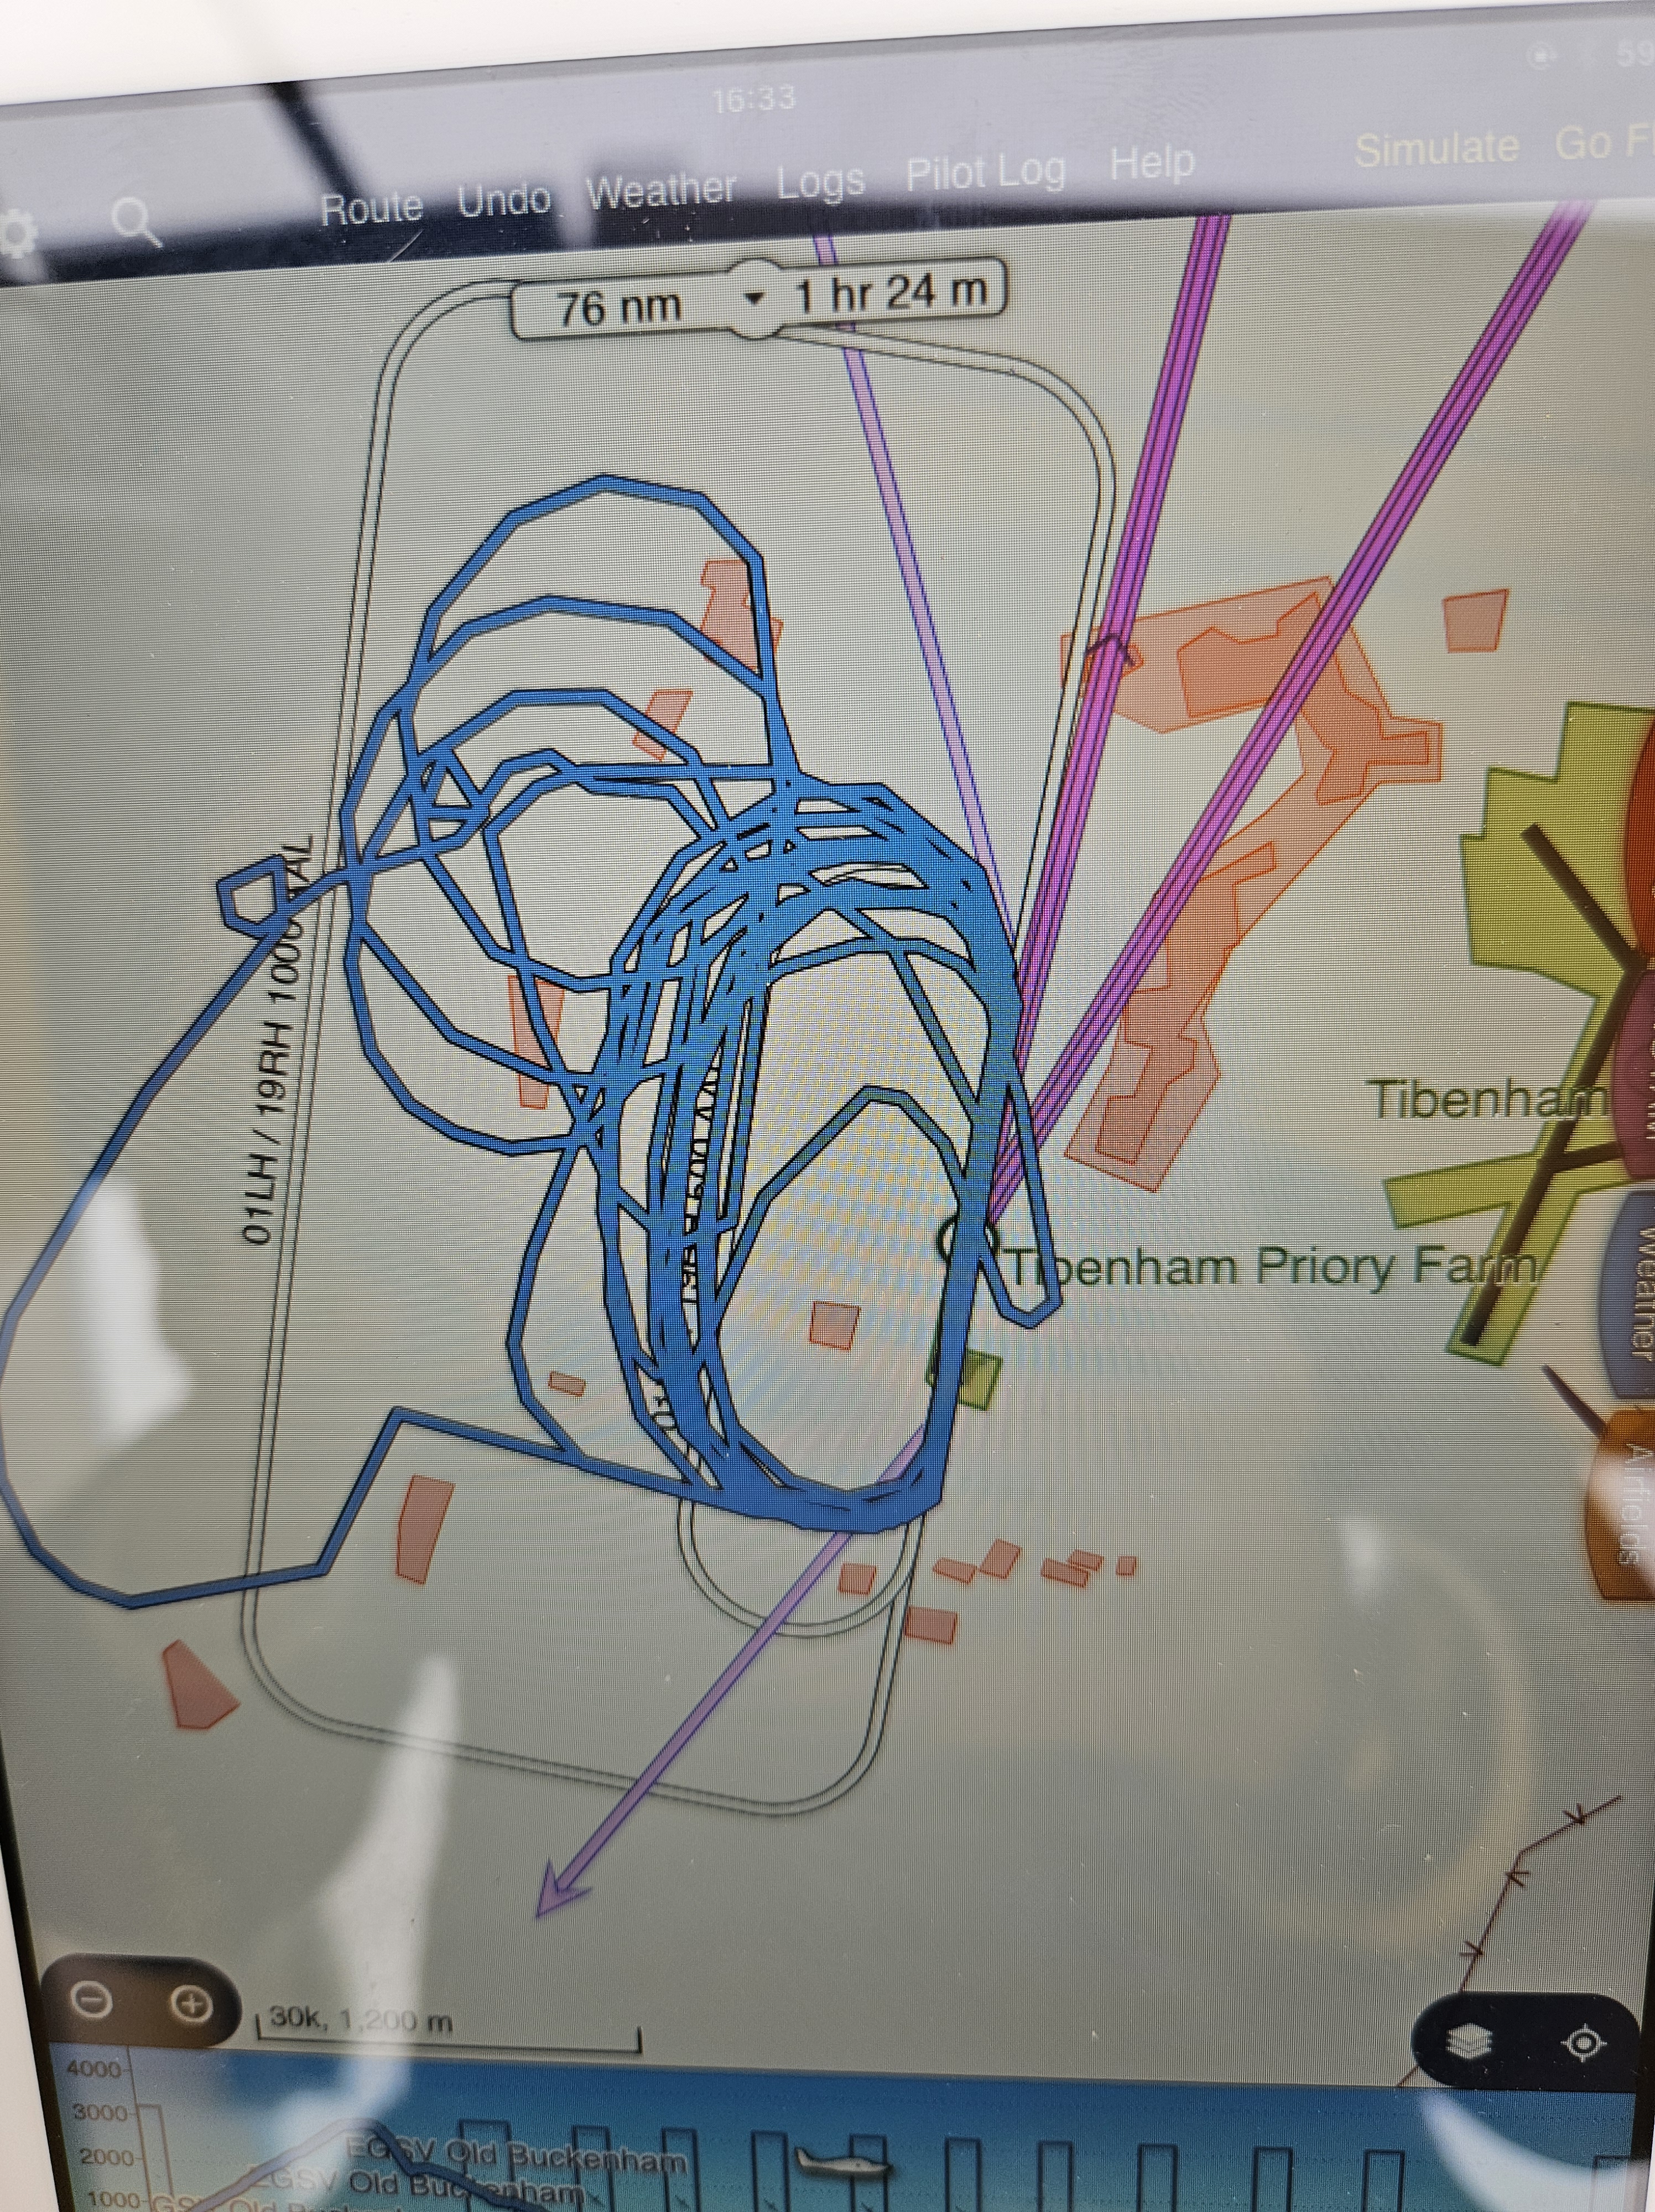
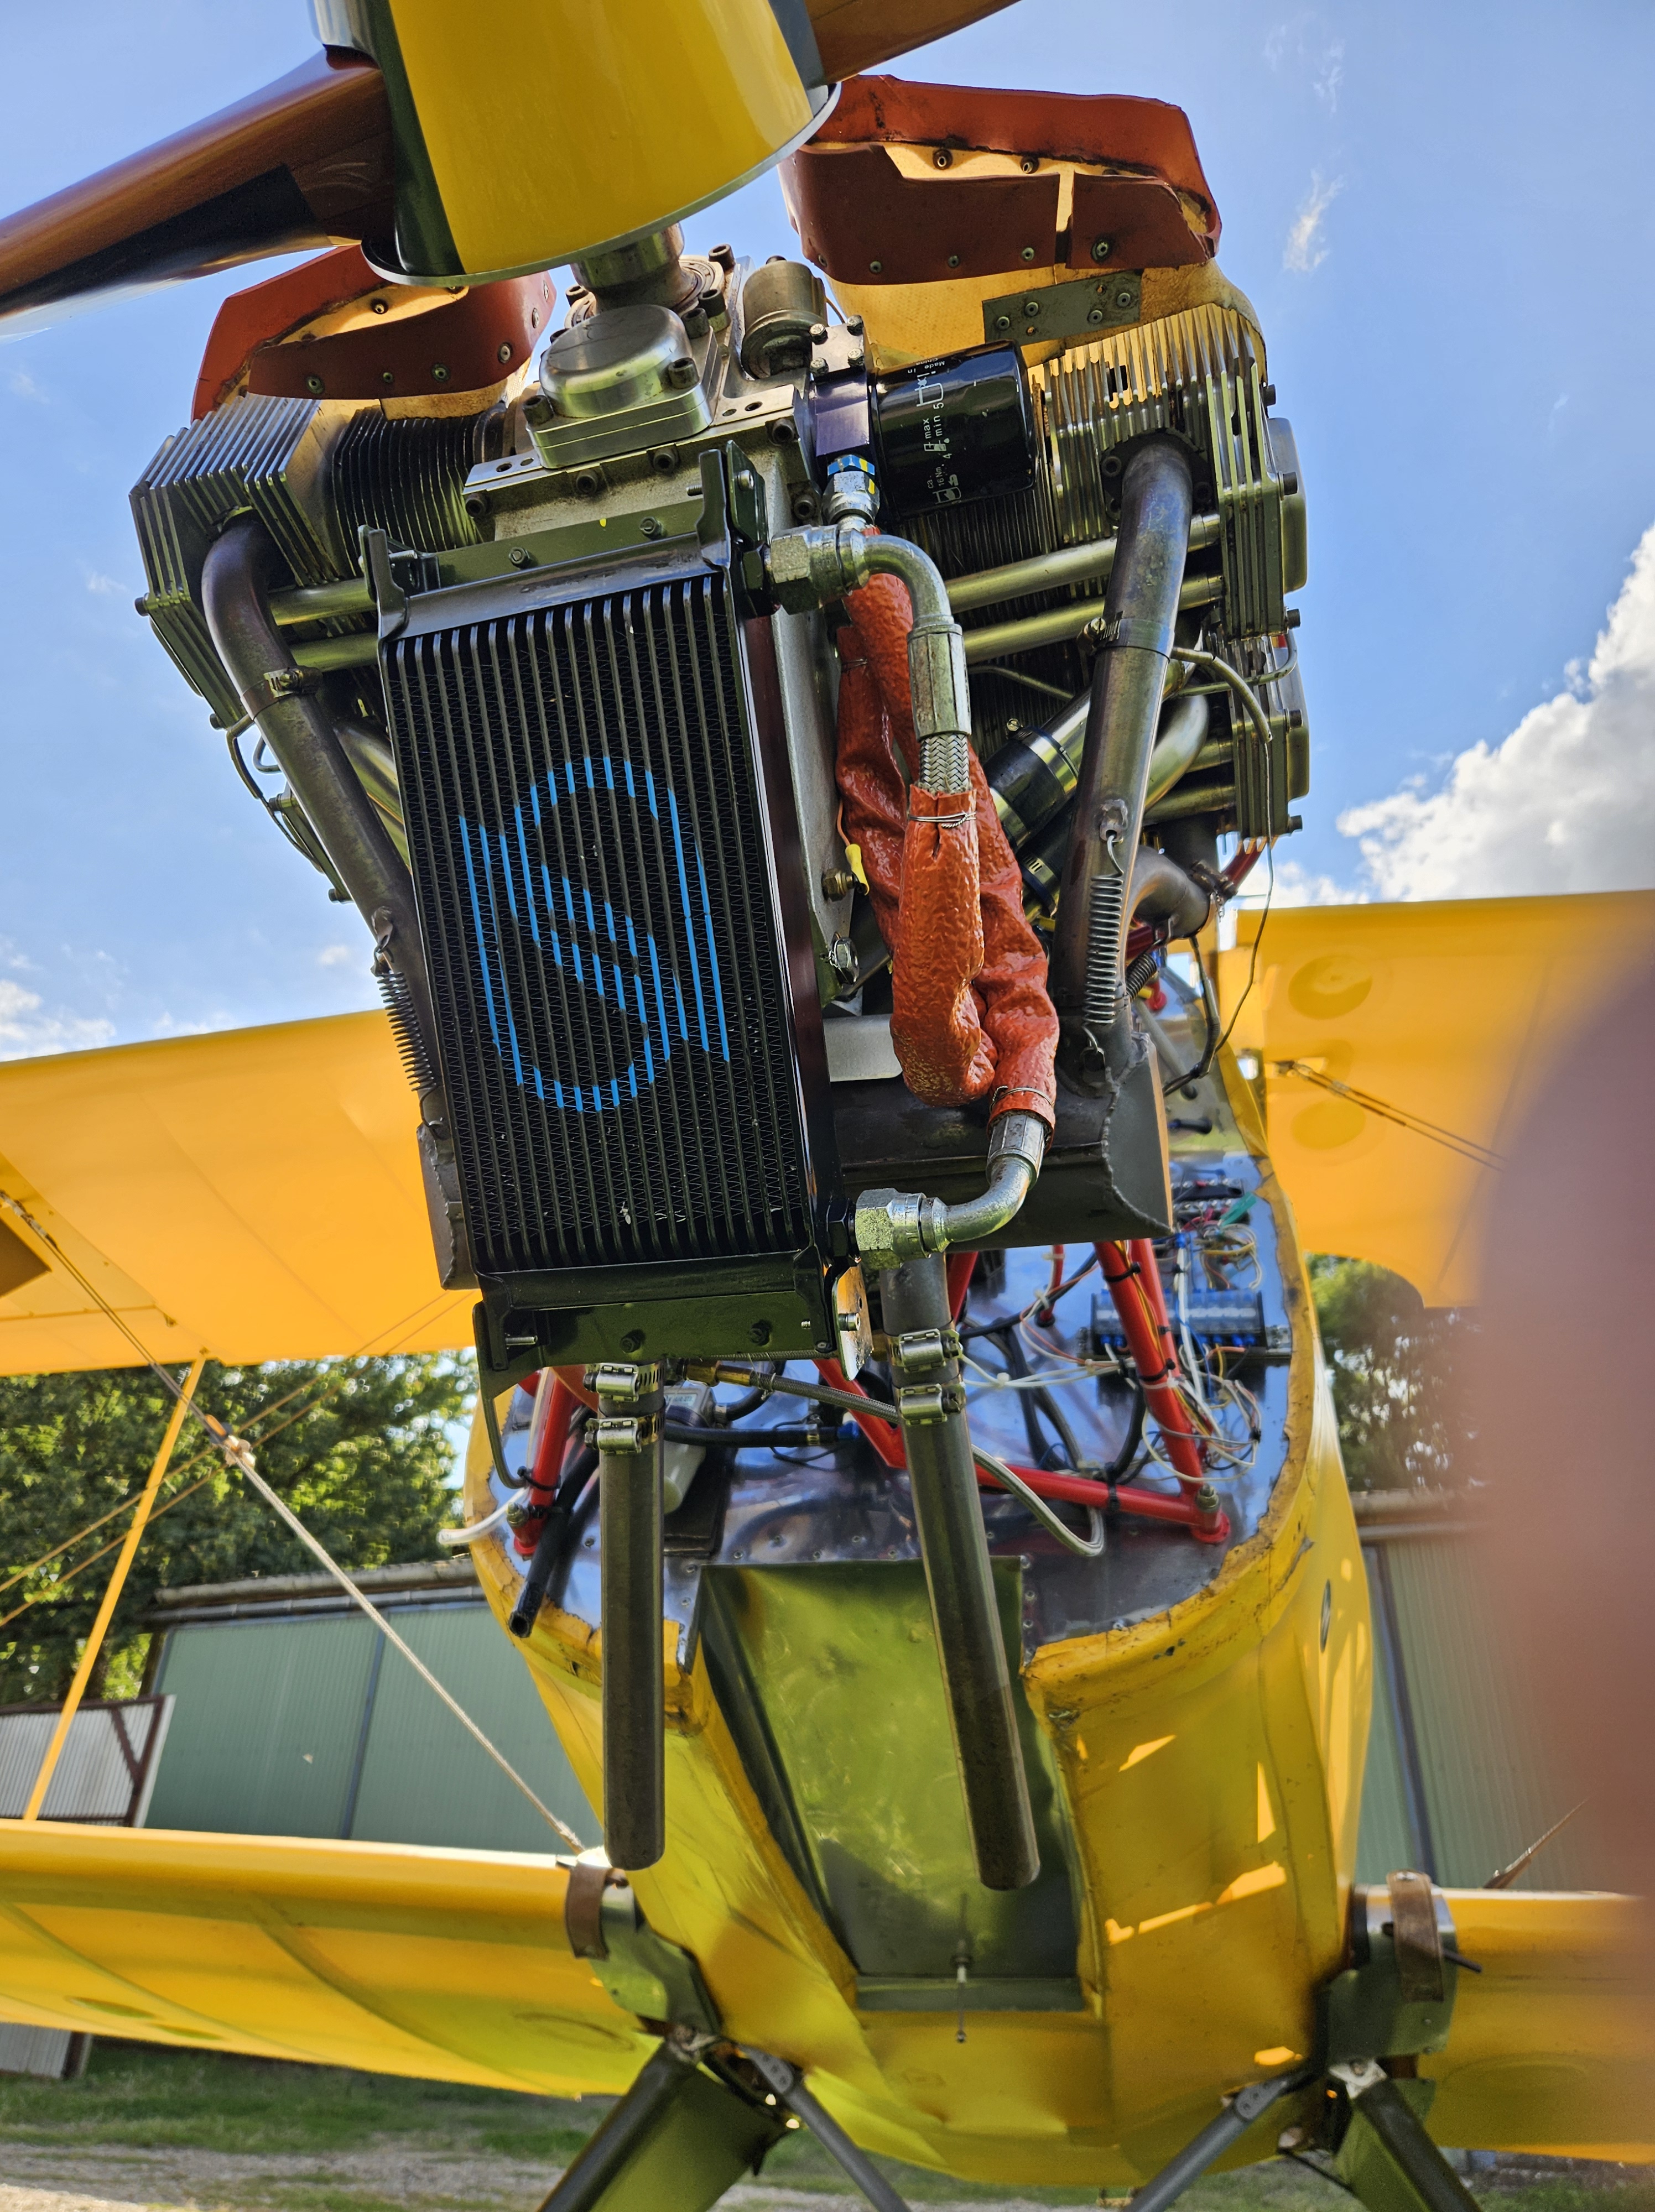
Strapped in and headed off for a tight climb up to 3,000′ and then power back and into the dive ..
I remember the first one of these i did in a Stampe SV4C over La Rocque on the SE corner of Jersey, my inspector Bob Wright sitting in the front with a big checklist .. shouting what he wanted next.
I started at 3,500 over the sea and actually ran out of height before we got to VNE as i chickened out of the hard push required and we had to do it all again .. Bob laughing away up front !
This one over the flat Norfolk countryside i pushed over and altimeter started to unwind.. the noise builds and wind rushes ever faster as you tuck yourself behind the windscreen and keep a good eye on engine revs to prevent overspeeding.
I started to ease out at 87mph and felt that was fine.
Im never going to go that fast between now and the next flight test in 12 months time.
Dutifully submitted all the numbers to the LAA only to have pushback on the VNE. Why handnt I done it and yes, I needed to reach manufacturer’s VNE of 100.
Today, on a pretty cold October day, ive just nipped up to 3,000 .. pushed harder and reached my paint marked 100 on the ASI
Updated details sent in, hopefully for the reissue of the FULL permit (currently flying on a temporary one to allow test flying)
As you may surmise .. im not a great fan of the VNE test
- Yes the manufacturer has set this limit to demonstrate a ‘top end’ limit
- Do I EVER fly anywhere near that limit in all my general day to day flying
- NO
- Maybe just over 50% of that speed is normal and achievable cruise speed with the current approved engines.
- So why do we expect pilots to push the airframe to that once per year ?
- Is artificially stressing the aircraft once per year deemed a good thing ?
- Its not like a benign stall test that you can do at height and have loads of margin for recovery
- At the bottom of the dive you have the potential for significant things to happen
- Your margin and recovery options are, by virtue of that round out speed, limited
- Recovering needs to be gentle and controlled and I would argue that recovery is another significantly critical phase of this manoeuvre
- If a pilot does this only ONCE every 12 months surely we are failing the ‘recency’ measure the LAA put so much faith in ?
Anyway, rant over, one whinge isn’t going to change the world.


 starting")