Outside work 2

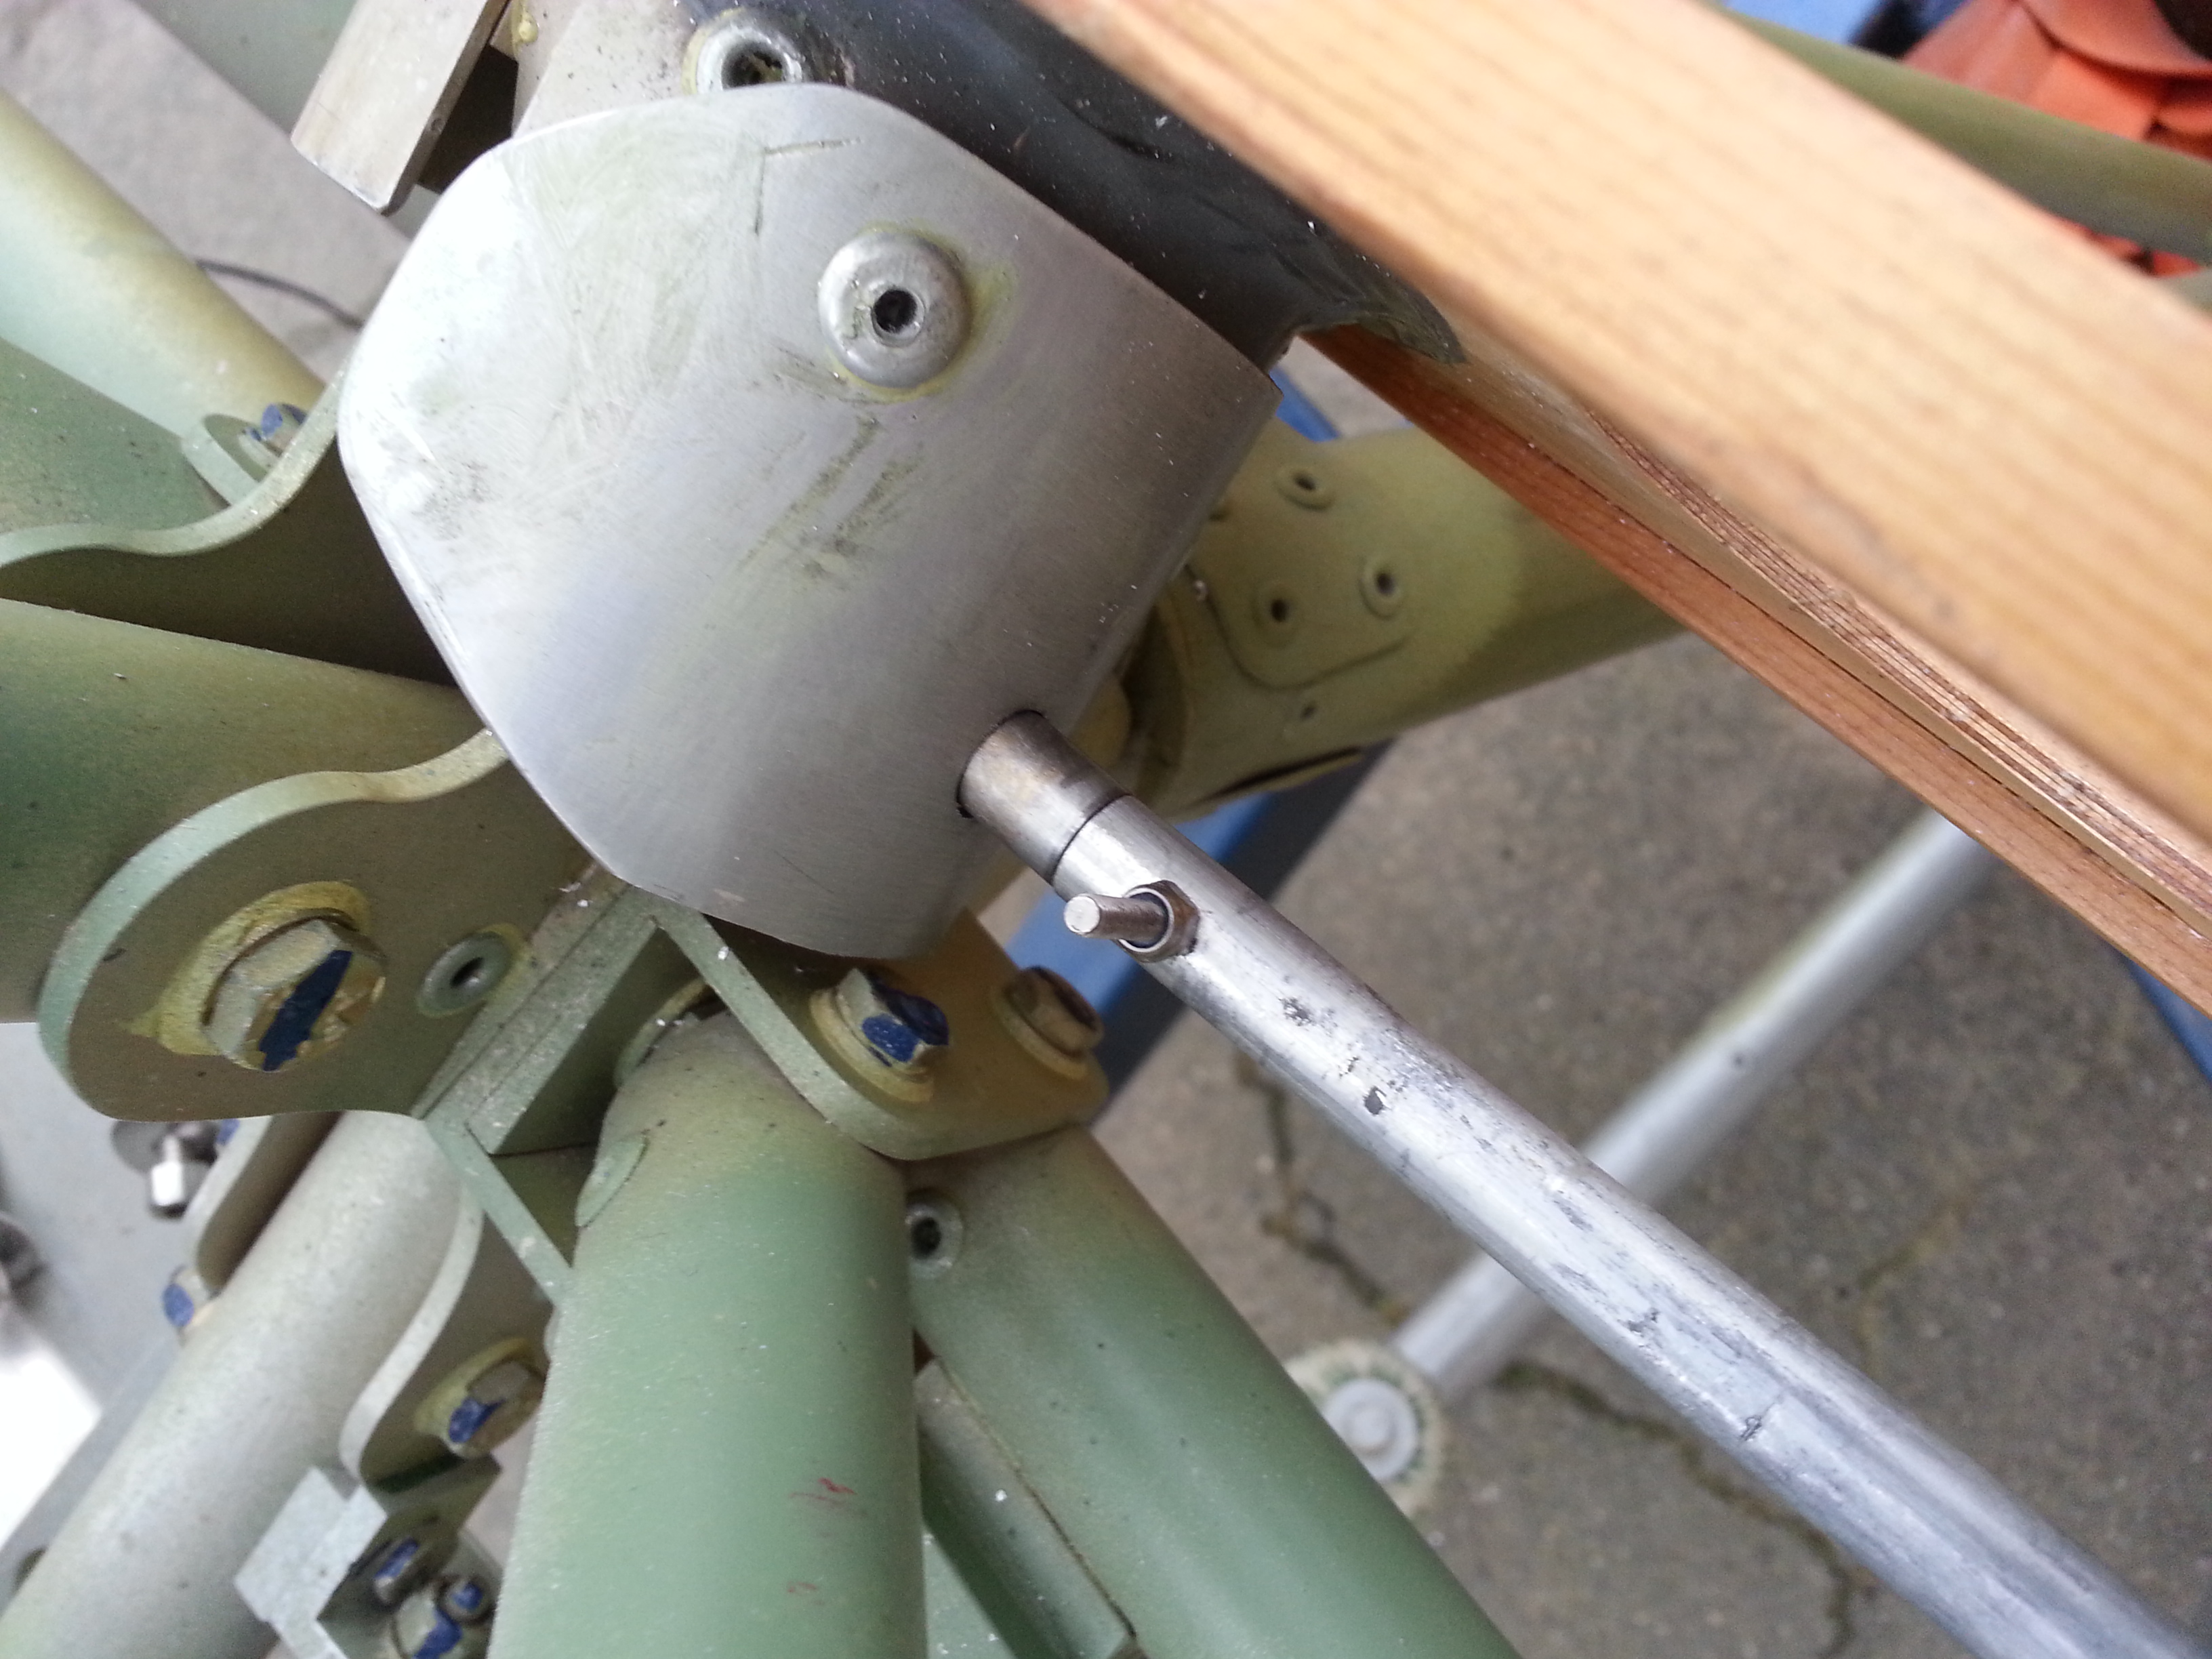
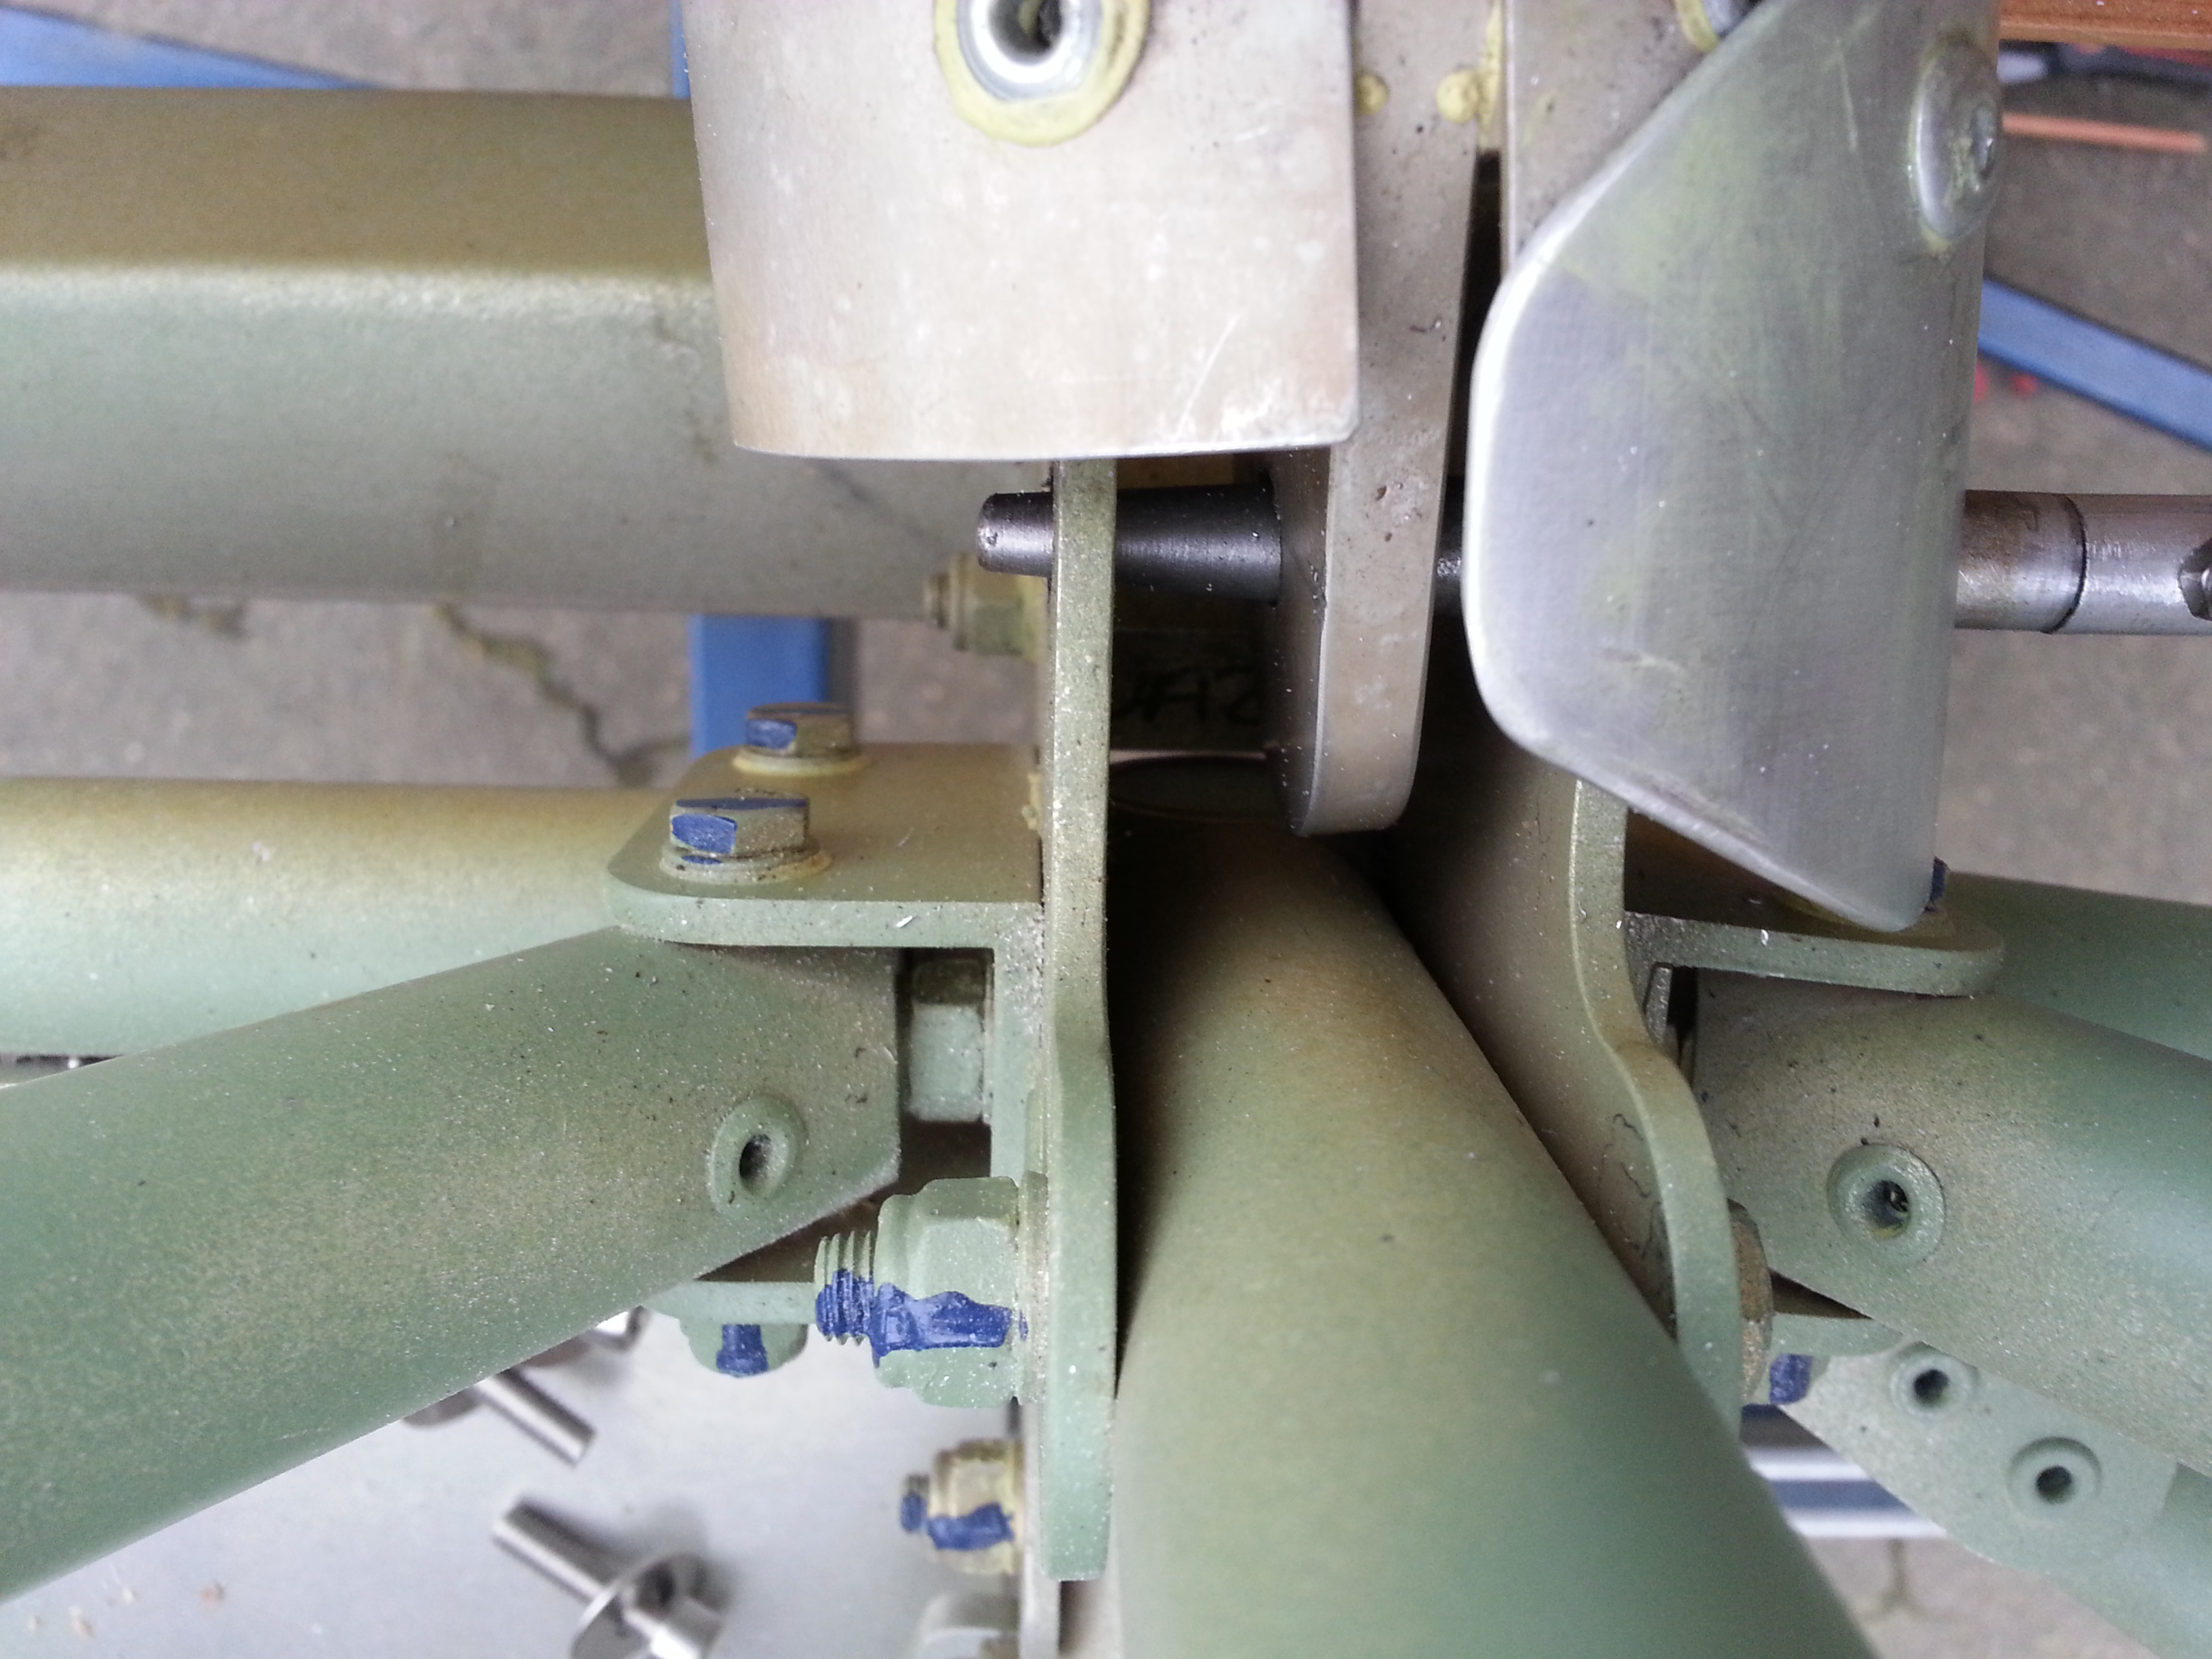
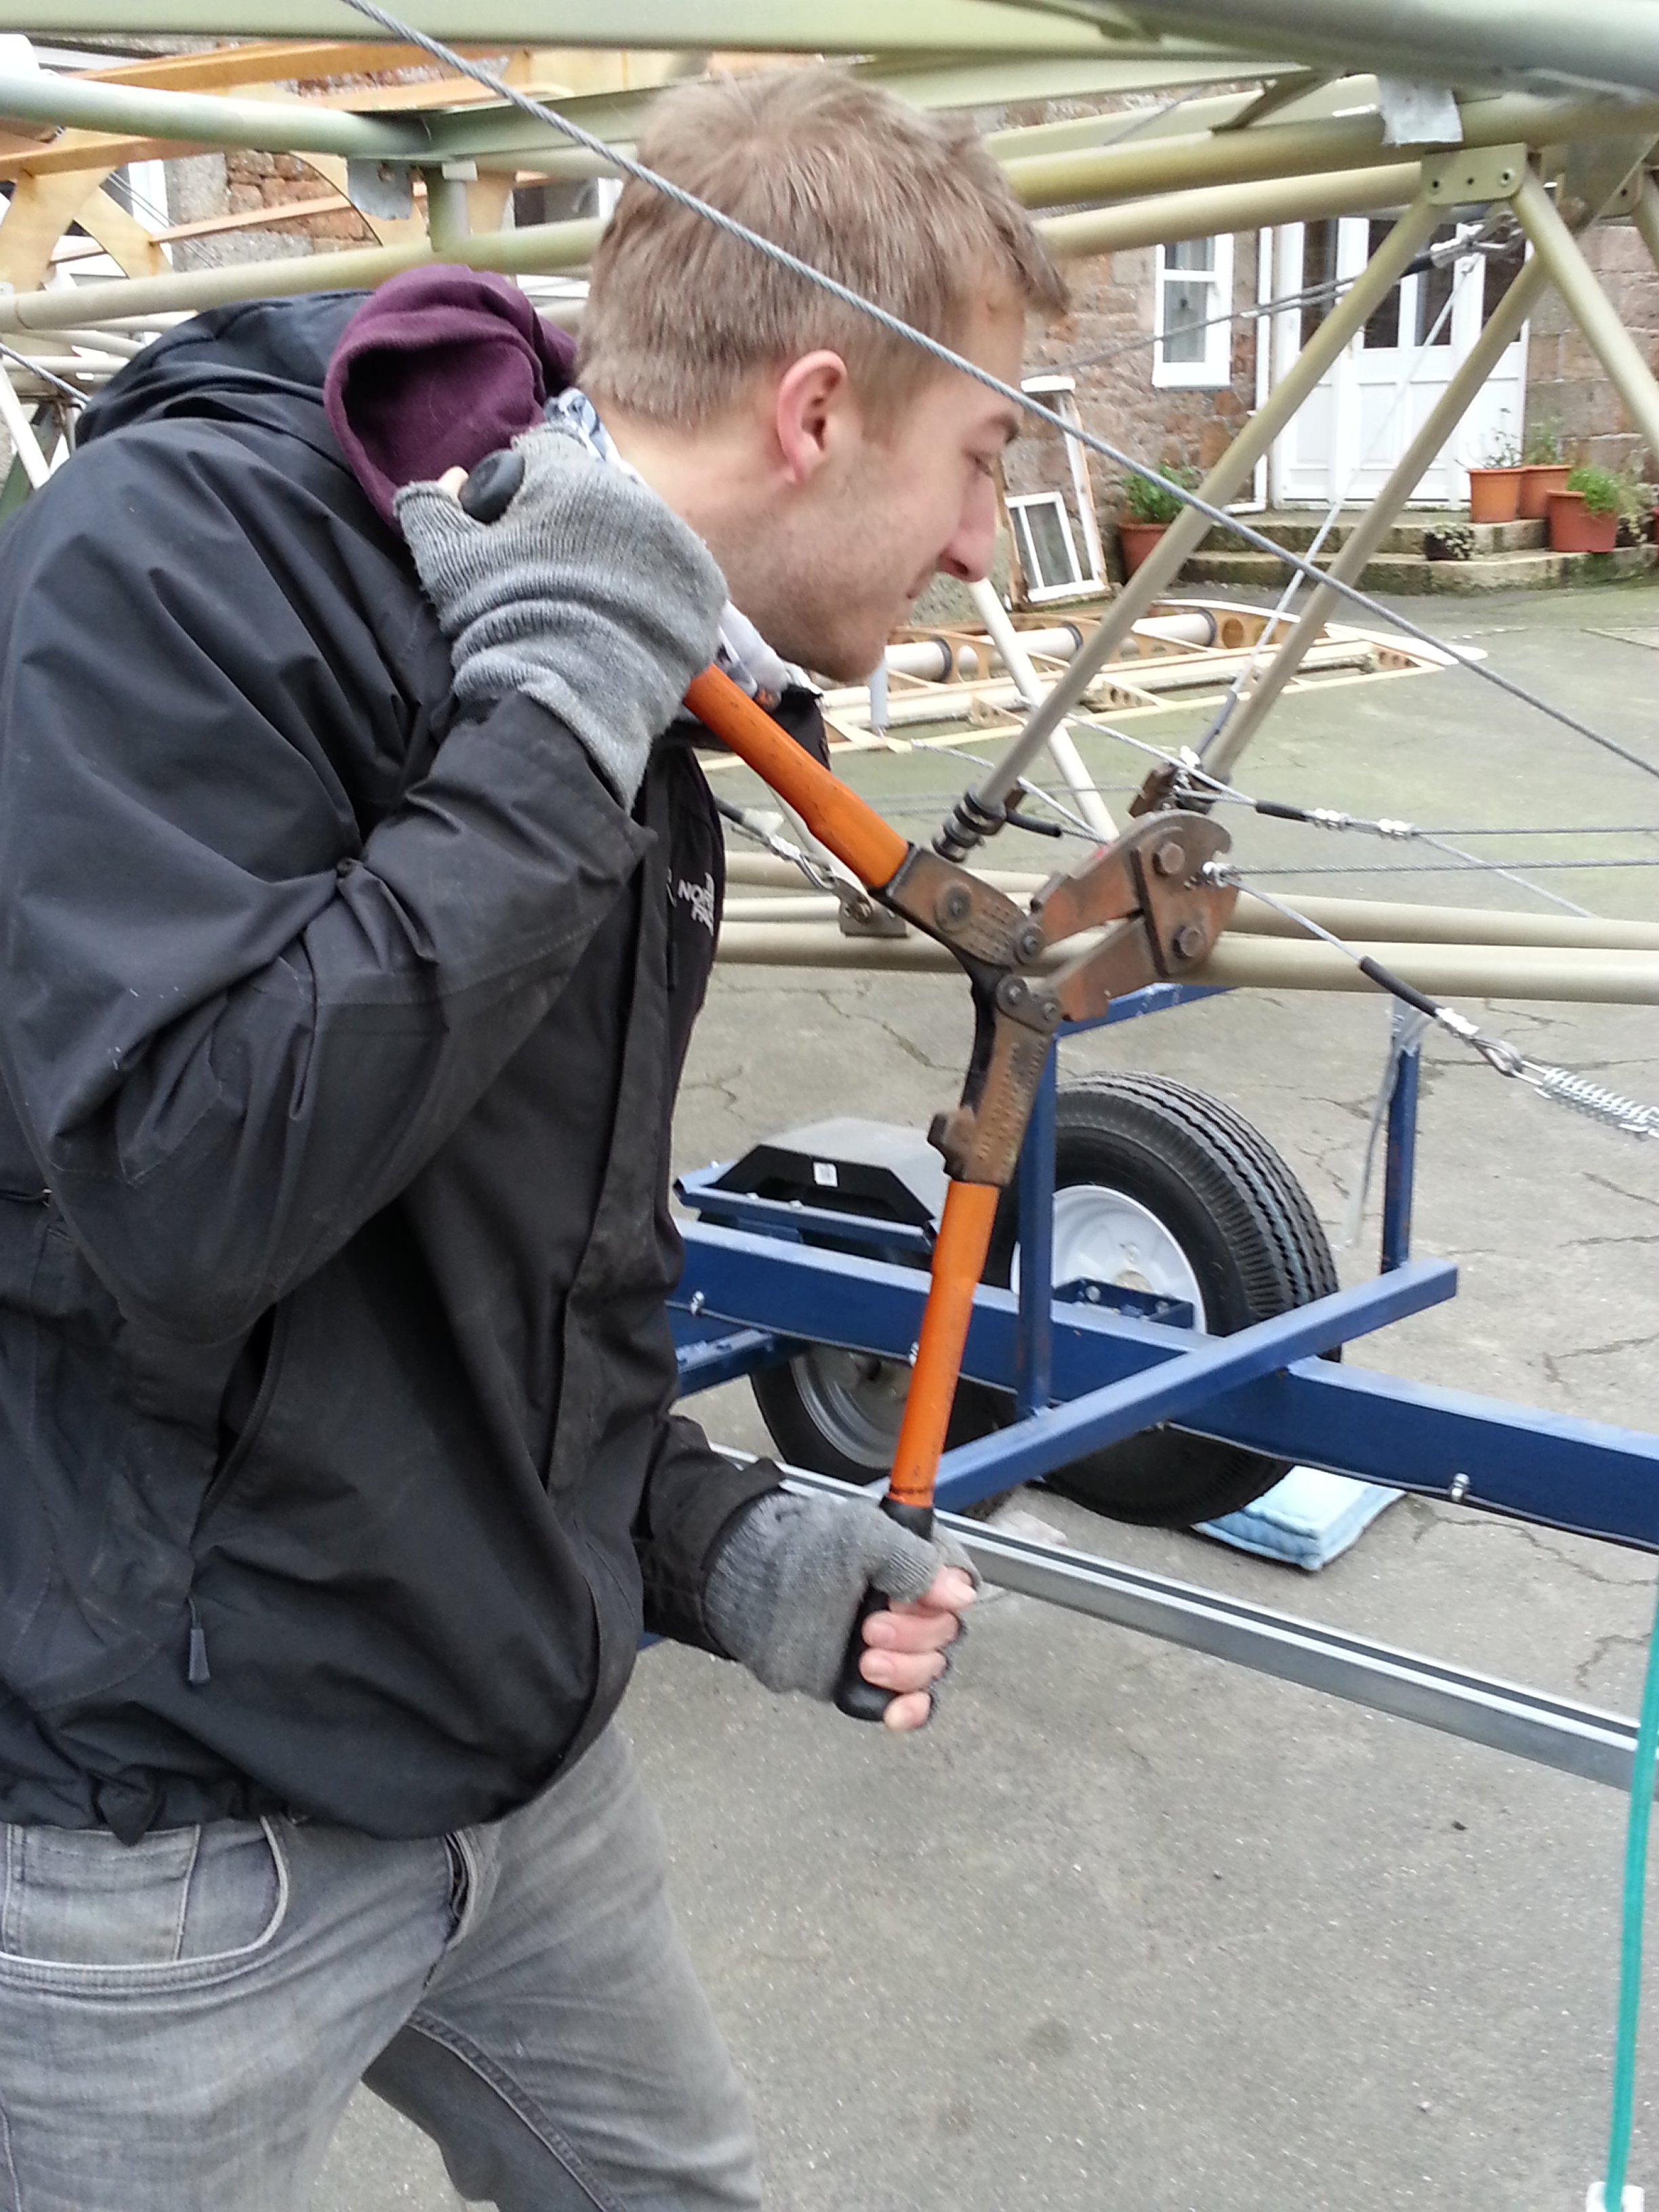
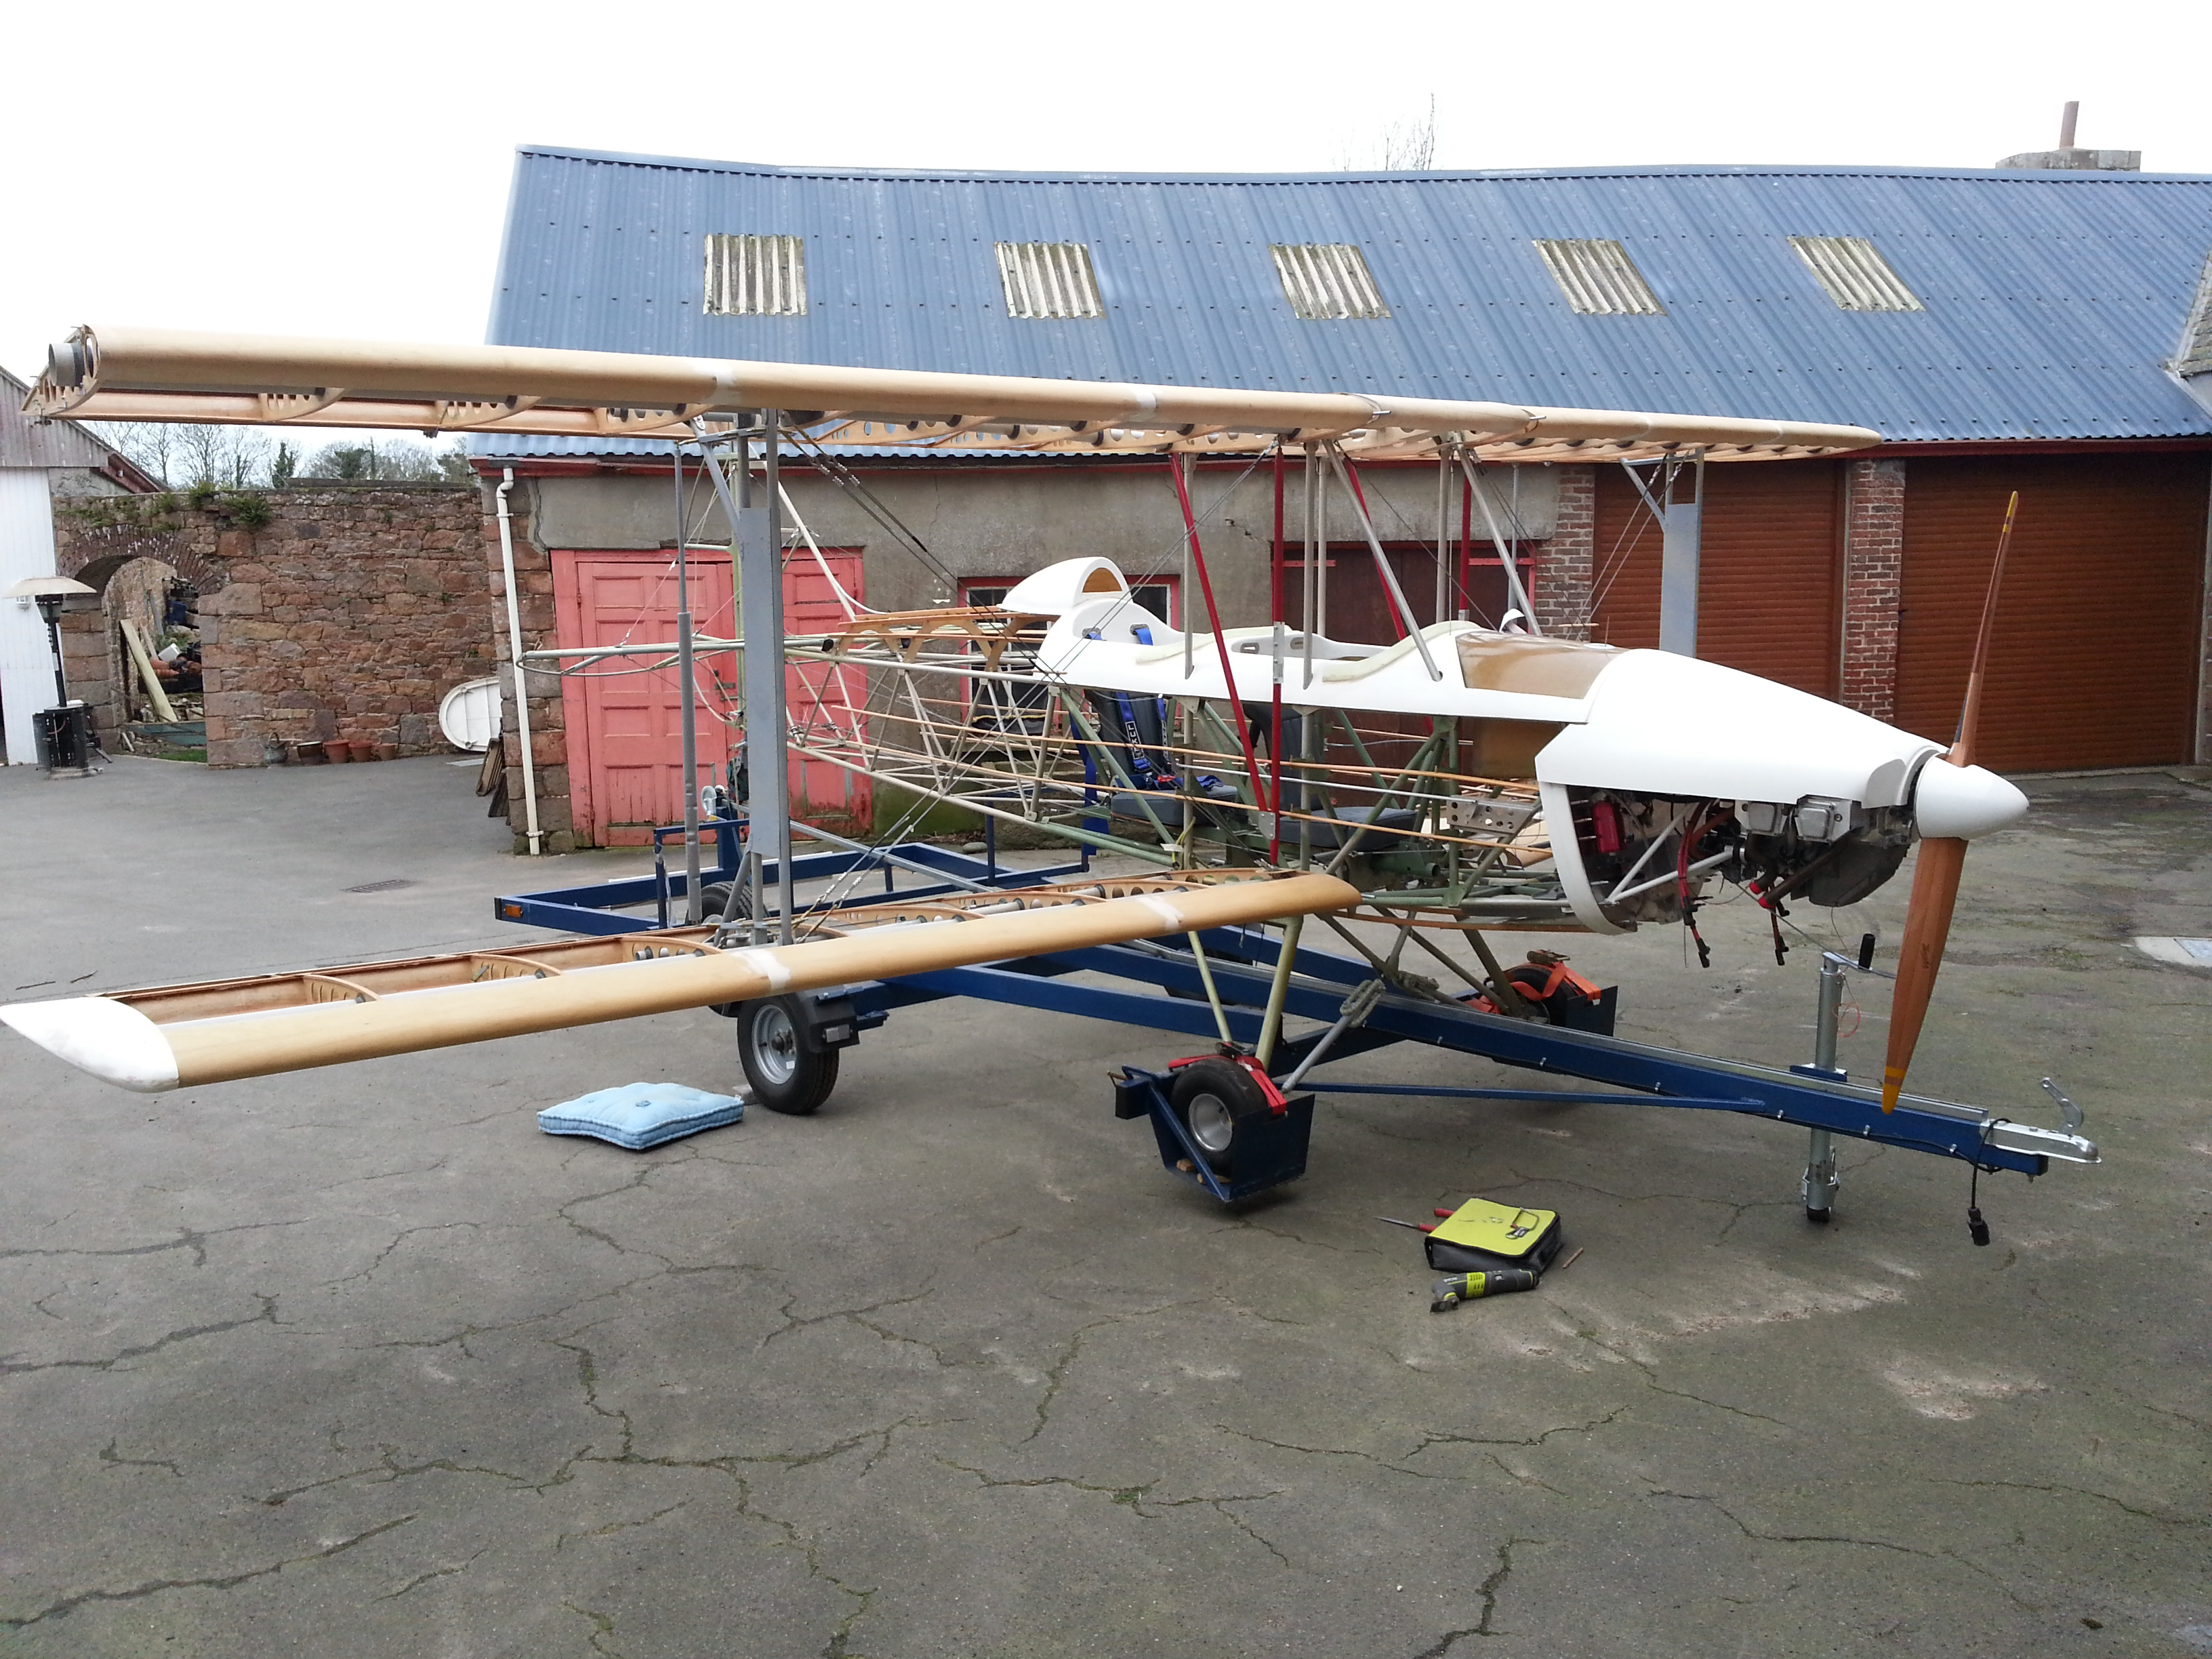
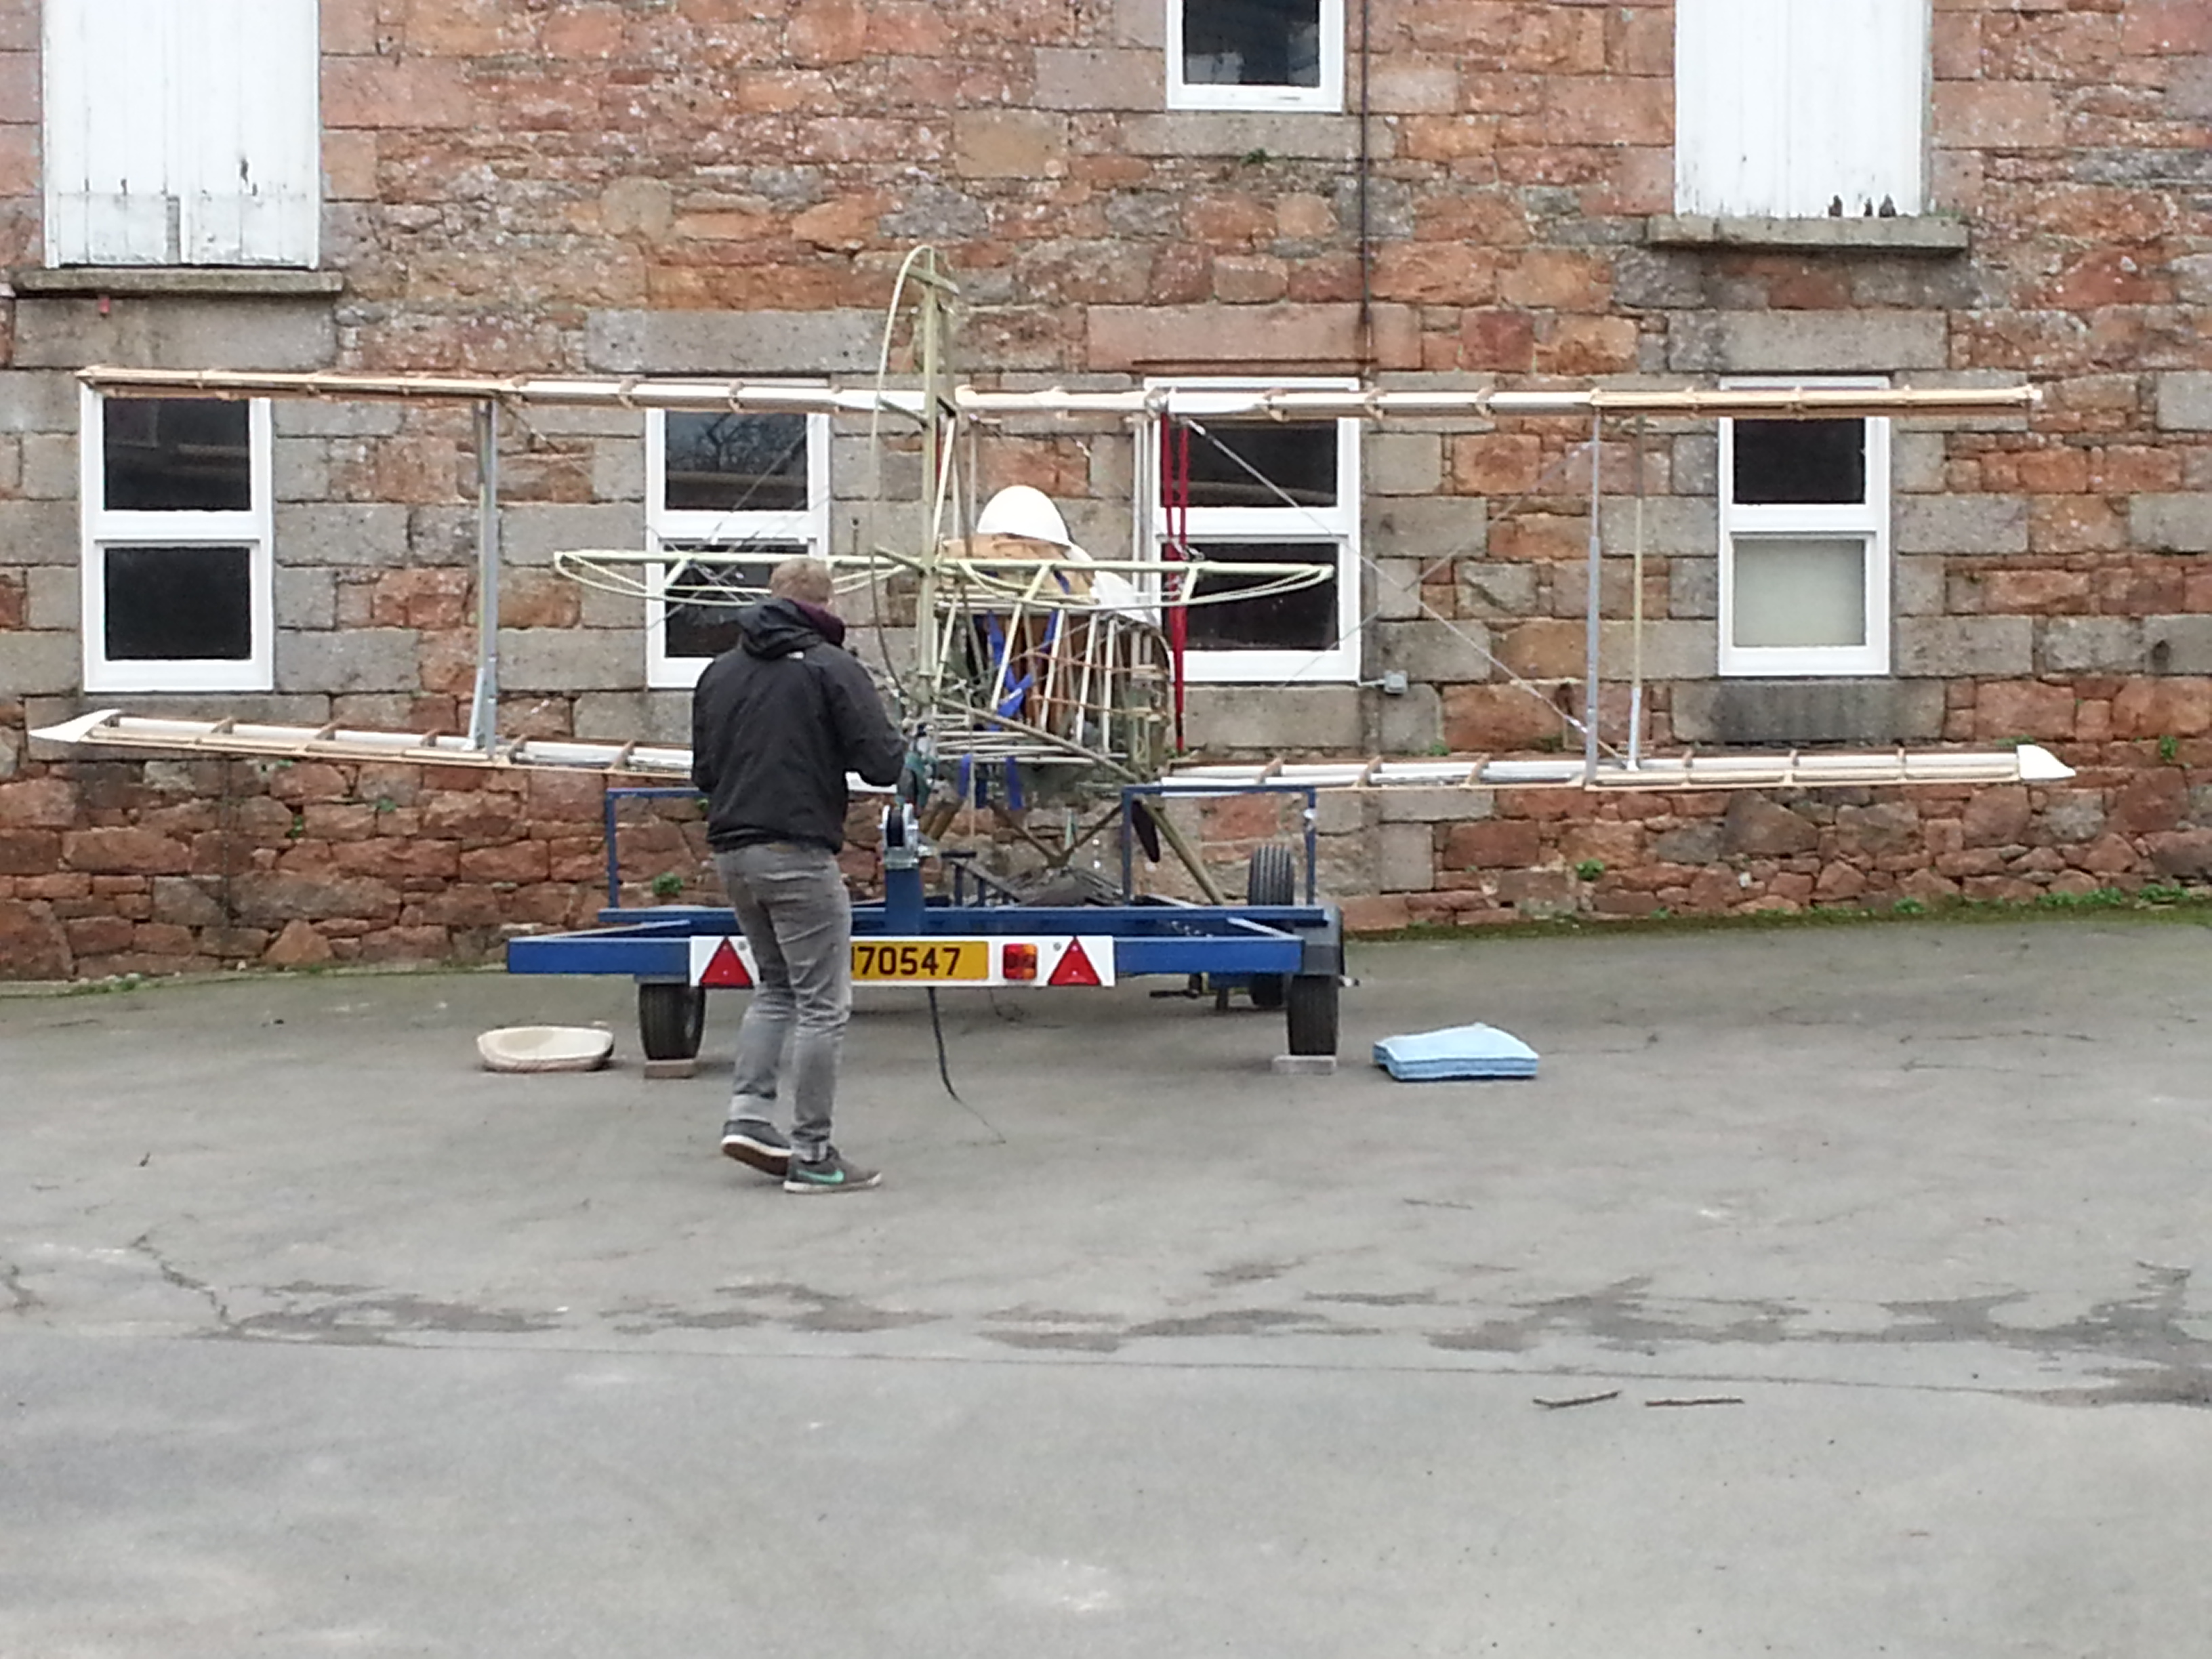
Whilst outside – I could also get the last crimping down … Sam clamped the steerable tailwheel fittings in place ..

20141221_111959

He also took loads of very detailed shots with his amazing camera .. will add these when he has edited.

20141221_110941  20141221_110957

20141221_111011  20141221_111431

20141221_111455

Progress has been slow recently as work has gone crazy around end of year … but engine bits are slowly coming to fruition as well as completing all those 100’s of little jobs.

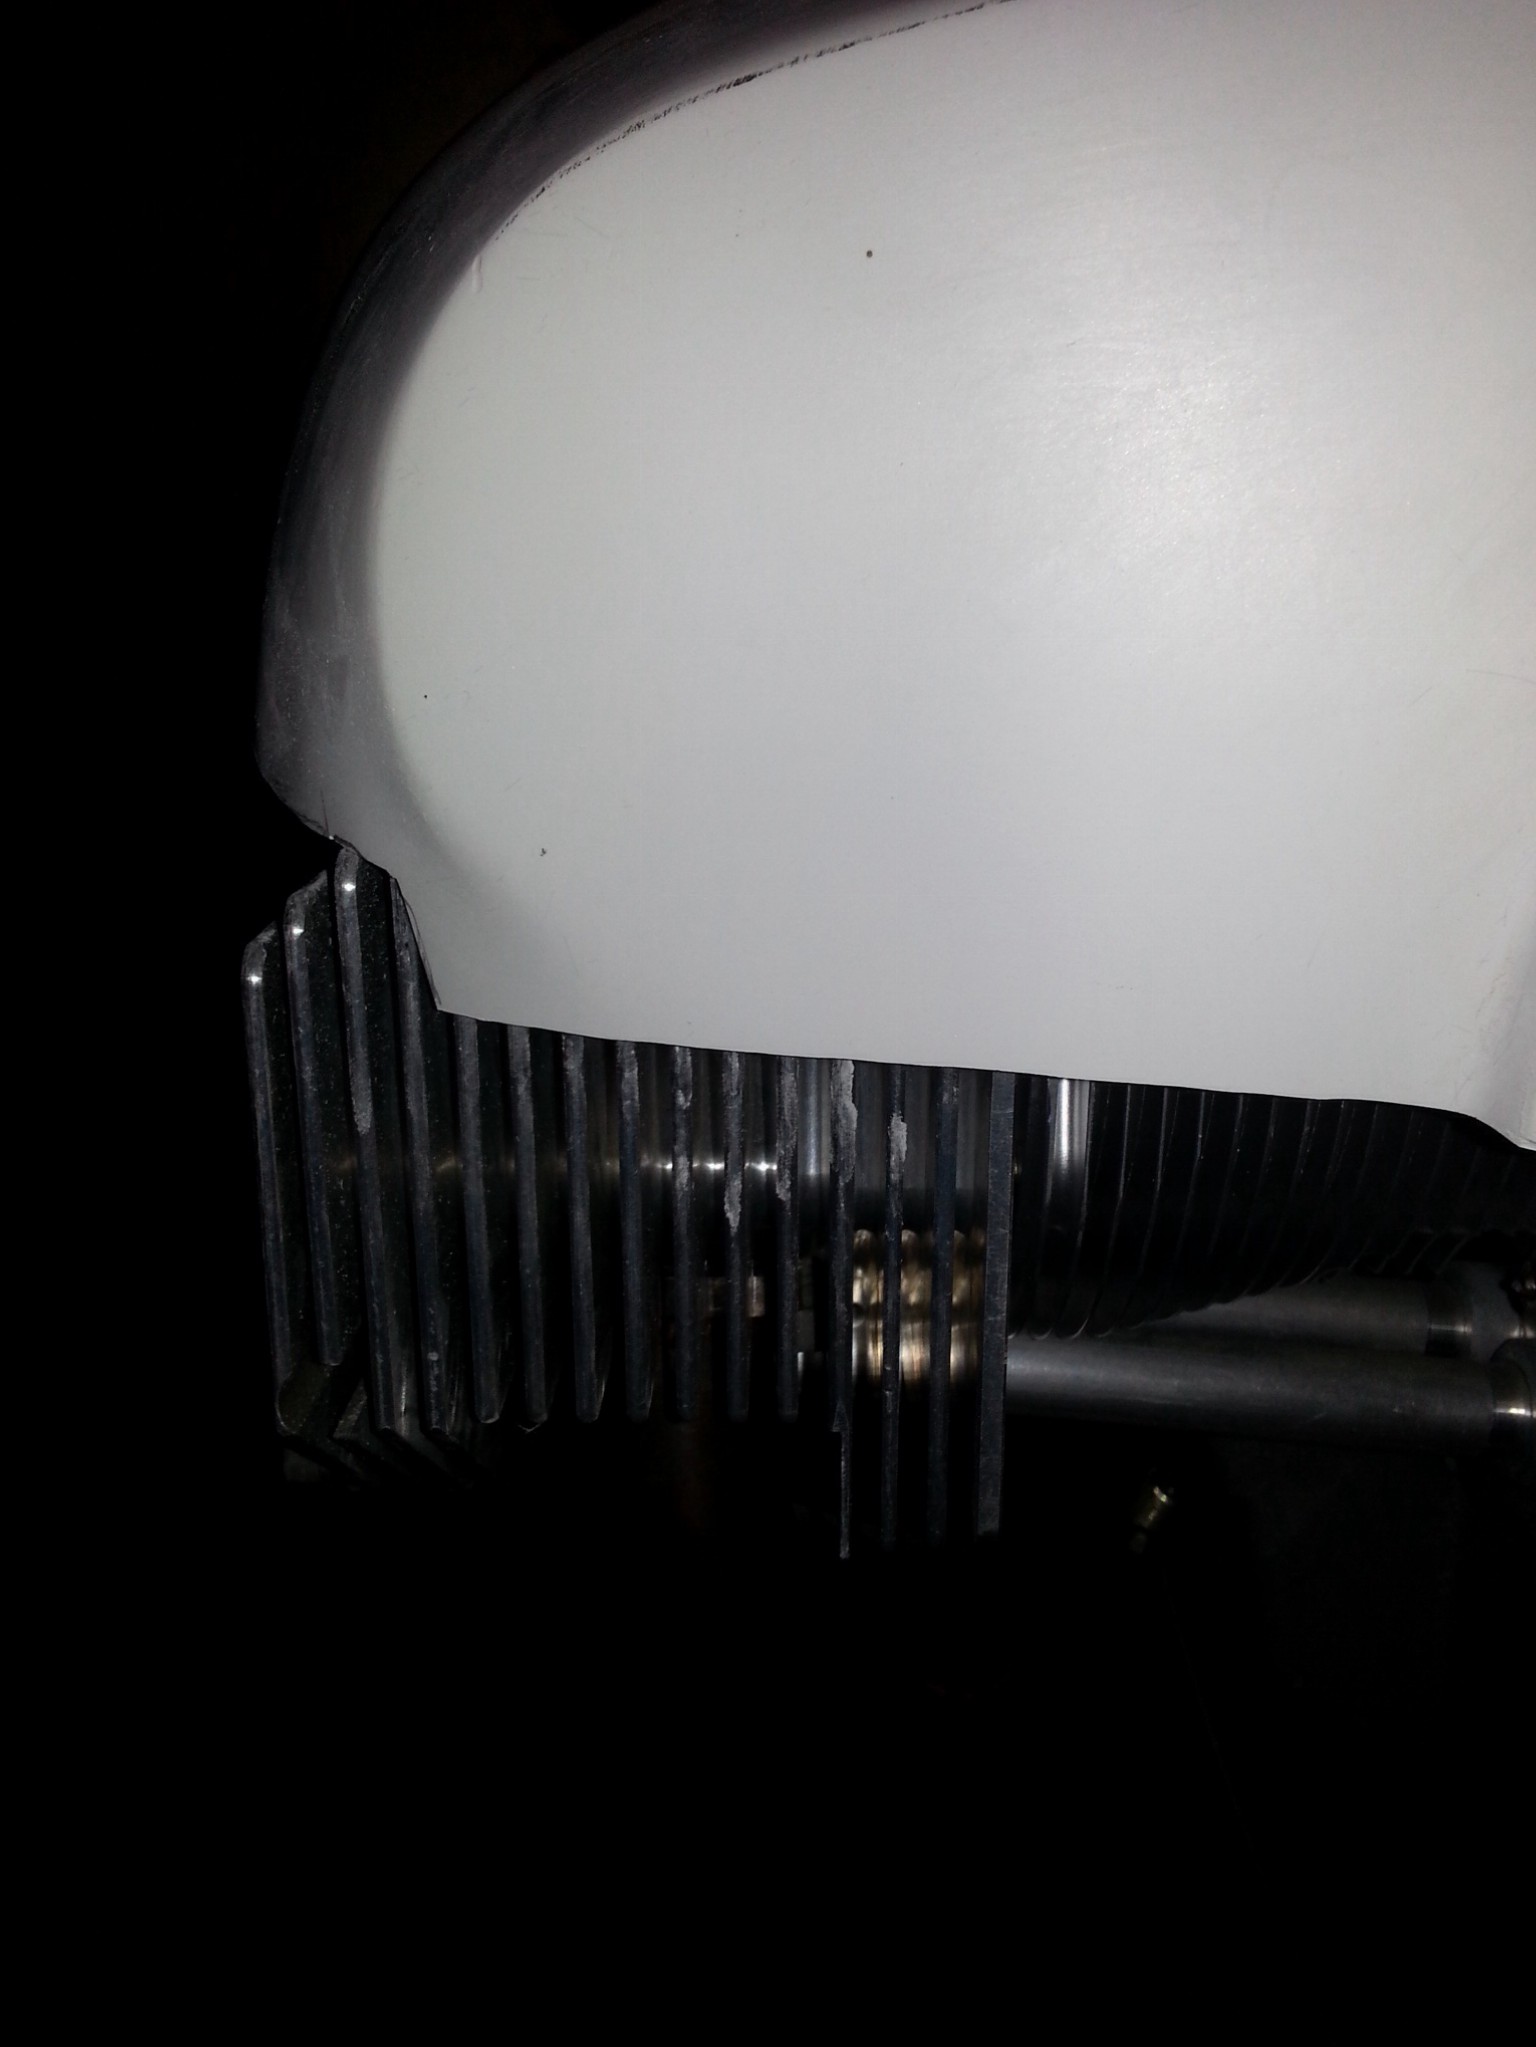
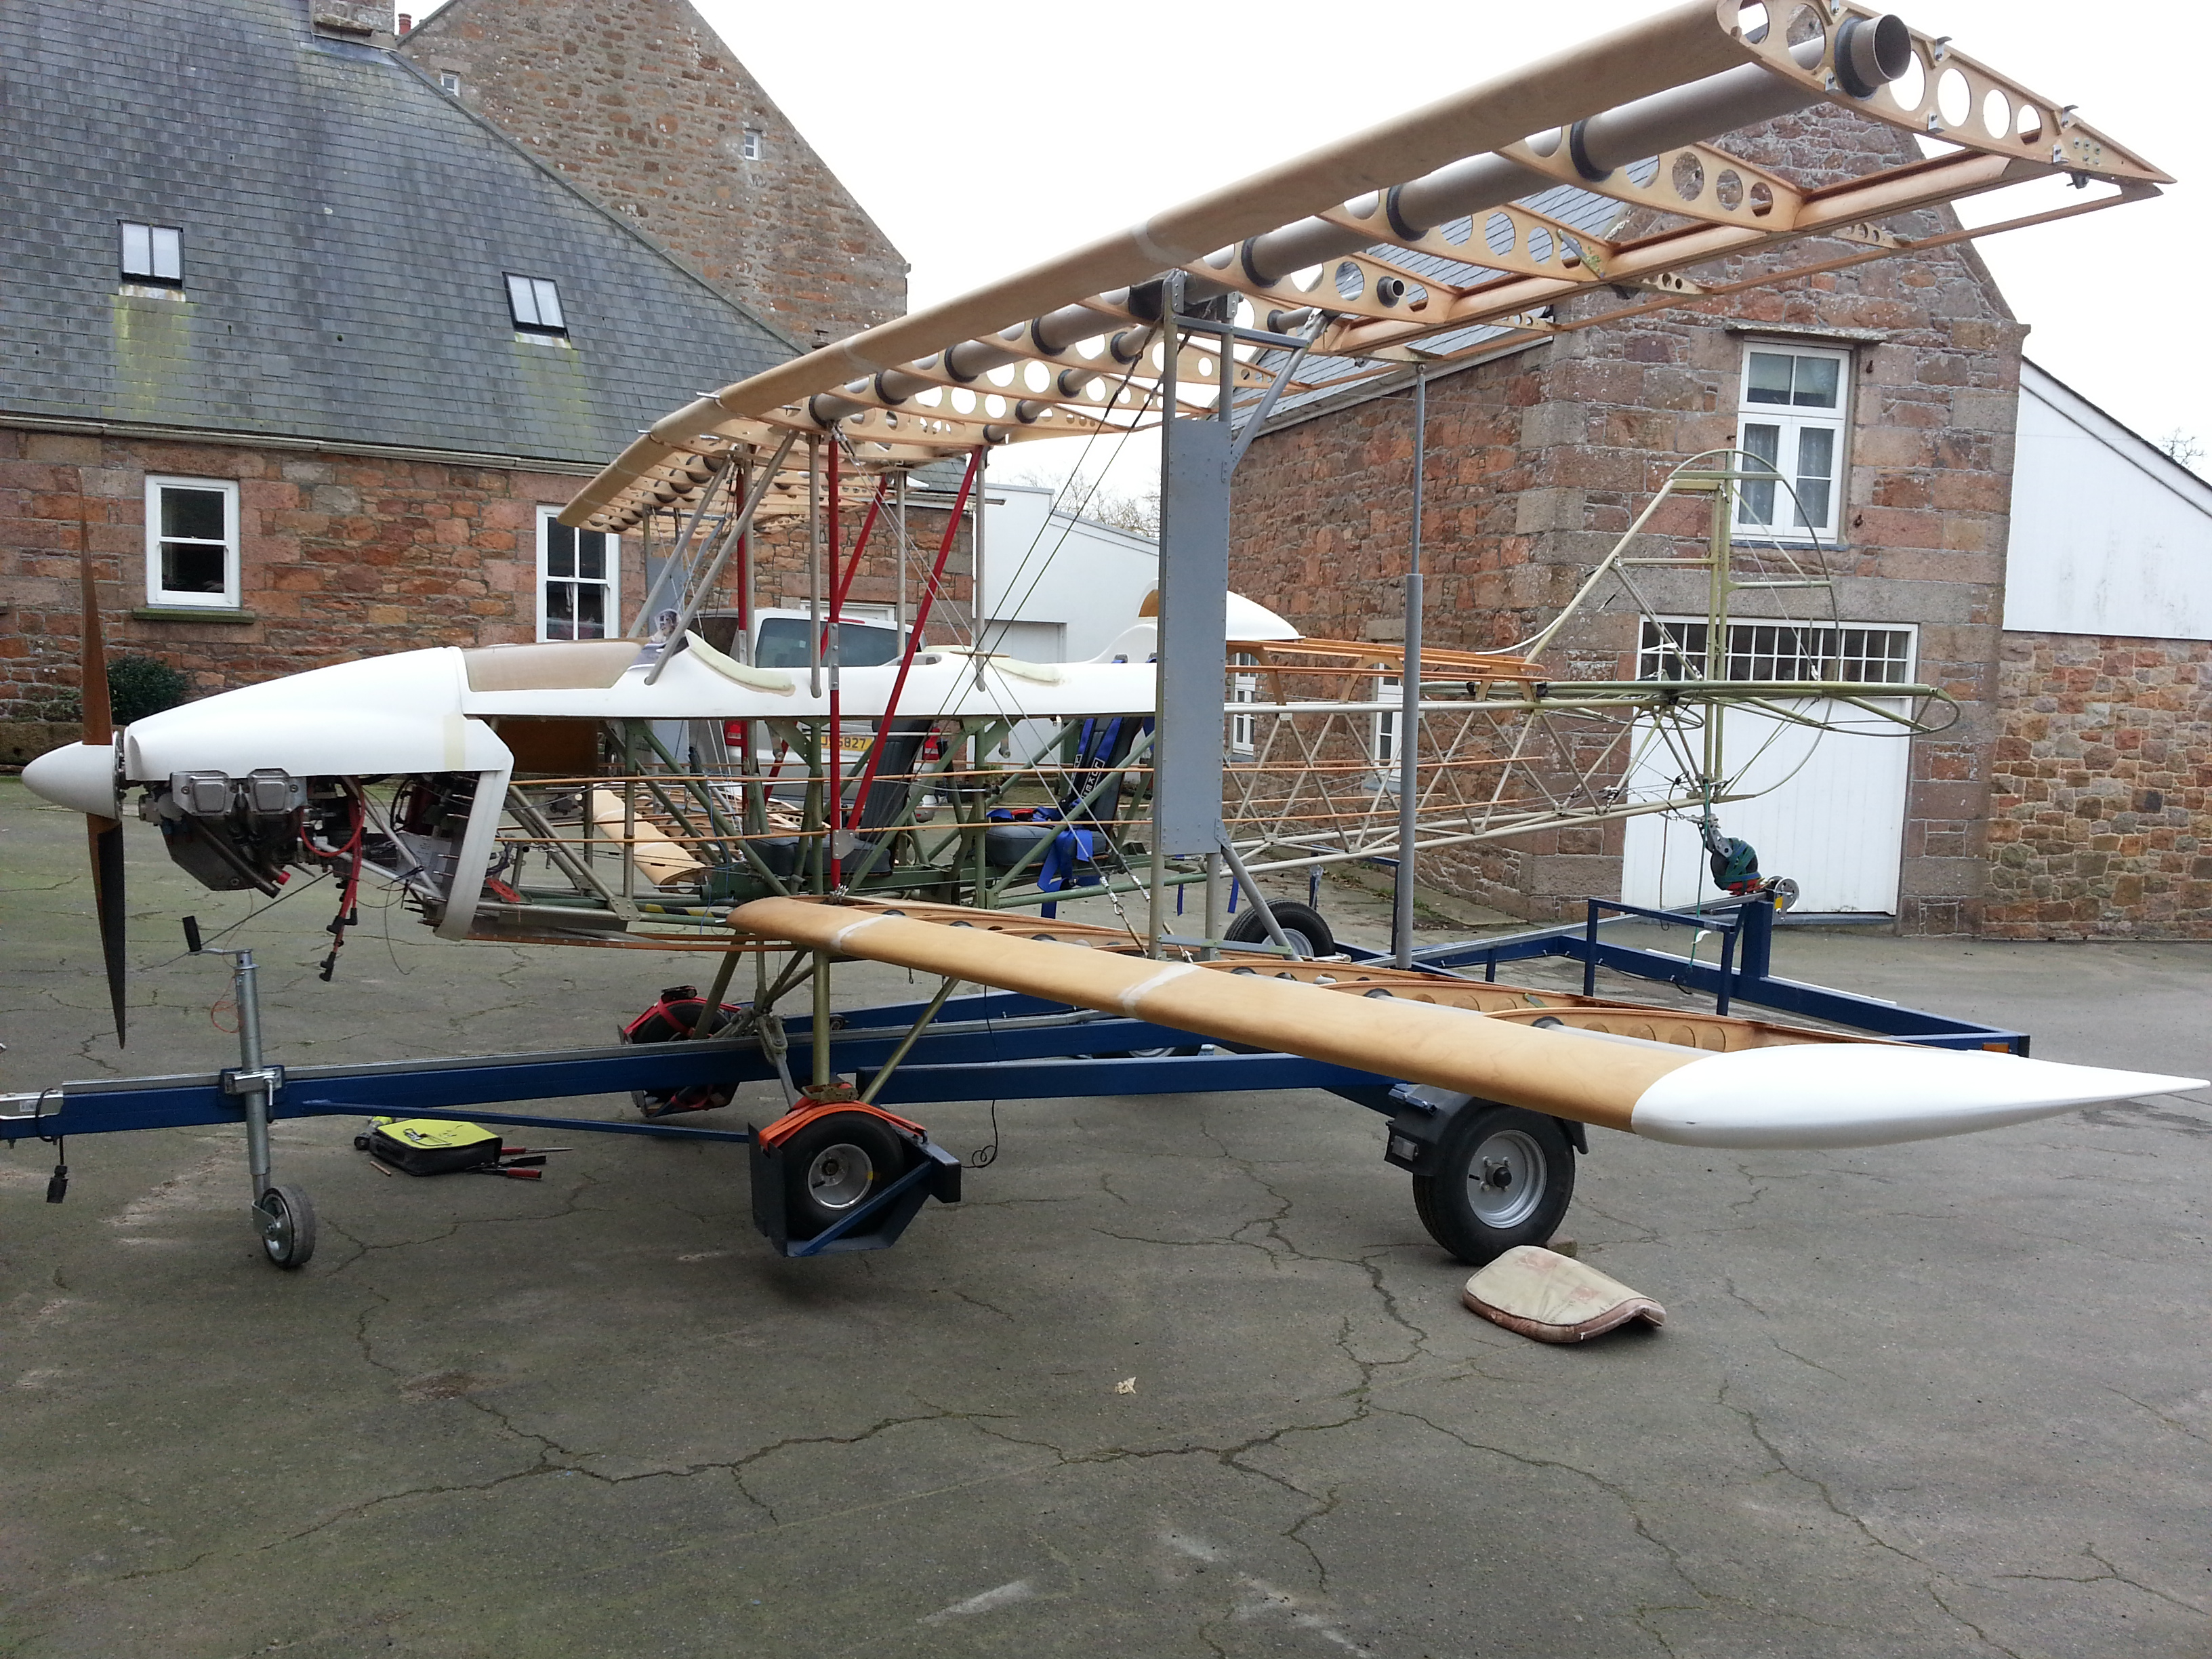
Cowl is looking good so will start to work on lower part this week. I have the Yellow and Olive paint ready for those parts and the tips to be painted.

Should also start to plan a test covering with the Oratex. Probably tail first

Outside work ….

At last we had a weekend without rain and I could get the ‘plane out to do some work that needed the wings fully extended. This included getting the shrouds filed out so that they didn’t impact on the body flanges.

20141221_105559  20141221_105606

Having fitted them some time ago – I noted that they were catching in two places… a trim down and they are fine


P1 Panel – Mock up with Radio and Transponder

Having decided that Channel Island airspace and usual cross channel flying demands more than a handheld ICOM I have decided to save up and go for the TRIG solutions. Their slim panel mounting and remote box ability makes this a really goo (if not expensive) option.

20141219_152252

Mocked up the panel look to scale as I had planned to put them on the left and right tab of the panel. By mounting on the central plate I get really easy visibility as well as free space on both left and right panels for other switches like mags etc

Covering landing plates – prep

Cut these out some time ago from the TLAC supplied templates. As they have been hanging around for a while at the barn I took them home to dry out and then gave them 10% thinned polyurethane coat.

20141217_204727

These can now be bonded to the body with suitable 1/2″ balsa blocks backing for support.

Pitot tubes

Finished the setting up of these, now drilled and wood block support glued in place and ready for final rub down and treating .. then fit to starboard strut inboard

20141217_212159

Need to drill a hole in the rear drag spar fibreglass to route the feed and return tubing (pitot to gauge)

Front cockpit panel back

Couldn’t decide exactly what to put in the front panel but Sam, last year, bought me an ex Spitfire variometer which we tested on Boxing day last year by going up in a Piper Cherokee and diving down and back up to 1,000′ over the coast in Jersey !

I have now mapped a central removal panel (similar to rear cockpit) and have mounted the variometer in the middle.

20141218_082858  20141217_203033

The mockup of the panel was pretty much spot on, with only 15 minutes of filing and small bends to get it to fit exactly within the turtle deck lines.

Once I have decided what else goes into this panel I will cut a piece of my green cow hide ! and stretch/glue to cover the surface before re fitting.


Workshop tidy – and Compass Invert

Sam, my youngest (at 23 !), did a cracking job of tidying the new workshop area up. The tools are easily to hand now and saves ages searching for various bits !

20141218_084737

One thing I needed to do was invert the compass as I intend to mount it below the upper wing. Guess I will need to insert a sturdier ply plate to mount it to.

20141218_083953  20141218_084028

The grub screw in the back releases the centre compass, you pull the outer shroud off to then enable you to pull it forward and rotate through 180.

20141218_084040

Neat little screw adjusters for the compass base setting.

Pitot tube – final prep

Before fitting the pitot tubes I have drilled the static vent holes in the top tube – 2 rows of 4 (1 mm)

image

Then fully de-burr and it should be ready to mount at the 92′ angle indicated in the plan.

Front seat in place

As the entire ‘plane is covered in dust sheeting its safer to put the ‘good clean’ bits in situ … rather than leave them on the side in the barn.

Put the P1 seat into position last night

image

Will need to remove the harness now for final top decking rub down and painting

More top cowl cutting tonight

Braved the next step of cutting more of the top cowling .. I need to get the front end down to provide a neat streamlined finish and also need to get the gap around the larger fin cooling heads cut to achieve this.

image  image

image   image

Getting there …. the fall of the cowl to the backplate looks much closer now ….

image

Next challenge – cutting the engine cylinder head ducts to get them to fit inside the cowl line !

Blog at WordPress.com.

Up ↑