Having not been through an insurance claim before, I am pleasantly surprised at the efficiency and (relative) speed the whole process has taken.
I say relative, as I would like it all done tomorrow ! But realise there are a huge number of moving parts (bad analogy) in this process and not everyone is just waiting for David to email!
Having provided my own assessment of damage, I felt the insurers would require a professional summation and so James (from The Light Aircraft Company) popped down .. I say popped … he had nipped over to Gloucester to fit a starter motor in an aircraft and popped back to Priory (via Little Snoring) to assess the broken Ranger.
This of course was in the incredible Shark …. Makes the country feel VERY small but means that support can be one side of the U.K. and back in no time .. incredible 😊🔥
The assessment confirmed my list, namely:
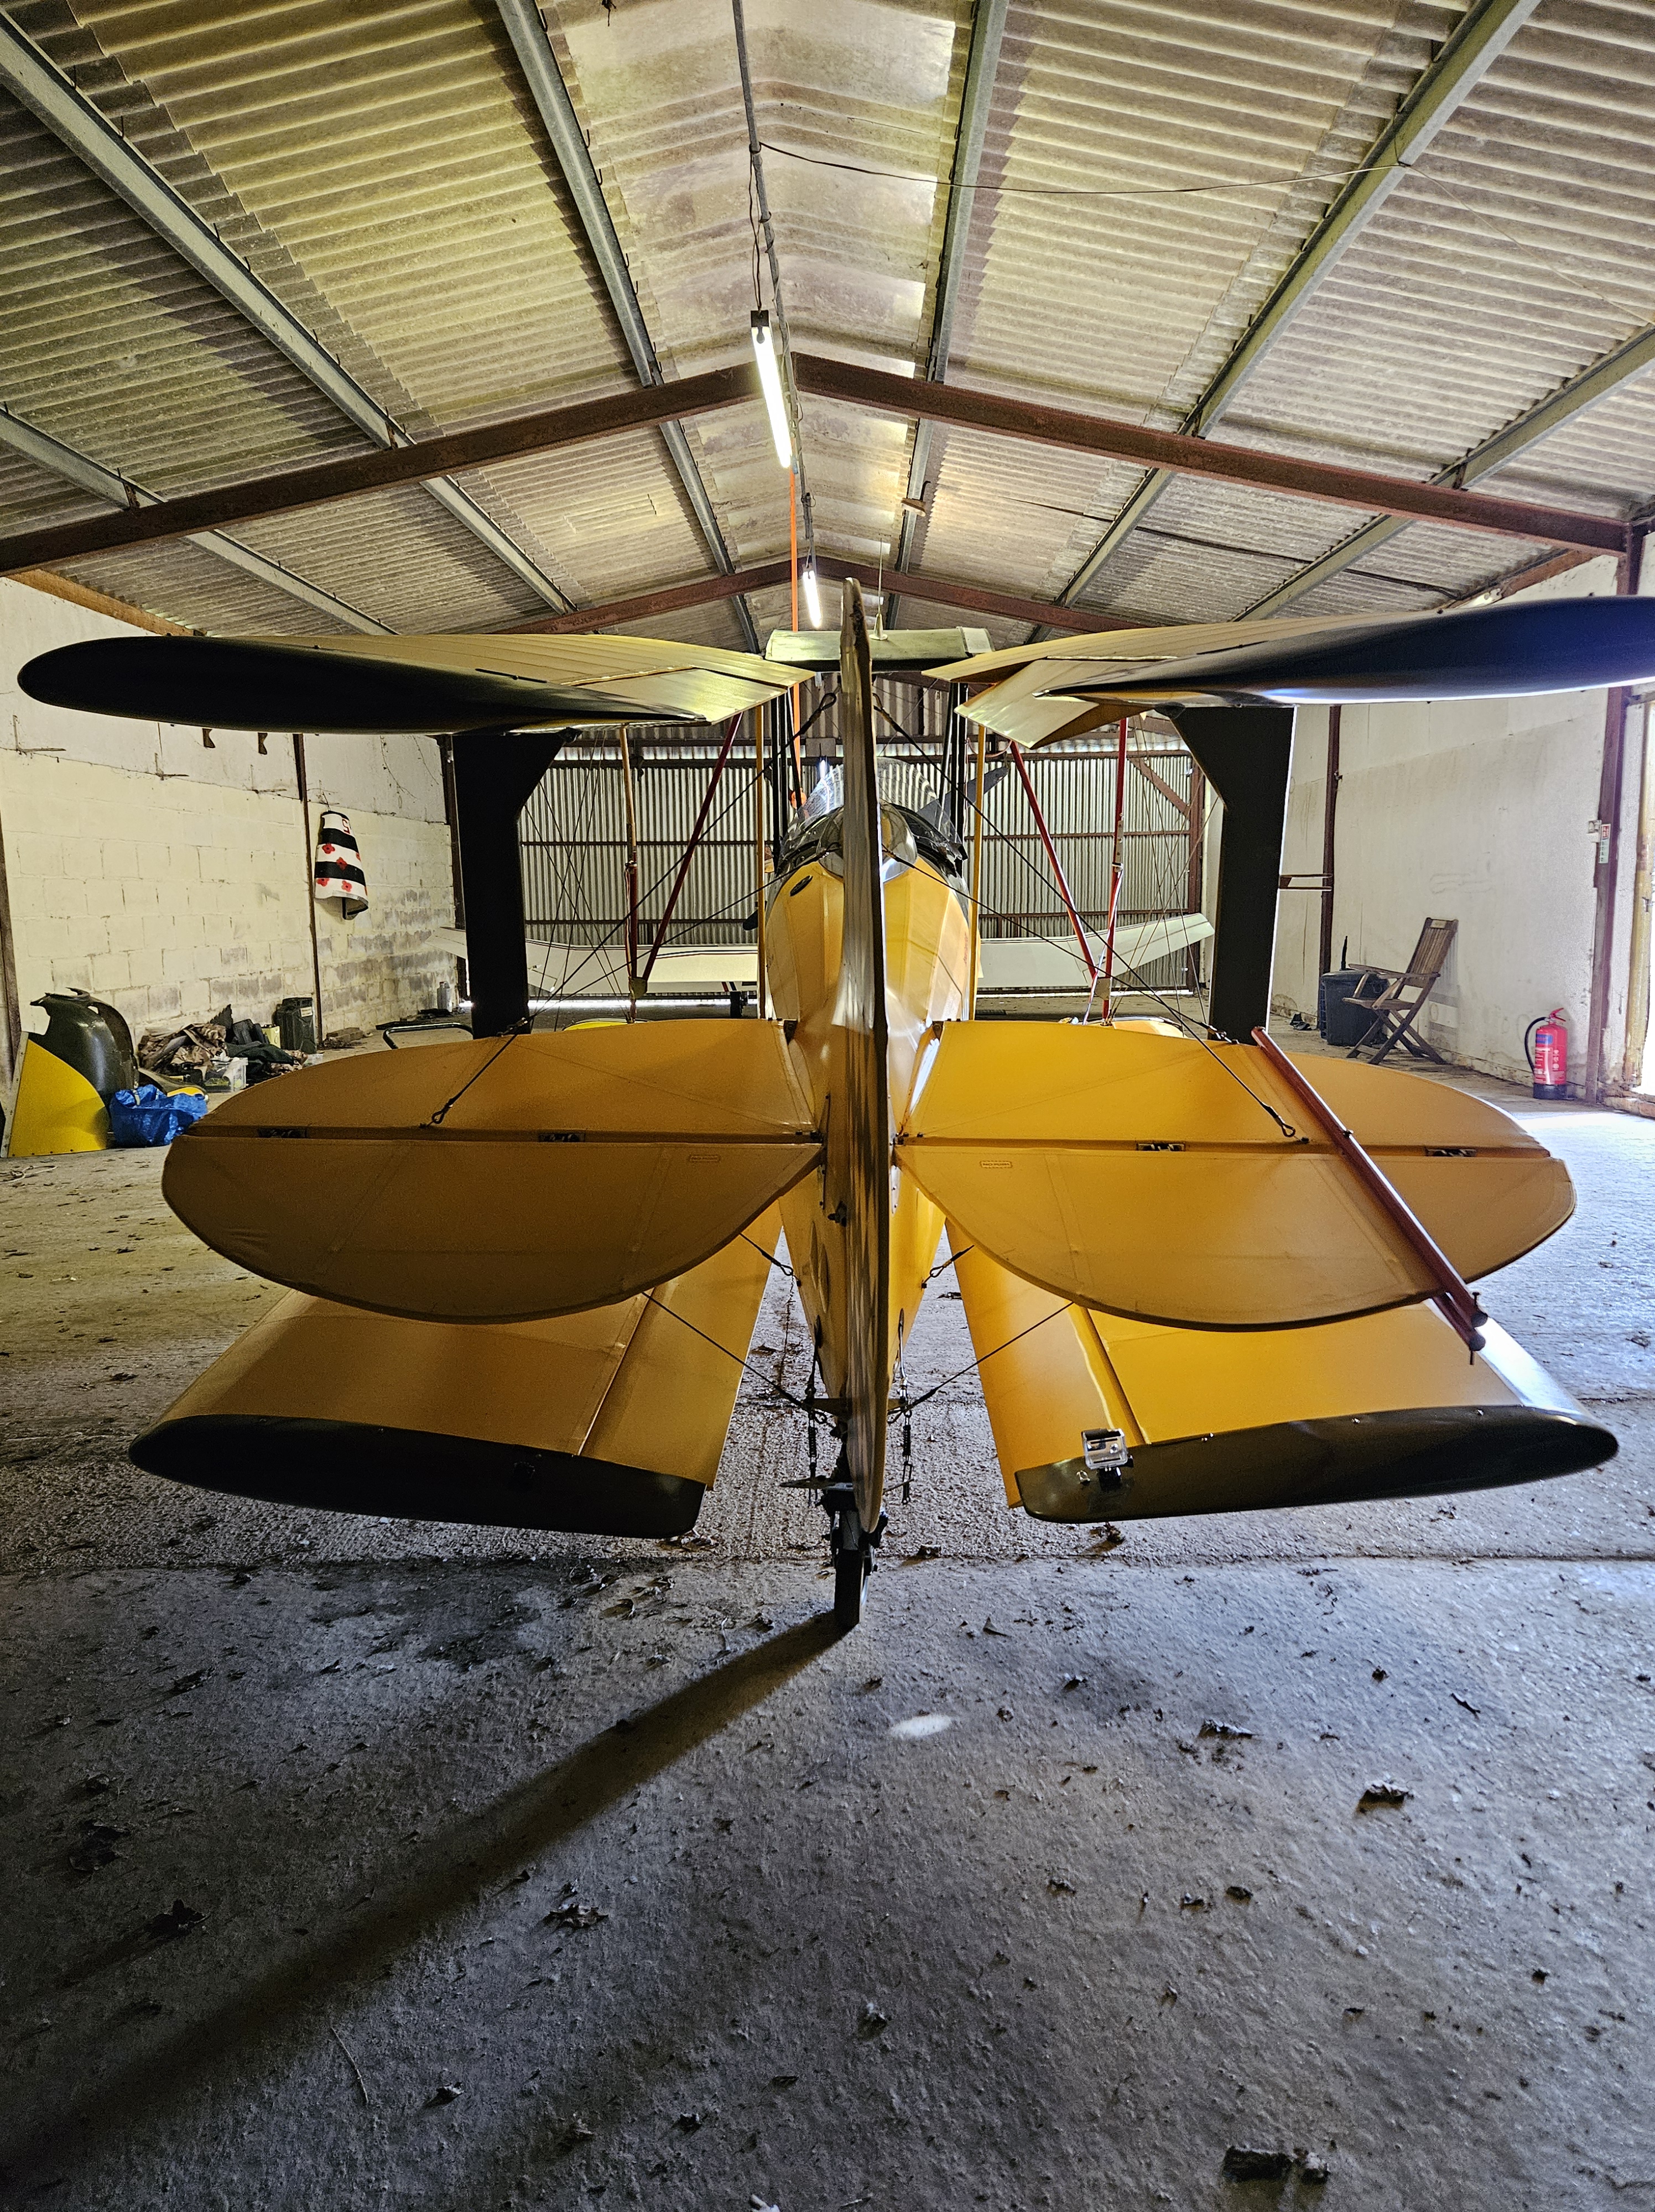
- Both upper wings look pretty much right offs ..Starboard being worst with most leading edge sections of the ribs cracked
- Port upper looks like only rib 1 and 2. … the inboard ribs, damage around the sacrificial wing peg support ripping the plywood
- Incredibly, and a sign of the solid construction, the hysol rib fitting glue had not allowed ANY movement on the main spar of ANY ribs
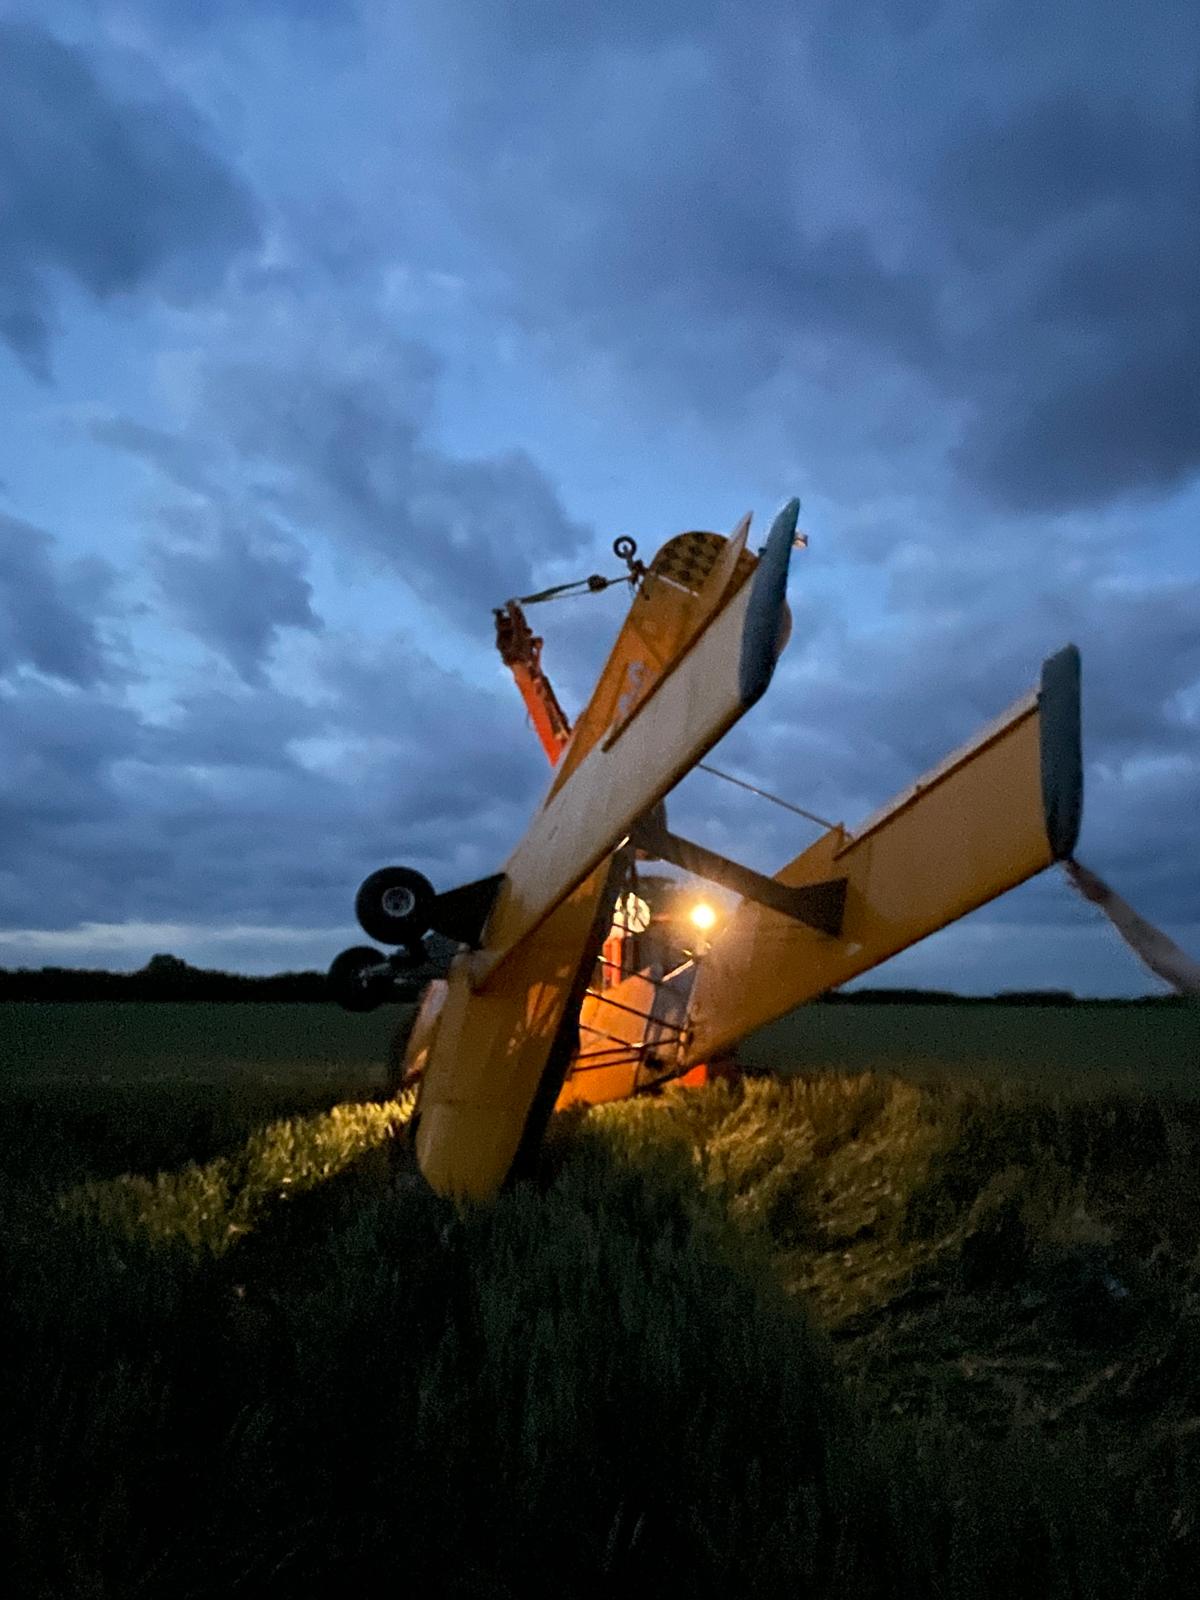
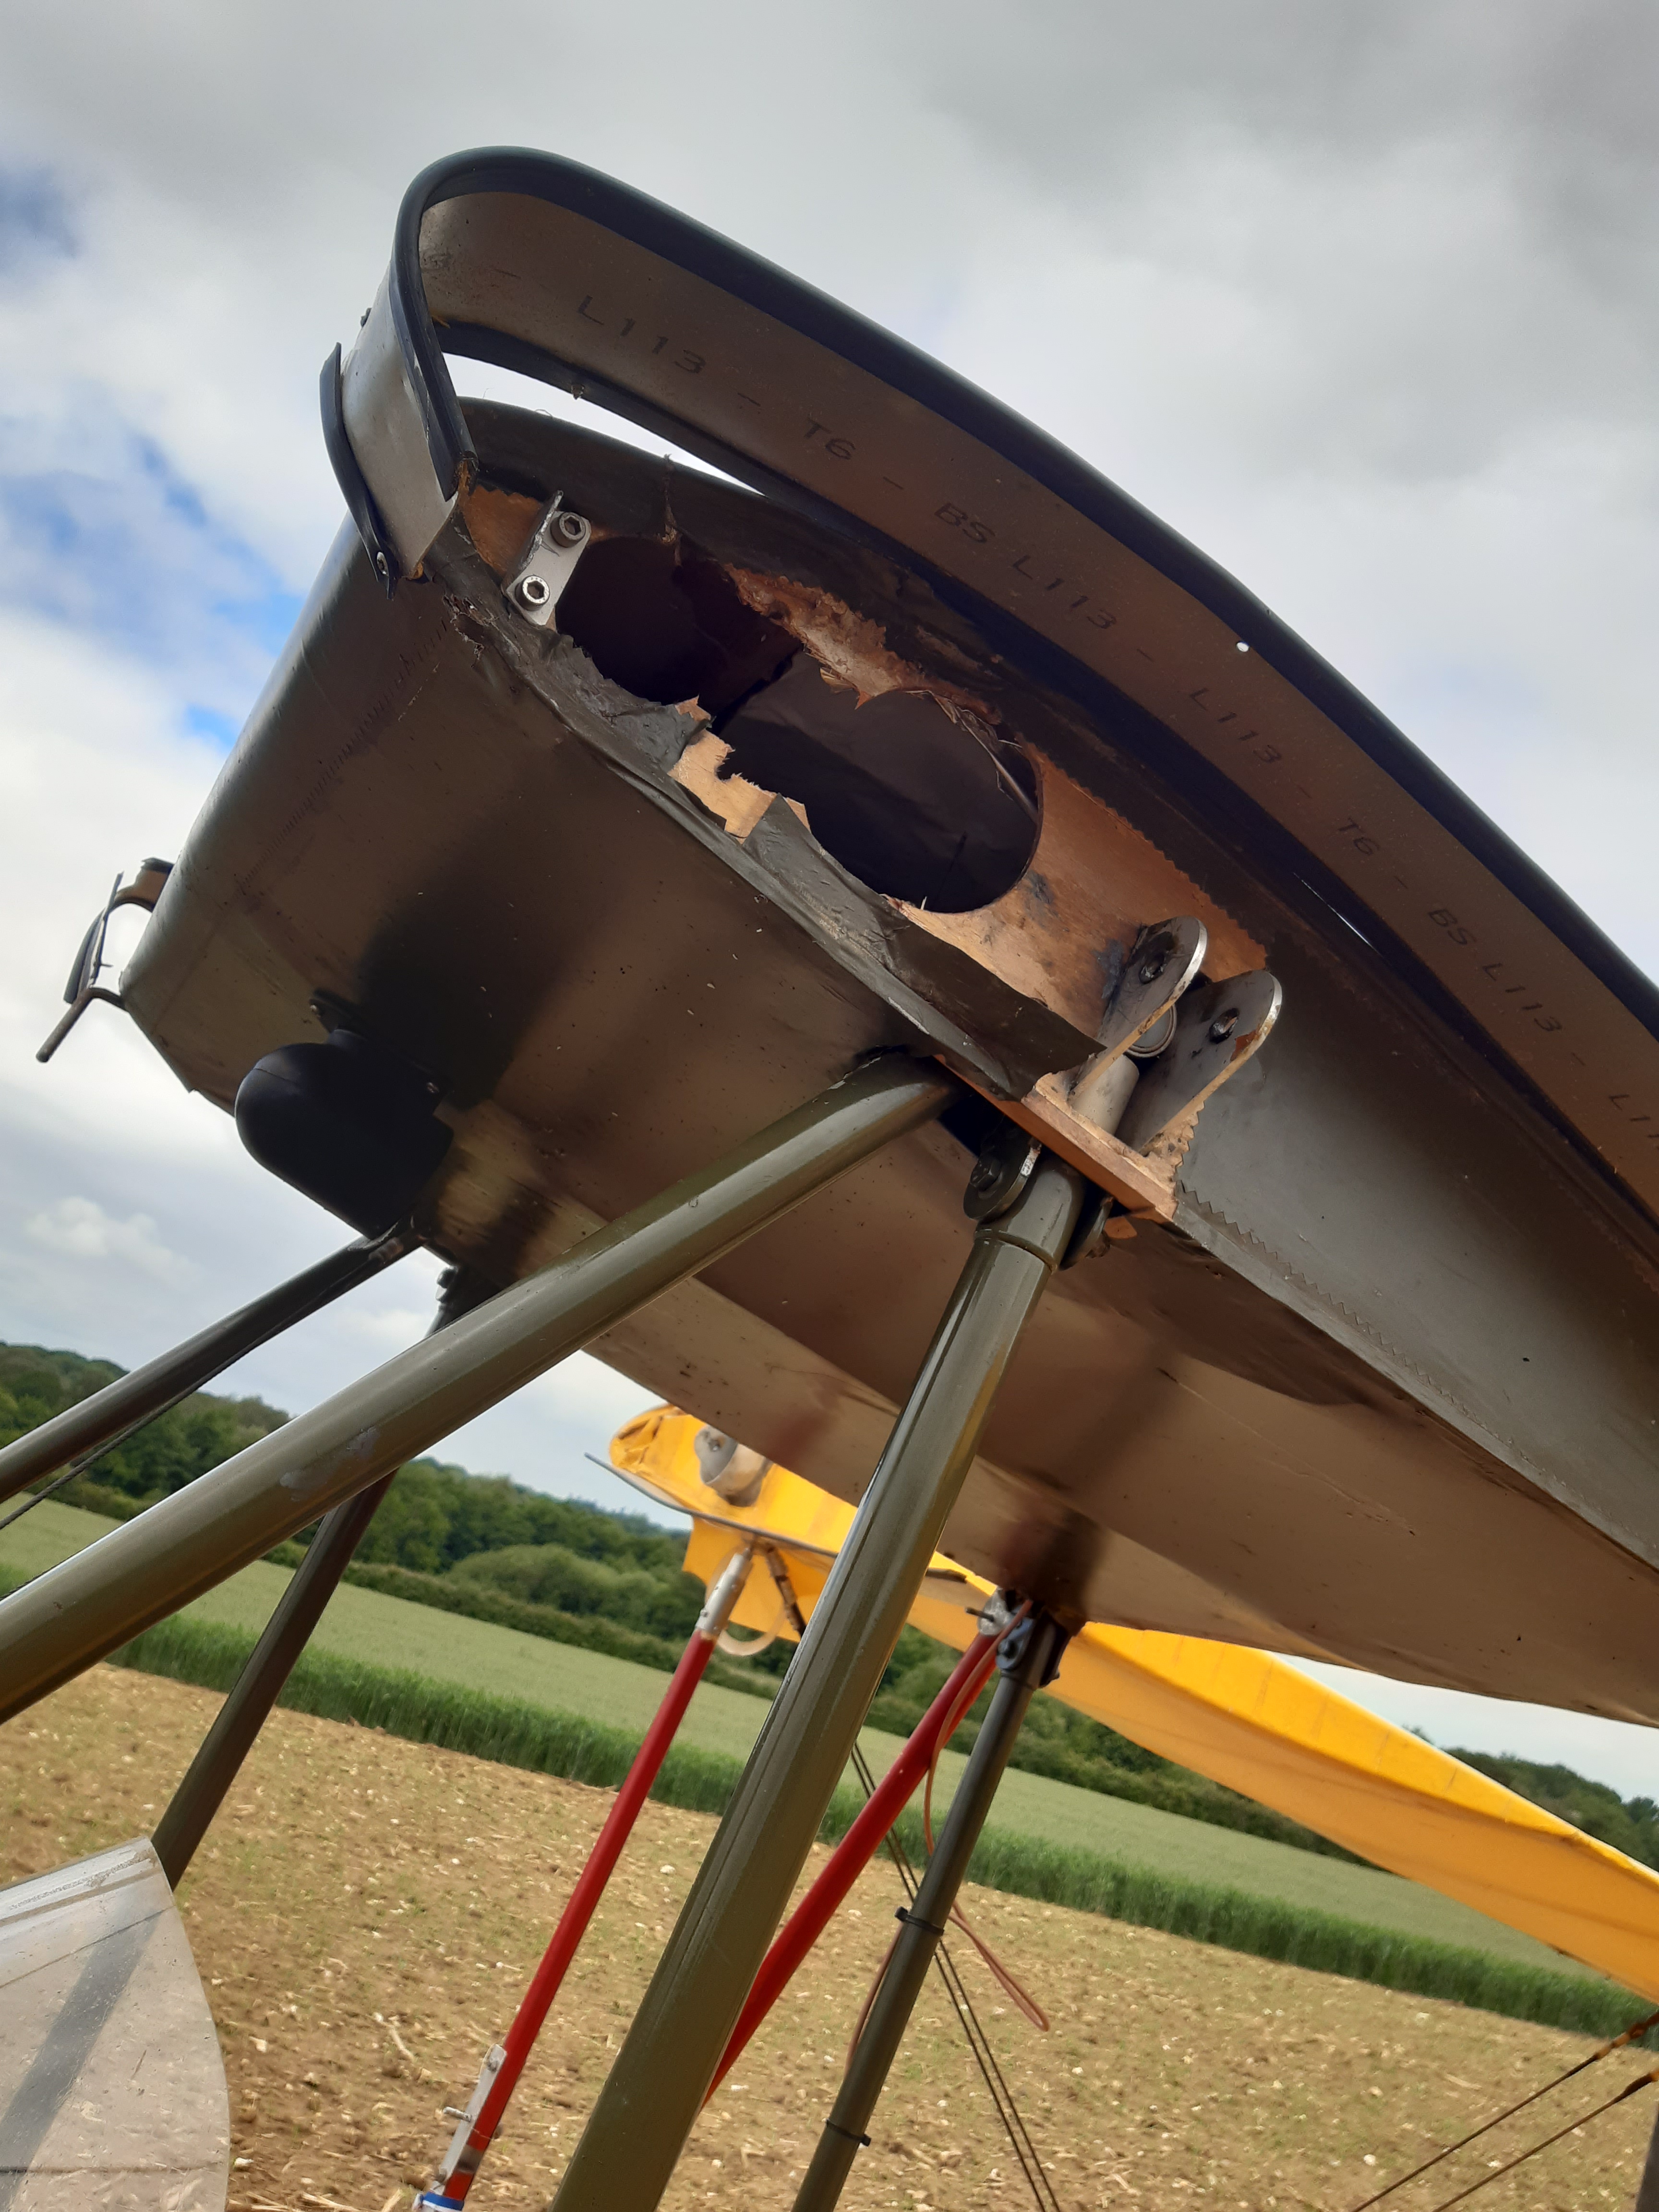
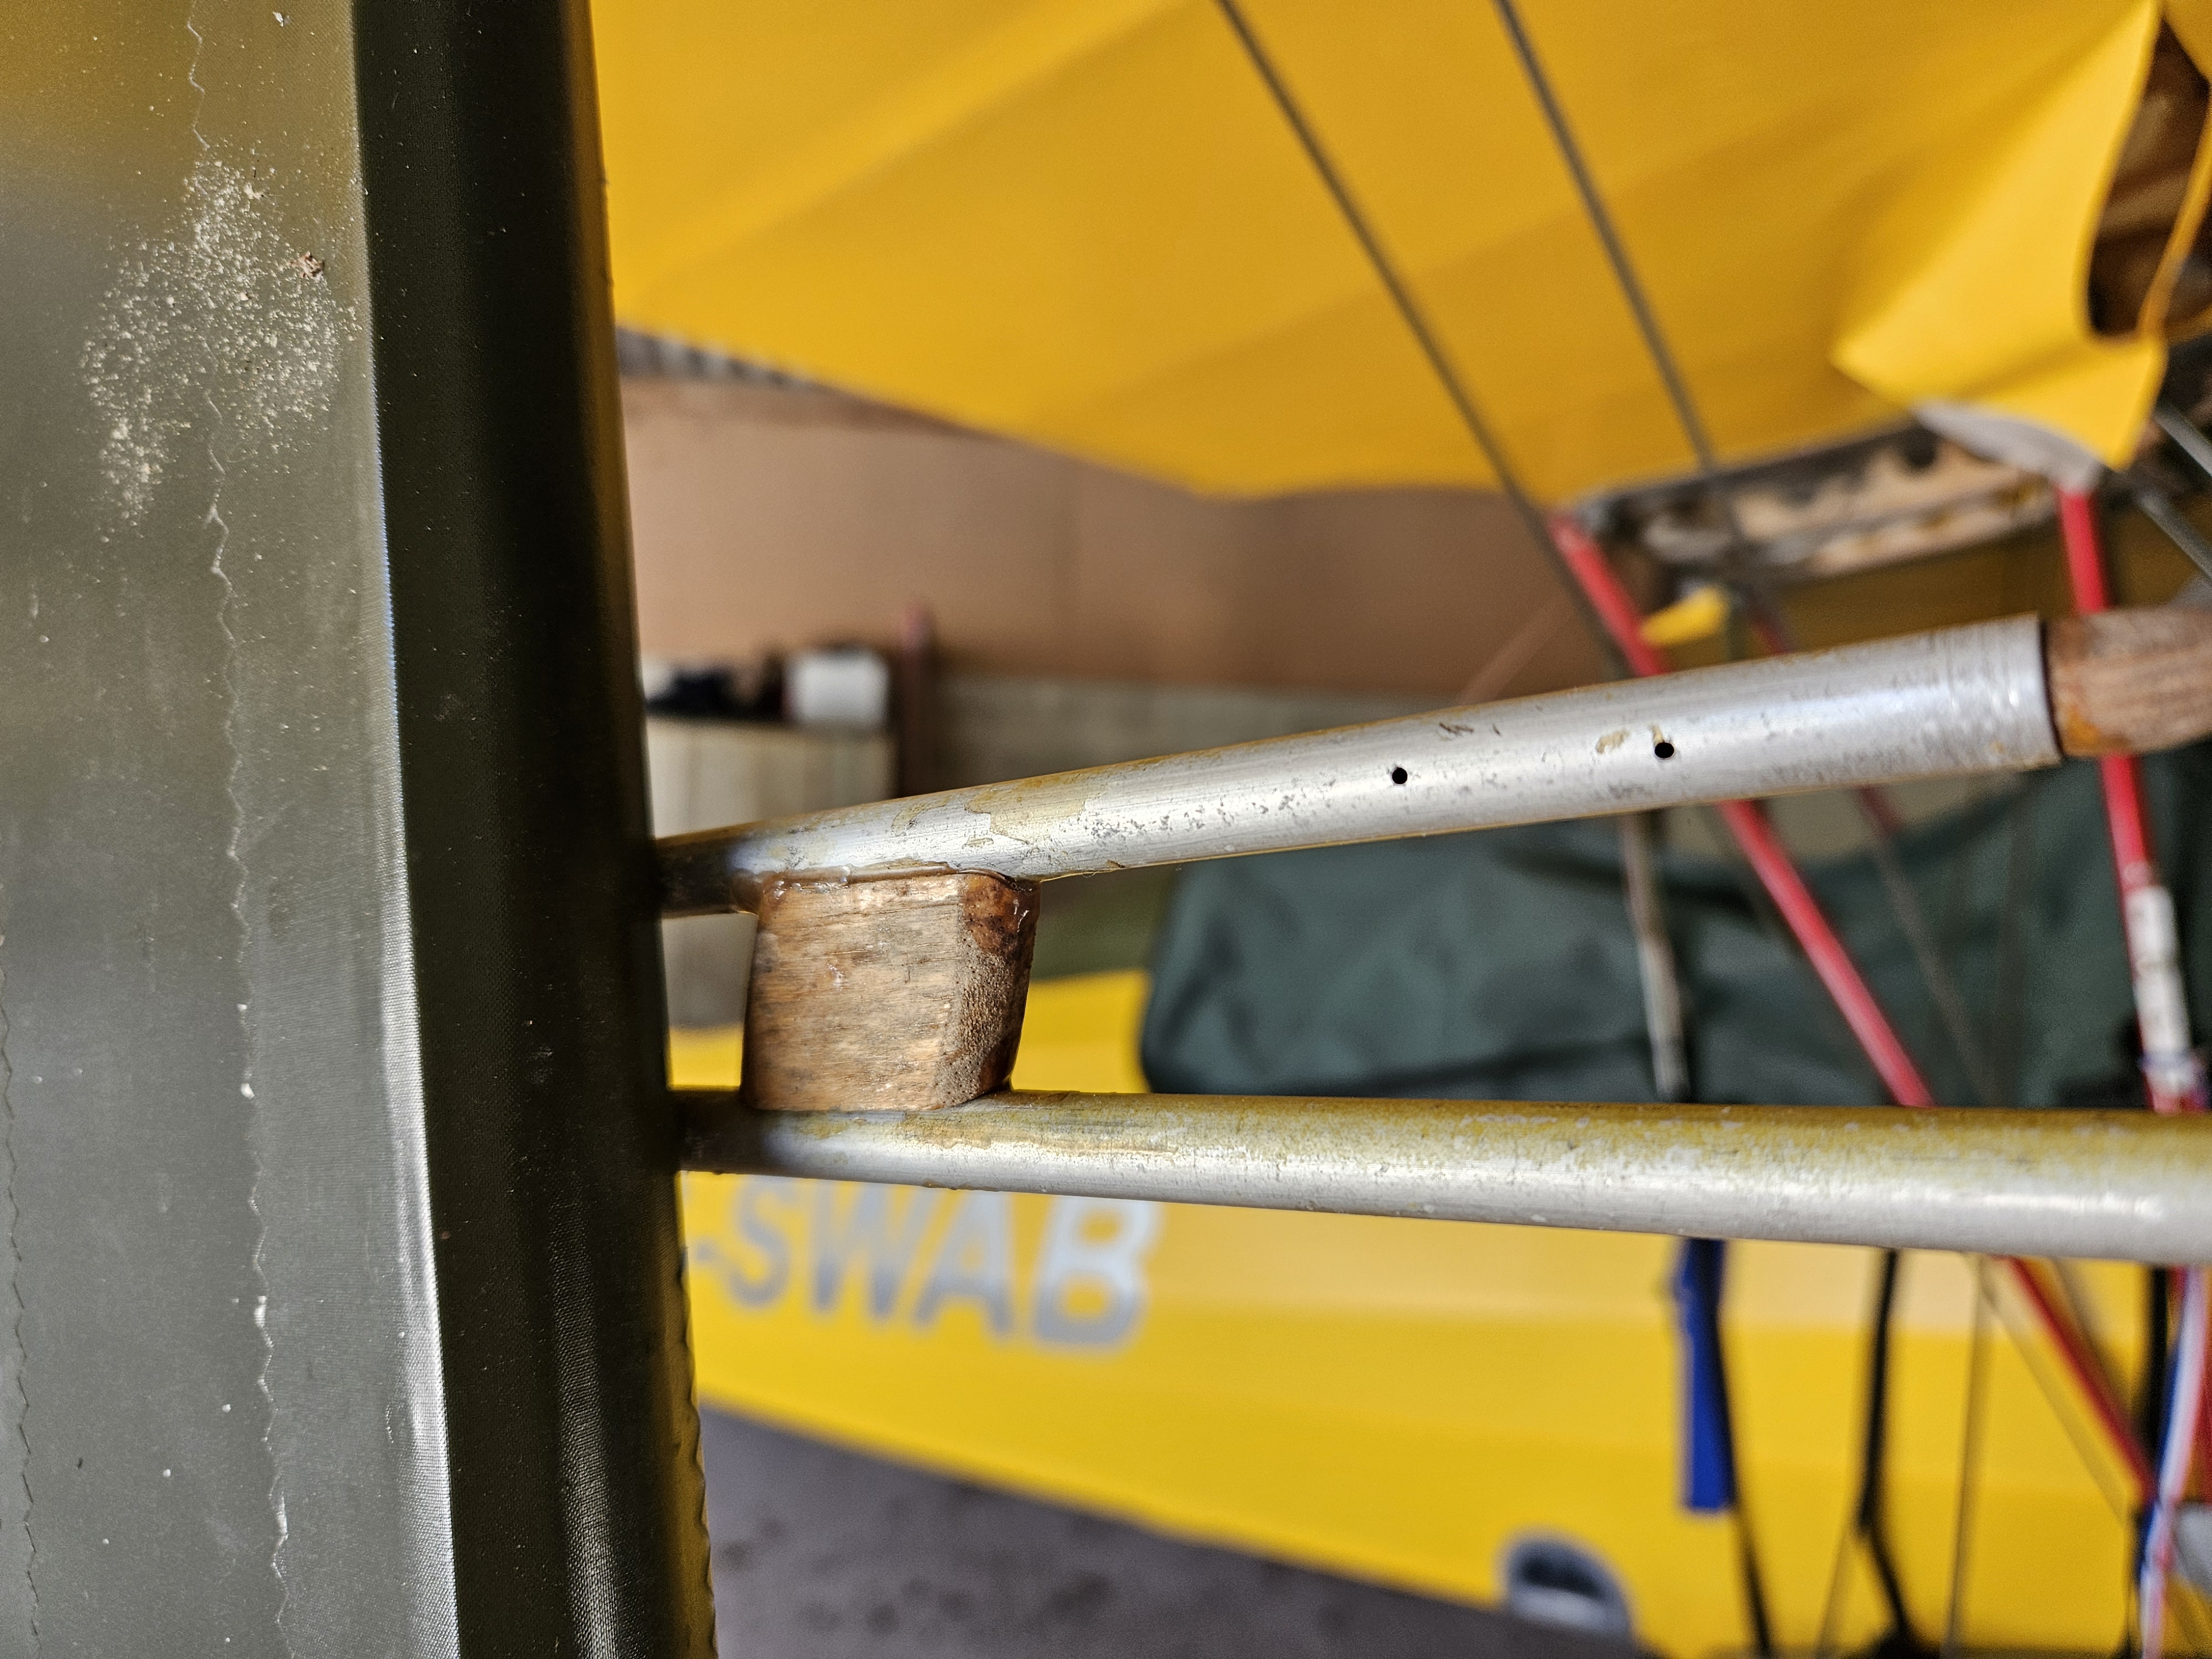
- The centre cabane had crushed as she turned over .. its only 3 ribs making a support for the 1mm plytop so again ..designed not for strength but shape
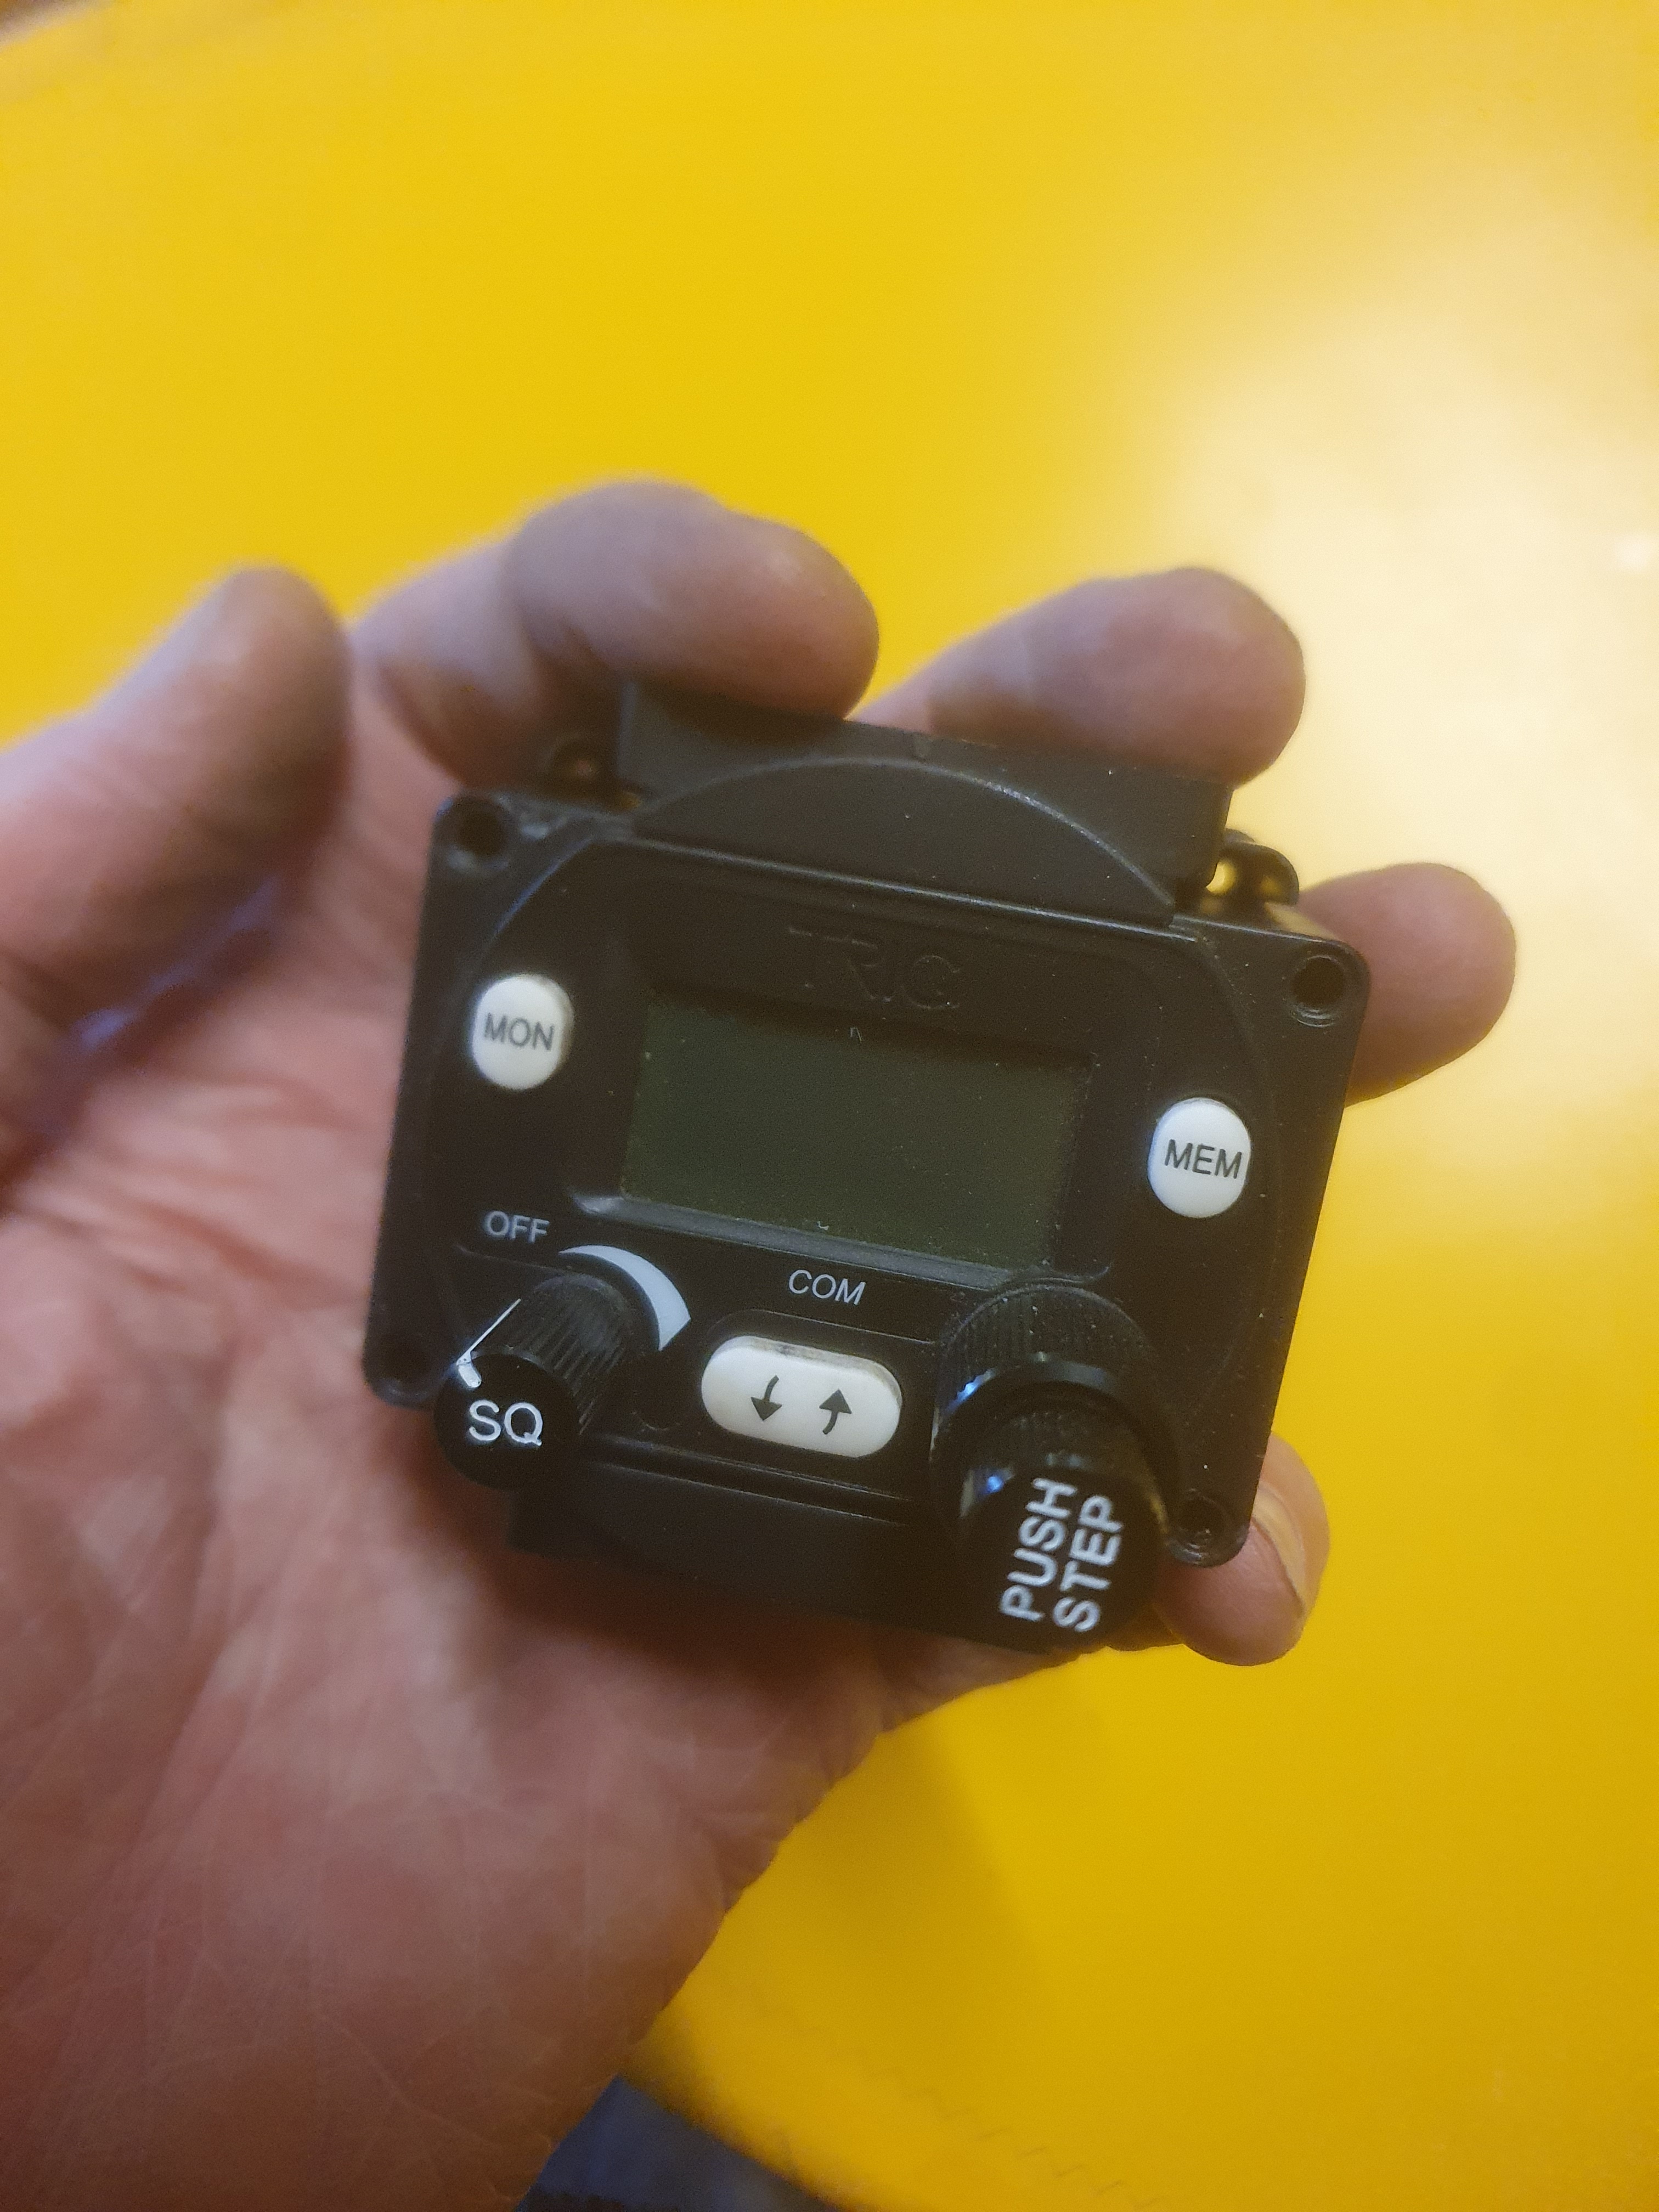
- The cabane topped ariel bent through more degrees than it should
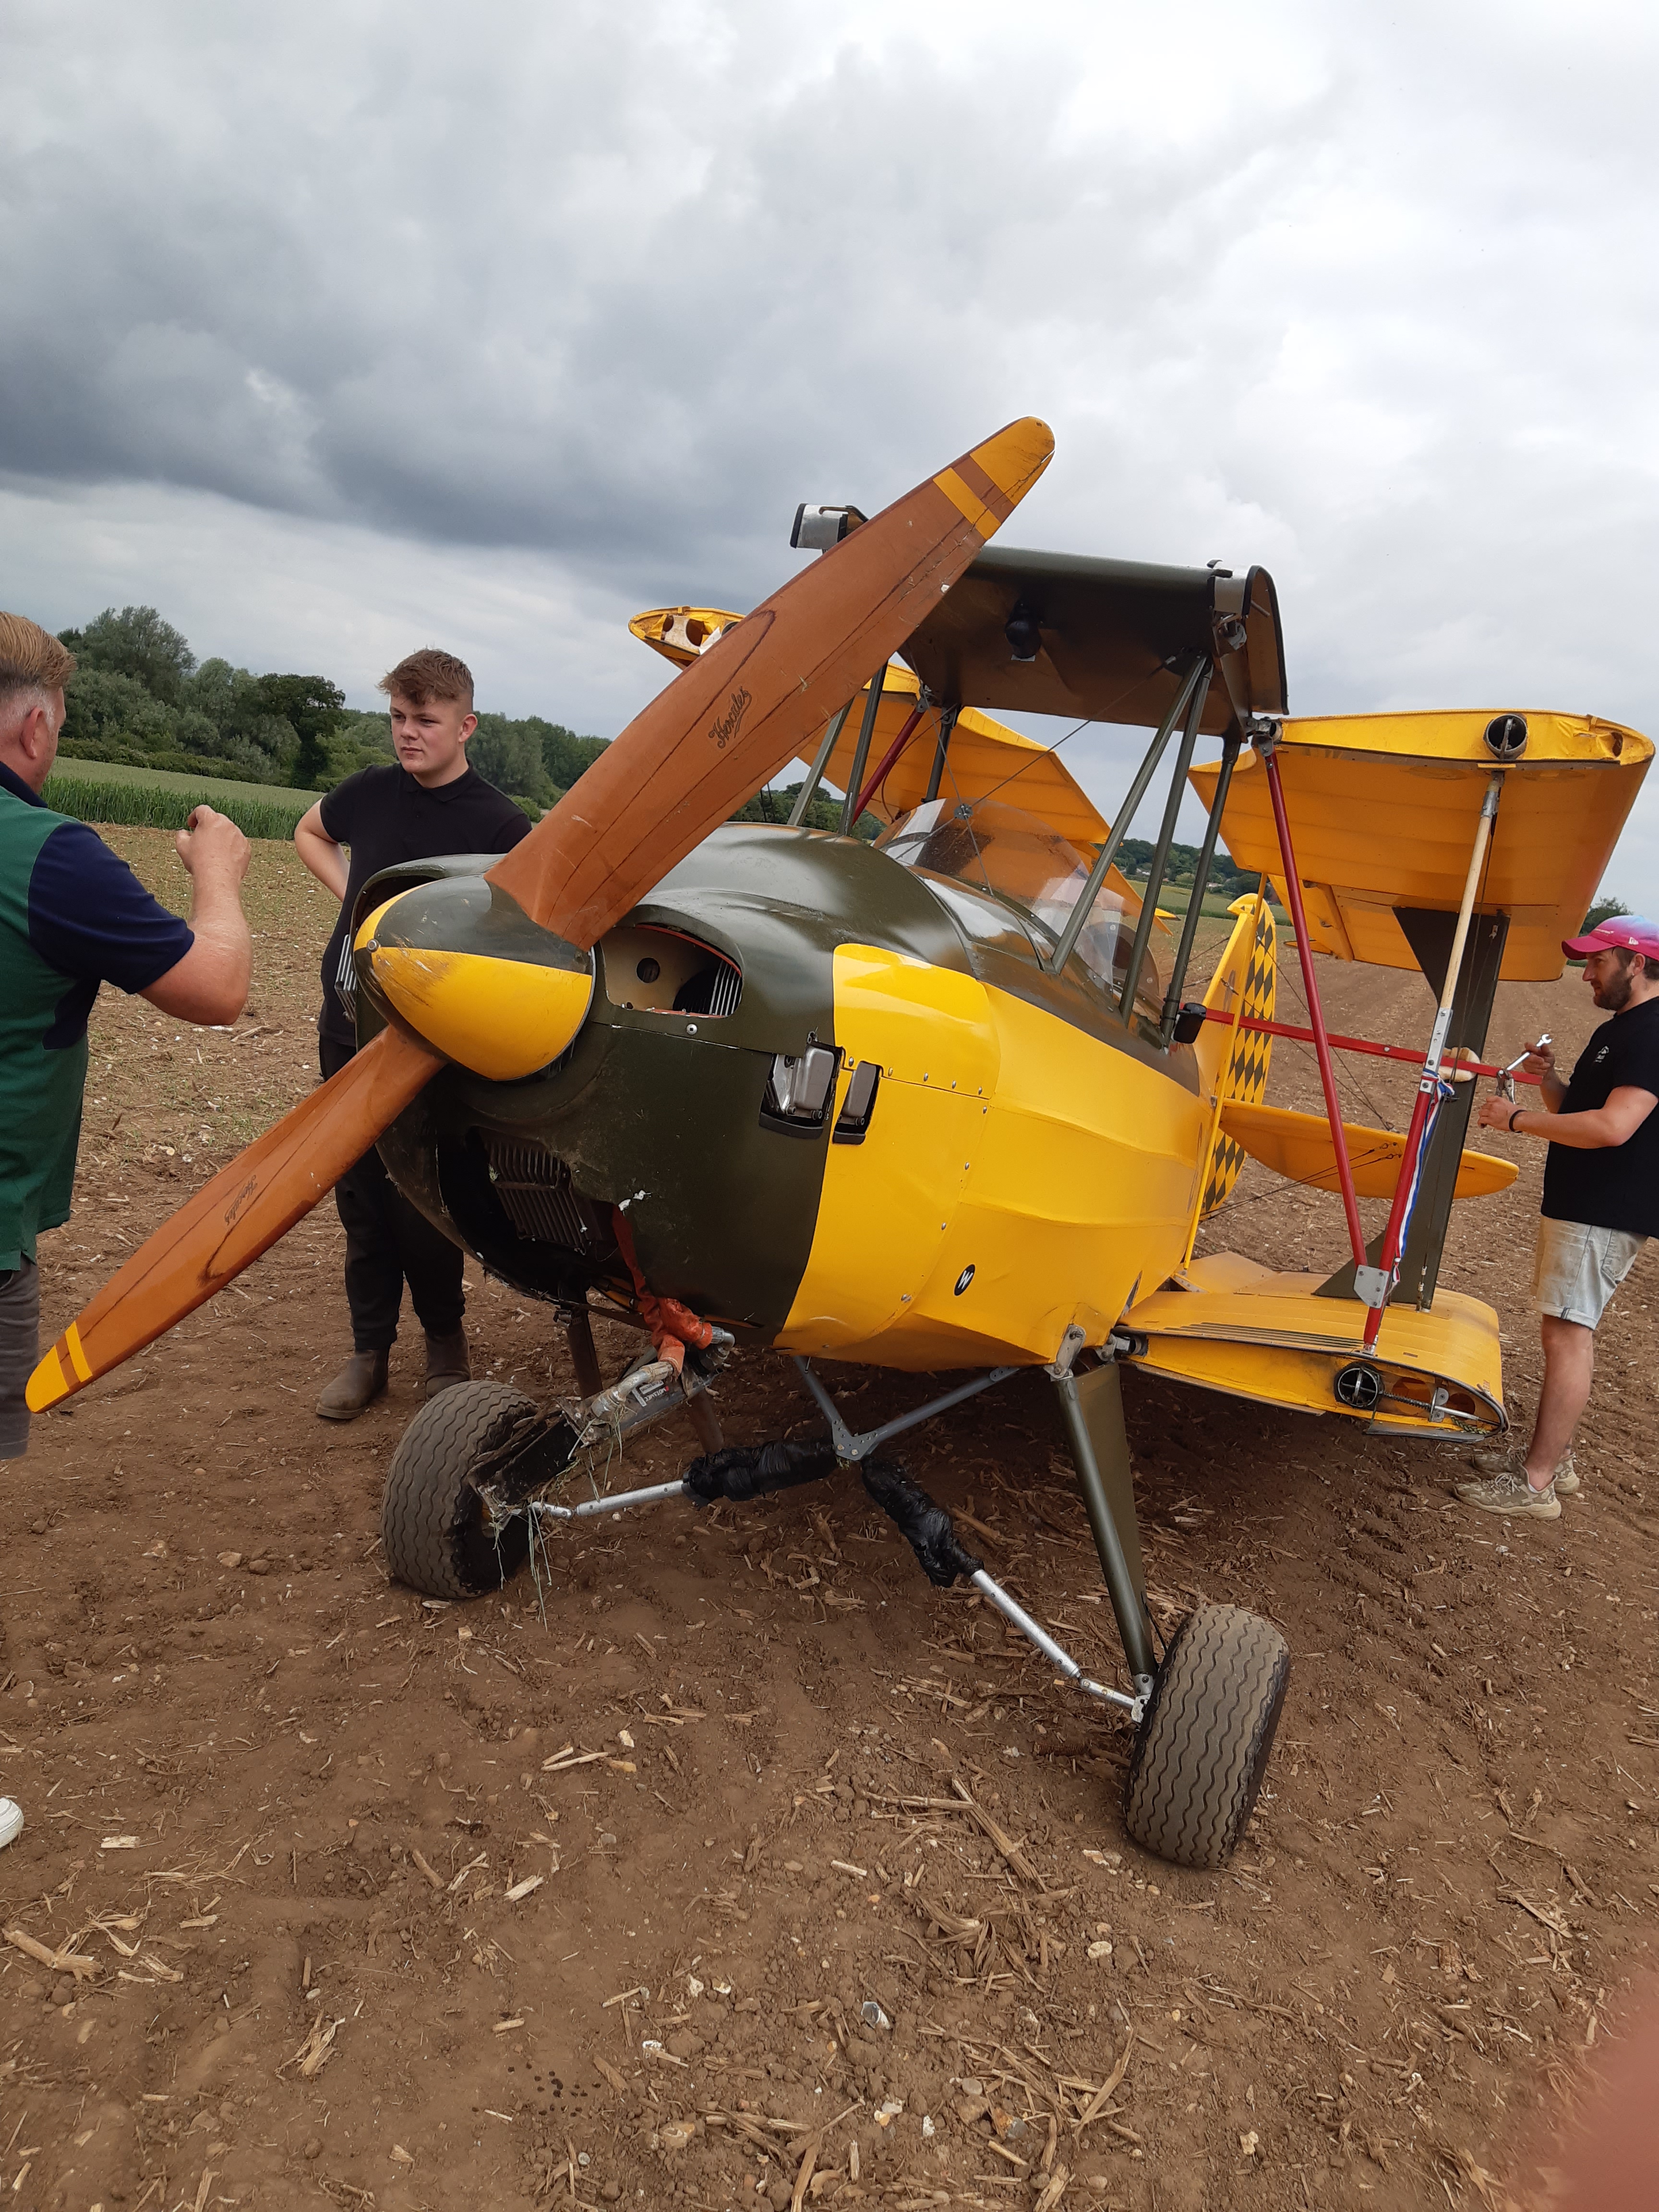
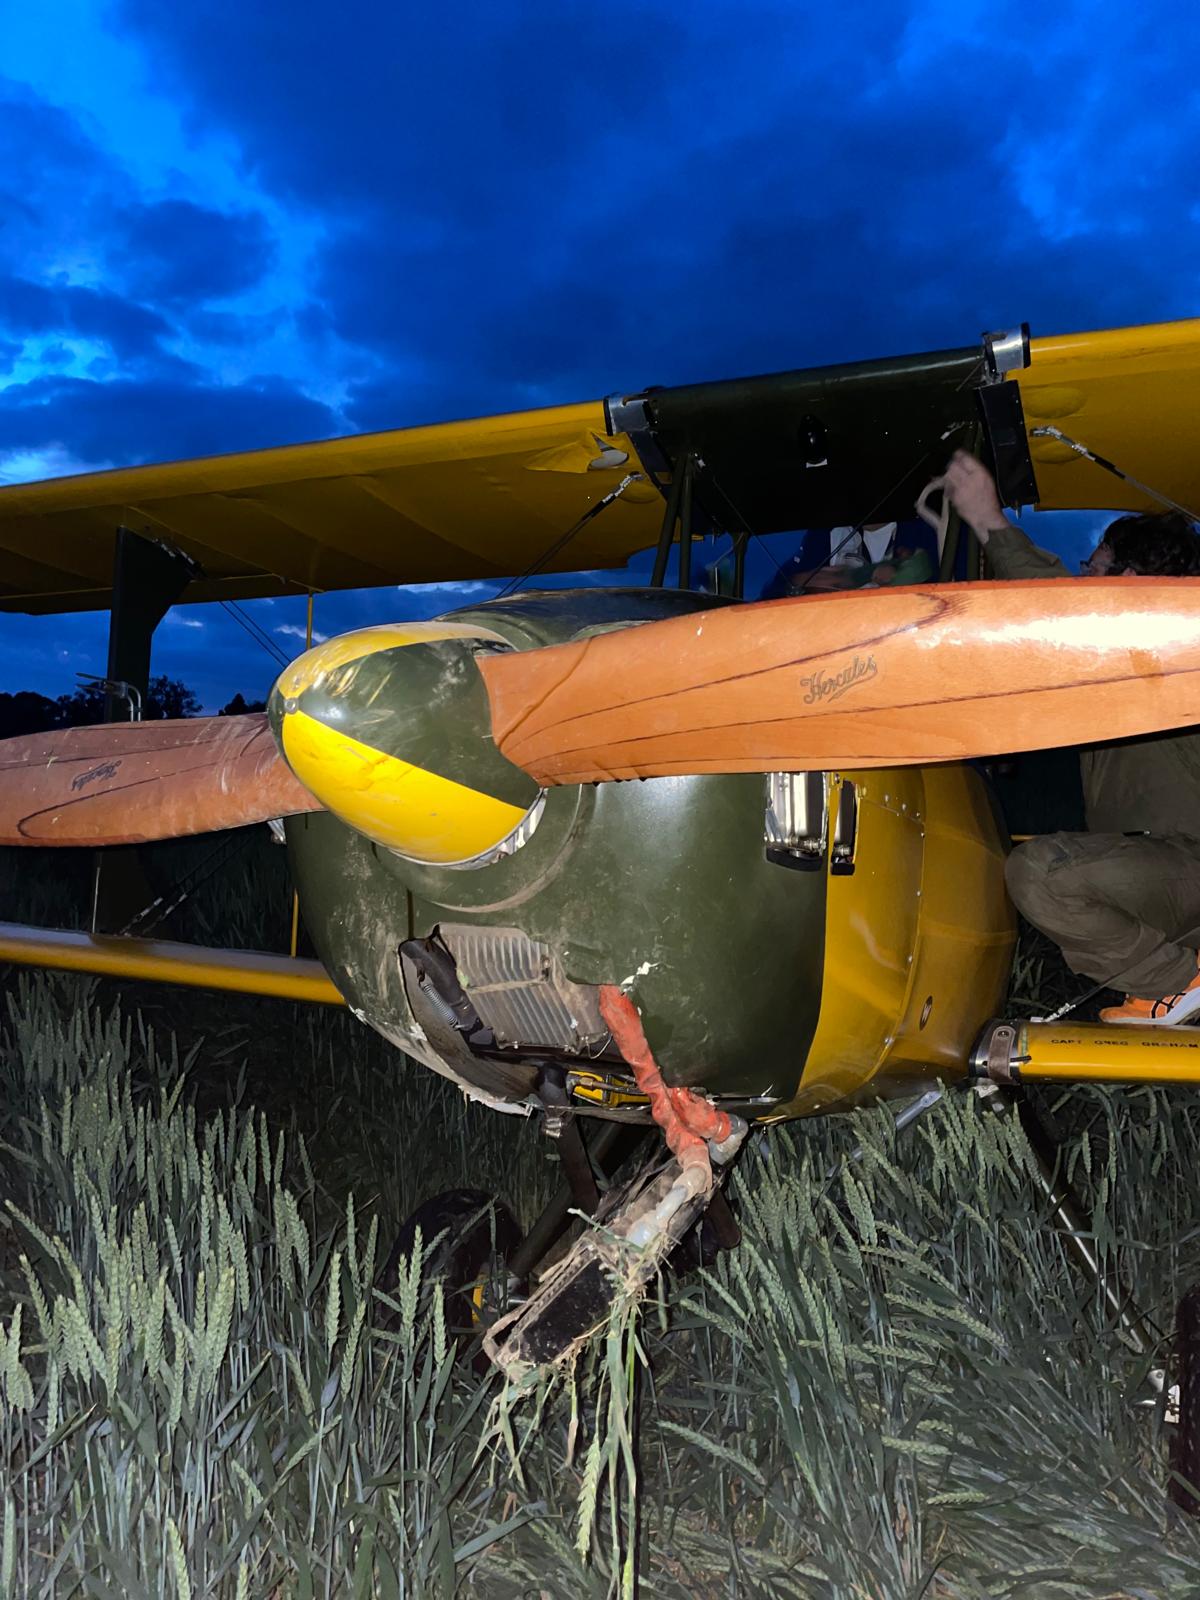
- The immaculate Hercules prop .. stationary for the last few minutes of flight, stopped at about 45’ so caught on landing and cracked one end of it .. more a split .. so not much force was applied (albeit a run out check of crank will still be done)
- The lower cowl got a couple of cracks as the also damaged oil cooler matrix was pushed back
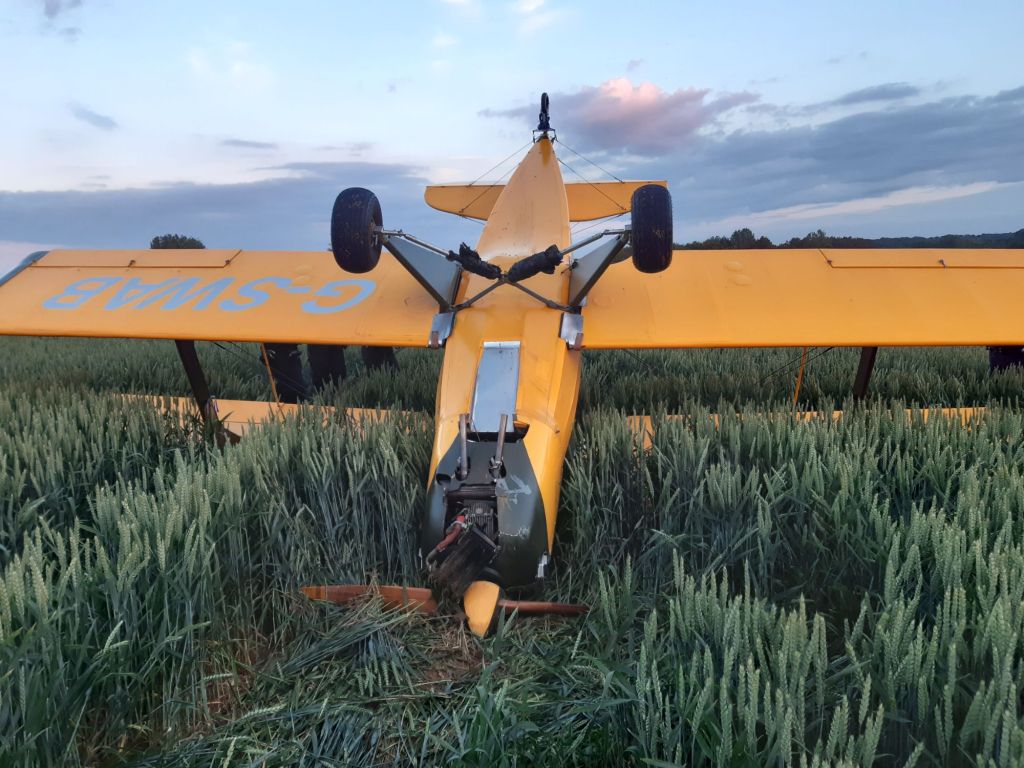
- The P1 windscreen was the only thing Will actually broke as he exited the aircraft upside down.!
The estimate was turned around in a couple of days by Paul at TLAC and sent off to the insurers.
A week later I received a call that it would all be settled and the aircraft would be released to me to decide it’s fate.
STRIP DOWN
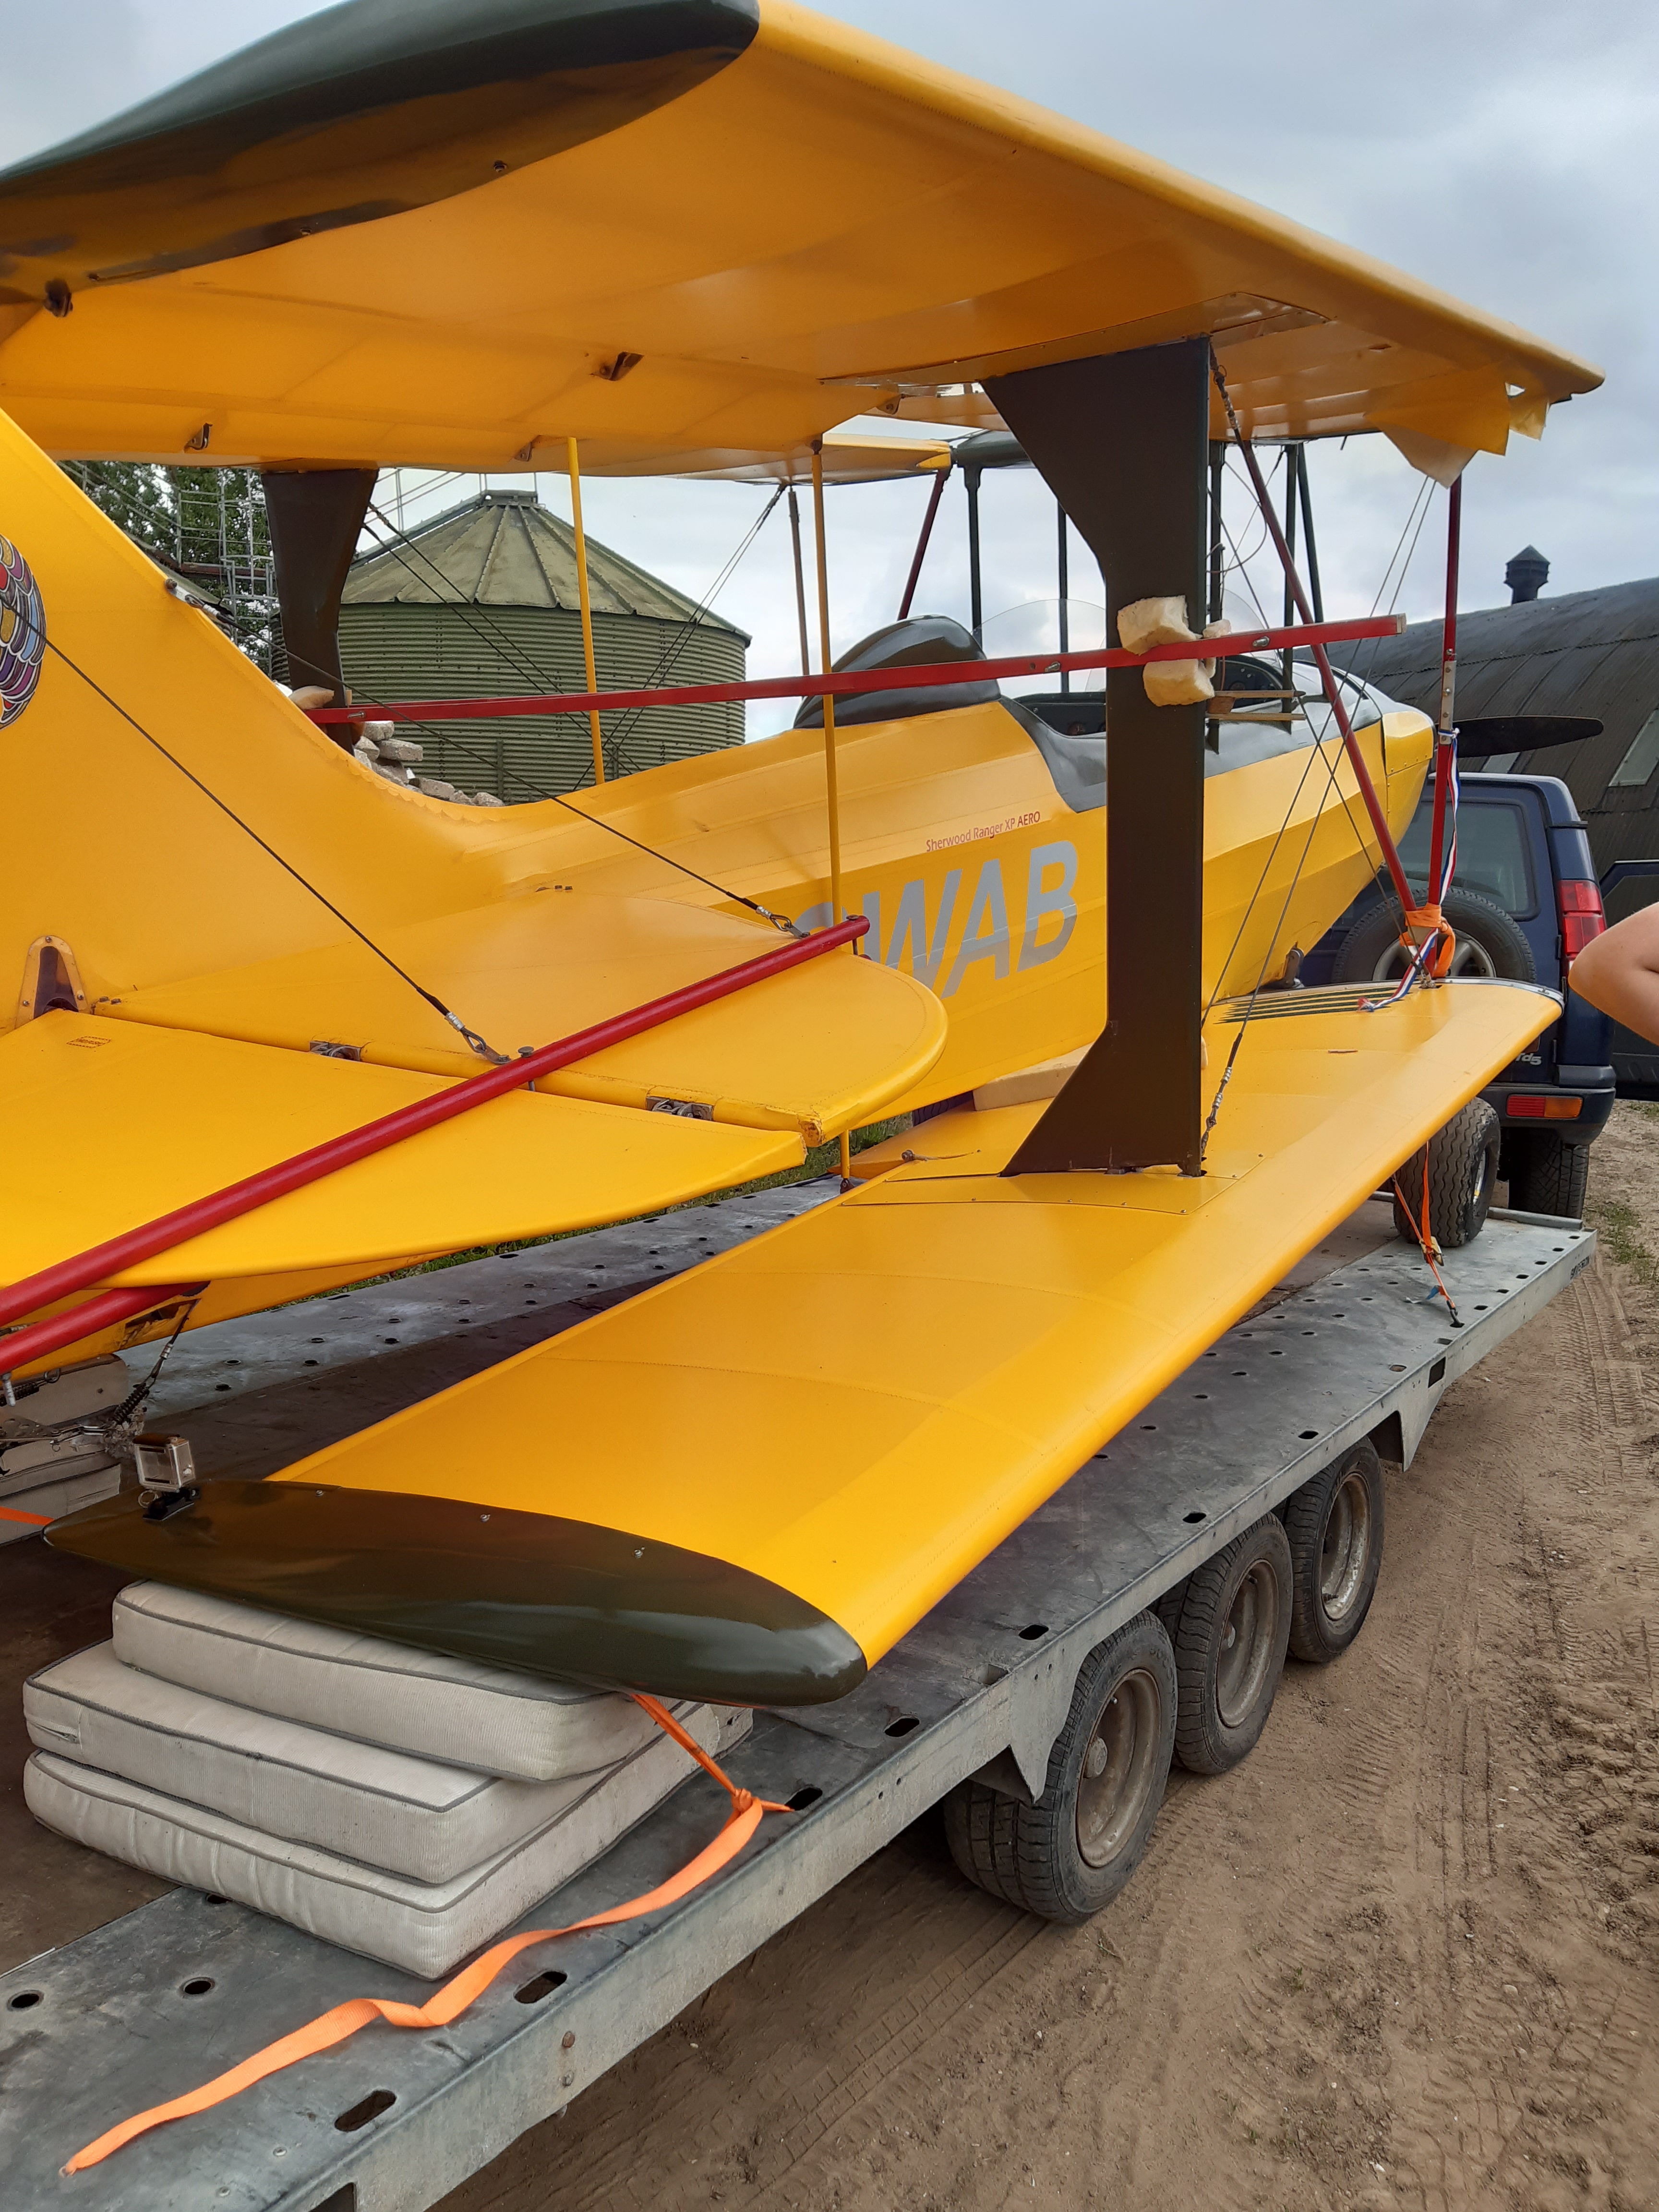
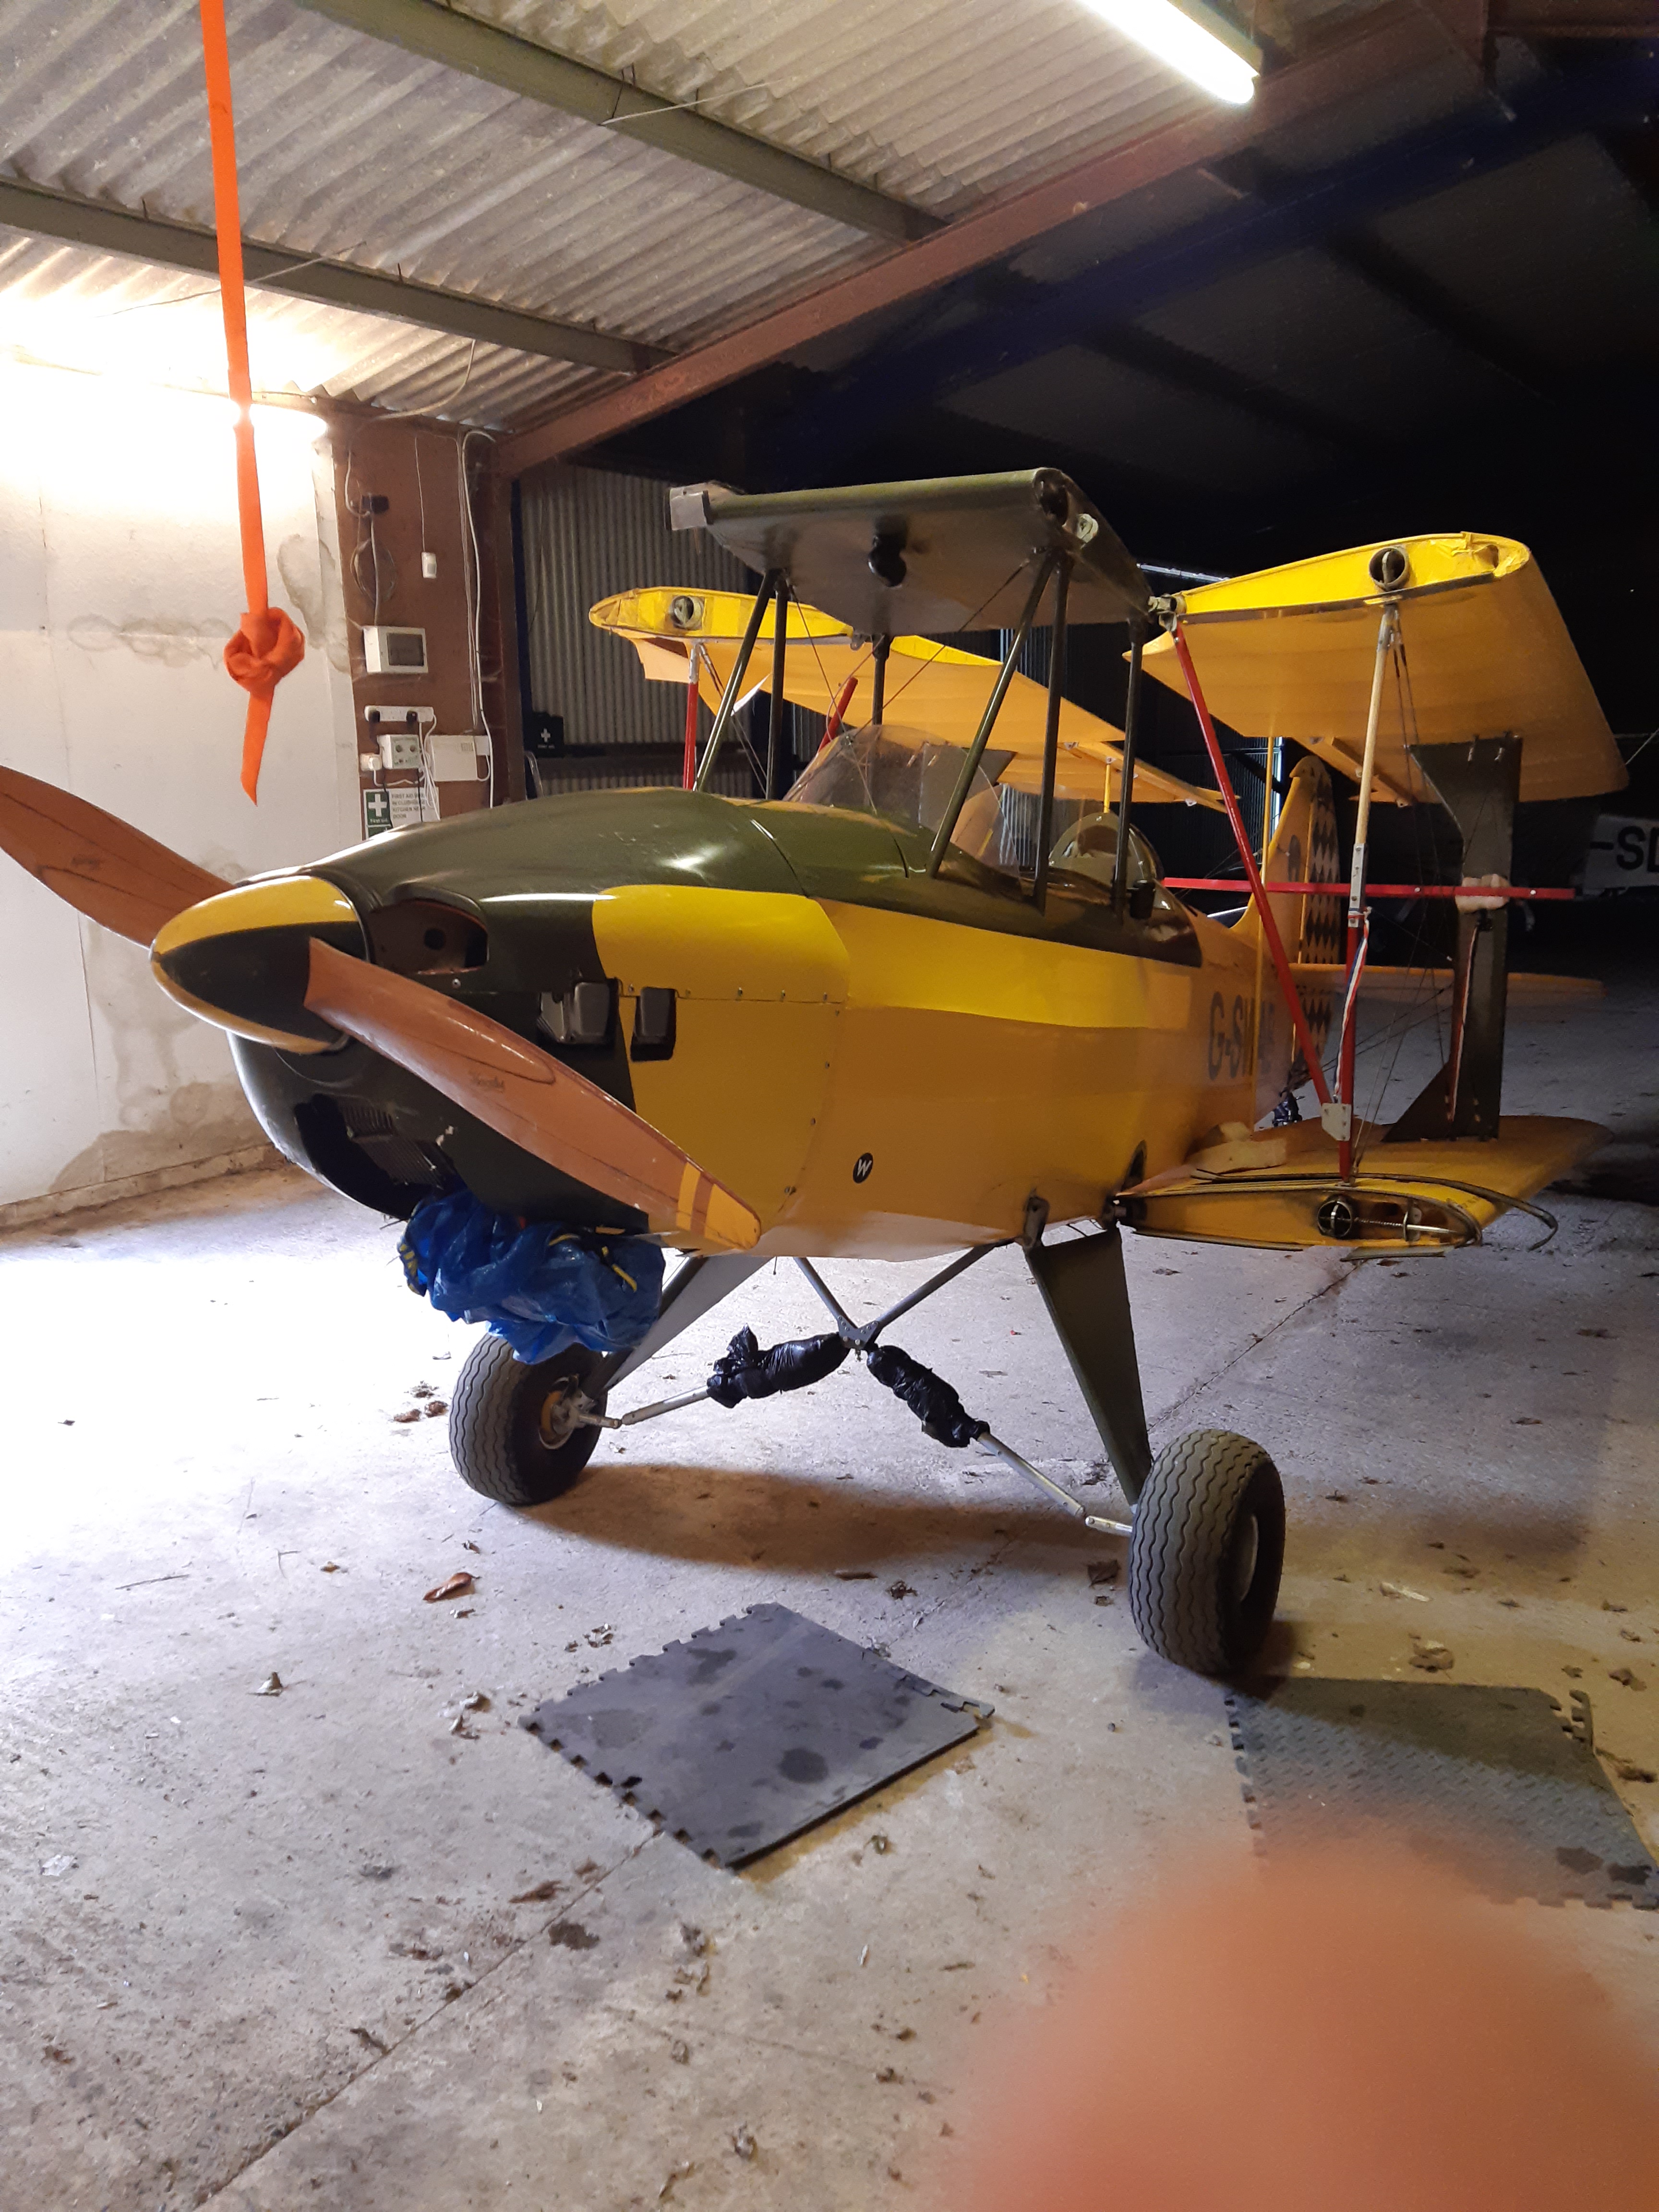
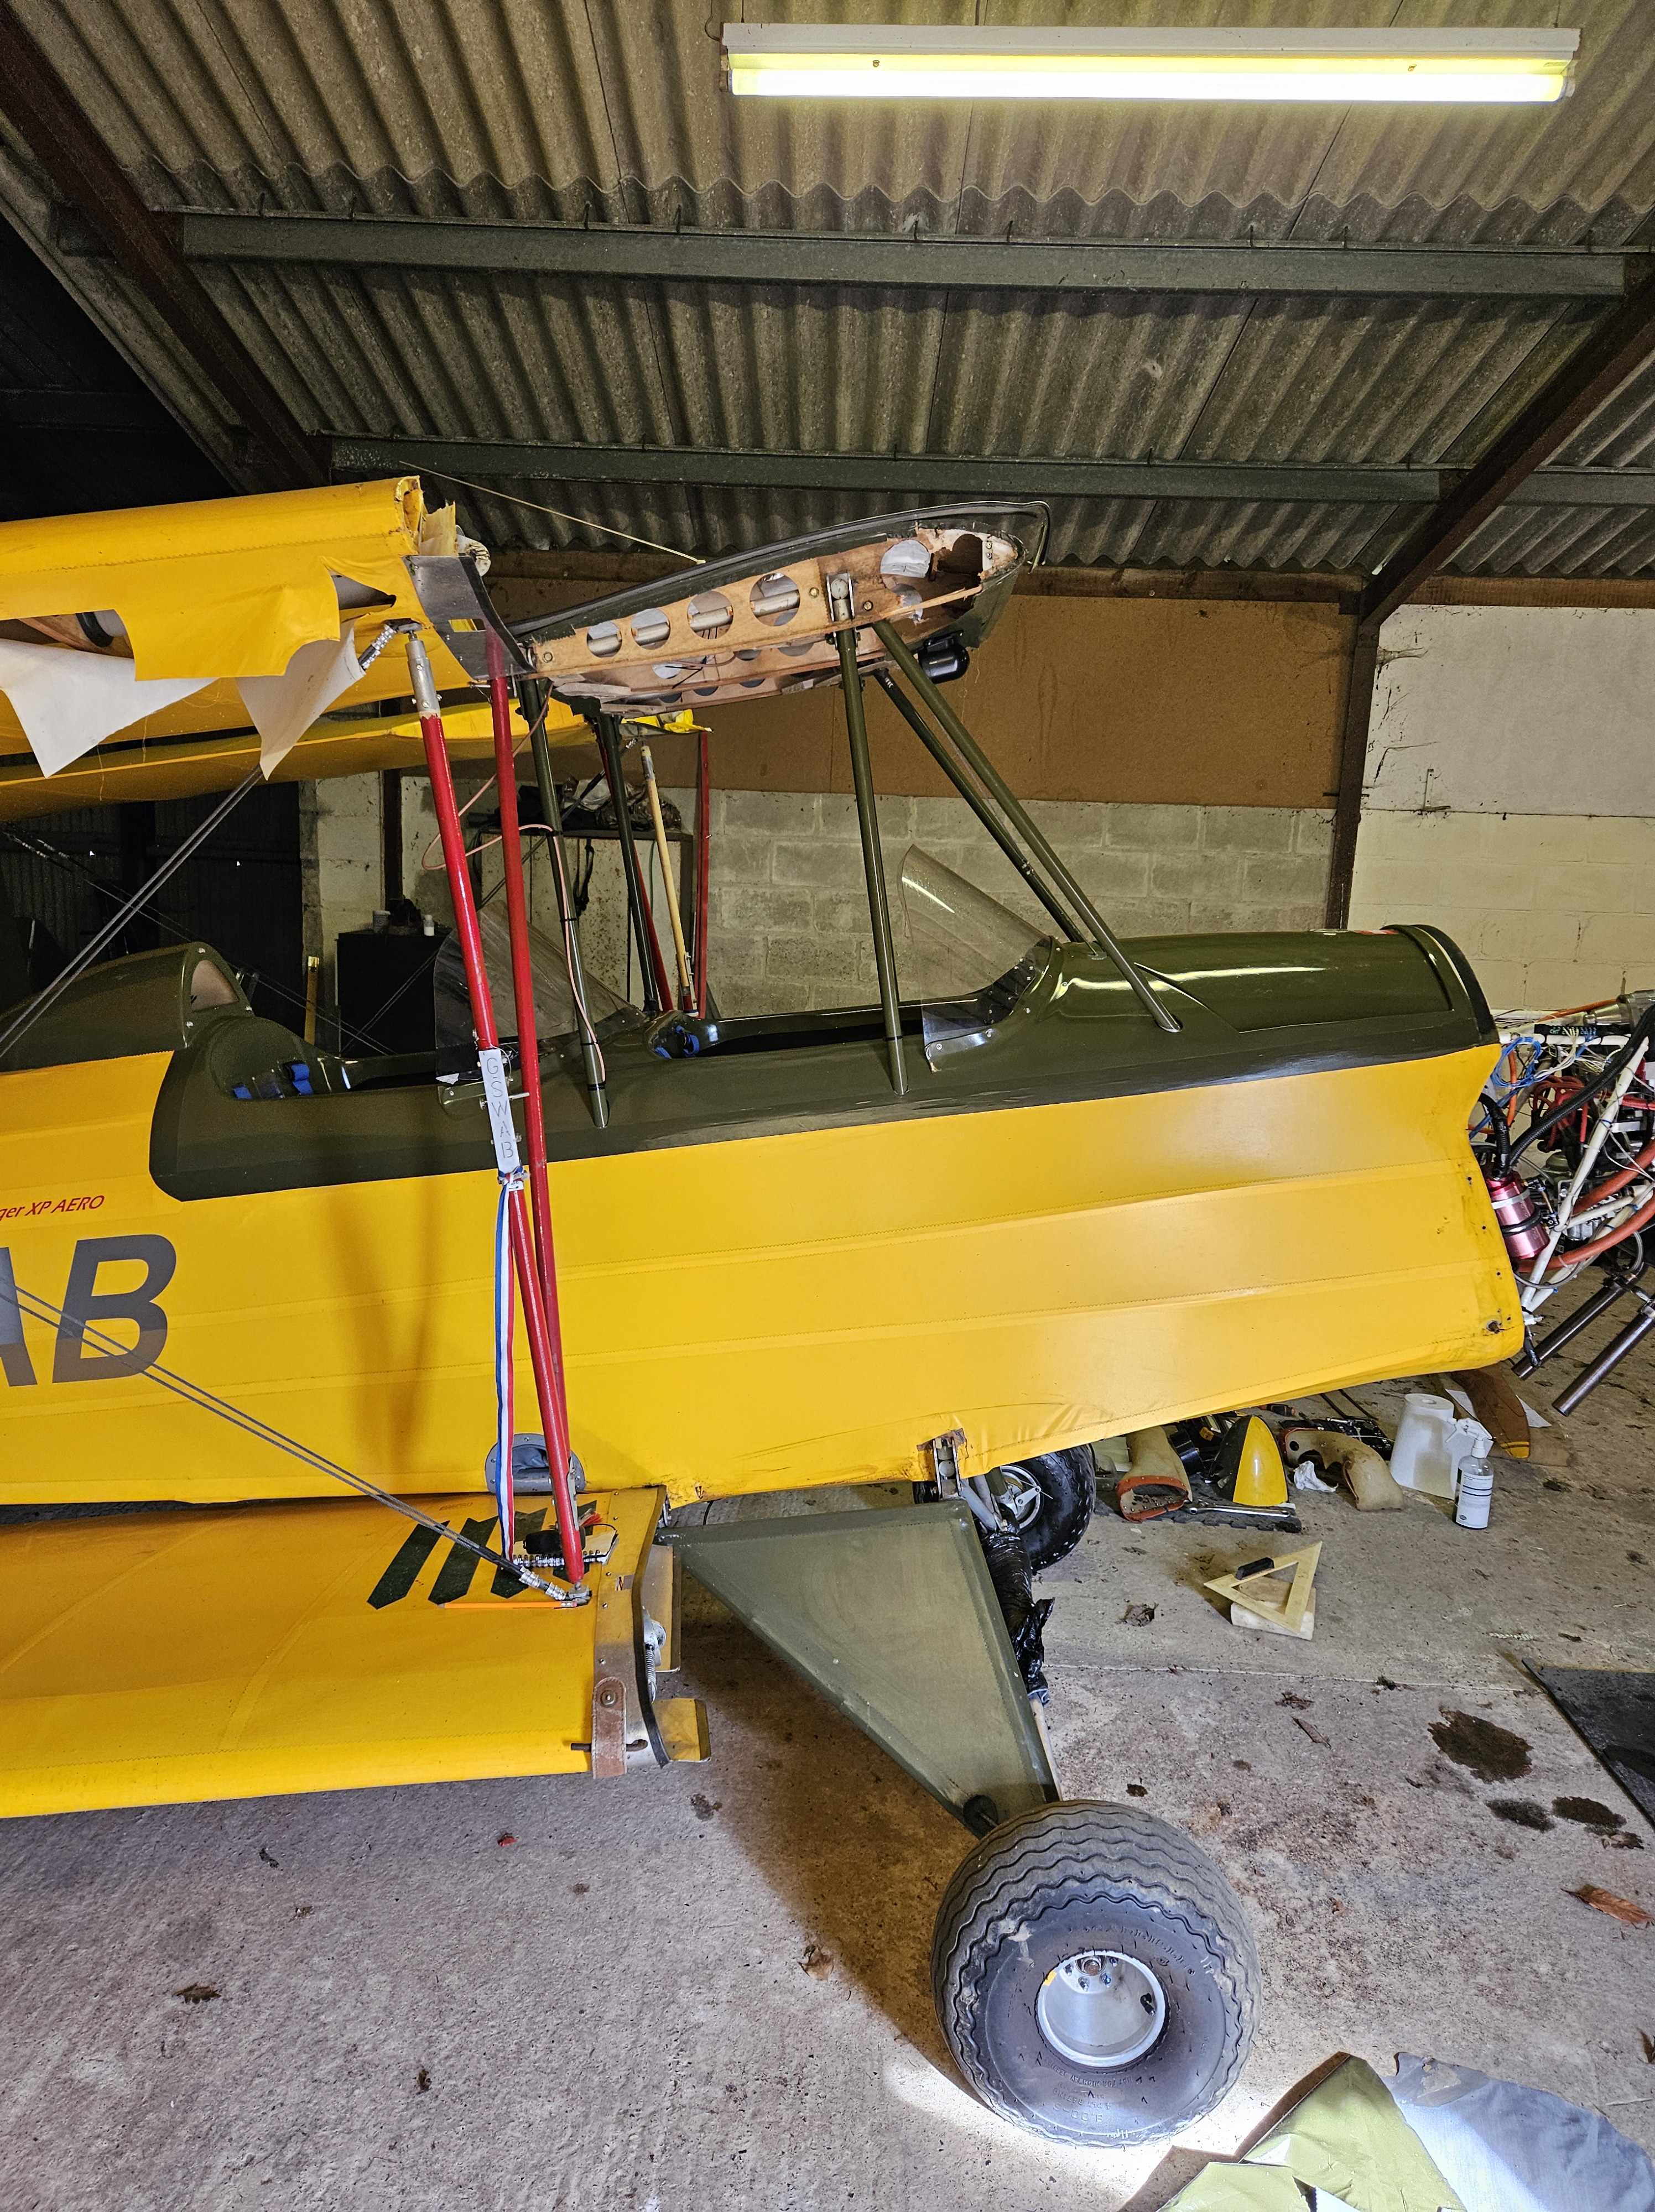
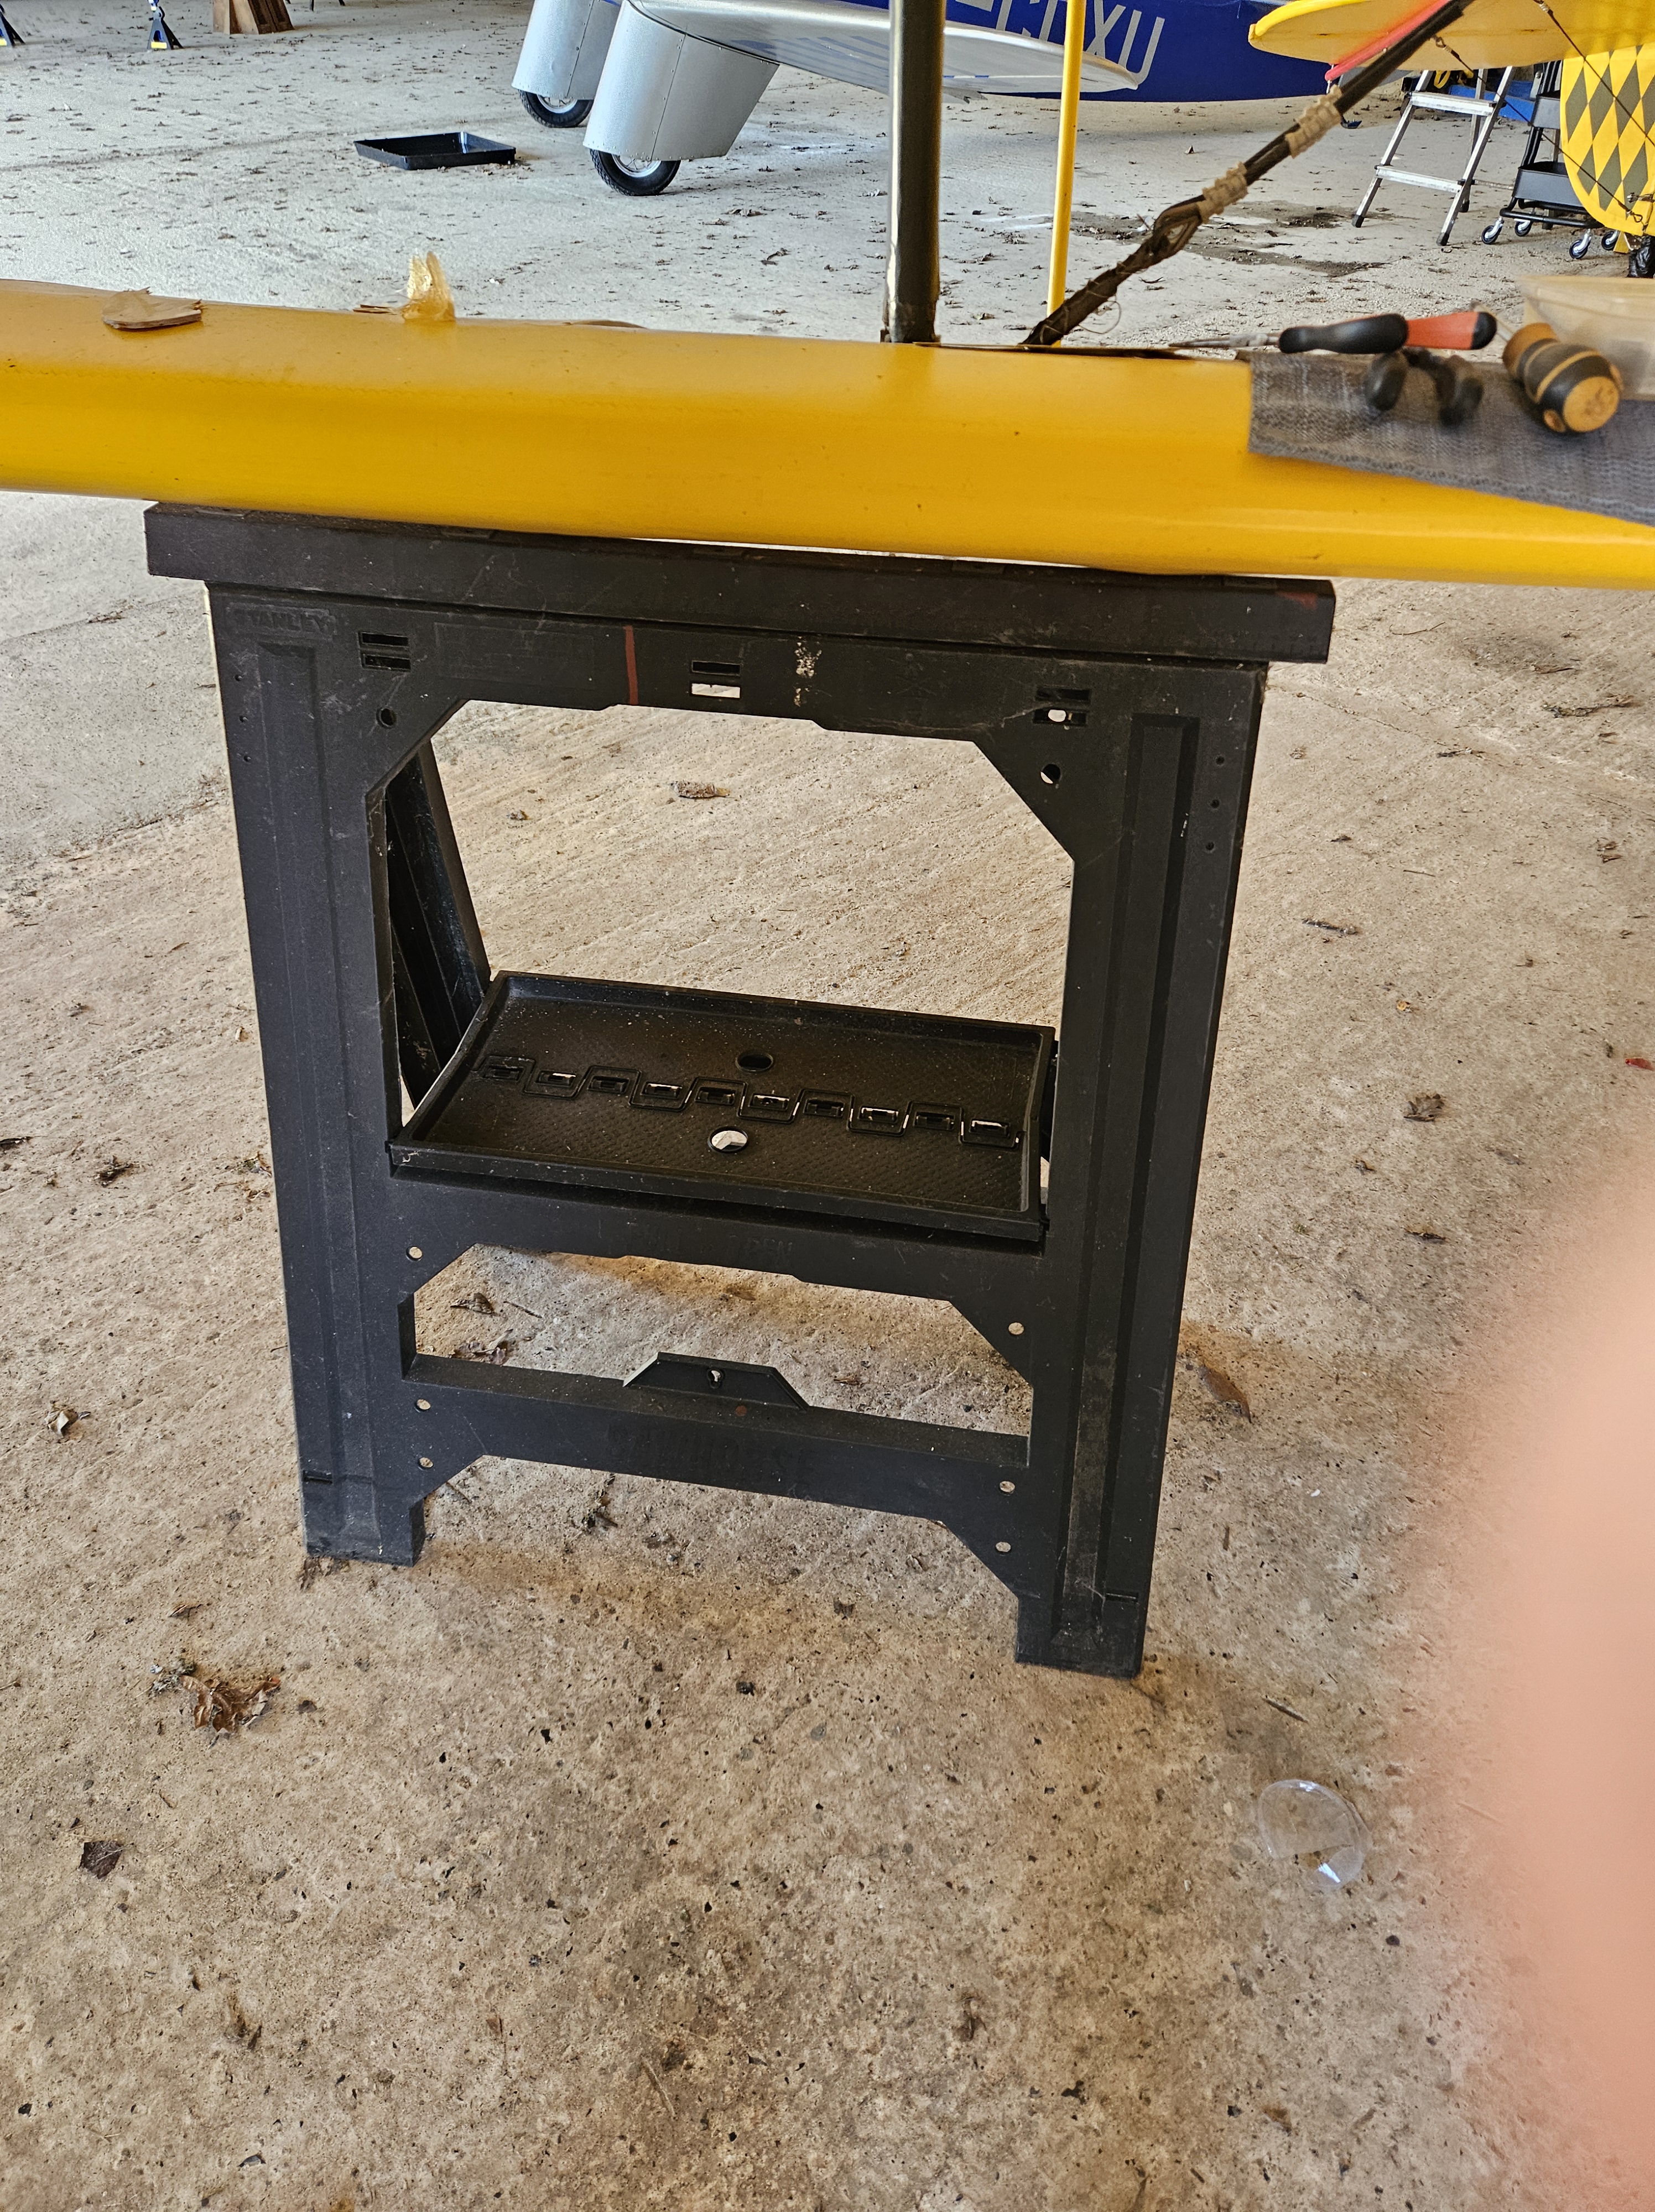
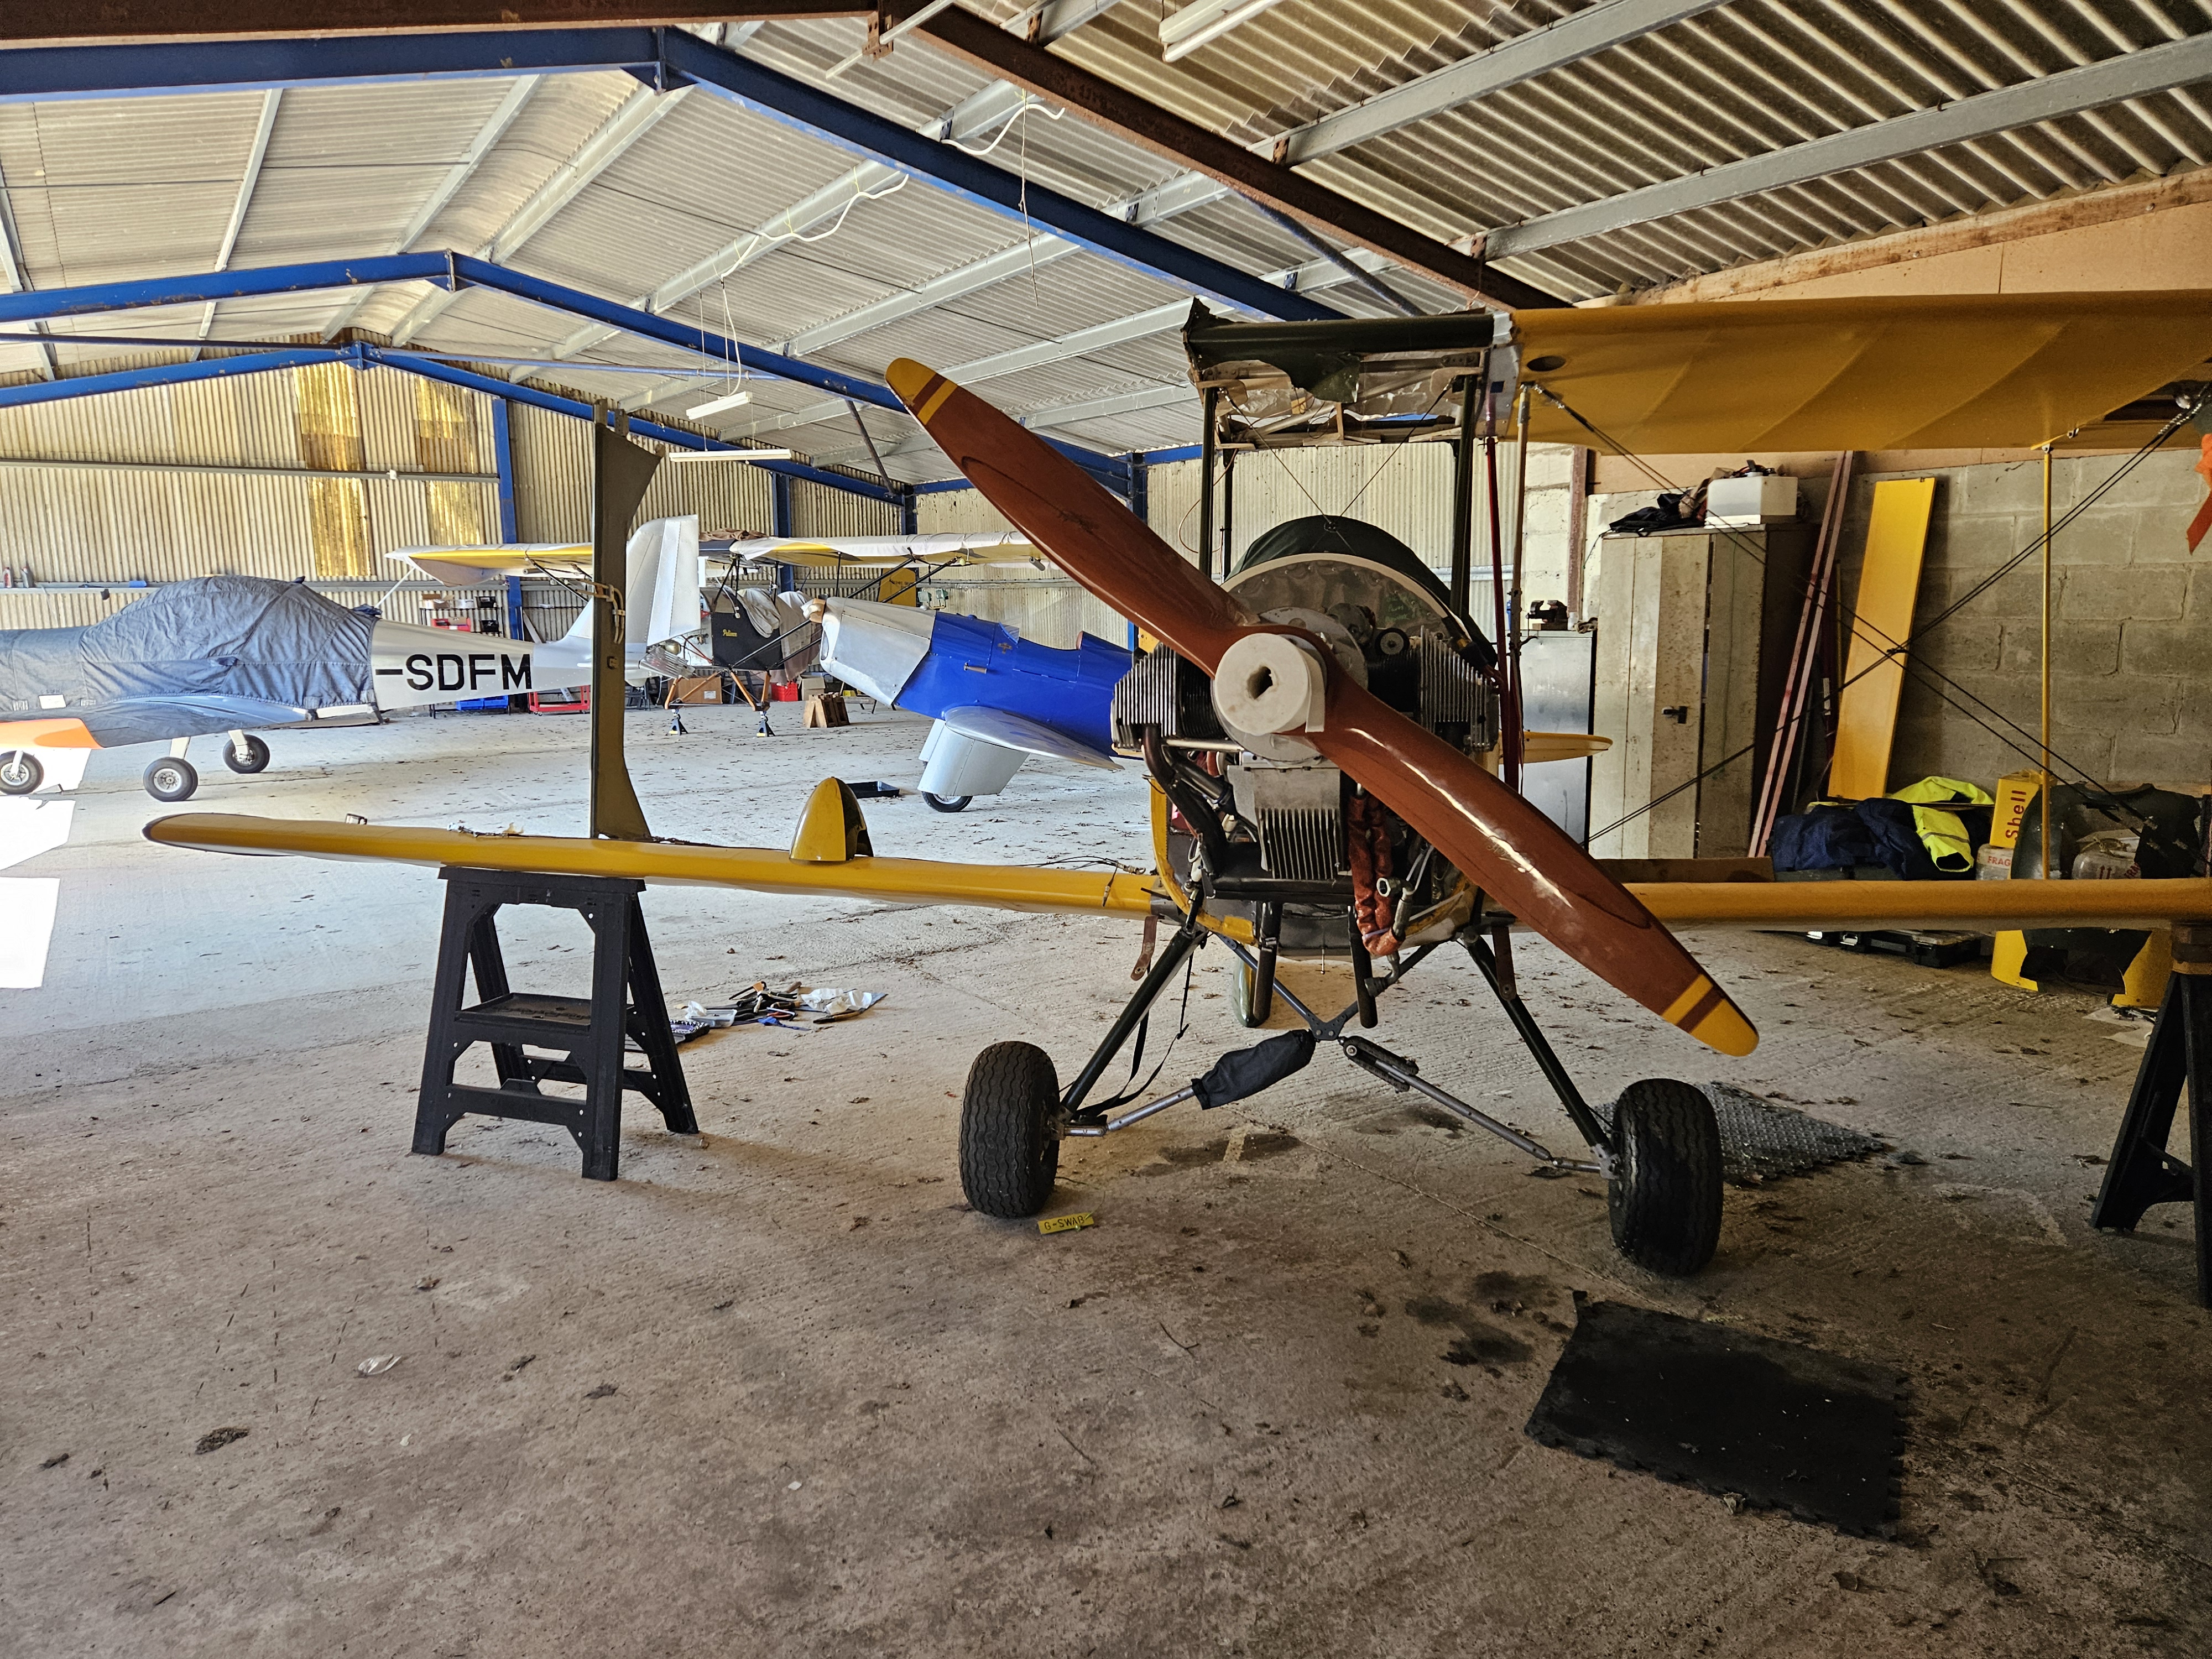
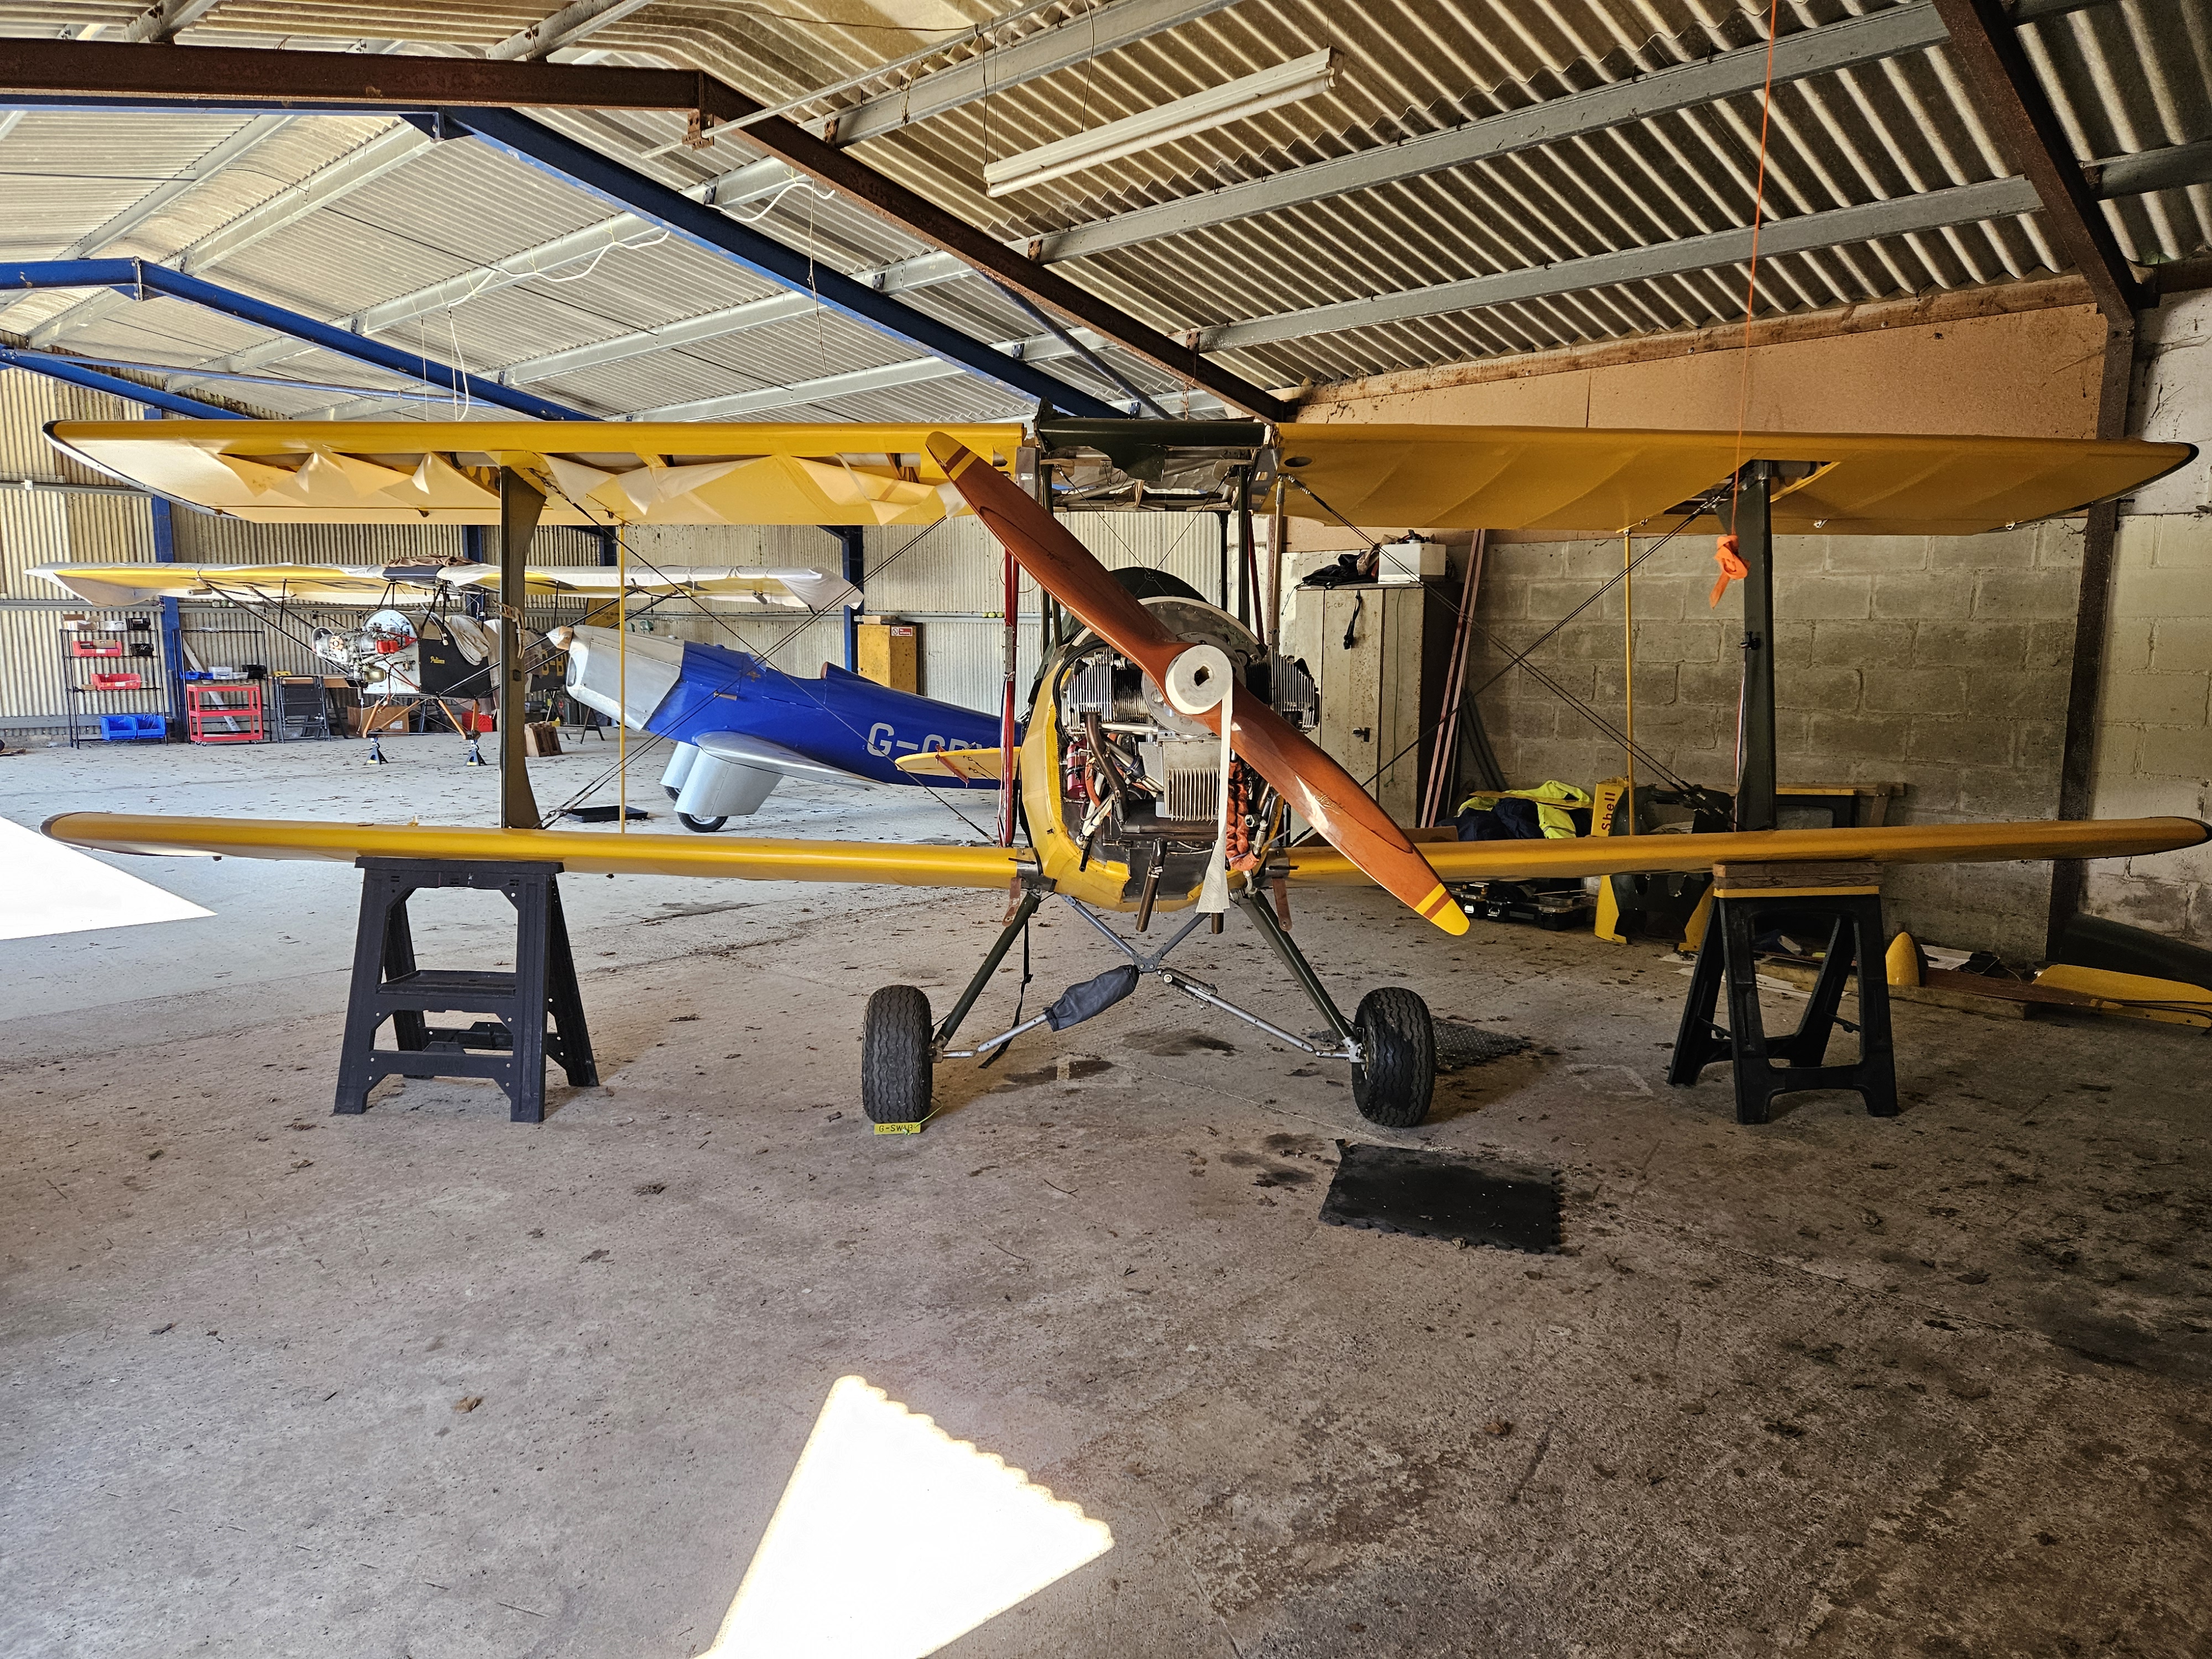
Having trestled the aircraft tail into the wall of the hangar and at an angle so as to allow full walk around but not impede other aircraft getting out I began the strip down.
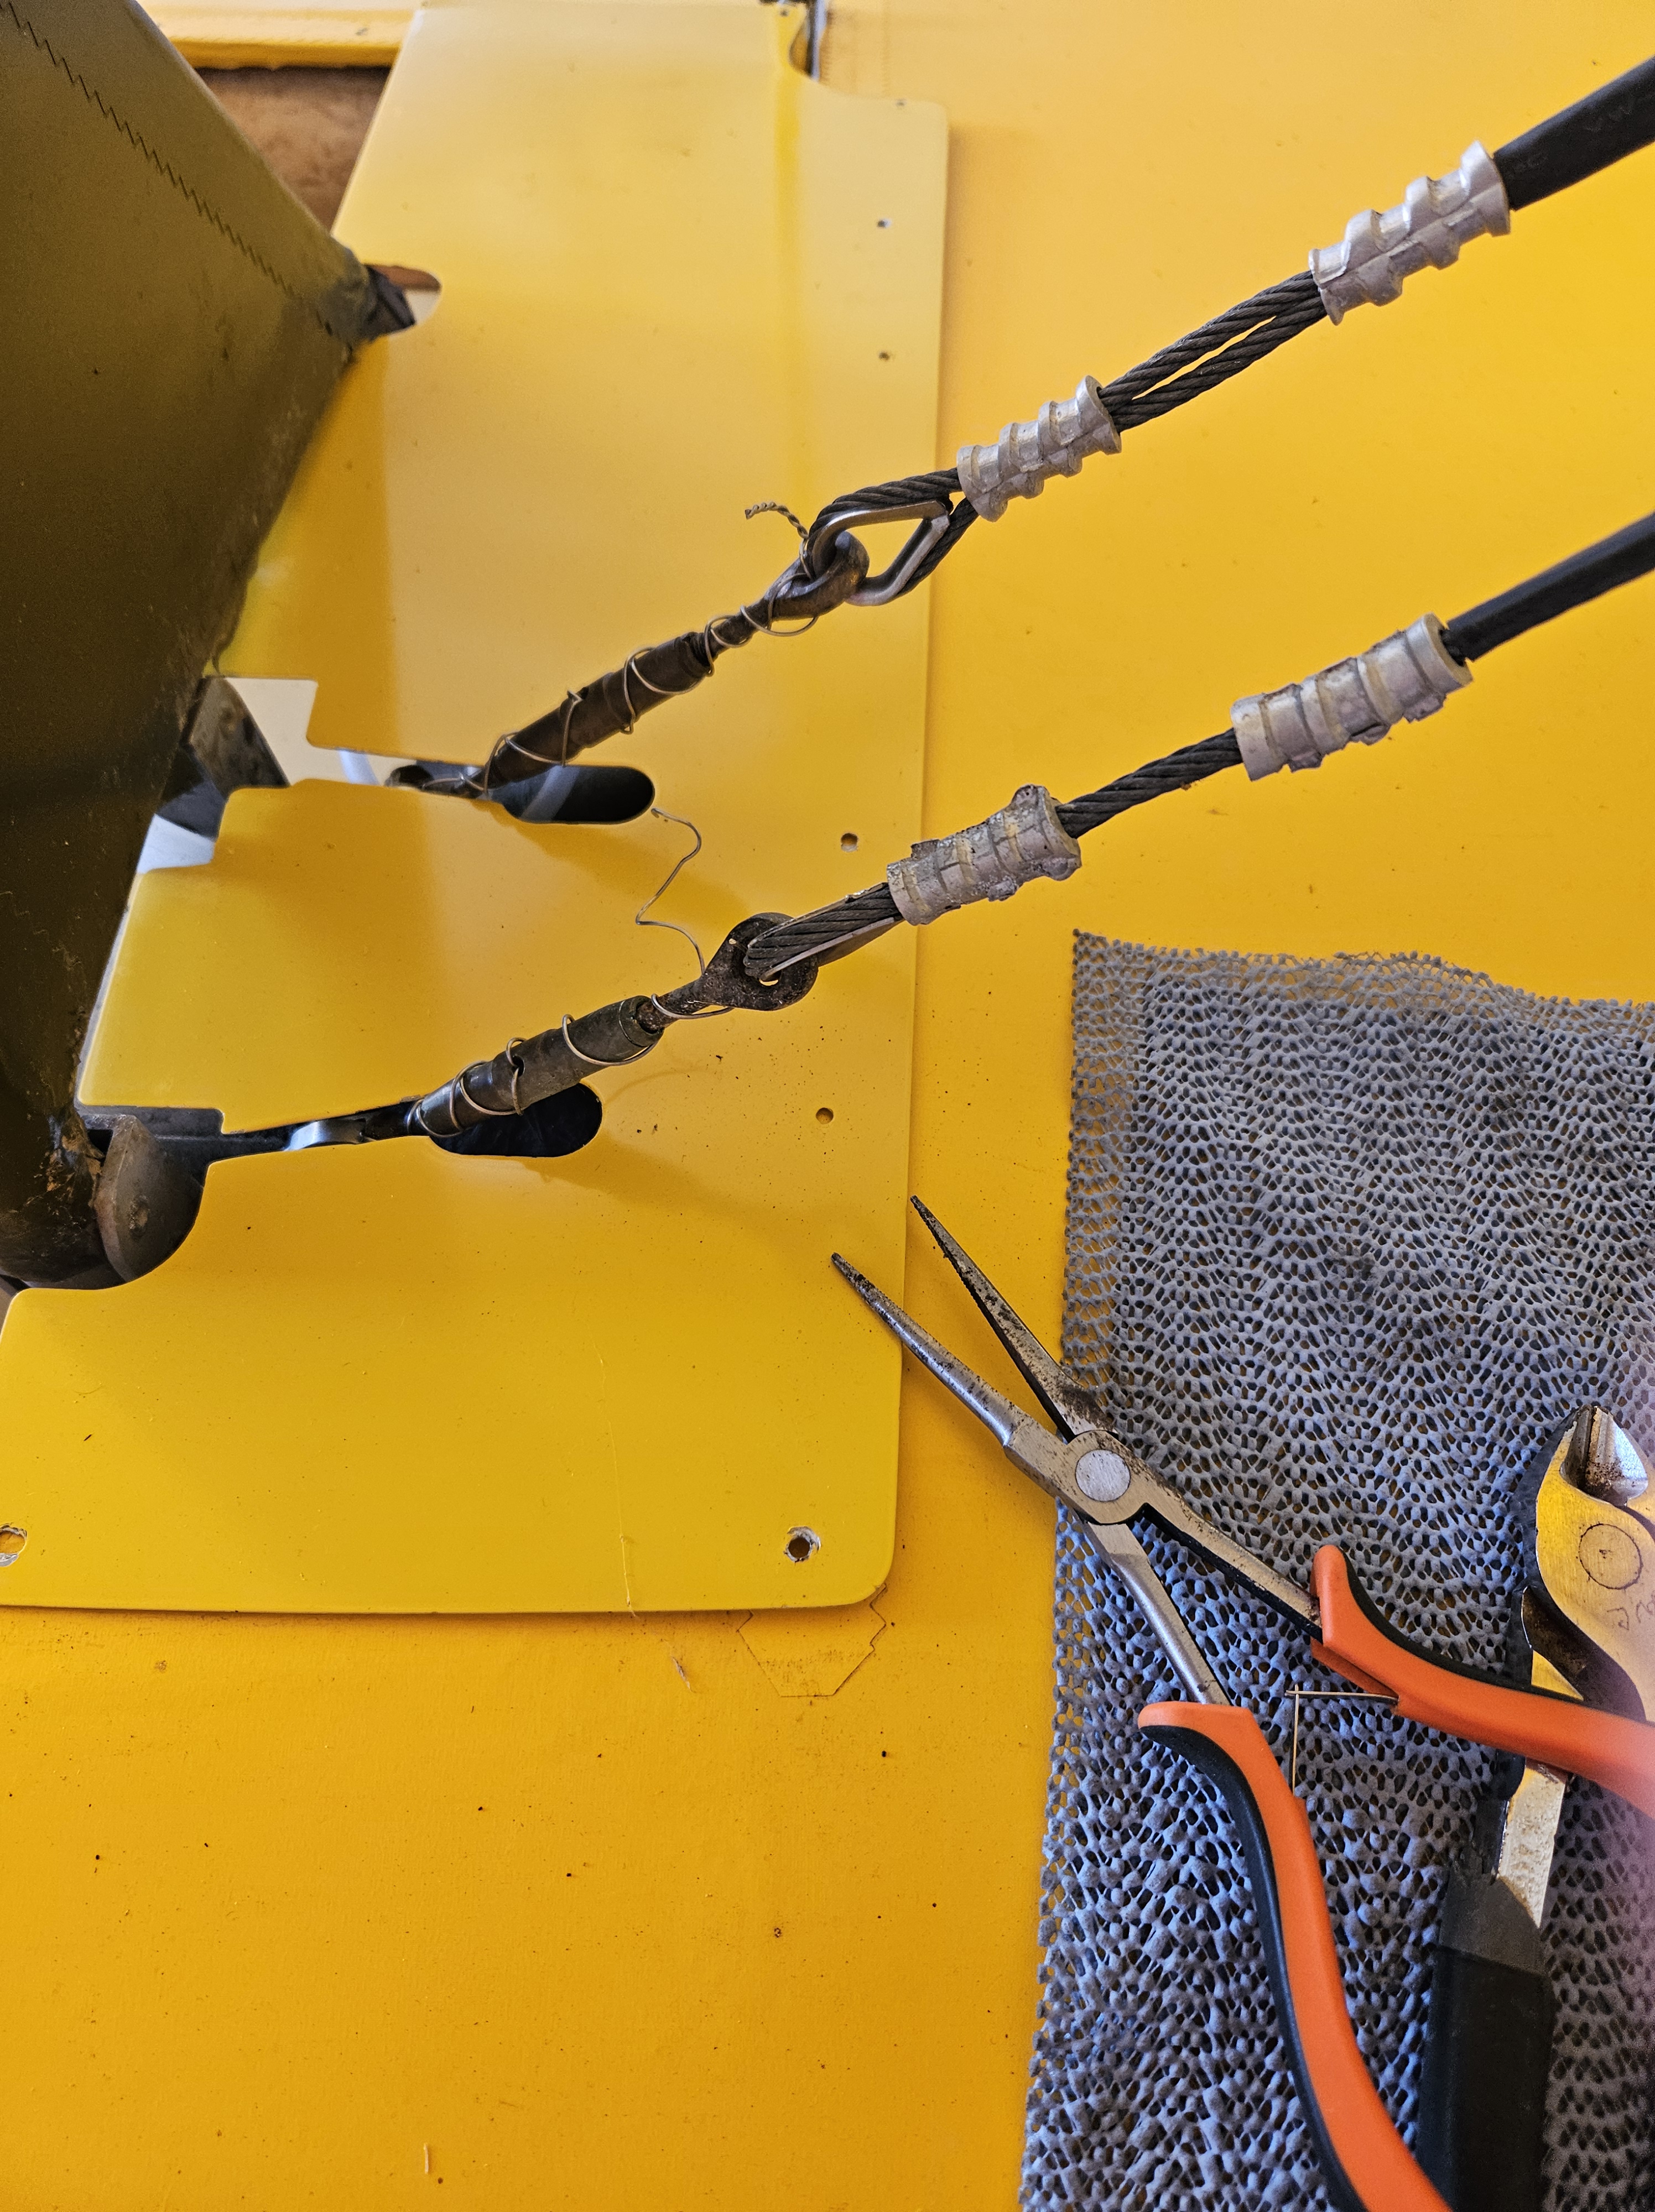
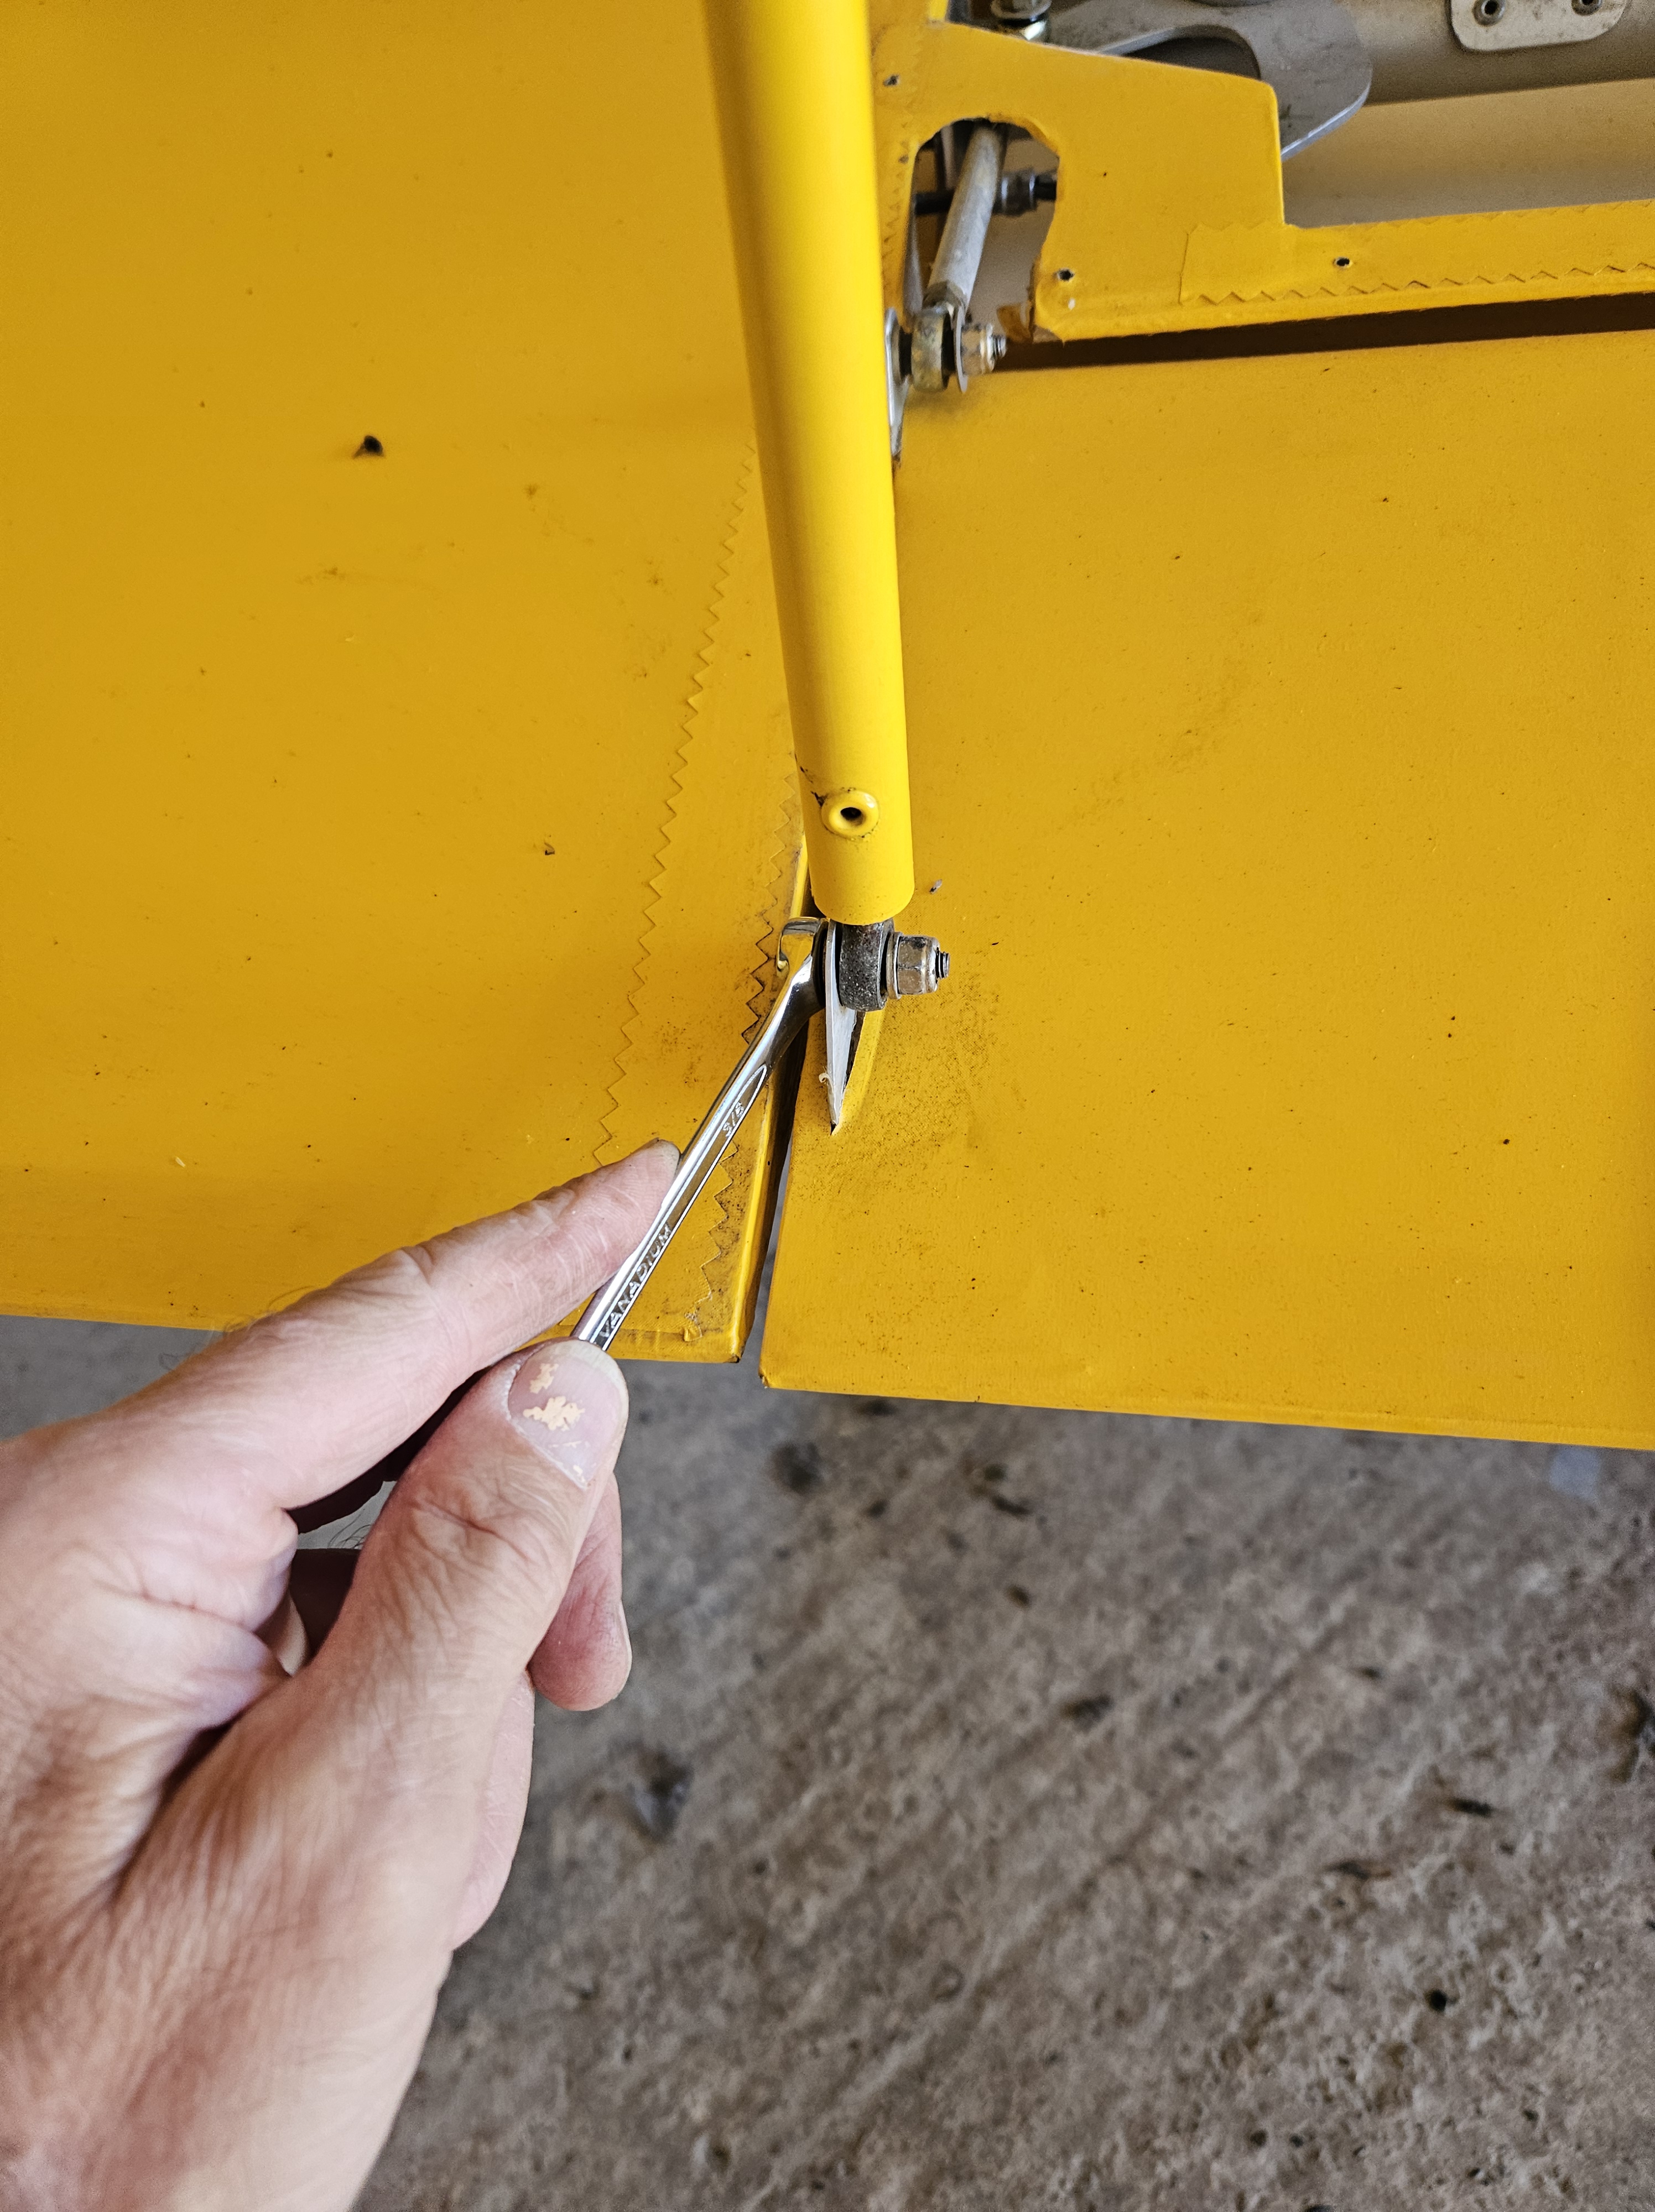
First remove all the lock wire from the turnbuckles… slacken .. check lower wings are supported both sides and wheels chocked
Then remove all access panels and remove both upper ailerons and store. Both upper ailerons and wing tips are untouched and fine for reuse.
Then slacken the main central wing bolt – this secures the top main spar to the wing strut.
With the rigging cables now slack it’s easy to remove the inboard, upper bolt that secures their anchor point and provides the plate for the jury strut.
At this stage the wing is held in position simply by the single large bolt through the main spar and the trailing edge hinge point. Pushing the main bolt out whilst one person supports the weight at the centre of the wing near the strut whilst person no 2 unbolts the trailing edge hinge and collects that large ‘penny’ washers …and you lift the wing away.
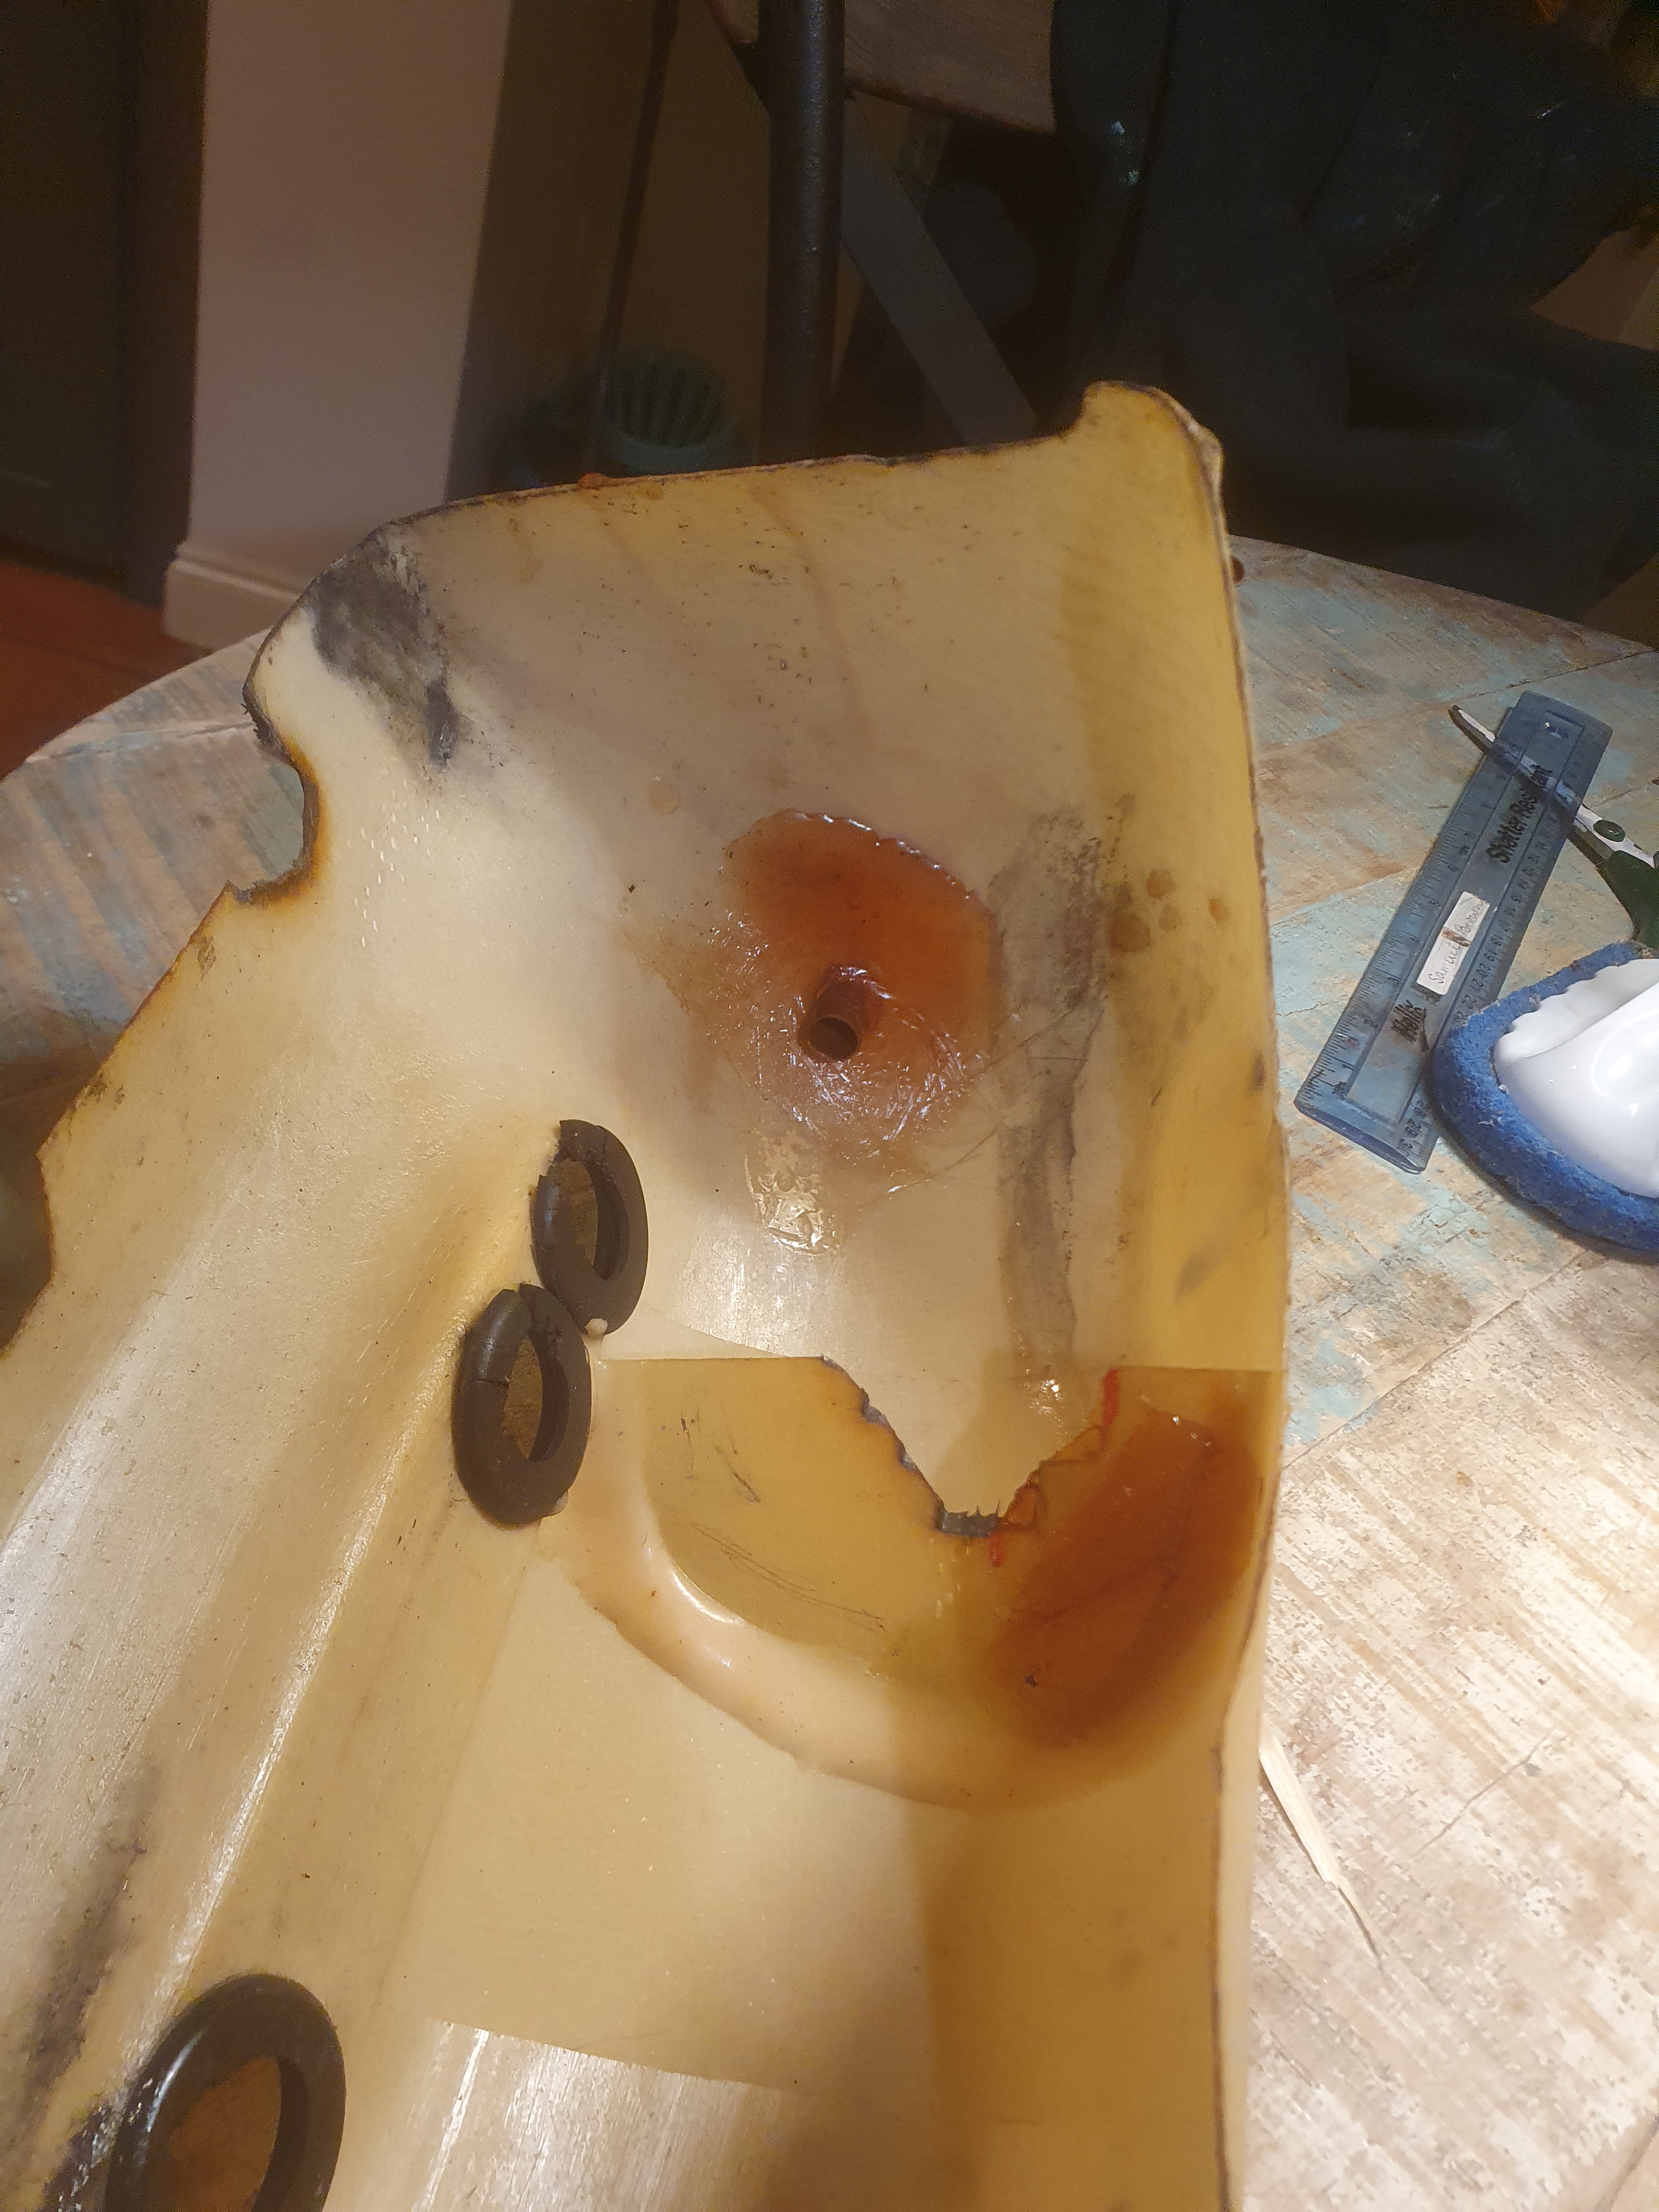
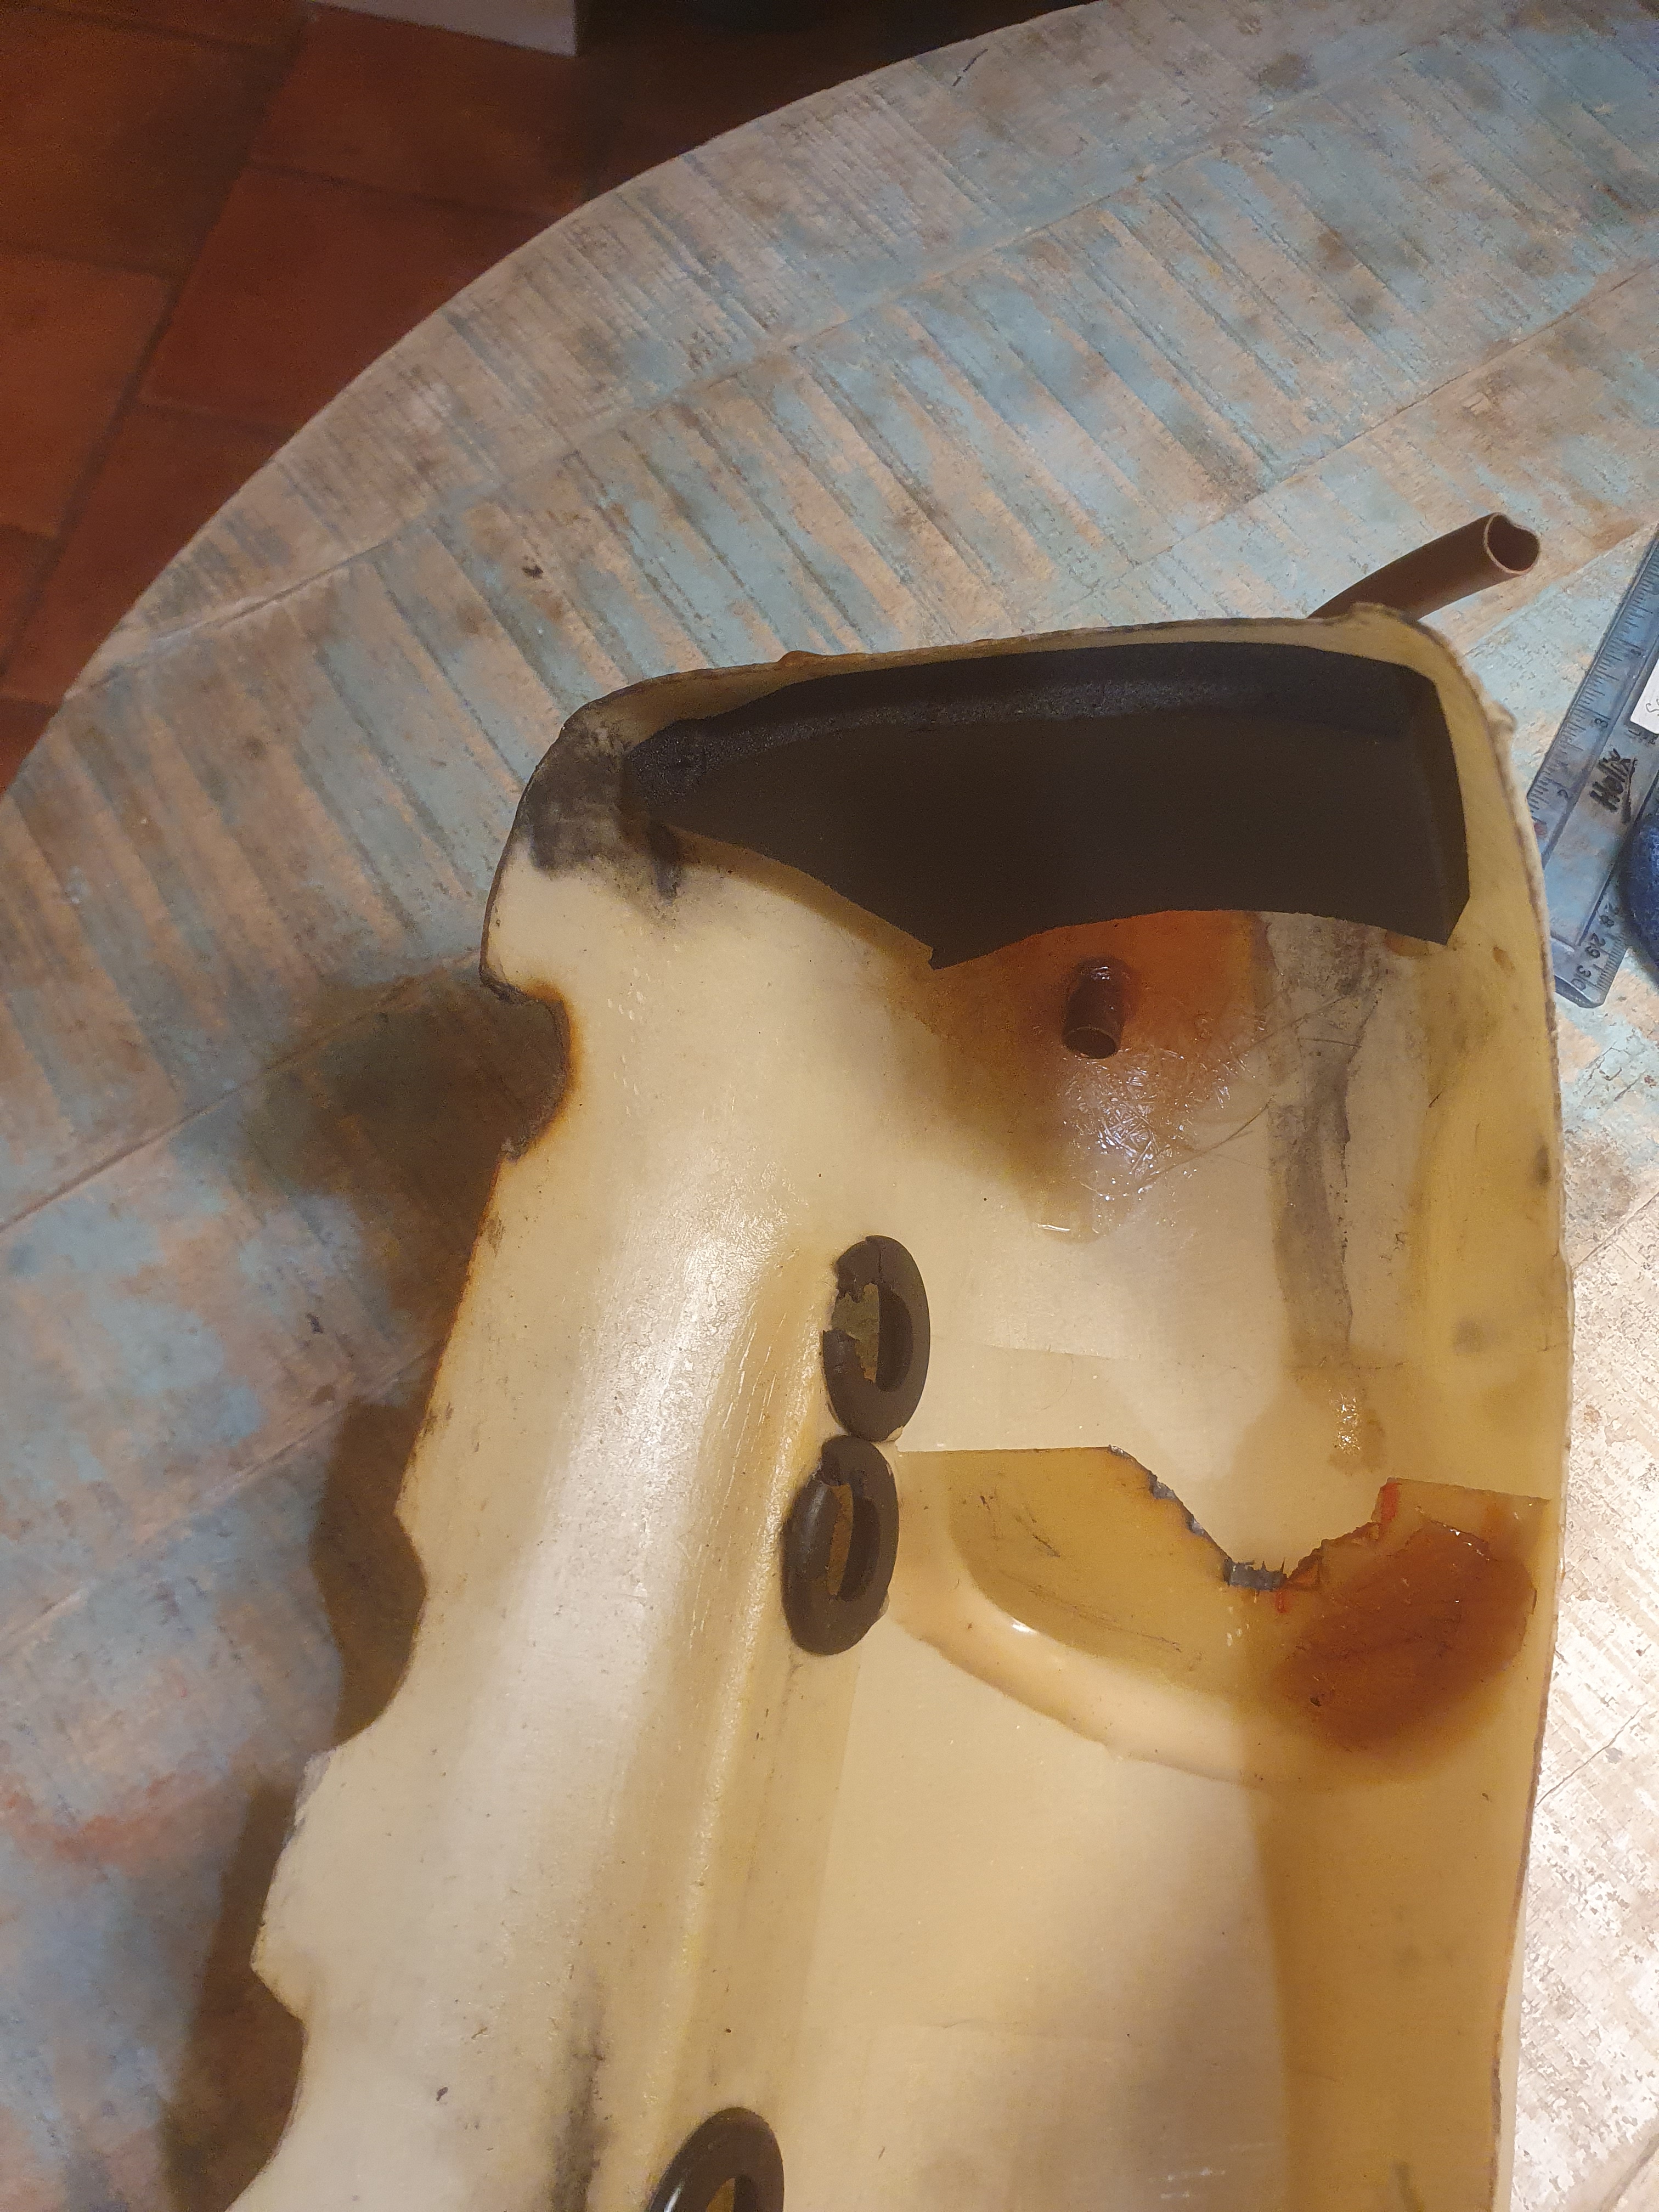
Next the tank was removed and fuel lines (renewed at last Decembers annual) are checked along with fuel filter, tank filter
The tank hasn’t been out of the aircraft in over 7 years but shows no sign of deterioration. Its made of fibreglass but has ALWAYS had AvGas in it. Never mogas. mogas has been known to have long term effects on fibreglass .. hardening
The Port wing was then removed using the same process.
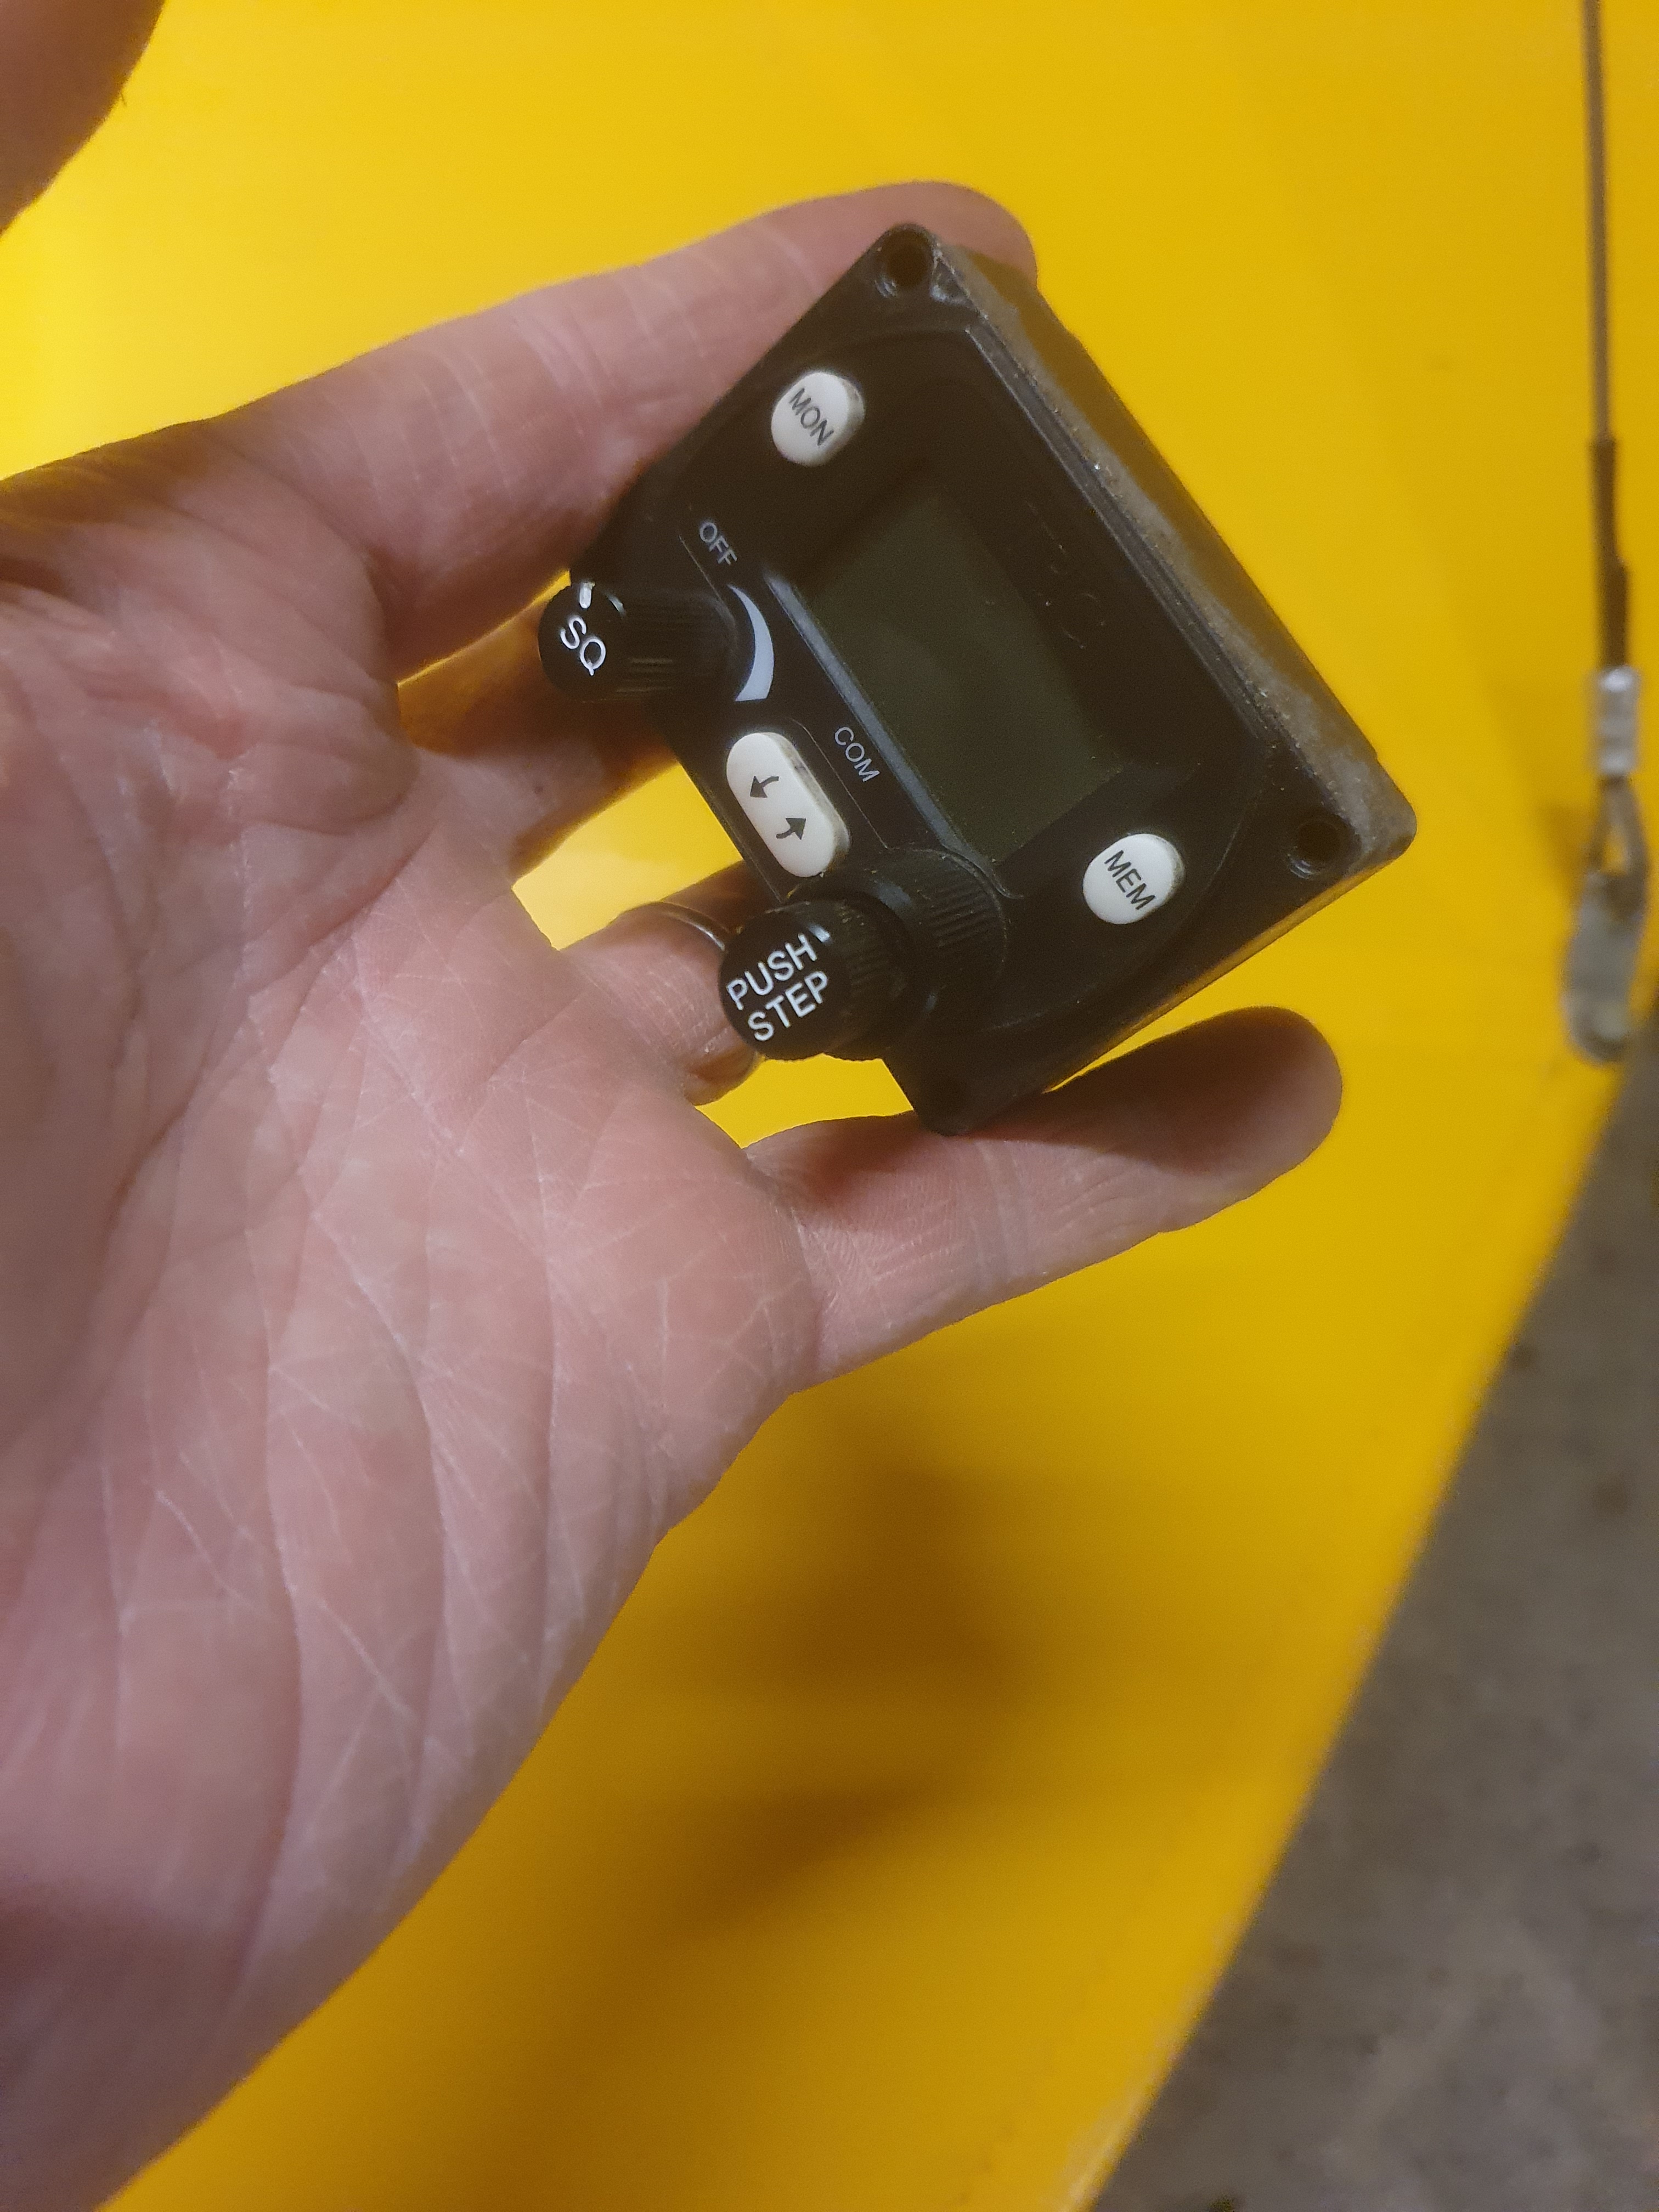
The prop, oil cooler, wing tips, radio ariel and compass (which fractured its mounting lugs in the incident) are all removed and laid to one side.
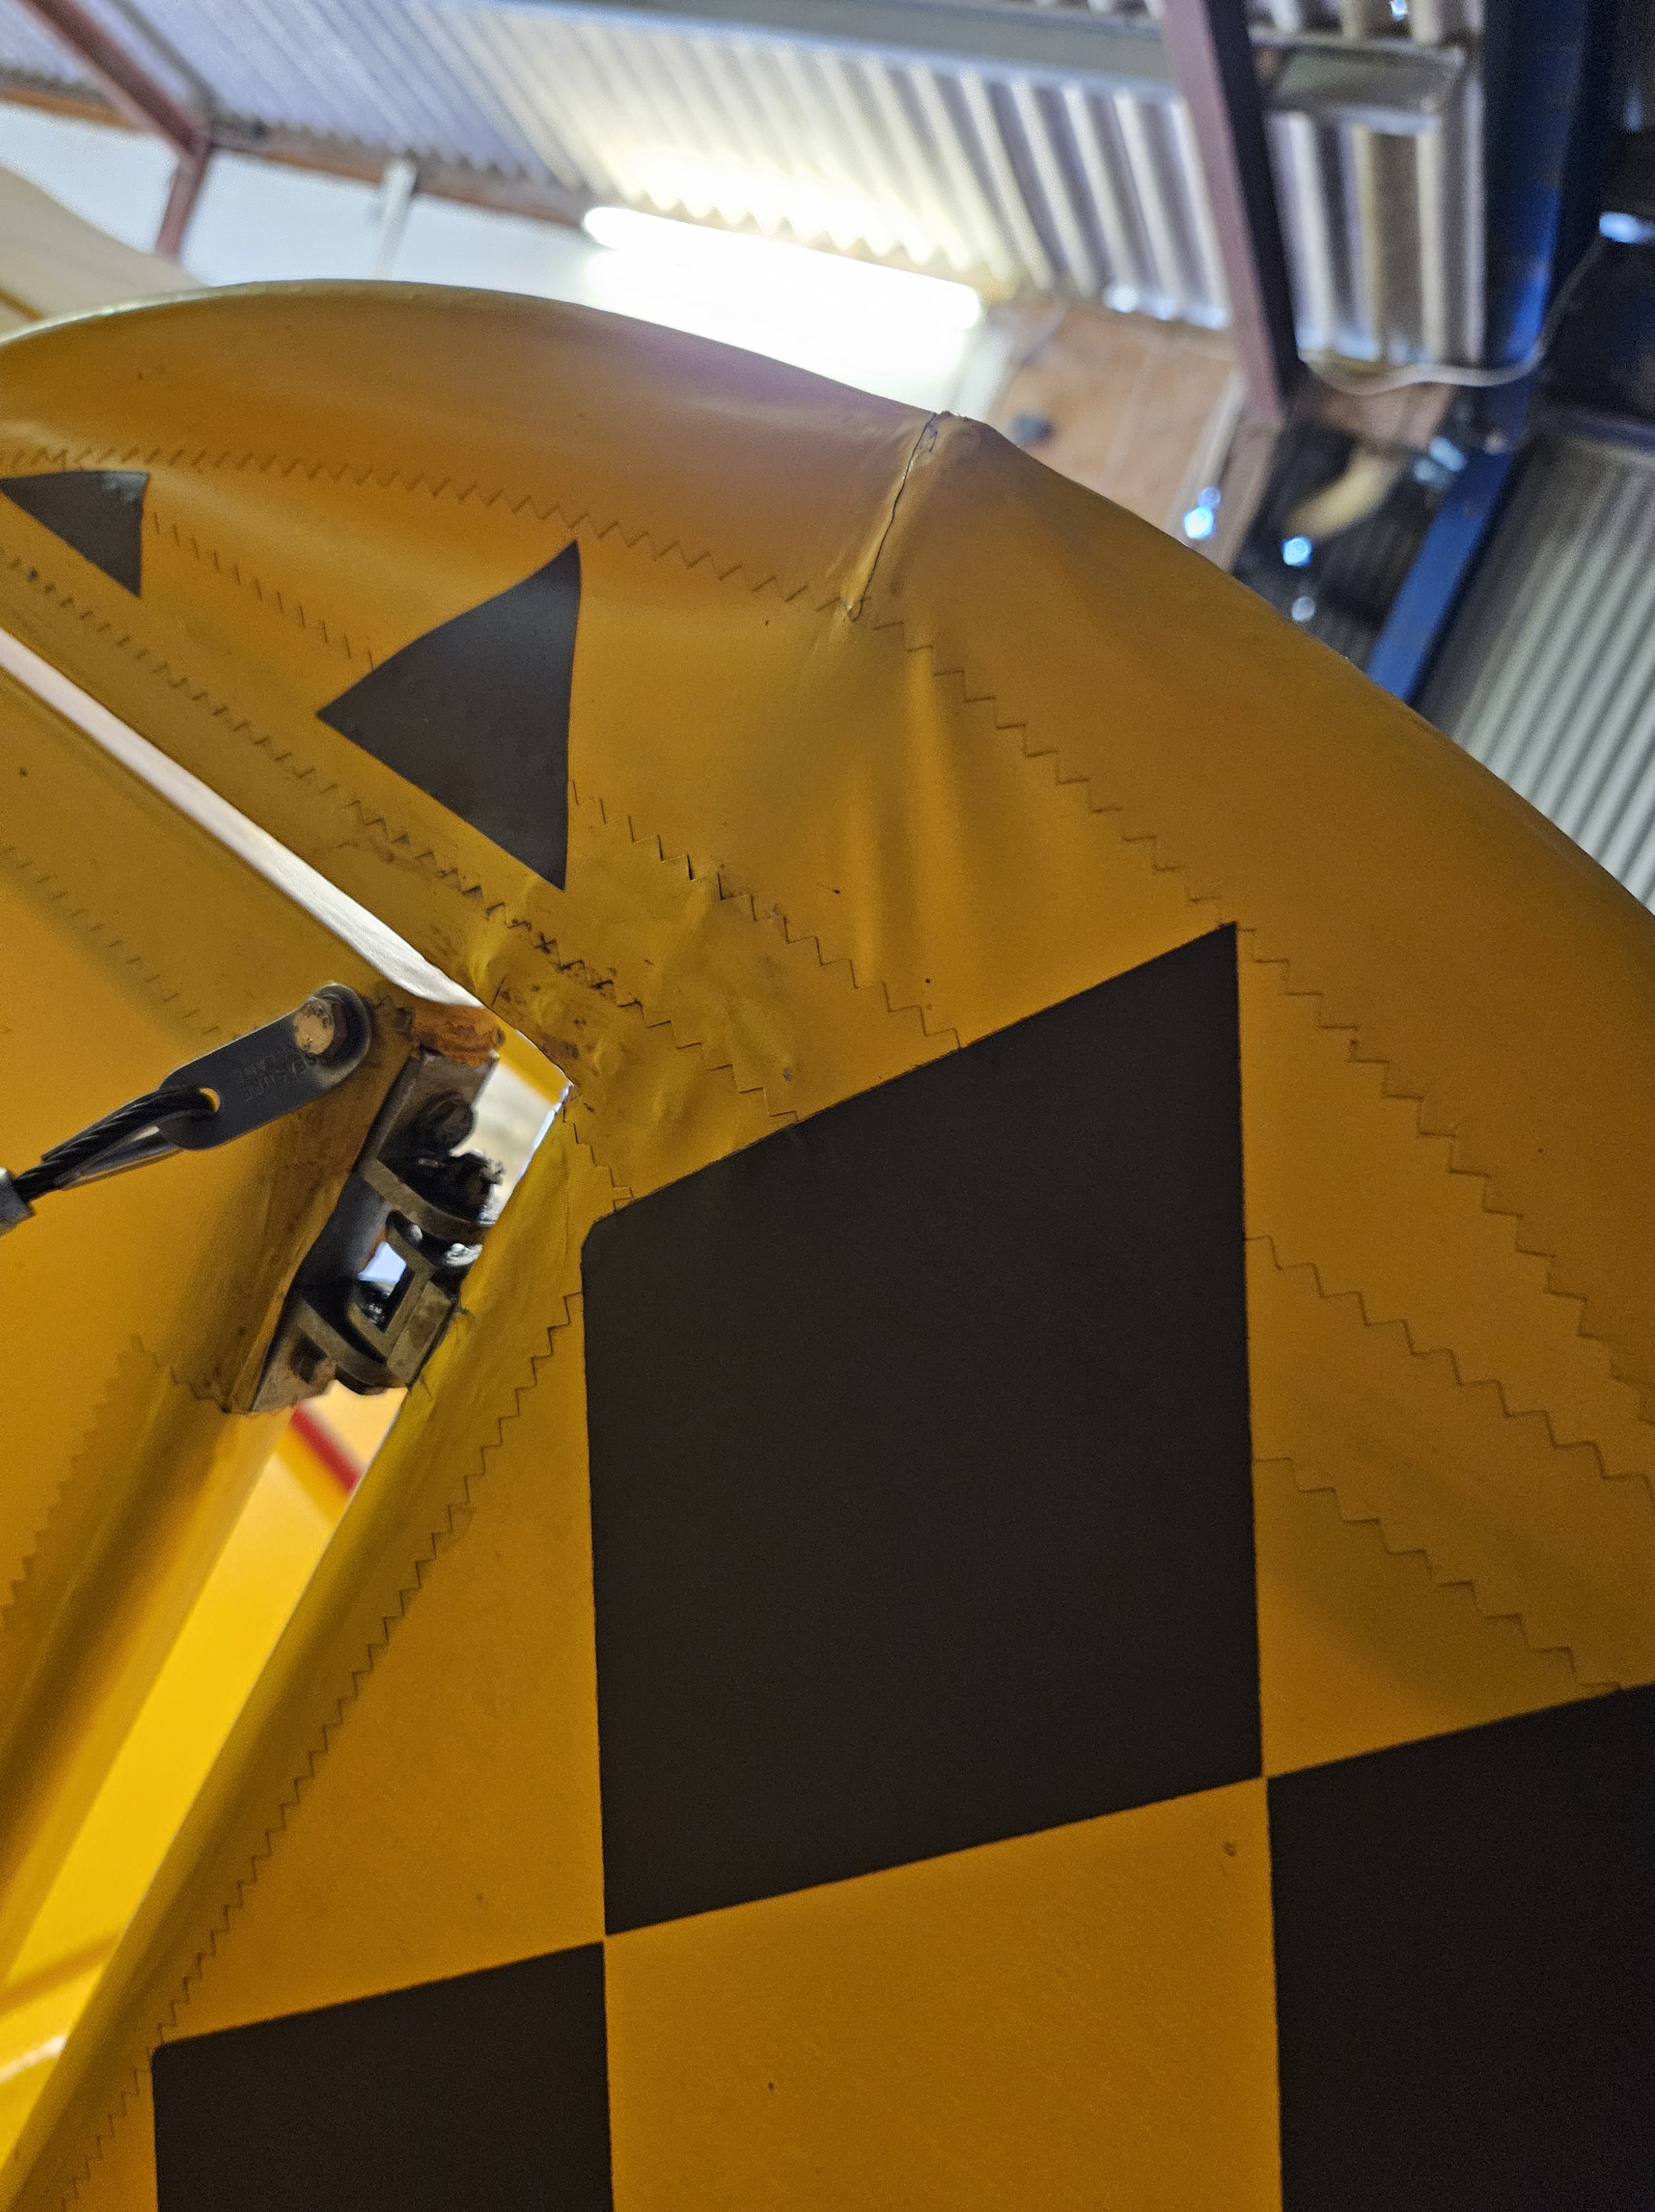
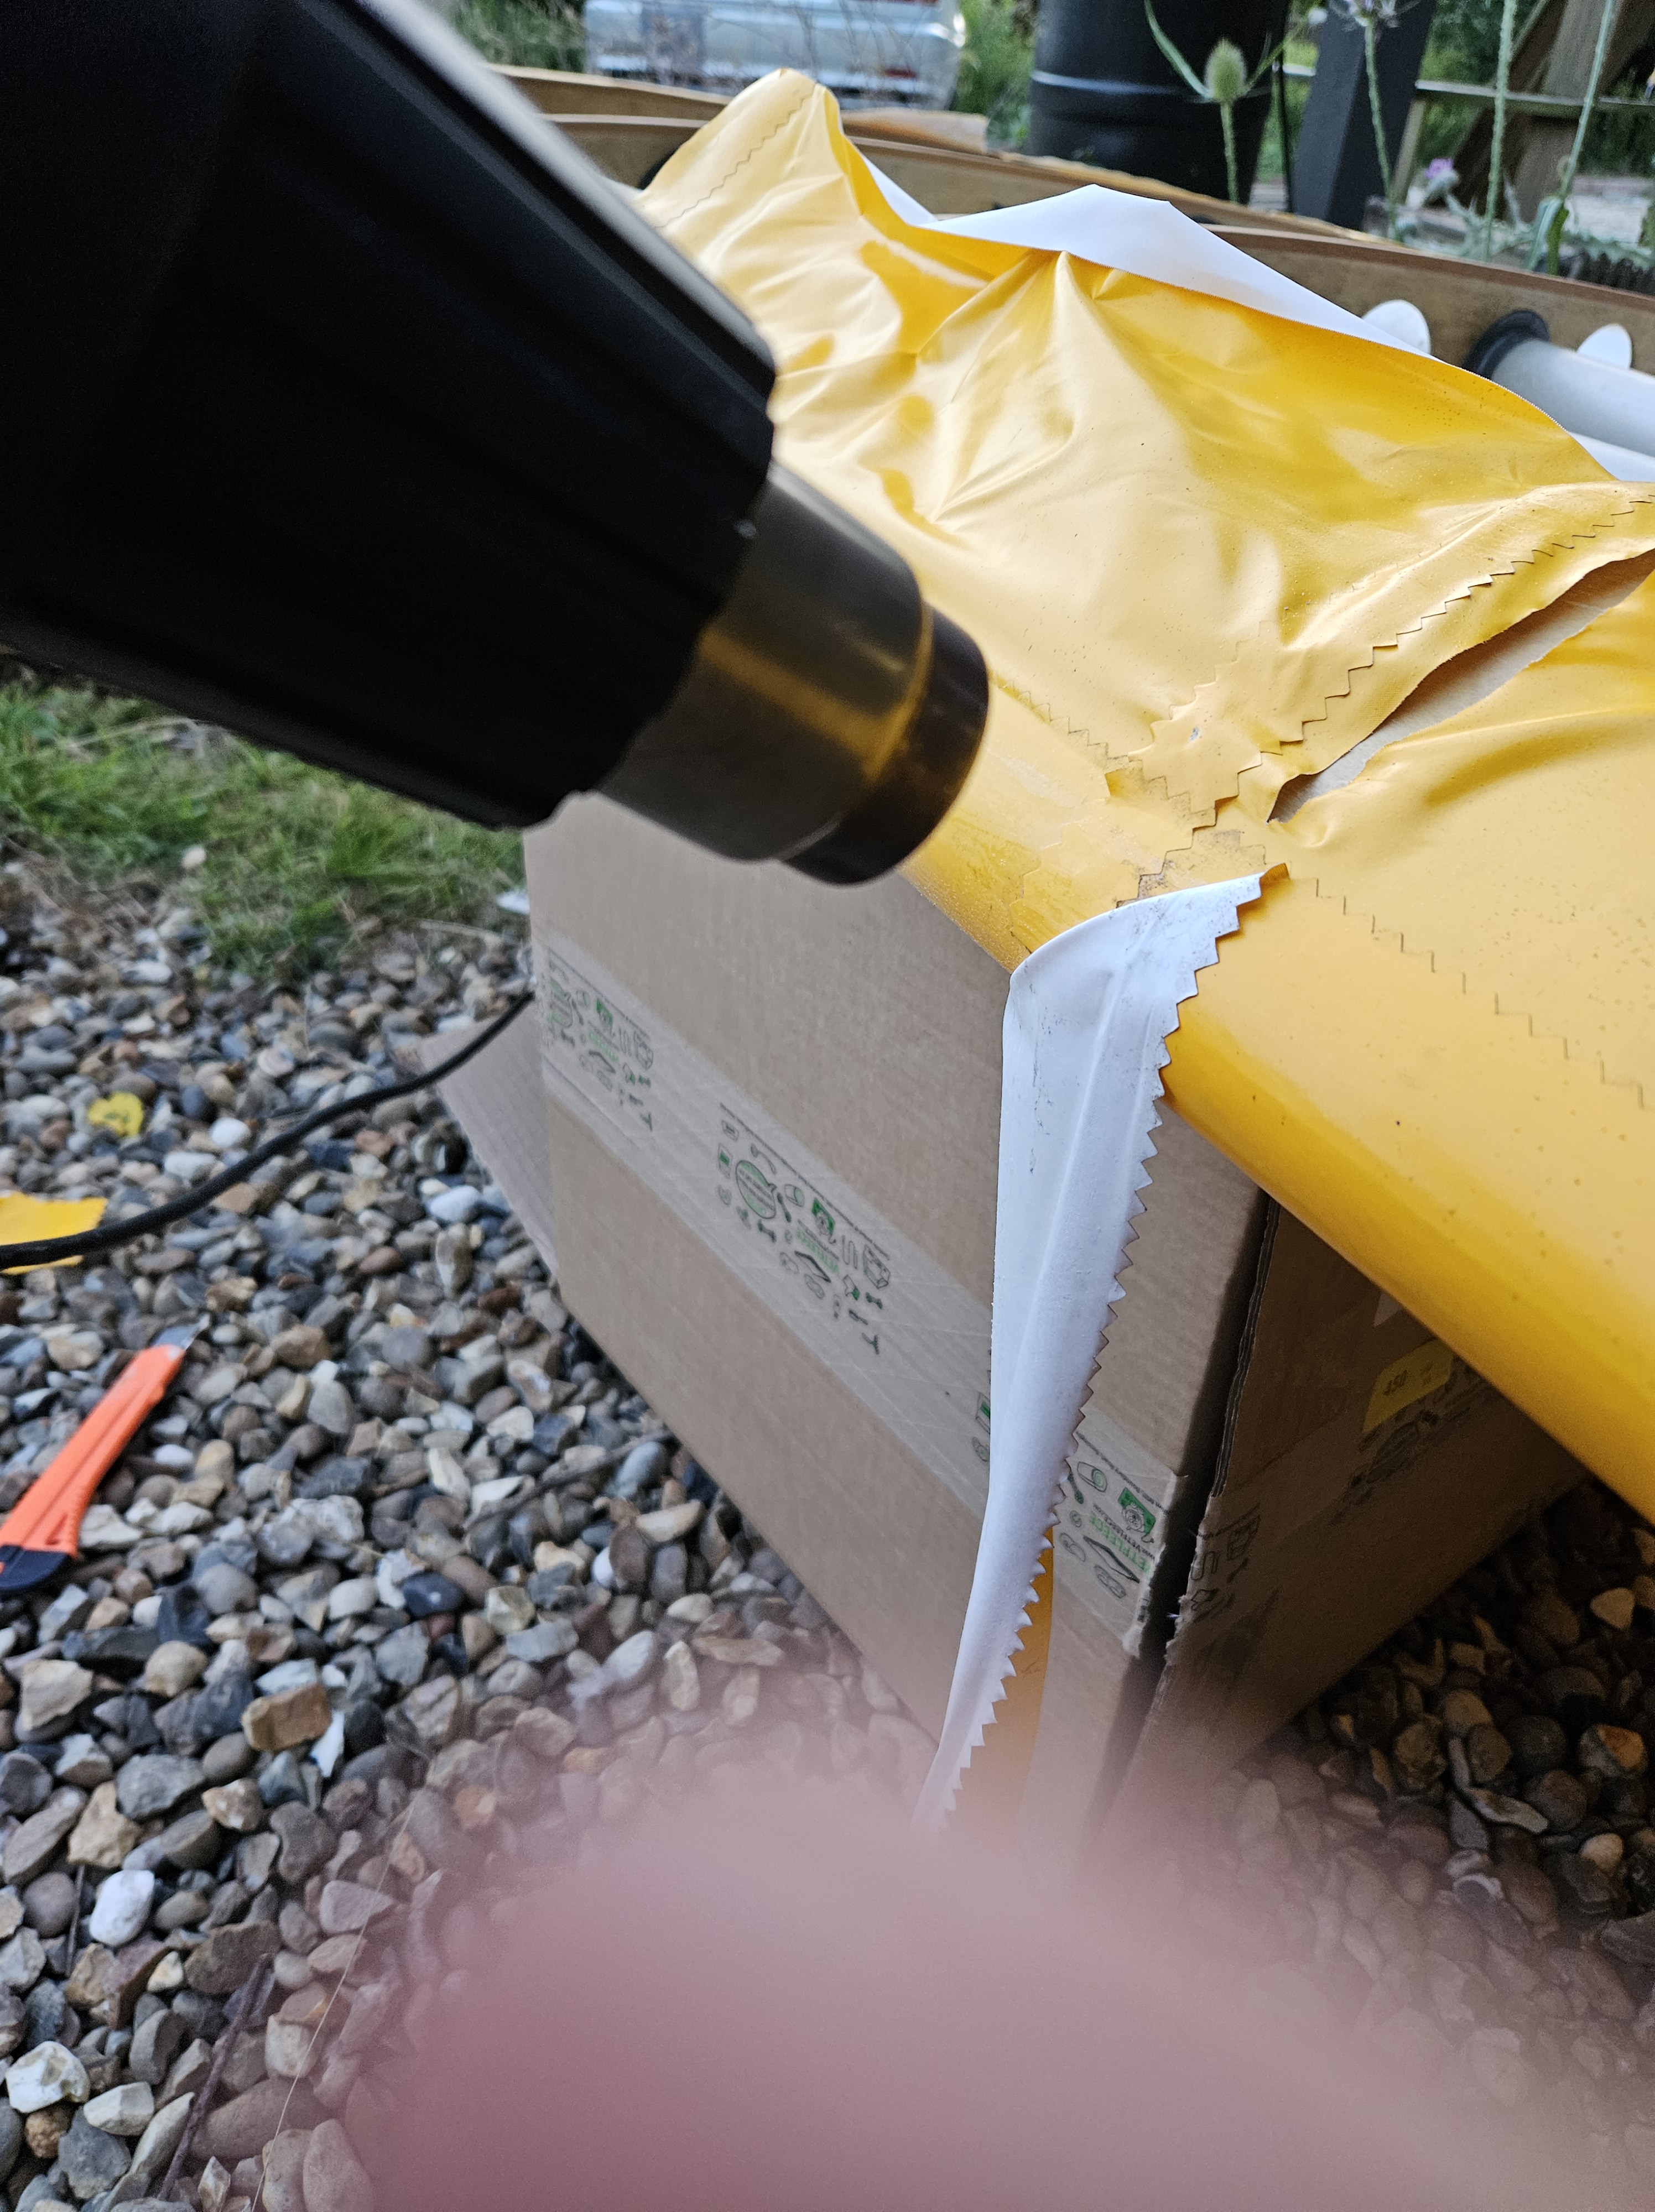
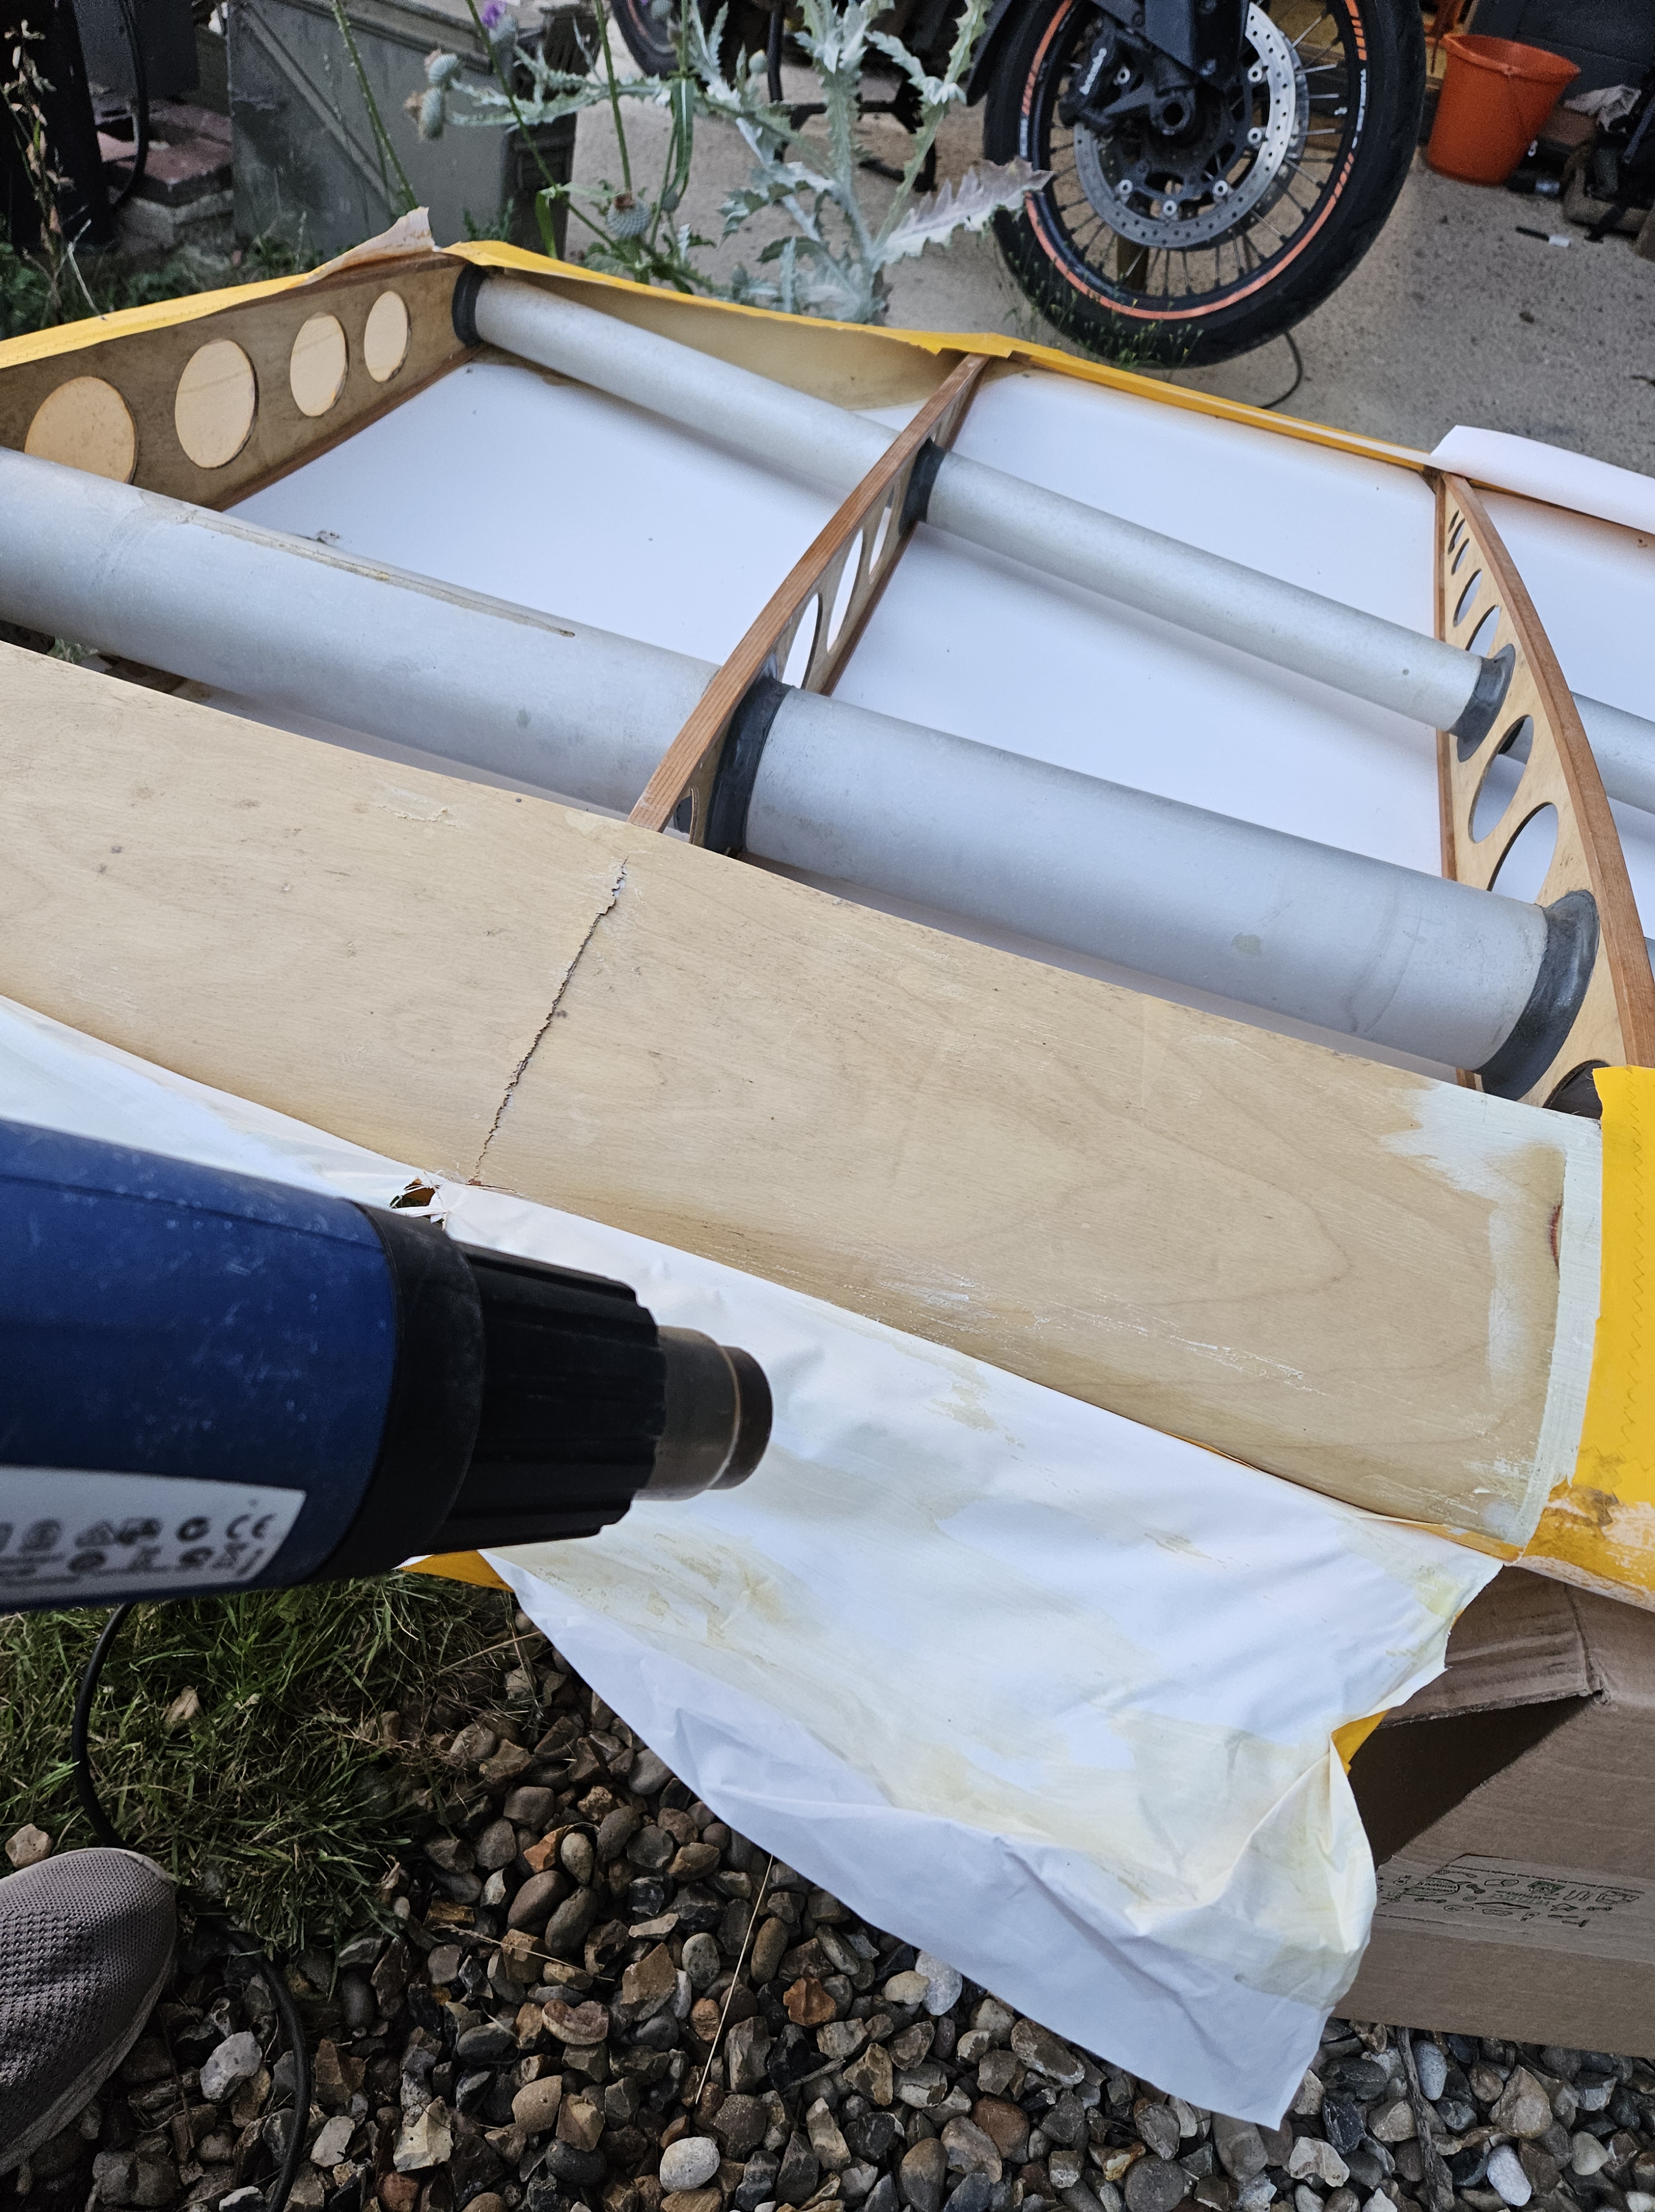
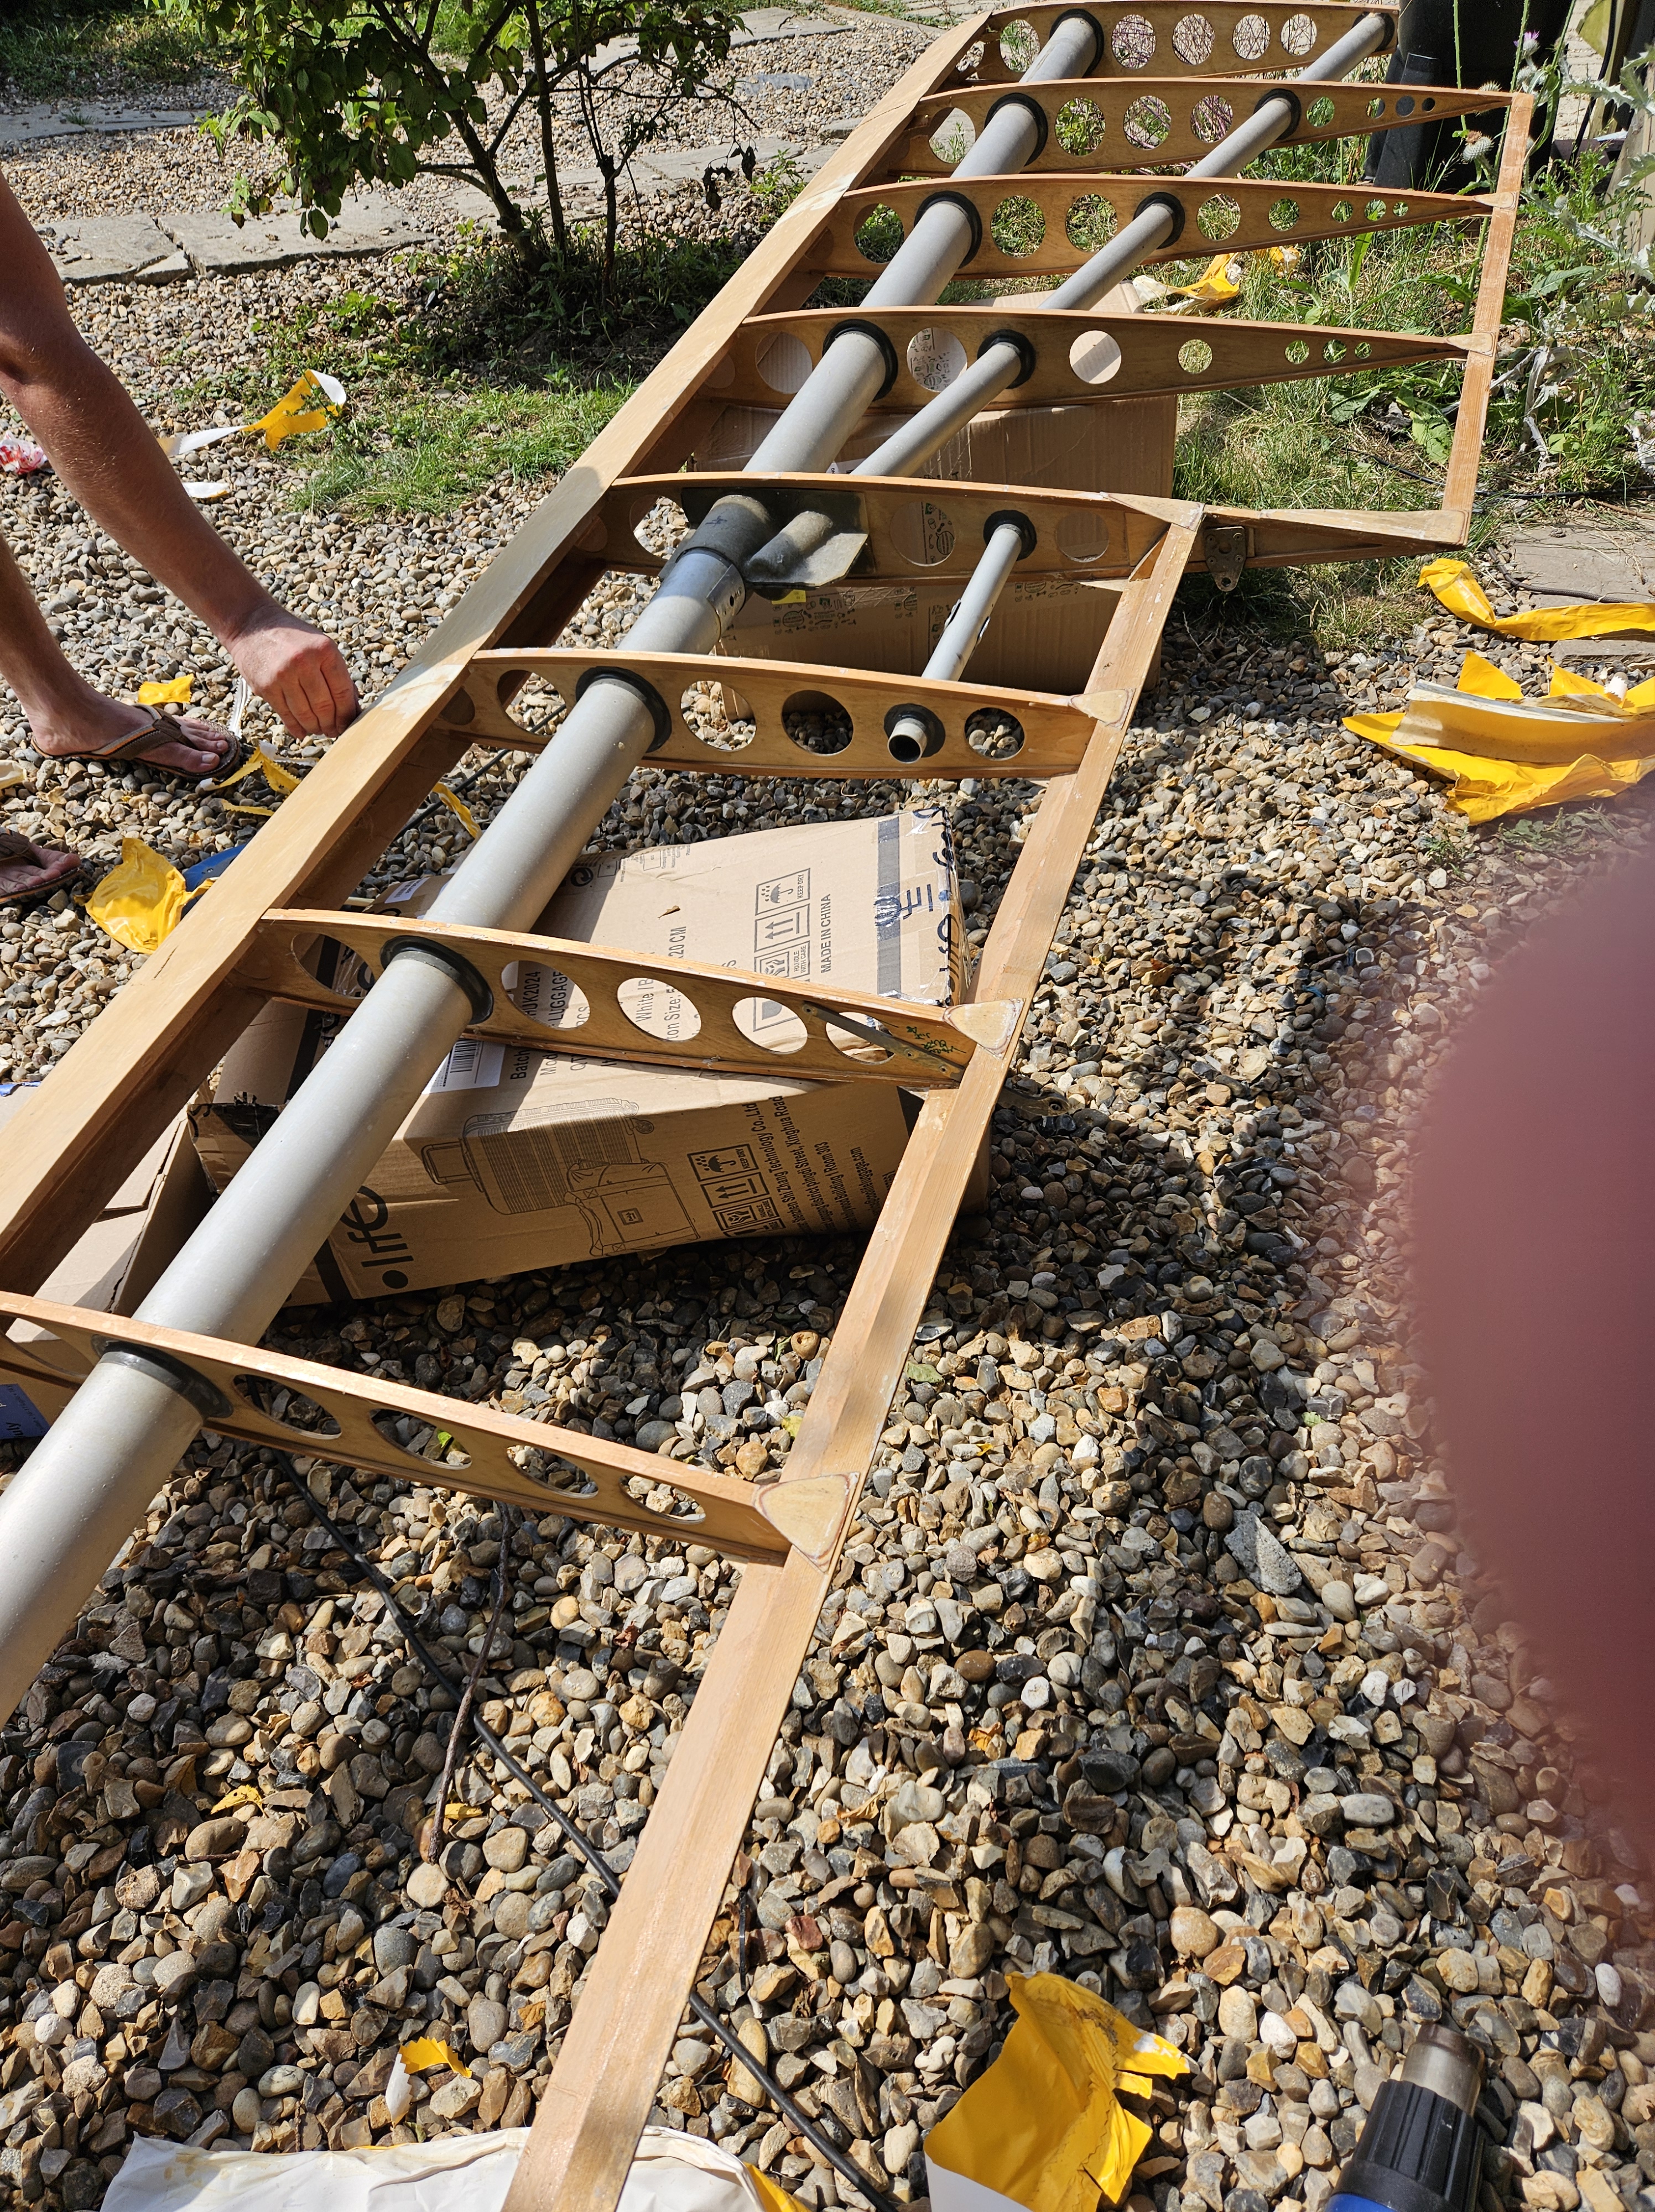
To decide if the Port upper is recoverable I strip all the Oratex covering. This needs judicial use of the heat gun to take the material back up to movement temps … needs about 220-250’C and then ease the material away as the hot melt glue re melts.
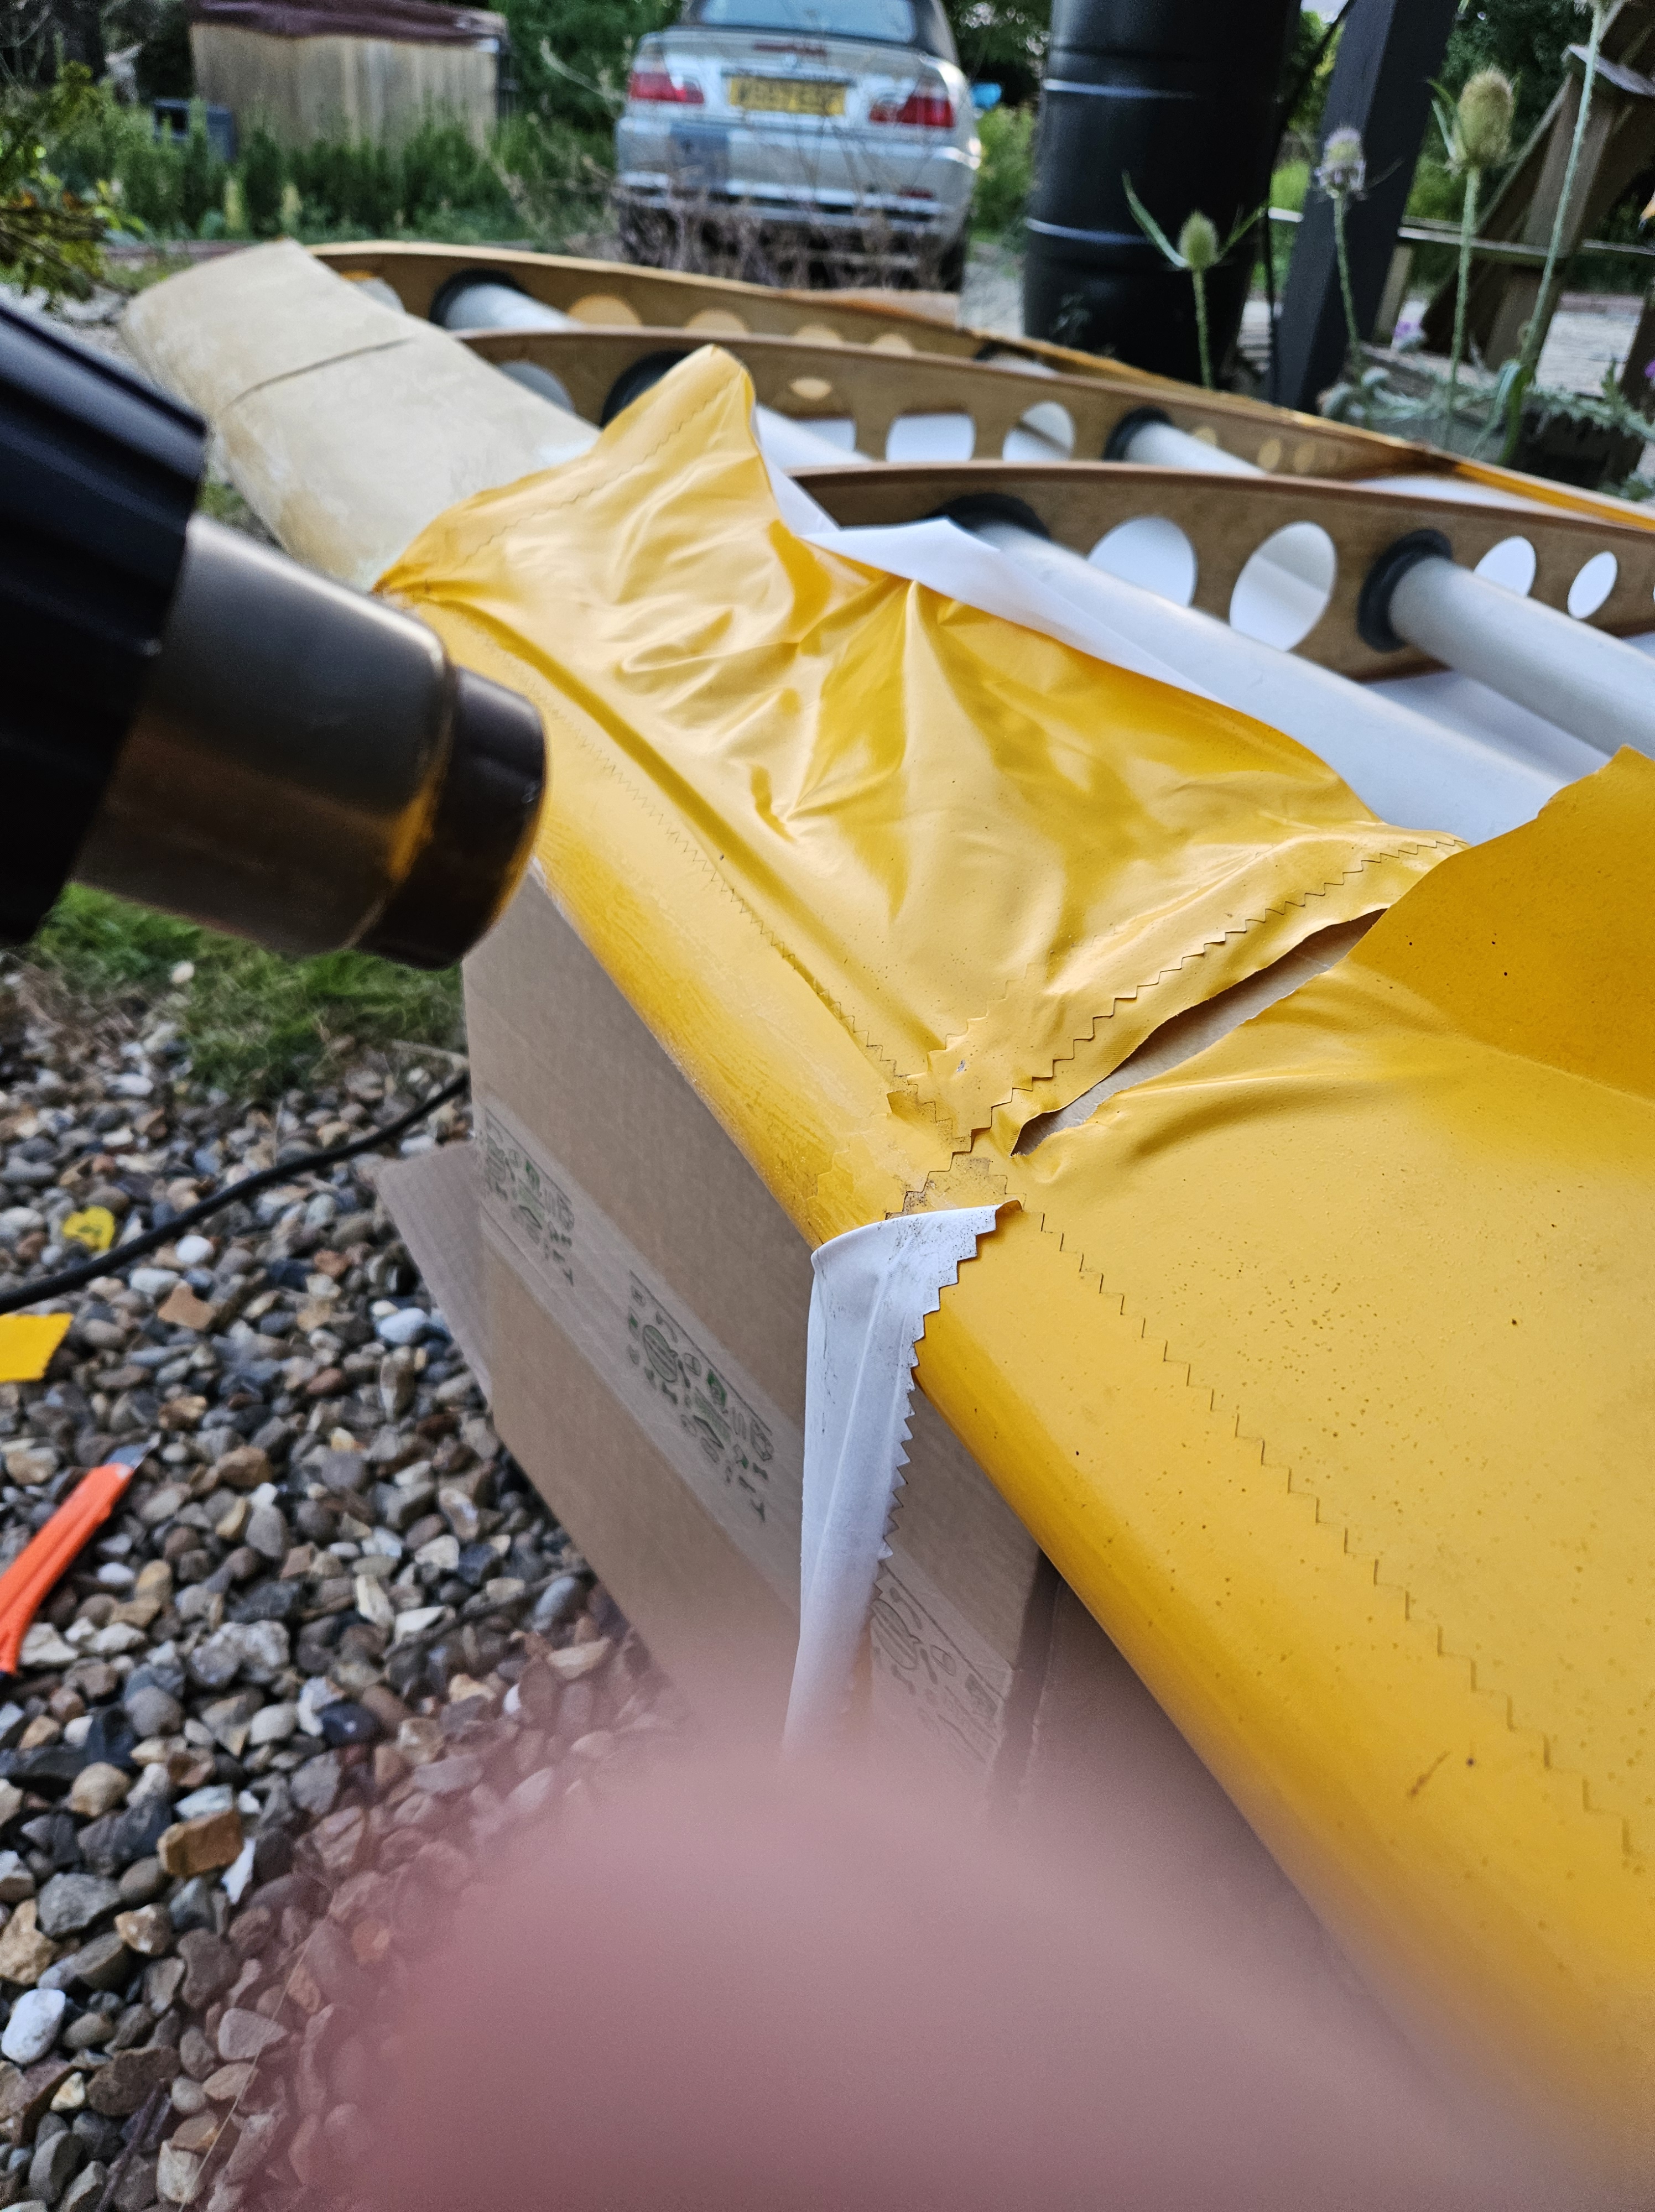
If you try to push this the material simply rips the wood as it brings strips of plywood with each pull.
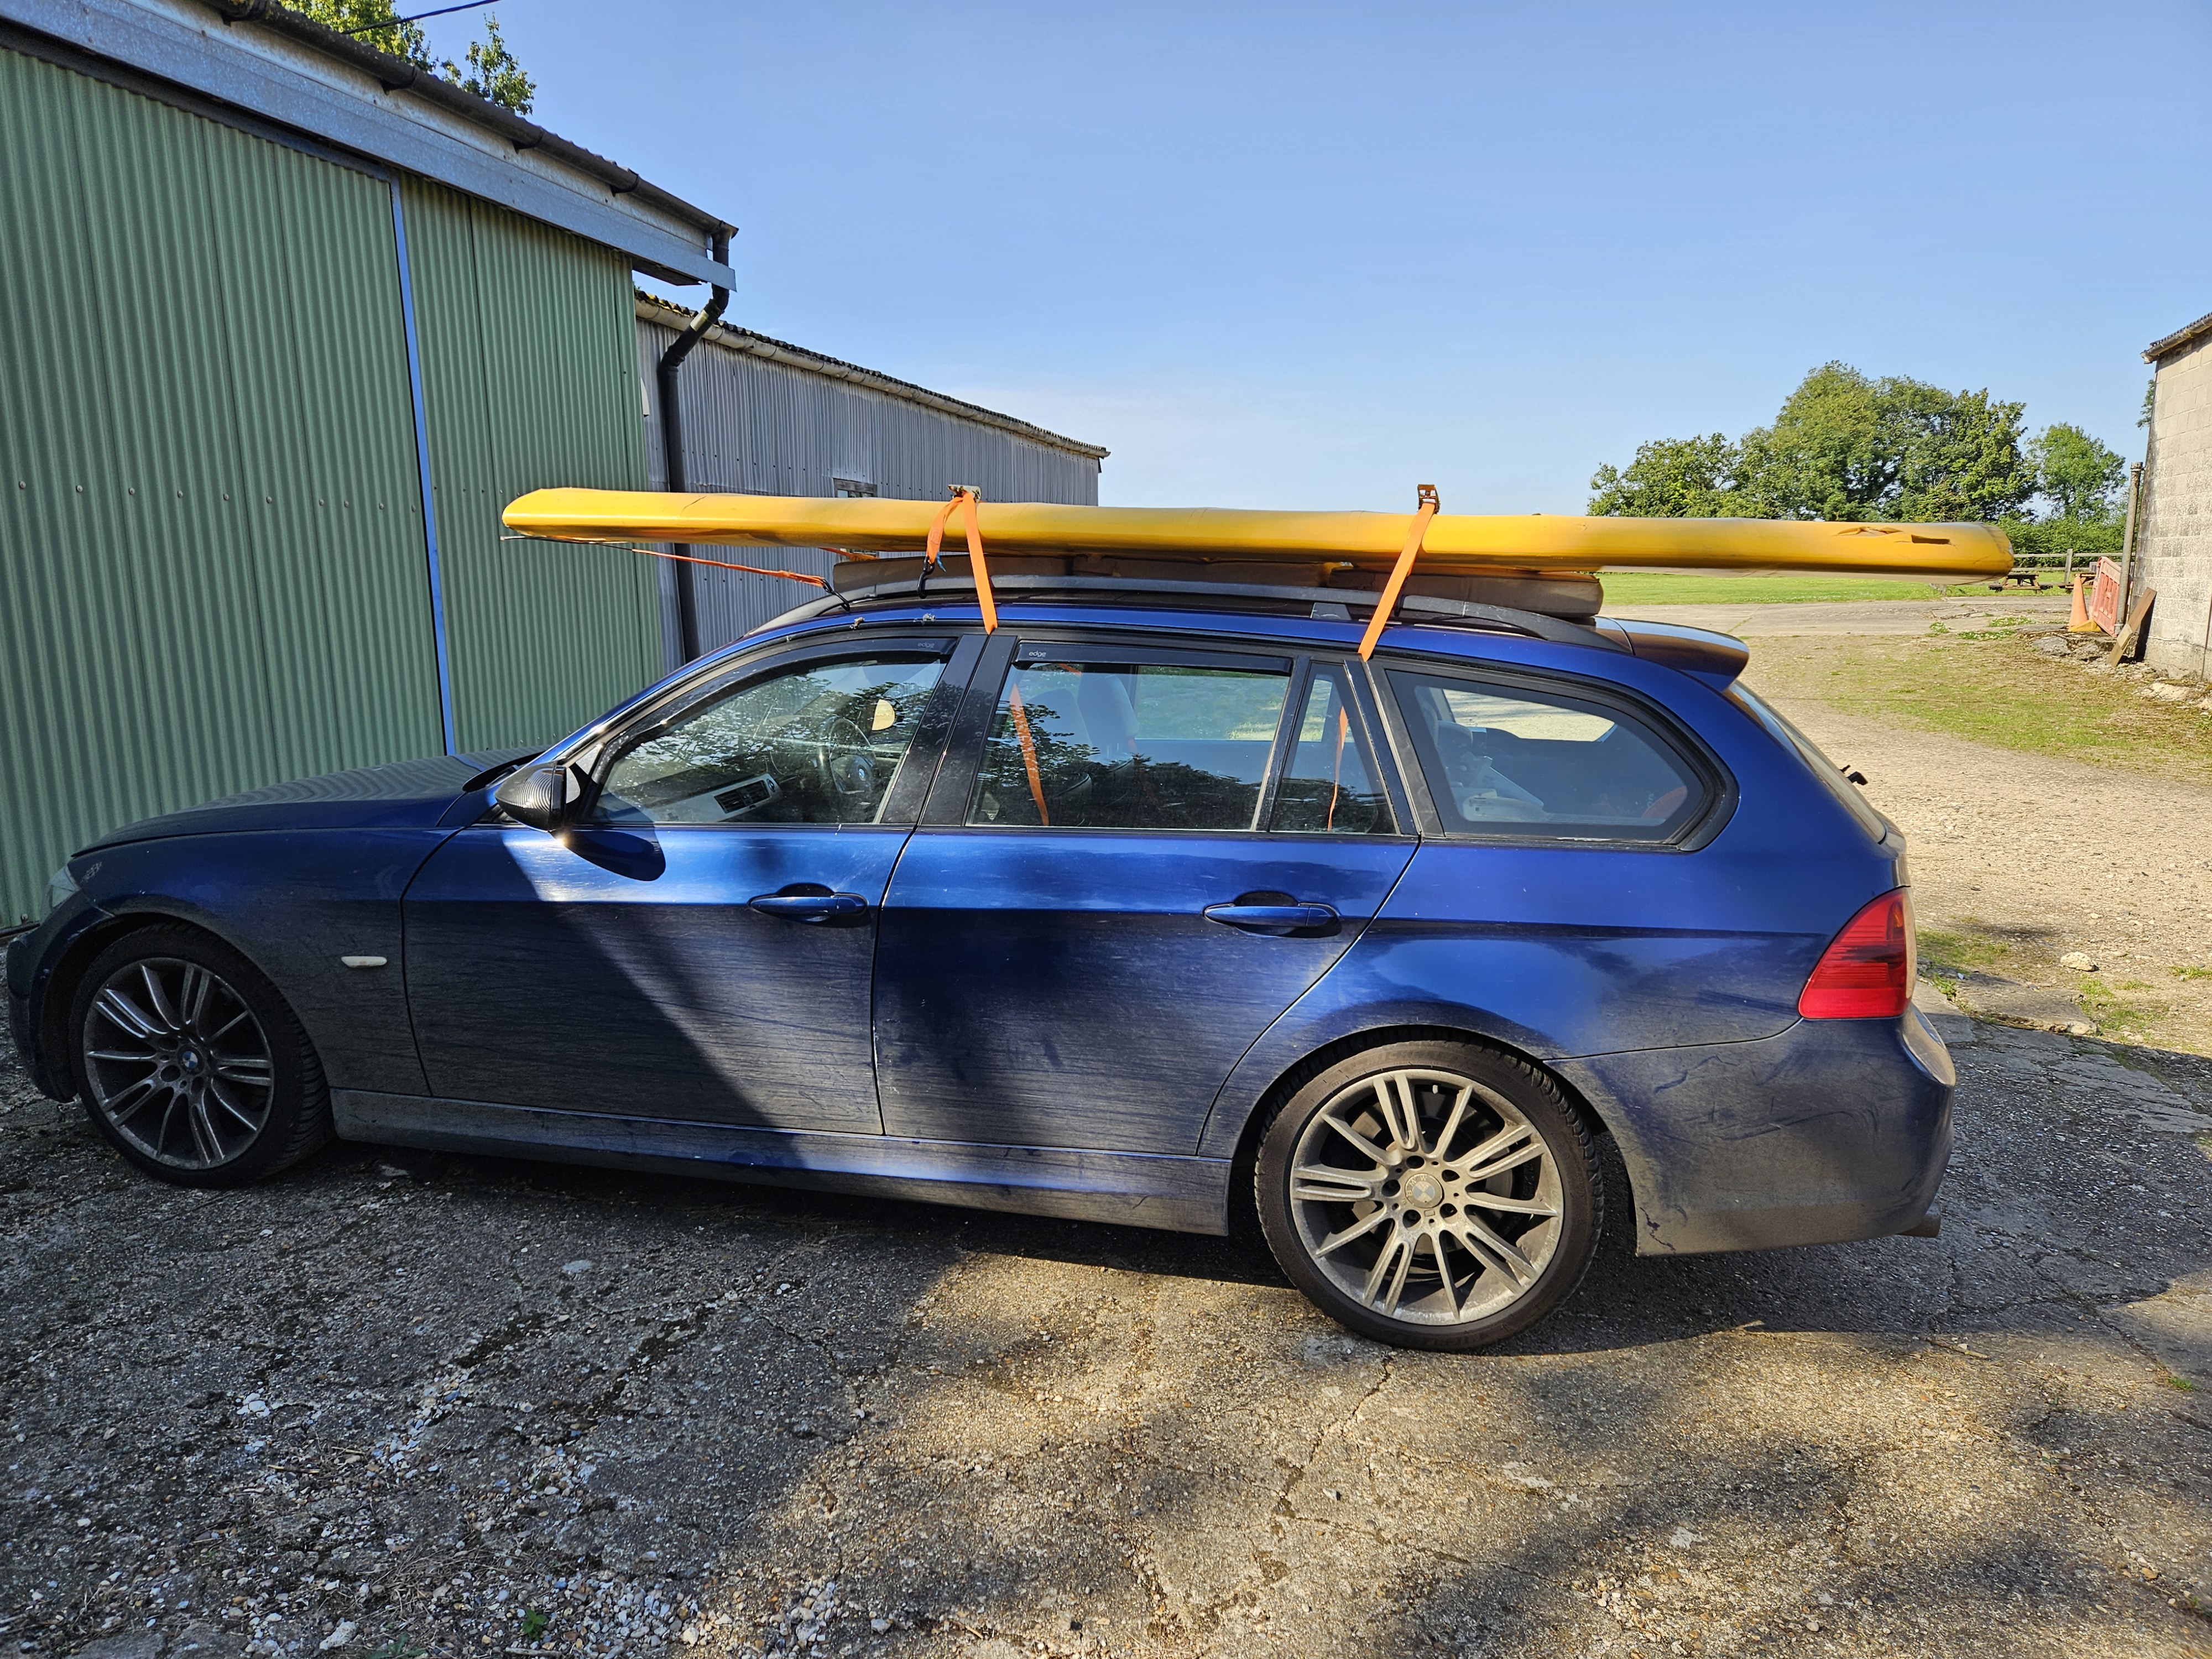
This wing was then strapped to the roof of my sons car and driven to the factory at Little Snoring for assessment. It was felt that it was worth a try to remove Rib 1 but, rib 2 is pretty much unmoveable due to the angle of the drag spar cutting through.

Paul suggested a MOD form to the LAA which I’ve done, a MOD3 to request a part repair to Rib 2 .. cutting away the spilt leading part of the rib and cutting in a replacement from nose to the main spar.
Hysol May prevent this ..but we will see….