Flight Test

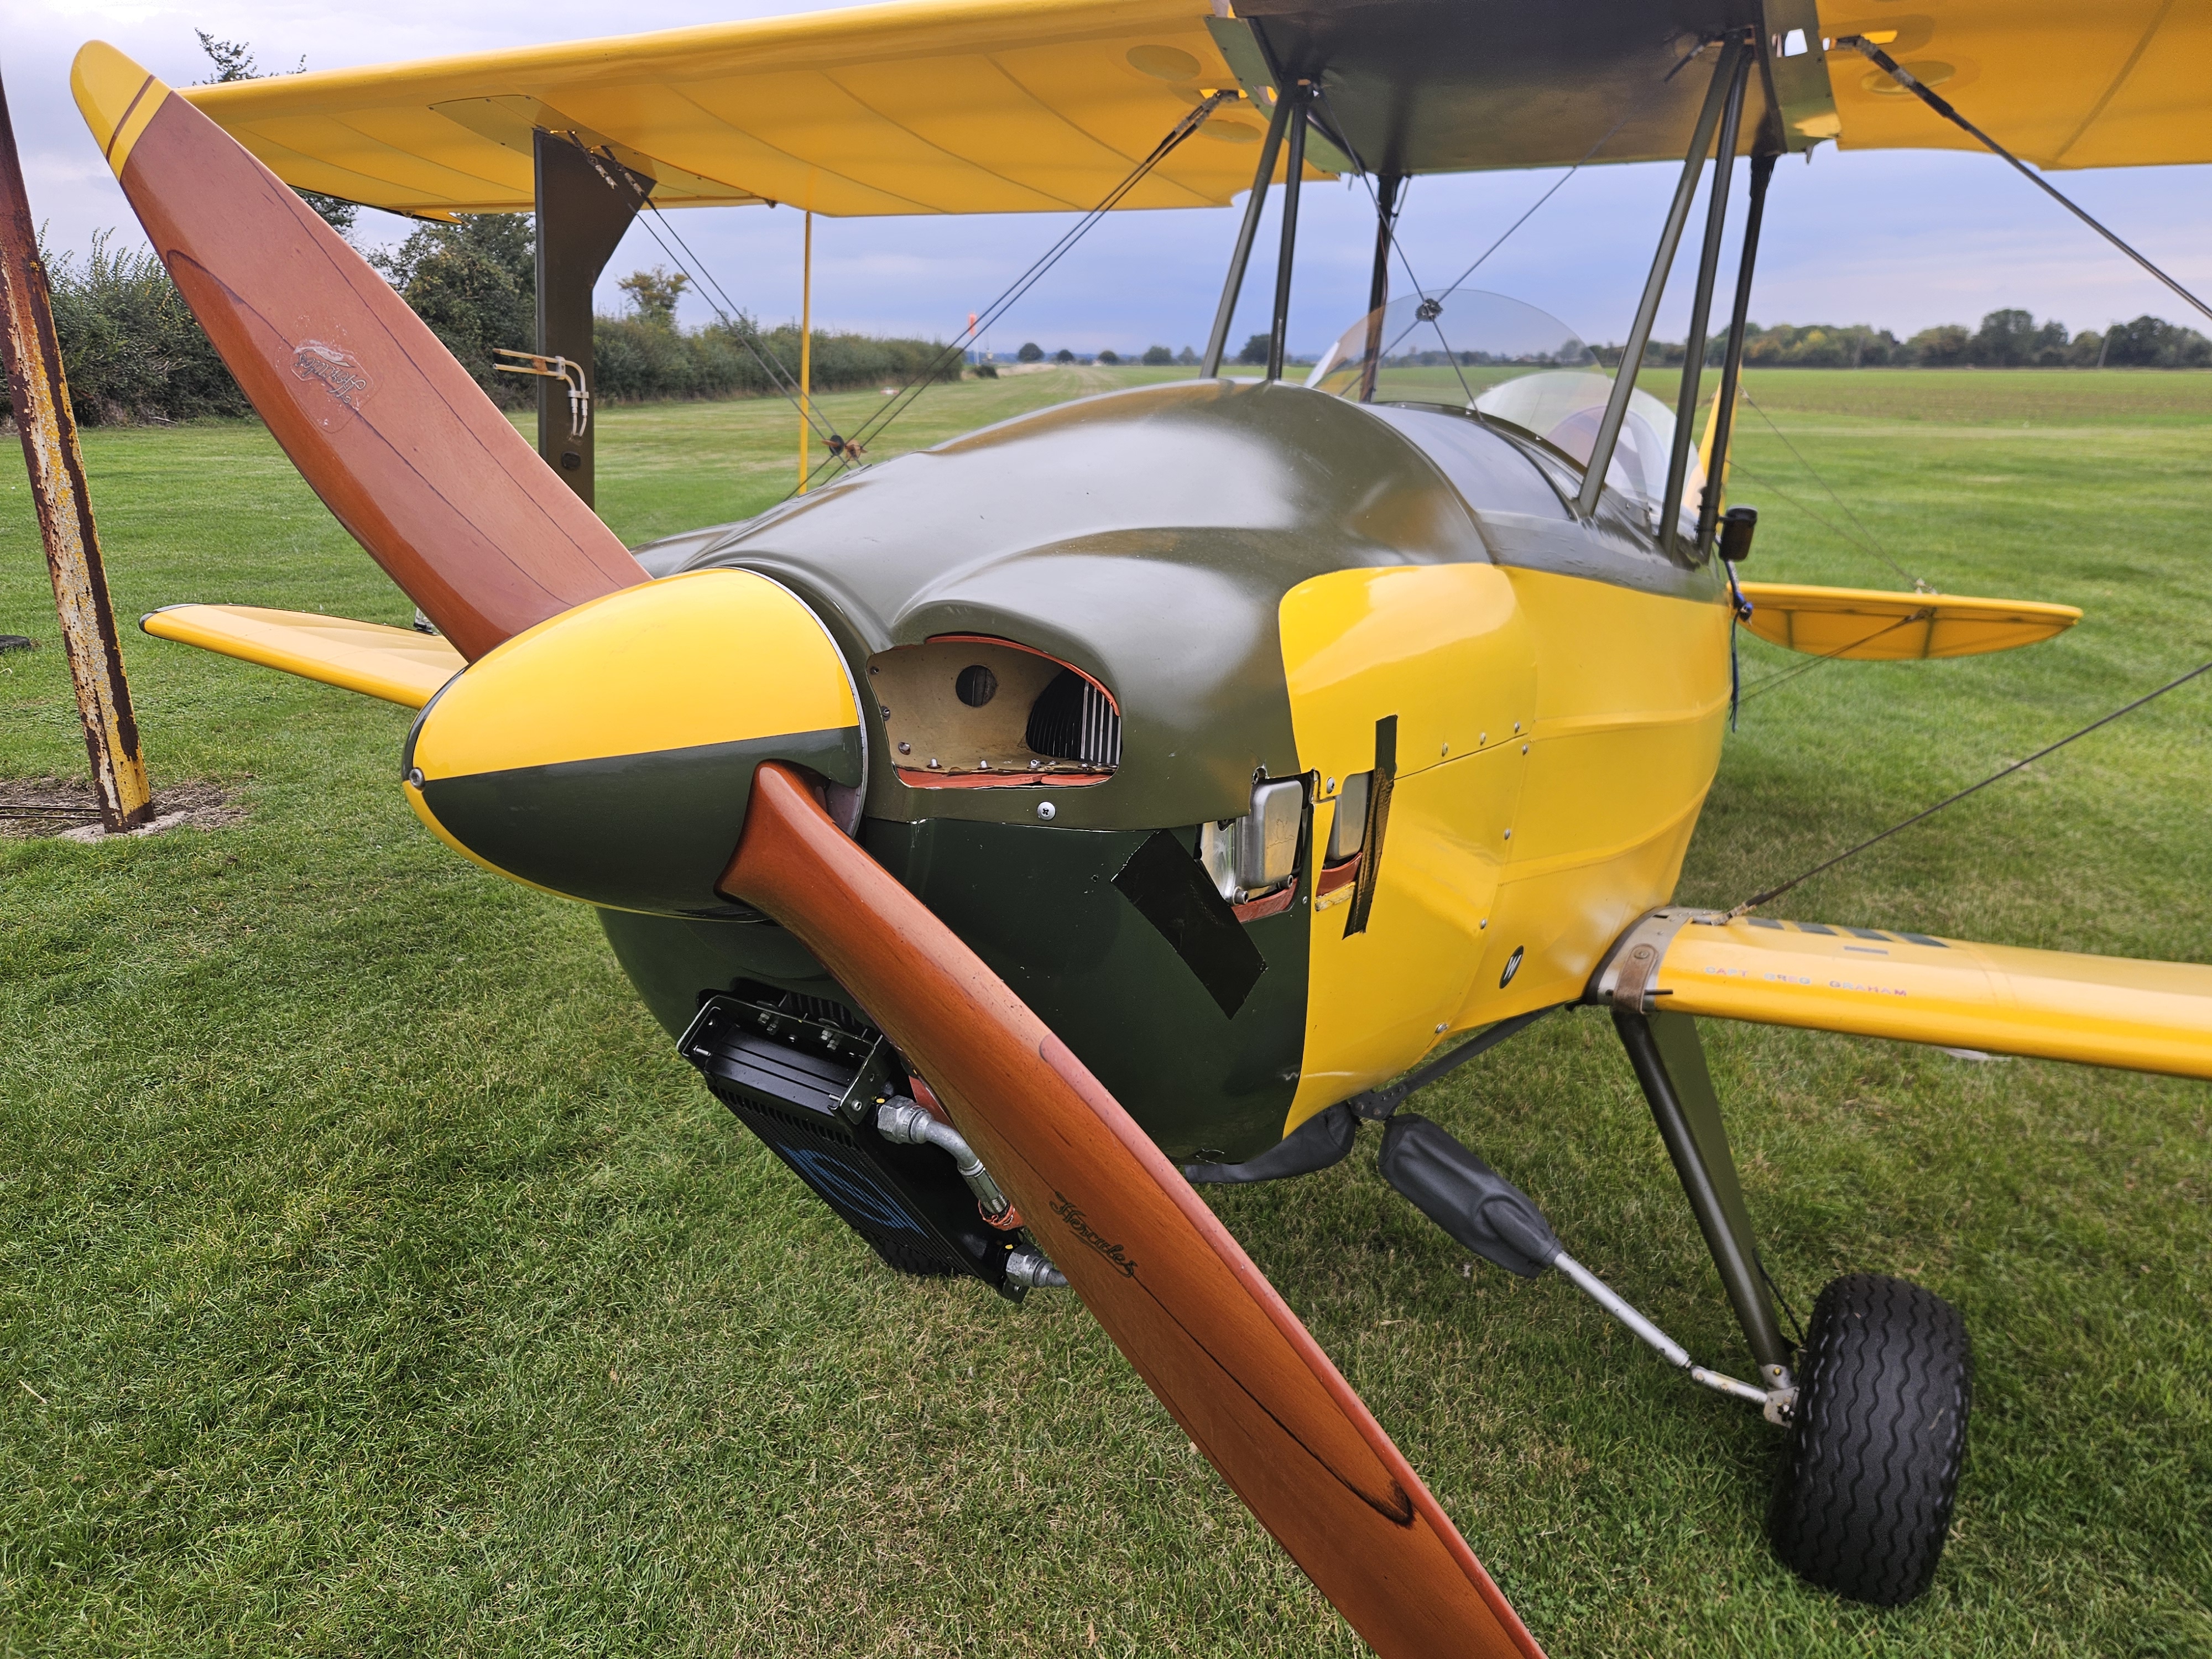
So, after a few ‘fettling’ sessions as they are known.. where you fine tune this and tweak that ..you reach a point and a day.. where aircraft, engine, weather and time all co align and you can carry out the flight test.

The Light Aviation Association (LAA), the governing body for homebuilt and other registered aircraft, have a plethora of forms and process that you need to follow on a regular basis to ensure your annual update is up to spec

Add into this the fact that yiu have had ‘an upset’ and this brings in additional checks and balances

All very sensible stuff to ensure you have ticked every box and thought of as many eventualities you can.

The ‘changes’ to my aircraft, post the incident, meant that I needed a full flight test. 14 pages of check items to run through.

I cut all these 14 pages into manageable half pages so that I could have them on my knee board in the cockpit and then attempt to capture all key information during the test flight.

The problem with lots of bits of paper in a small open cockpit is that its a bit blowy and tricky to keep your notes !

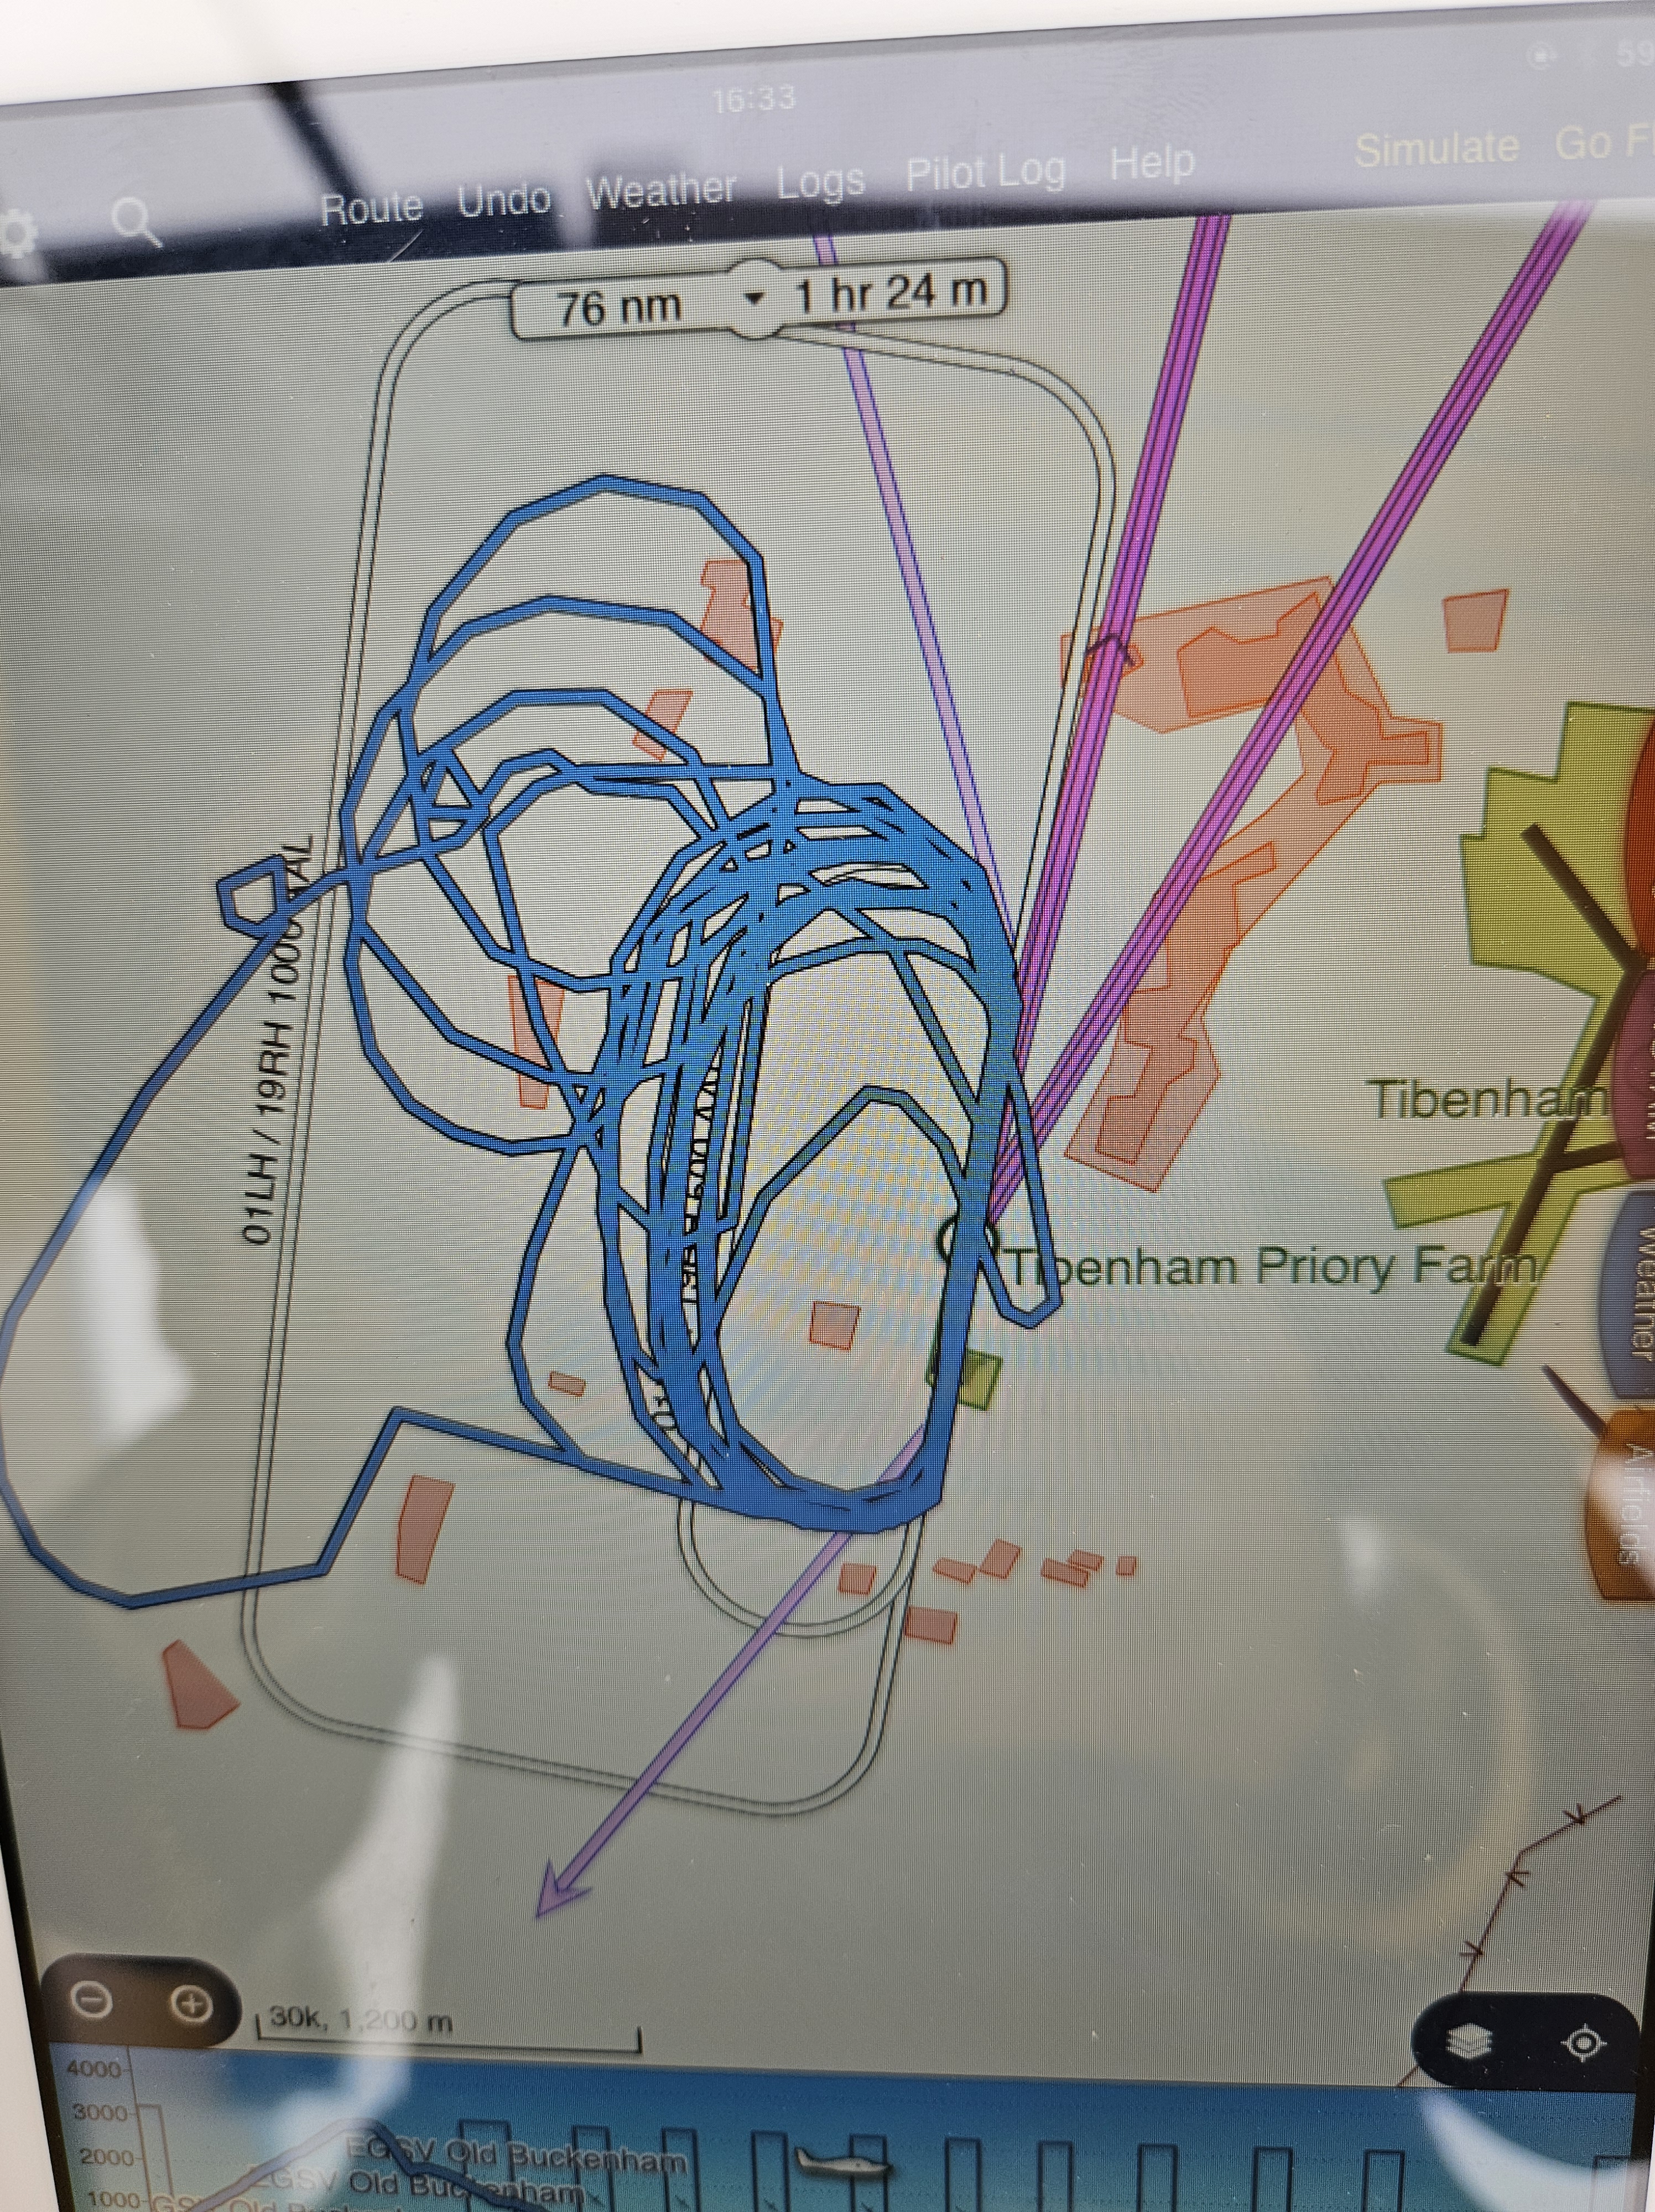
The initial power out climb was a very long slow orbit slowly climbing at a constant attitude for nearly 5 minutes.

The old overheating of the cylinders was pretty much gone and I timed each 500′ ad it went.. turning out to be about 600feet per minute

Once I reached 3,000′ it was getting quite chilly and so all temps were looking absolutely fine. I then captured all the vakue on the way up and then eased the throttle back and into a dive

The aim of the dive is to check VNE .. ie never exceed speed .. which is 100mph.

Fuel dump switch

With the new upper tank in place I’ve started to focus on getting things completed and ready for the inspection.

The upper tank has taken the place of the original open structure that was formed of 3 ply ribs around the cabane cross members. This then had 1mm sheet ply sandwiching a made up radio plane (relative sheet – rather like a paper backed bacon foil). The radio plane had an allow arm that gripped the foil top and bottom and the resulting black earth was connected to the foot of the Commant arial.

It sounds (and looked) a bit odd ..BUT .. worked a treat . I got a good radio signal more than half way across the Channel..not bad for a largely wood and fabric aircraft.

Now, with the new upper alloy purpose made ‘trip’ tank, I have a ready made radio plane. The tank turned out to be insulated from the aircraft (due to its rubber seating tape). This wouldn’t be good as the rest of the aircraft would provide mass radio ‘noise’ so I needed to add the earth lead.

I ended up repurposing part of the original metal arm and fittings and ran 2 earth leads ..one for the tank to a cabane mounting bolt that had ample thread to accept one small washer more. The second earth lead (and original part) will go to the new Commant ariel. The old ariel may well be OK but was bent 45′ as she up ended.

The feed from the upper tank is via a short piece of rubber fuel tubing to a ‘cut to length’ alloy tube that runs down one of the rear cabane arms and the connects to a small piece of rubber tube to the Valve selector.

I’ve got quite a ‘busy’ panel and I wanted the location of this ‘dump’ selector to be obvious and easy. I elected to move the previous side mounted mag1, 2 and push starter to the main panel.

This freed up some side coving space that allowed the chunky but purposeful fuel switch to the side.

I’ve started to run the back fuel tubing along through the side of the P2 cockpit and then lines up nicely with the feed nozzle.

I’m going to be fitting the basic fuel site gauge and so need to check if there are definitive holes to use in the new main tank.

Blog at WordPress.com.

Up ↑