Back to my roots …

It was my Dad who got me started in all this flying stuff … spending wonderful hours up on the N Yorkshire moors flying gliders and learning the skills of what actually makes things fly and how to make the best use of the windsock without power to assist.

Post his passing a few years ago we had the awful job of sifting through hundreds of his models.. he was an avid builder .. balsa, tissue paper, knives and pins .. all to make ever more intersting models.

He would often go for the more esoteric and different and more challenging models and loved the construction that had to be applied to make beautiful gull or multi cambered wings.

These would be test flown near home usually school playing fields in Stockton where we lived but these were more suited to powered models which I did more of, complementing Dads gliders and rubber powered beauties

Countless times id be holding the body of a fragile rubber model as he, dowel in mouth, counted the turns as he wound his old drill mandrill to x 100 turns … he starting about 20′ from me and slowly walking towards me as the rubber contorted itself into the fragile tissue covered body. The dowel would then be used to pin the front in place ..hoping that (like sometimes) one strand of the rubber wouldnt give and zip through the body shattering every panel !

Then, the statutory pull of some grass tufts to throw into the air to check the wind and launch … the recovery team (me) thinking where is this one going to land 🤔

Of the models we retained ive finally got around to ordering new tissue, dope and balsa cement to part repair I dont want to lose the original aged covering so im only going to ‘hole patch’ for now.

With the aid of some local friends and the Suffolk model flying group who I met up with at Monewdon, ive managed to get one radio control set working ..so can have tudder, elevator and aileron for this amazing aircraft.
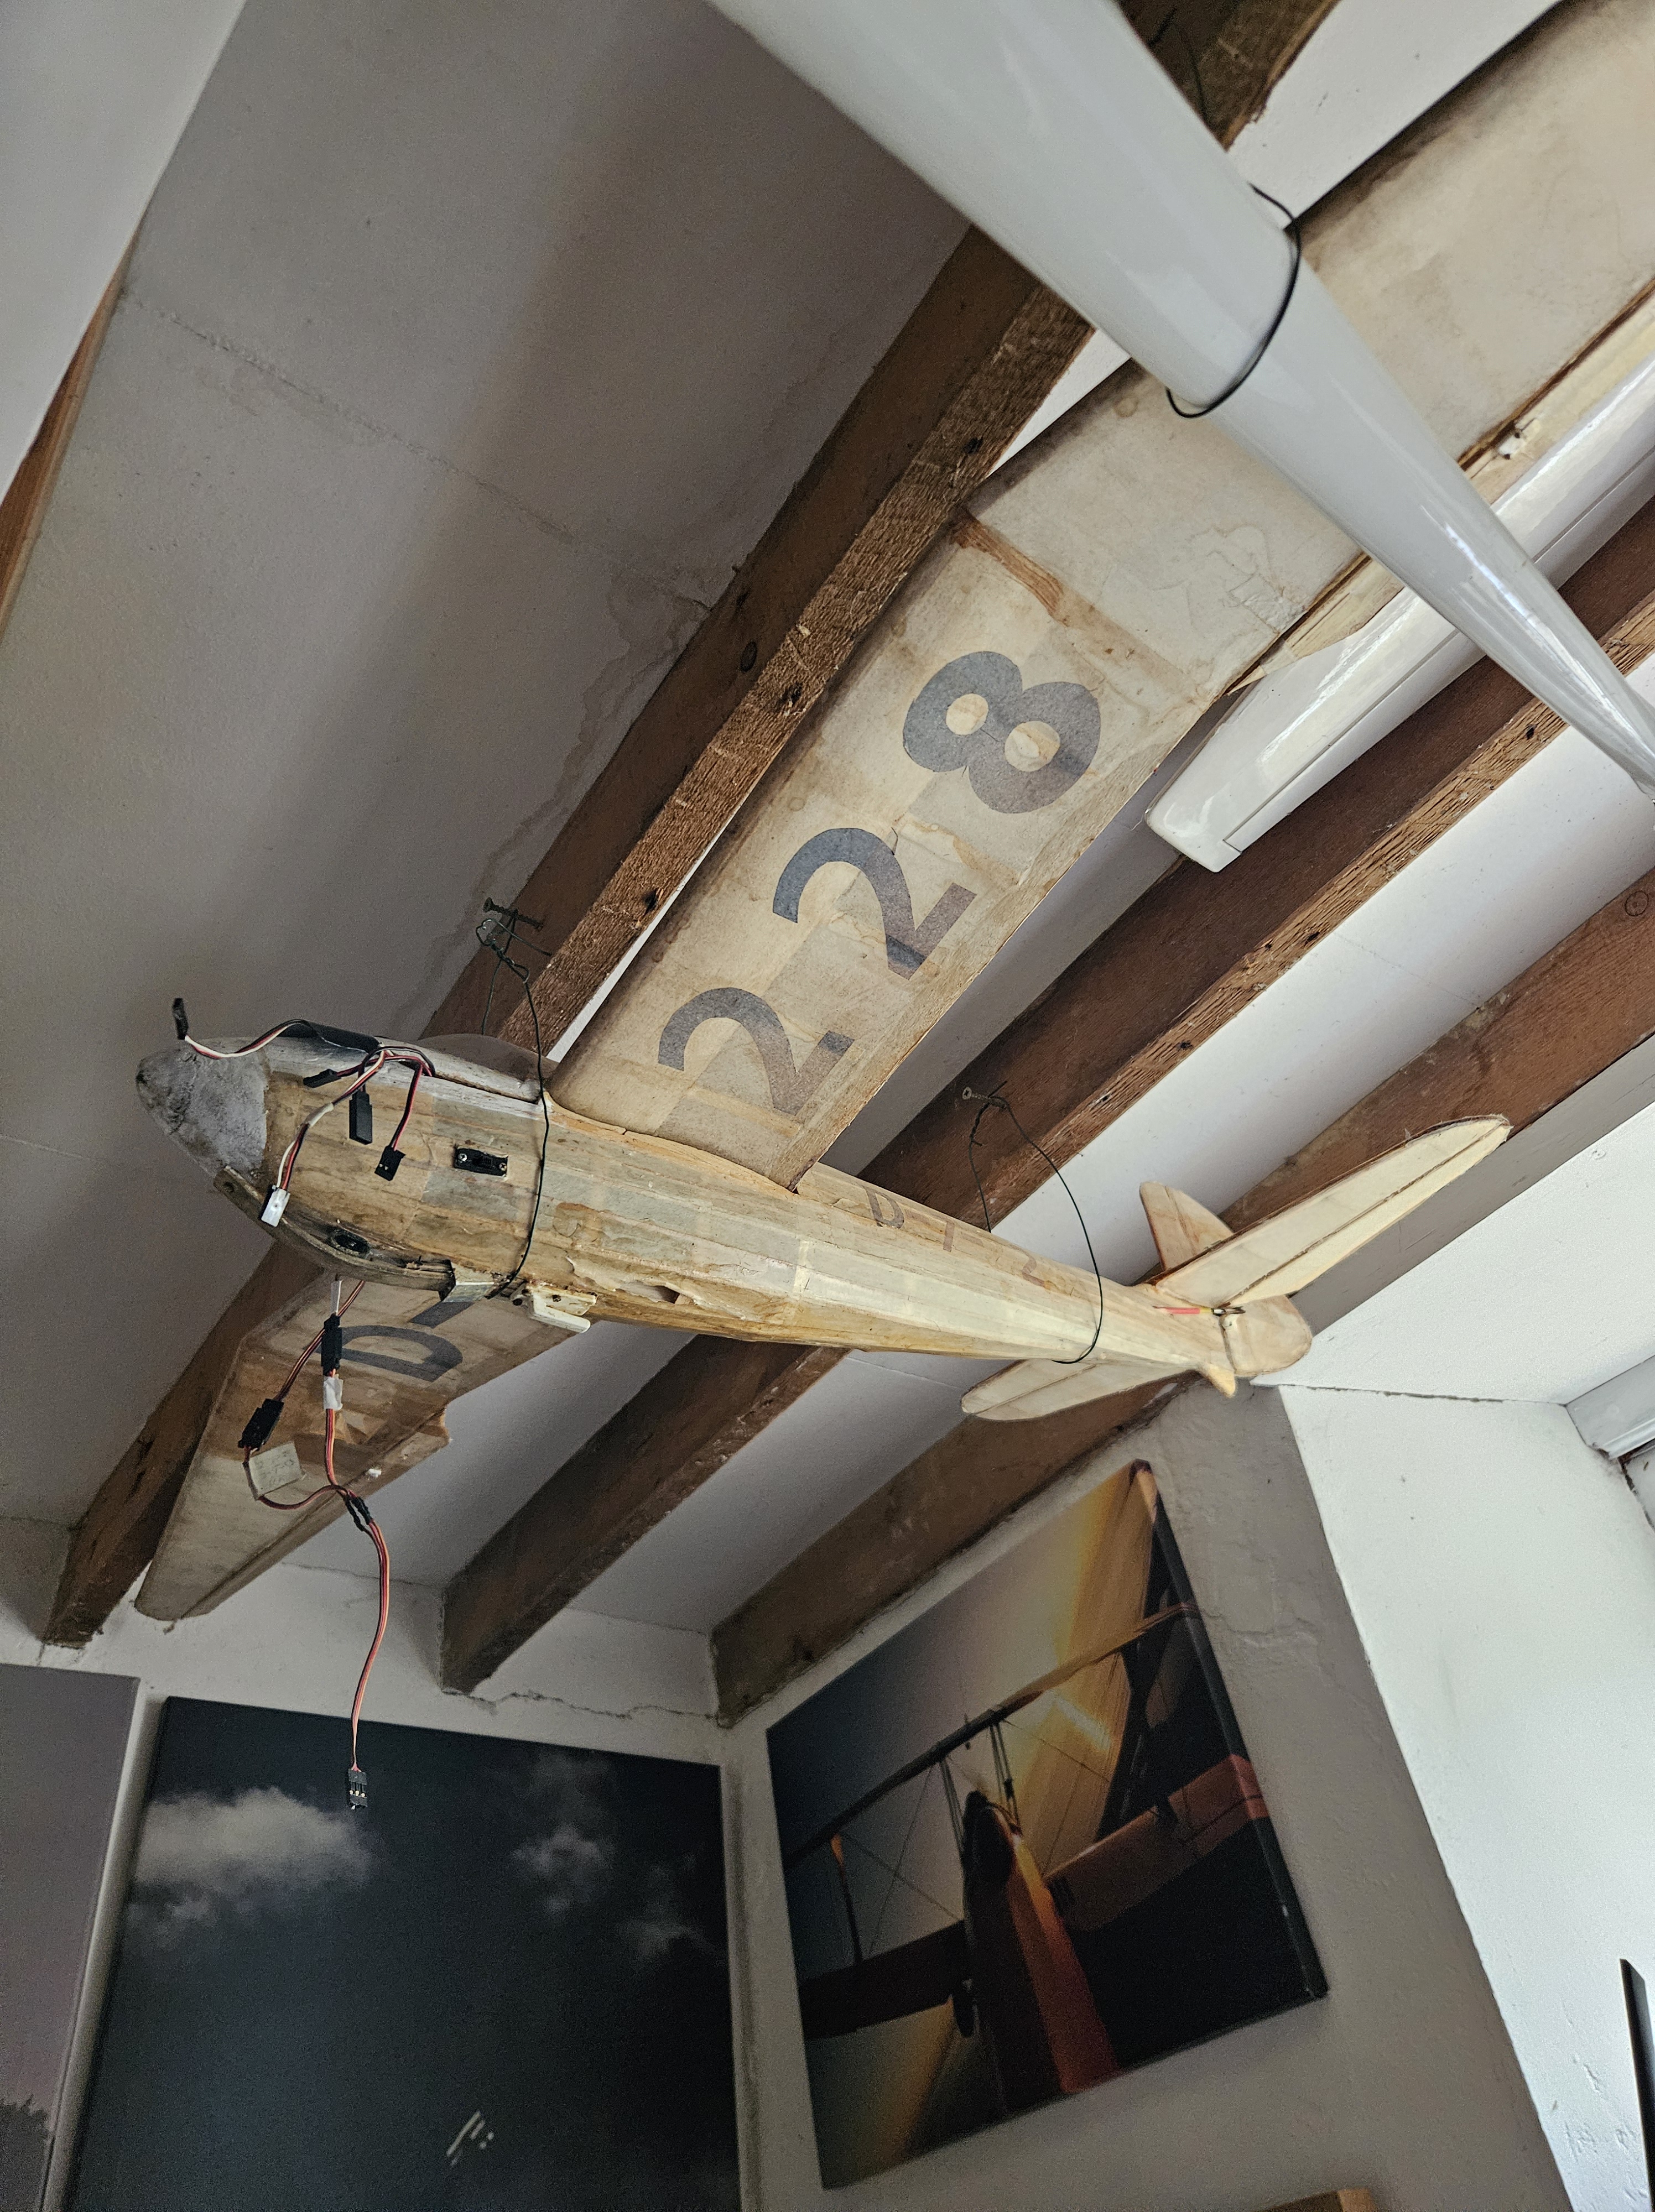
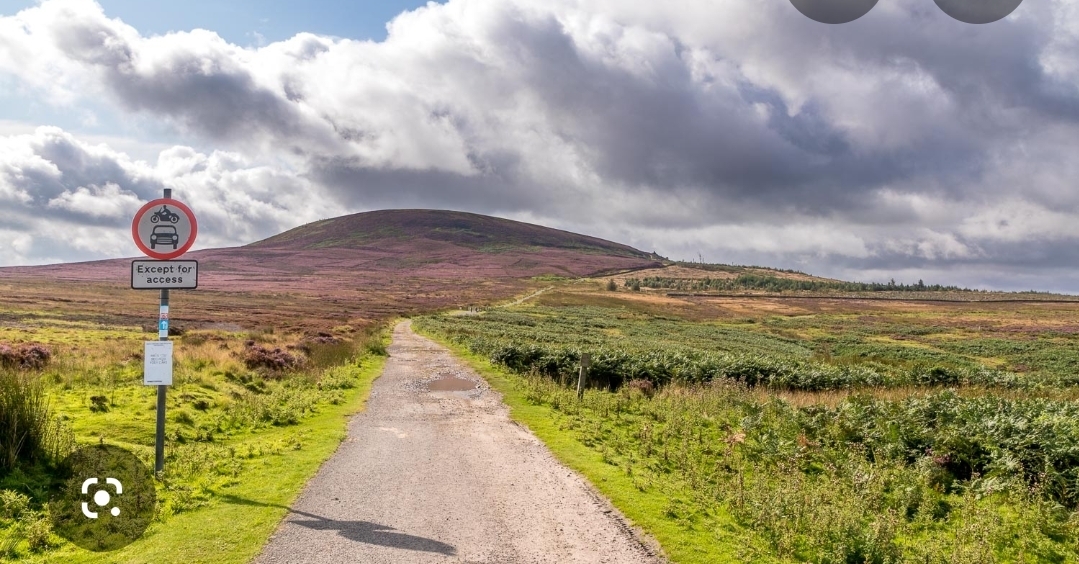
Once its been test flown..it wil be a hop up to the North York moors to fly off where it used to be
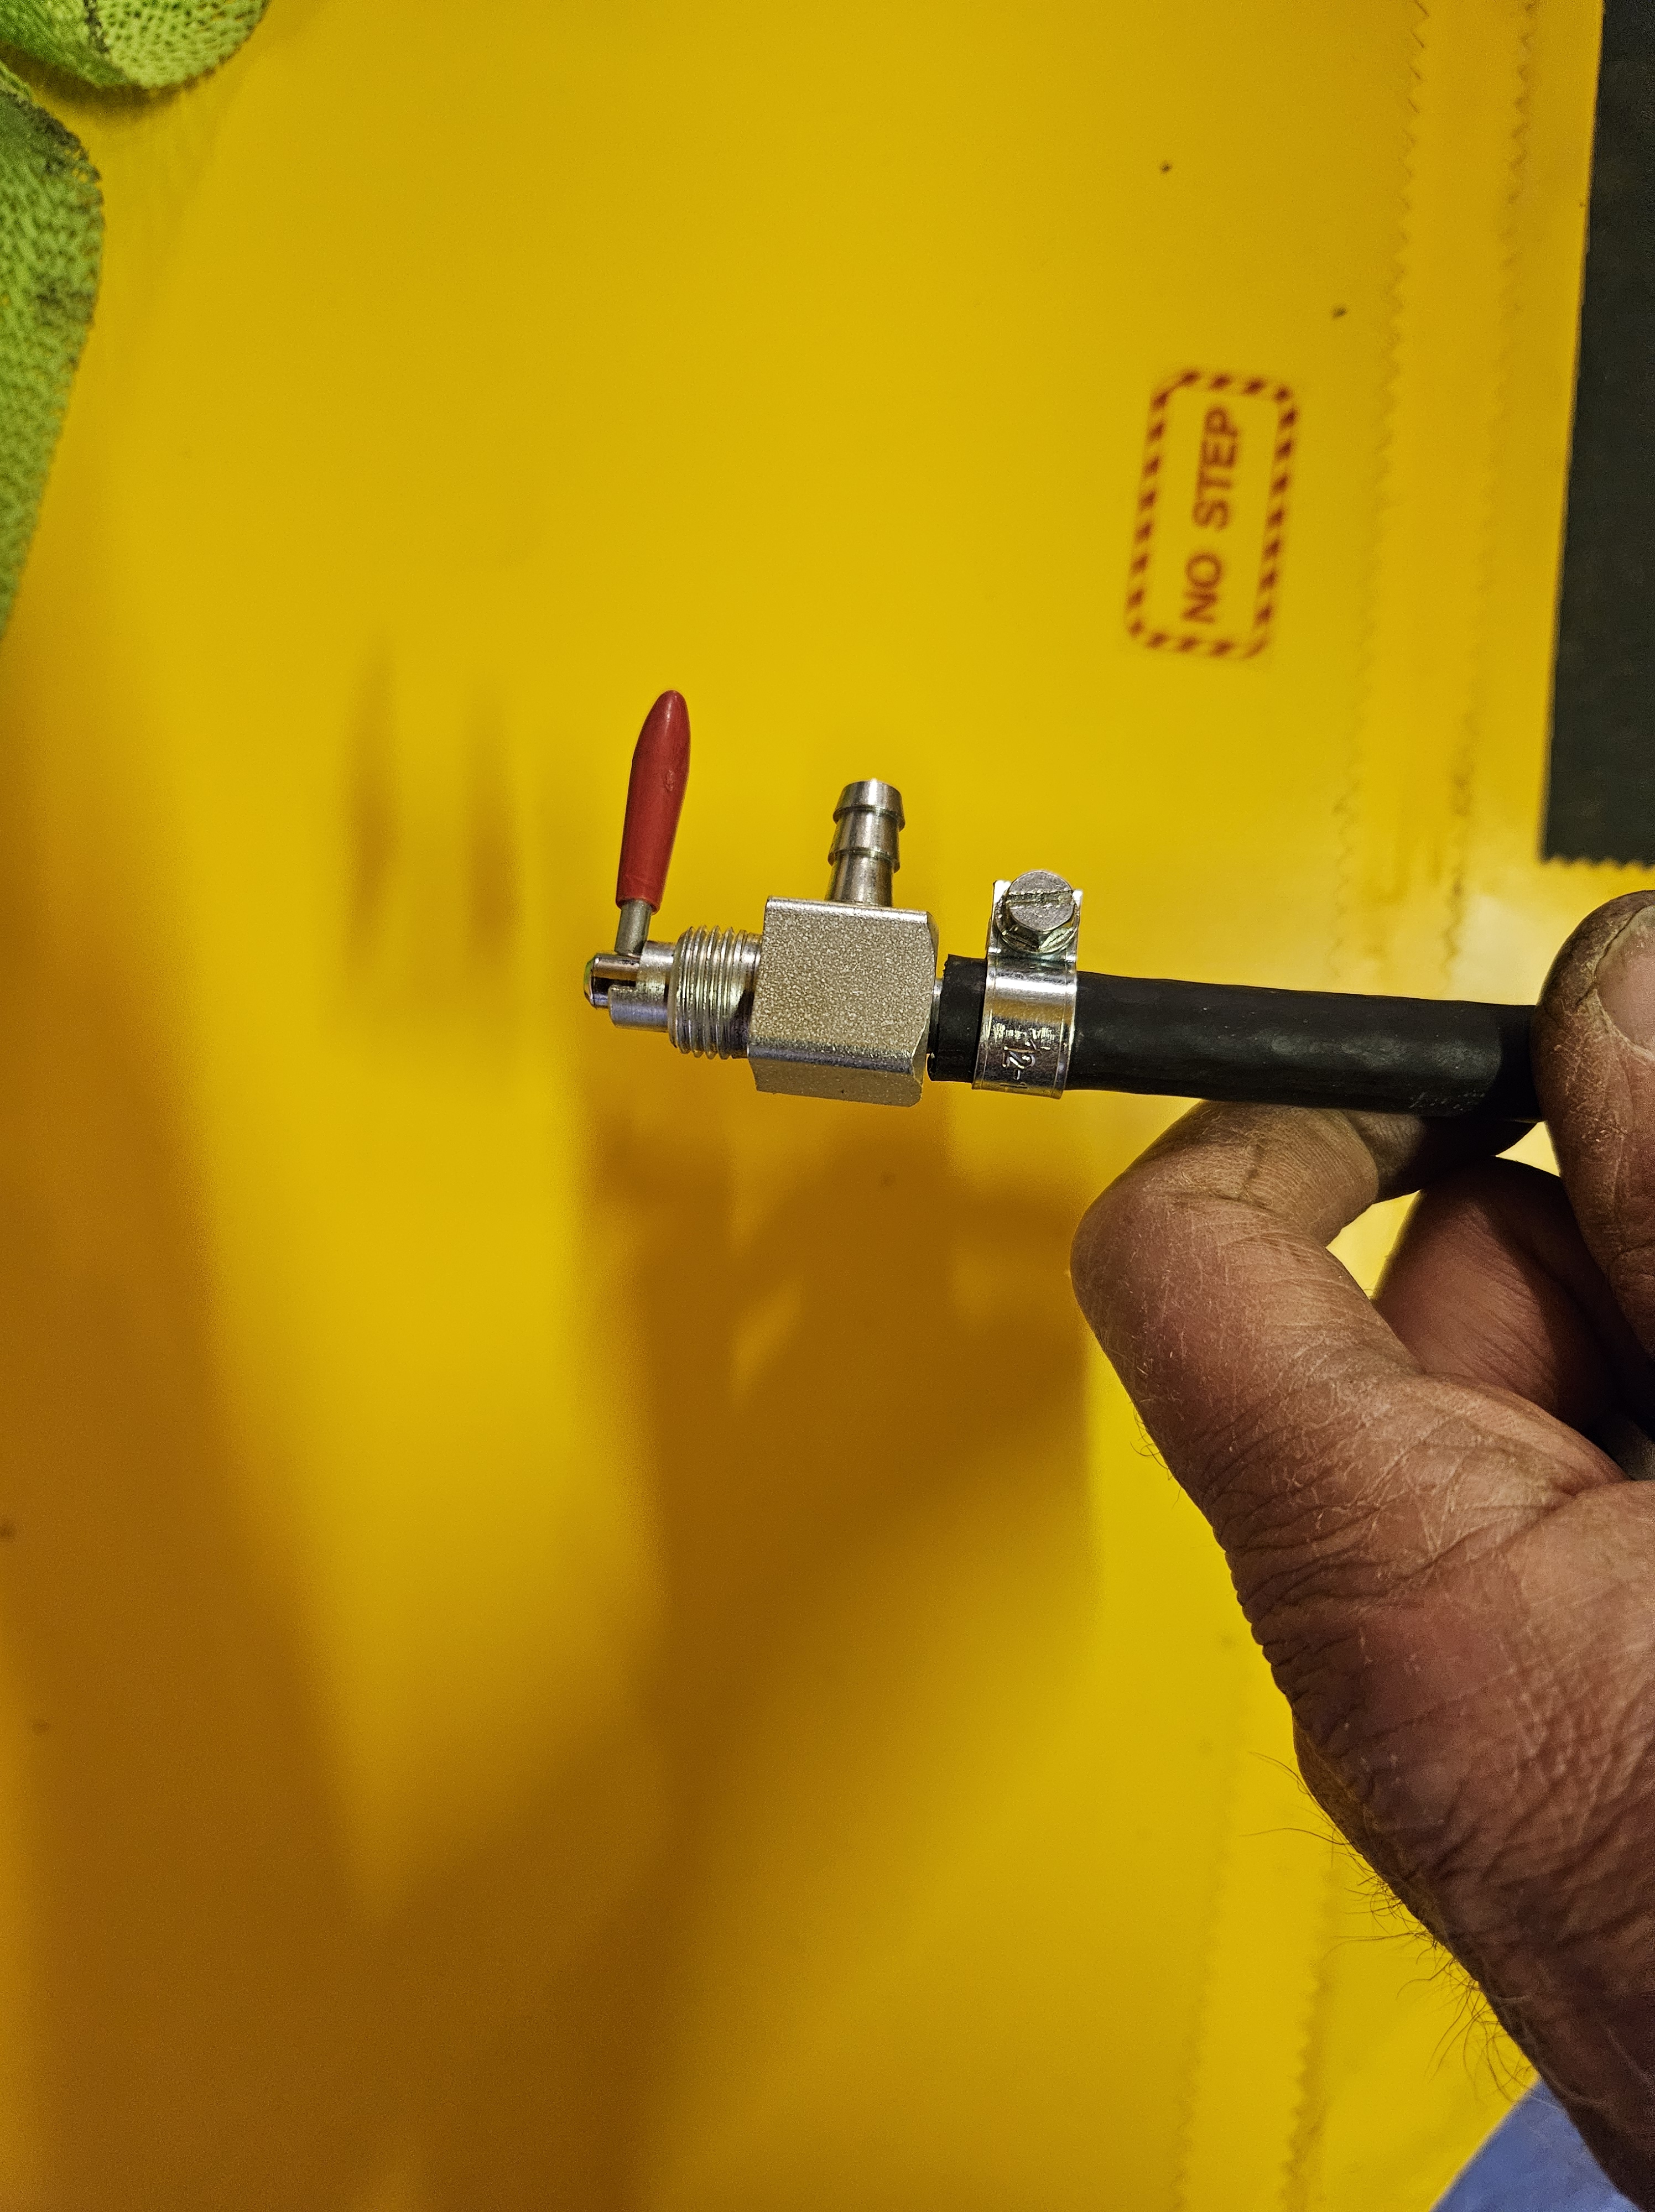
Fuel dump switch

With the new upper tank in place I’ve started to focus on getting things completed and ready for the inspection.

The upper tank has taken the place of the original open structure that was formed of 3 ply ribs around the cabane cross members. This then had 1mm sheet ply sandwiching a made up radio plane (relative sheet – rather like a paper backed bacon foil). The radio plane had an allow arm that gripped the foil top and bottom and the resulting black earth was connected to the foot of the Commant arial.

It sounds (and looked) a bit odd ..BUT .. worked a treat . I got a good radio signal more than half way across the Channel..not bad for a largely wood and fabric aircraft.

Now, with the new upper alloy purpose made ‘trip’ tank, I have a ready made radio plane. The tank turned out to be insulated from the aircraft (due to its rubber seating tape). This wouldn’t be good as the rest of the aircraft would provide mass radio ‘noise’ so I needed to add the earth lead.

I ended up repurposing part of the original metal arm and fittings and ran 2 earth leads ..one for the tank to a cabane mounting bolt that had ample thread to accept one small washer more. The second earth lead (and original part) will go to the new Commant ariel. The old ariel may well be OK but was bent 45′ as she up ended.

The feed from the upper tank is via a short piece of rubber fuel tubing to a ‘cut to length’ alloy tube that runs down one of the rear cabane arms and the connects to a small piece of rubber tube to the Valve selector.

I’ve got quite a ‘busy’ panel and I wanted the location of this ‘dump’ selector to be obvious and easy. I elected to move the previous side mounted mag1, 2 and push starter to the main panel.

This freed up some side coving space that allowed the chunky but purposeful fuel switch to the side.

I’ve started to run the back fuel tubing along through the side of the P2 cockpit and then lines up nicely with the feed nozzle.

I’m going to be fitting the basic fuel site gauge and so need to check if there are definitive holes to use in the new main tank.

Blog at WordPress.com.

Up ↑