Engine mounts – Initial check

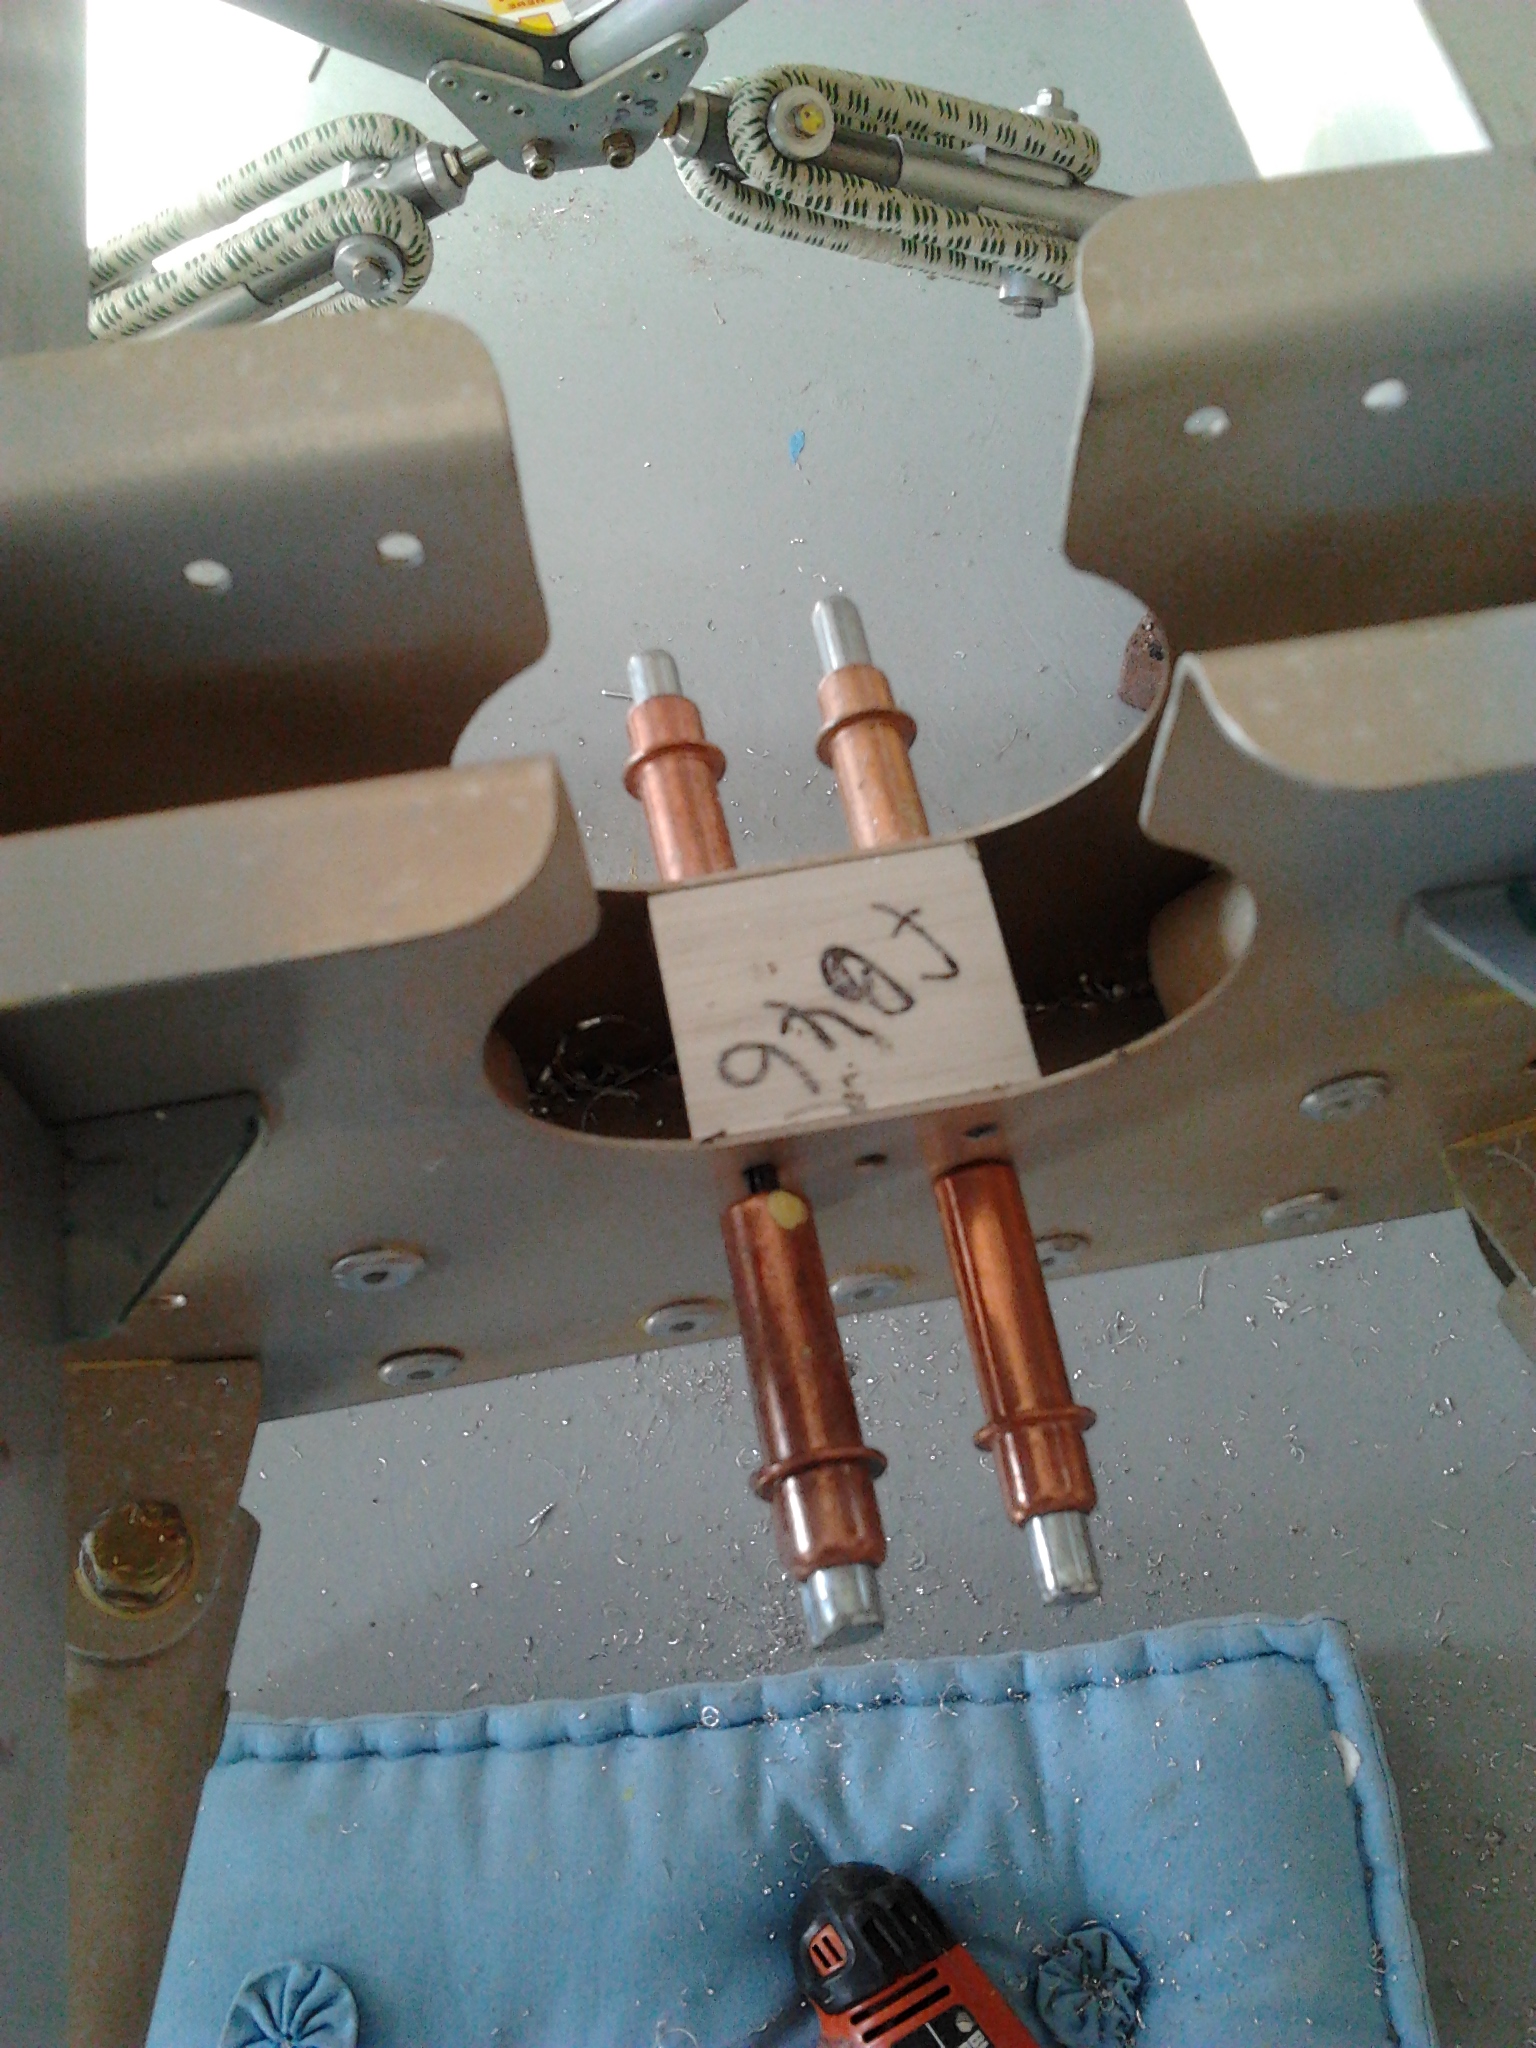
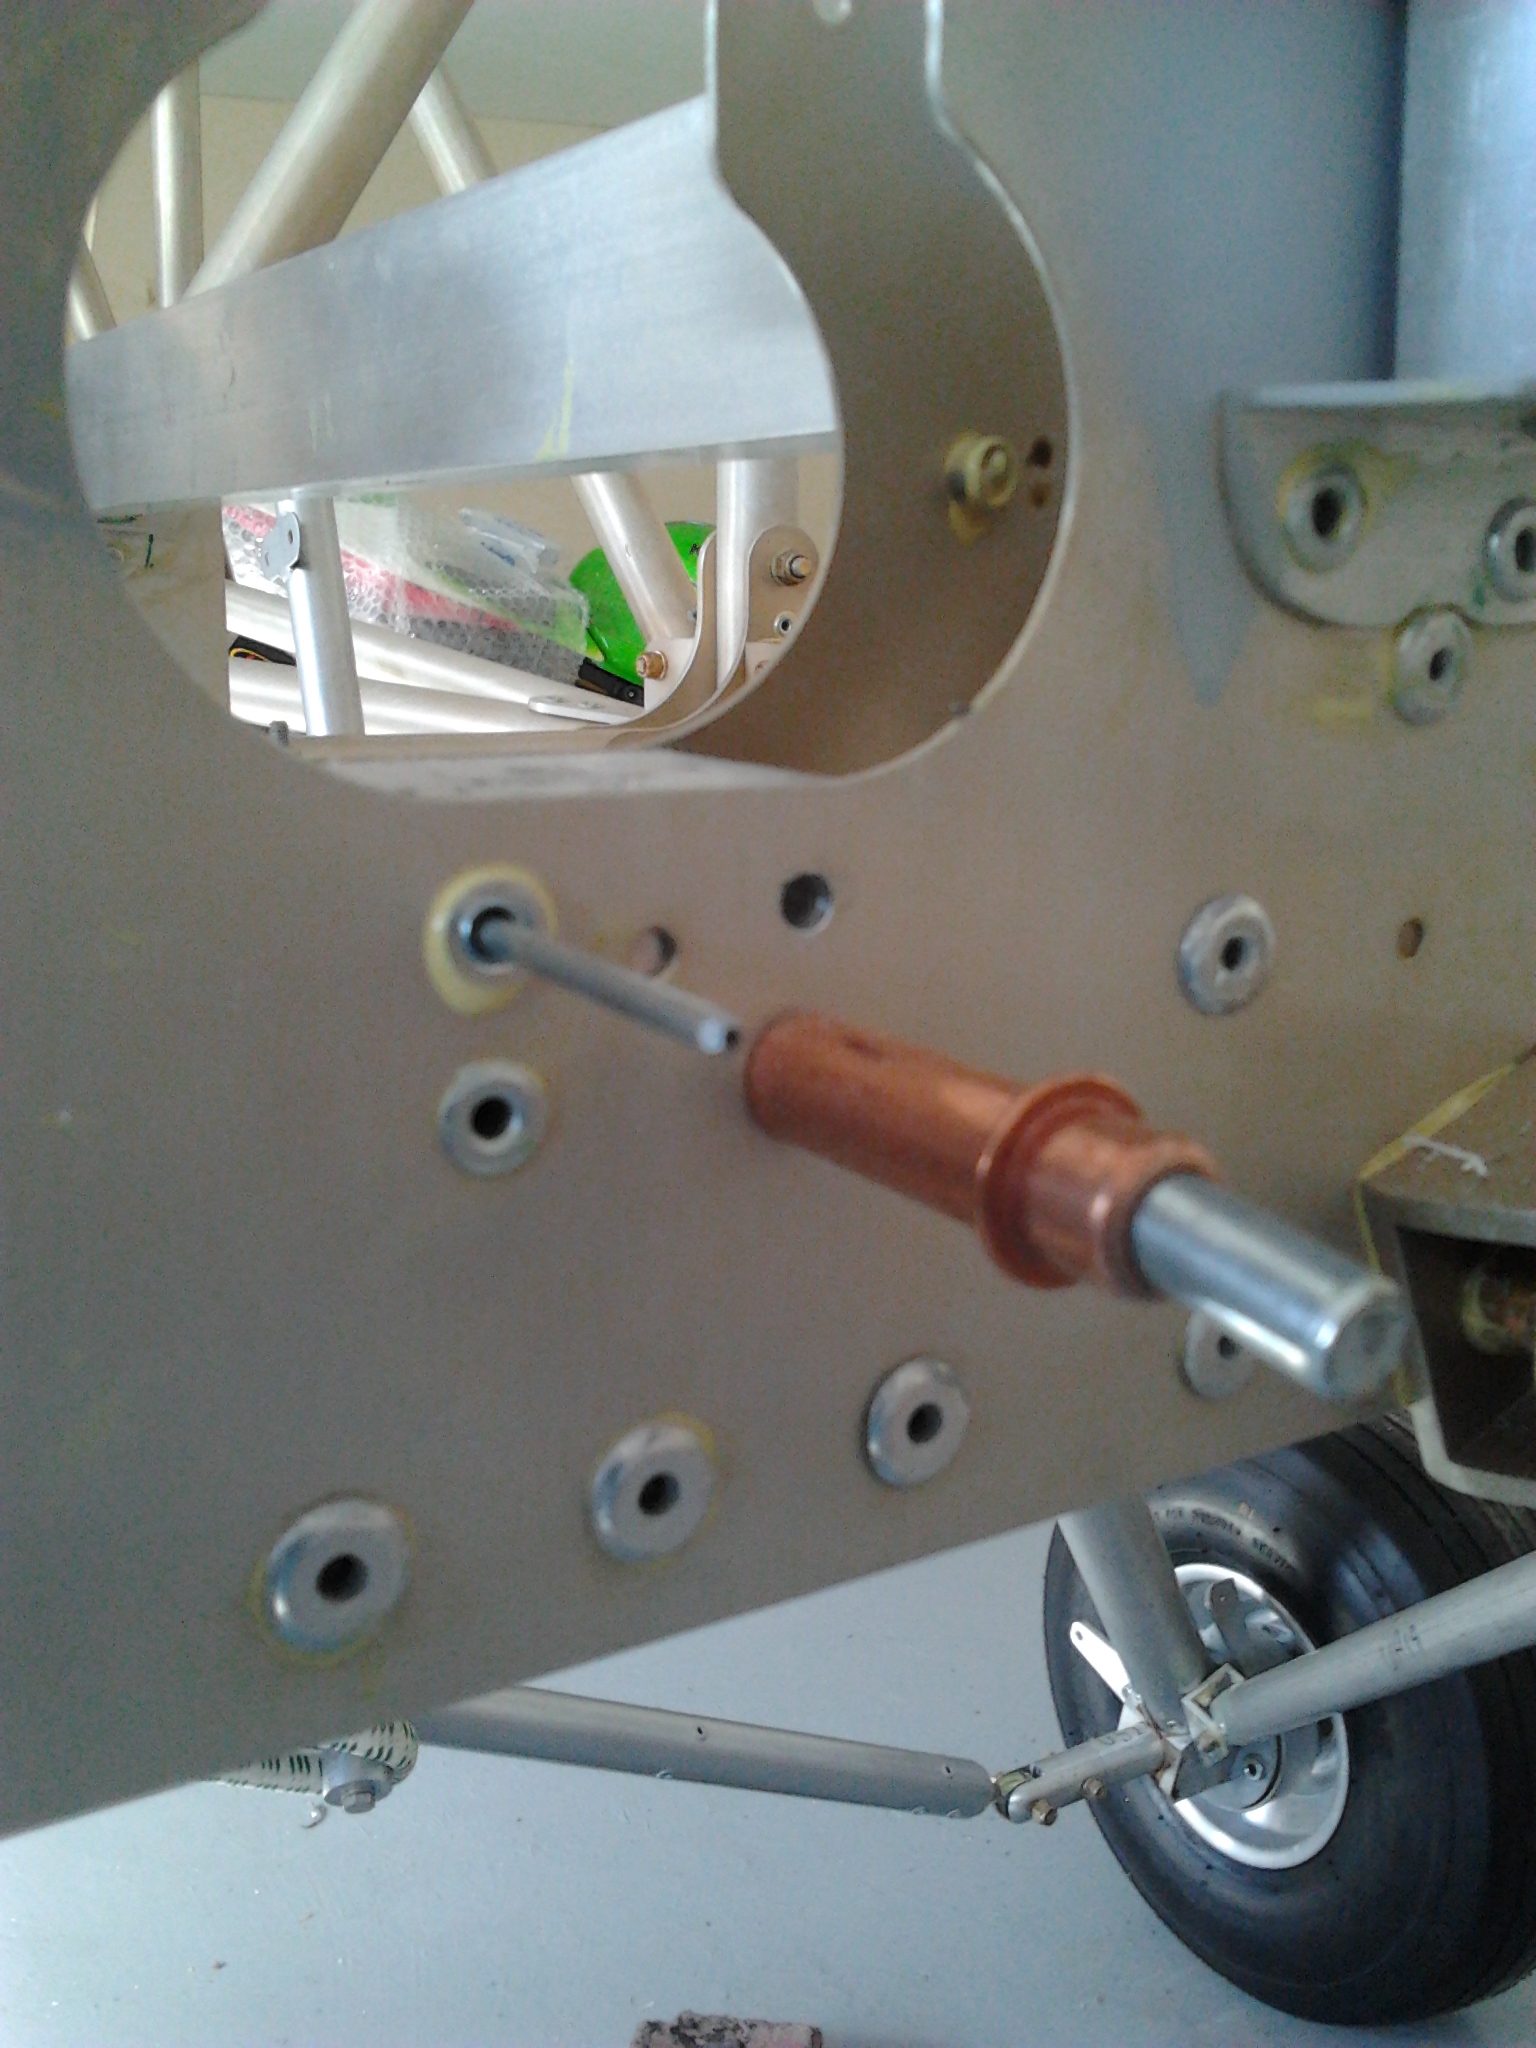
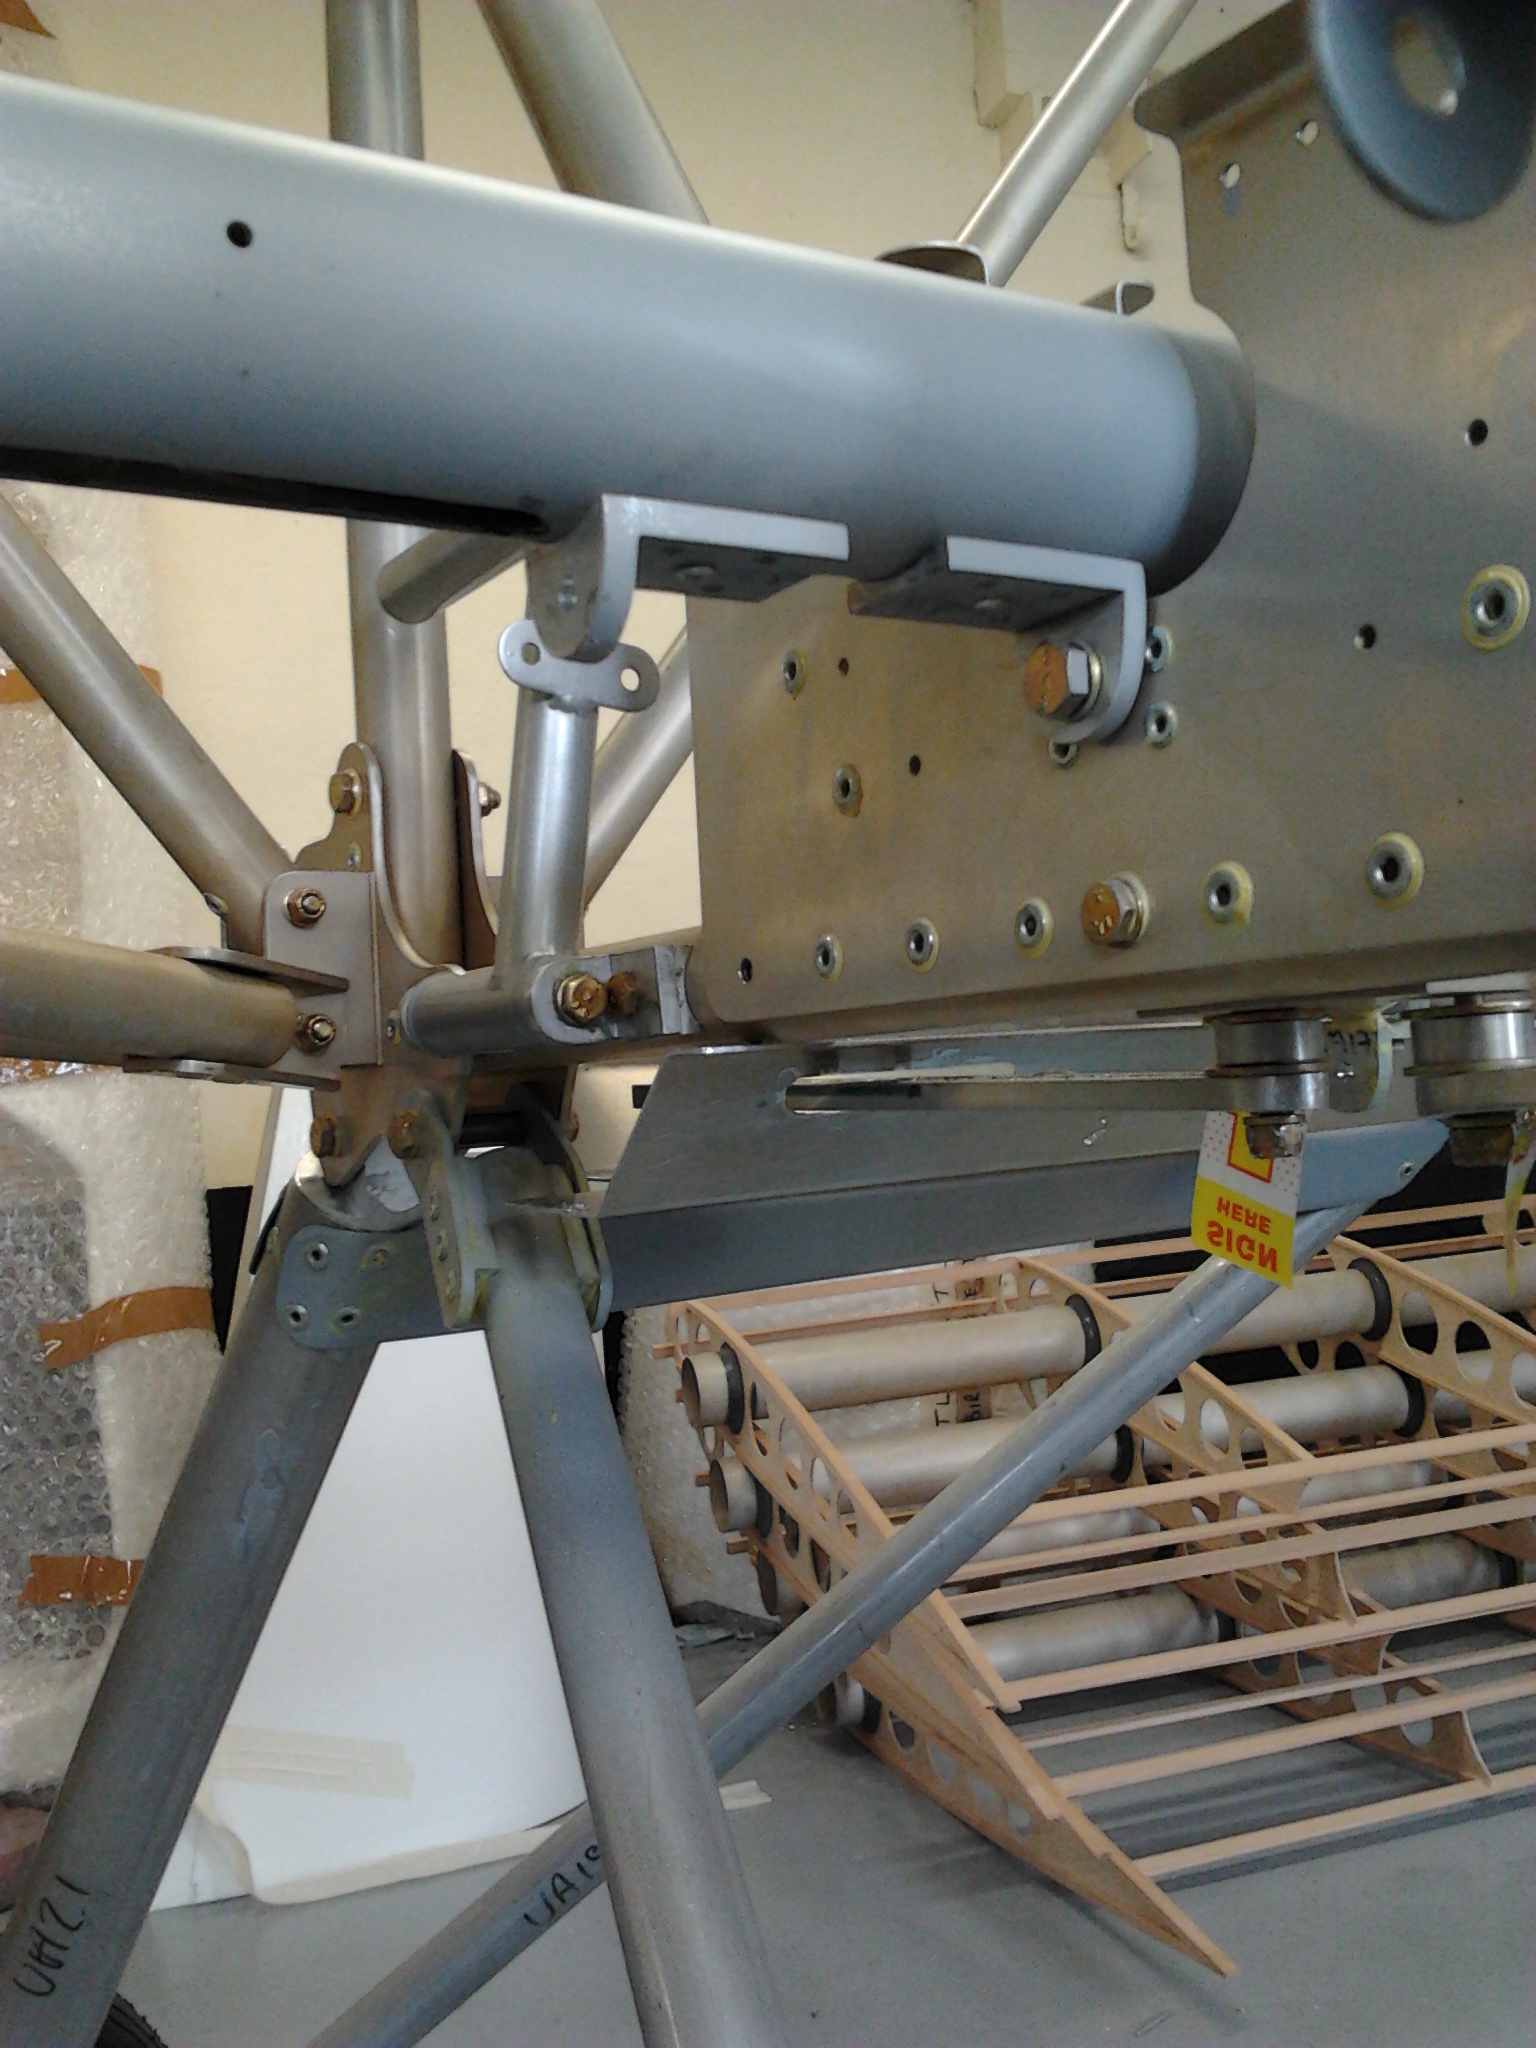
Initial check of engine mounts for Jabiru 2200 engine … found male and female rubbers in the engine box … these provide  secure fit to the engine cradle

Engine rubbers

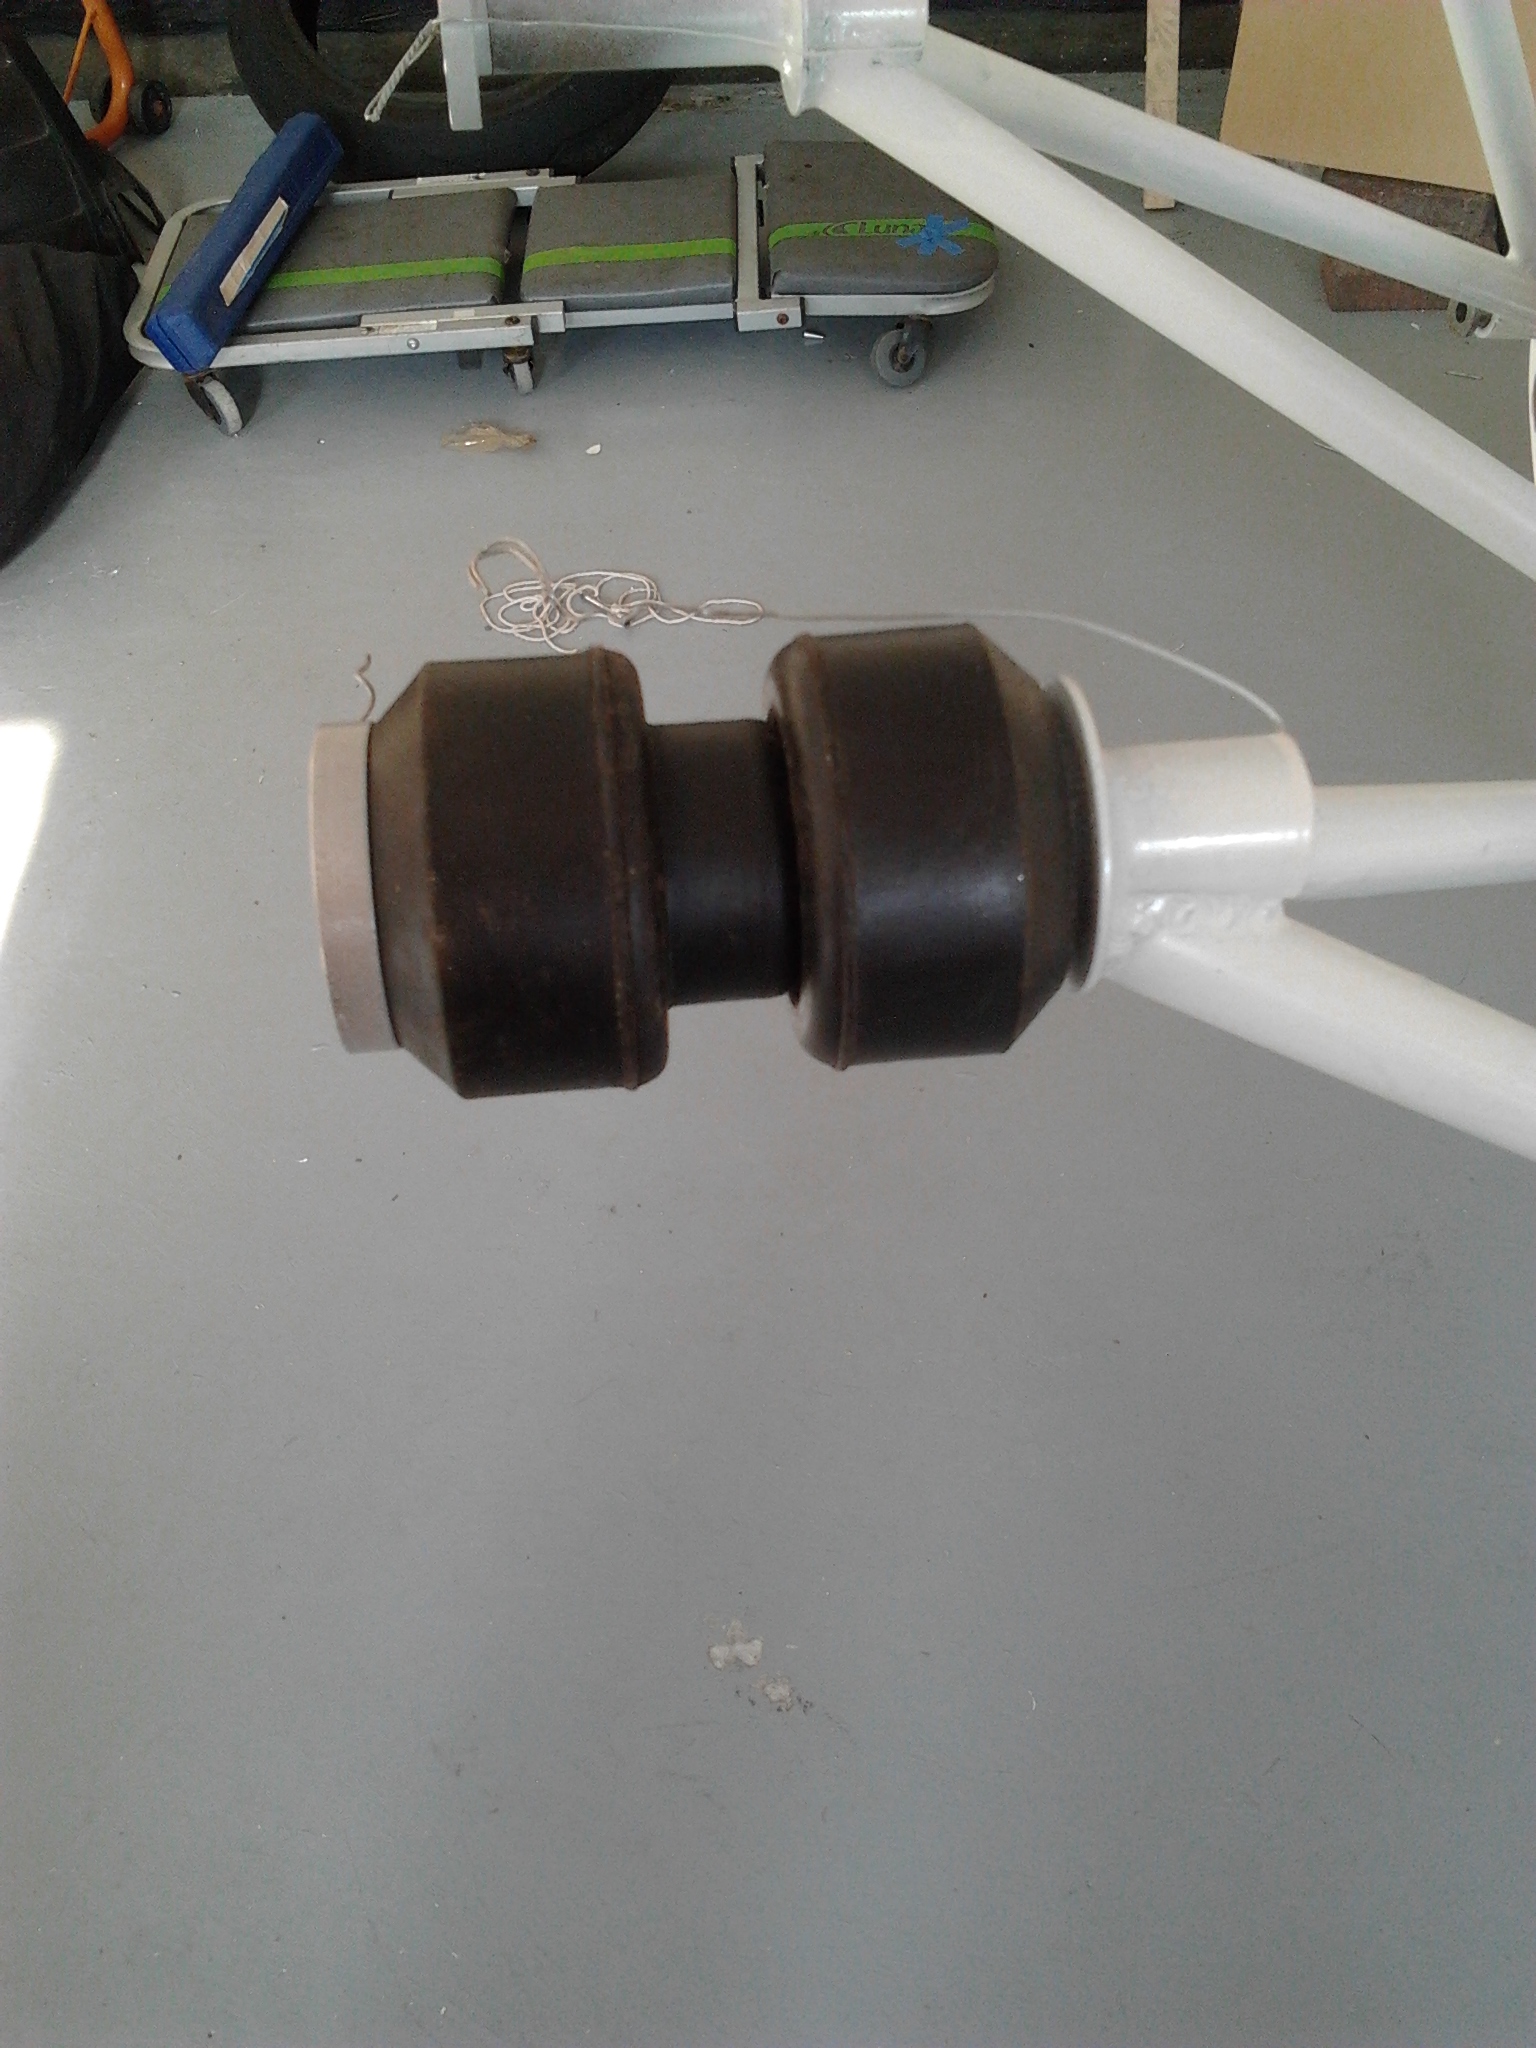
Need to source the longer bolts that go through the two rubbers, back plate and support flanges.

Also, looking at the installation manual, I need to plan wiring, starter solenoid, fuel line runs, ram air cooling, throttle runs etc

Plan will be to get engine temporarily ‘in situ’ to allow top decking and top and bottom cowls to be positioned and then begin profiling fittngs.

Control Sticks

Once the Torque rod is in place you can complete the shaping of the Control sticks. These mount inside metal sided shrouds and run in bushes. The spades of the control rods run in the central slots you have shaped in the torque rod tube.

2 joysticks in place

You need to have a widened hole in the side of the torque tube aligned with a similar one in the shroud so that you can retrospectively fit the internal elevator control rod clevis pin.

I found the front elevator space welding slightly proud and catches slightly on full forward and full aft movements. Small filing – re etch prime and its fine.

Careful sequencing to align the aileron collar and control horn and then fit pilot joystick.. good experience for Sam to have a go at nickel rivets …

sam riveting horn aileron horn lower

aileon horn top view

Aileron Rib Peparation

Aileron ribs have metal doublers bonded

Aileron rib doublers

You have to be carfeul to make the correct Left and Right hand units. .. so doublers are on one side or the other depending if it is a LEFT or a RIGHT aileron … also need to check if its an UPPER or a LOWER aileron so that the pick up points are in the right direction !

TLAC provide a picture page to ‘pre test’ you on which aileron rib is which.

I found each rib needed to be sanded so that it could get onto the aileron spar.. again .. not too much off to keep it as a stiff fit.

Aileron rib rivets

This work is not being carried out at the barn but in my garage roof at home so I can nip out and do the odd hour here and there and its warmer than the barn so better for curing glue and ultimately fibreglass.

Torque rod control

Fit the support centre bracket between main plates. This has doubler plates that have been pre glued to the inside faces.

Torq control mount position  Torq control mount bracket

Check alignment using fixed rigid between holes .. this is key so that the aileron movement of the torque rod is smooth axially.

Torq align check

Fit Torque tube and ensure ease of aileron movement and no end float

Torq tube in position

Confirm hinge washers

Torq hinge lower

I had a slight problem with one of the brackets moving fractionally when I came to remove the temporary rivets and pre glue them onto the torque rod. The plan guidance says you may need to slightly widen a hole to get smooth movement and a minute amount of filing of the centre bracket leaves the movement finger light !

Blog at WordPress.com.

Up ↑