Oil dip stick access

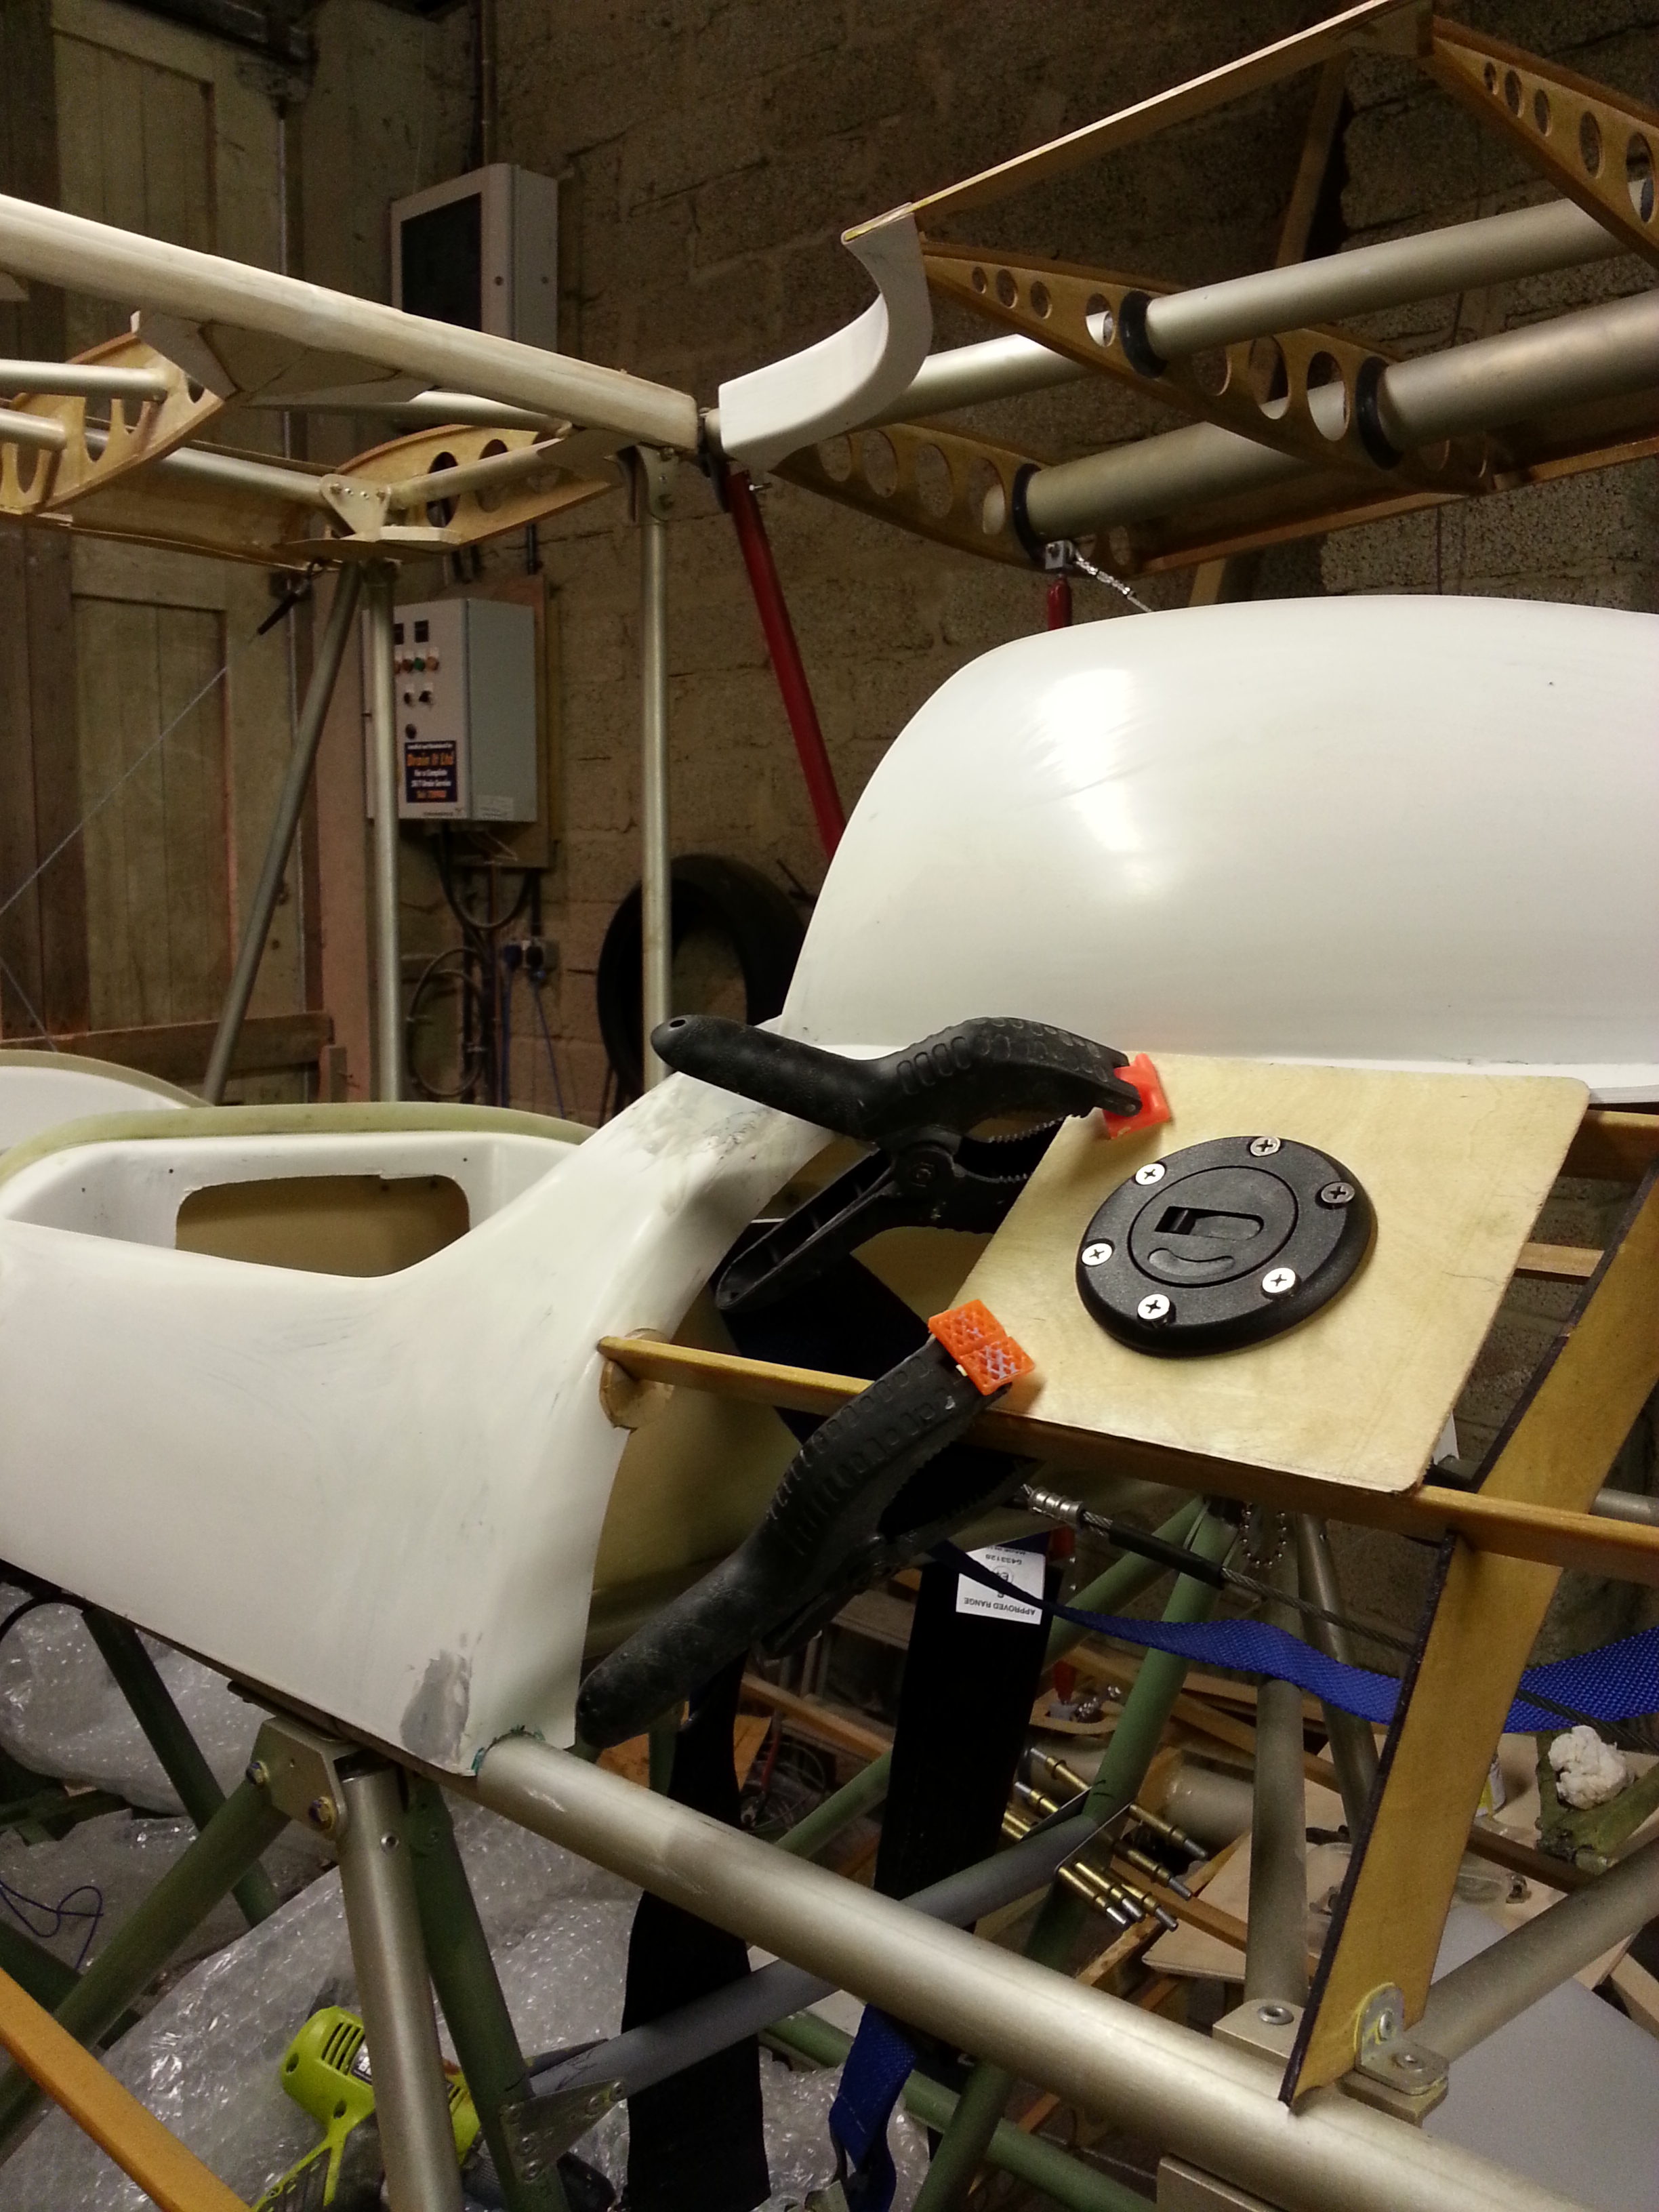
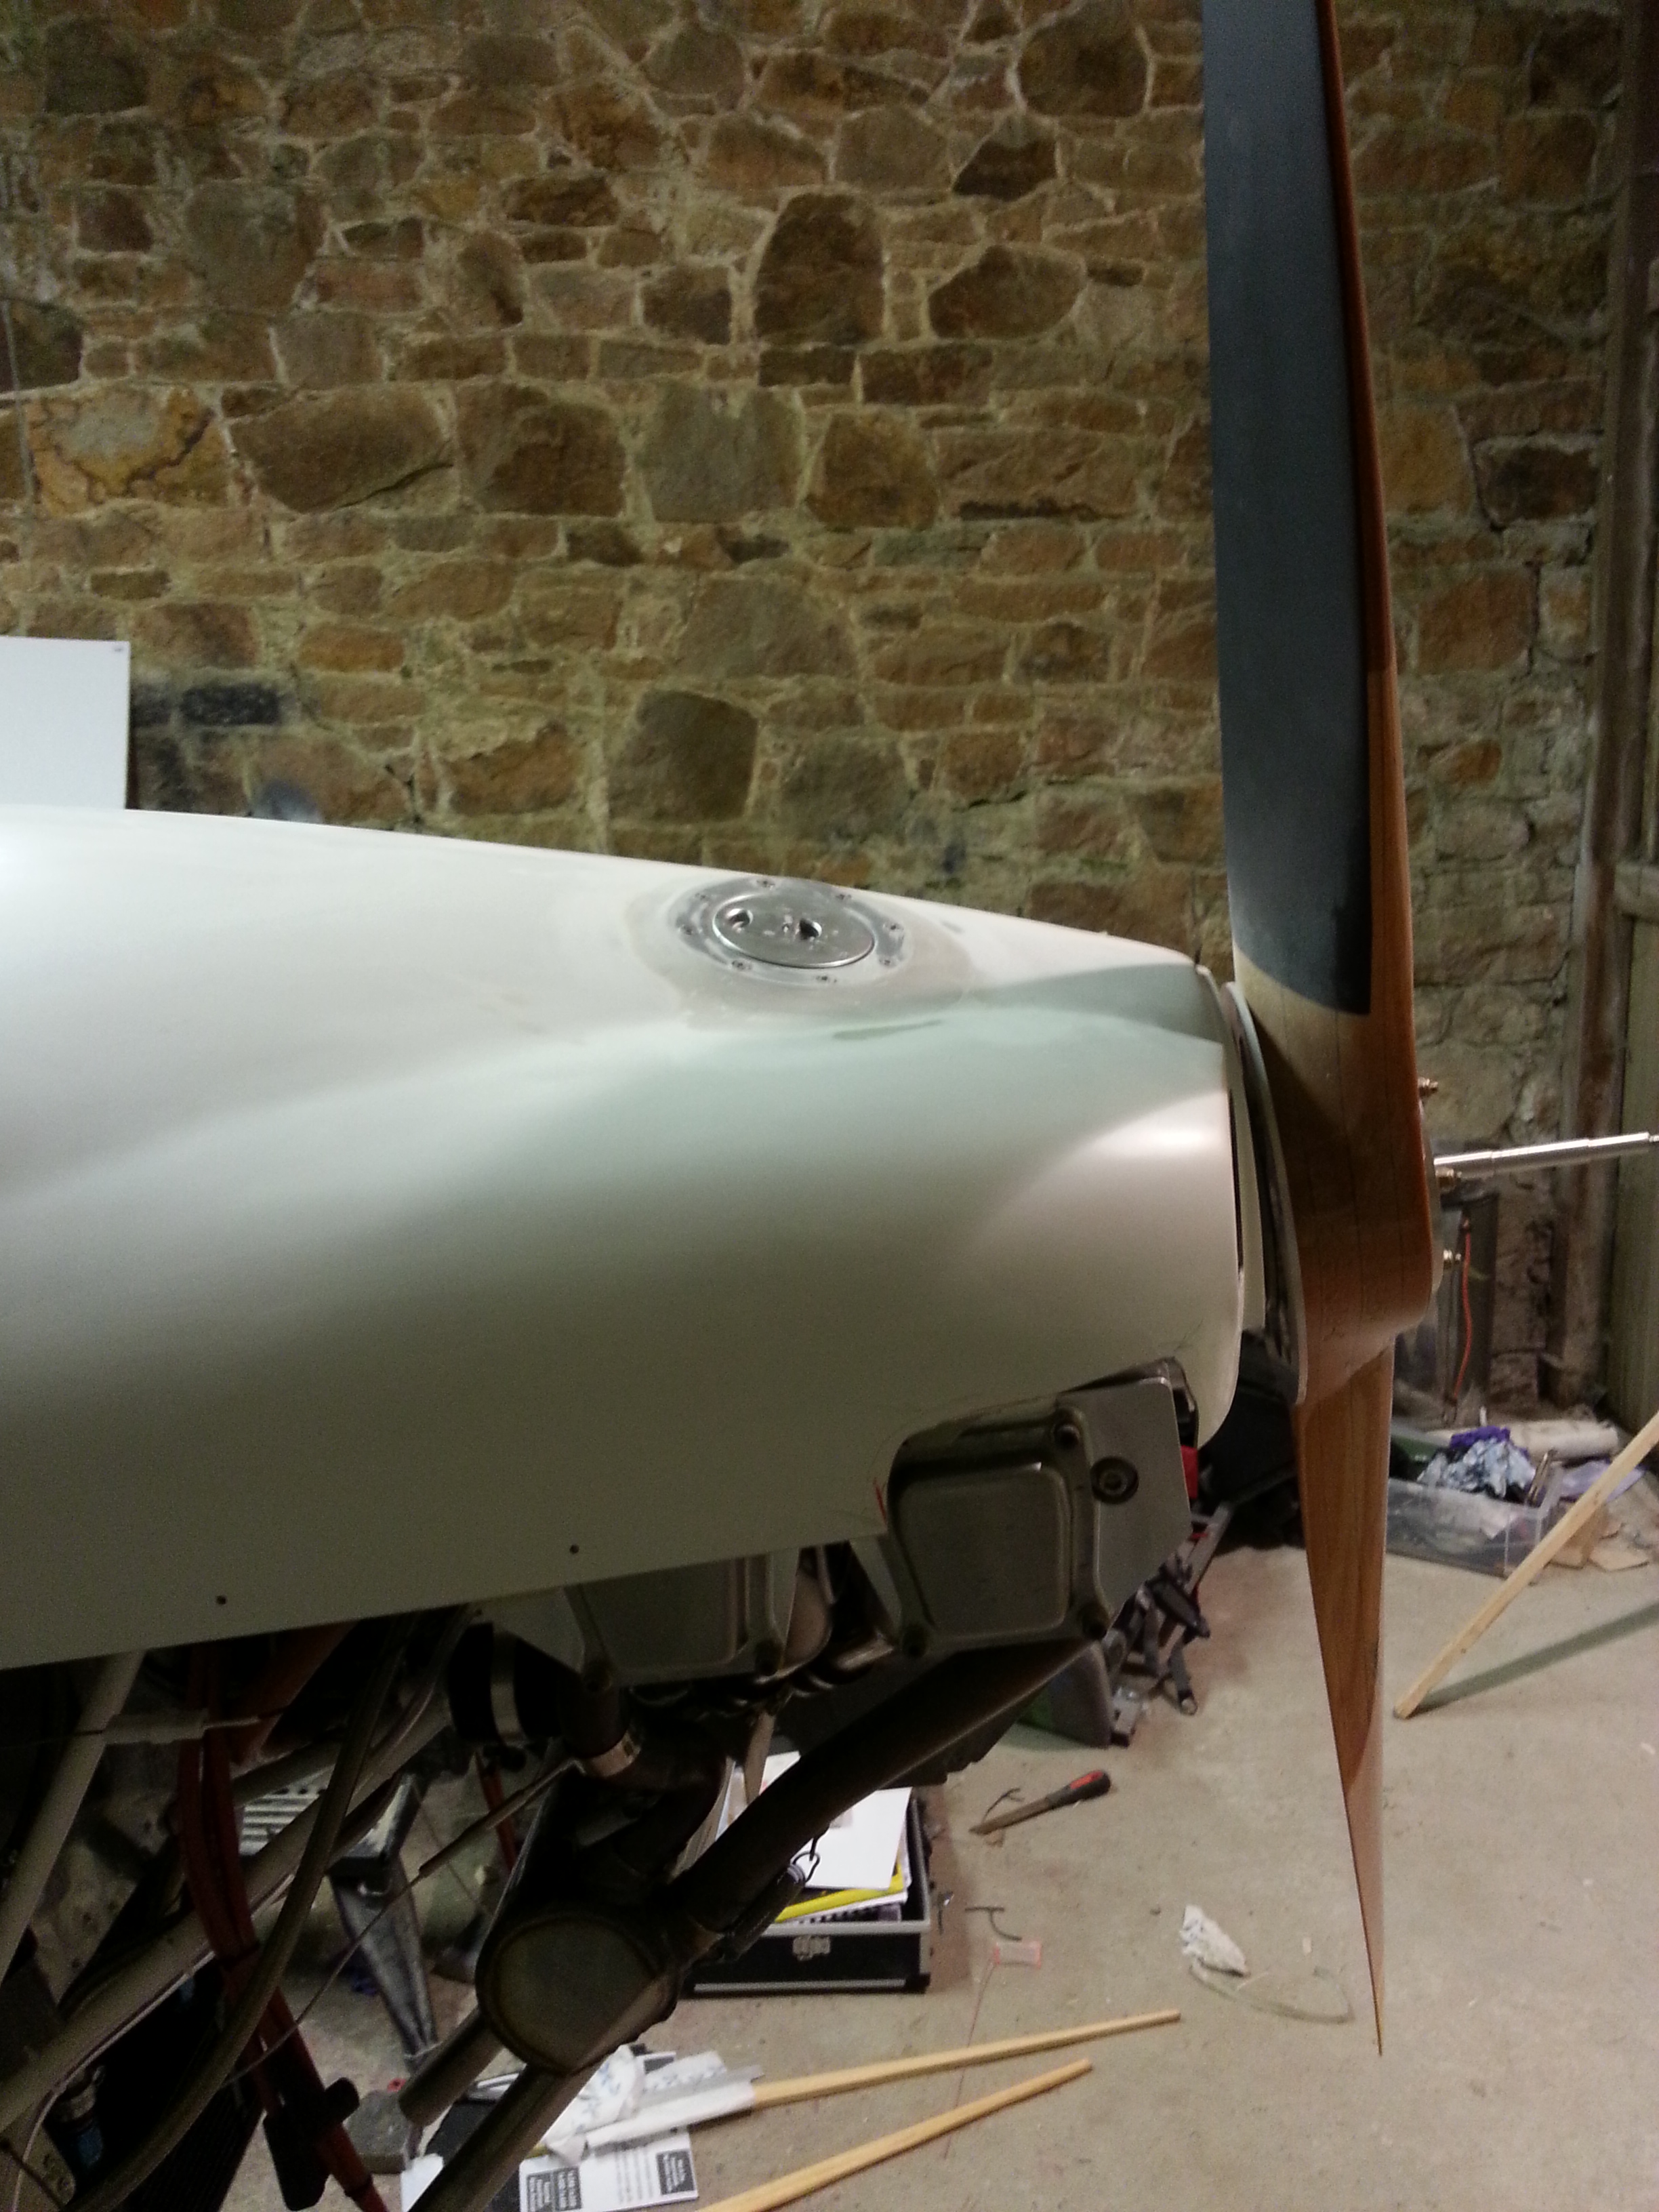
TLAC made a superb job of their oil access pop up on G-TLAC and I wasn’t convinced mine would look as neat and, having gone through the pain of over trimming one top cowl, I opted for a slightly different approach.

20150517_212127  20150517_212819


20150517_213104  20150517_213705

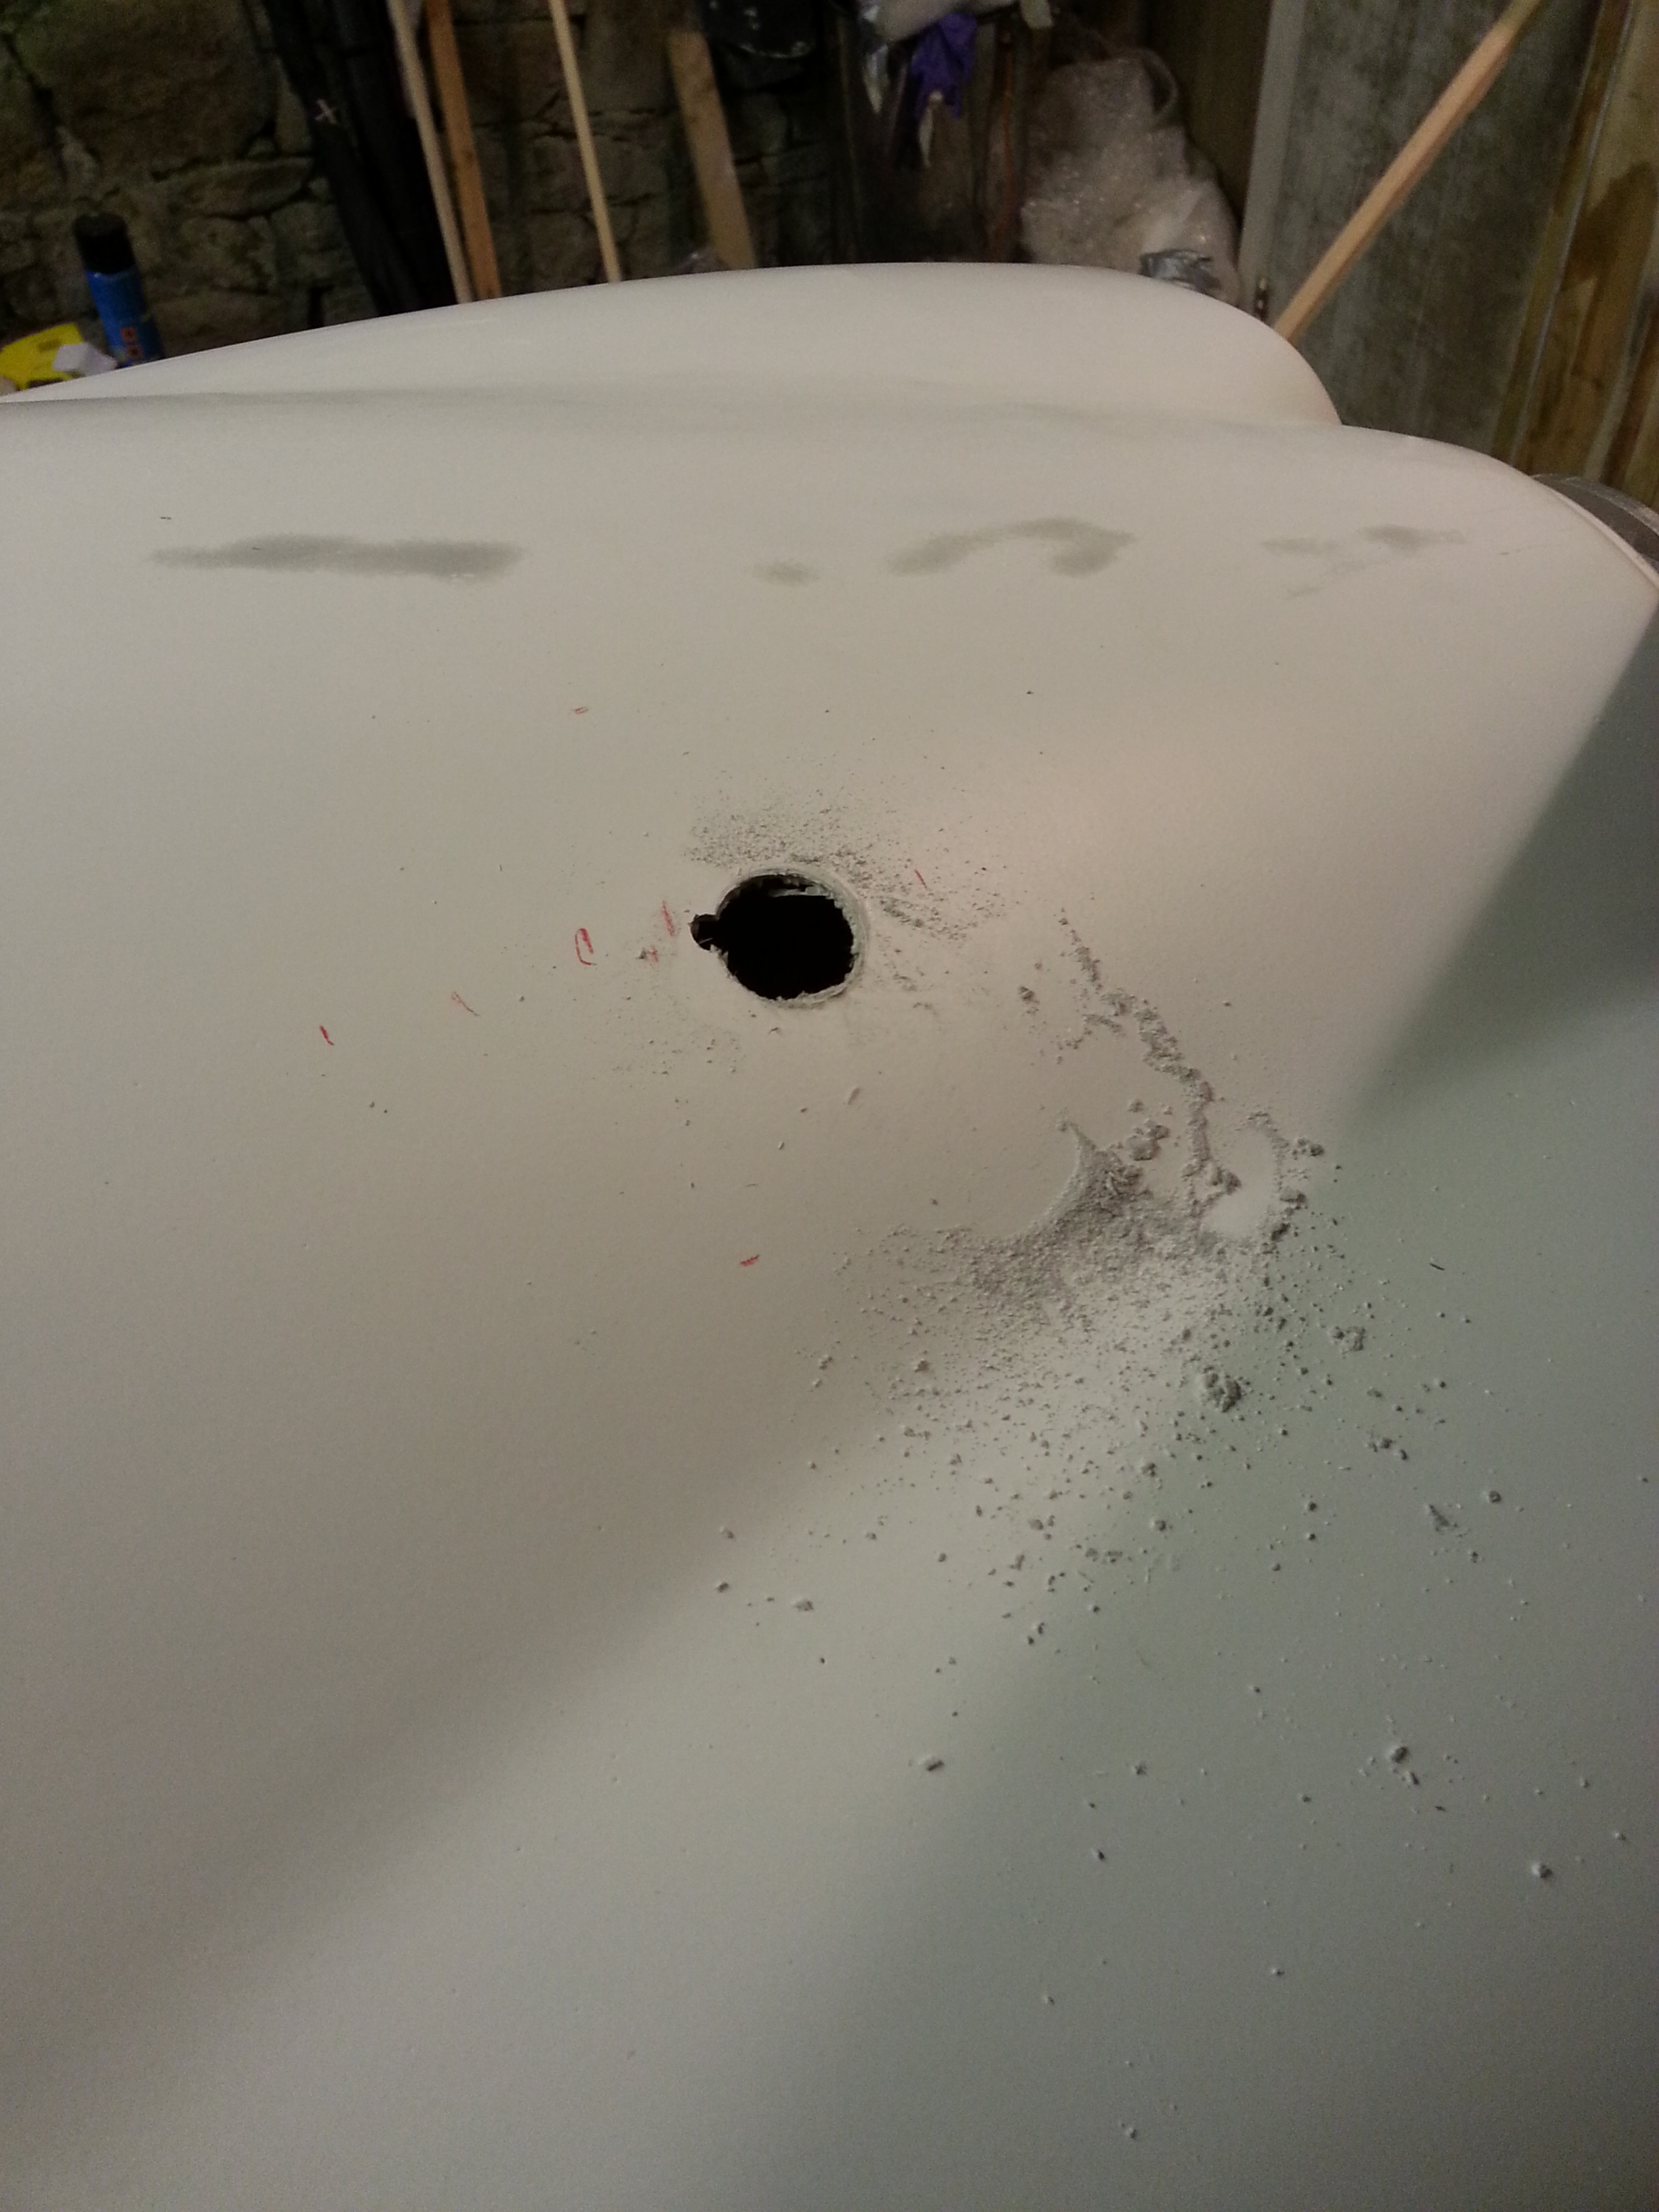
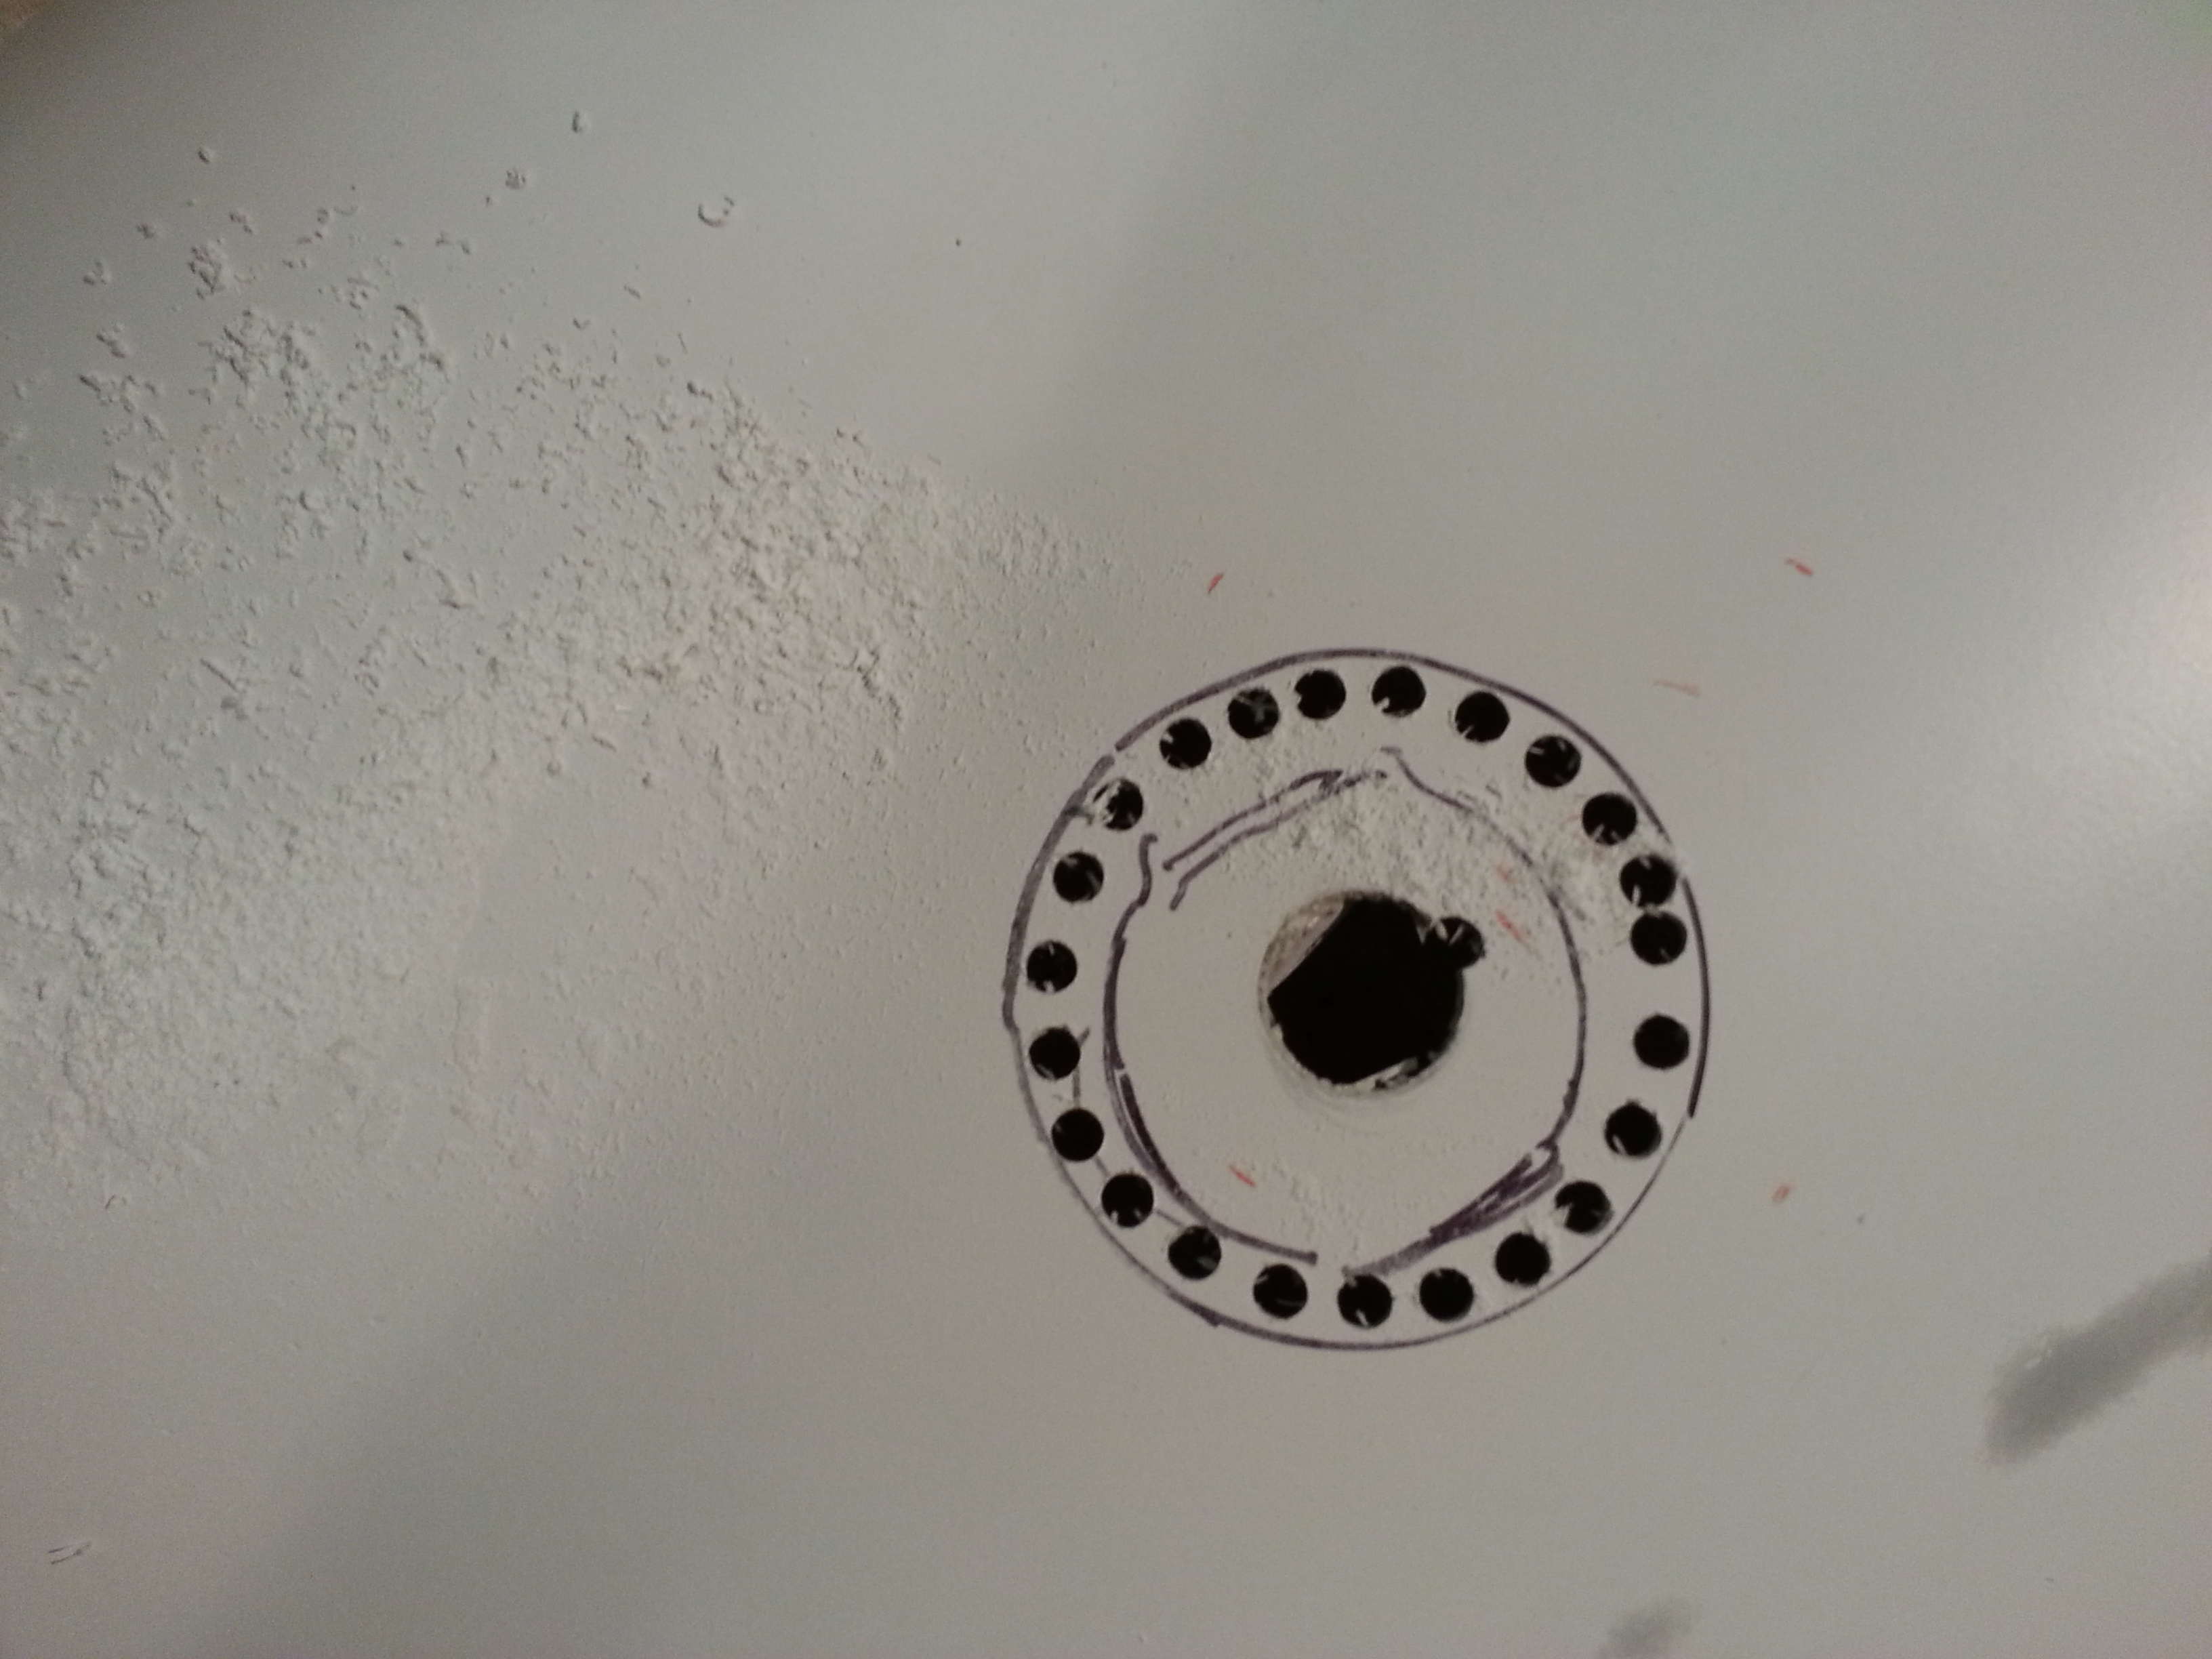
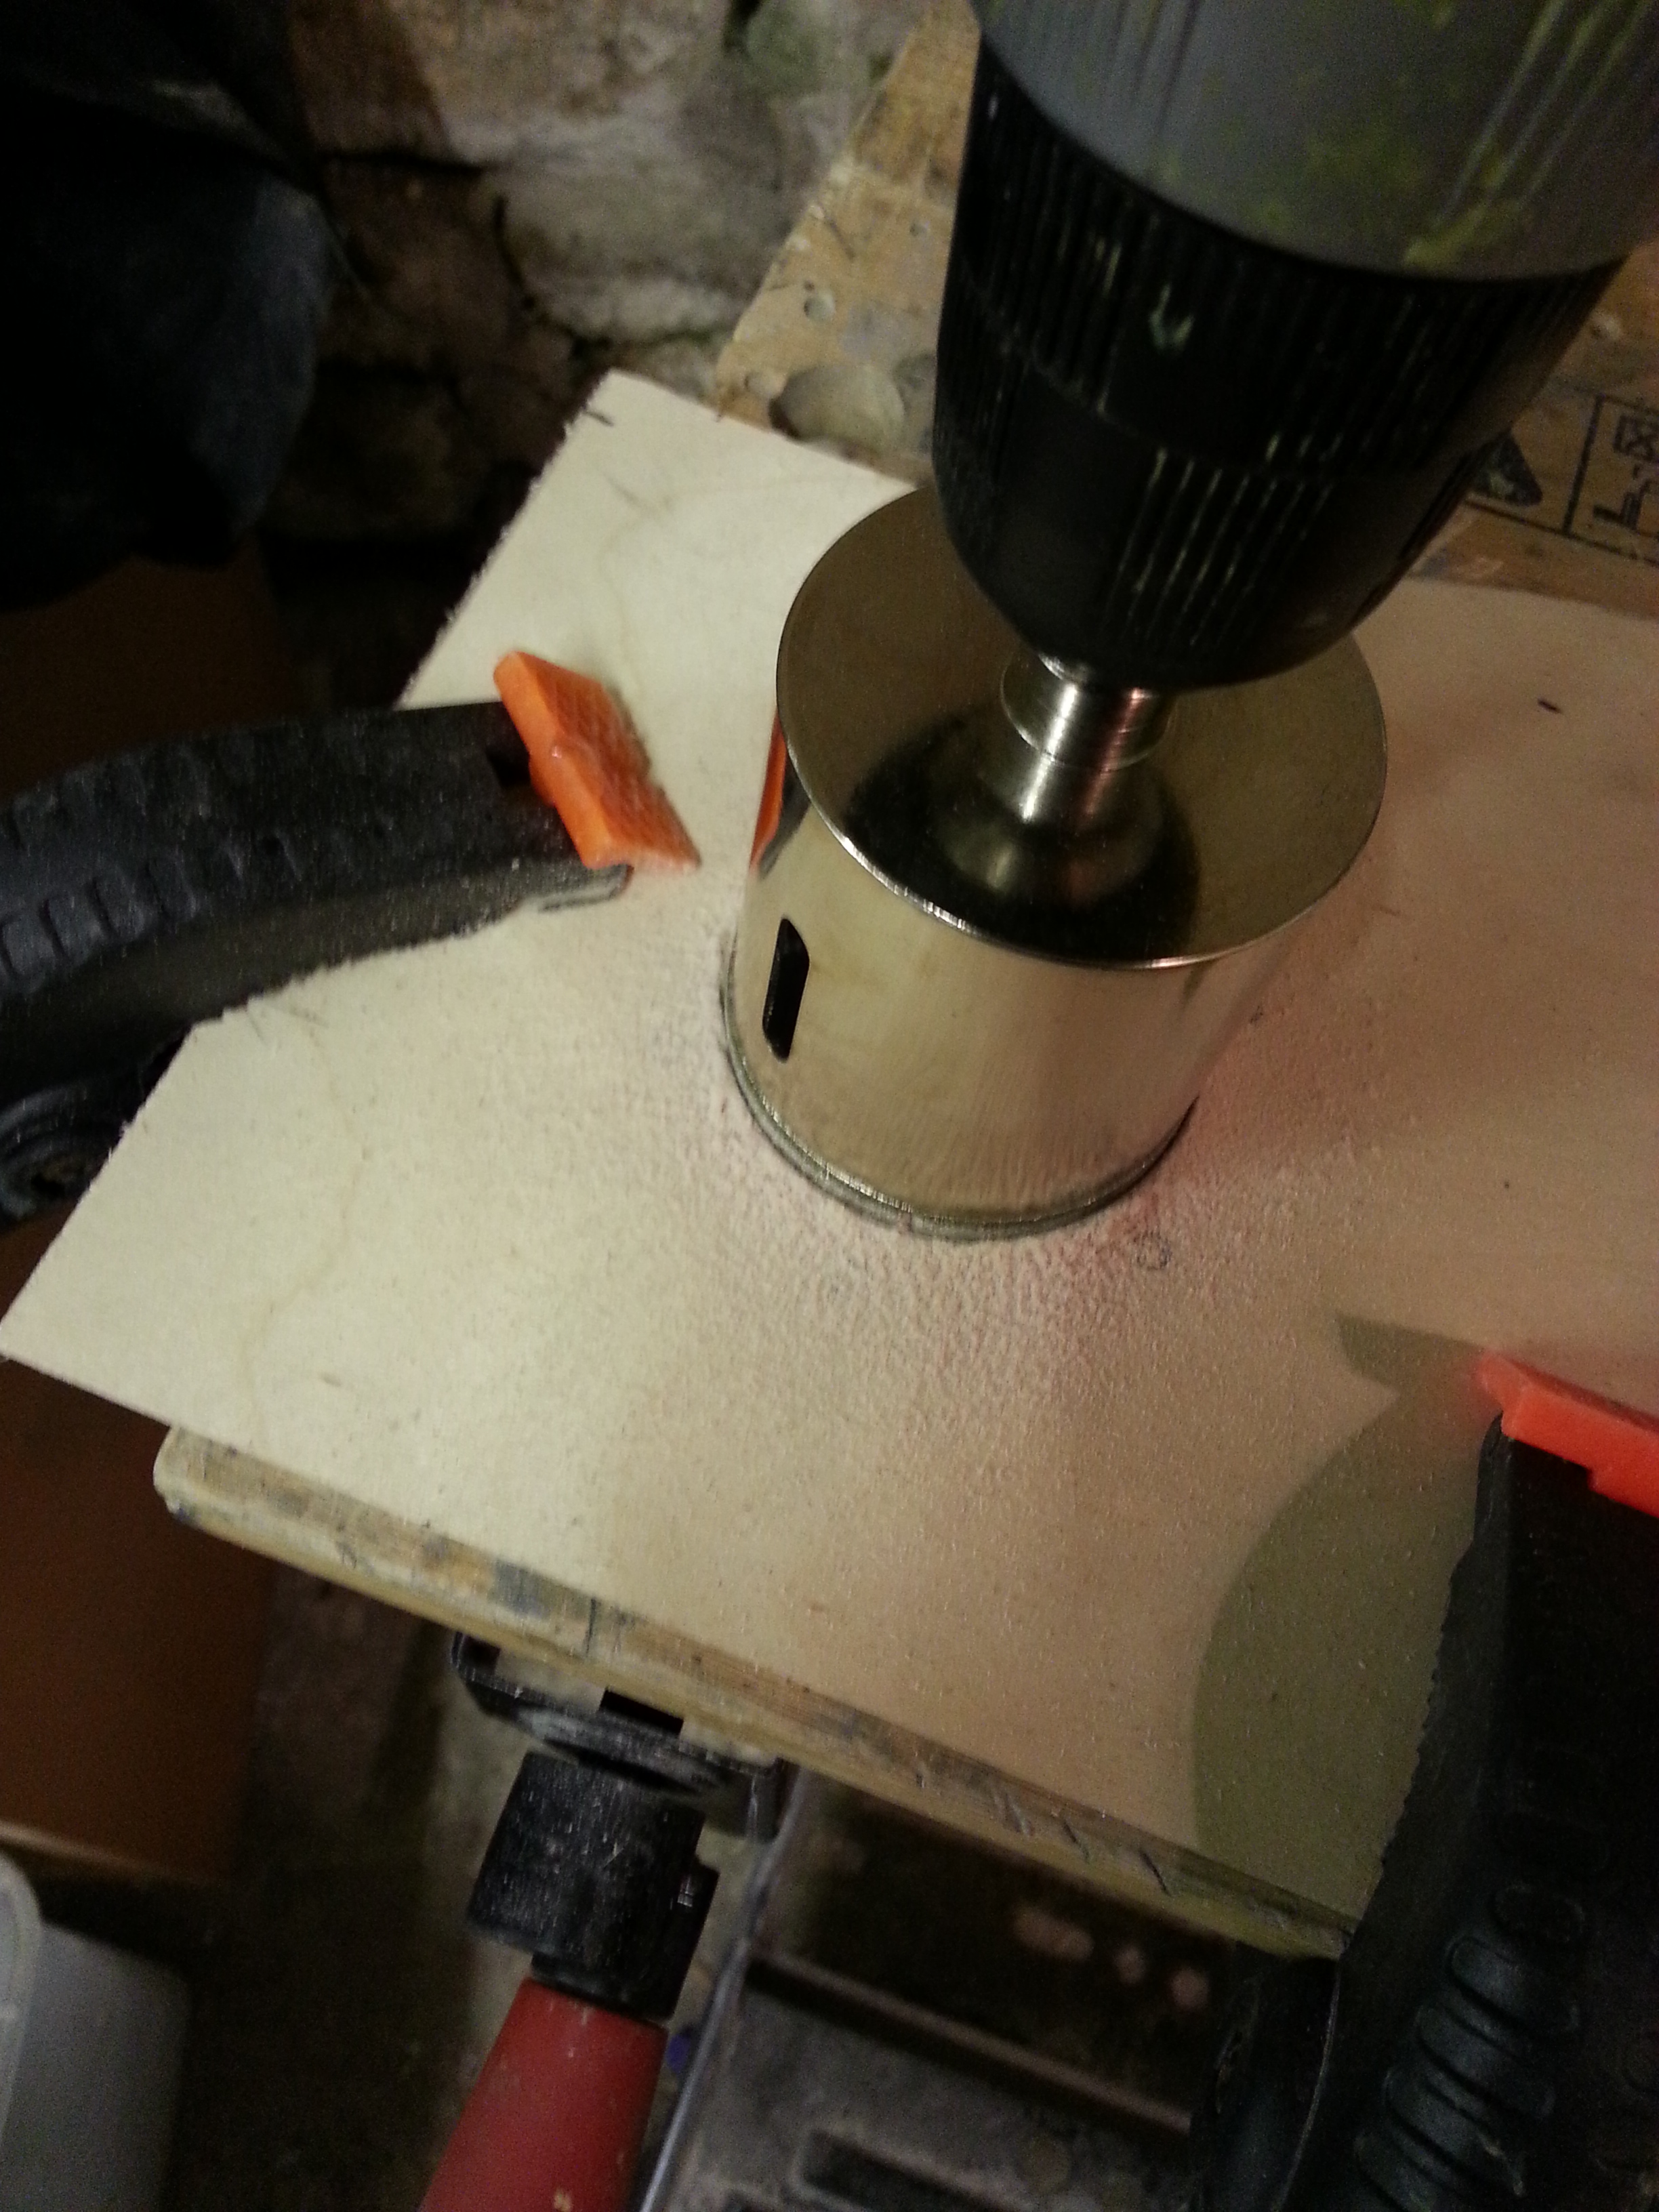
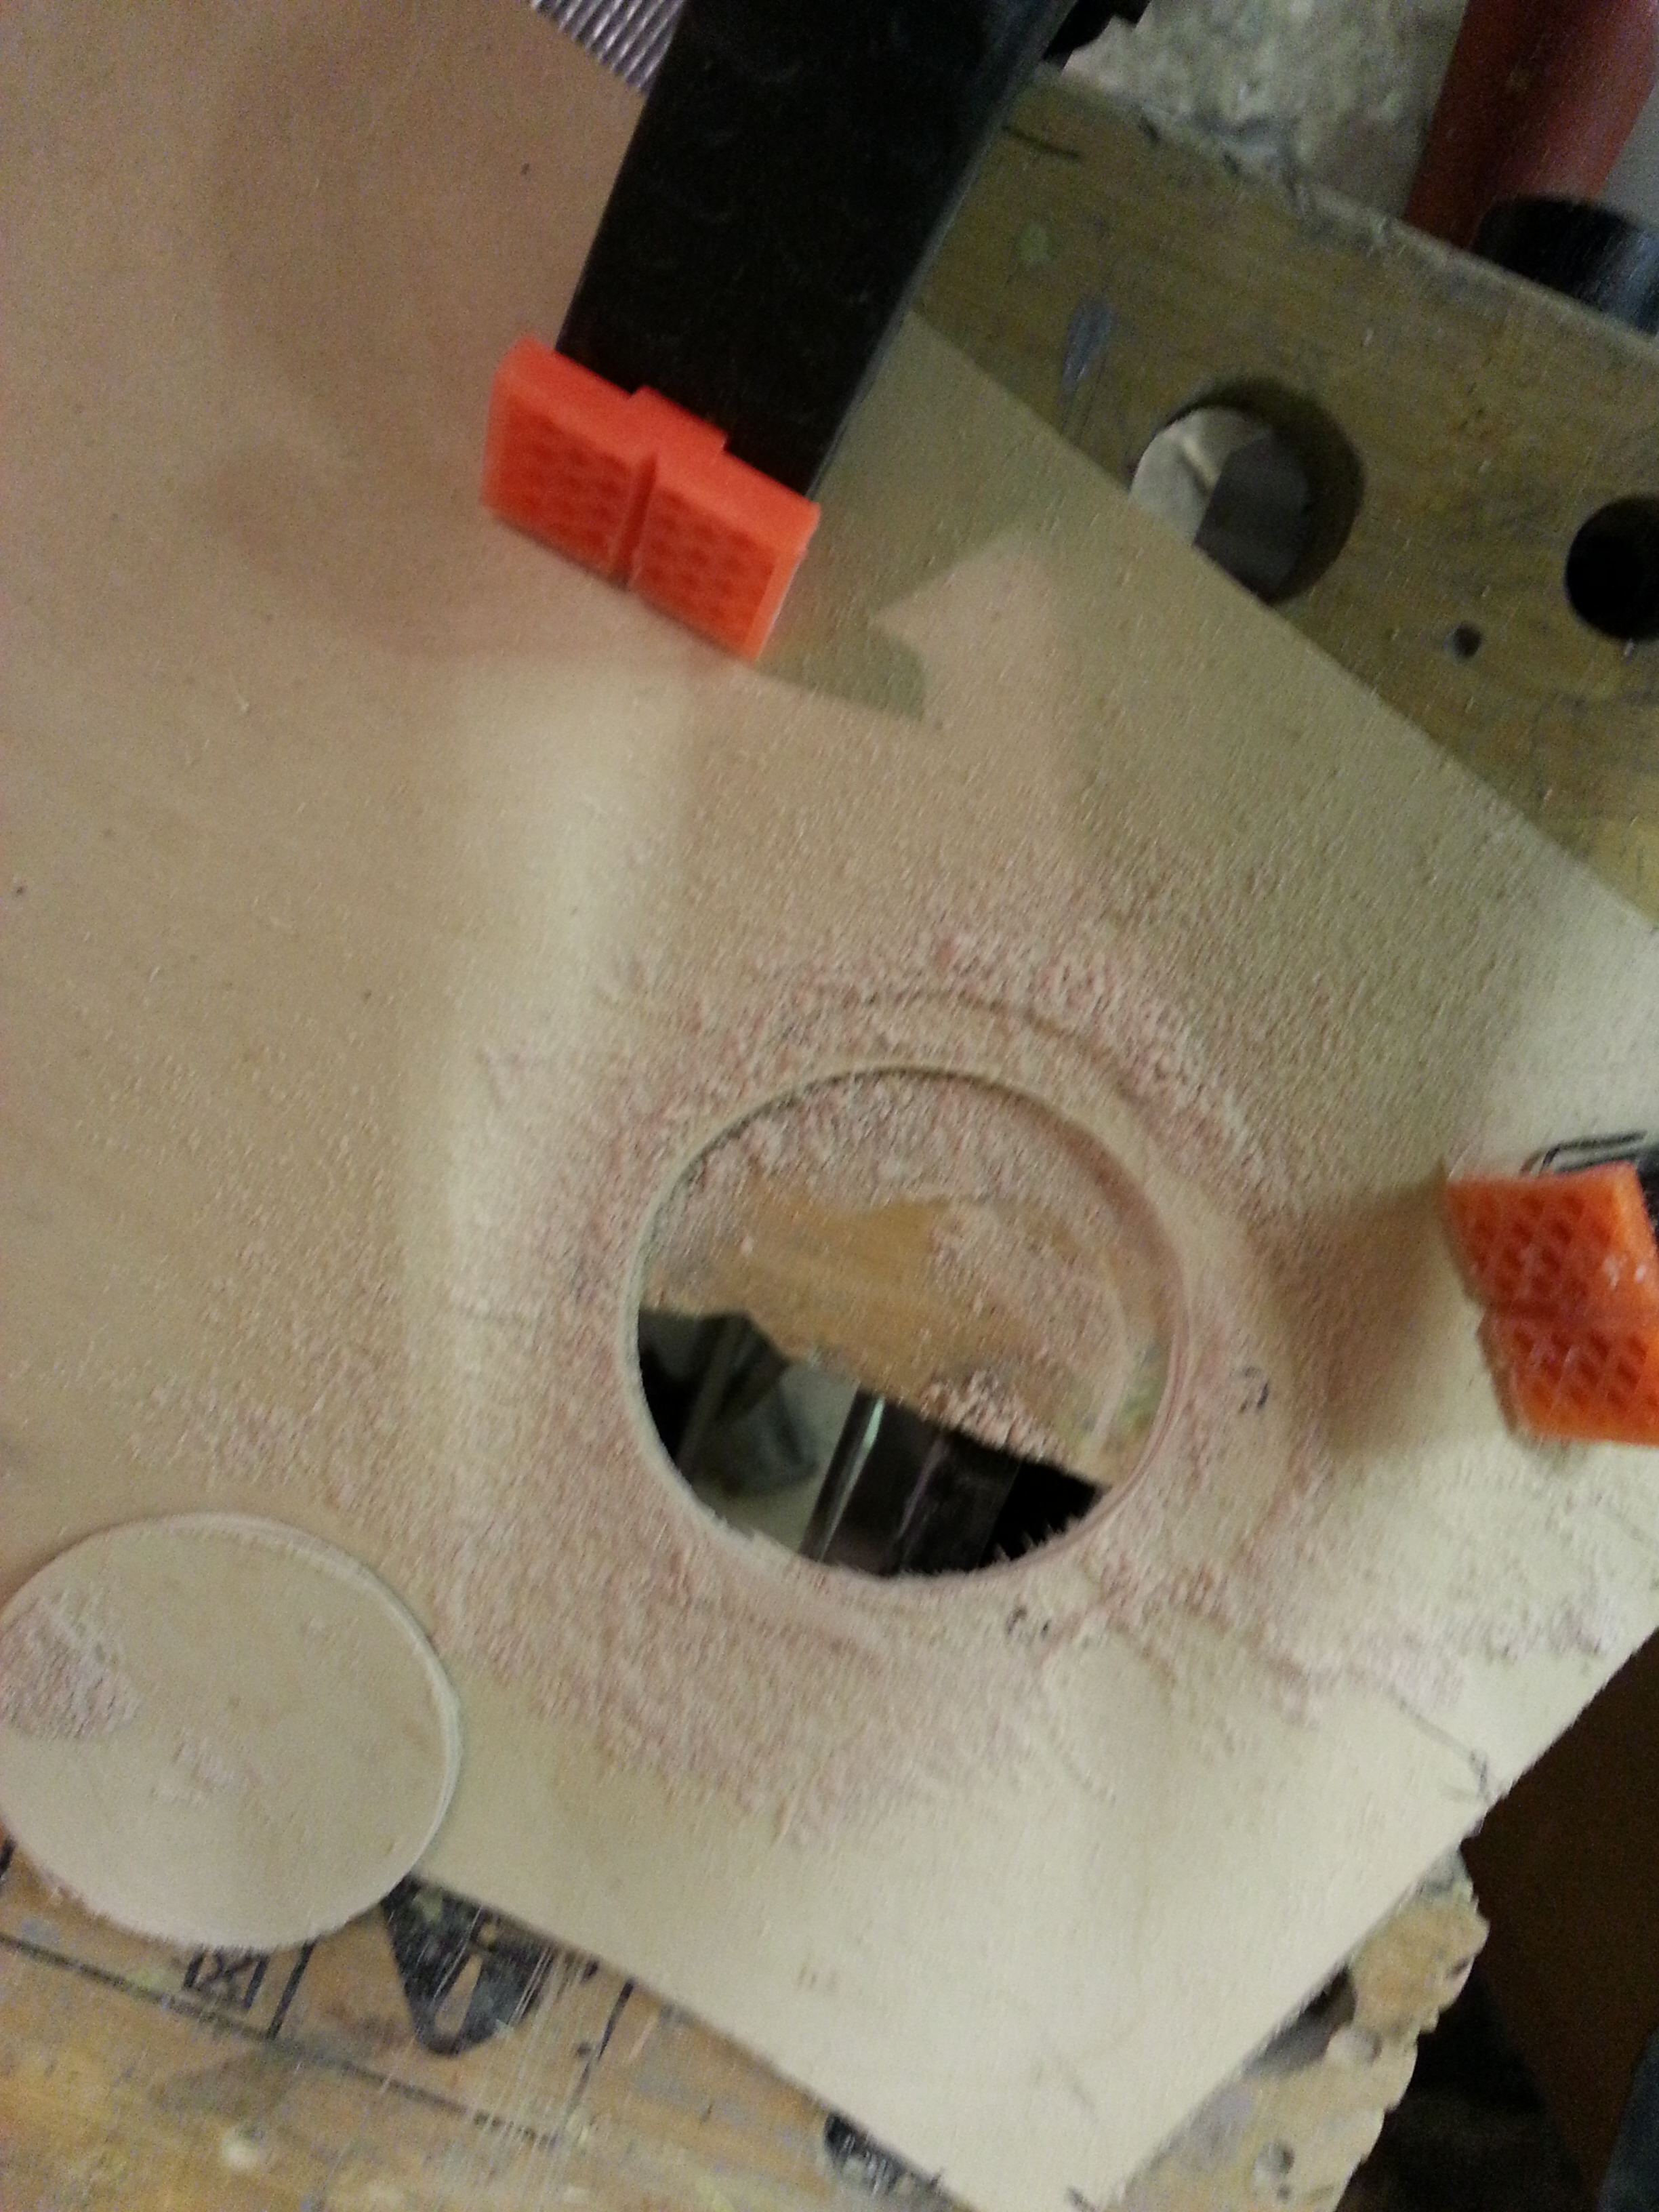
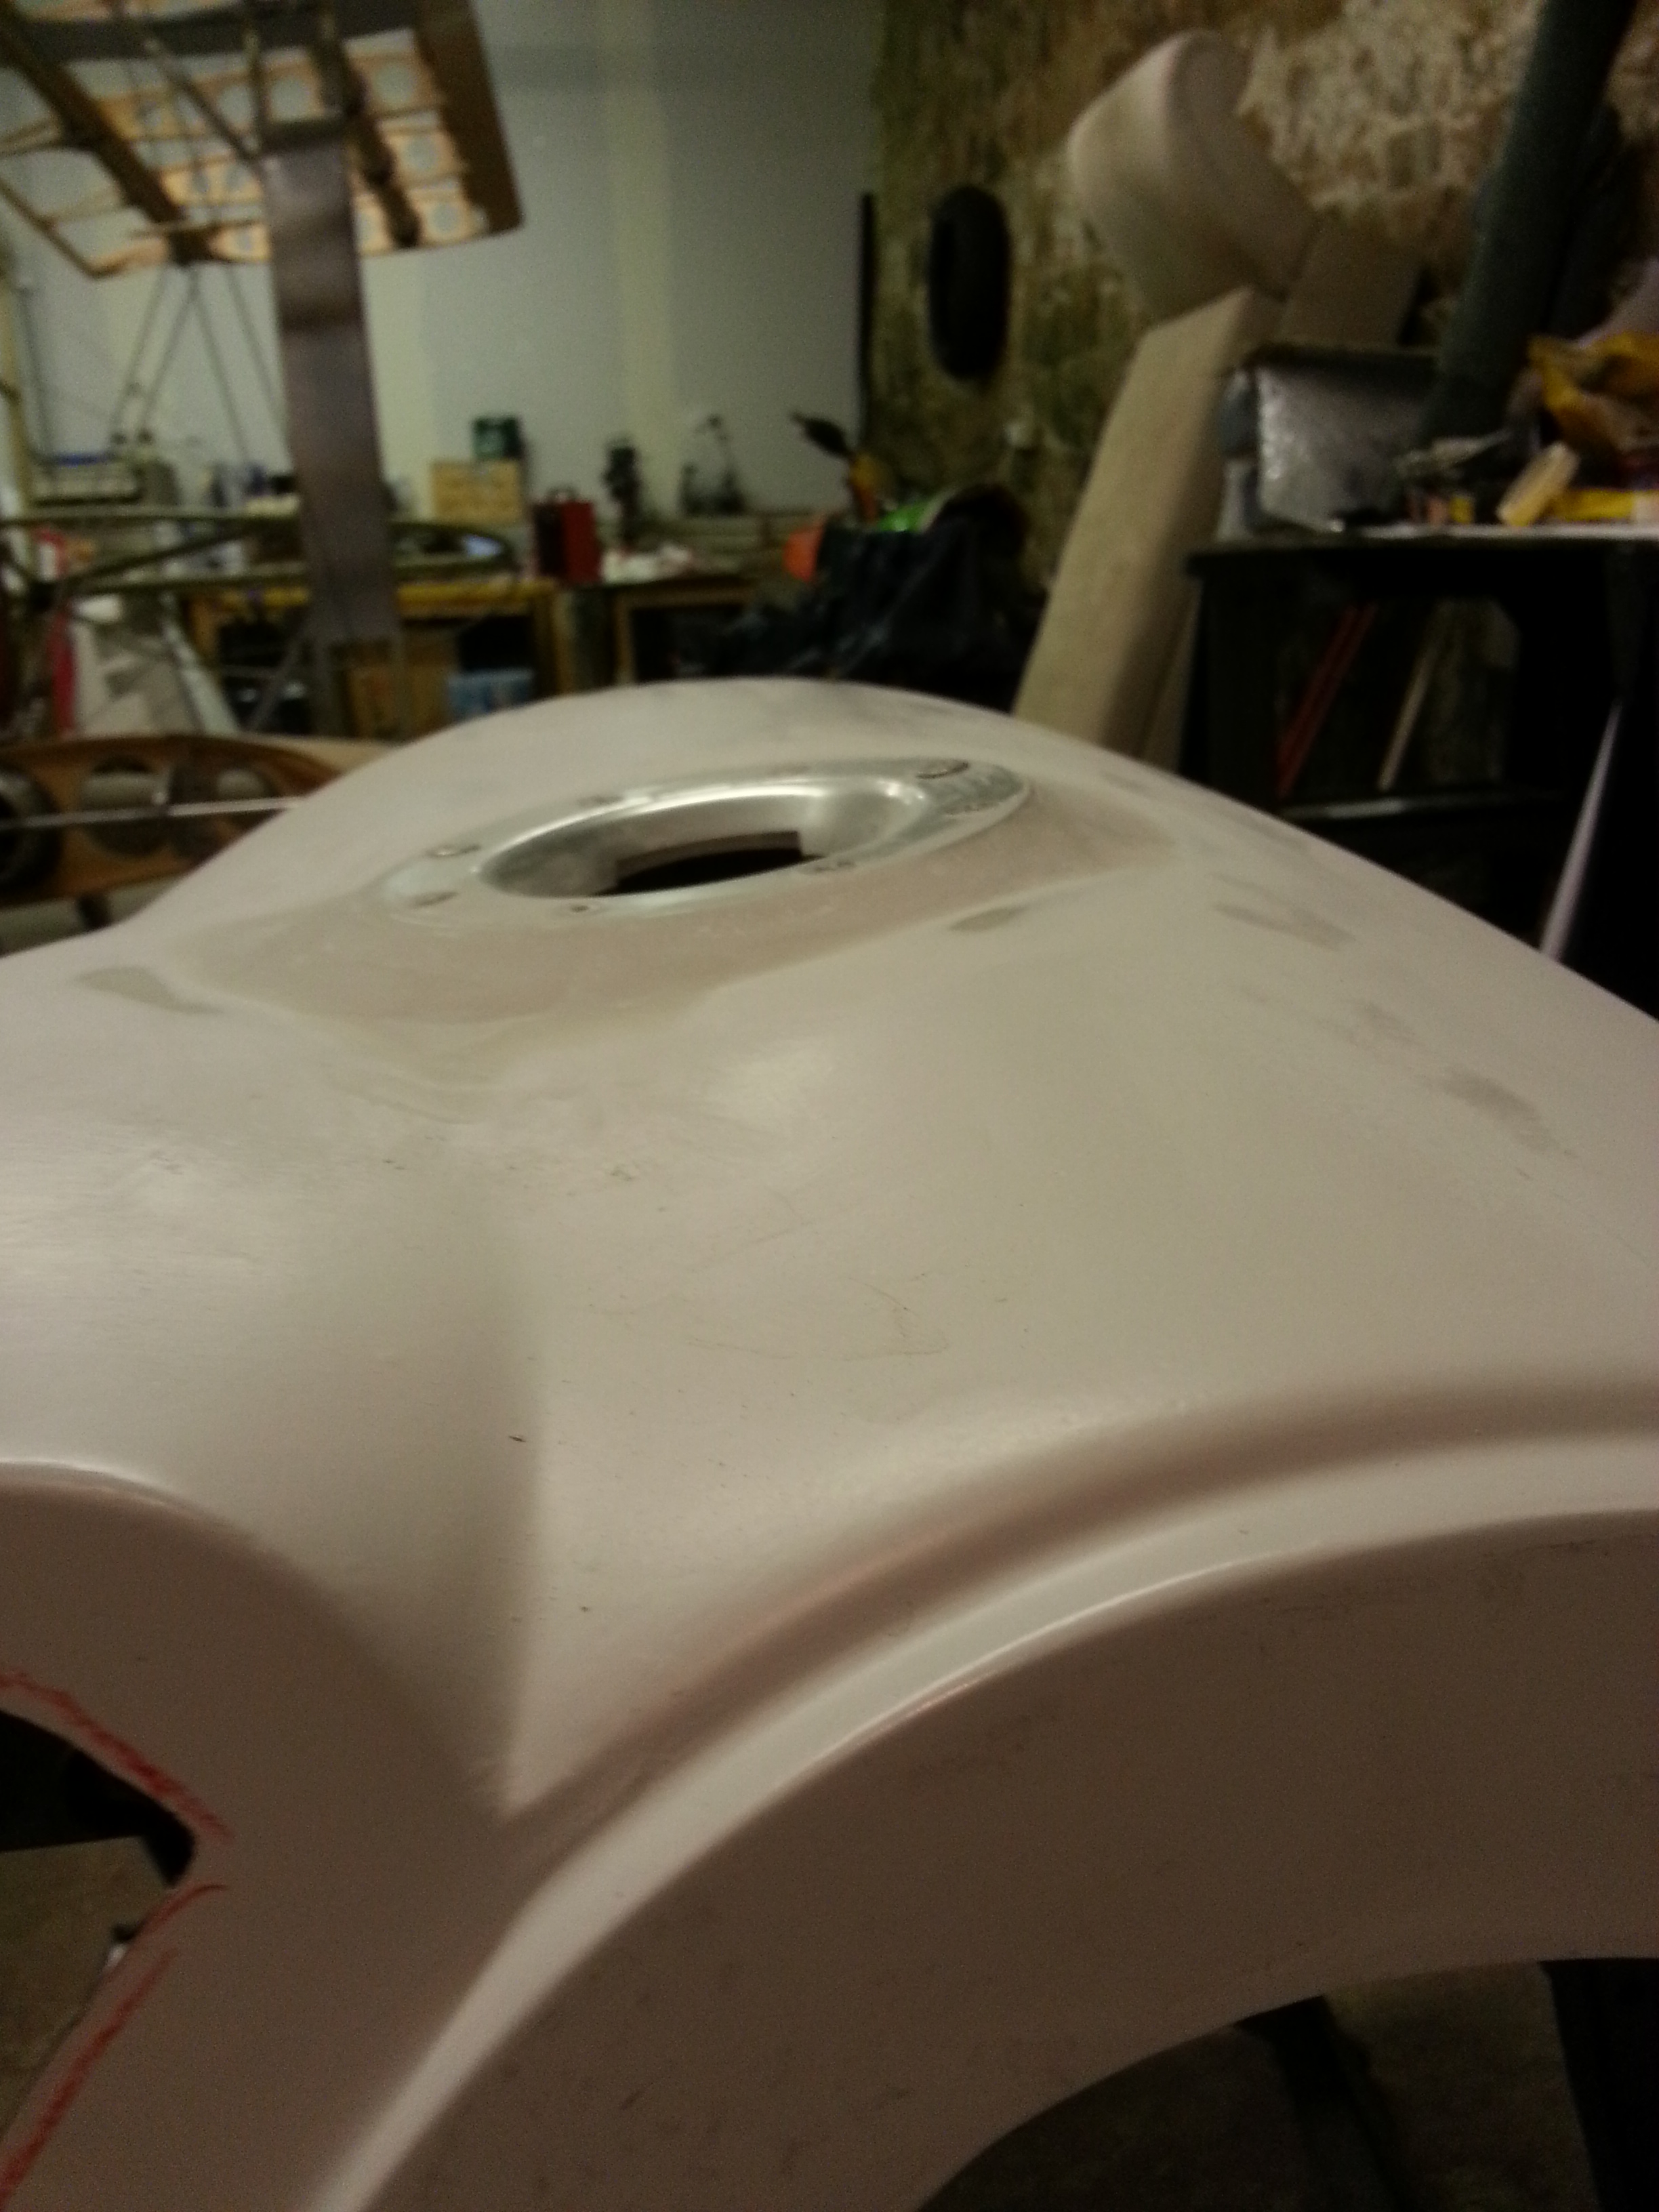
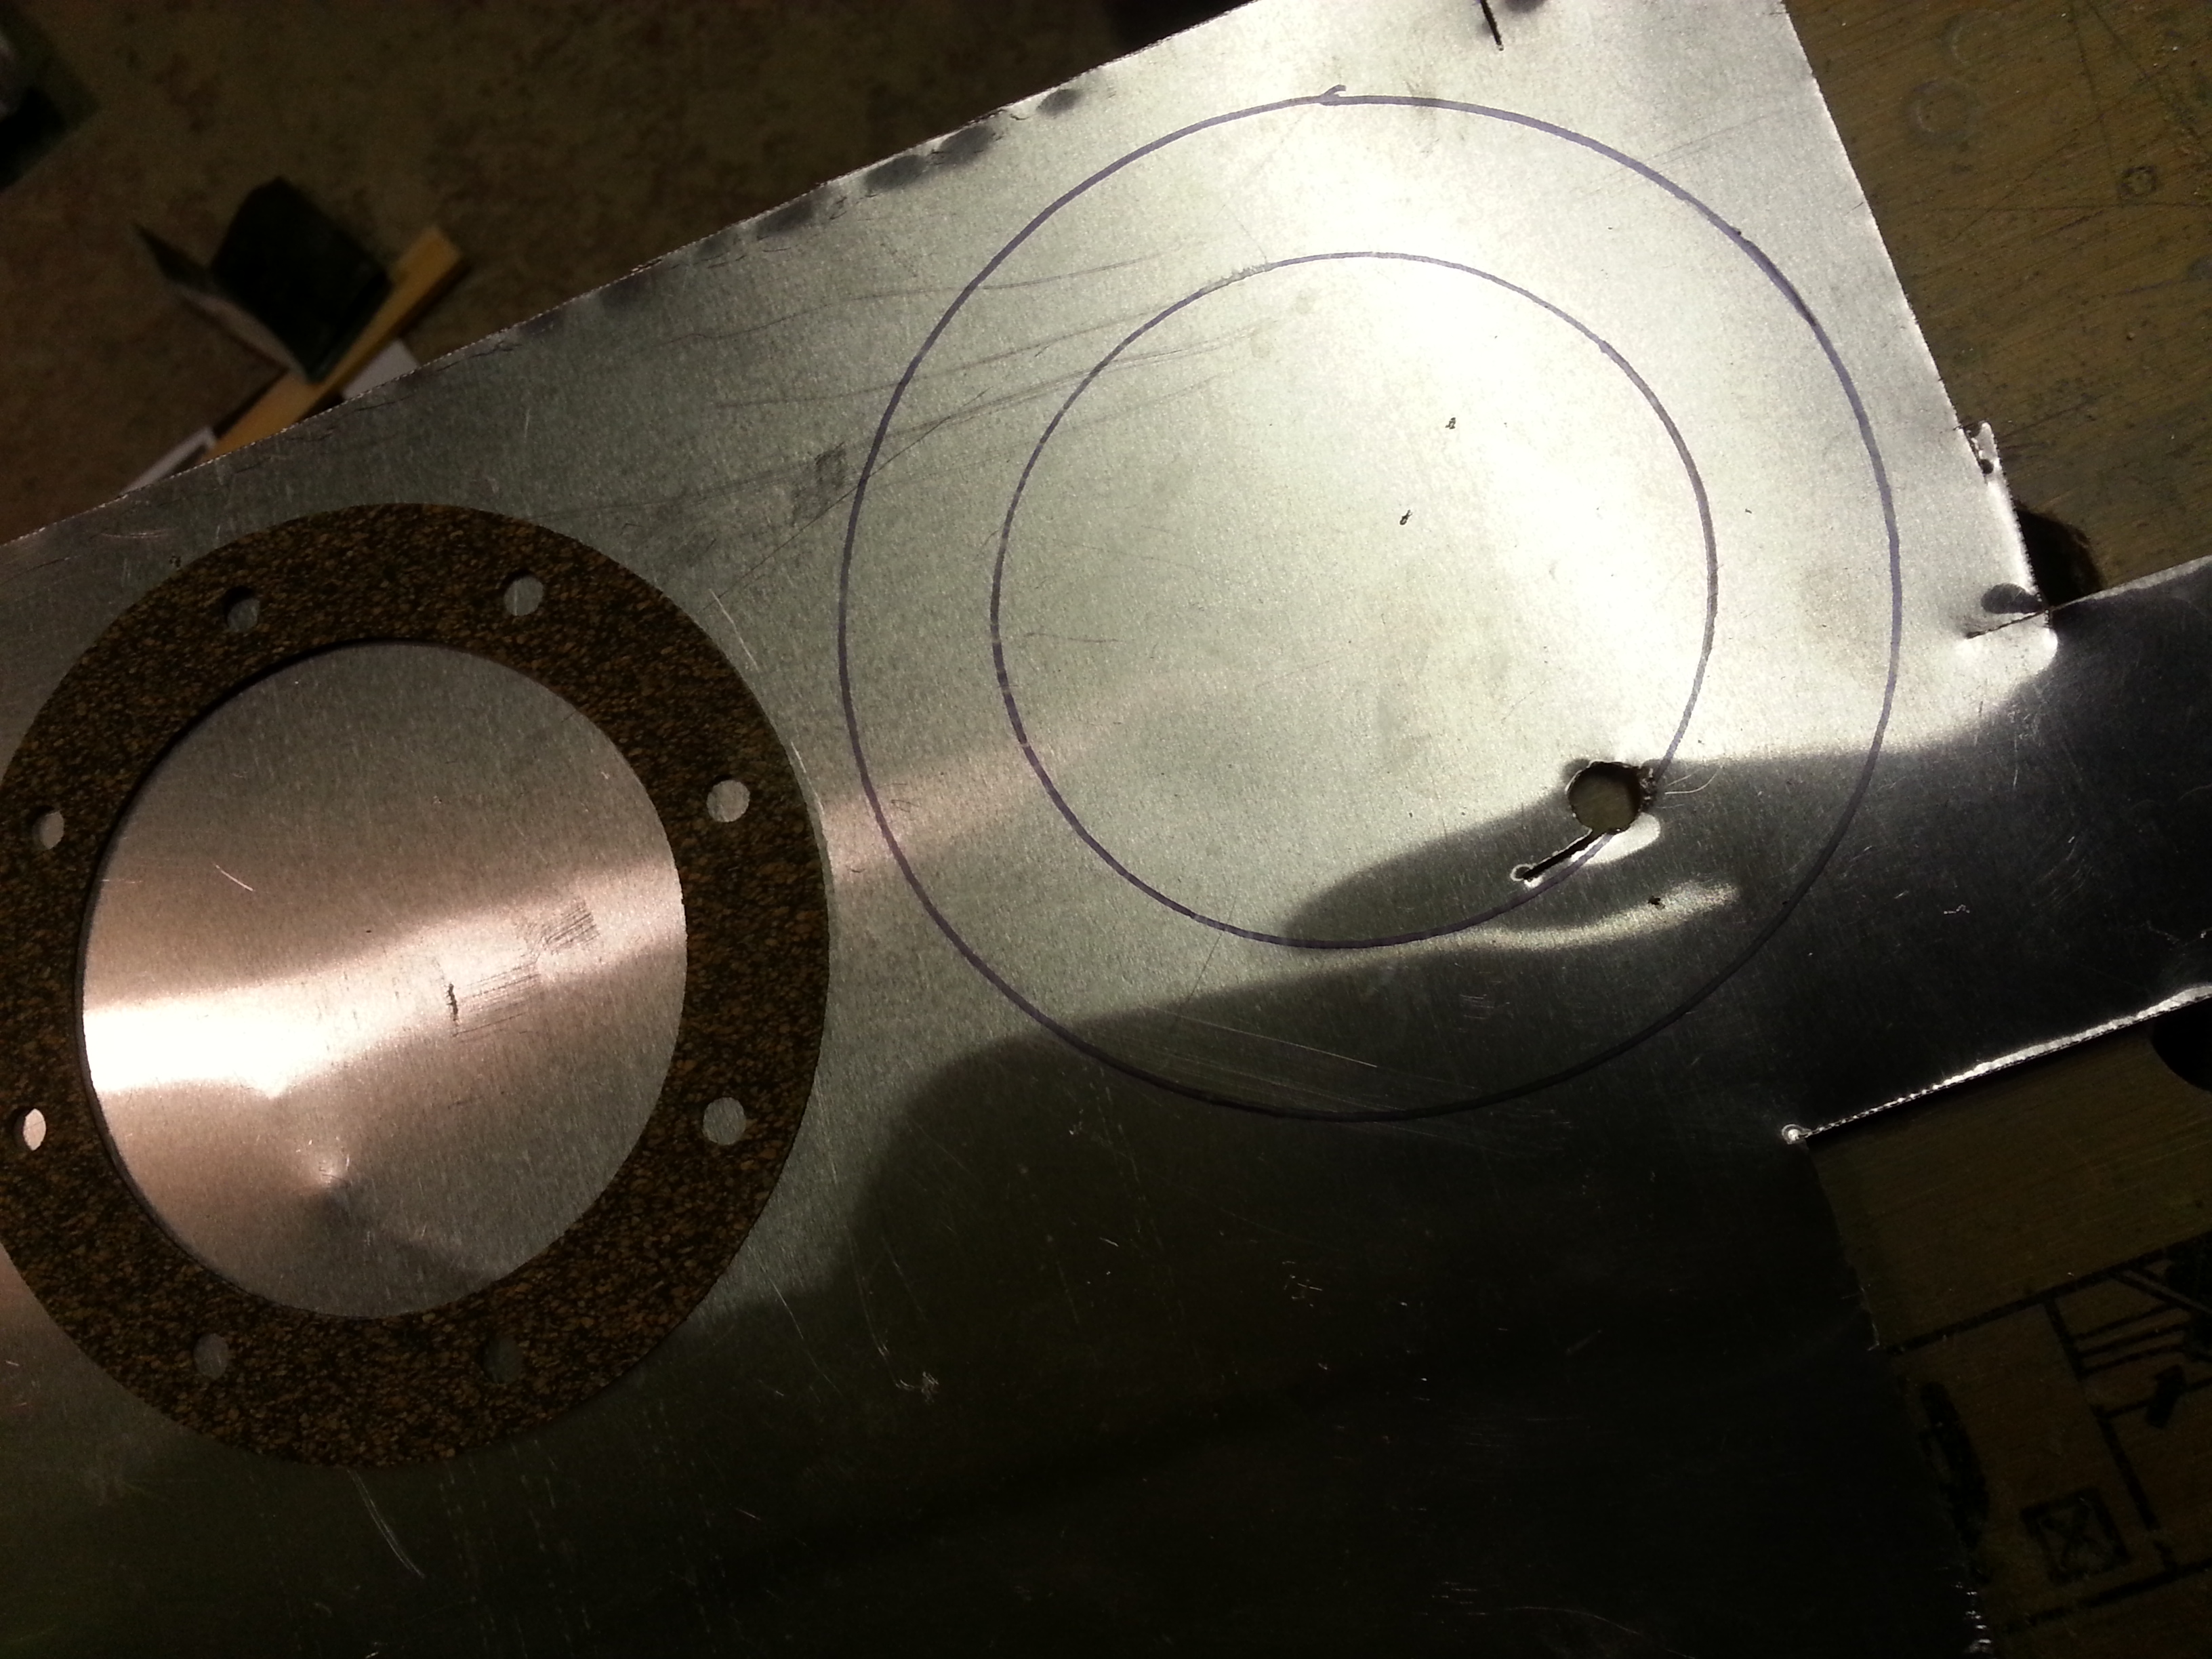
This involved drilling a pilot hole to check that I was directly over the top of the dip stick and then widen this to take account of the larger diameter alloy petrol cap.

20150517_214657  20150517_214708

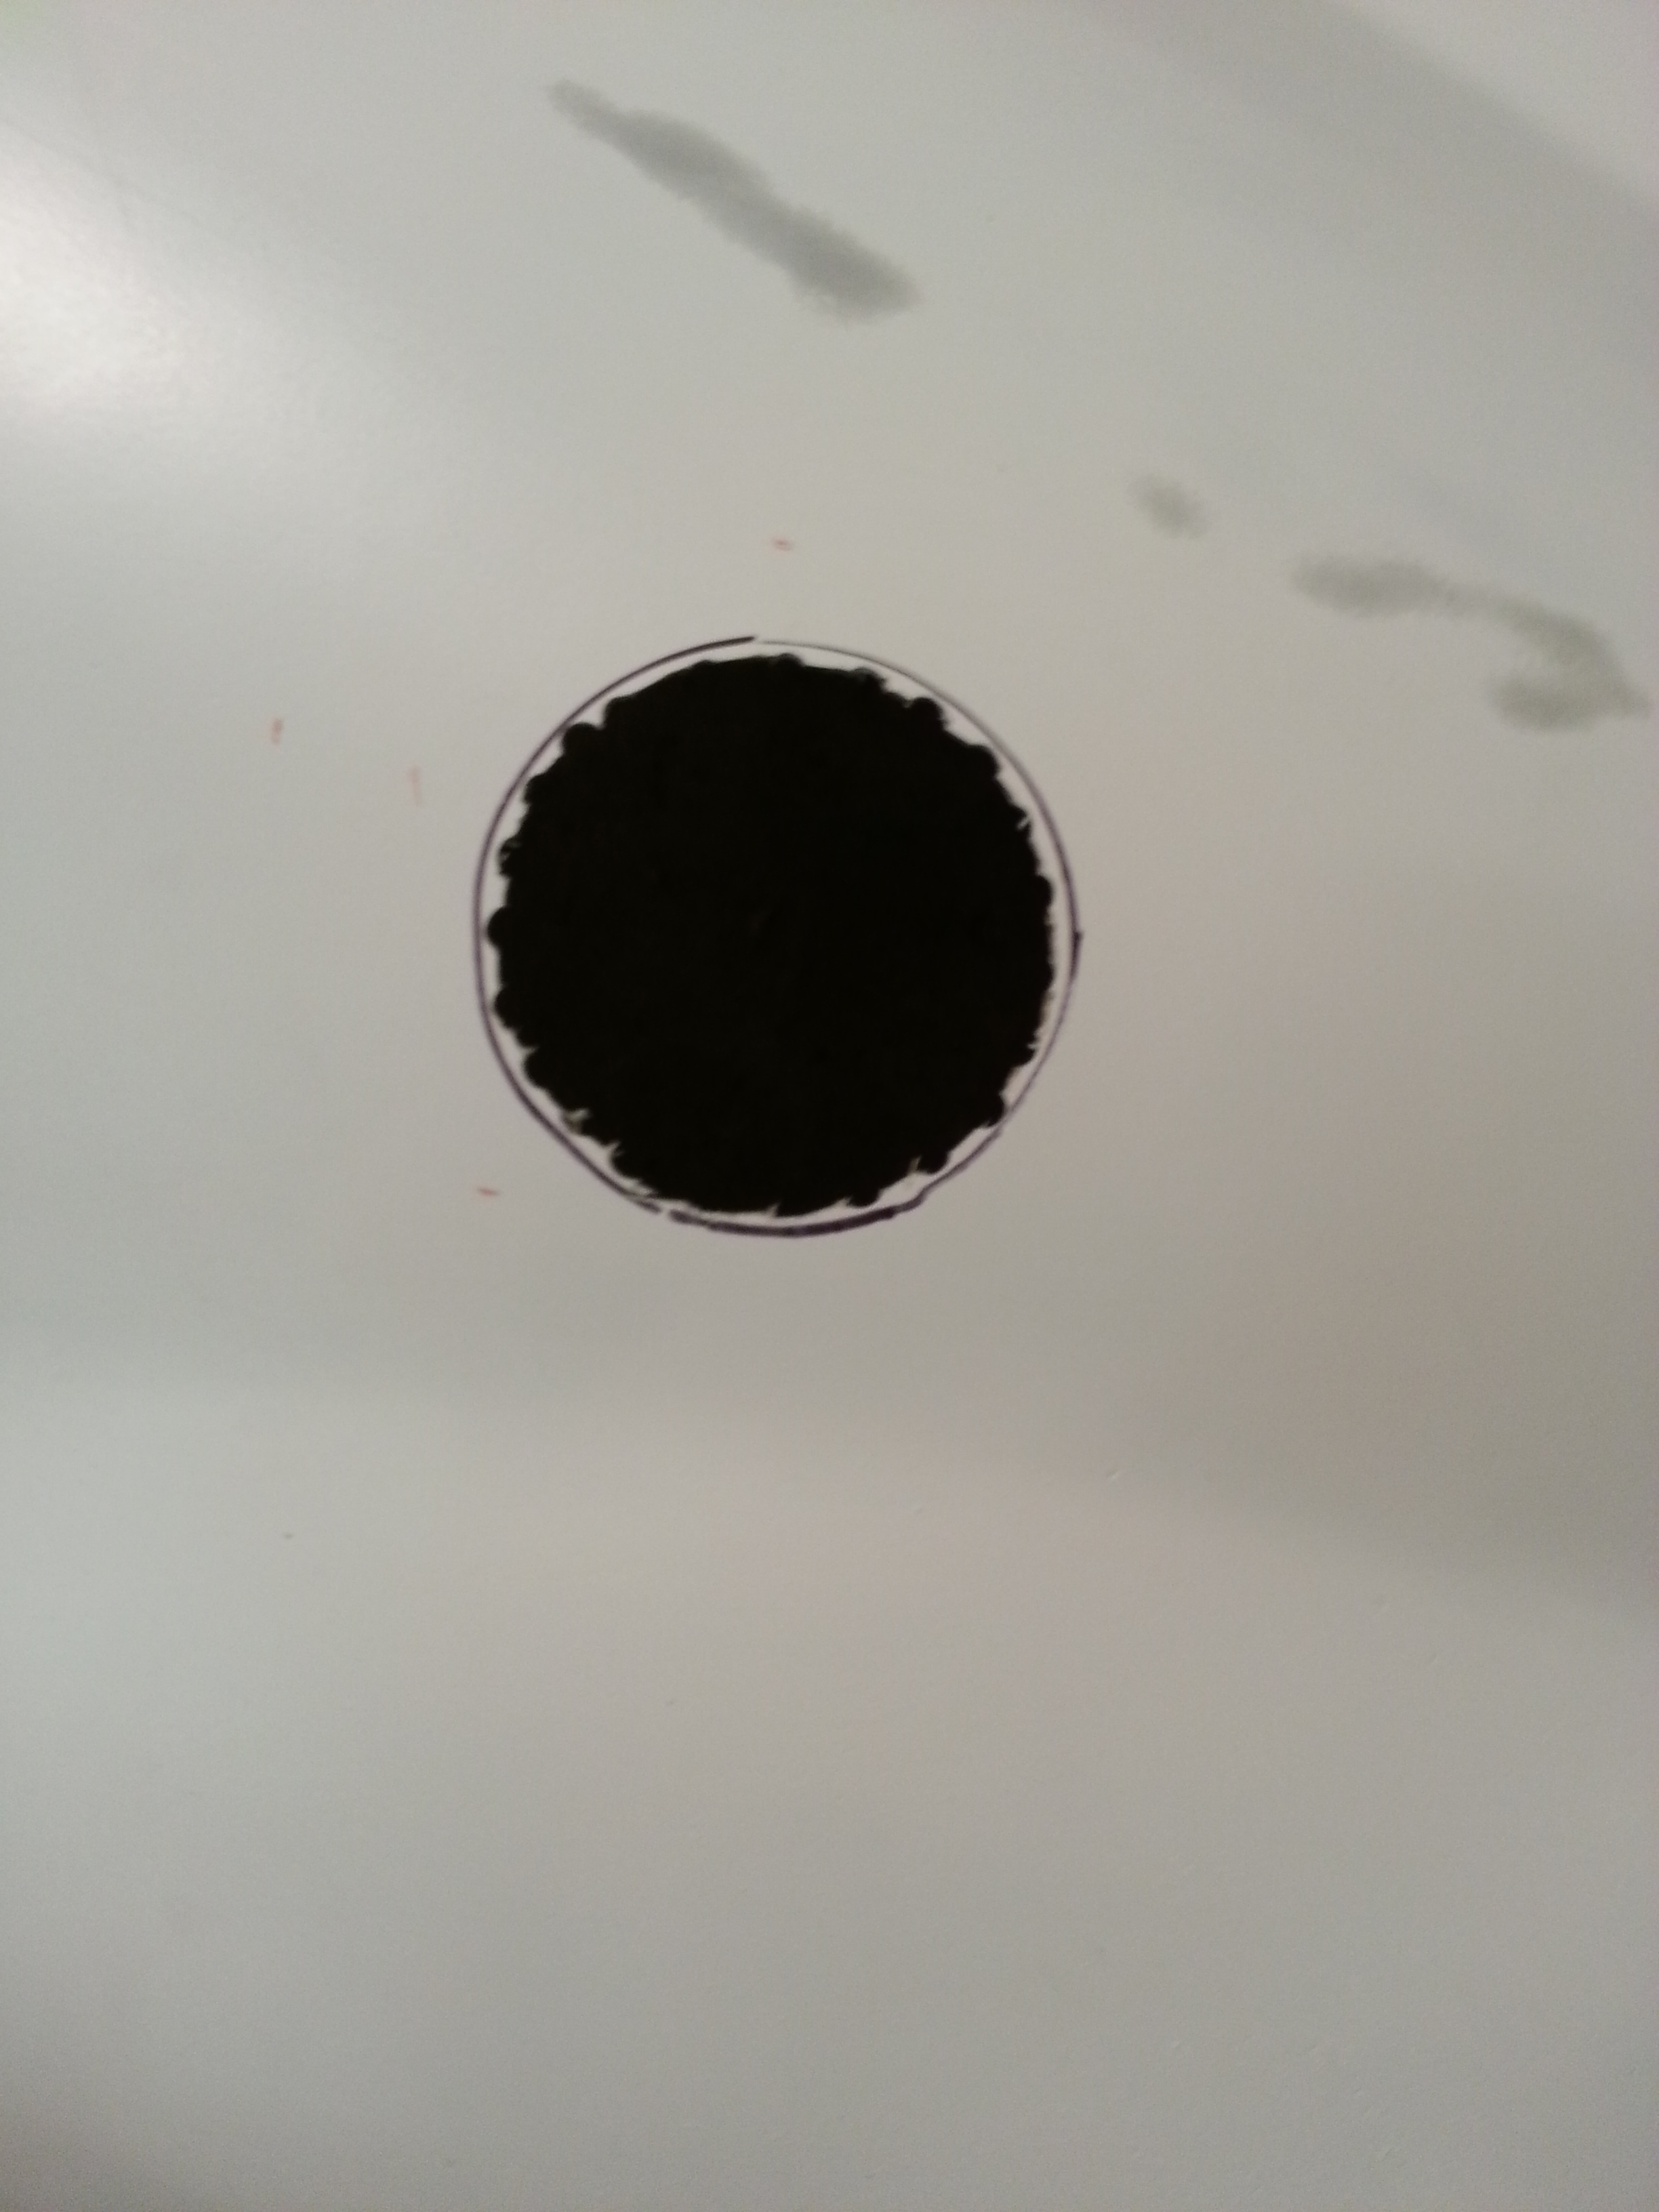
The dremel came into its own as the hole was neatened to accept the fitting.

Although I knew the flat nature of the alloy cap would require a small amount of filler to make up the slope of the cowl it all turned out very well. The filler will be smoothed down to ensure a streamlined finish then paint with the top.

20150519_222125  20150519_231111

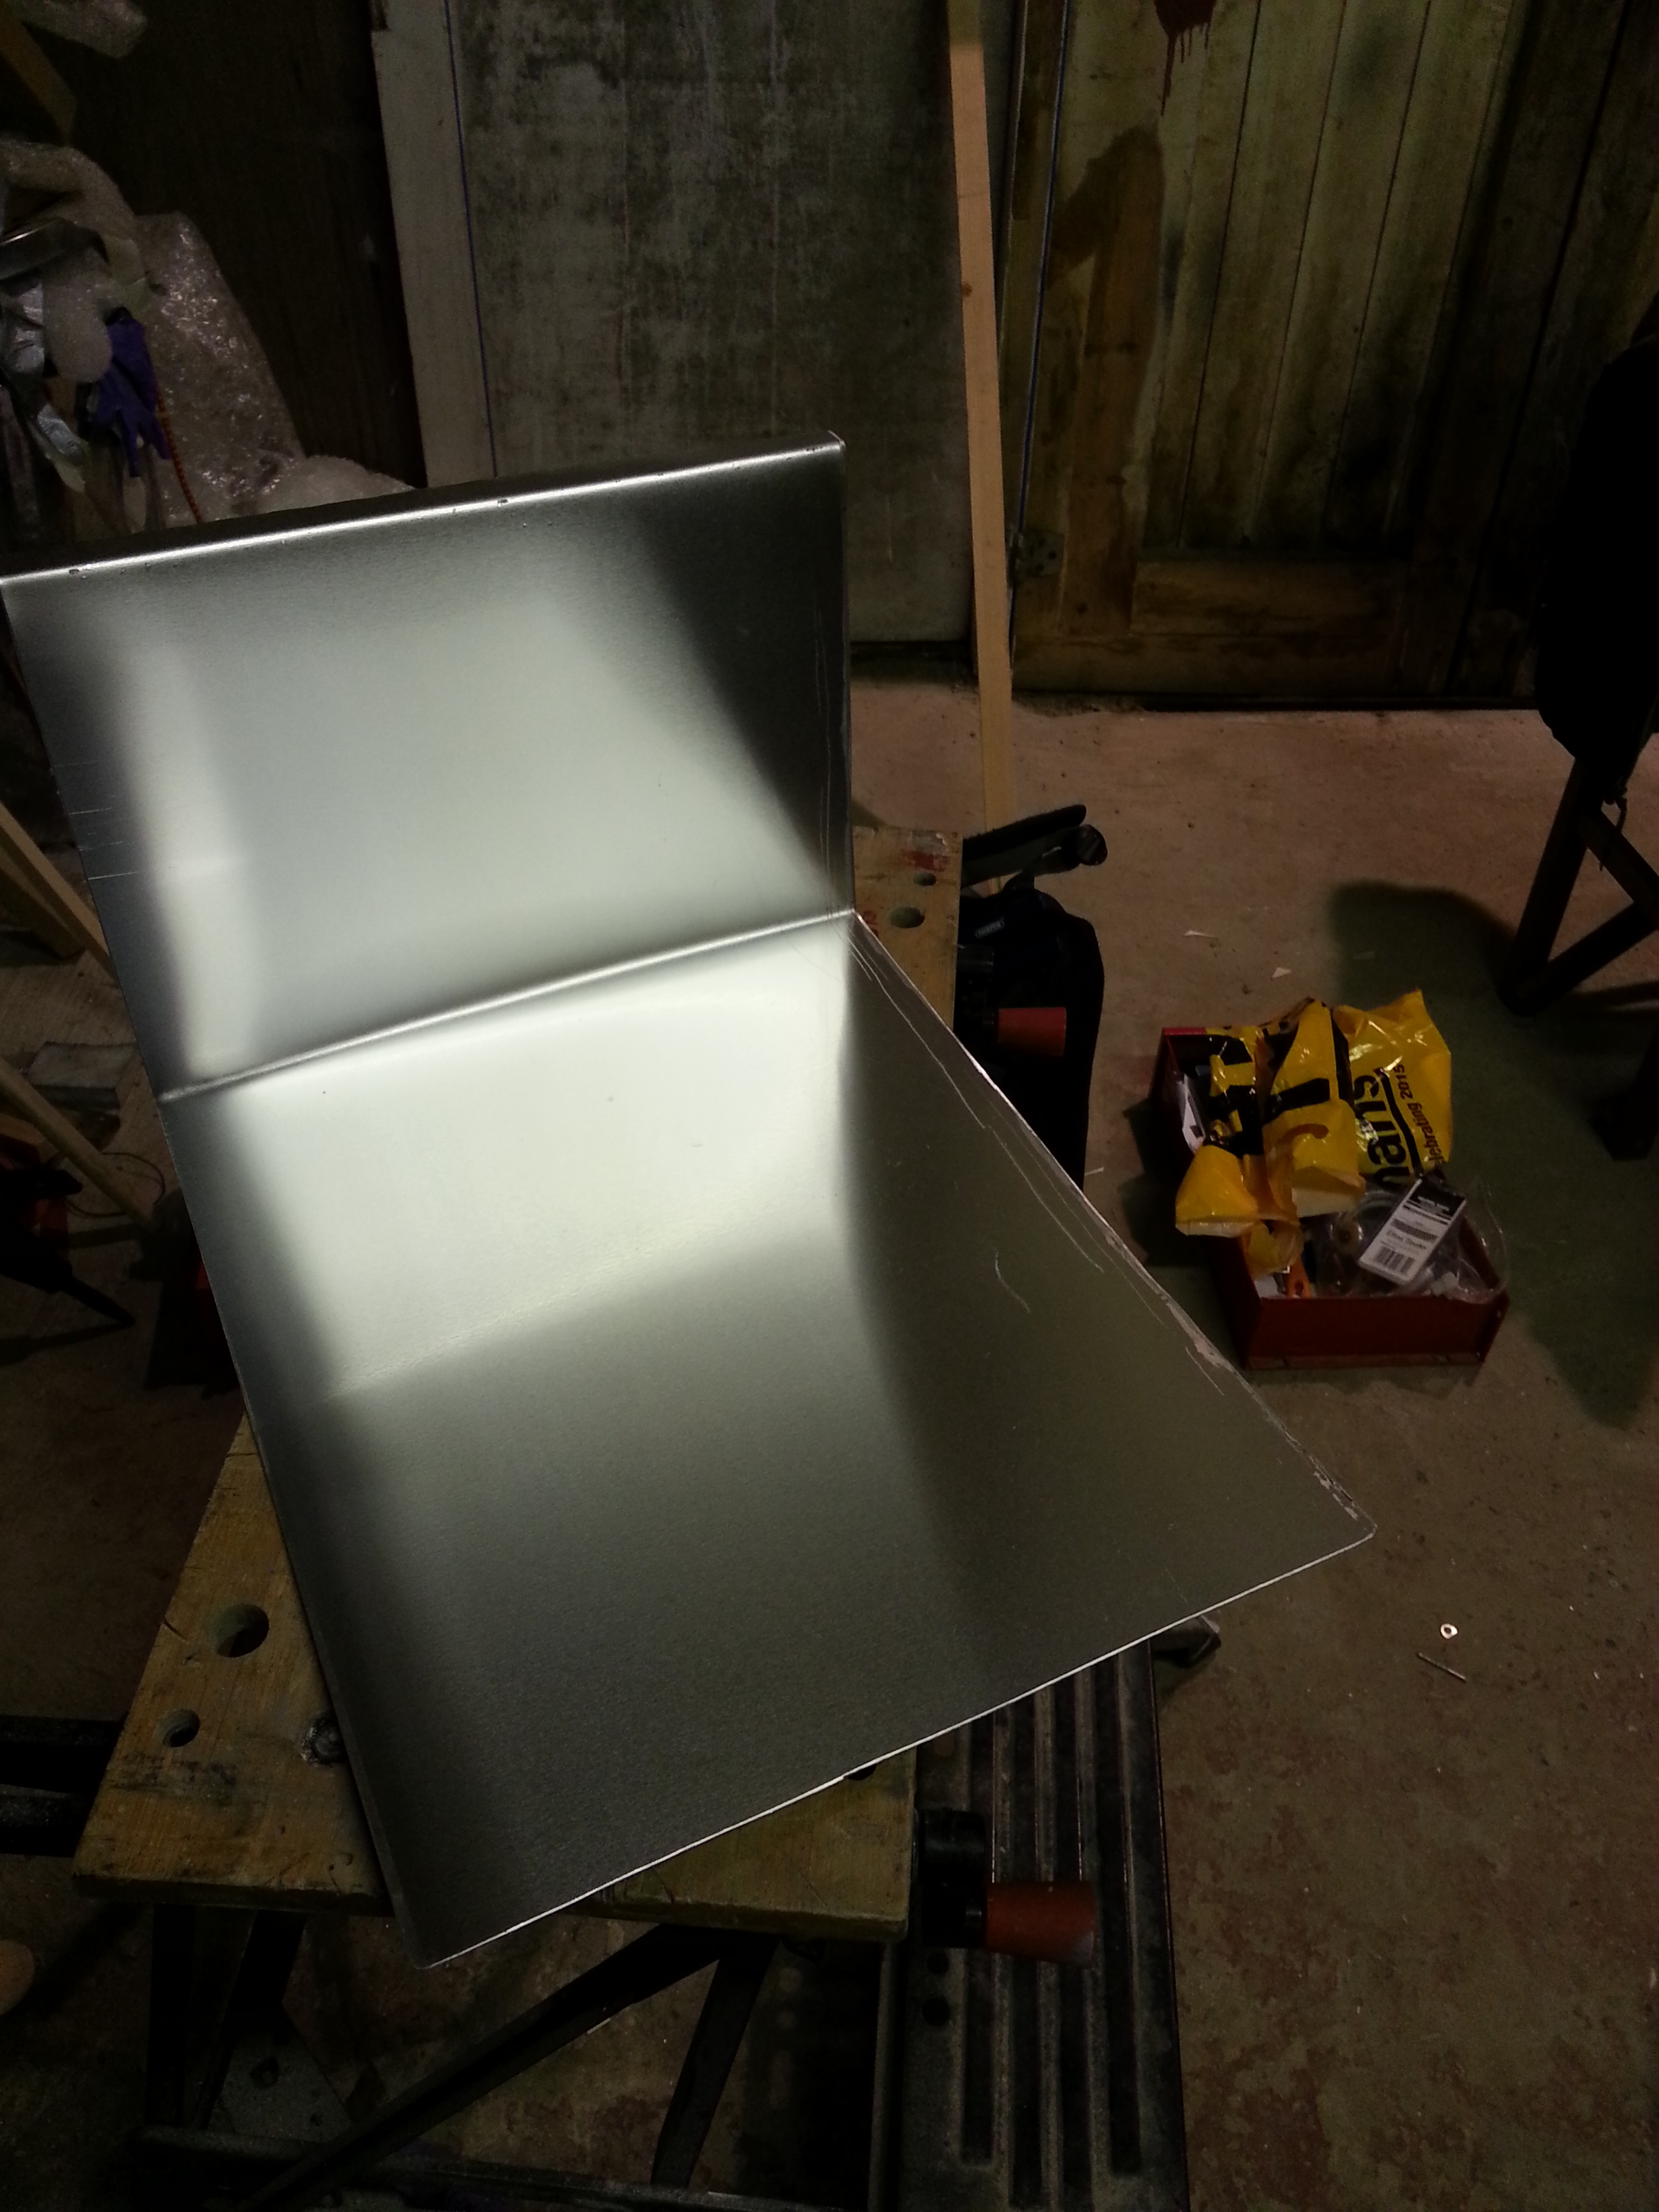
Made up a supporting alloy ring for the underside – The fitting comes with a cork ring but no metal backing as I guess it assumes you are fitting it to a car.

20150519_224200


20150519_225640

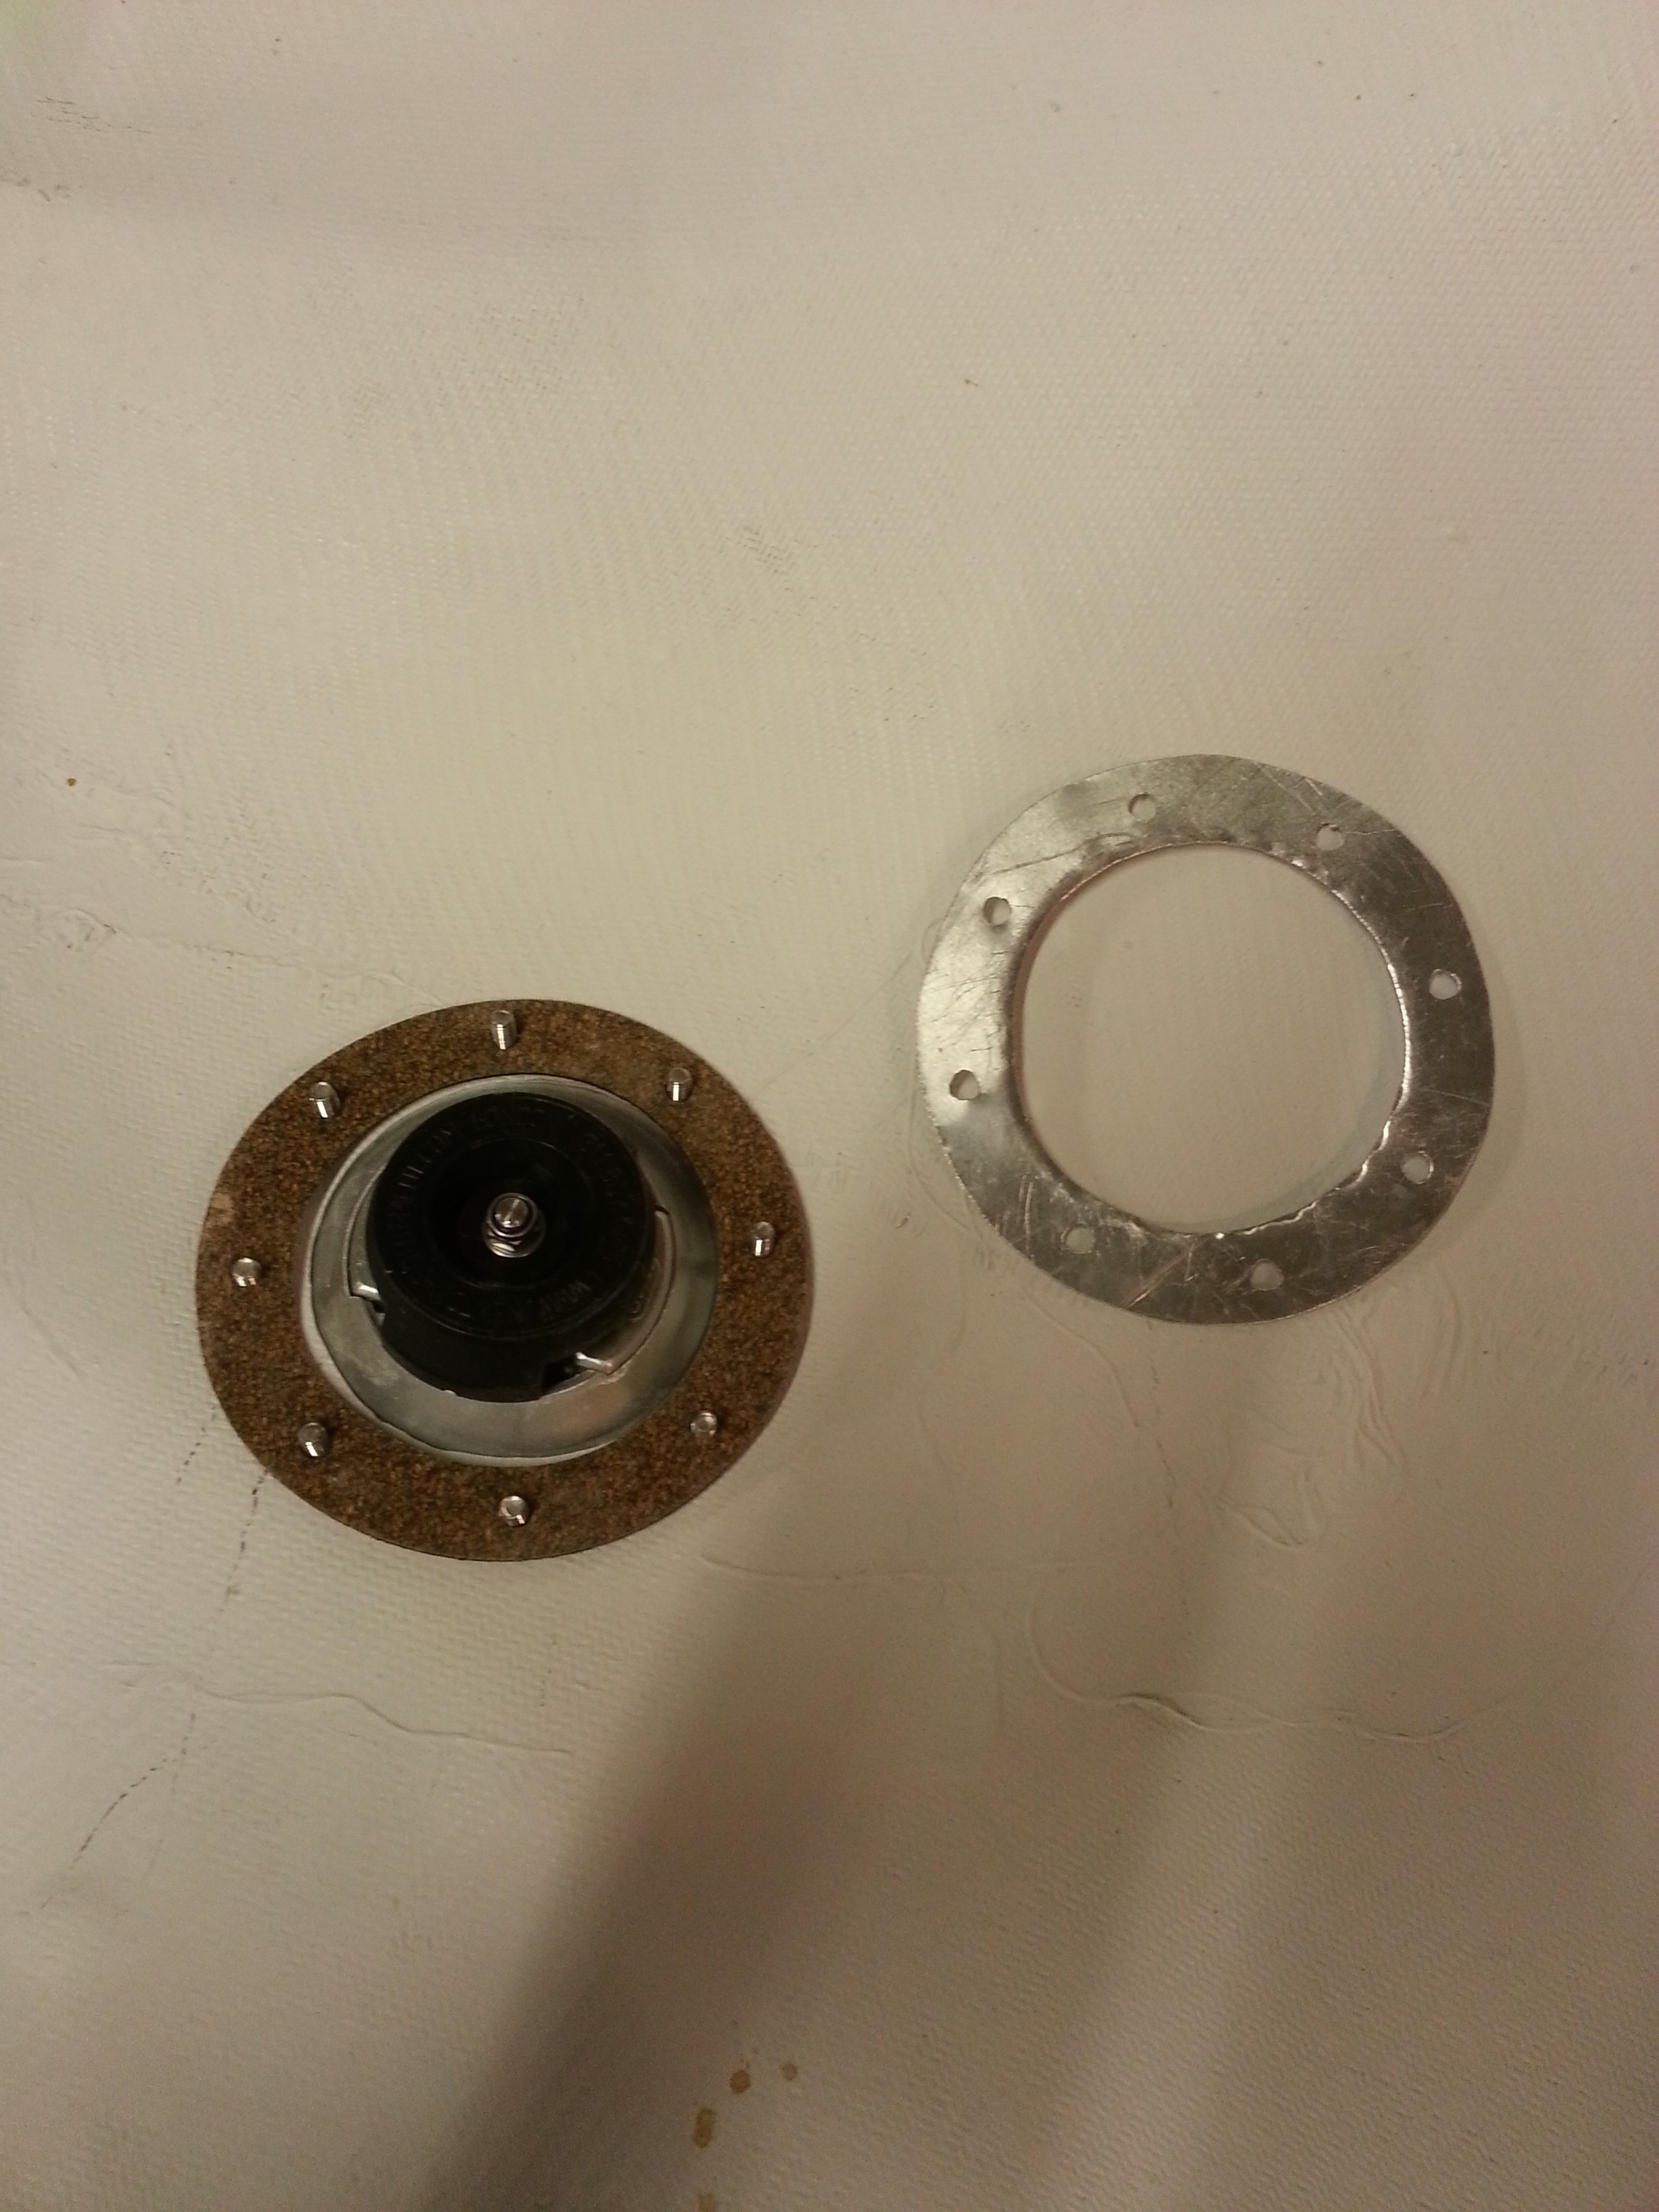
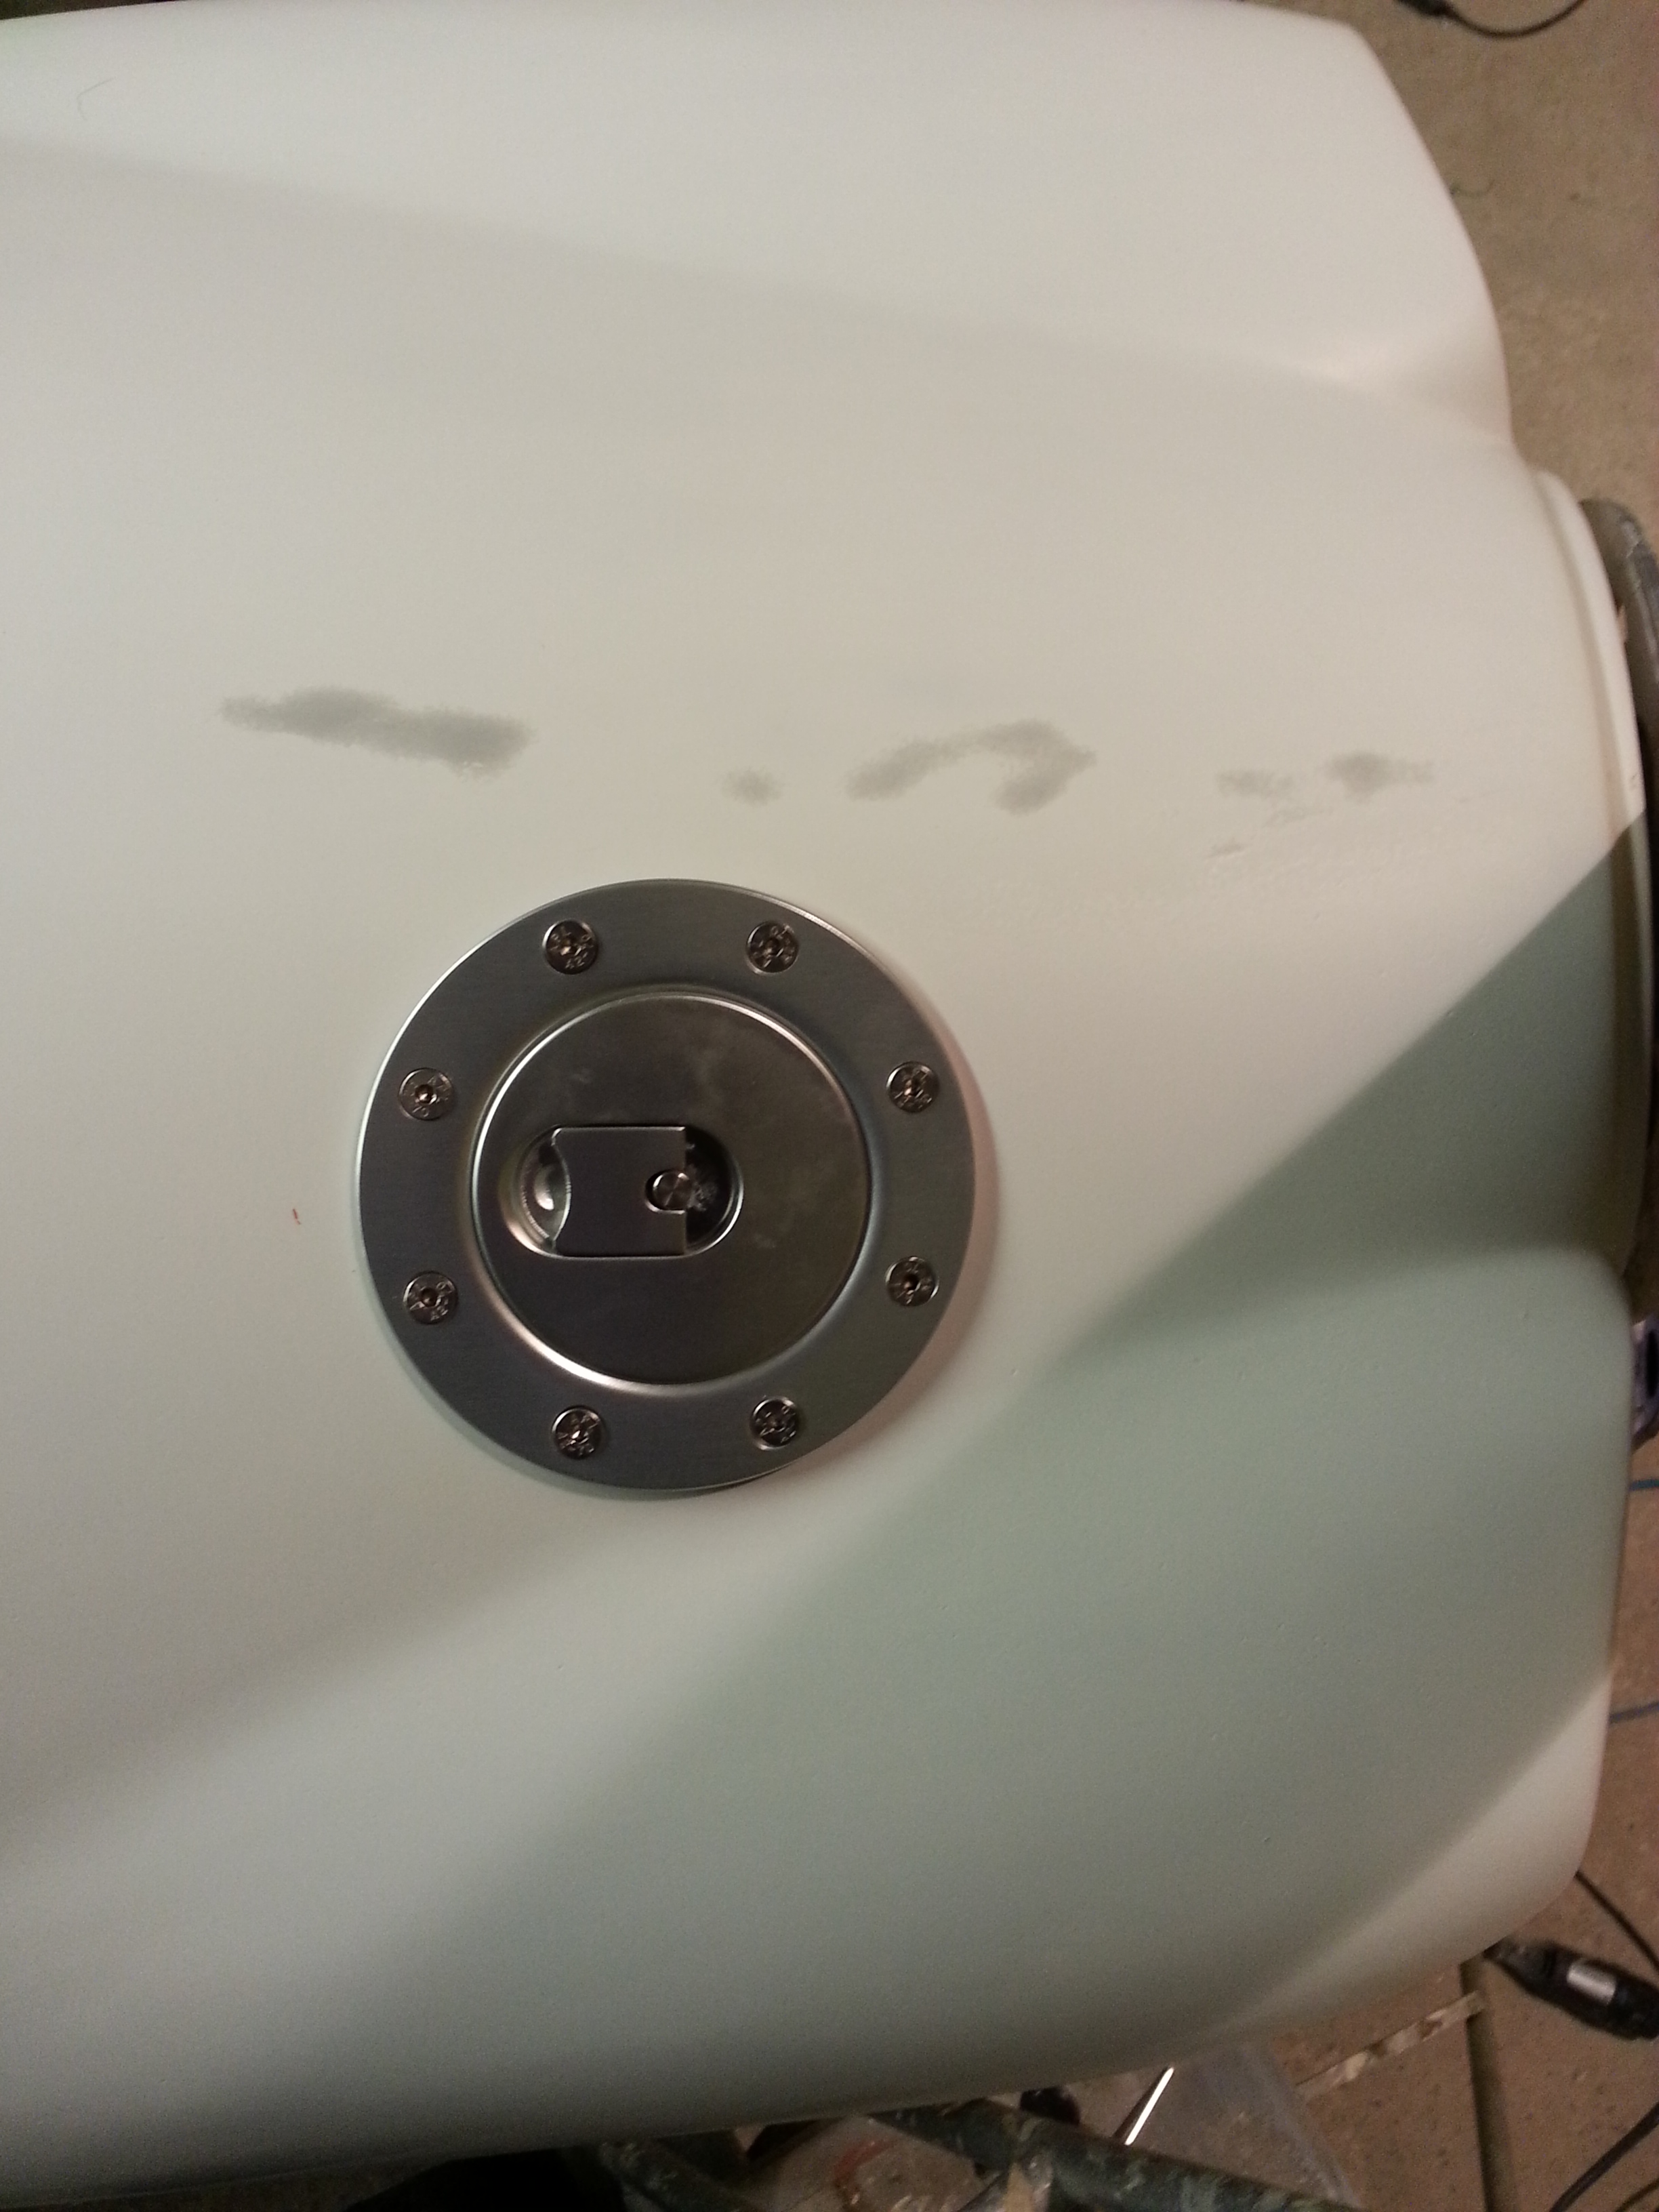
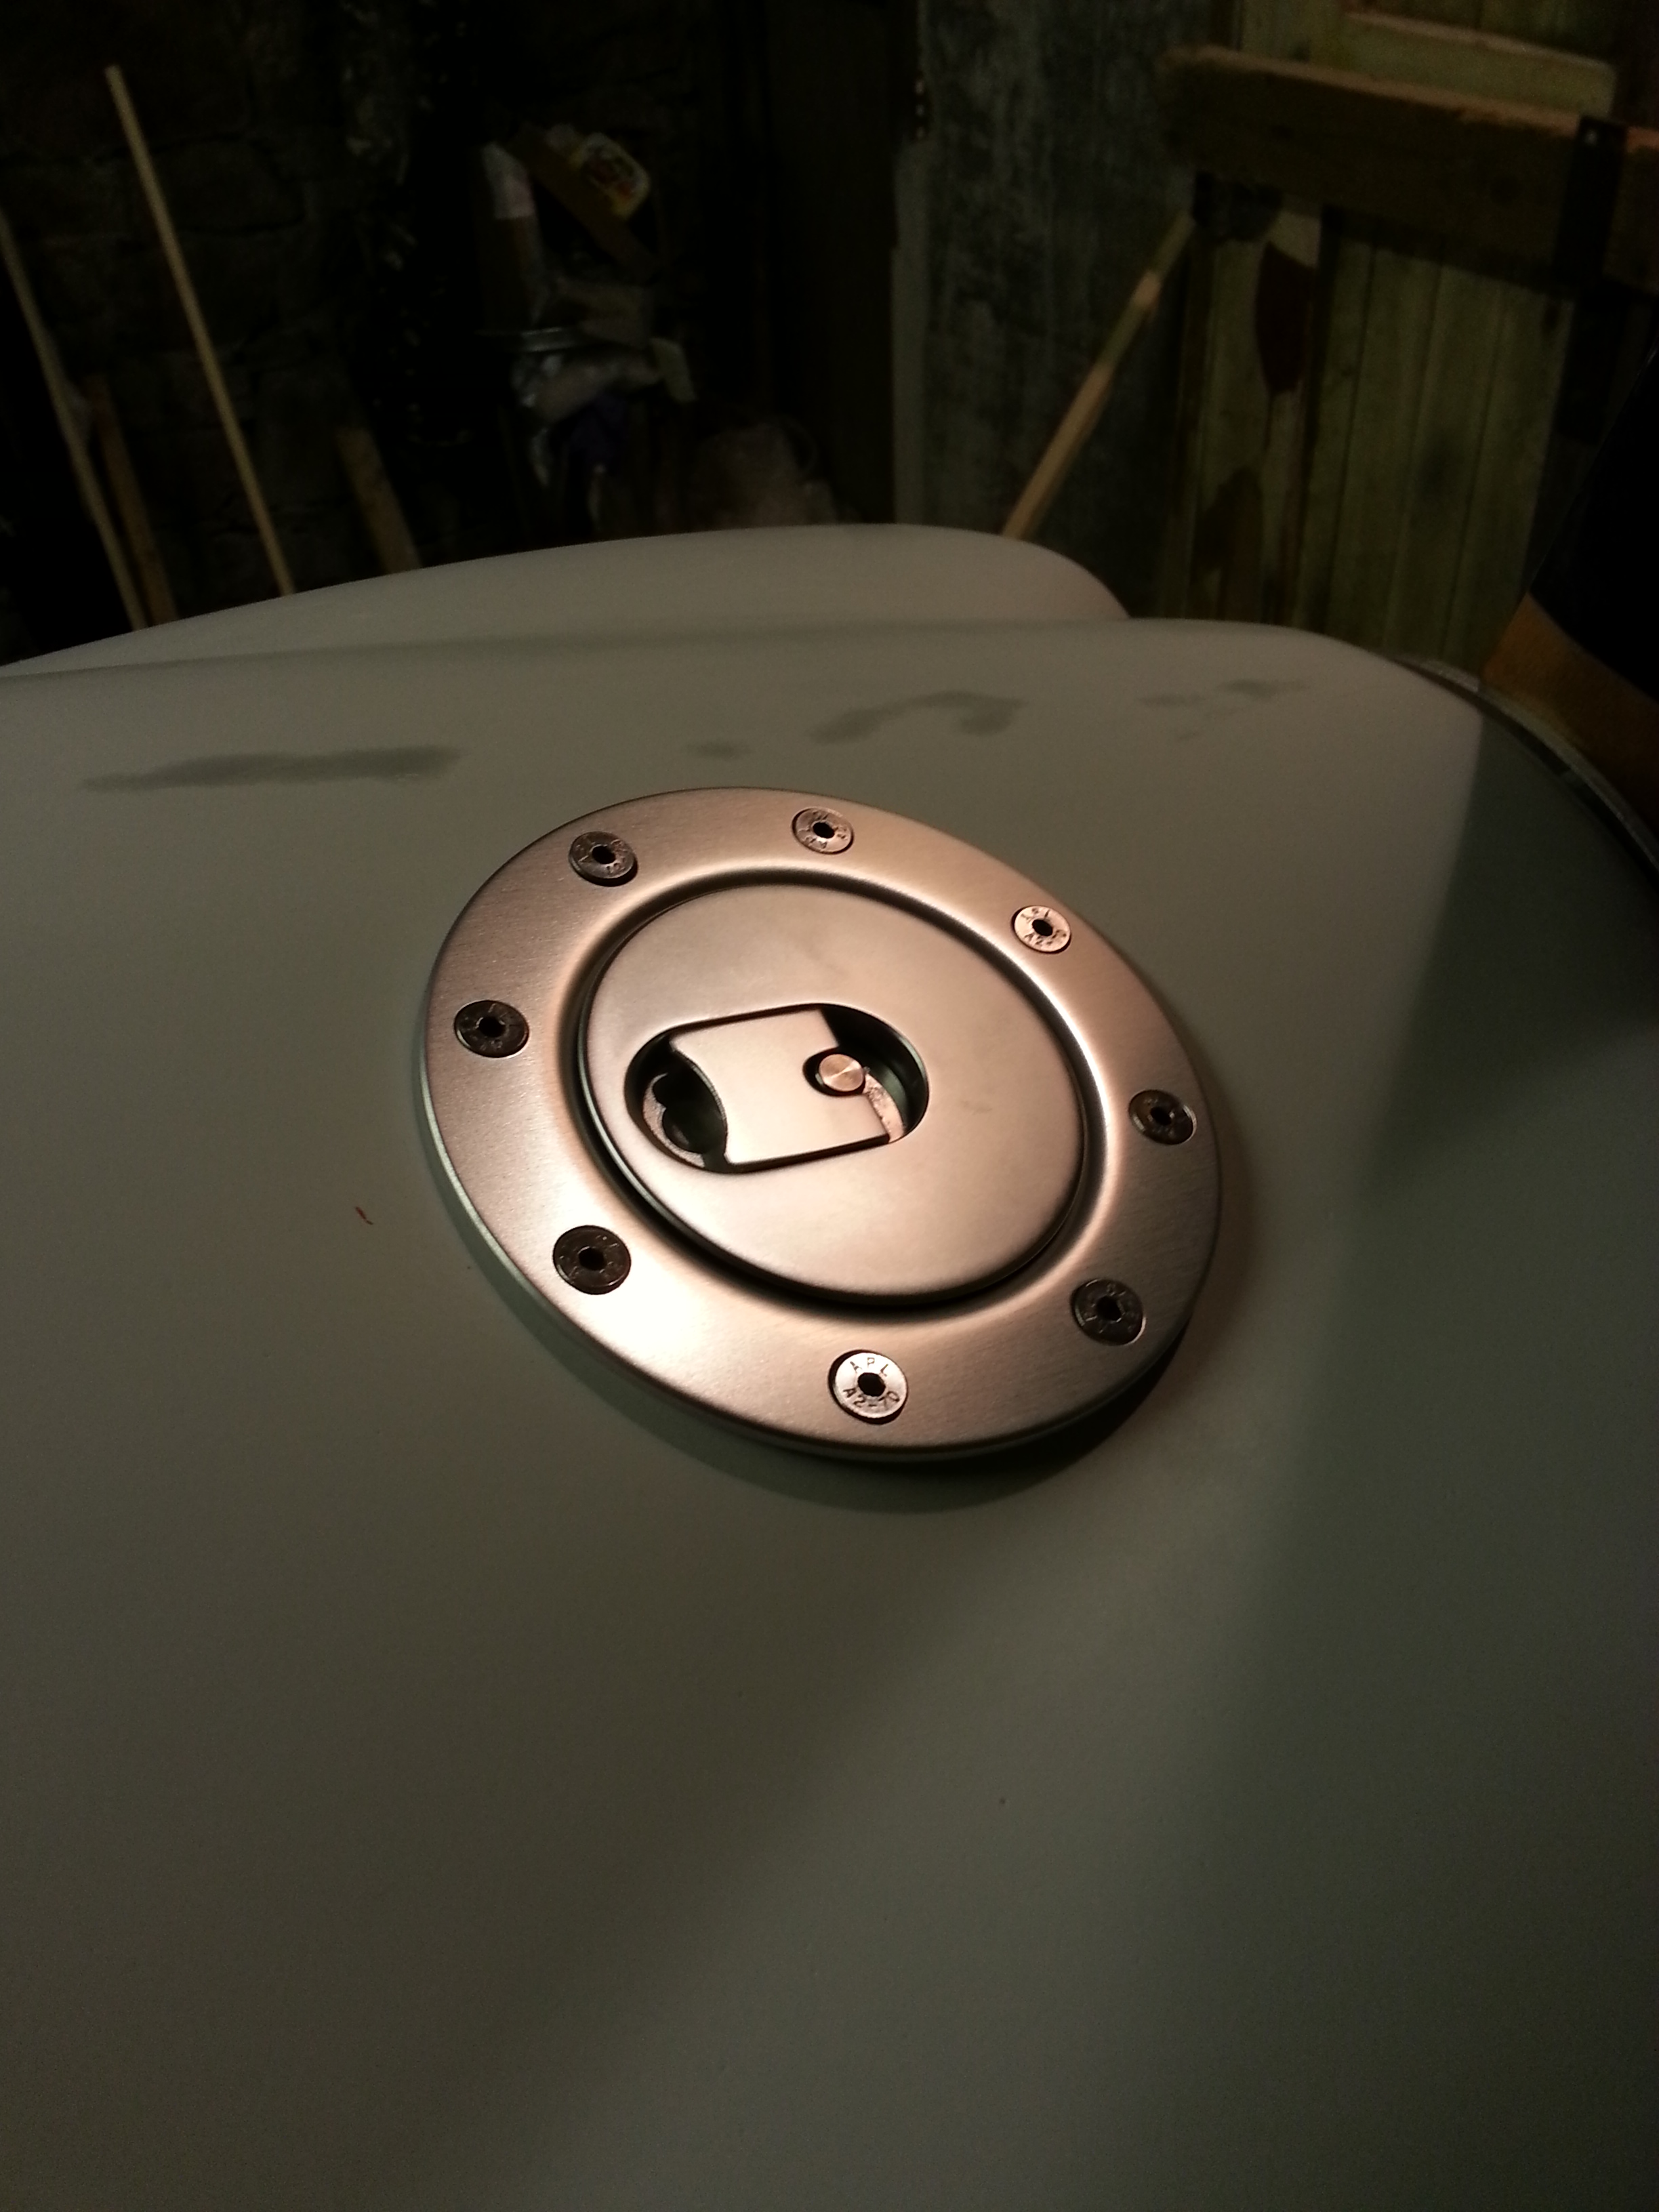
I now simply pull the flap, half turn and out pops the access. Simple and easy to get.

Oil tank shelf in

Completed the brackets and support bolts for this.

The bolts fitted are left over from the build but will be changed to slightly shorted ones and also will fit rivnuts as rear access (once covered) wont be quite so easy !


20150510_172353 20150510_172348

The shelf has been designed to be removable post build in case the tank needs to be removed but also to facilitate regular / scheduled maintenance. The idea being, that you simply remove the two leading bolts and the whole shelf tilts to allow ready access to all tubes, joints, breathers etc

20150510_172343

The tank brackets supplied need to be mounted at opposing ends to ensure rigidity. These have pre drilled holes that match the presunken threads in the tank in various locations to provide a variety of securing options.

20150510_181609  20150510_181551

Looking at the location of the forward bracket I should still have ample room to secure a small alloy lip to allow the Two Trig base units (Radio and Transponder) to sit safely and with easy access behind the seat.

Last Swaging ? and Wrap Photos

Completed the re-fit and re rig of the starboard wing. The cables had to be replaced so jigged on trestles and re-cut

20150510_165231  20150510_165247


20150510_165239  20150510_165253

Then down on the tail for some photos. We had a white back board and Sam was taking shadowless shots so that we can try to get the underlying framework put on a clear wrap to post add top the Oratex. That way you should be able to ‘see’ the lovely framework that would otherwise be lost under the fabric. Fingers crossed the idea works 🙂

Tank all strapped in now

Packed up the padding support (care of Williams F1 thanks 🙂

20150506_203445

The metal plate you can just see bottom right is to stop large footed passengers kicking the fuel tap and sender at the bottom of the tank 🙂

And now secured with metal straps and self tappers.

Smoke tank support shelf

Needing to get LAA 9G approval, I have added a very strong support bracket for the Oil tank shelf. The aim is for this shelf to act as a location for the remote Trig Radio and Transponder units.

20150506_204855  20150506_210702

The pipework, like all before is internally treated as well as cracking open my now very crusty Duralac

20150506_222053  20150506_204846

Easy to access via P1 seat

Smoke fill option

There was an option to have a remote smoke fill and, looking ahead to the fact that all this little fiddley bits need to be on before covering starts, I though I would get that remote fill option to save me slopping oil over the nice clean body.

20150428_225833

The cap (like everything provided in the Smokinairplanes pack) is excellent and very robust. so made up a small ply bracket, polyurethane coat and drilled out ready for fitting.

20150428_225949  20150506_224023

Blog at WordPress.com.

Up ↑