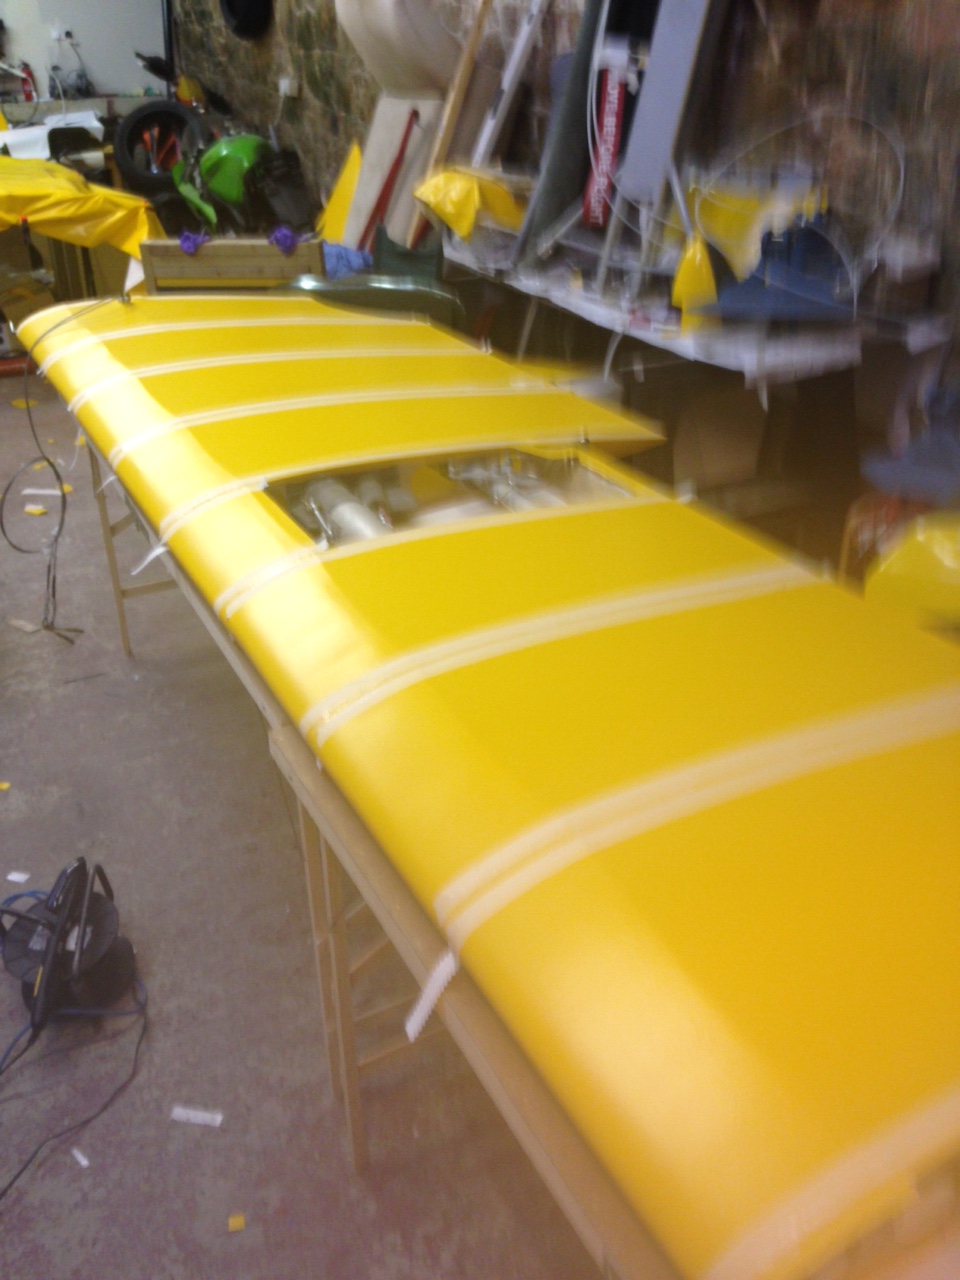
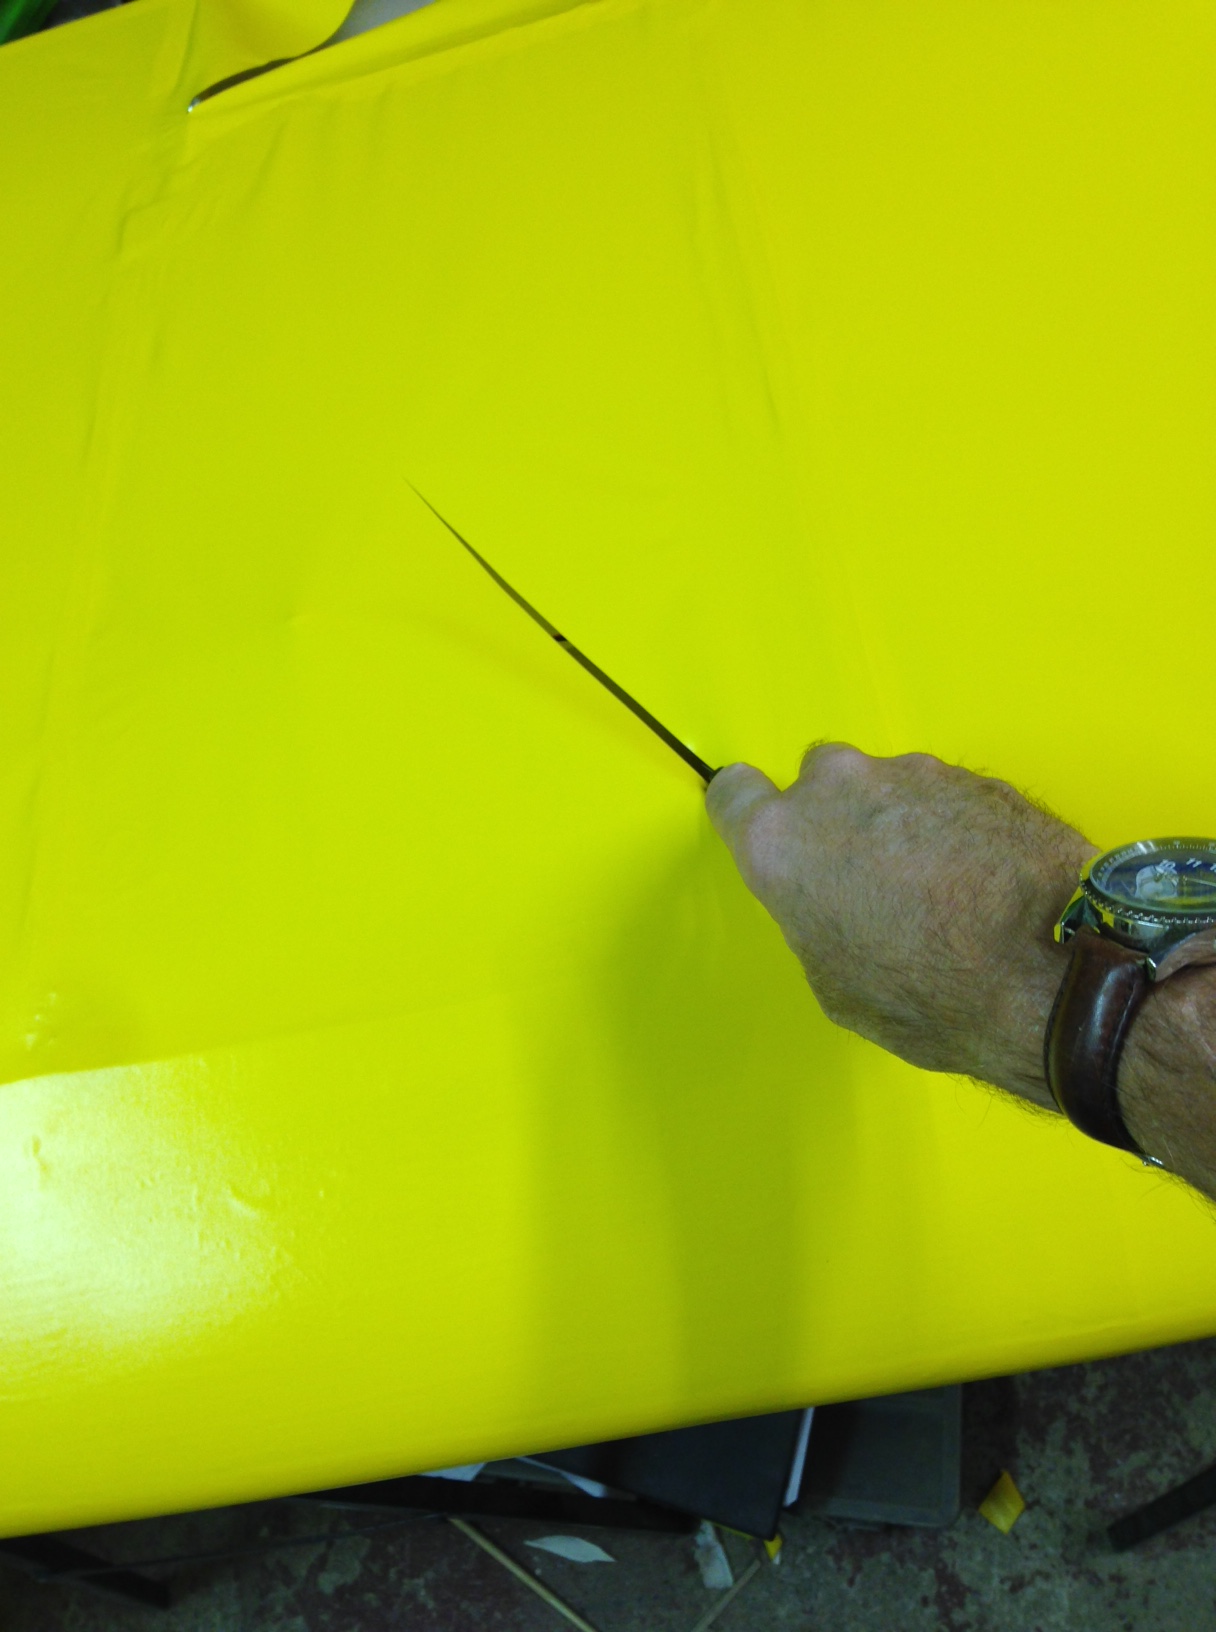
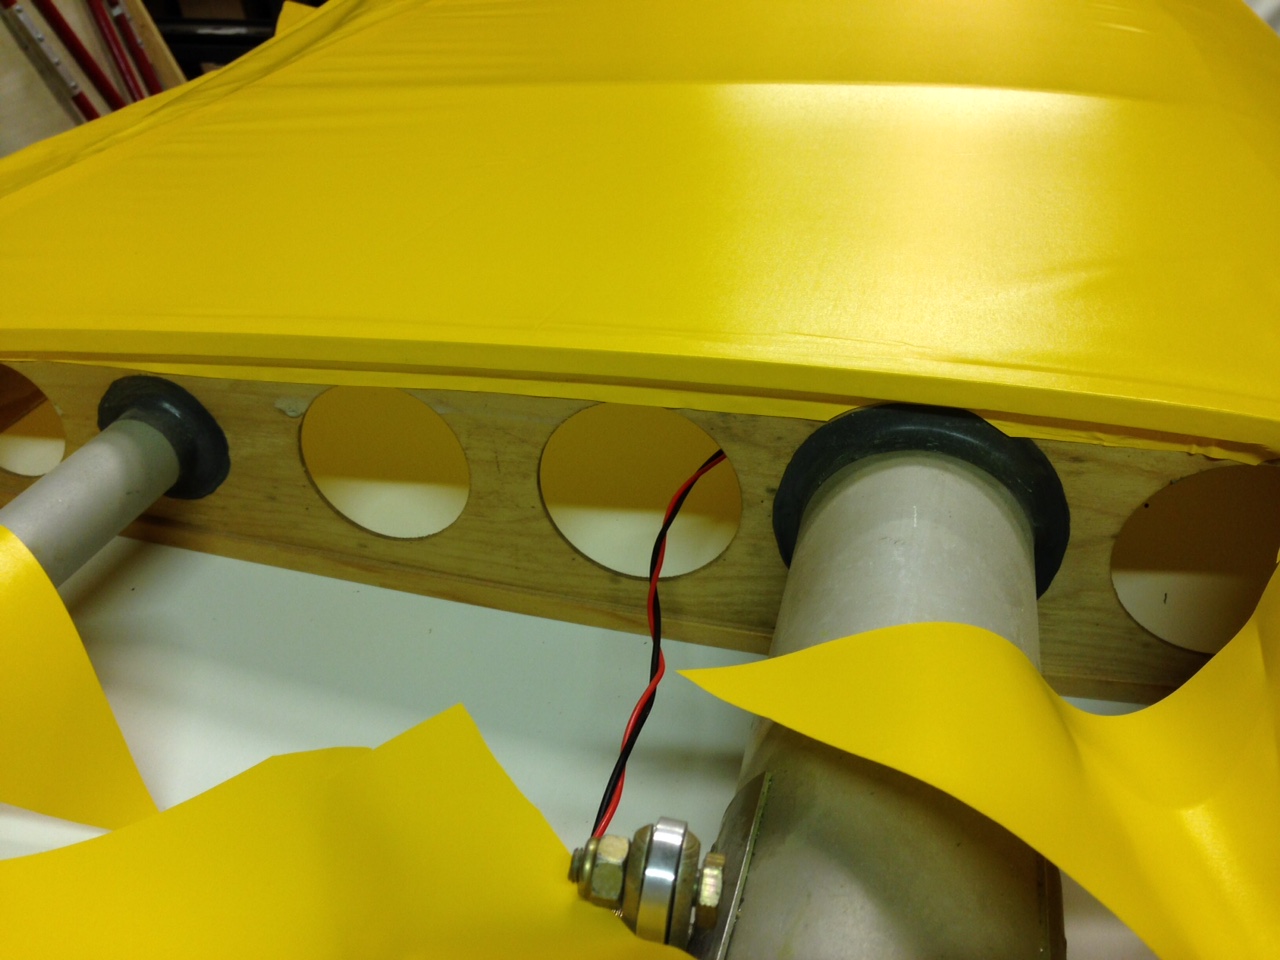
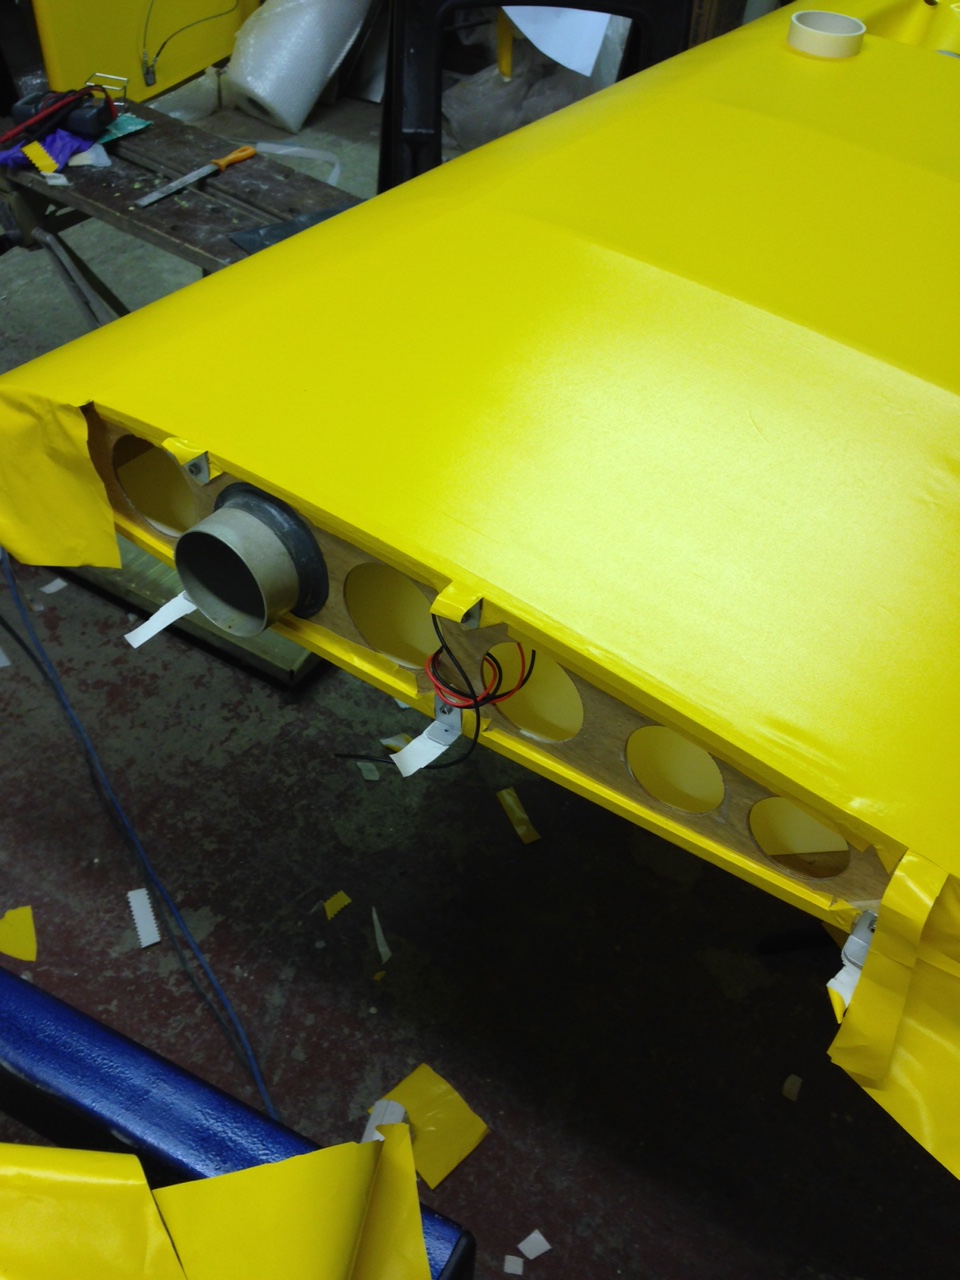
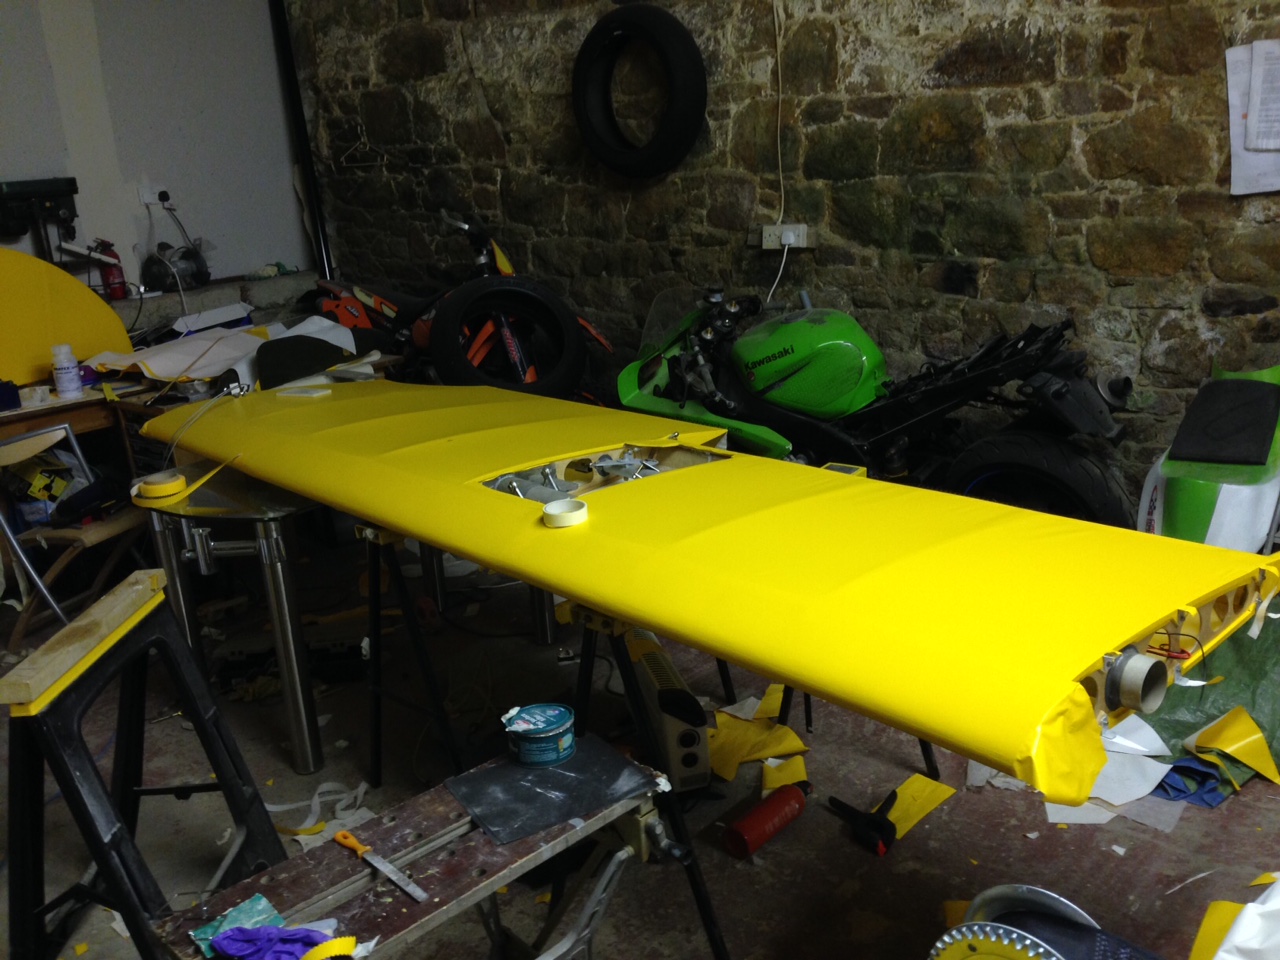
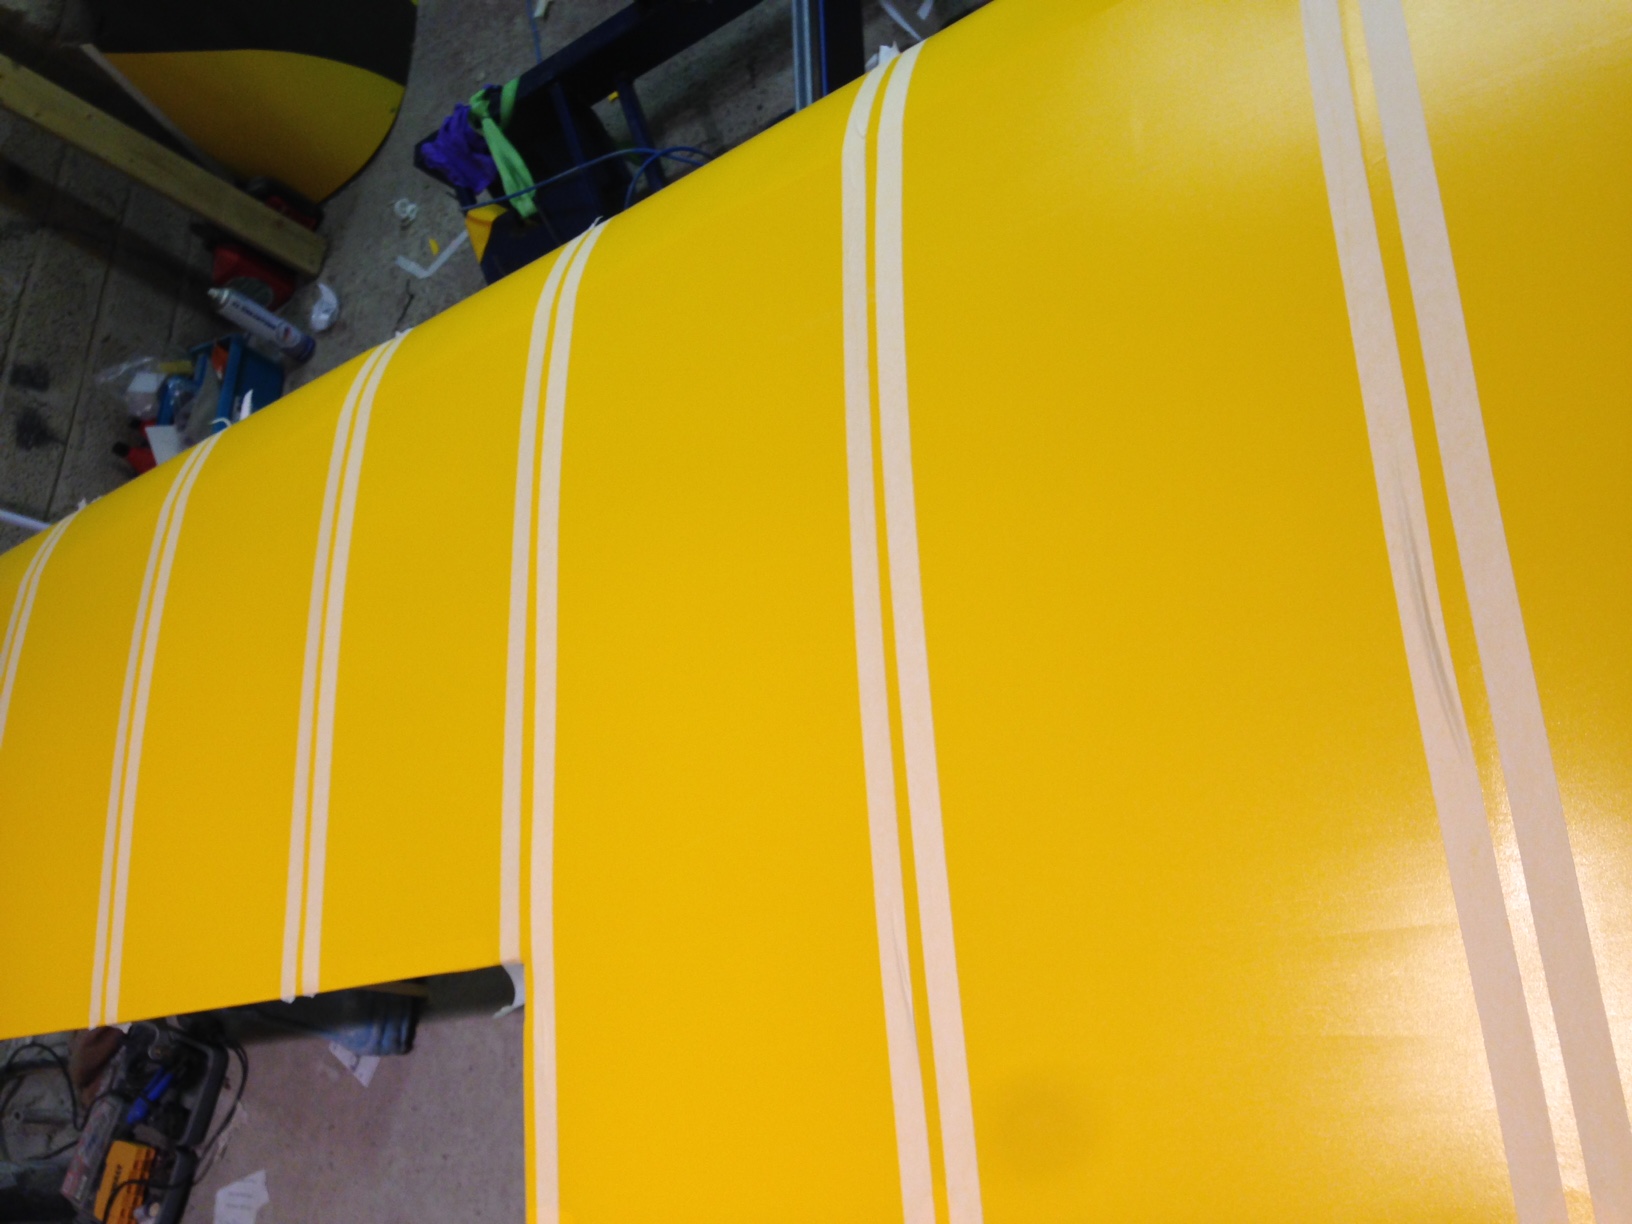
Before you seal the wing by adding the top layer – don’t forget to position any inspection rings required … I have had the alloy discs that cover these pre painted cub yellow..

As well as positioning these for aileron adjustments I am considering adding a couple to the front fuselage section to allow access to rear firewall bits.
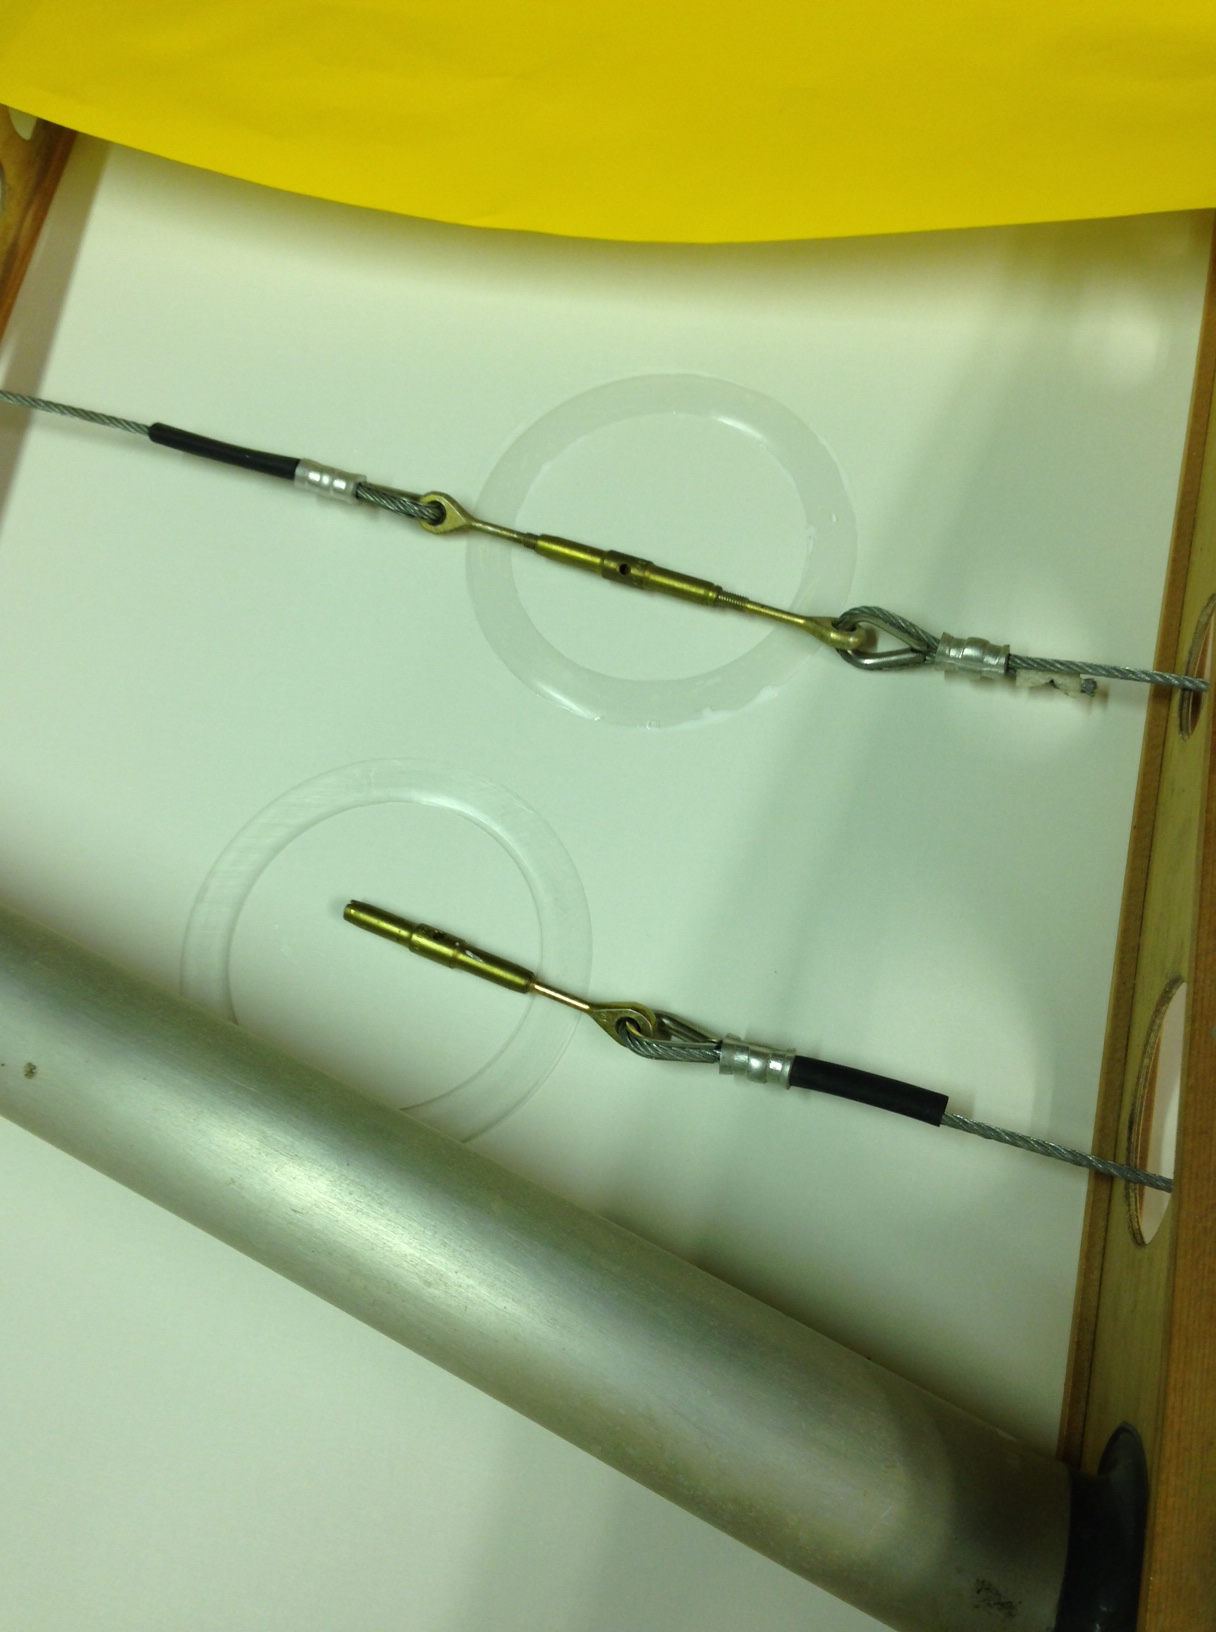
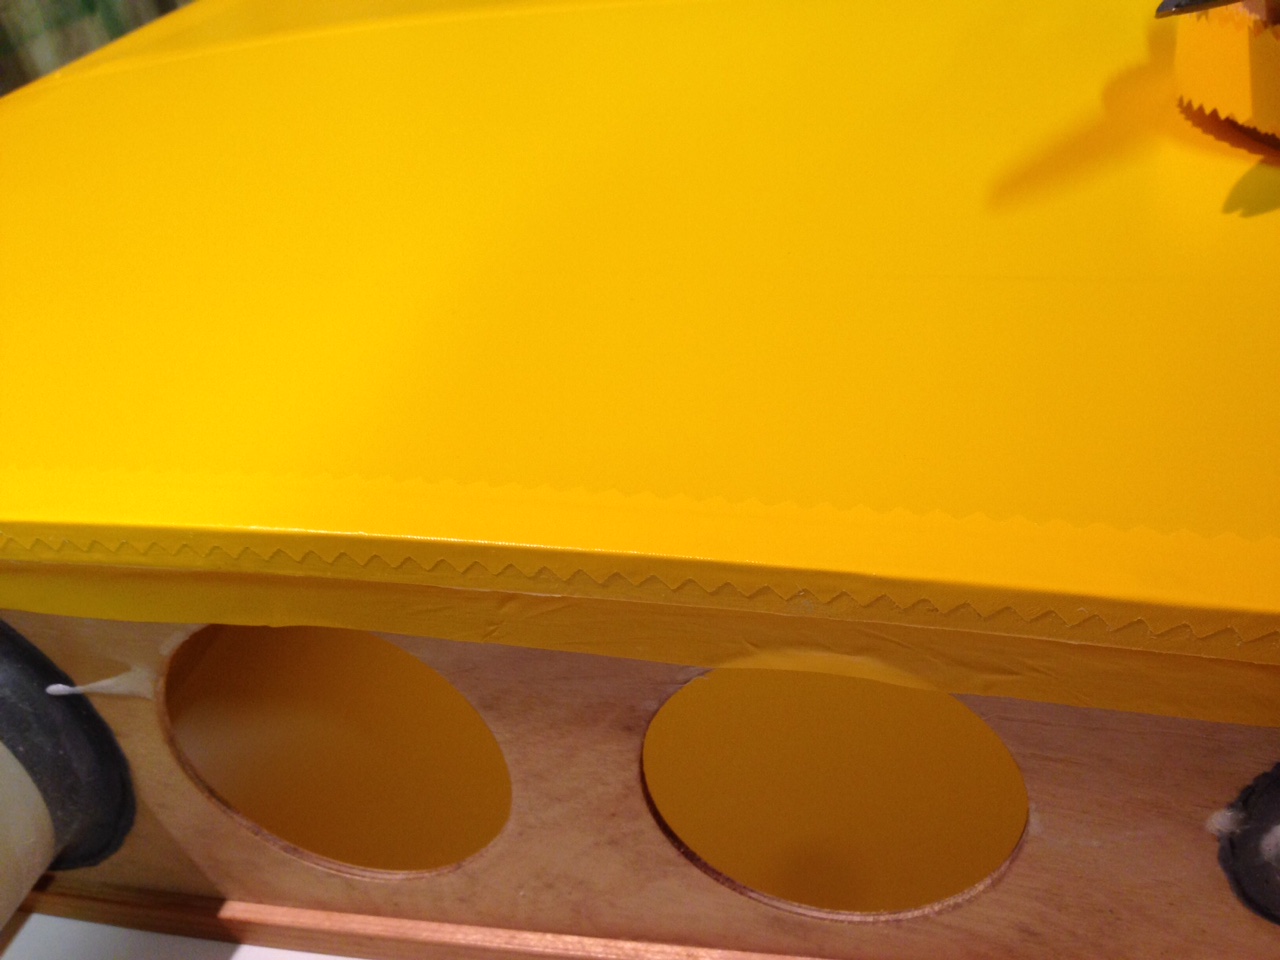
Update from a FB post with Lars … very useful detail here
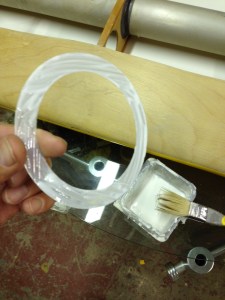
David Brown These Rings are typically glued ON Top of the Fabric and not under the Fabric! If you glue them under there will be nothing to keep the round inspection cover from wandering around all over the place. I always email this to anybody who asks: Regarding Inspection holes/panels:With our system you just use the clear plastic rings that are on the market for the legacy fabrics,see here attached!Smaller rigid structures can also be glued to Oratex with Superglue (Cyanacrylate).Superglue can also be used to adhere to concave structures, inspection rings,grommets, drains and vents…such as those on the trailing edge undersides. When melting the holes for the drains and vents 3/16 is too small, at least in my world it is. Its better than smaller yet, but I would make it bigger. 1/3 of an inch is what I will do on my planes. 8mm. So you just get the clear re-enforcement rings for the round inspection covers of the legacy aircraft fabrics, level the surface you are planning to glue them on, wipe the area with Alcohol, drop the ring onto the top-surface of the Oratex, take the THIN Cyanacrylate Superglue from the Hobby store, and soak it under the well positioned ring from the inside diameter of the ring while it is laying on the surface, until all the surface of the ring appears clear, as the glue wick’ed underneath. Once that is achieved, stop feeding it glue and let it dry! – That is it, done! Be careful with the use of the “Free Radicals” sprays(“Zip Kicker”) for Superglue, as many will cause the glue to turn white and that will make it look ugly. A “Doily” Overlay on top of the re-enforcement ring is unnecessary with Oratex, many do it just for the old-style looks. Use shrink tube on the steel arms of the inspection cover and tape its underside with good quality tapes in order to prevent chafing and aluminum streaks due to airframe vibration as the plane is being flown. Used as is these covers will trail black as the aluminum rubs off under vibration: It’s easy to avoid! Cut the hole only after it is 100% for sure all dry; and there is no need whatsoever to leave any fabric on the inside diameter of the ring,it’s not like with the legacy fabrics where that is needed to be in contact with the Doily Overlay in order to keep the ring on there! With ours, cut ring into the edge of the ring and make a nice big and smooth-edged hole! Your wrist and mechanics will love that later when it comes to maintenance…I use various glues and they all work. Hobby Lobby and Hobbycraft both sell good Superglue that works fine. The instant activator is BAD as it discolors the glue. In contrast, make sure to use only the Gel-type Super-glue for the issue to attach Micro Vortex Generators to the Oratex. That worked always best for me. If you try to use too liquid a super glue for this purpose, it will be a big runny mess that cannot be cleaned up !