Old times ….

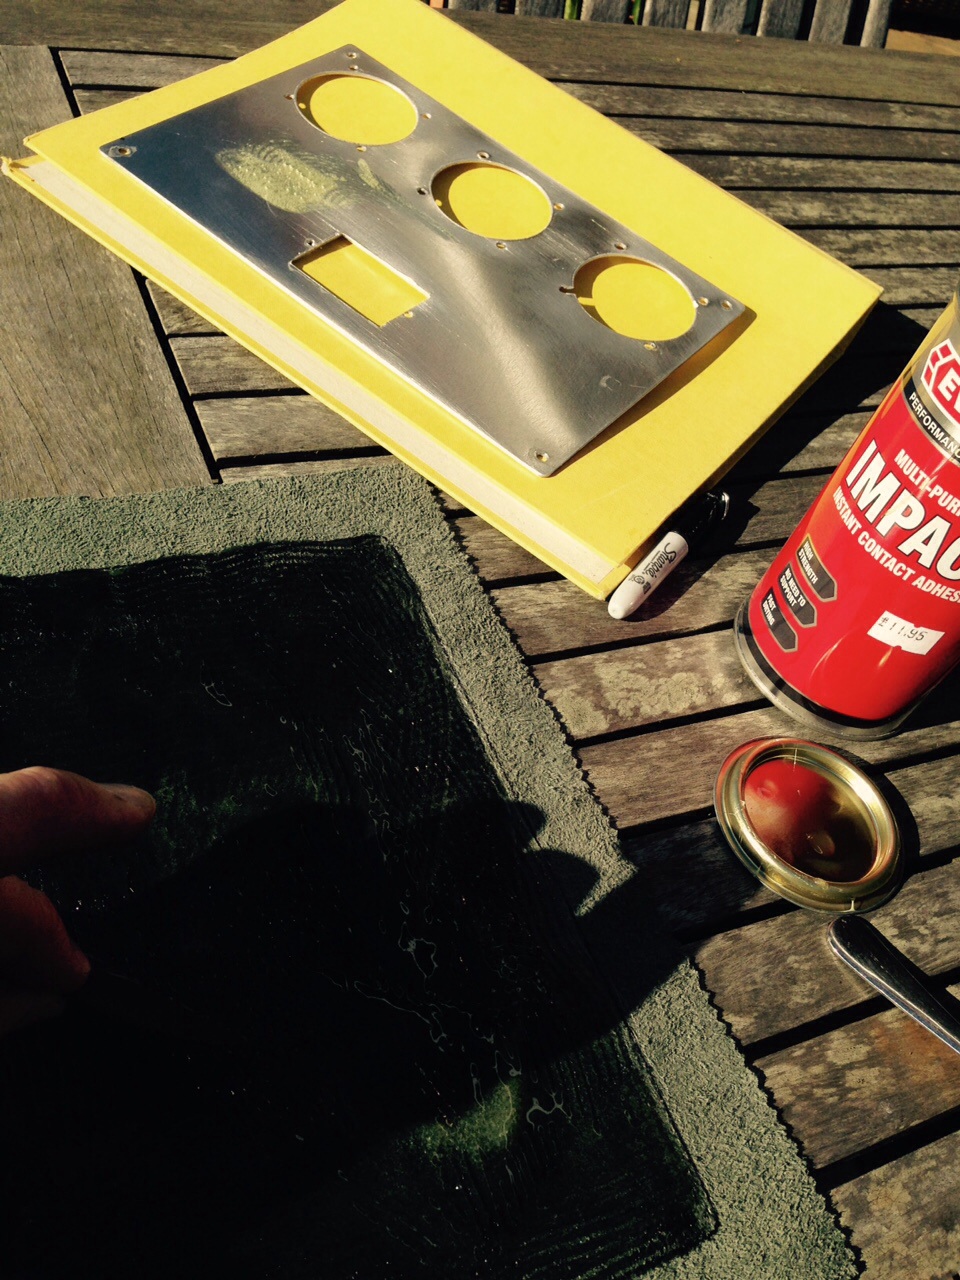
Haven’t done this for years !


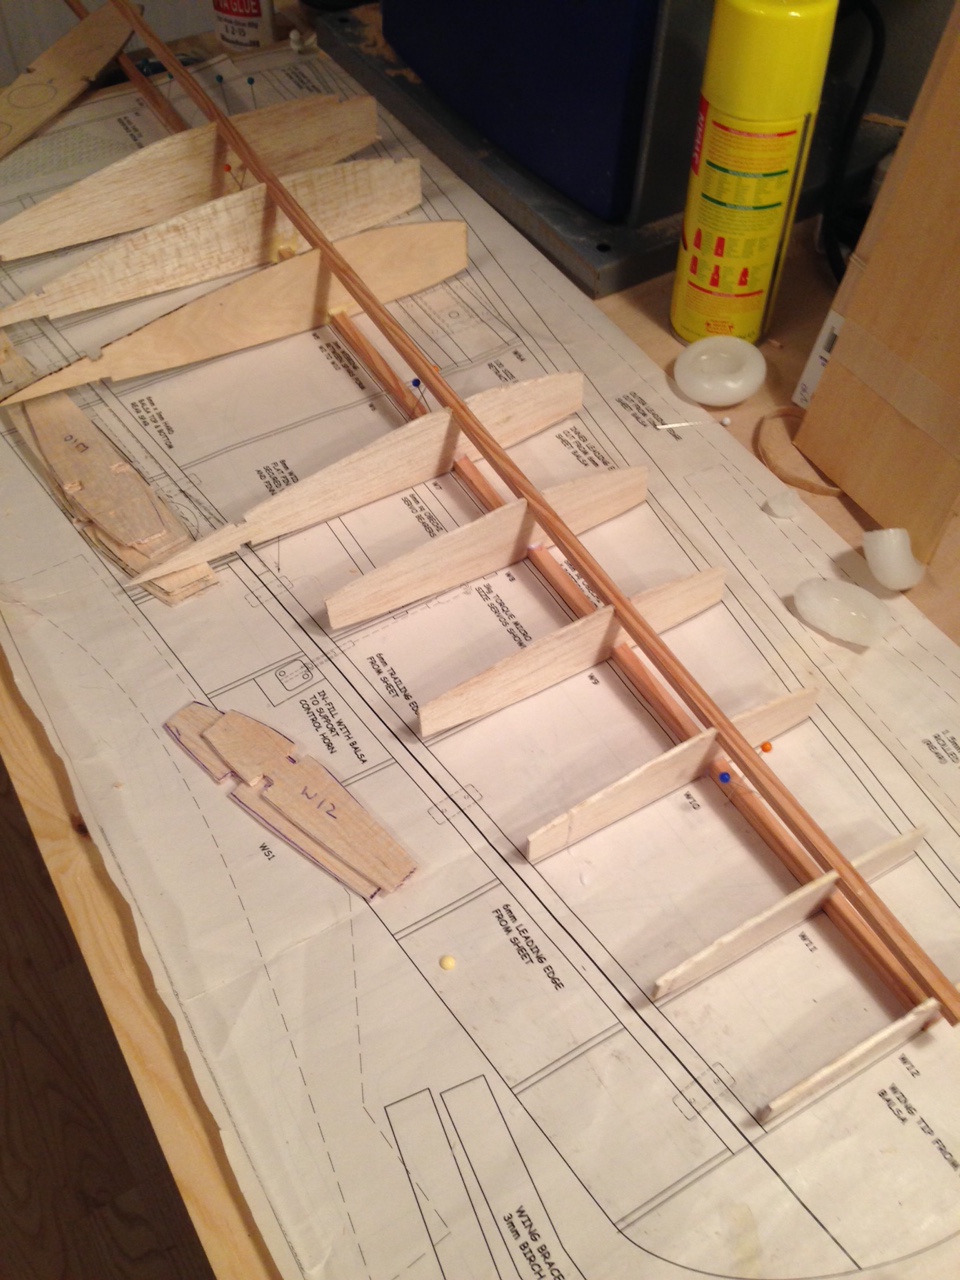
Middle son Will is picking up the old traits and, rather than buy all foam, out of the box, battery in, and fly type models … he has opted to build an RCM&E FW190 plan based aircraft.

IMG_1643  IMG_1640

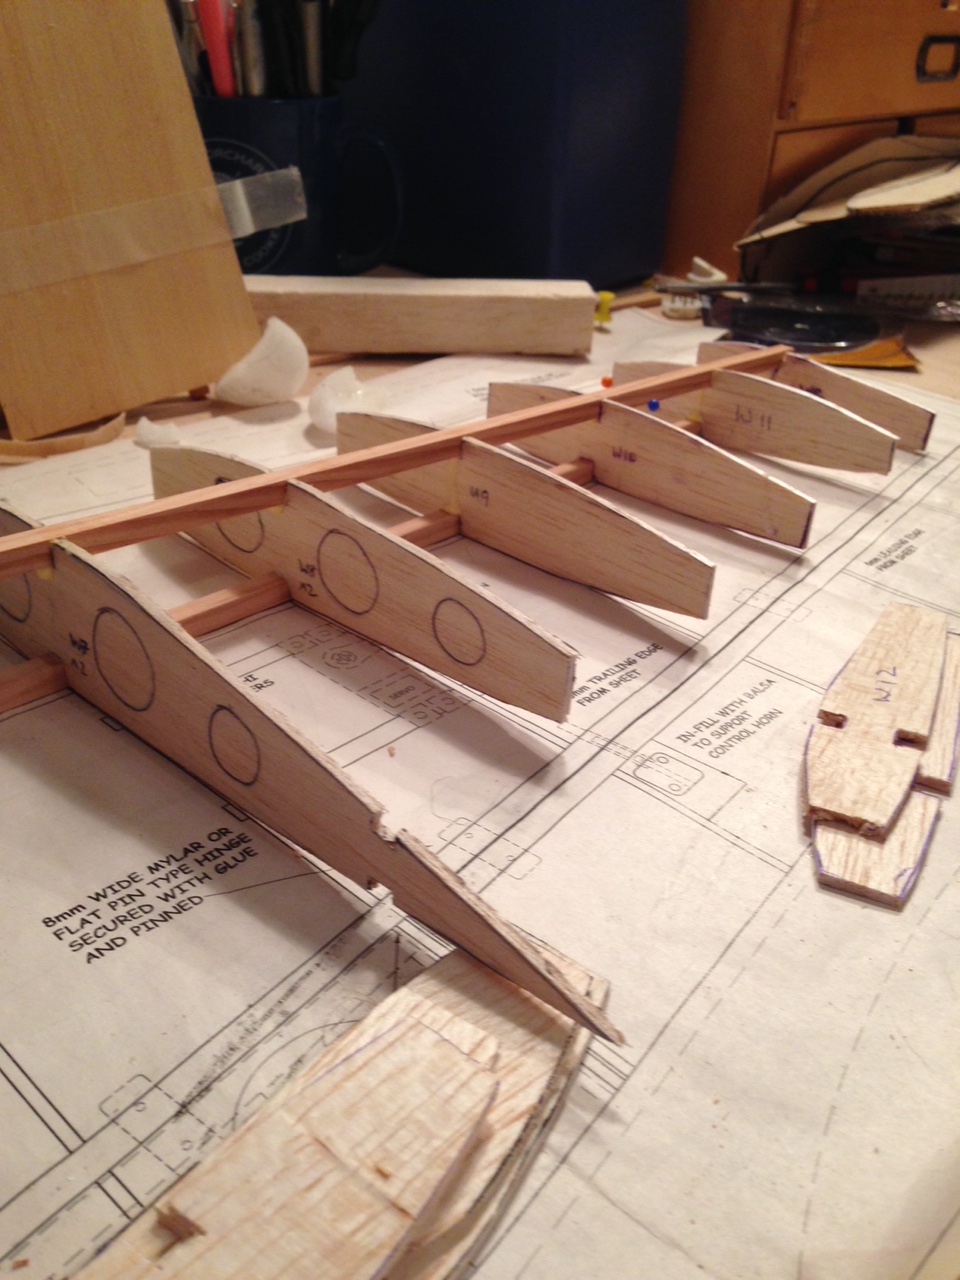
Interesting to get used to reading this sort of plan again and prepping all the ribs and spars etc He has also invested in some Robart retracts … I always dreamt of those but could never afford them … had mechanical set which were a bit clunky ! Flew them in my SuperStar off an old American aerodrome in Suffolk called Alpheton

IMG_1641  IMG_1642

Re-assembly – pre engine test run

Spent a few hours pulling various parts that were covered some time ago and can now be re-joined to the mother ship !

The Elevators have been off ever since covering as have the tailplanes and elevators but now I have decided the wings are on to stay (they have been on and off about 3 times to date) then they can all start to go back on board.

IMG_1775 IMG_1777

Pays to mark these ..(‘S’ for Starboard) as each was pretty built in situ you do get slight deviations in fitting placements … which effectively makes all placements unique.

IMG_1778 IMG_1779

Looks so much better when the tail goes on … will leave the re rigging off for now as that will get in the way of covering the sides. Picture right above … shows a position that will NEVER happen .. differential elevators !  – mid way through re connecting.

These are extremely difficult to re-connect post covering I imagine so I took the opportunity to reconnect now where I can get easy access. Will take the overhead of tricky side covering !

IMG_1780  IMG_1864

Nice to get first aileron back on .. These look quite nice now they are covered and sensible gap on the frise 🙂

Fuselage – Bottom covering

As I don’t have the facility to hoist the entire body skywards and work on covering I have opted for what PHS (Paul) mentioned was the ‘keep fit’ option ! ie forget gym memberships and riding pushbikes …just nip under and over, nose to tail, under the wings etc to measure and trim the material for covering the full body underside … Then use temporary clamps to hold it in place so that I can get pencil marks for the glue line.

IMG_1851  IMG_1852

Then work a method for releasing the forward pieces to get those hotmelted in place and slowly work backwards… this method seems to be working a treat !

IMG_1854  IMG_1850

Had a problem prior to this getting a good ‘hold’ for the glue on the stainless bulkhead .. but, following PHS advice roughed it up using wet and dry, then a thorough cleaning/de greasing then etch prime.

IMG_1857

Just need to secure the exhaust duct tail oratex using same method as above.

Blog at WordPress.com.

Up ↑