Ariel – Comant and Icom

Although i intend to put a double Trig set in i am starting off with an Icom unit. The ariel that comes with the Icom should be fine for testing but def not mid channel crossings !

image

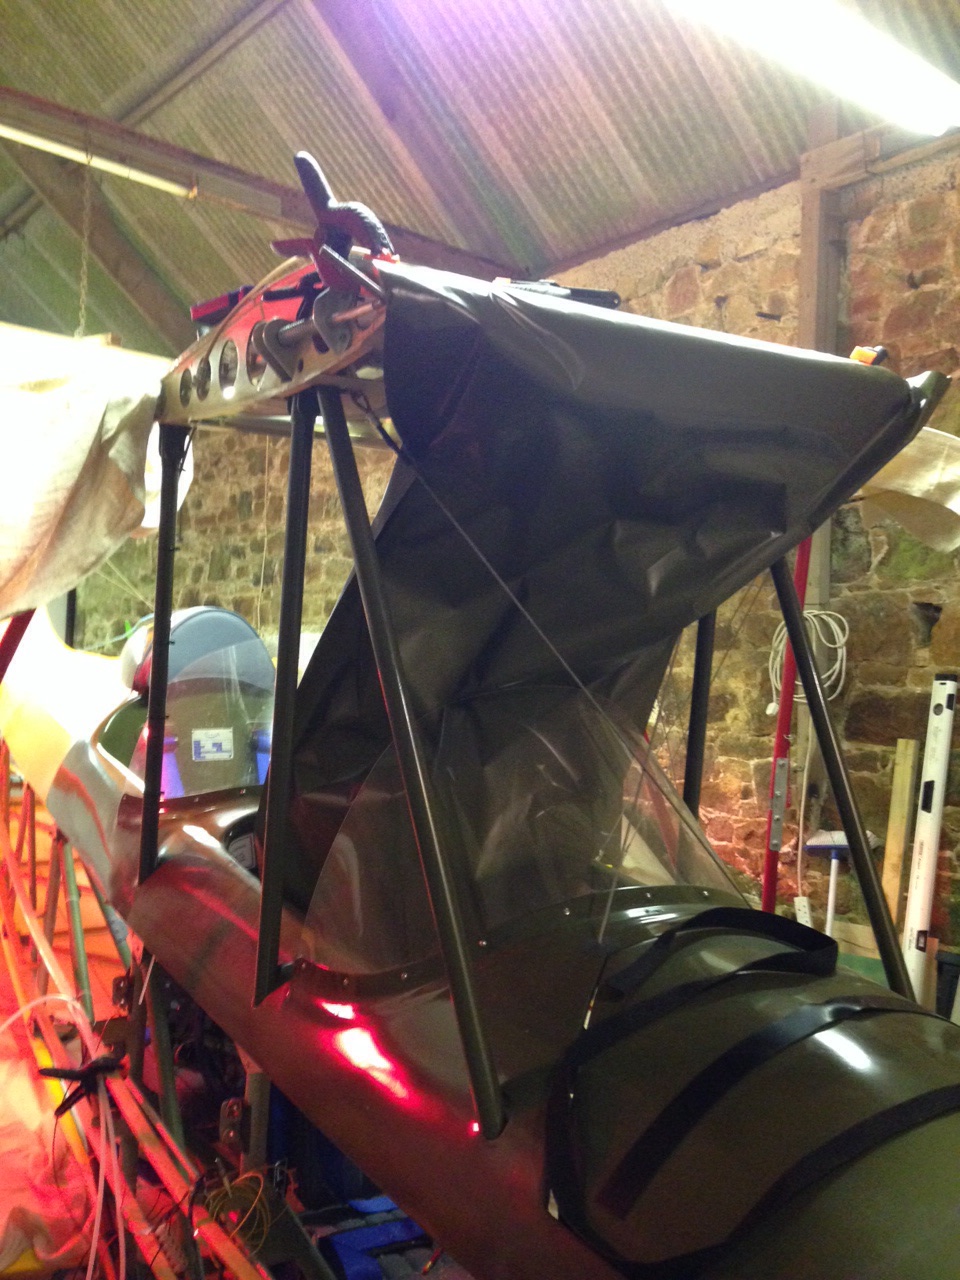
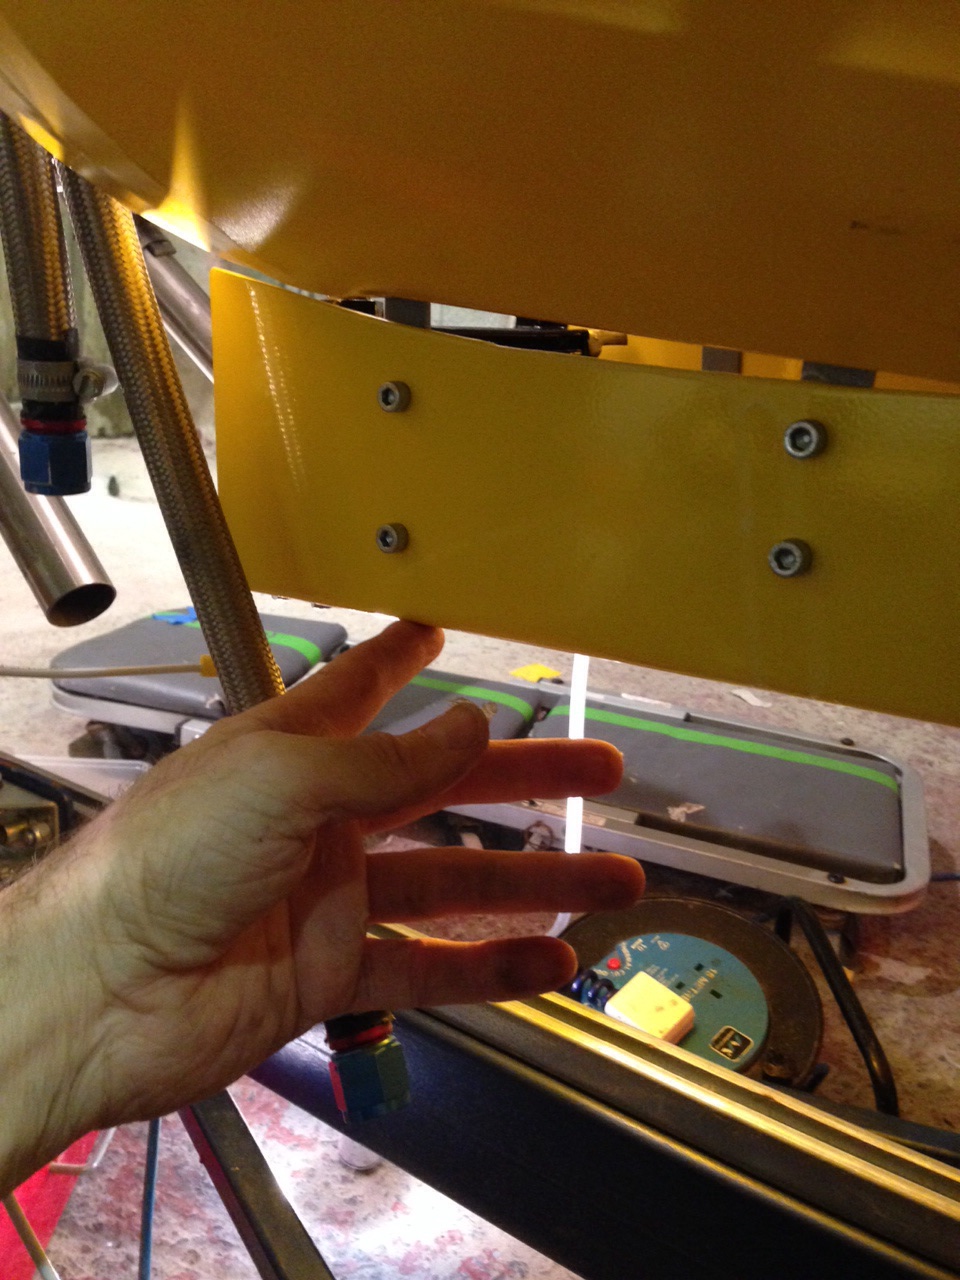
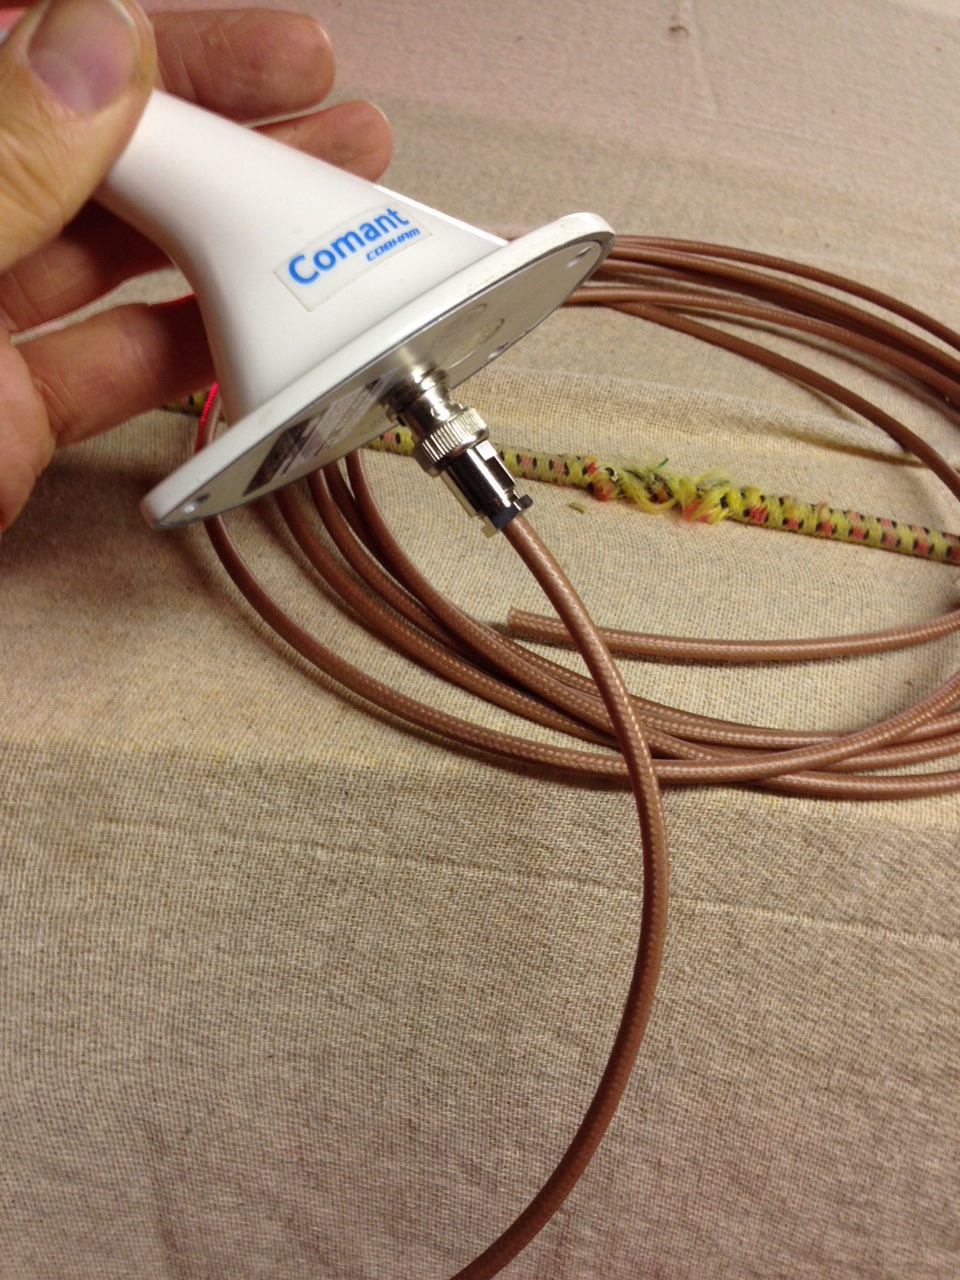
So i have a top of cabane mounted comant ariel which i have made an under tray for with rivnuts so that i have blind access. Three long countersunk allen headed bolts complete the fitting.

image   image

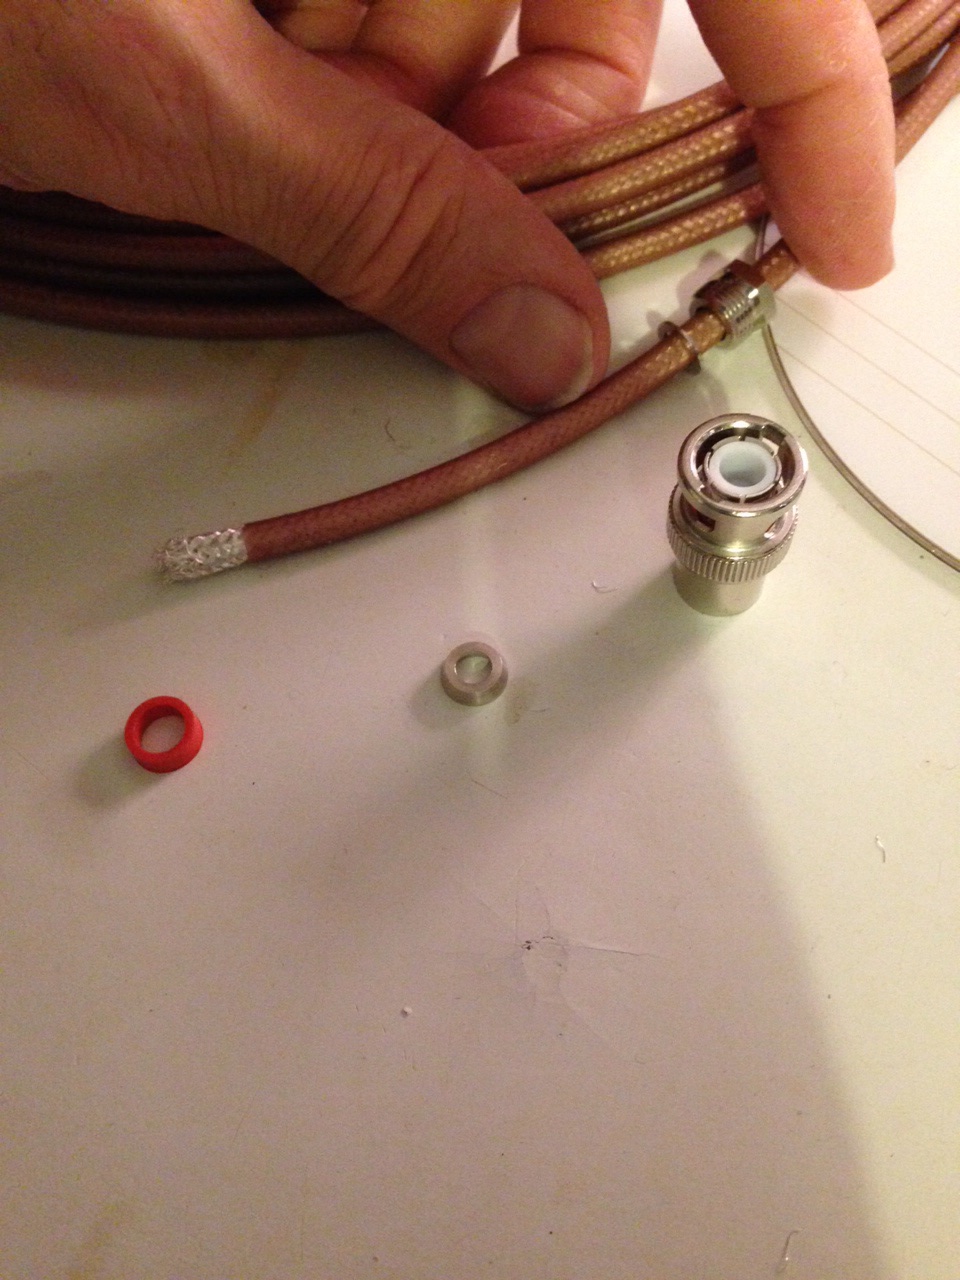
I sourced two RG58 co ax plugs from RS and these will be fitted to the base today ready for covering the centre top cabane (Olive Green). The Green contrasts to the Cub Yellow wings but carries in the top cowl, upper body colour scheme before it changes to Yellow behind the pilots head.

I intend to curl some slack ariel cable in the top cabane so that i have ‘working’ cable should i need to service the ariel.

image

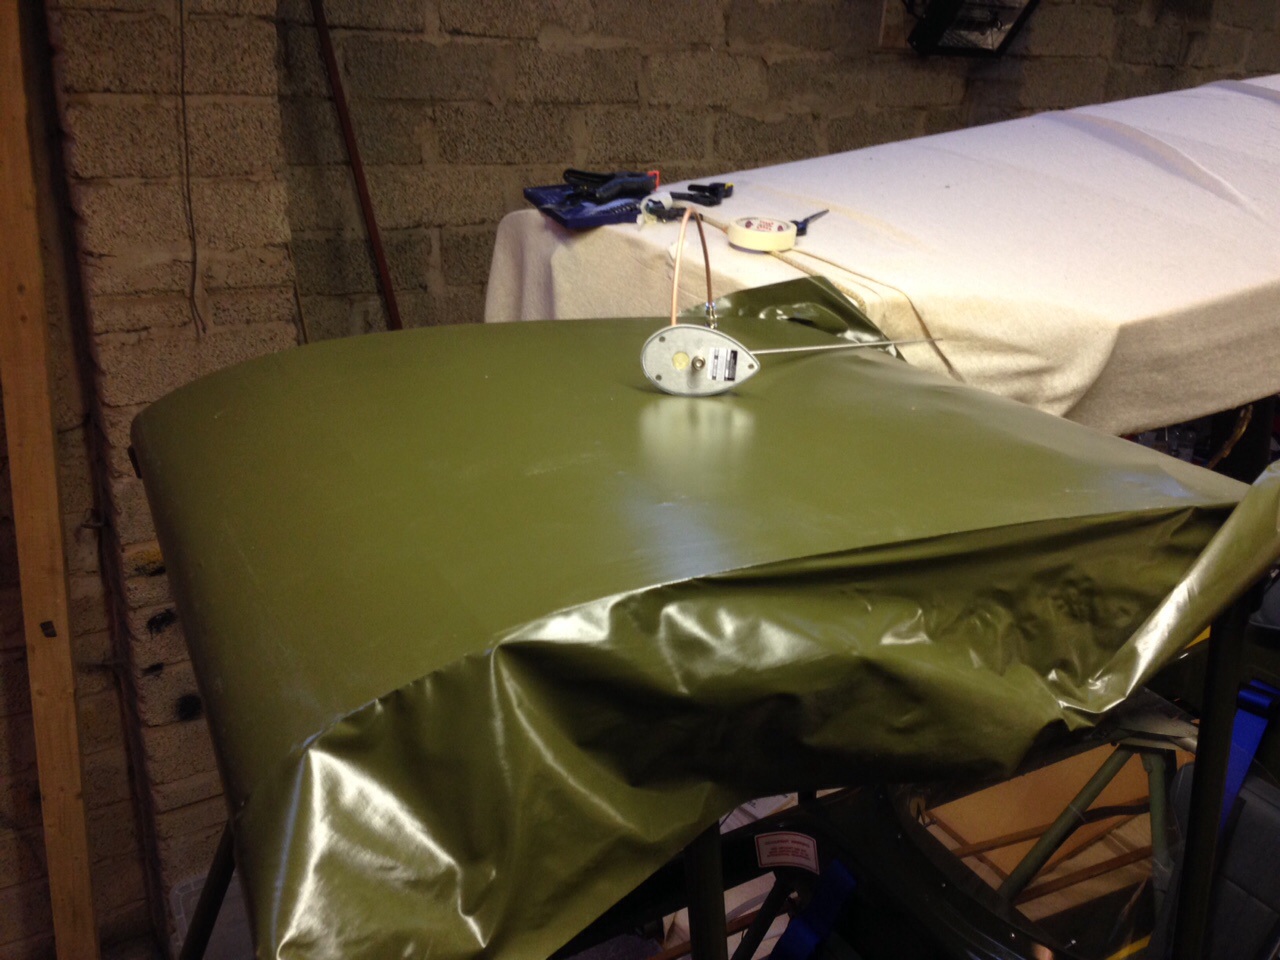
I am now looking for suitable trunking rubber to secure down the back of one of the supports struts so that the ariel cable routes neatly to the cockpit.

image

Trailer adjustment

Mike has made some final tweaks to the wing supports. Kevin made some fantastic light alloy dollys and some nice wide carbon fibre under wing supports that mould to the wing shape.

This will prevent any bouncing whilst trailering.

With the engine monitor all pretty much wired up and throttle connected its up to the Channel Island Aero Services to check her out, get Avgas in and test start the engine.

Tail weight sourced and fitted

Tail weight sourced through a UK diving company .. So provides a simple sungle 3Kg block. Made up a clamping plate for both sides, glued and bolted onto the plate and then 4 x rivets to the airframe.

It’s been a long Christmas !

Although it’s been a long family break I have been trying to keep things moving over the Christmas and New Year break !

The big build  to a ski trip was dashed when the high winds meant we couldn’t sail off the island so ended up flying to Malta .. Not renowned for its ski slopes ! But lovely 20′ nonetheless …

it’s been a great chance to catch up with odd days and hours when the work support and trips permitted …

  • Tidying and gluing the underside covering
  • This leaves just two full length sides  – about 3 evenings work
  • Re rigging all upper cables for the tailplane
  • Making a new wing bracing wire as last re rig proved one was just too short
  • Re thread the pitot tubes through the drag spar and into the fuselage
  • Connecting the plumbing for the fuel tank and incorporating a drain plug / valve
  • Completing the wiring of the 2 x CHT and 2 x EGT sensors
  • Adding a splitter pair of wires to allow a secondary CHT gauge in the front cockpit
  • Securing the throttle cable guide
  • Ordering some sheathed cable for the magnetos and headset connectors
  • Complete drilling and fitting of the lower wing tips using small alloy brackets to allow removable option
  • Tweak trailer wing support to accept tailor made carbon fibre supports that span two full ribs cushioning the whole transport
  • Re fitted all 4 ailerons
  • Purchased 4 gate bolts as advised by my good fellow builder Danny to make the return springs on each wing peg
  • Re sized the headrest to be a closer fit to the head bubble
  • Pre tested the icom unit

image image

image  image

Next step .. Onto trailer and up to the airport for first engine test run

Blog at WordPress.com.

Up ↑