Tyre change time and first service

Well .. it’s just got to 24 hours engine run time .. a whole ‘day’ of engine running ! And about 18 hours of actual flying

I’m getting comfortable with the engine as I get to know it’s handling .. when something is brand new and you have no experience of it you vary between instinctive confidence – IE it’s brand new so what can possibly go wrong to an element of mistrust – cos it’s brand new ! And lots can go wrong with it !

You end up .. hopefully with a healthy mis of BOTH and so each flight you learn and pick up the sounds and handling bits

Last Sunday I flew her around the island for 58 minutes .. mostly over a beautiful blue but deep sea .. still focuses the mind and ears on all those noises .. and she sounded fantastic .. didn’t miss a beat

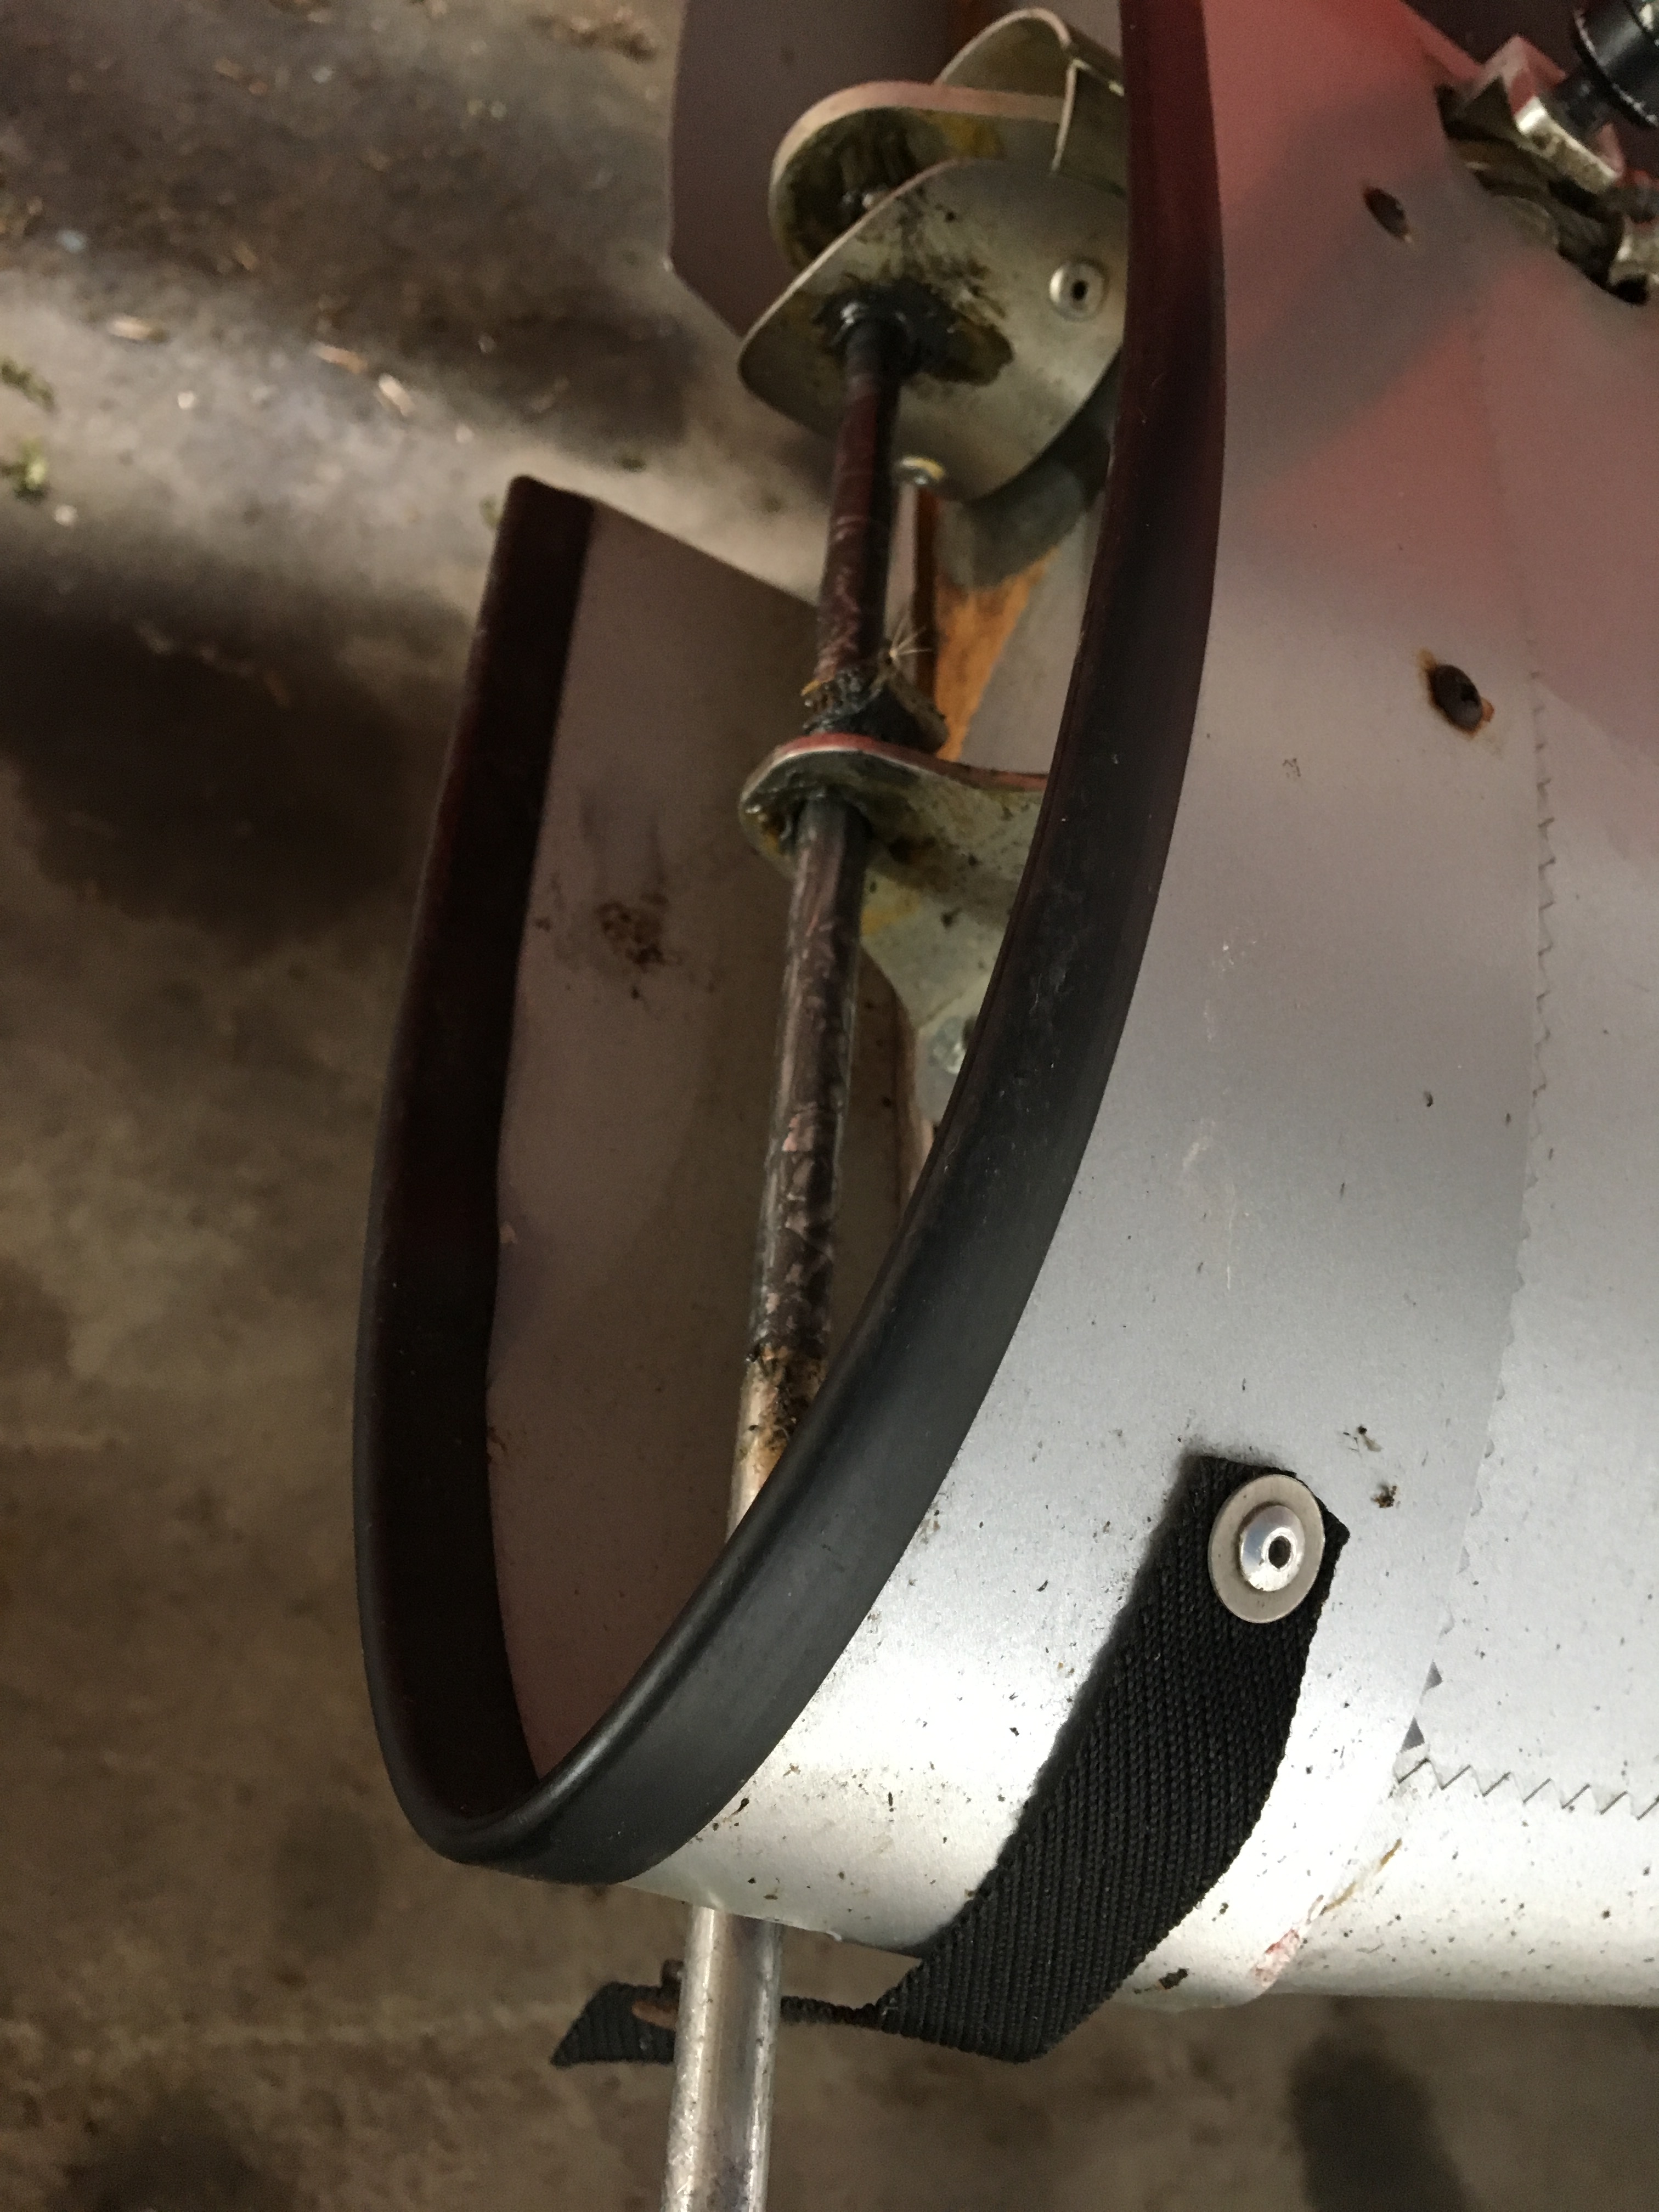
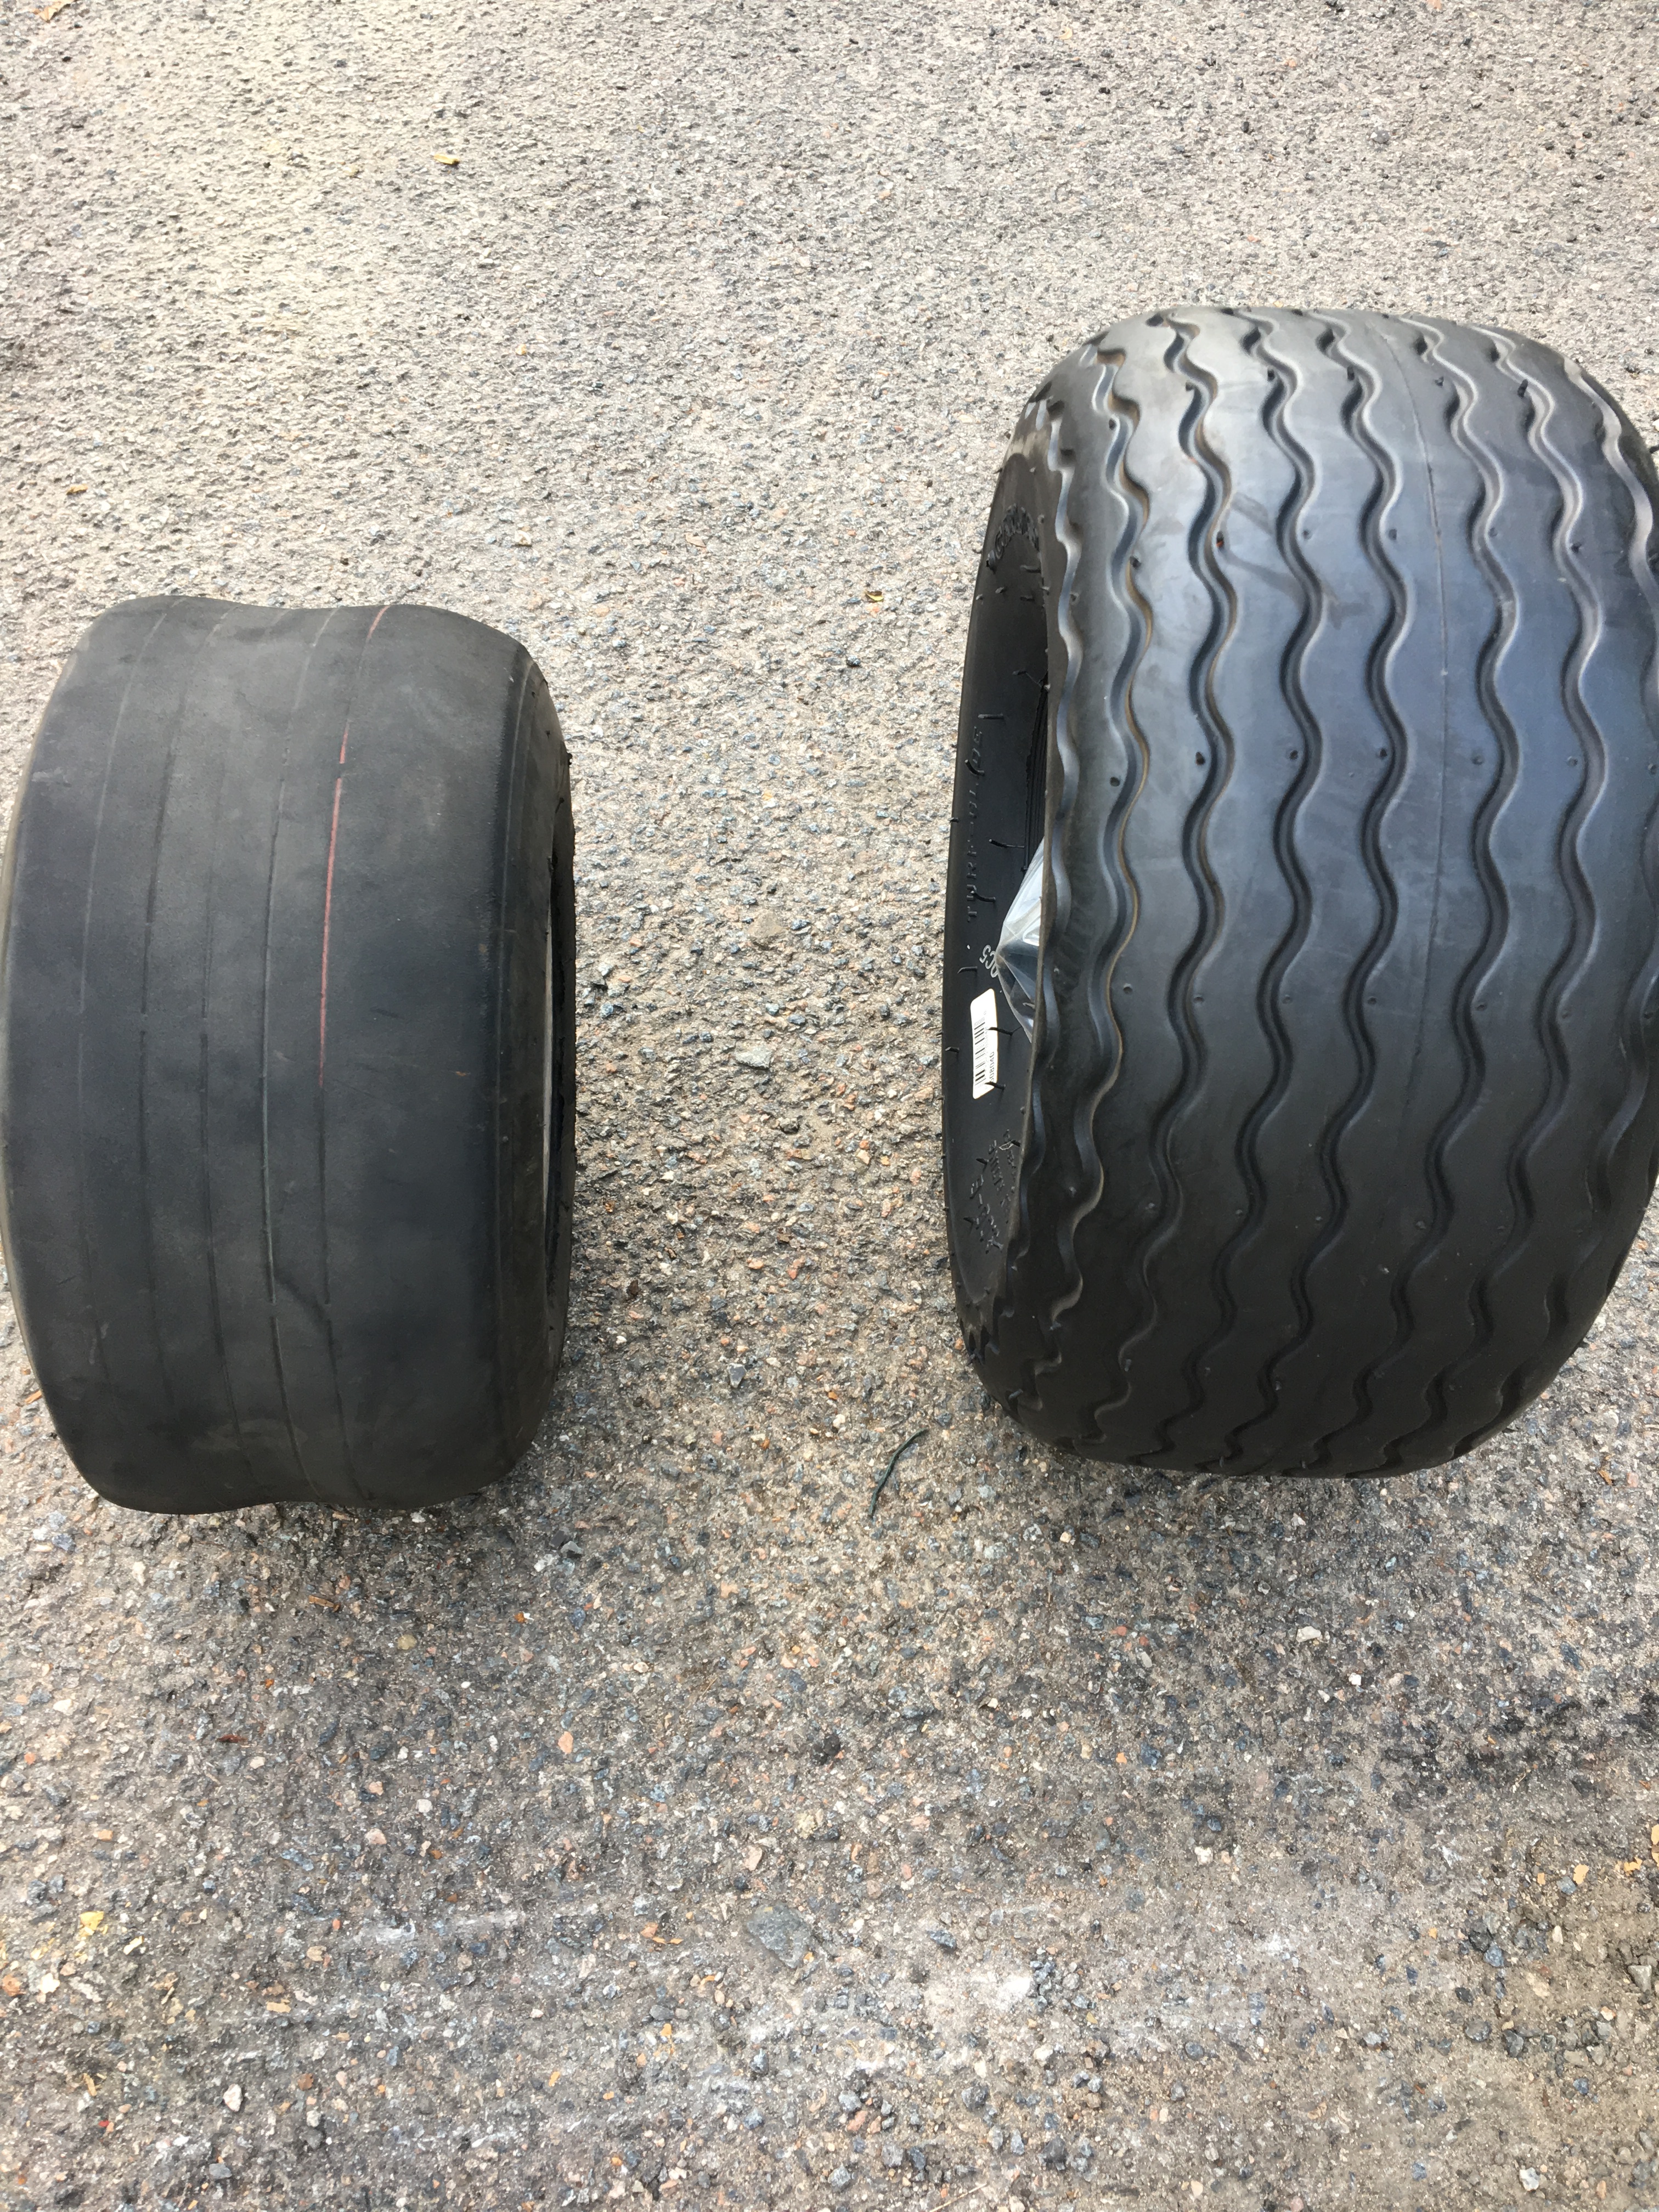
Anyway … time to change the tyres .. I’ve been running them at a low pressure to prevent too much bounce on the tarmac at Jersey – so about 10-12 psi – they do slow me down quite quickly on the surface but it’s all becoming reasonably predictable

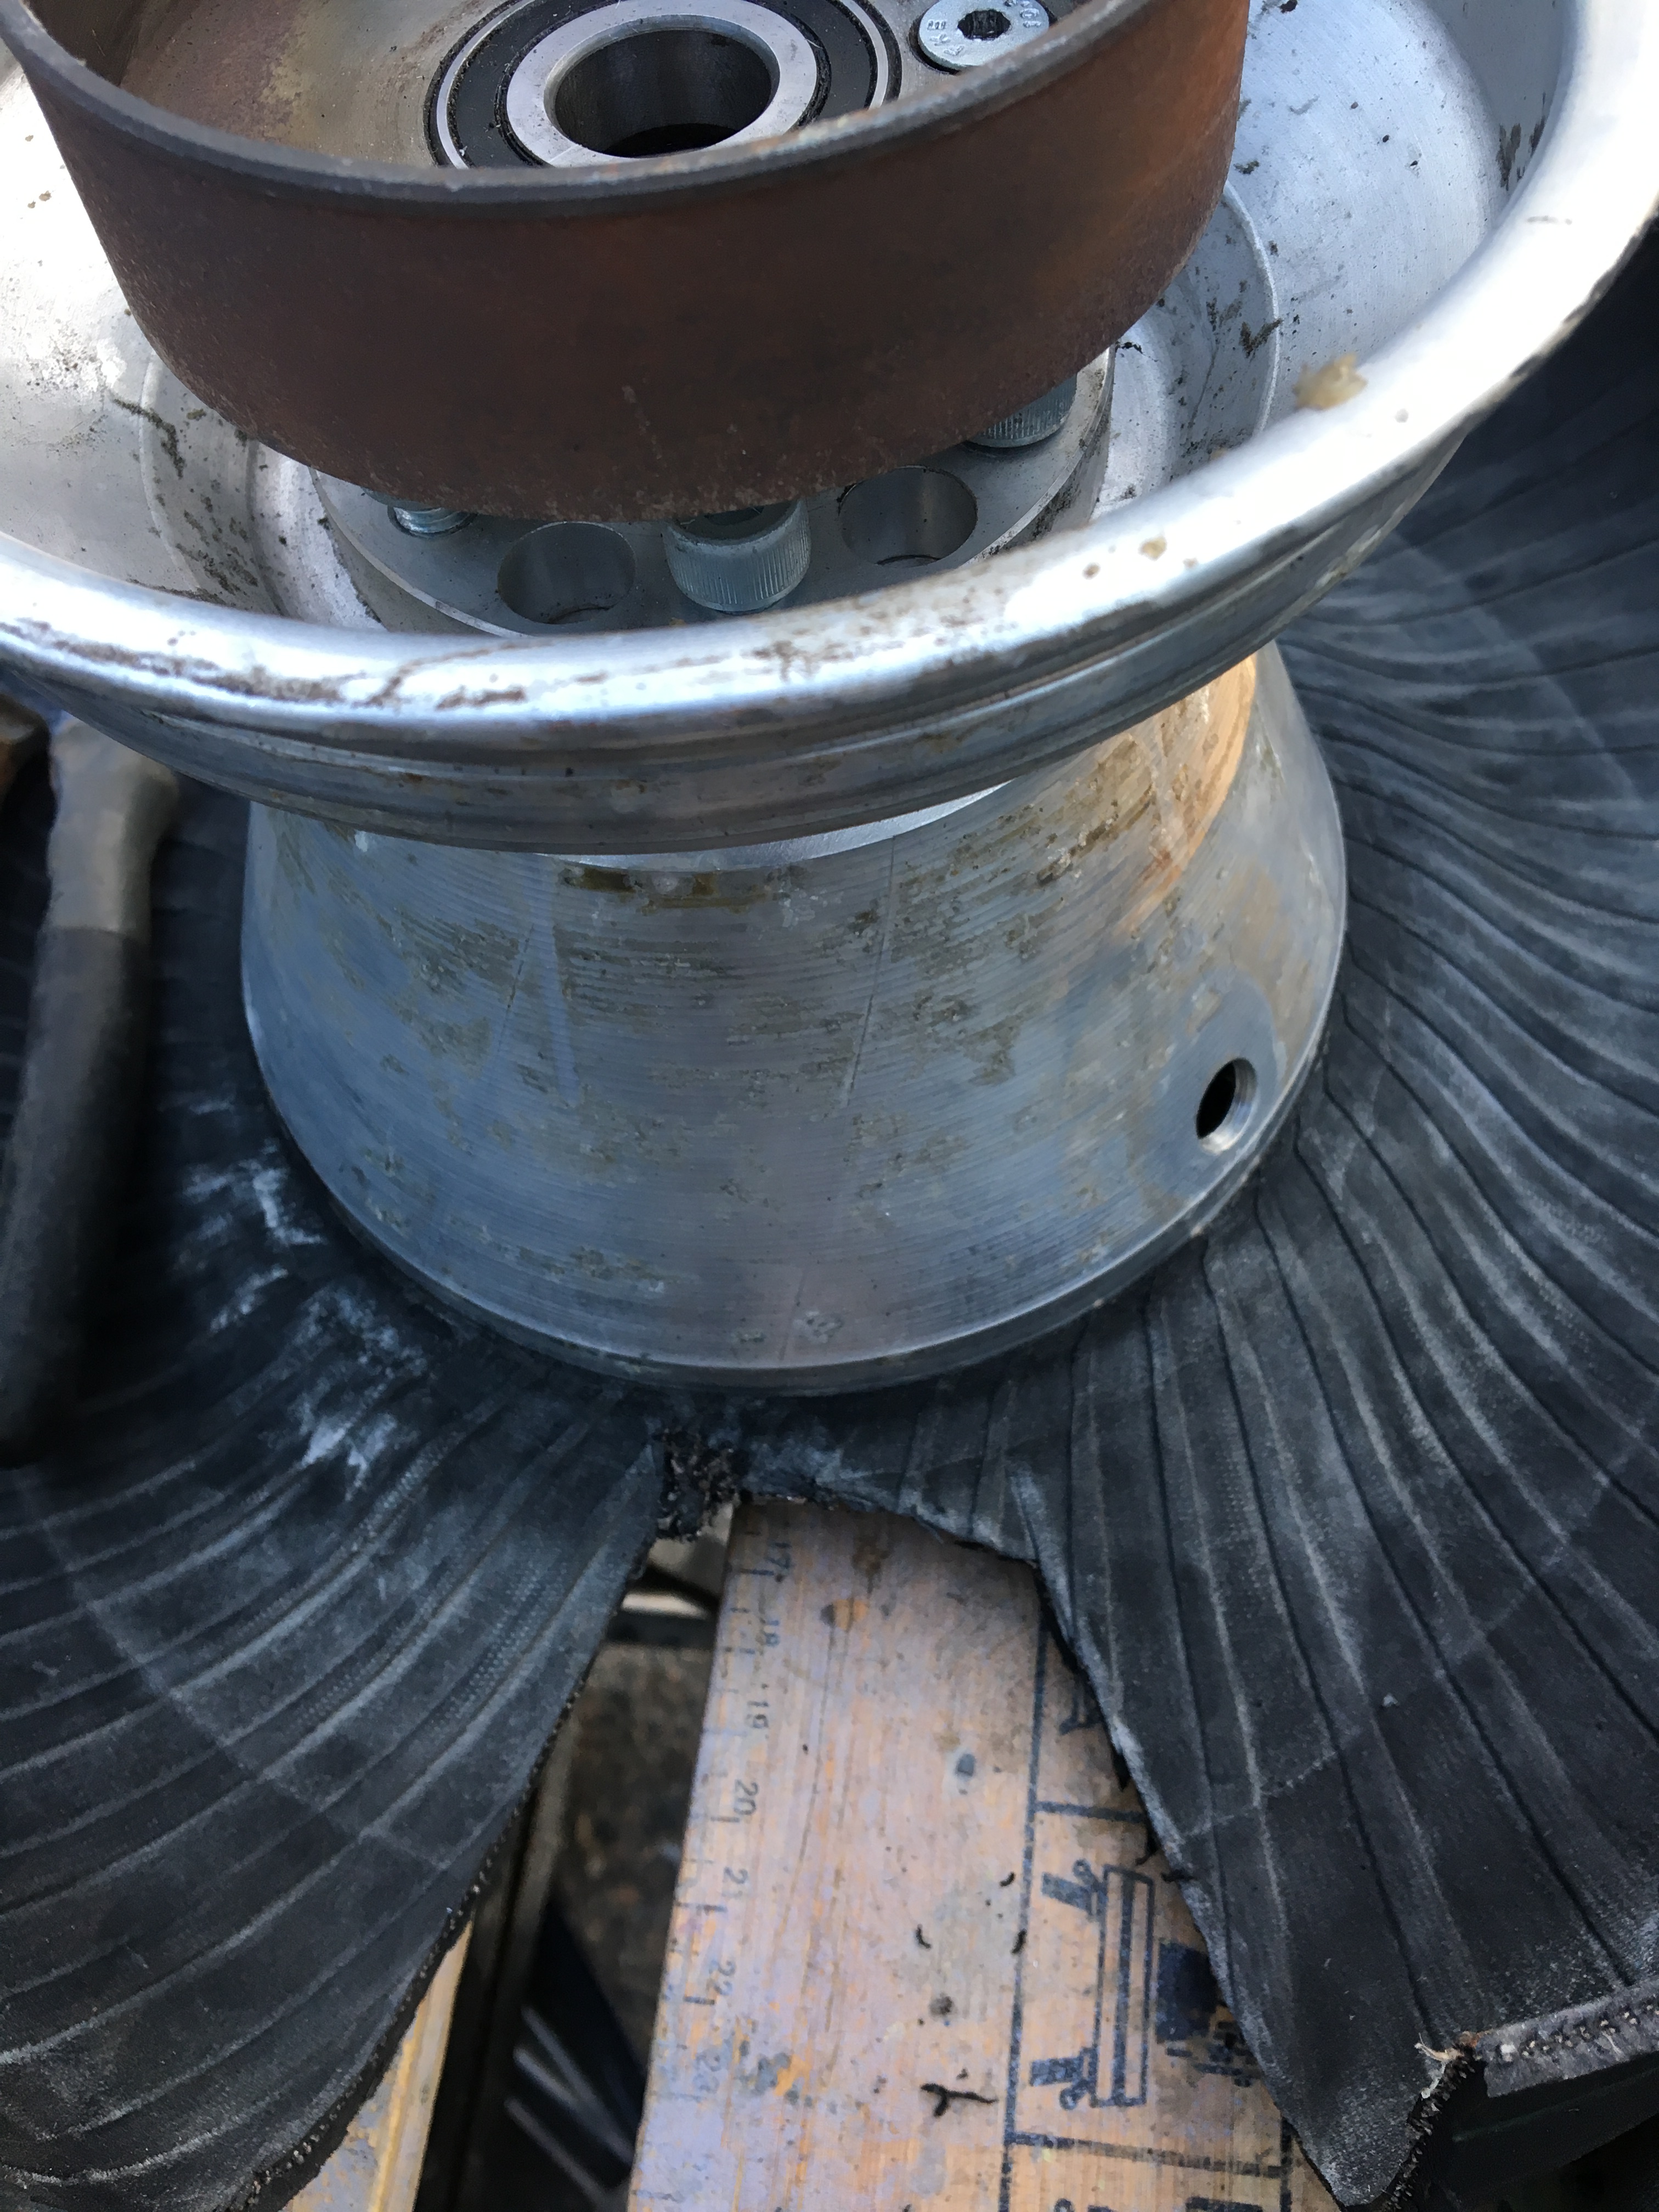
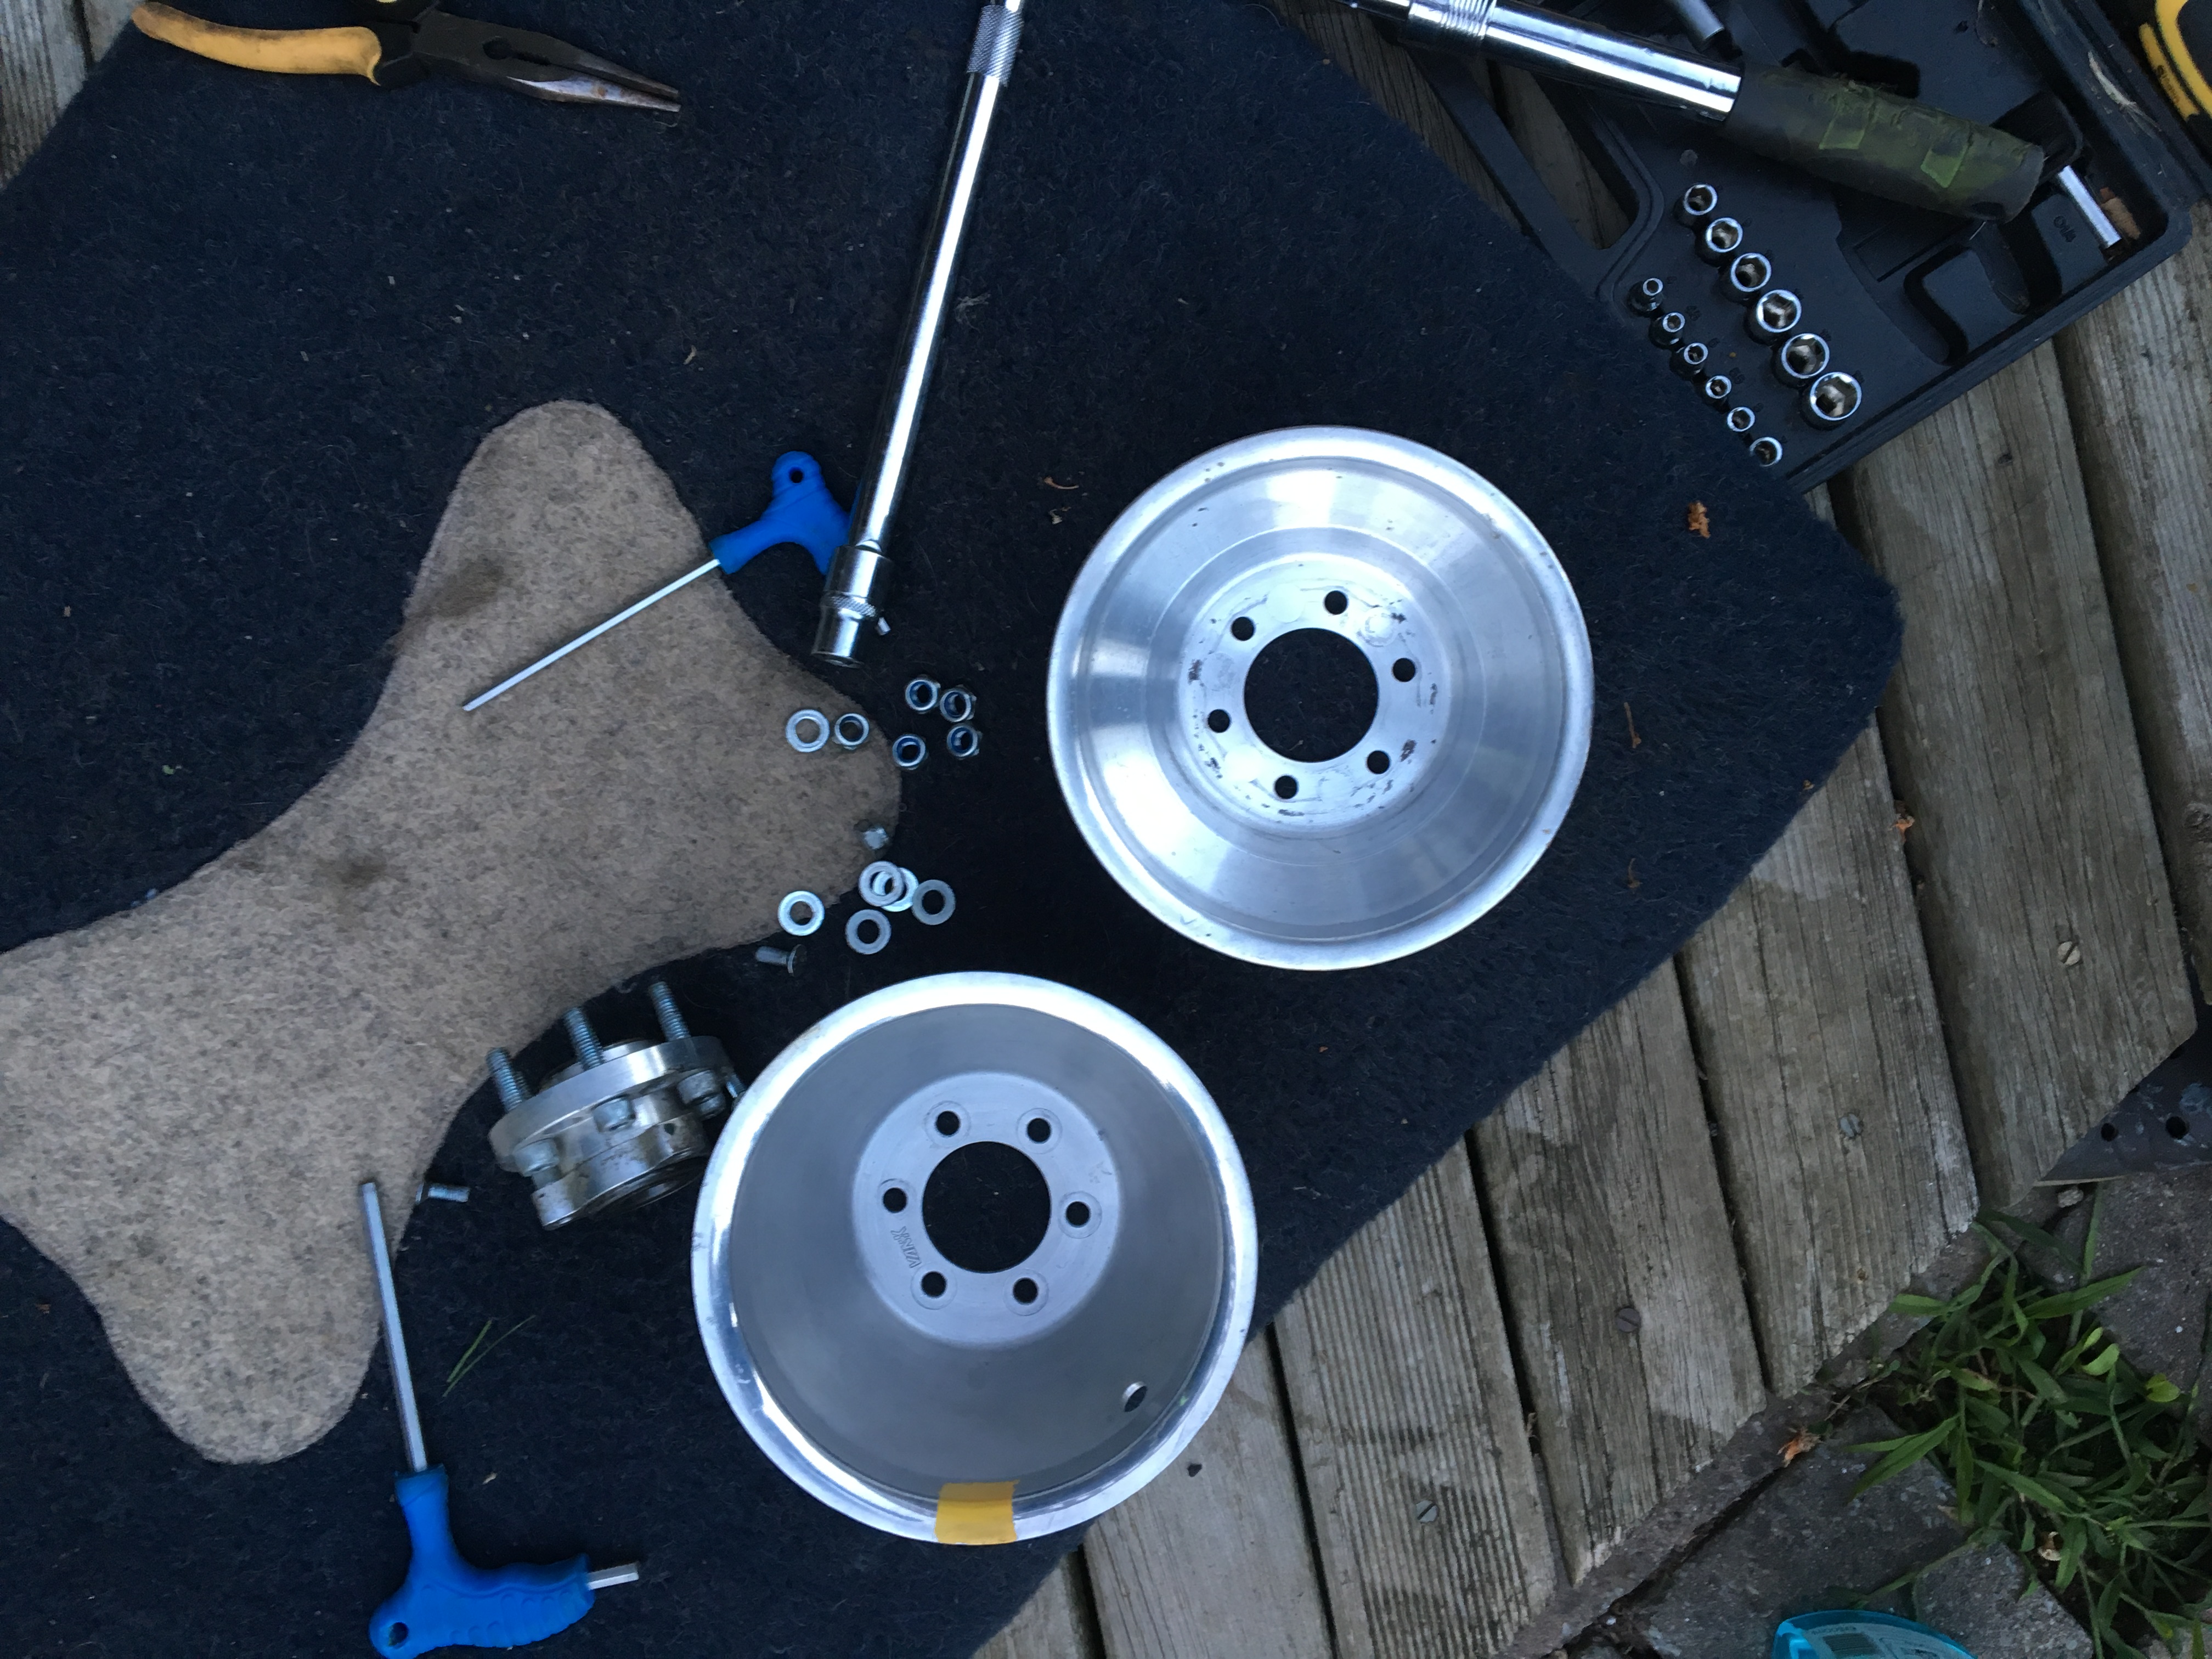
Getting the tyre off however wasn’t !

I thought it would be a quick job having watched my sons factory (Williams F1) do 4 in 2.1 seconds last week !

After 2 hours of sweating and heaving using a proper tyre remover kindly leant by CIAS it still refused to pop off the bead at the hub

After cutting it off and eventually cutting the rim wires it parted company

I realised afterwards it was the first thing I did over 4 years ago so they have probably age hardened AND I didn’t use talc or anything when putting them on ! Now rectified


Post 401 ! – Paint finish- Rudder

I had left the rudder and fin plain or is that ‘plane’ yellow on the basis that I wanted to settle on a design once I had got used to how she looked

Im quite happy with the nose colour and lines as this had the effect of making her look quite sleek at the front .. but the mass of yellow at the back could lend itself to some sort of rudder or fin design

Remebering the old biplane decor applied back in the 20’s where you had ‘art’ of some form either on the rear fuselage or on the tail I opted for a tail pattern

A call to Paul HS and he kindly cut a template to my draft on PowerPoint !

Just trialling on a test panel I have made up before committing to full rudder job

Thanks

Sharing builders ideas

I had the pleasure a couple of weeks ago of popping over to the UK in the car with my wife … This time on the overnight boat .. This takes a snip at around 11 hours from Jersey to Portsmouth ! But pretty much always runs come rain or shine or gales or whatever

Paul HS had kindly put my in contact with another builder during my ‘hot oil’ period and it was this chap along with another in Holland who kindly sent me pictures of intakes and oil cooler sizes that delivered the knowledge I needed to fix the problem

Charles (Blount) is a fantastic character and kindly arranged to meet up with us at a very small grass strip just North of Andover.

G-YELP has flown many more hours than mine so it’s good to share experiences and ideas on little tweaks that have been made.

I particularly liked the fitting of the top wing roots to the wing vs fitting them to the cabane .. I had found that mine were catching as the wing swung through its arc to seat and this easy change means there won’t be that catch .. And it looks like I can trim down the width as well using this method which I think will be neater .. I will add pictures later when I have switched their fittings

Charles had also put a small rubber edge on the lower wing fittings to soften the joint between alloy edged root and the side covering of the body… Will get on line and source some of that.

Charles cockpit seemed much roomier but I think that’s because his panel is the square type which gives much better leg access .. Mine is still very F1 type access and I was watching last weeks F1 from Azerbaijan where the drivers support their upper half whilst sliding their legs in then bum down but have to raise both arms skyward to then bring them down into the the cockpit 😄

I also spotted a 12v socket mounted on the left with wires running under the seat … Under and rear seat back heating ! How ‘cool’ is that ! !

We had  great chat about loads of other bits before departing … Many thanks Charles and look forward to flying mine over sometime

LAA sign off !!!

Having re submitted my newly double checked max straight and level speed of 75MPH Jon at the LAA was still curious as to why it had been 80 originally and then I had reported 70 after adding the wing roots when, to all intents and purposes, it should have got faster !

I too had been thinking this was a bit odd and we wanted to work out what had happened or was it simply a Mia read on my part ..

Eventually I remembered where I had got the original 80 reading from ..

When you are taking these readings and noting them down you have a few problems … You are in an open topped biplane with a very small cockpit and, although she does generally fly hands off .. It’s not something that you do for very long and I like to sit with right hand on the stick and left in the throttle .. That doesn’t leave many hands to write with !

So I hit in the idea early in the test programme of taking my mobile and activating Skey Demon just as I started up … This would give me speeds and times and routes which I could note and tie in with go pro footage later.

On one of the early flights where I noted speeds I duly put this in my LAA papers and carried on flying … Of course I now realise that was giving me GROUND speed not air speed ! I remember one early flight I had well over 100 ground speed ! DOH !

Jon was happy and has now sent all the paperwork off to the CAA with a cautionary note saying .. ” .. We understand your eagerness to fly ..  But .. Await the full paperwork – earl or electronic – before flying ” !

Its only a few more days to wait THEN I have officially built a REAL aeroplane !!! 😃✈️

Blog at WordPress.com.

Up ↑