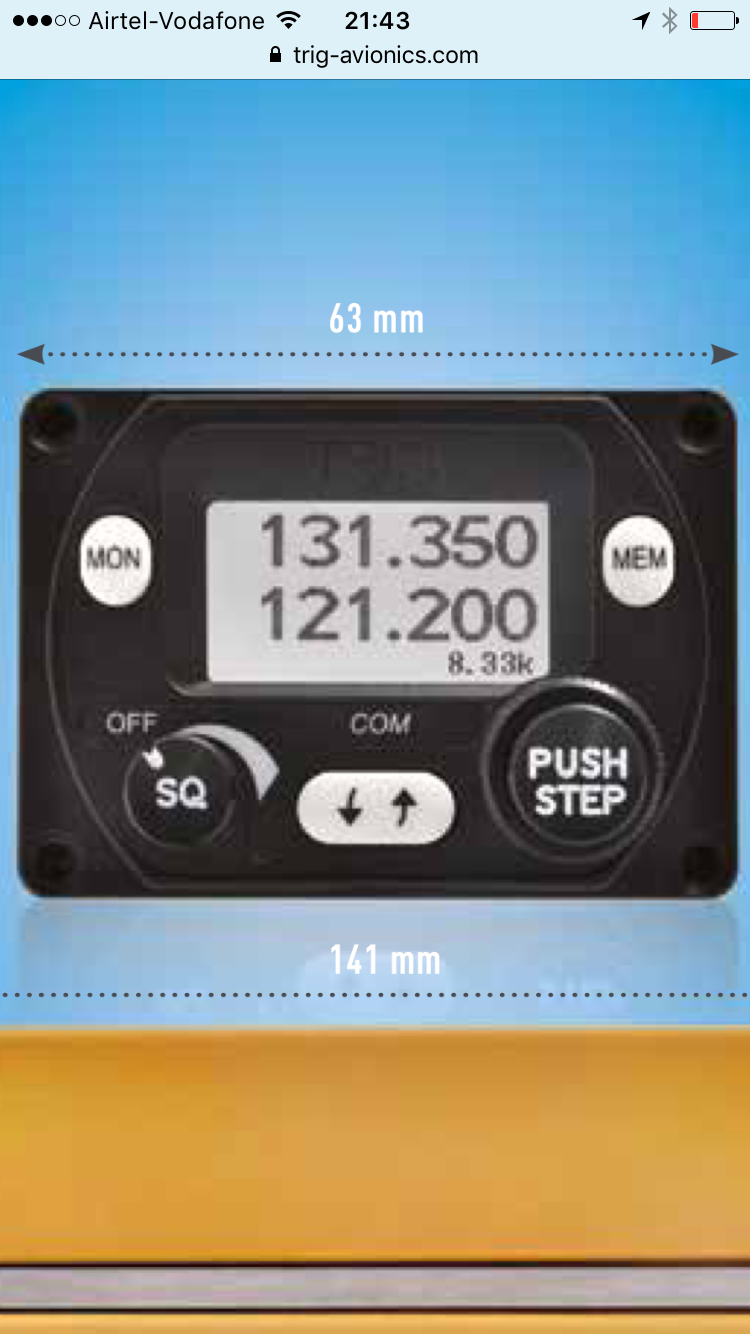
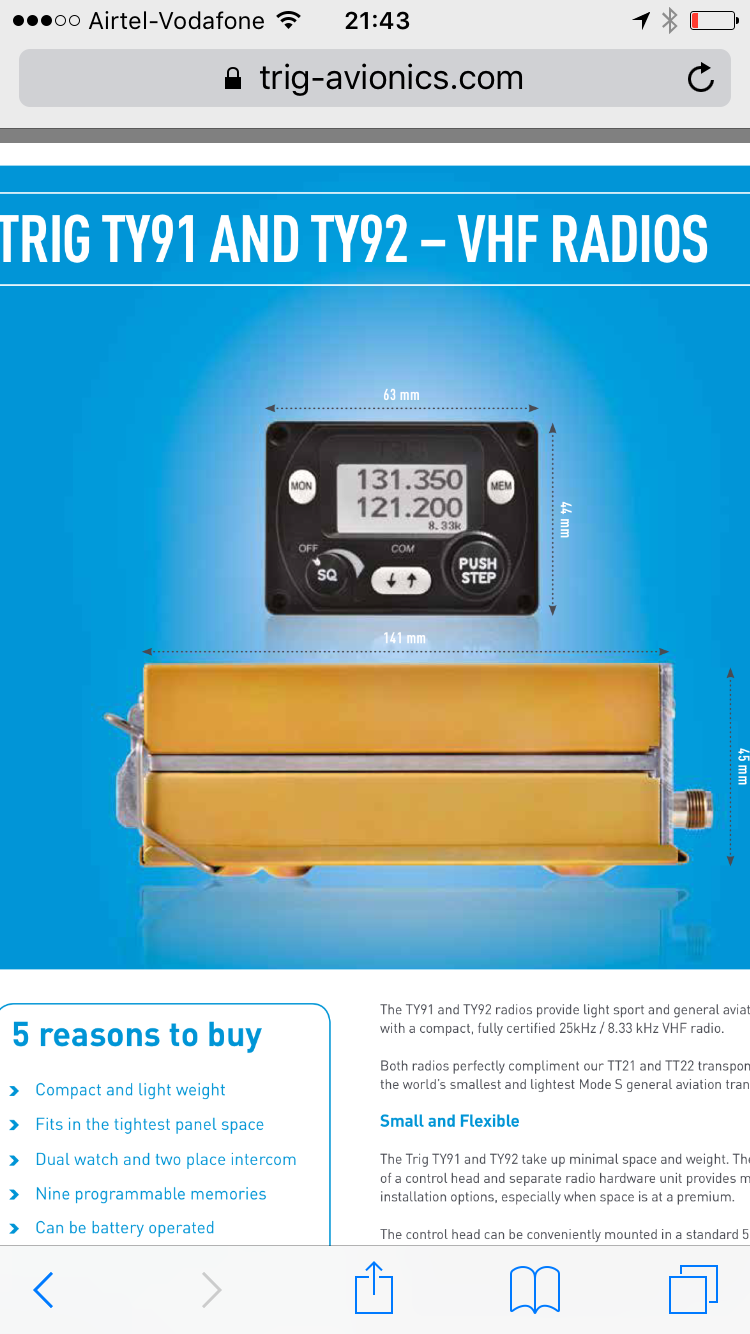
It’s been so busy at work with lots of meetings and business trips away to London and Luxembourg so good flying opportunities but .. in the middle of all this I managed to get a secondary radio head unit for the Trig ordered and a secondary alternative style RPM gauge for the front P2 cockpit
The front cockpit had been pre wired with spare cables BUT only from the firewall backwards NOT from the rear (radio) forward
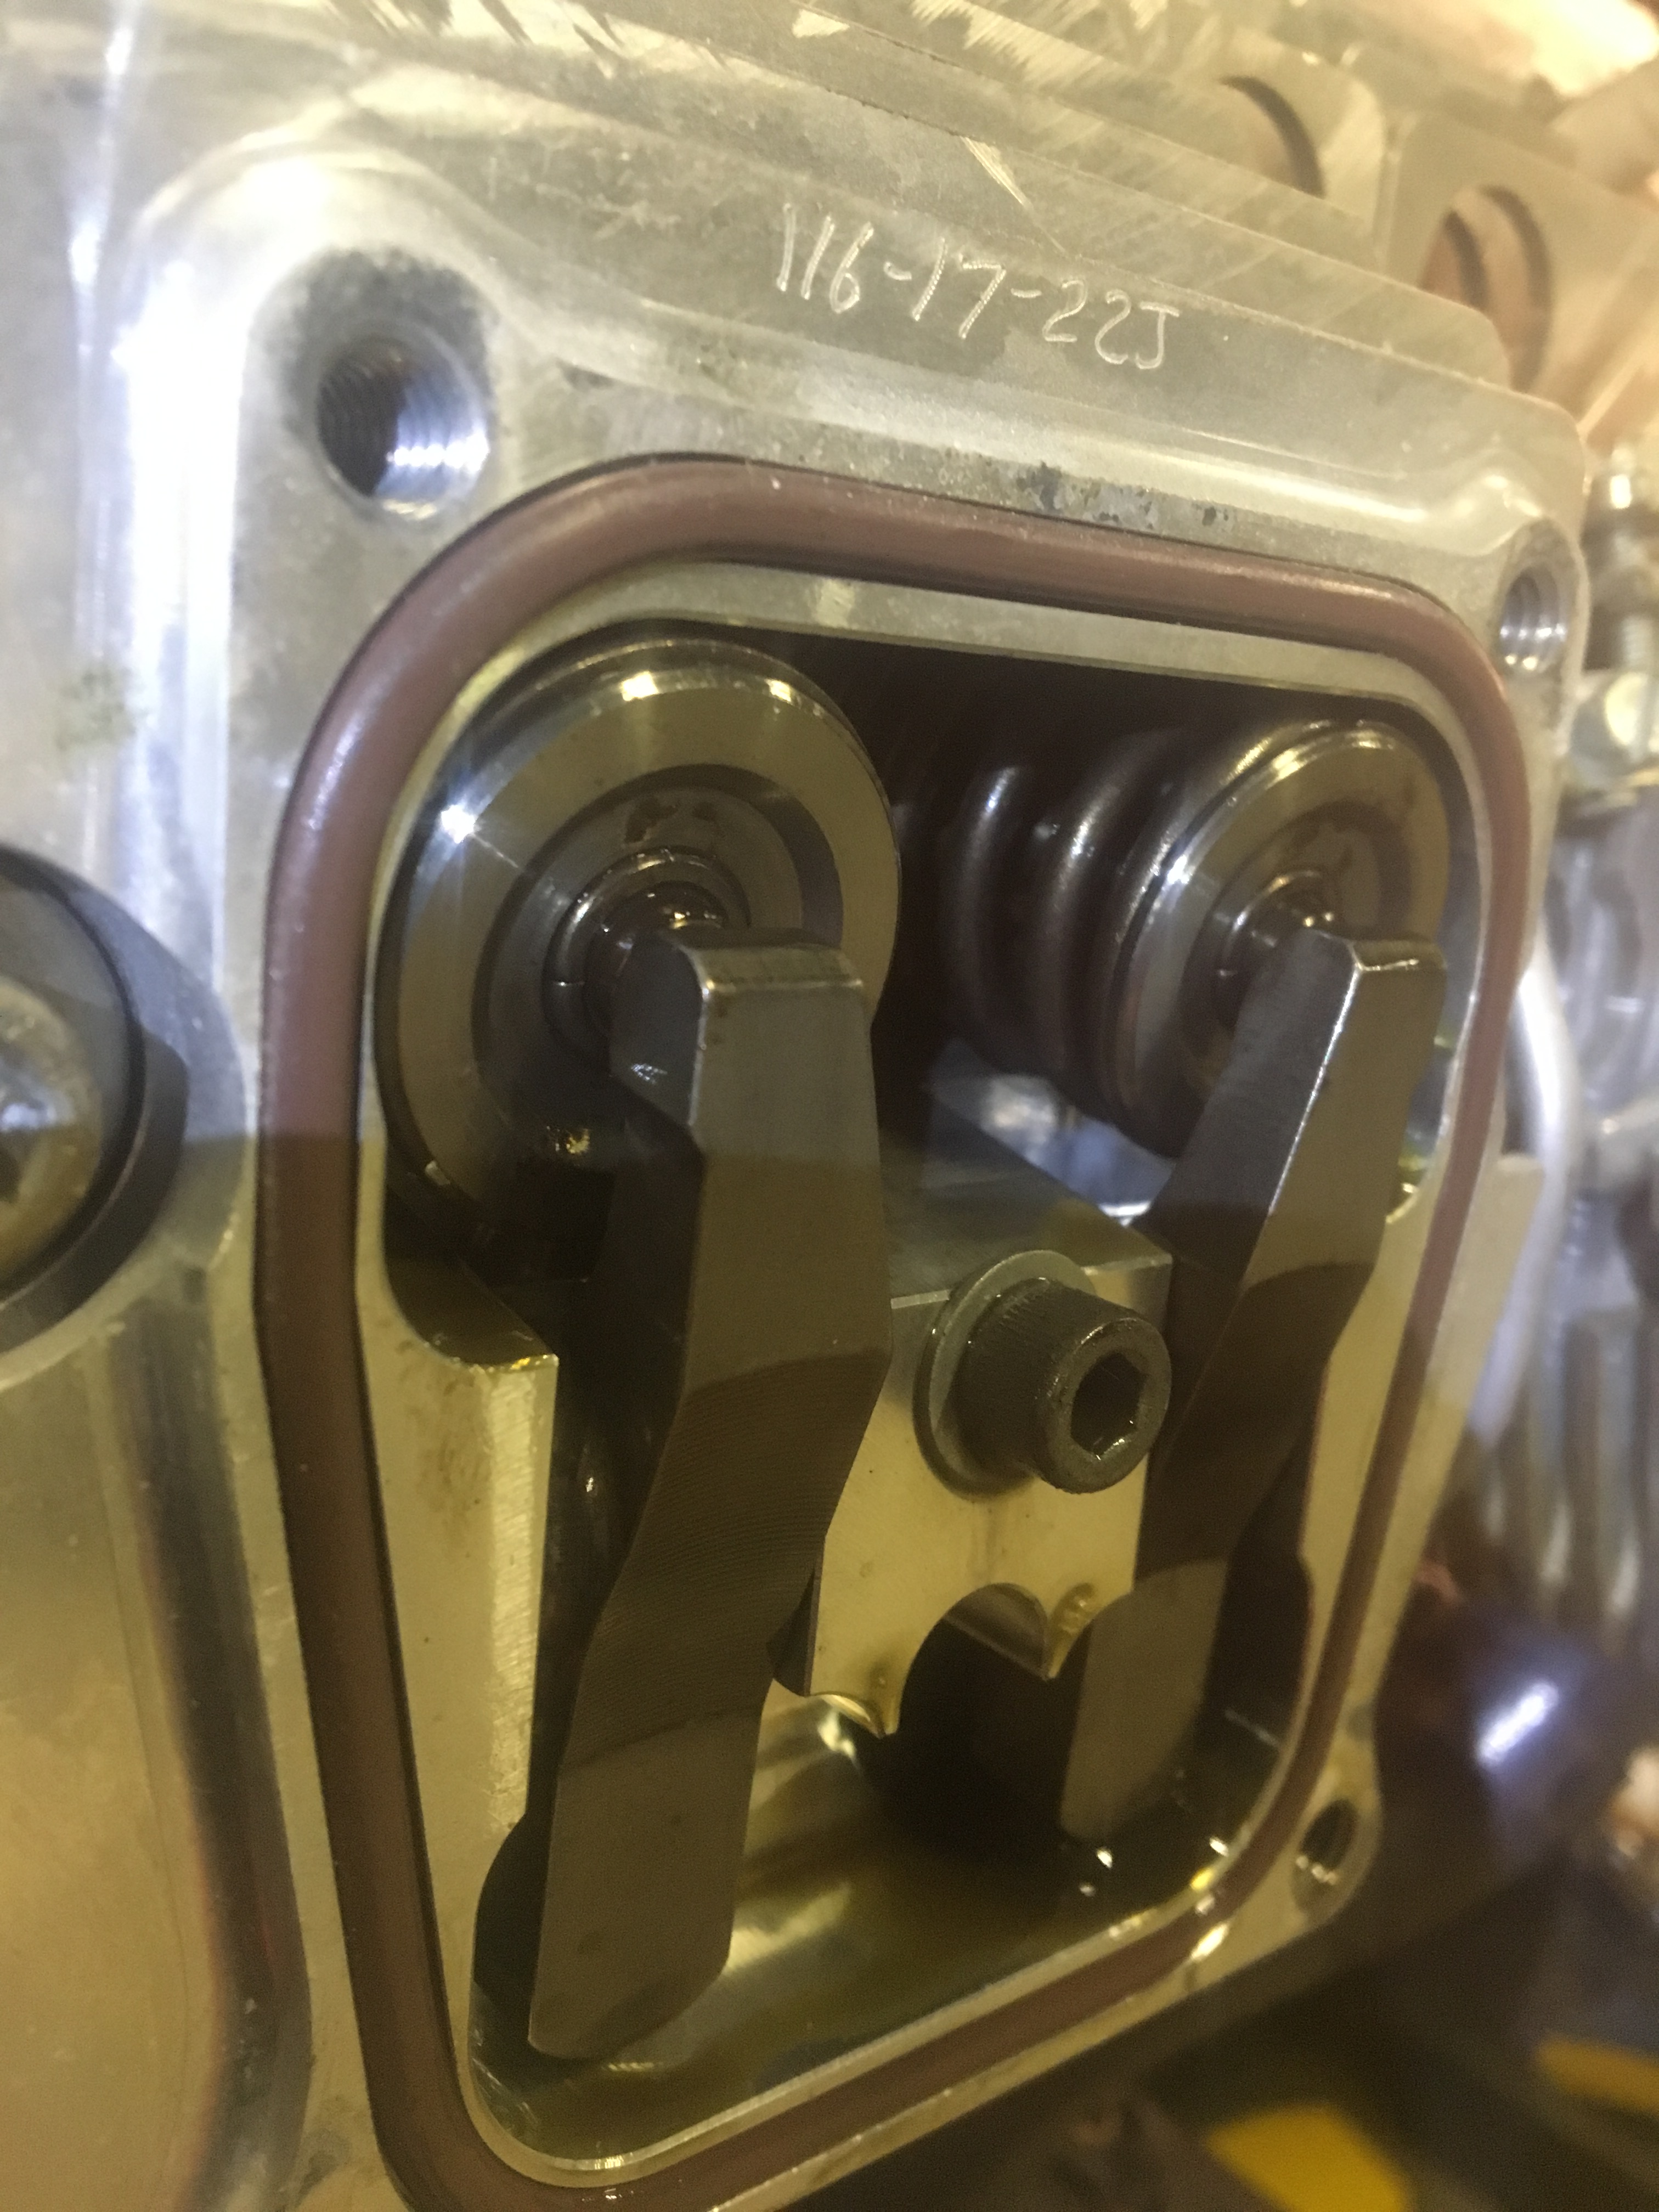
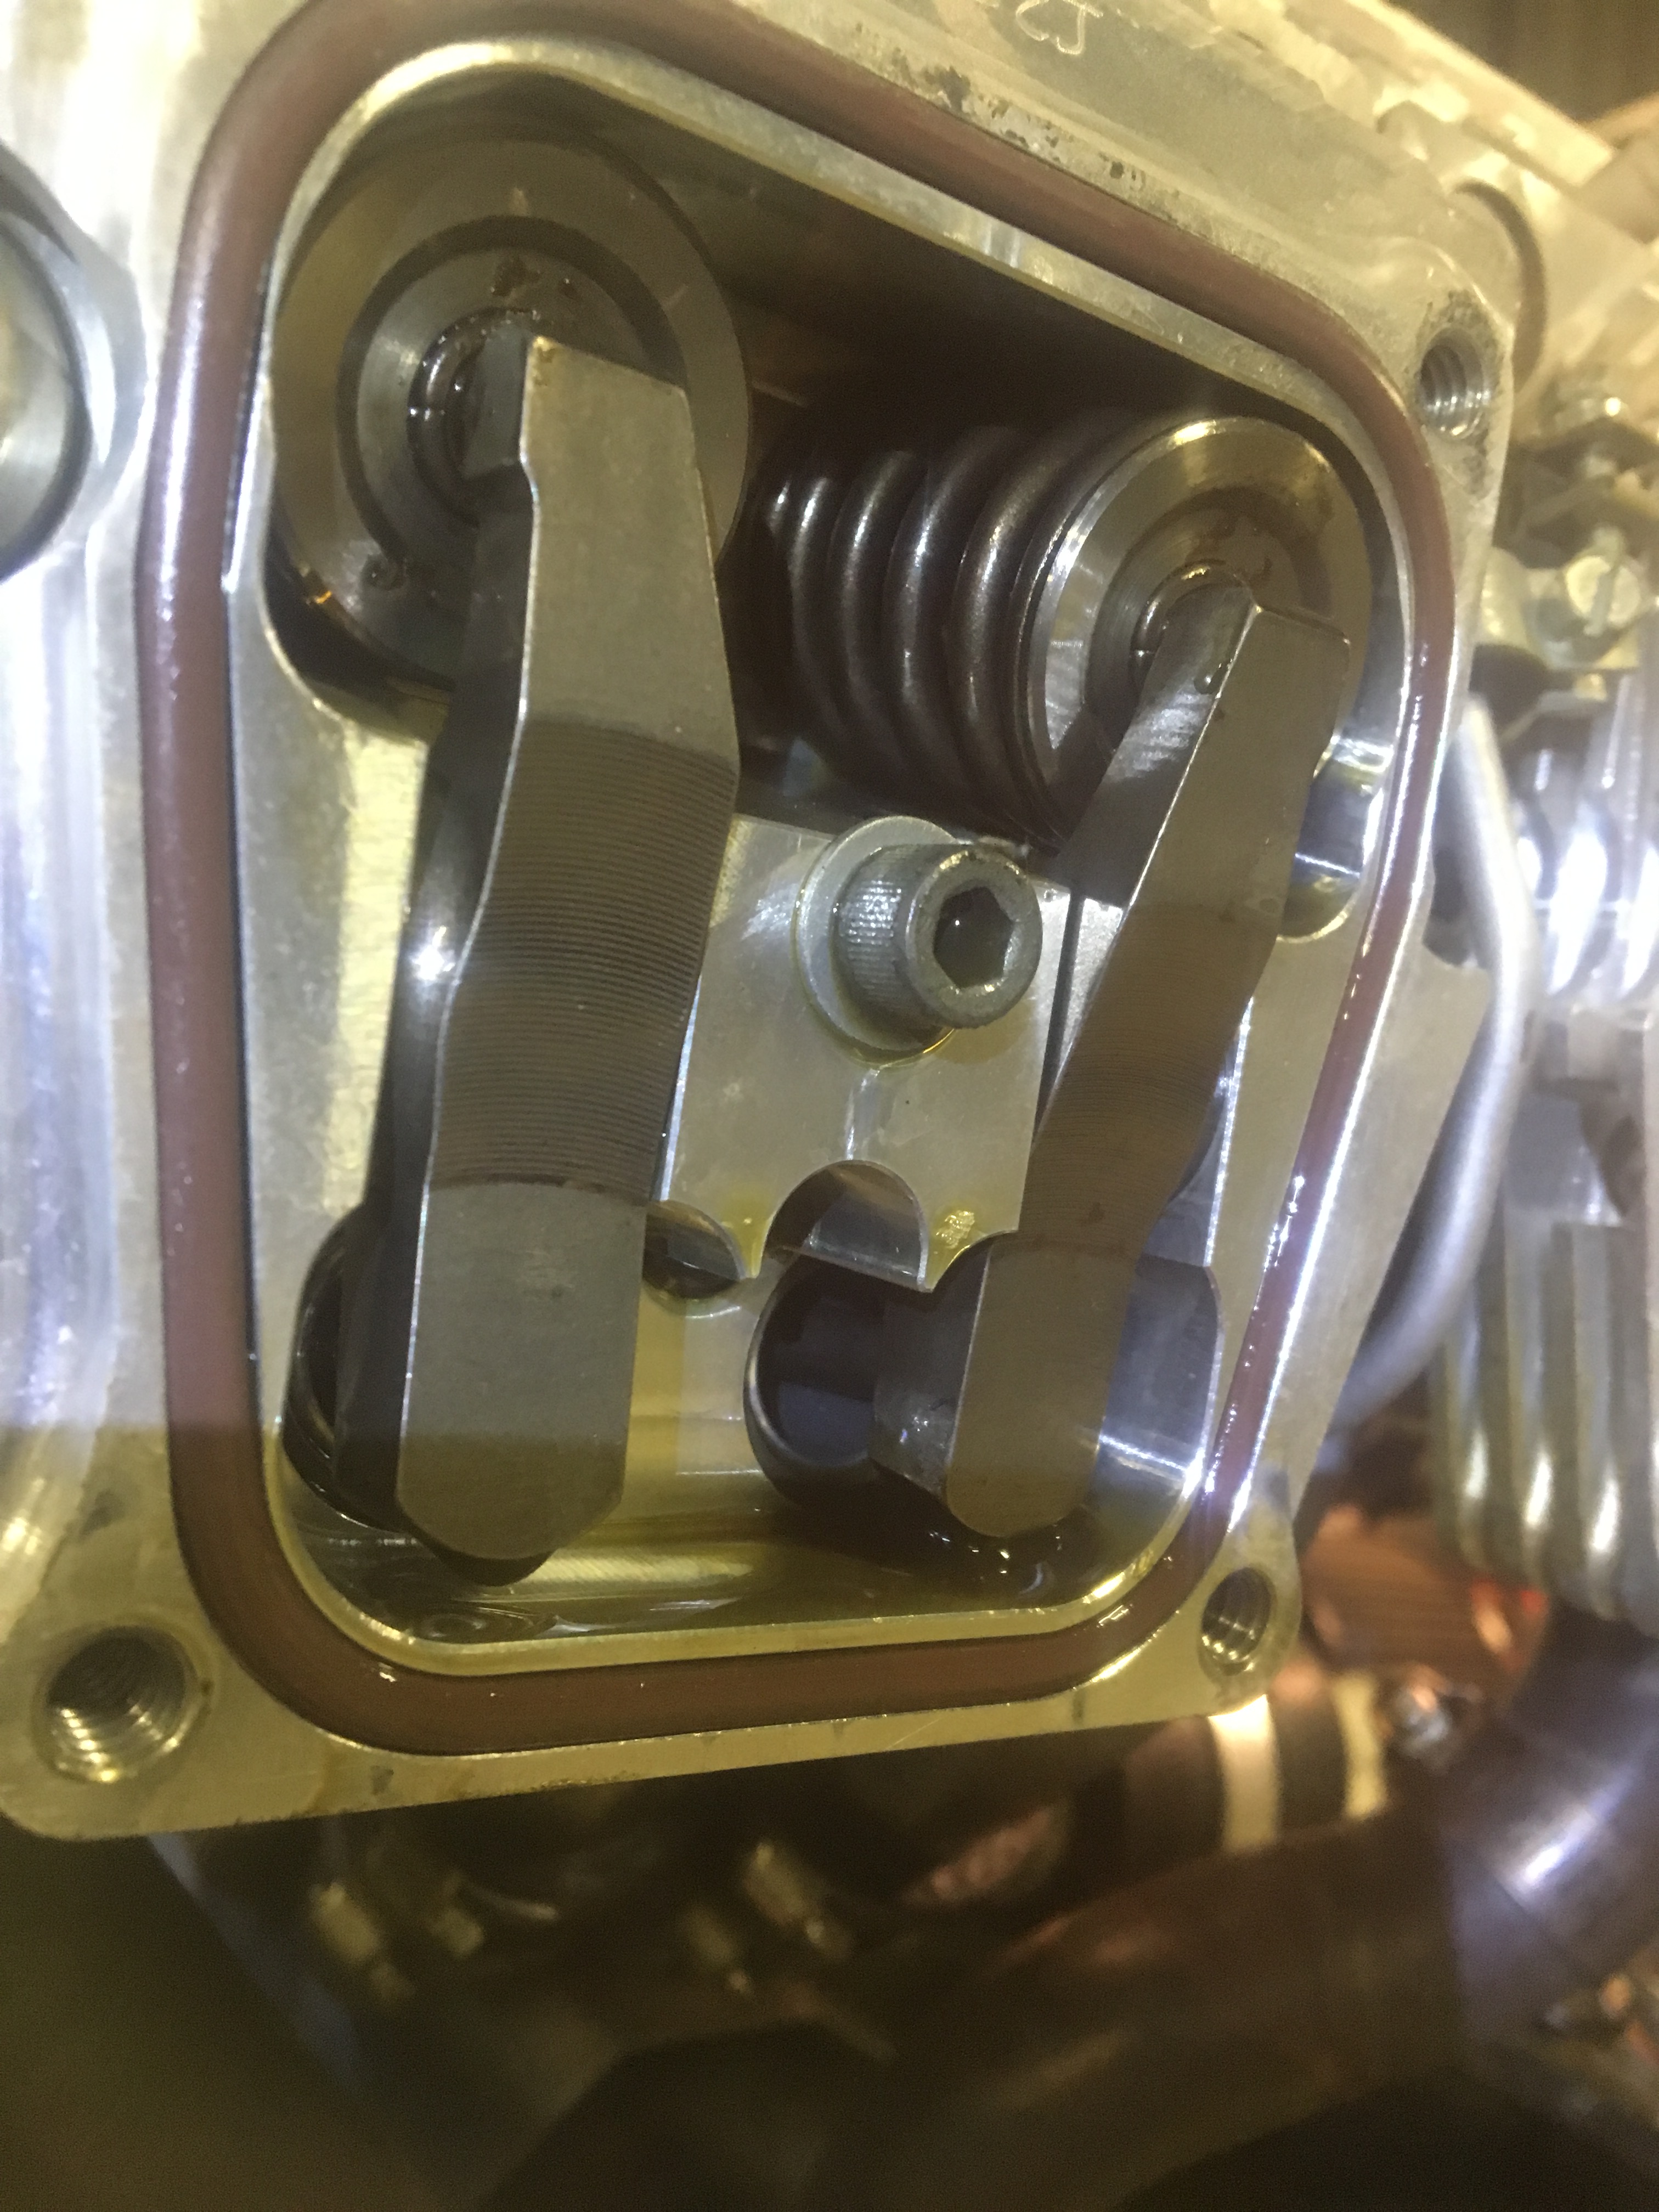
I had fitted the Trig Radio and Transponder just behind the pilot seat on a bracket secured to the tubular body framework .. hoping this would be reasonably accessible post build
It turns out – it was ! Easy to get at … TLAC kindly loaned me the super expensive radio pin crimpers again and I added the 4 or 5 additional pins required – should have done this at the start ! But hey .. best laid plans
The additional wires were added and labeled and small handshake tags added and then a new small 4 wire harness was made and run up the starboard side longeron
I added a new power bus bar in the front for the radio and New Rev counter but realised I didn’t need power for the secondary head as it takes 2 POWER feeds from the base radio box .. one power and one ‘power up’

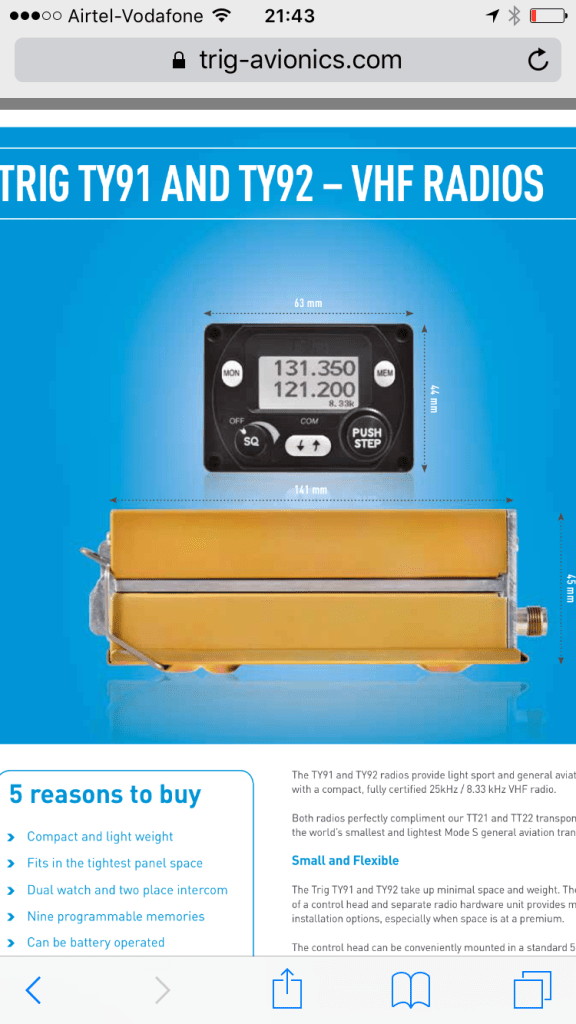
The ‘power up’ connection means you can turn the radio on in the rear (P1) and the front (P2) lights up ! Neat 😉
Having connected it all up and triple checked power and earth I flicked the master on and turned the radio on and bingo ! First time .. I love this Trig kit 😉
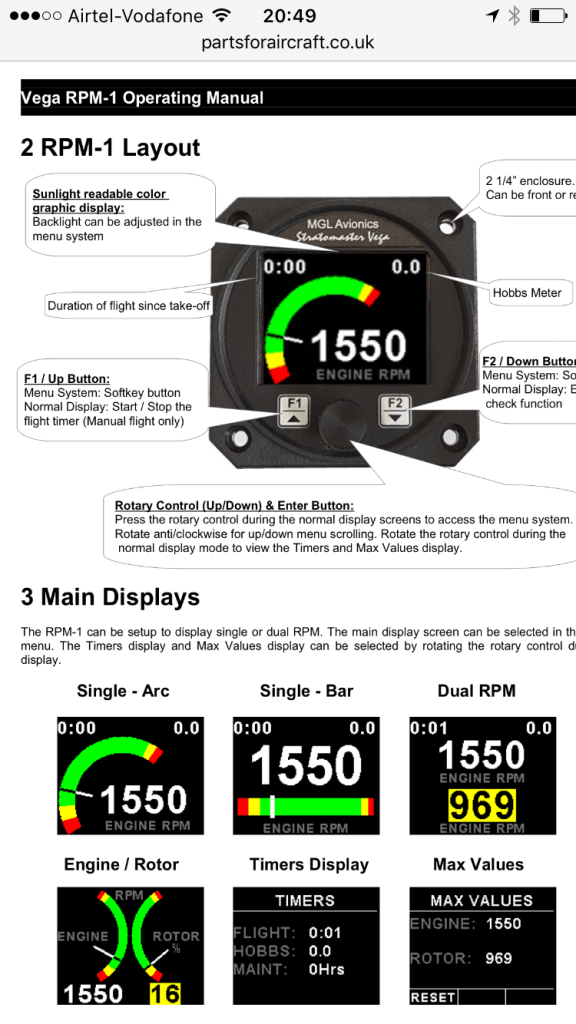
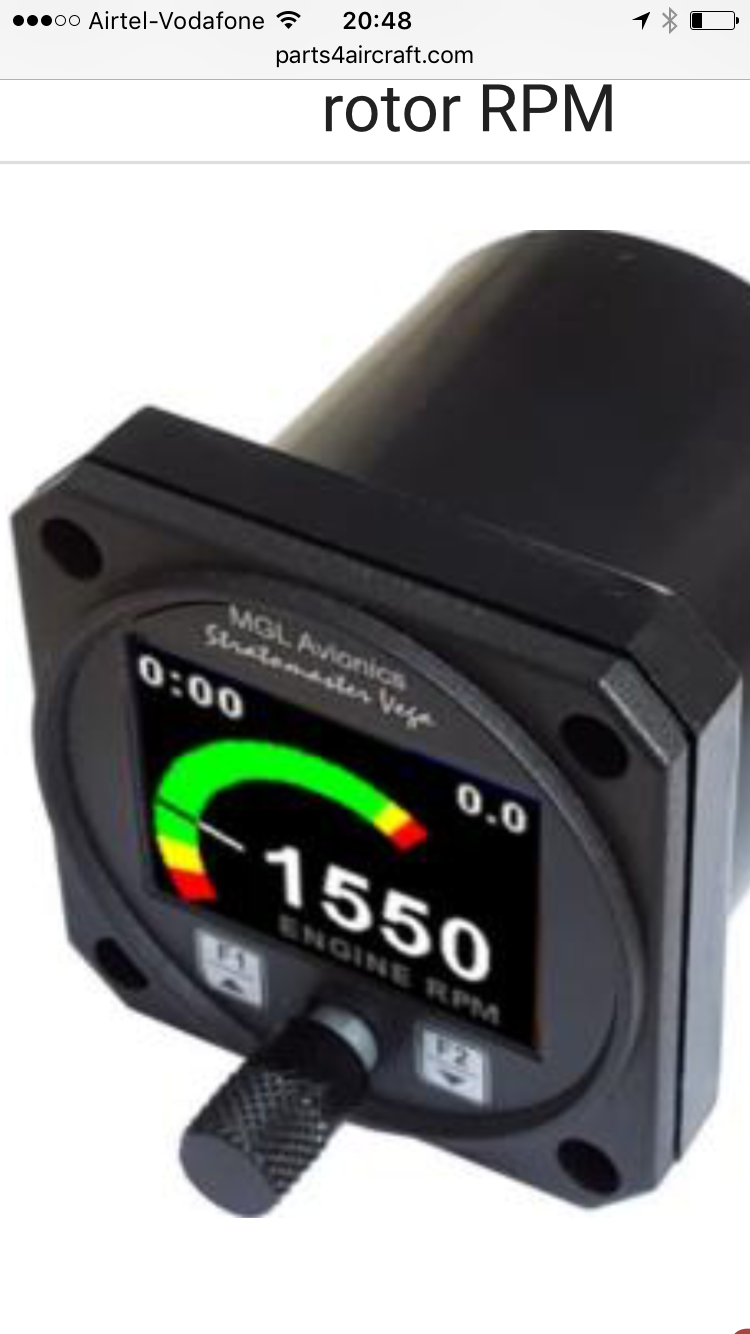
Front RPM – MGL
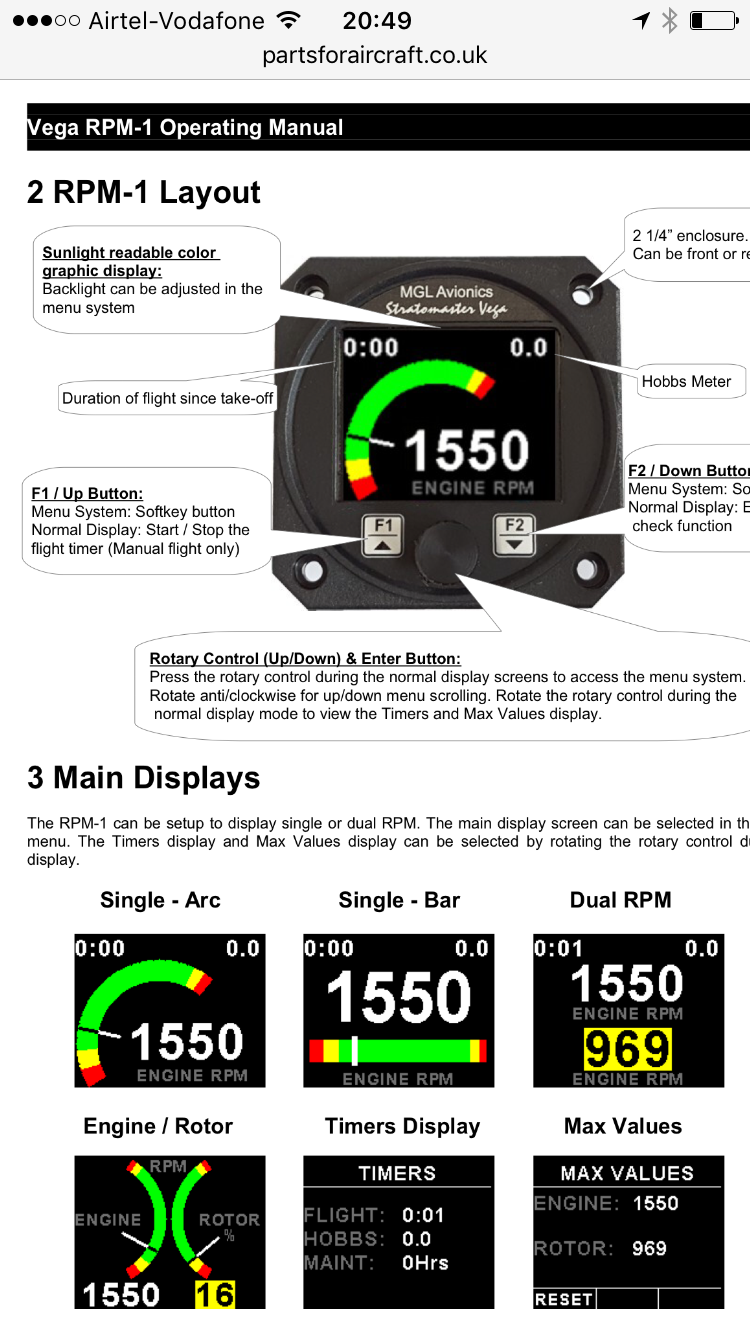
I added a new small 2.25 inch MGL gauge called a Vega RPM
Wondeful instrument and .. mounting it on the front panel on the right hand side .. means I could see it hopefully even when a passenger was in !
Again – wired up and full colour at the touch of a button .. have wired it through a switch on the rear panel