Busy night last night – Wing covering prep …

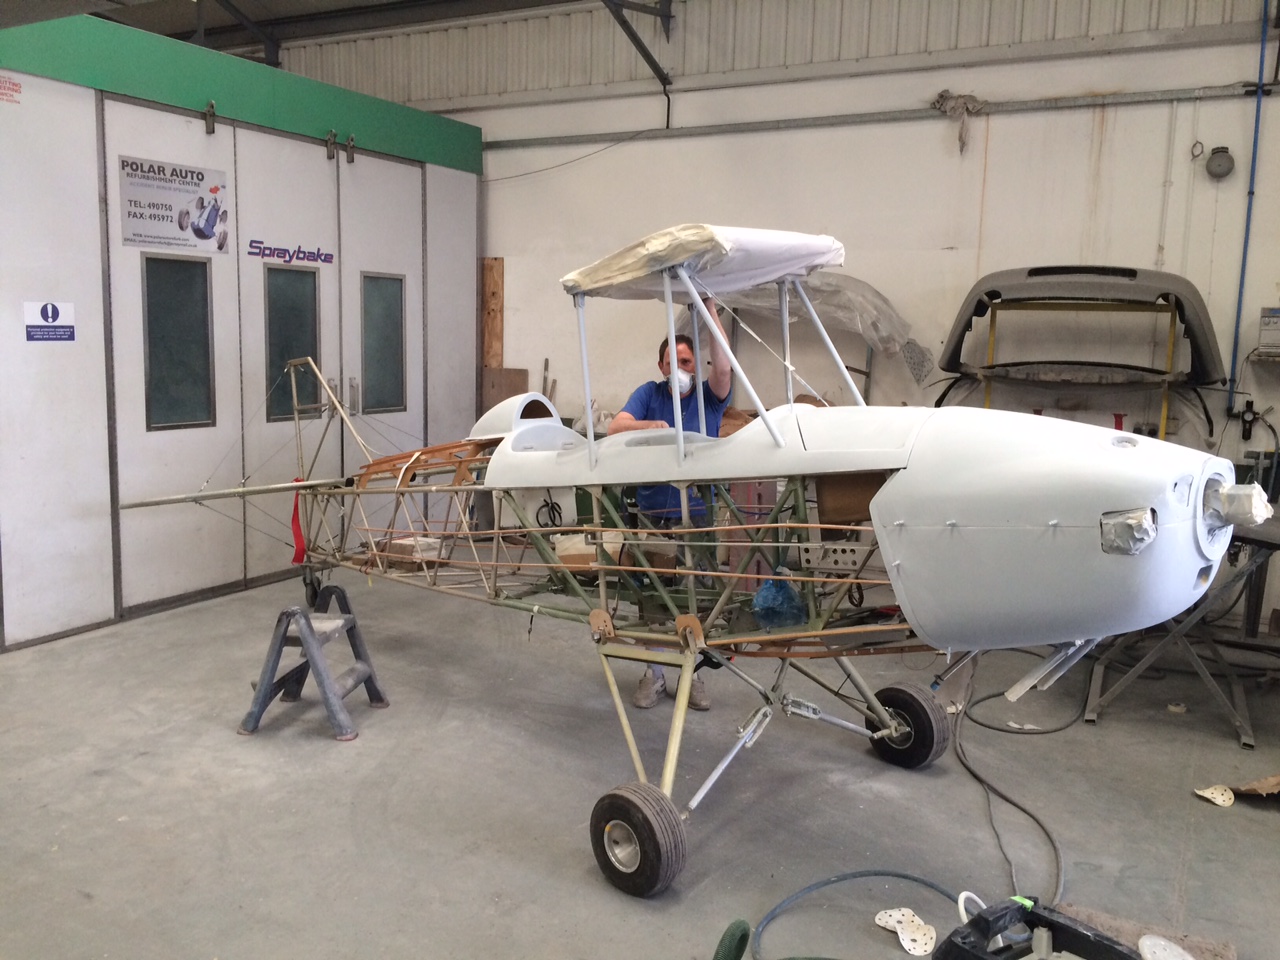
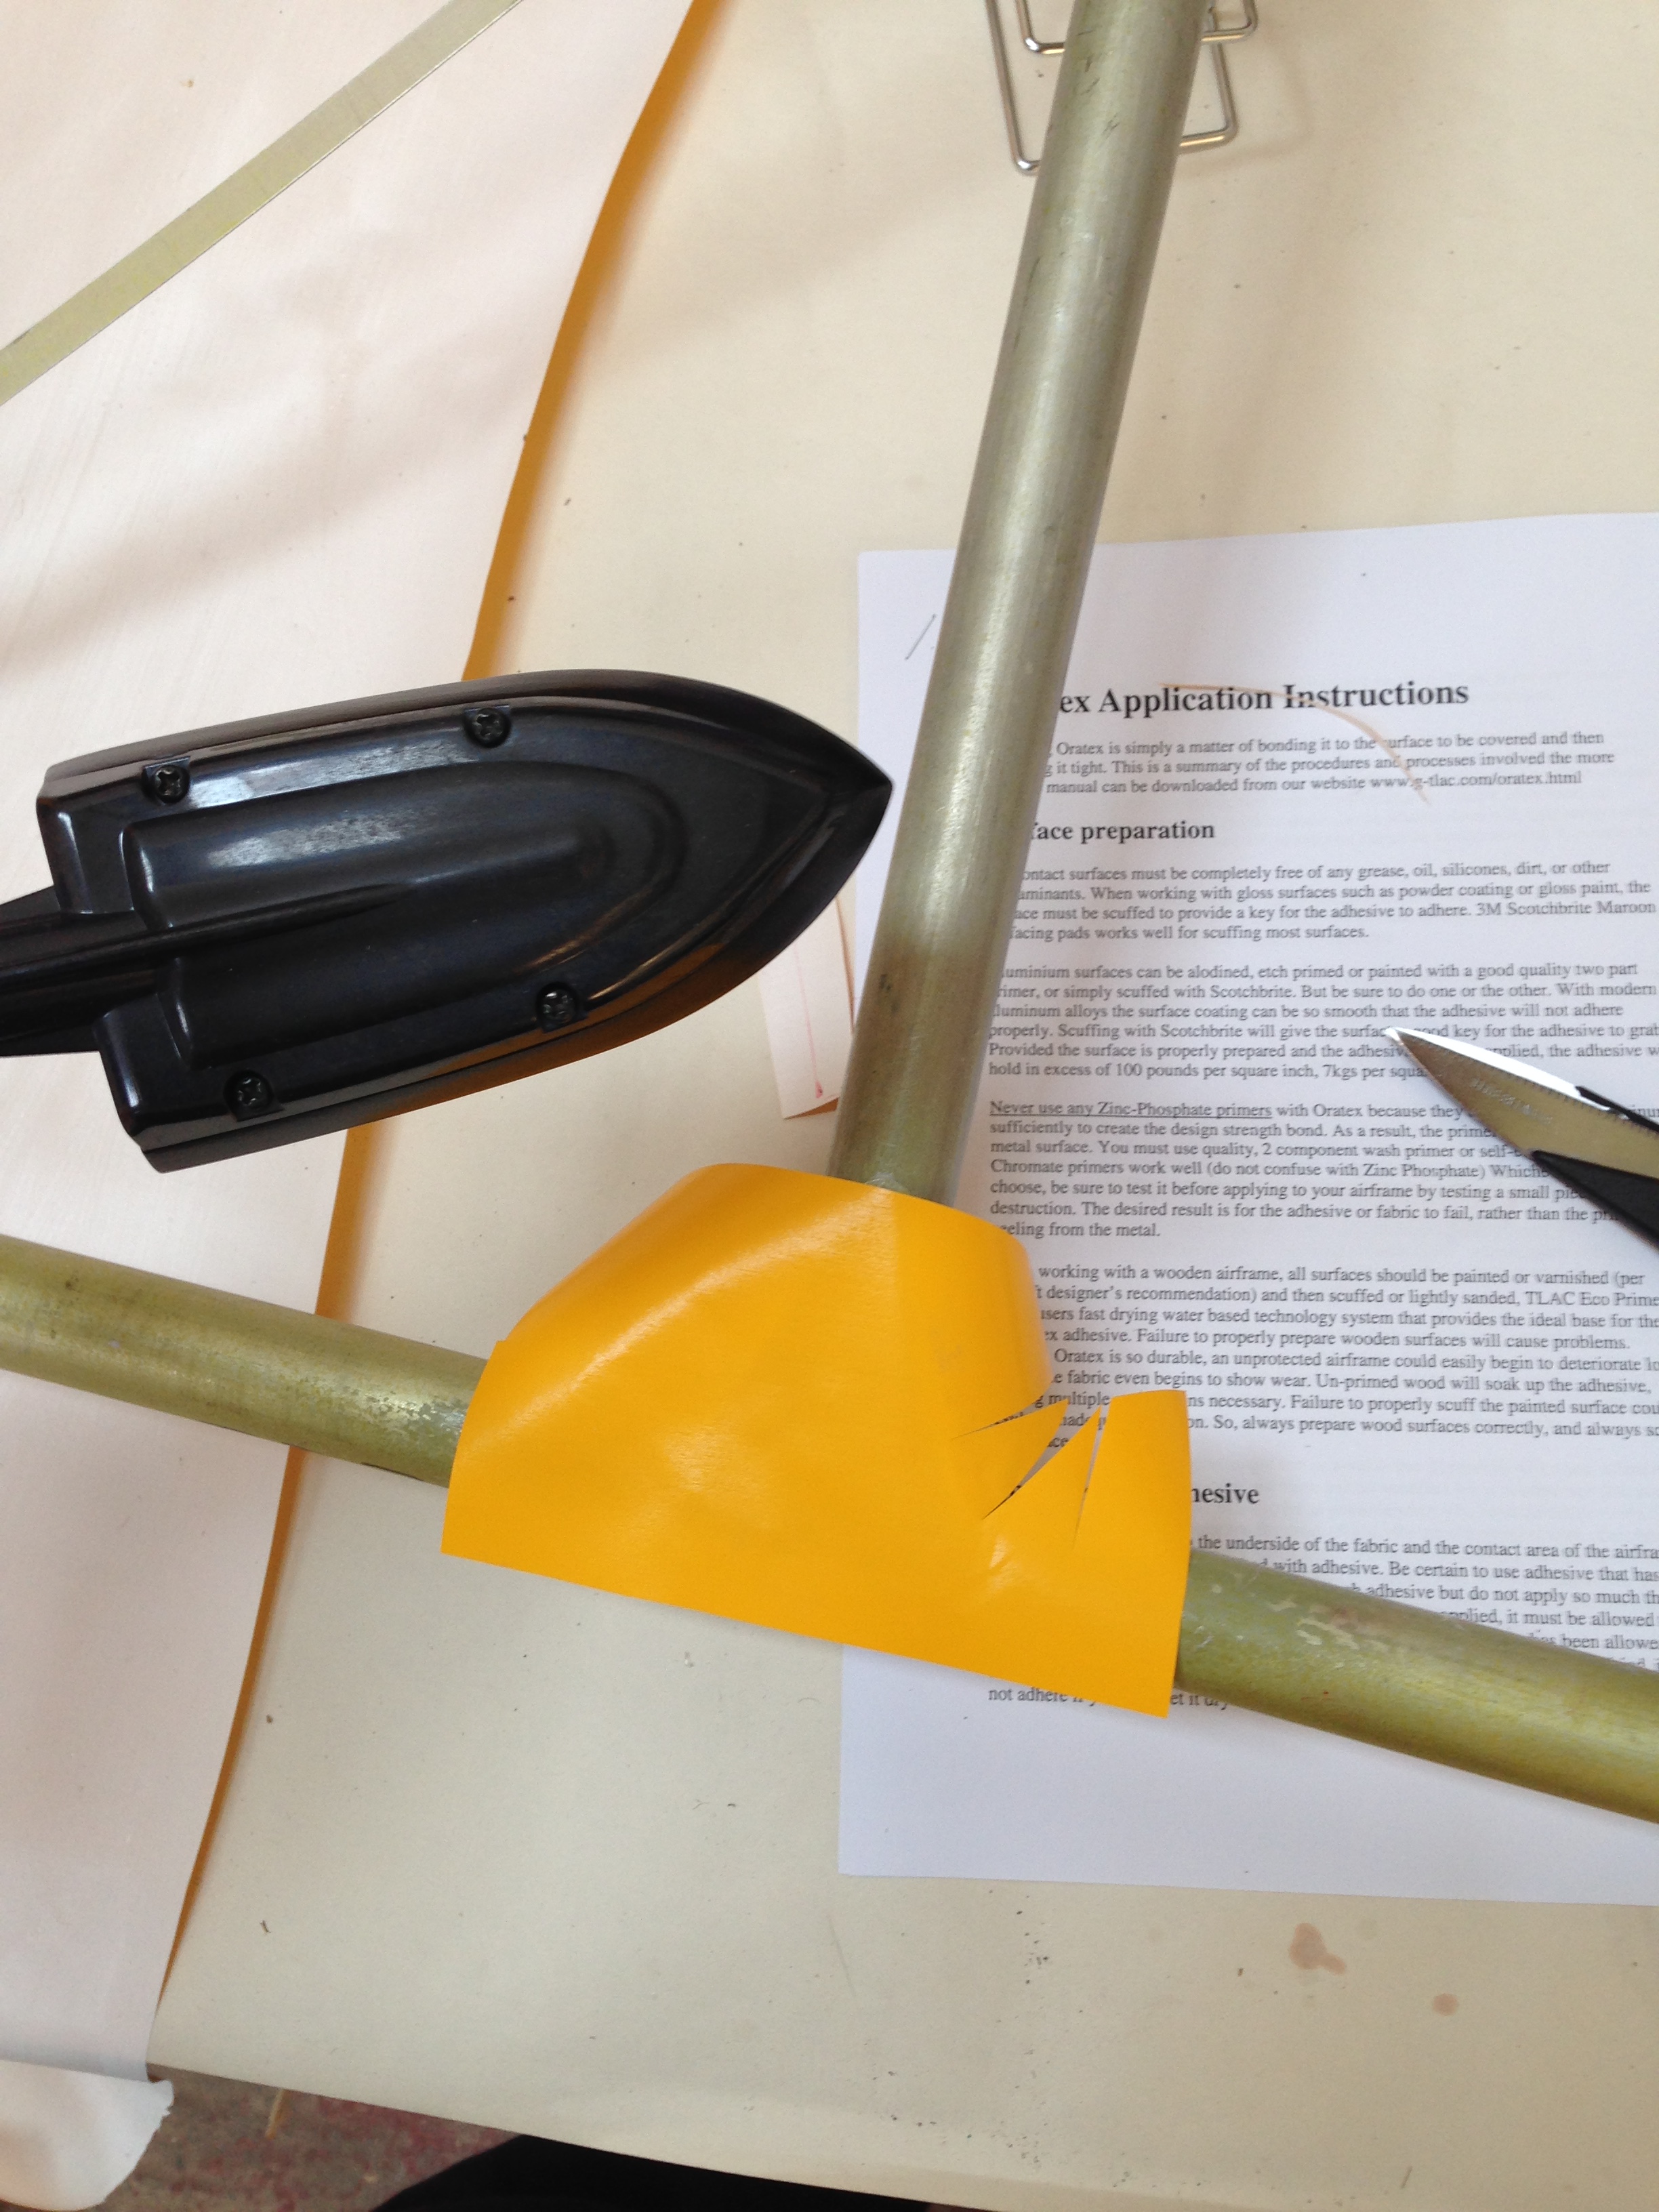
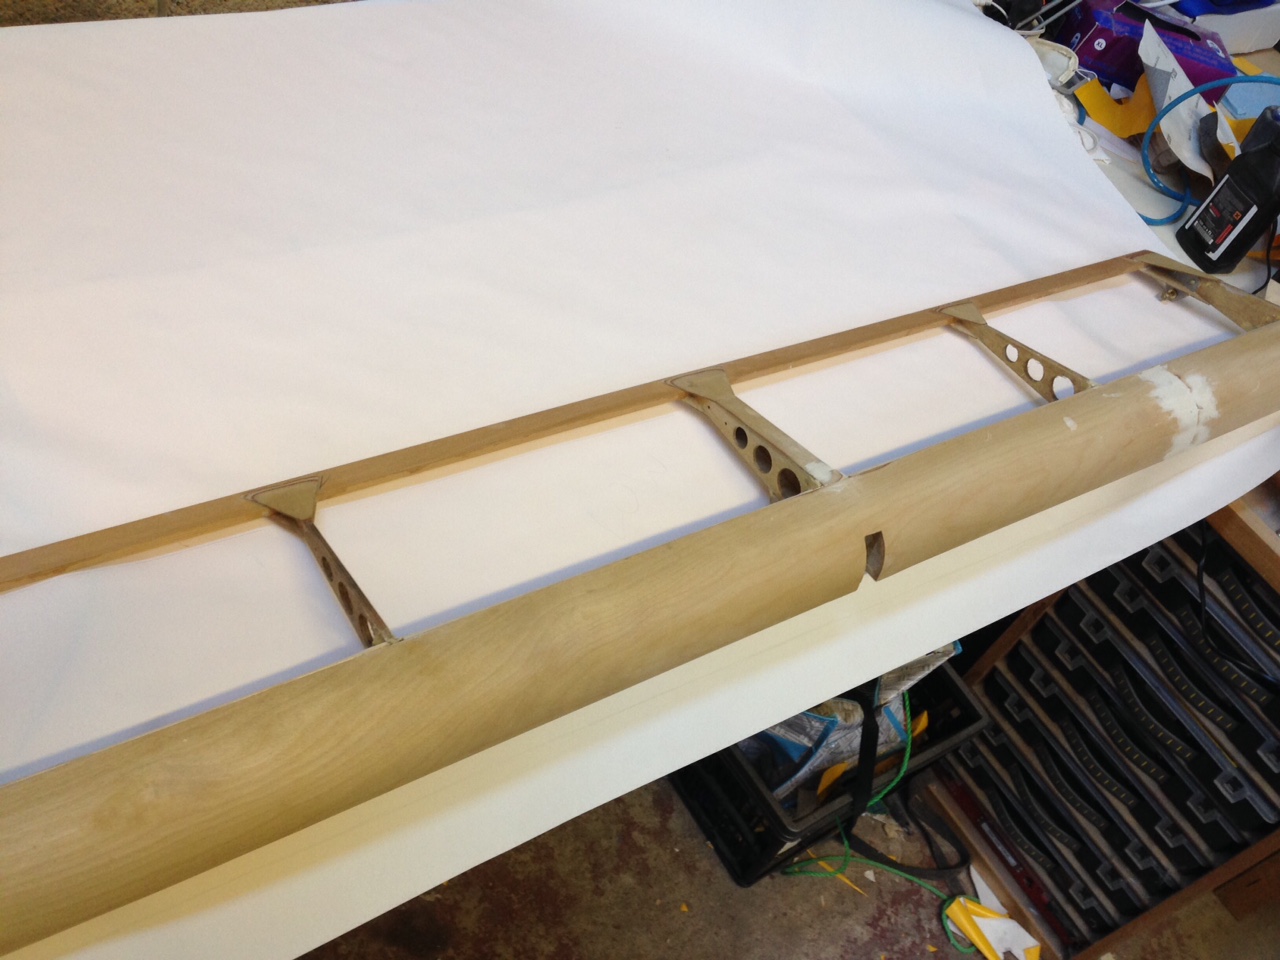
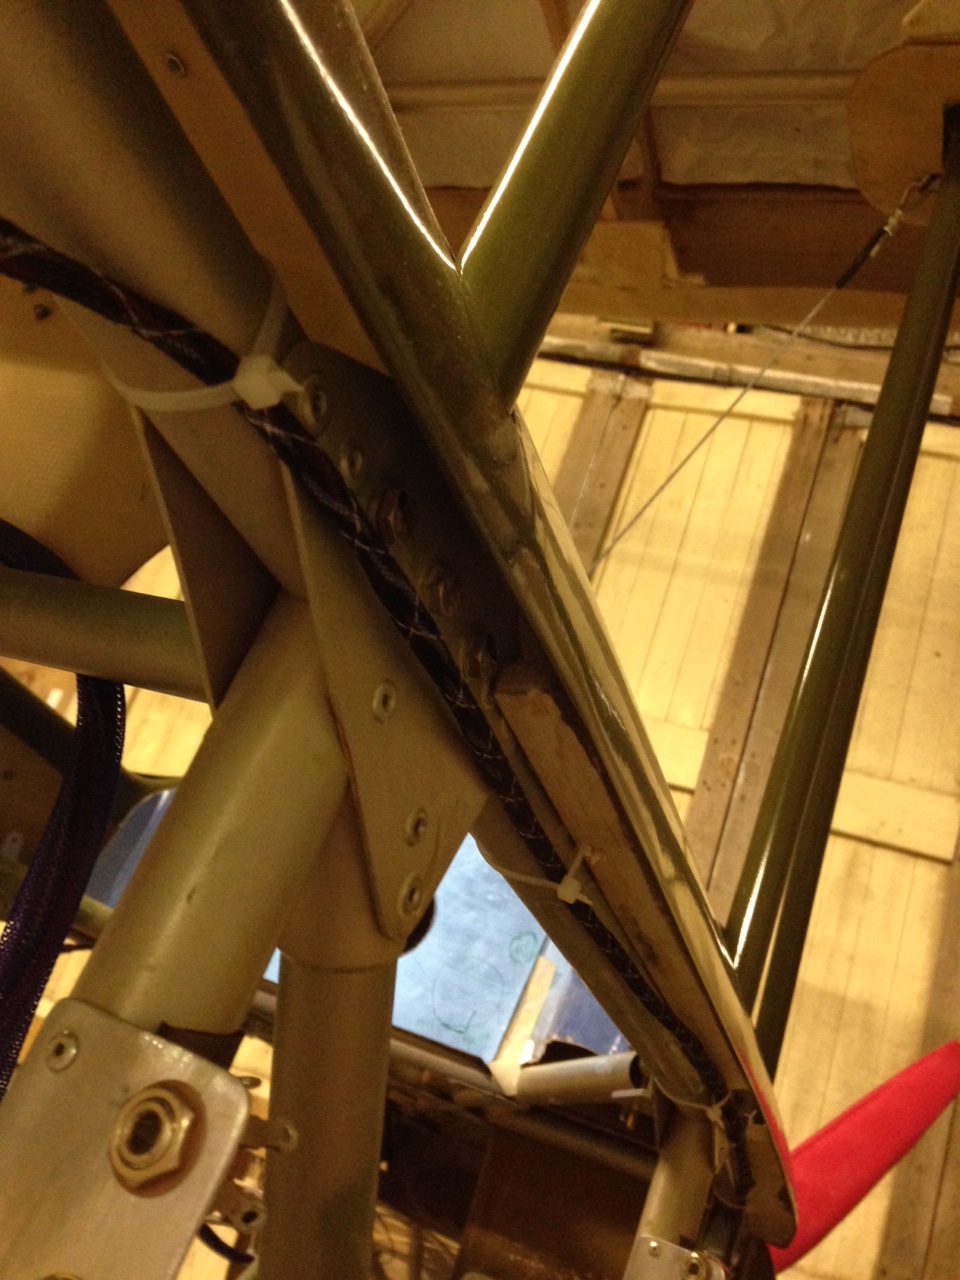
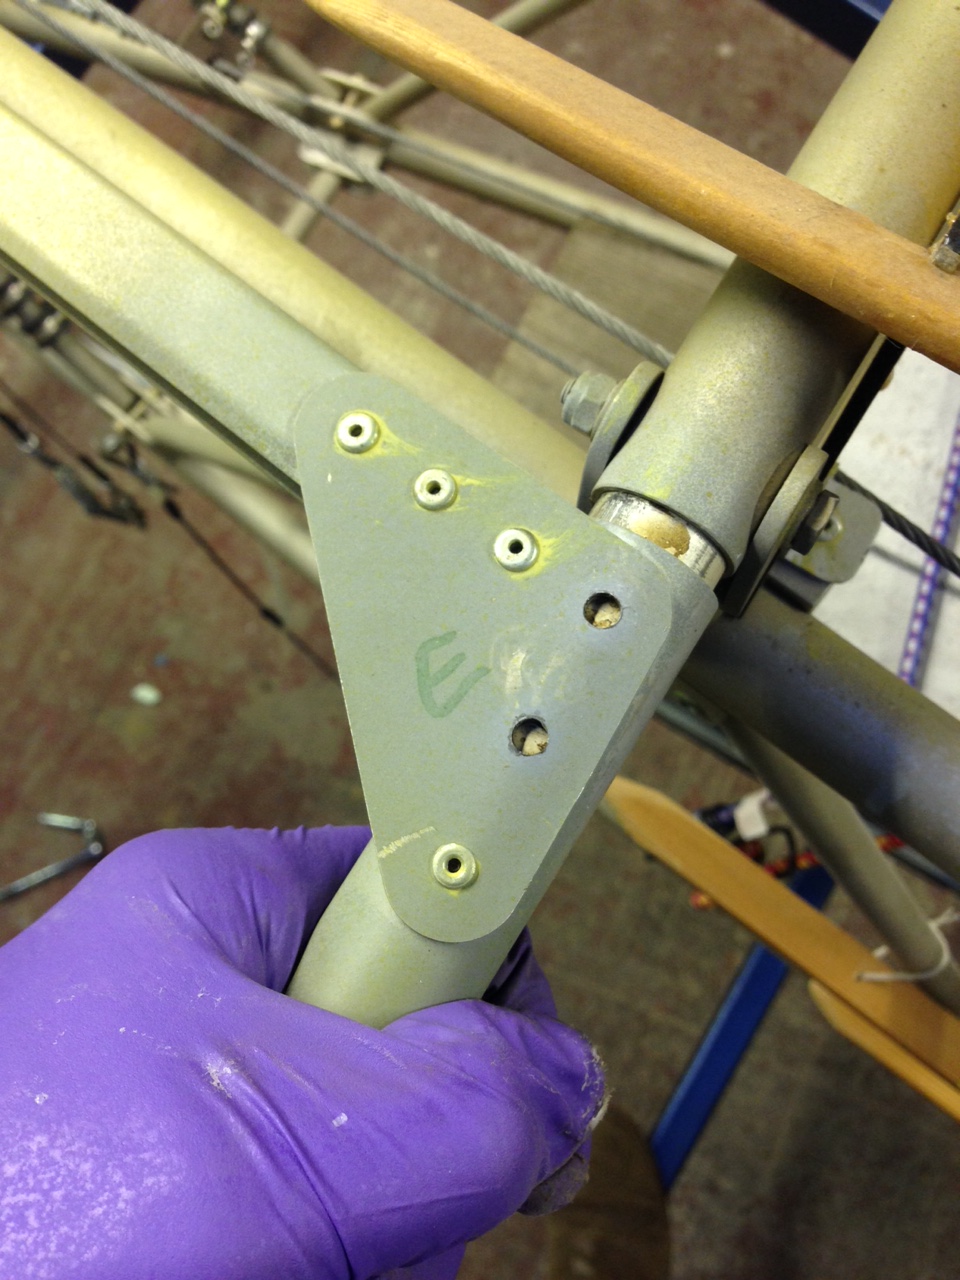
Its only when you step back to minutely review things that you spot bits ! ‘walking’ through the first plan to cover one of the wings undersides and I realised I had missed making and fitting two material landing ply plates around the bracing wire supports on both upper wings !

Quickly re-found the template and made two up last night. Fitted in place, feathered, treated with thinned polyurethane.

IMG_0562

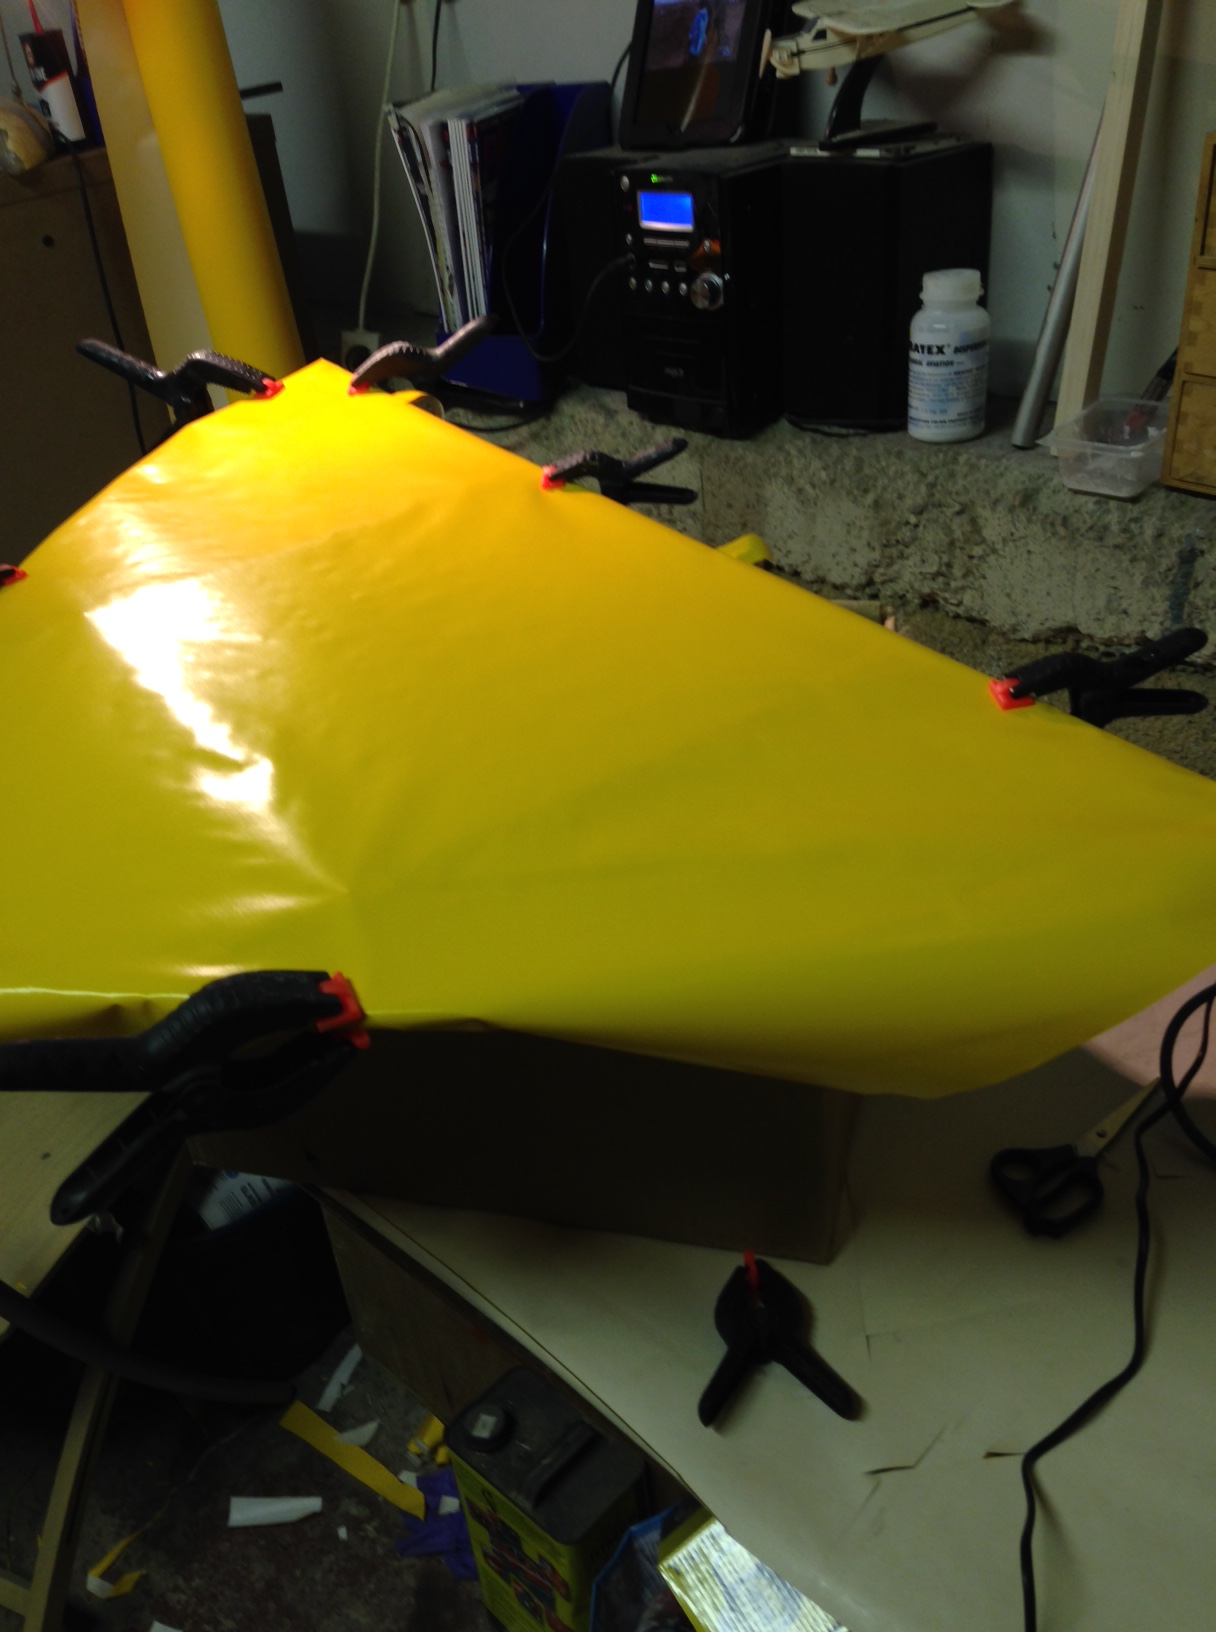
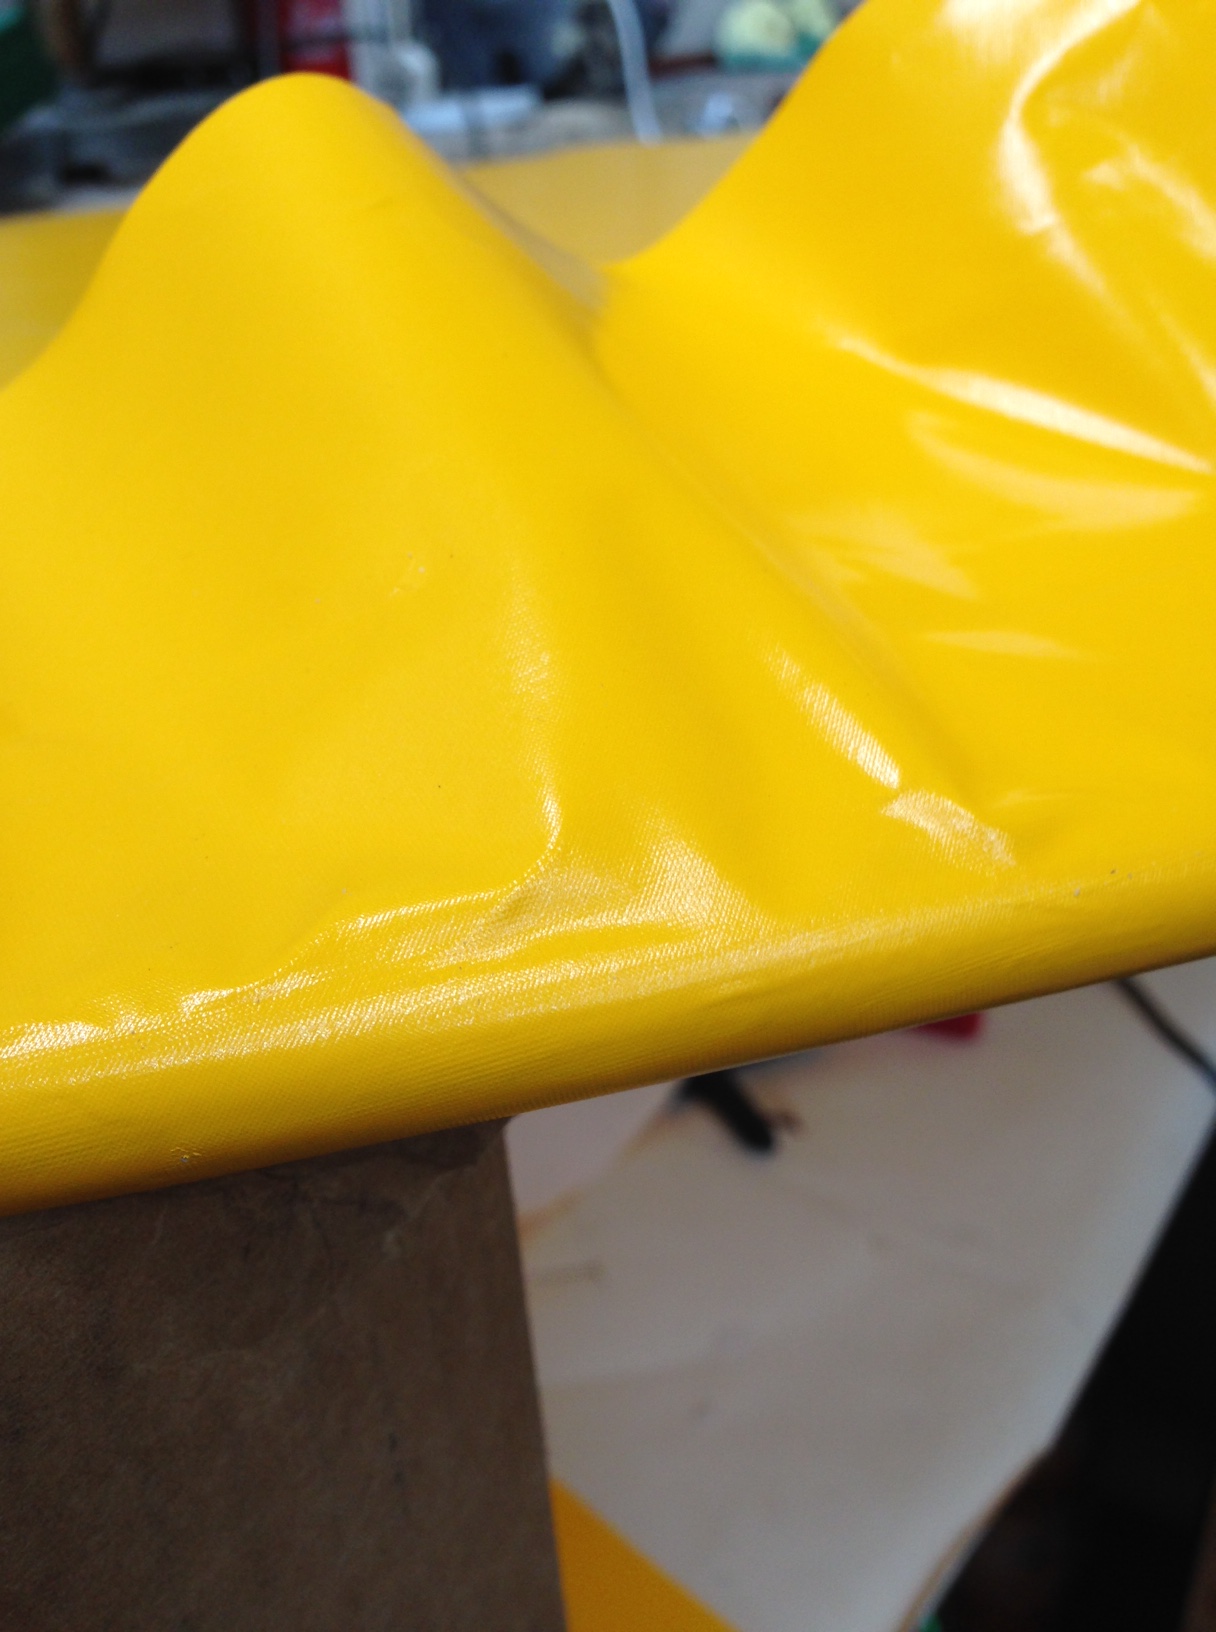
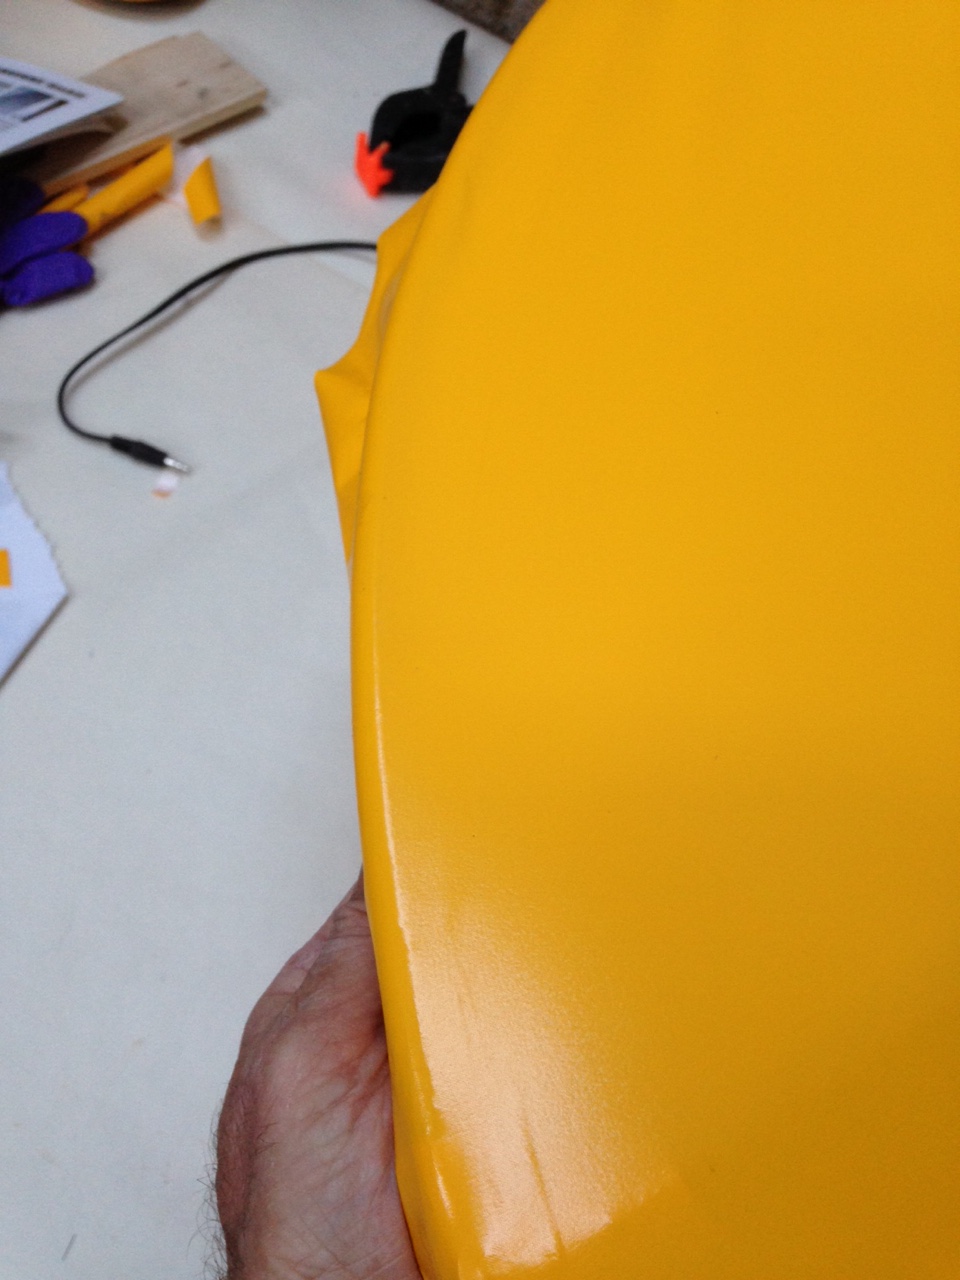
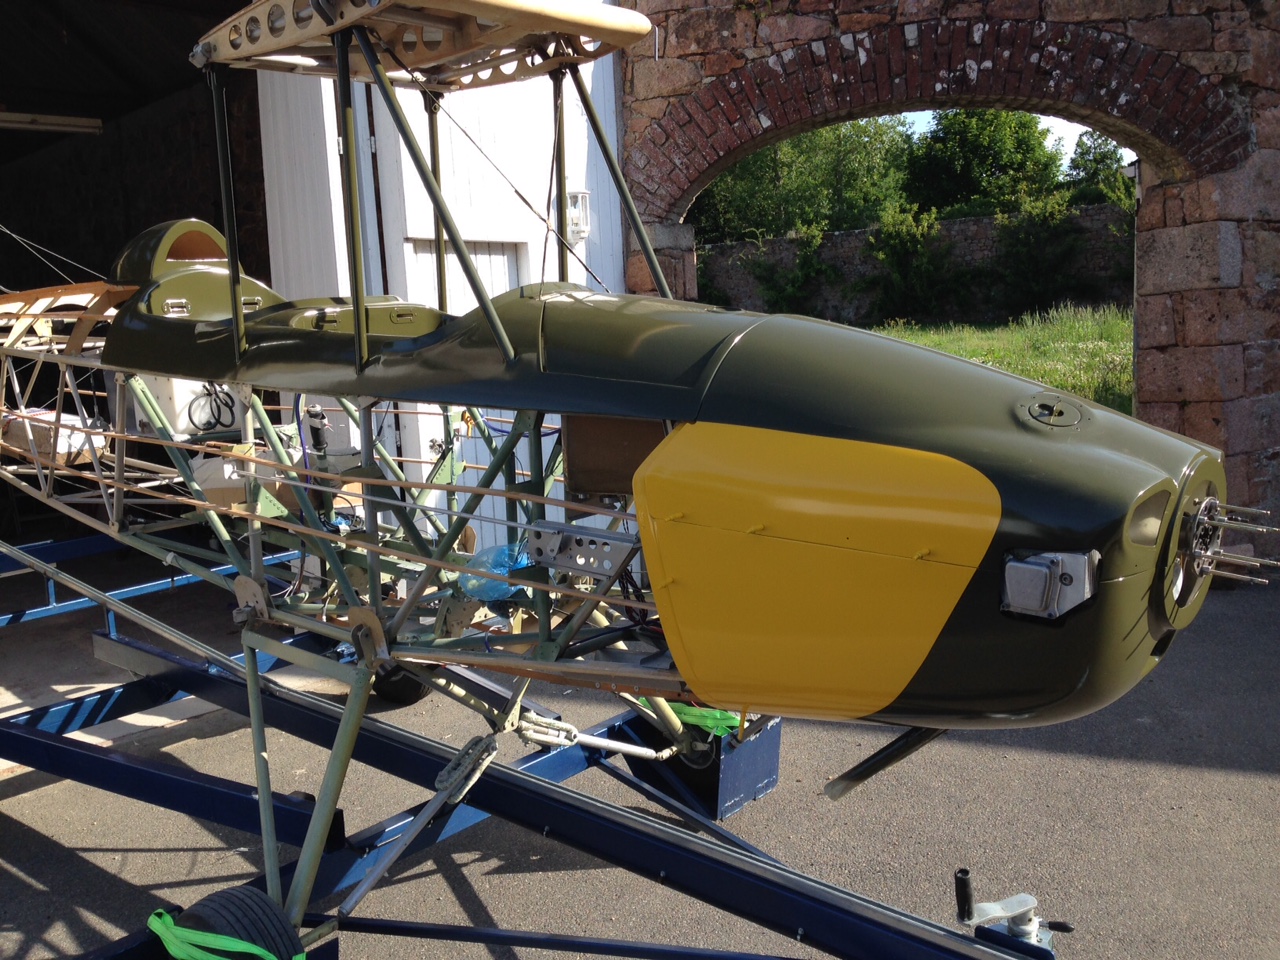
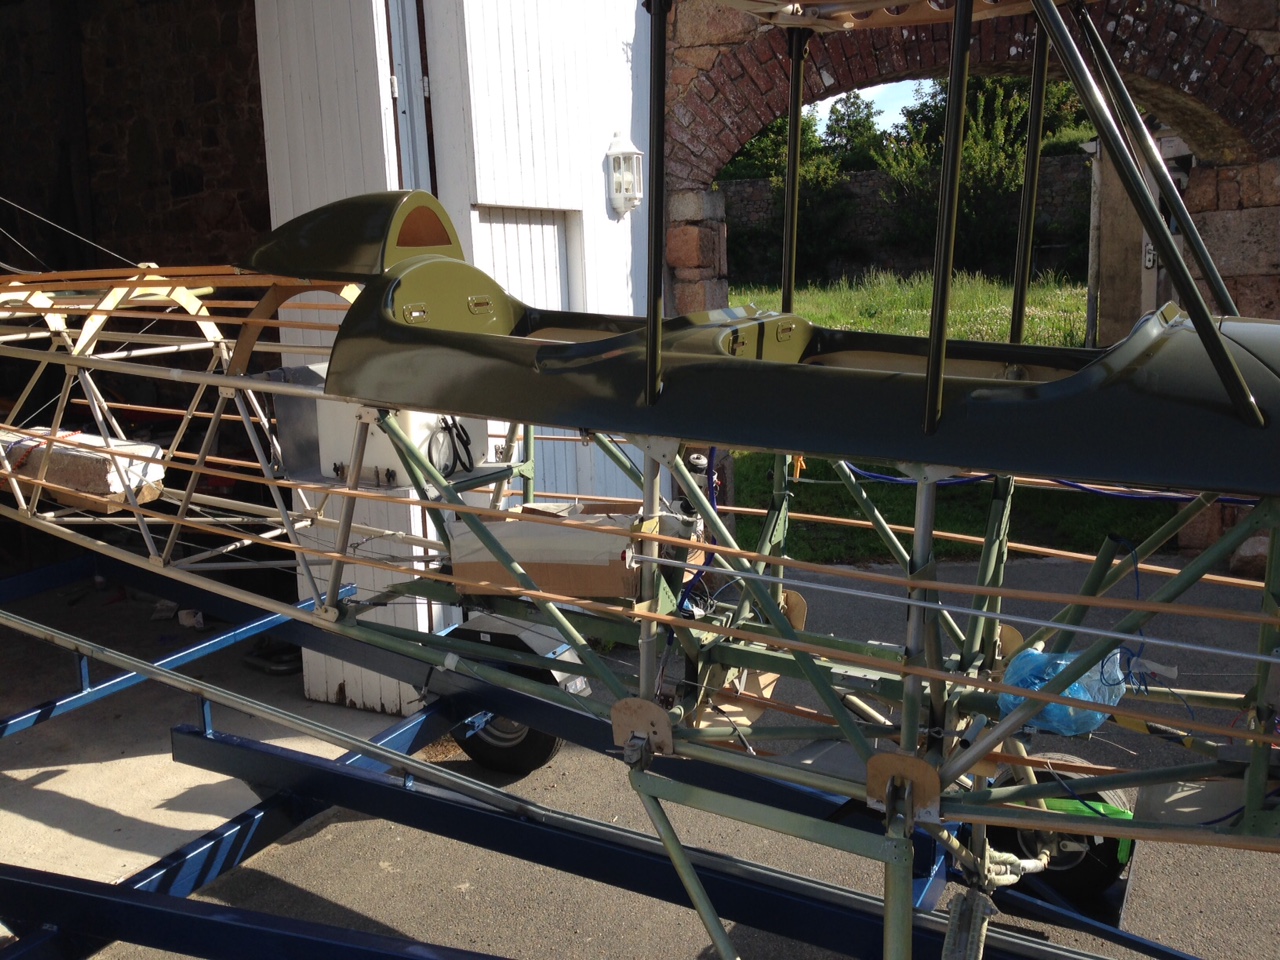
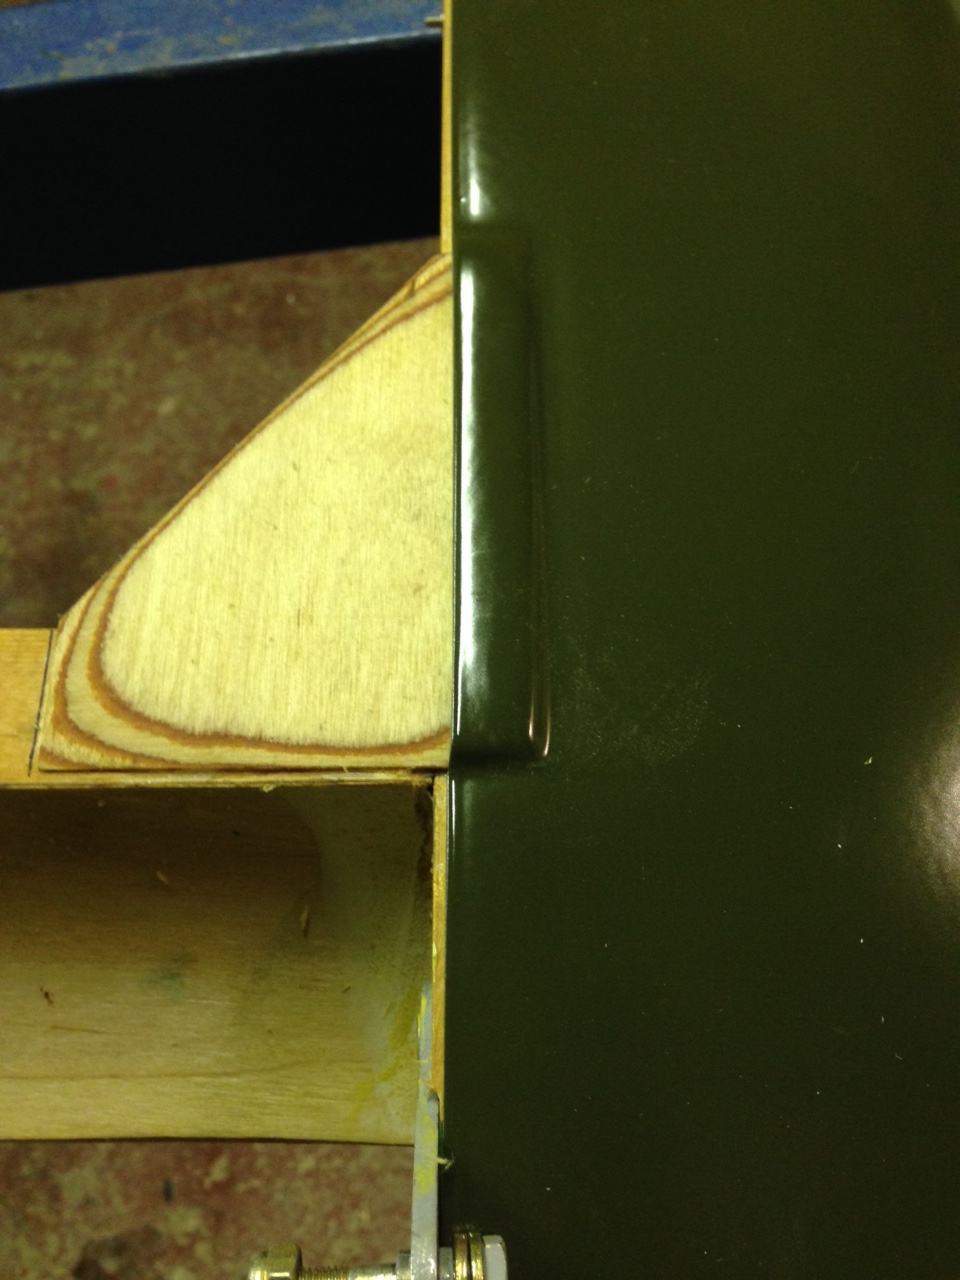
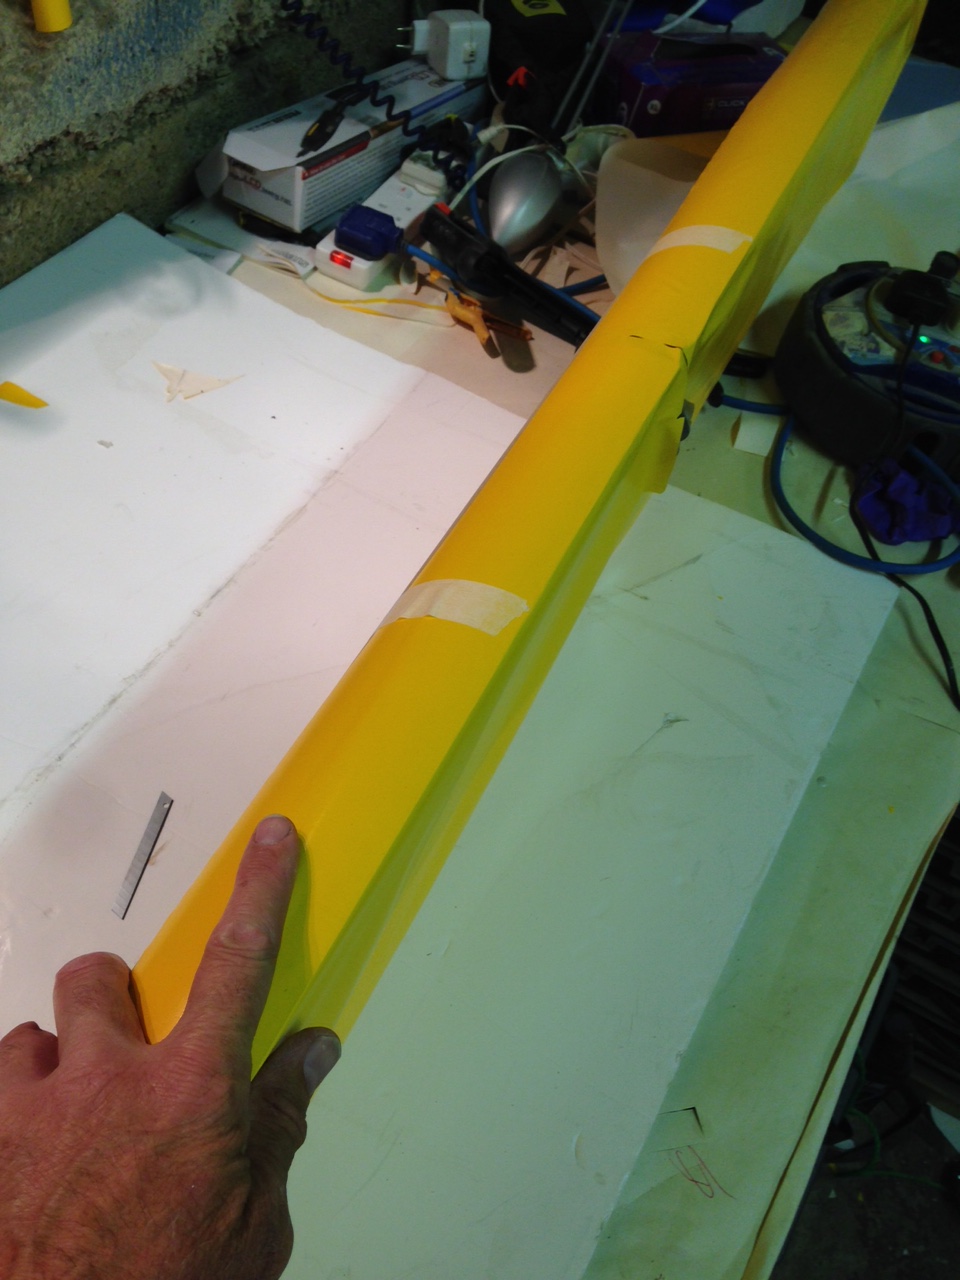
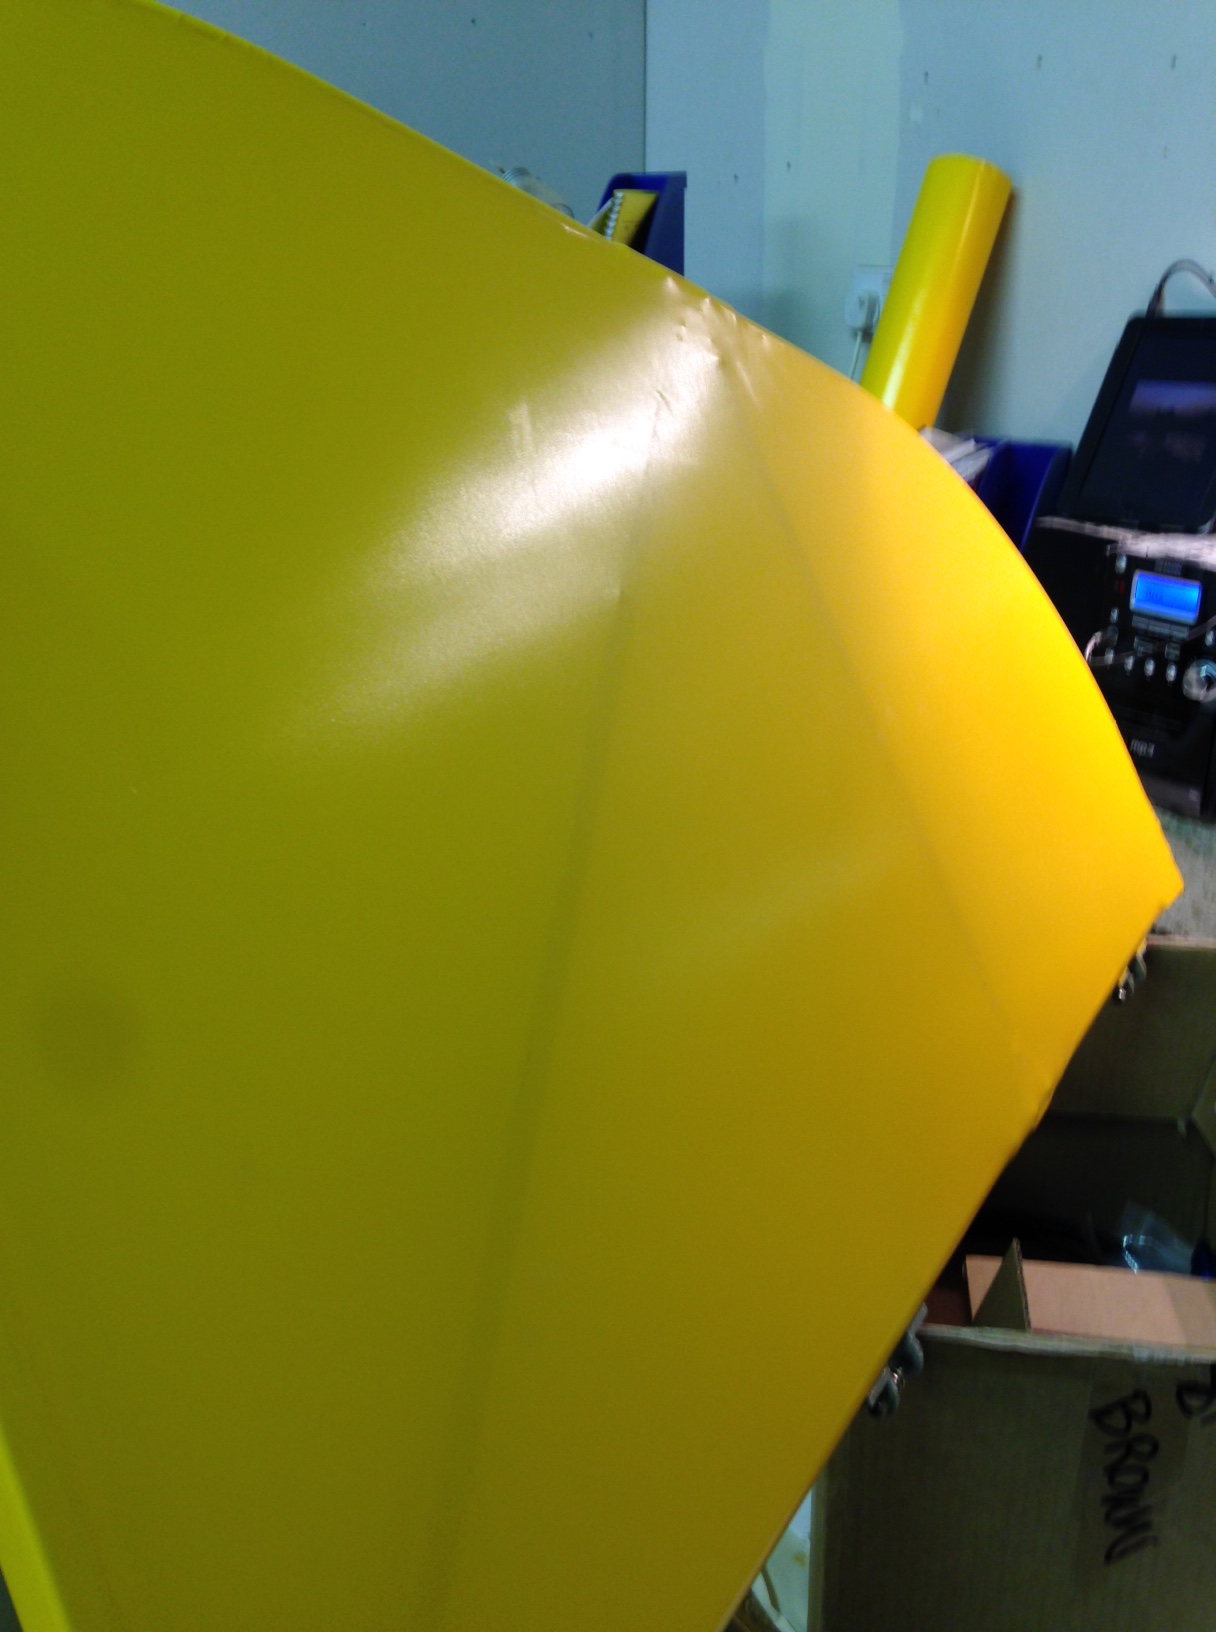
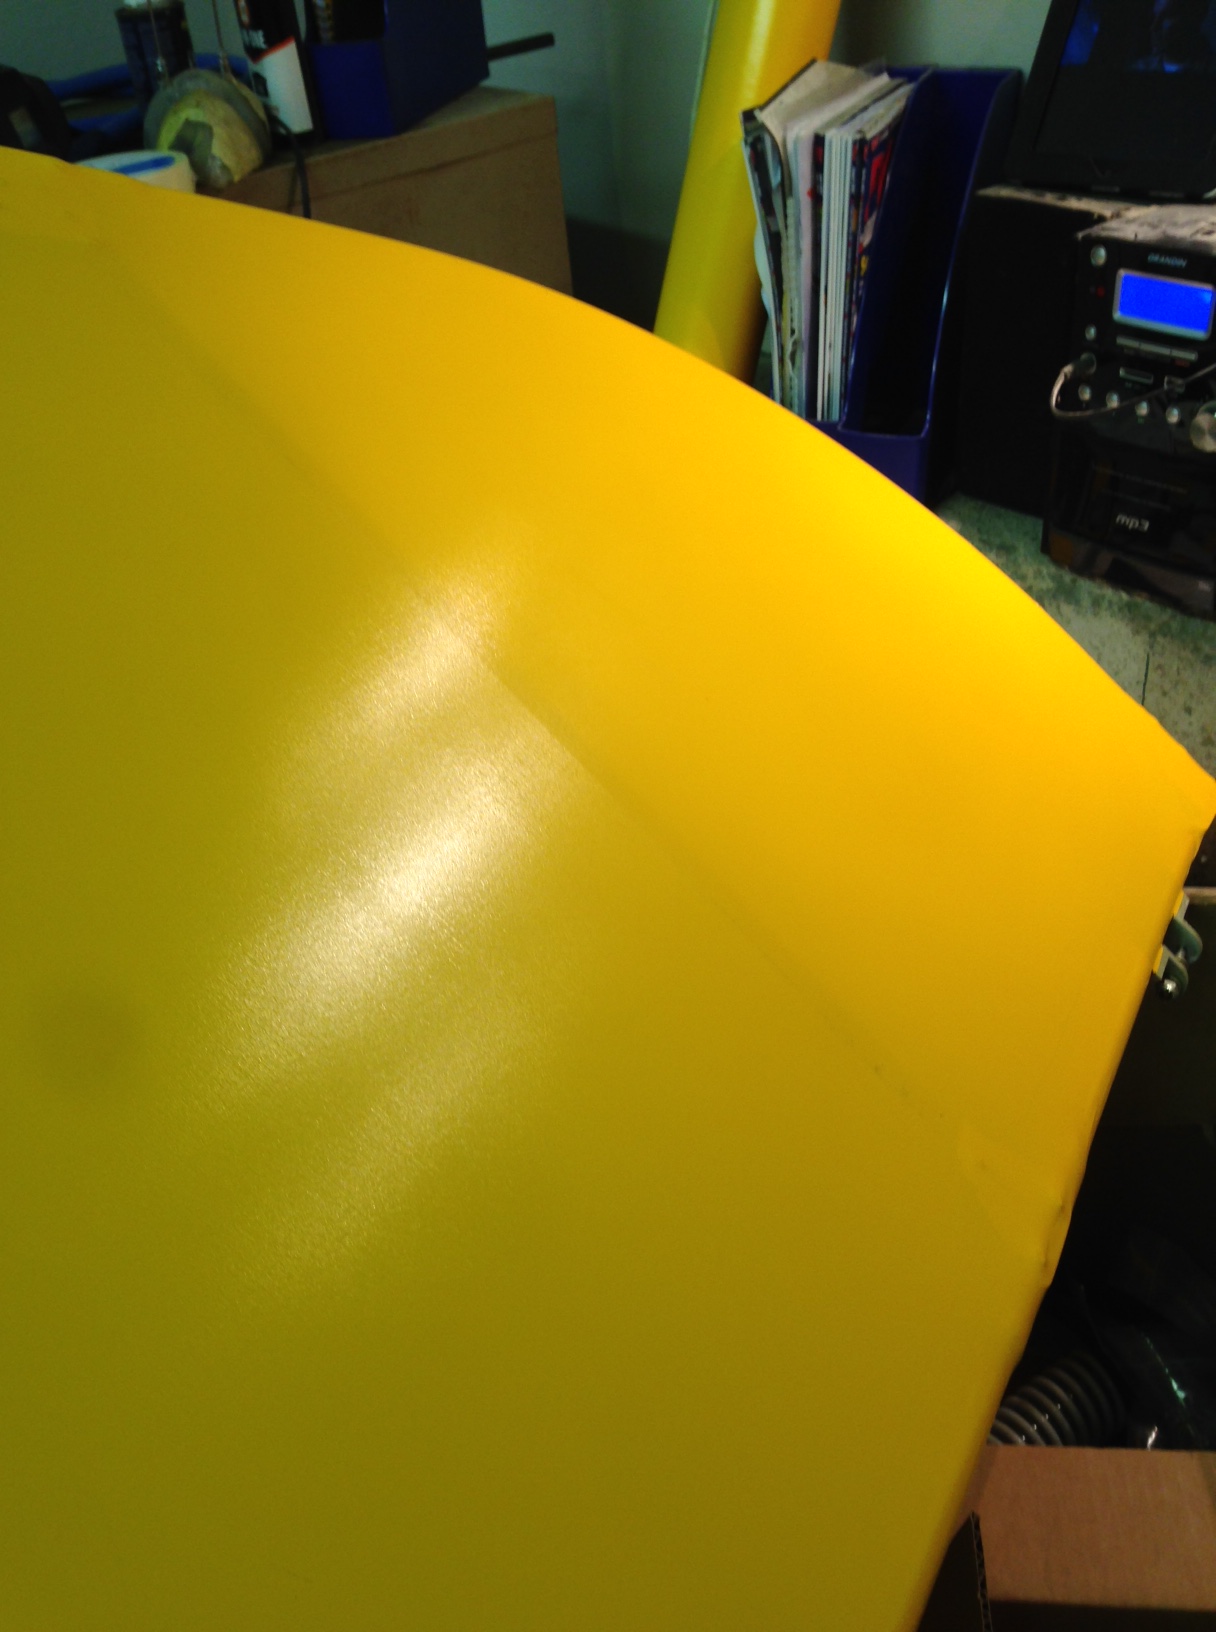
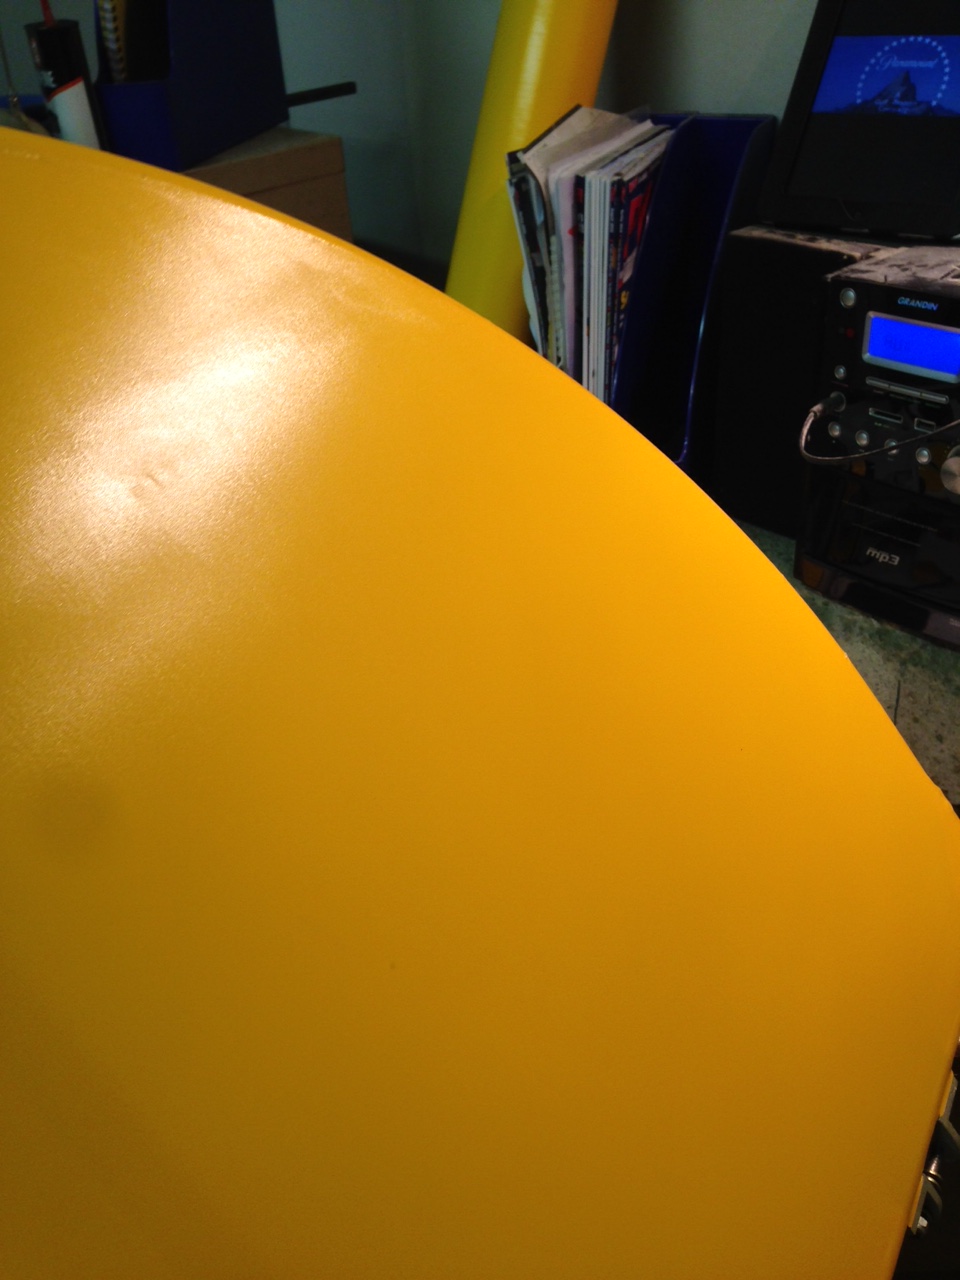
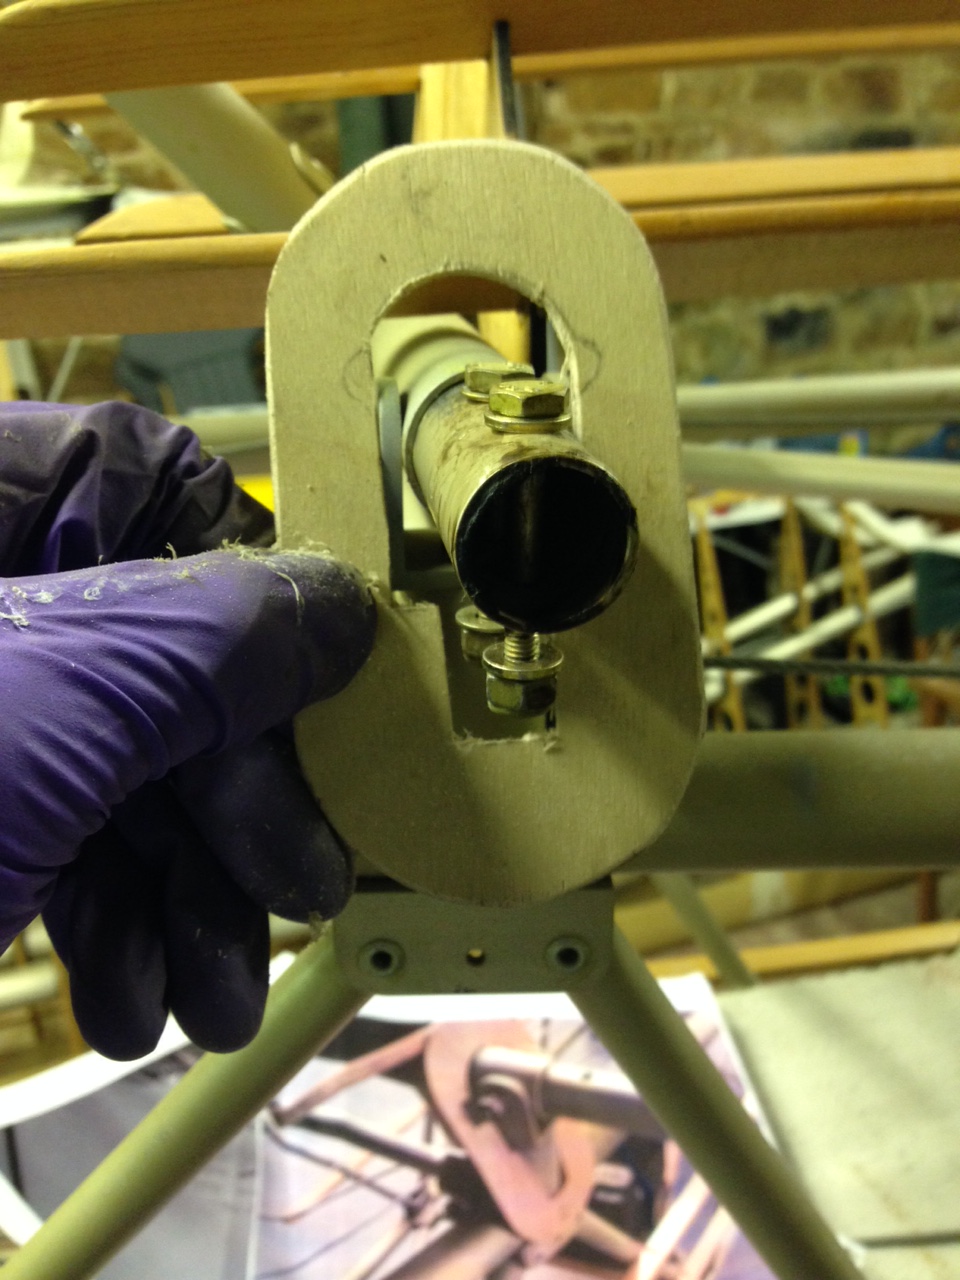
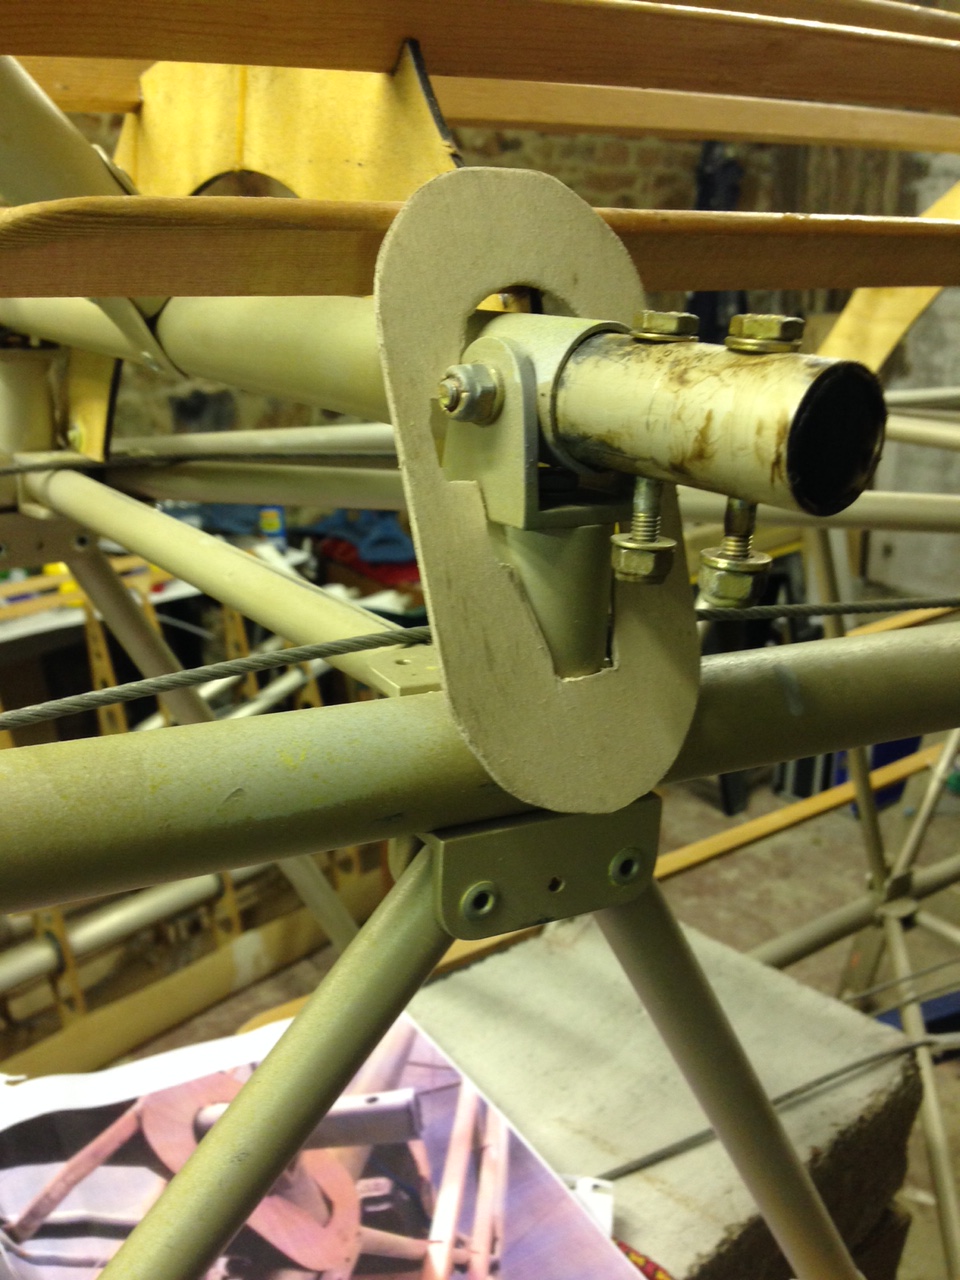
Then, as the covering will wrap around the wing tips I need to make sure the tips are a good ‘easy but tight’ fit so that the material doesn’t prevent a good fit.

IMG_0563  IMG_0564

IMG_0567

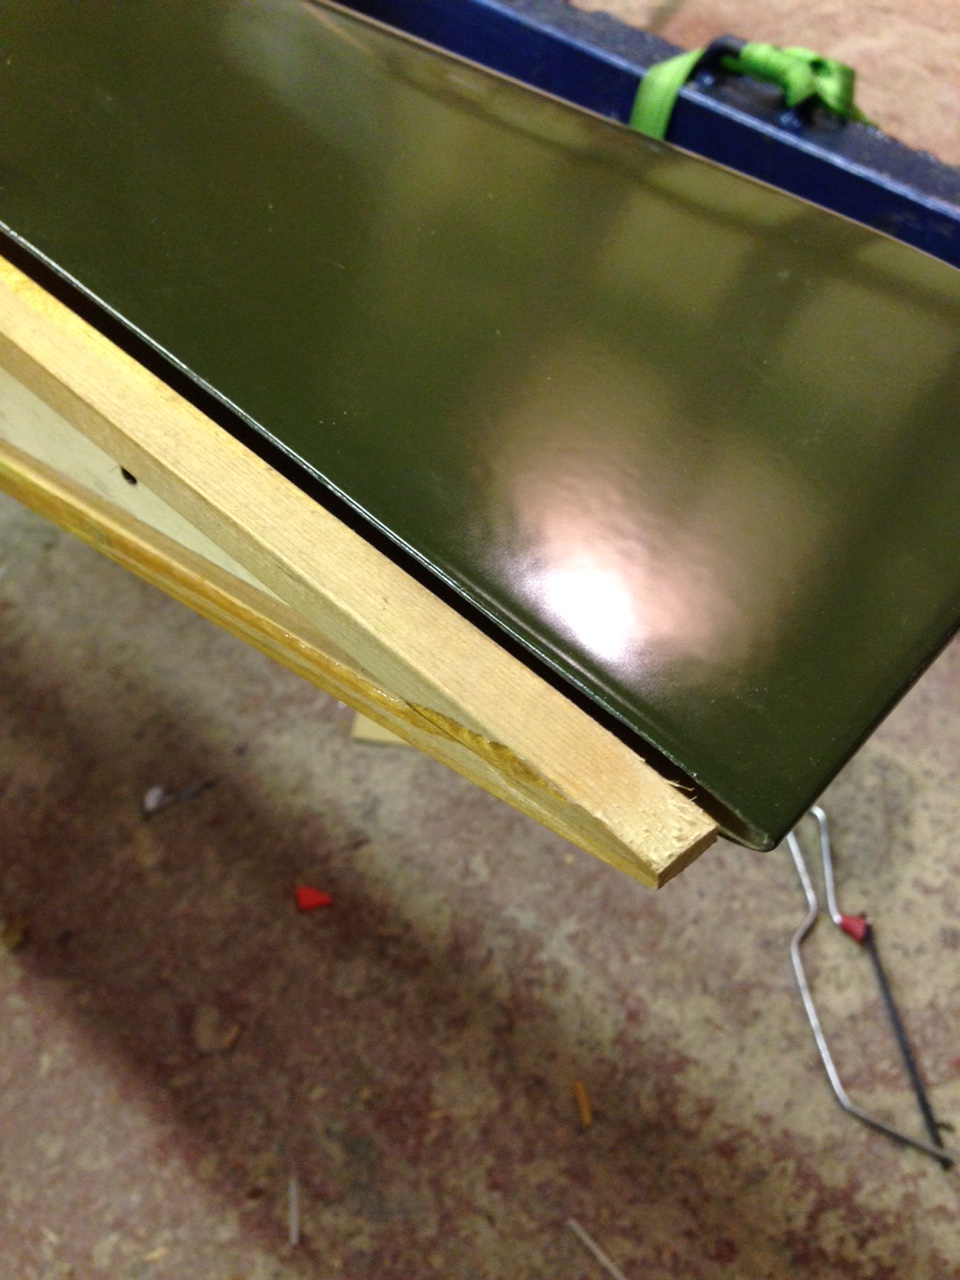
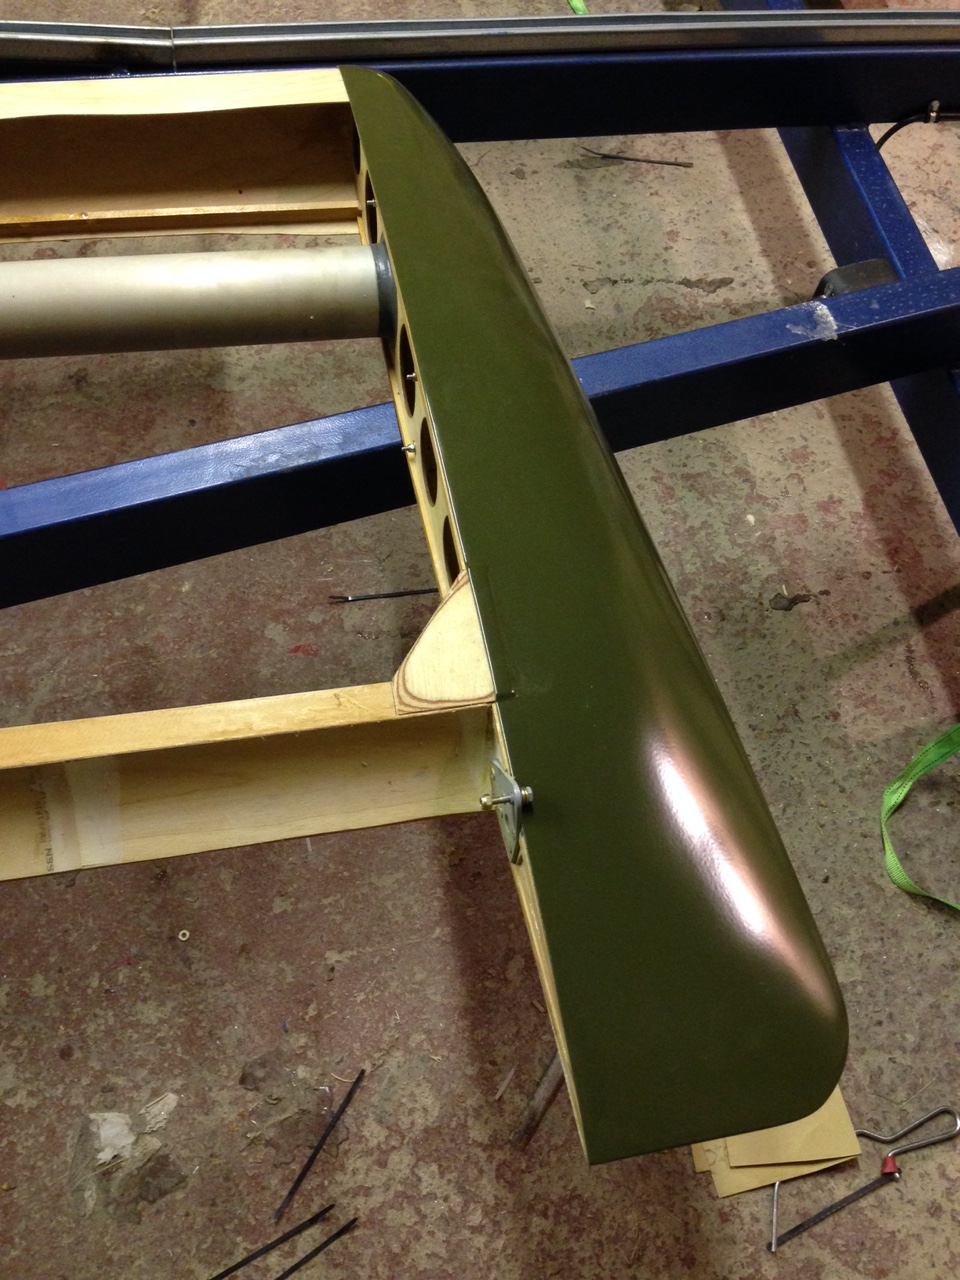
A small amount of trimming was required and I reckon the material will make it a comfortable fit

IMG_0565  IMG_0566

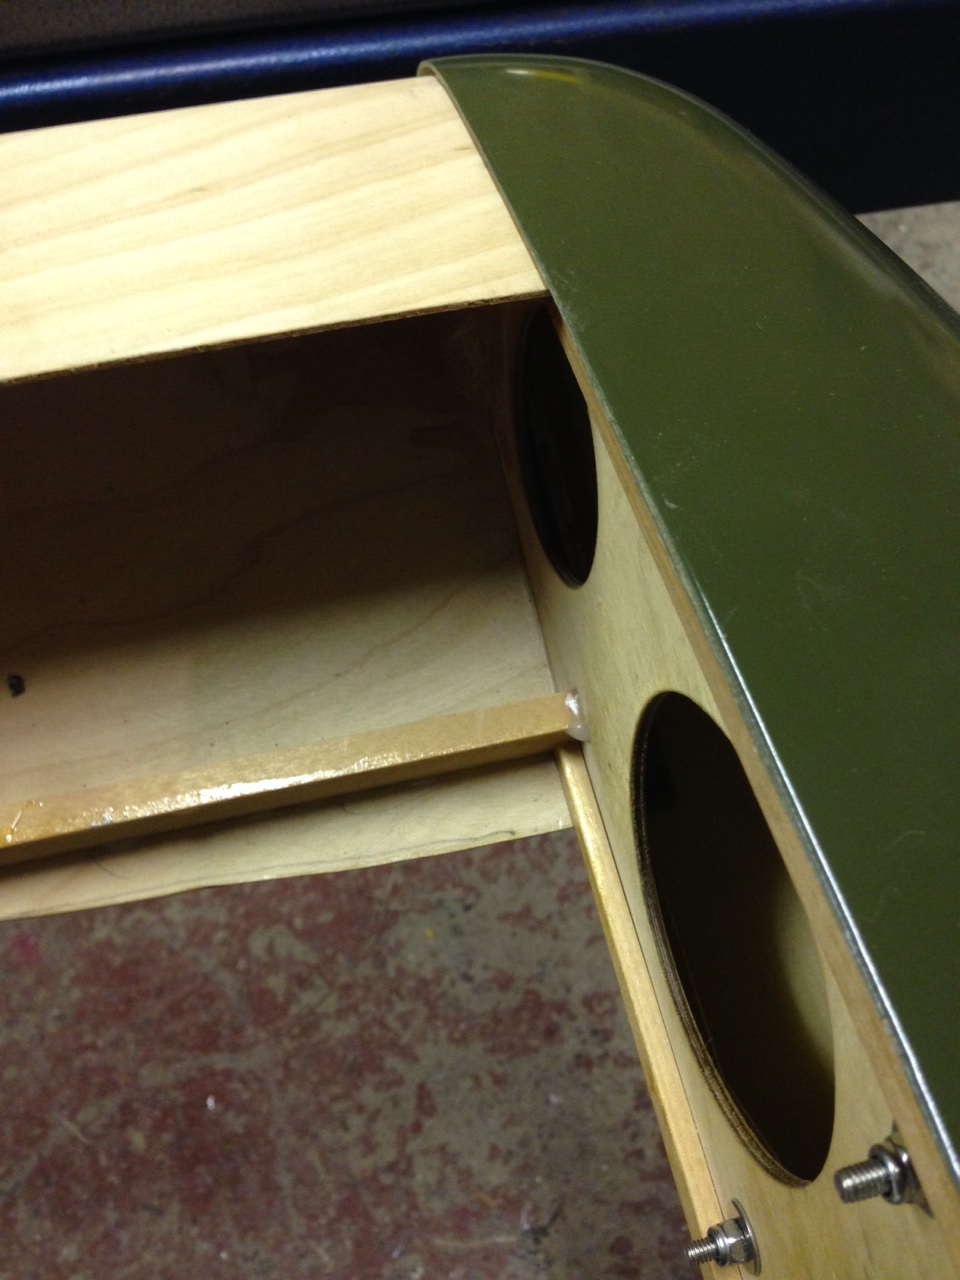
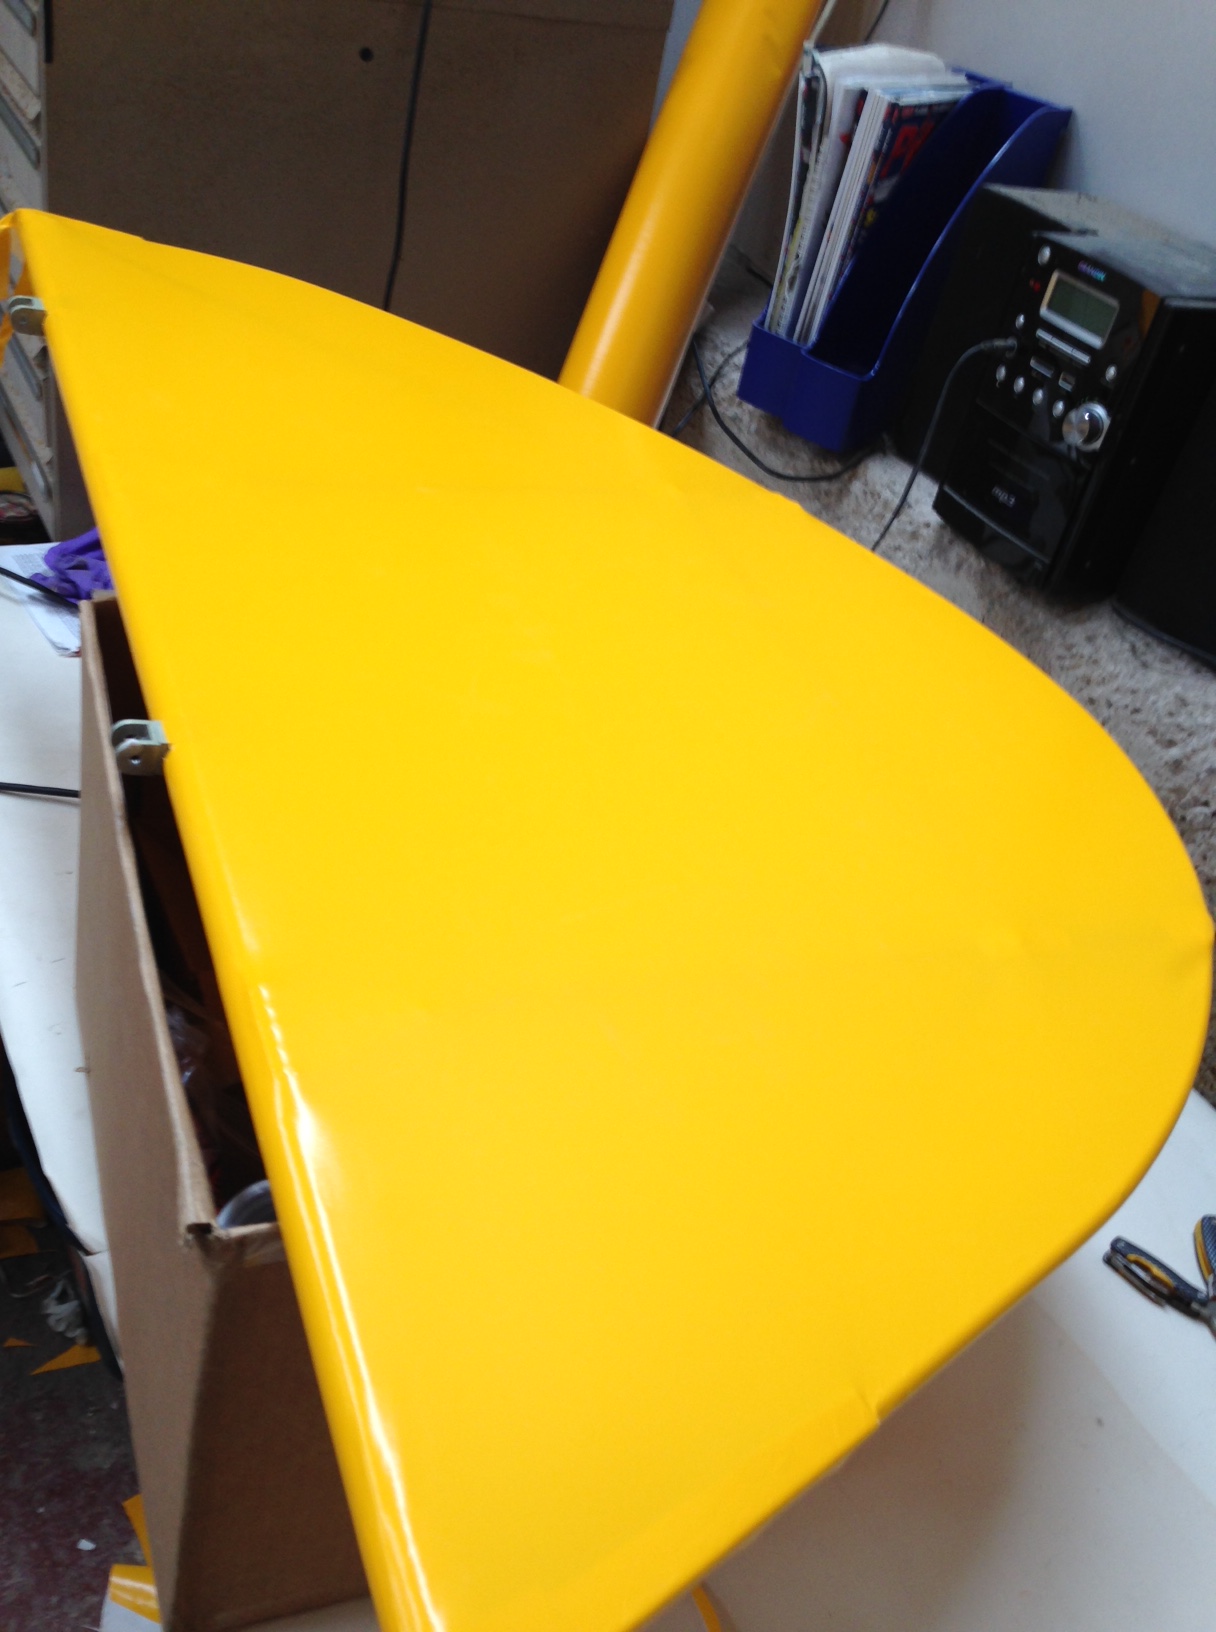
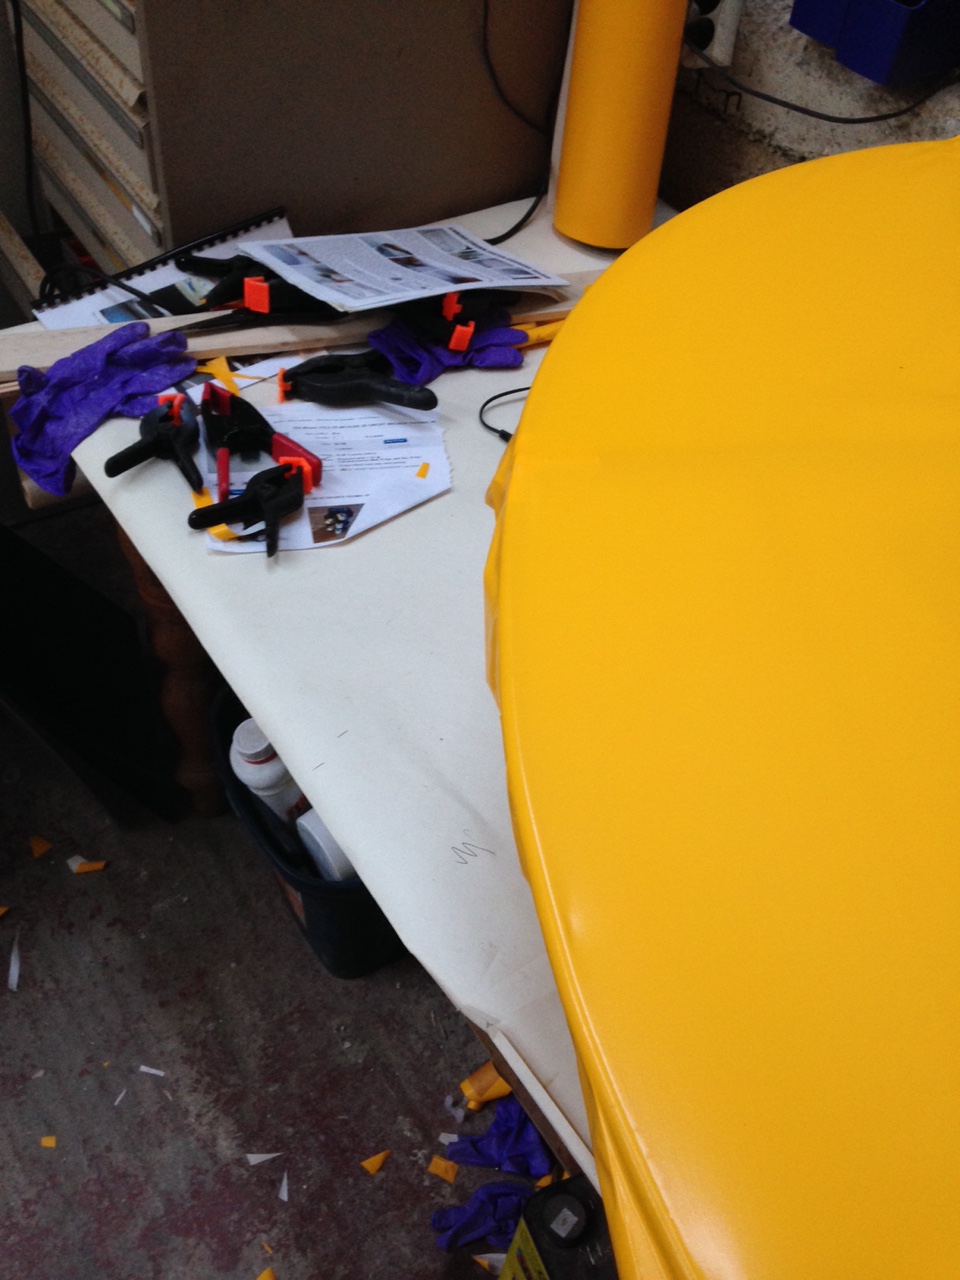
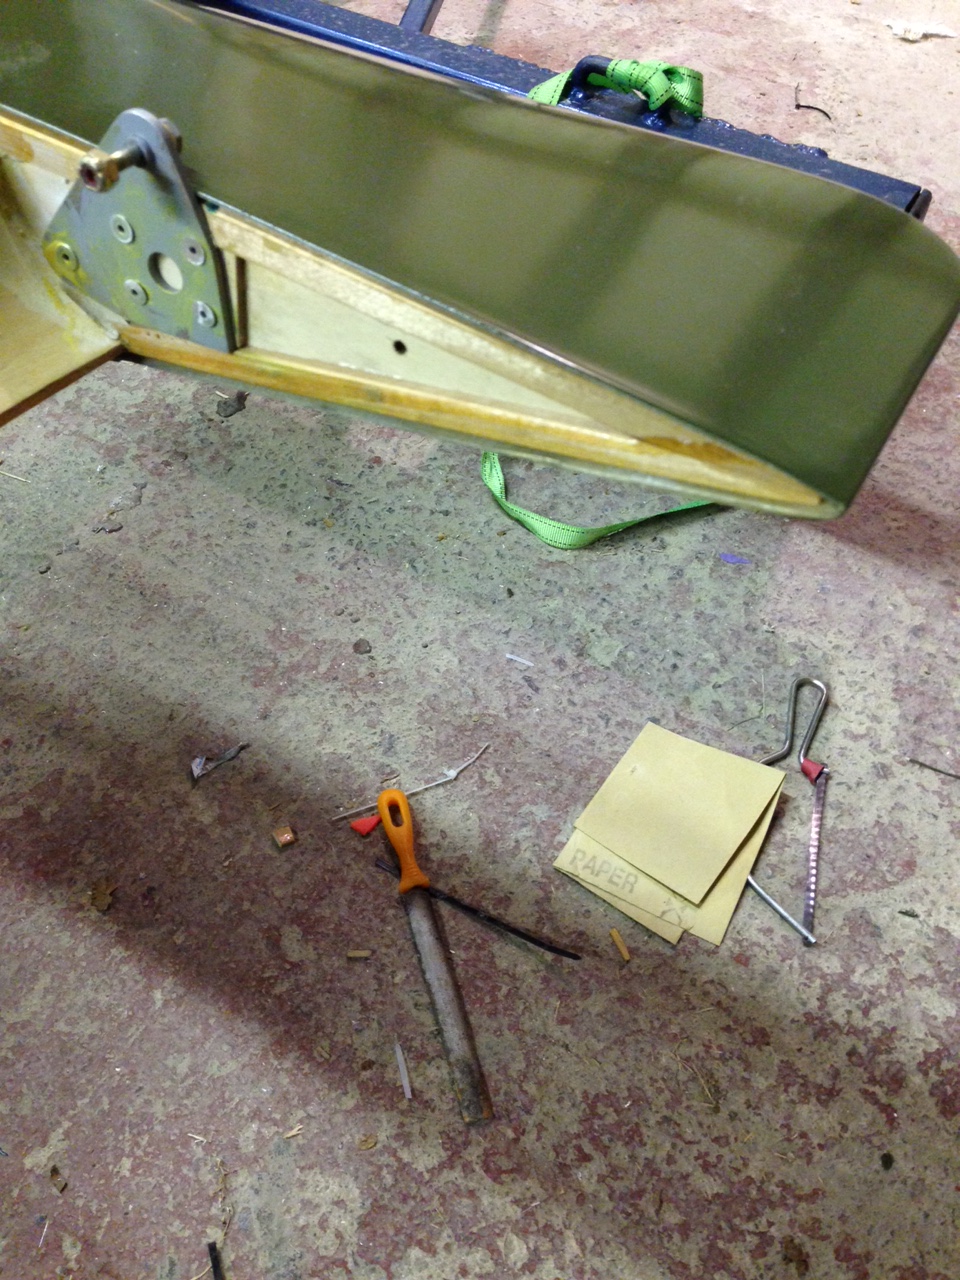
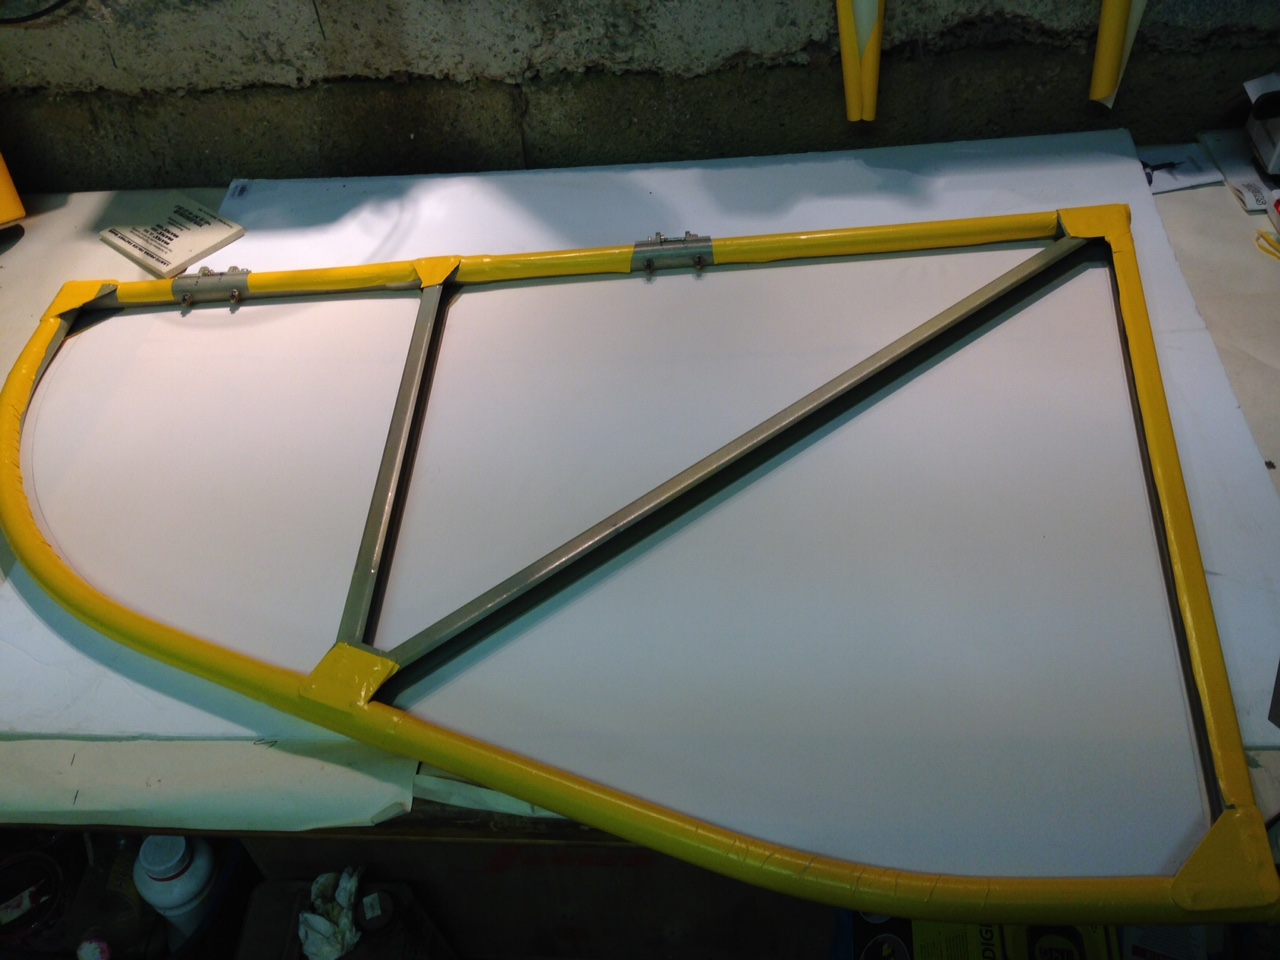
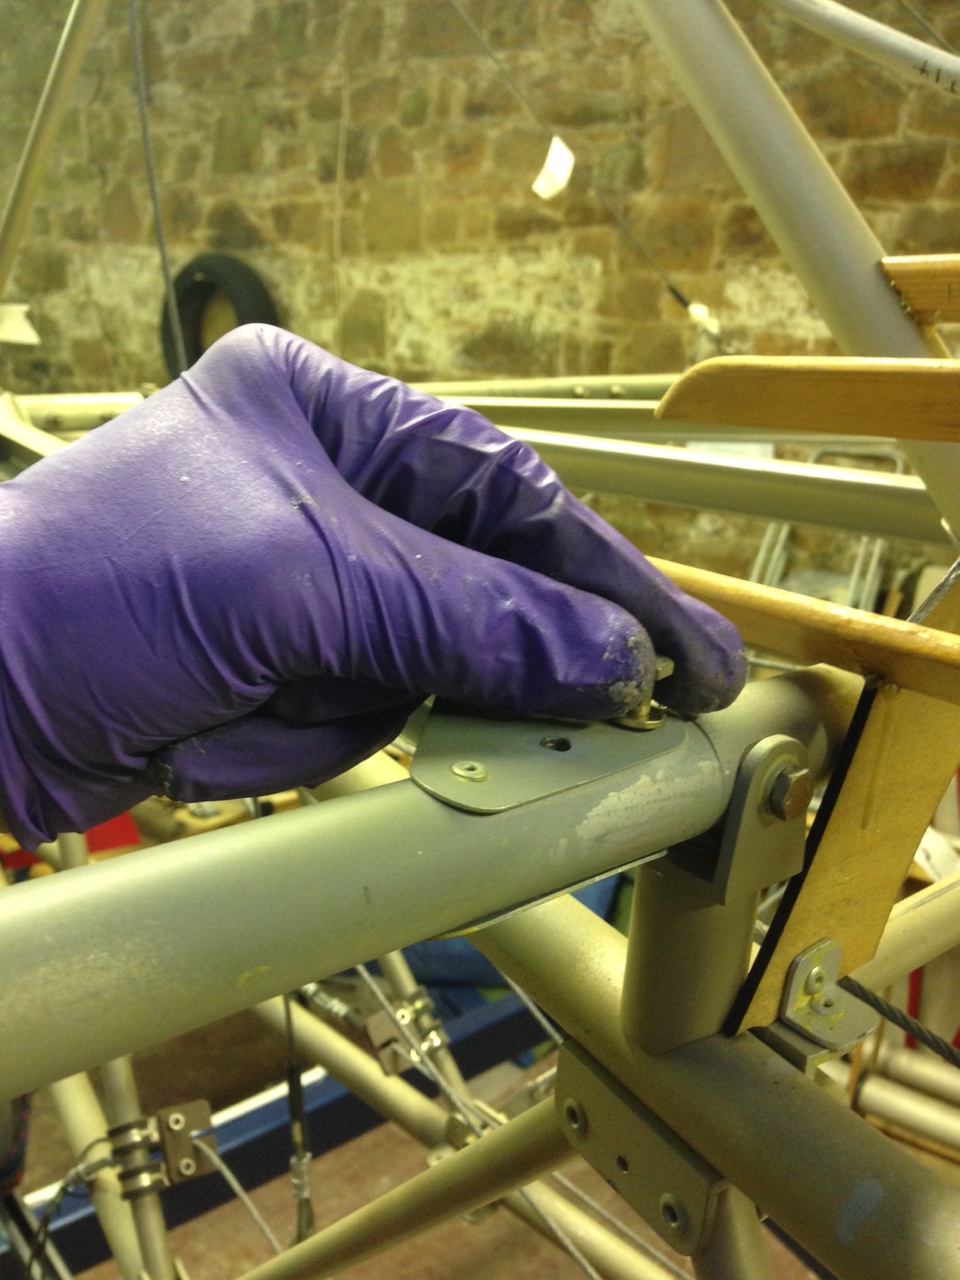
The bolts showing upper right picture are for the small angle brackets I made to allow tips to be screwed on and so removable for later inspections.

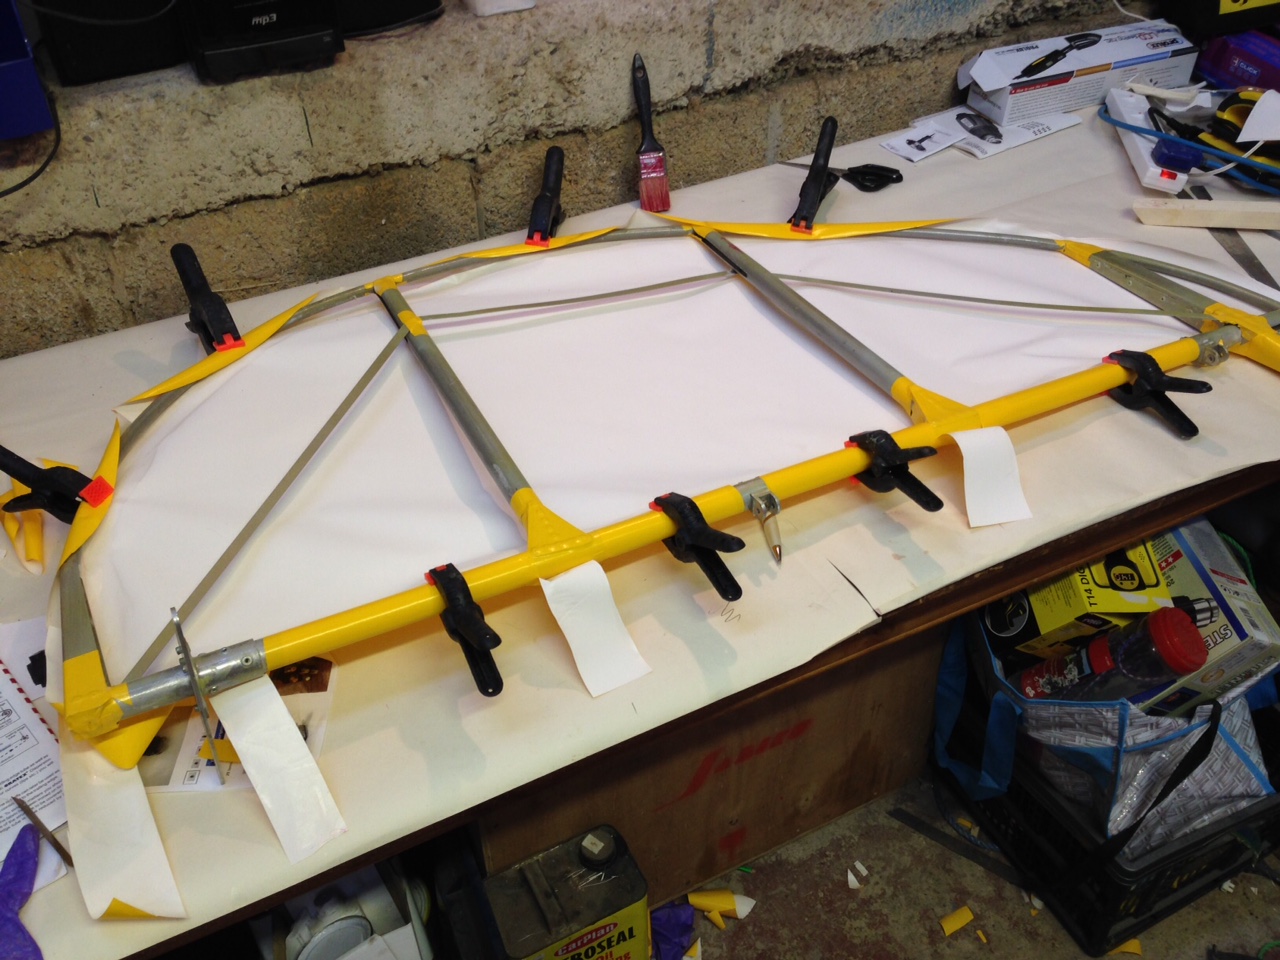
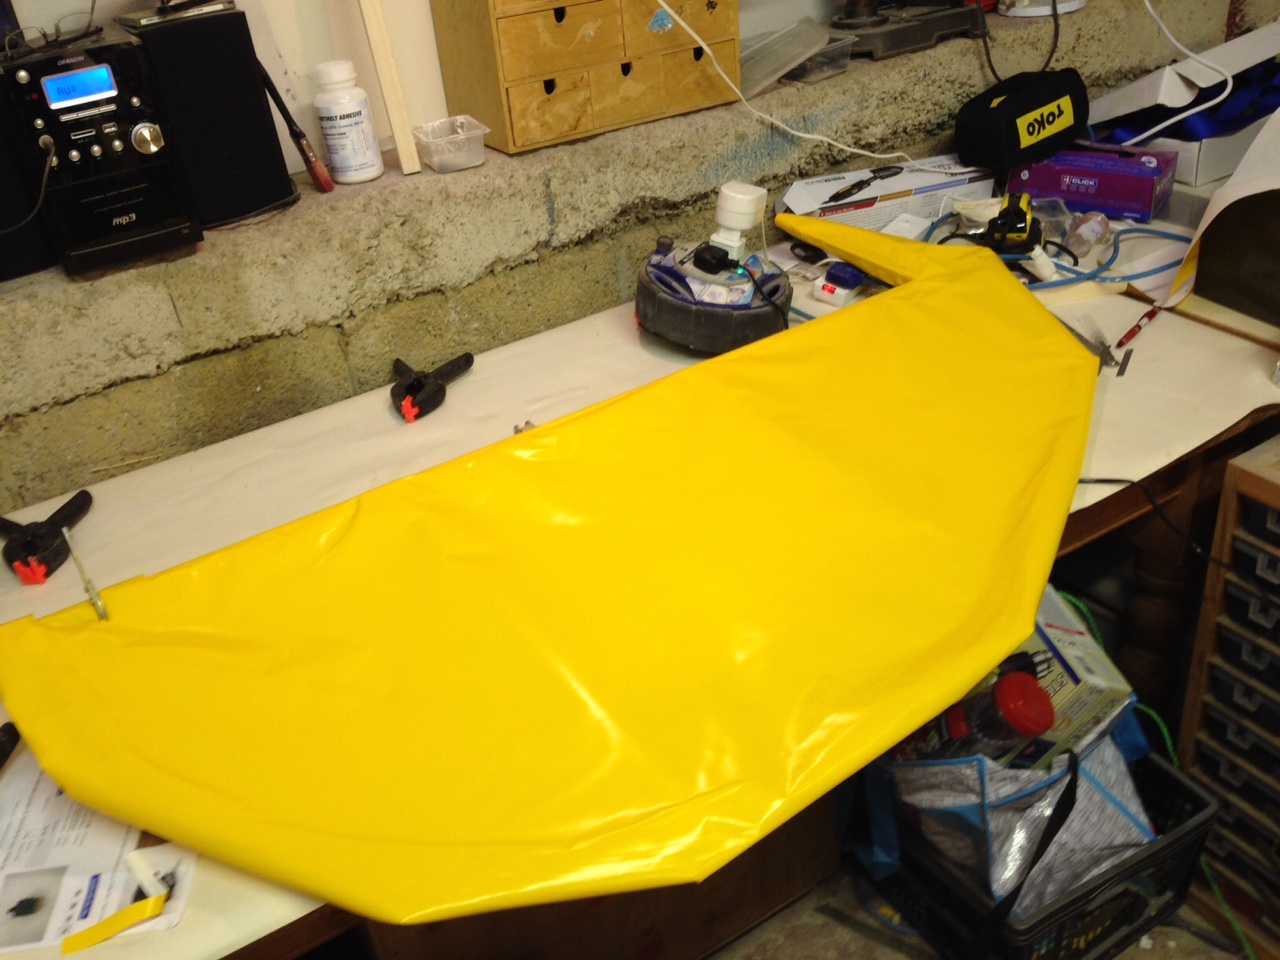
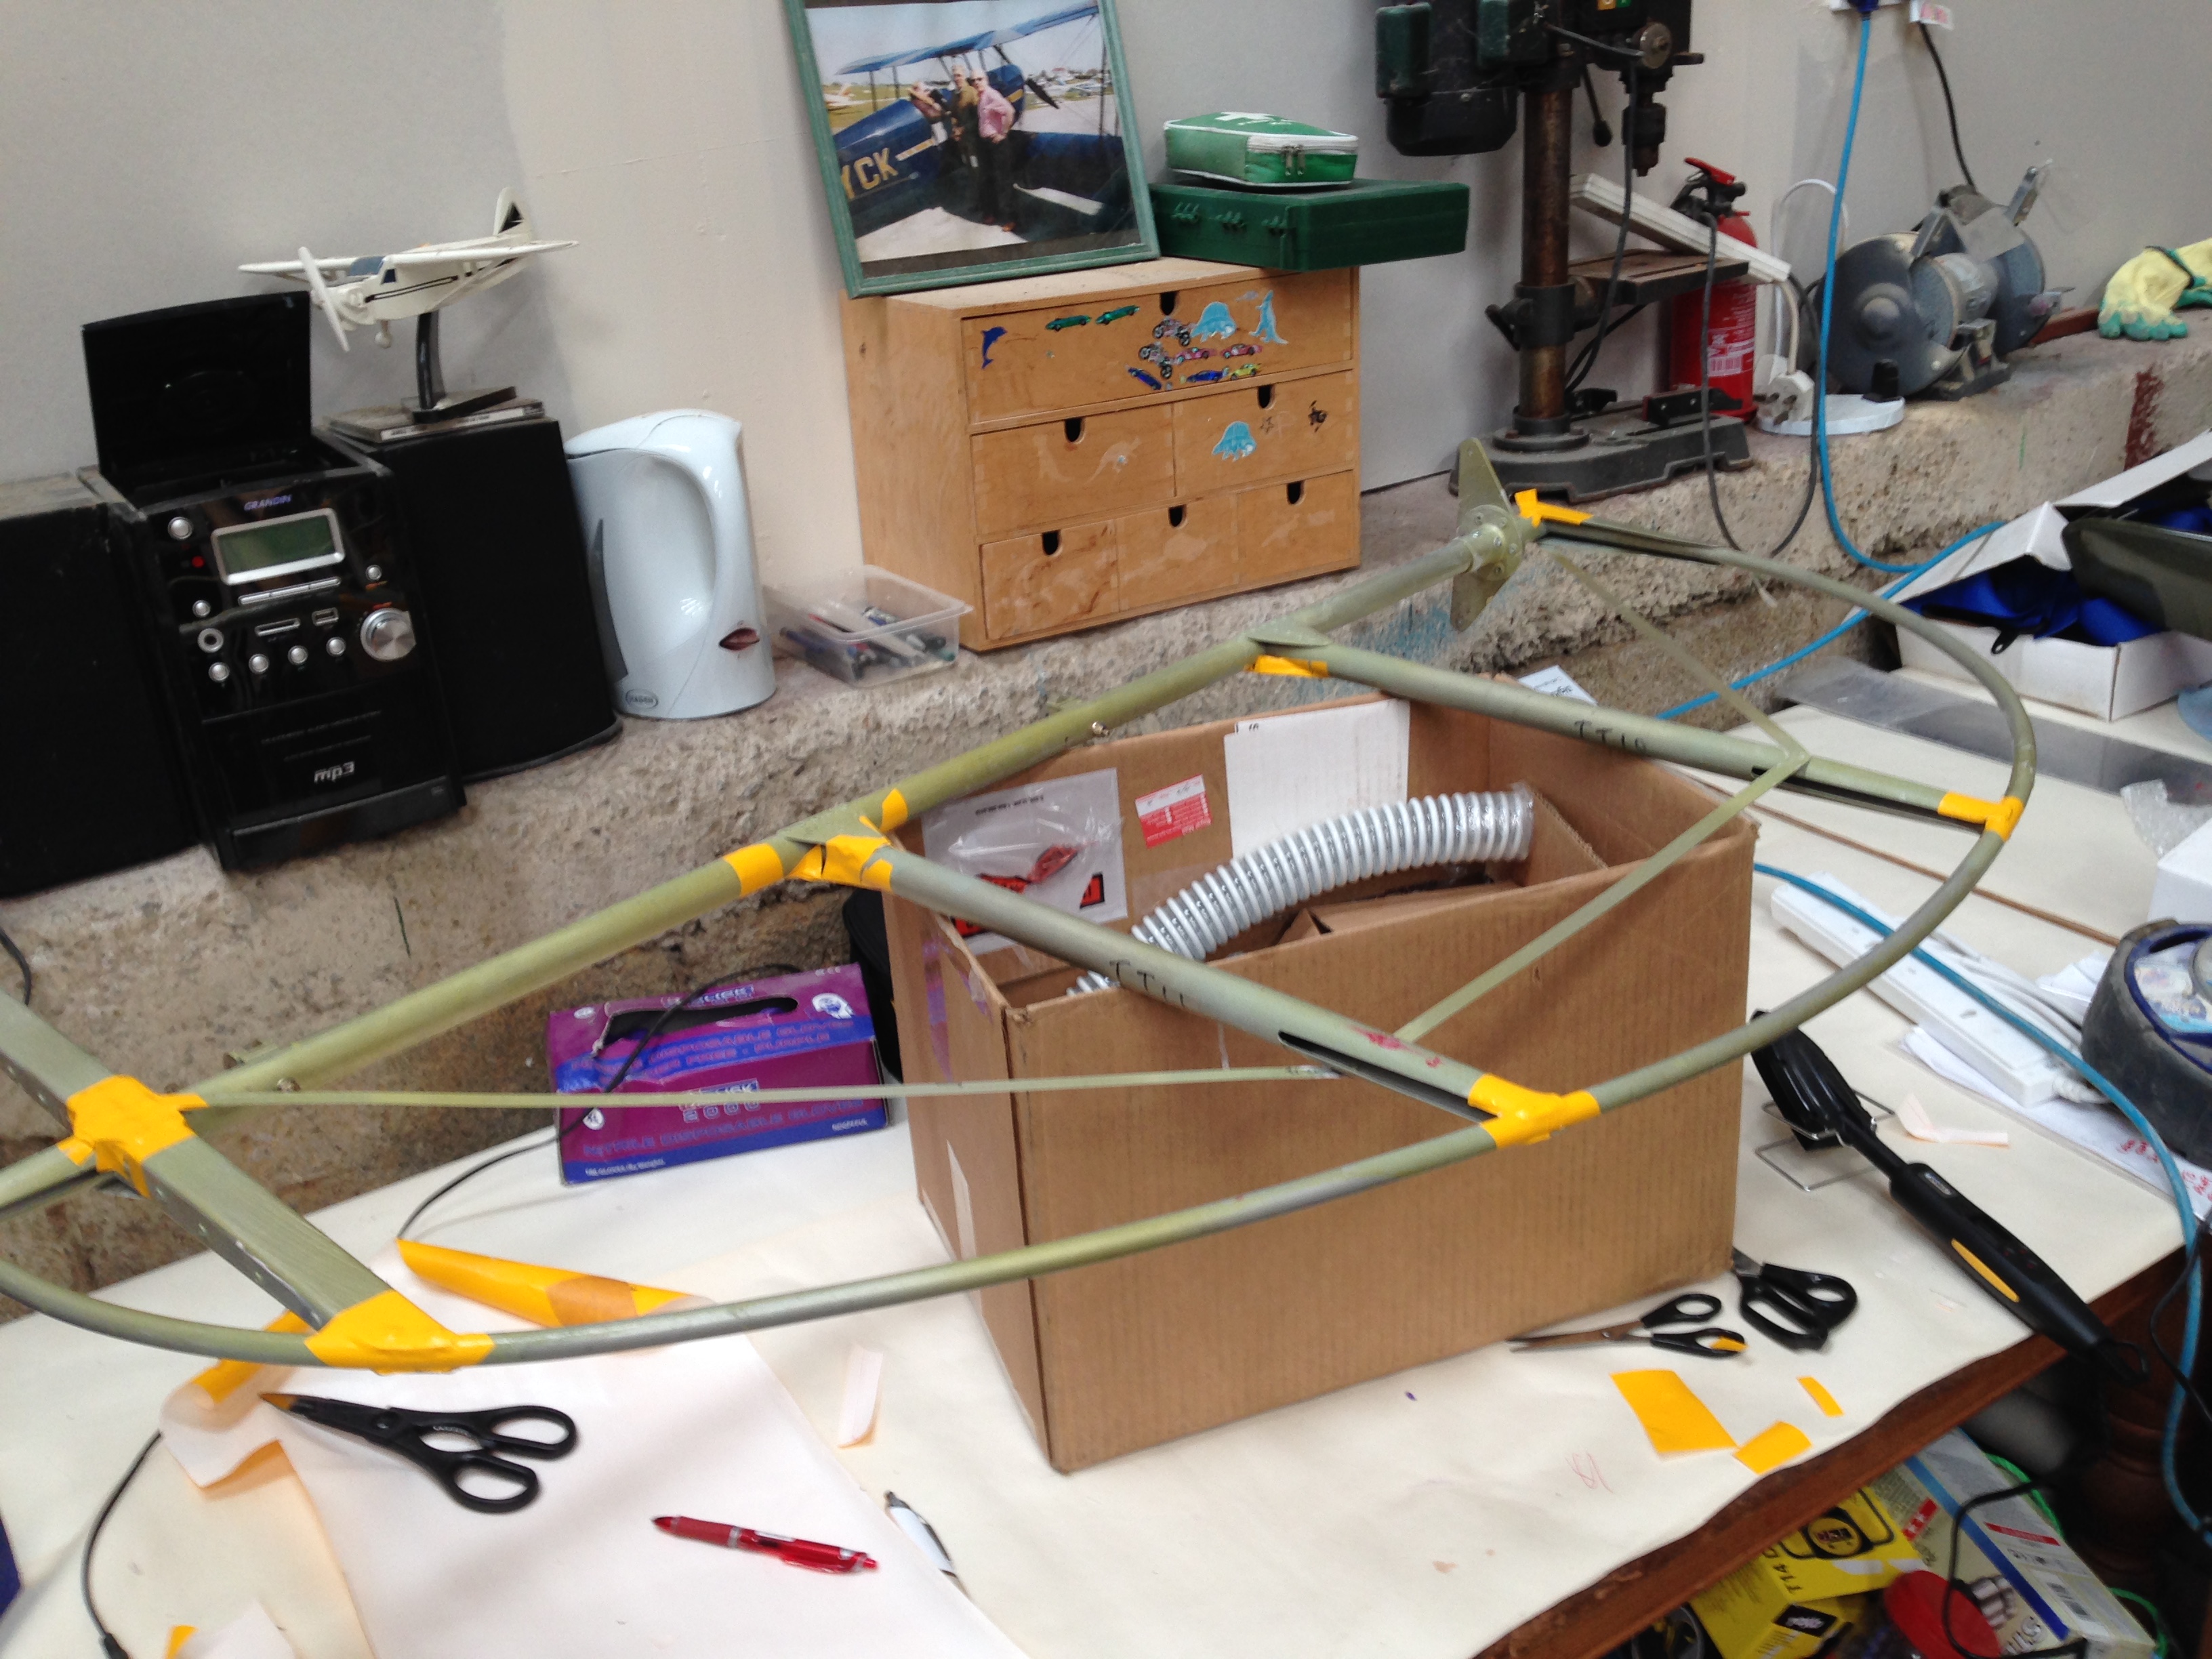
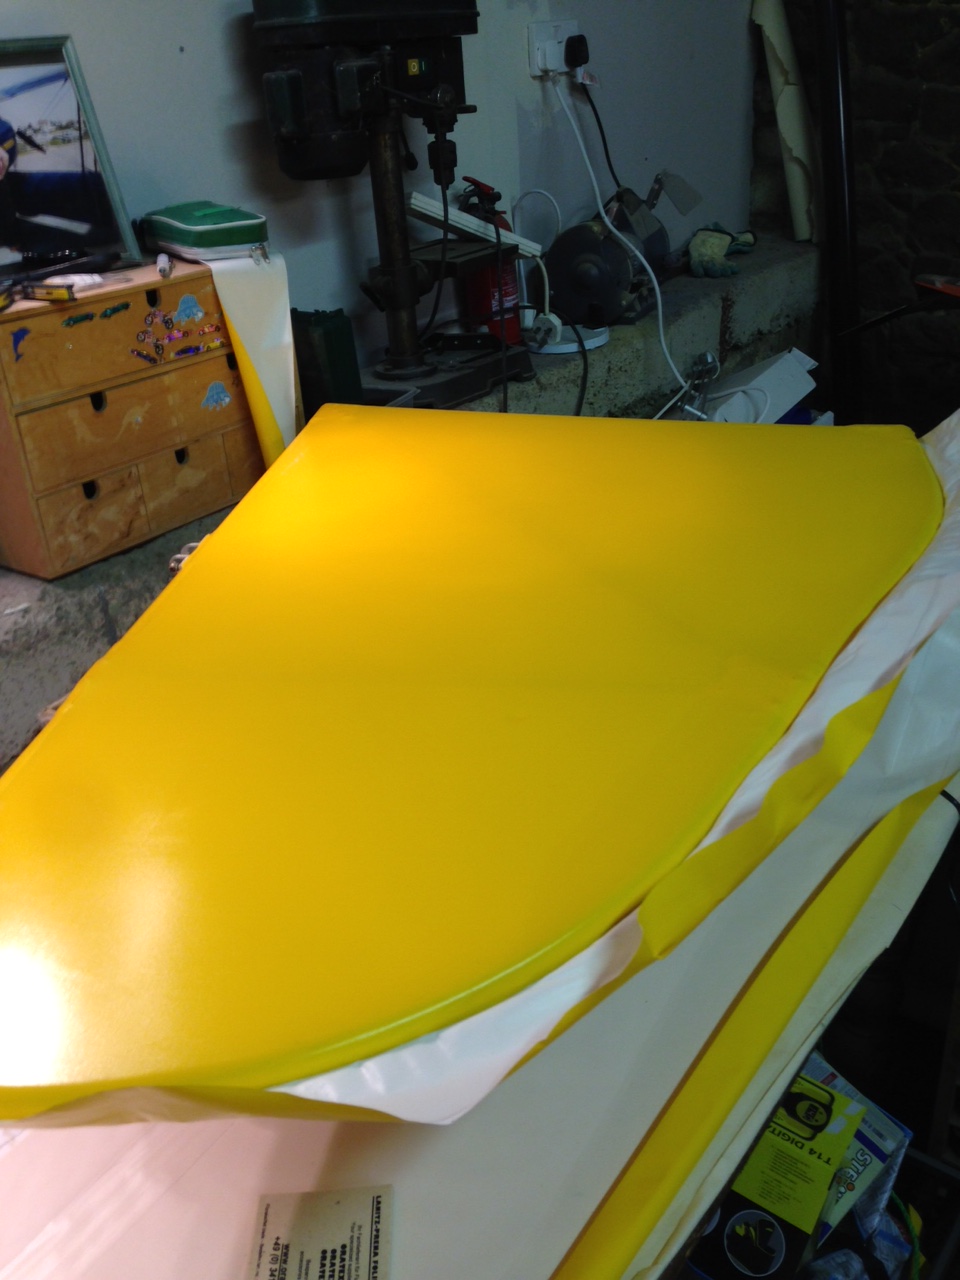
Also covered last tailplane surface last night – ready for pinked edging now

IMG_0561

Port Tailplane

Second tailplane underway last night … noticed the small shoe iron seemed a bit colder so started using the heavier duty iron which seemed to do the trick

IMG_0533  IMG_0532

Published these pictures so that others dont panic when the material looks creased on application

Port upper aileron …

Slow but steady progress ! Just wish I had the work and life time to spend the next 2 weeks just finishing !

Anyway …

First aileron laid out, and material marked and cut and pre glued for tonight … will get into a sequence of prepping and gluing then heating 24 hours later so all 4 ailerons by the weekend.

IMG_0528

You also realise that what you thought was a nice smooth aileron has little bits here and there that you need a fine rub down so that nothing shows through the covering. The ailerons had already been prepared some months ago with a thinned polyurethane so ready to take the Hotmelt glue.

IMG_0535  IMG_0534

First tailplane covered

Been a busy week with lots of other flying going on – pups from Lydd, pups from Southampton, double early drop offs in Alderney this morning ….

IMG_0508

Managed to get the first tailplane covered last night .. definately an art to get the material nice and warmed so that it goes around the curves nicely !

IMG_0503  IMG_0504

Once the heatgun has taken a little out the flat iron works a treat to finish it off

IMG_0506  IMG_0505

Panel wiring and prep and Fuel tank cable run

Decided to run these back to the panel last night but sheath it first to keep it tidy.

IMG_0437 IMG_0438

Also, having tried a couple of routing options, I decided to ‘hide’ it under the longerons so that the passenger didn’t see a cable running alongside them ! and feel the need to play with it !

IMG_0442

More dismantling last night – Tailplane

Having completed the rudder and elevators I started removing all the tail fin wire bracing and took off the starboard tailplane, having first marked up all the cables I lovingly crafted so many months ago

IMG_0431 IMG_0428

I could then see I had missed one piece of waxoyl on a joint .. this could now be covered ready for the re-assembly.

IMG_0429 IMG_0430 IMG_0432  IMG_0435 IMG_0436

Now I could complete those small ply material covering landing plates at the leading edge of the tailplane.

‘Plane looks quite ’empty’ with no tail feathers now 😦

IMG_0440

Made me realise the re-assembly sequence is going to be interesting … not sure how that might work so will need to call Paul in Norfolk !

Oratex – ongoing – getting the hang of it now :-)

I have been a little quiet on the blog front but like all swans .. frantically peddling away under the surface !!

Having now completed 3 surfaces of Oratex (rudder both sides and one lower elevator covering) I think I am finally getting the hang of things … It may mean a week offline in the winter clag to recover the rudder as I’m not 100% happy with the finish having managed to get a large wrinkle in that even 18% shrinkage wouldn’t pull out – leaving me with a small (but noticeable) crease by the rudder post. Yes I could lose it by putting the pinked capping tape over it but I know it’s there !!

IMG_0418  IMG_0417


IMG_0420  IMG_0424

The elevators, completed in the wee hours this morning, have helped me get a routine that makes the pre shrinked finish much much tighter and on first application of the heat gun your get a fantastic taught sheen finish !

IMG_0426

Next steps – Tailplane …. before the larger wing and body rolls arrive 🙂

Oratex – Next steps

Not a section I was looking forward to .. the finish sounds so final 🙂 …. it’s also the only bit everyone will actually see … so all that underlying hard work gets covered …

The patches were fine but it does take a bit of getting used to … getting that multi internal wrap over with glue on the top layer of the fabric so that you get a really good bond on the leading edge looks great on paper but so so fiddly to actually achieve.


IMG_0323  IMG_0324

Eventually, after 100’s of goes to get each section wrapped to provide the requisite boding area AND making sure the fabric lay reasonably flat AND making sure that I still had sufficient to grab at the trailing edge, I set about bonding the leading edge in position (definitely a one way task as I am not sure UNDO is an option !).

With the leading edge finally bonded I set about pulling the trailing edge tight and getting the small iron onto the edge.

IMG_0326  IMG_0327

Now hold and let that all set firm before I start yanking the inner edge of the trailing edge around to bond that in place

IMG_0328

Polar Jersey – Painting

Just got her back from the great team of Polar Auto Refurb in Jersey. Particularly Aaron and Simon… very many thanks for the pre rub down pictures guys ….

IMG_0301  IMG_0300

IMG_0296  IMG_0297

IMG_0298 IMG_0299


IMG_0284  IMG_0286IMG_0283  IMG_0282

IMG_0287  IMG_0289

Can now get the seats back in and the full harenesses slotted through the bodywork.

Also start to finalise the dashboard panels ahead of taking her into CIAS for engine setup and test runs.

IMG_0290  IMG_0293

What every man should do first thing in the morning …

An hour of ironing … !!

My First foray into Oratex … first joint cover I was a bit enthusiastic (thanks for the steer Paul !) and covered a little too far down the tube.

IMG_0273  IMG_0274

Second attempt I left a little more to ‘get hold of’ and use to pull around as I ironed .. to be fair this is mentioned in the guide and the very good You Tube video.

IMG_0276

Now I have applied a light second coat for the material overlap so that I can add the other side tonight 🙂

Blog at WordPress.com.

Up ↑