Polar Jersey – Painting

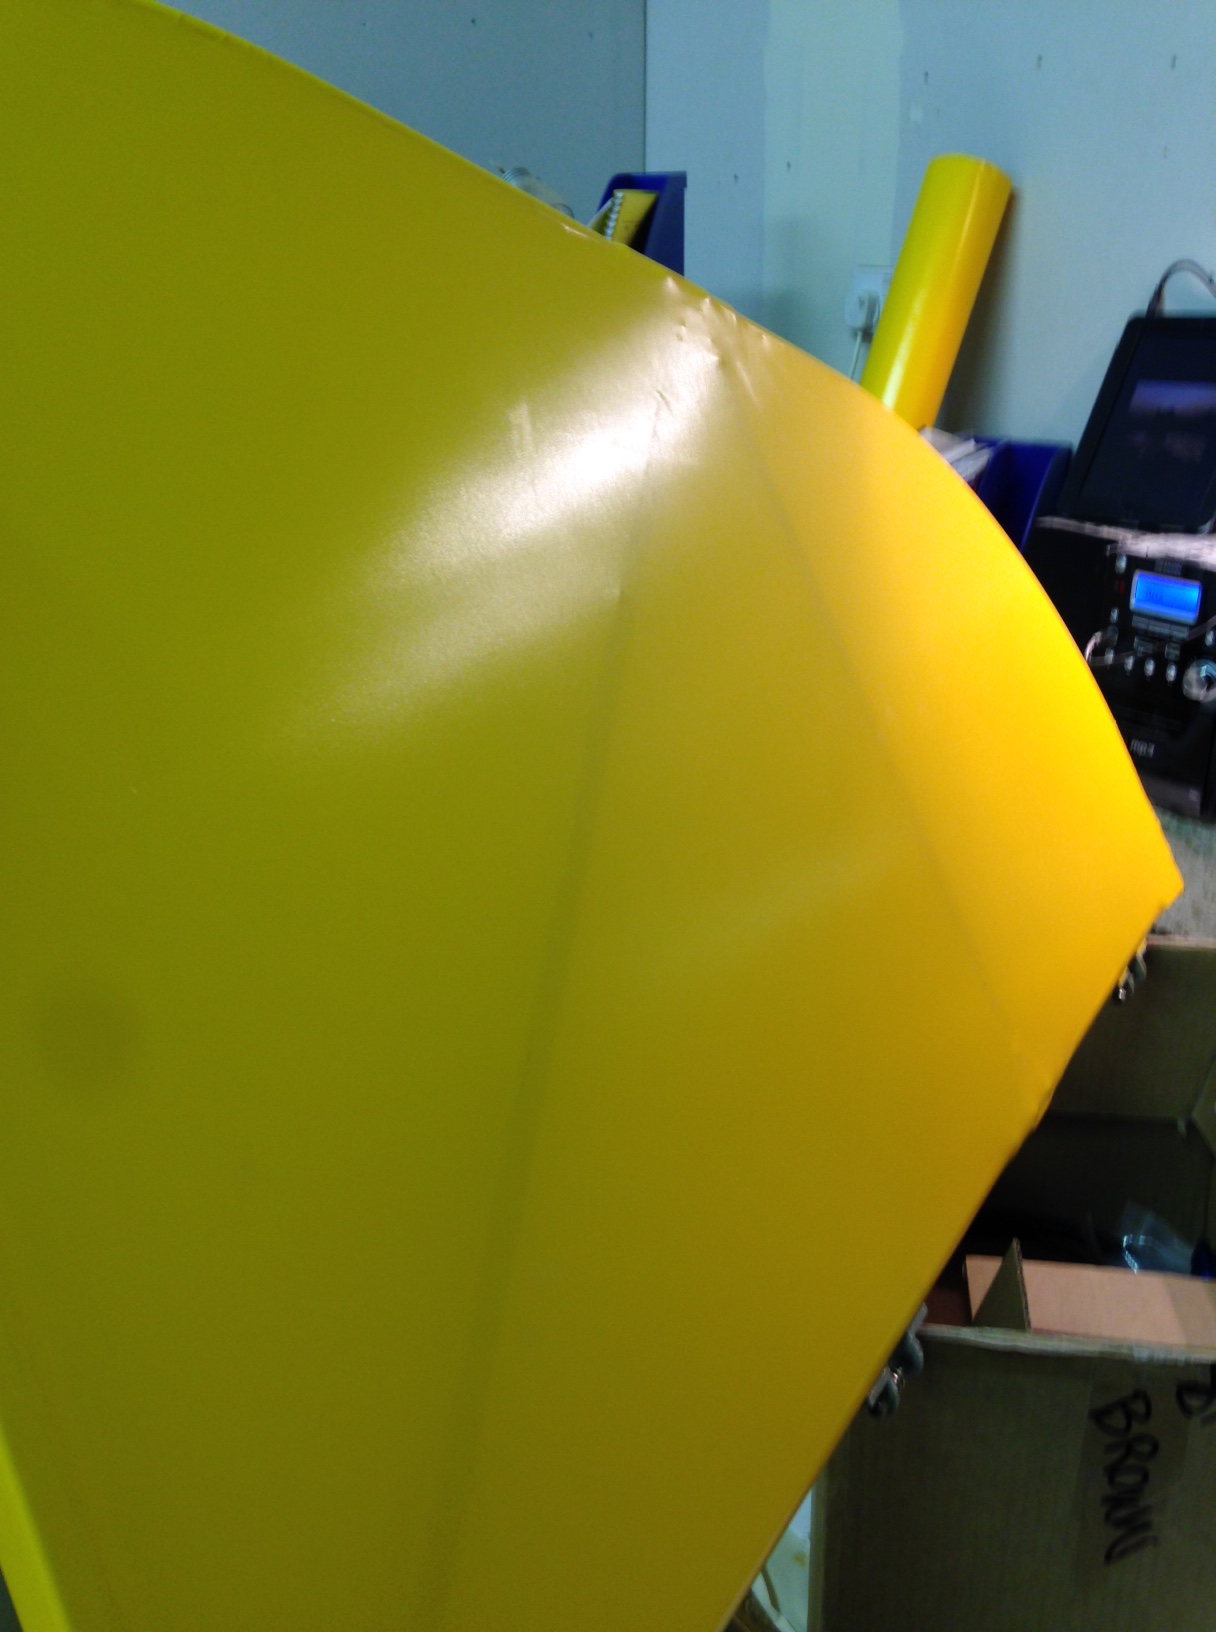
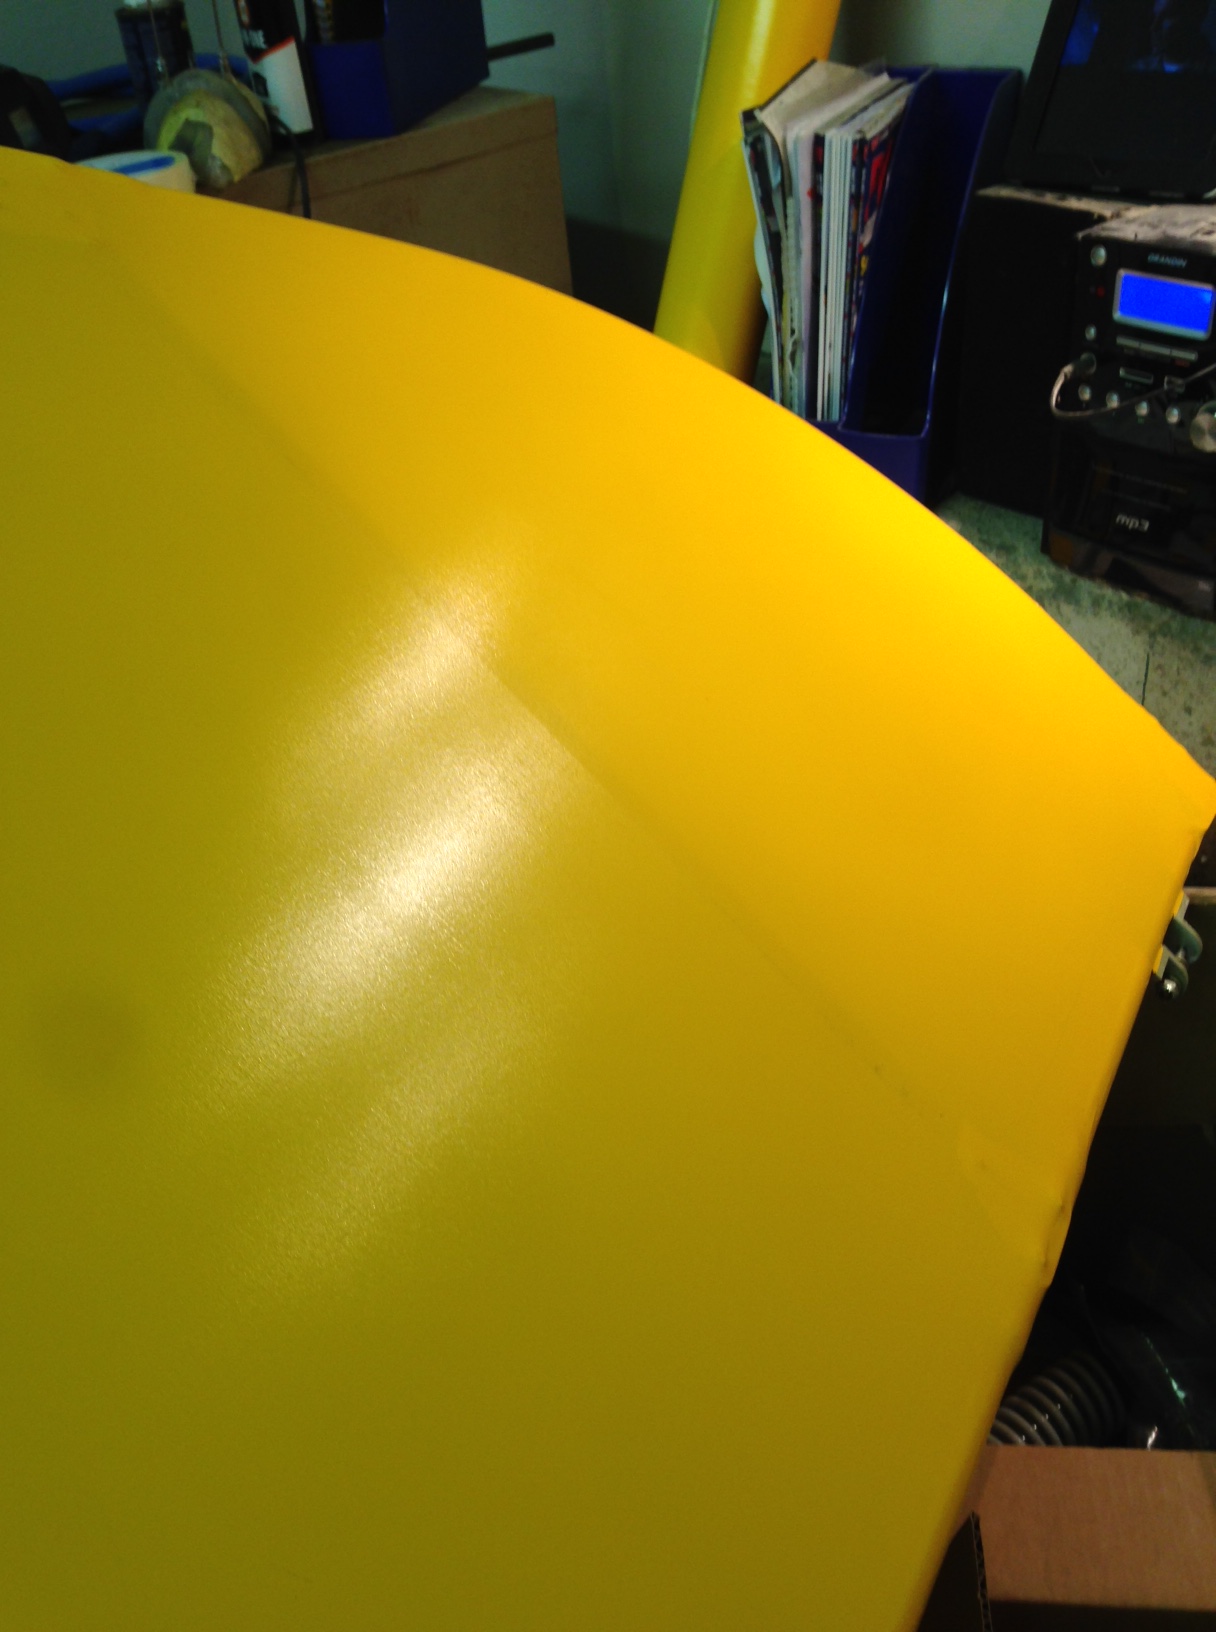
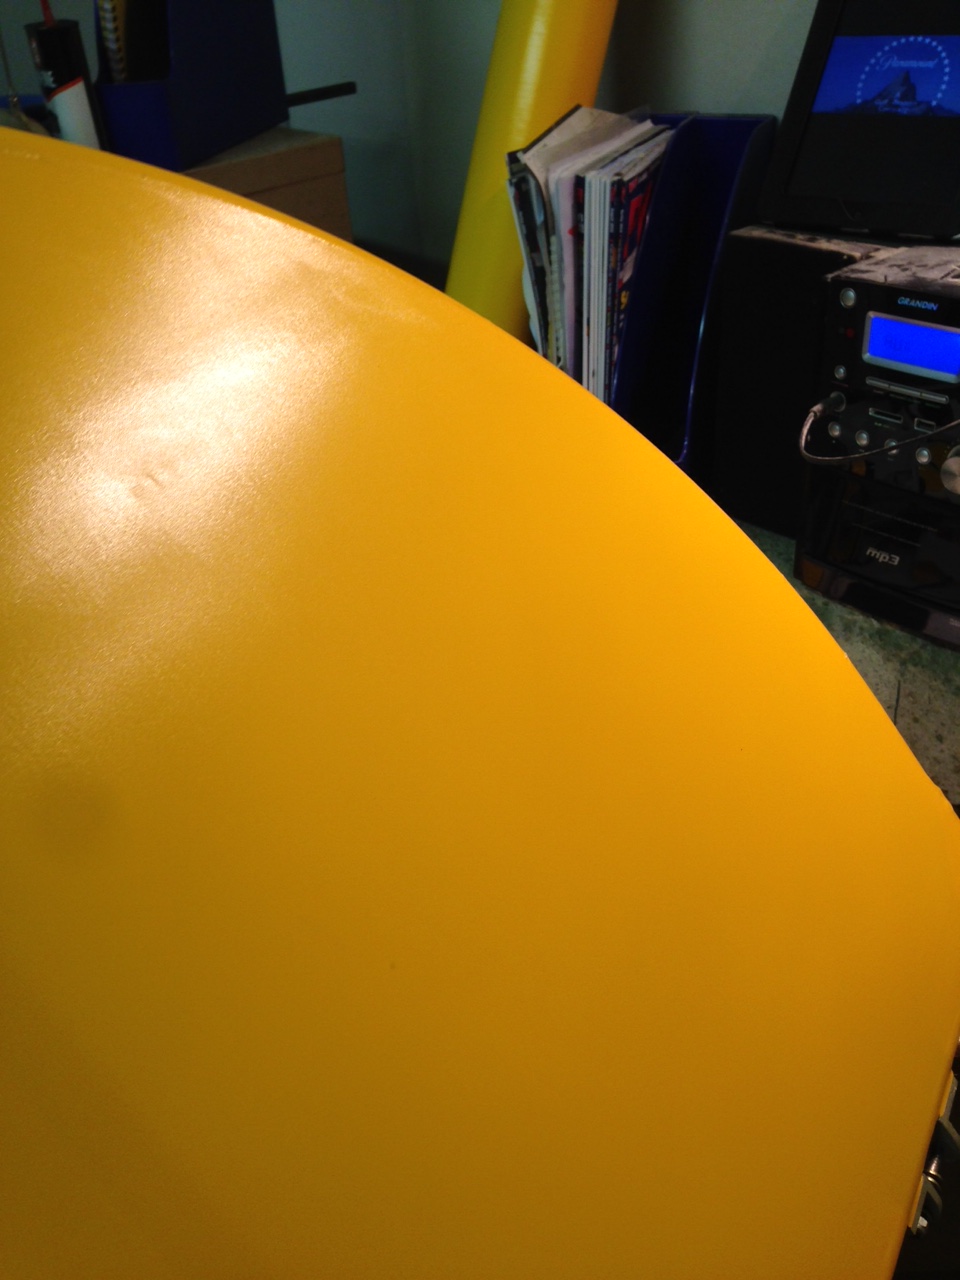
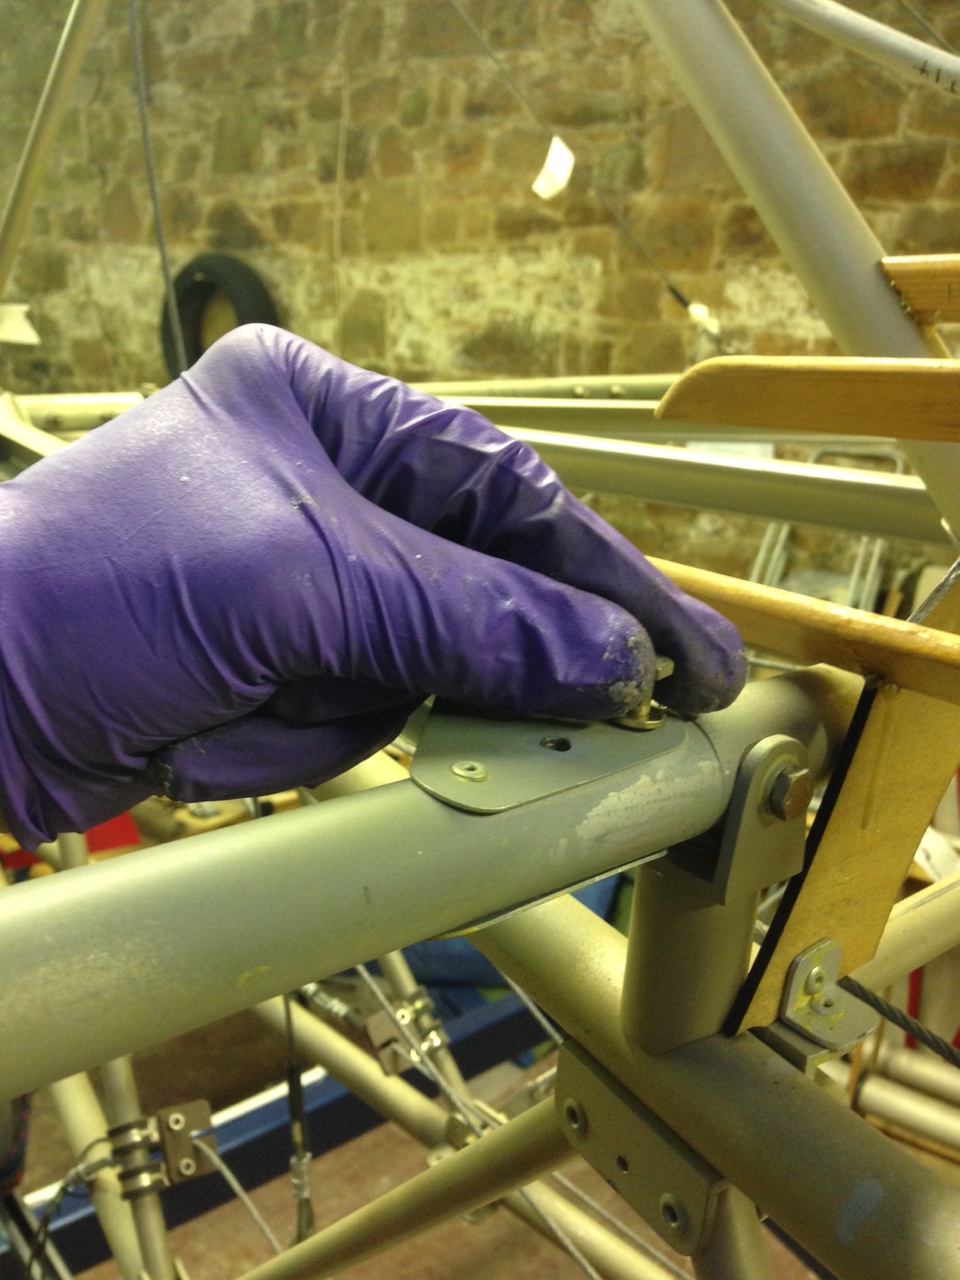
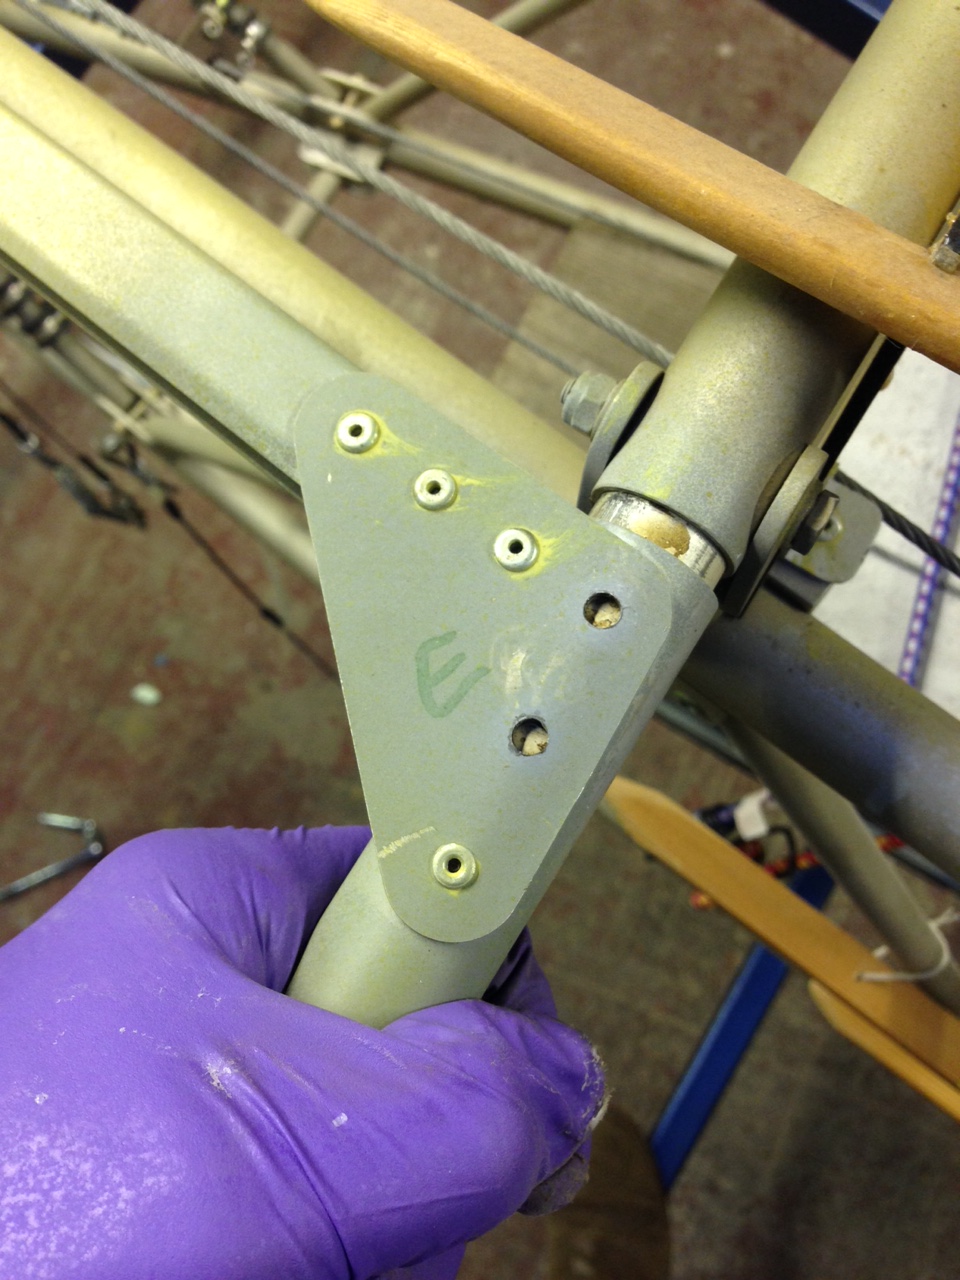
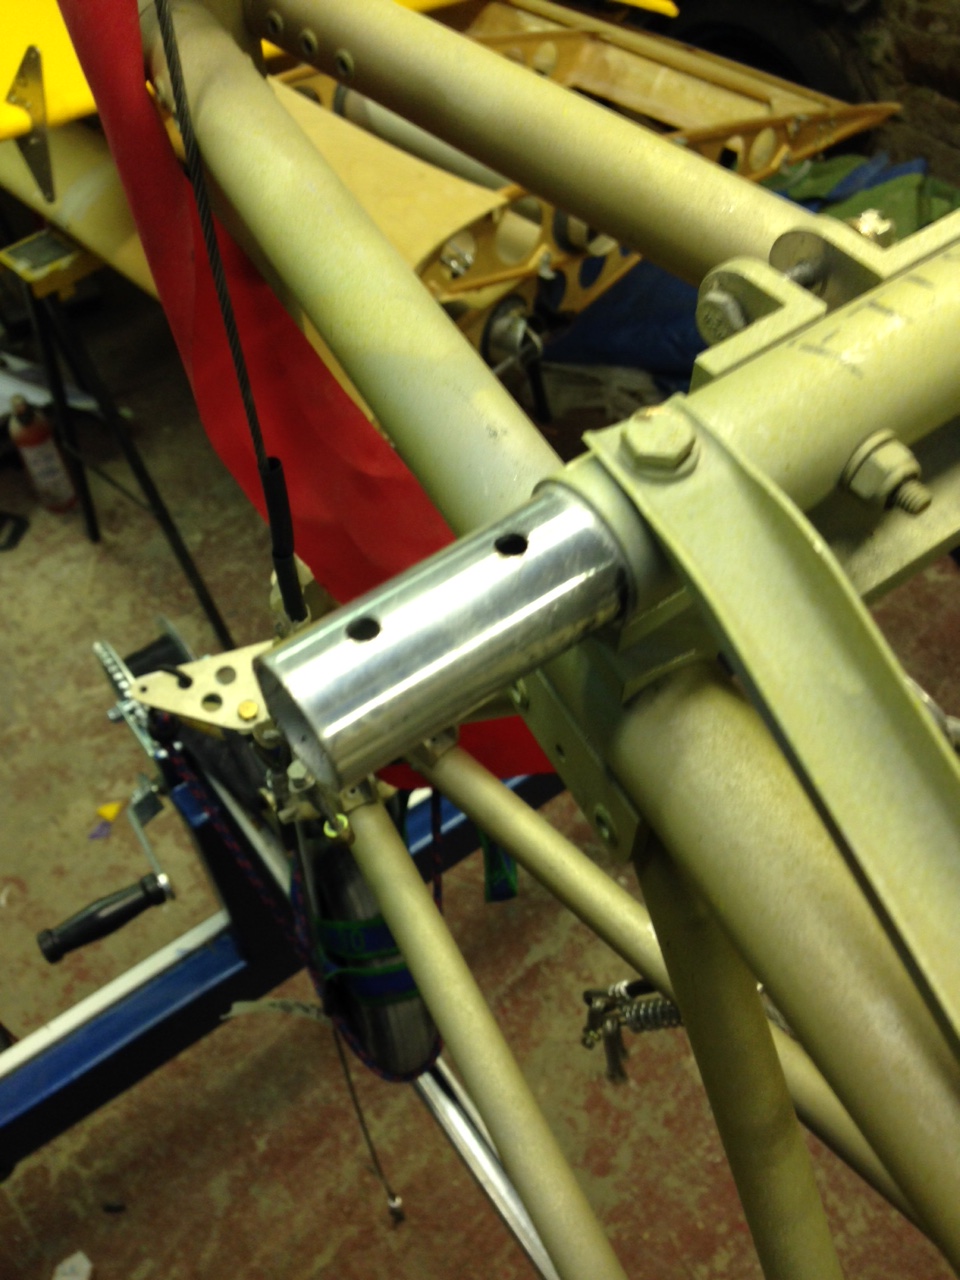
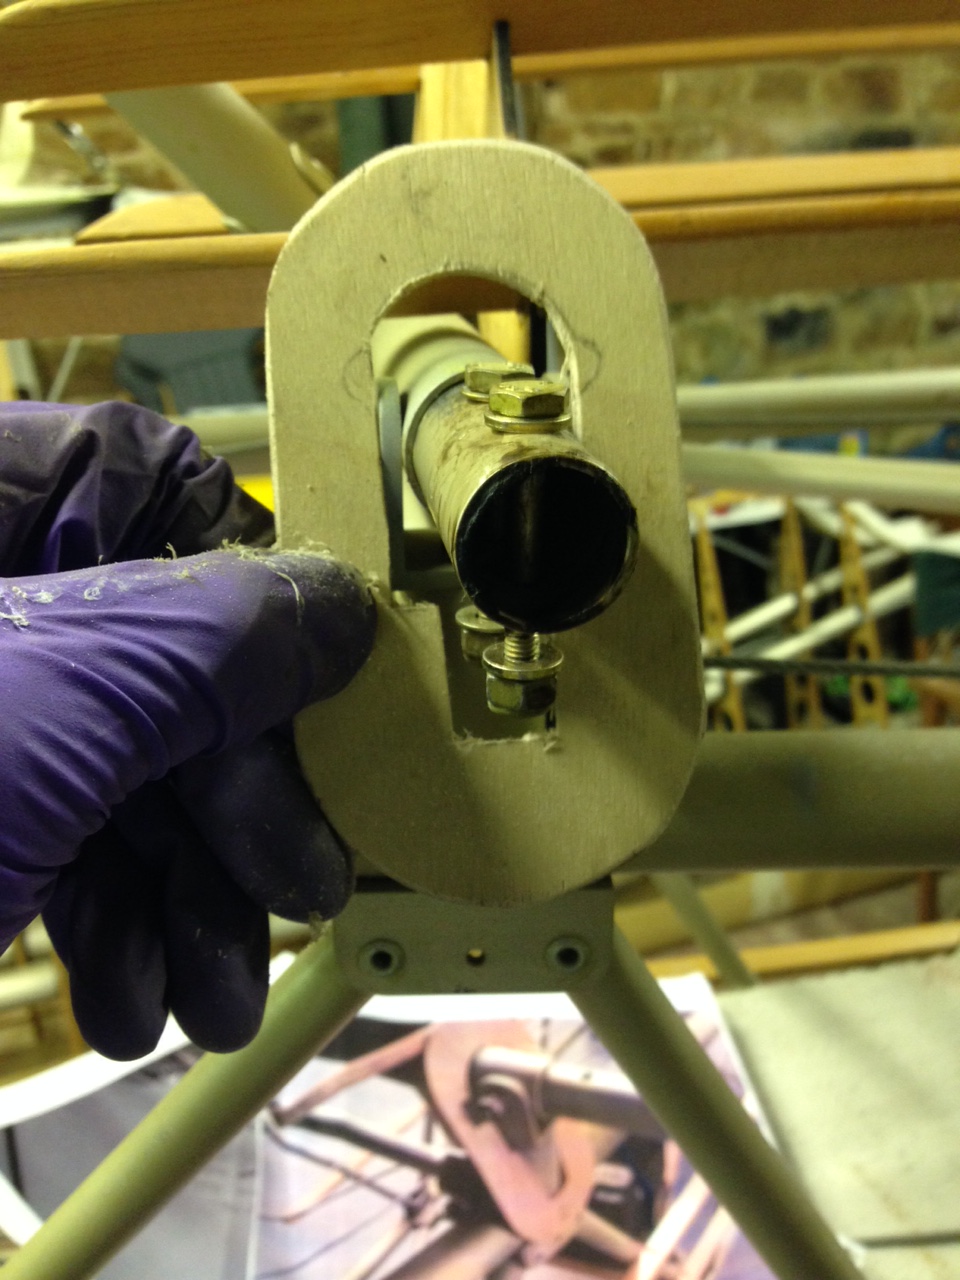
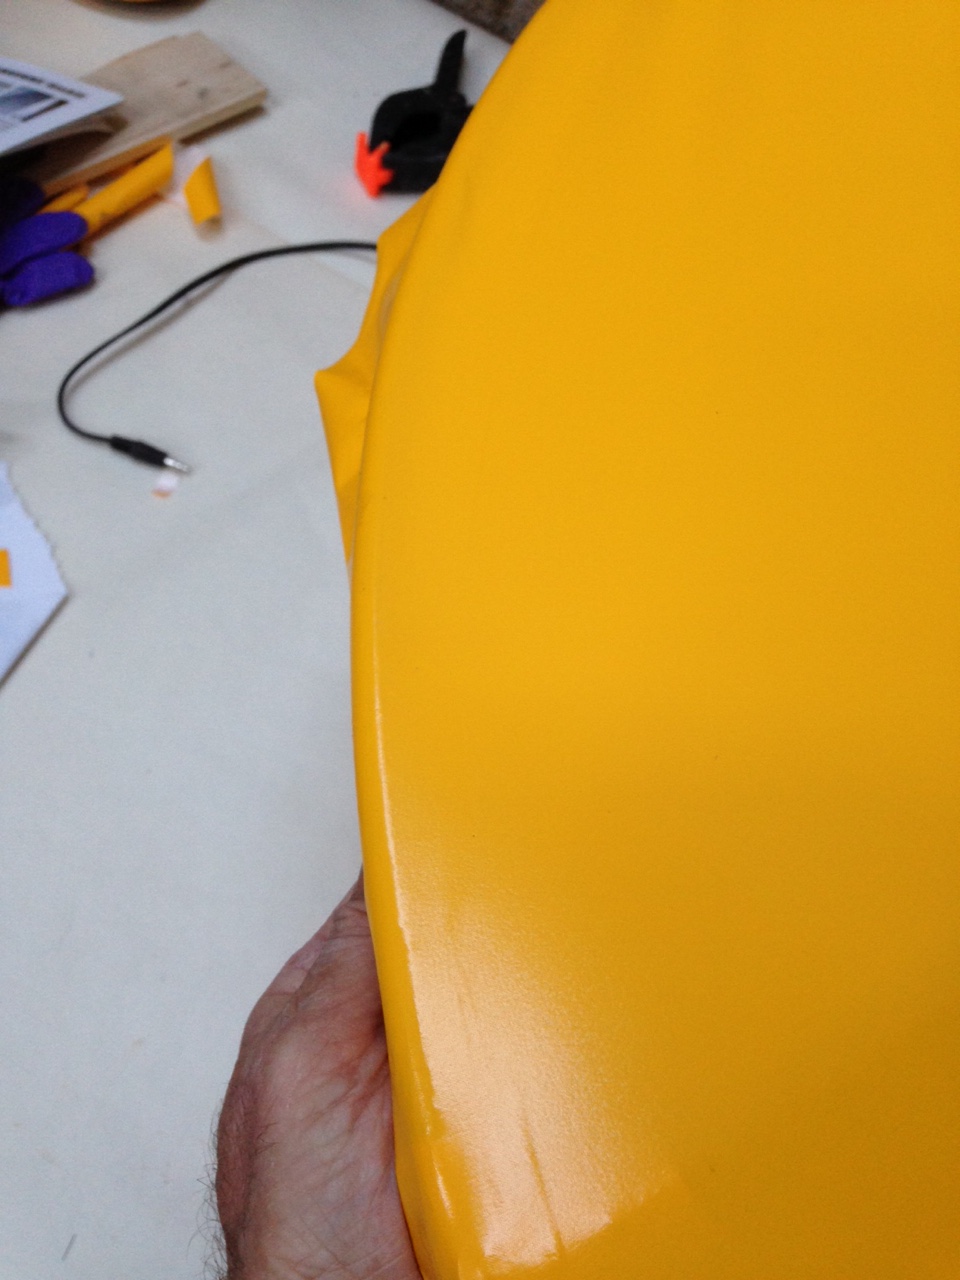
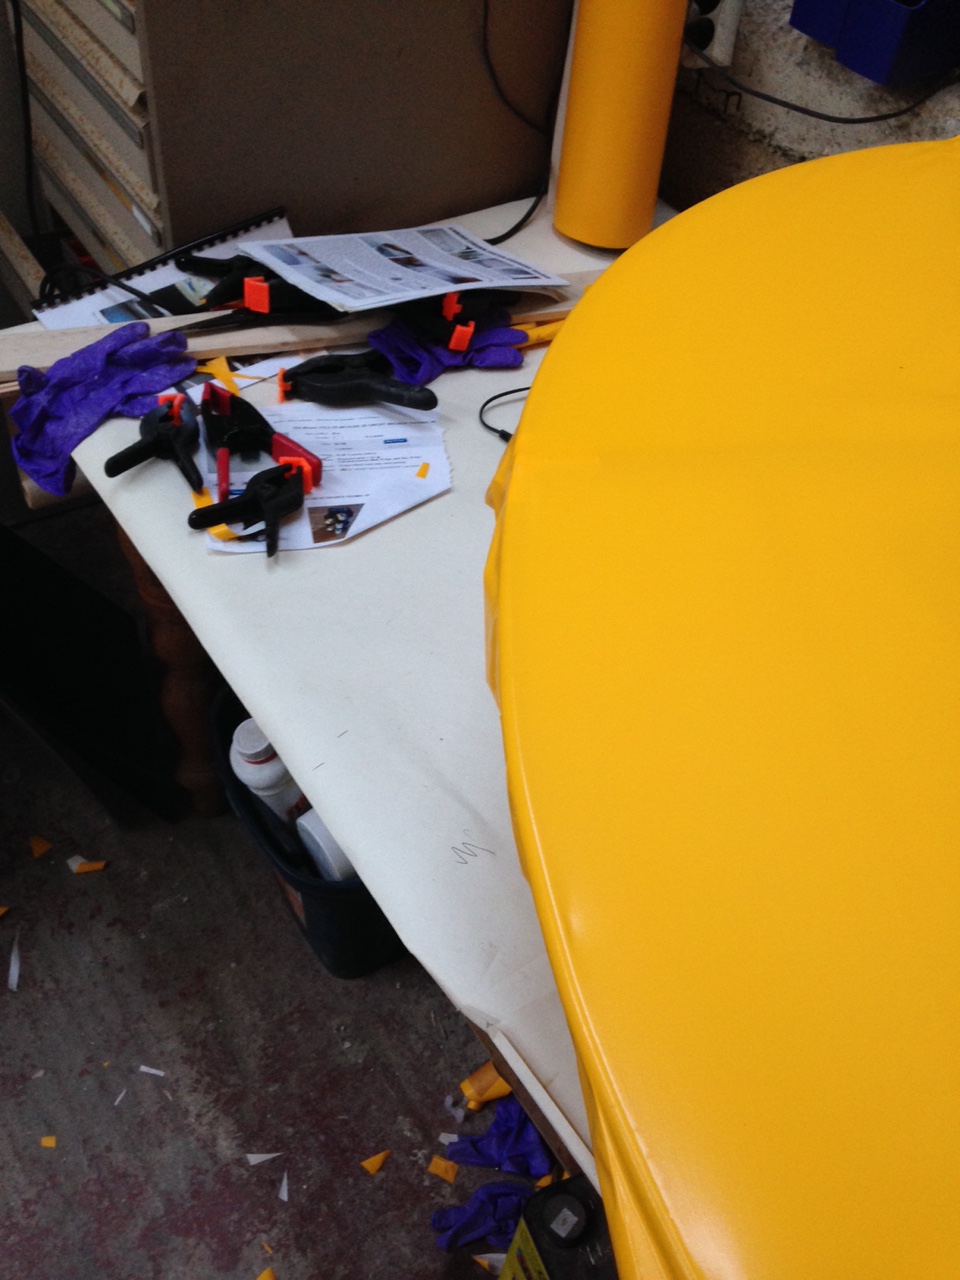
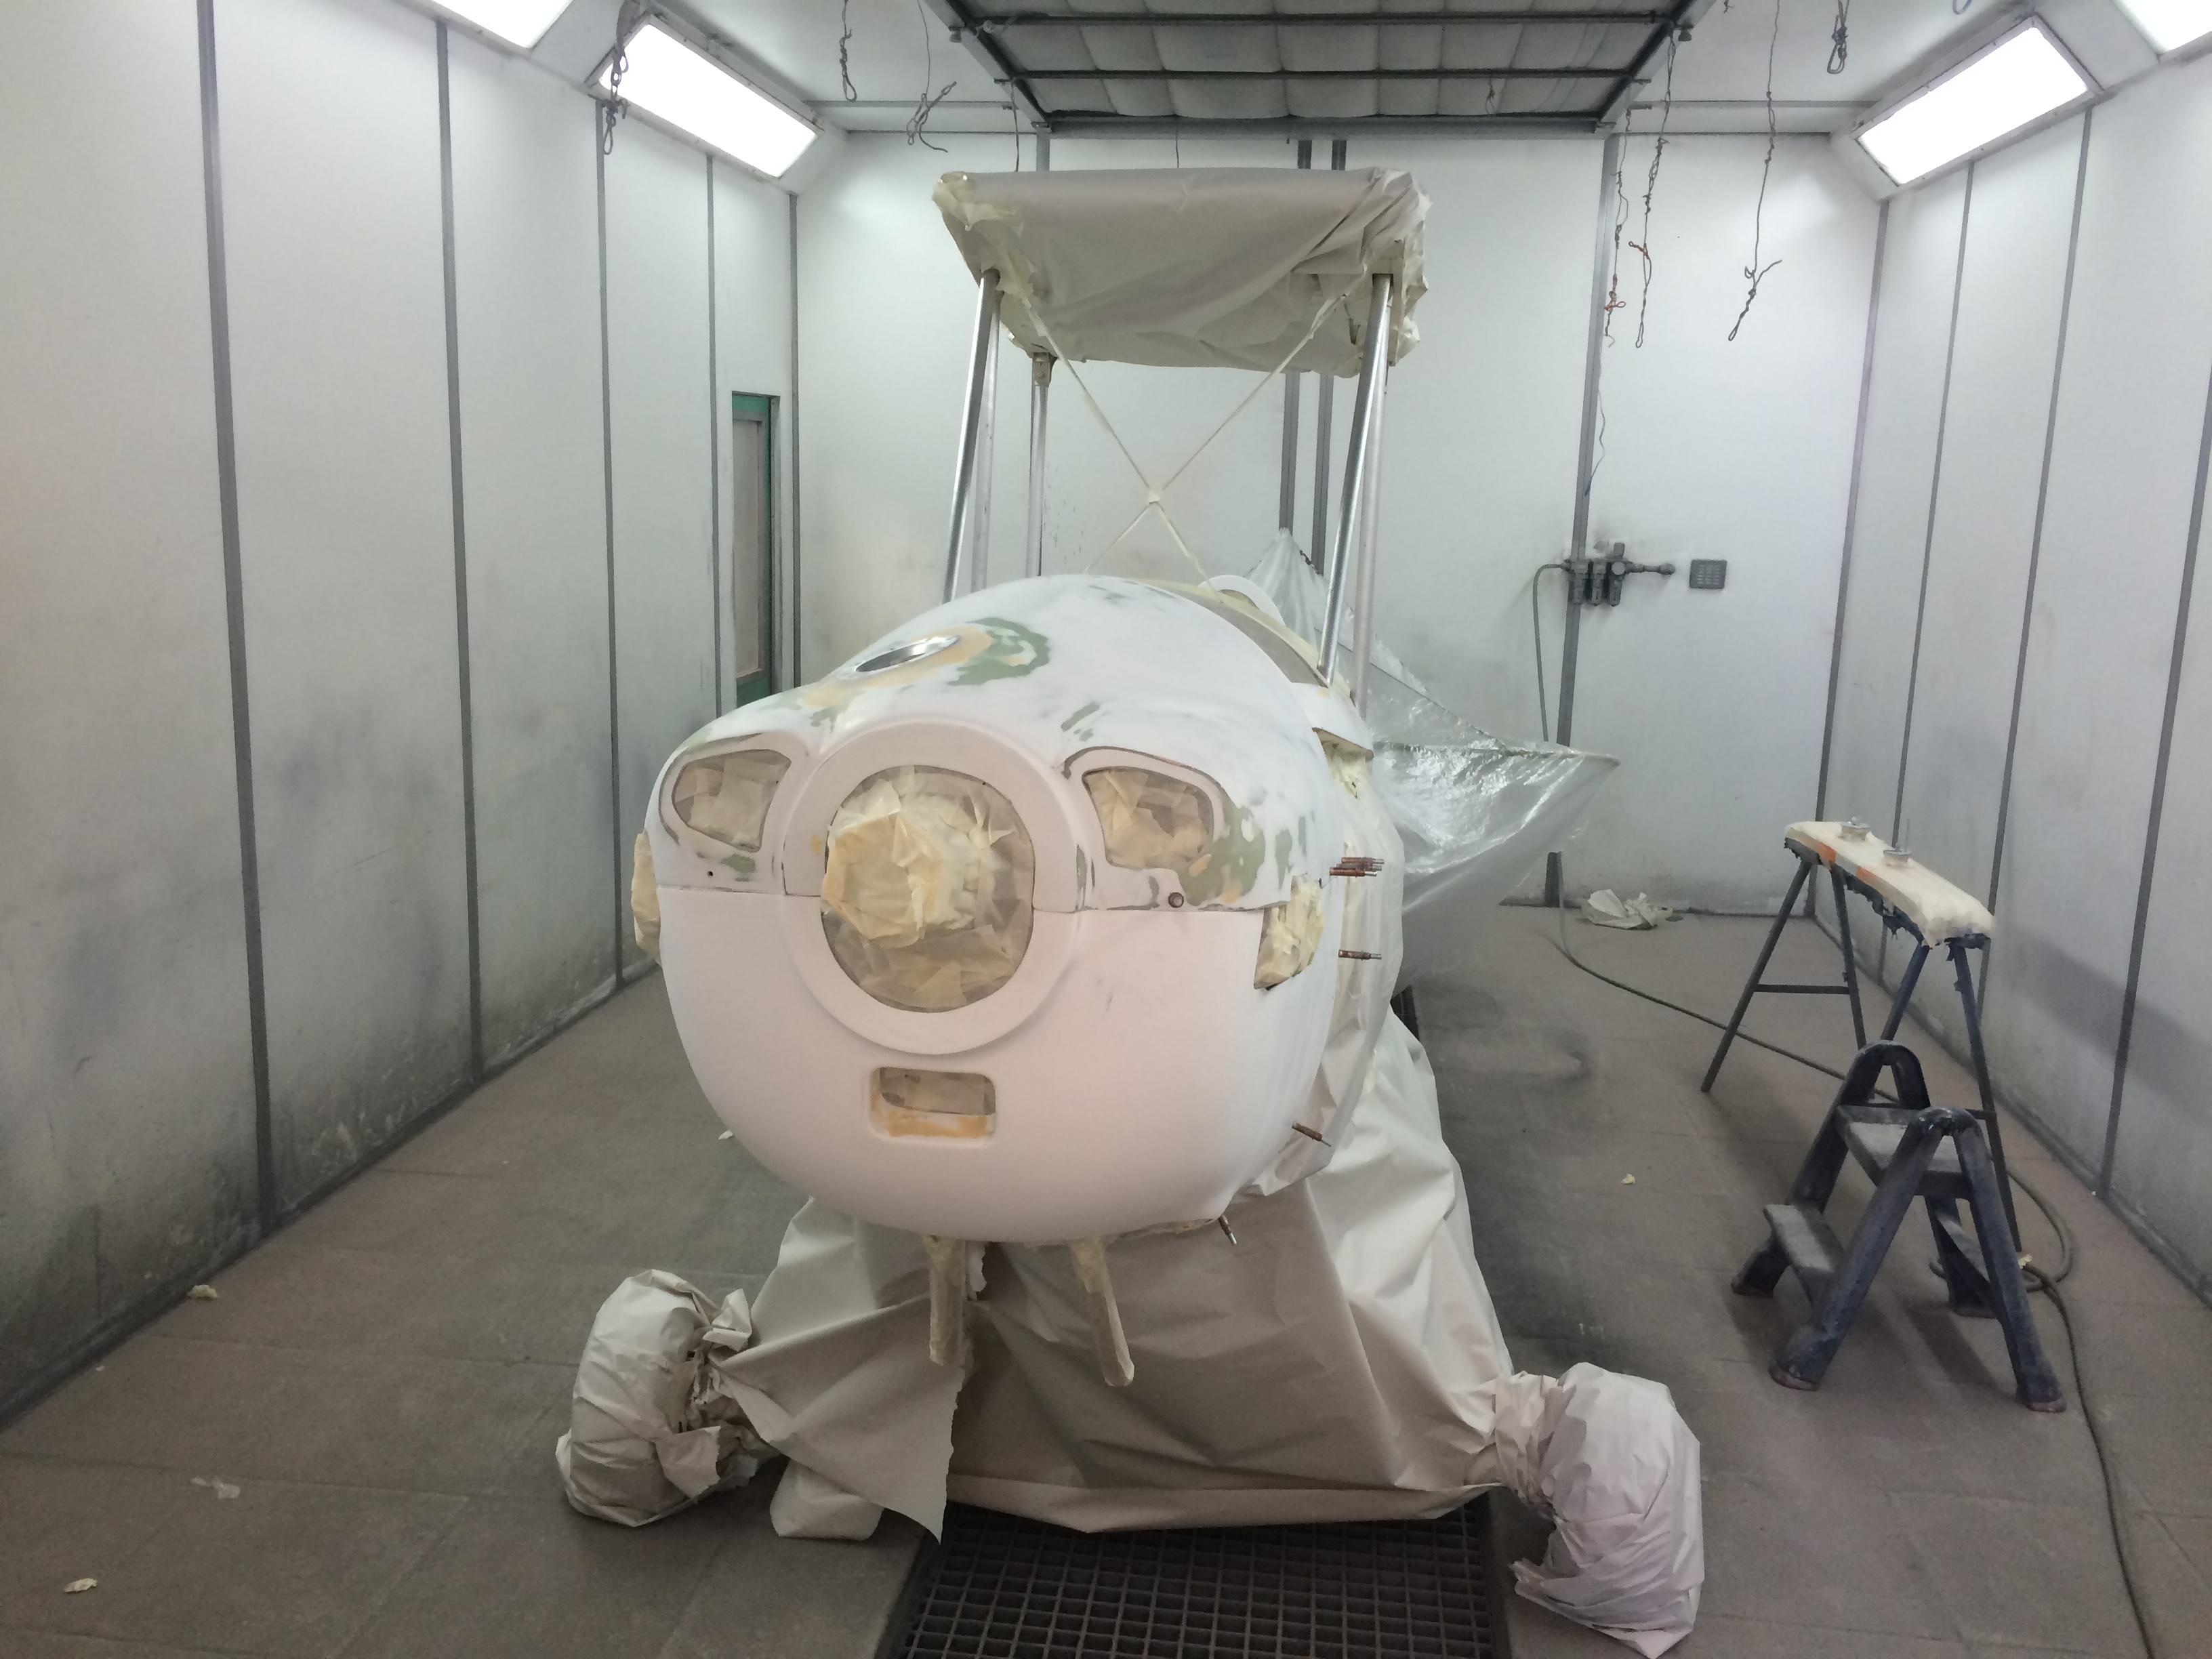
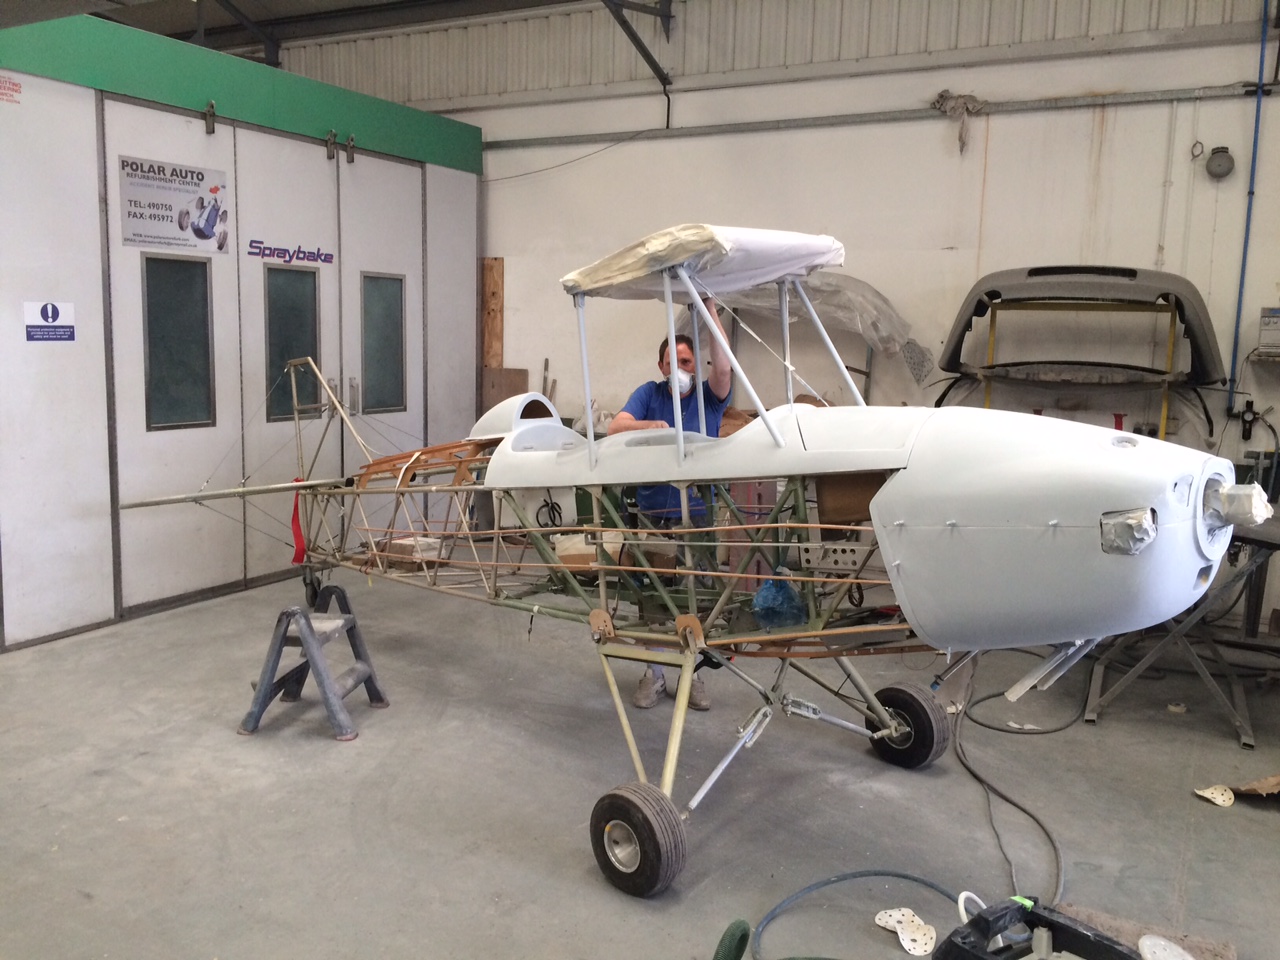
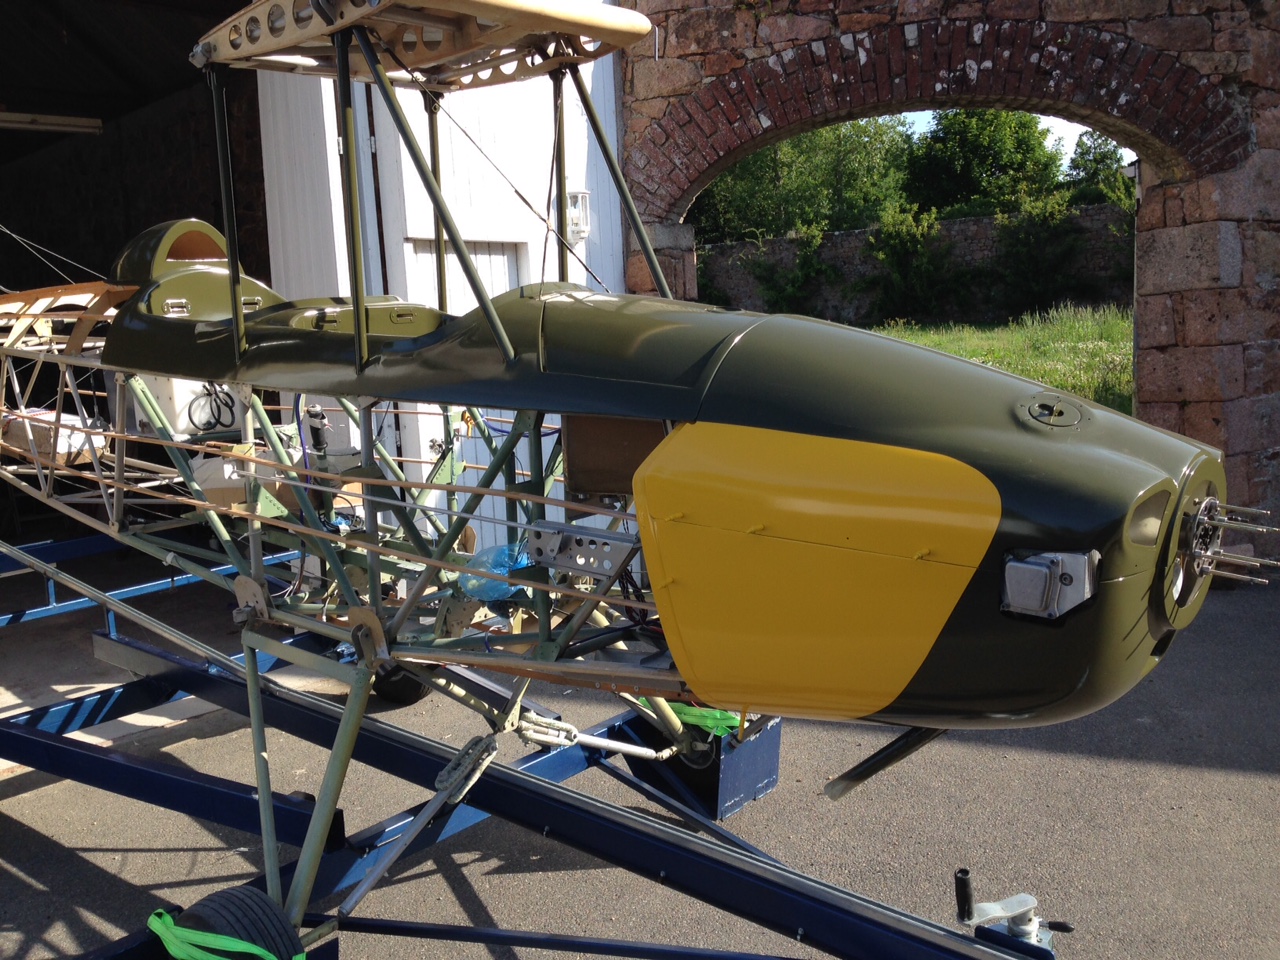
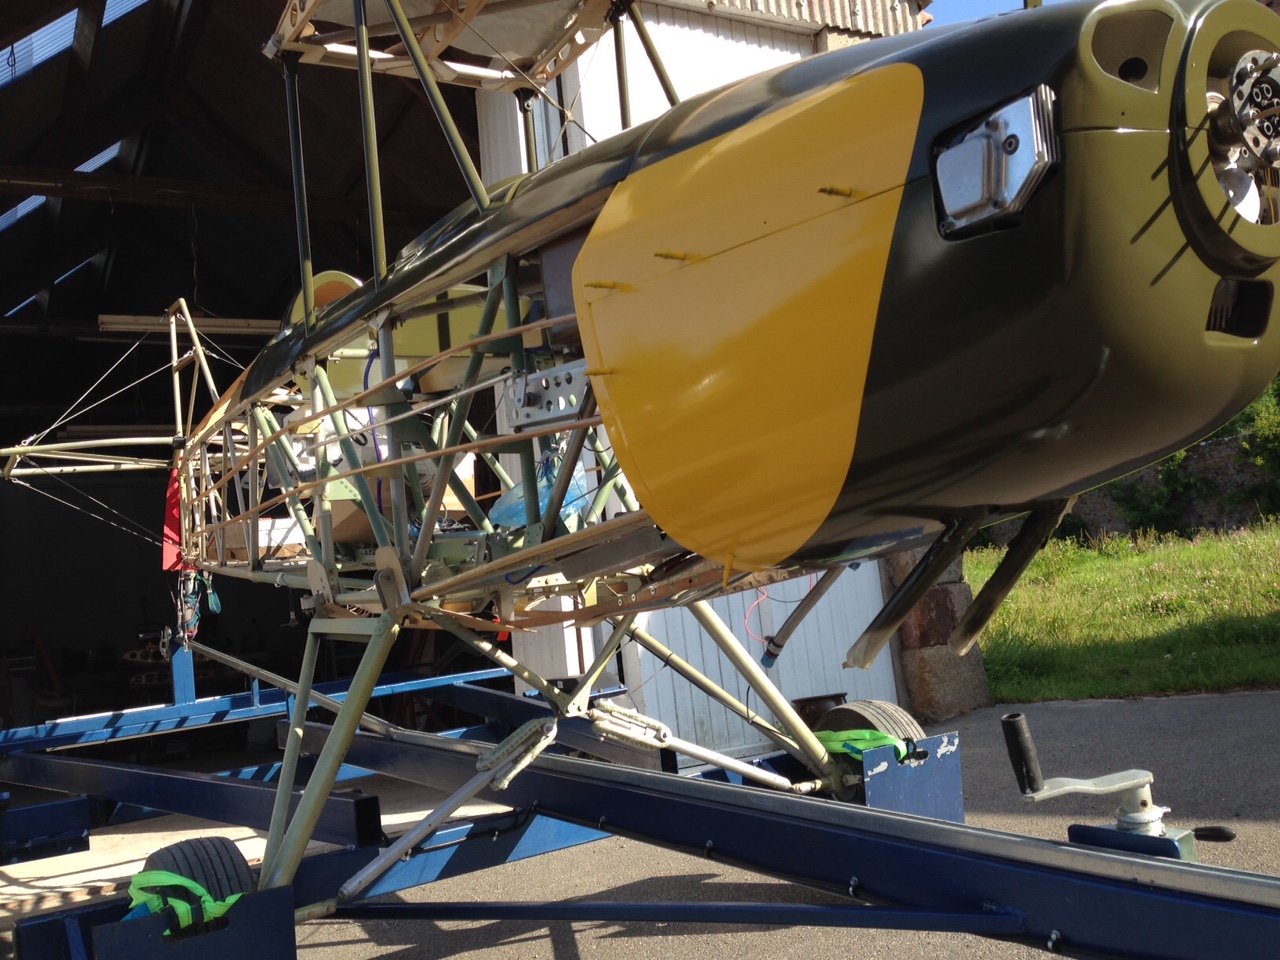
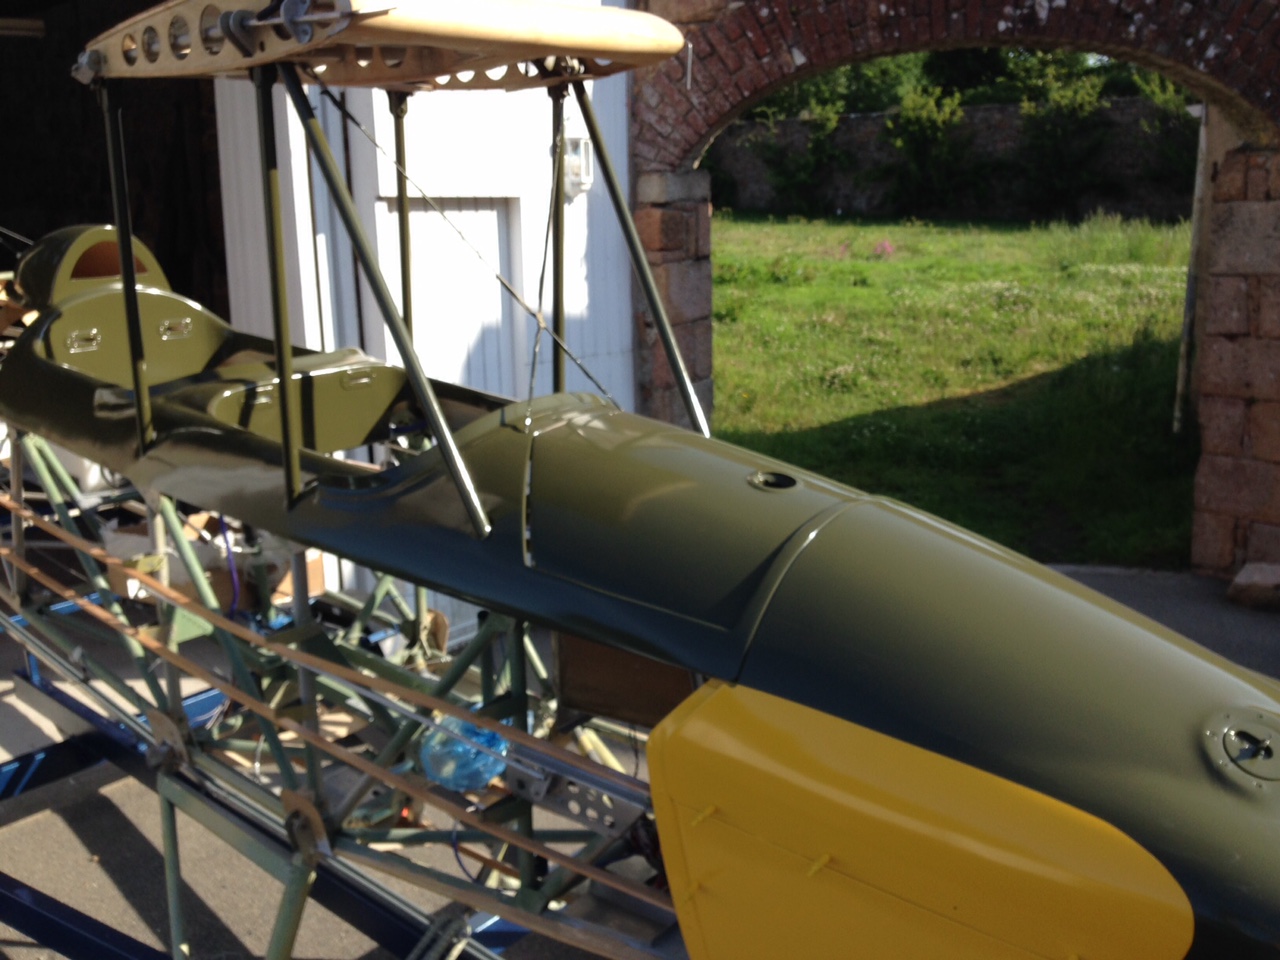
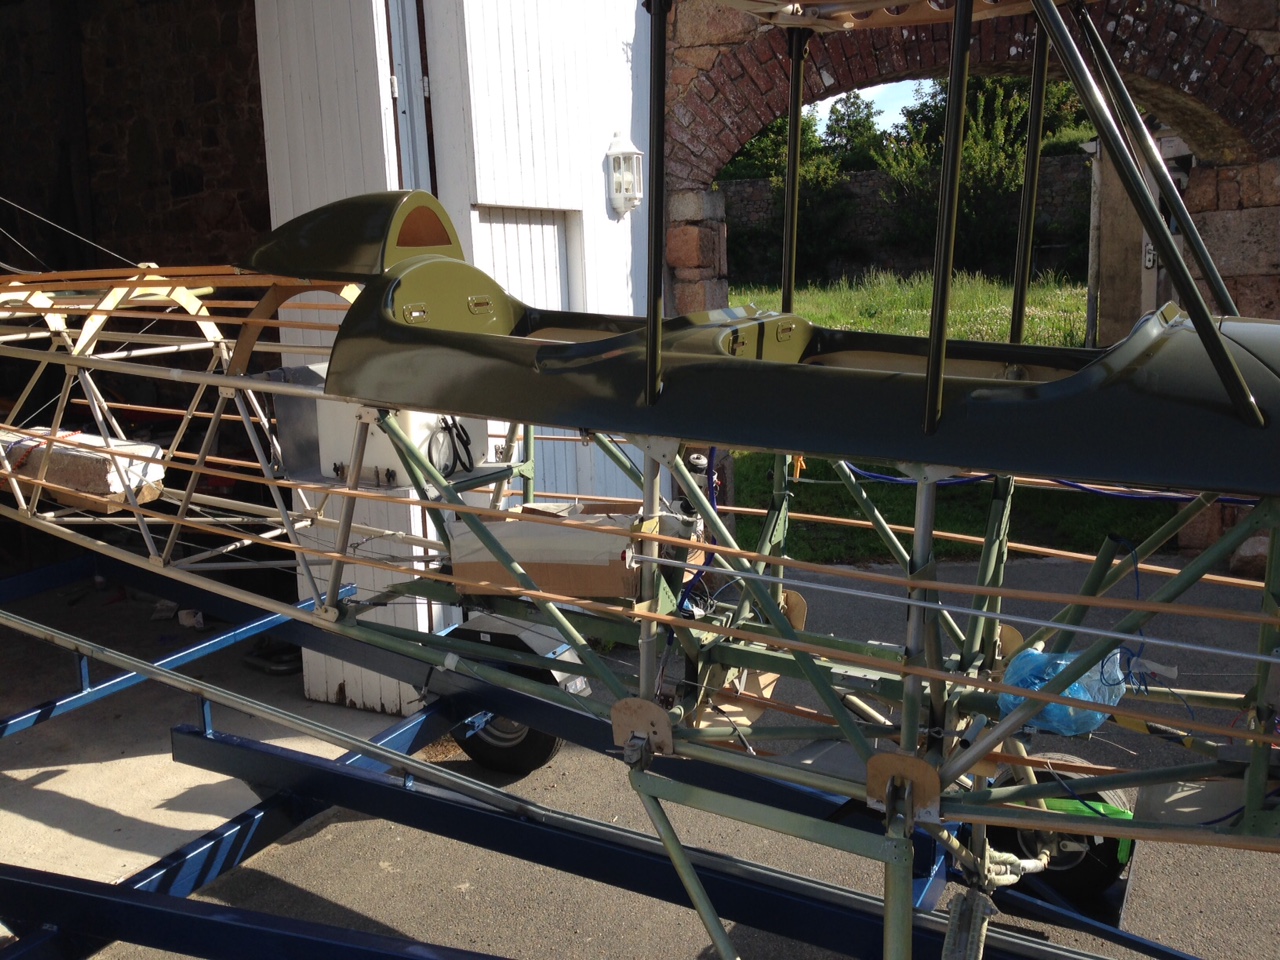
Just got her back from the great team of Polar Auto Refurb in Jersey. Particularly Aaron and Simon… very many thanks for the pre rub down pictures guys ….

IMG_0301  IMG_0300

IMG_0296  IMG_0297

IMG_0298 IMG_0299


IMG_0284  IMG_0286IMG_0283  IMG_0282

IMG_0287  IMG_0289

Can now get the seats back in and the full harenesses slotted through the bodywork.

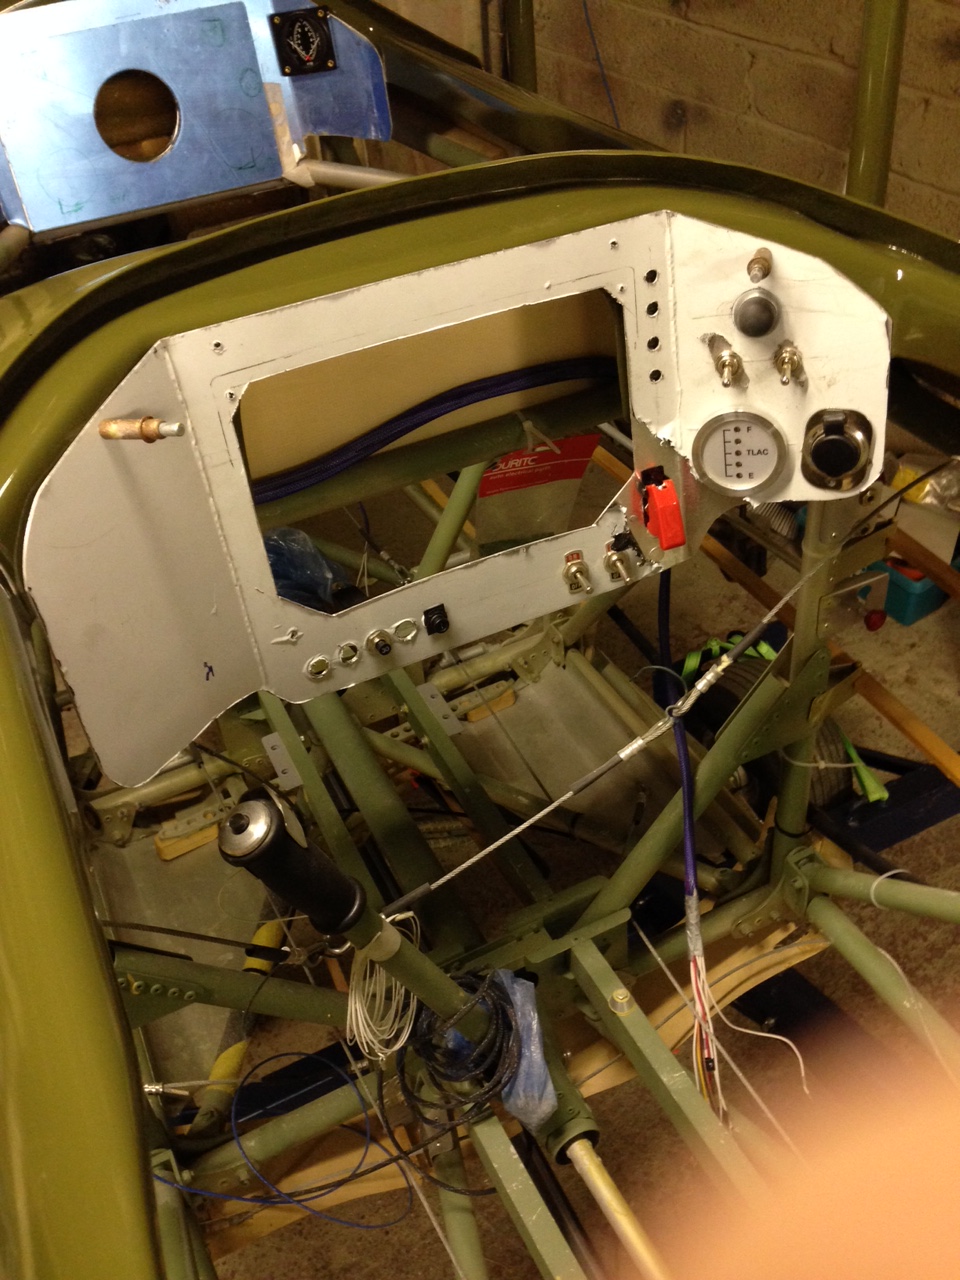
Also start to finalise the dashboard panels ahead of taking her into CIAS for engine setup and test runs.

IMG_0290  IMG_0293

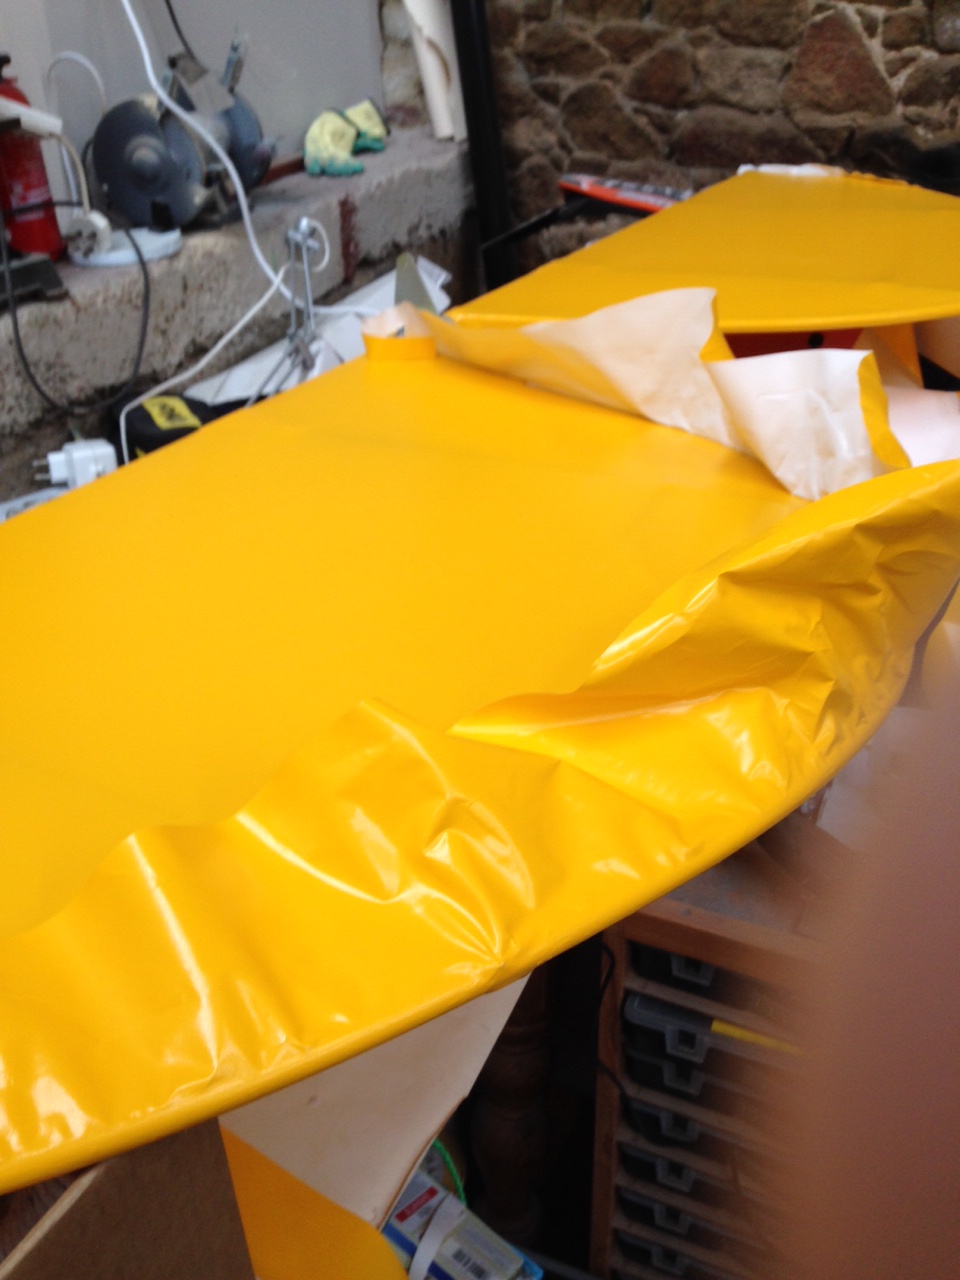
What every man should do first thing in the morning …

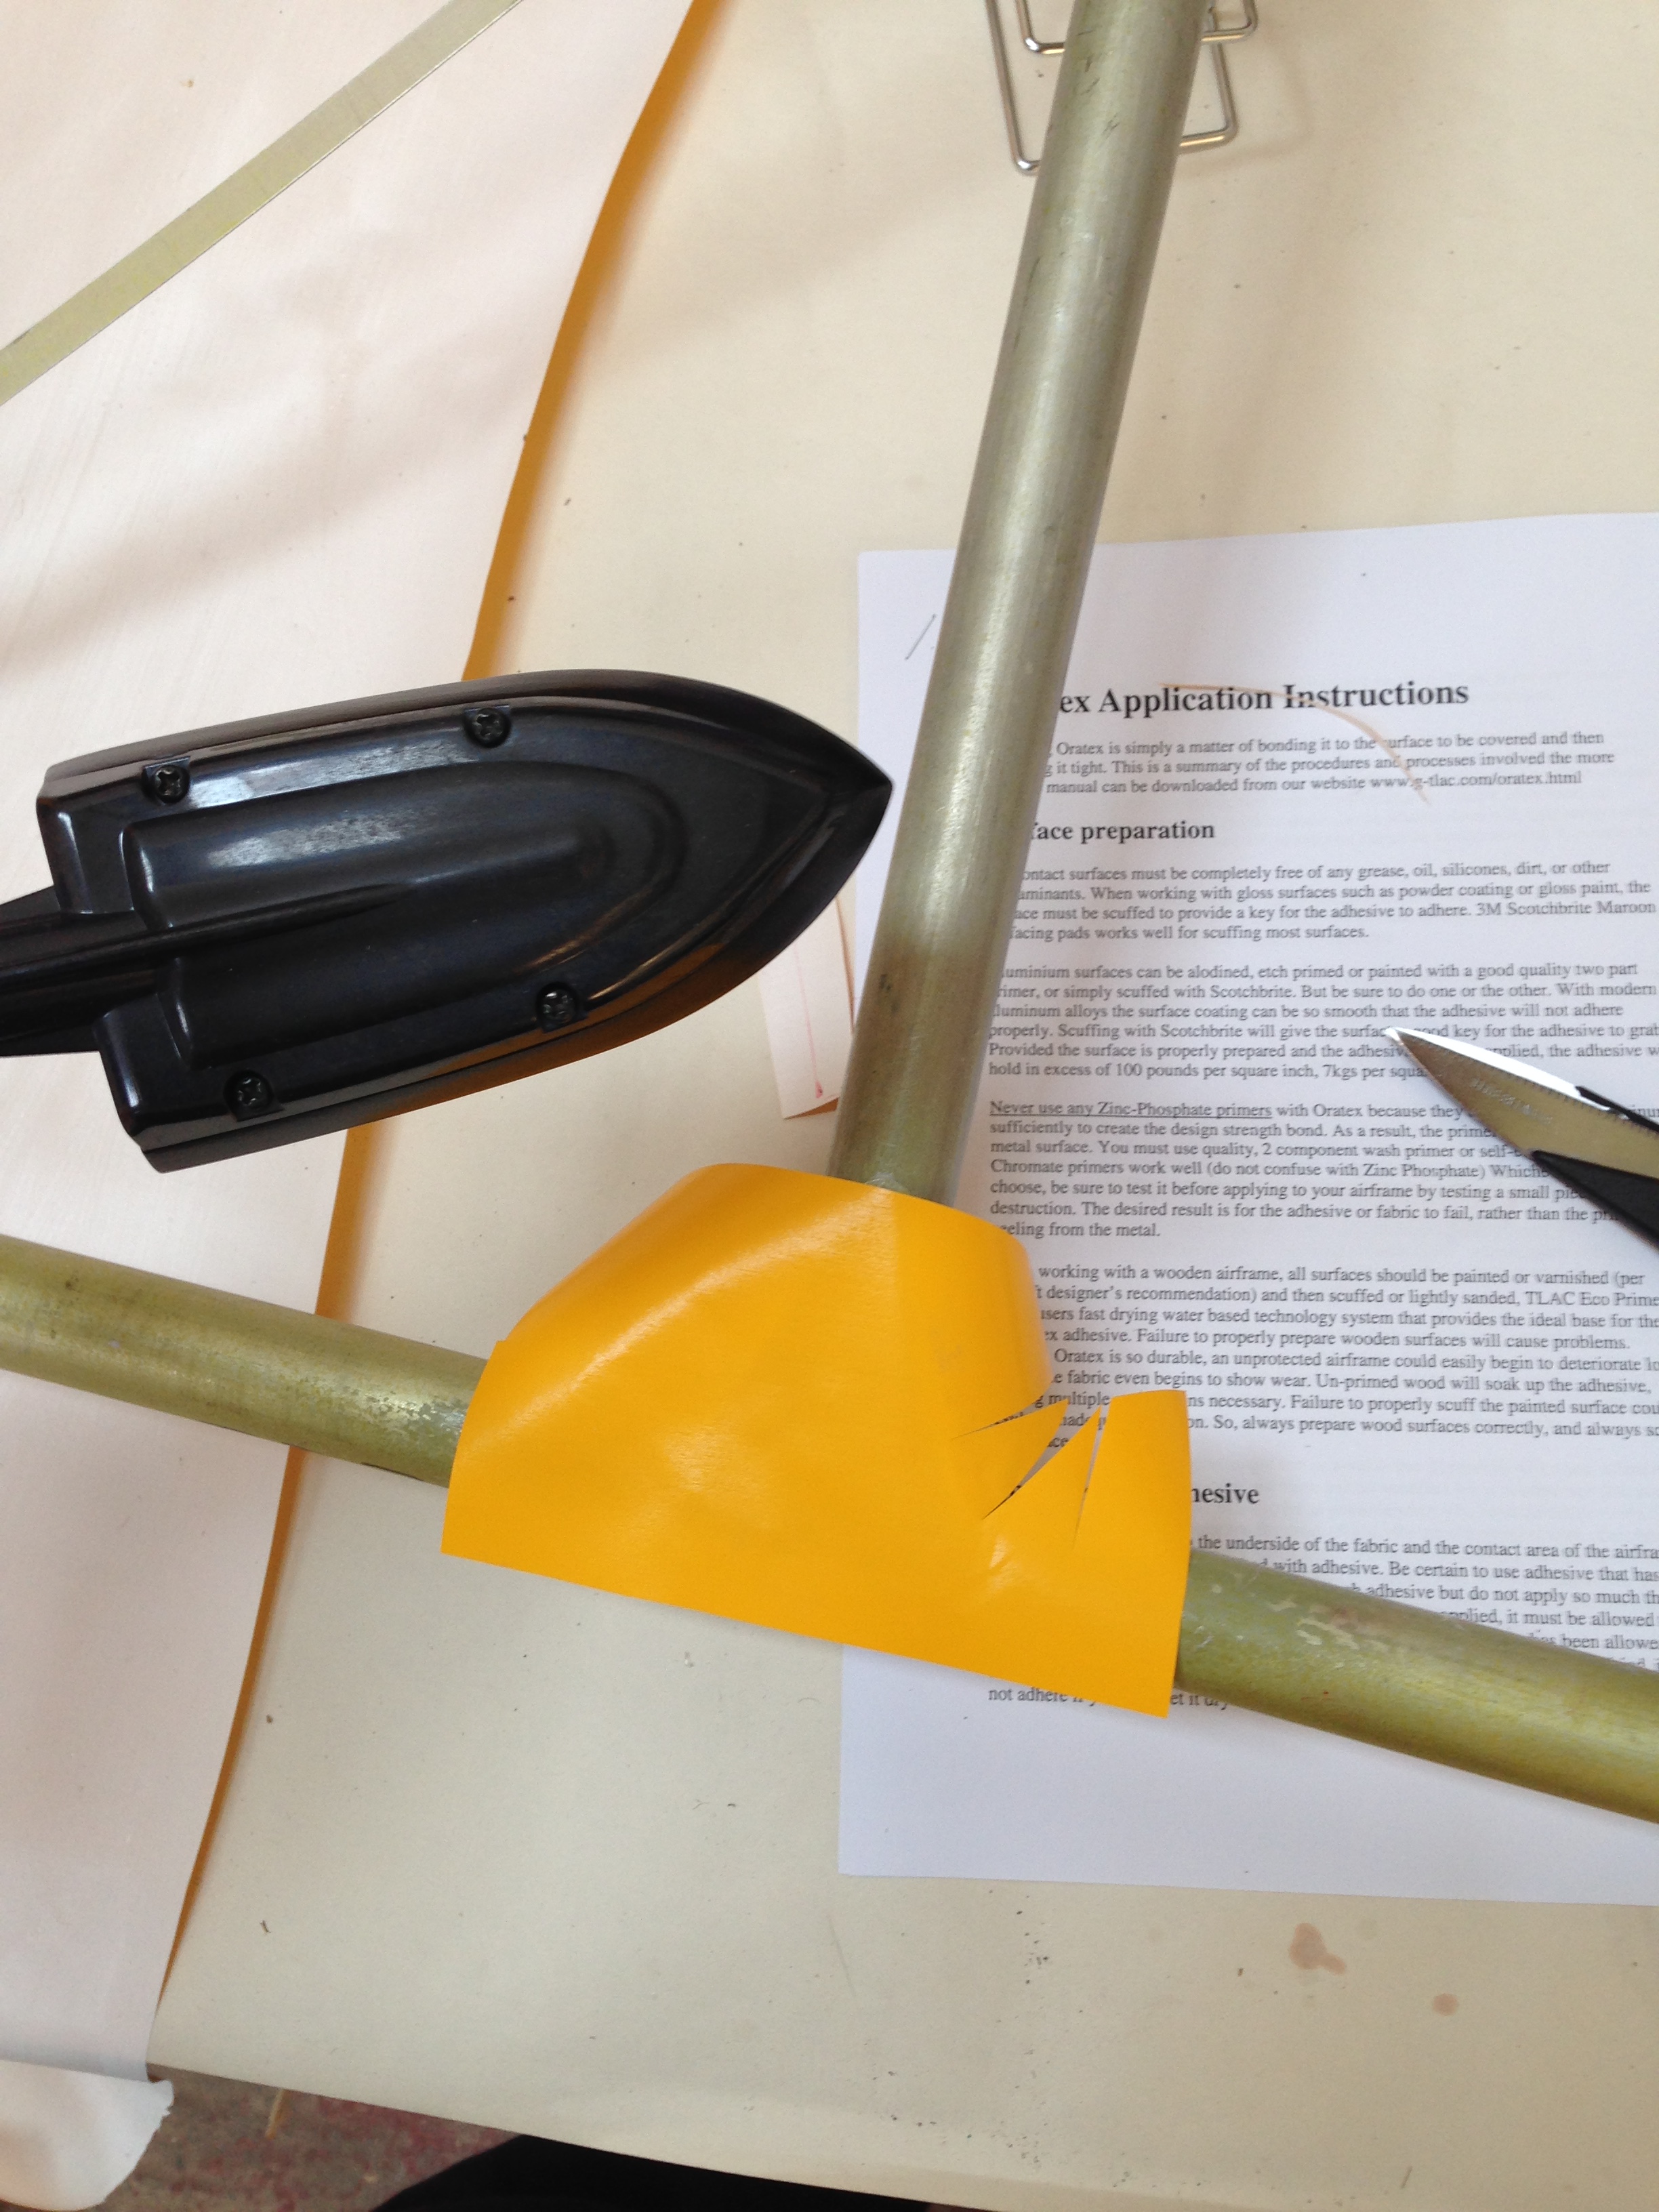
An hour of ironing … !!

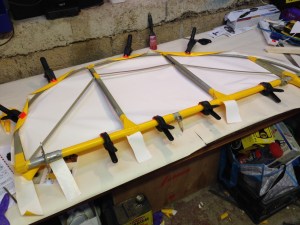
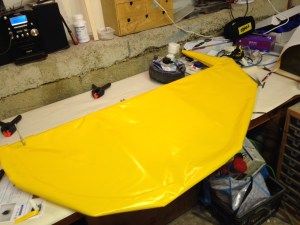
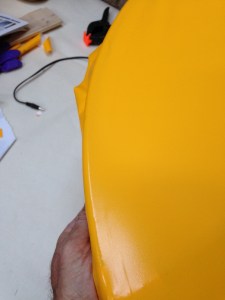
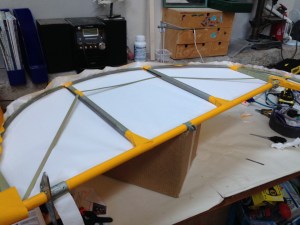
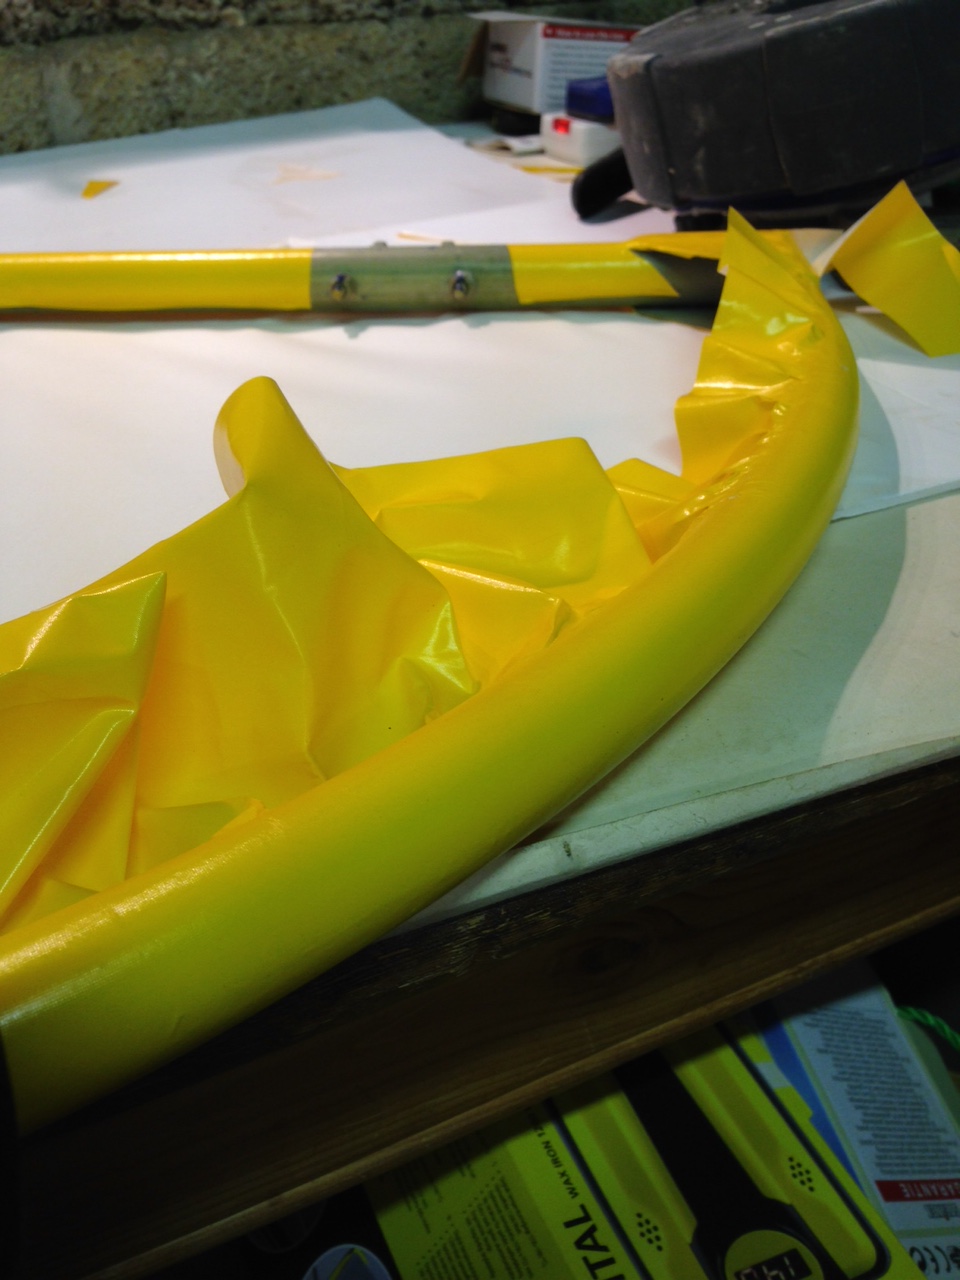
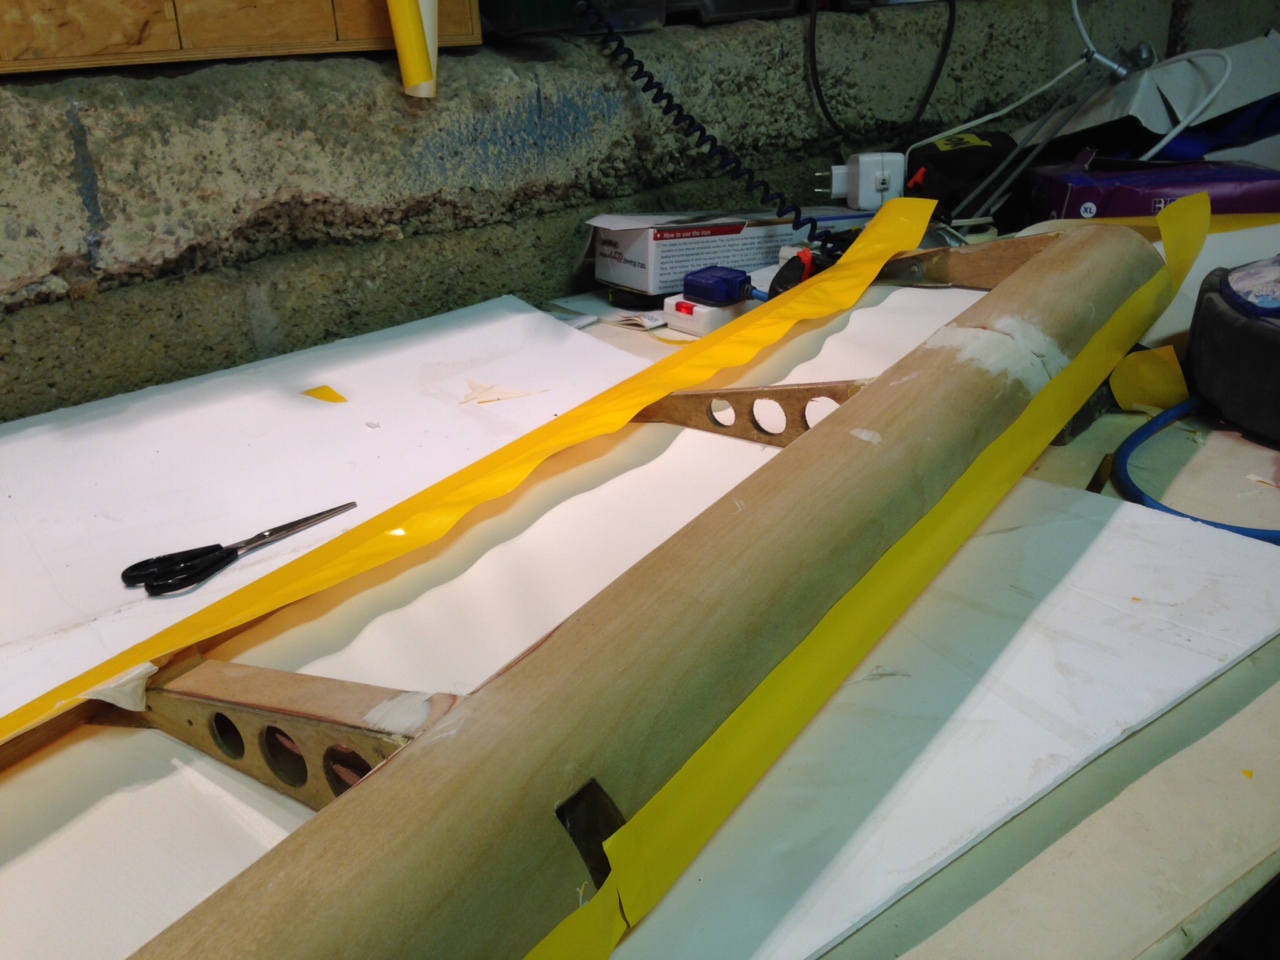
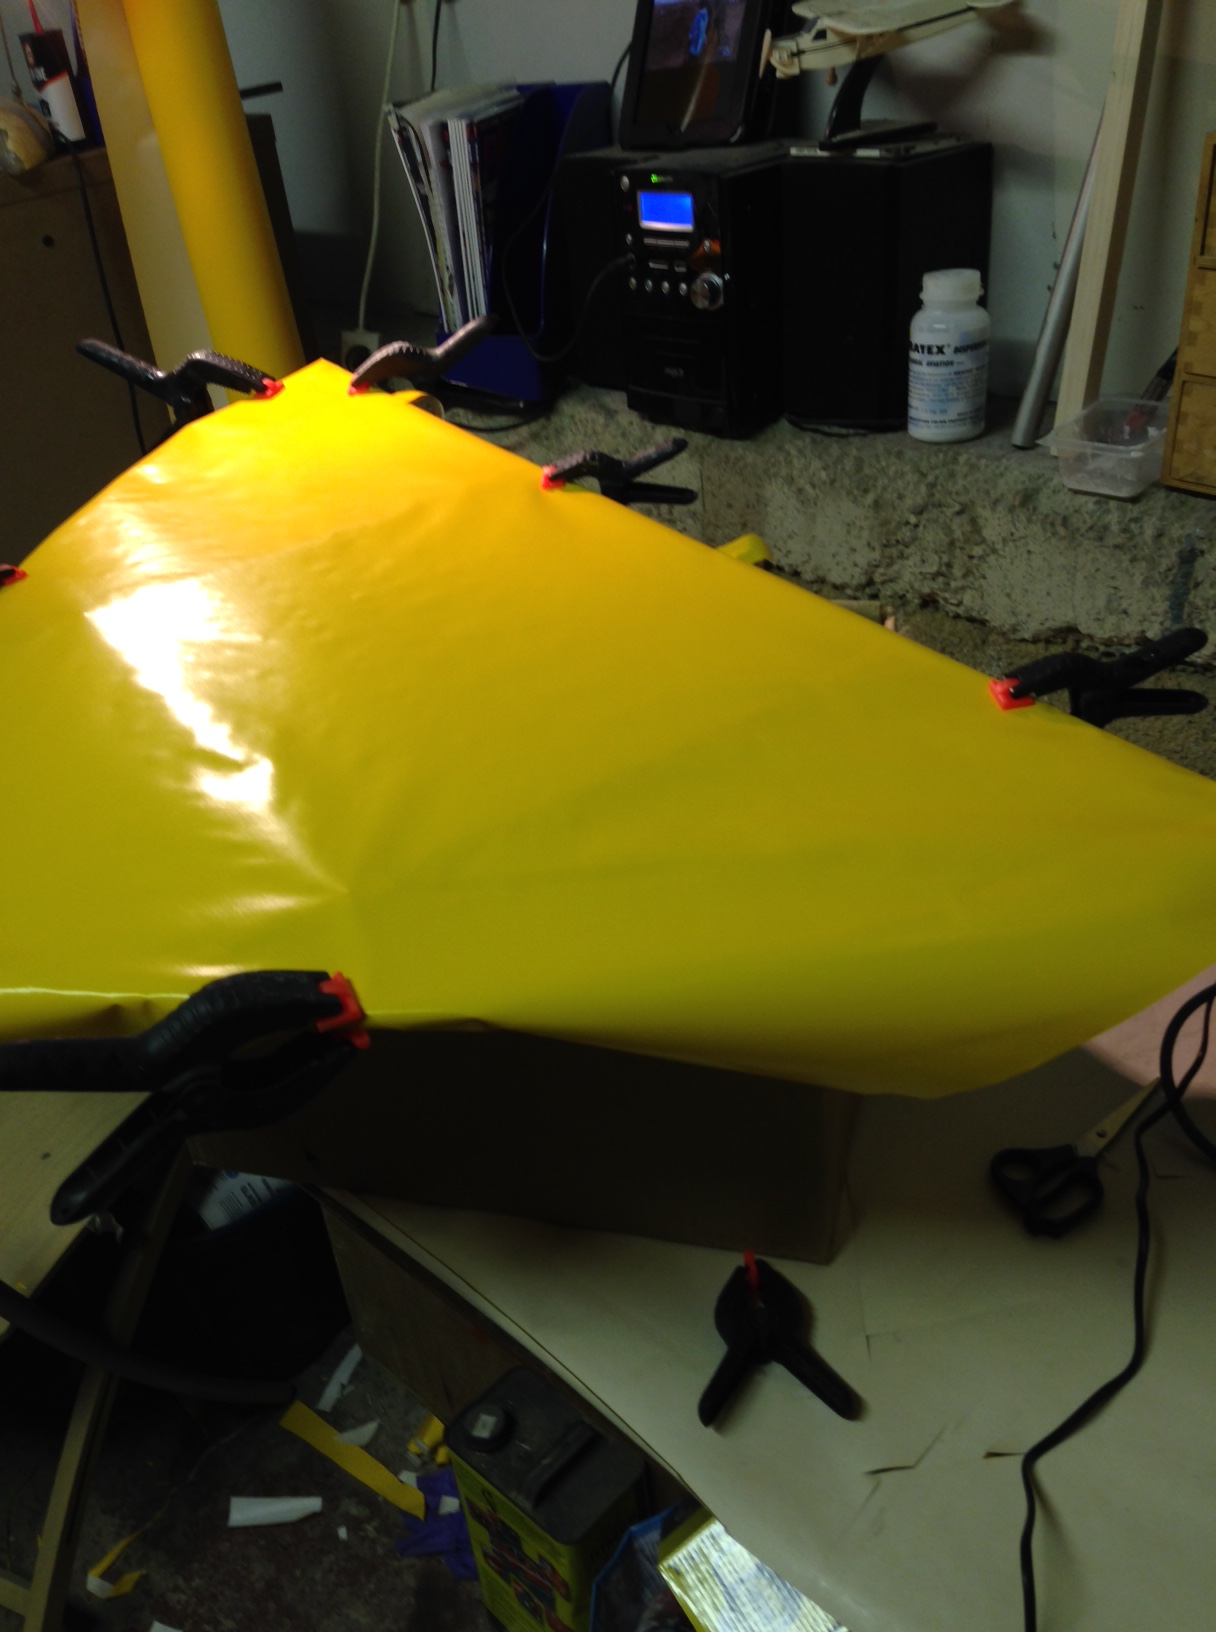
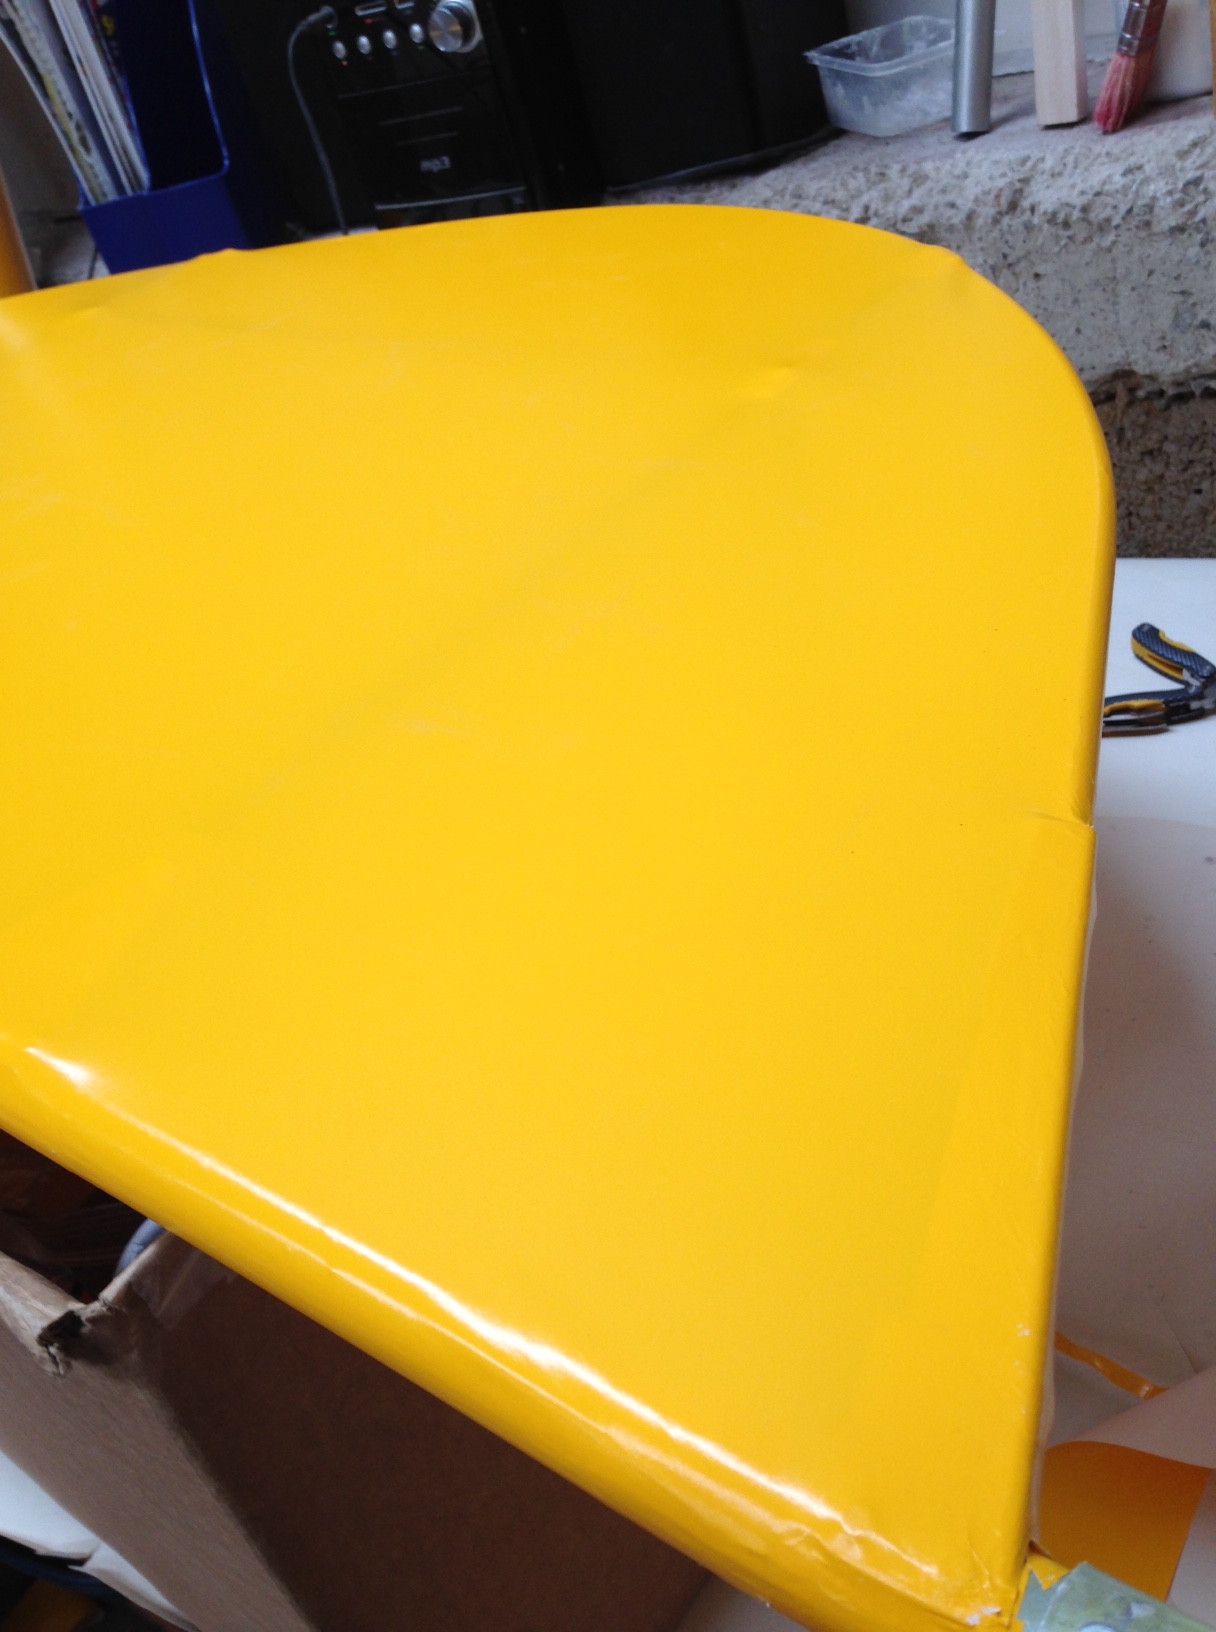
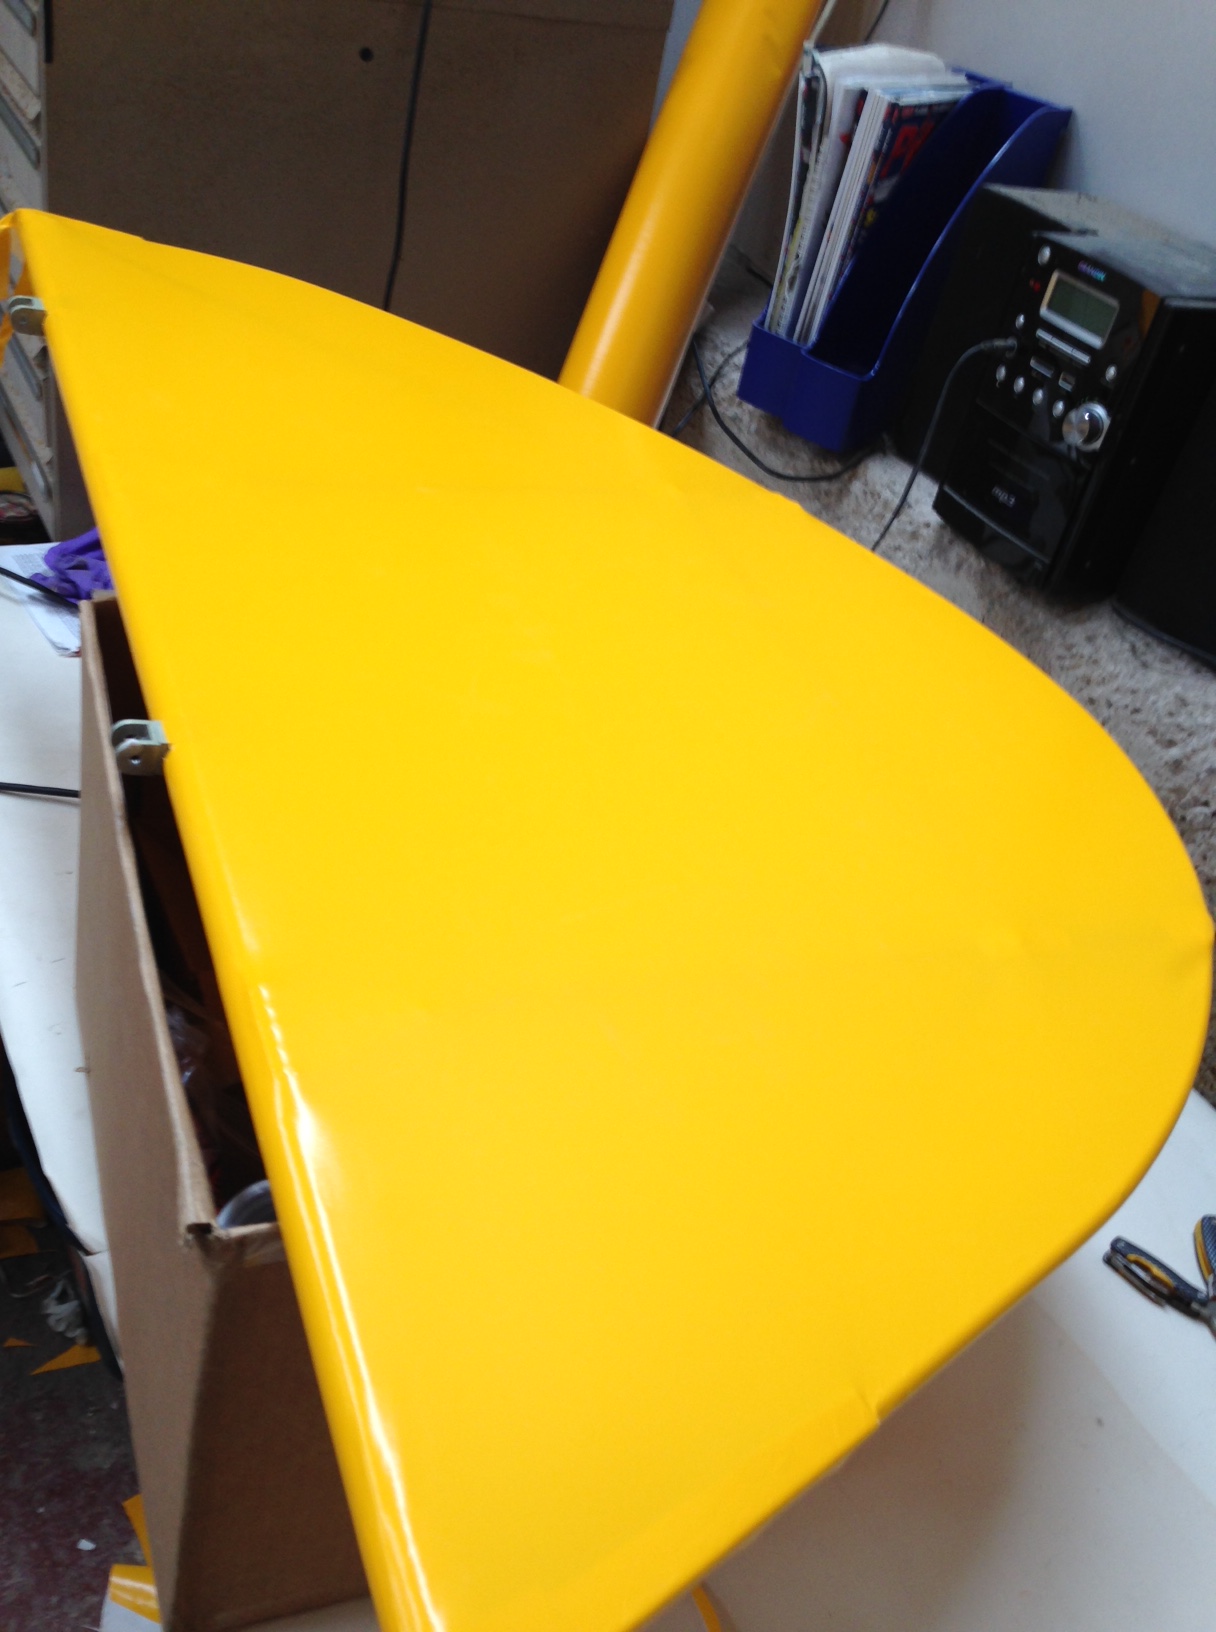
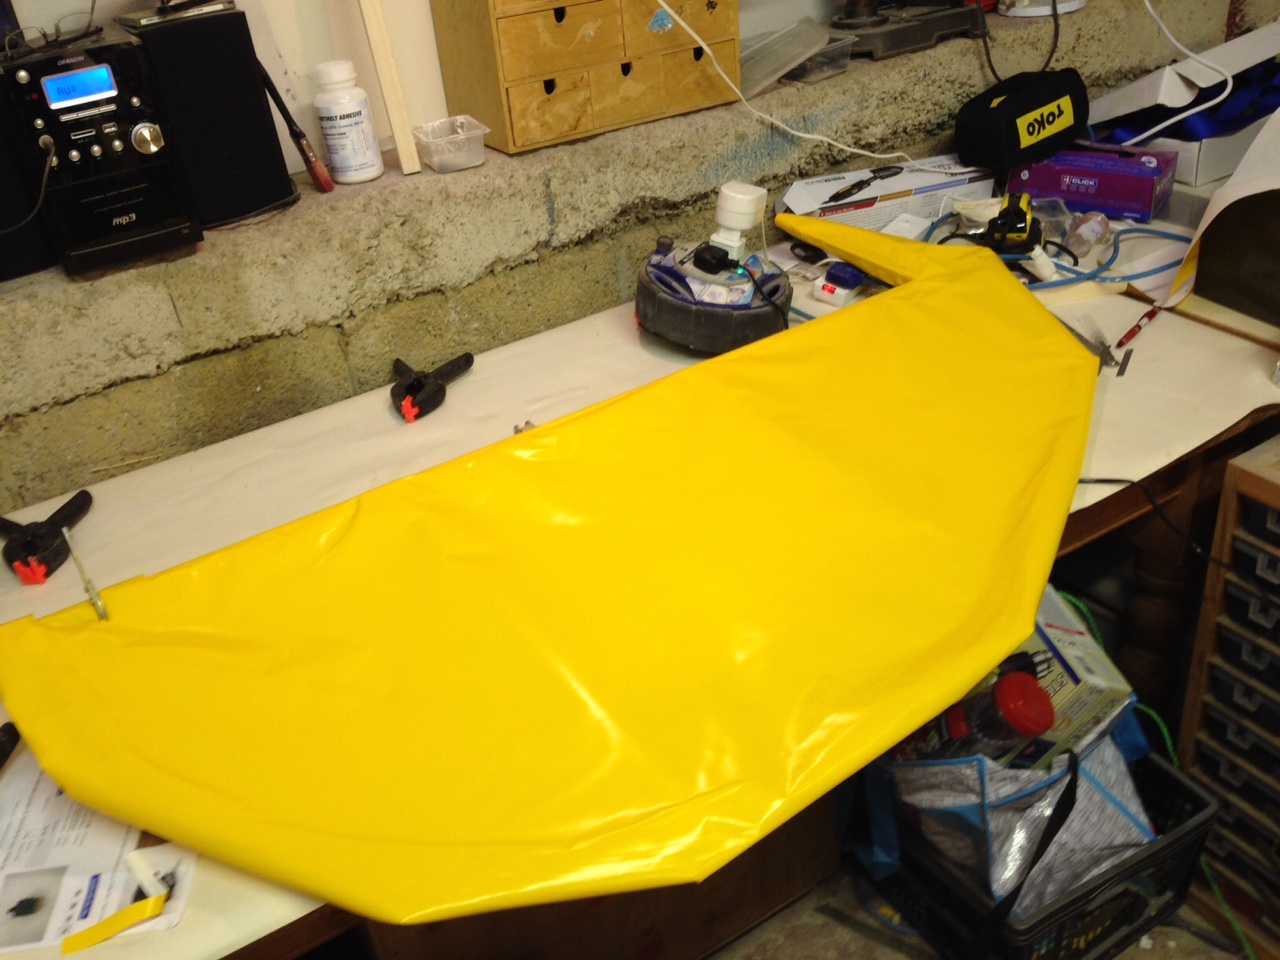
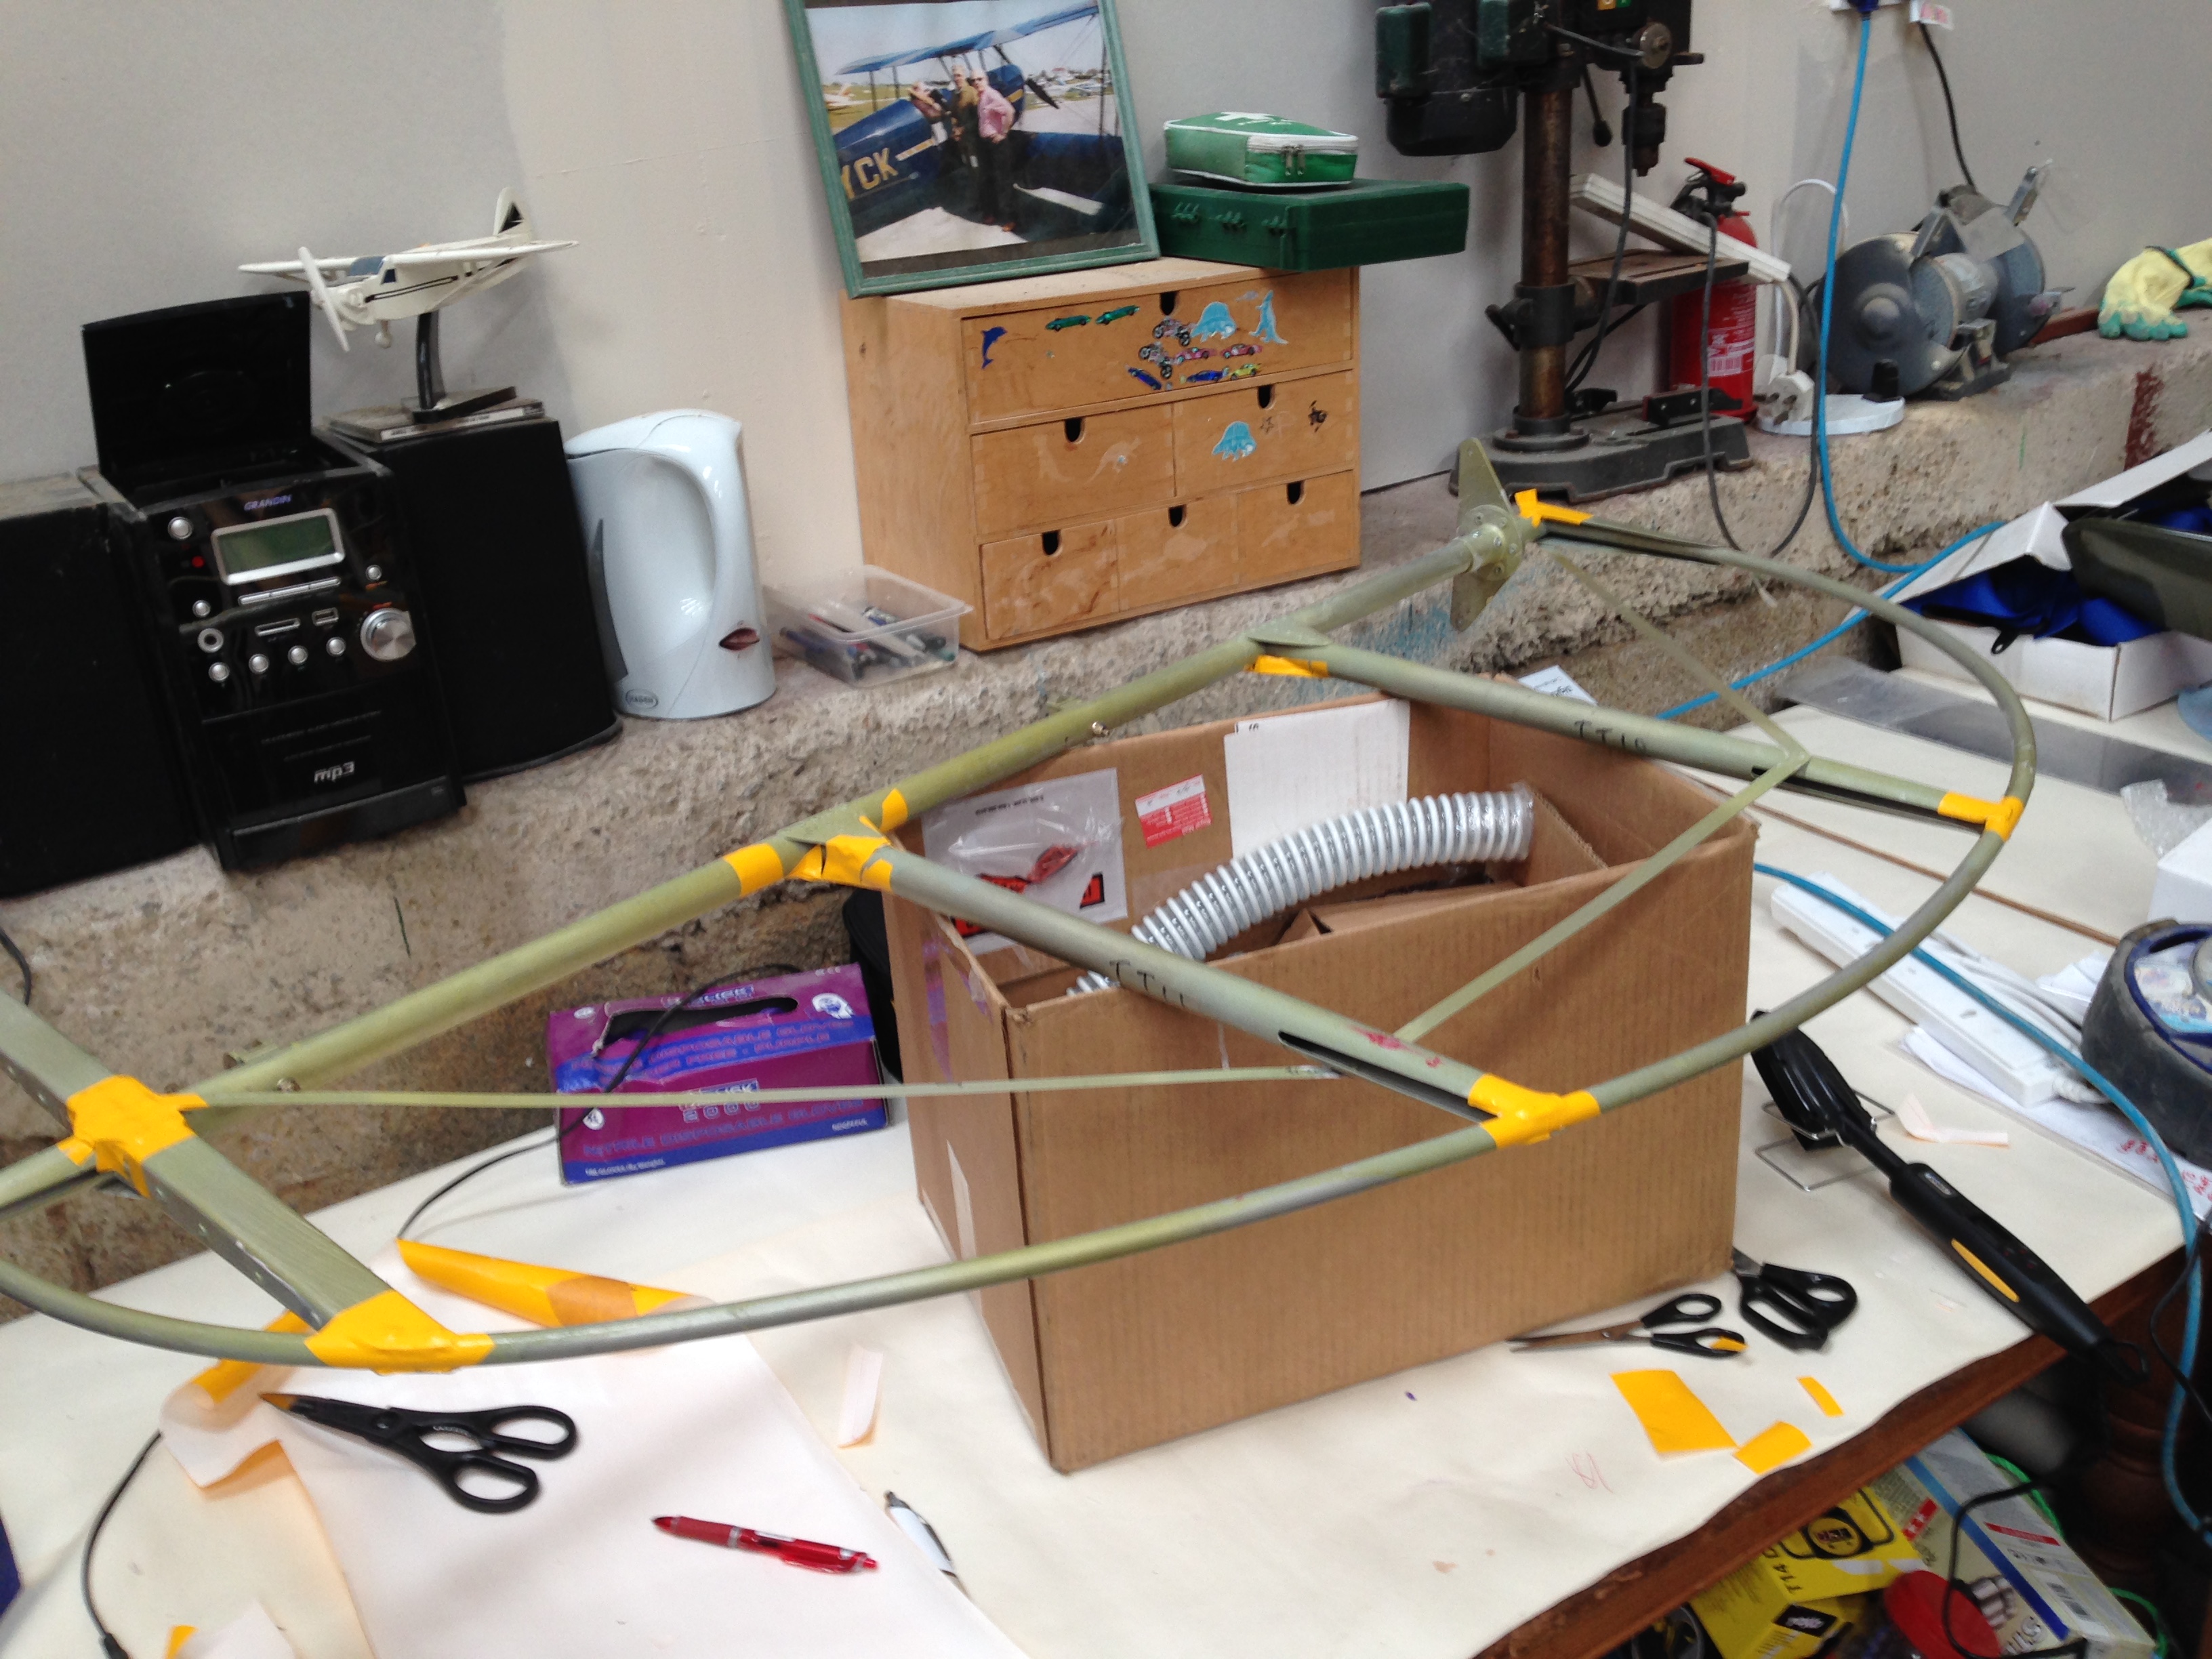
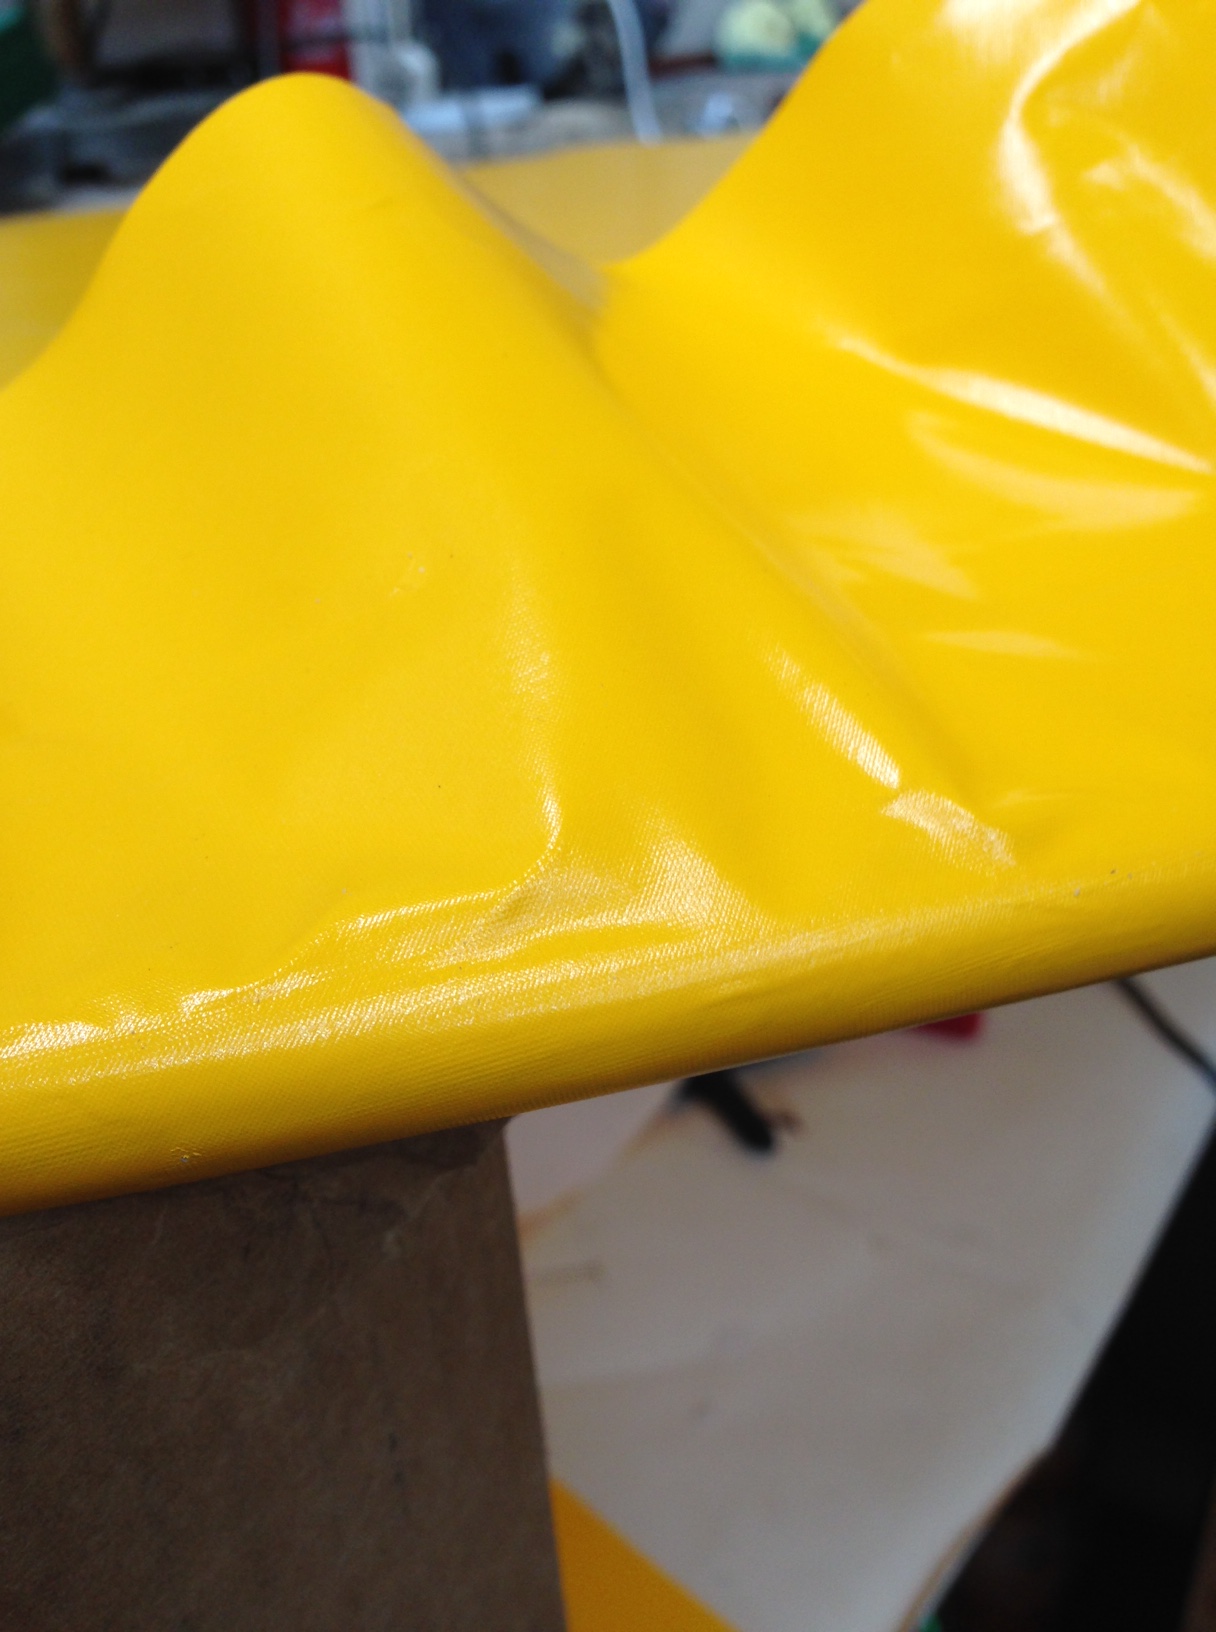
My First foray into Oratex … first joint cover I was a bit enthusiastic (thanks for the steer Paul !) and covered a little too far down the tube.

IMG_0273  IMG_0274

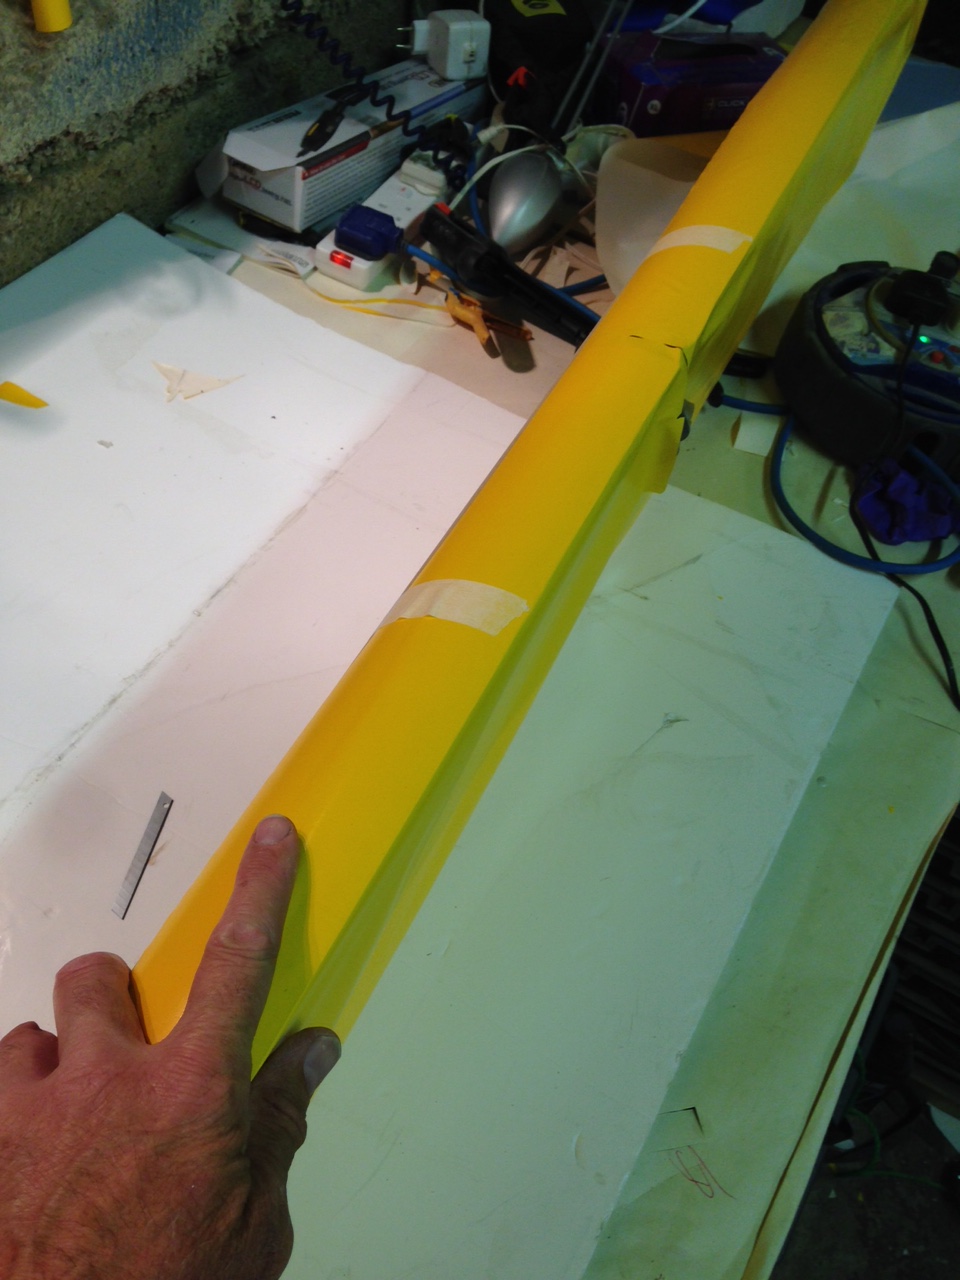
Second attempt I left a little more to ‘get hold of’ and use to pull around as I ironed .. to be fair this is mentioned in the guide and the very good You Tube video.

IMG_0276

Now I have applied a light second coat for the material overlap so that I can add the other side tonight 🙂

Covering – Oratex – First steps

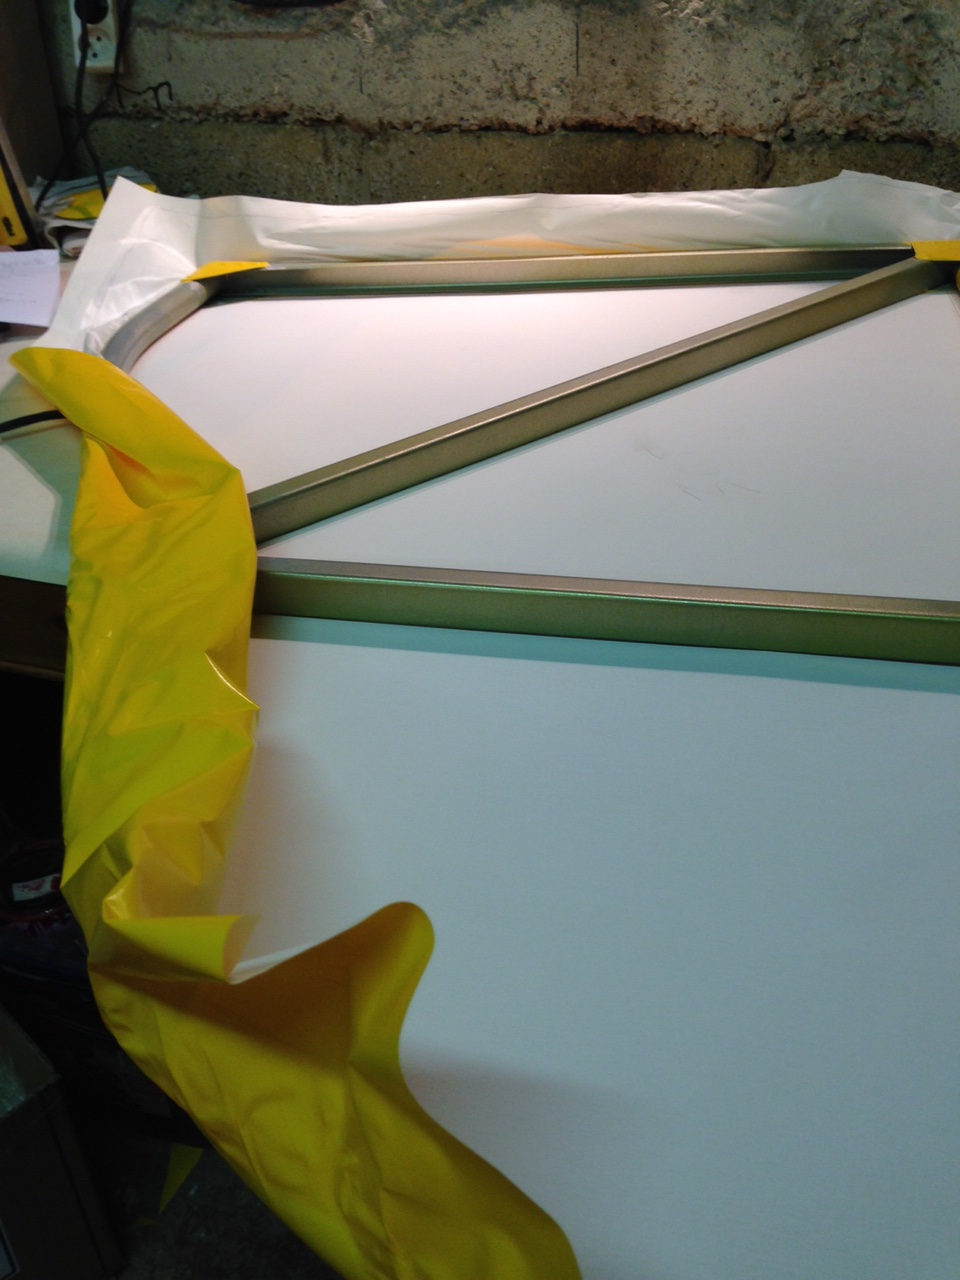
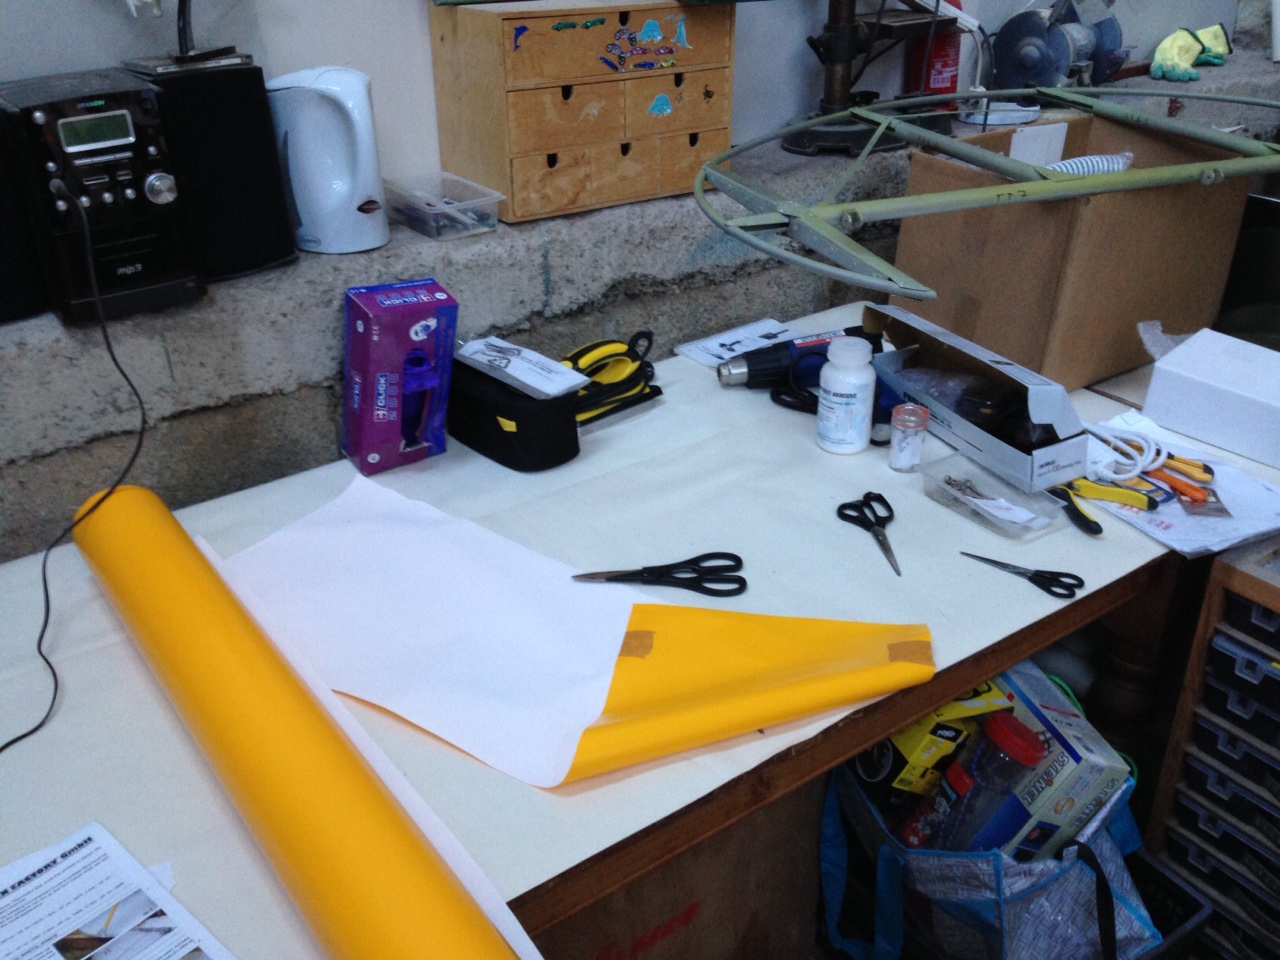
Having read the Oratex manual loads of times and watched the very useful You Tube bits I made my first venture into covering …

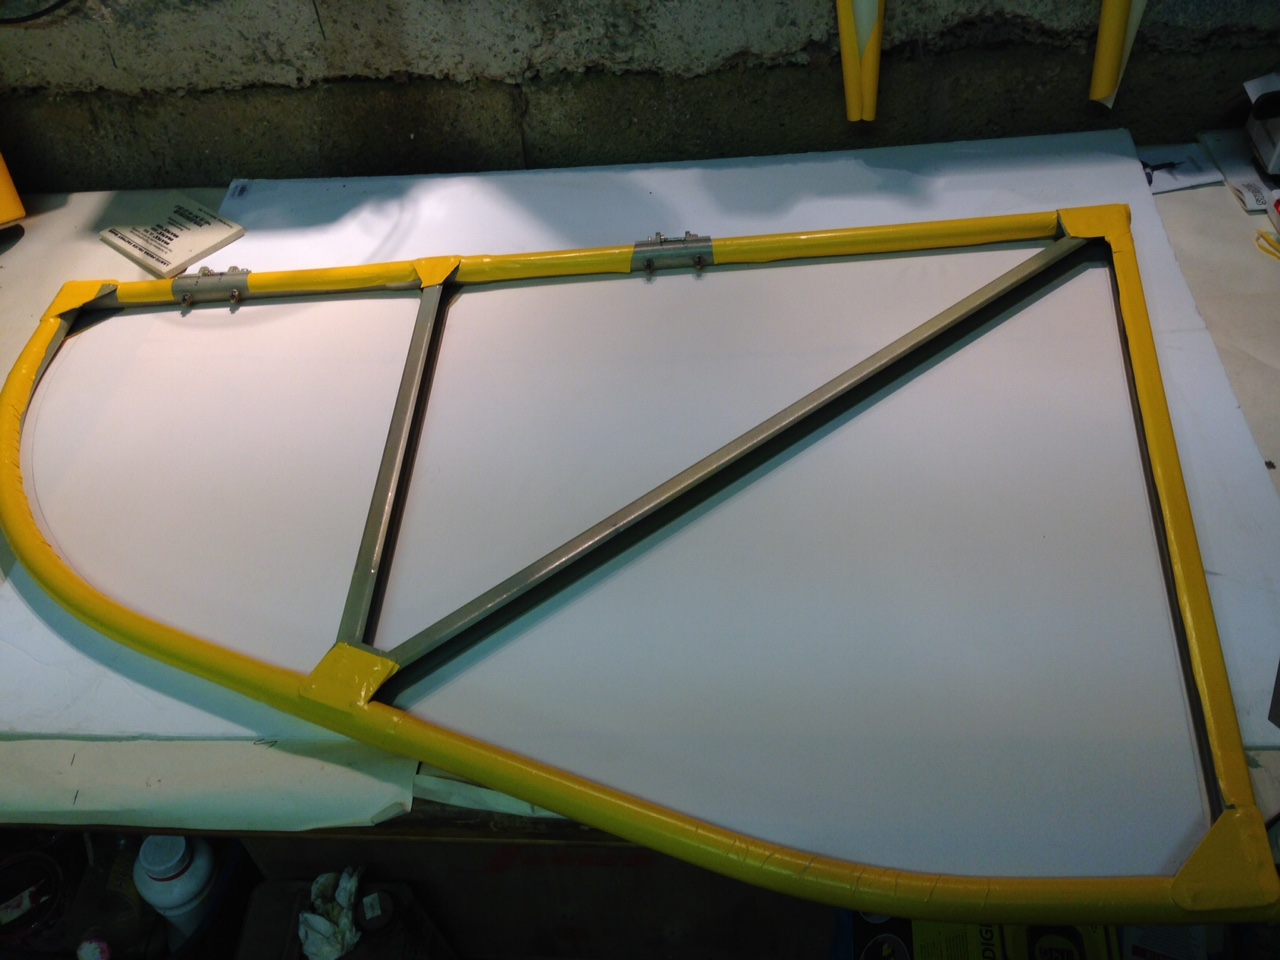
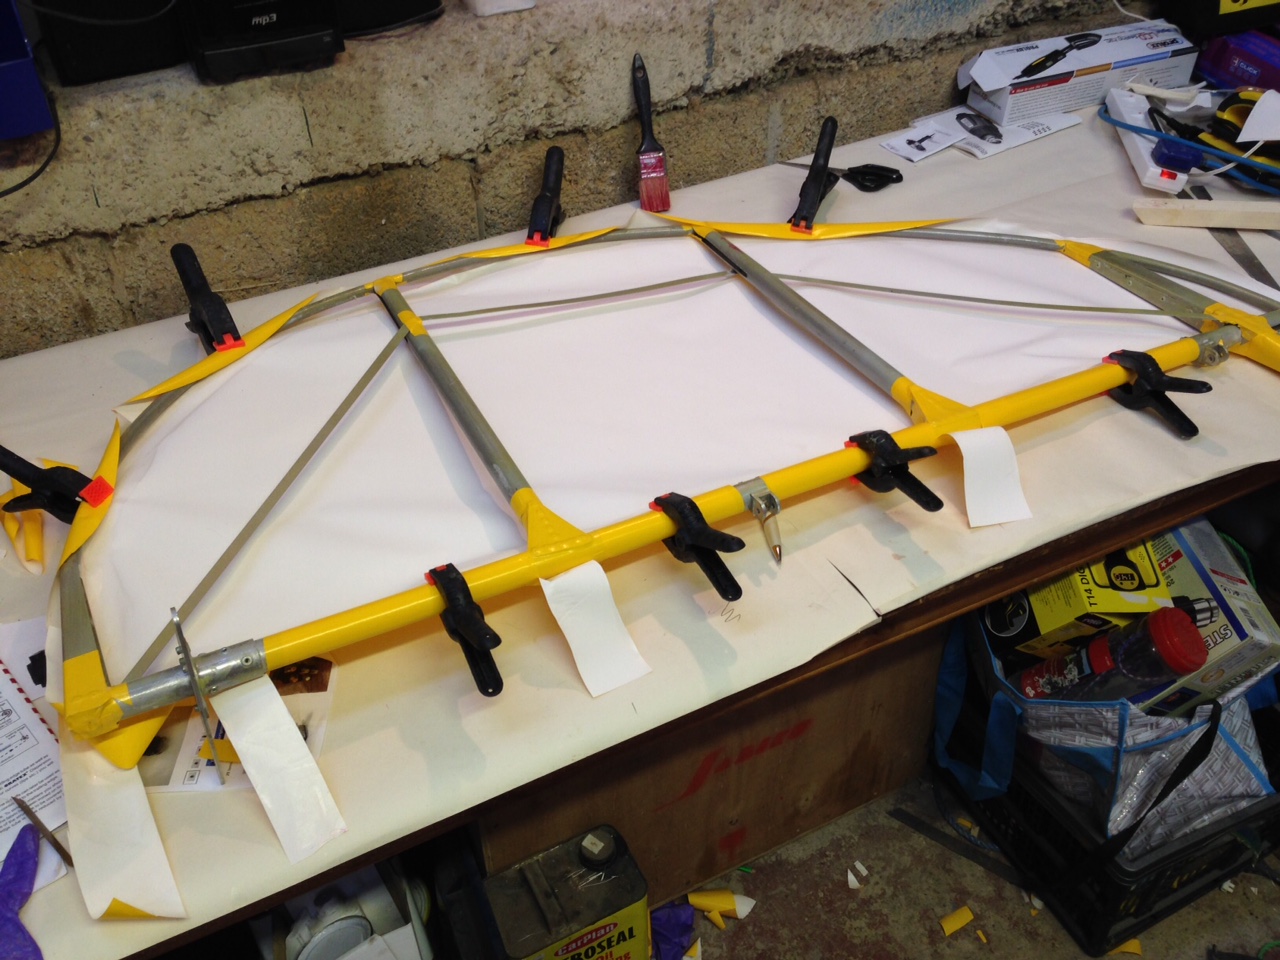
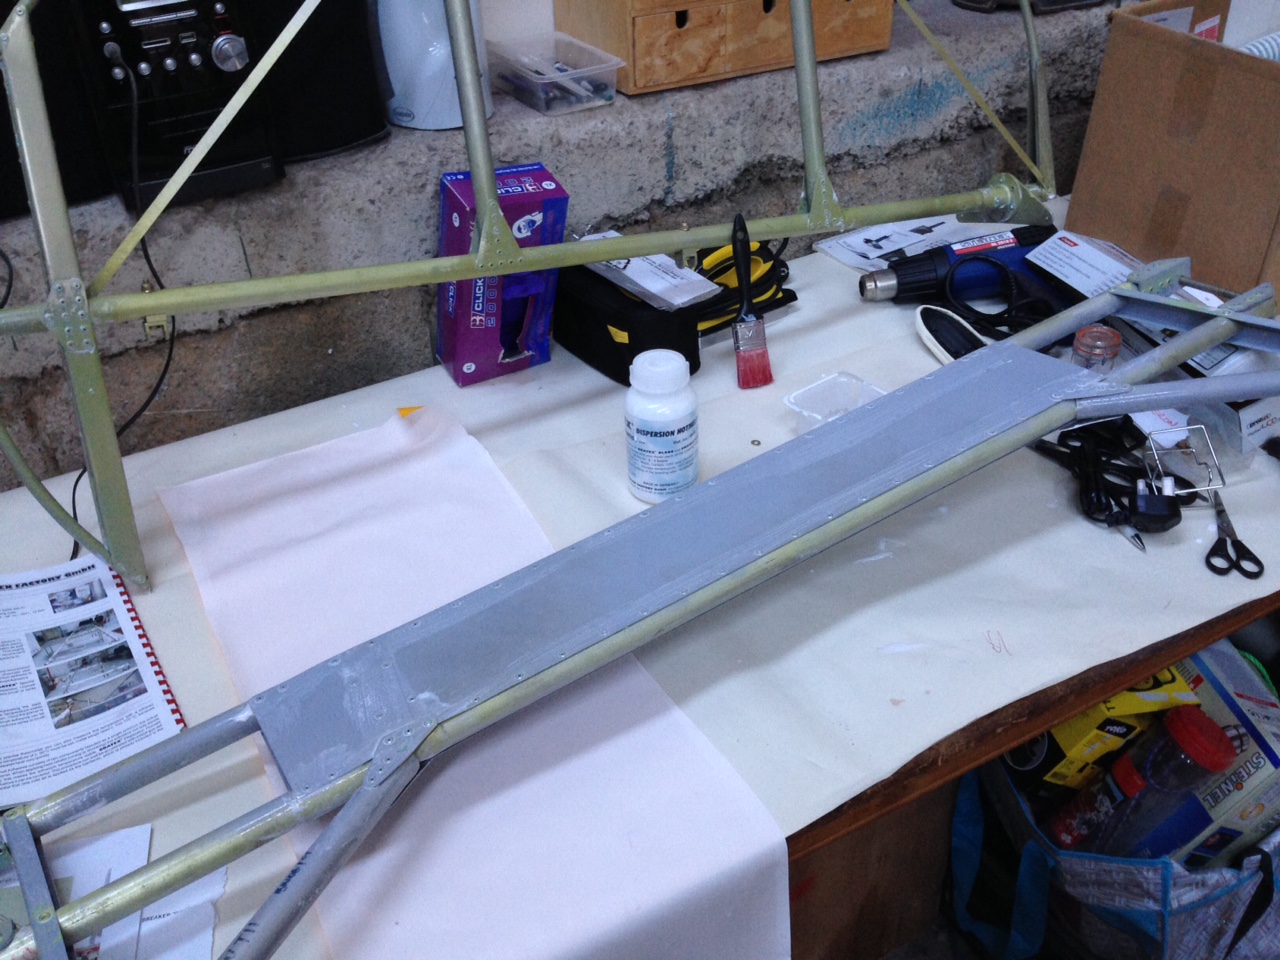
Started with preparing a strip for covering over the joints ahead of the top covering. This will prevent fretting later.

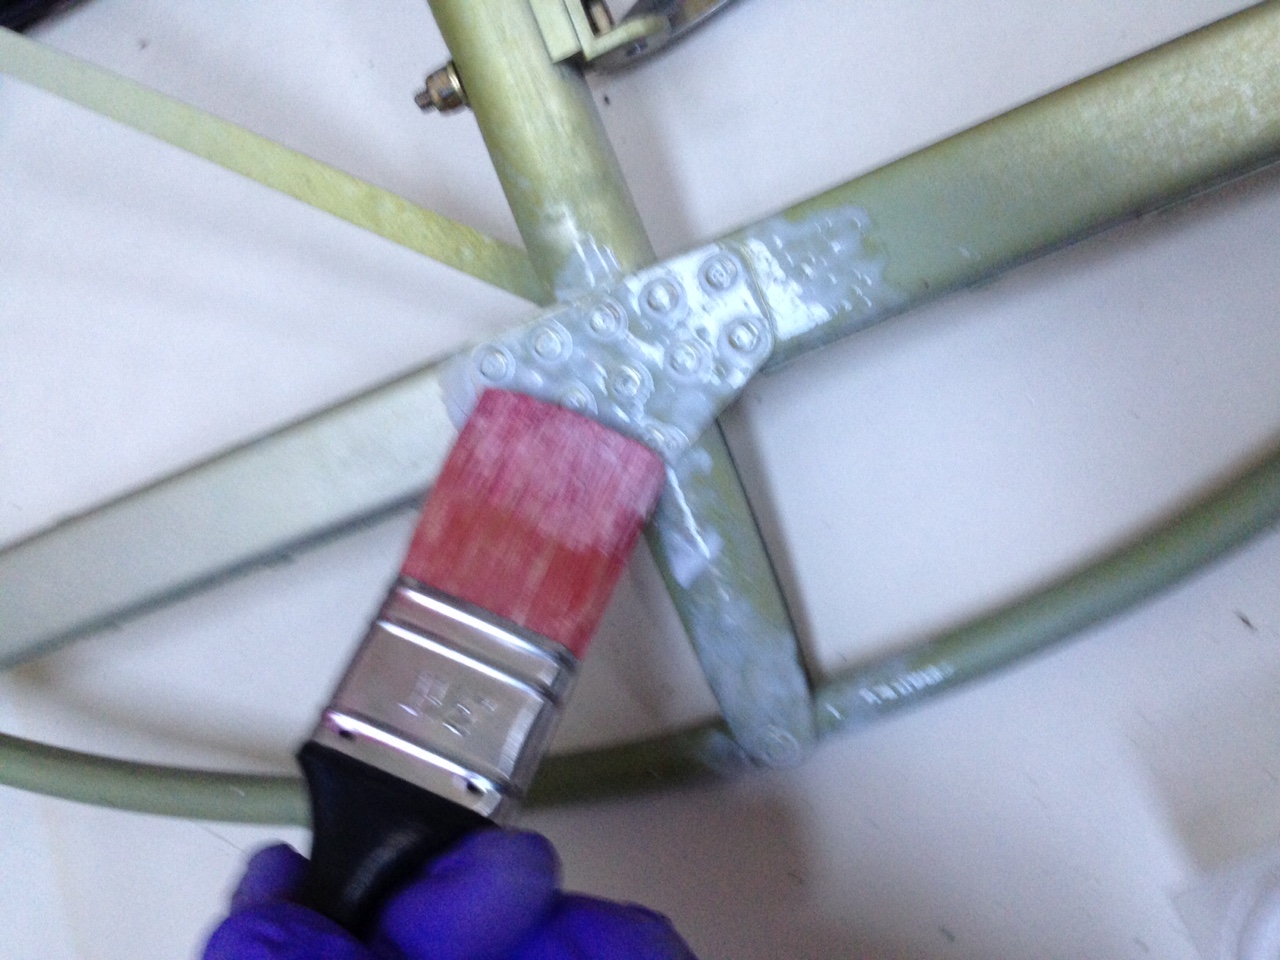
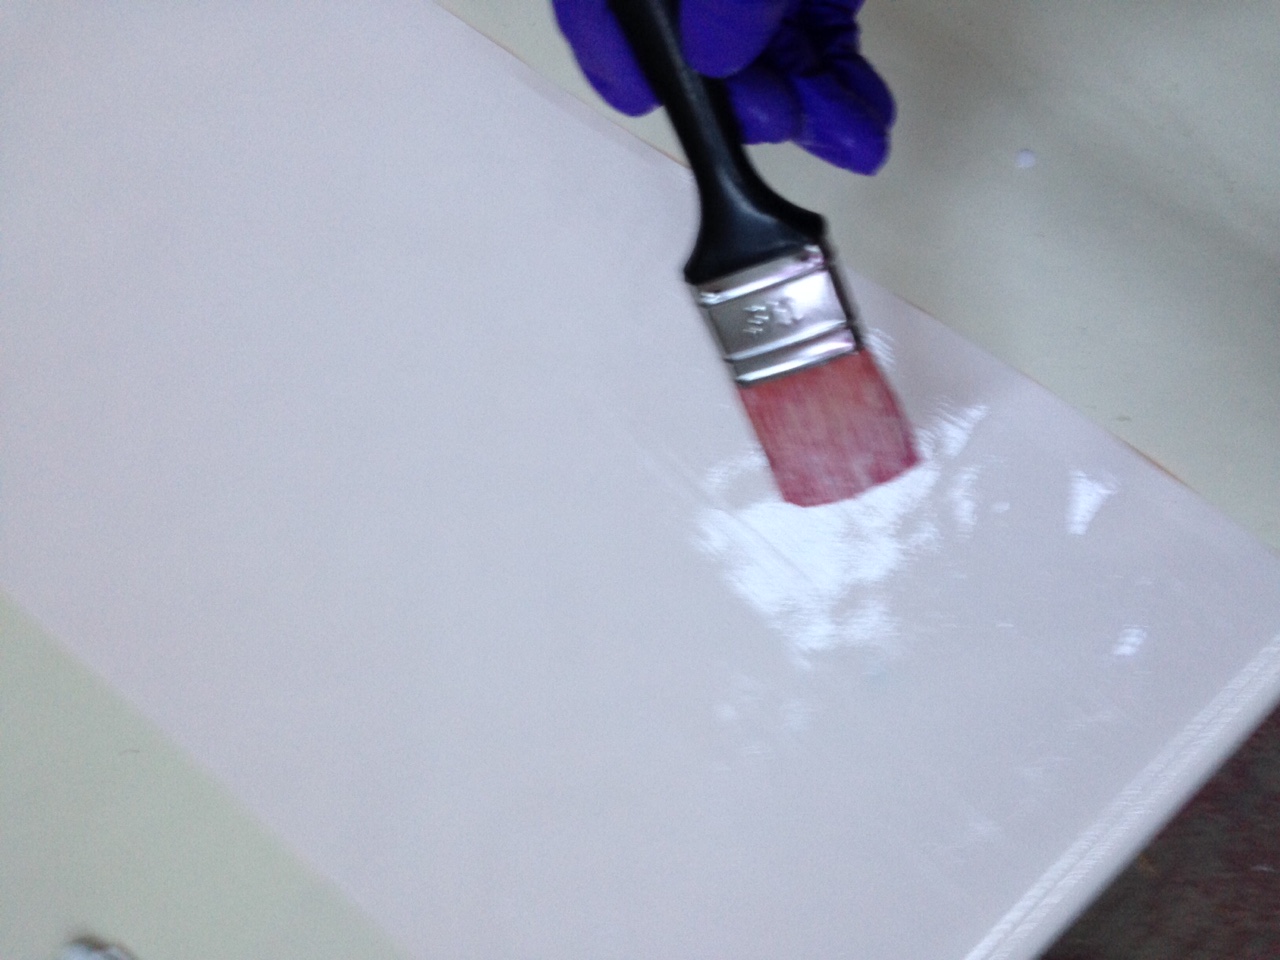
First use of the HotMelt glue which seems to go on very easily .. they state one thin coat for metal (two for wood). Brush just washes out in water … so nice and easy.

IMG_0267  IMG_0269

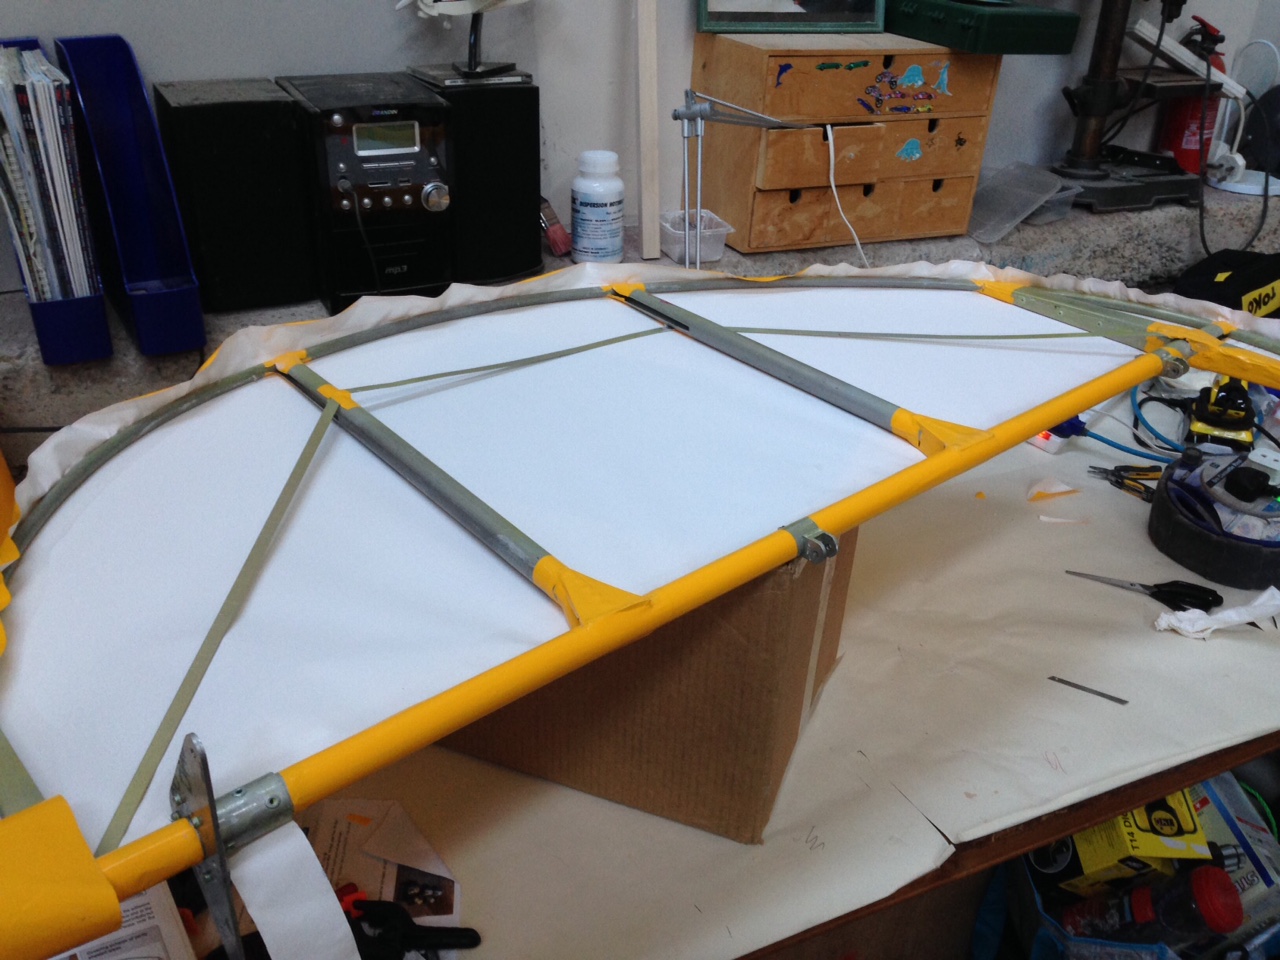
Rudder and elevator joints done and also the first strut

IMG_0271 IMG_0272

Having treated both the metal joints and the full back of a strip of the material – leave it to fully dry today before cutting pieces to wrap around the joints.

Dismantling ….

Been a while since my last update but have been very busy at both work and visiting relatives in the UK ….

BUT ….

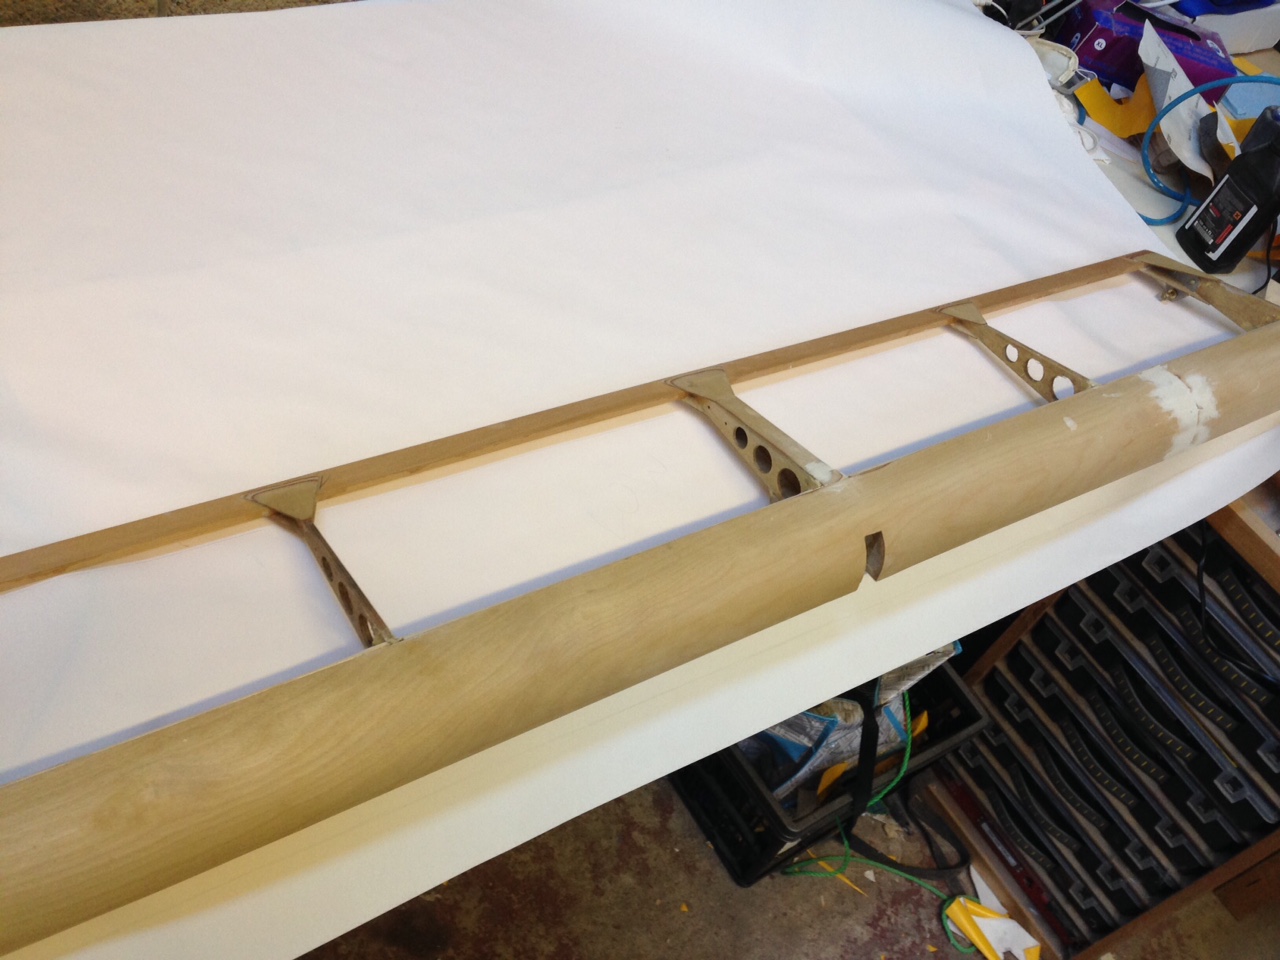
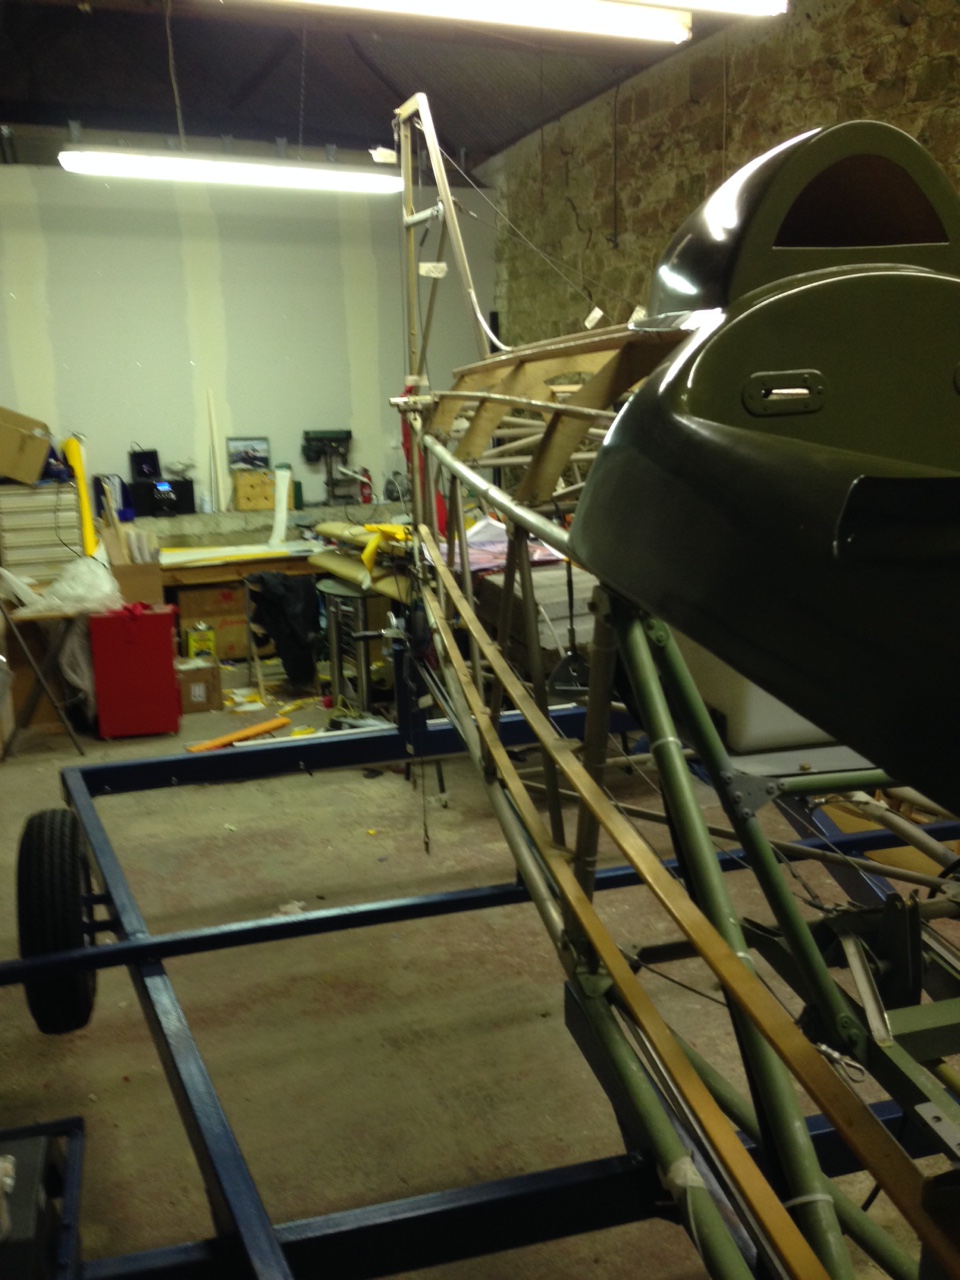
Lots going on now … in prep for the body painting I had to fully dismantle the ‘plane .. sad .. as you feel you are going backwards but … all 4 wings off .. rudder off .. elevator off …

IMG_0259  IMG_0258

IMG_0256  IMG_0255

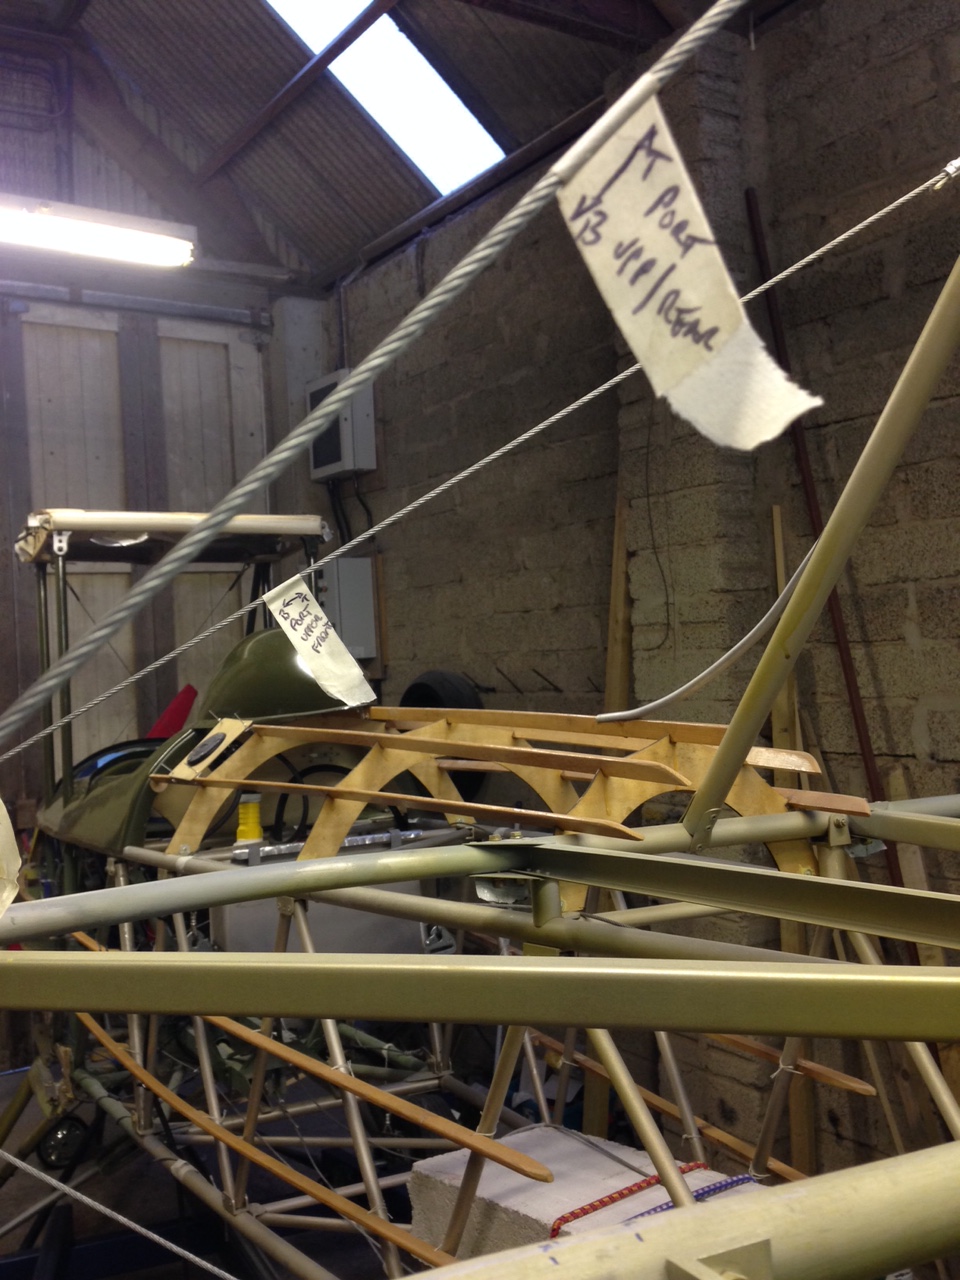
So everything photo’d and labelled for later reassemble

Trailer repaired and roadworthy agin (many thanks for squeezing that into your really busy schedule Mike – much appreciated).

Then up bright and very early yesterday to give the ‘plane a ride through several Parishes ahead of the Monday morning traffic build up … Took her through St John, St Lawrence, St Aubin (she hasn’t been through that Parish to date !) then to St Brelade… all dropped off and unloaded by 7.30

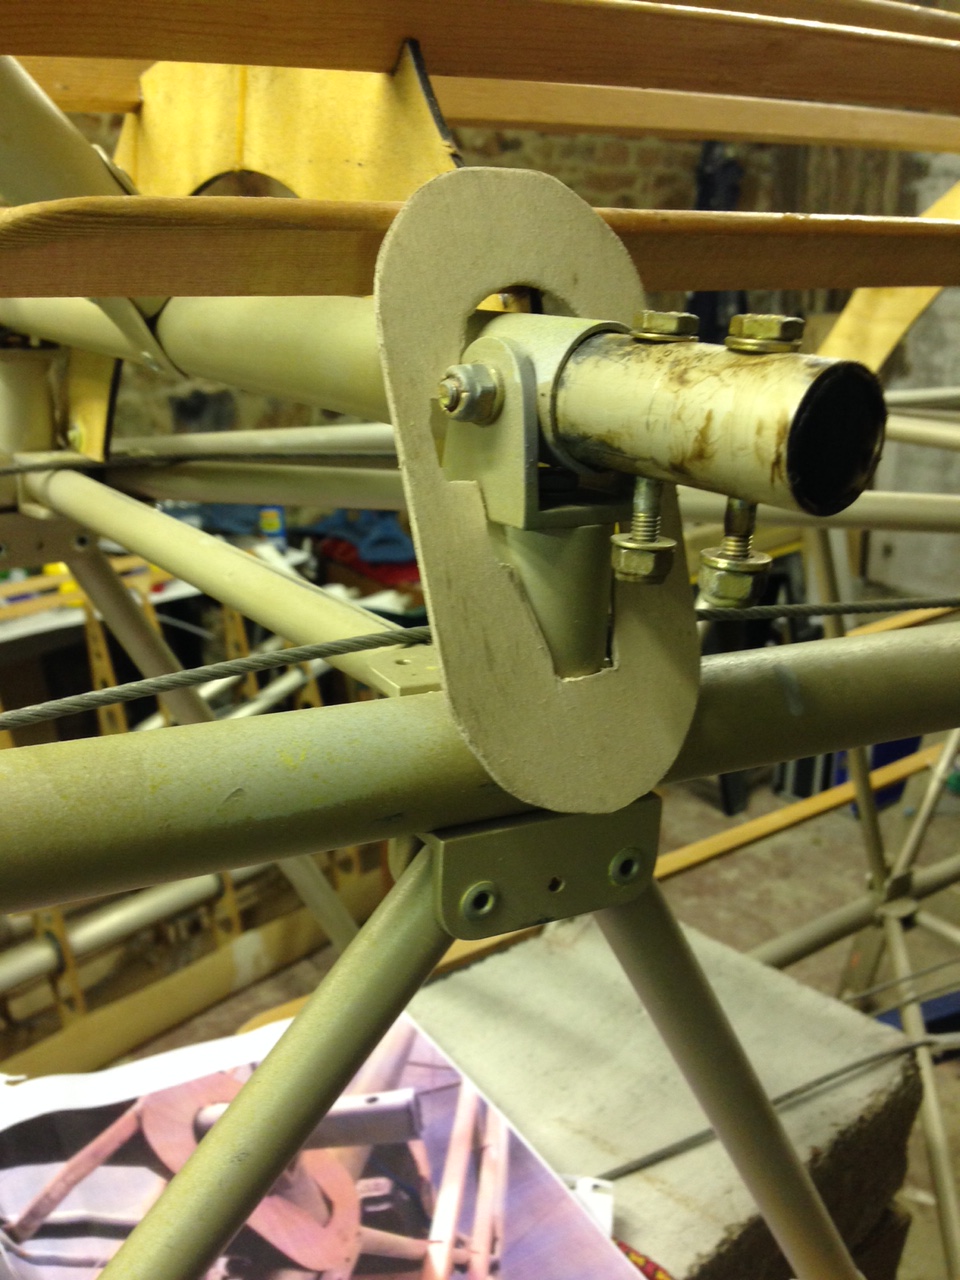
Popped back at lunchtime and the painter guy had smoothed all the top cowl and it looked amazing … they noted that where the cabane supports go through the top decking its pretty close tolerance and could probably do with eeking out so we don’t get stress cracks … will get the Dremel out when I get her back.

Little jobs along the way ….

Securing the cowl scoops is one of those little things I needed to complete .

They are held in place on the Jabiru with a very basic looking arrangement which I guess works. A small wire passes around the cylinder head fins and comes uppermost where a small spring hooks onto it. This then stretches to hook onto a small 5mm angles bracket with a hole in it that has been riveted to the fibreglass scoop.
IMG_0188

The whole setup obviously wont go anywhere as the top cowl makes sure of that .. but, in addition, you slacken a few of the rocker cap cover allen bolts and insert larger washers to encompass the scoop. I ground down the edge of a few of the washers to enable a flush fit.

Final bit will be to fine trim the front end of the scoop and fit the rubber gasket to prevent air bleeding around the intake and cowl.

Pitot feeds now in

Ivor had popped the second tube in the post and it arrived yesterday, and was on the aircraft within 2 hours …

IMG_0199  IMG_0198

Running the second tube through the drag spar took a bit longer that the first, the first slid straight through and popped out exactly where I  wanted it. The second snagged on an internal rivet and took an age to tweak it back … this is where two people would def speed it up .. or if you had 6 foot long arms to ease the tube back at the wing strut whilst fishing it out at the root !

IMG_0197


Now the challenge of sourcing the step downs to get tube to alloy pitot …

Ariel ground plane and ply cover

Completed the ariel ground plane fitting and the thin ply top sheeting.

IMG_0187  IMG_0186

Having pre inserted a 3 ply support to take the ariel mount.

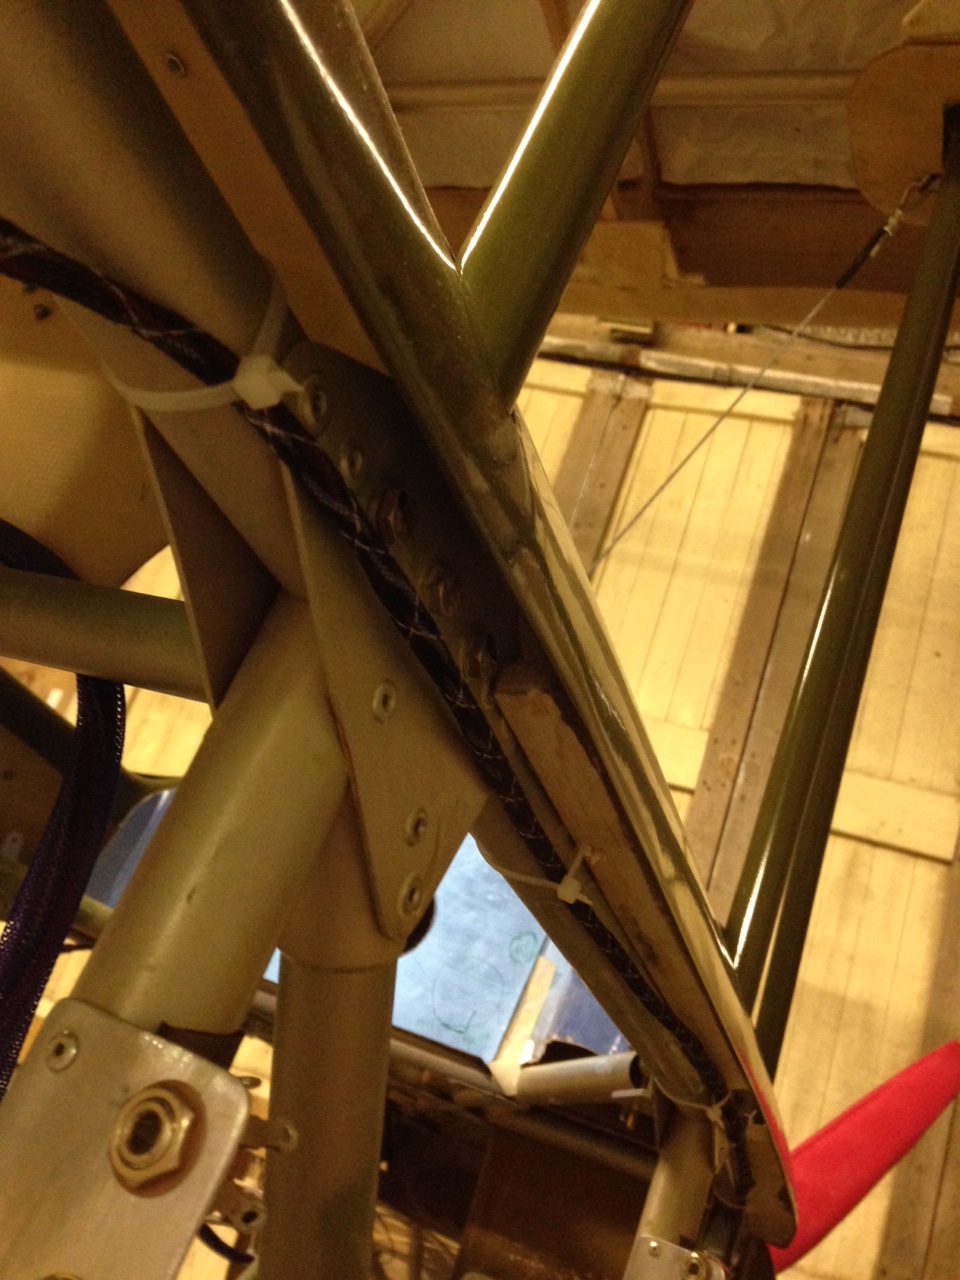
Leaving the ariel off for now so that it doesnt get knocked during painting. Also may source an aero shaped tube to run the Ariel co ax cable down the rear of one of the cabane tubes.

Dismantling !


Feels a bit odd but as the covering stage begins you have to start dismantling the aircraft that you have taken so long to lovingly put together !

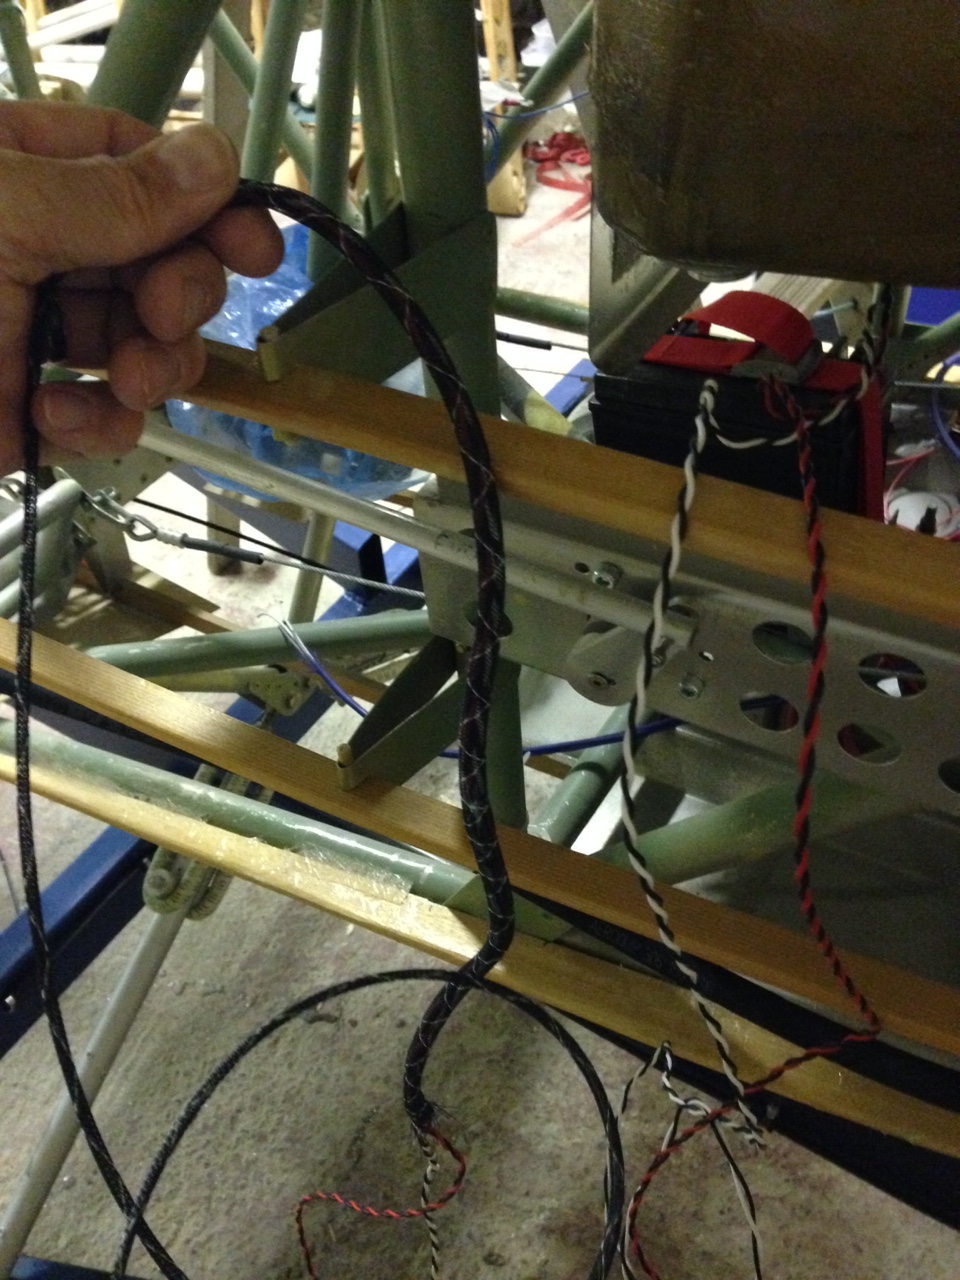
First the rudder came off, keeping all the washers and bits in sequence, in fact I used a very small marker pen to not position and number of washers on the aircraft frame to make re-assembly a bit more positive !

IMG_0192  IMG_0189

Then, the elevator came off, decided to remove it in one piece for now (so had to take a rigging wire off the tail) as I am getting some photographs taken to see if we can get some wrap to take on top of the Oratex. The guy from a local Company called SignTech was very switched on an enthusiastic about shading the photo so that it will give the impression of the elevator or tail rib standing on top of the covering … hope it works !

IMG_0194  IMG_0193

Getting all the pieces in the car was fun and now in town for photos.

Tied up the now loose rudder and elevator cables so they won’t trail.

IMG_0195

Hasn’t looked rudder and tail less for a long long time !


Front panel – prep for painting

In preparation for painting I am making sure the front panel cut outs for various gauges is reflected in the top decking. That way the paint doesn’t have to be tampered with once the panel is leather covered and then fitted.

IMG_0181

Trailer – wing supports are back !

The wing supports are here … great .. means we can crack on and get the trailer tweaked and then off to the paint shop for the body painting.

The wing support dolly’s weigh next to nothing and the carbon fibre wrap support will mean that the wing is really well cushioned during transportation as it spans just over two ribs AND provides leading edge wrap around support

IMG_0144  IMG_0145

The red end pegs, Kev said, means that I will be able to see from the car if the pegs have moved !

We spent an interesting trial and see exercise with Mike last night and a trolley jack balancing the trailer now the aircraft is pretty much at all up weight (minus covering and fuel). Turns out the axle is pretty much in the right place if we manufacture a tool chest support in the rear of the trailer as that will allow everything I ever needed to stay in situ. Must get some good tool trays and cut out foam packs ordered.
Blog at WordPress.com.

Up ↑