Re rigging

Because of all the little moves here and there and pulling and adjusting of wings I need to re-rig the whole aircraft – back to how it was in the first barn. In first setup – the floor was level and the whole aircraft was trimmed out to set a good base point.

The wings were then fitted and checked using pre cut/shaped dihedral and pitch boards. These have been retained and so I plan to:

  • Get the ‘plane out of the barn
  • Set level fore and aft and laterally
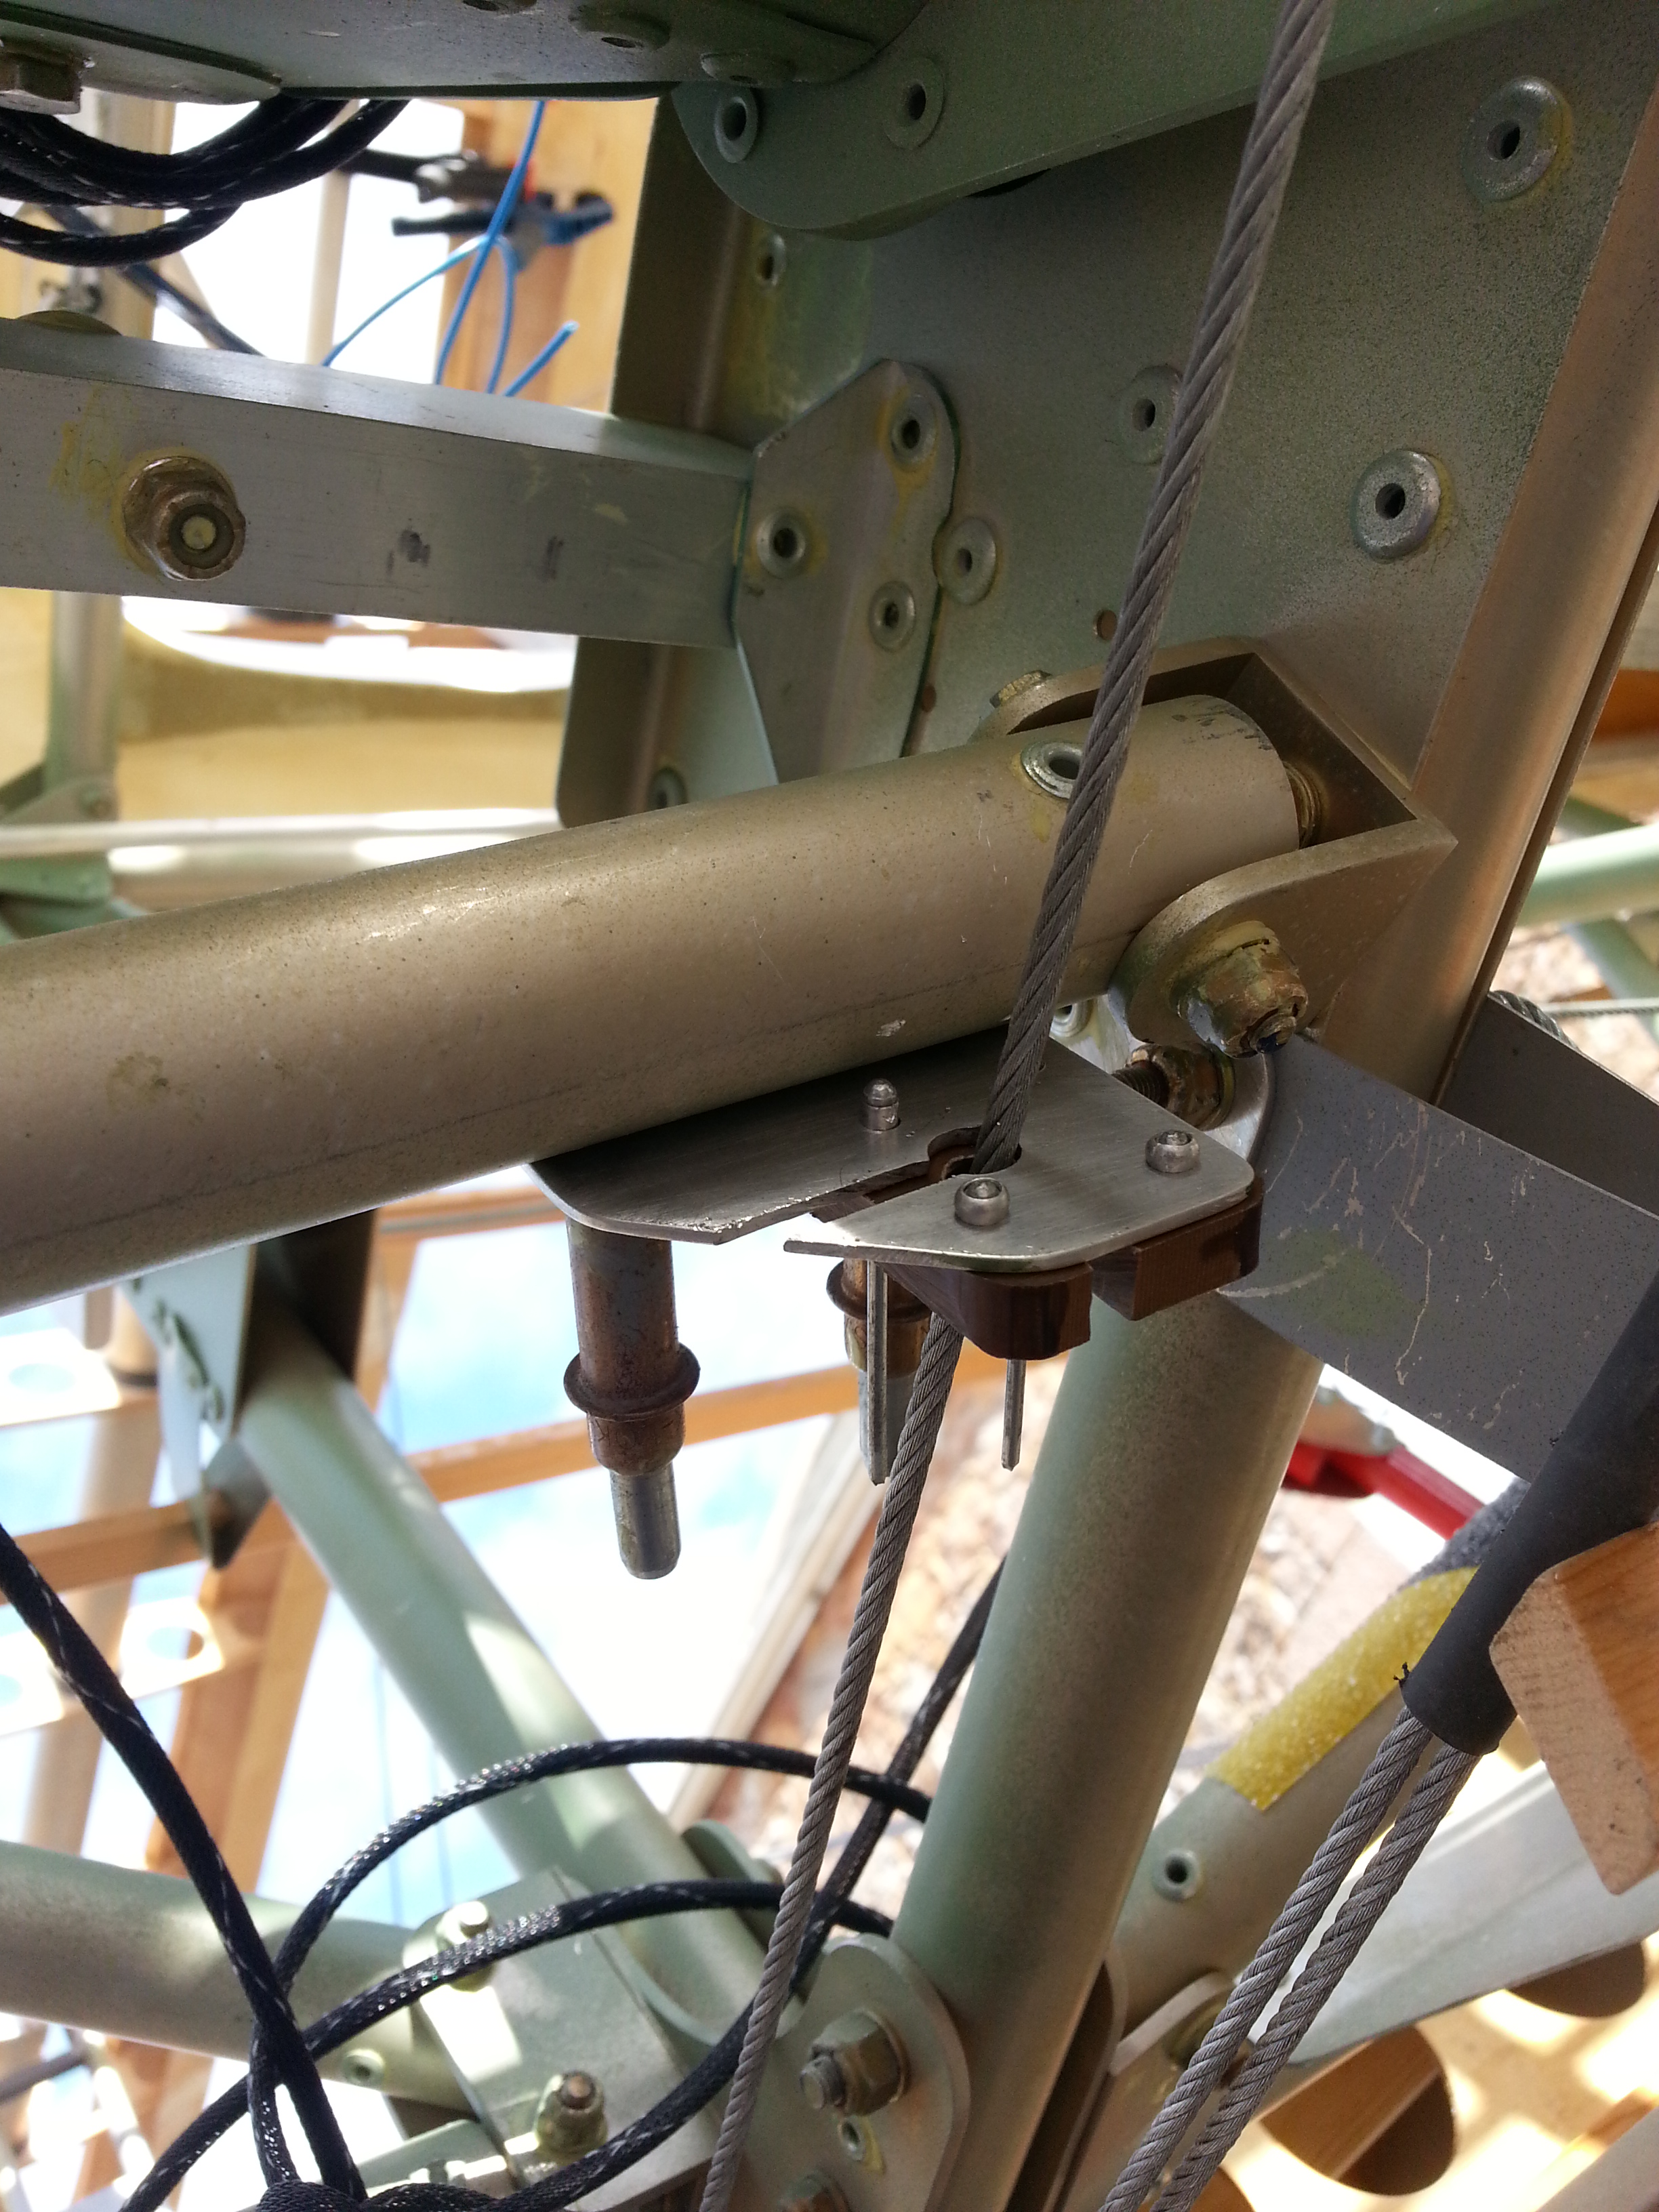
  • Ensure the Jury struts are secured and in place
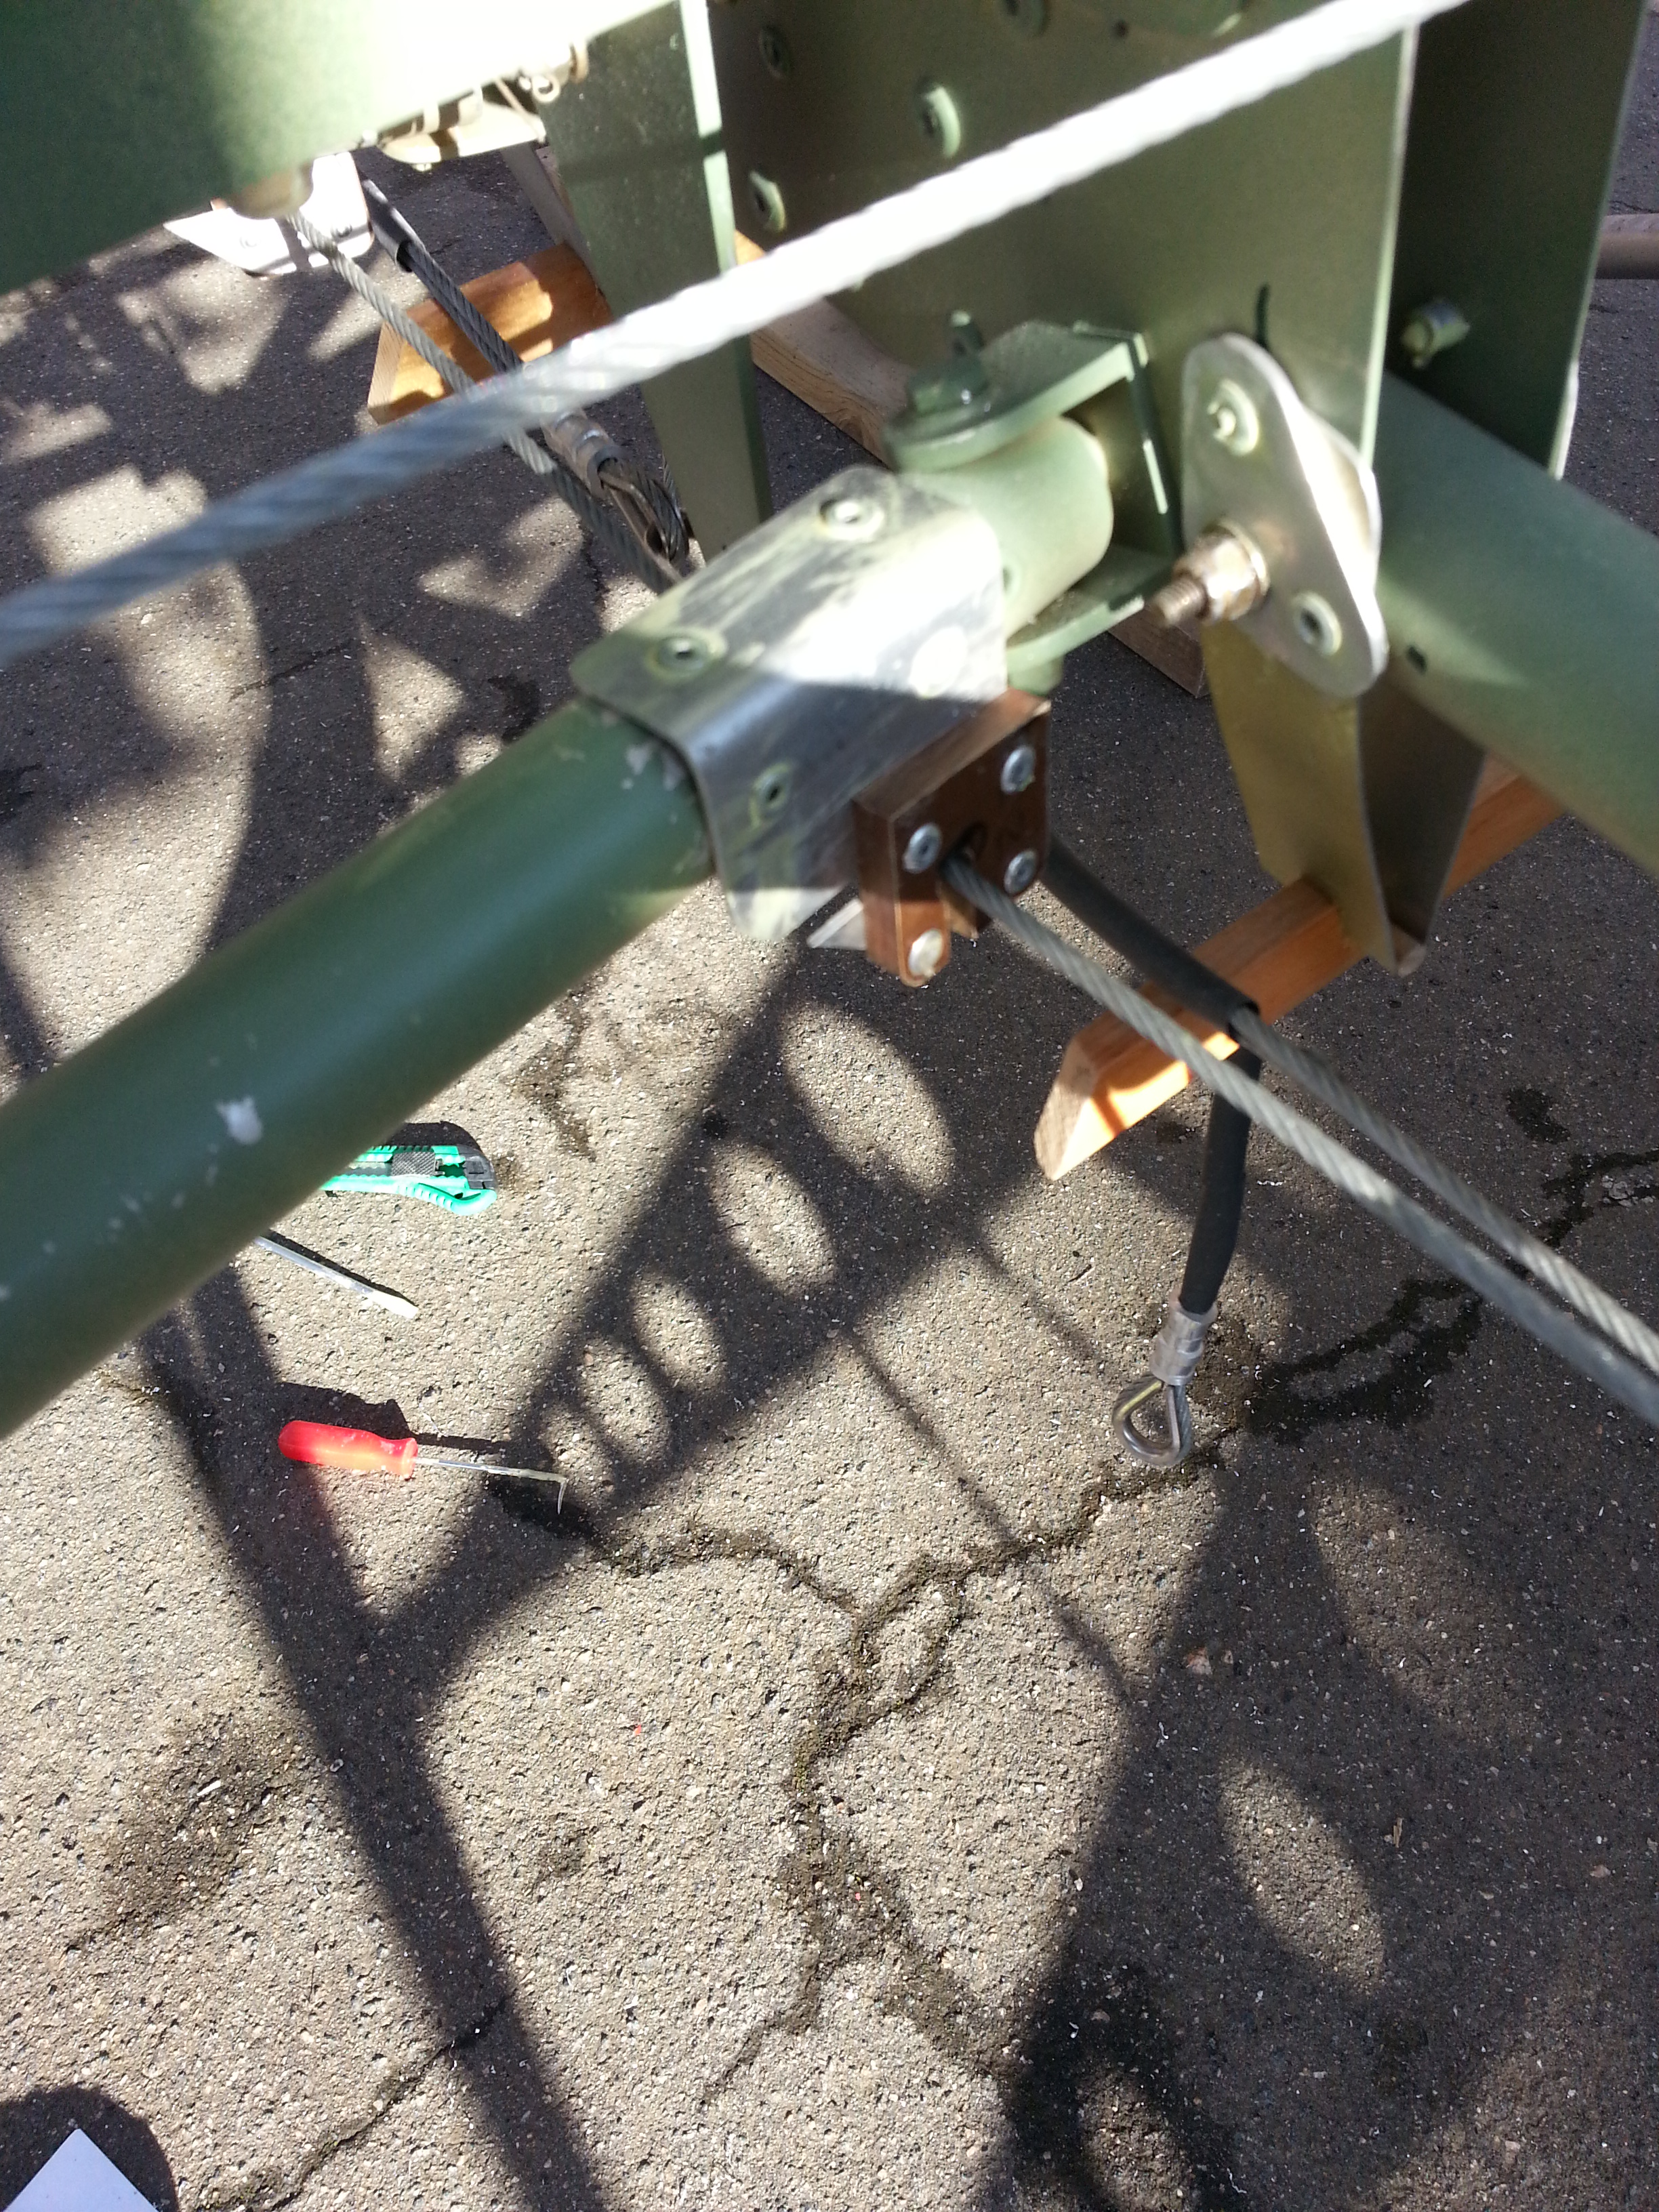
  • Slacken and remove the turnbuckles/rigging
  • Possibly Remove the top wings – consider this as they may simply stay in place attached to the strut
  • Re-check and set dihedral for lower wings (3 degrees)
  • Re-check and set the upper wing dihedral (1 degree)
  • Then reapply slack rigging to all 4 locations and slowly tighten up
  • (I suspect one of my cables to be too short – but this process will out whichever !)


Cut down wind peg guides

As I tried to prefit the ply material cover landing plates I realised they would impact the wing peg alloy guides so spread the wings at the weekend to get an idea of how much I would need to trim back.

20150301_142129

Both lower guides have now been trimmed (and filed) back to allow the wings to peg out but still leave space for the ply plate. Ply plates have been glued in place and packing applied at the back to maintain the angle.

Engine cooling shrouds

These shrouds fit over the top of the engine cyclinder heads and, through air directed through the cooling holes cut in the top cowl, cool the heads in flight.

20150301_164636

The shrouds need to have a tight fit to the top cowl and will require trimming back to ensure they fit neatly inside the cowl line.

The 1″ wide rubber edging will be glued and riveted to ensure it provides a tight seal.

Wiring – add in’s

When I showed the ‘plane in static at the Jersey air show in 2014 a chap asked me how many spare wires I was laying down as I built the ‘plane. Turns out he used to work in the Fleet Air Arm and they used to add spare wiring into the loom on production in case of failures or additional requirements added post build. What a great idea !

20150301_161006

For the sake of a few pence, I now have 5 spare leads added front to back and these can be brought into use in minutes.

Screen Test Fit

First fit of the screens – leaving the protective covers on

20150301_145620  20150301_145610

They slot very neatly into the trimmed down fibreglass guides.

Teaching sons new toys !

Sam came along last night to help out – always useful having another pair of hands .. lifted the port side onto a block to allow the wheel to spin freely so that I would check the brakes. These were made nearly 2 years ago (being one of the first bits I did) and the pulling of the lever seemed fine and stopped the wheel spin at about half deflection.

I can now look at completing the cable run down through the leg from the heel kick bar.

Sam also found I had a two wheel grinder in the back of the workshop and was blown away by this ‘new toy’ … giggles and whoops of delight at this ‘..awesome tool …’ … he even managed to use it to sharpen my pencils AND make a moulded left handed pencil with smooth indents !! Kids eh …

20150226_212320

In true Top Gear fashion .. I said he could forego the yellow Hi Viz but should put the goggles on 🙂

Proper wiring

Downloaded a couple of PDF’s from Google the other day .. “Top 10 Aircraft Wiring Mistakes (and how to avoid them)”and also “Aircraft Electrical Systems” a sort of picture book A B C of parts that you knew existing but were perhaps too afraid of looking a dummy to ask about !

Going to be some useful / light reading as I start the serious job of wiring up the engine

20150226_215928  20150226_215152

Going to have to work out how I run cables from the ‘front end’ of the engine (Oil Pressure, Oil Temp) past a set of 4 hot cylinders to the junction box. Suspect I need to wrap in heat proof cable shroud.

Aileron guides

The sunny weekend we had last weekend enabled me to get the Sherwood out and open the wings again. There is still some slight adjustment required on the top wing rigging which will have to be done soon.

The sunshine gave me the opportunity to get the aileron paxolin guides in place and then get them running smoothly with no metal to metal contact at all. Apparently, according to colleagues at work I am a bit of a saddo for actually recording the quietness of the aileron operation ! although WordPress won’t let me upload an MP4 !

20150215_135538  20150215_131952


Propellor Protection

Becks – who is currently working with me has offered to make me a propellor cover to protect my investment in those 4 lovely layers of beach crafted by Hercules !

She popped over and made up a pattern using tracing paper

20150215_140311  20150215_140358

The aim is to make a padded cover for each that will slip tightly over the widest parts of the blade

Mocked up padded sleeve

20150223_174110  20150223_174057

Blog at WordPress.com.

Up ↑