Strut preparation – Brackets and Prep

With the lower wings nearing final setup (leading edge and wing tips going on and aileron bellcranks and pushrods in place) I have started to prepare the Interplane struts

The initial brackets have been pre-drilled which is extremely useful … these now require shaping and trimming down.

strauts 1

Initial shaping and now ready for final finishing

Strut brackets etched strut brackets

Leading edges and wing tip added

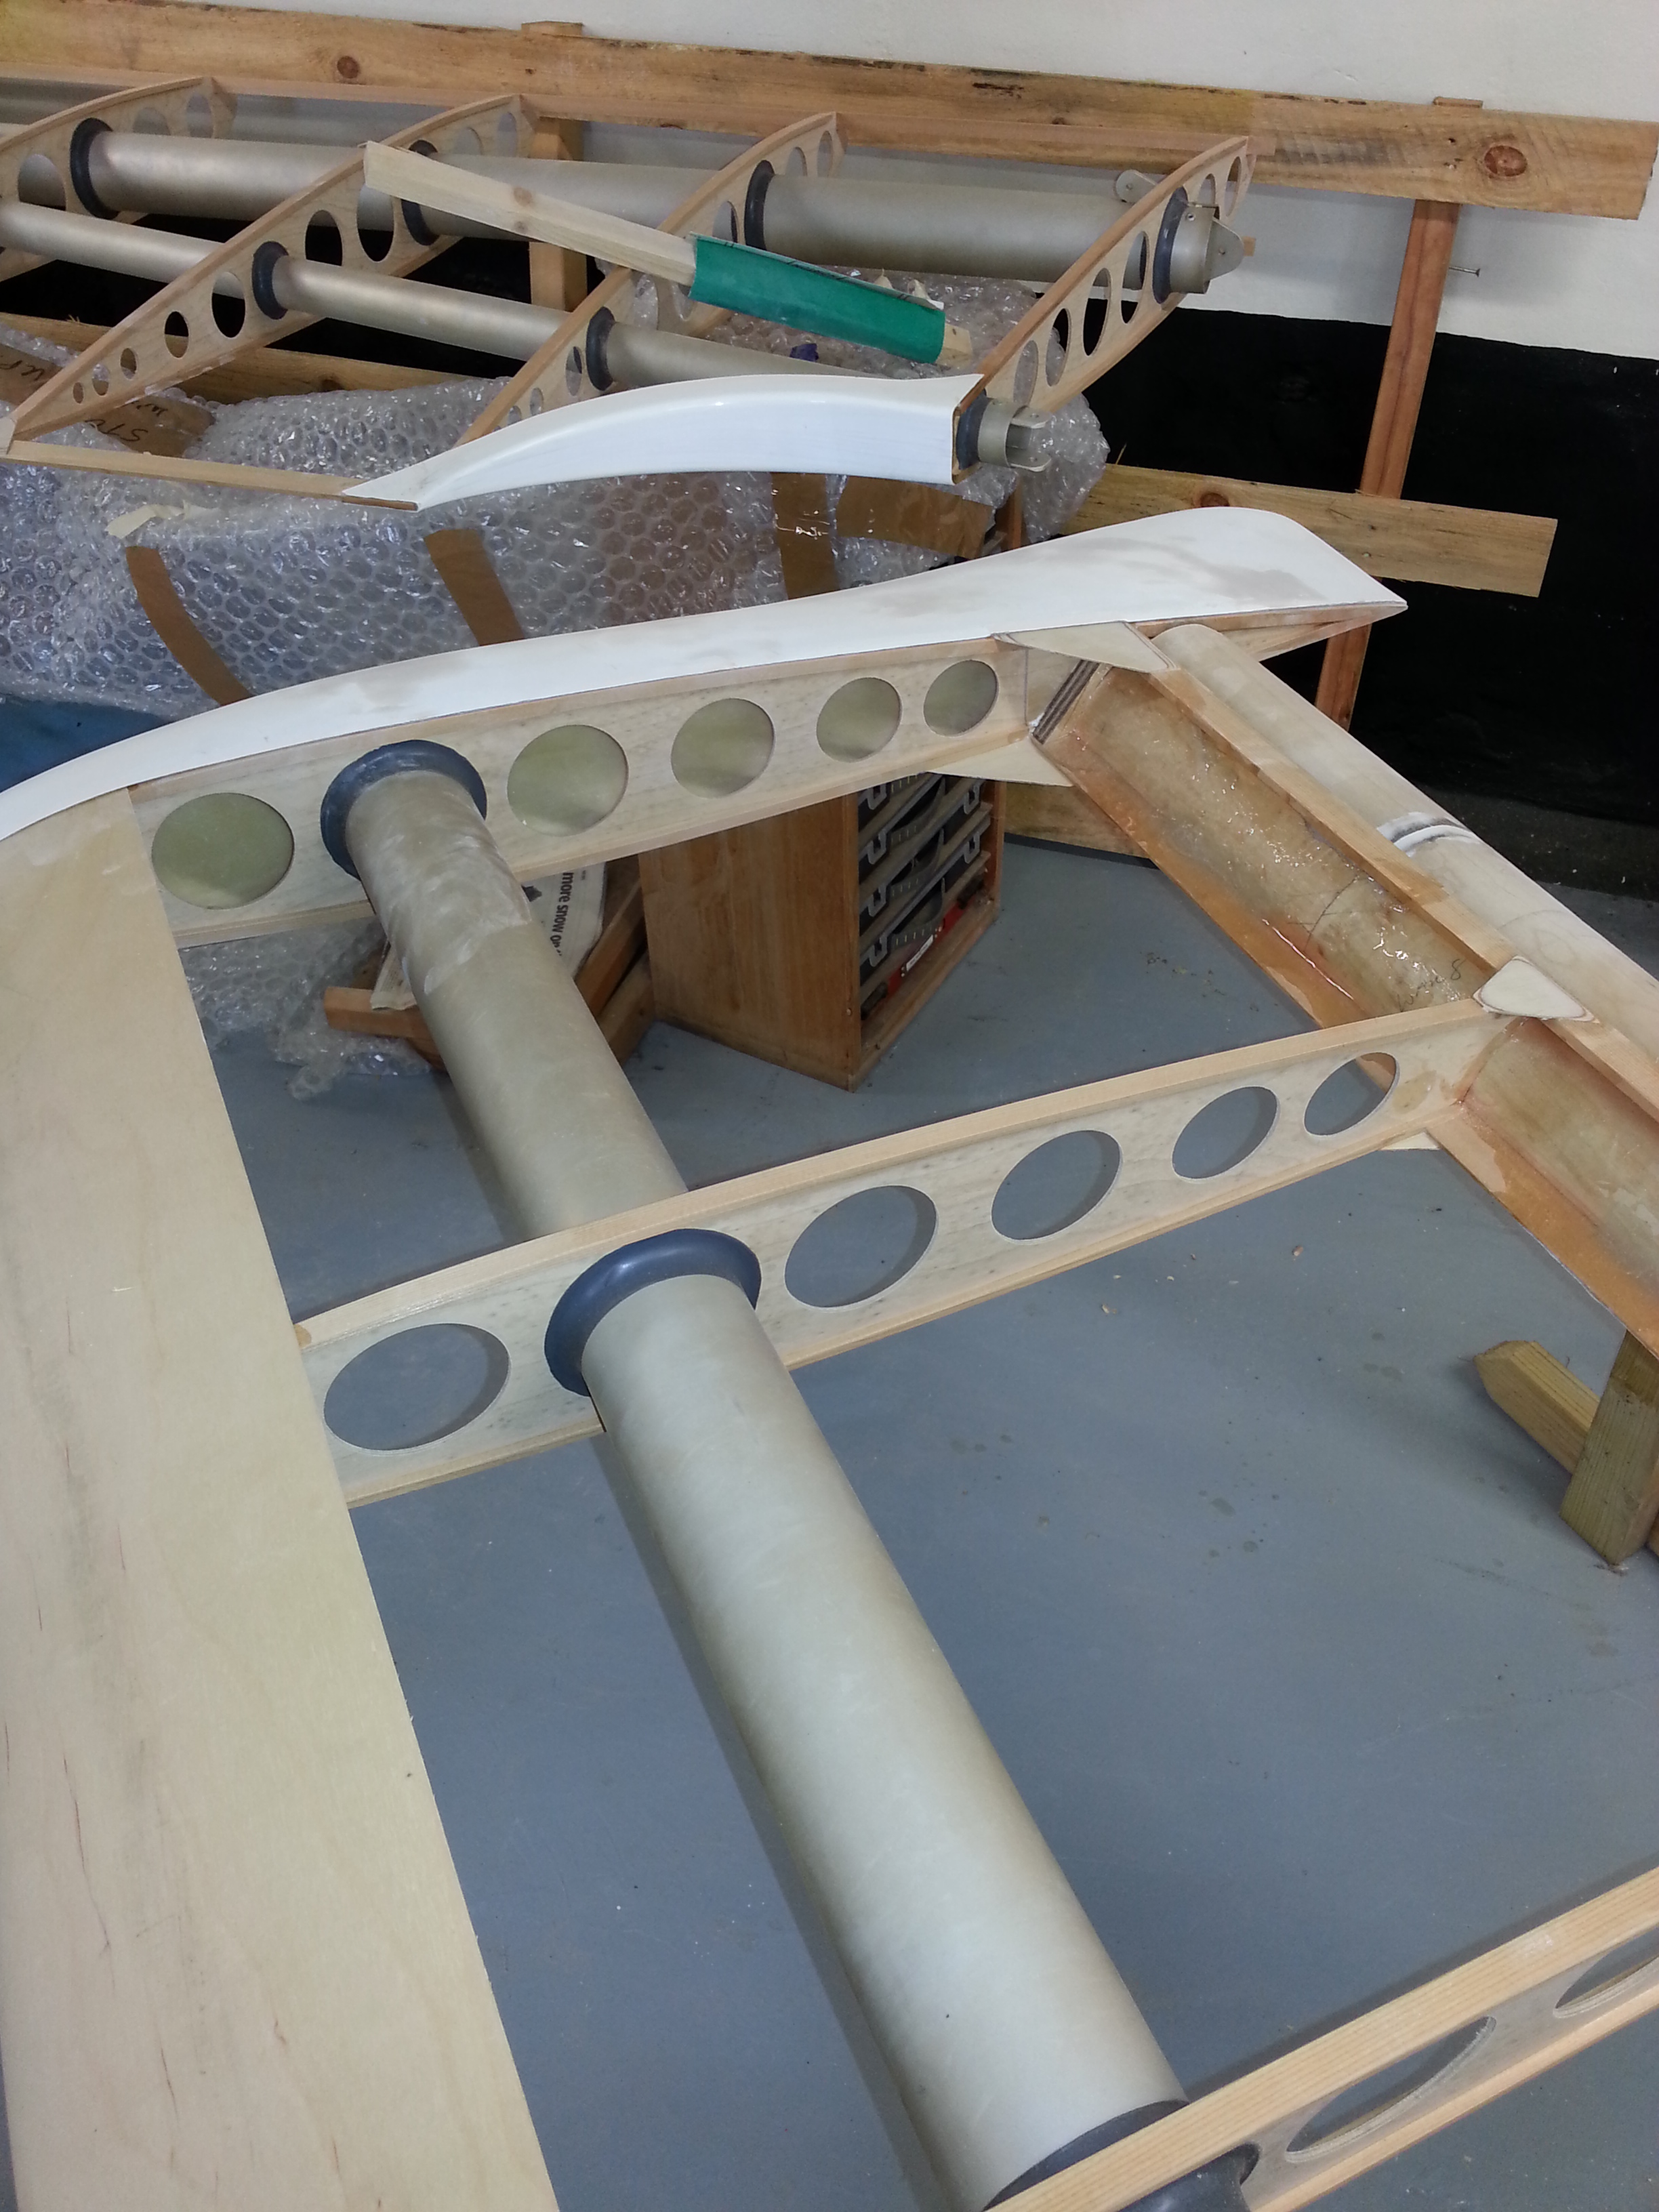
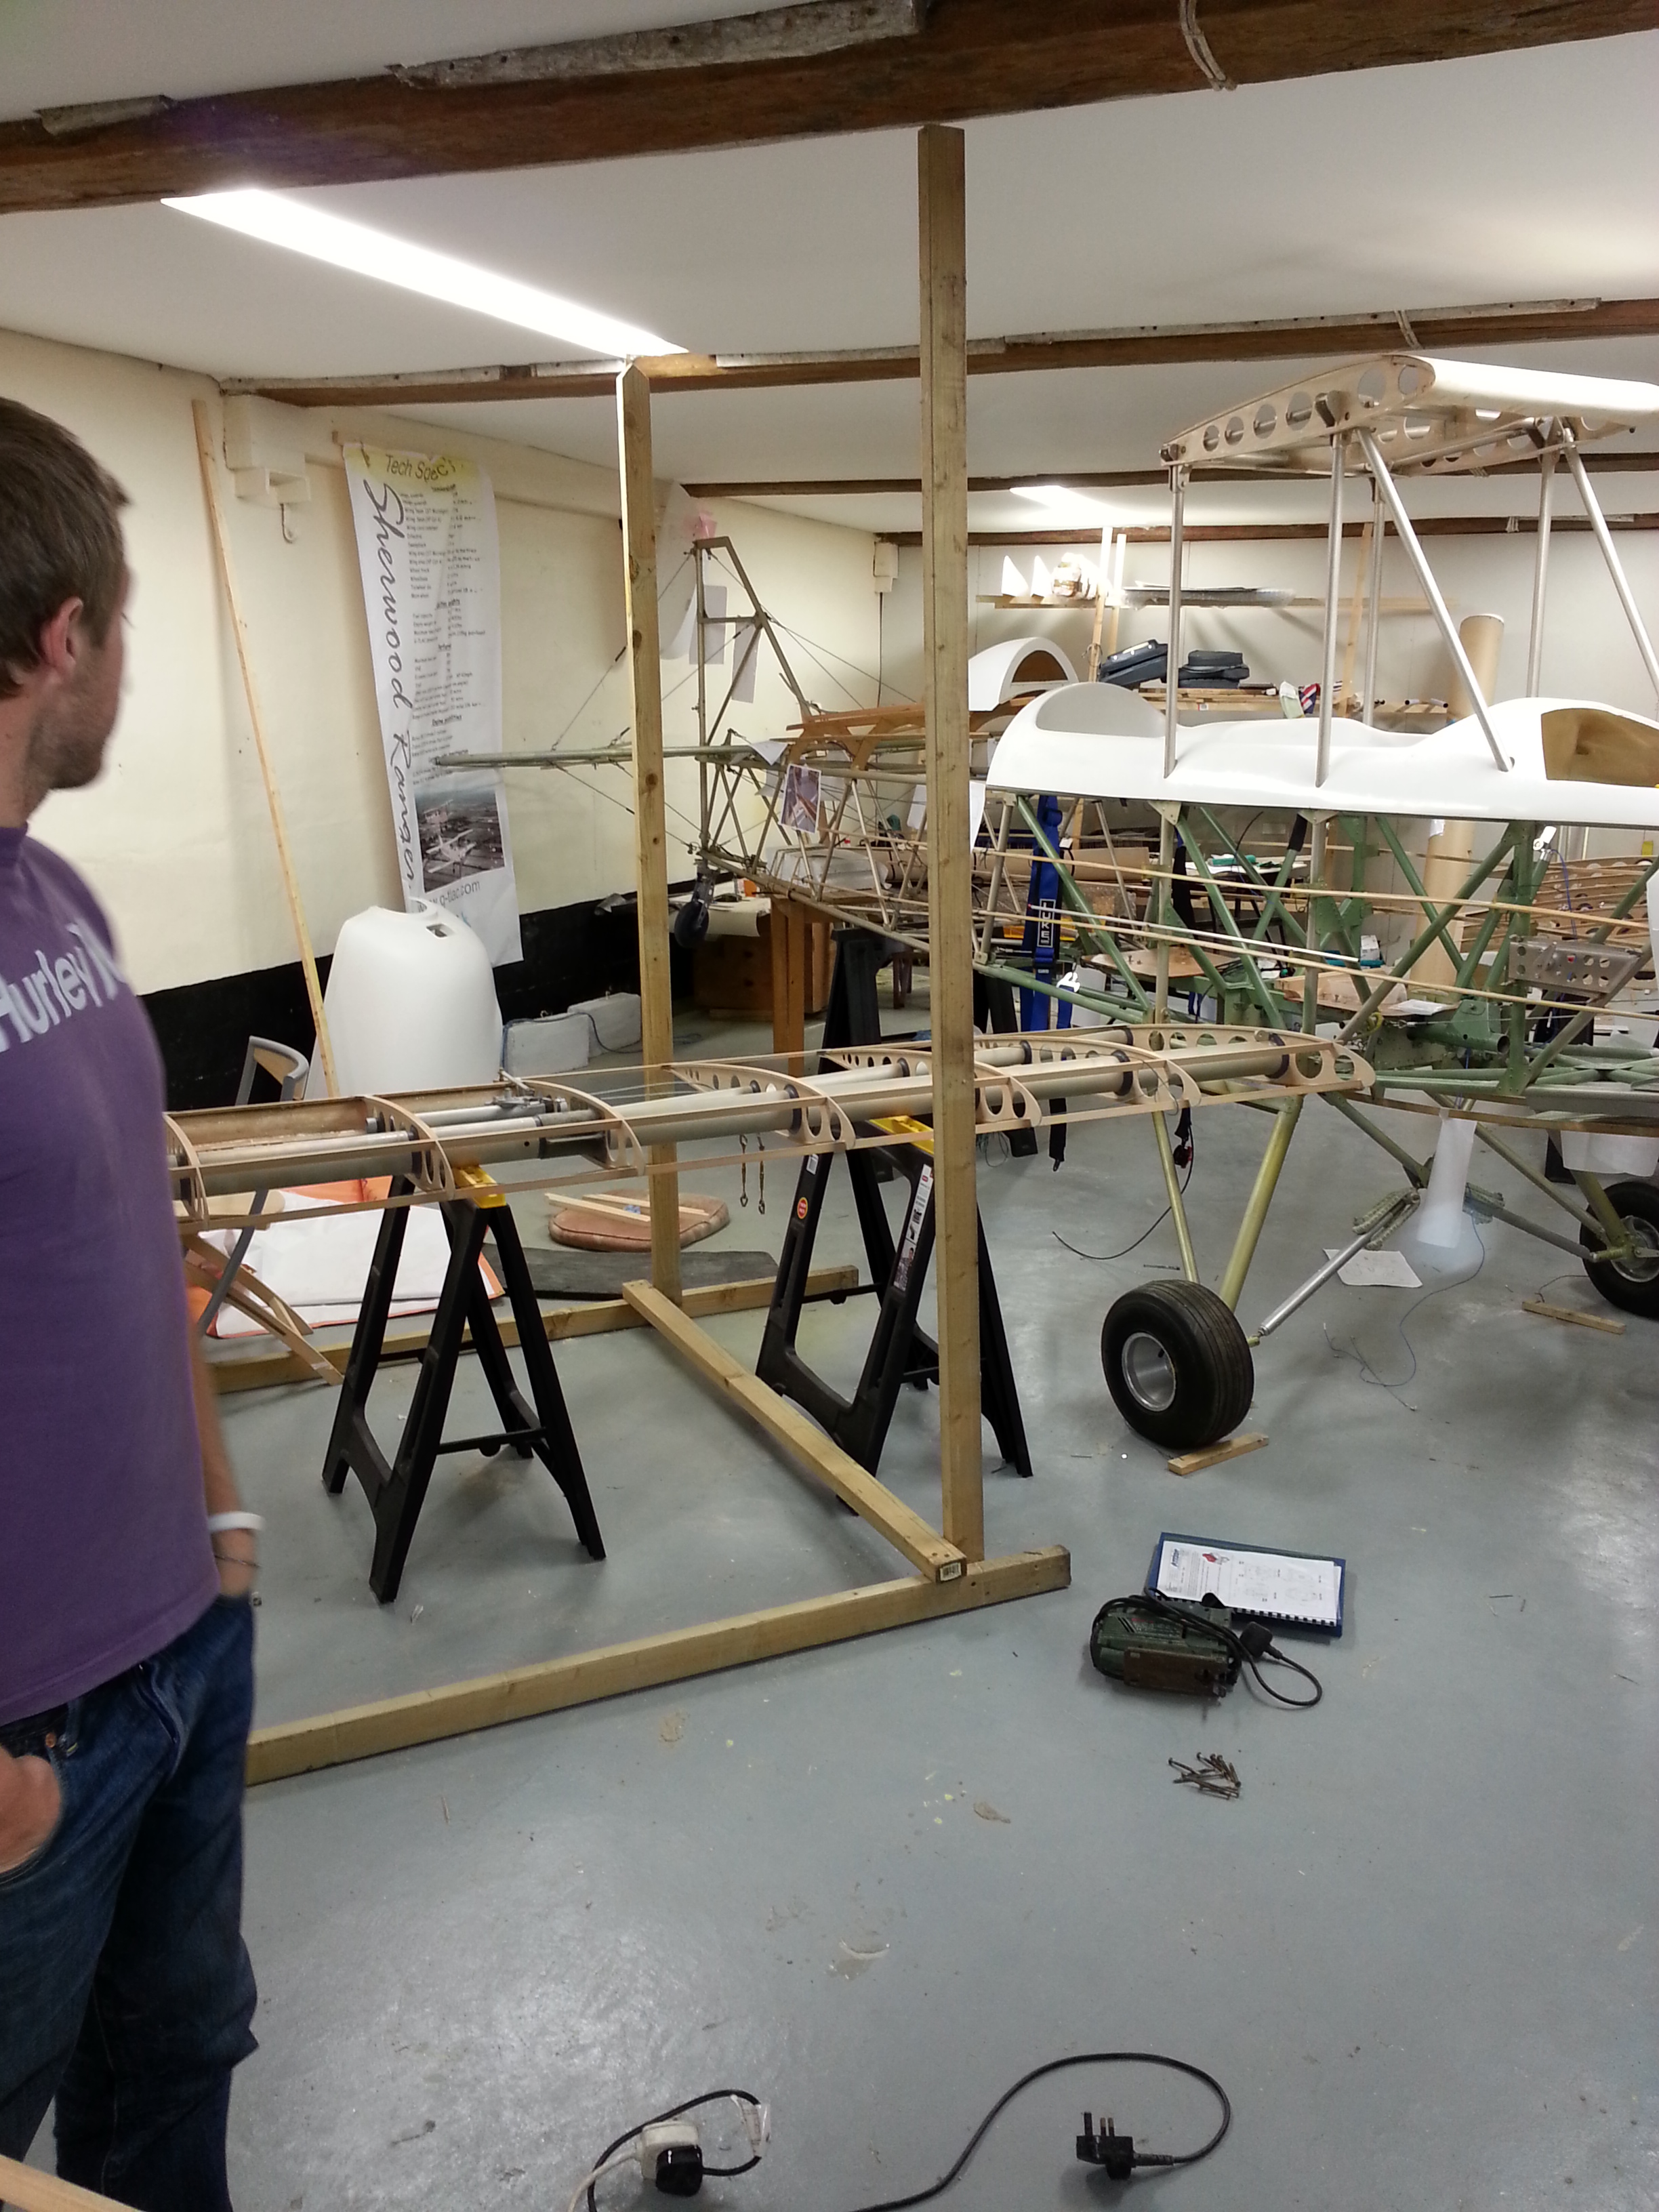
Before I can start to trestle up the lower wing for more test fits and final fit/rigging I need to ensure that all major parts are completed so it has an all up representative weight of the finished object (minus covering).

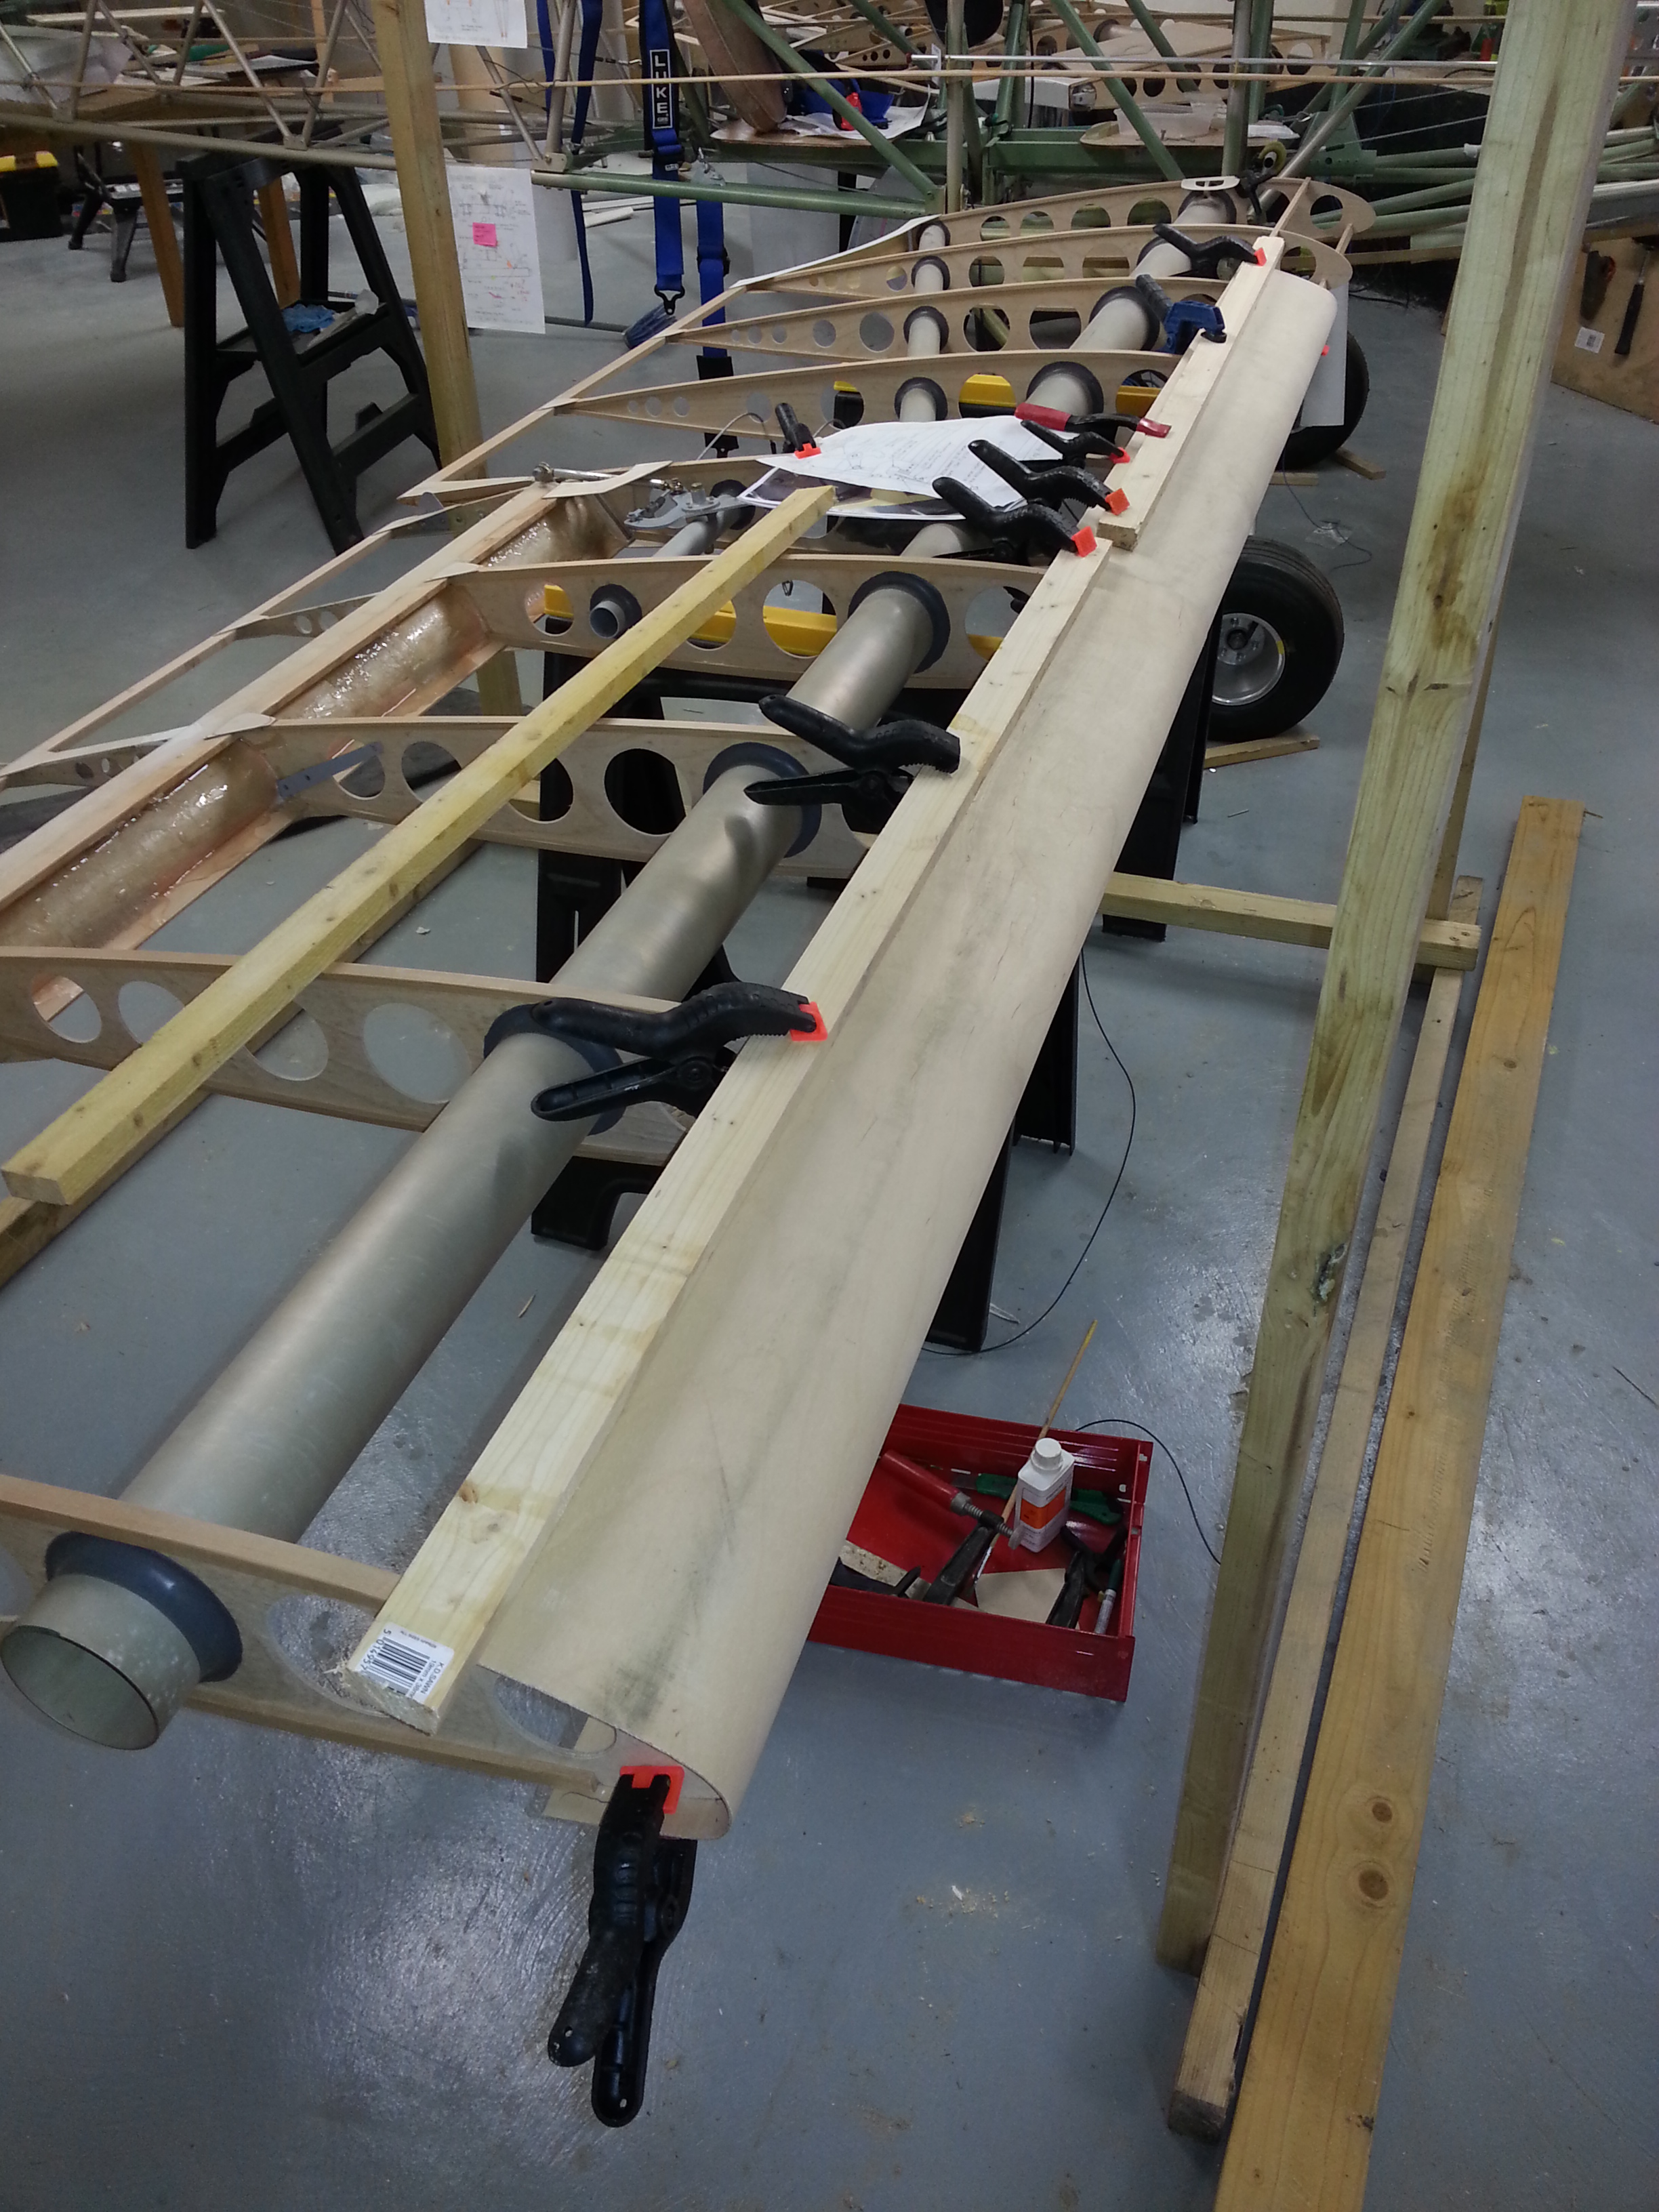
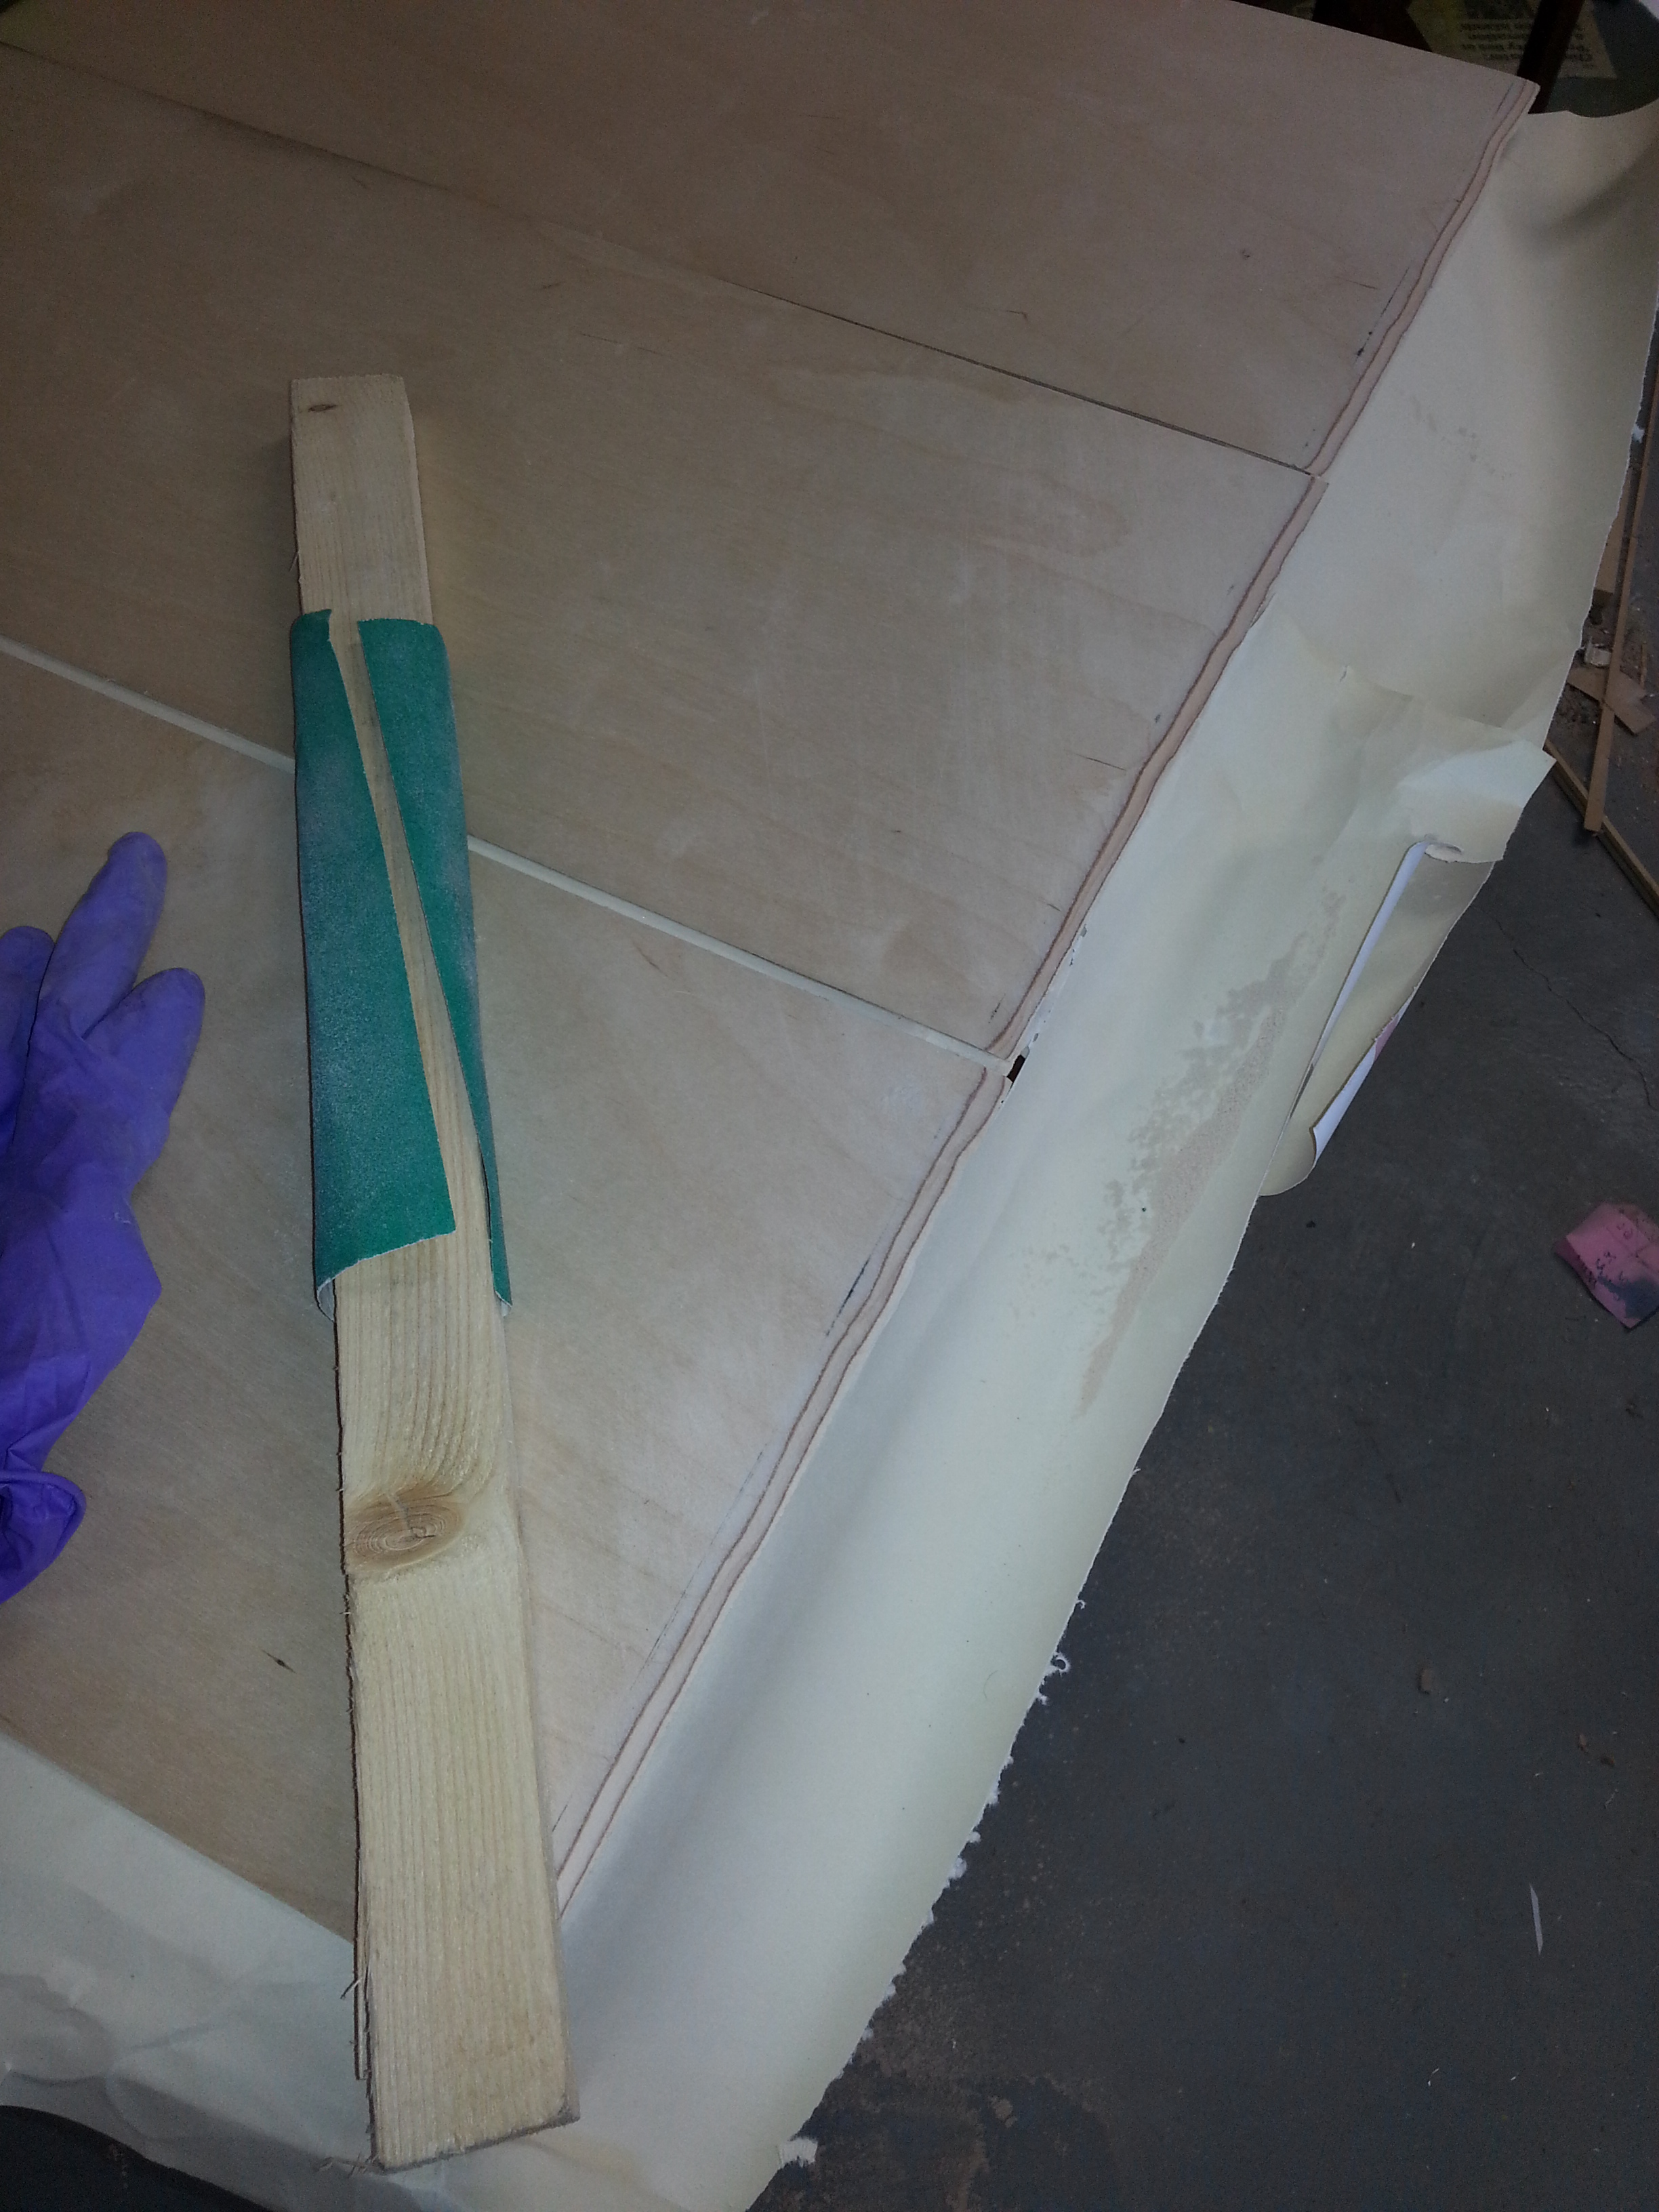
That means completing the leading edge fitting using the scarfed panels, 3 per leading edge. The soaking in the bath really helped but I discovered the original jig I created didn’t give it enough bend. Last weekend I had a nightmare evening trying to get the first leading edge panel to wrap around the wing. Eventually, as Paul usually says, if it doesn’t look right it probably isn’t !! I gave up, removed all the glue and left it all alone.

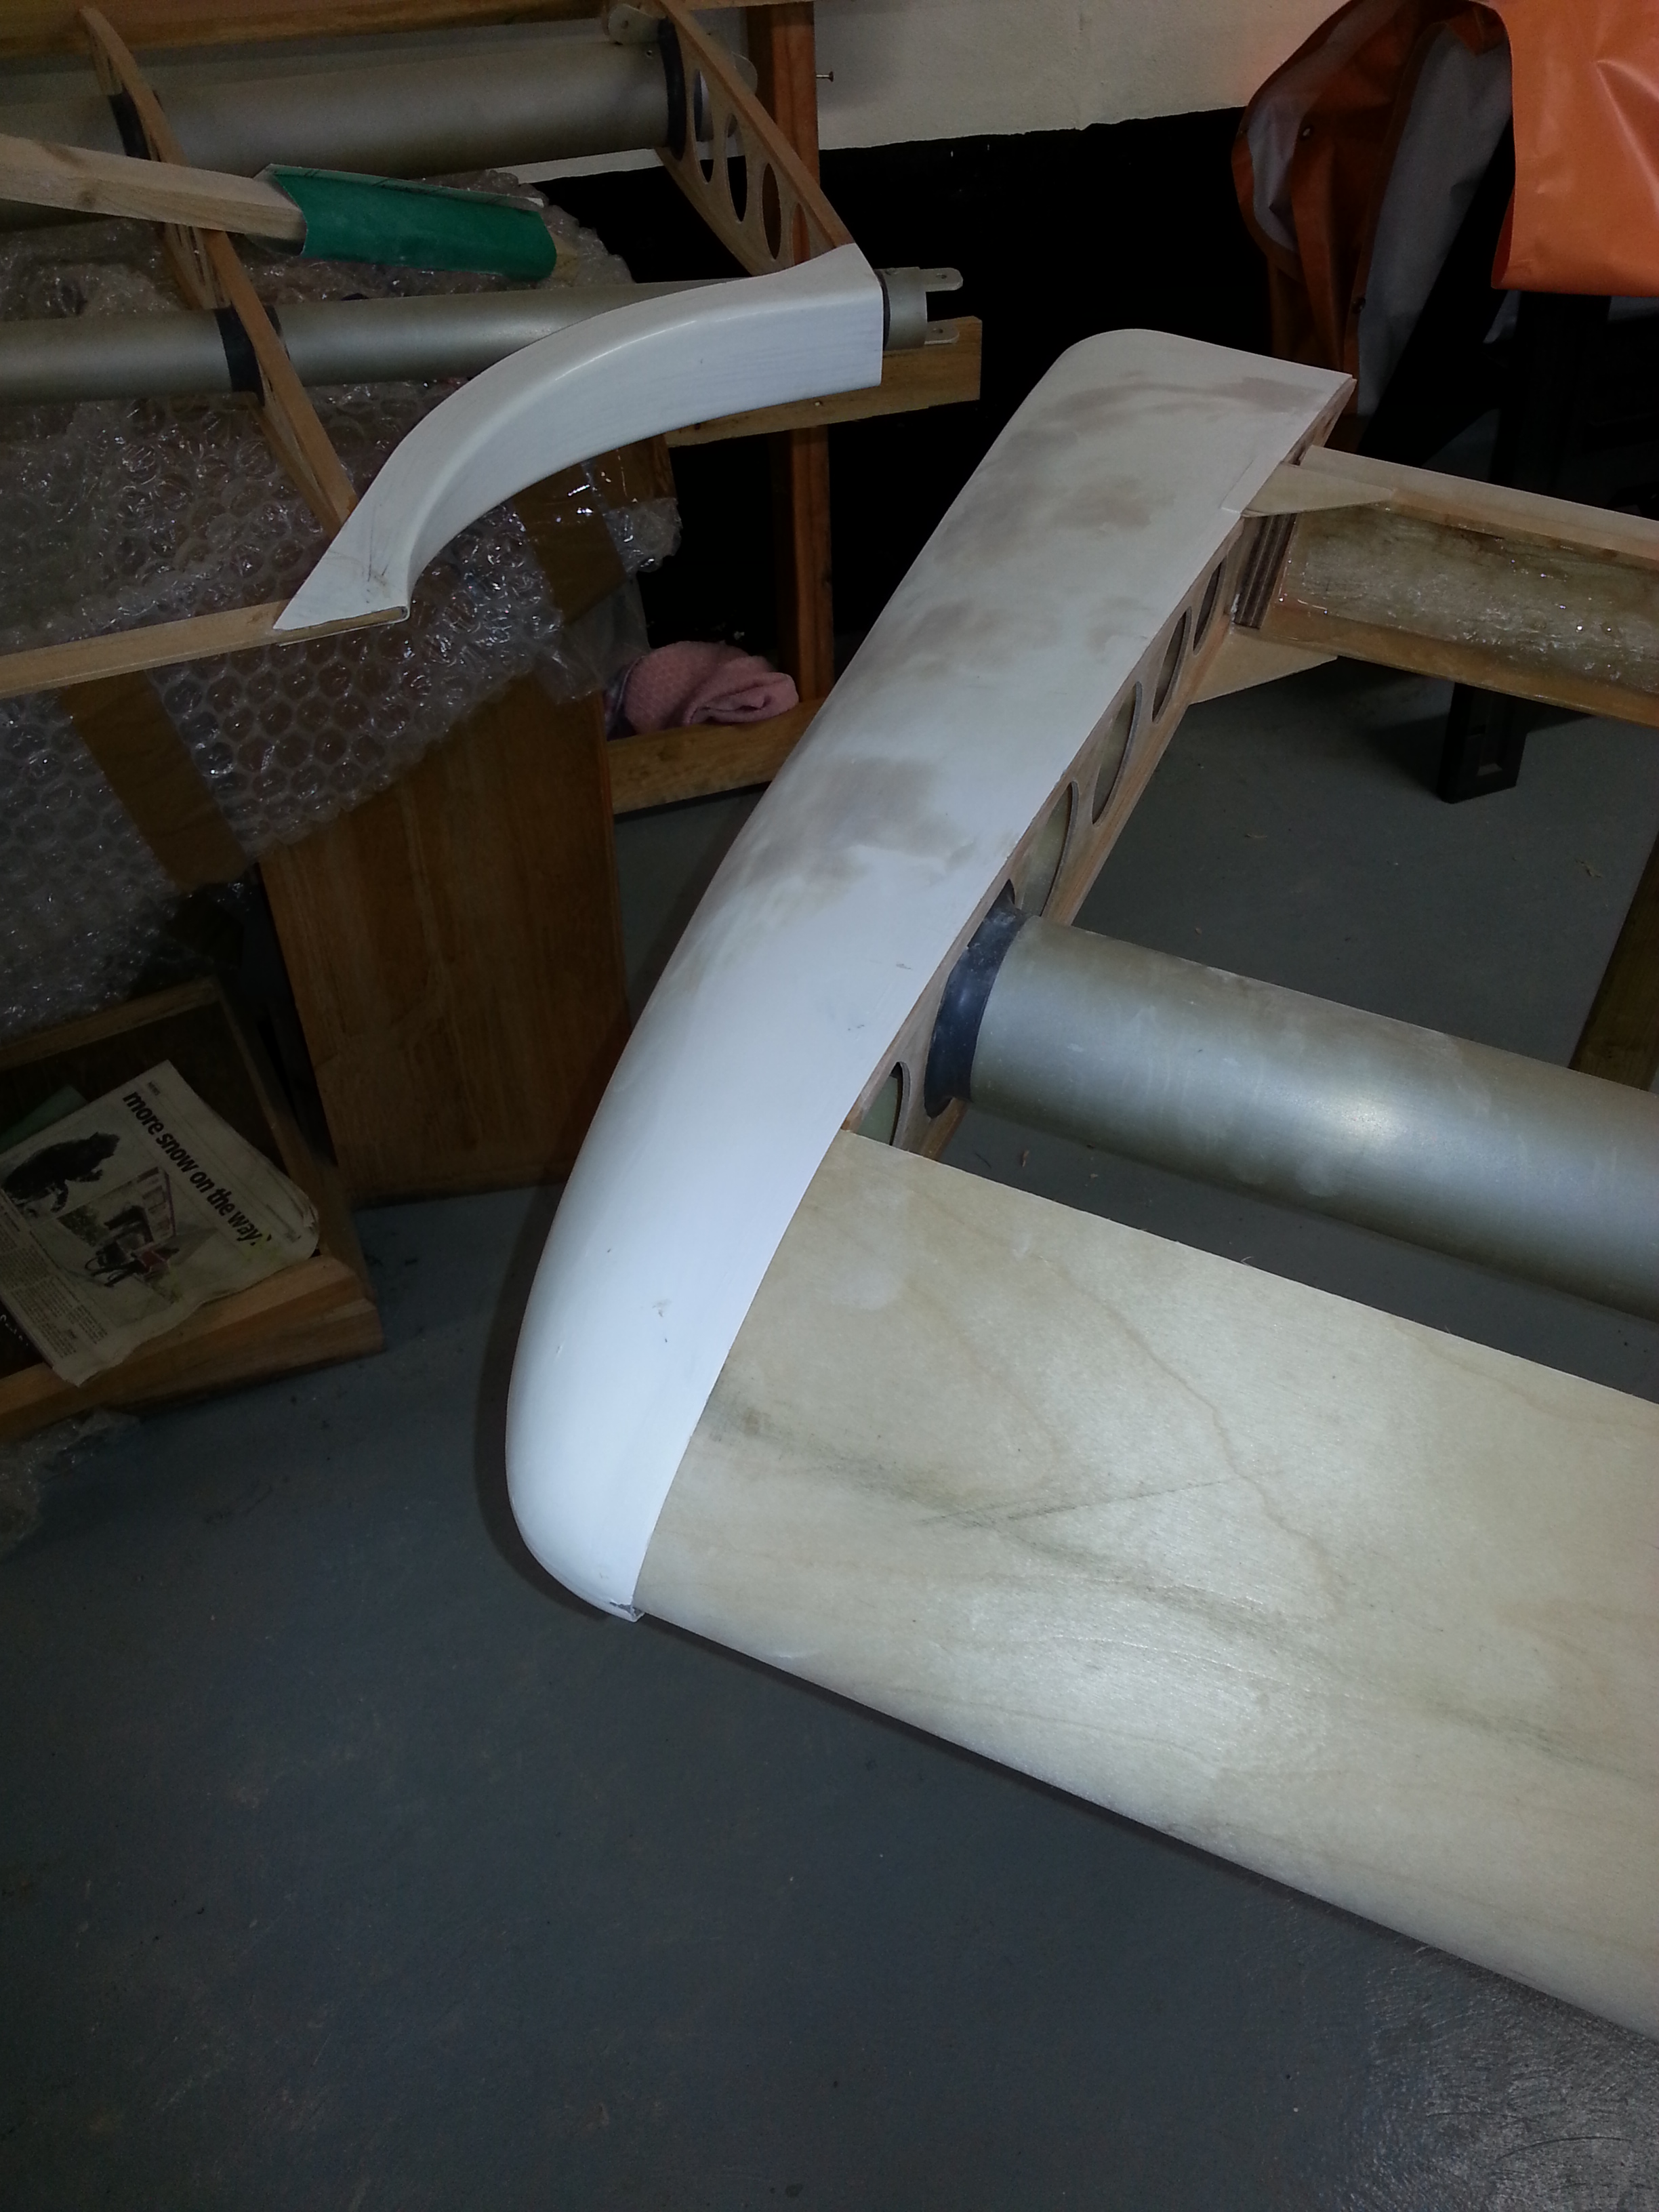
Took the 2 panels I have pre shaped back and re-wet and made an adjustment to the jig. Much better now and the first one offered up to leading edge wrapped around nicely with very little effort to get it to seat.

Last night glued the first one in place

Leading edge 2

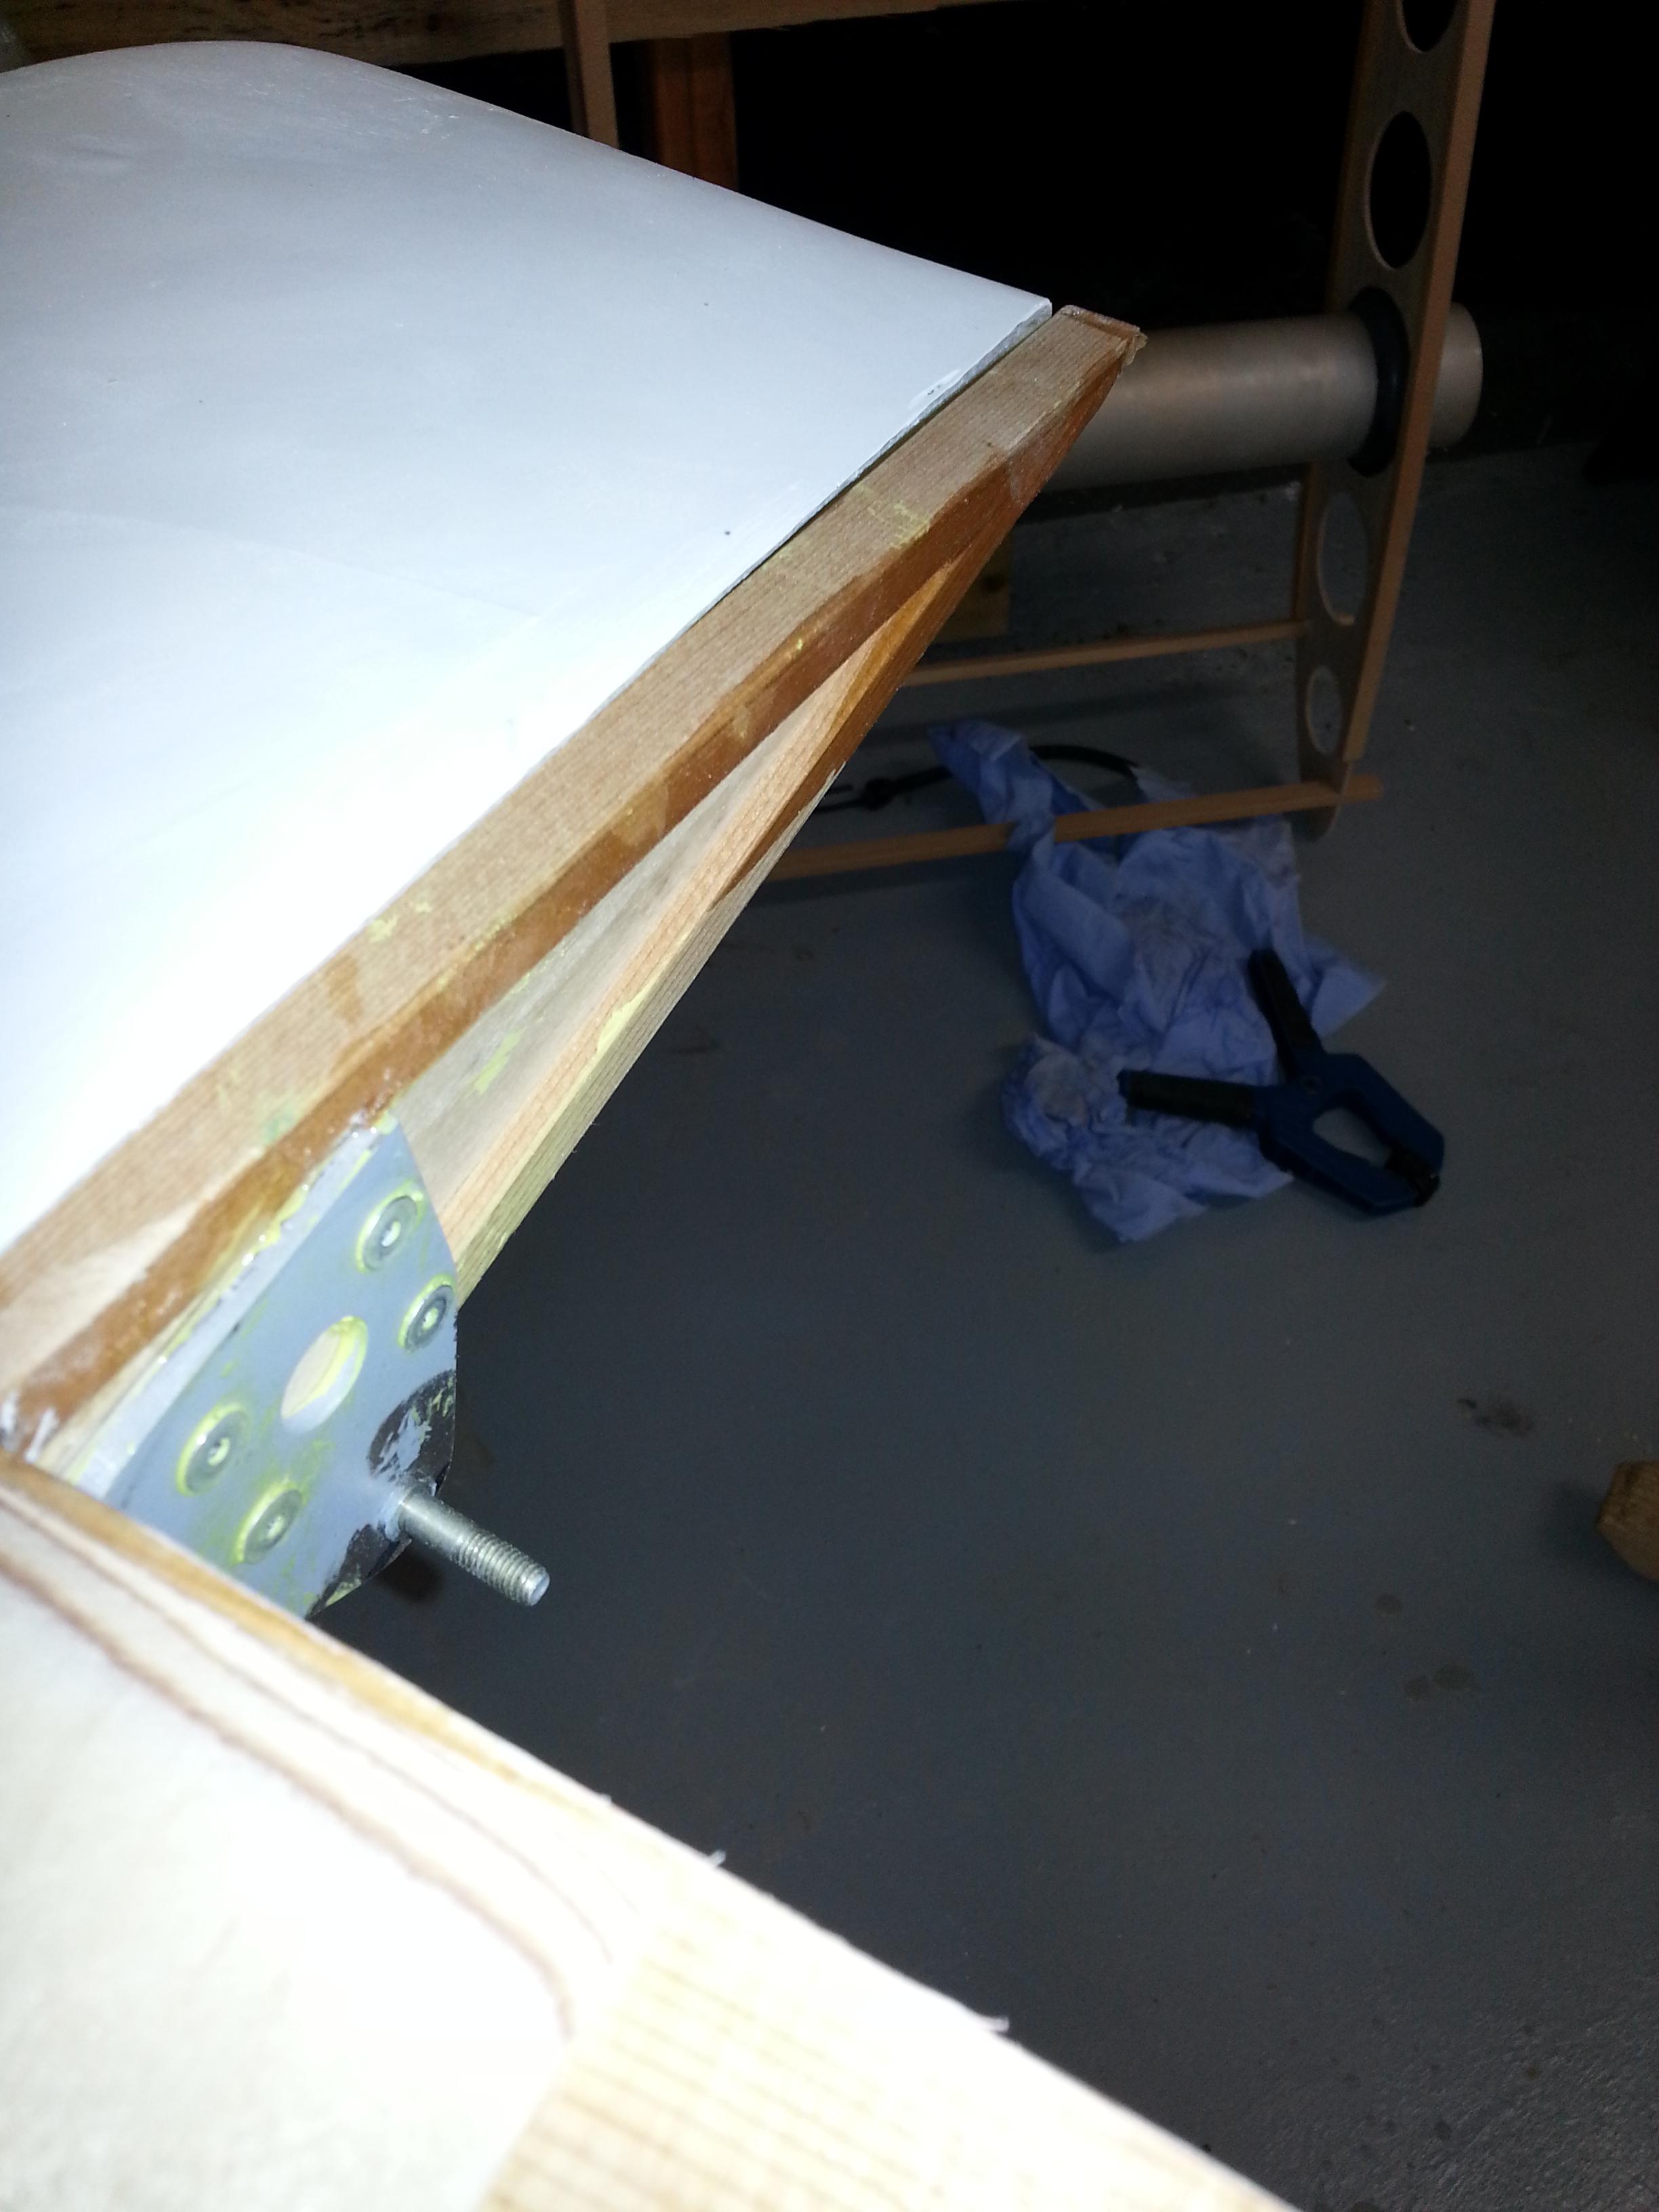
and this morning fixed the second. Only doing one at a time so that I make sure it all clamps down well and true full width with the battons.

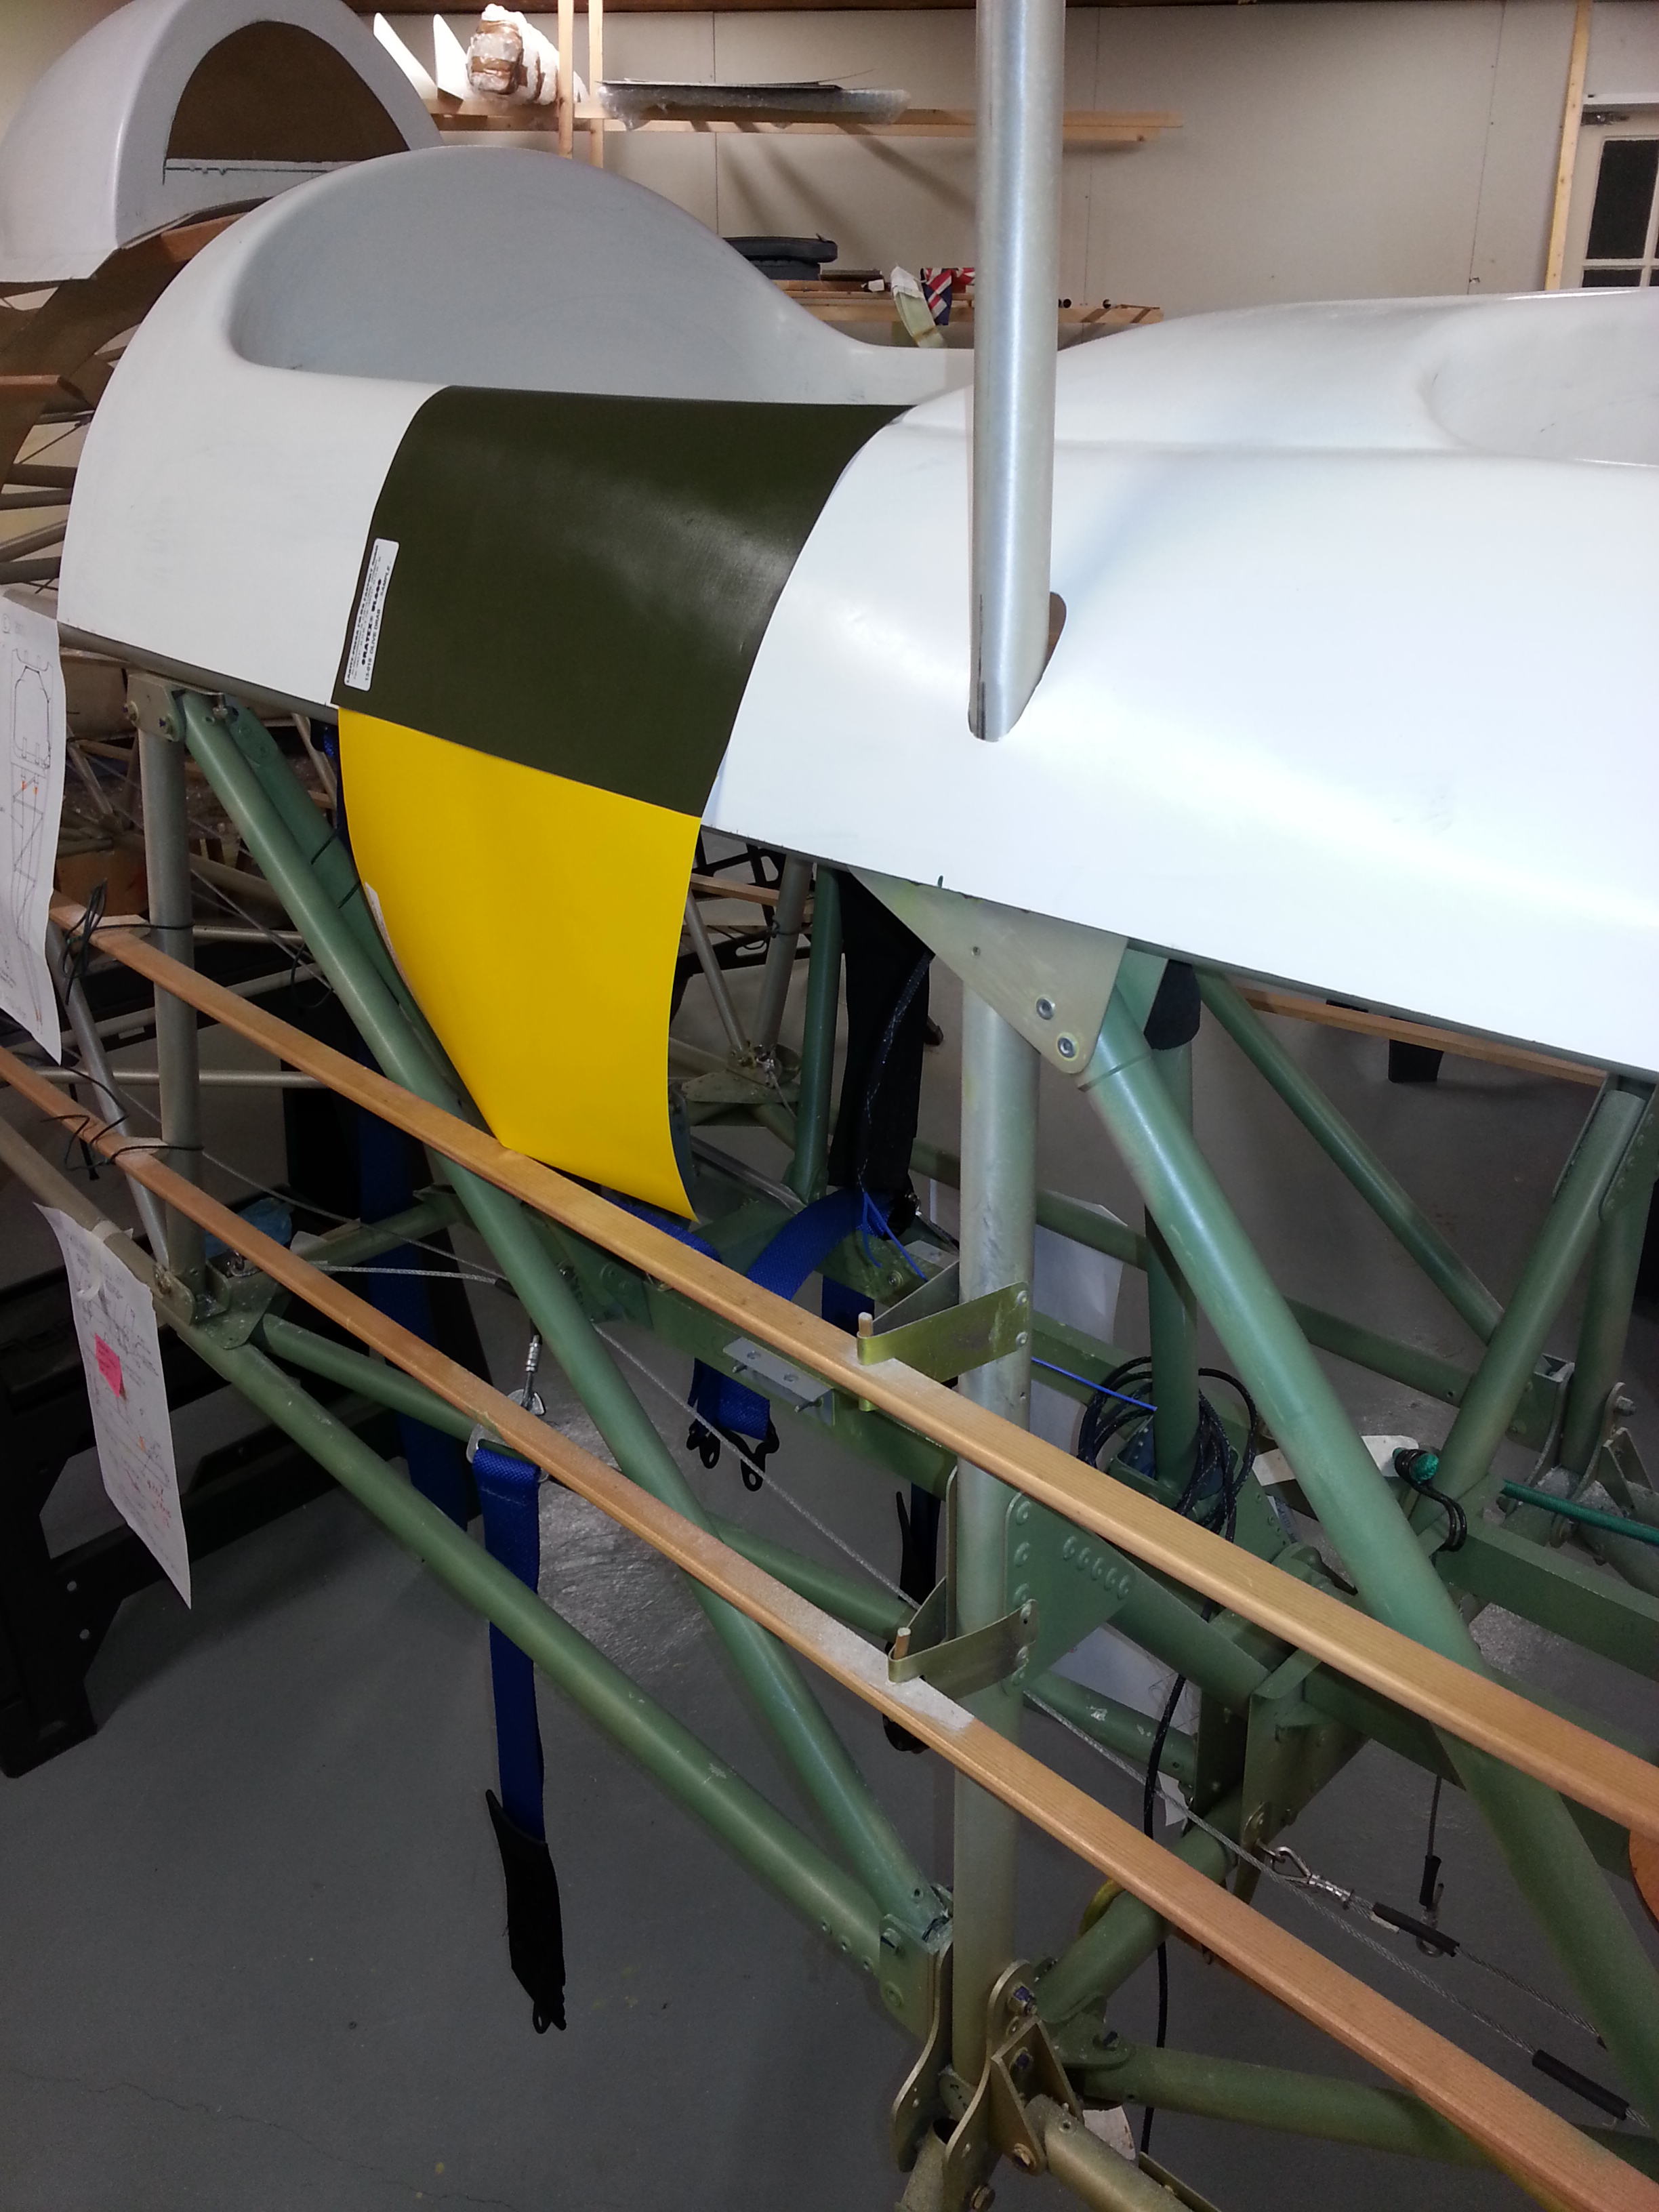
Final inboard section added

wing tip plus full Stbd lower le wingtip 2 wingtip 1

Jersey Air Traffic

Got an email today from our very friendly Senior Air Traffic Controller (SATCO) – Les Smallwood. He had taken the trouble to get back to my initial request about first test flight. Although its a way off its worth starting to plan ahead.

Les has kindly said he would ‘.. put the Fire Crash crews on standby for the event’ ! nice to know 😉

He also suggested that I could do a close circuit … which seems eminently sensible. Fort those who don’t know Jersey its 27/09 runways have circuits that are predominantly over the sea with large cliff edges.

I said that I would probably start with a series of long hops .. getting up to around 4 feet high to check balance and basic control. Then, return to threshold (or engineering if any problems) before going for a lift off and circuit.

Trailer preparation

An excellent friend at the local aero club who happens top be a cracking engineer has very kindly offered to help build a trailer.

Mike (Fleming) had popped up to the building workshop last year and offered some great, sensible, practical advice on a range of build techniques. One thing he did point out was that the pile of swarf next to the drill (which I felt made me a ‘real’ engineer) was probably more of a hazard and should be kept cleaned up on a regular basis ! Fair point and I have tried to spend 1 hour every month re-tidying the workshop which really does make a difference.

Mike has now mapped out the 100x 20mm tubular steel framework that will make up the basic layout. The cross members will be welded / tagged and the cross members added to make up the mounting points for the suspension units.

The local garage has all trailer supplies. Mike suggested leaving the wheel plates until we bring the trailer on site and then test load so that any wheel tracking/splay is catered for and then weld them in place.

Being able to move the ‘plane around will be very handy as engine checks/runs could be conducted at the airport/CIAS.


Wing Tips

The wing tips are provided per moulded with a very neat finish.

wing tip

They are a very snug fit with small indentations to cater for the wing gussets. Just need to carefully and slowly trim a little of the trailing edge of the outboard rib to get the tip to seat nicely.

I also plan to get some small strobes in place so need to get these fitted soon before access becomes an issue.

Sams Back …

My youngest, Sam, is back from Uni and always makes a point of getting up to the barn.

The other night it was final wing gussets needing Aerloite’ing in place … we were a couple of larger gussets short so Sam made a template out of one and made up 3. Once these were on and clamped he then helped with the multi handed job of swaging the inner aileron turnbuckles.

Ail turnbickle Sam

These have all been done single handed by me so far .. not an easy task with that huge crimper (STILL on loan from the very very nice people at Channel Island Aero Services (CIAS) … many many thanks for the long term use Bob, Bob, Graham …. nearly onto the last swaging … MUST be because I don’t have many thimbles left !

Top Wing Cradle – Coop !

Planning now for the seating of the top wing. This will need a cradle or similar setup as I cant obviously use the floor mounted trestles that I have for the lower wing.

A couple of years ago we bought a few chickens and I built a walk in coop for them. Eventually, when they had stopped performing ‘Chicken Run’ type escapes over the fence into the next door field we could dismantle the coop and leave them in the garden. NOW – all that spare wood (that I just knew I would use someday !) has come into use as the cradle outer for upper wing support.

Wing Cradle Part 1

The aim is to provide multiple checkpoints so that the wing can be carefully settled and aligned and jigged to provide the (on plan) 0 – 1 Degree dihedral on the upper and 3 degree on the lower.

First step is to pre test the cradle one side without actually fitting wing and, if it looks good, build a matching one the other side so they can be done together in situ … don’t want any lop sided weights setting an adverse tilt !

Cold enough to Scarfe !

Been preparing the wing leading edge panels which are Birch ply and need to be scarfed before soaking and setting in a jig to preform the wing leading edge curve.

Wing scarfe prep

This will make fixing them much easier without the natural ping of the ply trying to pull it off the ribs !

With 3 sections per wing and 4 wings and the centre section needs scarfe’s both ends that’s 4 per wing so 16 joints to prep. Makes your wrists ache !

Oil Pipes – Connectors

Started to add the oil cooler pipe connectors last night …. have realised I need to plan which is flow IN and which is flow OUT so I get them the right way around !!


Oil pipes 1


Next step – around the time of cowl fitting will be to work out where to locate the oil cooler matrix to get the best ram air flow.

Draft Colour Check – Oratex

I was planning on doing an Out of Africa lookalike but unfortunately Oratex don’t do Black ! So I asked them last week for some samples of Cub Yellow and Olive Drab (closest to Black).

Olive Yellow test

Looks OK I think …. very traditional Olive colour …

So plan with be top decking Olive, Top cowl Olive with a sweep of Olive curving around the nose into the lower cowl … then yellow wings and remainder of lower half of body.

The spinner will be probably quadrant of alternating yellow and olive

May do wing tips Olive to match and decide on scallop leading edge of fin/elevators when I see what it looks like.

Blog at WordPress.com.

Up ↑