Soldering up

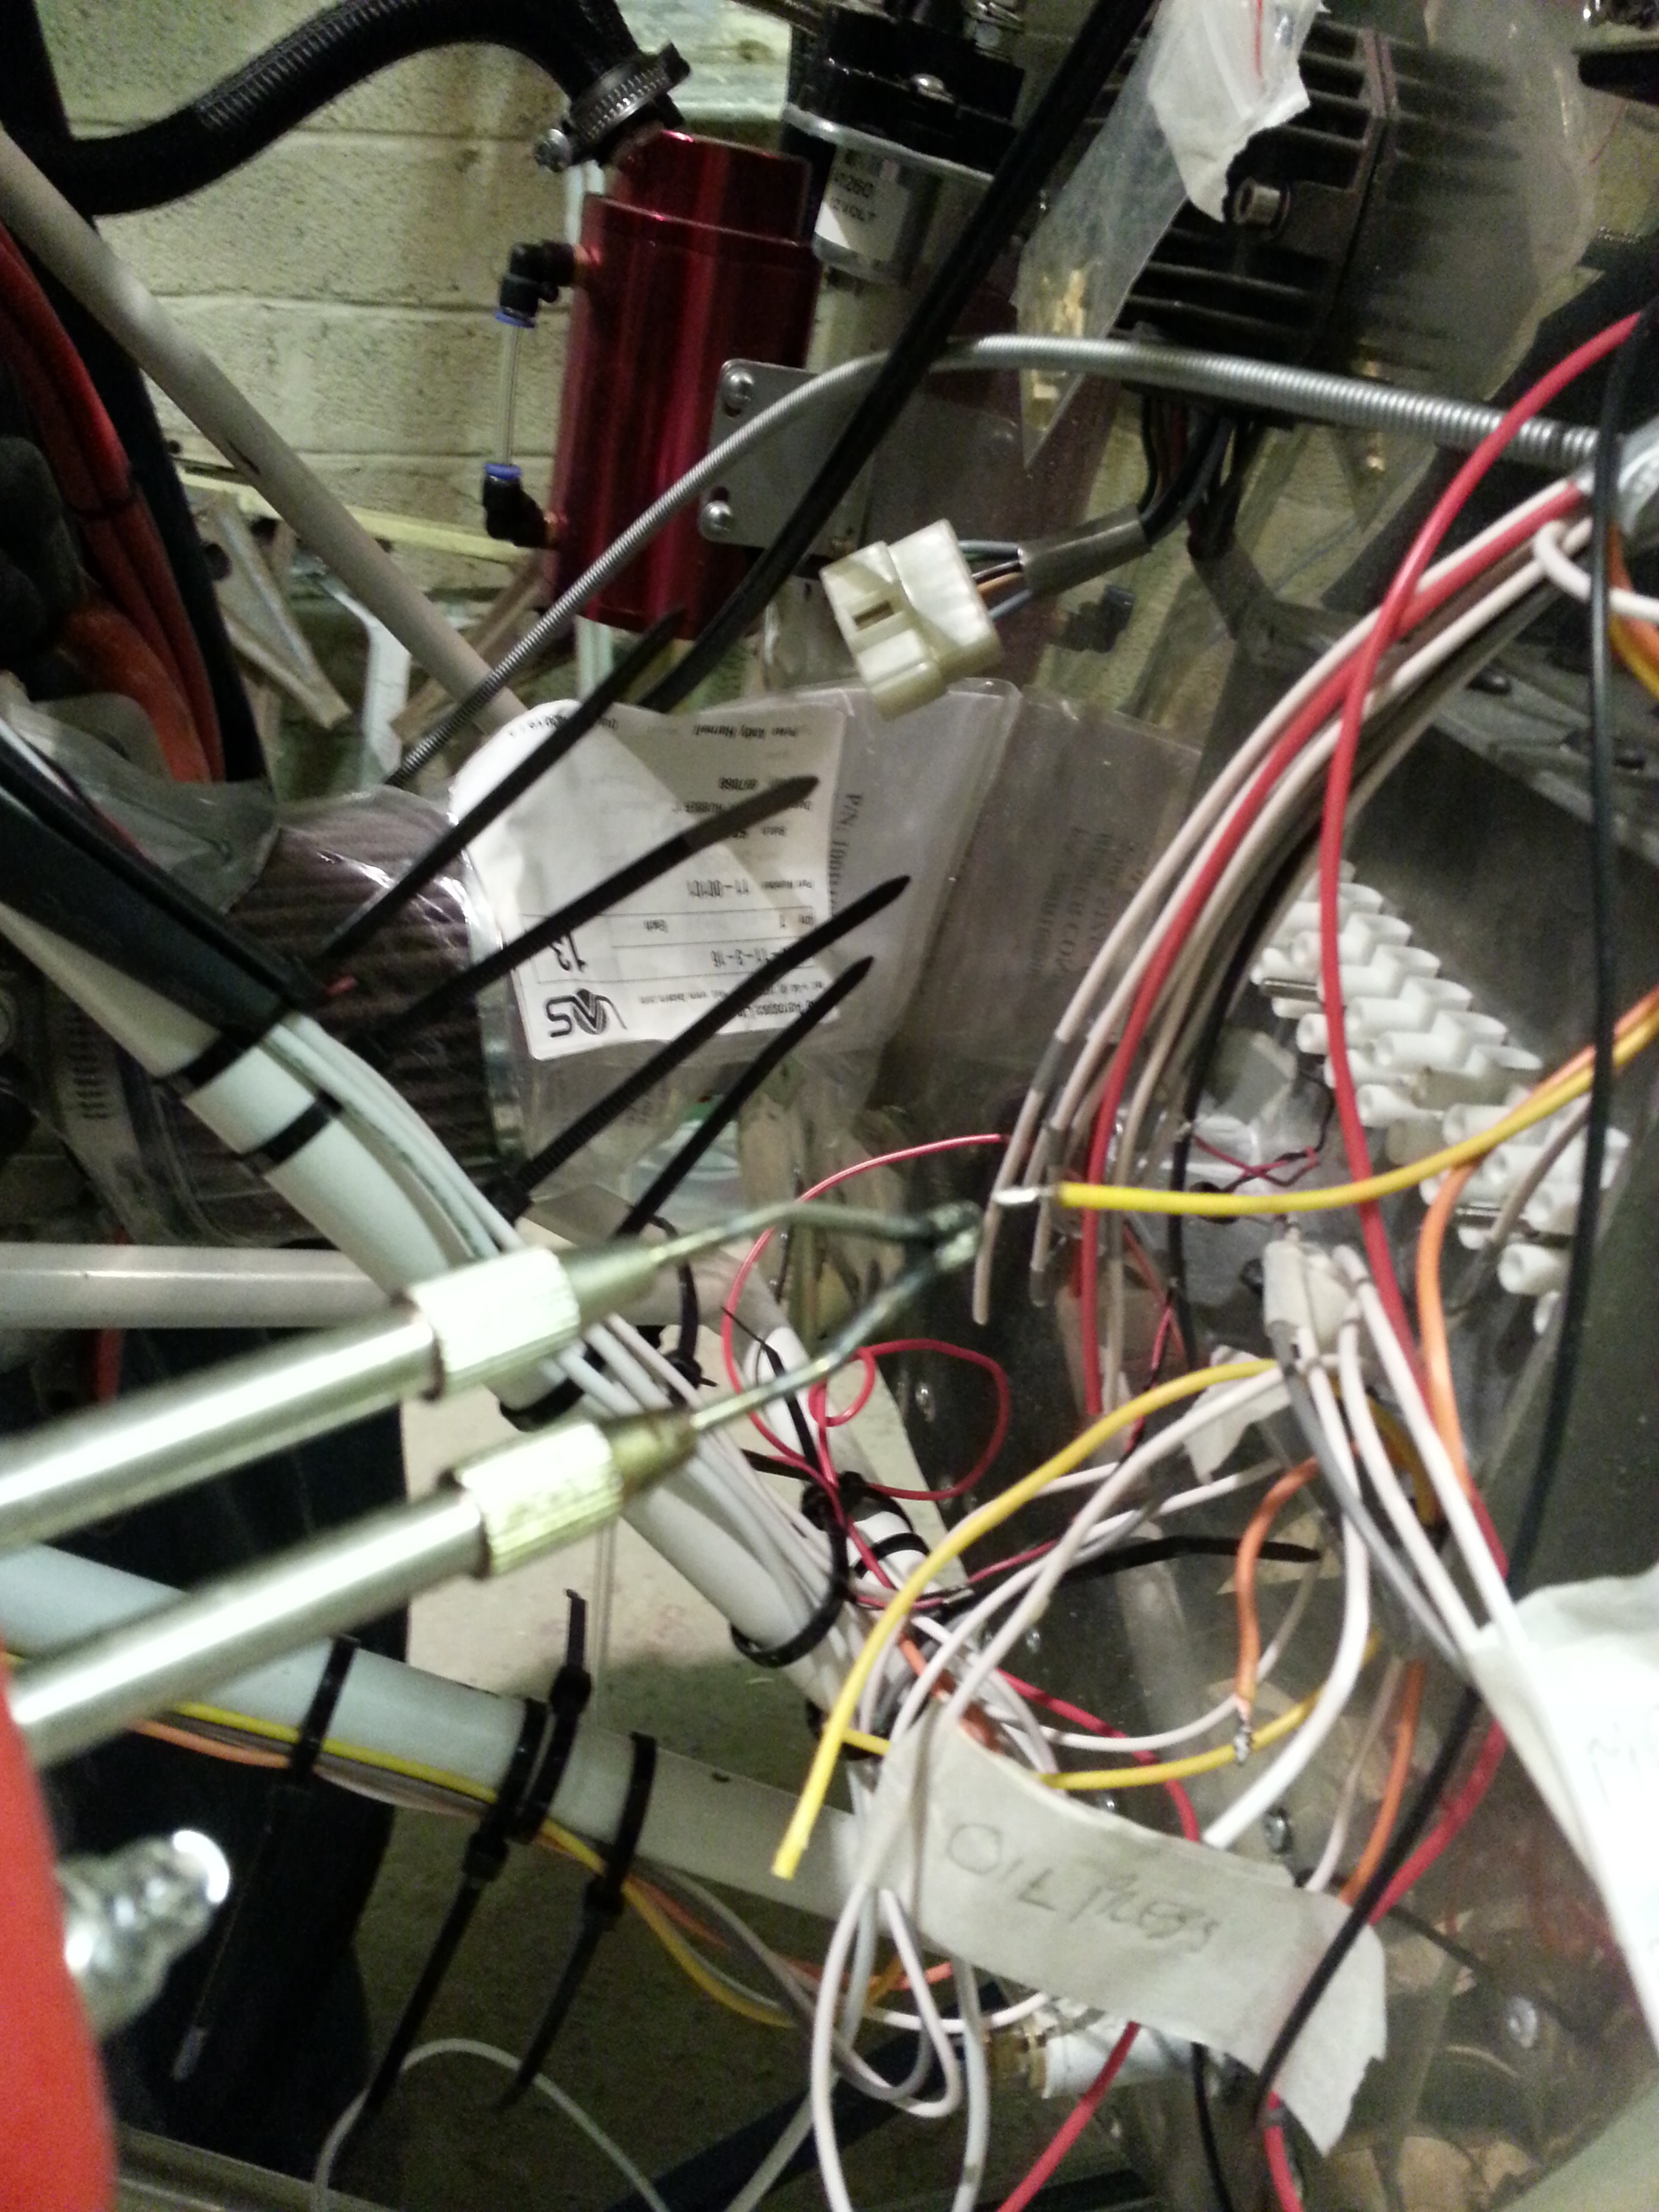
Tinning all the connections before they go … have you tried to go out and buy flux nowadays … people look at you like its something off Back To The Future … no, not Flux Capacitor – Marty …. I want flux .. like you use with solder ! .. They then give you multi core solder which admittedly has flux in it … but not really useful …

Mr Fleming to the rescue … who actually has some in the boot of his car ! I think he also has a lathe in the glove box but I don’t want to ruin a great friendship and pry !

Lovely small pot of gooey flux in hand .. get cracking tinning the wires .. very satisfying until just after midnight last night 🙂

Soldering

Wing – re rigging

Have had a nagging problem with the setup of the port wing ever since I first rigged it. The rigging went in like a dream originally but, thinking back, I finished setting her up very late one night then came back the next day to rig that wing. I now realise that something must have moved in the night !

I rigged the cables to mm perfection BUT … I now realise the wing had obviously dropped ! I have tried all combinations of tightening and slackening landing and flying wires and in the end it’s so so so much easier to simply get the plane out in the open, trestle her all up again and remove the rigging o check whats going on.

20150419_175808  20150419_174718

I did this yesterday and BINGO ! one pair of wires was too short and the other too long on the Port wing. unfortunately they weren’t ‘wrong’ in a matched way as I could flip them over and re-use ( I did measure three times to see if I could ! but nope).

I had pre-ordered enough spare Thimbles and Ferrules from Ivor to do one pair of cables but not four.

So I made one new Flying wire and 1 new landing wire so I could at least fold the wings back safely pending 8 more ferrules and 4 more thimbles !

20150419_192019

The wing pegs now pretty much slip in !! Happy days – even though I didn’t progress the engine wiring much as planned yesterday

Oil pressure wiring run

The initial wiring of this left me wondering whether I go over or under the heads and how best to secure it. I ended up adding 3 small P clips to the sump bolts to guide this just under the inlet manifold so well away from the heat of the exhaust.

20150405_210720   20150405_210727

Now just need to get some right angle aero quip pipes from Demon Tweaks to make sure the exits from the oil thermostat adaptor gets the braided oil pipes equally running the correct way !

Wiring harness

Instead of running a string of trailing wires through I thought I would try to create a harness to encompass as many of the ‘bulkhead to panel’ wires I could.

I was at a meeting in London last week so popped into the City based Maplin which had a load of useful bits and pieces .. one discounted package was a series of different sized expandable sheathing for wiring.

20150404_184834  20150404_184848

Great stuff … took the 7 coloured and 5 white cables I have prepared so far .. hopefully at least 4 of these will be spare !

Engine oil – ready W15W-50

Graham at CIAS kindly dug out the engine oil I need from stores so its ready to go in once I have finished fiddling with the oil cooler. Managed to work out last night that with the cooler on I cant get the lower cowl on and off !

I reckon that with the cooler matrix connected I will be able to remove the lower matrix scoop, and support the oil cooler on a temporary bracket on the bulkhead when removing the lower cowl. May even rivnut a hook on for that purpose now.

20150401_224922

That would mean – a full lower cowl removal would take approx 5 minutes or less, so not too bad.

Jabiru engine – Delivery Oil drain

Drained the delivery oil last night. Not much in there – around 250 ml

This involved cutting the factory nicely twisted wire lock. So photographed it before as they make a neat cross over wire and then twist lock it.

20150401_232416

After refitting the drain plug I re tied

20150401_233740

Looking this morning (in daylight vs darkness of last night !) at the photo – it could be a little tighter 🙂 so will re-do

Tank – anti vibration pads

Been a bit tied up recently but started cracking on again last night.

Got the tank out, having secured the battons underneath to brace the tank into position. These have now been treated with polyurethane to seal and small thin strips of anti vibration tape added. a larger pad was added to the cross over joint to ensure that doesnt rub on the tank base.

20150401_223641(0)

Blog at WordPress.com.

Up ↑