After the work on the engine flywheel it was good to get it all put back together and start at FIRST press of the button
Then directly overhead the airfield to 2000′ (nearly !) For safe engine check at all rev settings including stalling
A mile of runway can take you anywhere
After the work on the engine flywheel it was good to get it all put back together and start at FIRST press of the button
Then directly overhead the airfield to 2000′ (nearly !) For safe engine check at all rev settings including stalling

Last few bits of the 100 hour …
Had a slight problem with 1” bolts vs 1 1/4” bolts …but all out now and new 1 1/4” in place with Nordloc washers and torqued up to 30nm initially
Letting his nestle for a few hours and will then torque up to 39nm
Then plan a ground test run up to 2,300rpm then fill up and a flight overhead the airfield to get comfortable that all is settled and solid

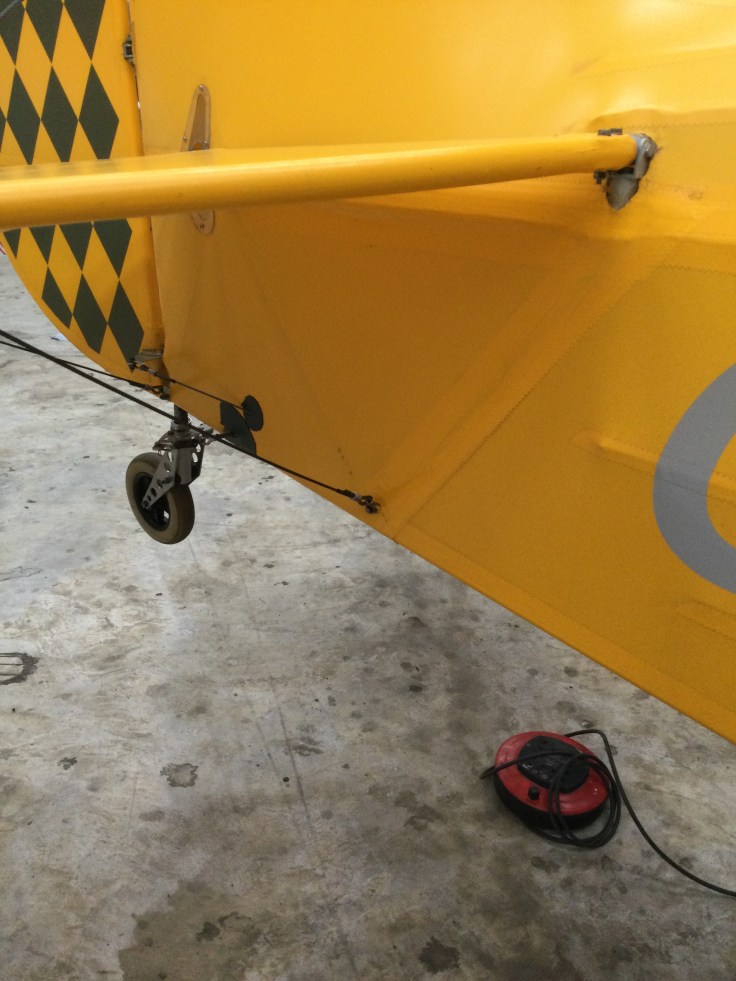
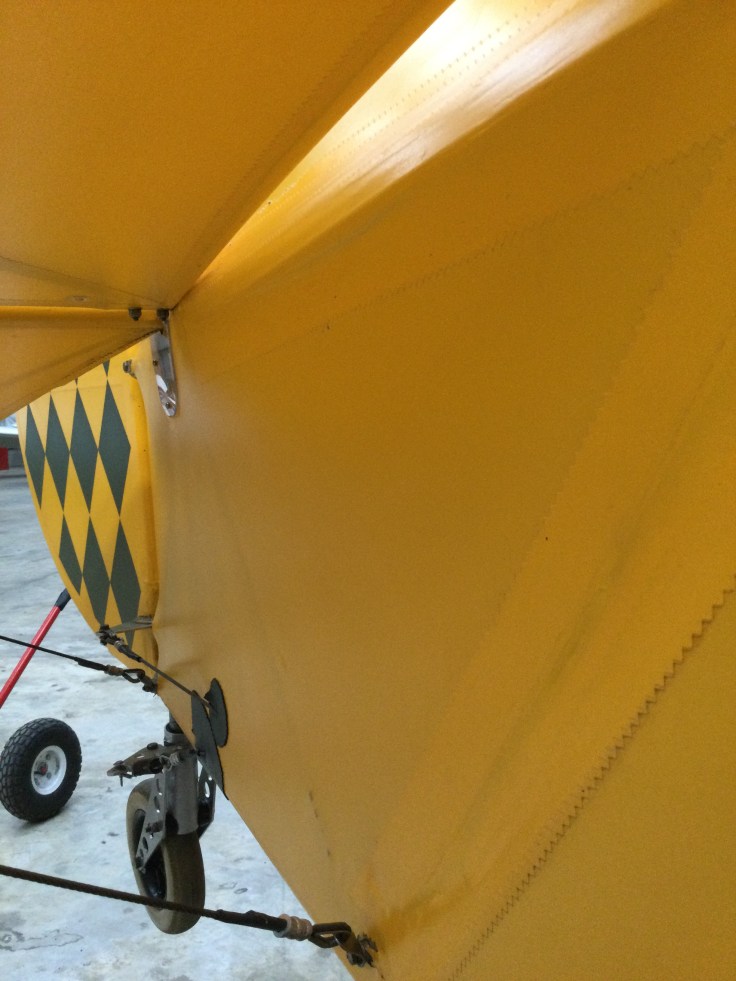
Been a few weeks offline awaiting the bolts for the flywheel … so good time to get some of the grime off from winter flying and smoke oil sessions …
Screens coming up nicely with proper screen polish

The front battery had gone flat during a prolonged gap in lockdown so decided to replace BOTH as, for £100… it’s not worth the hassle of them going down on you when you least expect it ..
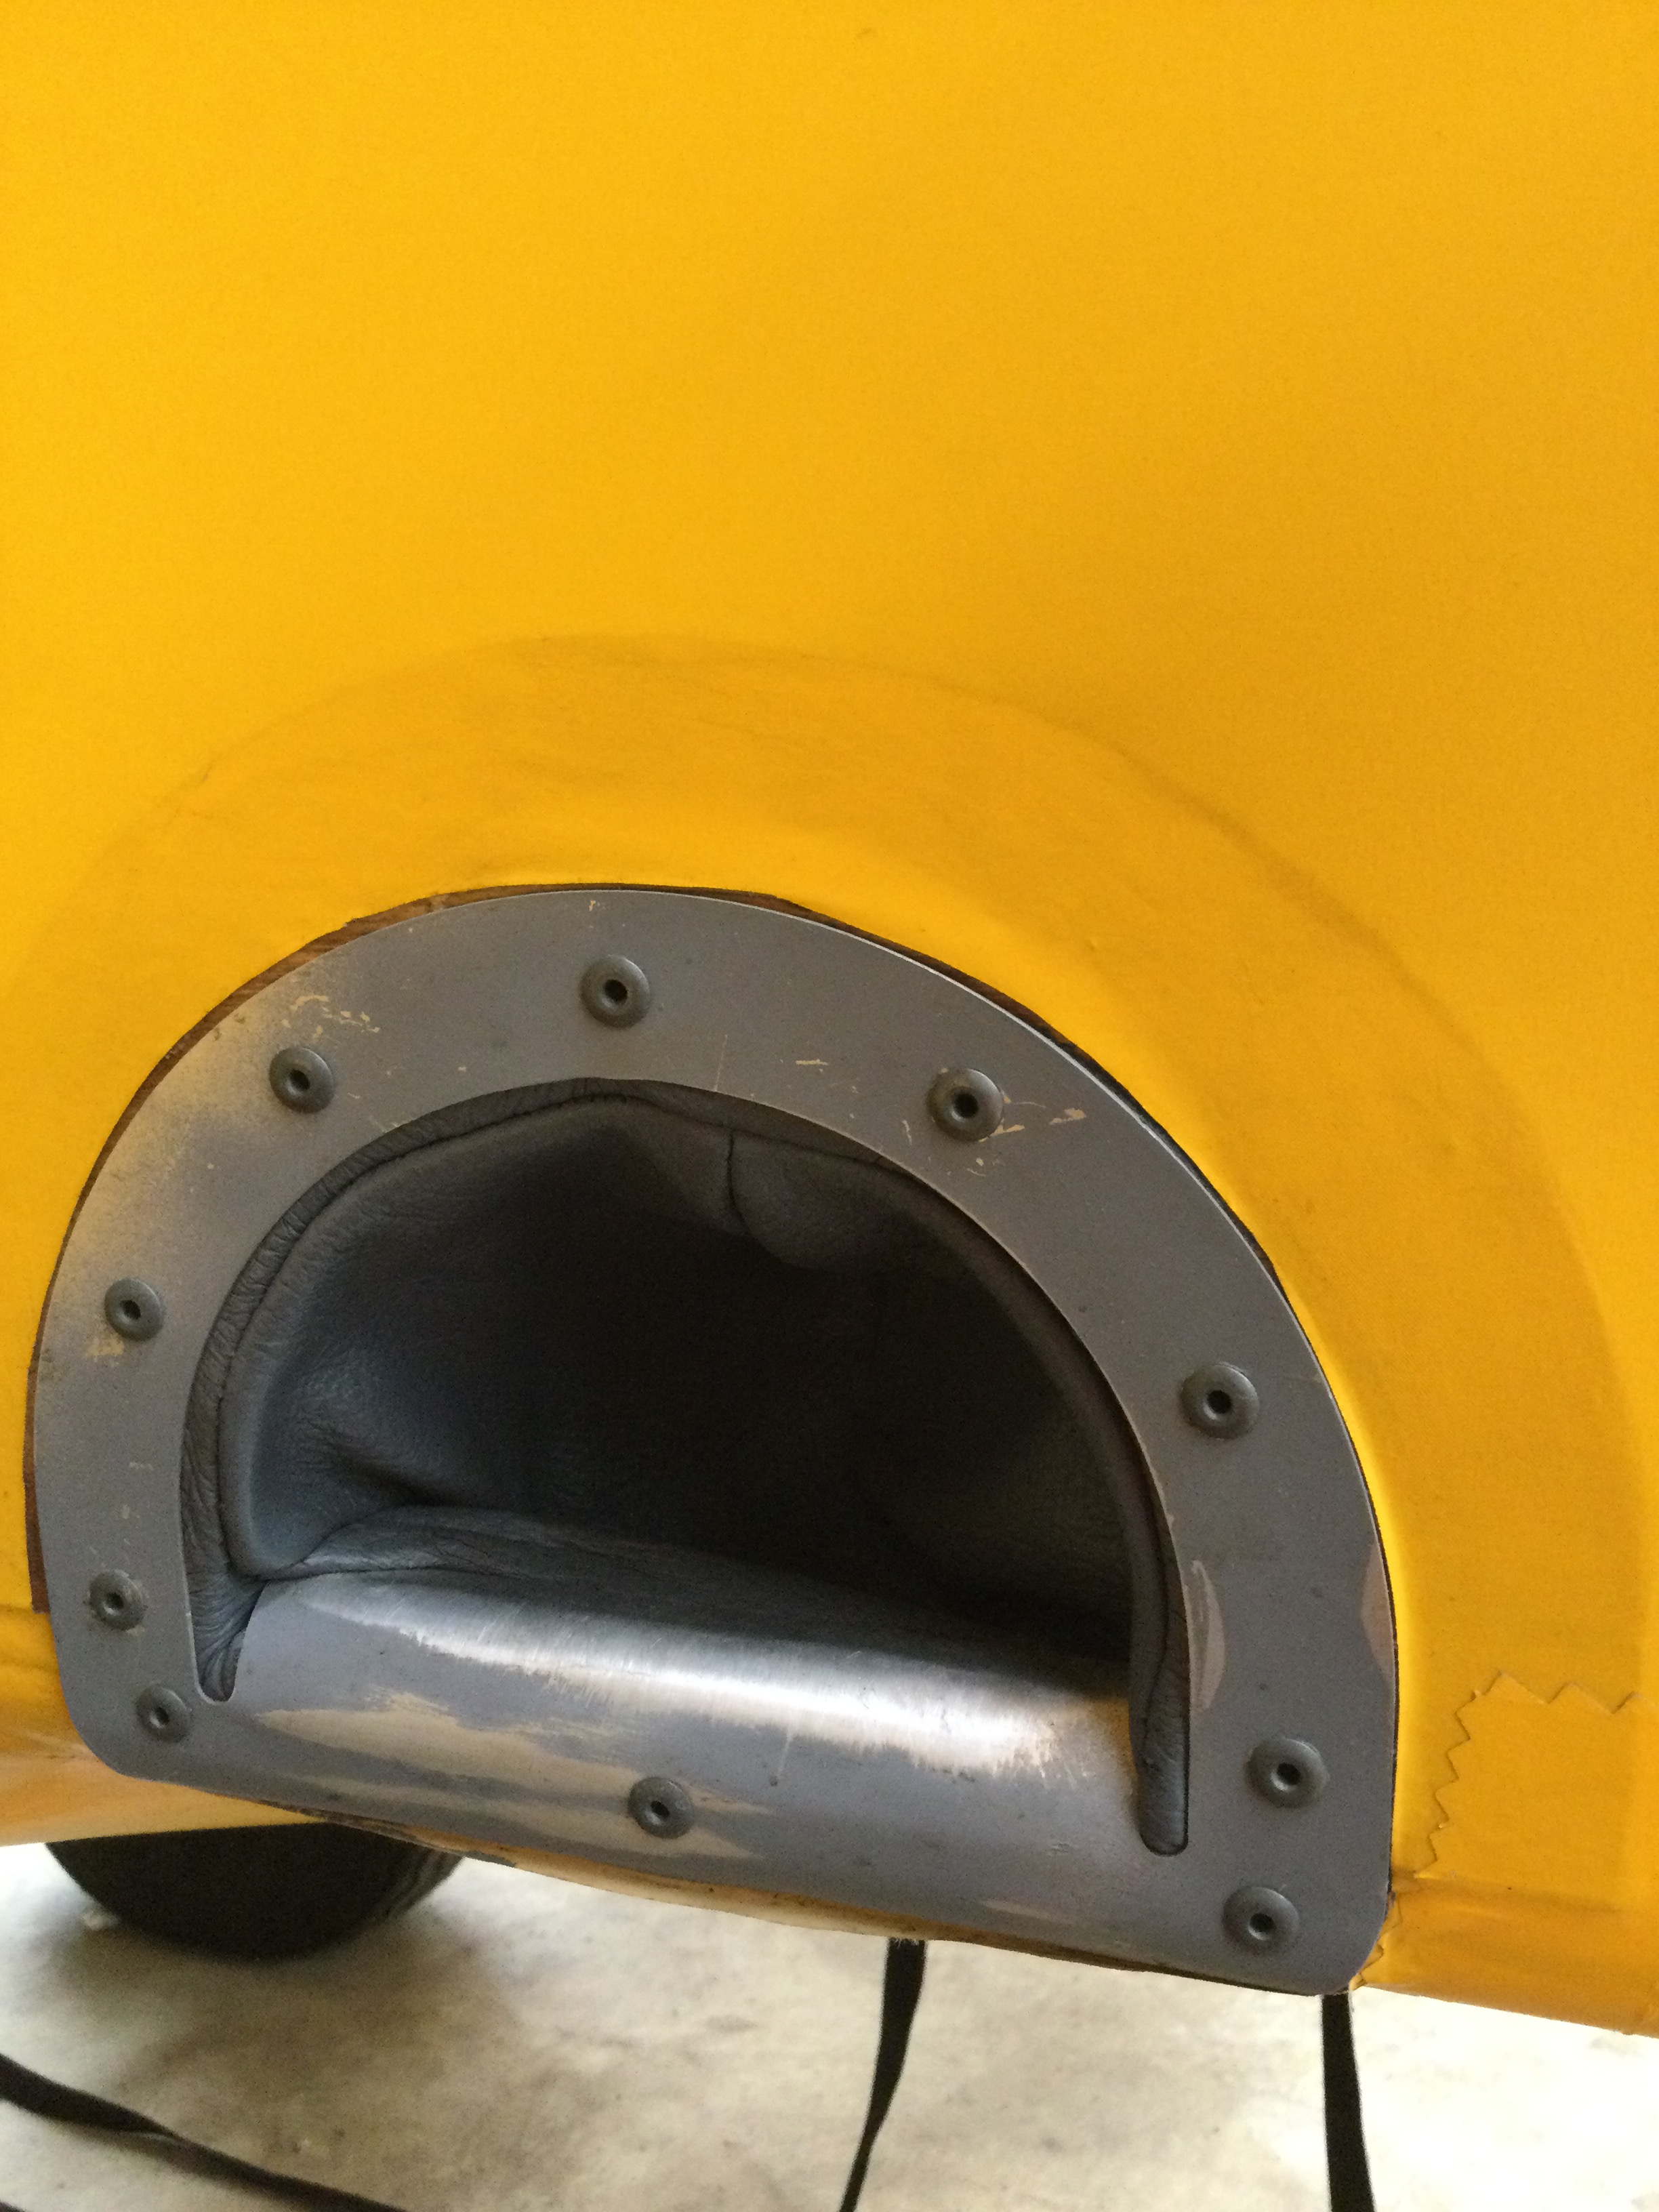
Front was done a few weeks ago … rear needs either a bigger opening or cut open again …
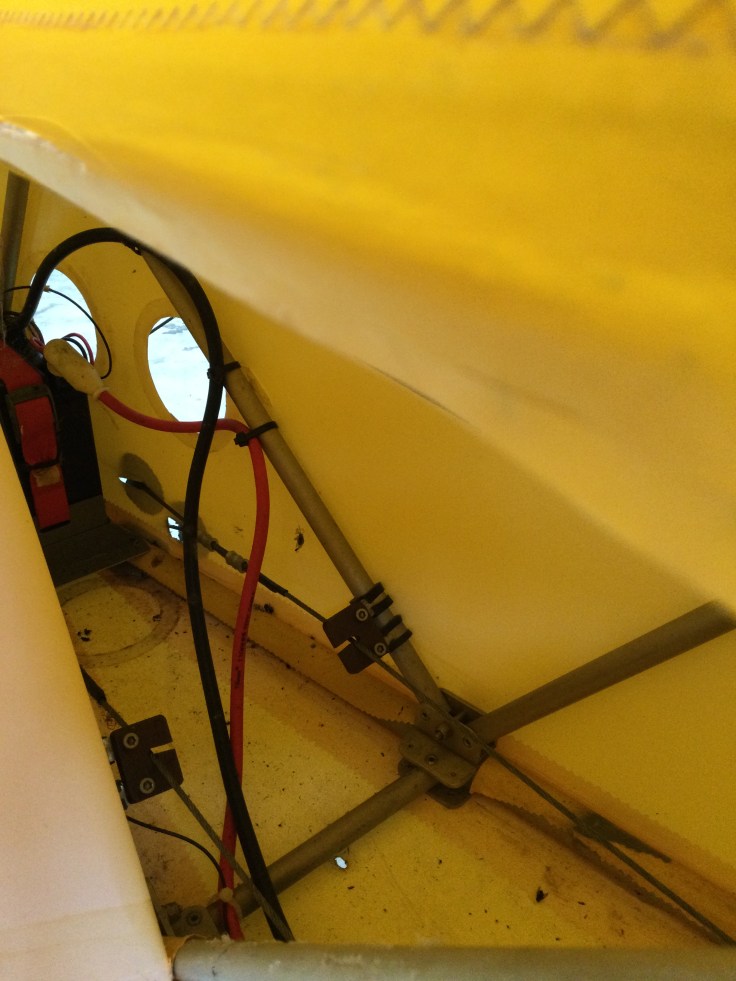
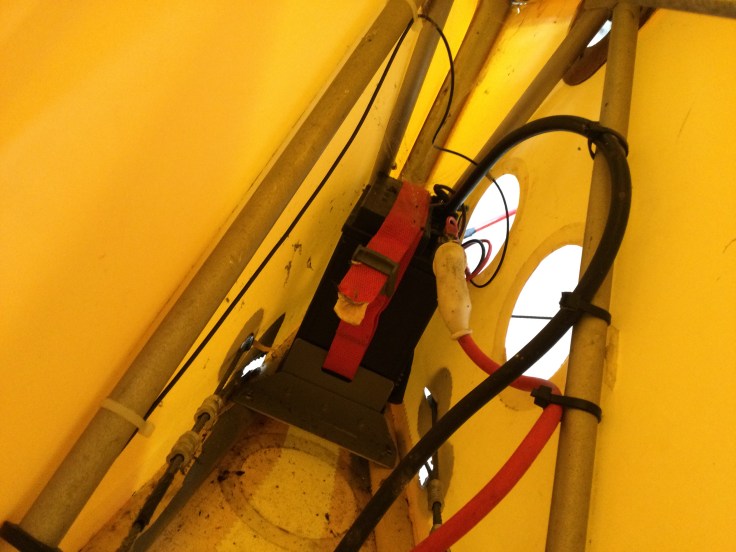
Having cut on a joint … it was still a bit of a fiddle to get the battery bolts to pick up … classic short bolts .. and, if you pop another ring on … then it becomes an art to push a flat screwdriver under the nut … and lift it just enough to help the thread bite ..
I have a direct negative feed from the Trig radio … which I had forgotten about … and also have a charger adaptor wired so it’s easier to just pop the access plate off and put it on charge.
I’d forgotten the direct earth lead that Trig recommend …. just wondering if this could be that niggly noise on the radio … let’s see at next engine run 😊
UPDATE … yes … it was … the original earth from Trig unit all the way to the rear battery negative post …had a bad (single) crimp .. so allowed movement .. recrimped and next flight really clear … just need to sort wind noise,squelch for optimum pilot, pax chat now
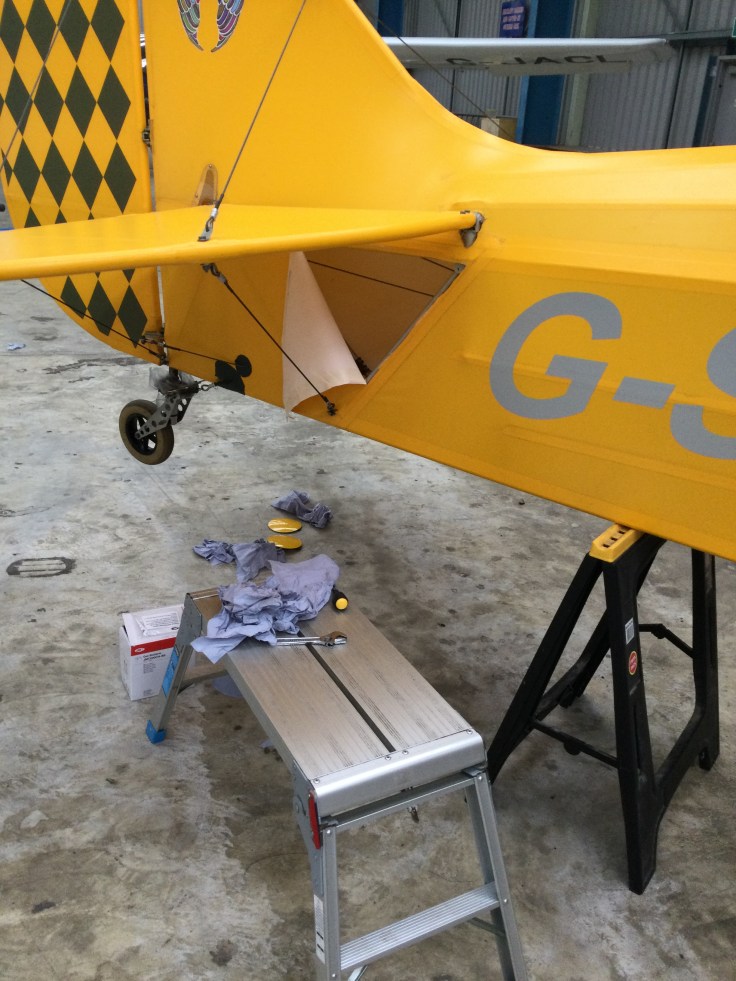
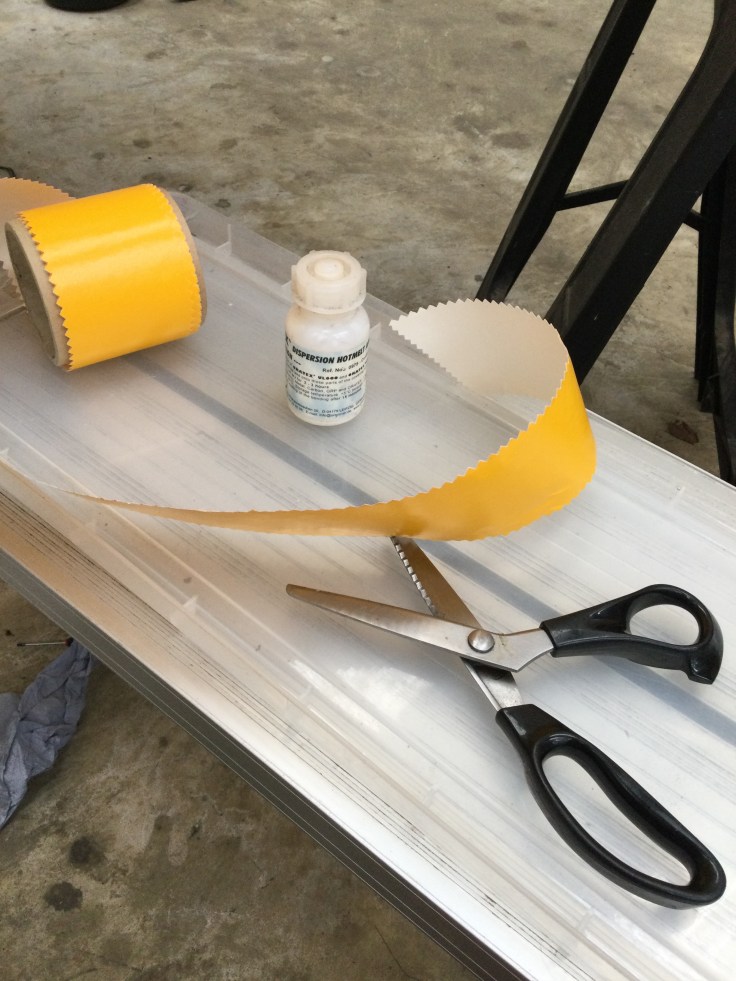
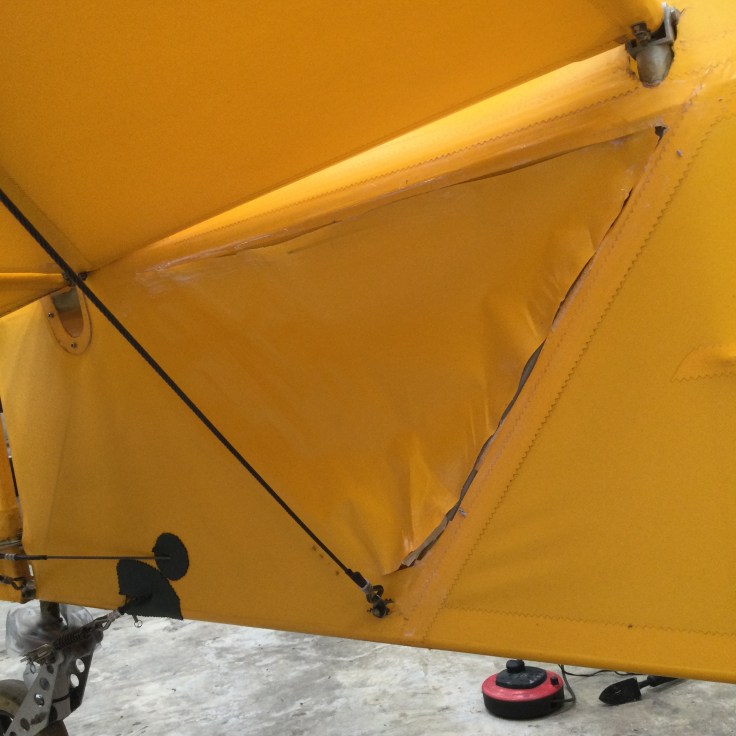
Oratex is just awesome … cut on the joint … glued overlap edges .. and got the pinking shears out after 4 years of not using them .. then heat gun and iron to tighten it back up
… and yes … i did clear out all the dead flies and cobwebs before I sealed her back up for another 4 years

Before I lose the pictures I wanted to capture them in the blog
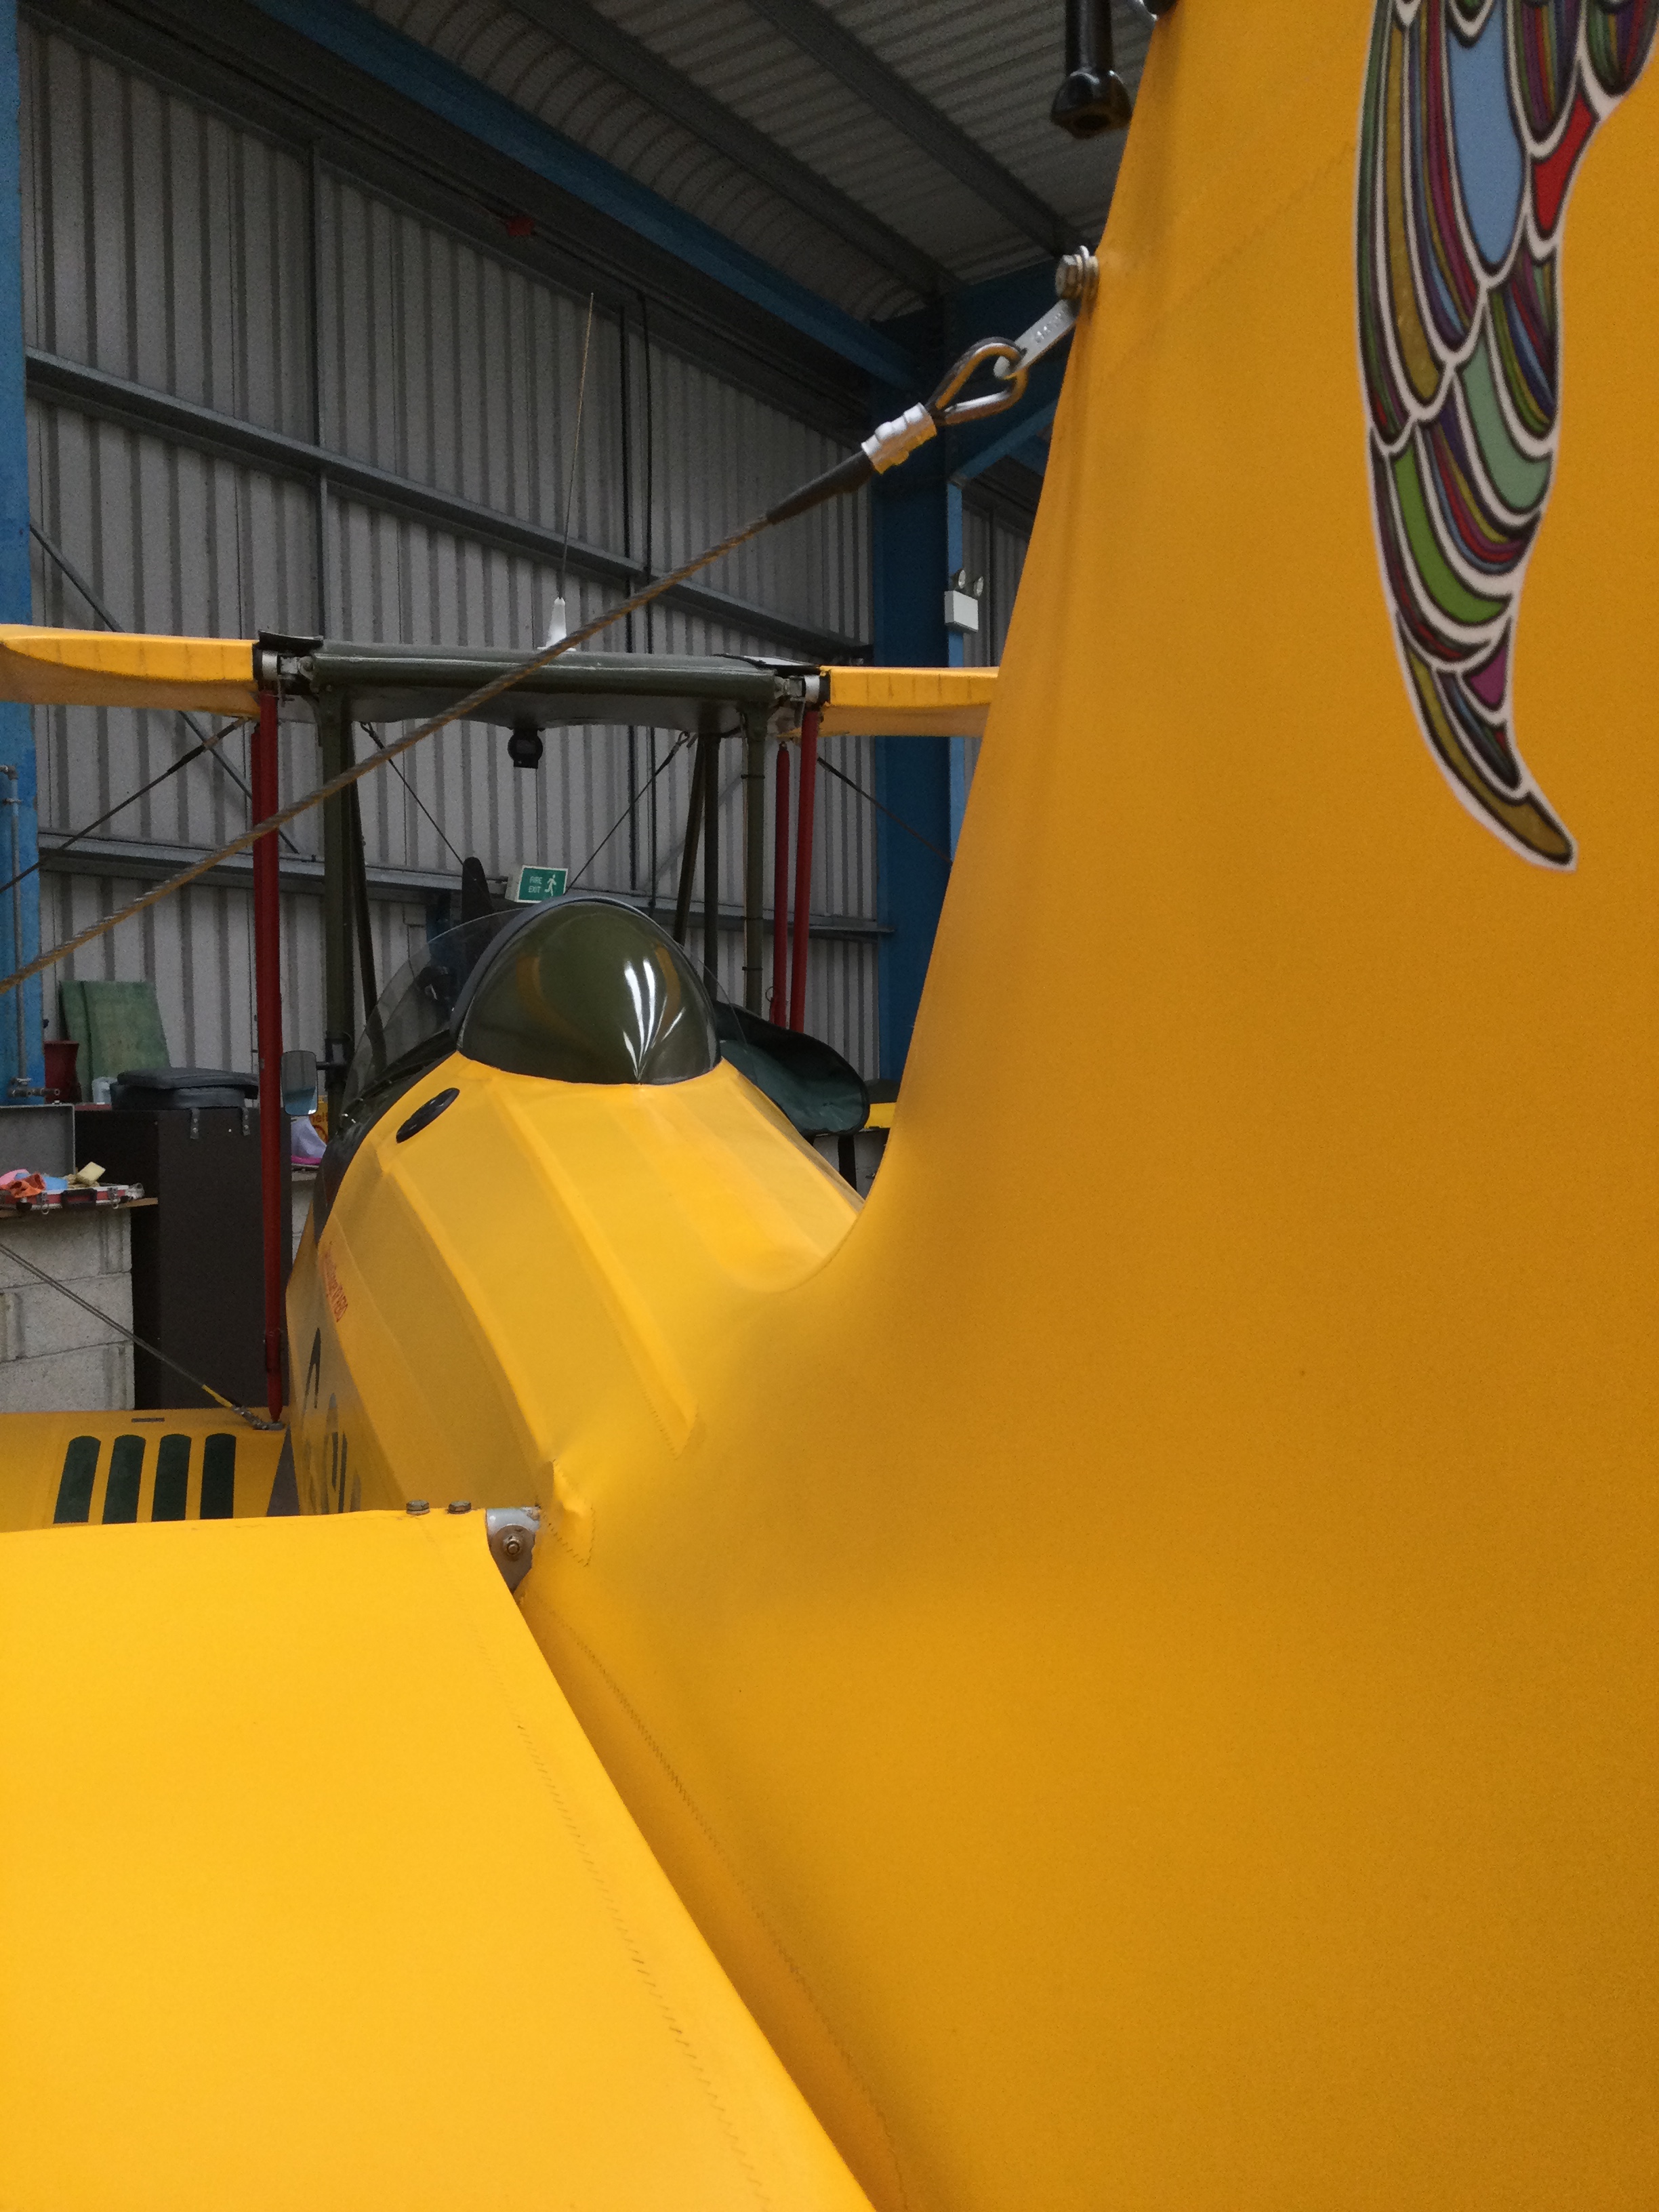
I took off towards the end of the day with a tank of smoke oil and some still air … so thought it would be good to try some heart shapes over the field.
Getting a decent shape is def going to take some practice but I think I have now worked out the method in a slow draggy biplane …. you start at the top and make the first turn … normal part of a circle then widen it out to make the elongated bit towards the bottom end of the heart … then smoke off …
The trick is to then turn your head AND the ‘plane as quickly as you can .. tricky when you are strapped in 4 ways … to get the aircraft back to the start point … before the smoke dissipates …
The video below picks up the start of the ‘2nd half’ …once you get to where you THINK you started its smoke on and bank the other way to complete a matched half
My friend Pam just happened to be in St Ouens bay car park with her kids when she saw it and kindly videoed.


The lights was rapidly beginning to fade but the flying was great …. I don’t have lights fitted but have pre run wires in the wings for strobes should I want them ever. The panel lights looked great but really emphasised that it wouldn’t be long before technically it was night !
I asked for my ‘usual’ last bad weather close turn circuit to land and it was at this point that a local photographer was apparently down on the coast just nicely lining up his camera for the large shot of the moon with trees just in the foreground. Then this little yellow thing buzzed through his shot on a close circuit !
Amazing luck to get the shot and great that someone s passed him my details so that he kindly sent it to me.

Four years on … and I noticed the starter was a little sluggish after a month of idleness … this could simply be the battery needs charging but, give they are basically motorcycle batteries and 4 years stuck outside cranking a 2,200cc engine every so often .. it’s not worth the hassle .. which I sort of live with when a bike battery starts to go dickie …
The replacement battery comes in a 5.3kg
I replaced the front one in about 30 mins … you have to be a bit athletic as it involves head first into the front cockpit for about 15 mins .. undoing and separating cables ..,then undoing the clamped securing belt …
Just bought the new rear one today and … will either cut away the Oratex at a joint overlap .. as per last time … or.. as Lars from Oratex ..if I can put a larger access panel ..bigger than the standard O rings … or a zip … of just a removable panel


So … the saga continues … having got them out as simple as … well simple … !
The new bolts just dont seem right …. I should qualify that ….
A couple don’t appear to want to ‘grab’ …. further investigation …and the new bolts are only 1” long 5/16” thread … the old ones are 1 1/4” long … on checking it looks like Jabiru recommend the longer ones .. especially as a double washer Nordloc on the new bolt effectively reduces the usable length even more
Further research on the torque setting this evening … the below from an Australian posting
Jabiru Flywheel Bolts Important Notice.
Anton Lawrence RAANZ Tech Officer
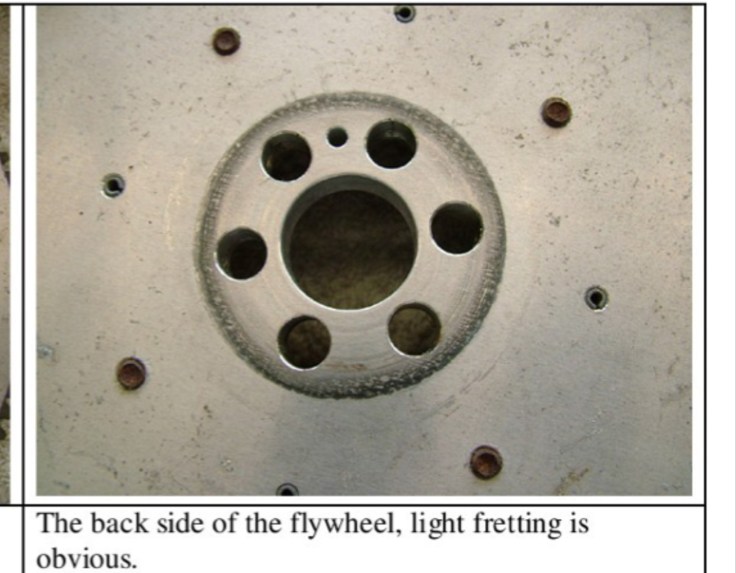
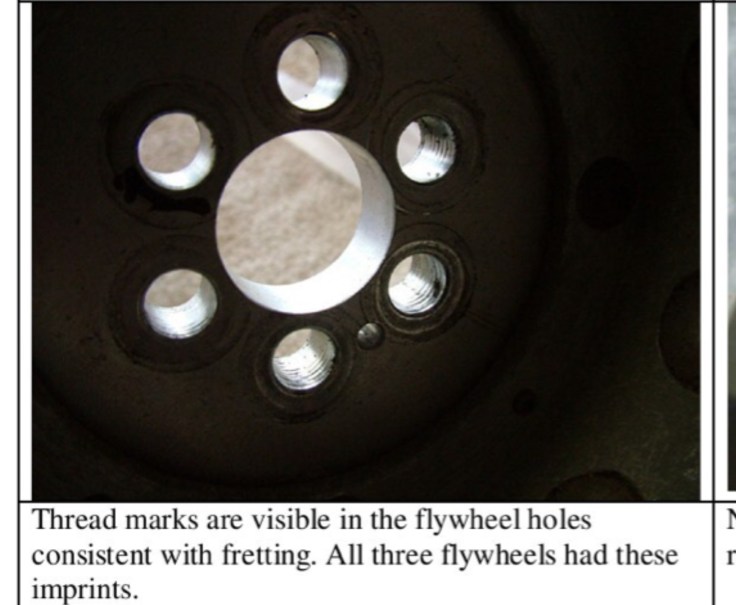
Over the last couple of years there has been an increasing awareness of a problem with the flywheel retaining bolts in the Jabiru 2200 and 3300 engine. The problem is simple enough to identify, the bolts are breaking and have caused in-flight engine failure. The cause has been much harder to identify and has been blamed on loose prop and prop extension bolts. There can be no question that loose bolts in this area will transfer harmonic vibrations down the crank and precipitate movement of the flywheel parts. Examination of the timing gear on engines with broken bolts has identified severe fretting of the gear against the end of the crank, this cyclic movement is the reason the bolts are breaking. The retaining bolts are 5/16th socket cap screws property class 12.9, although some of these are threaded full length, which wouldn’t normally be considered best practice, all the bolts are fracturing on the shear line.
12.9 bolts have an ultimate tensile strength of 1220 MPa and yield strength of 1100 MPa, it is normal to tighten these to within 90% of yield; this is to ensure proper clamp pressure of the parts. This would cause the Jabiru bolts to elongate by about 5 thou and is the mechanism by which clamp pressure is maintained. A company in Hamilton, Assesco has analysed this joint and come up with a torque figure of 41Nm for these bolts with lubricated threads and washer face. I have used the formula from MIL-HDBK-60 and come up with a figure of 43Nm using the same lubrication and 56Nm with no lubrication. The Jabiru manual states a figure of 24Nm for these bolts with out lubrication, it is my belief that this where the problem partly lies. ( Jabiru apparently now recommend 32Nm but this is still almost 1⁄2 the maximum preload the bolts can take.)
The CAA is working on an AD for these engines which will most likely require the bolts to be replaced every 100hrs. It is very important that as part of the replacement procedure the timing gear is removed and inspected, if there is any sign of fretting the part should be replaced and equally important is that the bolts are replaced irrespective of their appearance.
Jabiru are now fitting three 1/4inch dowels into the end of the crank in an attempt to prevent this fretting, any new gear will have holes for these dowels pre drilled. The fitting of the dowels into the crank is a very precise job and should not be attempted by anyone other than a qualified fitter, engineer or toolmaker. Assesco is one company which has already completed ten of these dowel fitting operations, I don’t want this article to appear to be advert for one company or an other, so if you want their contact details you can contact me directly and I will pass them on to you.
In conclusion, if you have an unmodified Jabiru engine of ether type in any aircraft type you should immediately have the flywheel bolts and timing gear inspected, if all looks OK you should replace the bolts (reminder, 12.9 bolts should never be reused) and tighten them to between 41Nm to 43Nm using molybdenum grease as a lubricant in the threads and under the head, don’t get any grease on the bearing surfaces. If you use Loctite 620 in the threads and grease under the head you should tighten to 46Nm, Loctite 620 and no grease tighten to 53Nm.
If you are going to tighten these bolts to the above figures it is vital the bolt has a 1⁄2”diameter minimum hardened washer under the head, if not the bolt will embed into the alloy parts and preload will be lost.
Check the prop bolts and prop extension bolts for correct tightening and also check to ensure the extension is running true and the tracking is within 3mm, on some aircraft these have been found to be well off centre. If you have 10mm prop flange extension cap screws installed with Loctite 620, you can take them to 89Nm to reach 90% of yield.
I have also checked the torque for the Crankshaft Prop Flange Cap Screws as these have also been found slightly loose, Jabiru recommends 40Nm but these bolts are capable of taking 83Nm.
If all these bolts are tightened correctly and all the parts are running true it should be possible to eliminate the problem of broken bolts.
When tightening bolts you should tighten to halve the required amount following the tightening sequence, leave for an hour (no longer if using Loctite 620) to allow for local relaxation and then complete the tightening in one movement so as not to get stuck with static friction at a lower level, I have calculated the turn of the nut (5/16 cap screw) from snug tight to 43Nm be only 48deg so take care.
Some notes on Loctite:
Jabiru has apparently changed their recommendation of Loctite 262 to 620 for the above parts. 620 is not specified as a thread lock product but Loctite assure me it is good for the job as it has a longer time before cure and higher temperature capabilities, you can download all the data sheets from http://www.loctite.co.nz Unfortunately you won’t find the friction coefficients or nut factors on these sheets, I have had to dig deeper to get these directly from Loctite.
Check for signs of fretting … fretting being where any chance of movement between faces causes the facs to rub against each other … wear indication would be a sign of slackness in the fitting