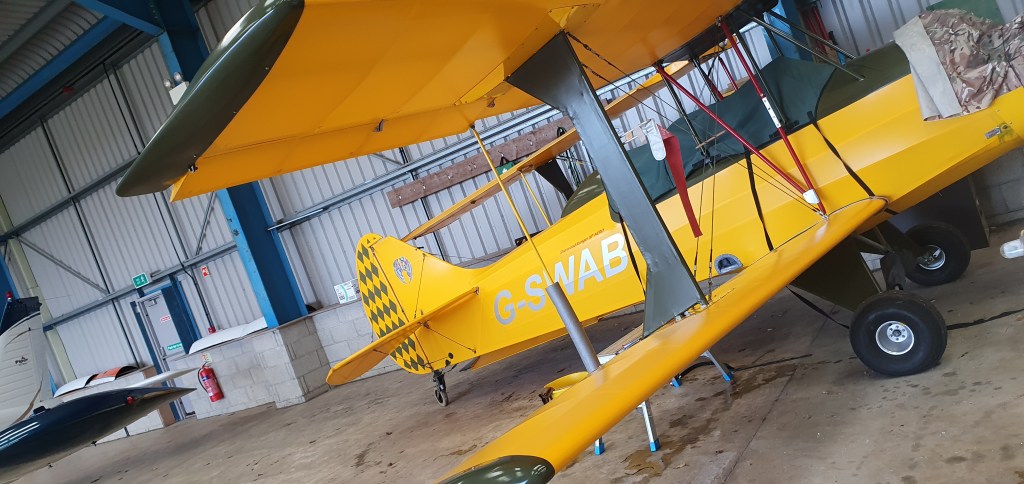
With some pretty grey skies over Jersey and a reasonable breeze of 250/15 so only 20′ off runway heading… I put what was left of my smoke oil in the smoke tank … filled up the fuel from my standby Jerry can … and started up
This was initially without the top and bottom cowl on just to check the head re torque and rocker cover retightening I’d completed
Turned out well … although at 1.5 turns on the oil mixture .. I think the smoke looked slightly less dense than last time .. so I’m wondering if, in damp wet conditions the mixture may need to be less ?
It was certainly damp and ended up, on return to the circuit actually raining… interesting experience
I’ve been in a Stampe in heavy rain and even hail before but this started as just sea fret then built up and was washing over the front screen and sides … inside you actually stay quite dry but, the recent clean I’d given her meant the rain just flew off the Oratex covering.
Ended up being held in the bay just off centreline and base leg as an abort on the runway by another light aircraft caused a double runway inspection and held me off south and a Blue Islands Training ATR off North as the rain came down yet again .. the Joy’s of winter flying …
Landed with a smile tho 😊
One comment on my You tube post …
3 short 2 second bursts … makes my ‘plane look fast !
Today .. Monday 9th March I received an email response from Francis Donaldson at the LAA 6 hours after I had resubmitted my updated Pilot Operating Handbook notes for the smoke system …
The really useful course at Skycraft covered some sensible – regular- checks I could do around mags ..
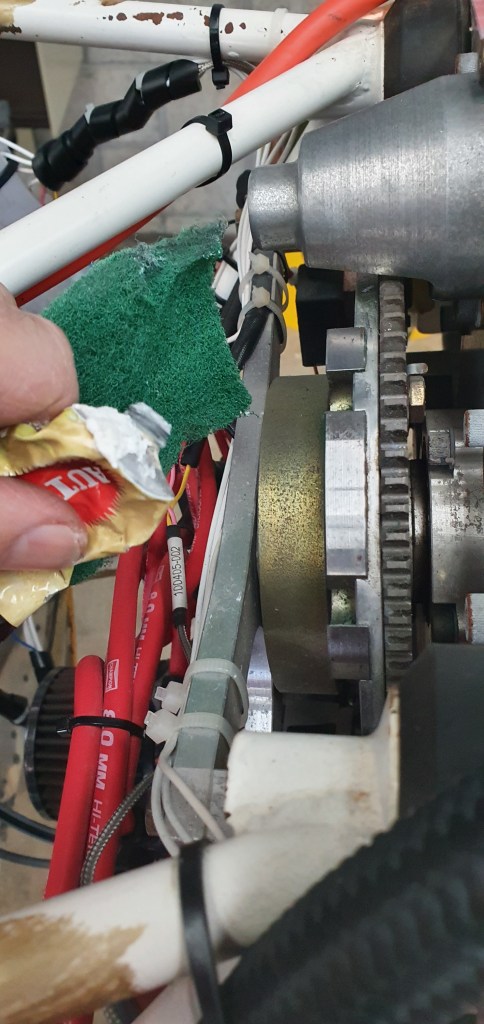
Turns out this is especially good in moist environments.. so on an island of 9 miles by 5 miles surrounded by sea probably constitutes as ‘moist’ … add to that if course salt air … and you have good properties for corrosion ..
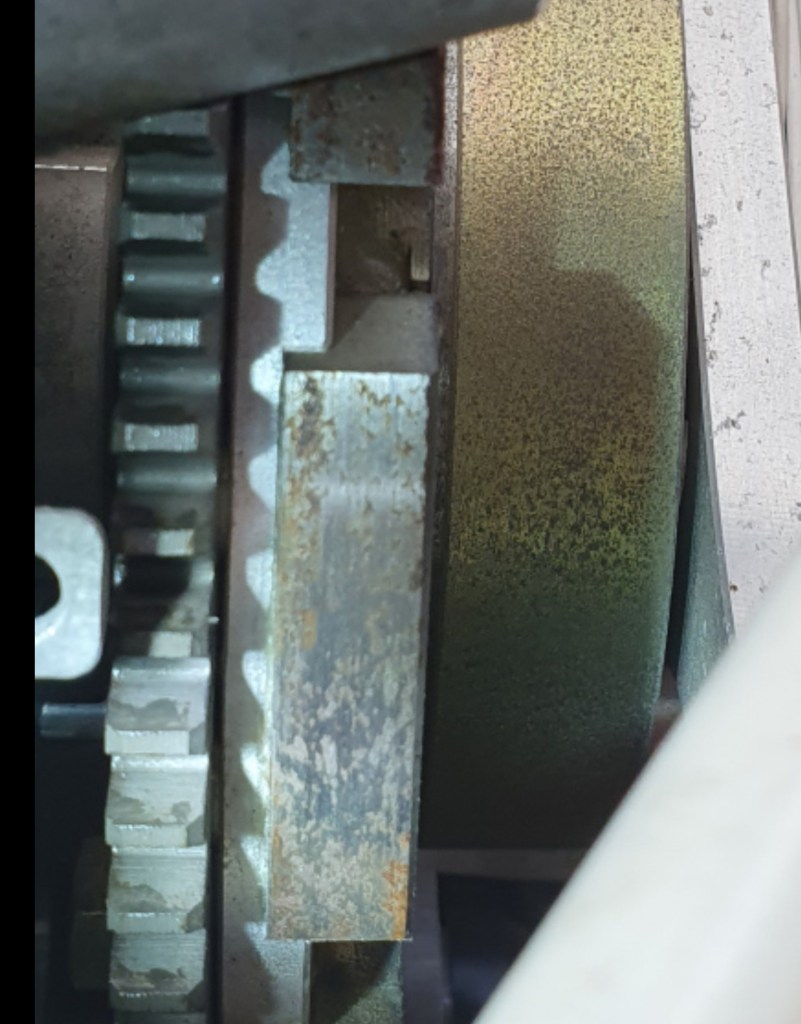
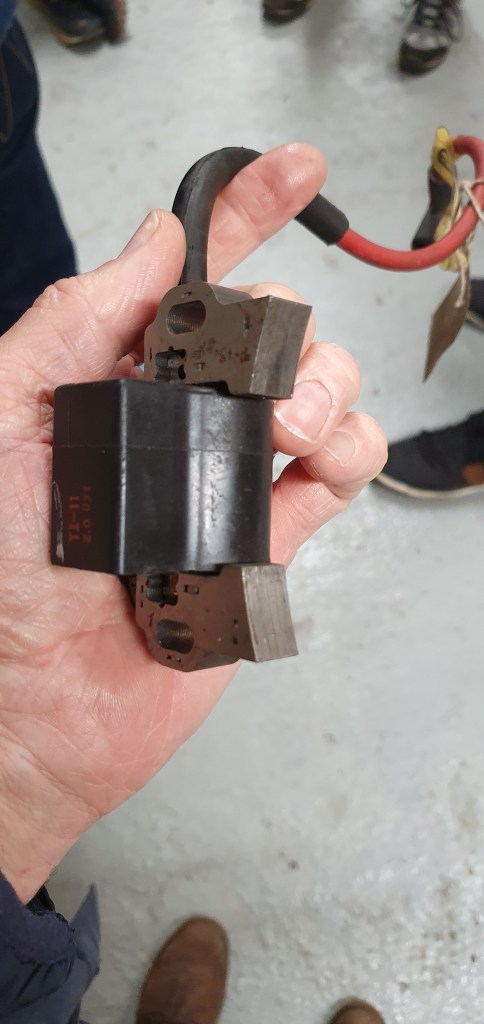
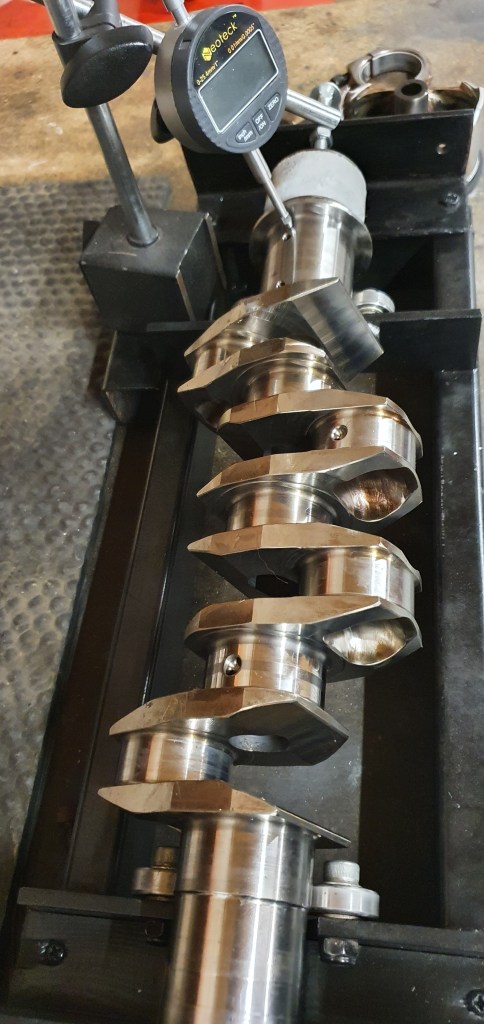
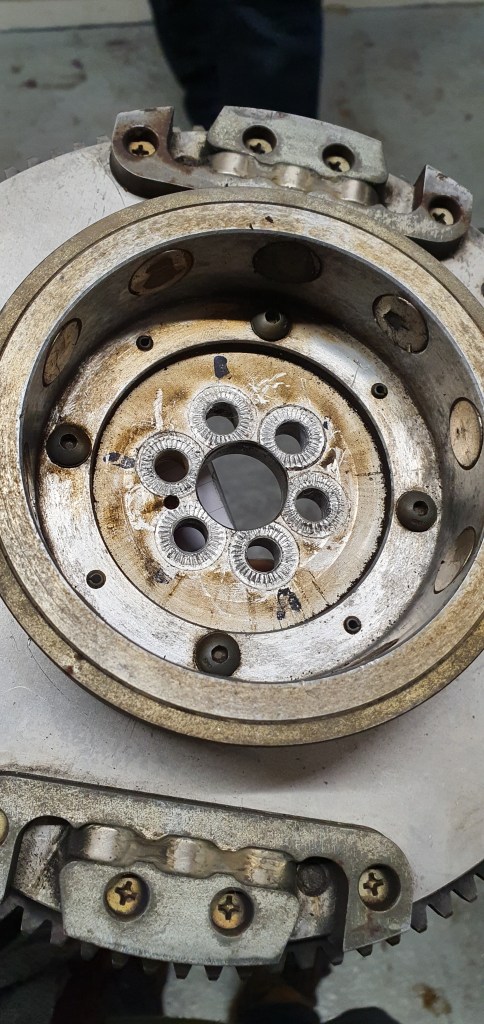
Checking the magnets on the flywheel is really simple with the cowling off and sure enough.. rotating the prop to reveal the magnets showed a fair build up of rust …
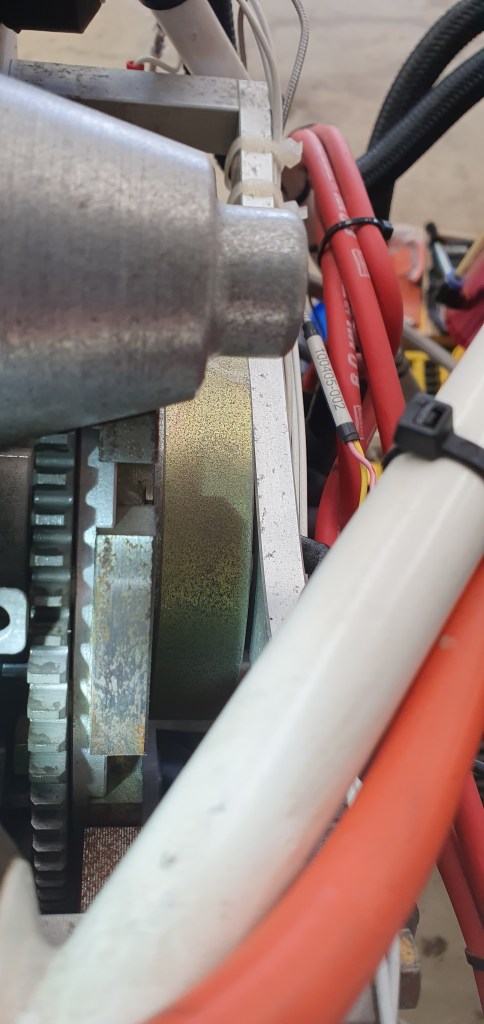
Post cleaning with paste
Pre cleaning – light surface rust evident
post cleaning with just paste
Before , during and last picture- After … cleaning with just a cream based Autosol and a bit of green cleaning pad .. removed all the surface rust
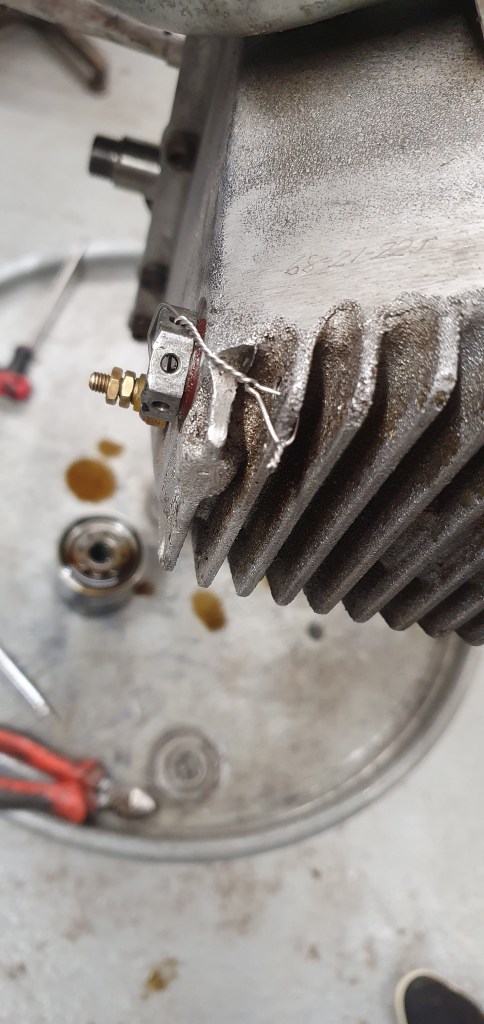
As Dave noted .. this could be a cause of radio noise.. and I’ve been having that creep in in last few months… probably proportionally ‘noisy’ as time passes… and surface rust builds …
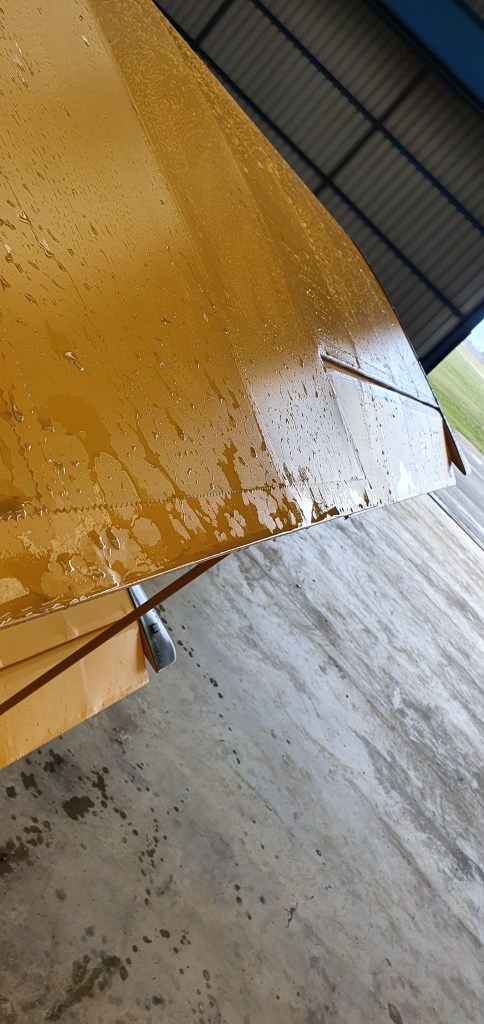
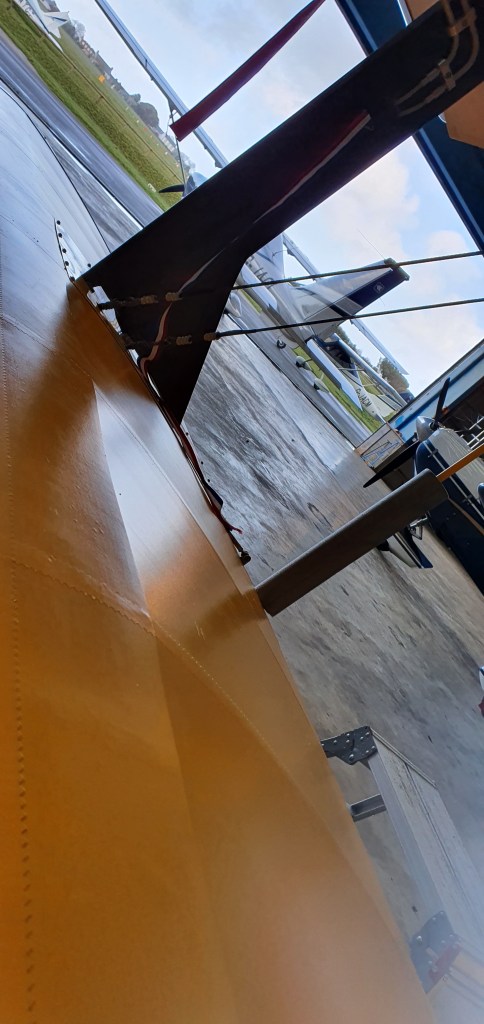
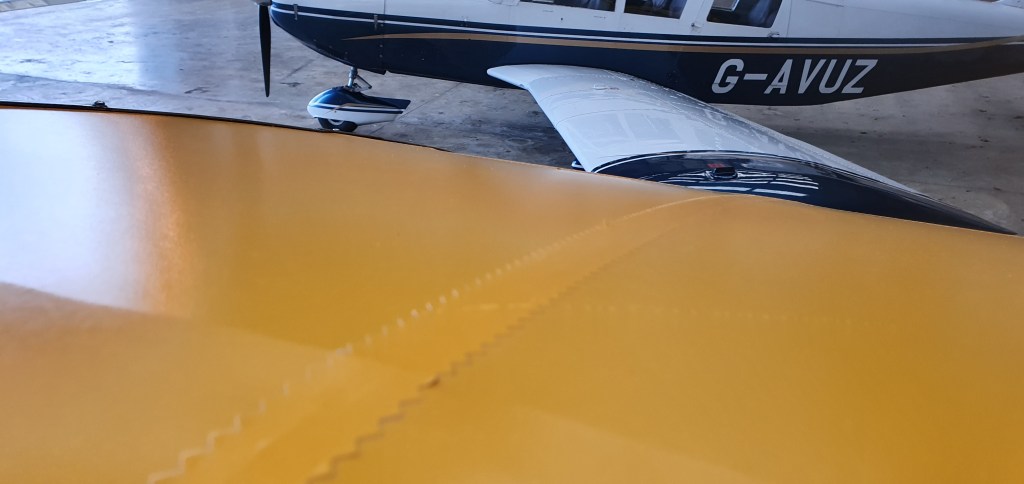
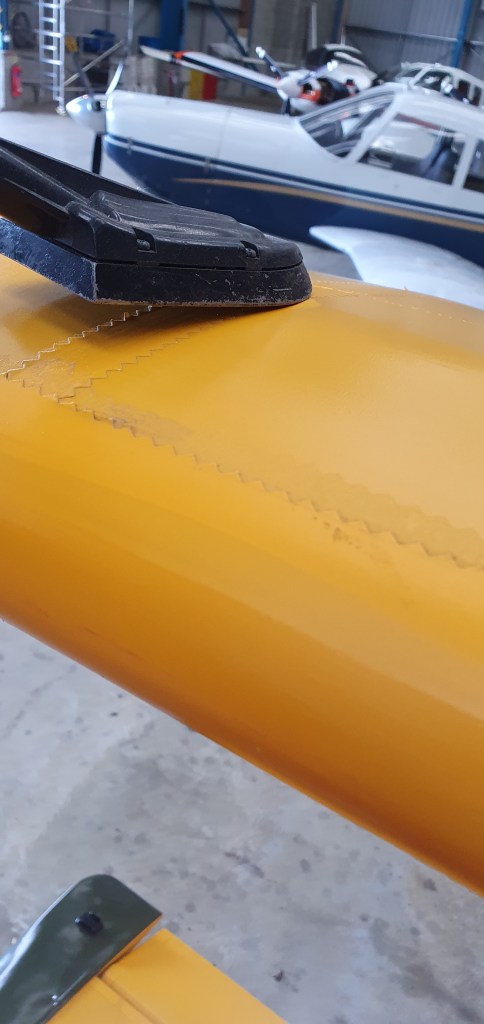
Every time I’ve gone up to the hanger .. with good intentions to wash the ‘plane … then you get reasonable weather to fly… you fly .. of course … so that means I haven’t washed her since before Christmas !!
So so dirty after all the dust in the hanger….
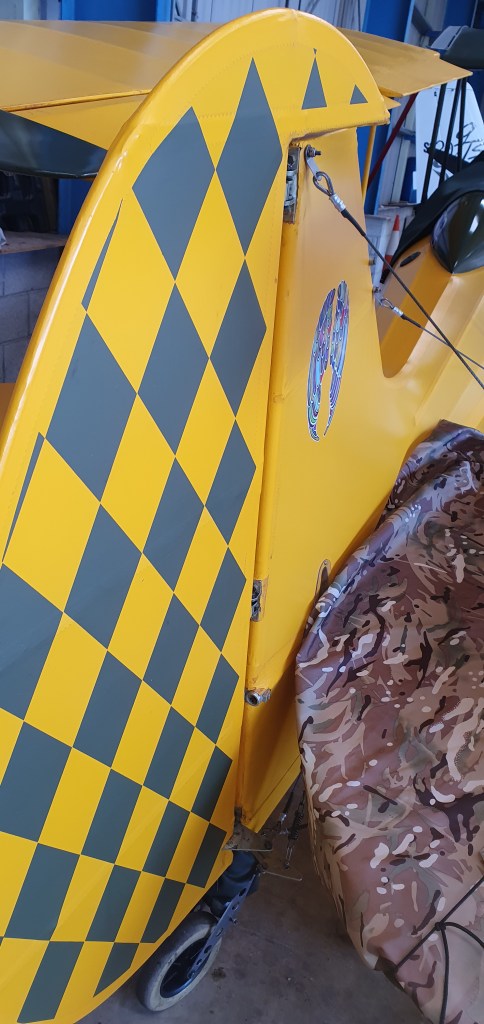
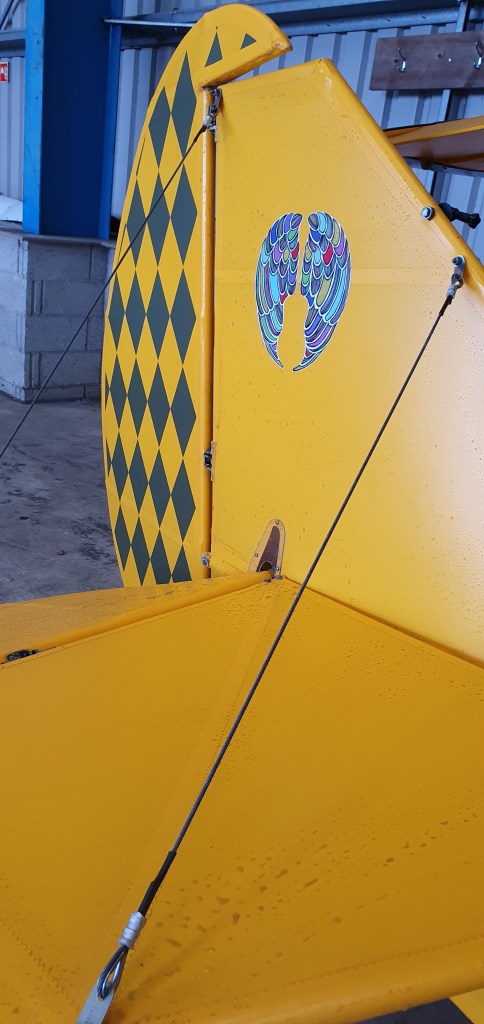
Also… after 3 years of flying .. it’s good to double check for any little lifting of the small pinked edges… and iron them flat
What a fantastic day with a great bunch of people ….
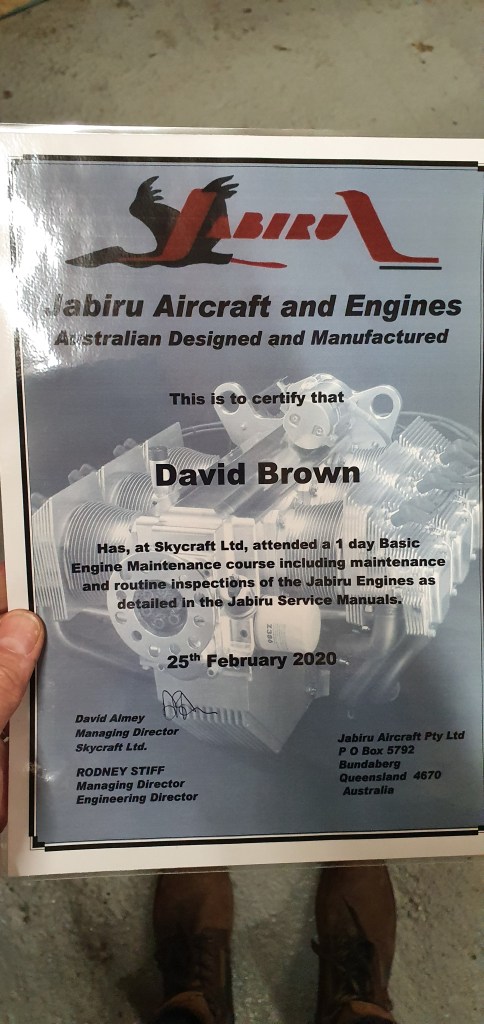
Flew out from misty foggy Jersey yesterday to even mistier and foggier Gatwick and then long drive up to Holbeach to stay in a small pup overnight ahead of today’s starter course for those who want to know a bit more about the Jabiru 2200 engine.
Started with lubrication … a very good place to start …
Next … electrics … not everyone’s favourite …
Next … mechanical bits … valves and tappers and compressions ….
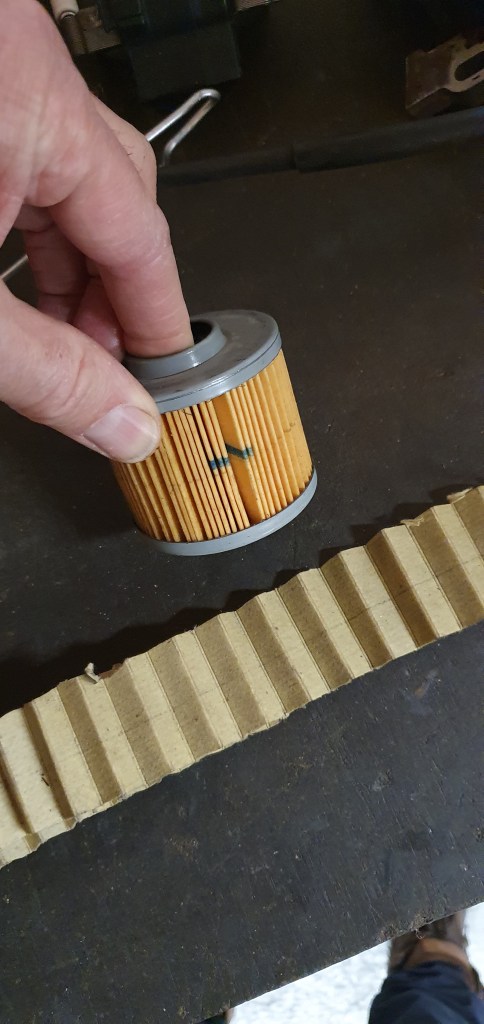
We were taught .. don’t just throw away your old oil filter … cut it open .. tin opener style so you don’t falsely contaminate with bits … then slice the paper element with a blade .. open out and then look at what has been picked up
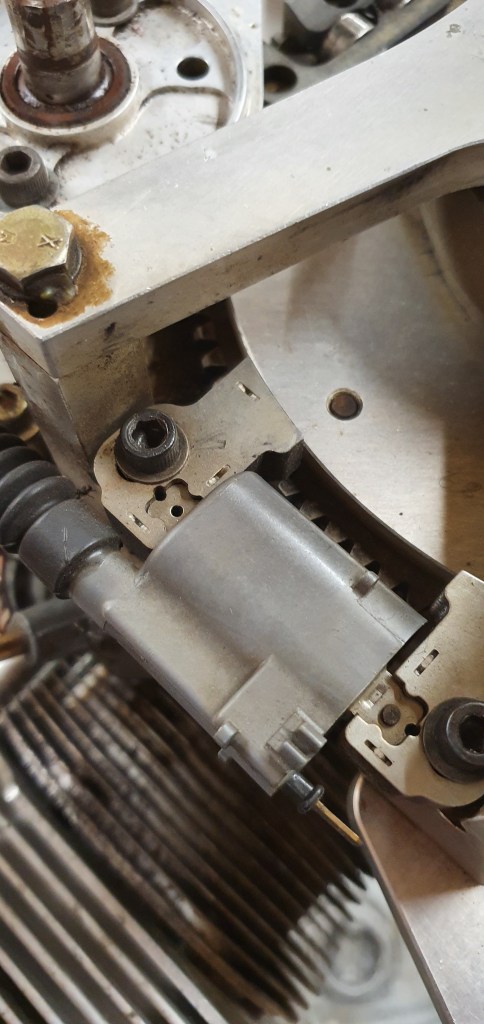
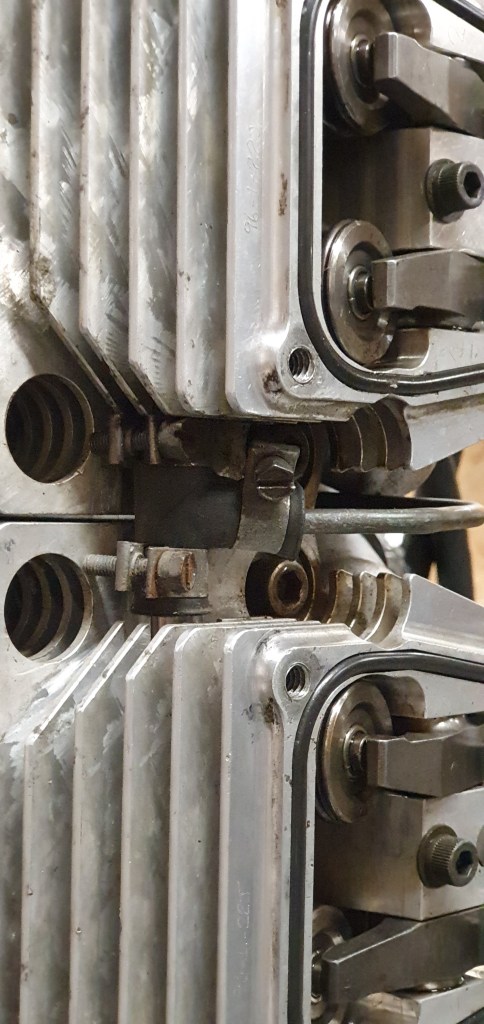
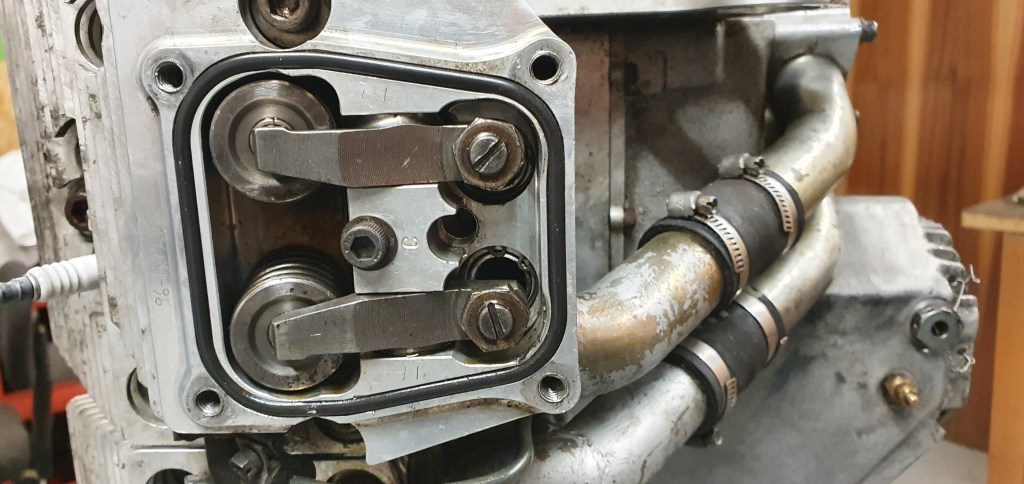
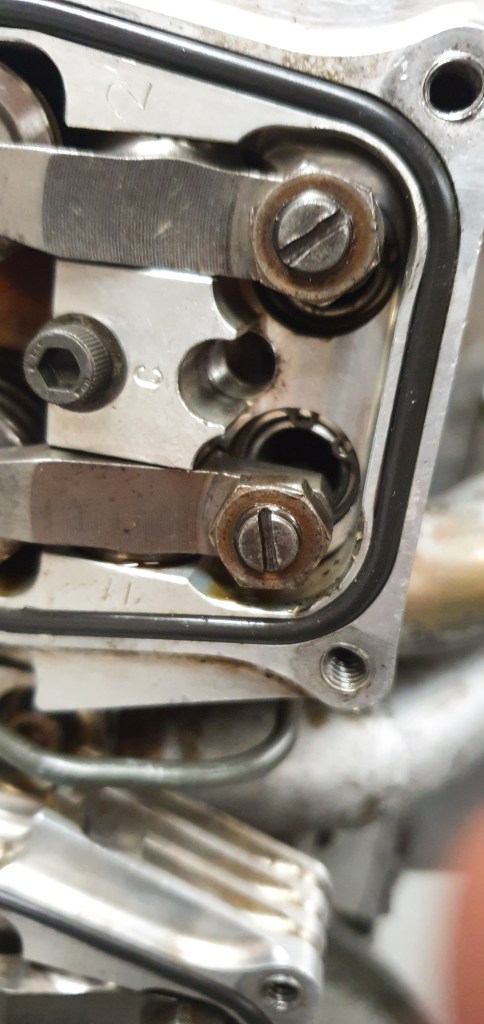
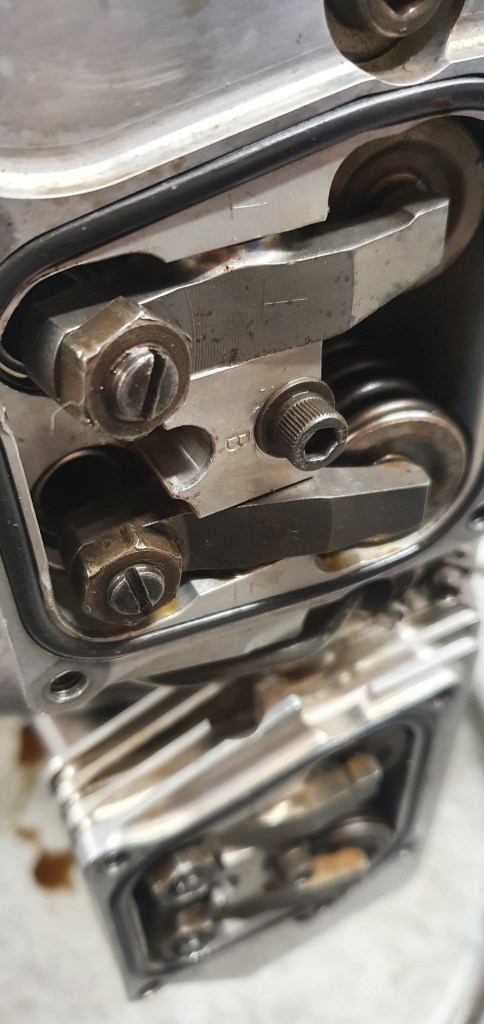
Checking and gapping the magnetos … using an extra long 10 thou feeler to prevent toggling bad and forth getting one end set and the other end out ! .. also .. good idea to keep the faces of the magnet faces on the flywheel clean .. very fine wet n dry .. as this could prevent poss radio interference and crackle you might get
Tappets adjustments was fun .. we ALL got a go … 10 thou feeler and a chance to experience good methods of getting each cylinder at TDC Top Dead Centre …
My engine .. serial 22A-2111 is a hydraulic lifter tappet type… so does not require the above adjustments
8.19 Hydraulic Valve Lifter Maintenance The Hydraulic Valve Lifters used in the engine automatically adjust for any valve movement, so periodic adjustment of the valve clearances is not required, however the valve lifters are a serviceable item and some monitoring is required to ensure they are working properly. EITHER – Remove each rocker cover and check that each lifter has not collapsed. This is done by turning the crankshaft so that the valve is fully in the closed position, then feeling the rocker by hand. There should be no free rotation of the rocker. Press down on the pushrod end of the rocker – the lifter should feel hard, with minimal movement possible under thumb pressure. Note that the correct method for finding this point is to turn the crank until the valve is fully open, then turning the crankshaft through one complete revolution to rotate the cam lobe away from the lifter. OR – after the service, idle the engine, listen for loud tapping noises and feel for rough running. This must be carried out with the cowls removed. Note that due to the need to have a person at the controls of the aircraft, this is a two-person job.
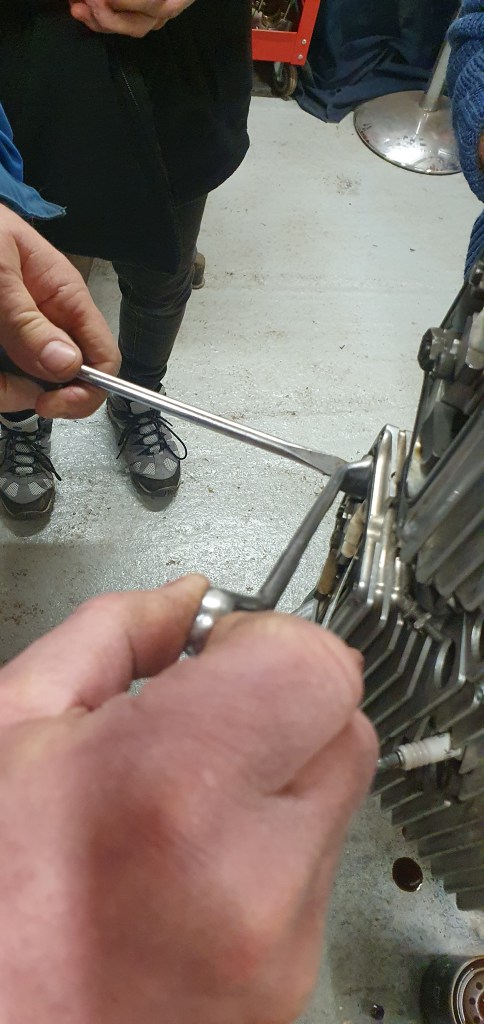
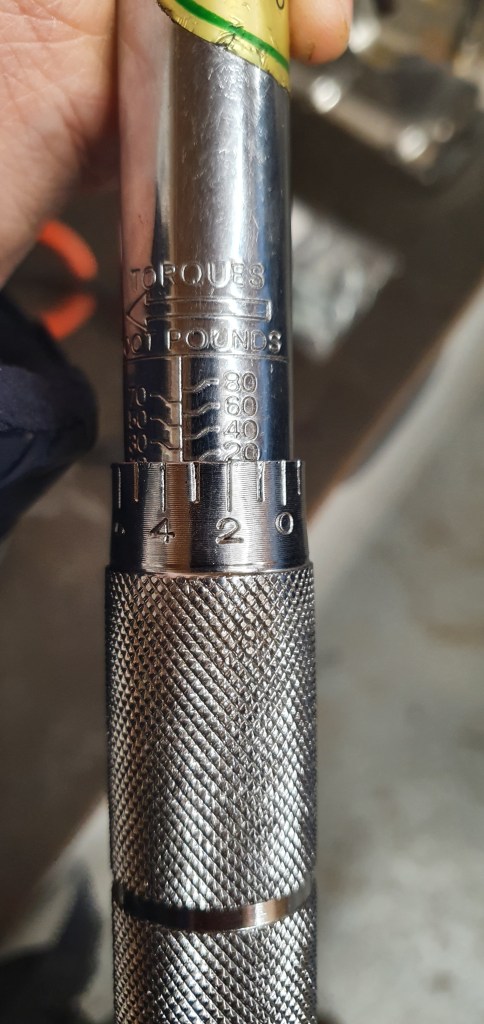
We also got shown where d bolts are for tightening down to 24flbs but set to 23 to be on the safe side with us … also noted where the small grub screw is that reveals the 5th head bolt for tightening … this could be where I have a small smear .. to be checked
Don’t overtorque your head nuts
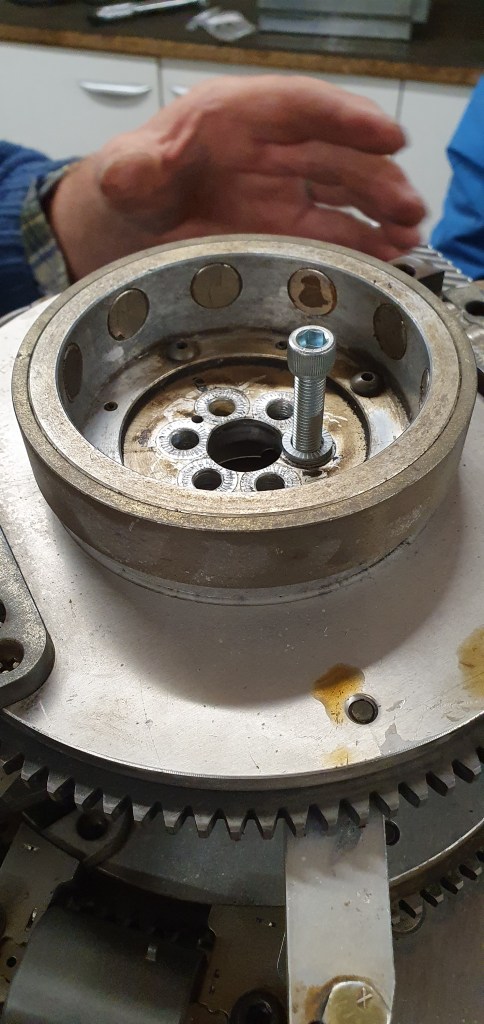
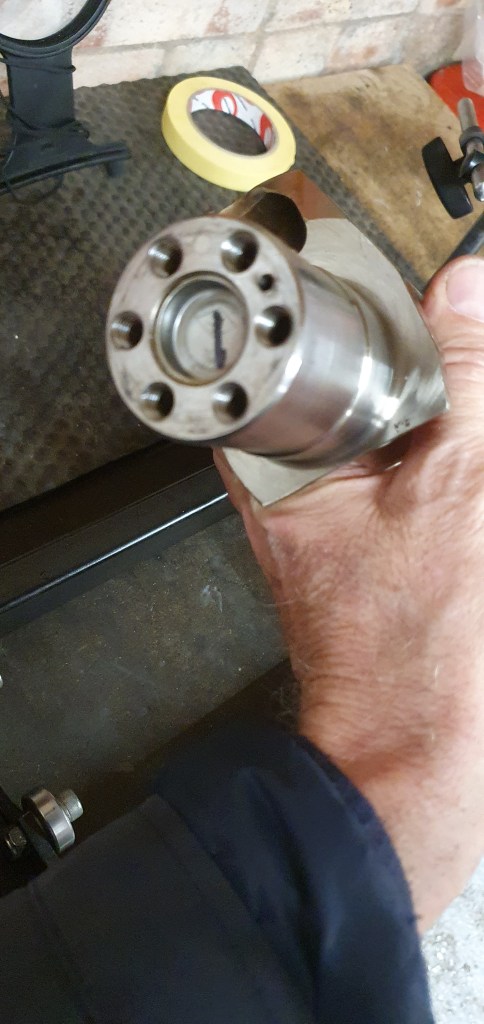
Flywheel bolts need replacing at 100 hours
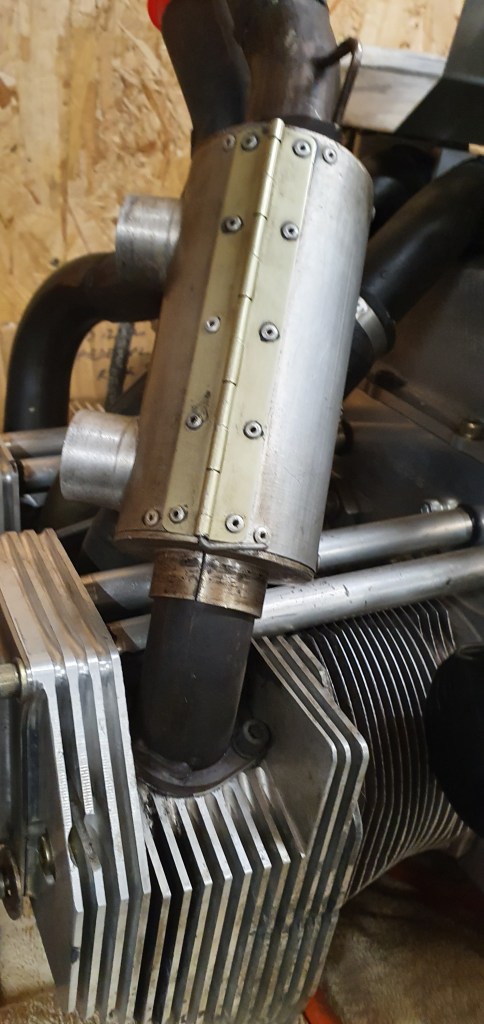
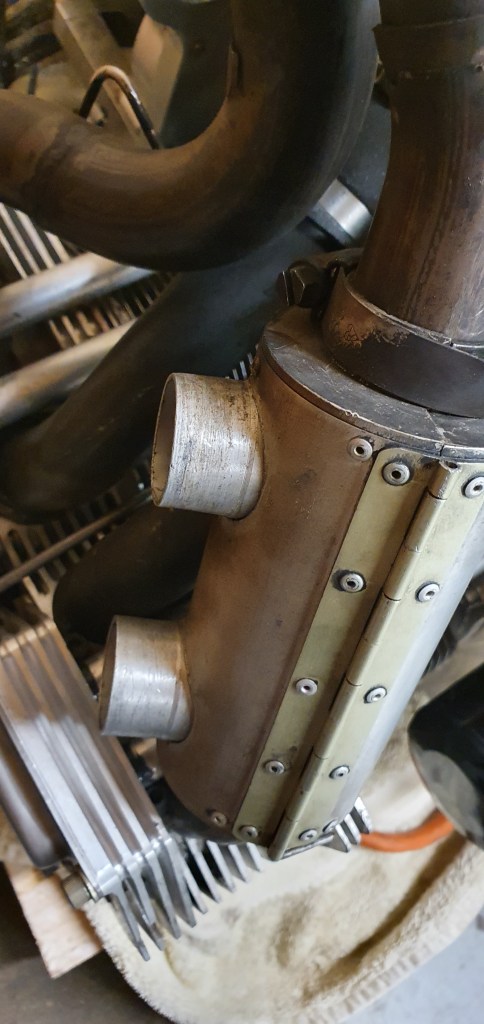
really neat heater box on an engine in for service
Other useful bits to write up from my little notebook.
Oil breather pipe should rise initially before dropping away to catch bottle …
Oil excess overflow should not have a drain pipe that could end up pressurising the crankcase
Carb balance air pipe should come from filtered side of carb and into filtered side of air filter …should intrude by 20mm for good fit
Check the carb is earthed to engine
Flywheel bolts now have special new nordloc washers and new bolts ..old bolts need changing at 100 hours .. new ones won’t … the old ones could well be difficult to get out…remove spider … heat can be used to break the loctite .. but .. make sure you protect the magnets .. once heated .. let it cool right down first before trying to break the seal
When setting tappets ALWAYS do it cold .. so good plan .. drain oil hot from a run .. leave overnight to fully drain … then take a plug out to reduce turn pressure on prop and get piston to TDC then adjust as above
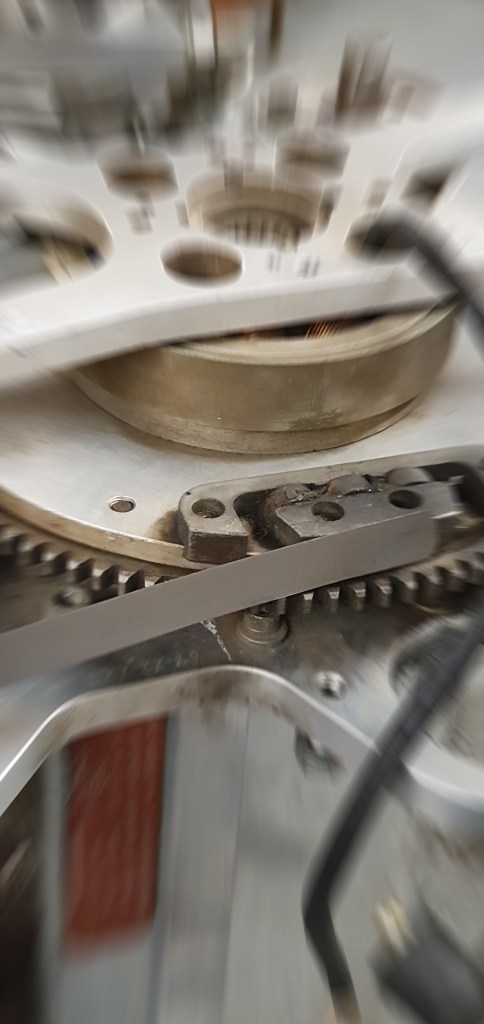
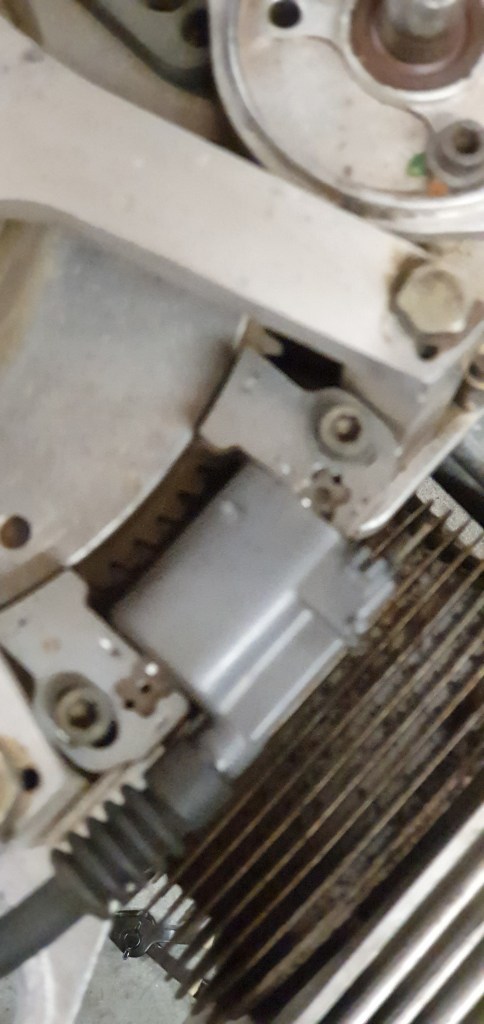
Good idea to make a mark on stator for where TDC is per cylinder
Check the small bung grub screws inside the tapper cover head .. these can come loose and cause oil to spill down thetappet pushrod guide tubes .. think I may well have this on mine !
Push rod tubes are rubber o ringed at bottom and circlipped at top
When replacing the inlet manifold rubbers .. prob best to cut the old ones off .. remove jubilee clips … then a bit of grease and turn the outer manifold pipe through 45’ .. it’s only on a rubber o ring to turning it makes new pipe slip on really easy
Note .. when checking torque on ALL cylinder head bolts .. start at 23 ft lbs and remove the bung acts which allows long drive access to 5th head bolt for torquing
All electrical parts should be Bosch .. distributor cap, rotor arms etc
Remember the ‘hidden’ filter in the pump
Oil pump return valve spring and fitting … push check … to make sure it’s free moving
Jabiru carb needle jet options … AUS vs U.K. … N2 for U.K. with fully tapered jet needle vs single bar straight sided needle for AUS market and weather conditions
Got an email from the busy LAA this morning … working on a Saturday … so good to get feedback.
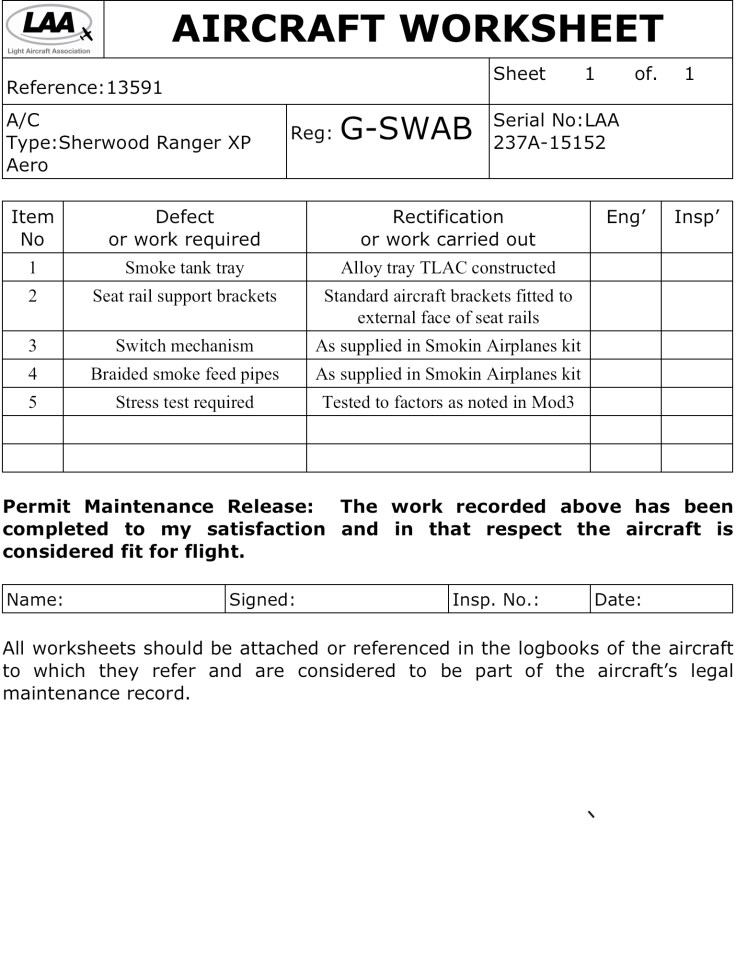
Having never submitted an aircraft modification before I am still learning the sequence and paperwork that is required.
The 12 pages of what is called a MOD3 went through quite a lot of iterations but, even though we have now reached a high degree of acceptance I have omitted to provide some other elements:
A completed worksheet – basically setting out the key elements
An updated section for inserting in the Pilot Operating Handbook POH
A PMR – Permit Maintenance Release
Spent this evening completing these so just need to meet up with my local LAA engineer for counter signature ..
Update to POH
POH Addendum Smoke System Smoke System – Principle of Operation The oil smoke tank uses a kit supplied by American supplier Smokin Airplanes and comprises the following elements: – Smoke oil tank with associated pump – Feed pipes and delivery pipes – Spray bar fittings for exhaust pipes – Electrical switches and fuses
The tank accepts a paraffin based oil (Baby oil) and the electrical switch , momentary switch provides power to the pump which draws oil from the tank into aircraft grade aeroquip rubber hosing. The hosing routes to the rear of the stainless bulkhead and passes into a T bar aeroquip fitting that splits the single feed into a steel braided double feed that connects to spray bar atomiser injectors fitted into each exhaust outlet.
Fitting Of Oil Tank The oil tank is fitted into the front seat (P2) location. The seat base and seat back are removed prior to installing. This leaves the Sherwood standard plywood seat base which has had 2 holes drilled in to accept 2 alloy pins on the underside of a tailor made ally mounting tray. The mounting tray has lips on all sides to ensure the oil tank does not move in any direction. Underneath the plywood seat base 2 alloy brackets have been riveted in position on the outer edge of the 2 longitudinal seat rails. These brackets accept a 1” wide ratchet strap.
Weight and Balance Consideration As the oil tank is located in the P2 position, and this location is dead centre on the C of G , mainspar there is no change to weight and balance whether the oil tank is empty or full.
Filling the Tank The tank is generally filled outside the aircraft but it can be filled in situ with a suitable long stemmed filler flex pipe. Filling is through a large hole in the top of the tank which has a securing screw cap. Do not overfill the tank .. 3/4 is sufficient for approx 4 mins of continuous smoke.
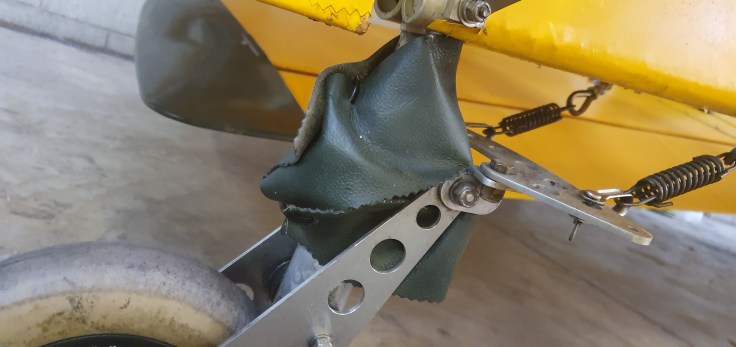
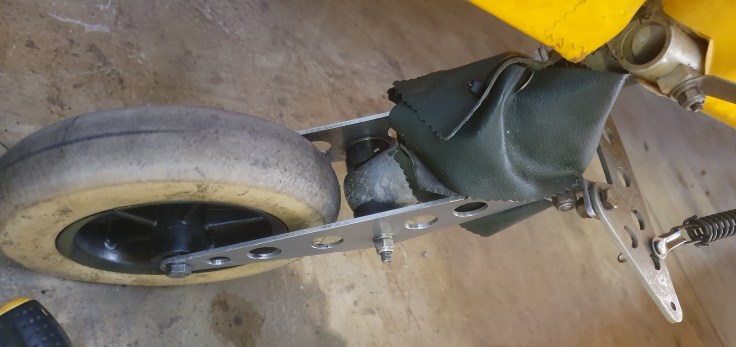
There is an overflow pipe if excess washes over in any steep turns. This pipe routes to the underside of the aircraft behind the u/c. A quick release break valve is fitted to prevent spillage. The tank can be removed , even if oil remains in the tank.
Smoke Operation The smoke can be operated once the engine reaches suitable temperature. Usually 150’ and above EGT.
There are 3 ways of operating the smoke: – The main switch panel has a 3 position switch, continuous on, Off and Armed for intermittent – A remote Push button allows momentary operation of smoke .. IF the primary switch is in the UP (Momentry) position – If the primary switch is set to ON, the. The pump operates until it is turned off.
Note .. a red light is illuminated all the time the pump is in operation Note .. the pump will continue to operate even if no oil is in the tank amd the switch is in the ON position.
Last Sunday we finally had a slight lull in the weather and .. having fuelled up … loaded about 30% of smoke oil into the oil tank.
Having started up and warmed the engine whilst waiting for the fueller to arrive I had a nice warm engine so was ready to taxi out pretty much straightaway.
I made a quick mobile call to Jersey ATC to request circuits and also advise that it would be a second test of the smoke system. There was a short delay whilst the clearance chap checked out with the tower and all ok.
Duly taxied out and lined up on runway 26 at Jersey .. with a nice warm engine … I had said I would probably do a full normal circuit before doing a long runway pass at say 700’ and try the smoke on and off serveral times.
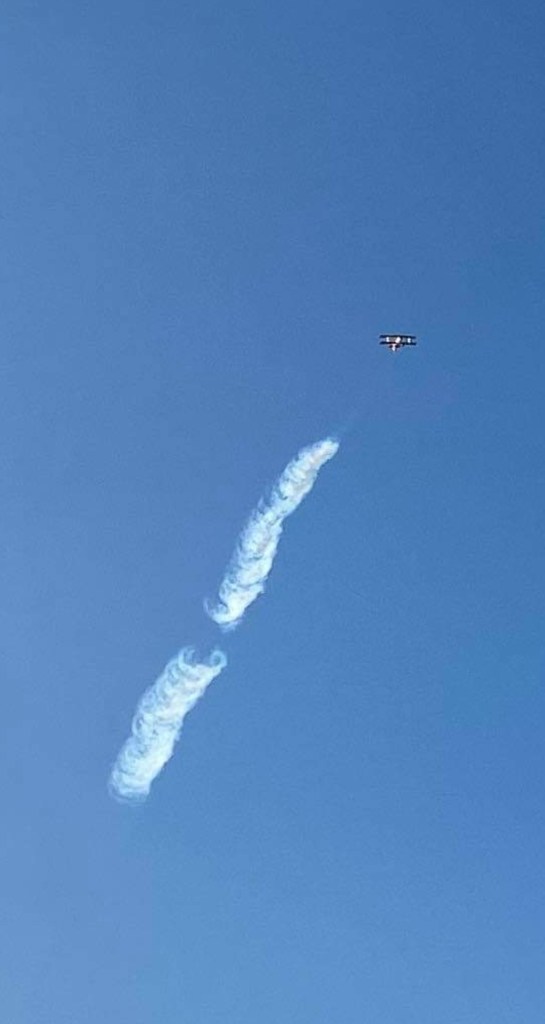
Just after take off .. I banked out left towards Corbiere lighthouse and quick glance in my new small rear view mirror … thought .. let’s just flick the smoke switch for say 2 seconds and off…
RESULT …..
Lots of lovely white billowing smoke and stoped the instant you turned off. A few more on,off combinations and works a treat.
Clearly my previous setting of 2 full open valves on the mixture was way too rich .. Smoking Airplanes had suggested trying something between 1.3 and 1.6 .. I tried 1.5
Awesome smoke trail ..and BEST thing … if you waited for say 2-3 seconds and then looked back .. you could see the biplane wing wash and prop wash swirl beautifully symmetrically in the trailing smoke.
Will try a rear facing go pro on the next flight ….
Bad weather circuit at Jersey .. try to always squeeze one in depending on traffic volumes
It’s really good practice to see if you can get one of these tighter circuits in or you get used to very large semi cross country circuits … the tighter ones keep you on your toes as everything happens much quicker and .. just as you turn crosswind .. you bank over to turn downwind … then it’s ready for base
The last landing is a little too fast … you can see the starboard wing just lift a little as the tail comes down …. but you can also see how quickly the speed falls away .. combination of super sticky international runway … grooves cut at right angles across the runway to encourage water to dissipate … and also low pressure larger tyres .. running at around 11psi