It’s been a long Christmas !

Although it’s been a long family break I have been trying to keep things moving over the Christmas and New Year break !

The big build  to a ski trip was dashed when the high winds meant we couldn’t sail off the island so ended up flying to Malta .. Not renowned for its ski slopes ! But lovely 20′ nonetheless …

it’s been a great chance to catch up with odd days and hours when the work support and trips permitted …

  • Tidying and gluing the underside covering
  • This leaves just two full length sides  – about 3 evenings work
  • Re rigging all upper cables for the tailplane
  • Making a new wing bracing wire as last re rig proved one was just too short
  • Re thread the pitot tubes through the drag spar and into the fuselage
  • Connecting the plumbing for the fuel tank and incorporating a drain plug / valve
  • Completing the wiring of the 2 x CHT and 2 x EGT sensors
  • Adding a splitter pair of wires to allow a secondary CHT gauge in the front cockpit
  • Securing the throttle cable guide
  • Ordering some sheathed cable for the magnetos and headset connectors
  • Complete drilling and fitting of the lower wing tips using small alloy brackets to allow removable option
  • Tweak trailer wing support to accept tailor made carbon fibre supports that span two full ribs cushioning the whole transport
  • Re fitted all 4 ailerons
  • Purchased 4 gate bolts as advised by my good fellow builder Danny to make the return springs on each wing peg
  • Re sized the headrest to be a closer fit to the head bubble
  • Pre tested the icom unit

image image

image  image

Next step .. Onto trailer and up to the airport for first engine test run

Old times ….

Haven’t done this for years !


Middle son Will is picking up the old traits and, rather than buy all foam, out of the box, battery in, and fly type models … he has opted to build an RCM&E FW190 plan based aircraft.

IMG_1643  IMG_1640

Interesting to get used to reading this sort of plan again and prepping all the ribs and spars etc He has also invested in some Robart retracts … I always dreamt of those but could never afford them … had mechanical set which were a bit clunky ! Flew them in my SuperStar off an old American aerodrome in Suffolk called Alpheton

IMG_1641  IMG_1642

Re-assembly – pre engine test run

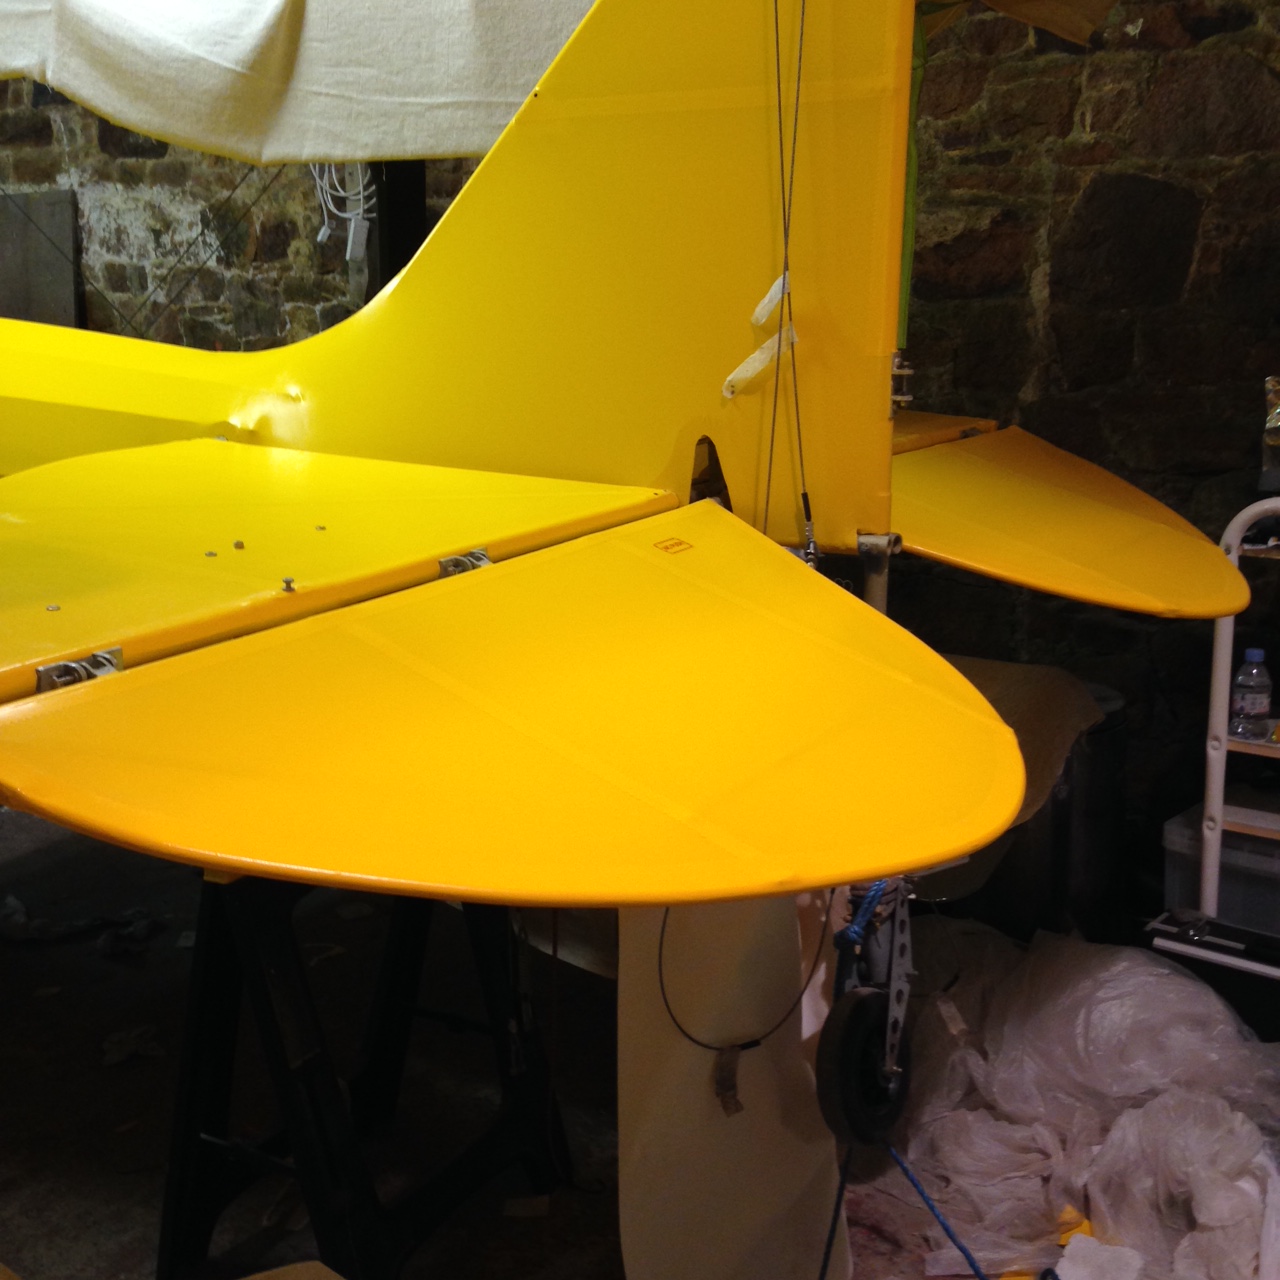
Spent a few hours pulling various parts that were covered some time ago and can now be re-joined to the mother ship !

The Elevators have been off ever since covering as have the tailplanes and elevators but now I have decided the wings are on to stay (they have been on and off about 3 times to date) then they can all start to go back on board.

IMG_1775 IMG_1777

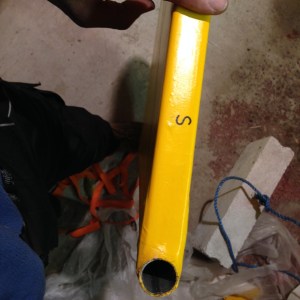
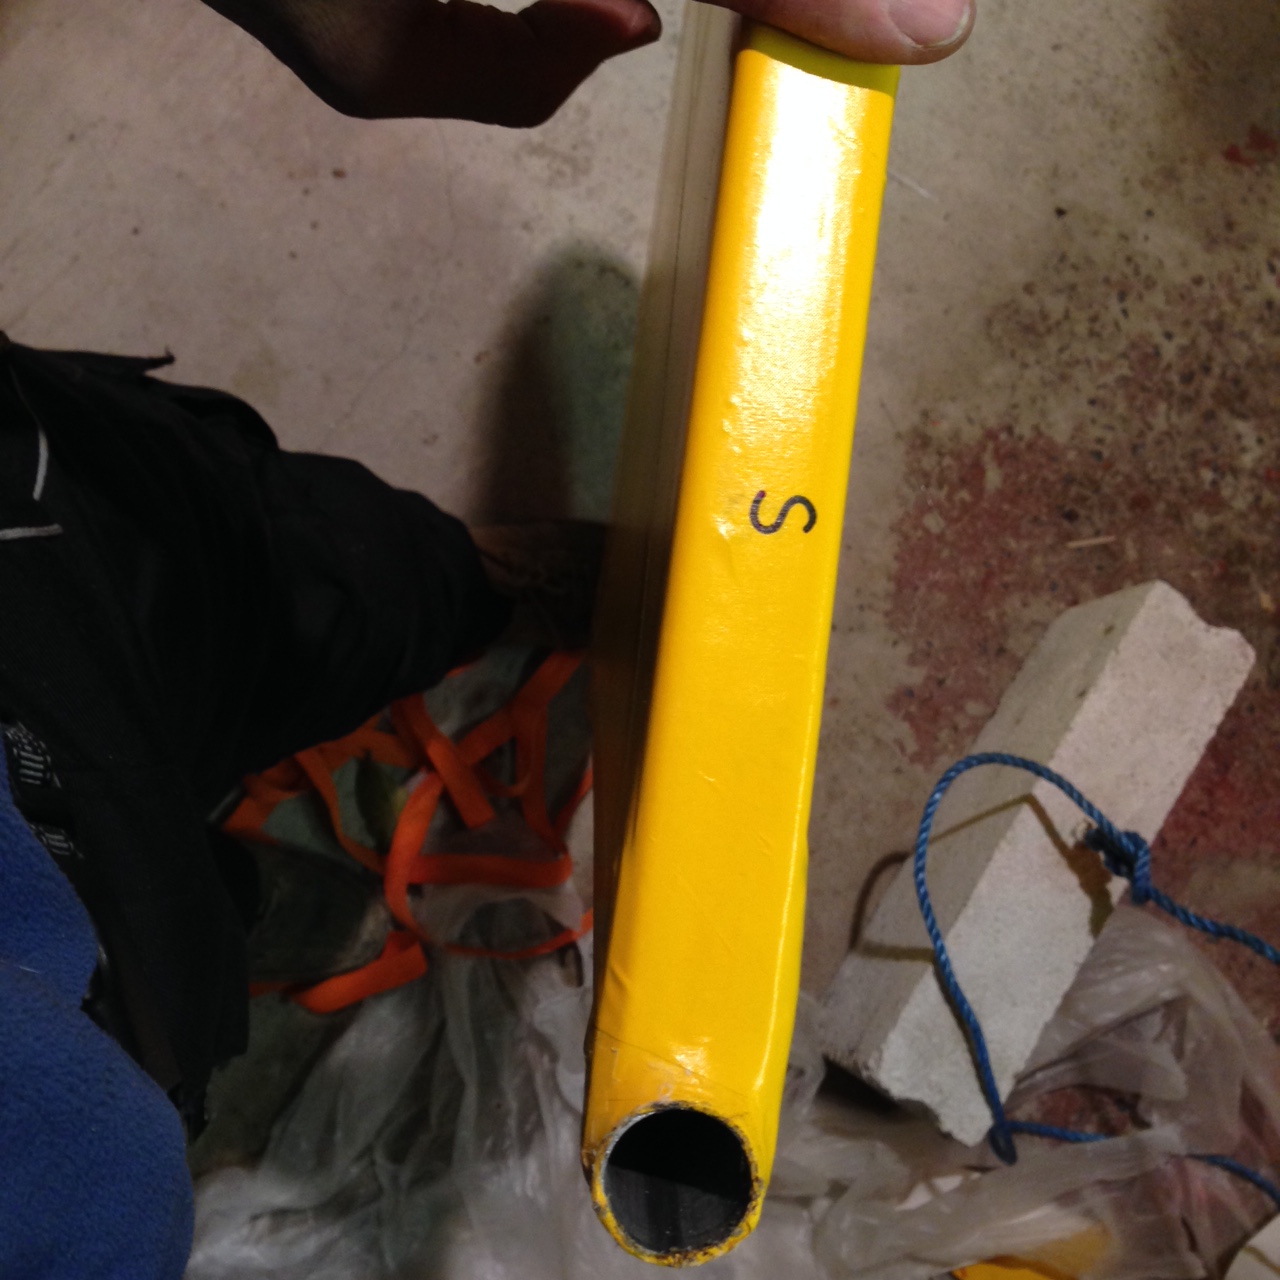
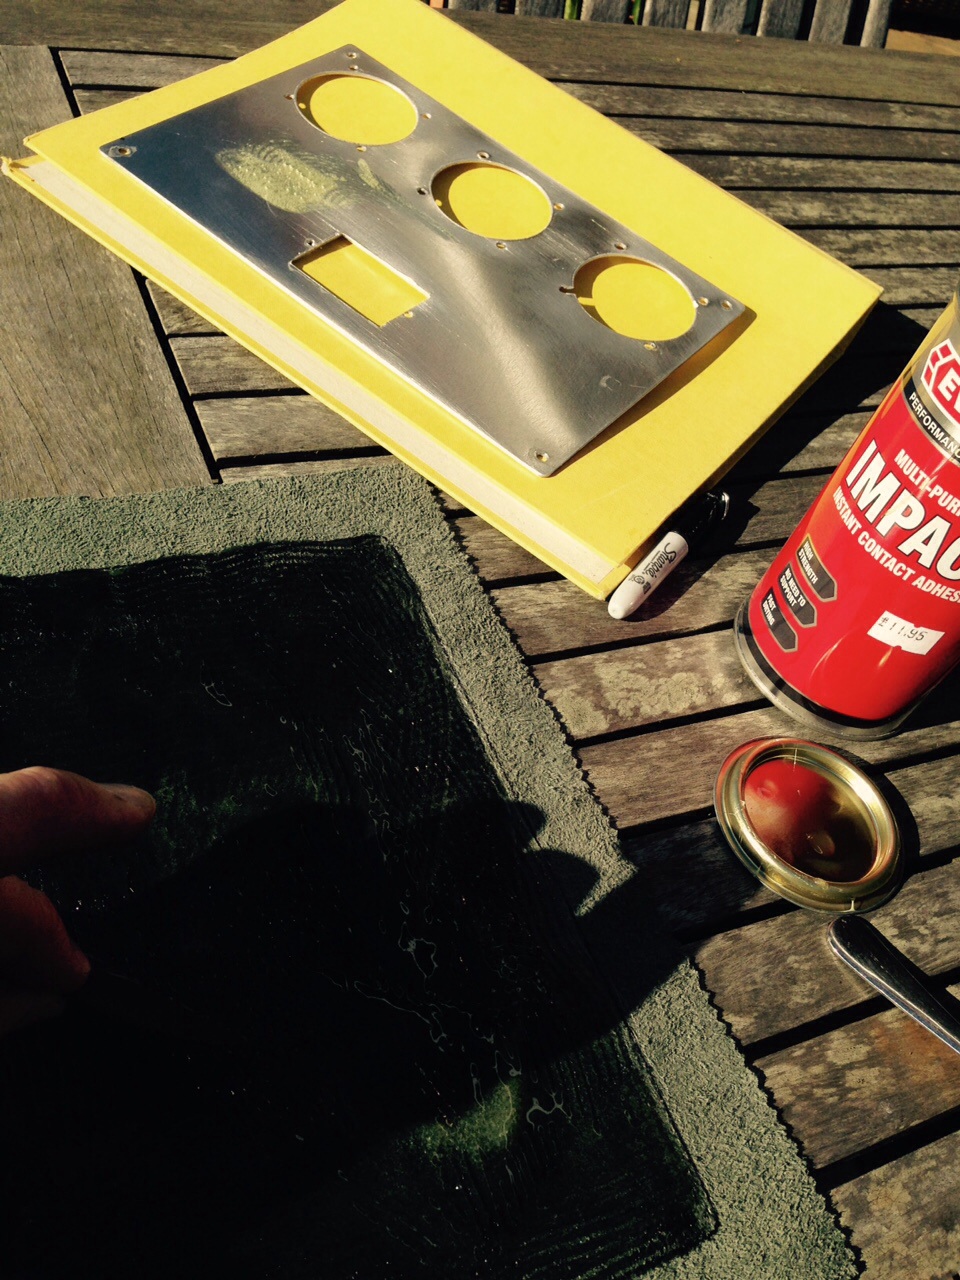
Pays to mark these ..(‘S’ for Starboard) as each was pretty built in situ you do get slight deviations in fitting placements … which effectively makes all placements unique.

IMG_1778 IMG_1779

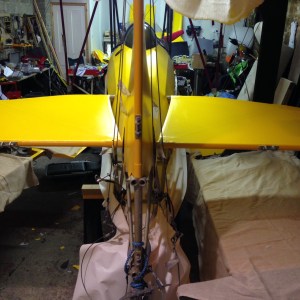
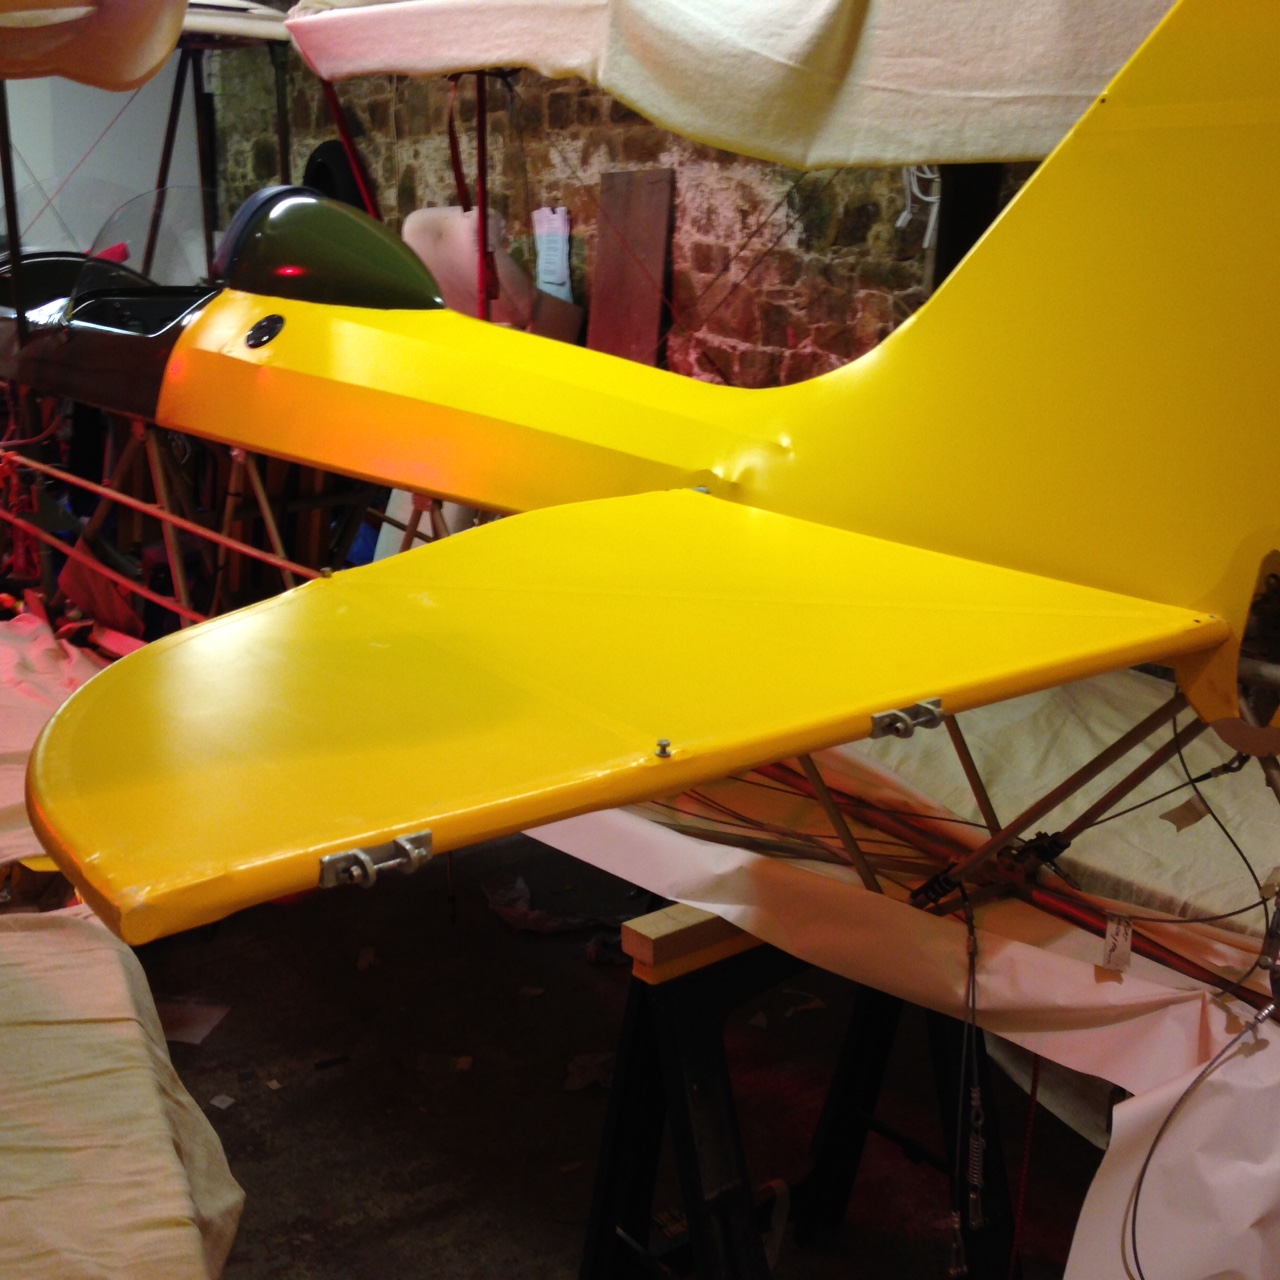
Looks so much better when the tail goes on … will leave the re rigging off for now as that will get in the way of covering the sides. Picture right above … shows a position that will NEVER happen .. differential elevators !  – mid way through re connecting.

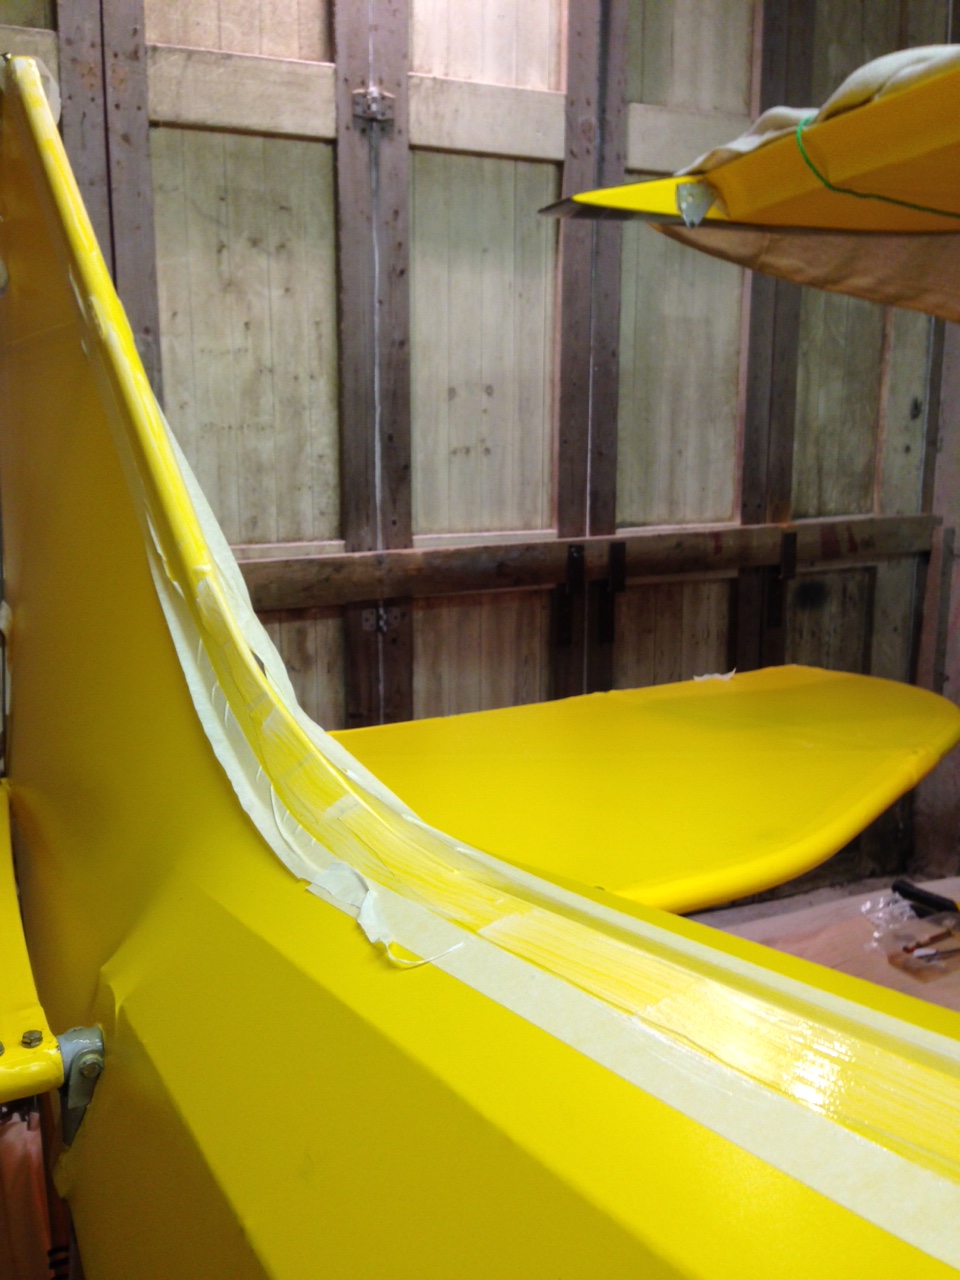
These are extremely difficult to re-connect post covering I imagine so I took the opportunity to reconnect now where I can get easy access. Will take the overhead of tricky side covering !

IMG_1780  IMG_1864

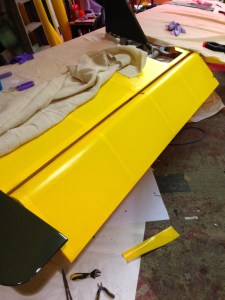
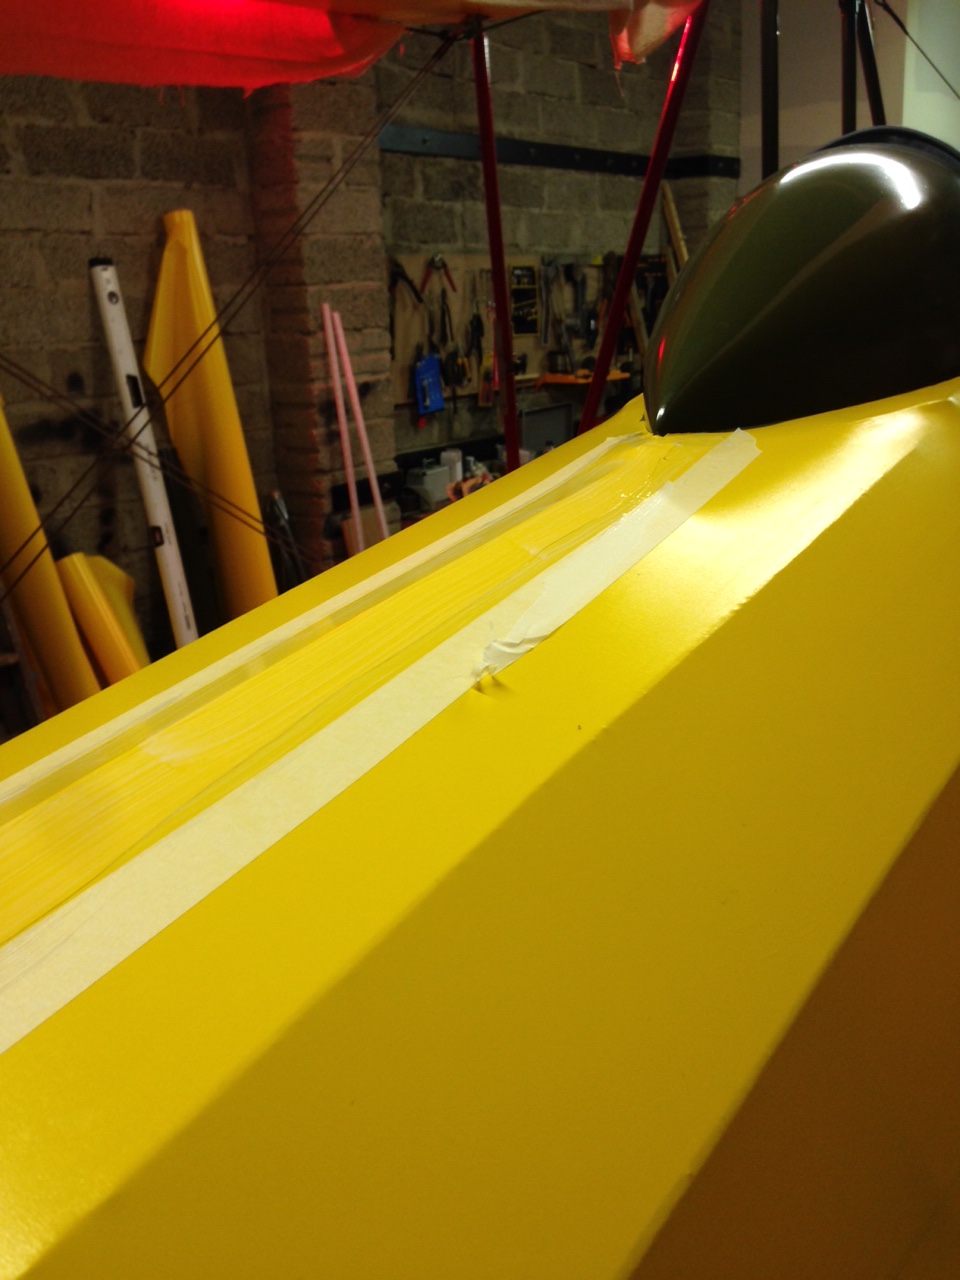
Nice to get first aileron back on .. These look quite nice now they are covered and sensible gap on the frise 🙂

Fuselage – Bottom covering

As I don’t have the facility to hoist the entire body skywards and work on covering I have opted for what PHS (Paul) mentioned was the ‘keep fit’ option ! ie forget gym memberships and riding pushbikes …just nip under and over, nose to tail, under the wings etc to measure and trim the material for covering the full body underside … Then use temporary clamps to hold it in place so that I can get pencil marks for the glue line.

IMG_1851  IMG_1852

Then work a method for releasing the forward pieces to get those hotmelted in place and slowly work backwards… this method seems to be working a treat !

IMG_1854  IMG_1850

Had a problem prior to this getting a good ‘hold’ for the glue on the stainless bulkhead .. but, following PHS advice roughed it up using wet and dry, then a thorough cleaning/de greasing then etch prime.

IMG_1857

Just need to secure the exhaust duct tail oratex using same method as above.

Dashboard fitting

Decided to try a first fit in situ of the panel which is just as well as I had managed to put the Master cut off switch a fraction too close to the centre panel, forcing a slight re-positioning.

image   image

Its now case of picking up the various numbered tail end leads and connecting them both at the ‘sharp end’ (engine CHT, EGT etc) and panel end (terminating at the ‘D’ plugs of the MGL Infinity unit.

Covering undercarriage legs

I had been waiting for an initial engine run before I completed some elements of covering but with a slight delay on a fuel part I decided to crack on with other covering.

image  image

Decided to soften the amount of Cub Yellow oveall and cover the legs in Olive Green. This blends in nicely and I decided to re strip the legs to bare metal to get a good grip on material.

image   image

The legs covered nicely with minimal shrinking required.


Connected up the multi function engine monitor

Connected the power to this neat little unit last night and it lit up like a Christmas Tree which is nice …

image  image

image  image

Had a few obvious warnings as nothing was connected initially but connected the oil temp cable and it read 14 degrees which it was last night 😉

Blog at WordPress.com.

Up ↑