Wing 3 – almost complete – just the re enforcing tapes to go and Leading edge

Run out of hot melt glue now as its been impounded by Jersey Customs after Fedex took 3 days to advise me it was actually on island .. how does anyone do anything actually important and time critical in a far flung colony ??!!


Anyway, moan over, cracked on with wing 3 and pretty much finished late last night, probably the best pre tensioned Oratex to date .. by wing 6 I will be an expert ha ha

Texted Paul at TLAC to check if I should glue the material and full step … definitely !

IMG_0843  IMG_0846


IMG_0847  IMG_0848

Hope I am cutting into the correct panel for the metal covers !

IMG_0849  Oh Yes, it’s the correct one 🙂

IMG_0850 IMG_0851
IMG_0852  IMG_0853

Wing sharing space with two of the sons offroad and track motorbikes !

Inspection panels

Before you seal the wing by adding the top layer – don’t forget to position any inspection rings required … I have had the alloy discs that cover these pre painted cub yellow..

IMG_0836   IMG_0837

As well as positioning these for aileron adjustments I am considering adding a couple to the front fuselage section to allow access to rear firewall bits.

Update from a FB post with Lars … very useful detail here

David Brown These Rings are typically glued ON Top of the Fabric and not under the Fabric! If you glue them under there will be nothing to keep the round inspection cover from wandering around all over the place. I always email this to anybody who asks: Regarding Inspection holes/panels:With our system you just use the clear plastic rings that are on the market for the legacy fabrics,see here attached!Smaller rigid structures can also be glued to Oratex with Superglue (Cyanacrylate).Superglue can also be used to adhere to concave structures, inspection rings,grommets, drains and vents…such as those on the trailing edge undersides. When melting the holes for the drains and vents 3/16 is too small, at least in my world it is. Its better than smaller yet, but I would make it bigger. 1/3 of an inch is what I will do on my planes. 8mm. So you just get the clear re-enforcement rings for the round inspection covers of the legacy aircraft fabrics, level the surface you are planning to glue them on, wipe the area with Alcohol, drop the ring onto the top-surface of the Oratex, take the THIN Cyanacrylate Superglue from the Hobby store, and soak it under the well positioned ring from the inside diameter of the ring while it is laying on the surface, until all the surface of the ring appears clear, as the glue wick’ed underneath. Once that is achieved, stop feeding it glue and let it dry! – That is it, done! Be careful with the use of the “Free Radicals” sprays(“Zip Kicker”) for Superglue, as many will cause the glue to turn white and that will make it look ugly. A “Doily” Overlay on top of the re-enforcement ring is unnecessary with Oratex, many do it just for the old-style looks. Use shrink tube on the steel arms of the inspection cover and tape its underside with good quality tapes in order to prevent chafing and aluminum streaks due to airframe vibration as the plane is being flown. Used as is these covers will trail black as the aluminum rubs off under vibration: It’s easy to avoid! Cut the hole only after it is 100% for sure all dry; and there is no need whatsoever to leave any fabric on the inside diameter of the ring,it’s not like with the legacy fabrics where that is needed to be in contact with the Doily Overlay in order to keep the ring on there! With ours, cut ring into the edge of the ring and make a nice big and smooth-edged hole! Your wrist and mechanics will love that later when it comes to maintenance…I use various glues and they all work. Hobby Lobby and Hobbycraft both sell good Superglue that works fine. The instant activator is BAD as it discolors the glue. In contrast, make sure to use only the Gel-type Super-glue for the issue to attach Micro Vortex Generators to the Oratex. That worked always best for me. If you try to use too liquid a super glue for this purpose, it will be a big runny mess that cannot be cleaned up !

Finer detail of finishing

Worth taking the time and trouble now to get the finer detail as you would like others to see it as well !

IMG_0832  IMG_0831


Using the 1″ wide pinked edge not only over the rib caps but also over the edge of the open areas that will have access panels over the top.

And preparing for the final top covering of wing 1

IMG_0833

Tape applied to provide a thin 1/4″ strip of glue on each rib cap … REMEMBER to take the tape  off as soon as the glue has been applied to save it sticking to the wing !


Scary wing covering …. I love Oratex !

This was one of those evenings that you skirt around for ages and in the end think … well “No one else is going to do it for you” !

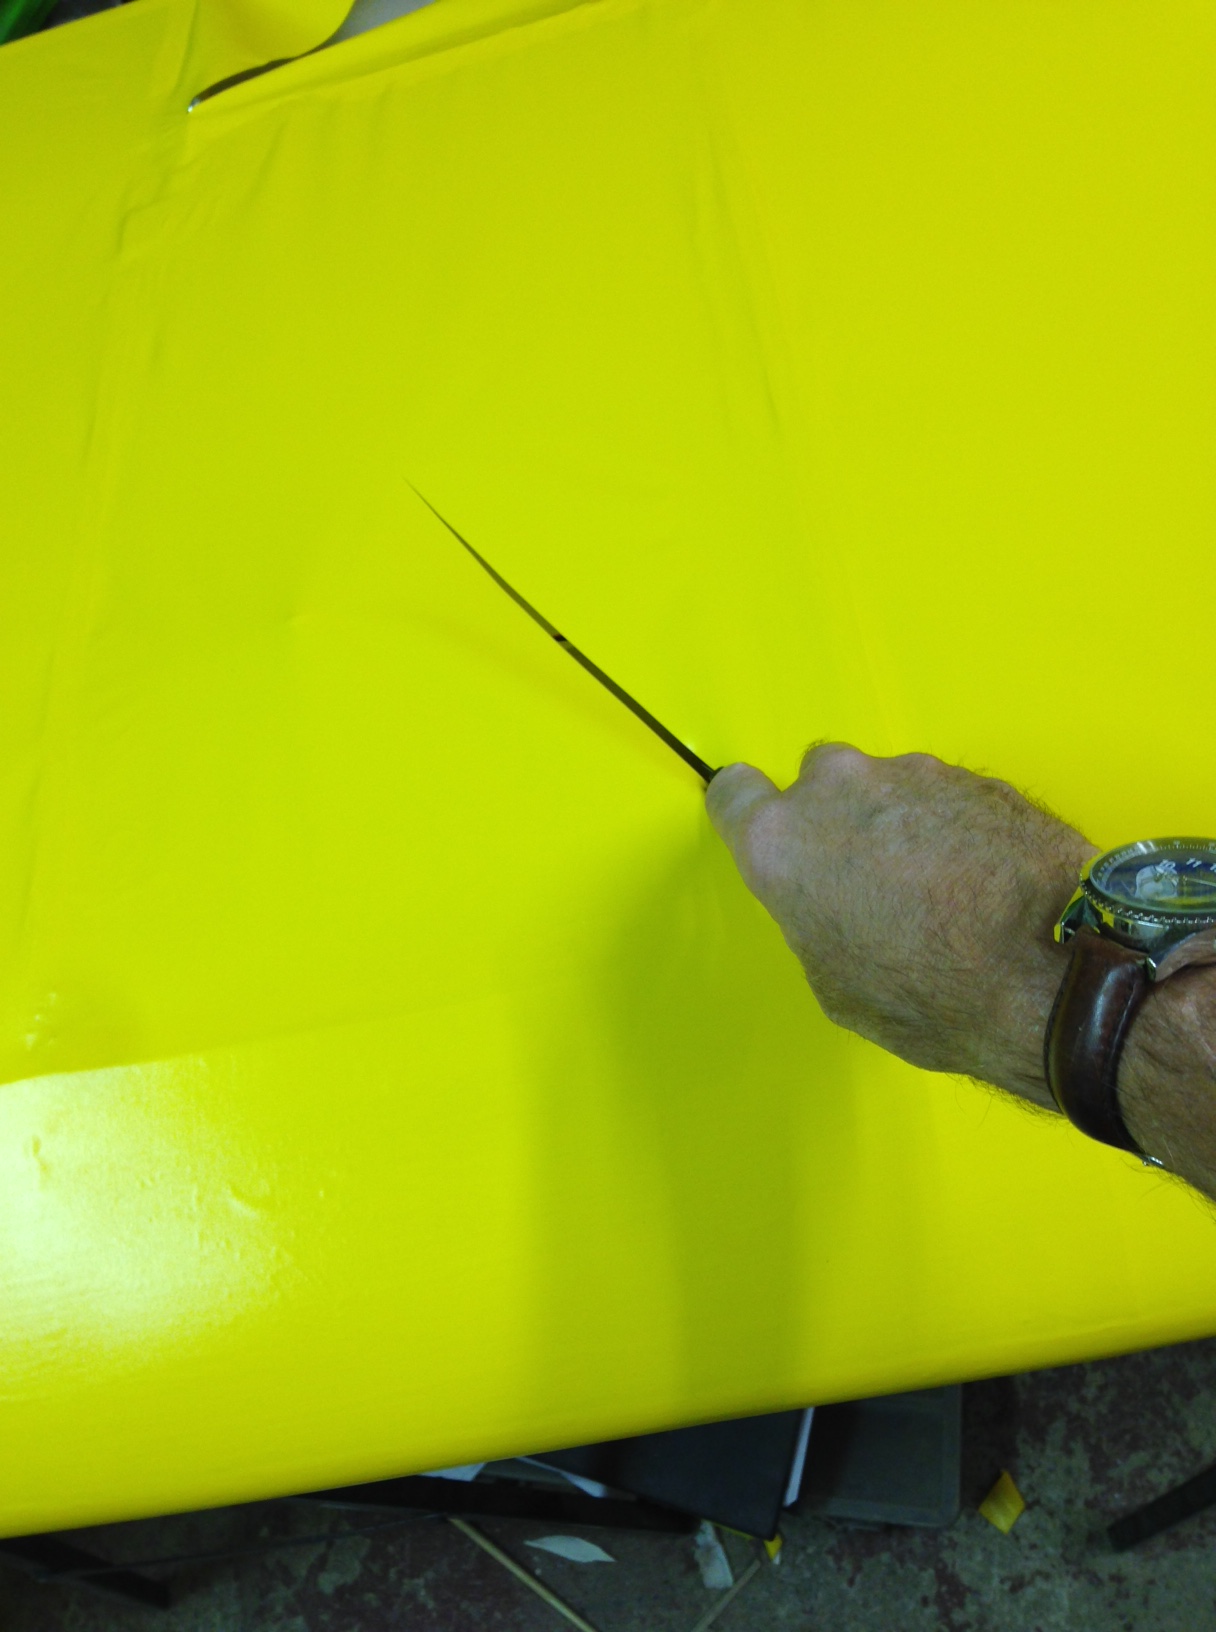
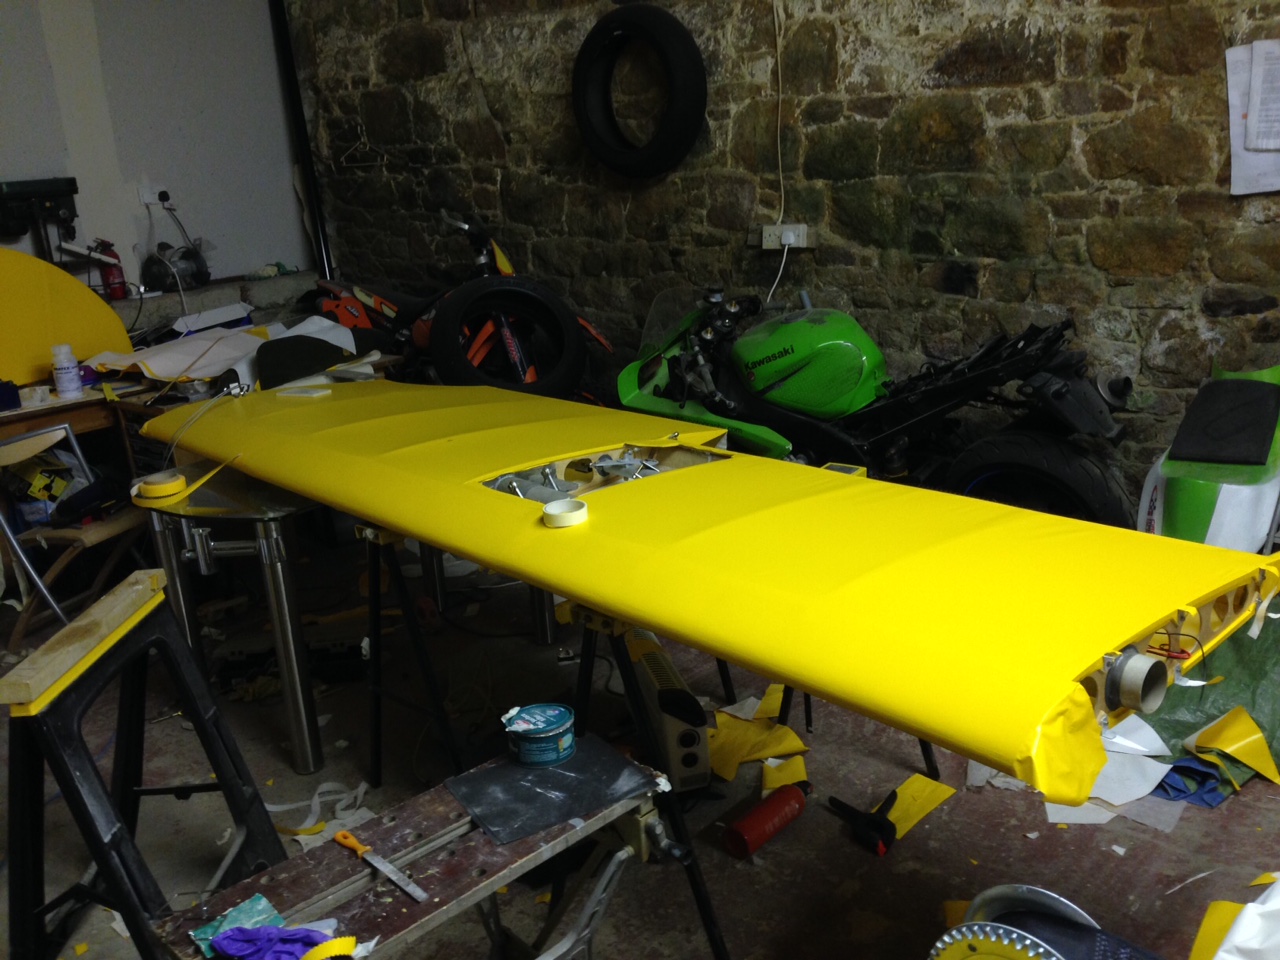
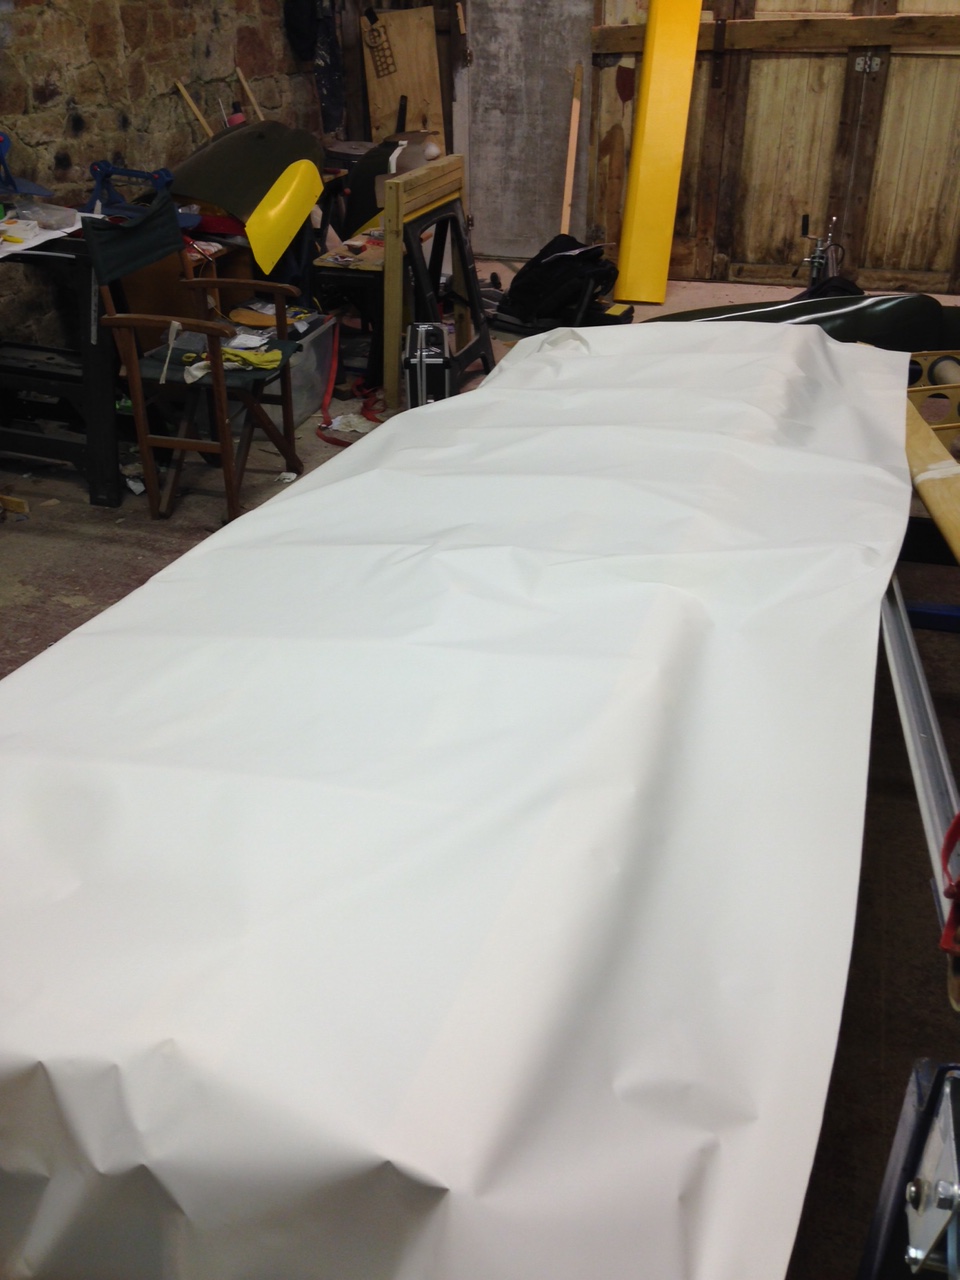
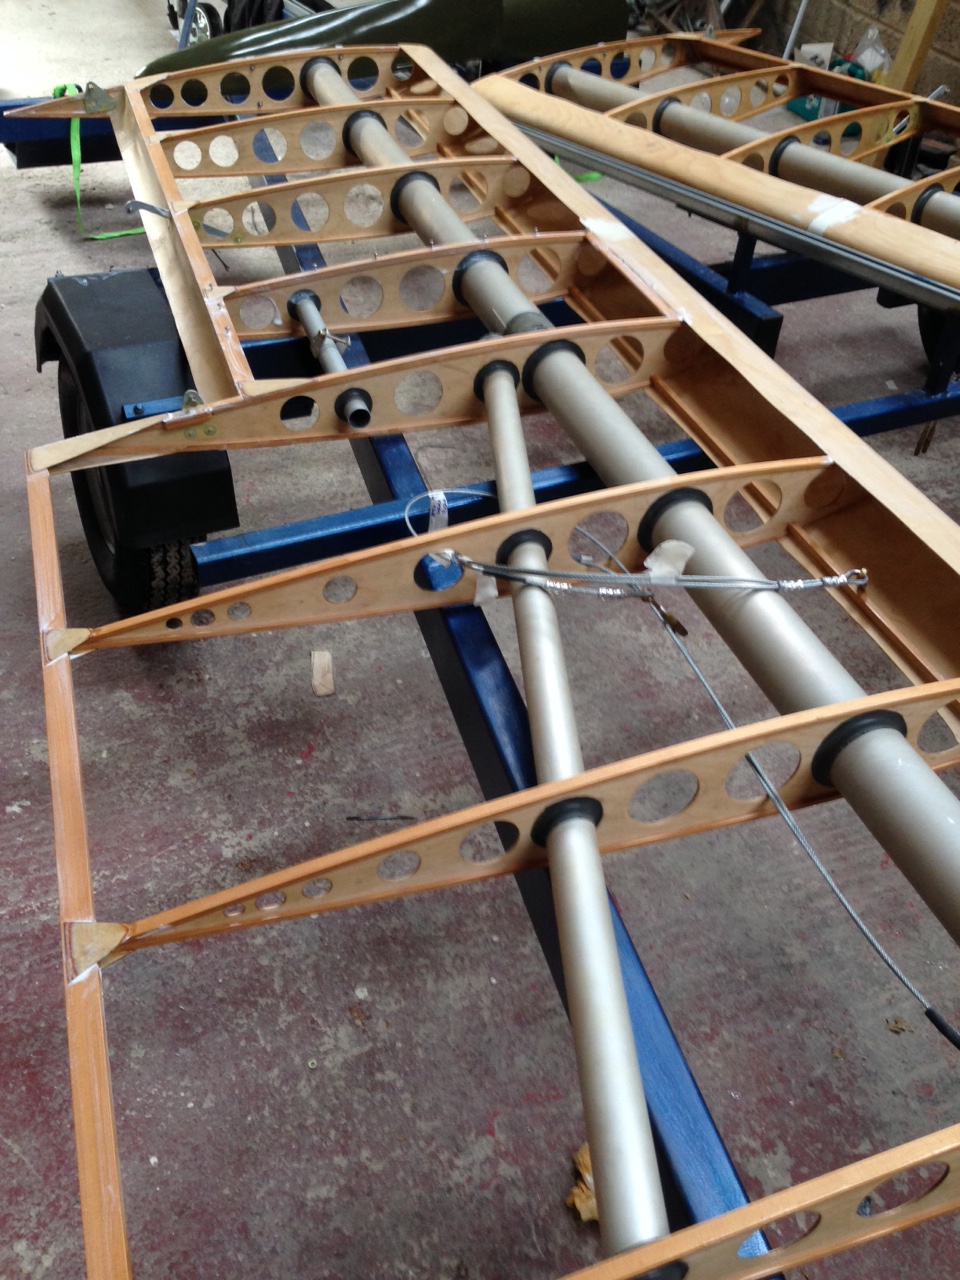
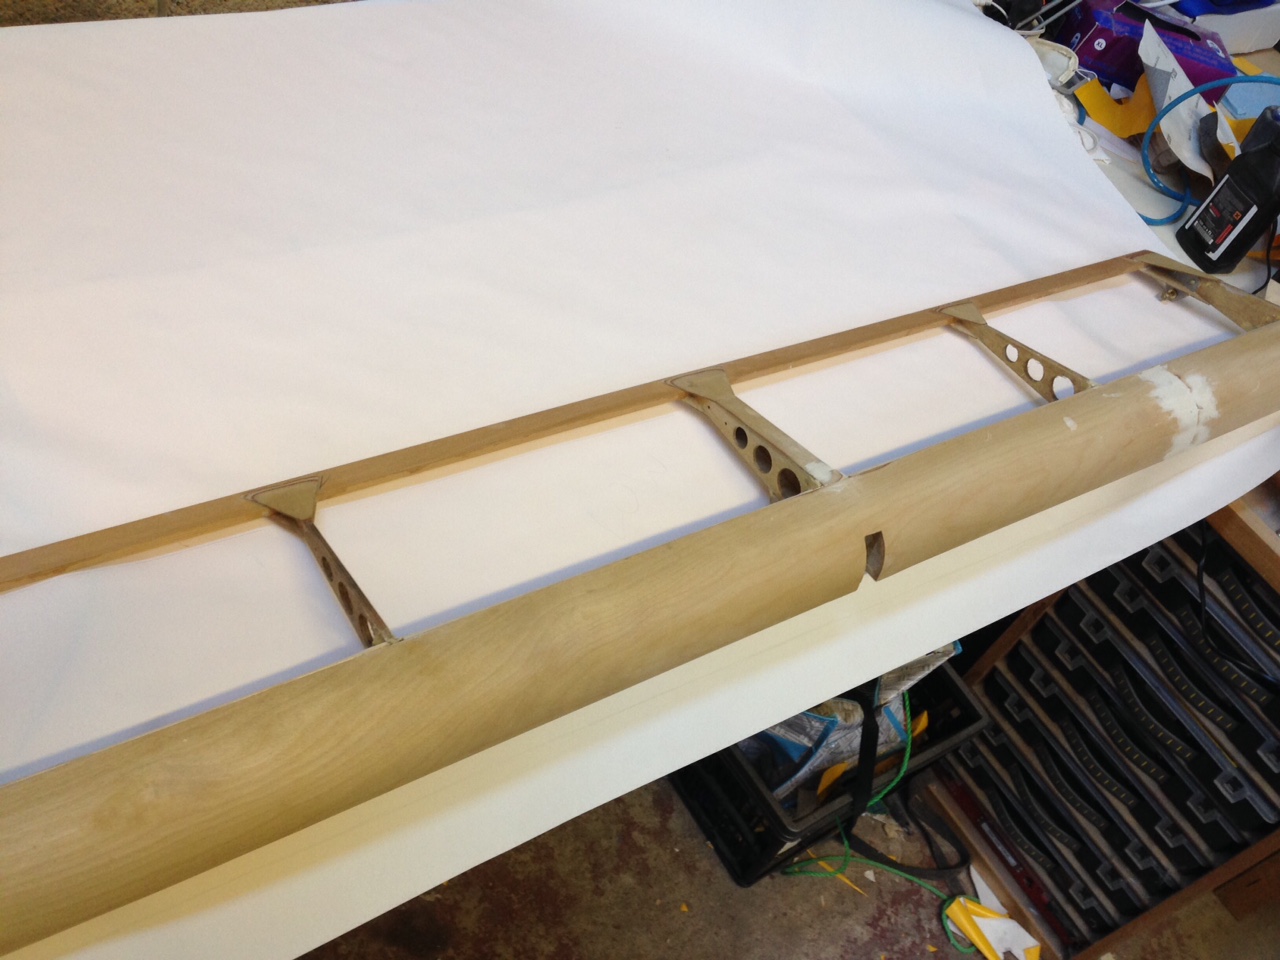
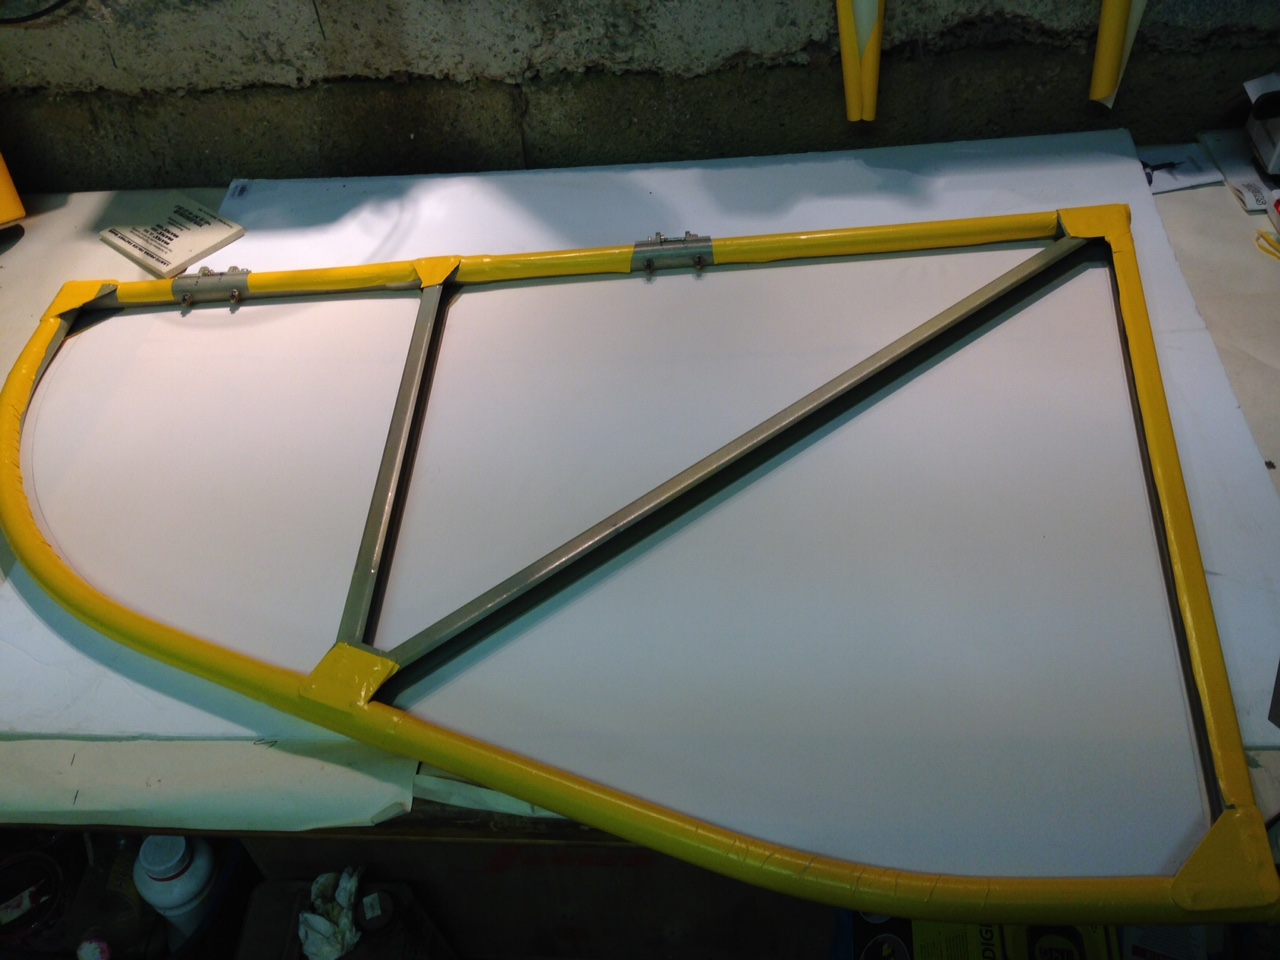
So I took the big 1.8m roll of Oratex out of its protective covering and unrolled it over the prepared underside of the Top Port wing. Trimmed to length and let it hang out over the sides. You then need to set an alignment level on the leading edge .. following PHS expert advice 🙂

IMG_0581  IMG_0582


You need to pre glue both the wing and the material and then leave for 24 hours to go off. Use the alignment notes below to lightly mark the underside of the material so you know wher to glue up to. NOTE A biro WILL show through for ever more ! so light pencil is best

Also – try not to over glue as this will inevitably show at the overlaps.

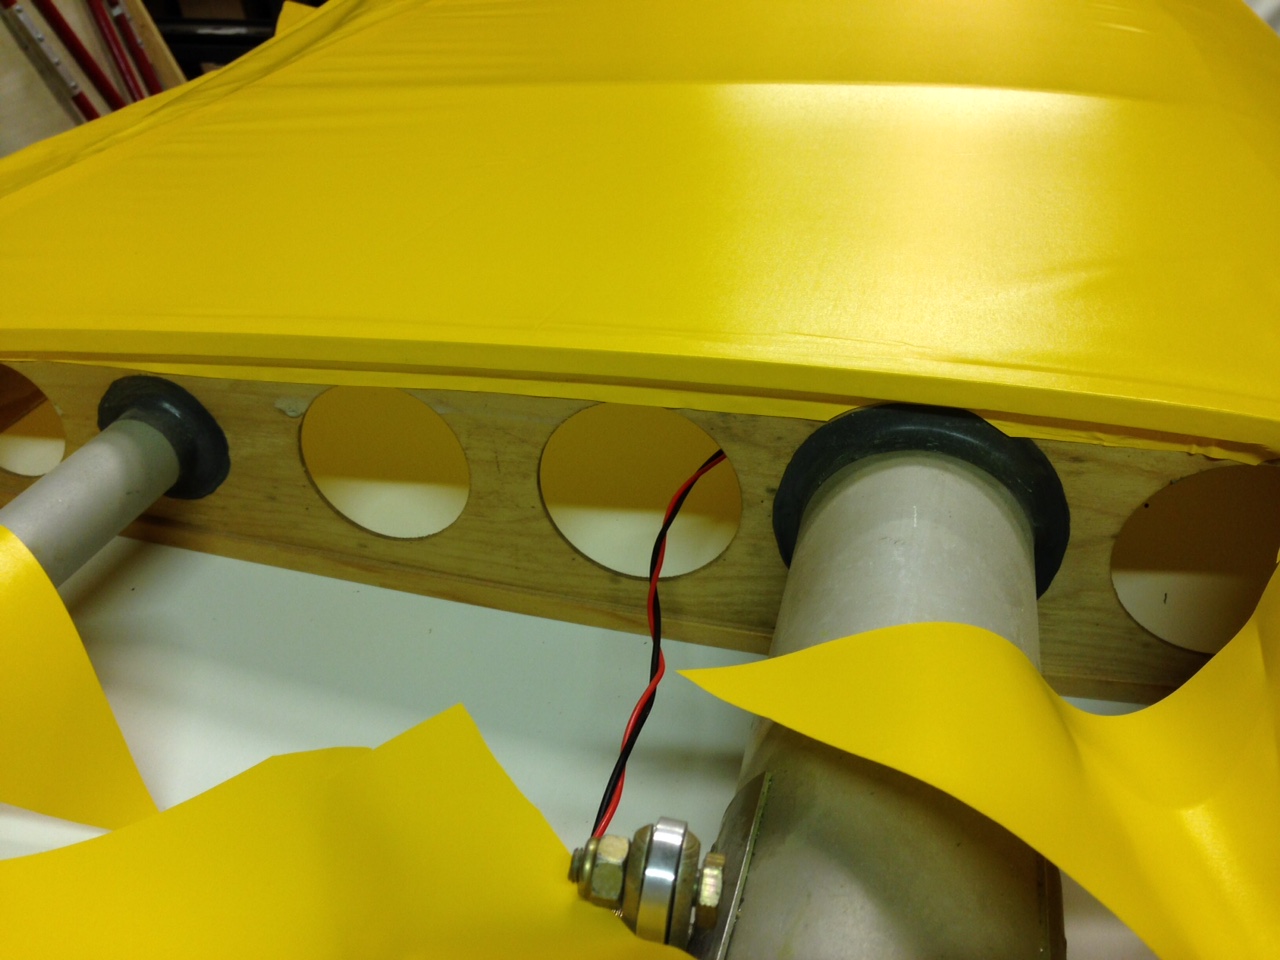
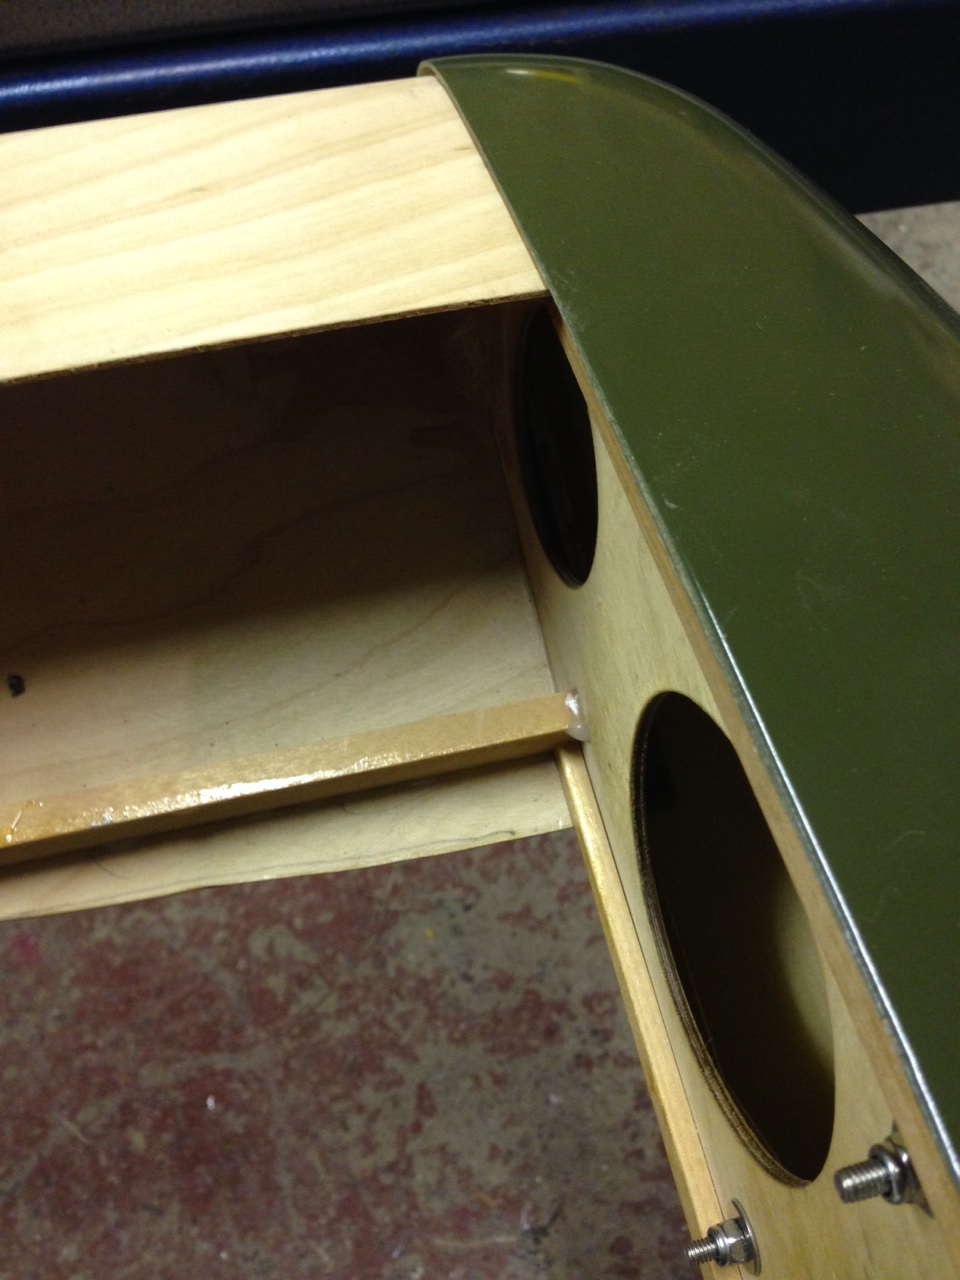
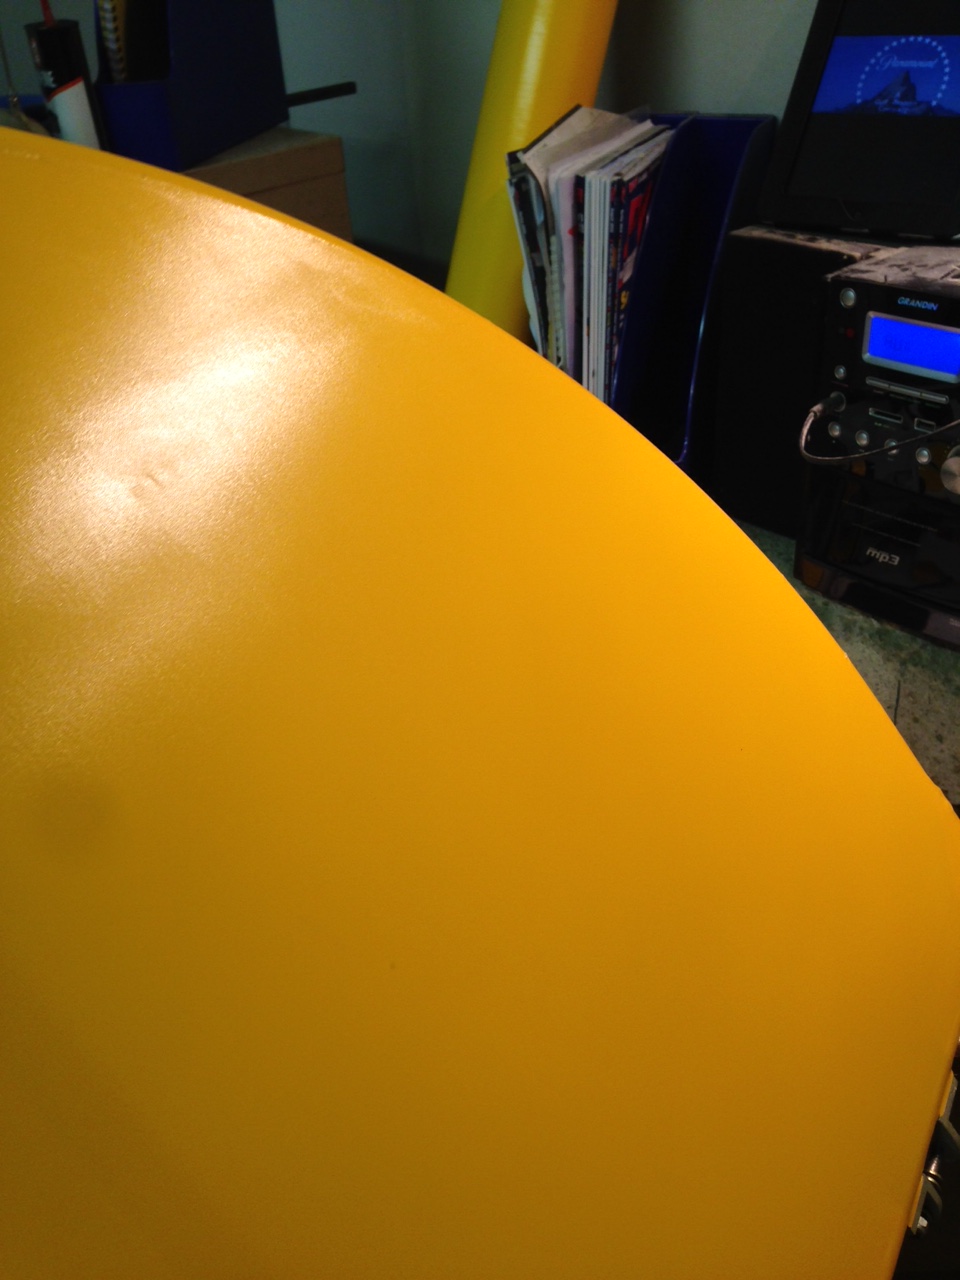
As noted below – the leading edge p,y sheeting and trailing edge give a good sized surface to prepare BUT it’s well worth making sure you don’t leave bubbles of glue to dry .. These don’t flatten easily when ironing and, on the slightly bigger surface areas like the leading edge can show through as air bubbles … A pain to work out after the event ..

IMG_0591

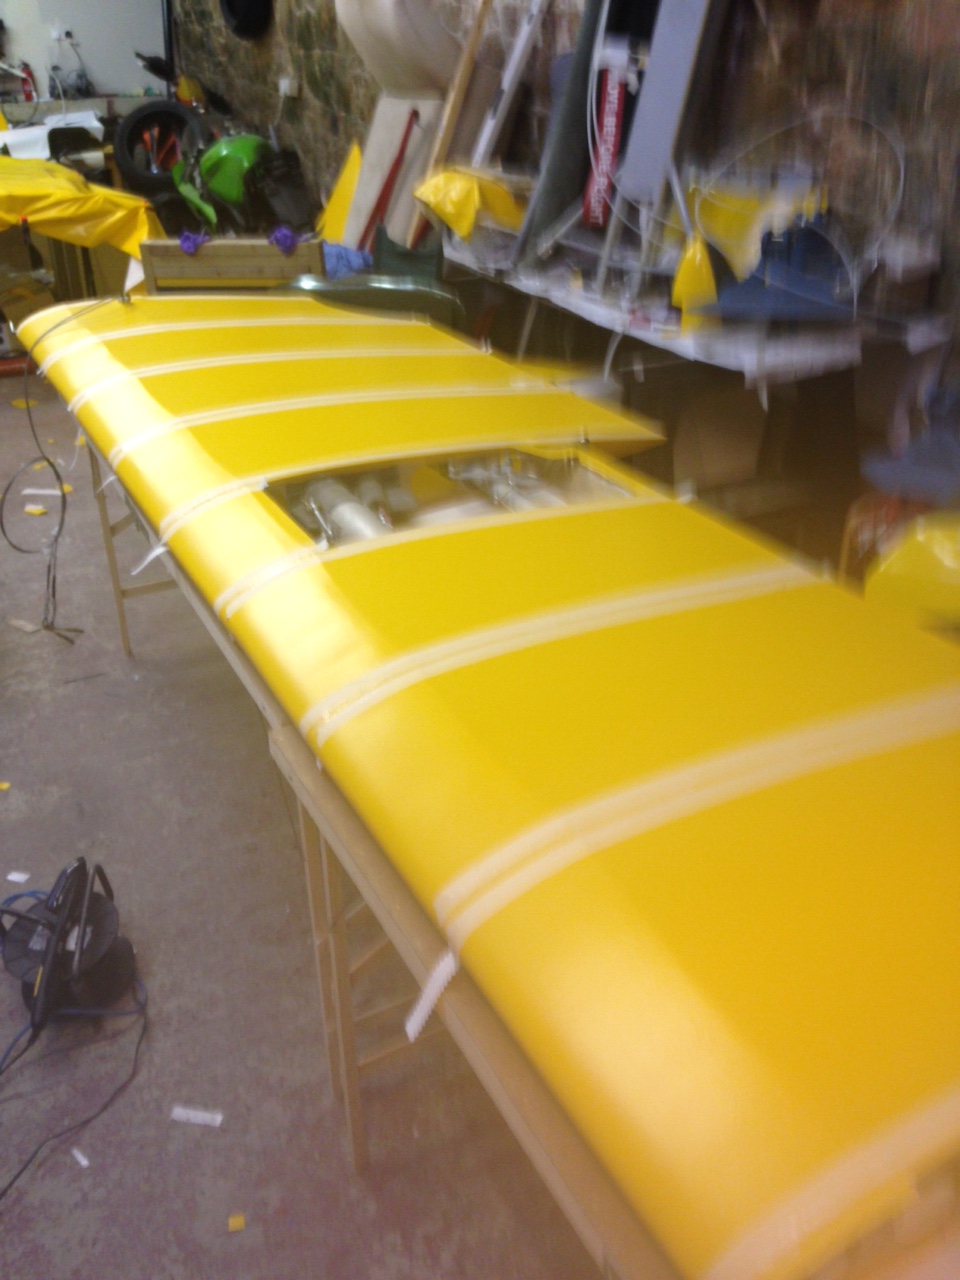
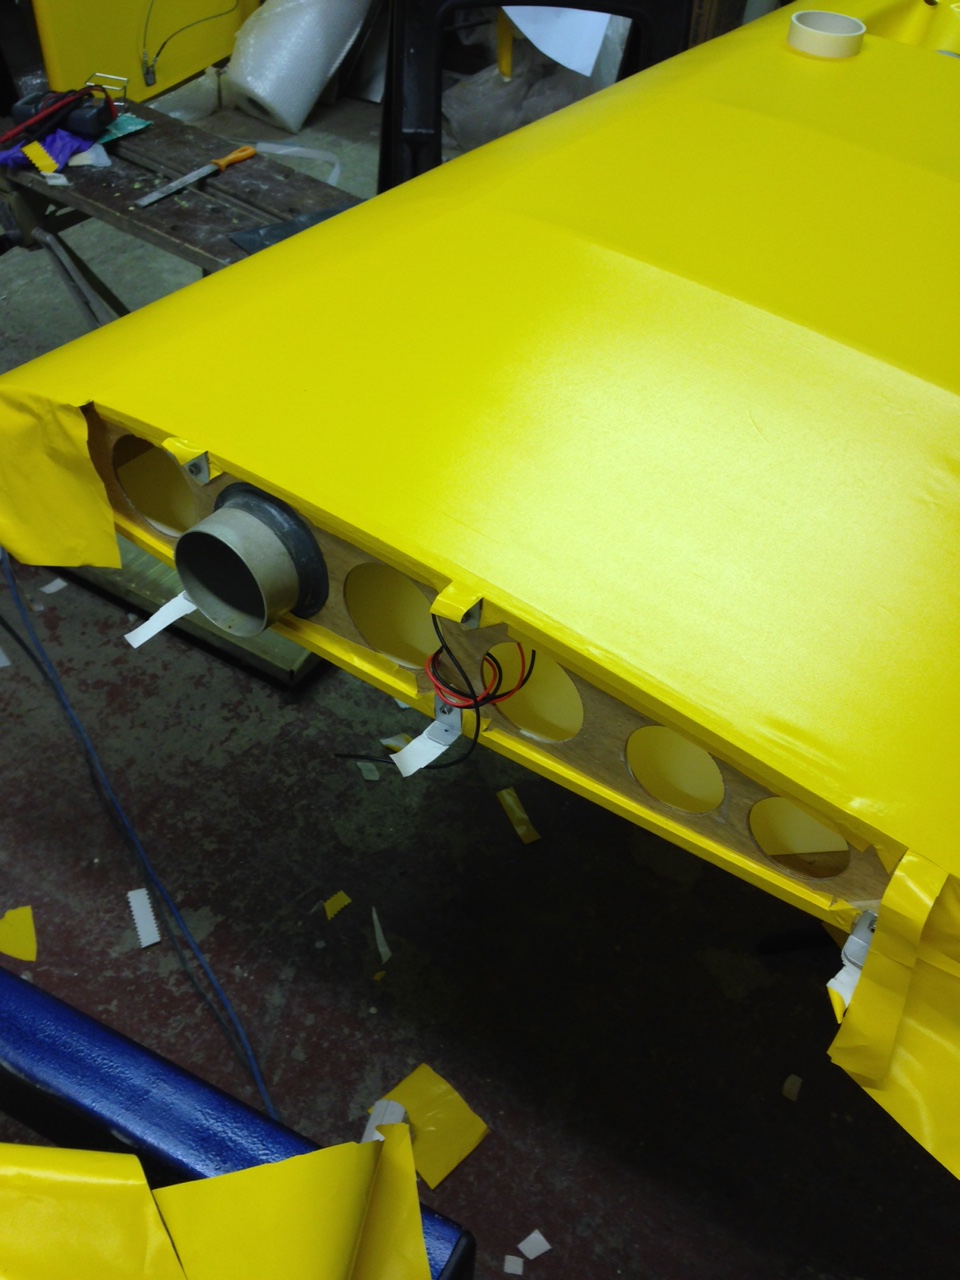
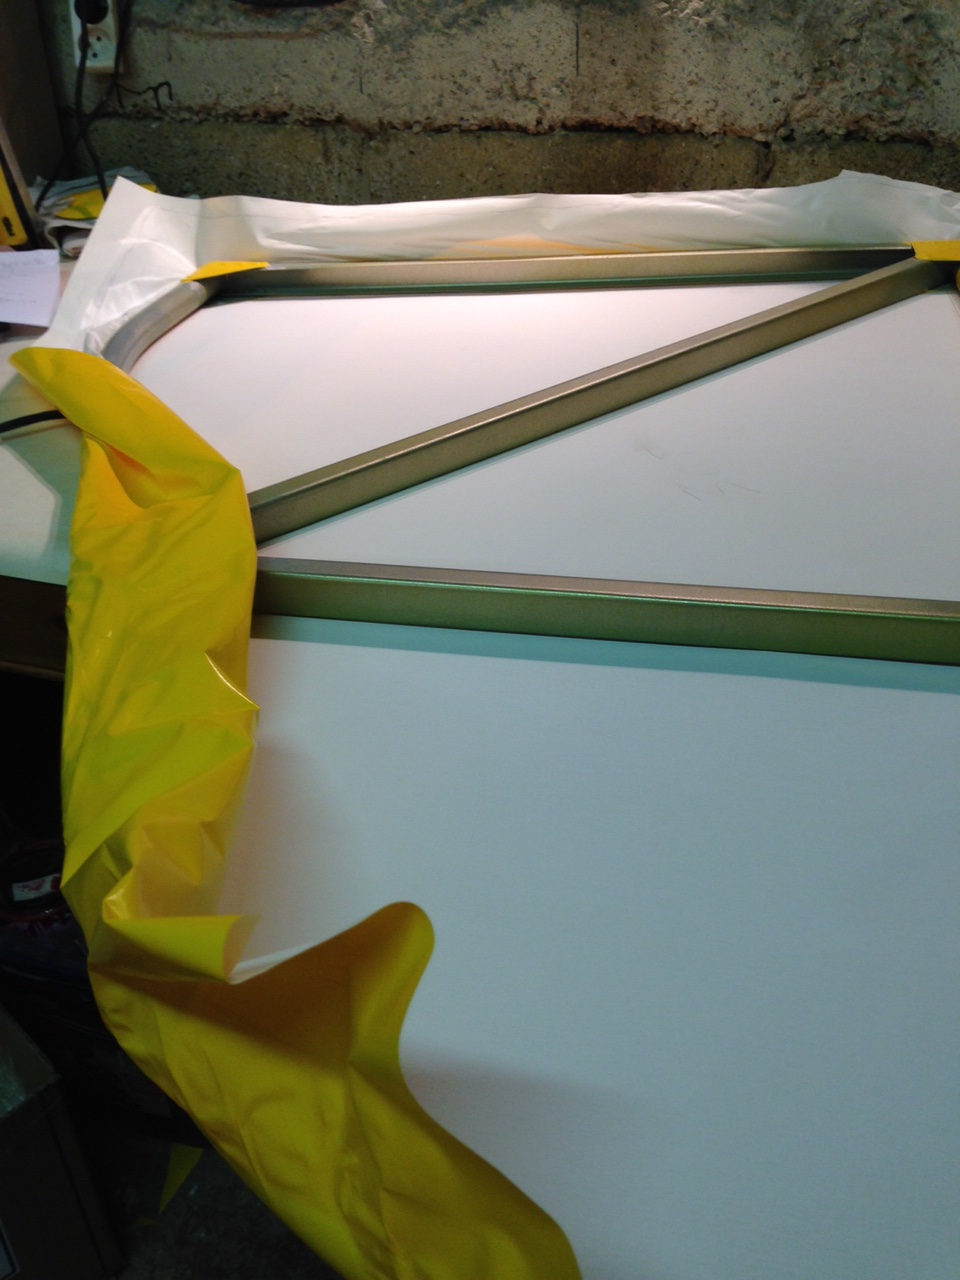
Once your 24 hours drying is up re present the covering to the wing ….use masking tape if you don’t have spare hands as I didn’t … Spare hands are MUCH better .. Cos they respond to comments like .. Can you pull that at 45 degrees !

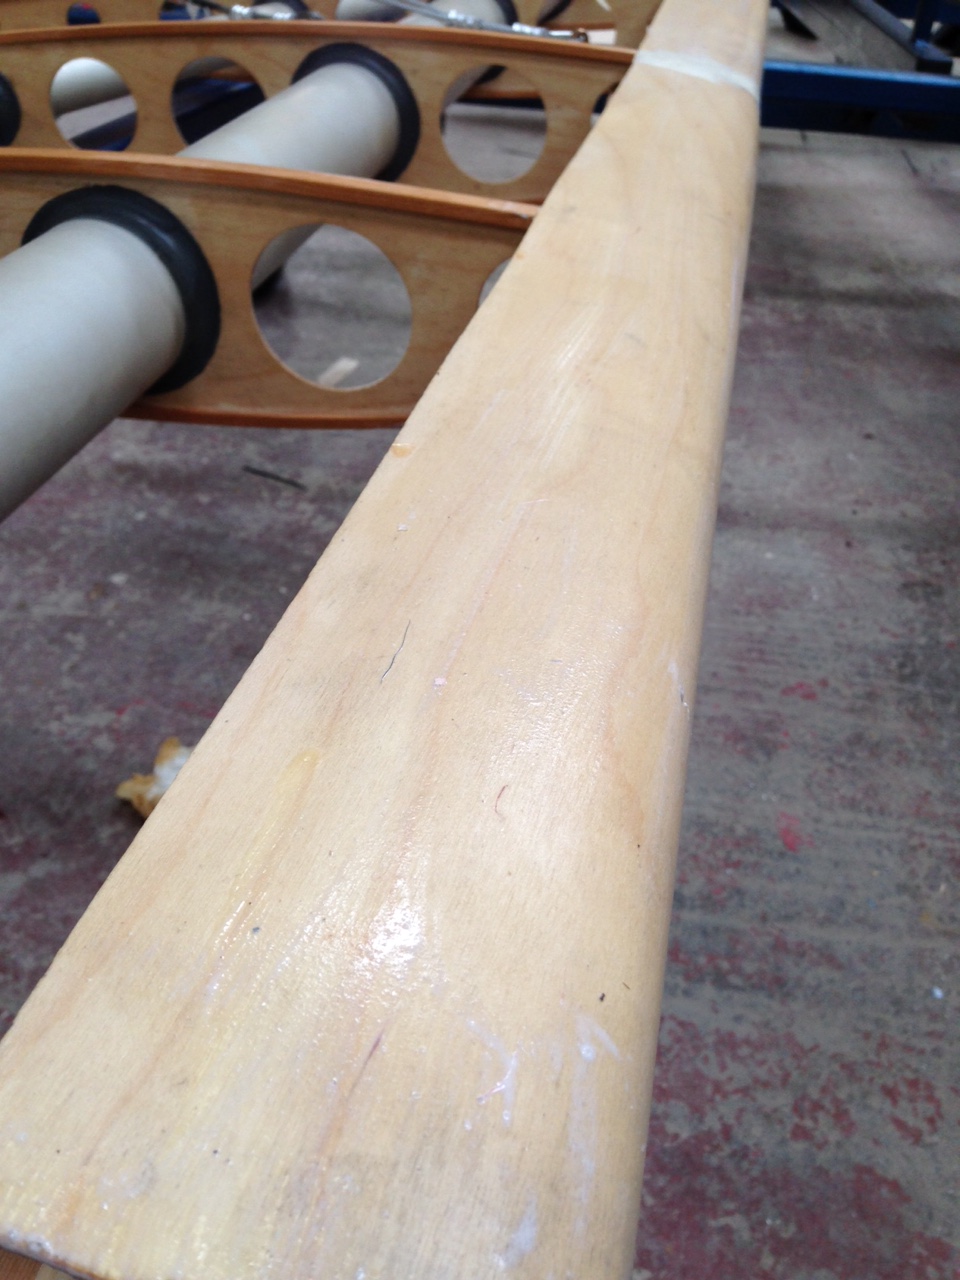
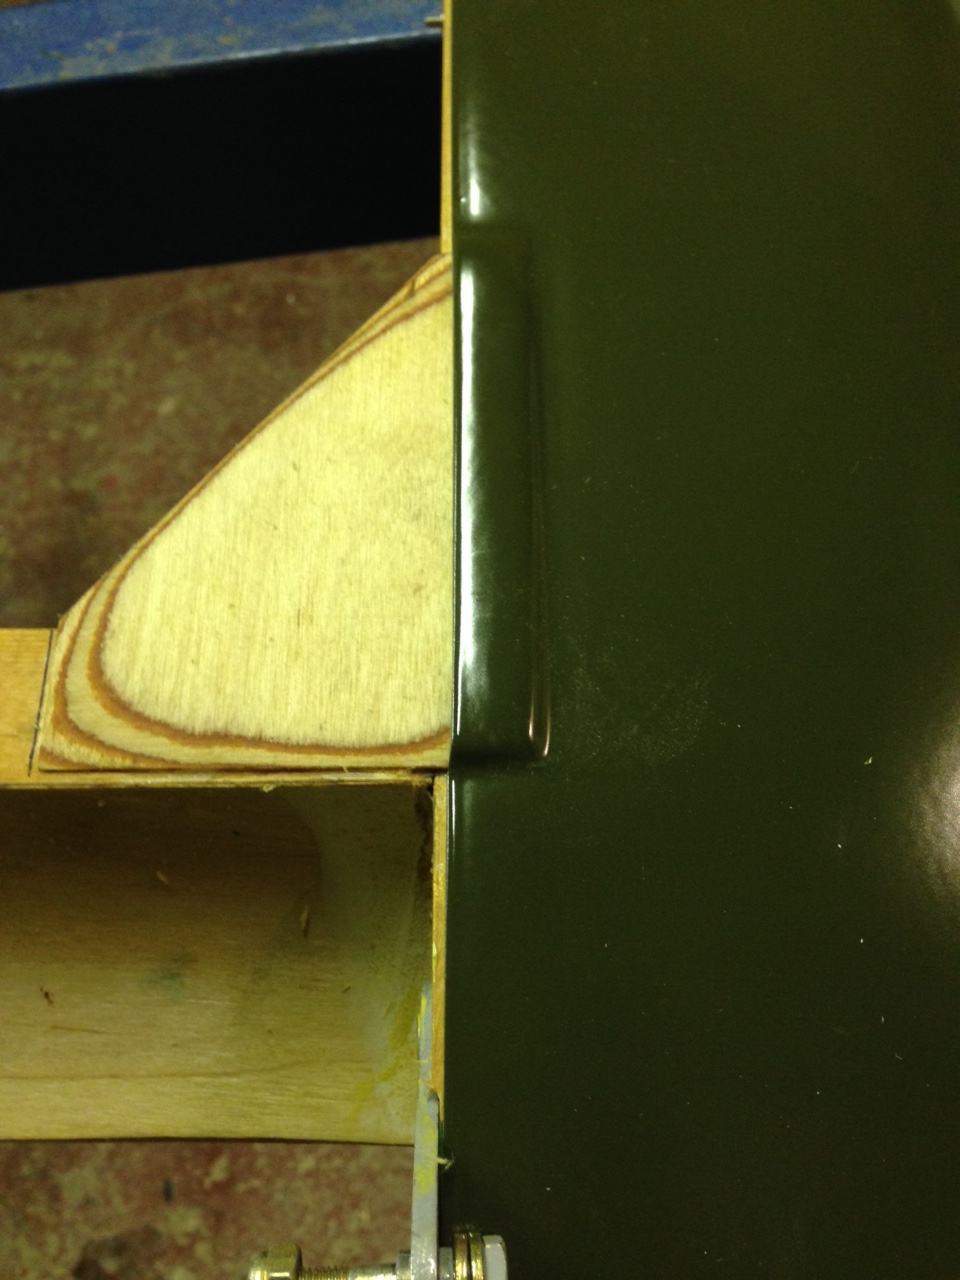
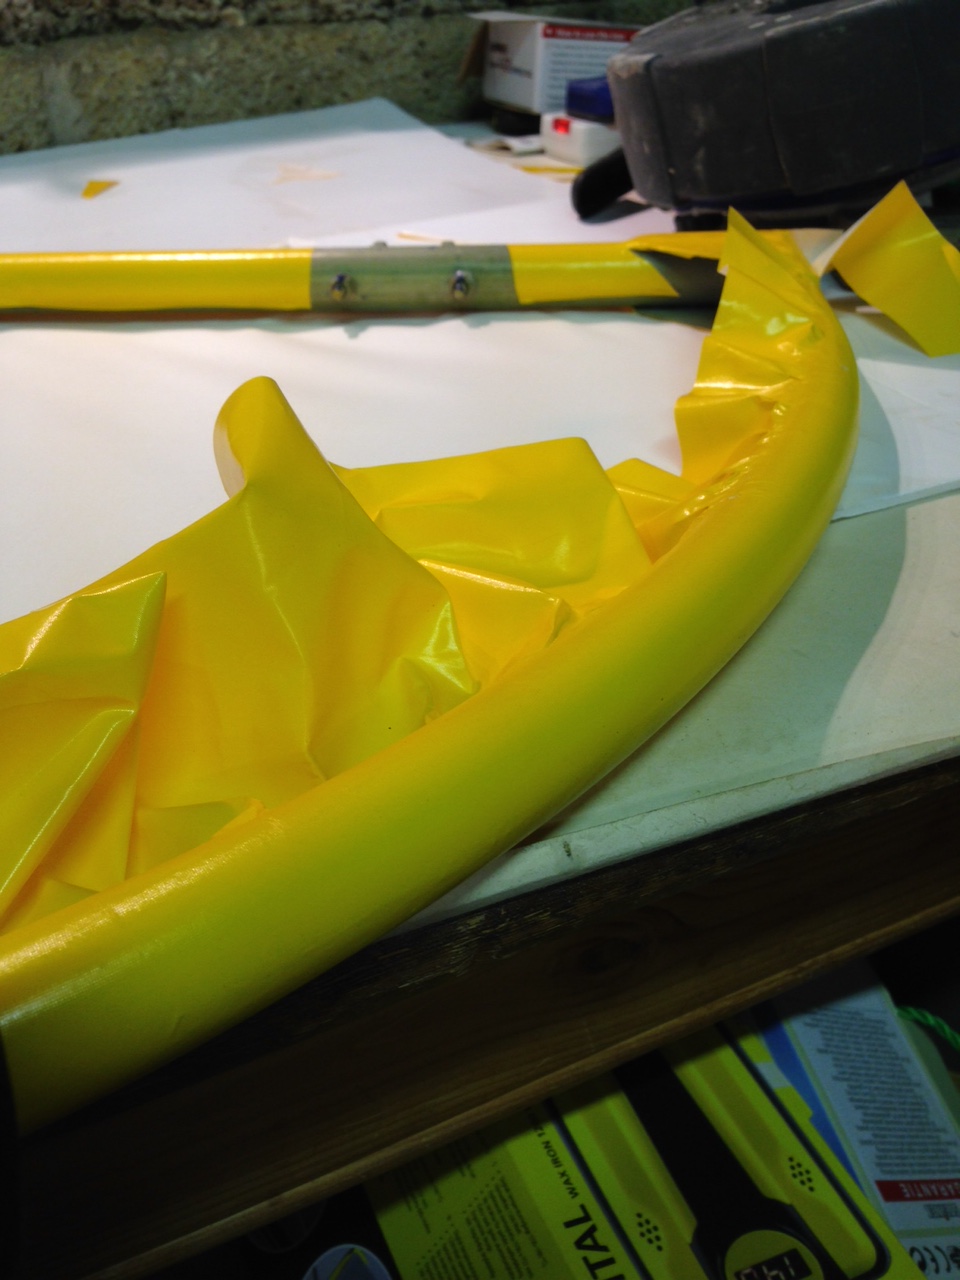
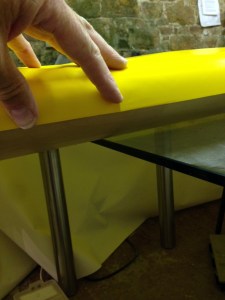
The lower covering wraps just over the midpoint of the ply covered leading edge. As the full leading edge ply has been glued it provides a lot of surface area grab. The leading edge is then ironed into position using masking tape securing points across the full leading edge to make sure the material doesn’t slip during fixing. It’s also good practice to clamp the trailing edge where you can to get the whole covering as flat as possible before fixing the leading edge.

IMG_0583  IMG_0588

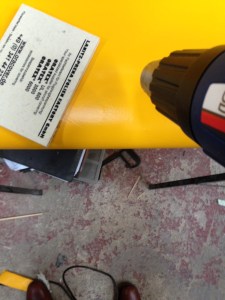
Once the initial line is set and ironed and cooled you can bring the heat gun into play (130 degrees not 150 as its wood which doesn’t conduct the heat away to any degree). This is where the funny little Oratex pad comes massively into play. As you heat the material and the glue starts to react, it also heats up the glue surface on the ply leading edge underneath. The Oratex felt mat lets you work relatively small areas to ensure you are bubble free and get a really solid bond as you work it back to the trailing edge of the underside leading edge.

IMG_0590

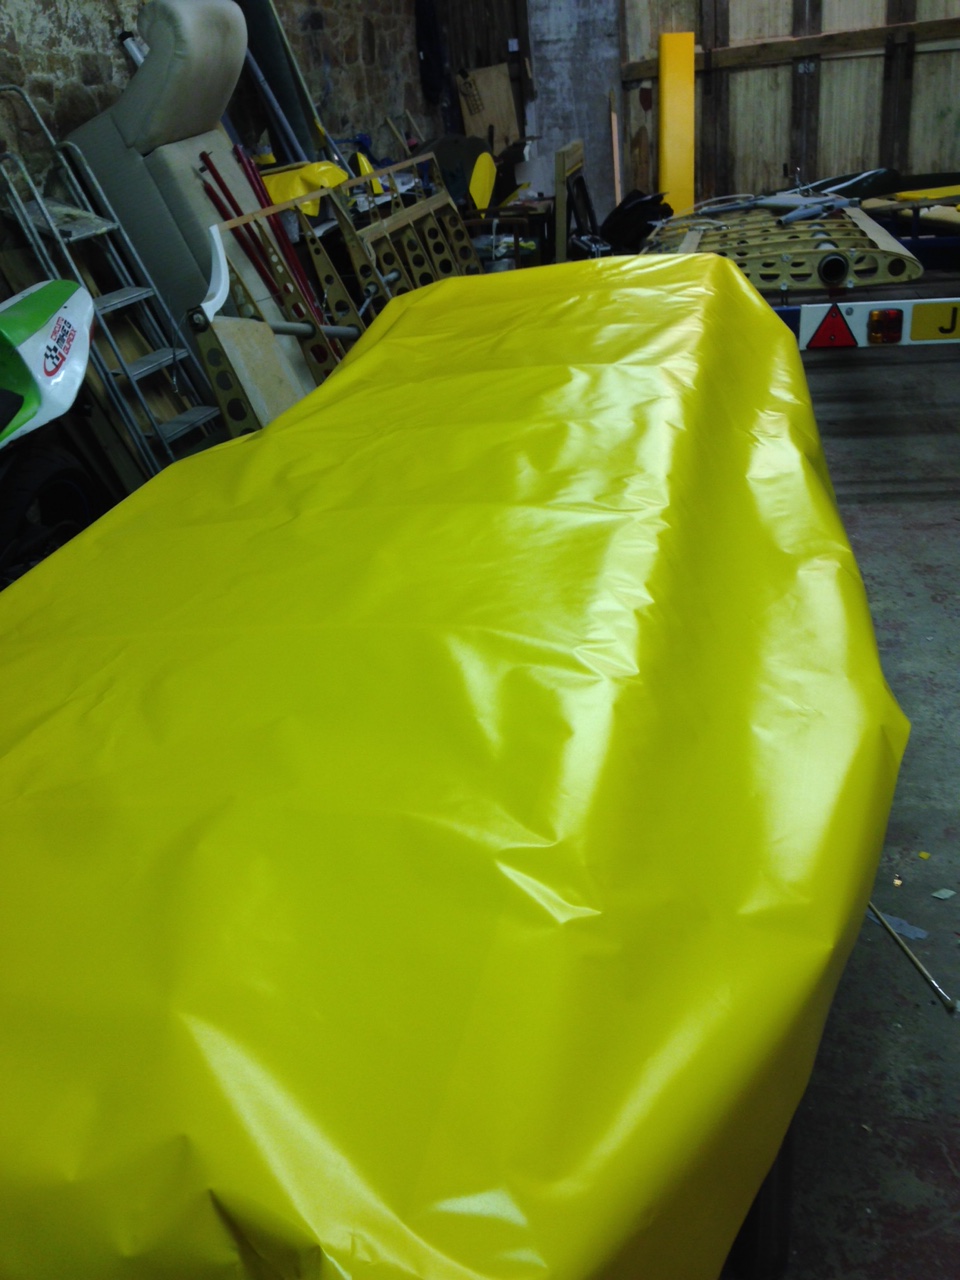
Leave the whole lot to cool at the leading edge and trailing edge joints .. If you start to get excited and try to shrink it in the same evening it can pull away … Shrink rate of 20% makes it pretty tough

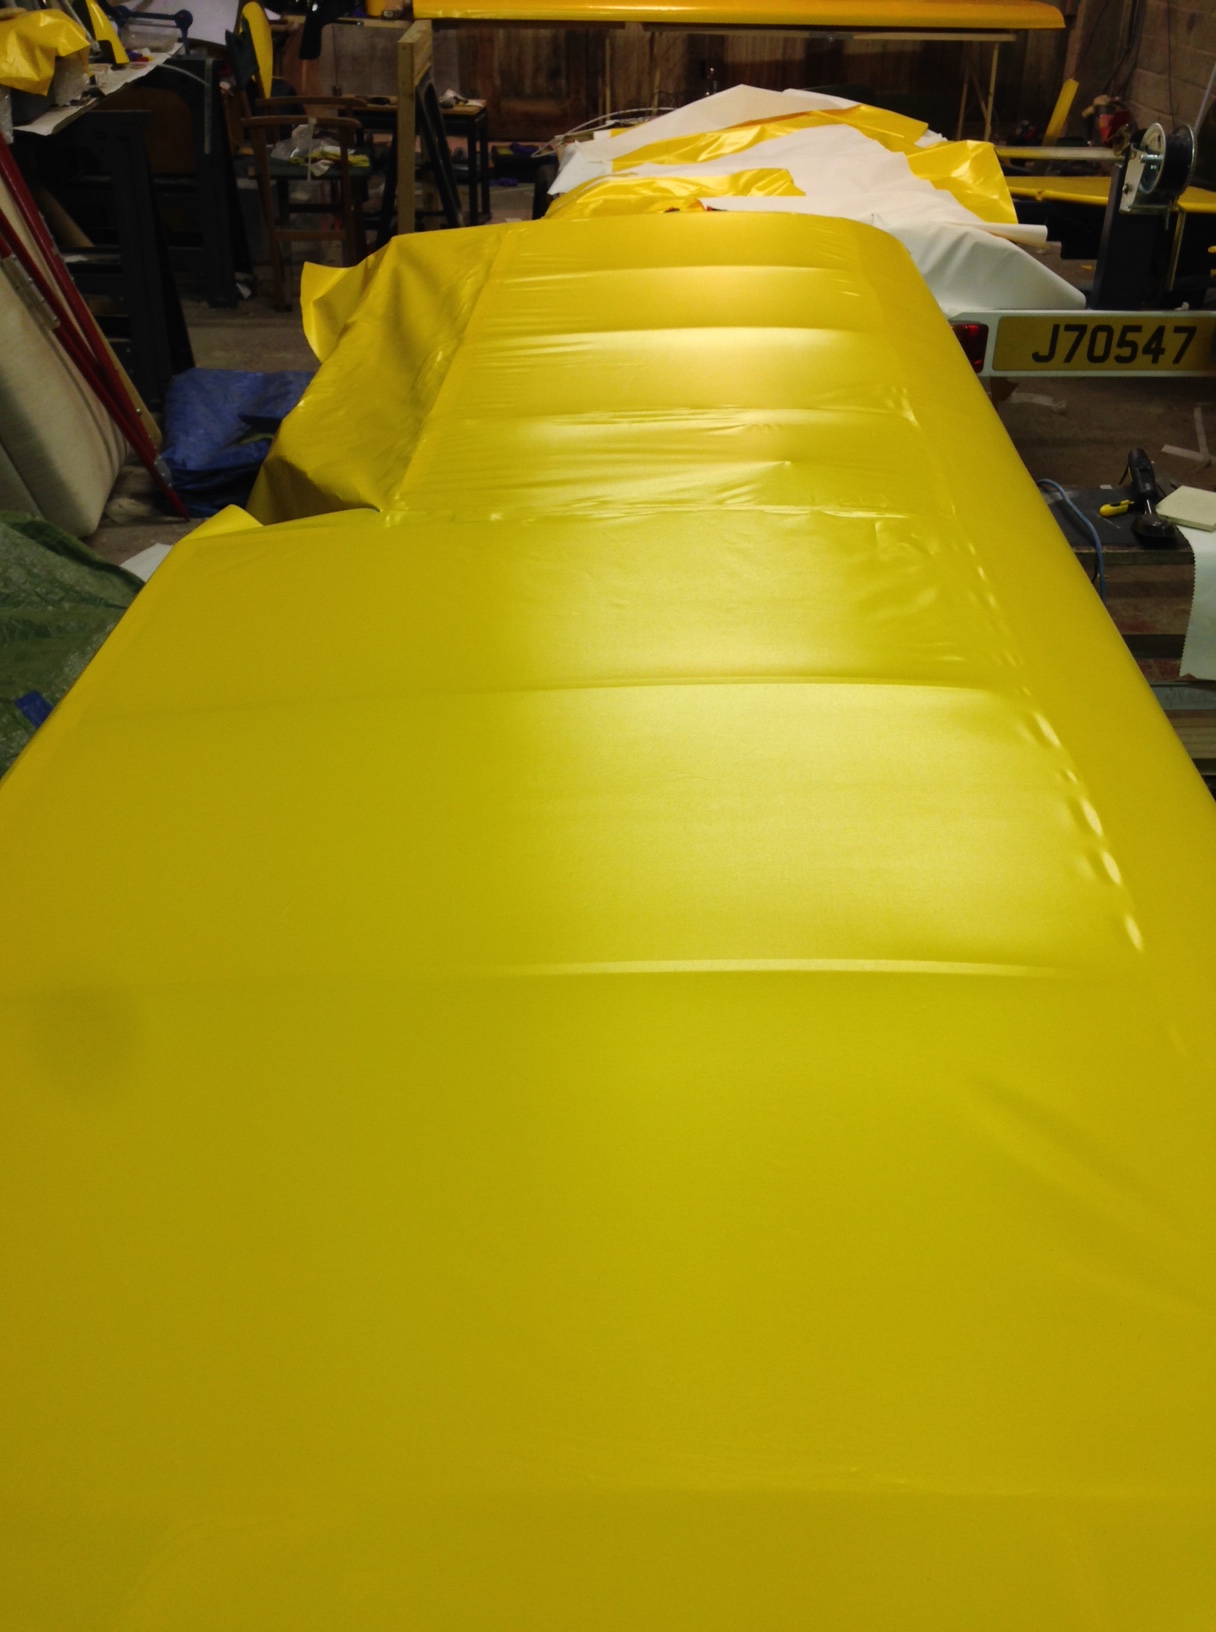
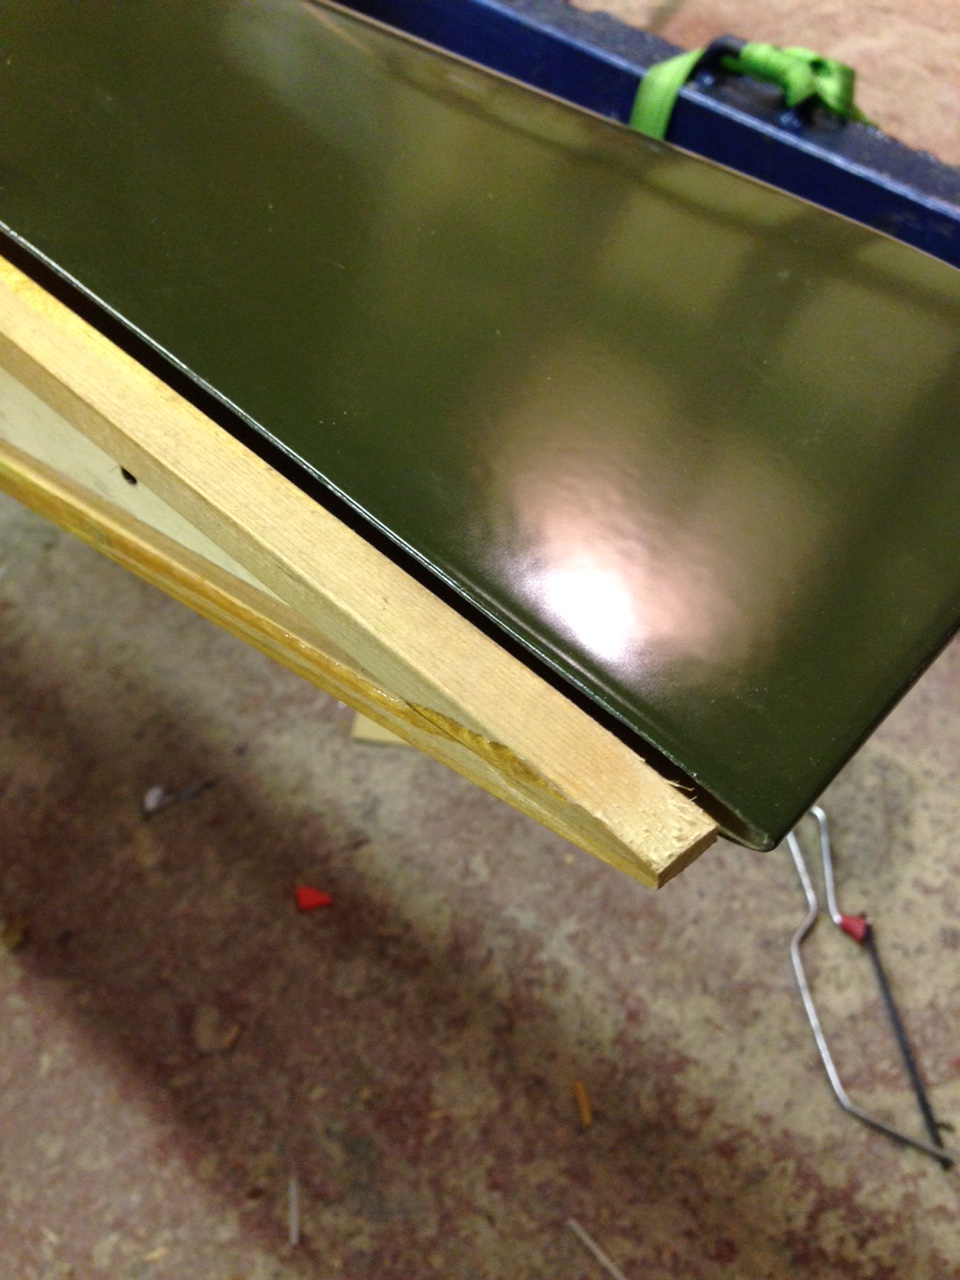
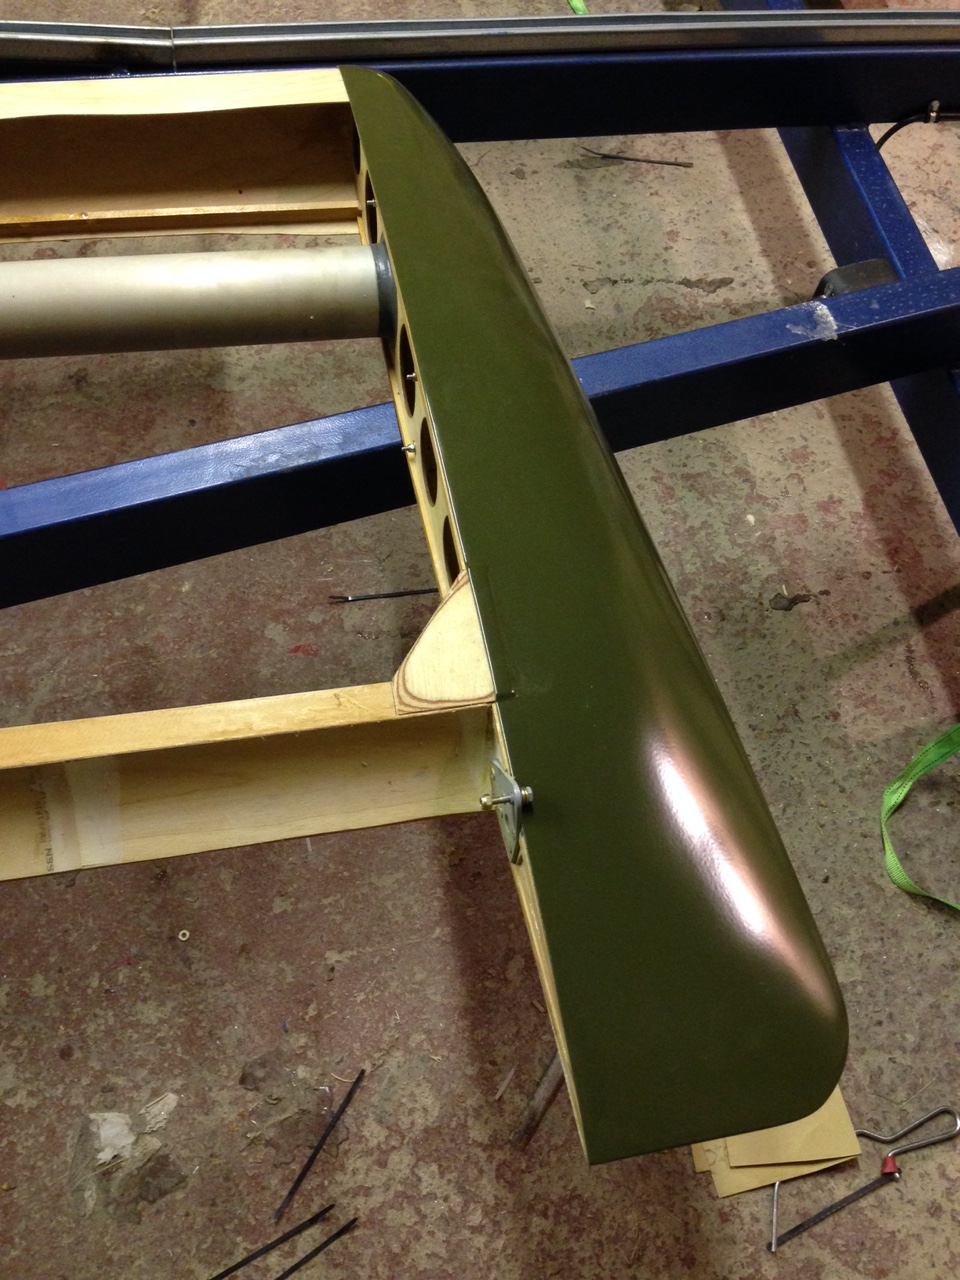
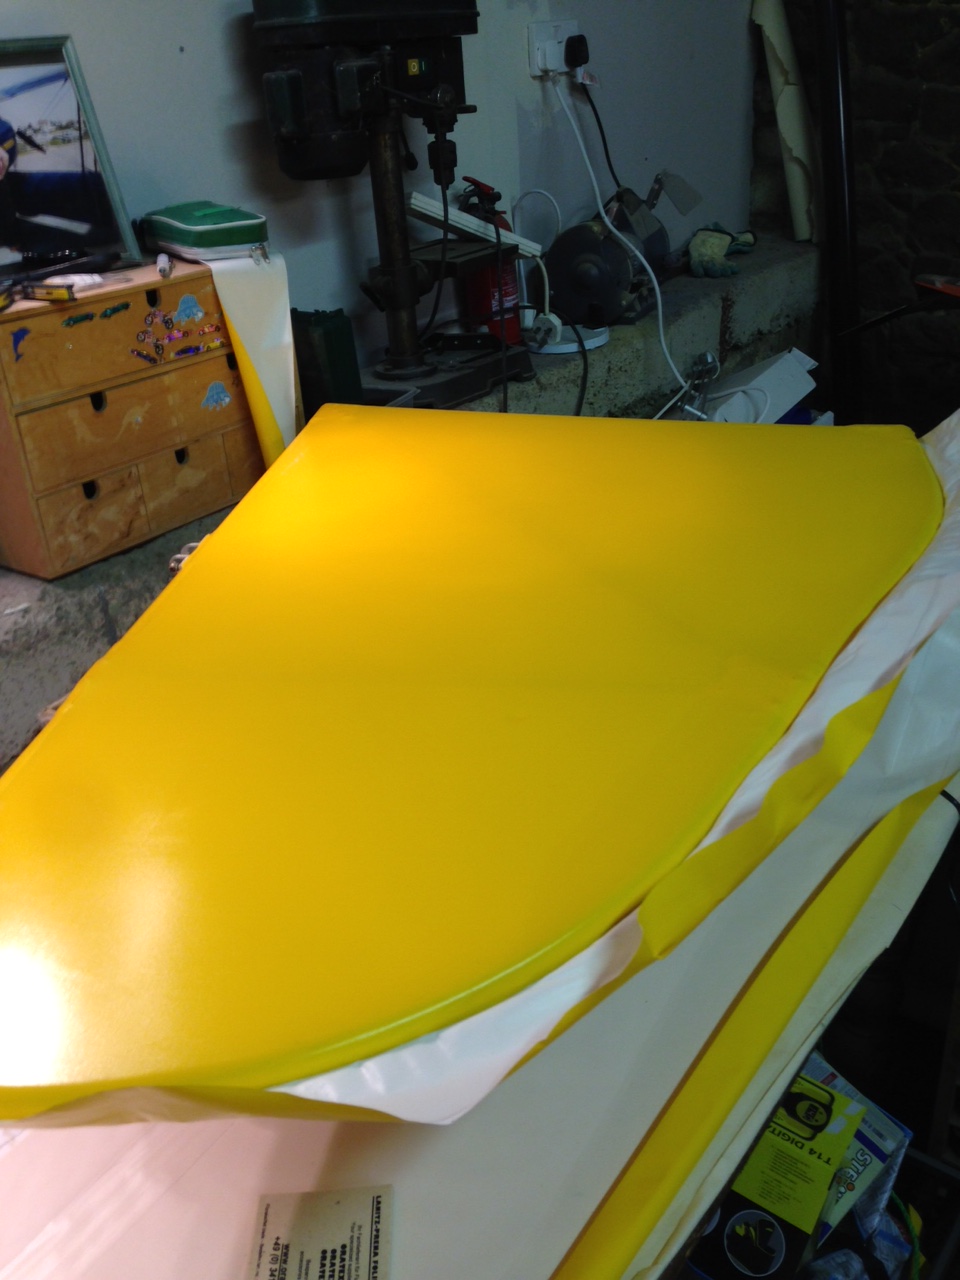
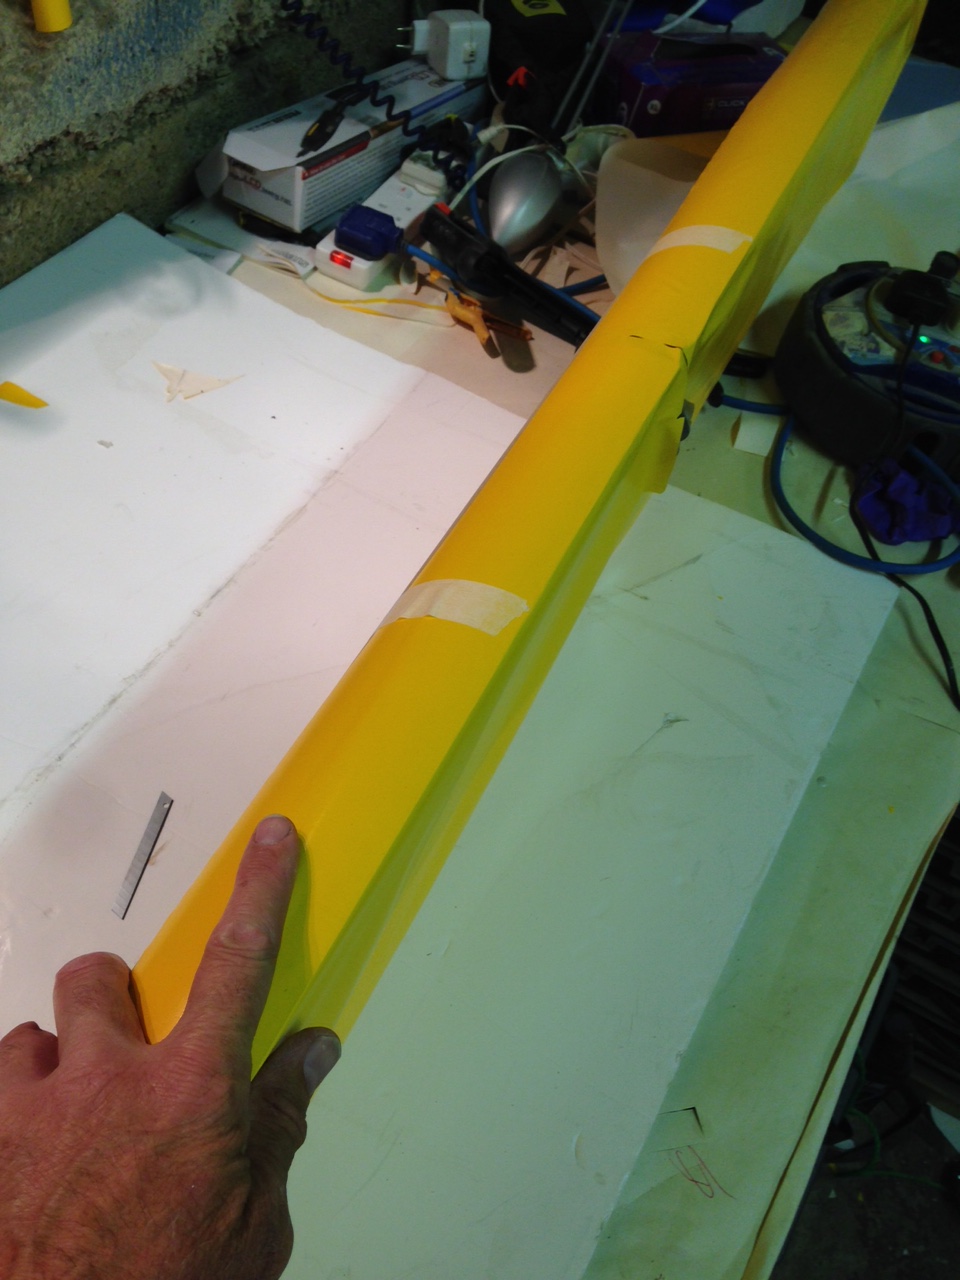
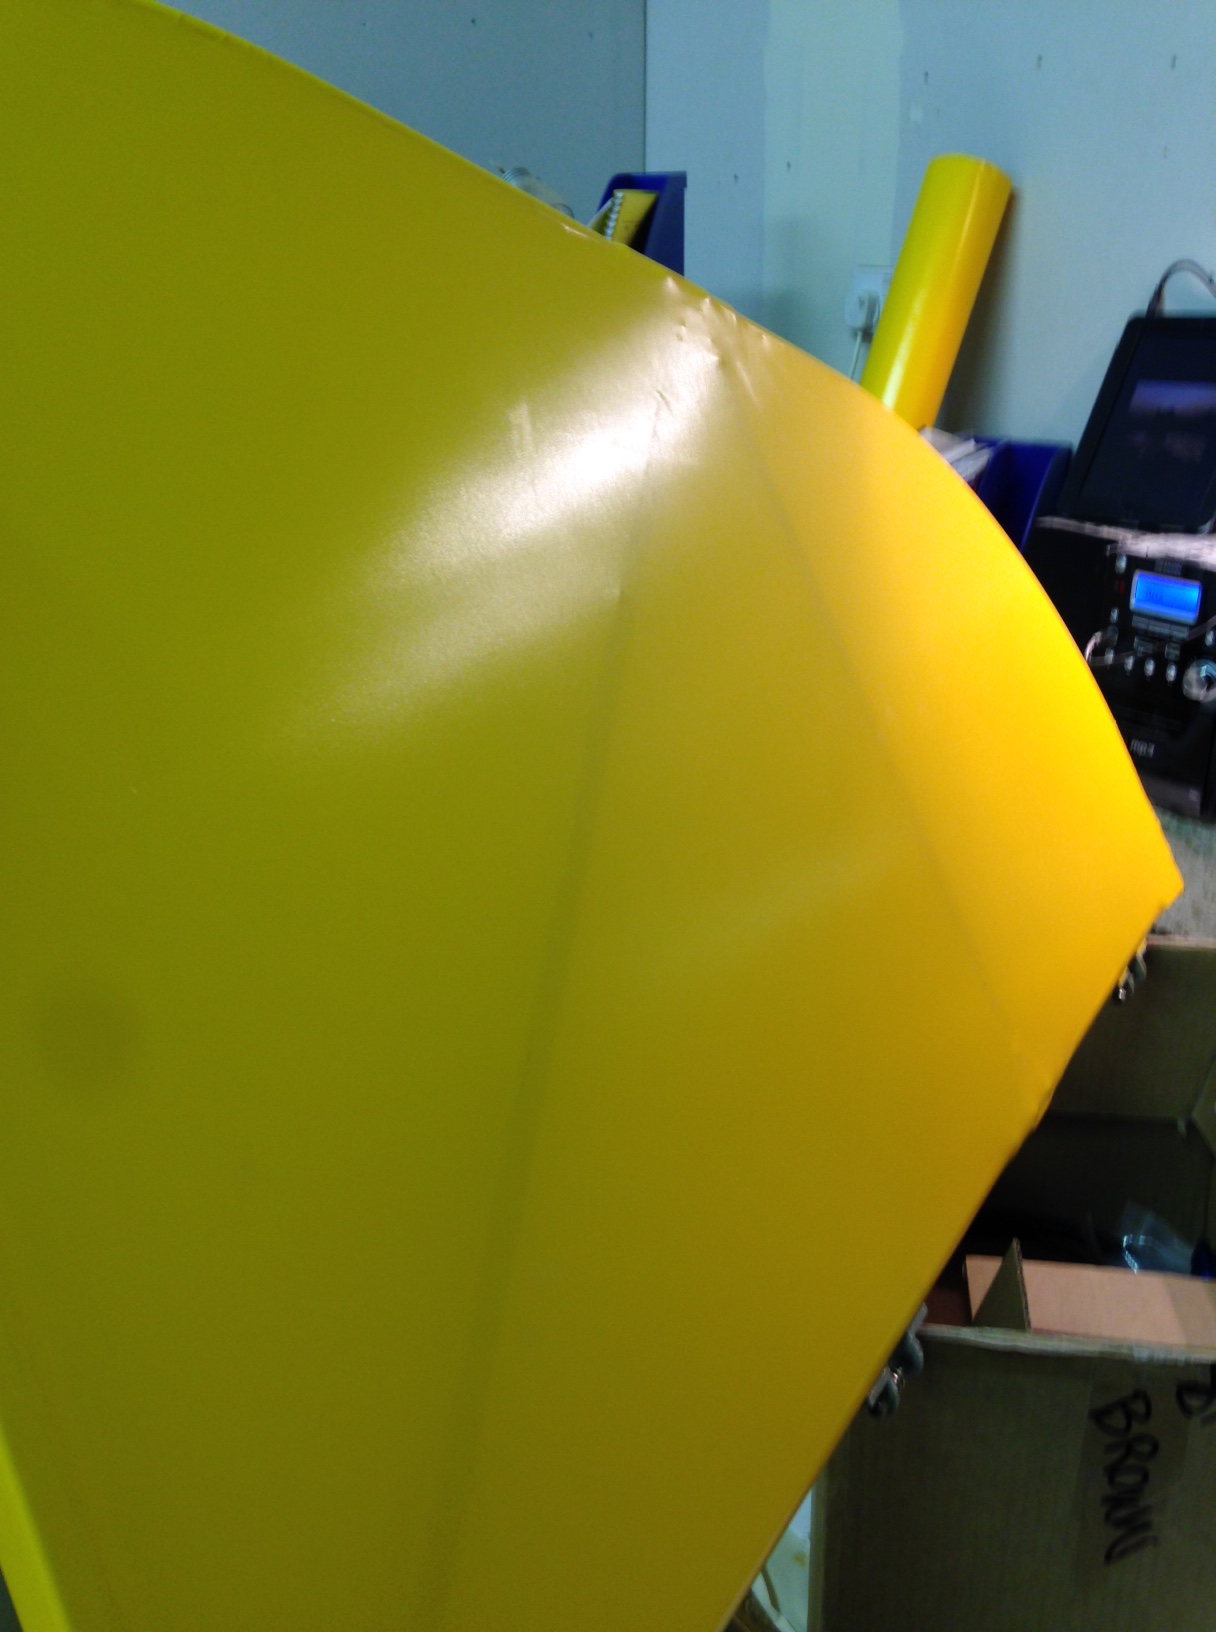
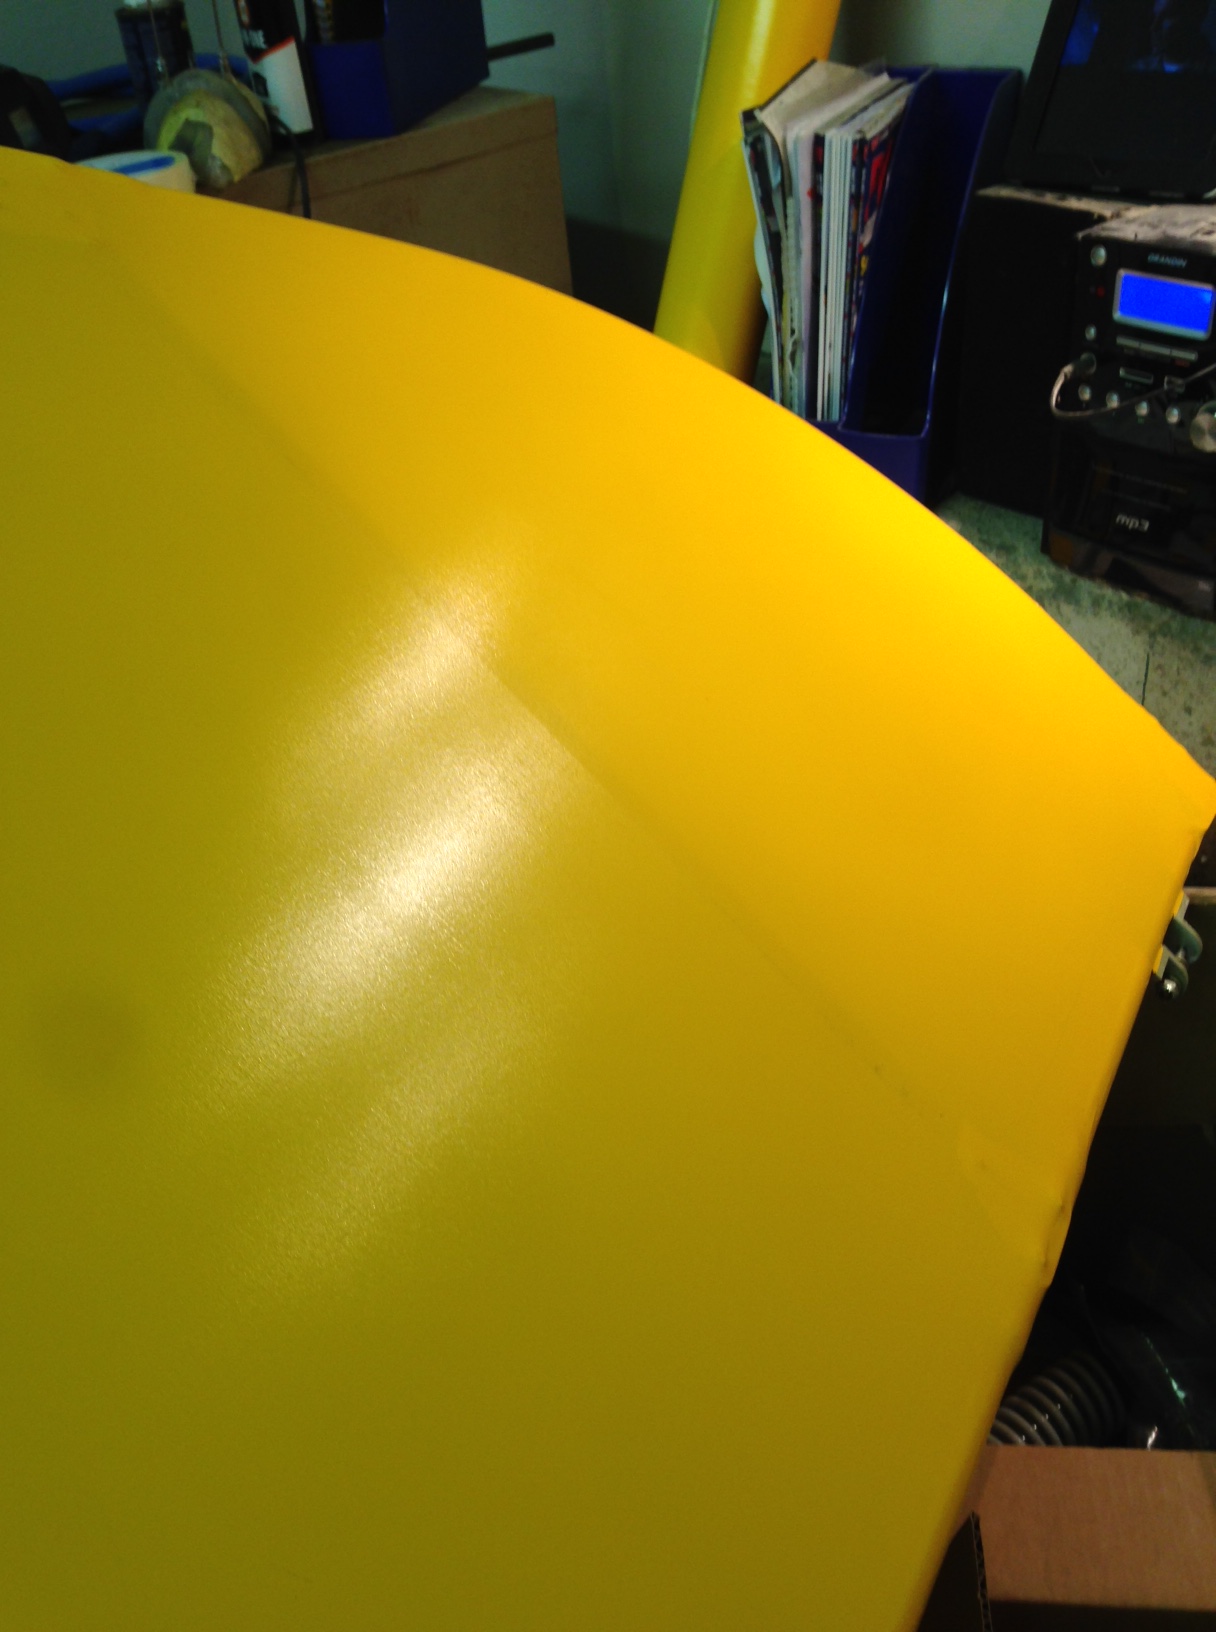
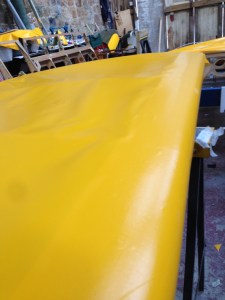
The next evening .. You can start the shrinking exercise .. And boy this is where you just fall in love with this material … Such a joy as all those saggy bits and wrinkles fall away and leave a fantastic sheen and tight finish.

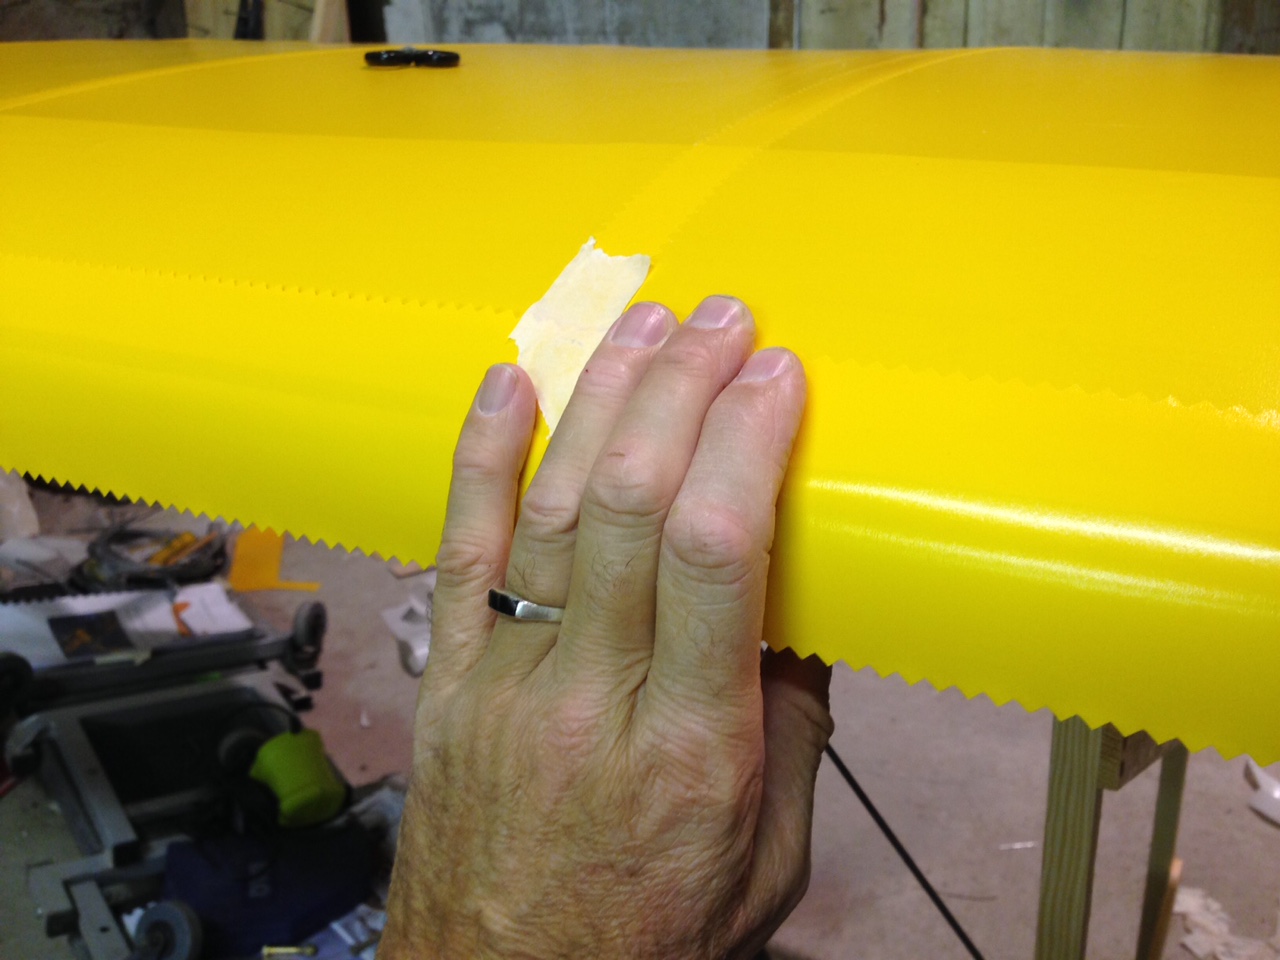
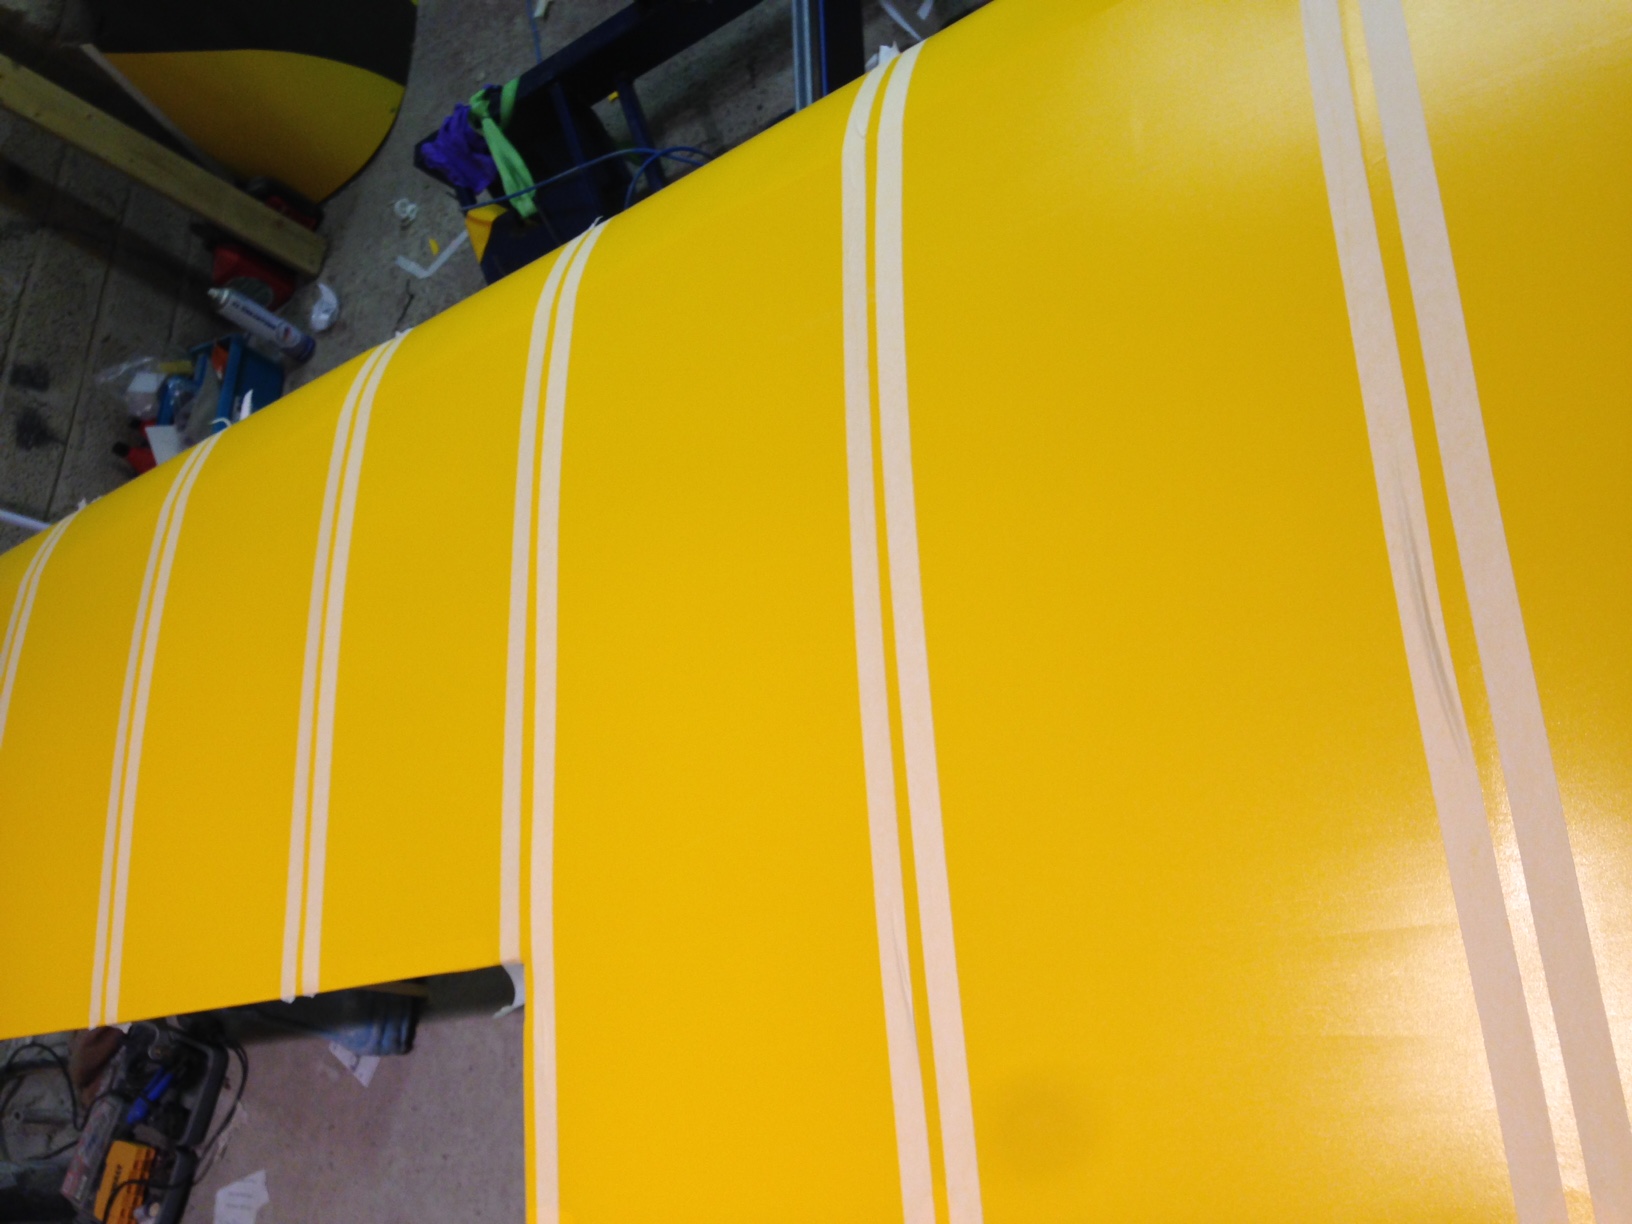
Again I left it to ‘settle’ so that I could do a little more heat gun before masking up again ready for the top layer of Oratex .. Mask so that you get a good overlay AND the finished edge is well in the ‘downstream’ of the planned airflow.

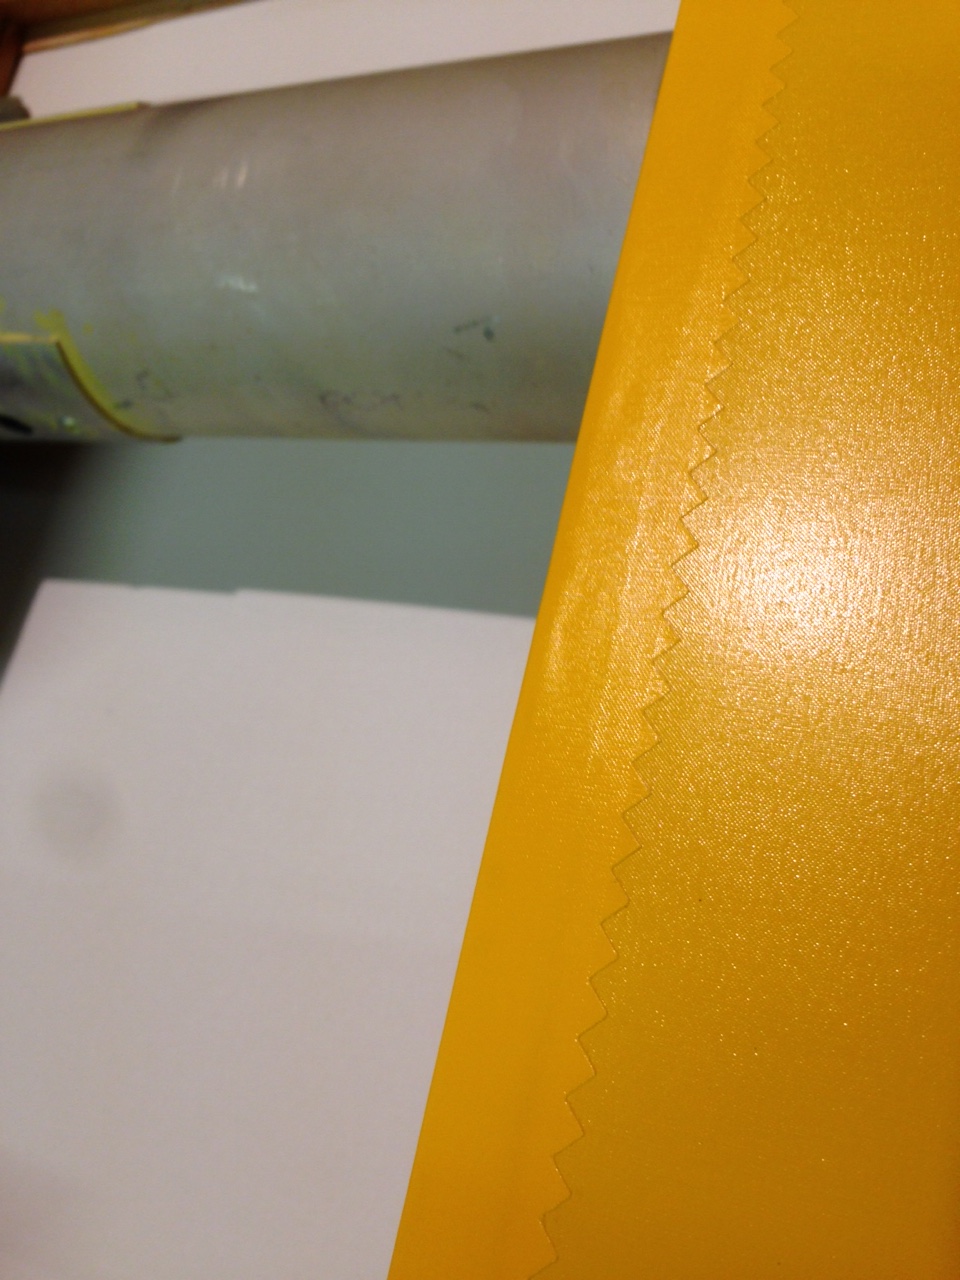
NOTE – the finish you leave on your first (underside) layer shows right through the top layer .. So .. Put a wobbly first line and you will be looking at it forever ! even through the pinked 4″ doubler tape !

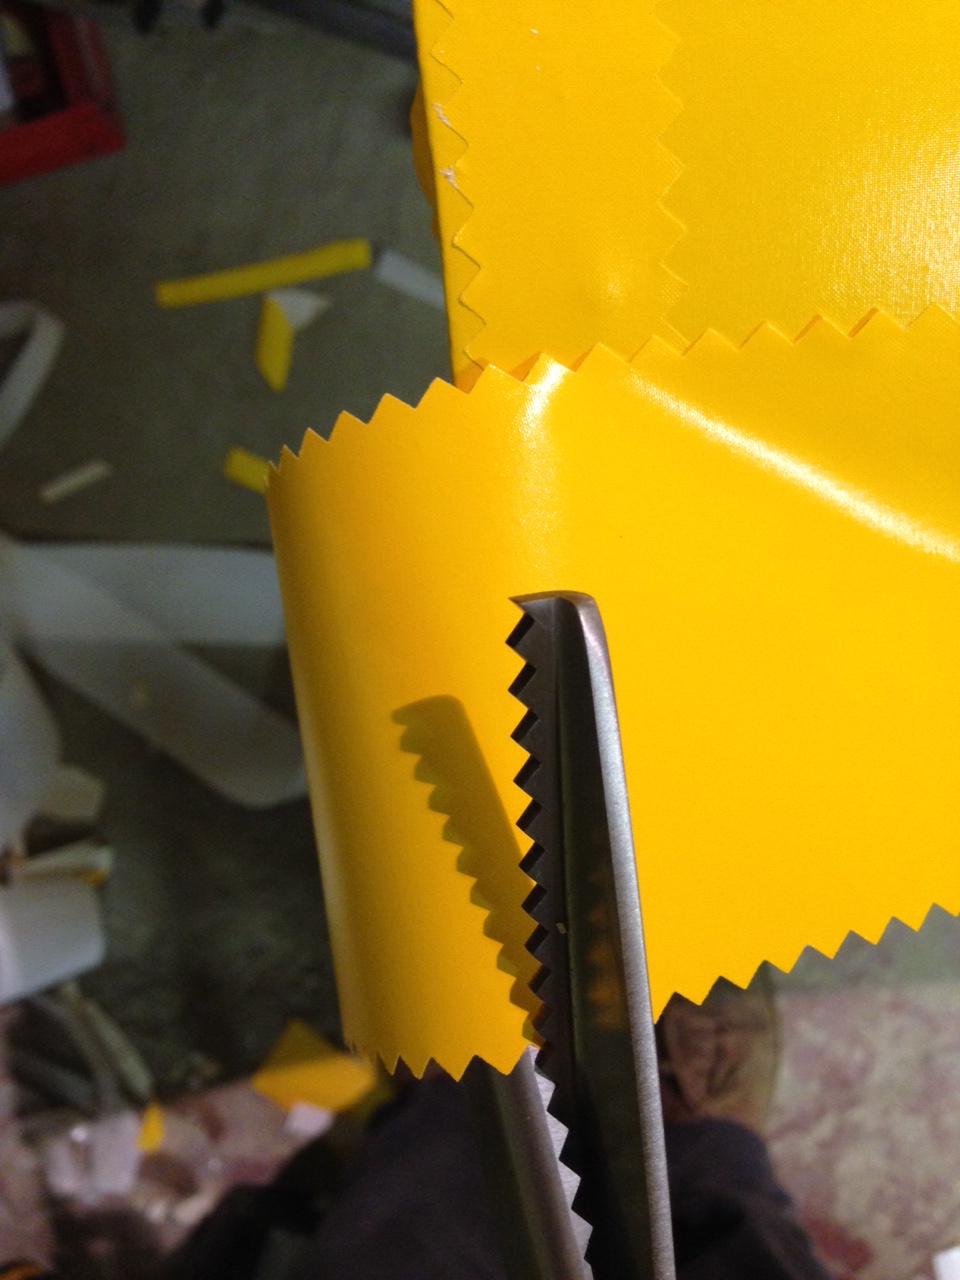
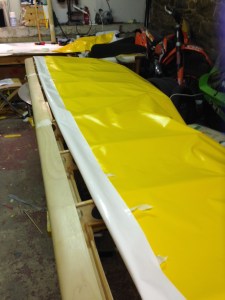
Bring the top sheet over the lower sheet and use masking tape again if your ‘talking hands’ aren’t available …

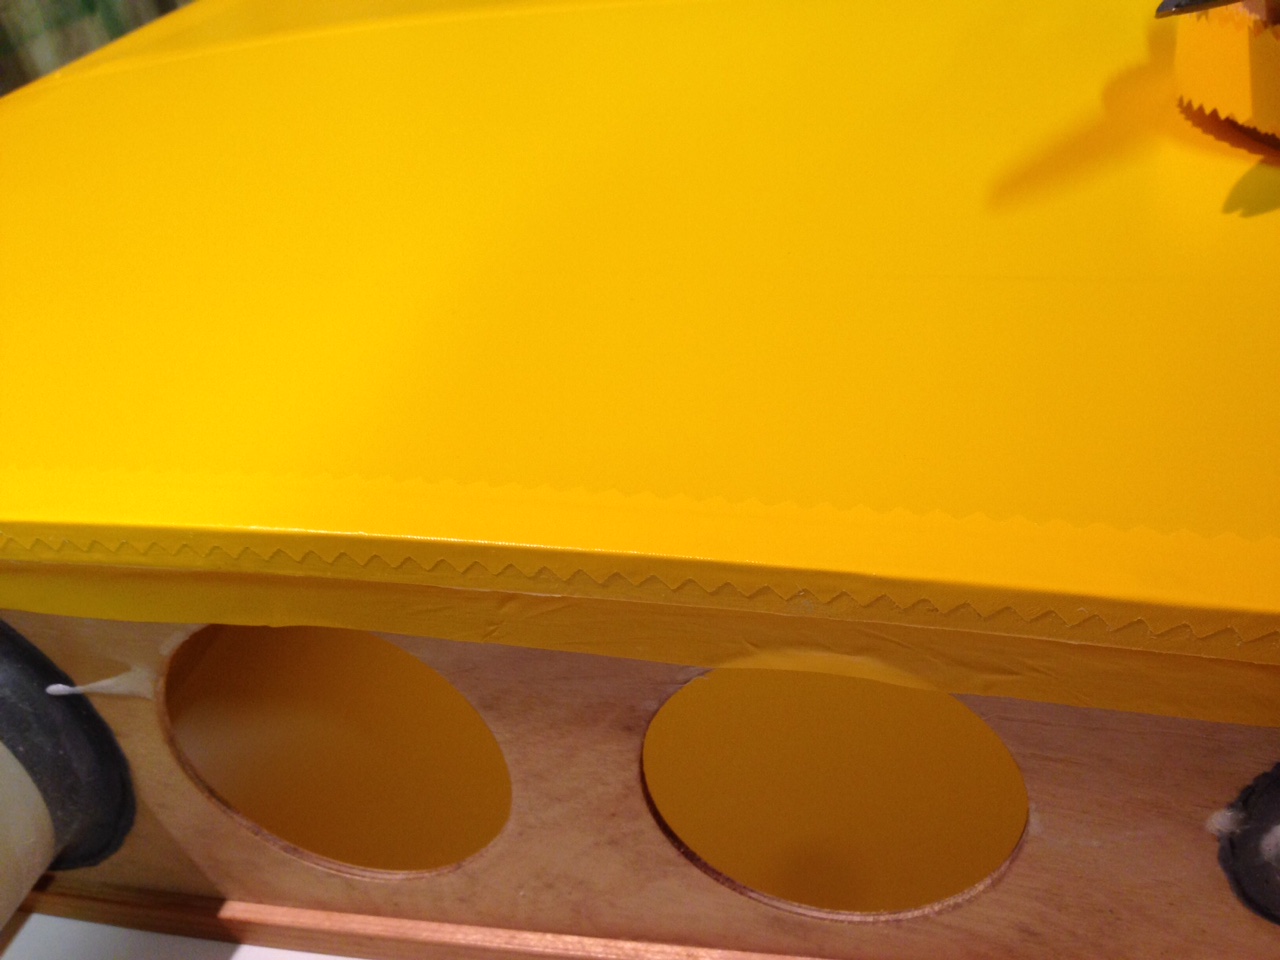
This means you effectively butt the top layer against the nice straight edge of the lower layer and then cover with a 4″ reenforcing strip.

One admission here ! – I had felt that the leading edge was very smooth BUT … any small pimple of glue of polyuerthane will show through the top surface so well worth a very light pre sand to ensure that is smooth as the proverbial ….

Wing glueing

Preparation for tonight’s first wing covering panel

Had a chat with Paul re the best way of covering the wing ie where the joints should go and where the overlap fits etc so you don’t have VPL ! (Visible (panty) Precision Lines !)

IMG_0575  IMG_0576

Will add pictures as I unroll all that Cub Yellow and start fitting 🙂

Busy night last night – Wing covering prep …

Its only when you step back to minutely review things that you spot bits ! ‘walking’ through the first plan to cover one of the wings undersides and I realised I had missed making and fitting two material landing ply plates around the bracing wire supports on both upper wings !

Quickly re-found the template and made two up last night. Fitted in place, feathered, treated with thinned polyurethane.

IMG_0562

Then, as the covering will wrap around the wing tips I need to make sure the tips are a good ‘easy but tight’ fit so that the material doesn’t prevent a good fit.

IMG_0563  IMG_0564

IMG_0567

A small amount of trimming was required and I reckon the material will make it a comfortable fit

IMG_0565  IMG_0566

The bolts showing upper right picture are for the small angle brackets I made to allow tips to be screwed on and so removable for later inspections.

Also covered last tailplane surface last night – ready for pinked edging now

IMG_0561

Port Tailplane

Second tailplane underway last night … noticed the small shoe iron seemed a bit colder so started using the heavier duty iron which seemed to do the trick

IMG_0533  IMG_0532

Published these pictures so that others dont panic when the material looks creased on application

Port upper aileron …

Slow but steady progress ! Just wish I had the work and life time to spend the next 2 weeks just finishing !

Anyway …

First aileron laid out, and material marked and cut and pre glued for tonight … will get into a sequence of prepping and gluing then heating 24 hours later so all 4 ailerons by the weekend.

IMG_0528

You also realise that what you thought was a nice smooth aileron has little bits here and there that you need a fine rub down so that nothing shows through the covering. The ailerons had already been prepared some months ago with a thinned polyurethane so ready to take the Hotmelt glue.

IMG_0535  IMG_0534

First tailplane covered

Been a busy week with lots of other flying going on – pups from Lydd, pups from Southampton, double early drop offs in Alderney this morning ….

IMG_0508

Managed to get the first tailplane covered last night .. definately an art to get the material nice and warmed so that it goes around the curves nicely !

IMG_0503  IMG_0504

Once the heatgun has taken a little out the flat iron works a treat to finish it off

IMG_0506  IMG_0505

Panel wiring and prep and Fuel tank cable run

Decided to run these back to the panel last night but sheath it first to keep it tidy.

IMG_0437 IMG_0438

Also, having tried a couple of routing options, I decided to ‘hide’ it under the longerons so that the passenger didn’t see a cable running alongside them ! and feel the need to play with it !

IMG_0442

Blog at WordPress.com.

Up ↑