More dismantling last night – Tailplane

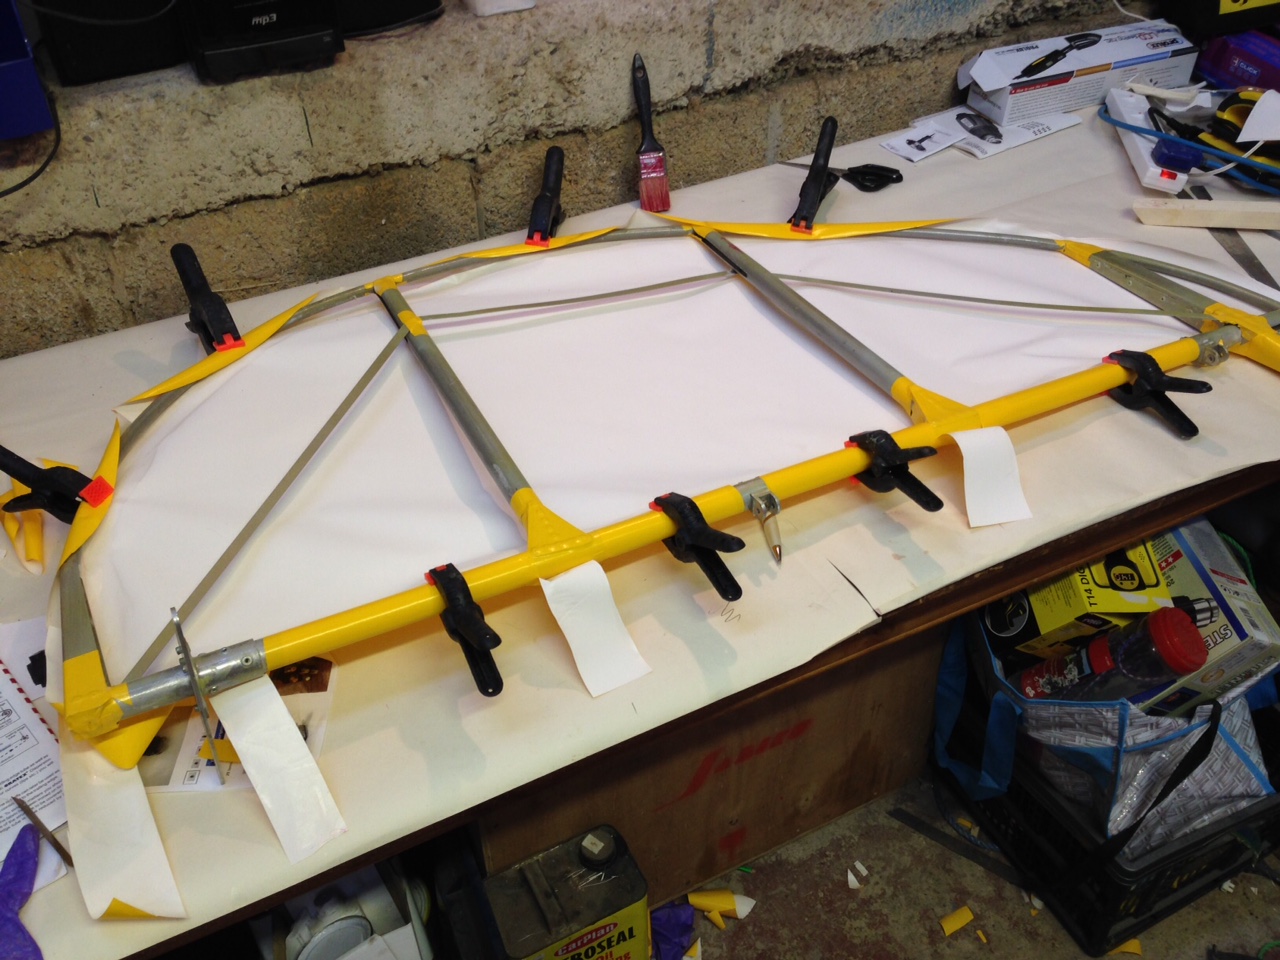
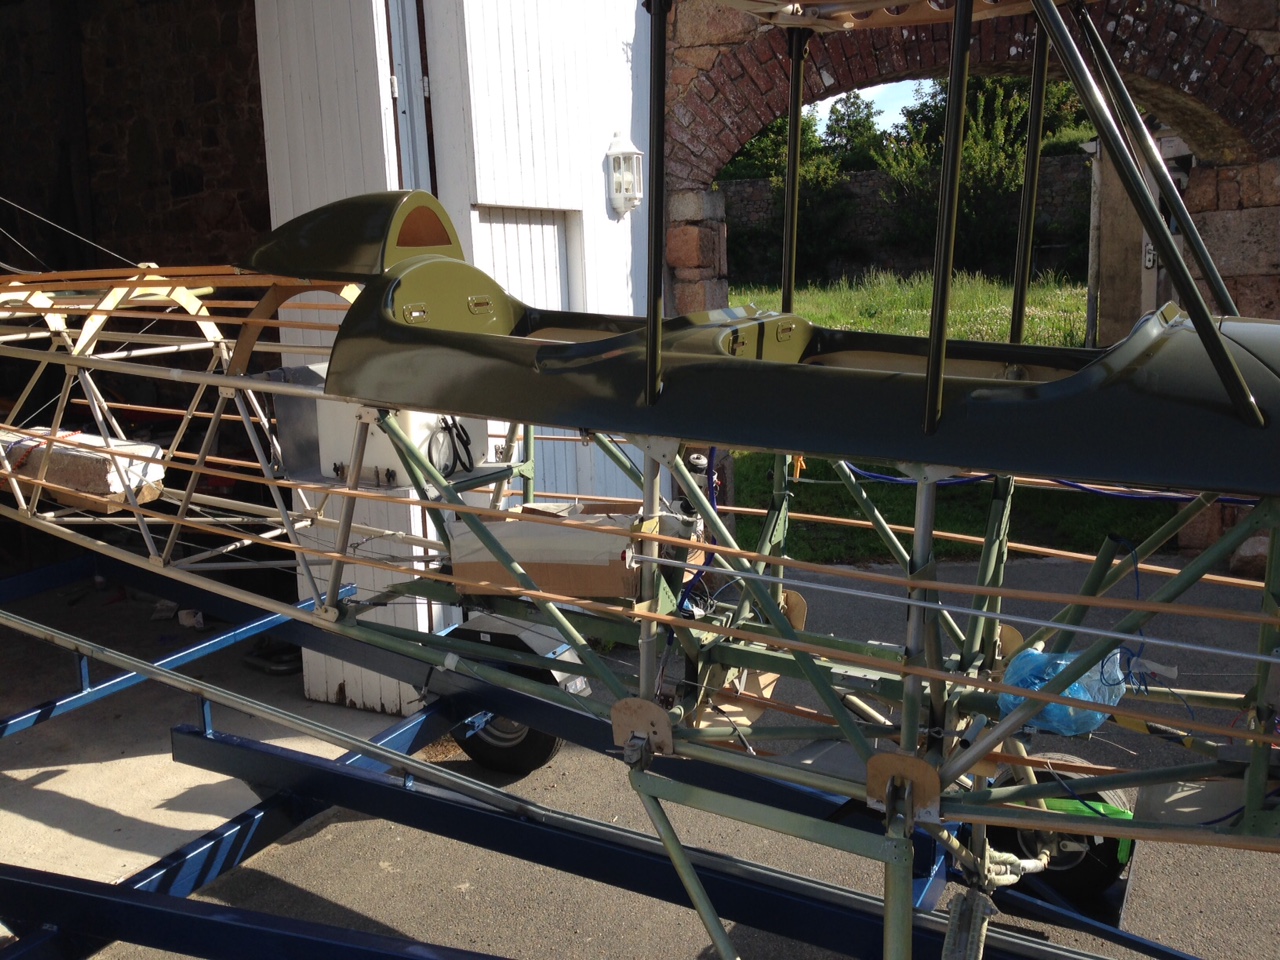
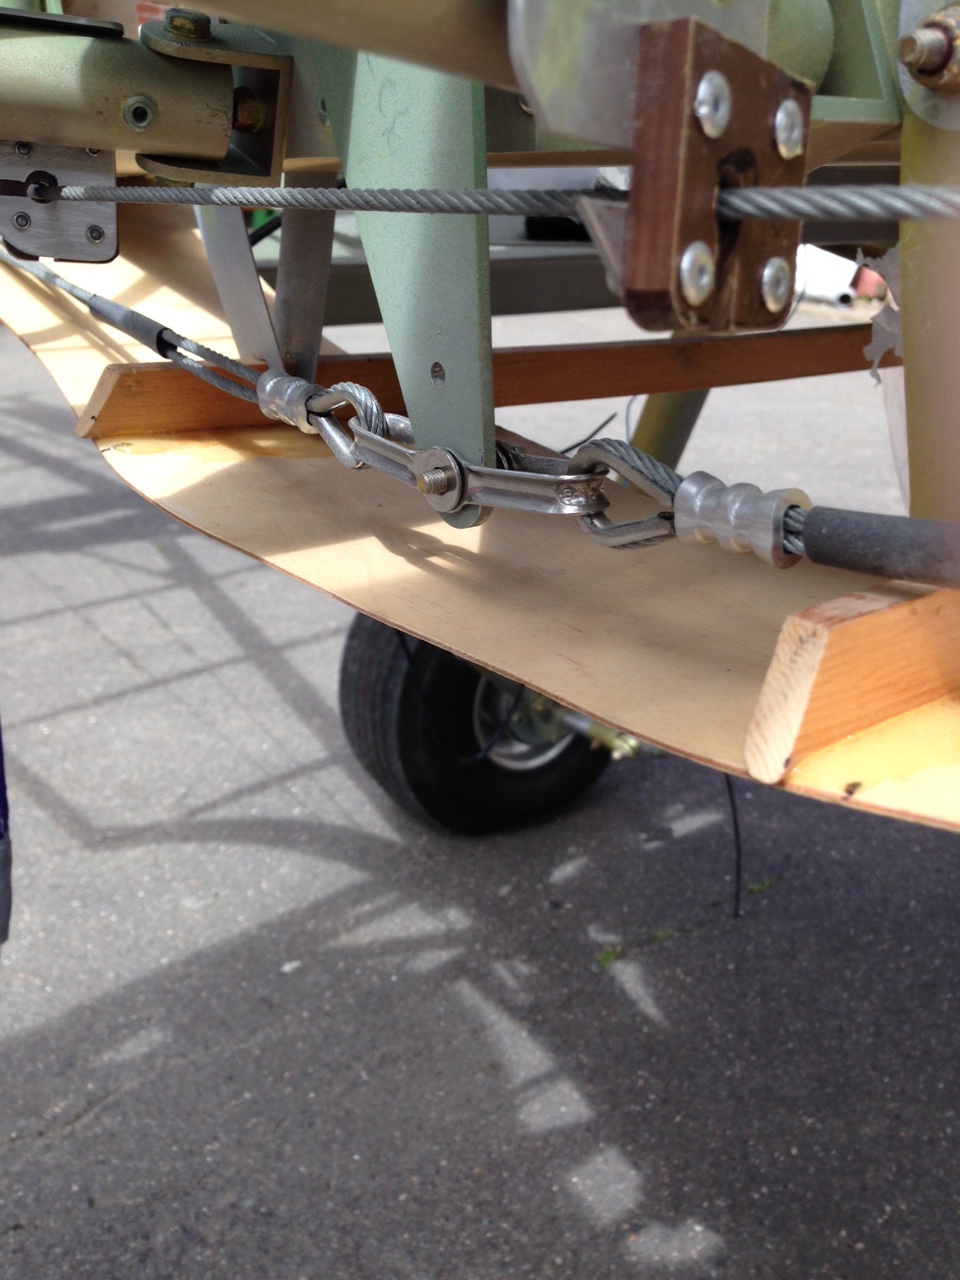
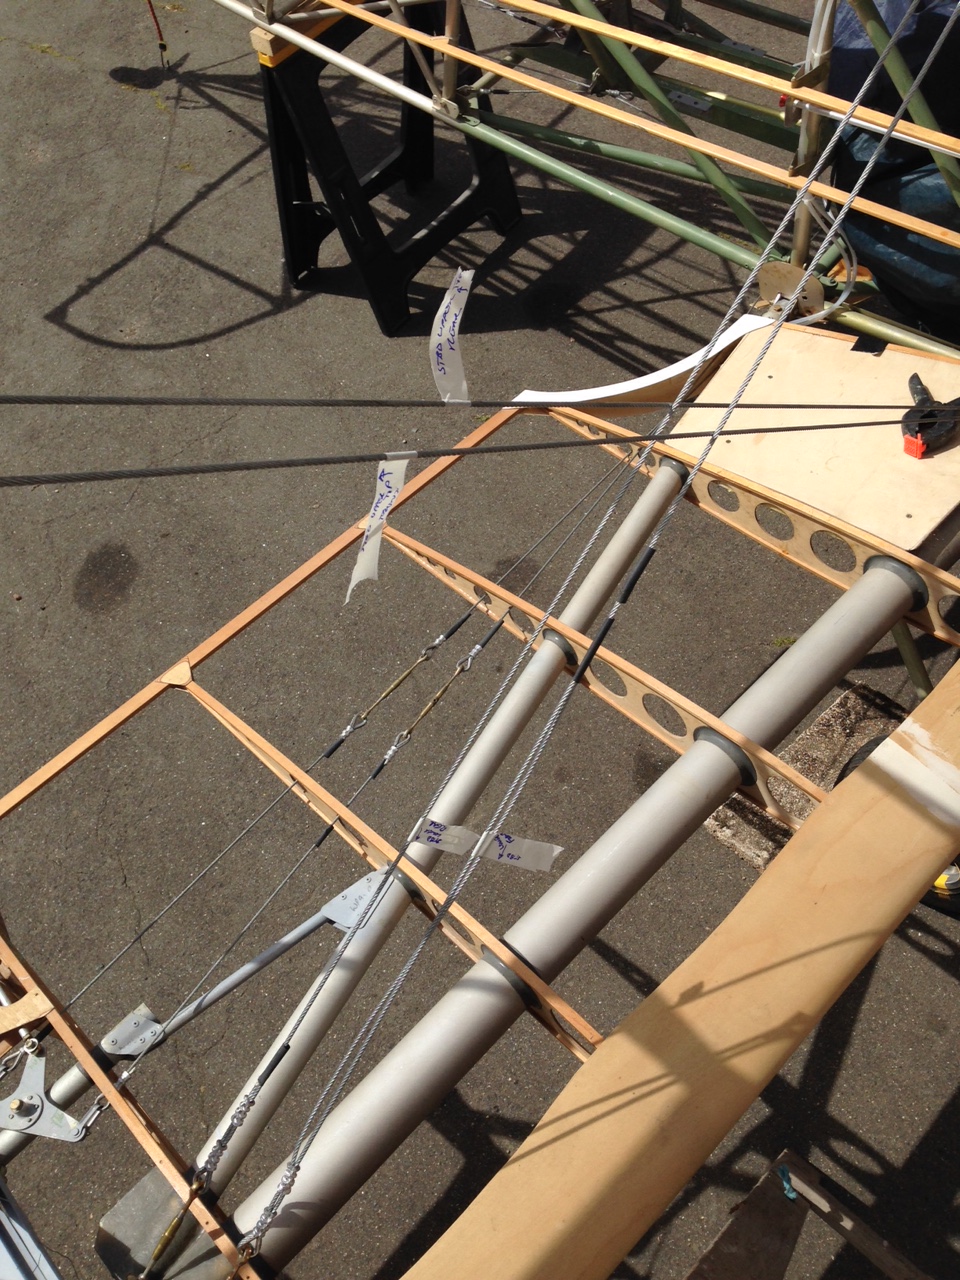
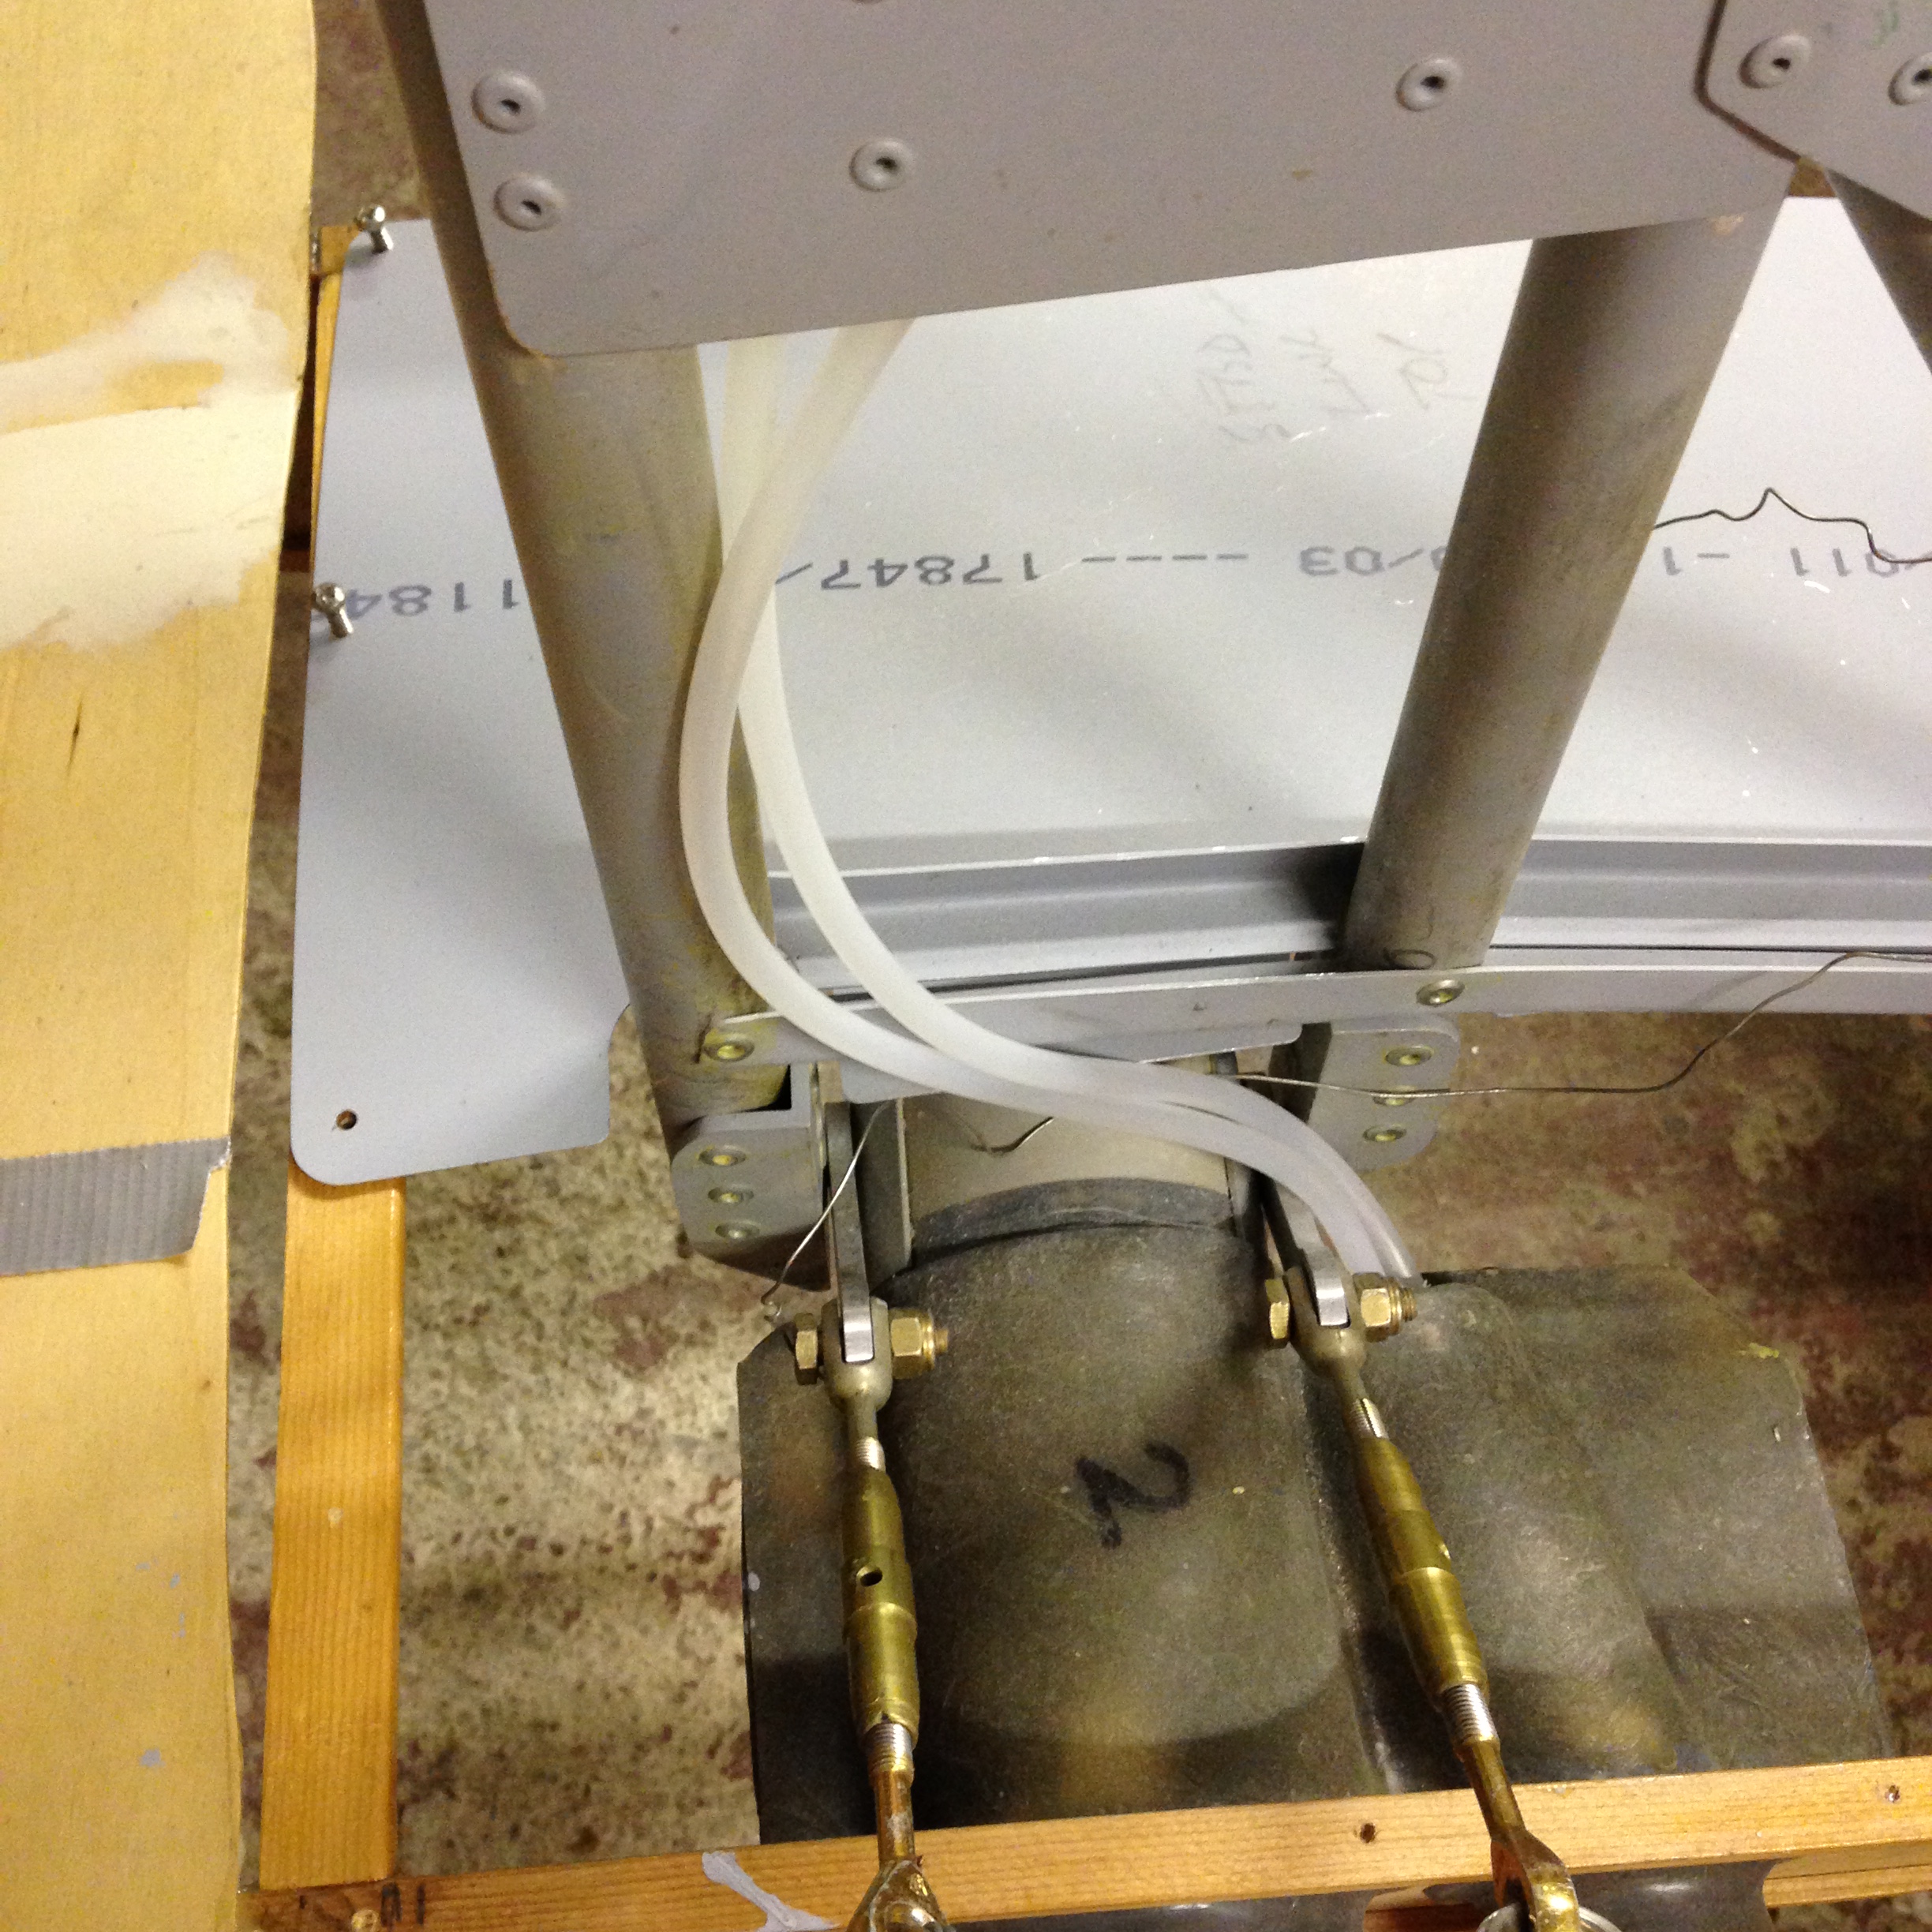
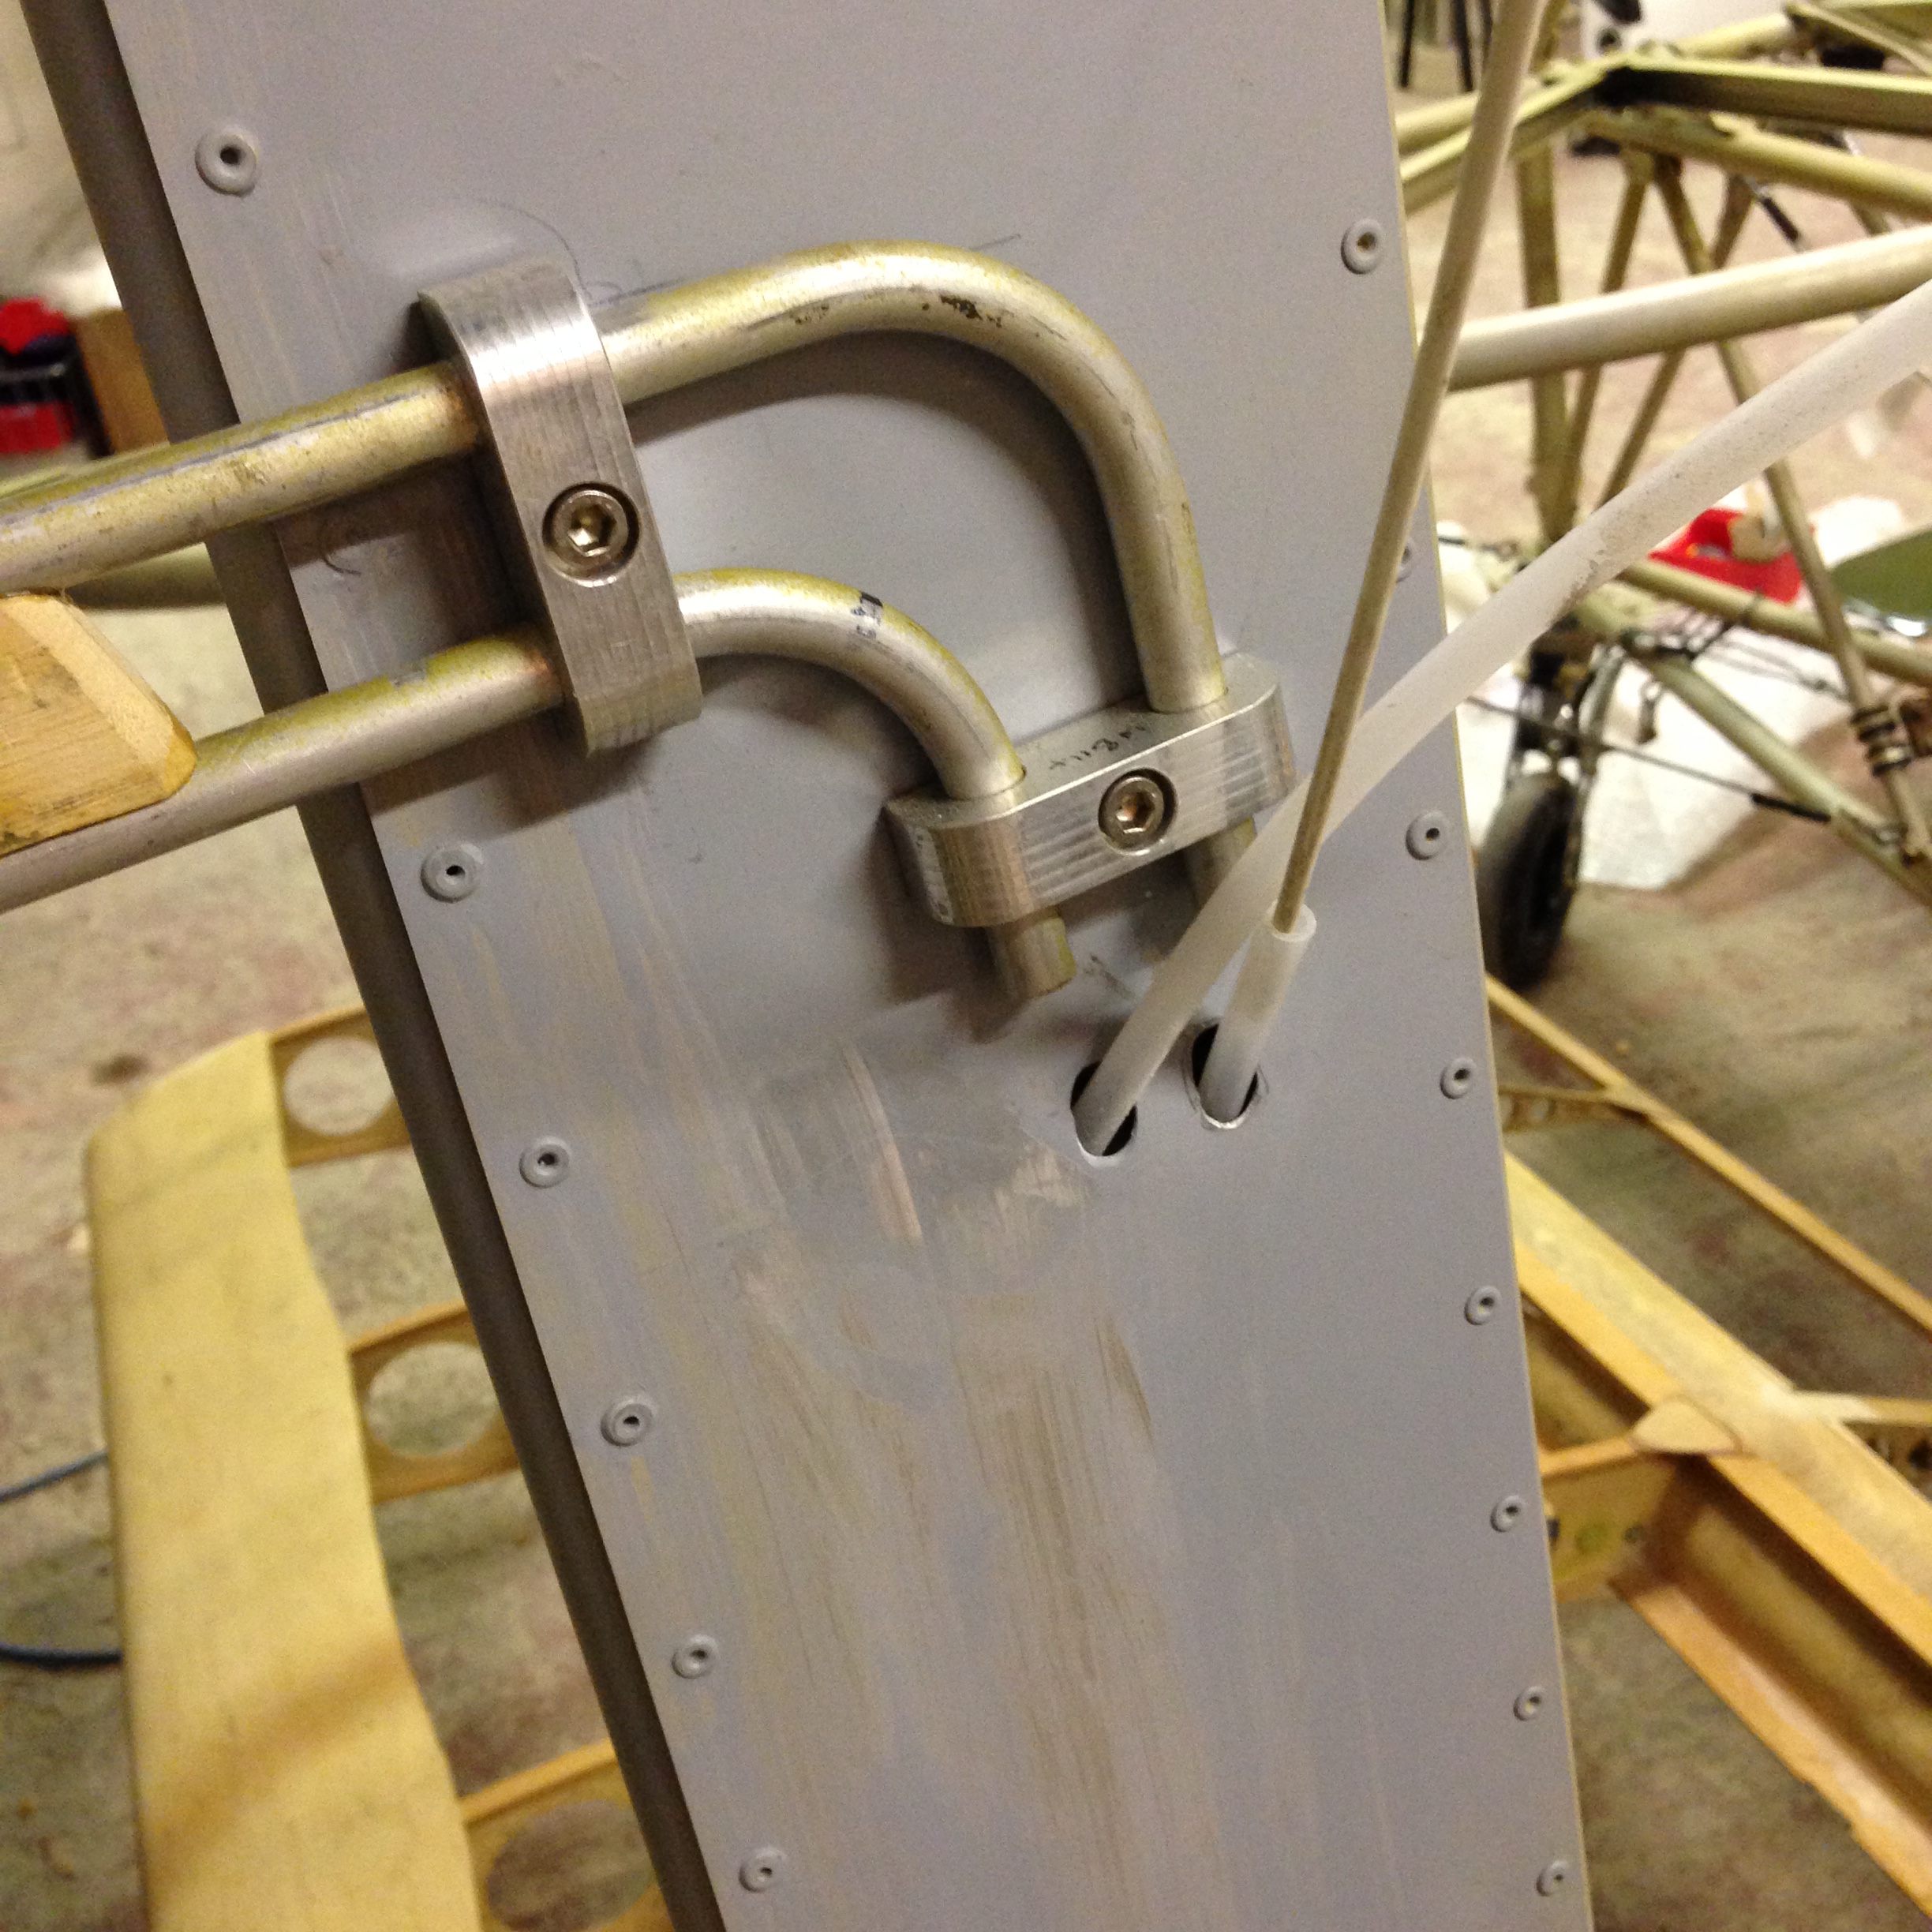
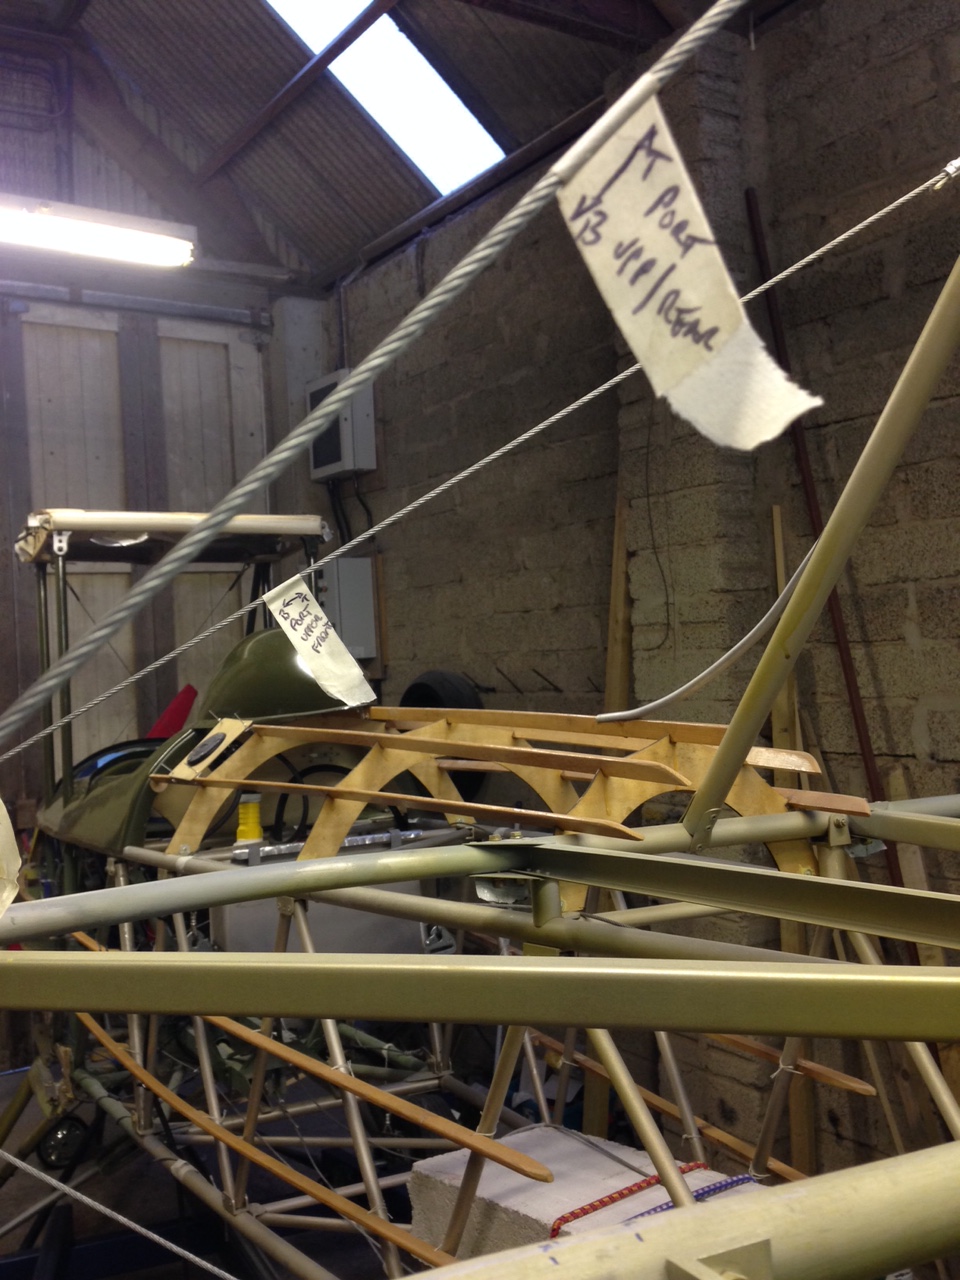
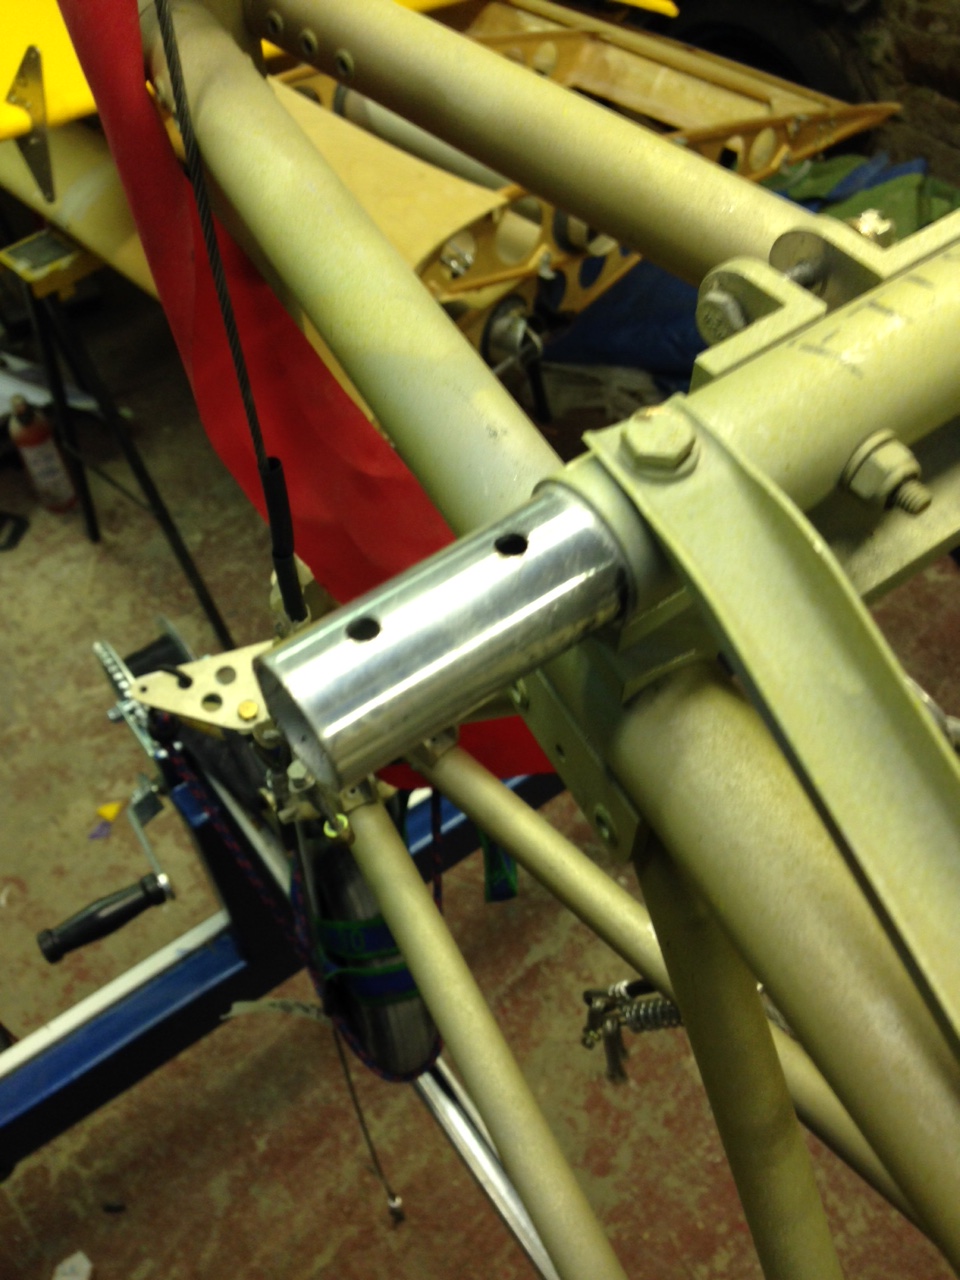
Having completed the rudder and elevators I started removing all the tail fin wire bracing and took off the starboard tailplane, having first marked up all the cables I lovingly crafted so many months ago

IMG_0431 IMG_0428

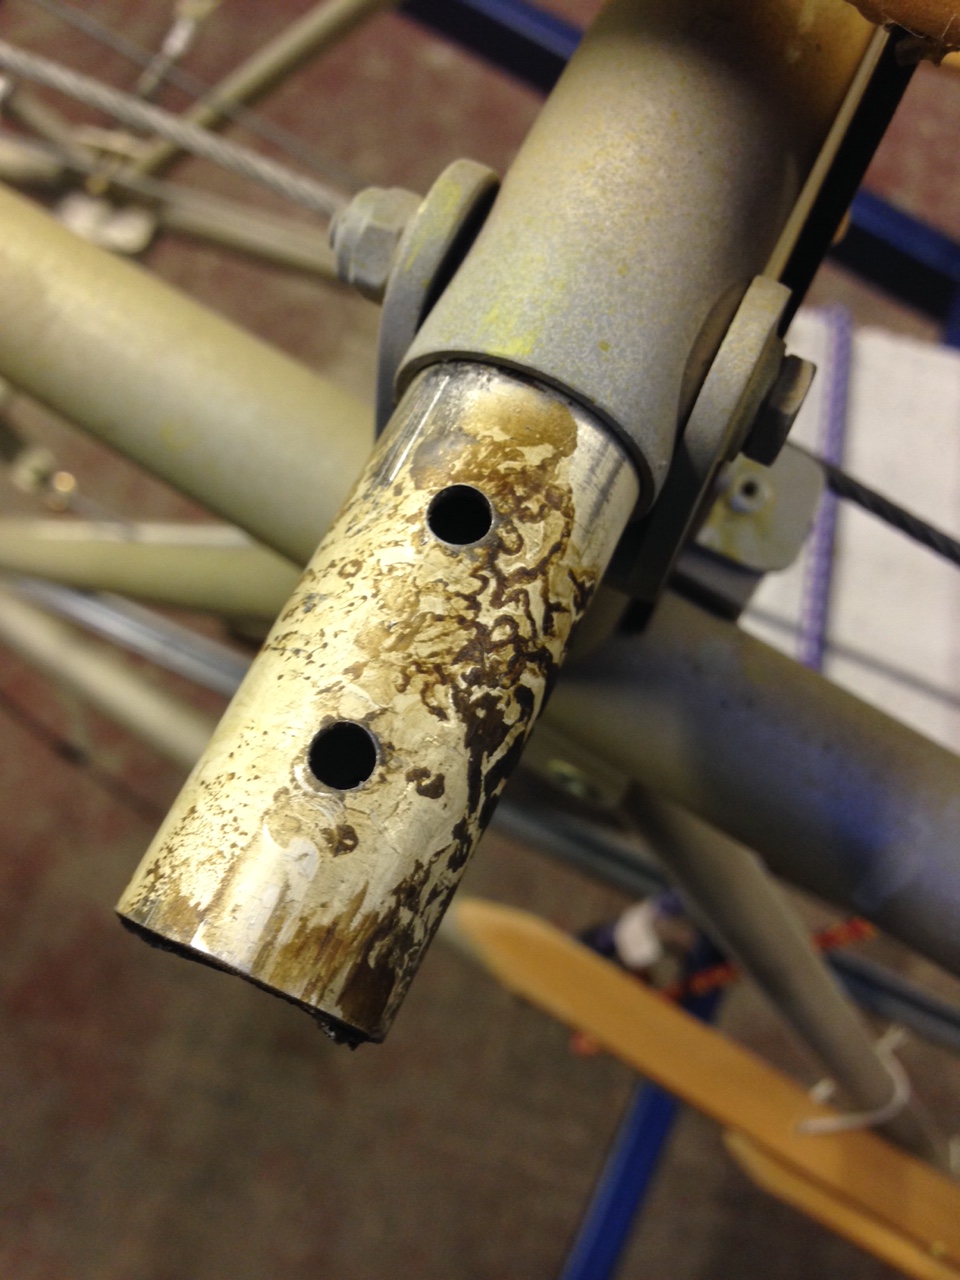
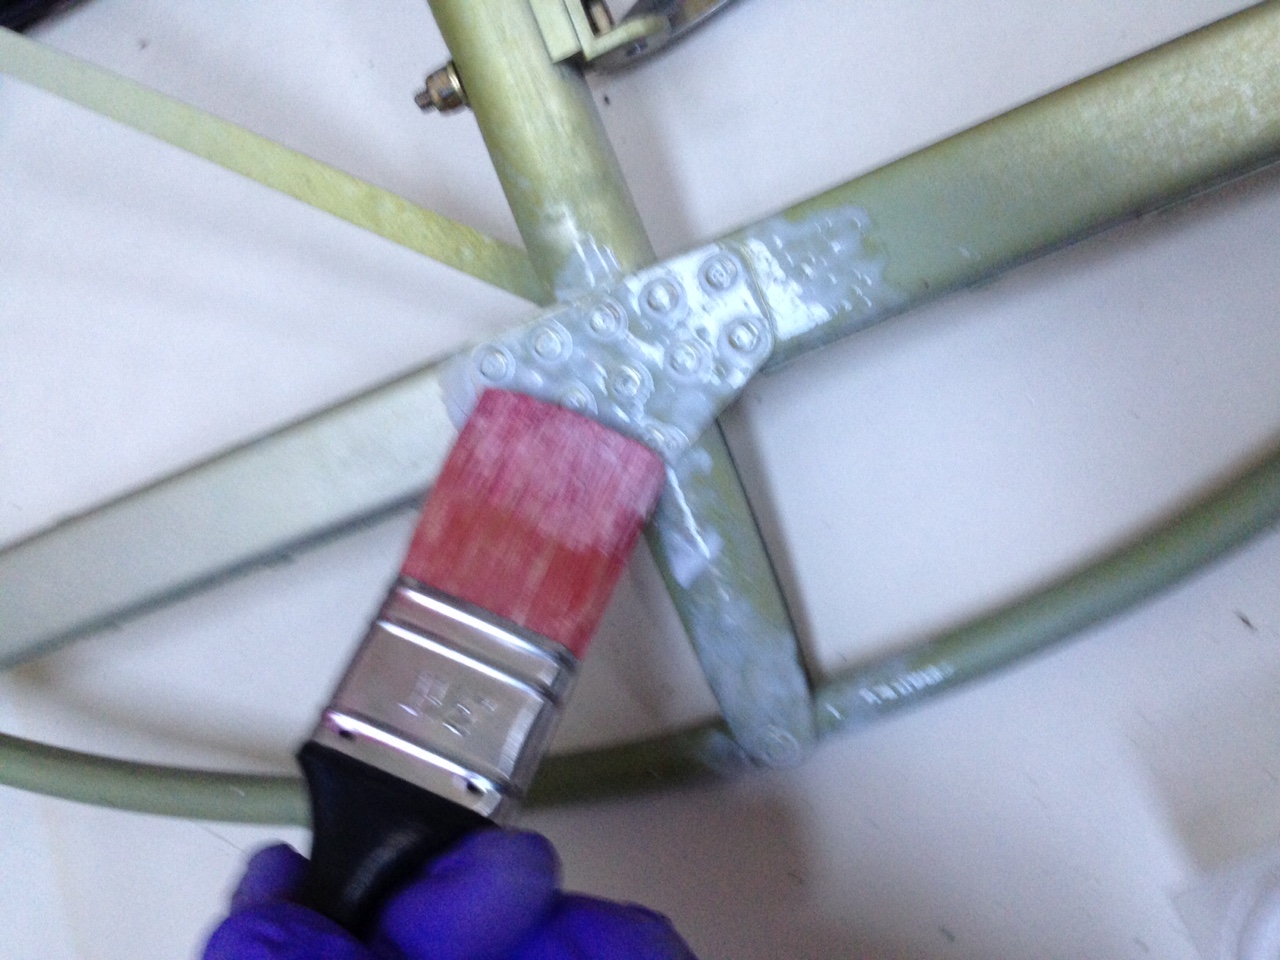
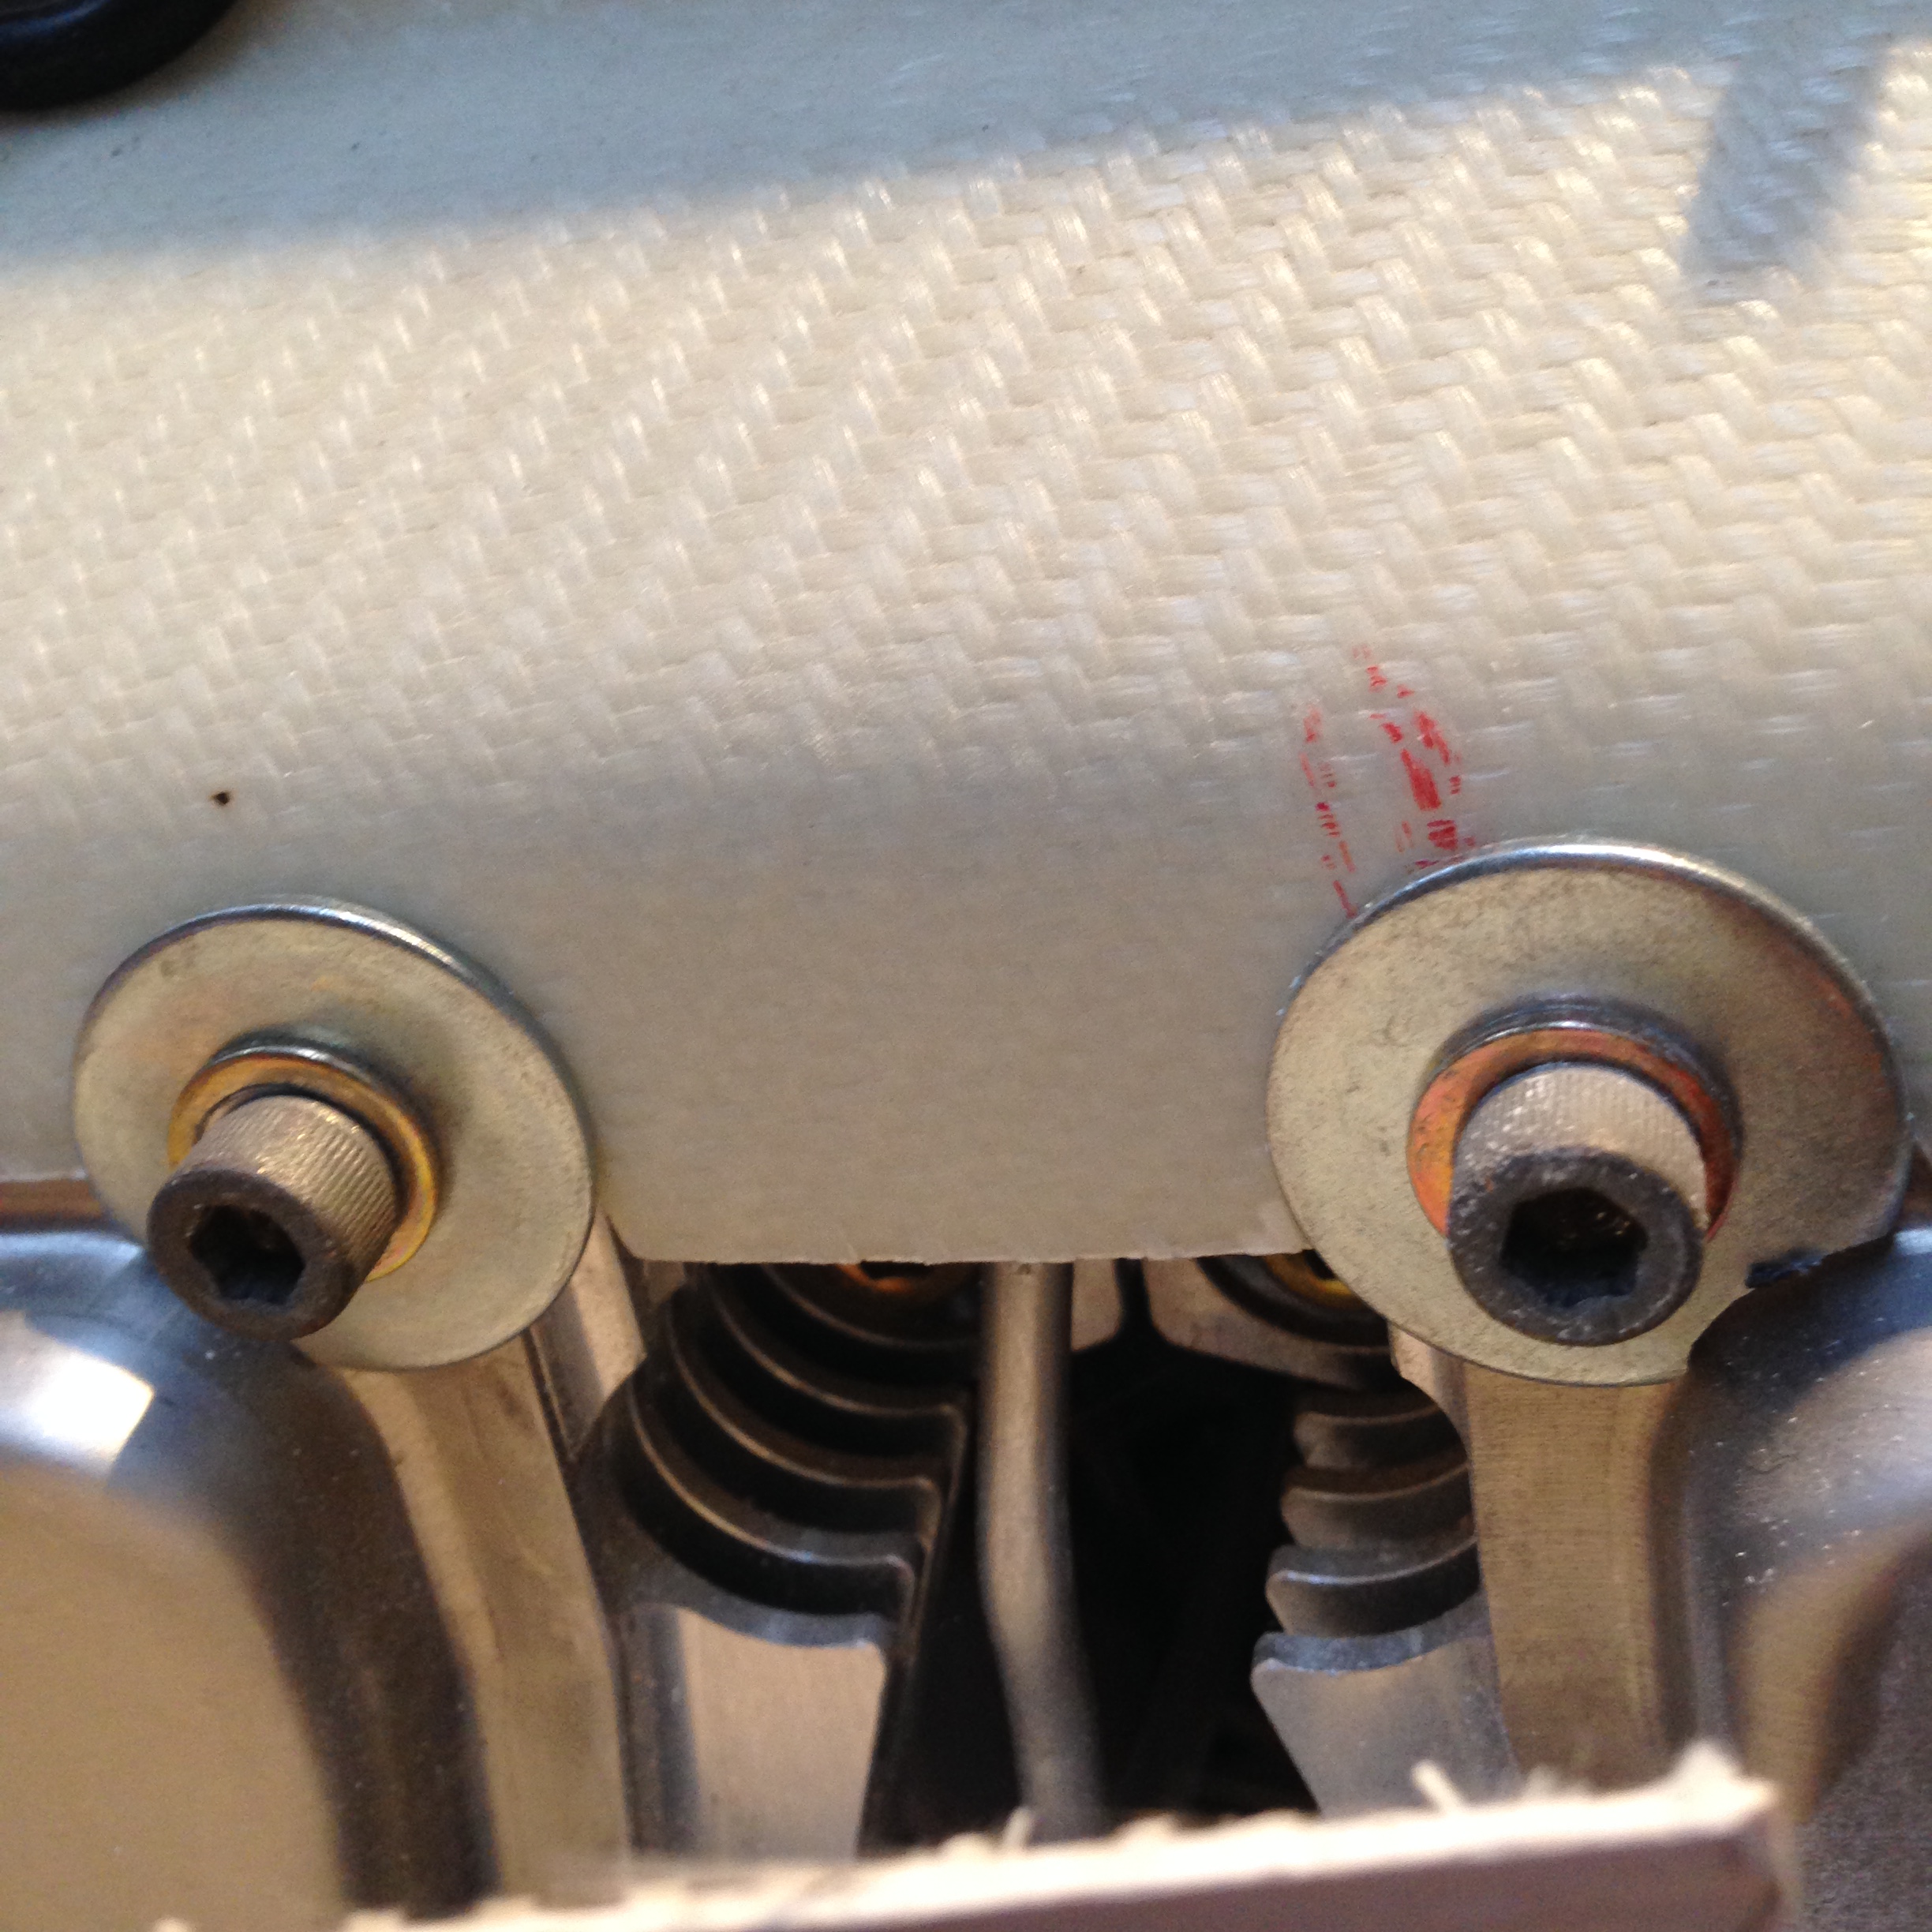
I could then see I had missed one piece of waxoyl on a joint .. this could now be covered ready for the re-assembly.

IMG_0429 IMG_0430 IMG_0432  IMG_0435 IMG_0436

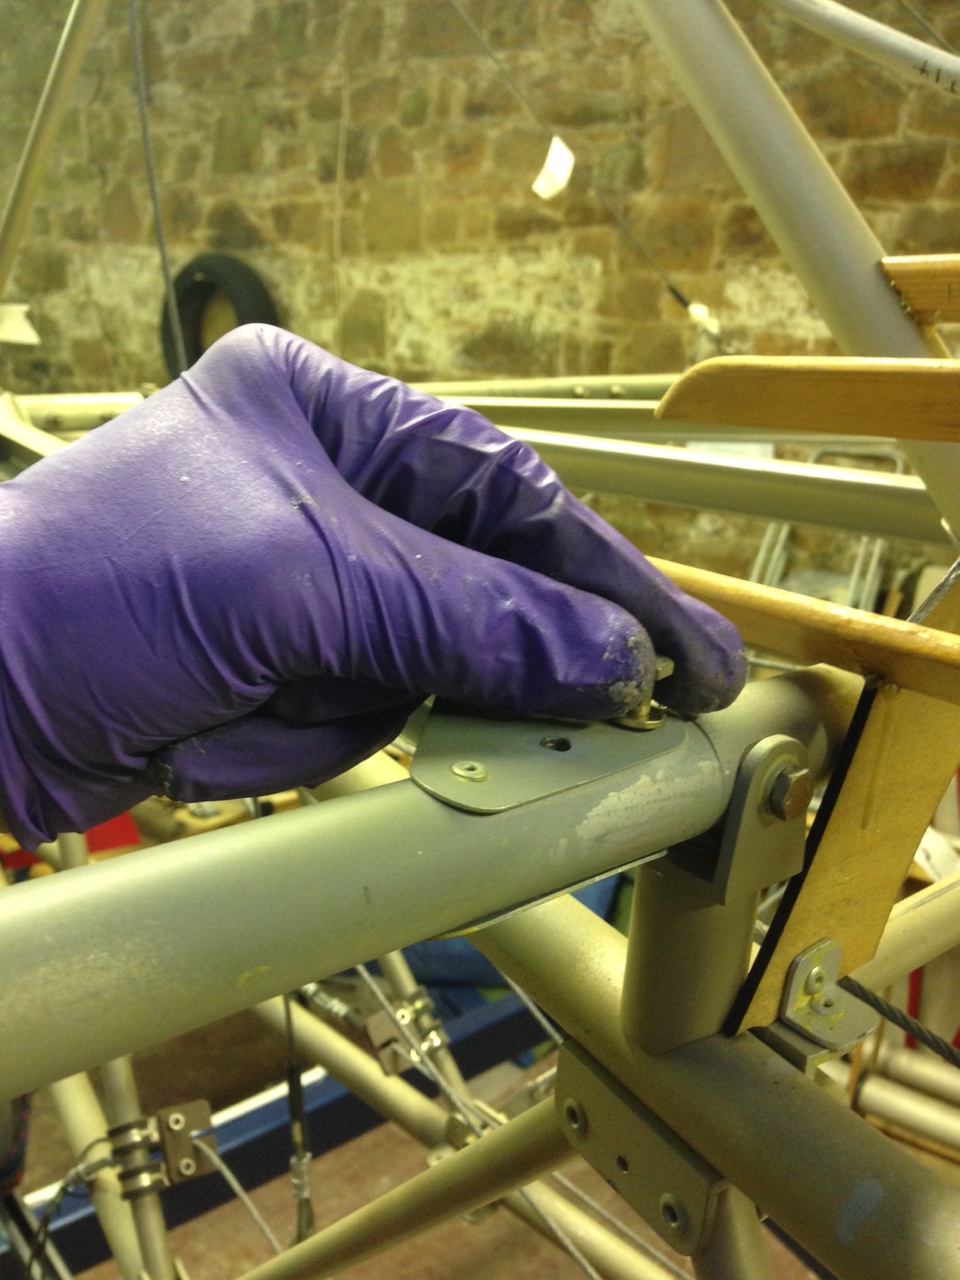
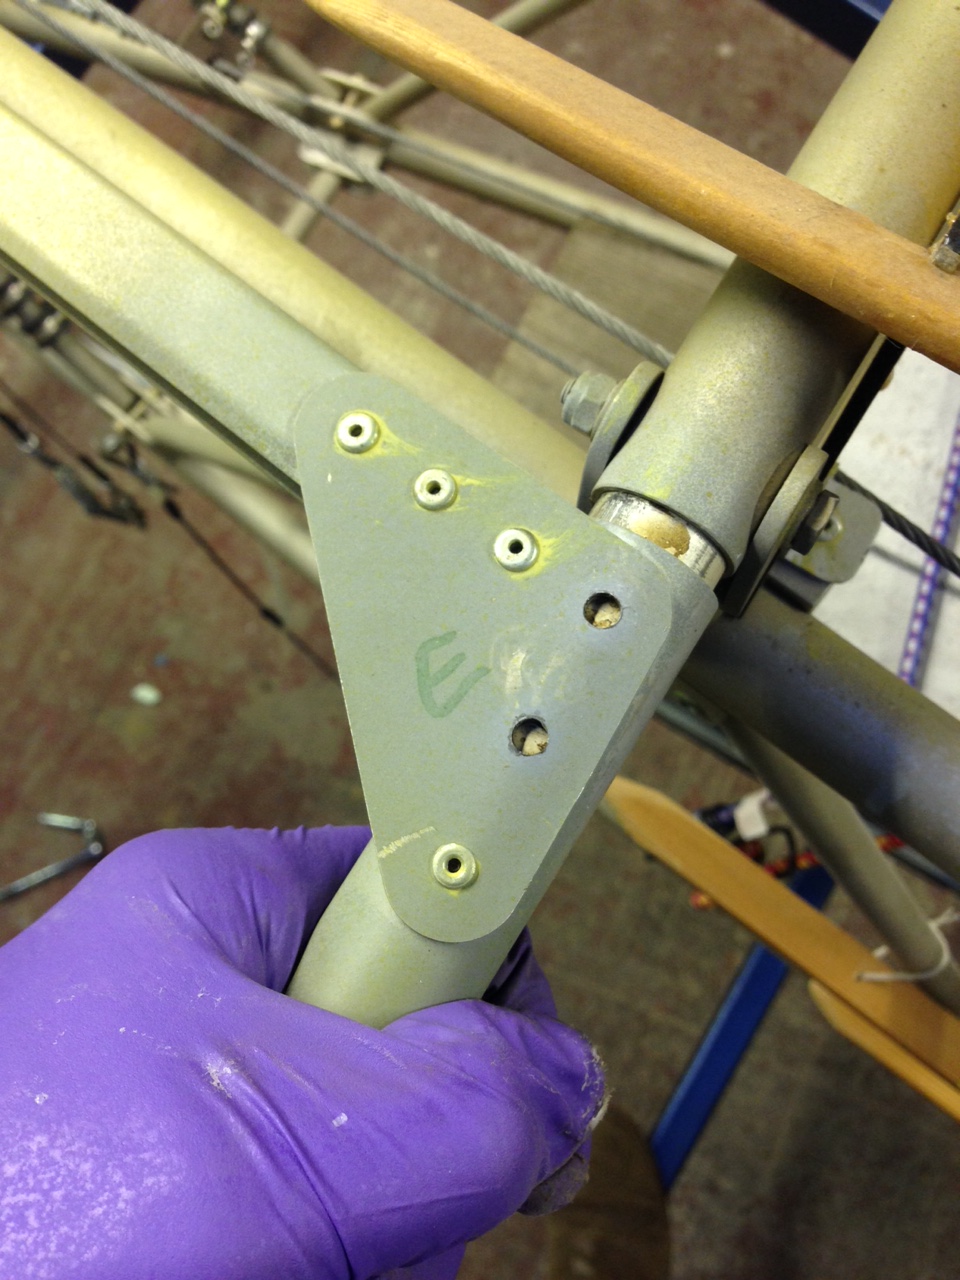
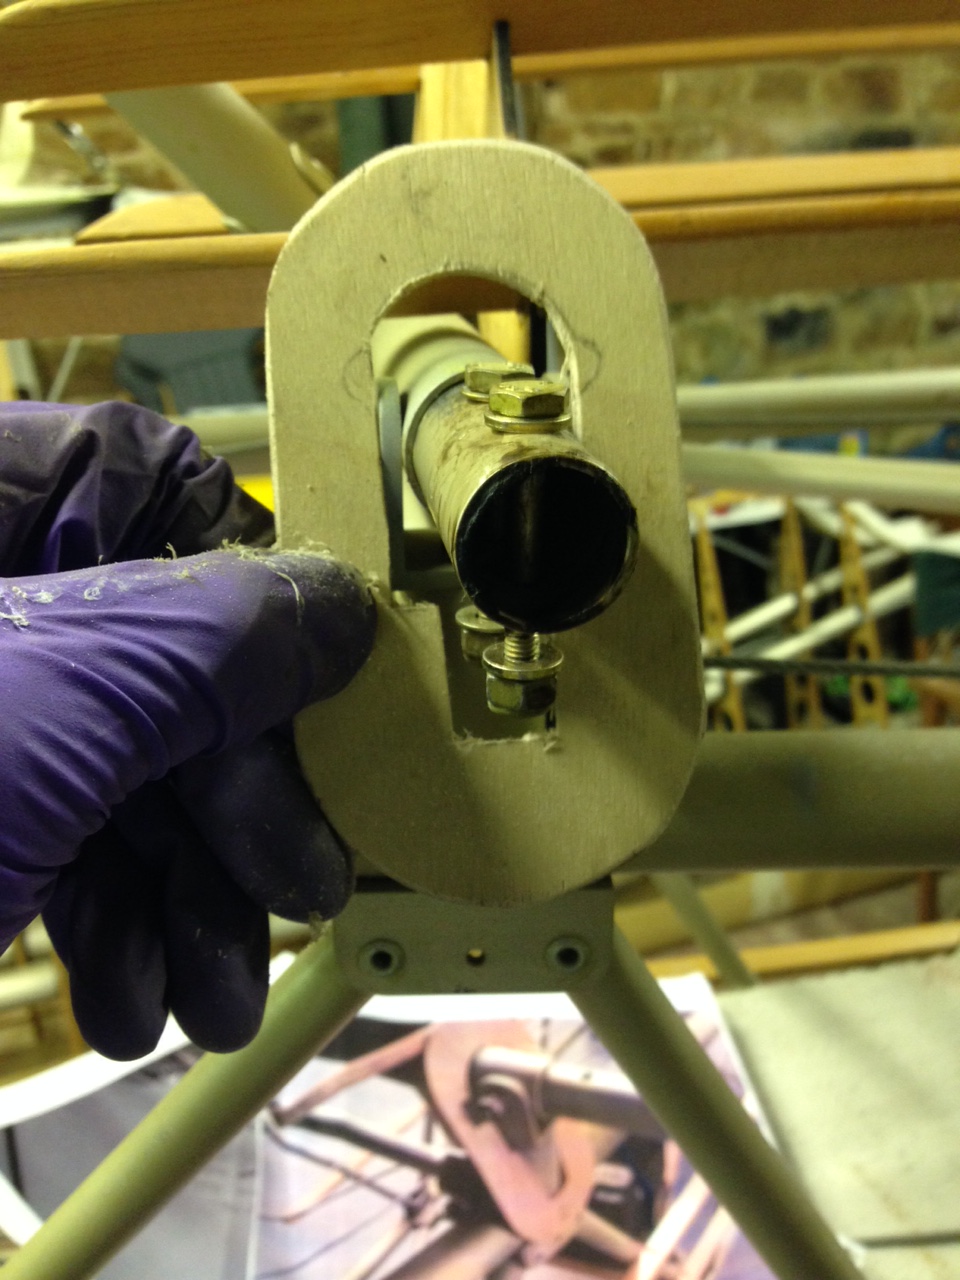
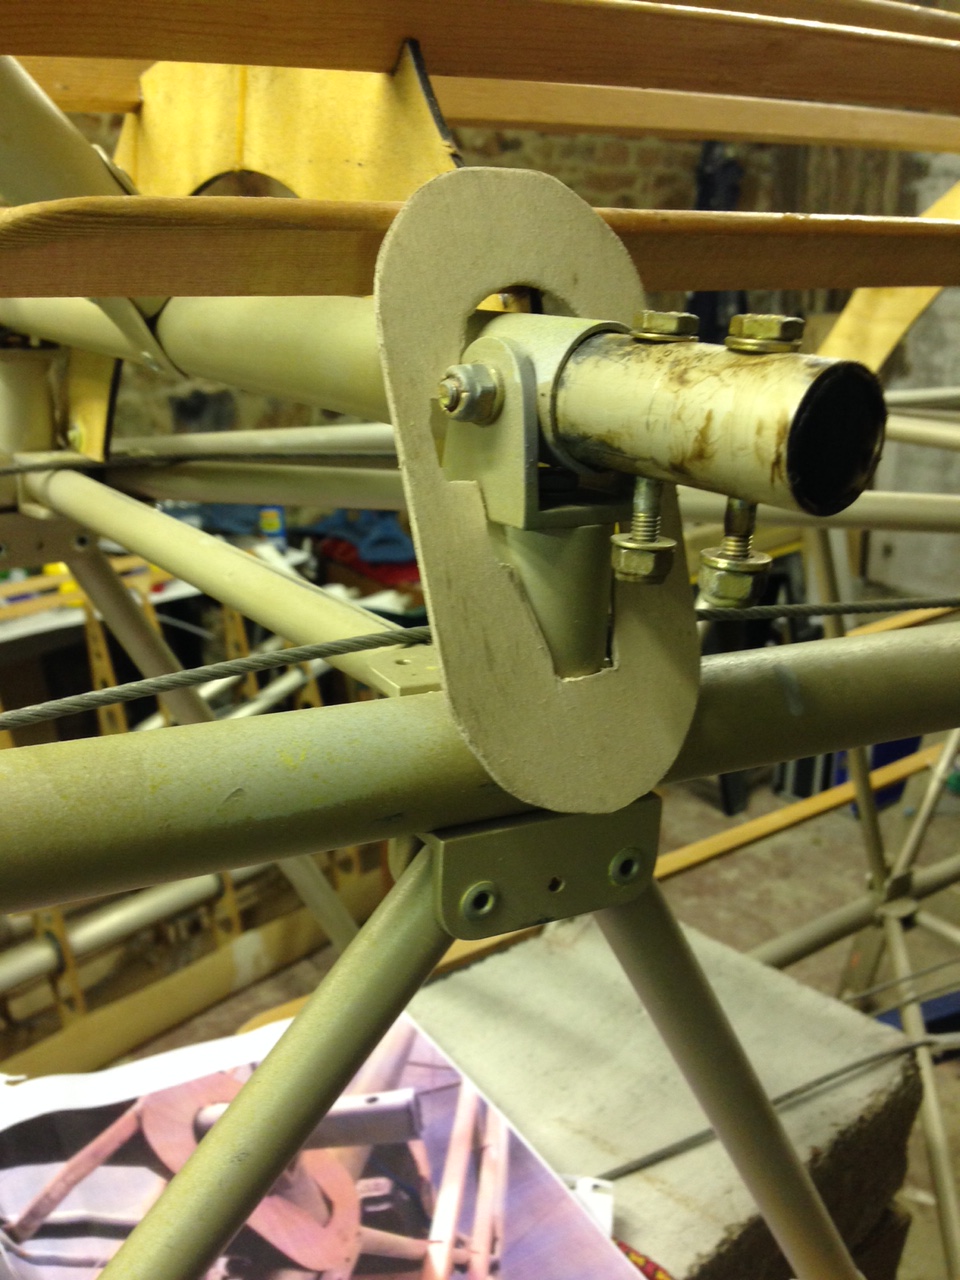
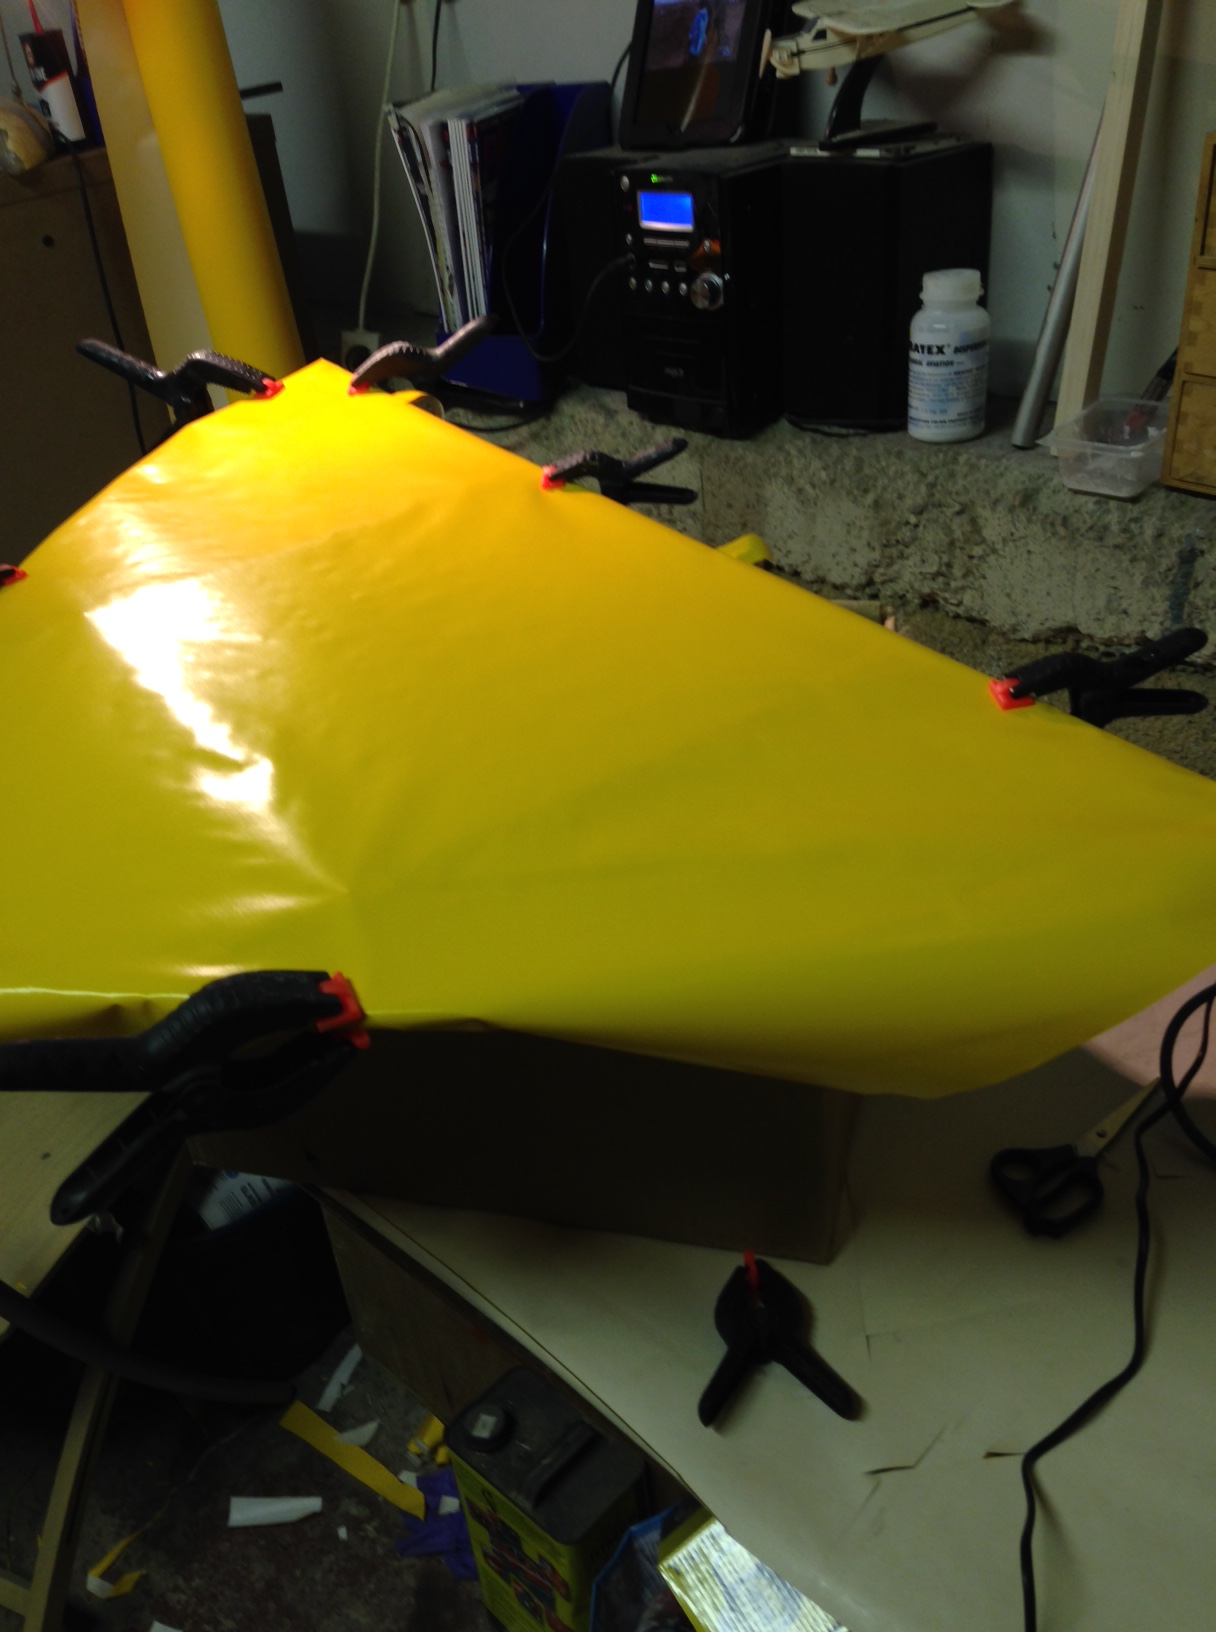
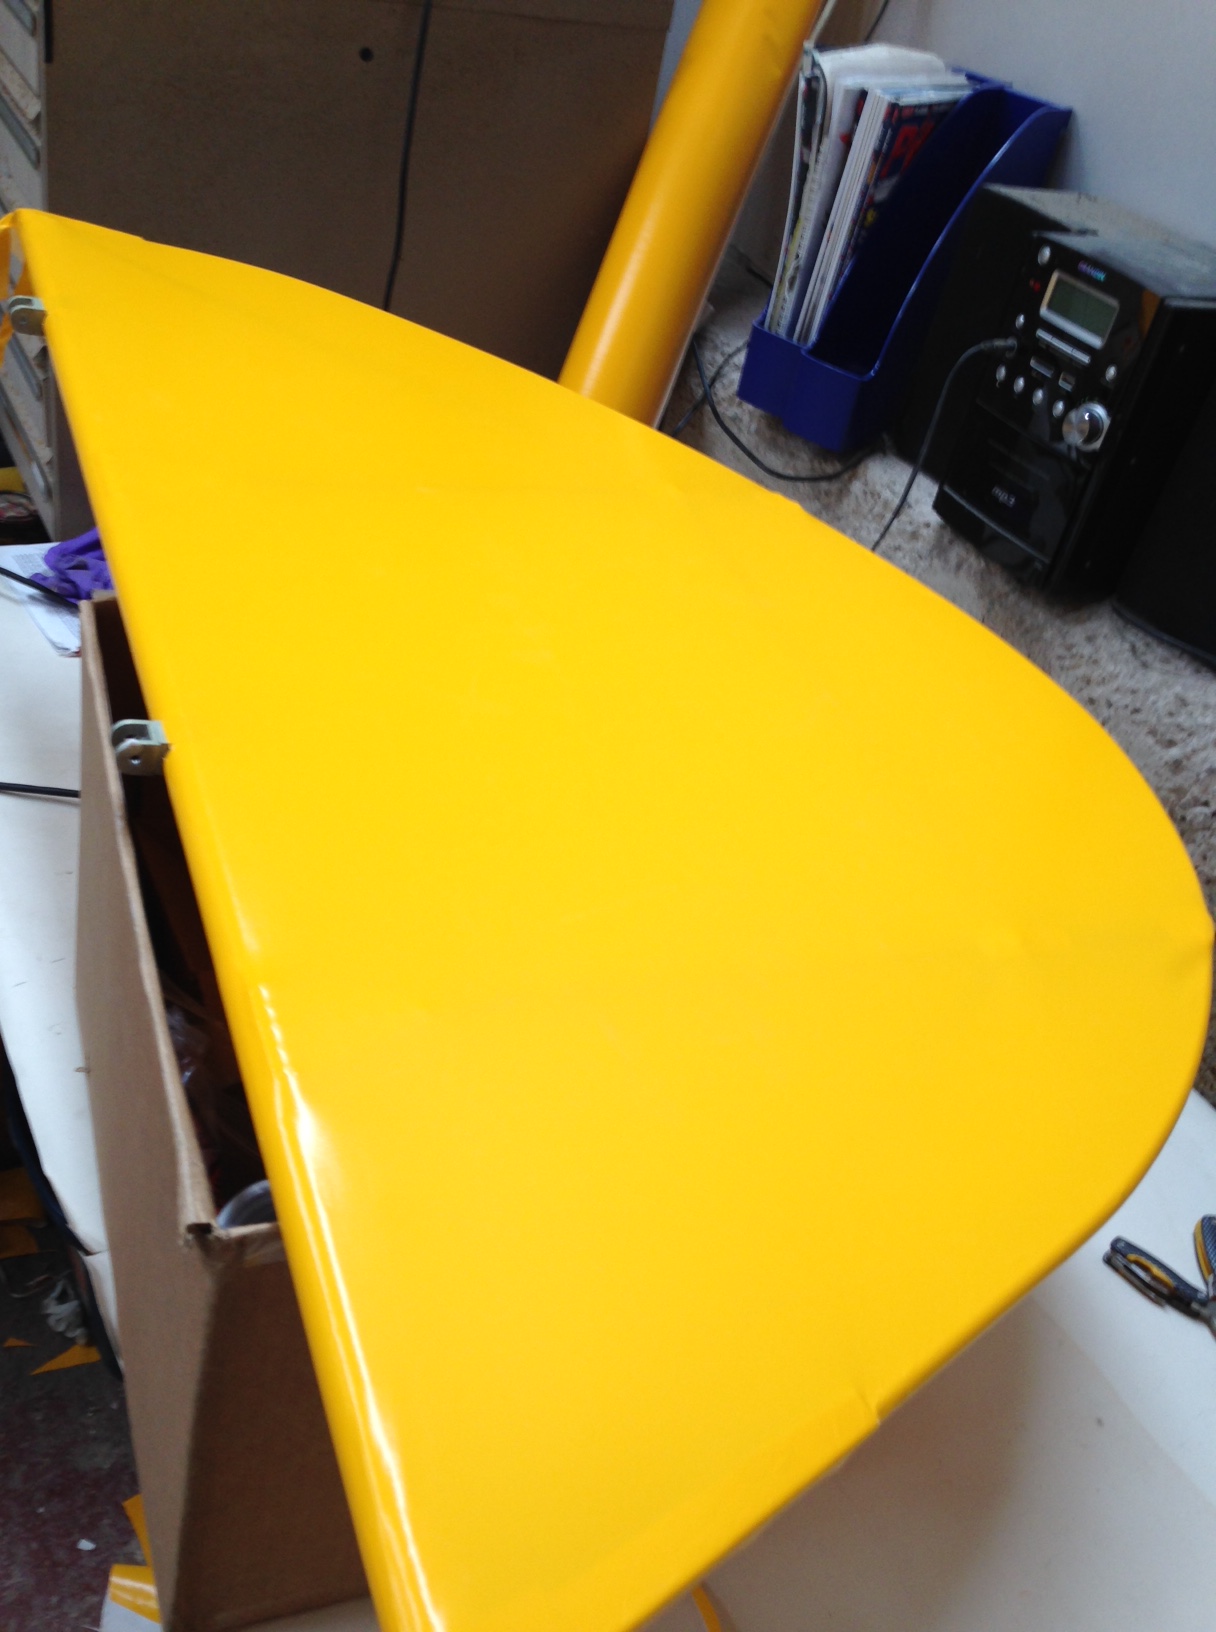
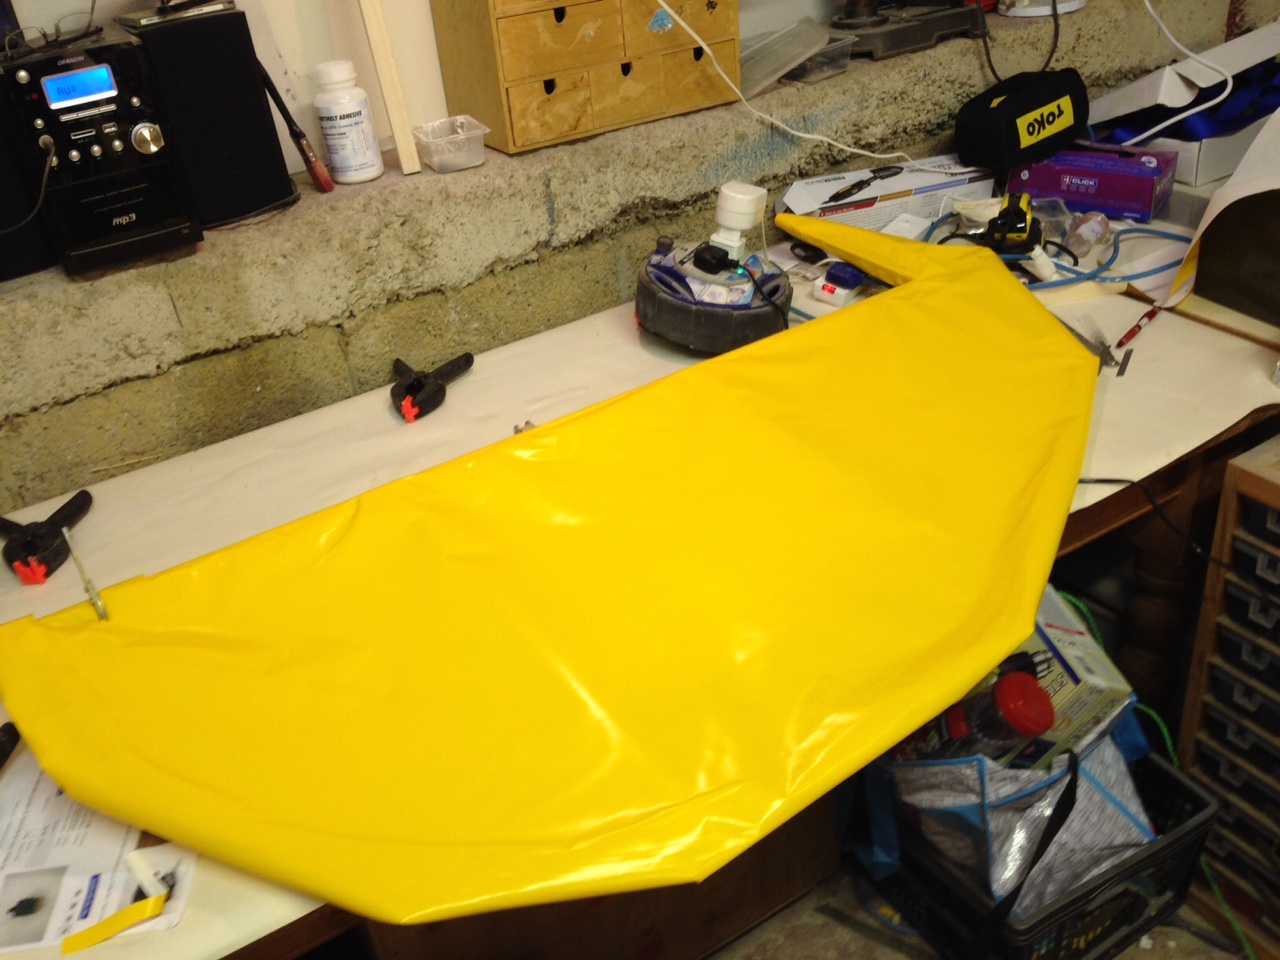
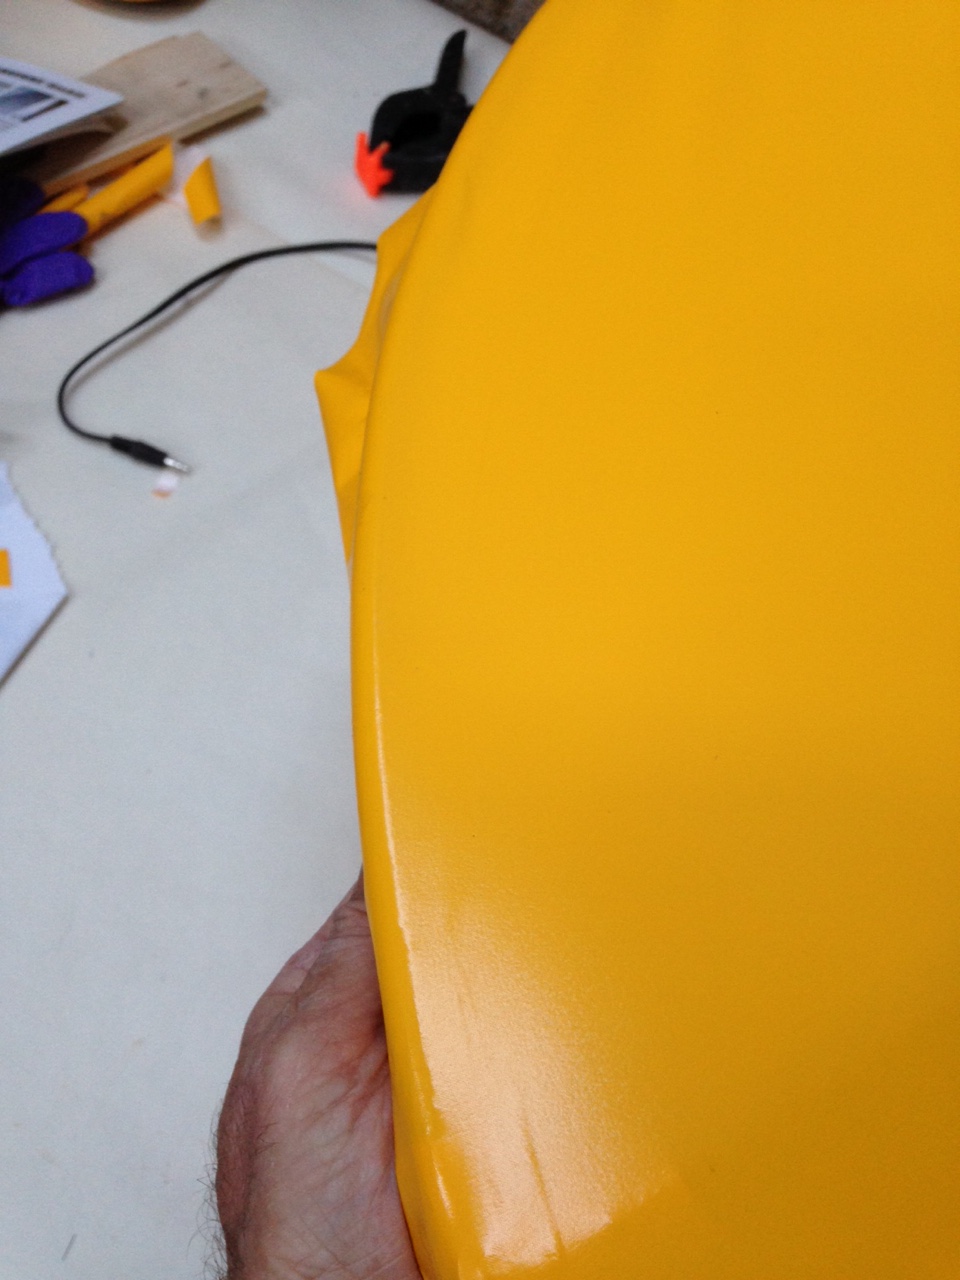
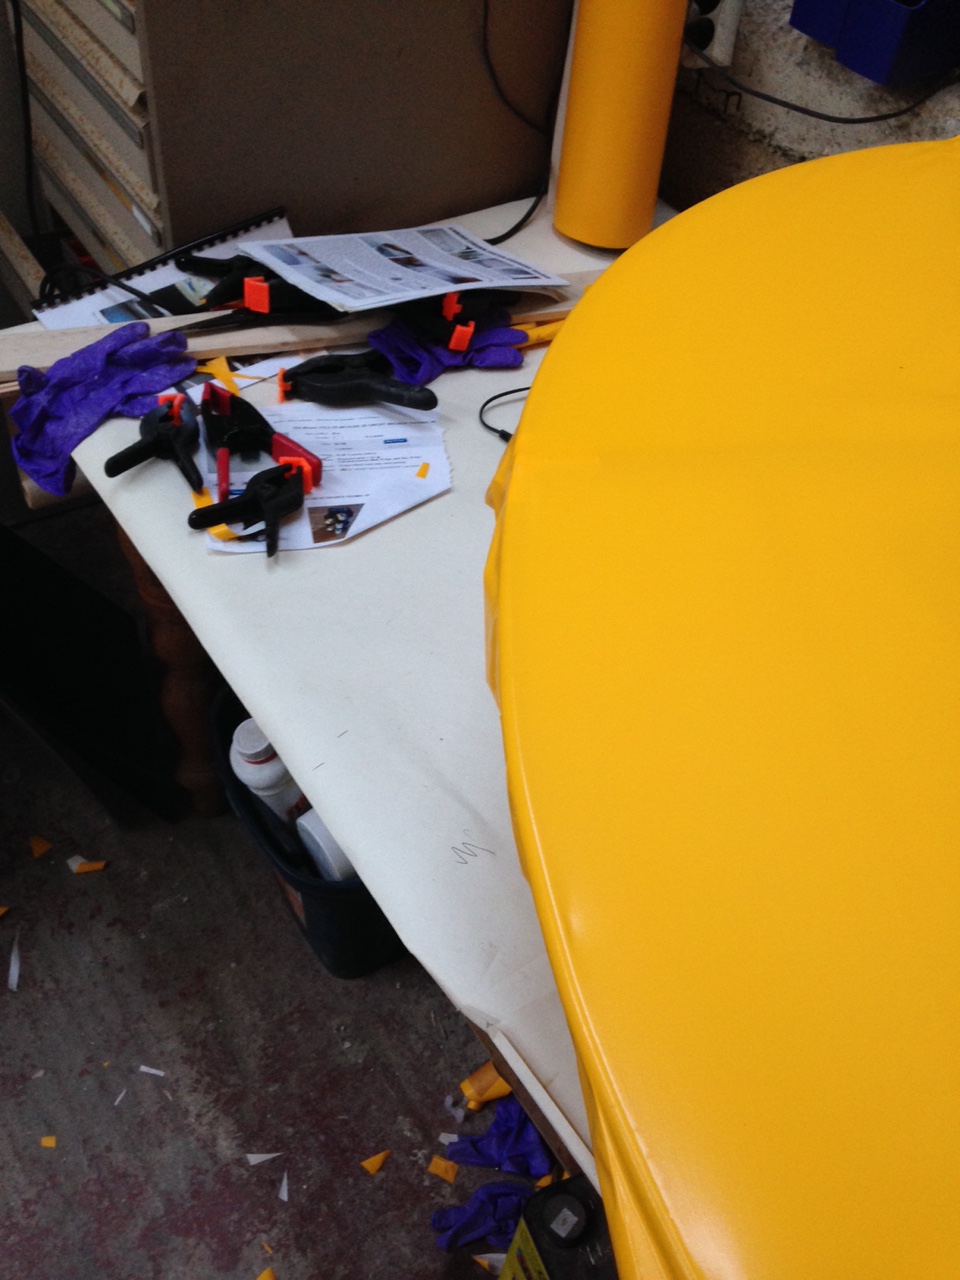
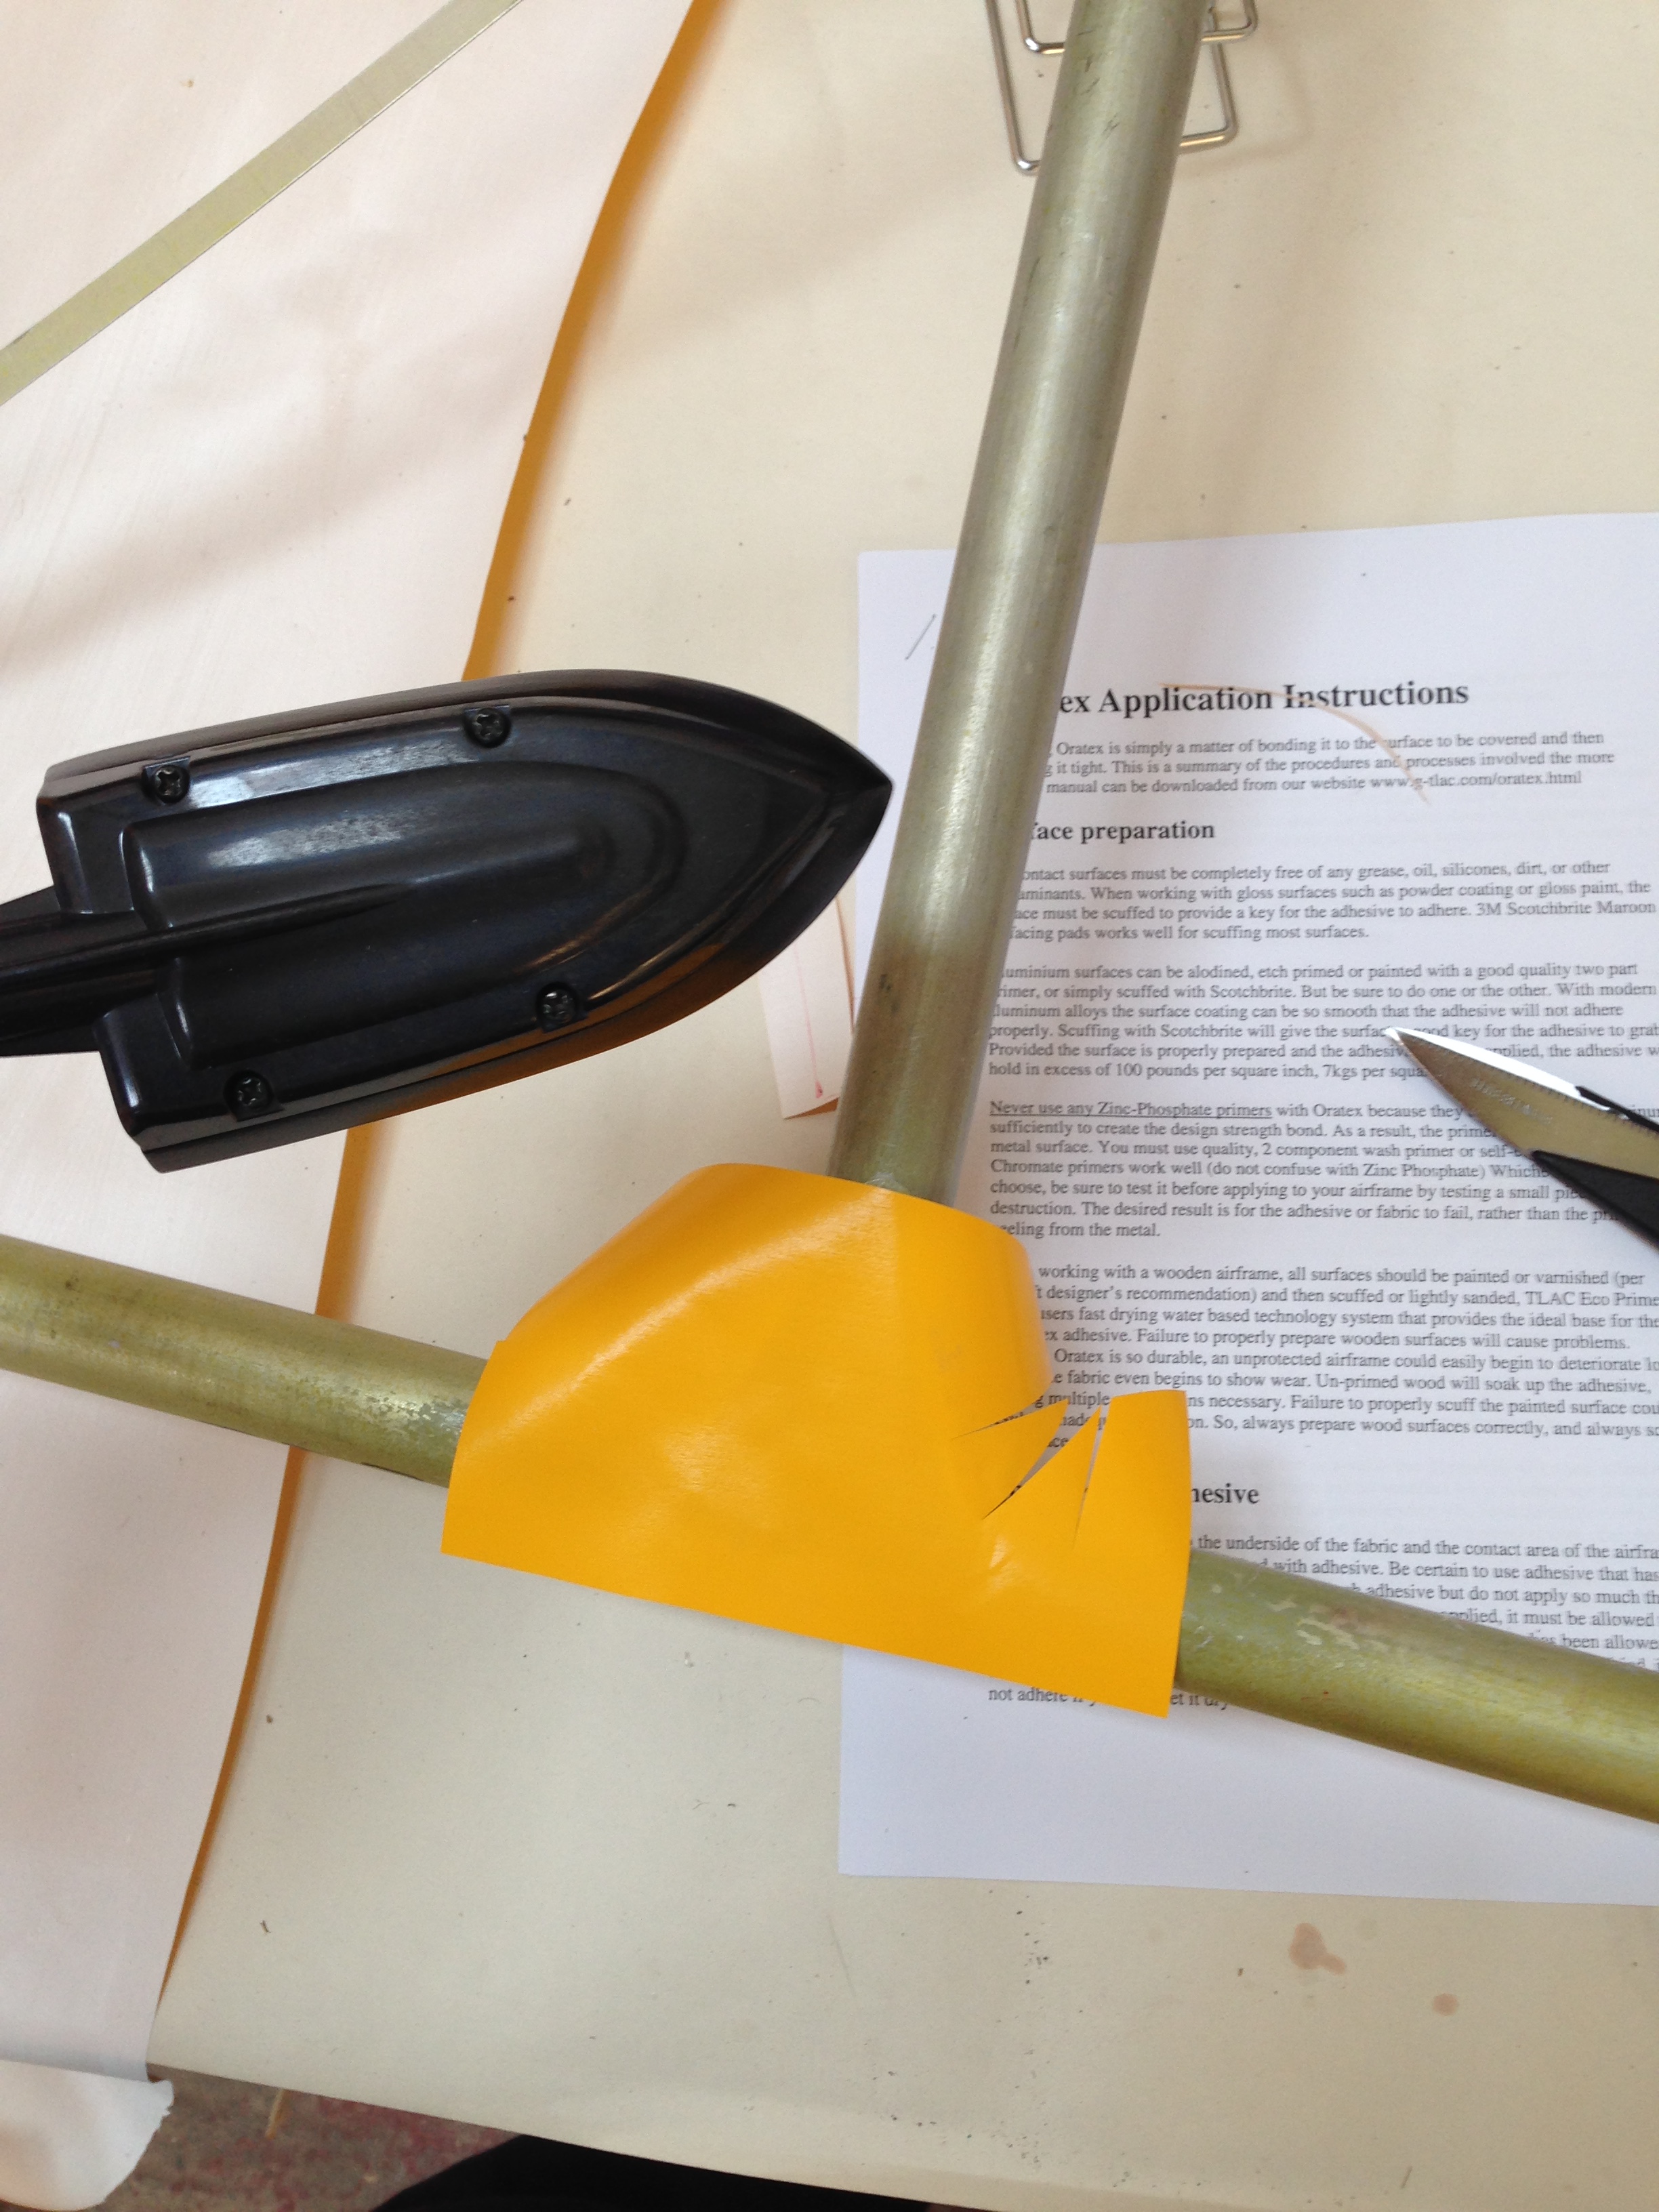
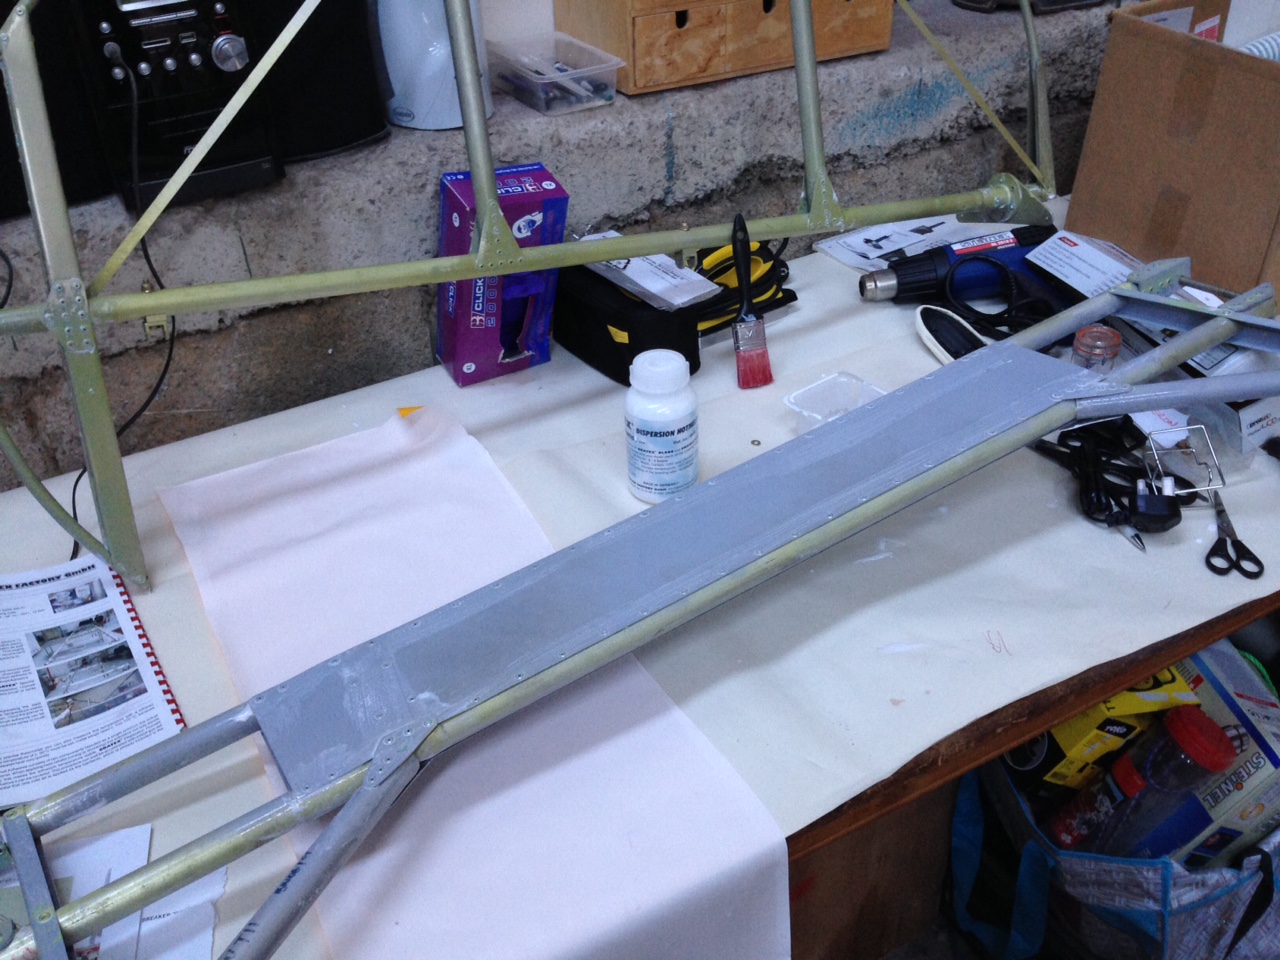
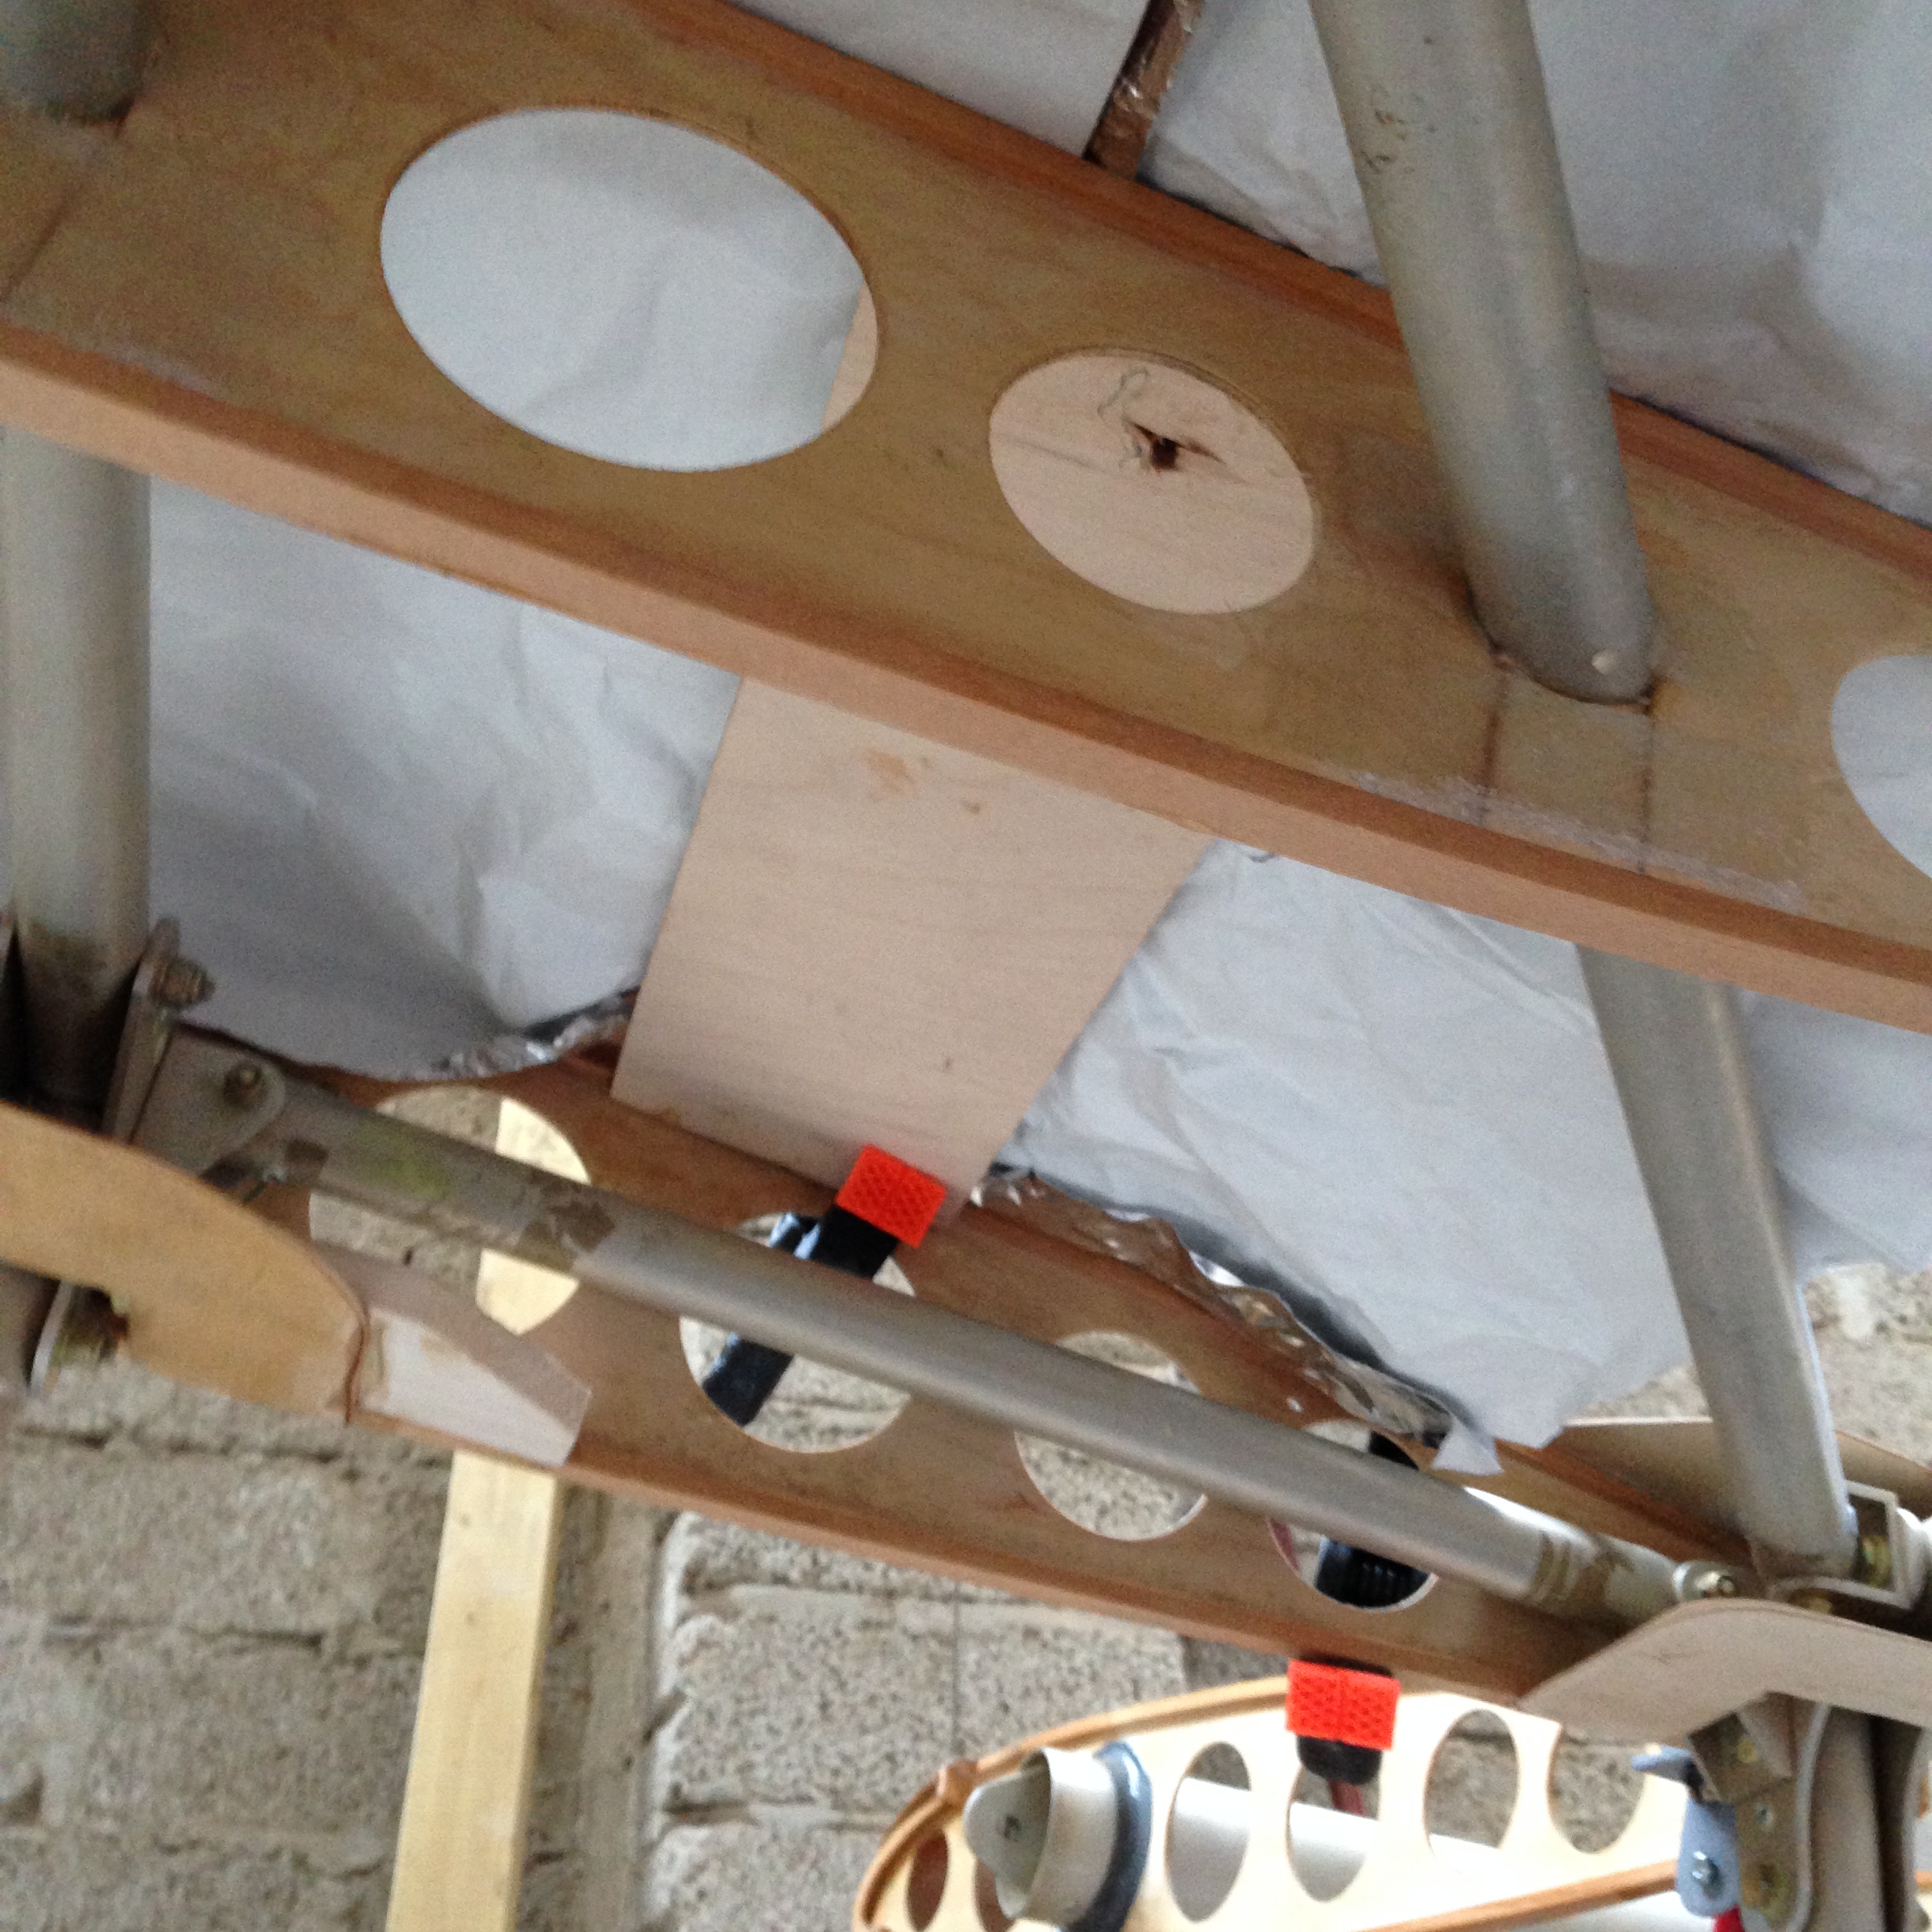
Now I could complete those small ply material covering landing plates at the leading edge of the tailplane.

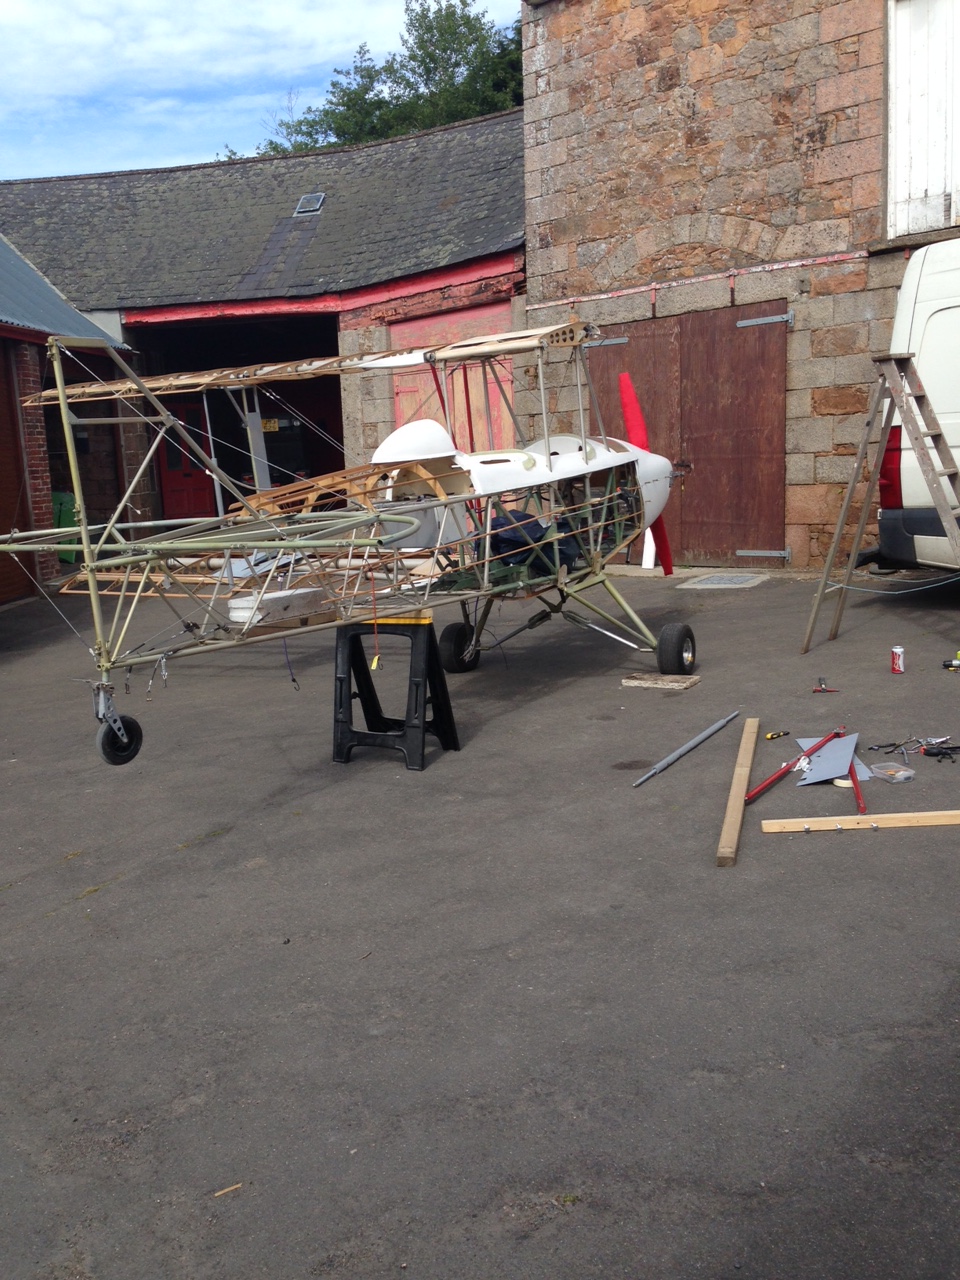
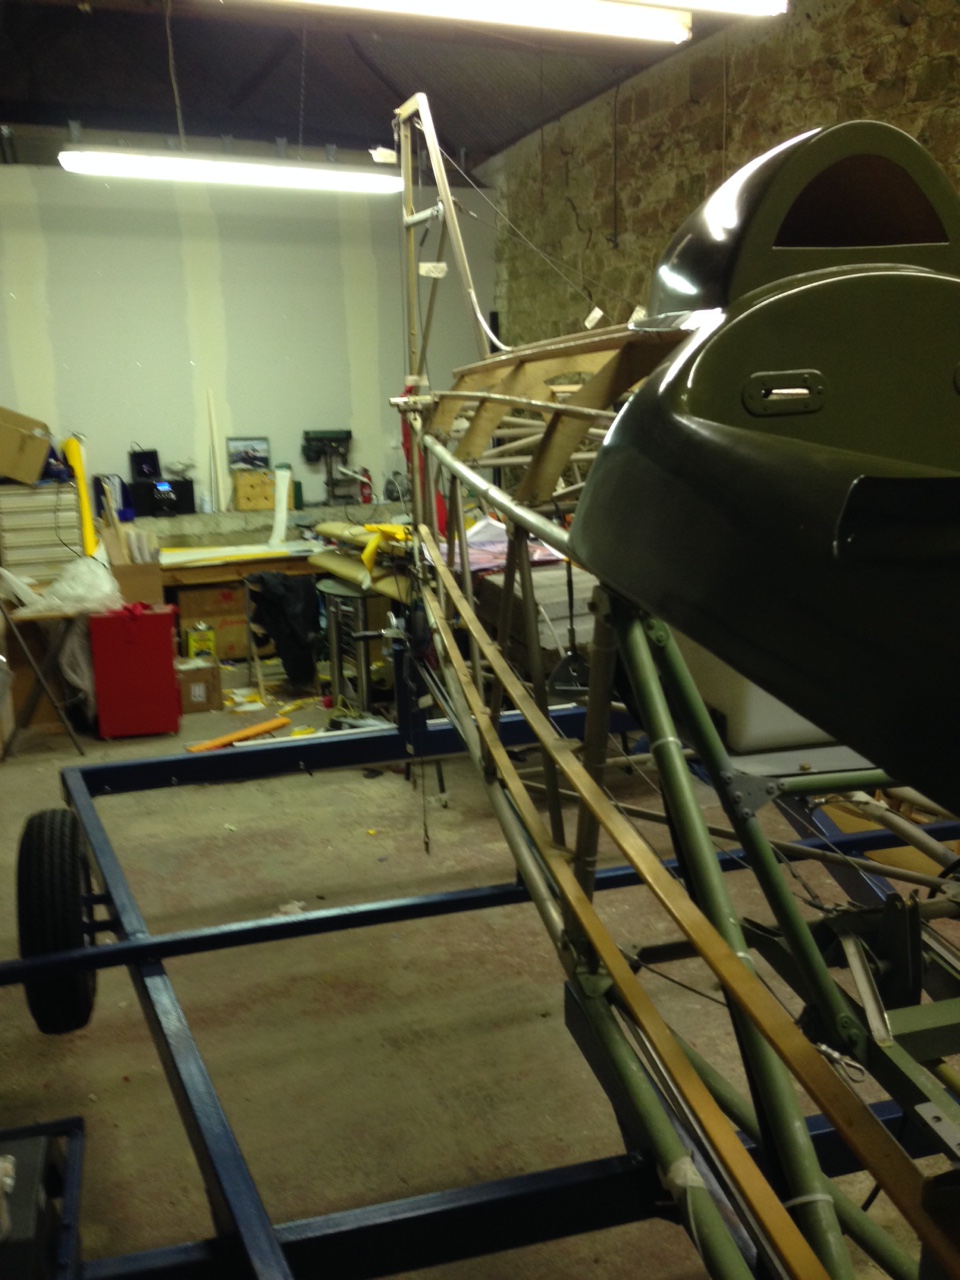
‘Plane looks quite ’empty’ with no tail feathers now 😦

IMG_0440

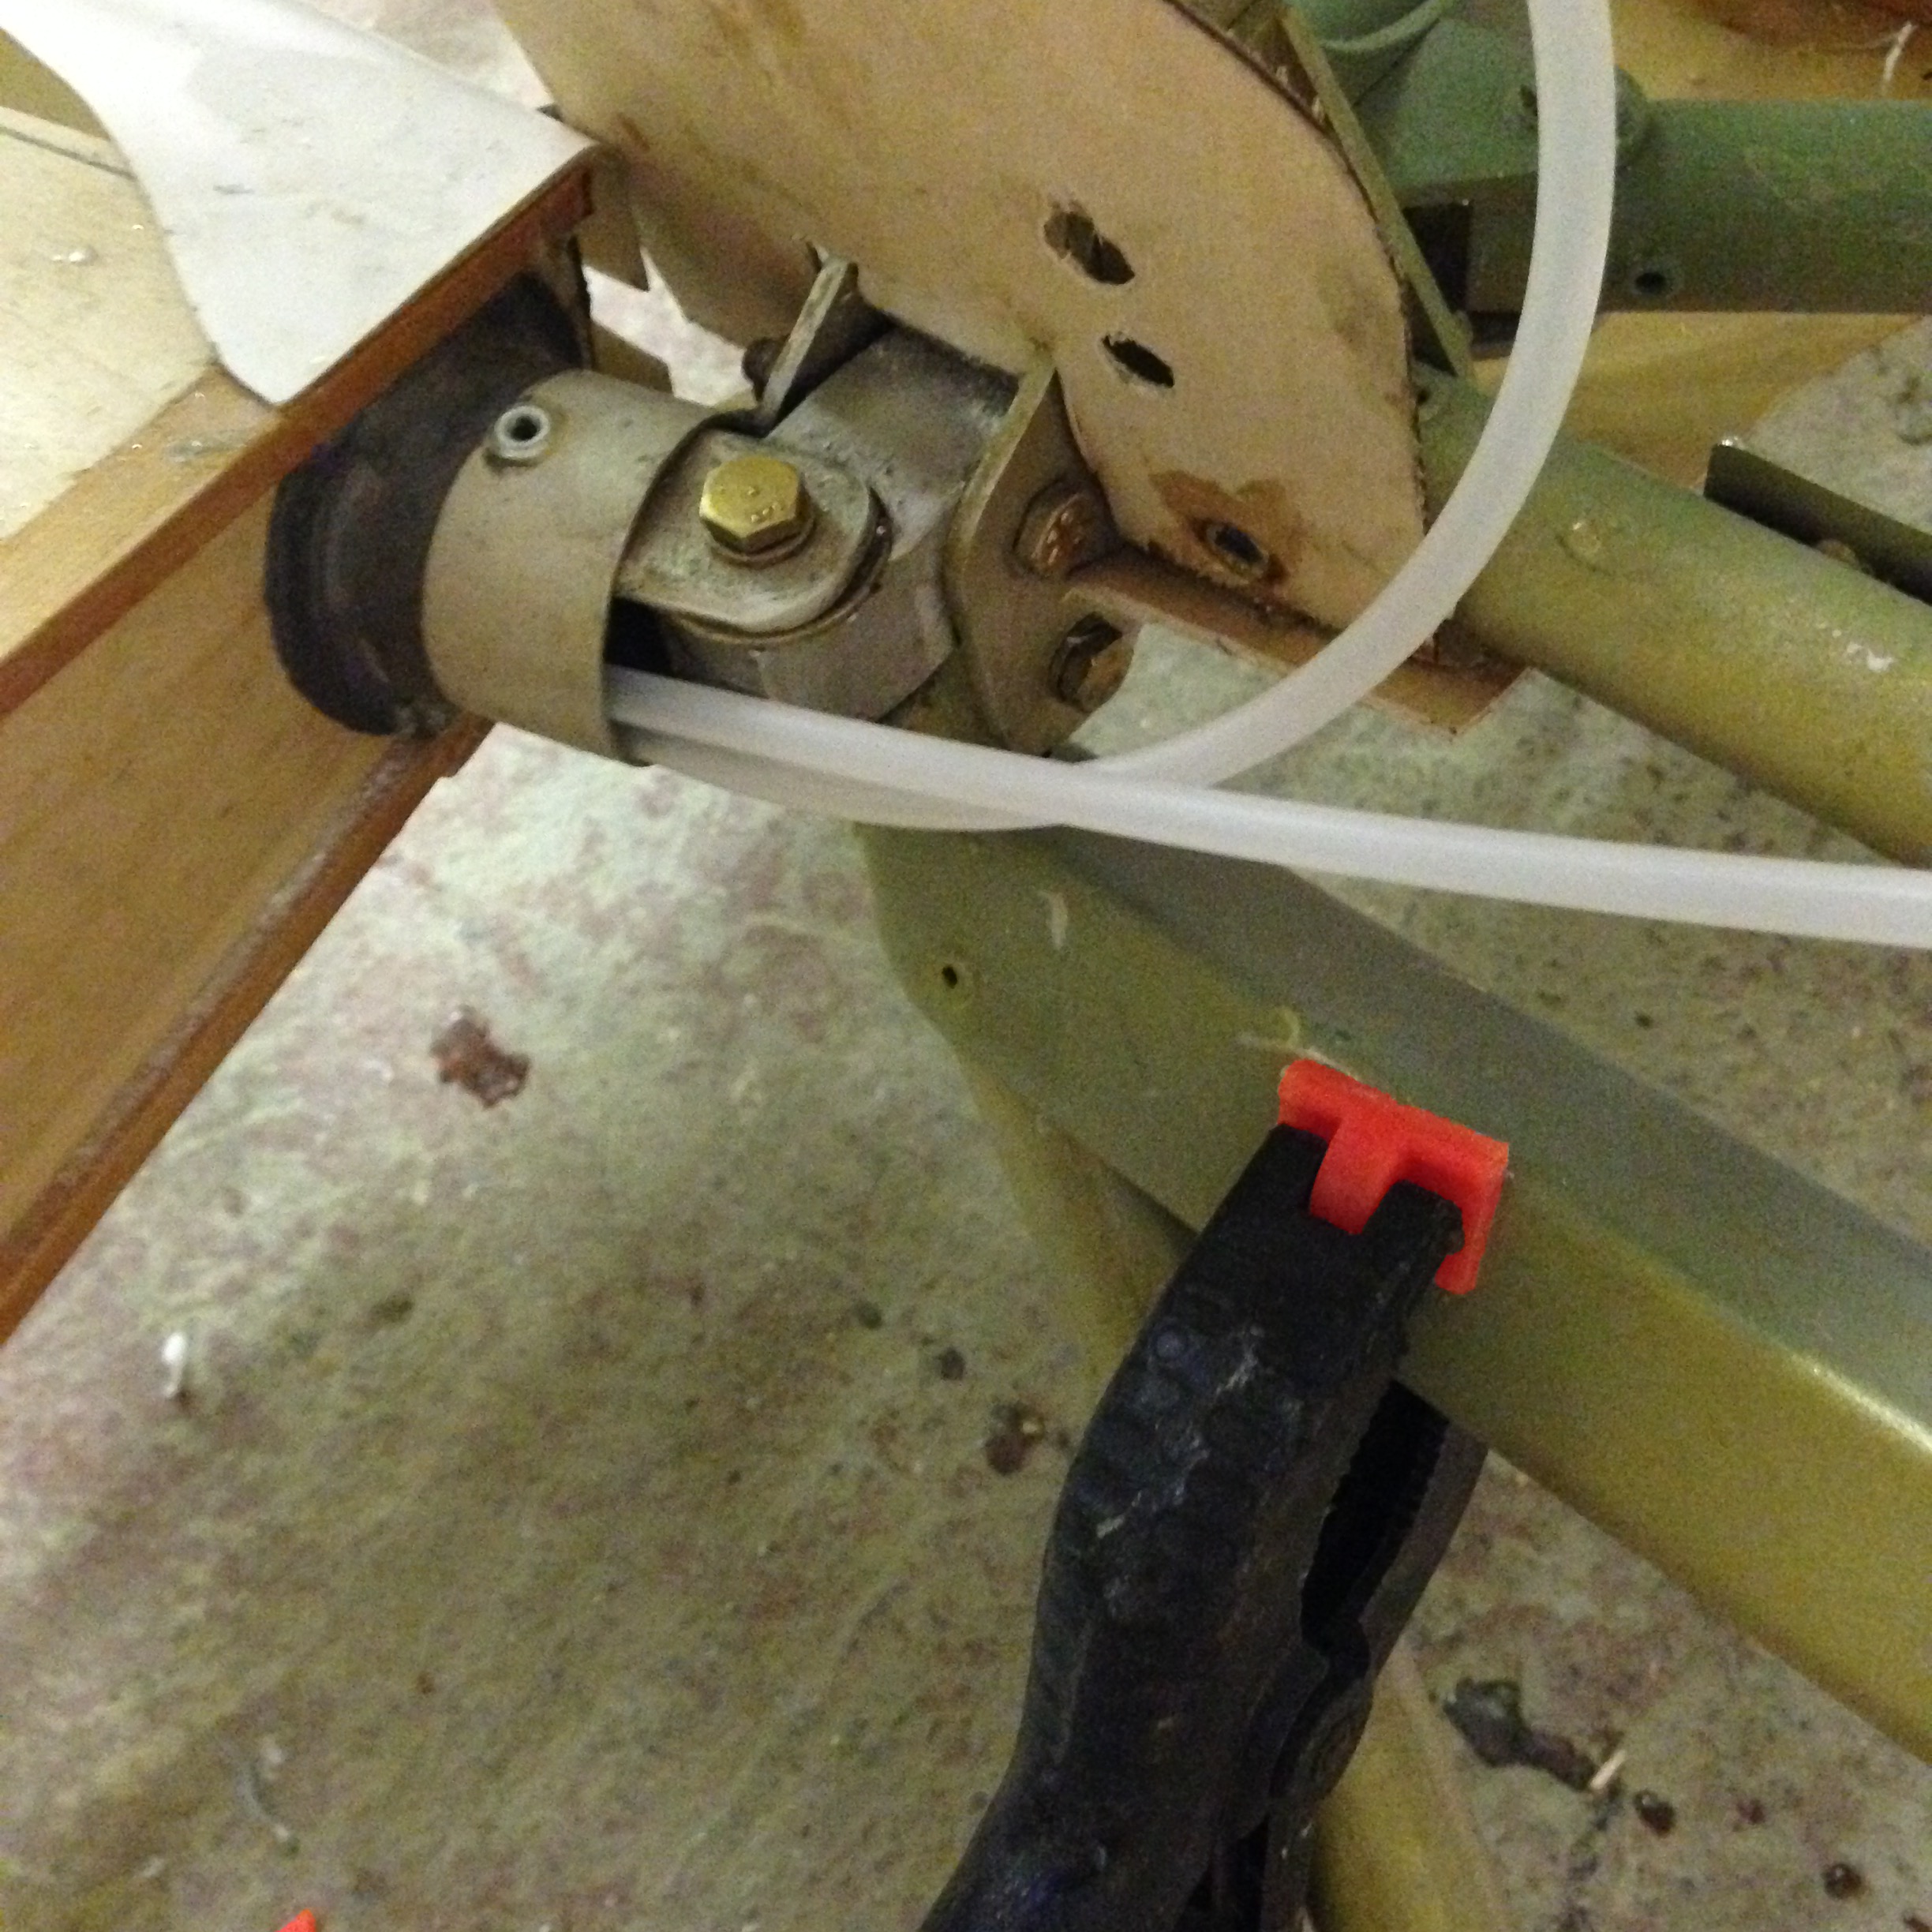
Made me realise the re-assembly sequence is going to be interesting … not sure how that might work so will need to call Paul in Norfolk !

Oratex – ongoing – getting the hang of it now :-)

I have been a little quiet on the blog front but like all swans .. frantically peddling away under the surface !!

Having now completed 3 surfaces of Oratex (rudder both sides and one lower elevator covering) I think I am finally getting the hang of things … It may mean a week offline in the winter clag to recover the rudder as I’m not 100% happy with the finish having managed to get a large wrinkle in that even 18% shrinkage wouldn’t pull out – leaving me with a small (but noticeable) crease by the rudder post. Yes I could lose it by putting the pinked capping tape over it but I know it’s there !!

IMG_0418  IMG_0417


IMG_0420  IMG_0424

The elevators, completed in the wee hours this morning, have helped me get a routine that makes the pre shrinked finish much much tighter and on first application of the heat gun your get a fantastic taught sheen finish !

IMG_0426

Next steps – Tailplane …. before the larger wing and body rolls arrive 🙂

Oratex – Next steps

Not a section I was looking forward to .. the finish sounds so final 🙂 …. it’s also the only bit everyone will actually see … so all that underlying hard work gets covered …

The patches were fine but it does take a bit of getting used to … getting that multi internal wrap over with glue on the top layer of the fabric so that you get a really good bond on the leading edge looks great on paper but so so fiddly to actually achieve.


IMG_0323  IMG_0324

Eventually, after 100’s of goes to get each section wrapped to provide the requisite boding area AND making sure the fabric lay reasonably flat AND making sure that I still had sufficient to grab at the trailing edge, I set about bonding the leading edge in position (definitely a one way task as I am not sure UNDO is an option !).

With the leading edge finally bonded I set about pulling the trailing edge tight and getting the small iron onto the edge.

IMG_0326  IMG_0327

Now hold and let that all set firm before I start yanking the inner edge of the trailing edge around to bond that in place

IMG_0328

Polar Jersey – Painting

Just got her back from the great team of Polar Auto Refurb in Jersey. Particularly Aaron and Simon… very many thanks for the pre rub down pictures guys ….

IMG_0301  IMG_0300

IMG_0296  IMG_0297

IMG_0298 IMG_0299


IMG_0284  IMG_0286IMG_0283  IMG_0282

IMG_0287  IMG_0289

Can now get the seats back in and the full harenesses slotted through the bodywork.

Also start to finalise the dashboard panels ahead of taking her into CIAS for engine setup and test runs.

IMG_0290  IMG_0293

What every man should do first thing in the morning …

An hour of ironing … !!

My First foray into Oratex … first joint cover I was a bit enthusiastic (thanks for the steer Paul !) and covered a little too far down the tube.

IMG_0273  IMG_0274

Second attempt I left a little more to ‘get hold of’ and use to pull around as I ironed .. to be fair this is mentioned in the guide and the very good You Tube video.

IMG_0276

Now I have applied a light second coat for the material overlap so that I can add the other side tonight 🙂

Covering – Oratex – First steps

Having read the Oratex manual loads of times and watched the very useful You Tube bits I made my first venture into covering …

Started with preparing a strip for covering over the joints ahead of the top covering. This will prevent fretting later.

First use of the HotMelt glue which seems to go on very easily .. they state one thin coat for metal (two for wood). Brush just washes out in water … so nice and easy.

IMG_0267  IMG_0269

Rudder and elevator joints done and also the first strut

IMG_0271 IMG_0272

Having treated both the metal joints and the full back of a strip of the material – leave it to fully dry today before cutting pieces to wrap around the joints.

Dismantling ….

Been a while since my last update but have been very busy at both work and visiting relatives in the UK ….

BUT ….

Lots going on now … in prep for the body painting I had to fully dismantle the ‘plane .. sad .. as you feel you are going backwards but … all 4 wings off .. rudder off .. elevator off …

IMG_0259  IMG_0258

IMG_0256  IMG_0255

So everything photo’d and labelled for later reassemble

Trailer repaired and roadworthy agin (many thanks for squeezing that into your really busy schedule Mike – much appreciated).

Then up bright and very early yesterday to give the ‘plane a ride through several Parishes ahead of the Monday morning traffic build up … Took her through St John, St Lawrence, St Aubin (she hasn’t been through that Parish to date !) then to St Brelade… all dropped off and unloaded by 7.30

Popped back at lunchtime and the painter guy had smoothed all the top cowl and it looked amazing … they noted that where the cabane supports go through the top decking its pretty close tolerance and could probably do with eeking out so we don’t get stress cracks … will get the Dremel out when I get her back.

Little jobs along the way ….

Securing the cowl scoops is one of those little things I needed to complete .

They are held in place on the Jabiru with a very basic looking arrangement which I guess works. A small wire passes around the cylinder head fins and comes uppermost where a small spring hooks onto it. This then stretches to hook onto a small 5mm angles bracket with a hole in it that has been riveted to the fibreglass scoop.

IMG_0188

The whole setup obviously wont go anywhere as the top cowl makes sure of that .. but, in addition, you slacken a few of the rocker cap cover allen bolts and insert larger washers to encompass the scoop. I ground down the edge of a few of the washers to enable a flush fit.

Final bit will be to fine trim the front end of the scoop and fit the rubber gasket to prevent air bleeding around the intake and cowl.

Pitot feeds now in

Ivor had popped the second tube in the post and it arrived yesterday, and was on the aircraft within 2 hours …

IMG_0199  IMG_0198

Running the second tube through the drag spar took a bit longer that the first, the first slid straight through and popped out exactly where I  wanted it. The second snagged on an internal rivet and took an age to tweak it back … this is where two people would def speed it up .. or if you had 6 foot long arms to ease the tube back at the wing strut whilst fishing it out at the root !

IMG_0197


Now the challenge of sourcing the step downs to get tube to alloy pitot …

Ariel ground plane and ply cover

Completed the ariel ground plane fitting and the thin ply top sheeting.

IMG_0187  IMG_0186

Having pre inserted a 3 ply support to take the ariel mount.

Leaving the ariel off for now so that it doesnt get knocked during painting. Also may source an aero shaped tube to run the Ariel co ax cable down the rear of one of the cabane tubes.

Blog at WordPress.com.

Up ↑