The harness cables run completely to the back of the aircraft and are secured just near the tail end of the fin. Handy for ficing thimbles and brackets 🙂
A mile of runway can take you anywhere
The harness cables run completely to the back of the aircraft and are secured just near the tail end of the fin. Handy for ficing thimbles and brackets 🙂

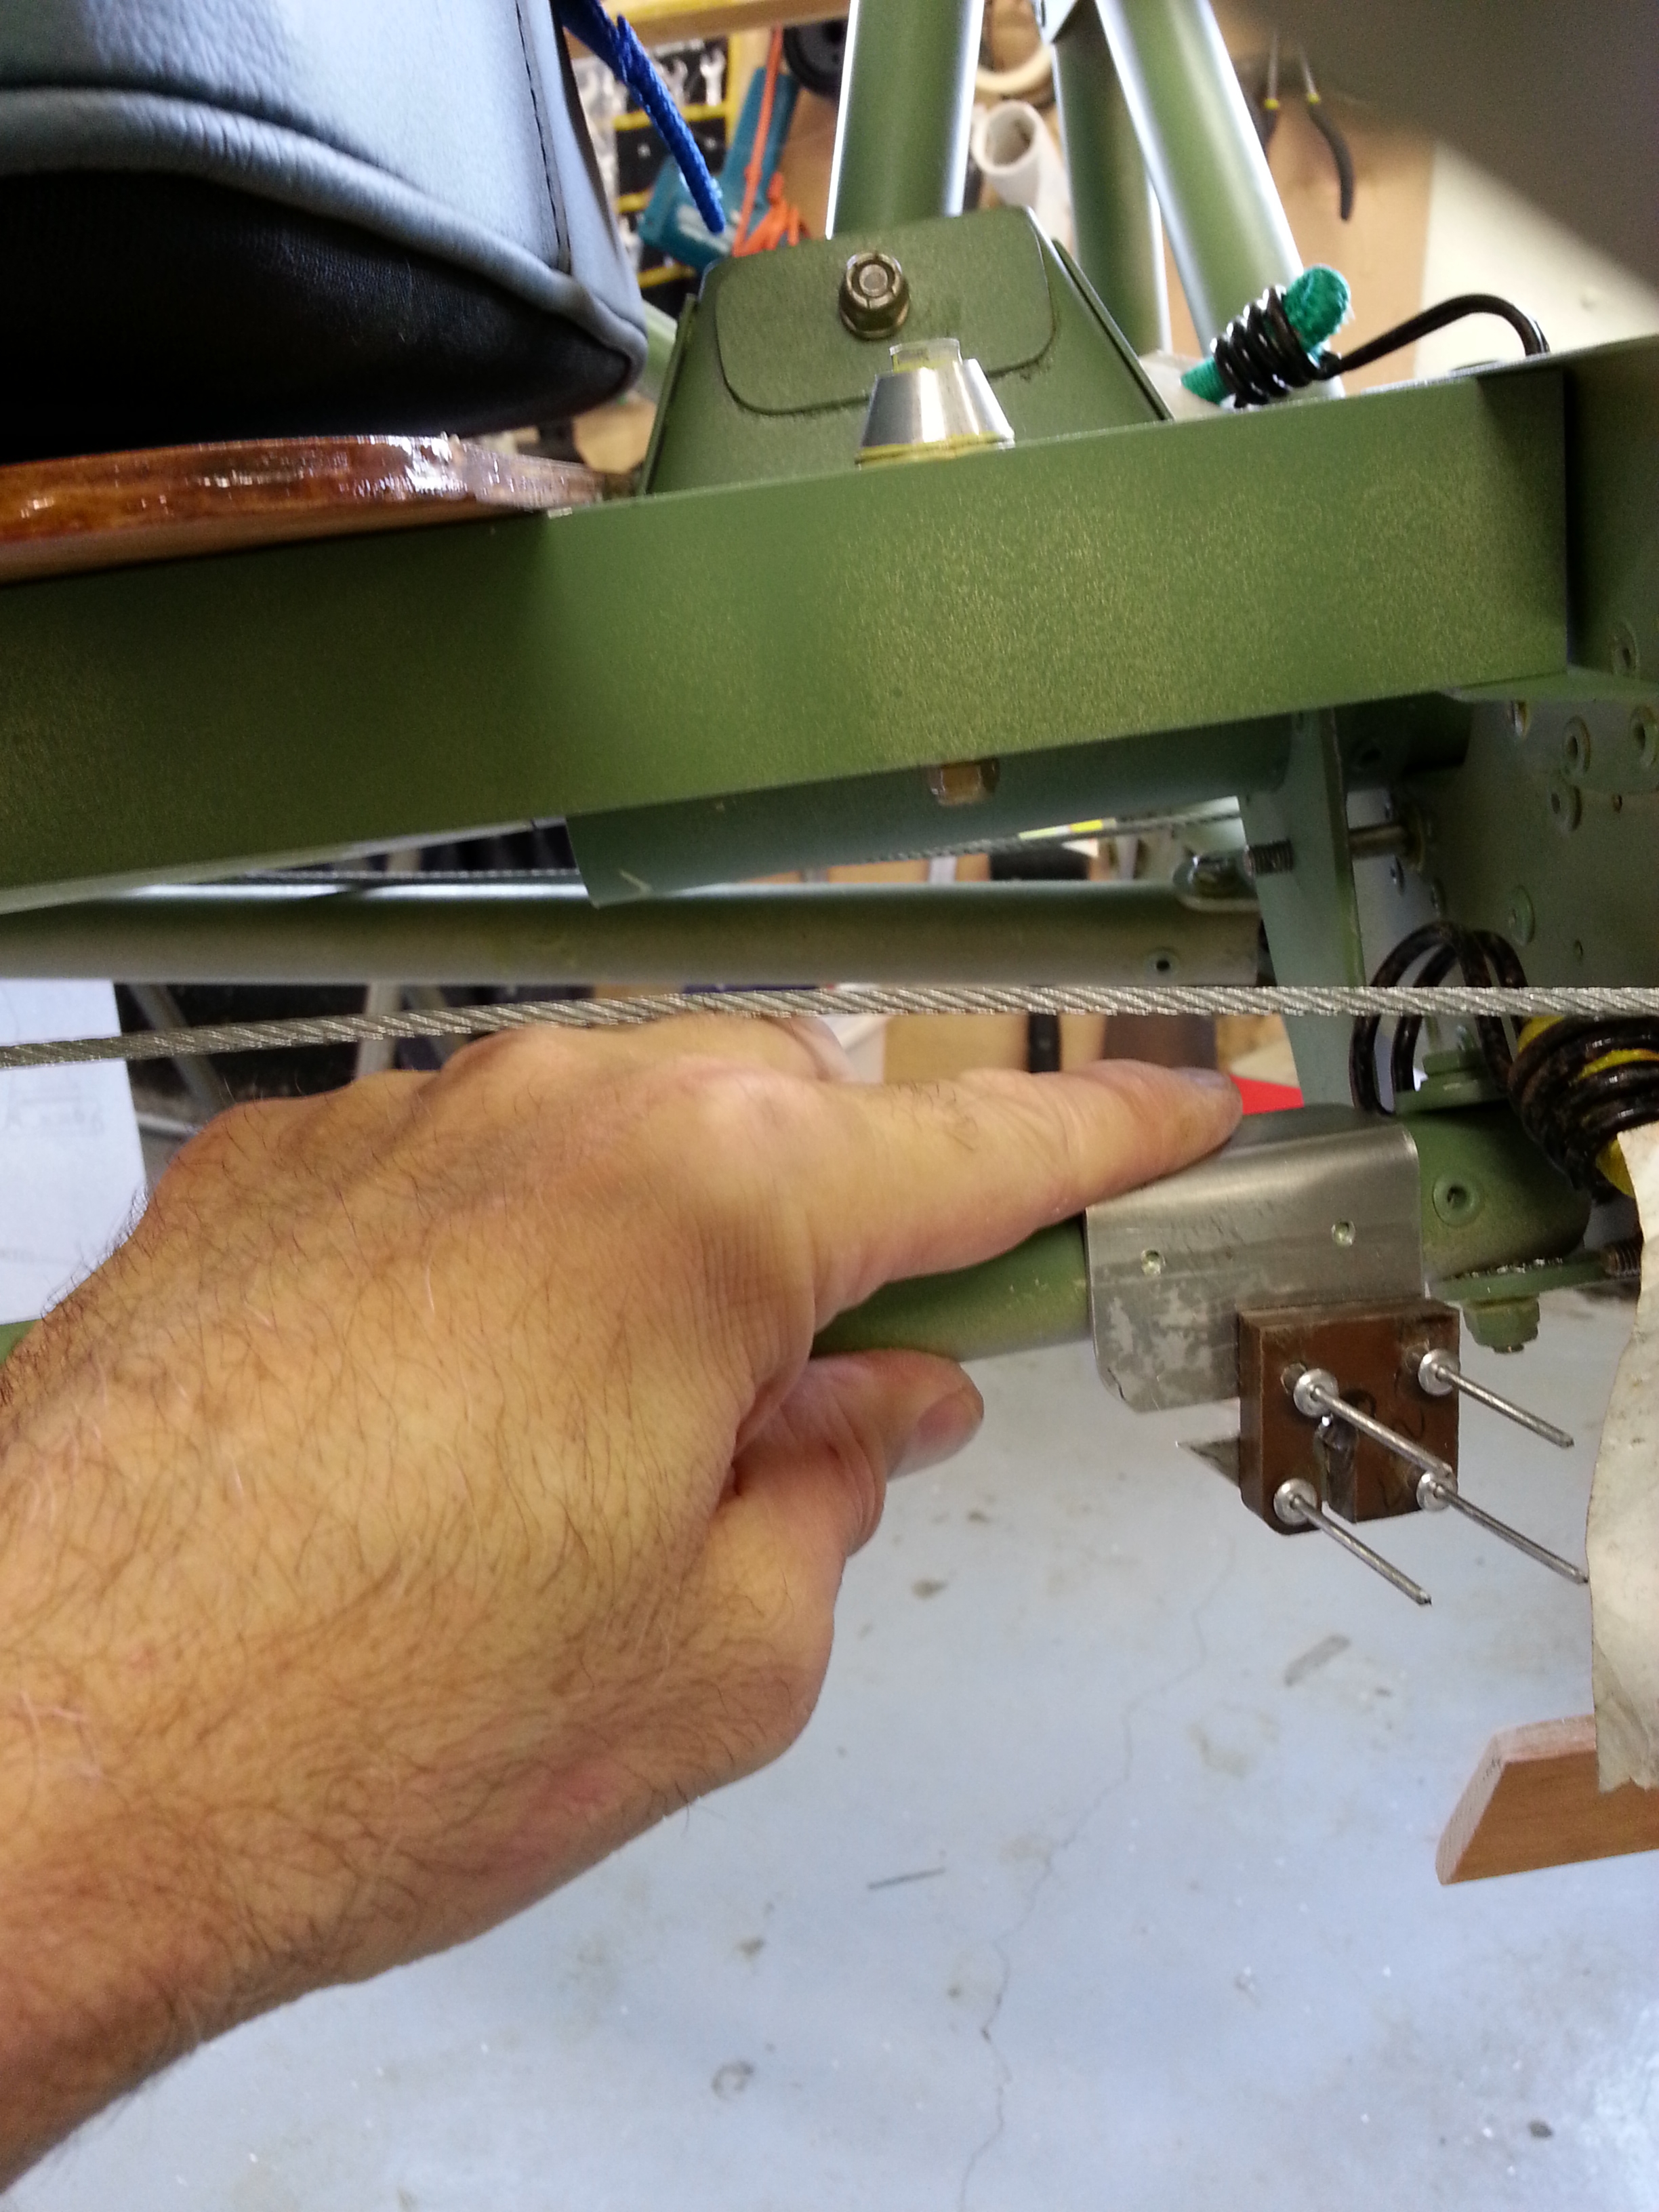
The aileron return leads come back through the trailing edge and then travel under the body (above the driving aileron leads at the back end of the control column).
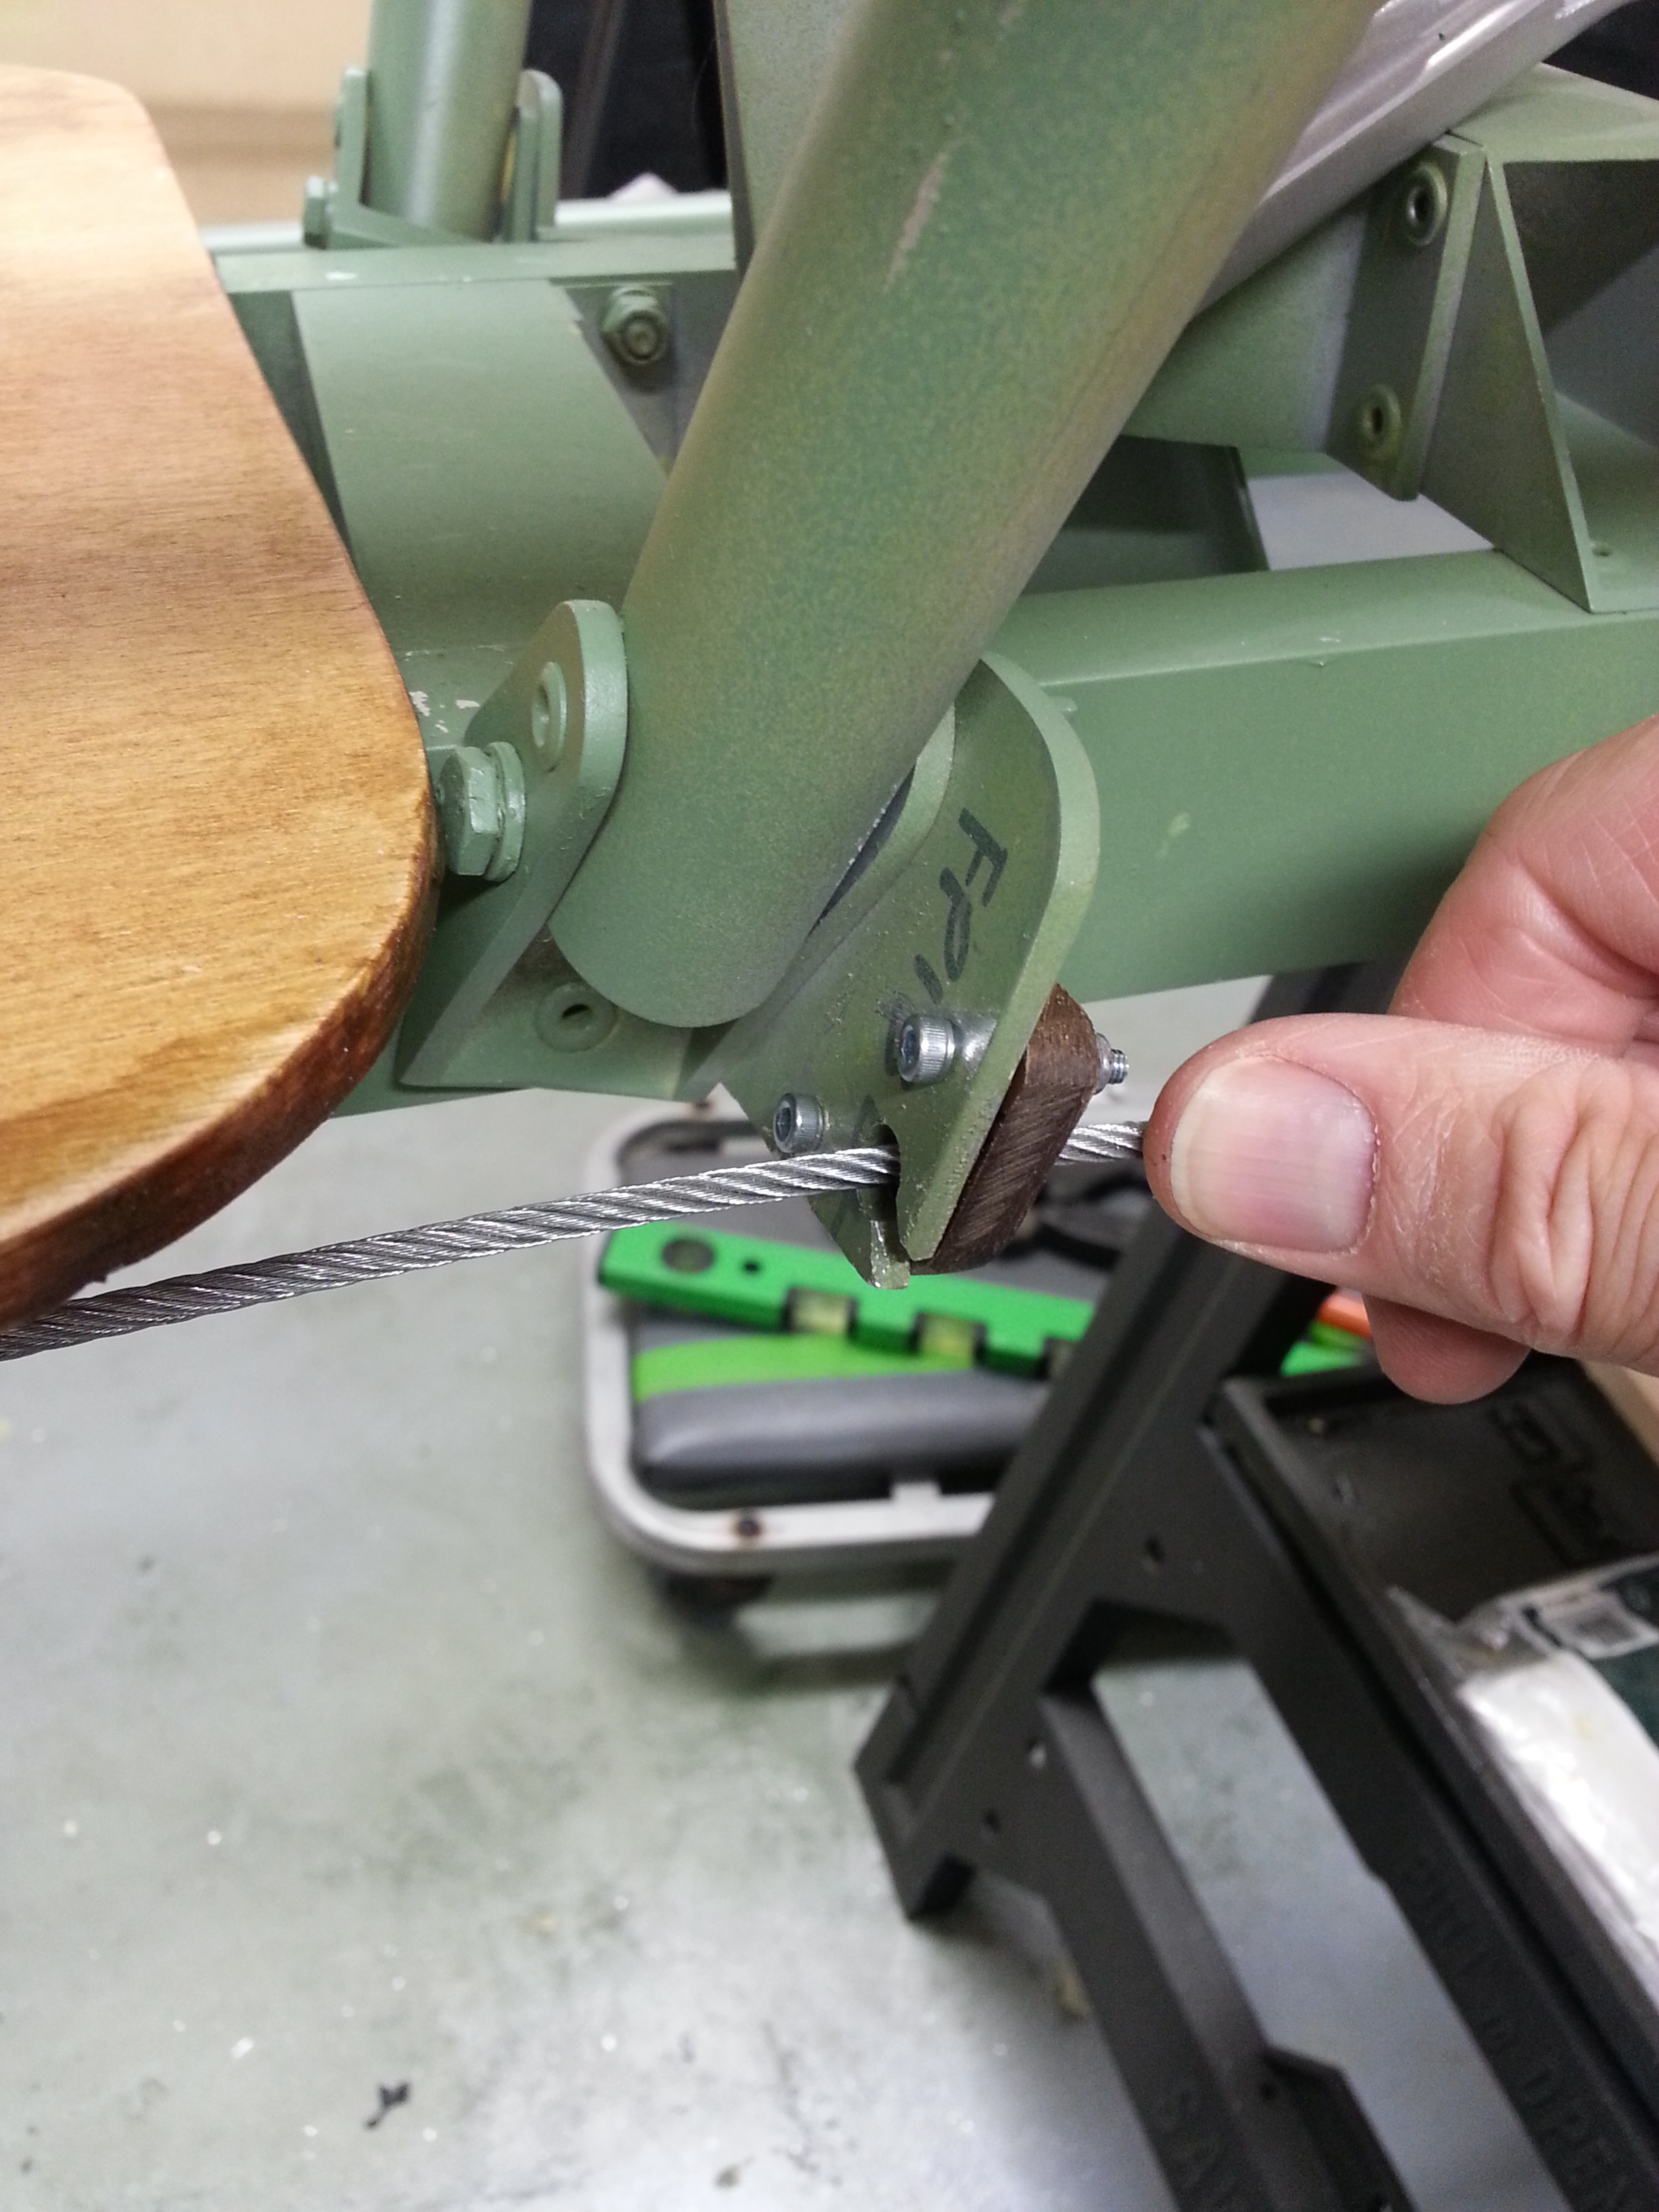
To keep them clear of the body they run through small metal angle brackets which have paxolin plates riveted in place to ensure that the steel cable (3.2 multi strand steel) rub against paxolin vs the steel bracket.

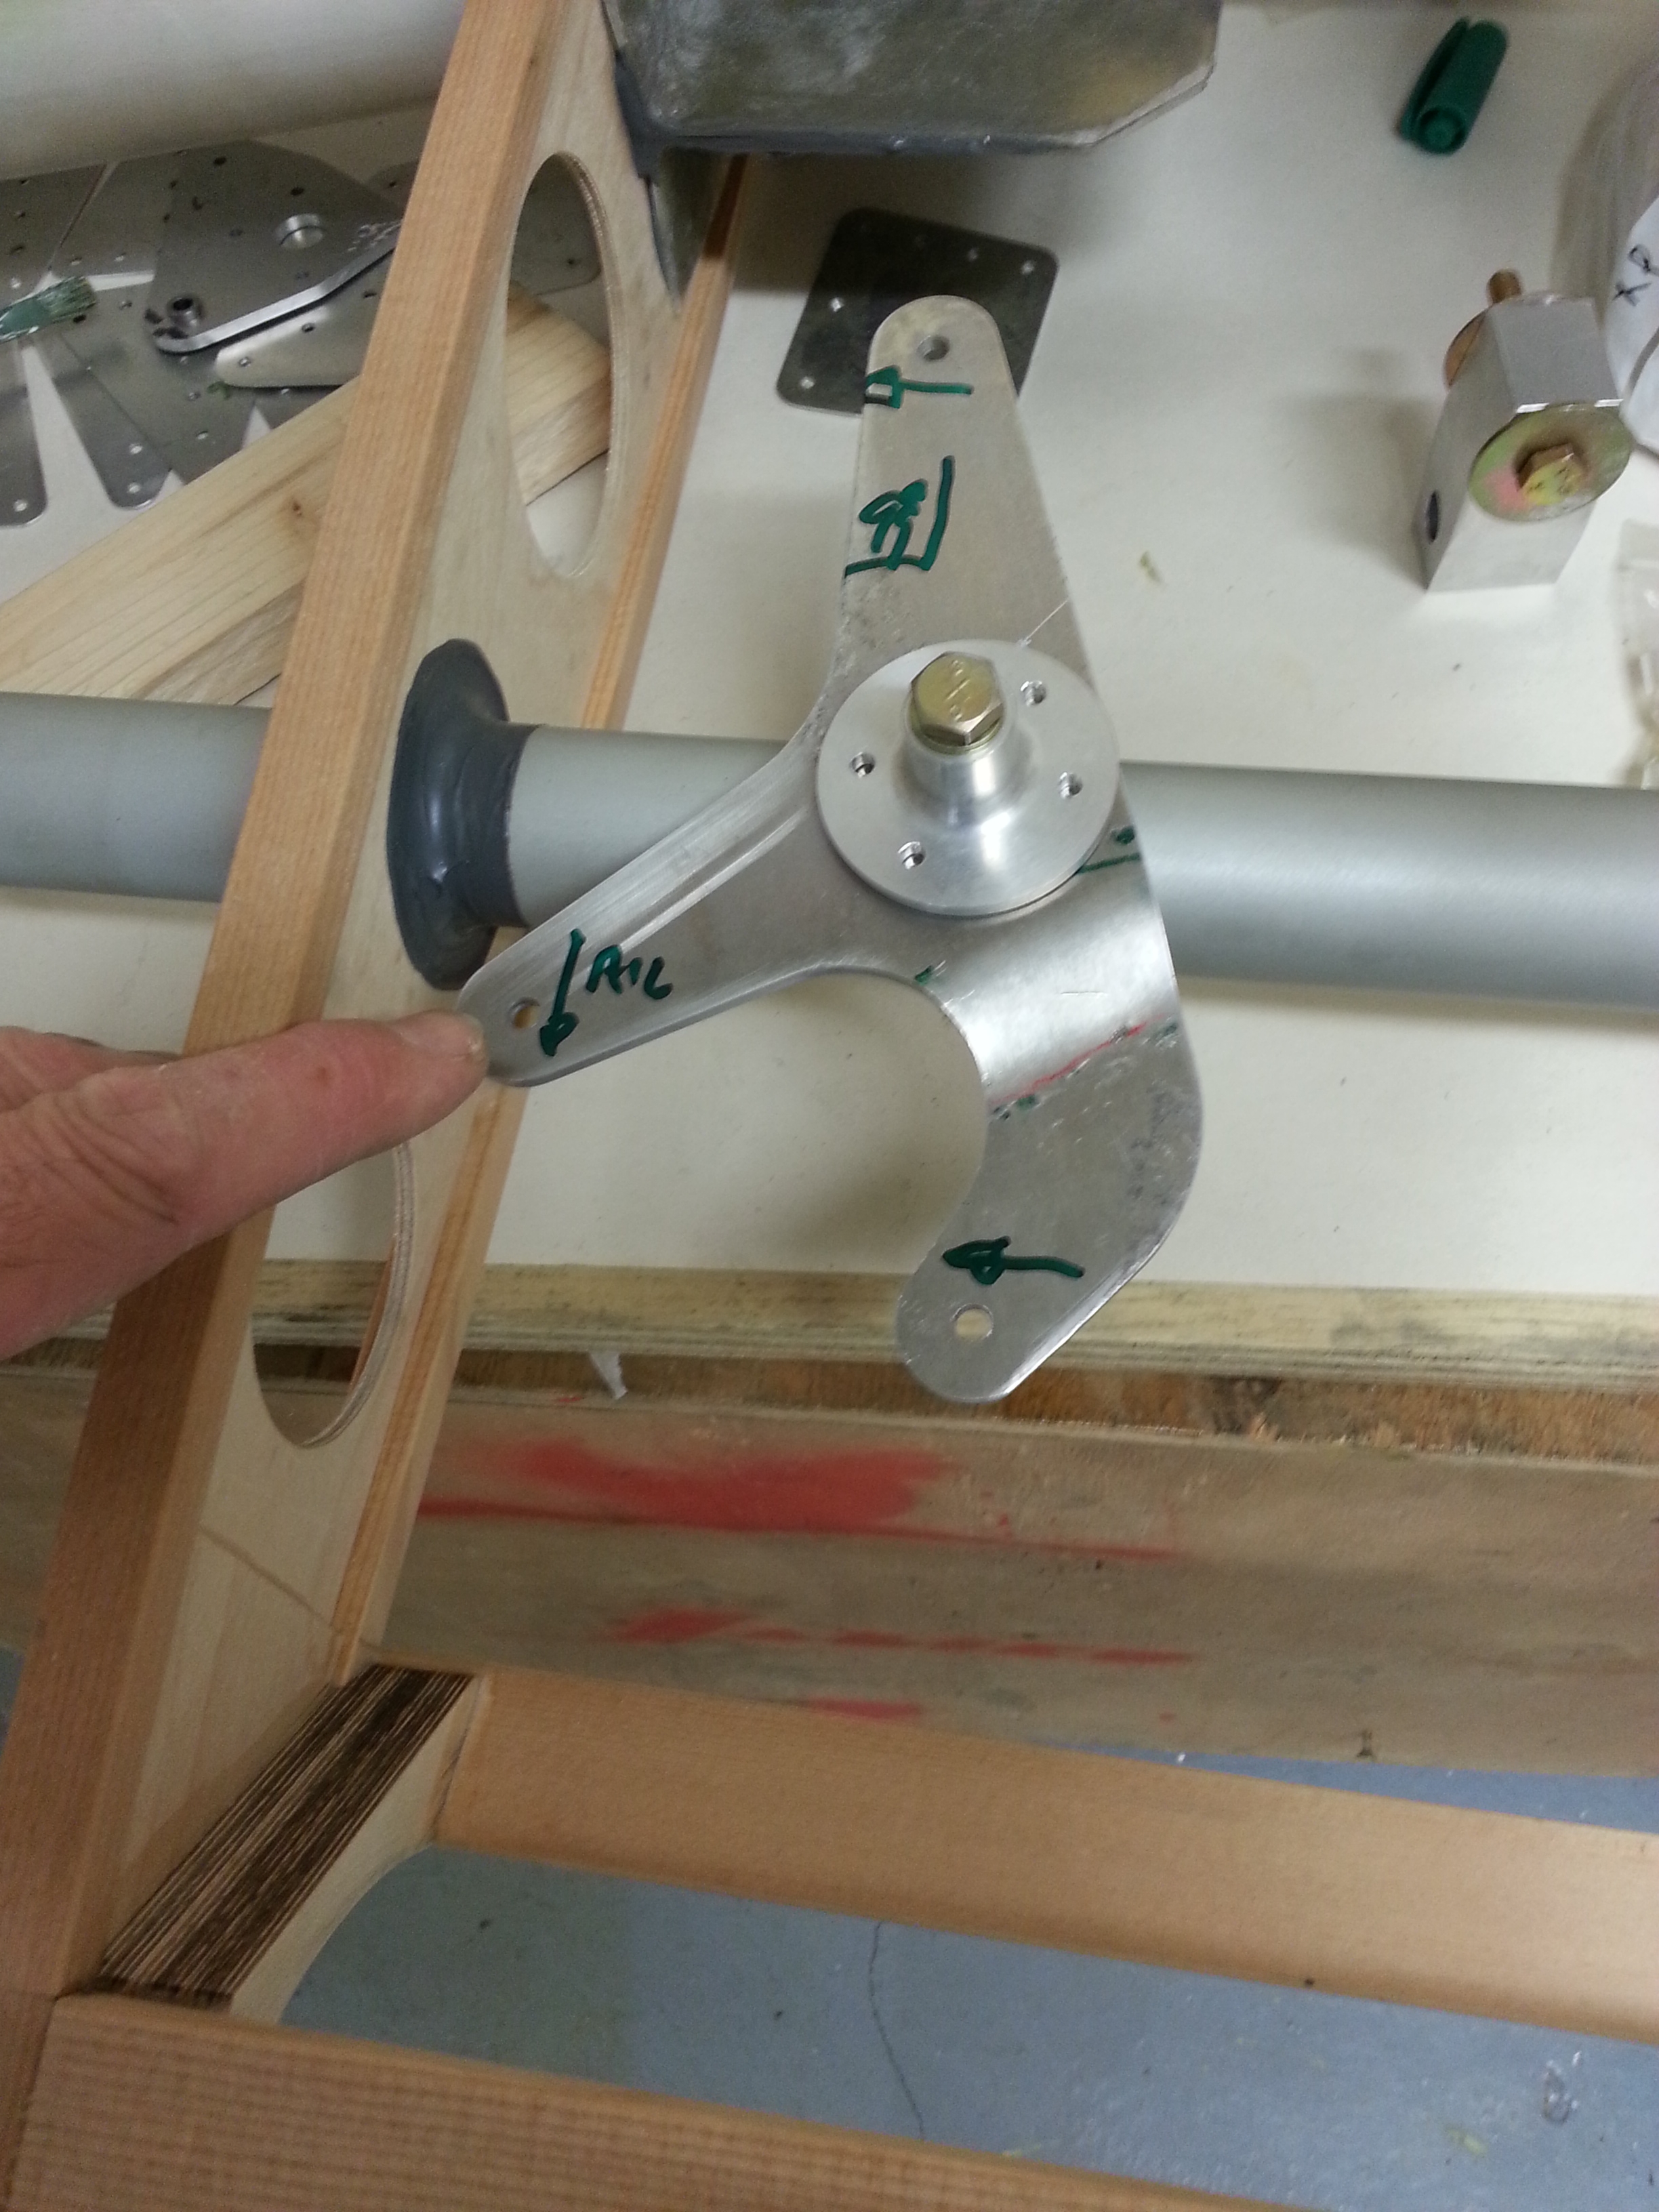
Aileron bellcranks are located one in each lower wing. They turn effectively Left/Right motion into fore/aft motion that can then drive the aileron operation.

I had some parts in the engien box but I have started to note down what additional parts I need to get the engine connected and plumbed in !
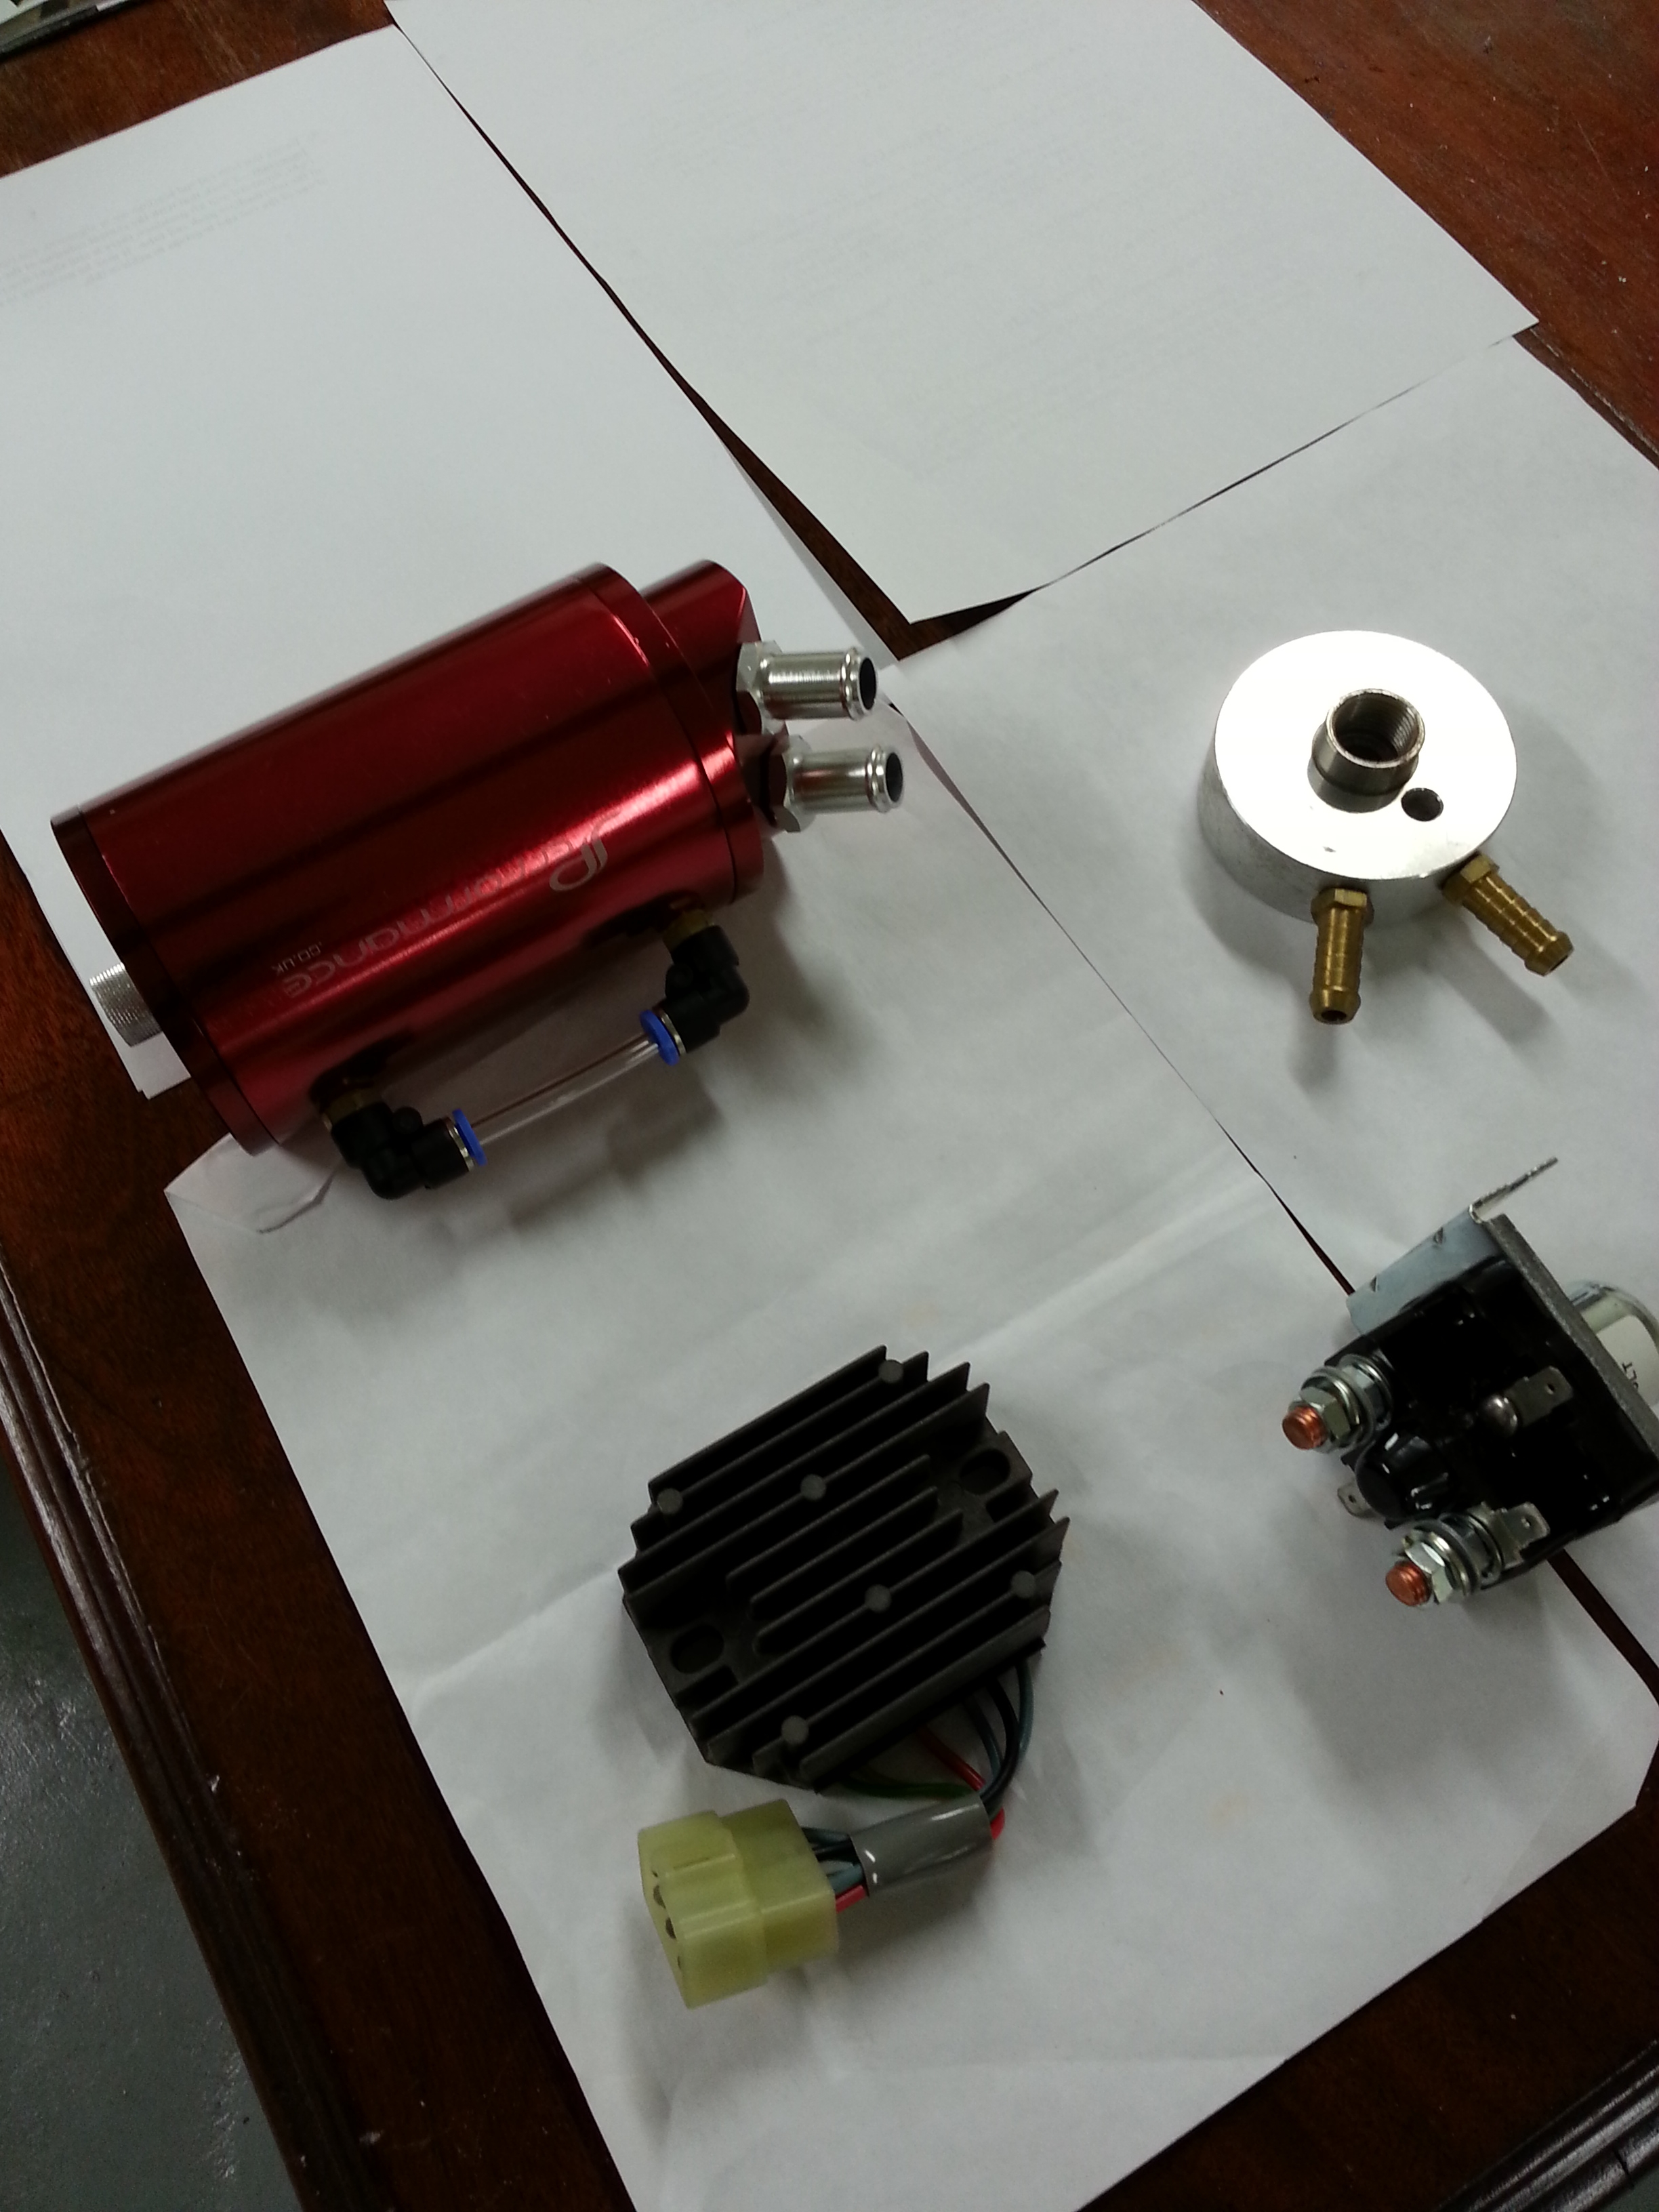
So far have a regulator, a starter solenoid and a car oil catcher which will keep the engine bay clean. Bits being ordered through good services of TLAC are

The Luke Harnesses I have bought through TLAC are multi point and provide full support for both normal and inverted flying.
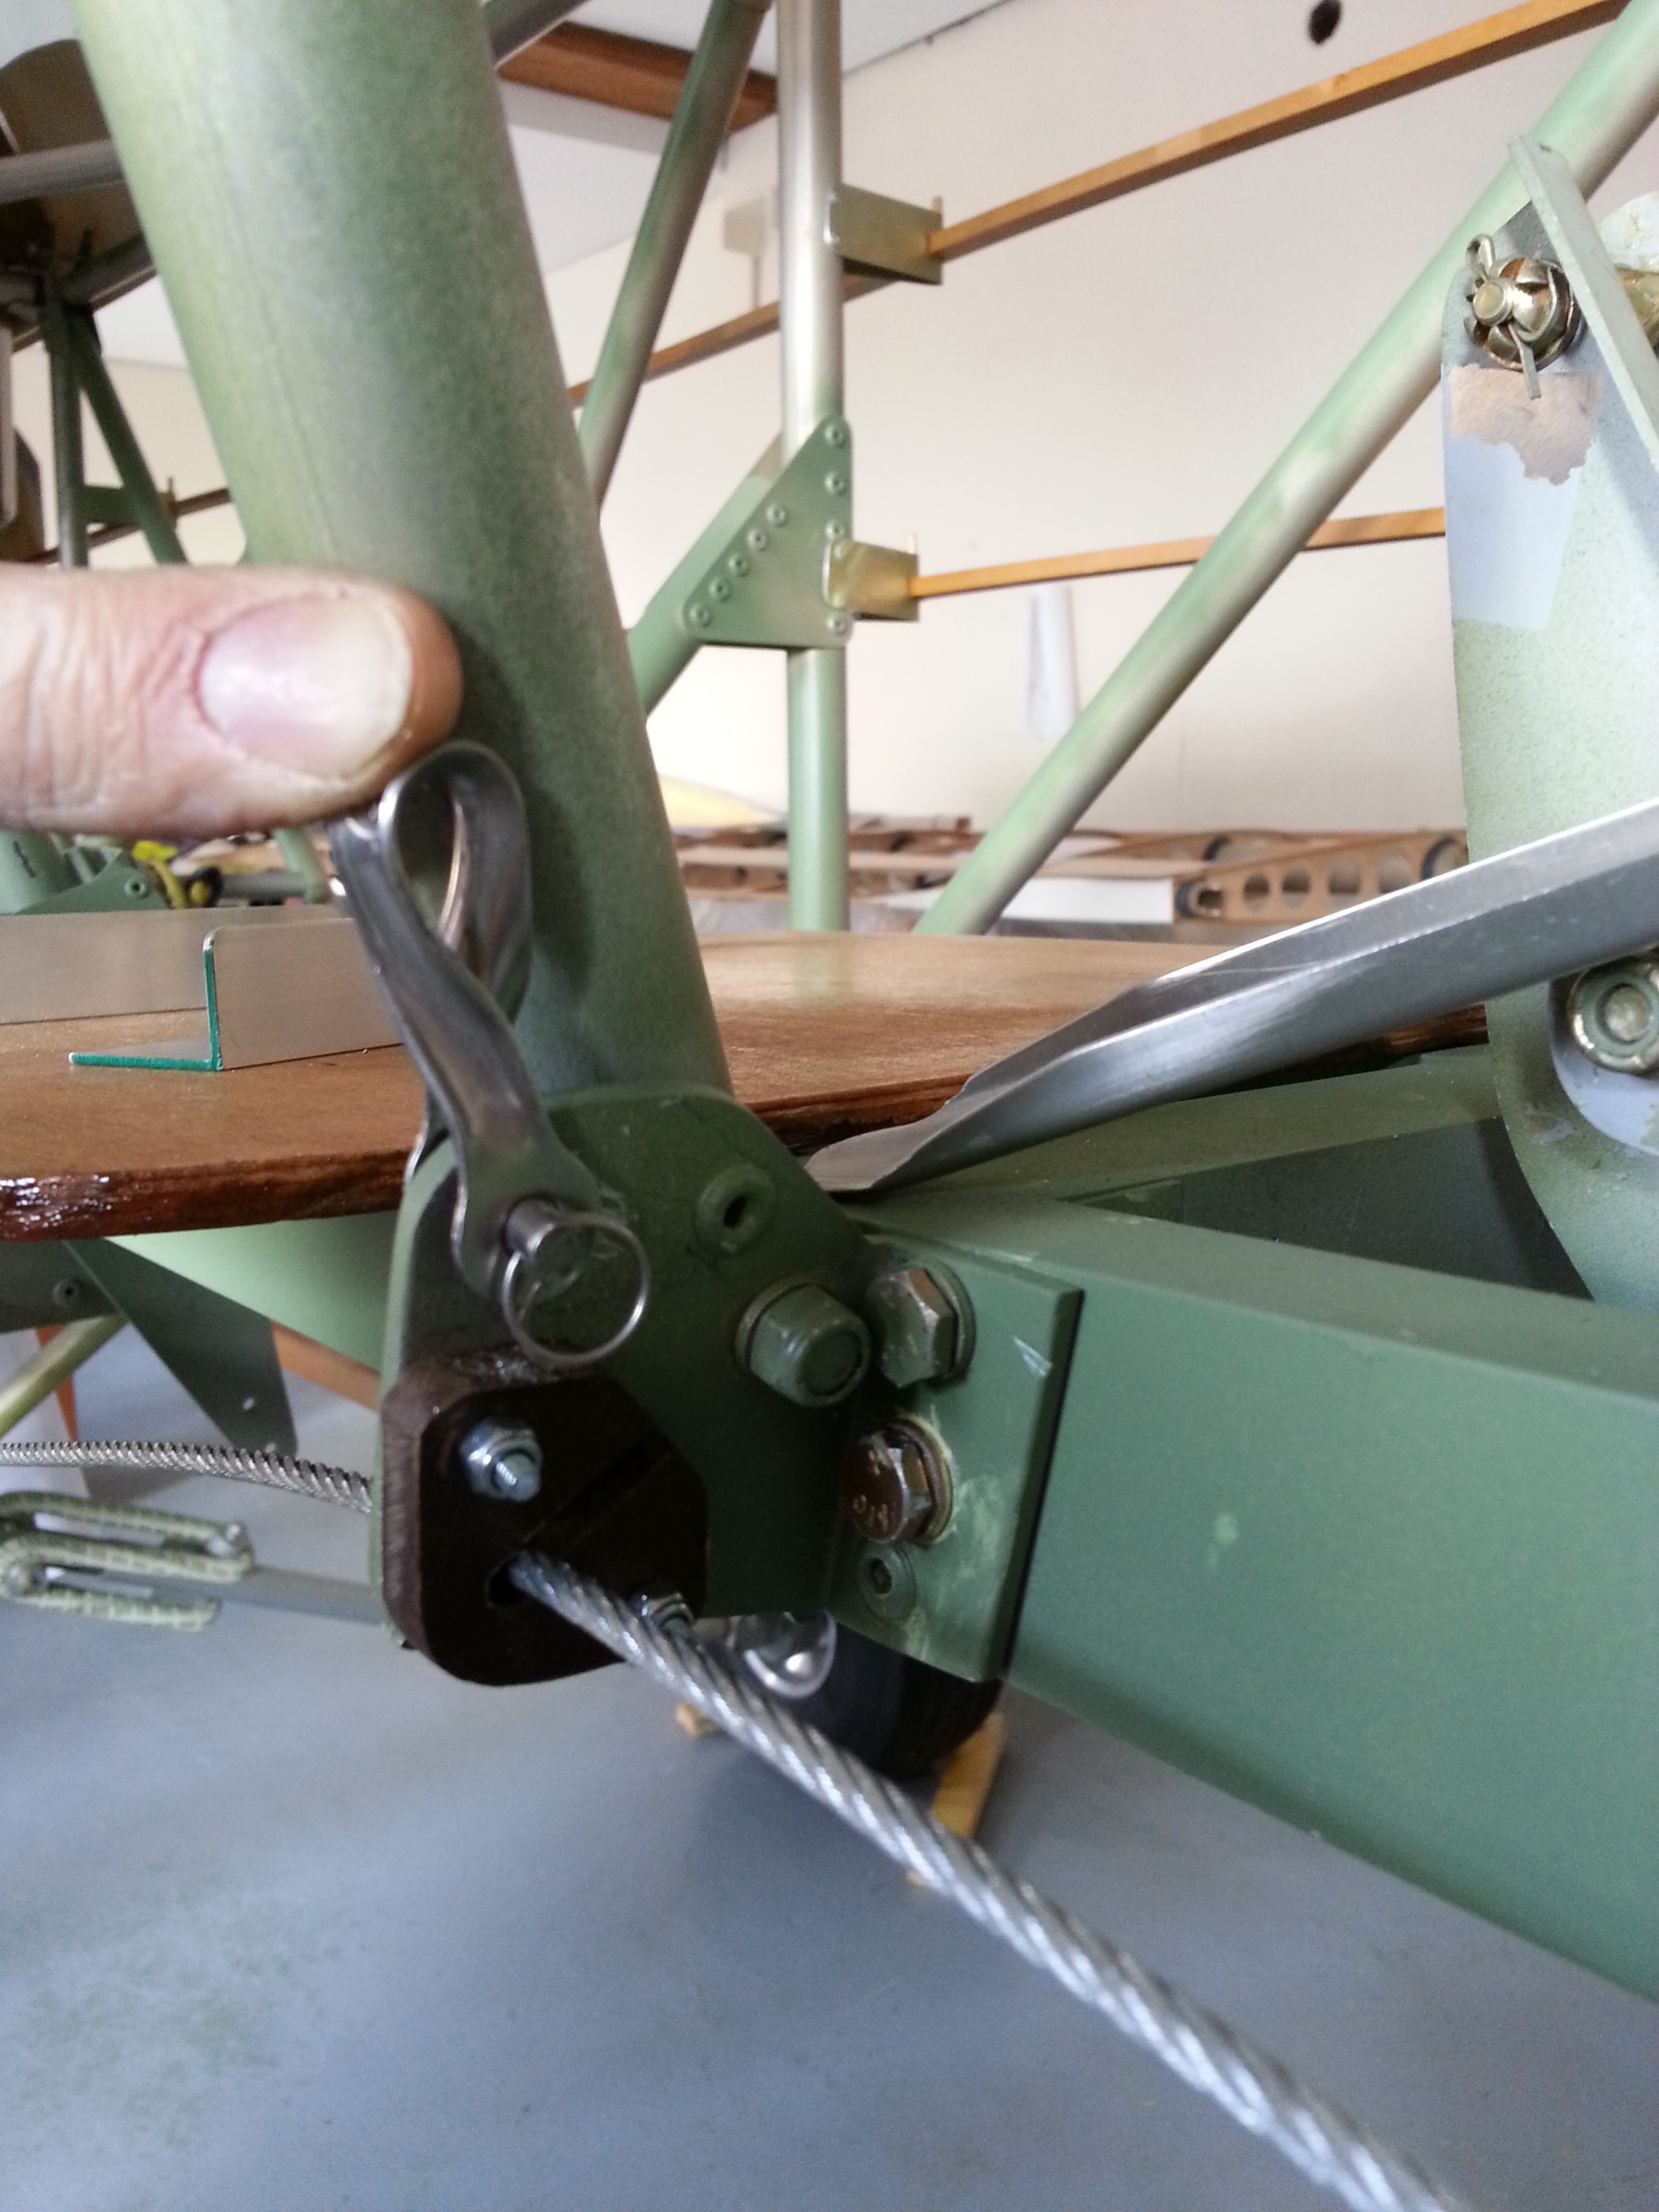
The twisted shackle ensures the cable misses chafing on the seat support post and will provide an anchor point for the thimble and 3.2 mm steel securing cable.

The cabane has three ribs that make up its basic structure and the ribs need to be shaped and cut to allow clean tight slot fit over the support structure.
Holes have to be drilled where the bolt heads protrude to ensure the outboard ribs sit flush with the structure
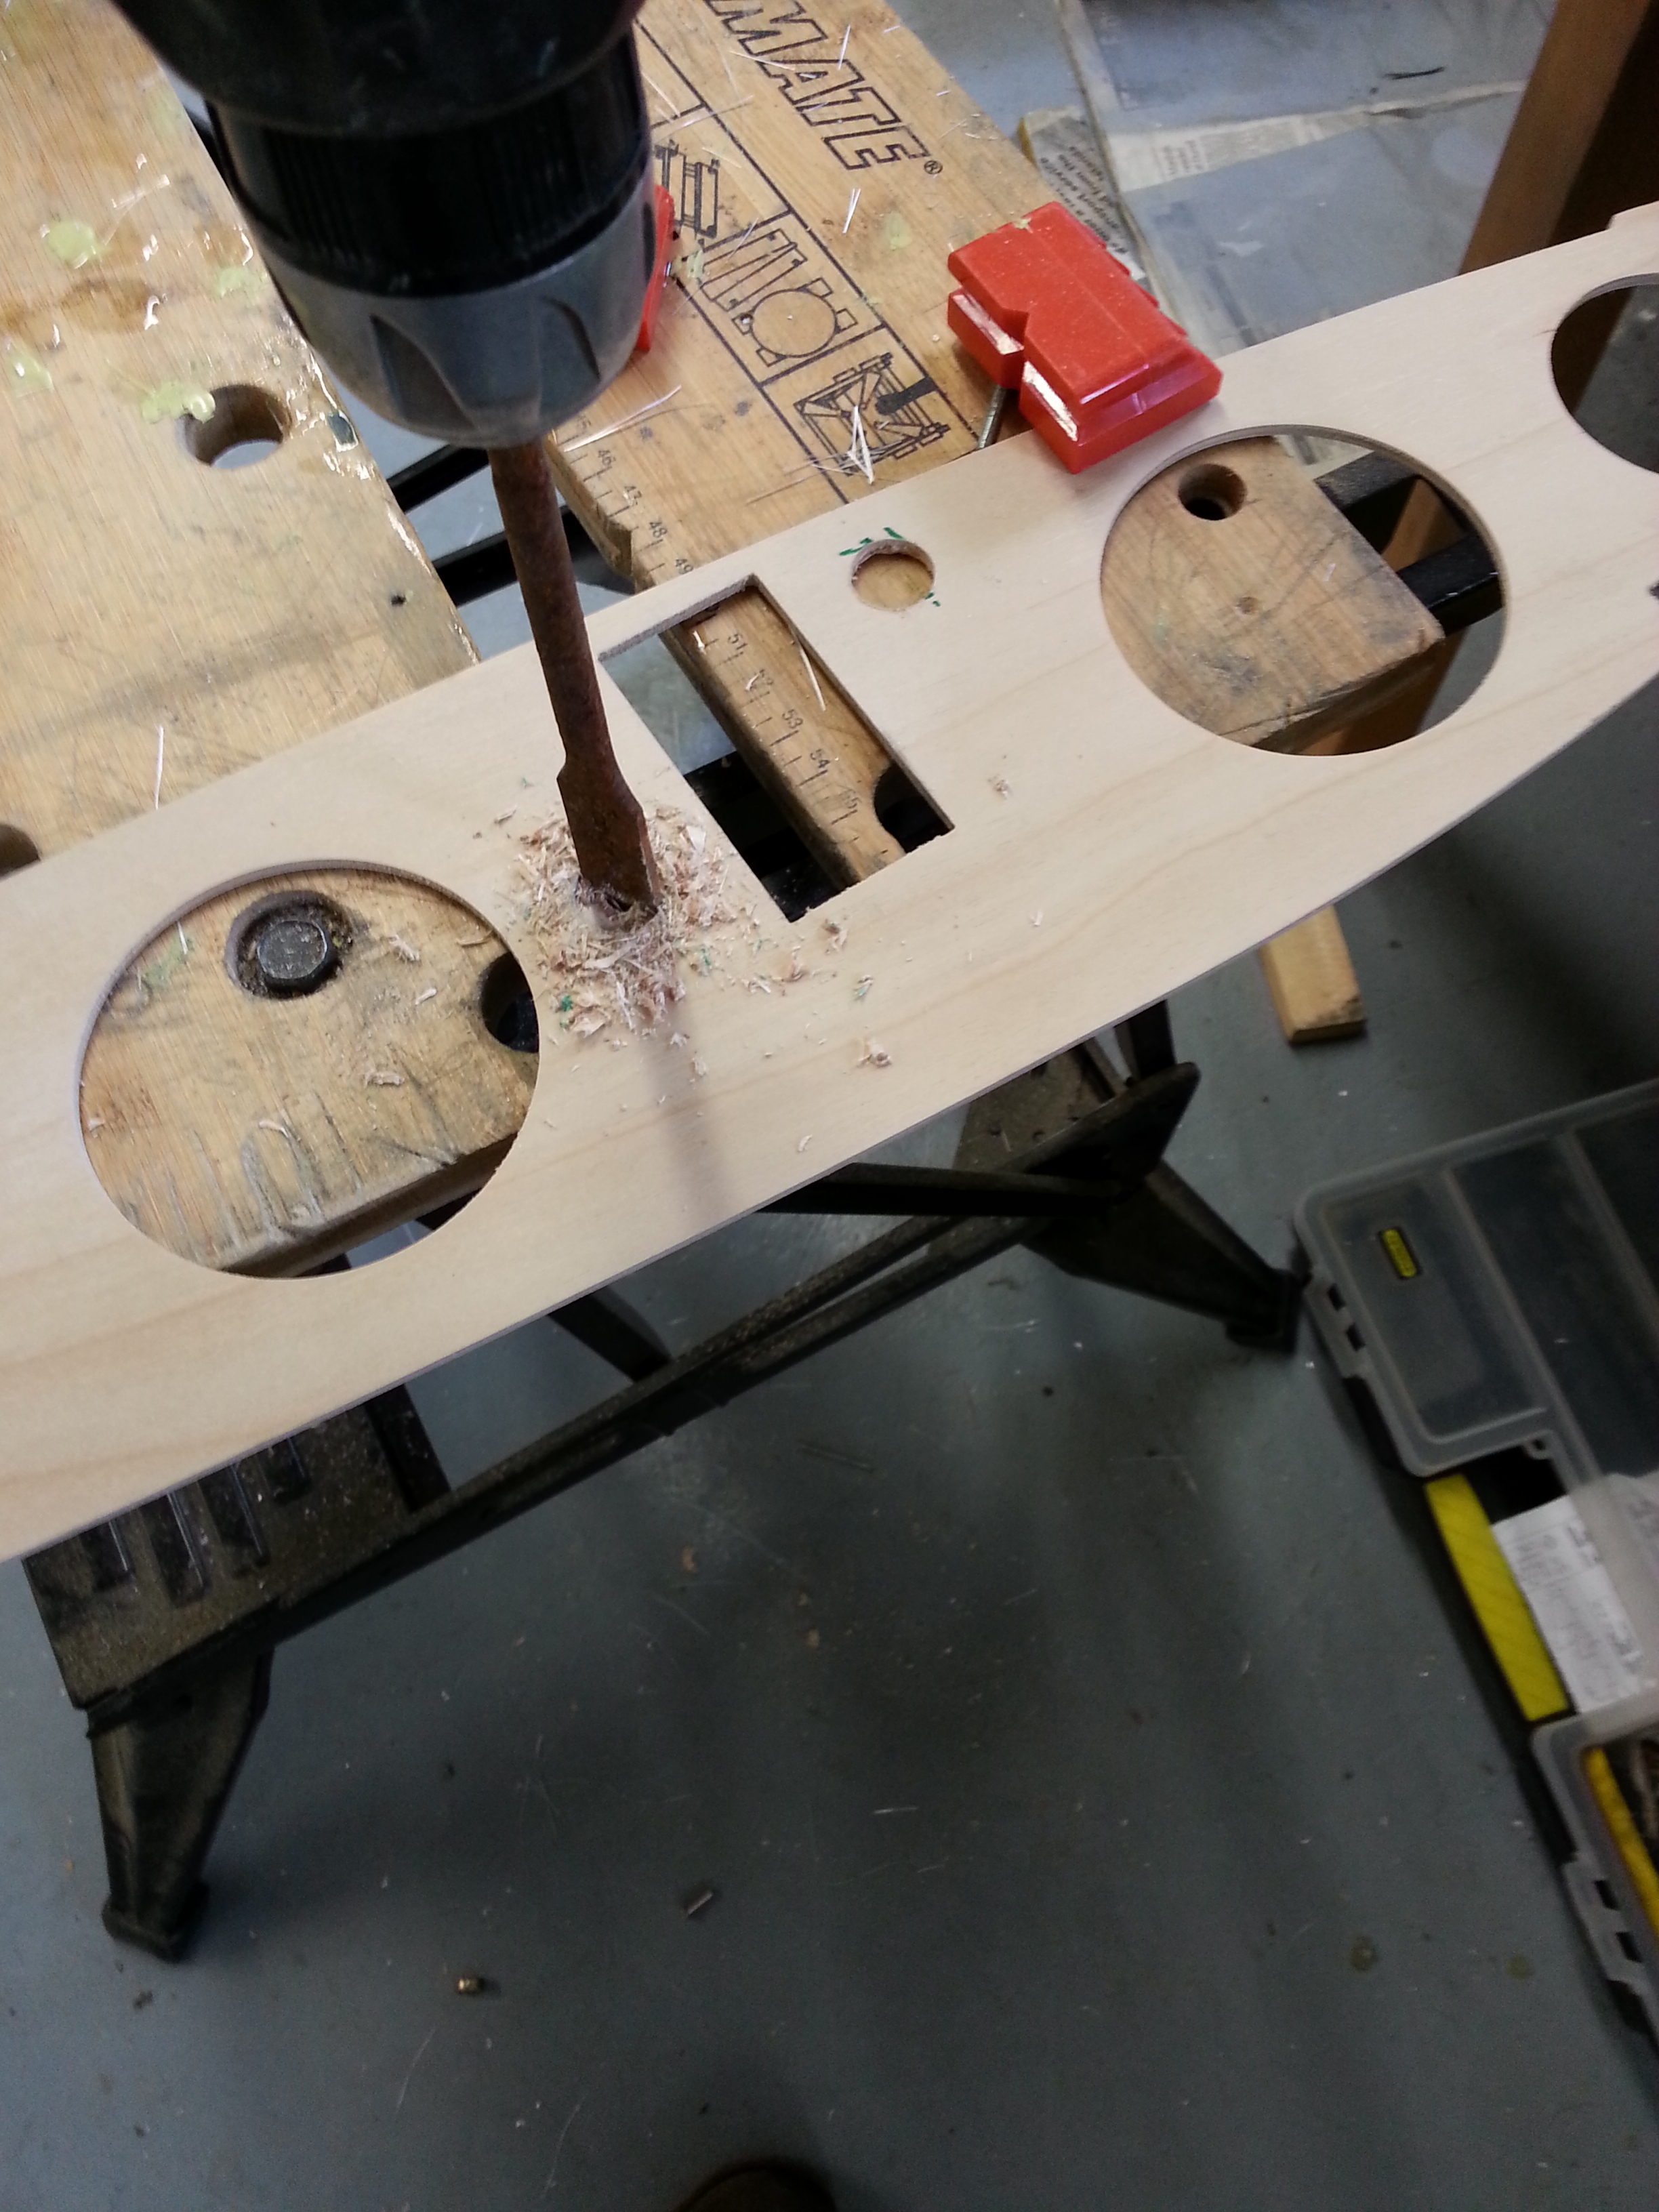
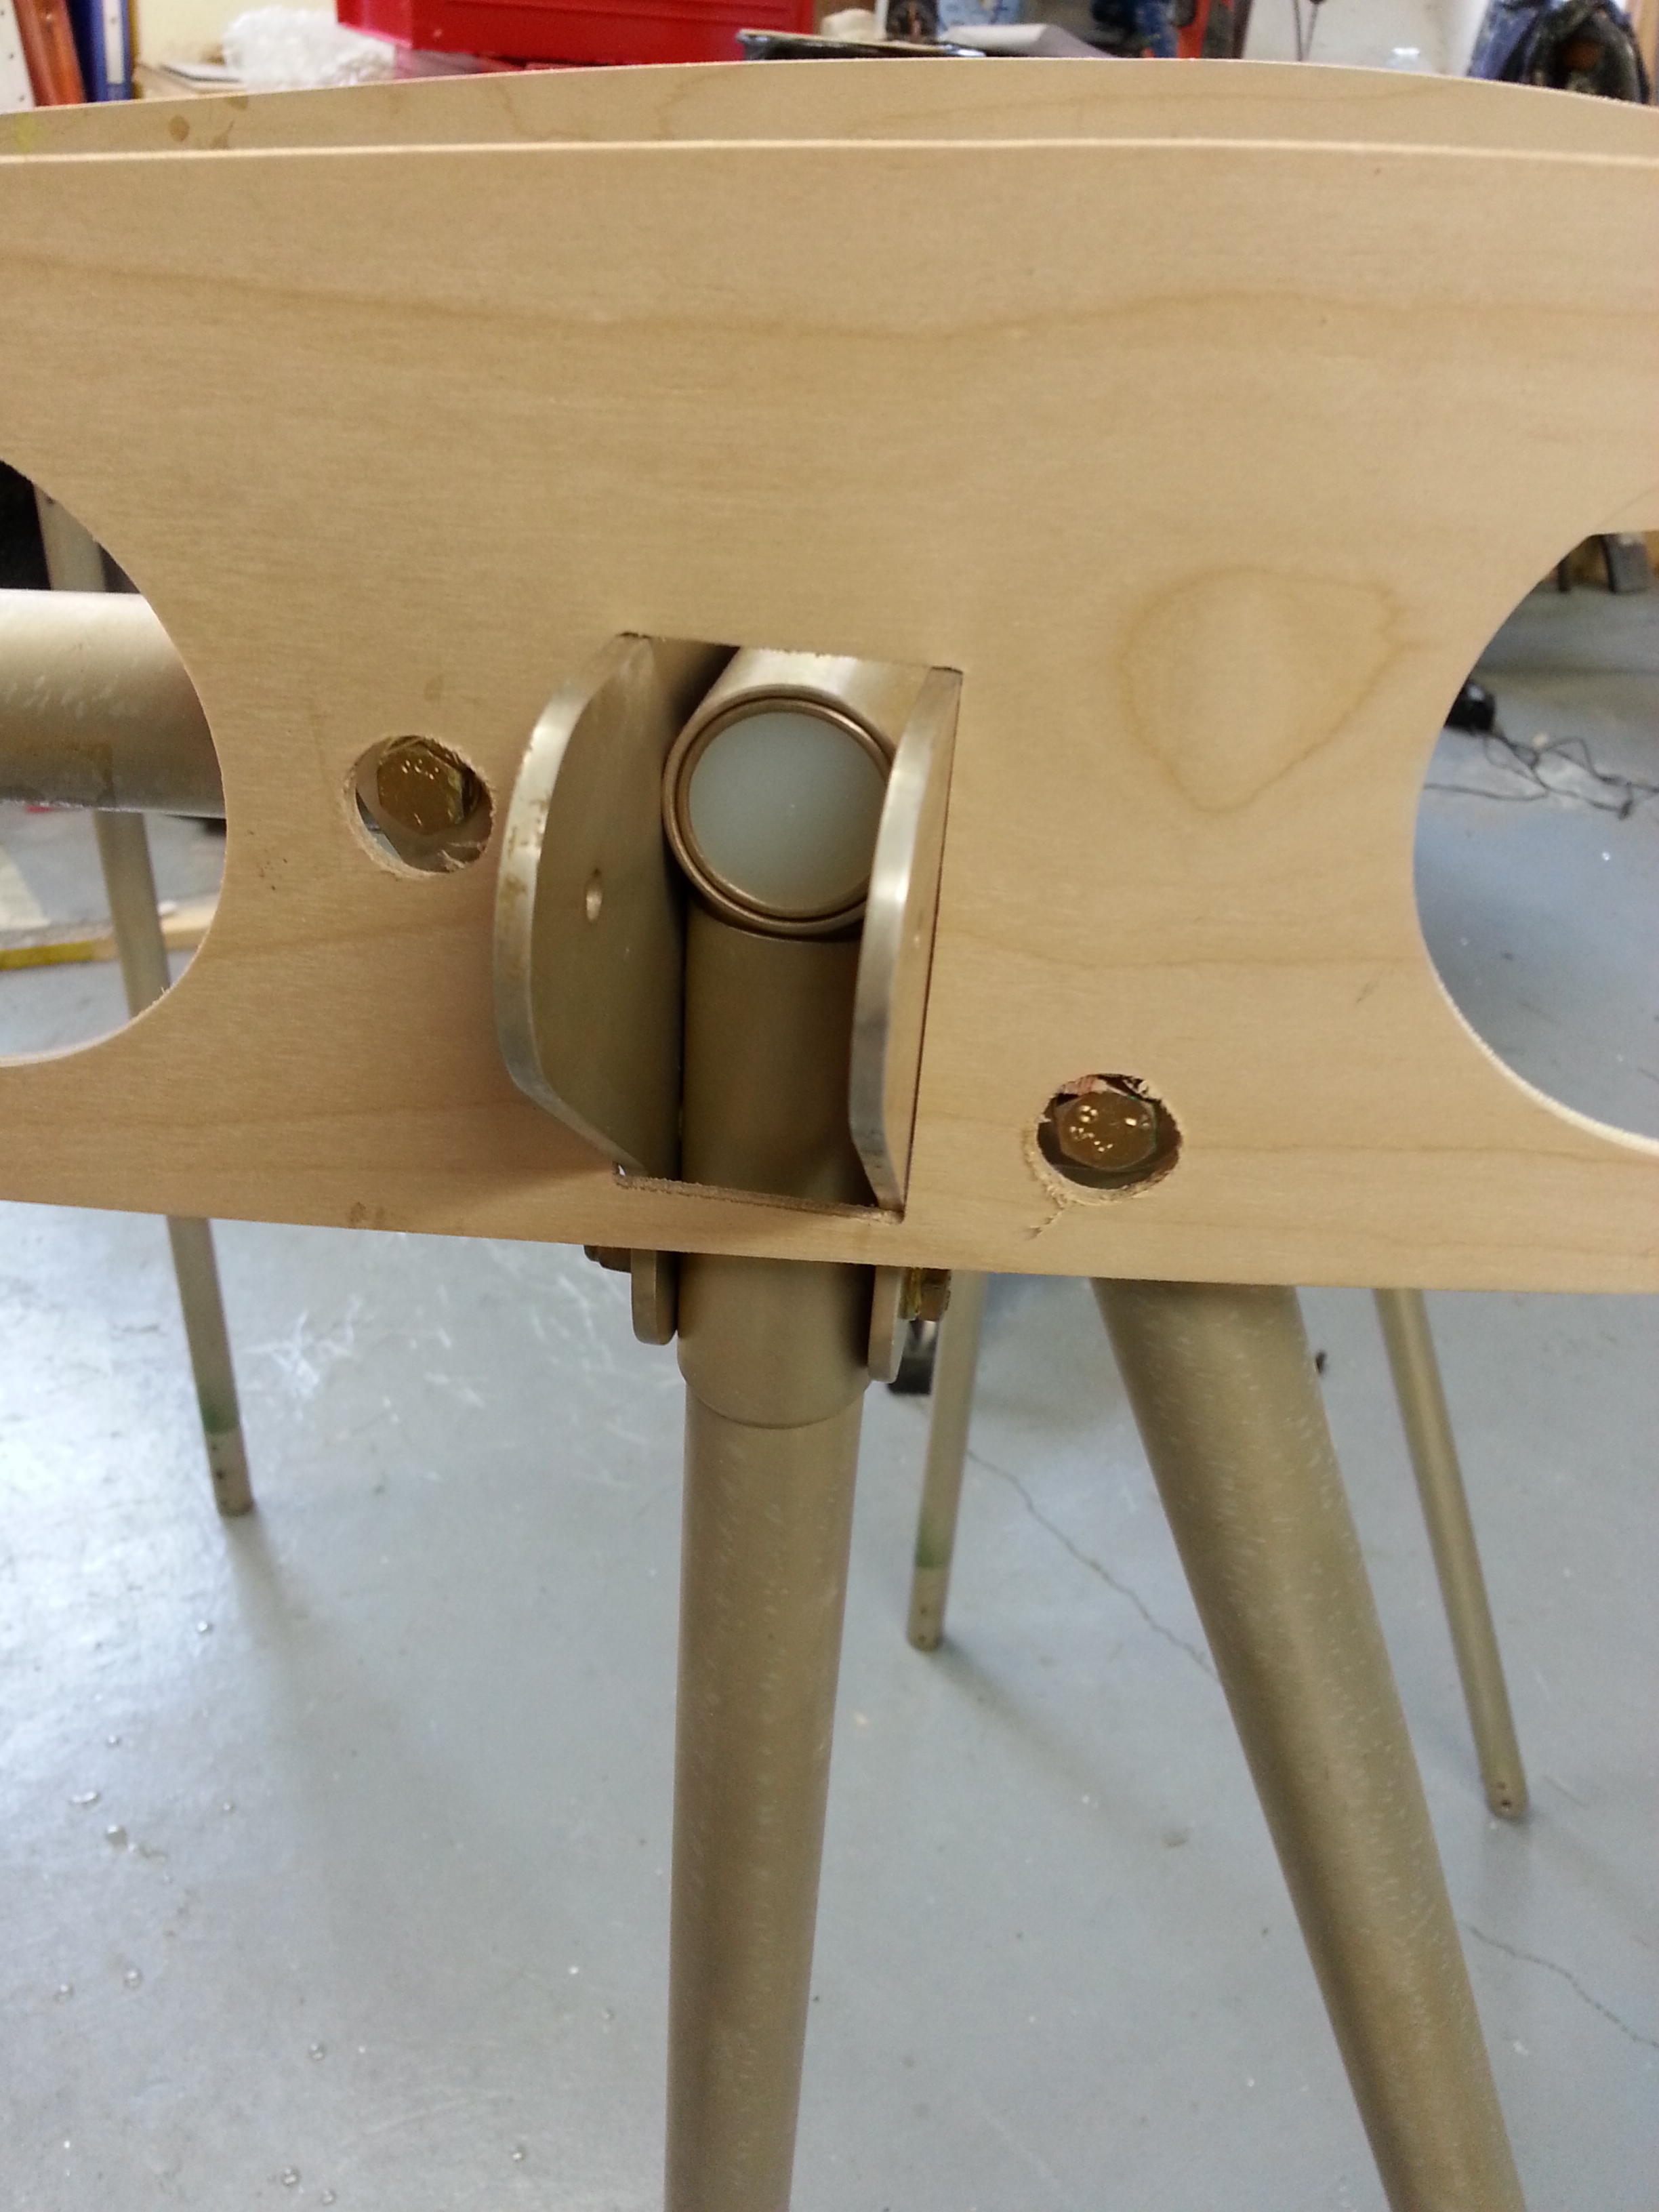

Last night was a fun packed evening of a complete re-arrangement of the workshop. This was to allow space to start jigging the wings. I need space either side of the body (obviously !) to allow bot the upper and lower wings to be test fitted.
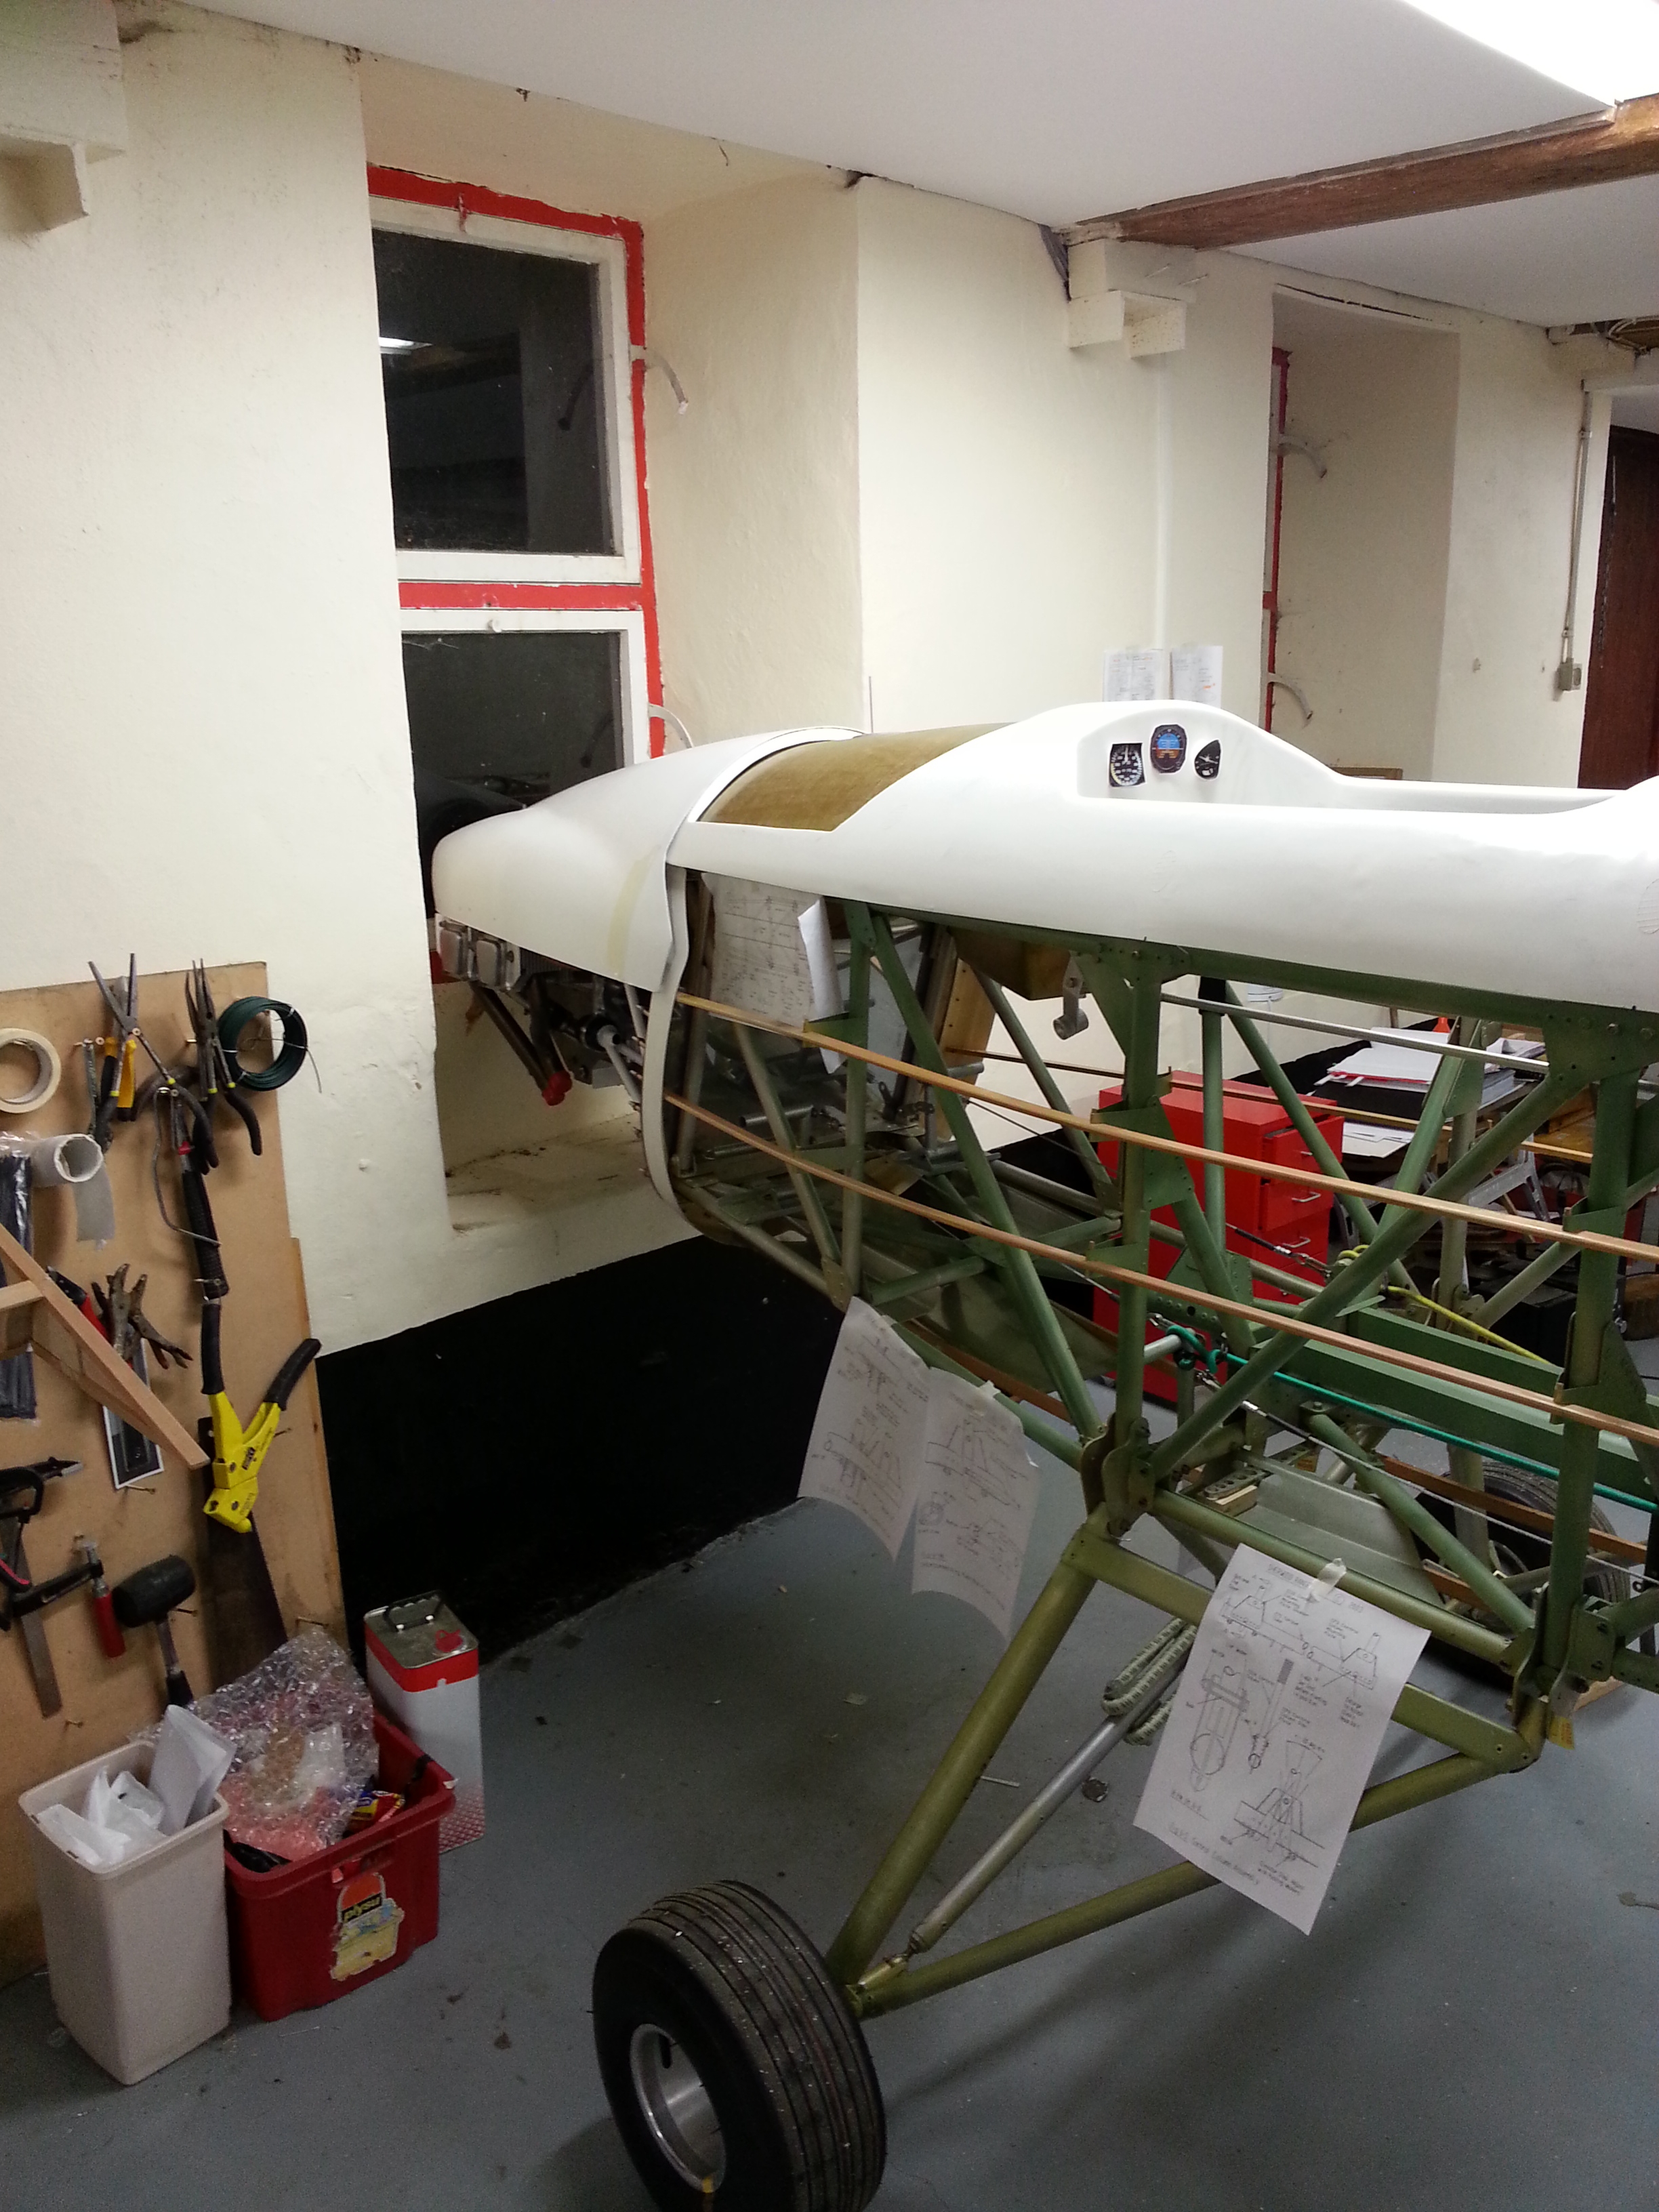
This meant turning the ‘plane through 90 degrees and using every available inch to work on it as I still have a lot to do around the nose area with cowl trimming.

To help speed the process up I have moved the building of the ailerons from the Barn to above my garage roof !
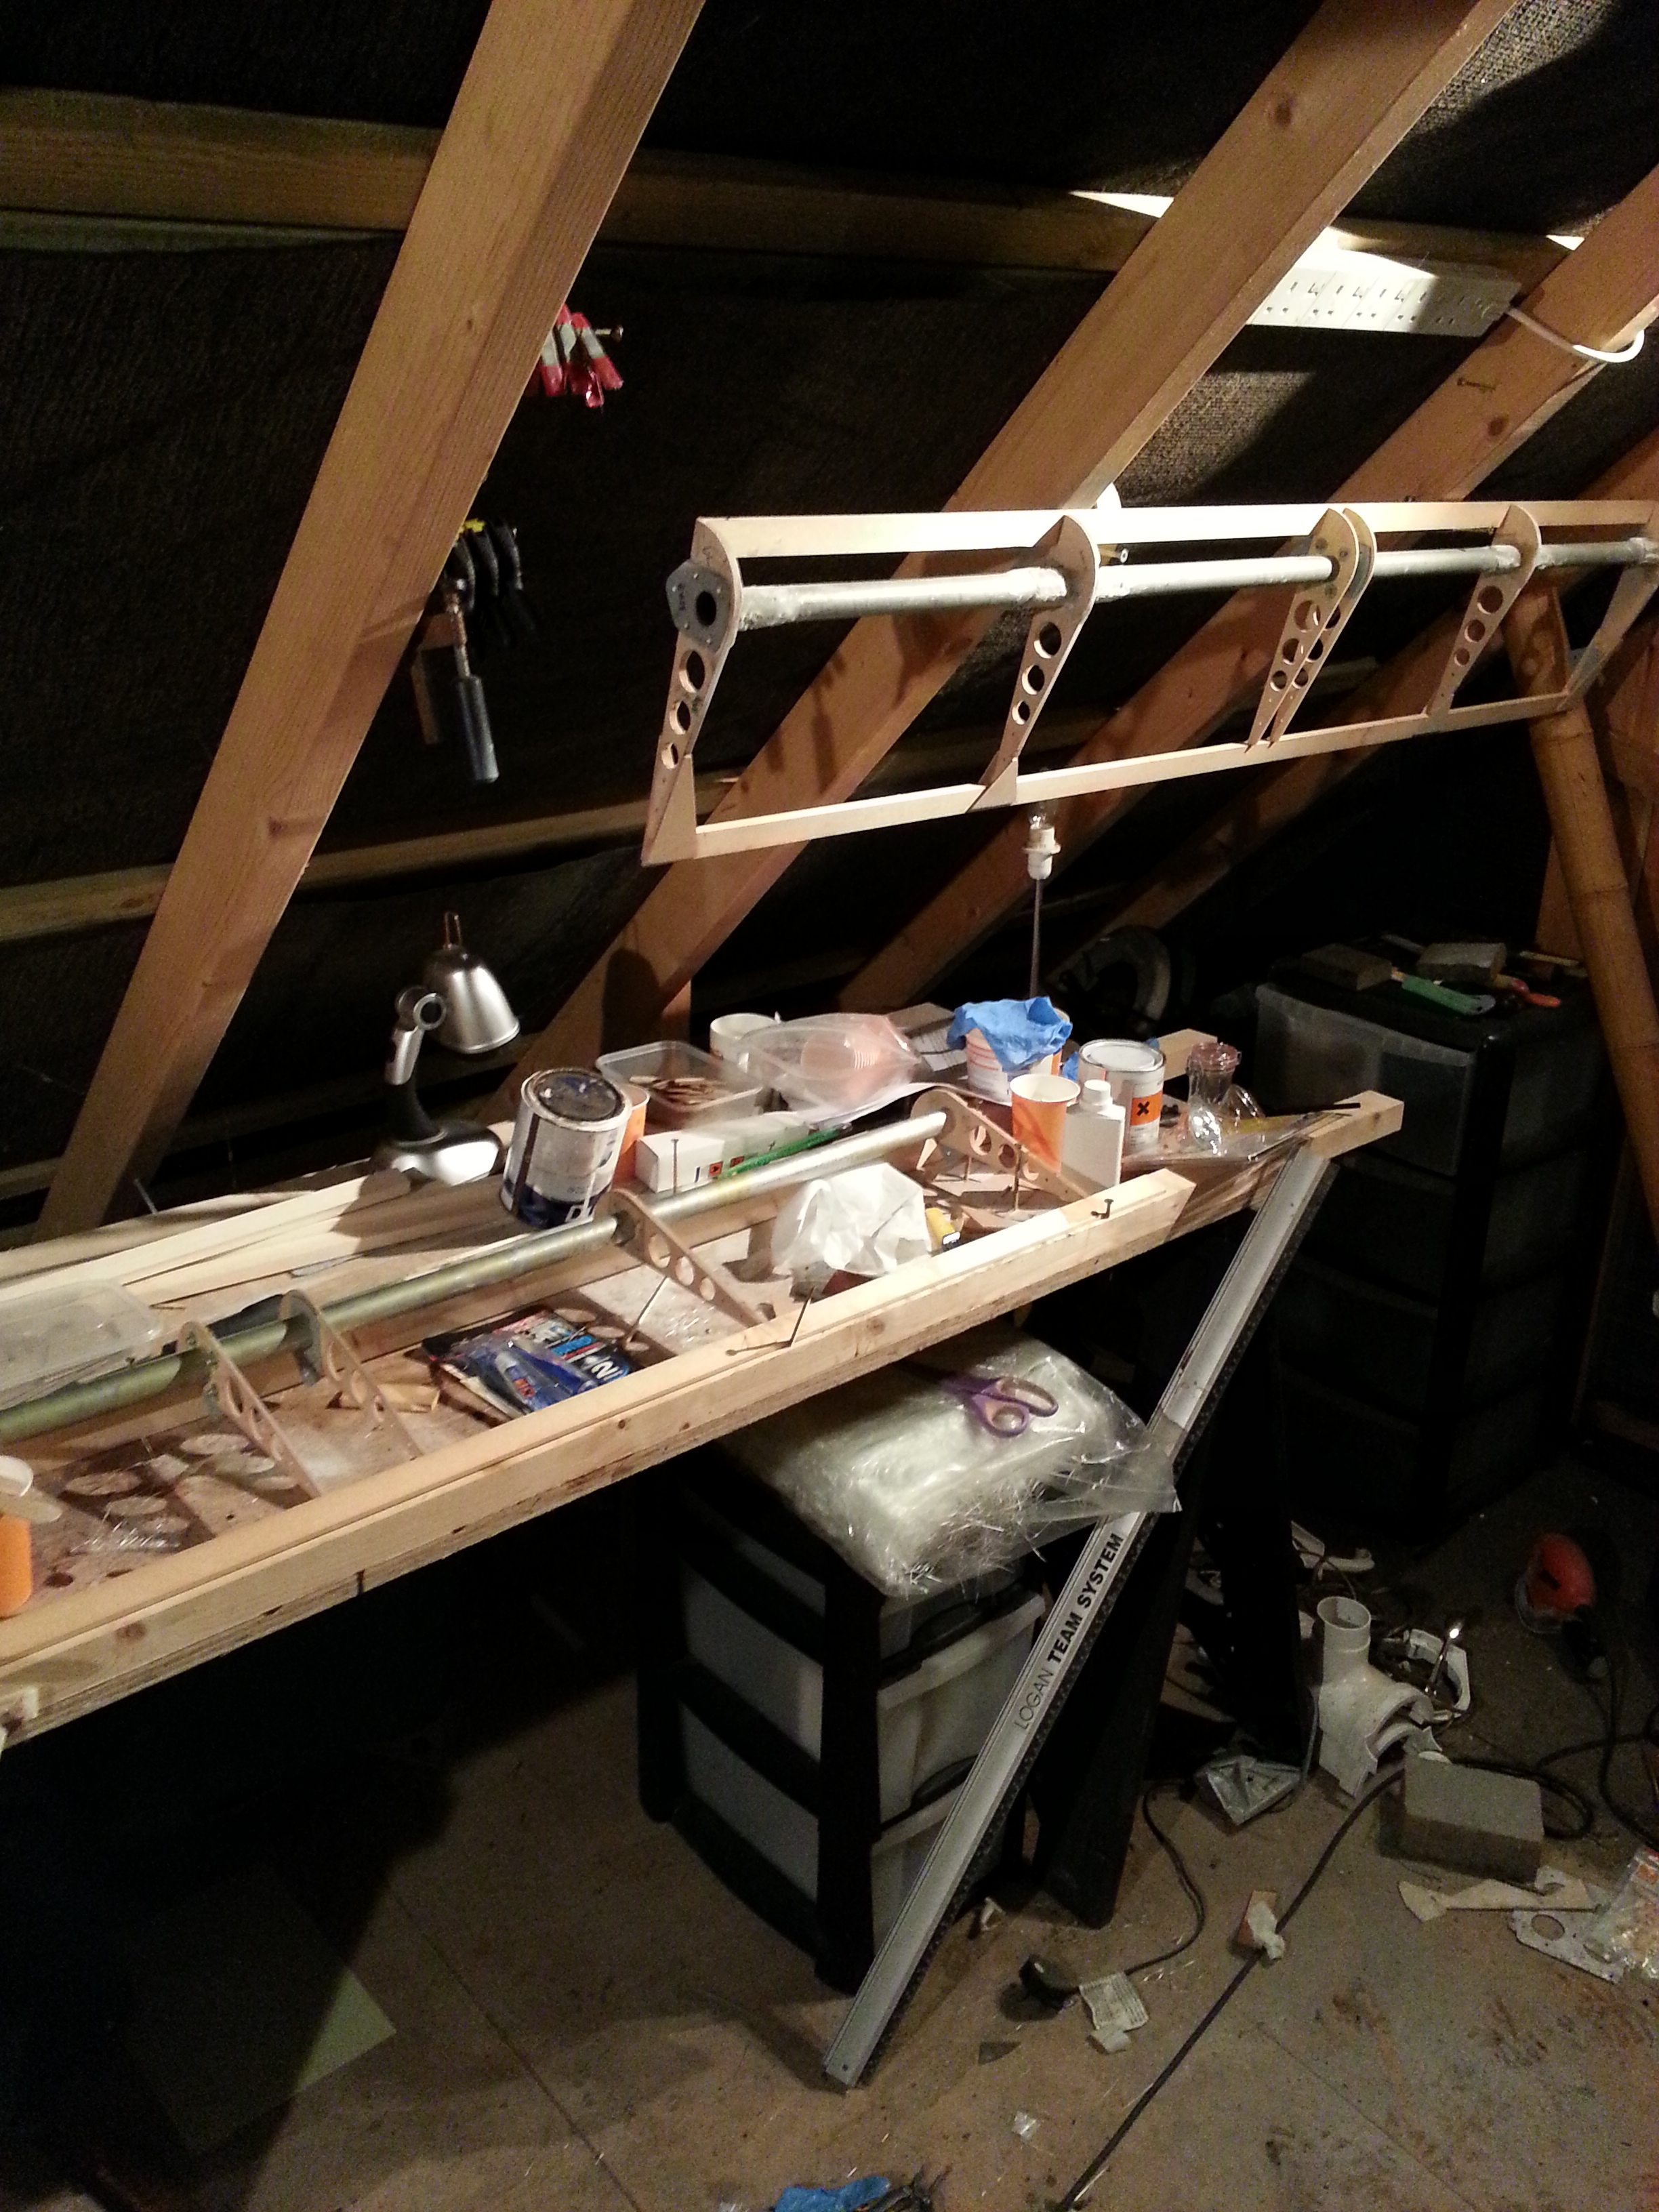
This space lets me lay it all out and nip up and down to the roof to glue various small pieces, position them, clamp tem then wait for them to set before popping back up to do the same with more gussets, leading/trailing edge pieces.
The hardwood jig makes sure that all are square and true.
Also, the fibreglassing and subseqent sanding is carried out in a resonably airy space.

The front rudder cables were the first cables I prepared. Now, with the rear end signed off, I can complete the long running cables that go from the pilot rudder pedals to the rear rudder horn.
These run through small metal guides under the pilot seat which prevent them fouling on the bodywork. Further, to prevent the twisted steel cable chafing against the metal bracket there are small paxolin plates shped, drilled and bolted to the metal bracket so that the rudder control cable rubs against paxolin instead of metal.

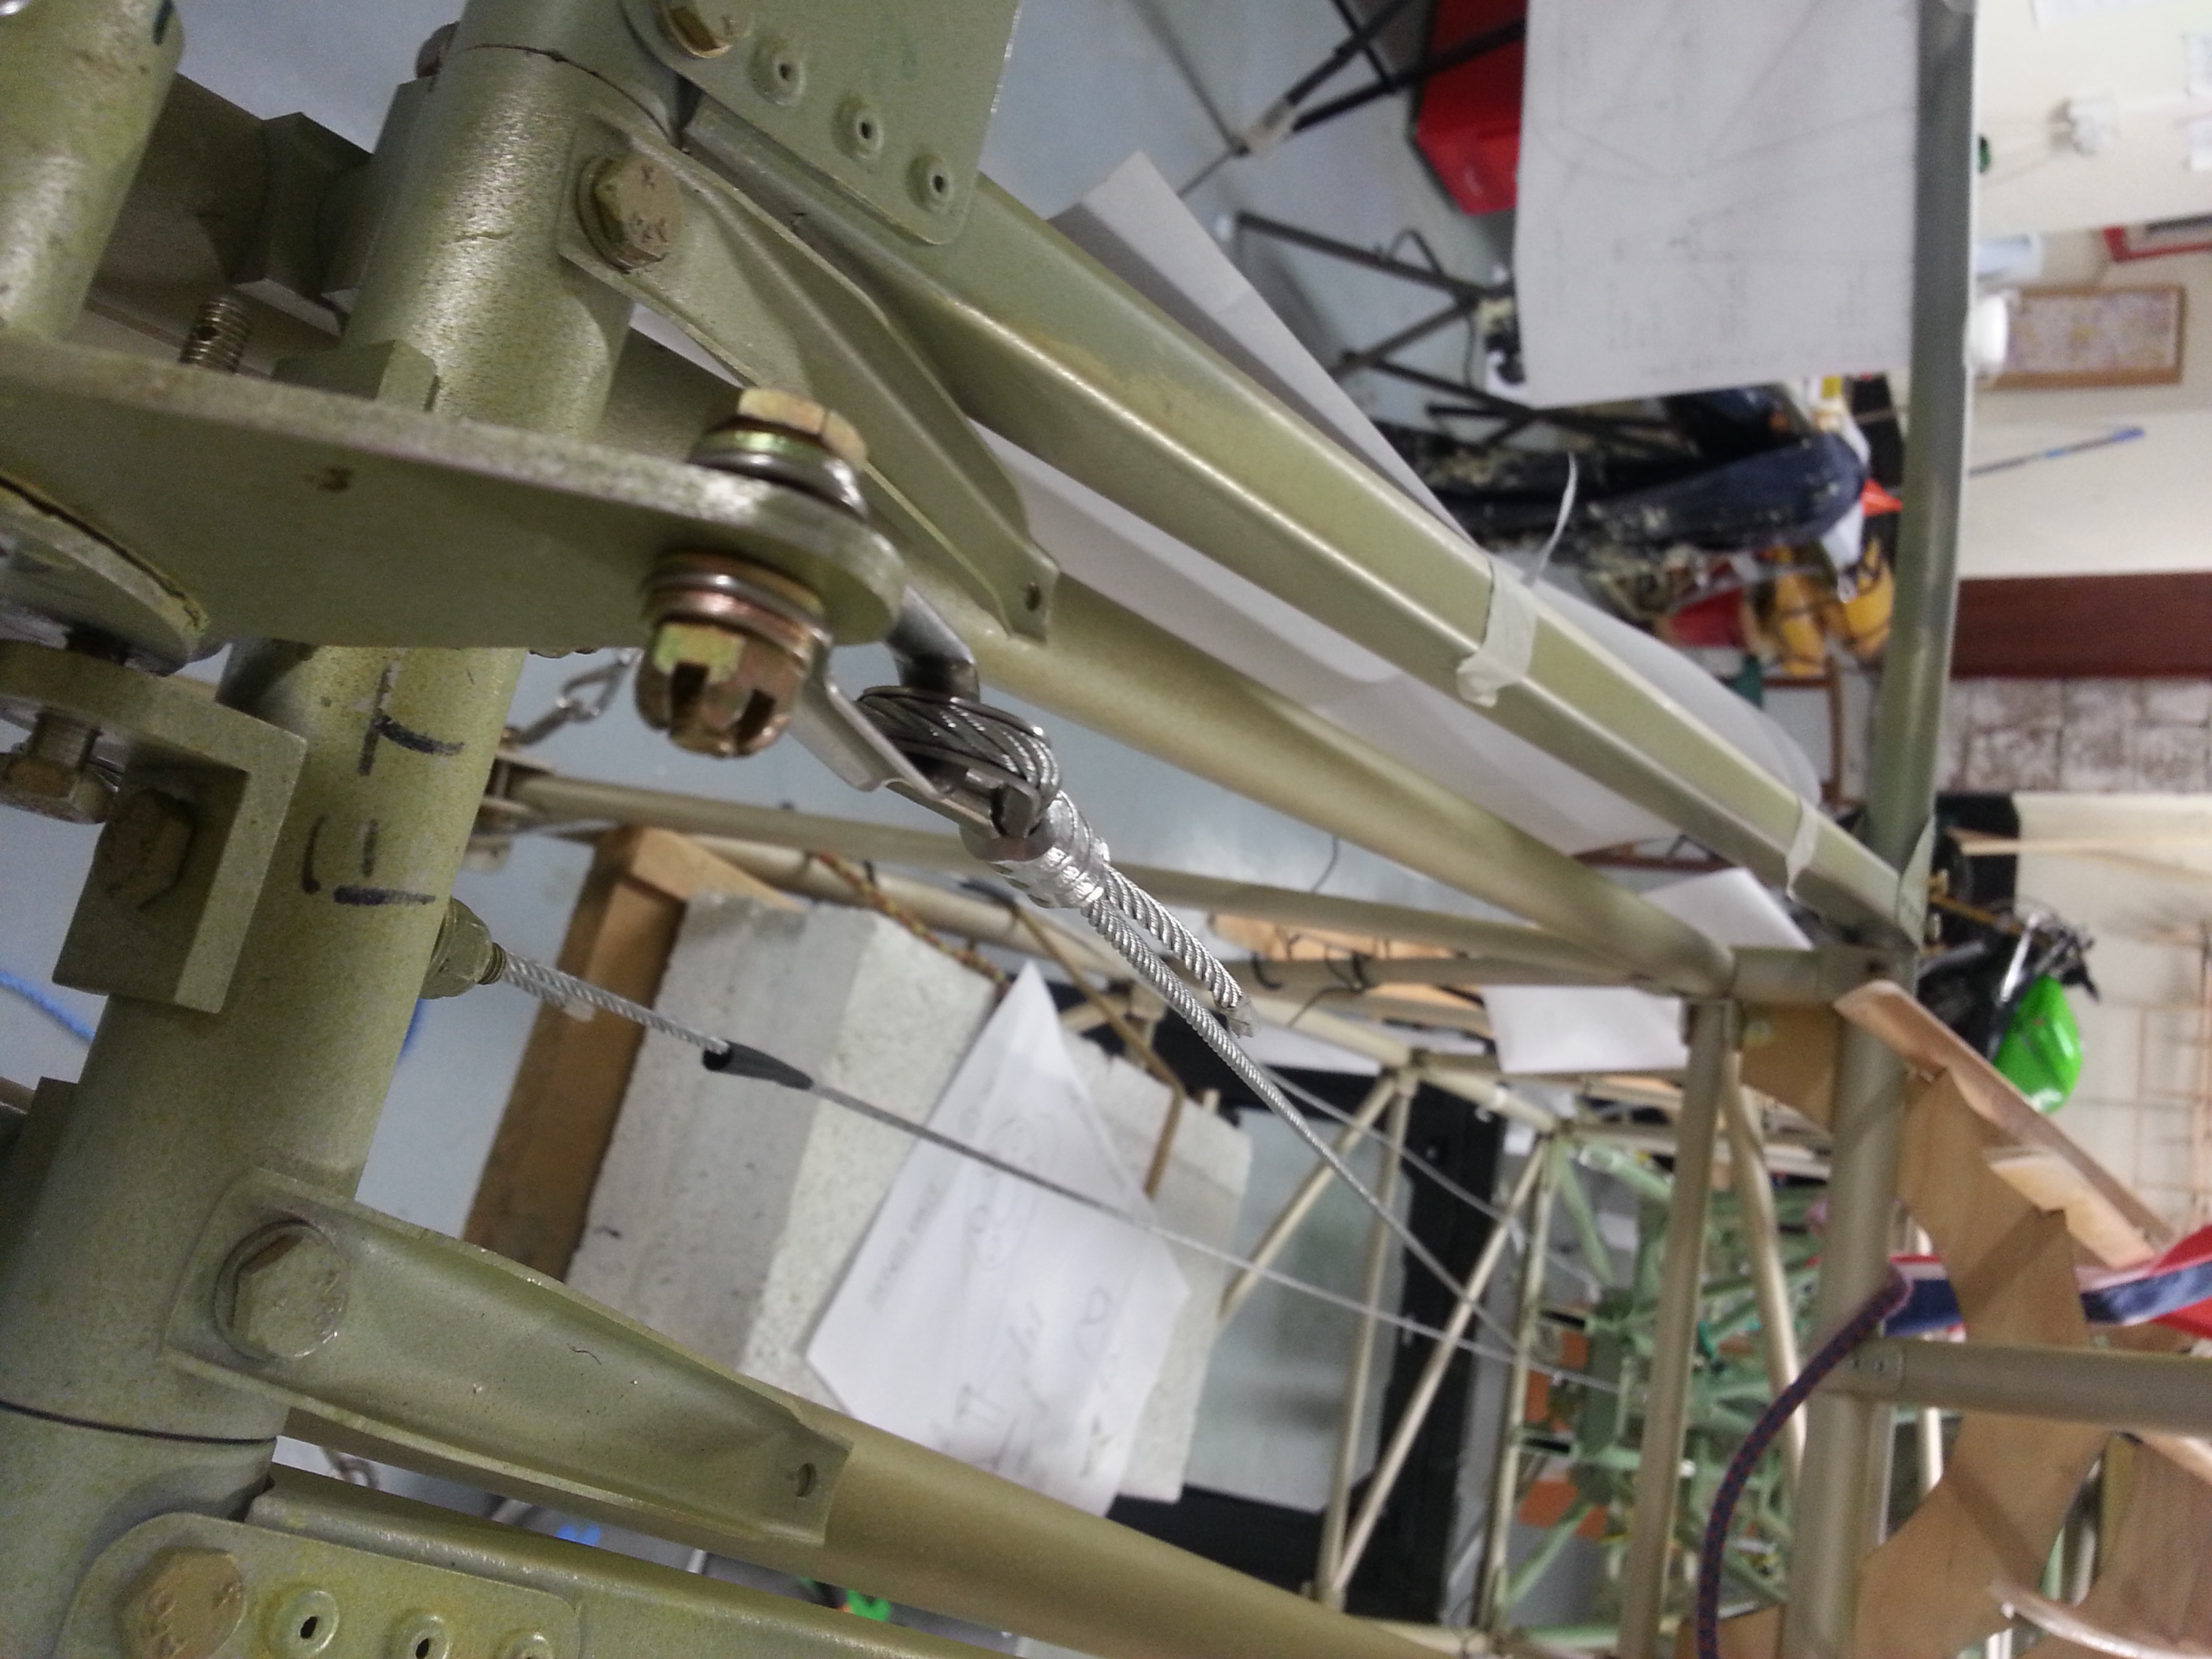
Big step forward on Friday evening/night (4th October) .. with the helpof Keith and a lot of his little helpers (children !) we managed to get the Elevators held steady/level, the joystick held centrally and vertically and in neutral, and the first cable secured and clamped before using the large Nicopress tool (many thanks to Channel Island Aero Services CIAS – Bob, Bob, Graham and the team for their continued good natured support !).
After a good couple of hours more of tweaking and adjusting first top, then bottom cables we finally went from a state of far too much down, far too little up and a neutral that would have had you heading earthwards at more than the approach into City airport !! to a state of great celebration as it slowly moved to 20 degrees up, 20 degrees down and a neutral that was spot on !
The turnbuckles just need a couple of turns to bring them in line with the MAX 3 exposed thread limit noted on the plans.

