The fuel guage in the Sherwood has been a bit like a Cessna .. for those who fly or flew Cessnas … you never trust them and always dip the tanks before flight (not easy on the high wing Cessnas)
The original electronic fuel guage I installed years ago failed before test flying as it simply refused to calibrate. calibration was achieved by means of the fuel entering a small hole in a ling tube arrangement that fed into the bottom of the tank. The resistance,I guess, then gave you a degree of ohms based calibration for the 6 or so LED lights.
A short while after fitting the second it became slightly optimistic and pessimistic , by that I mean, show it some fuel and it always said FULL .. fly for 30 mins and it seemed to think you were in air 😊
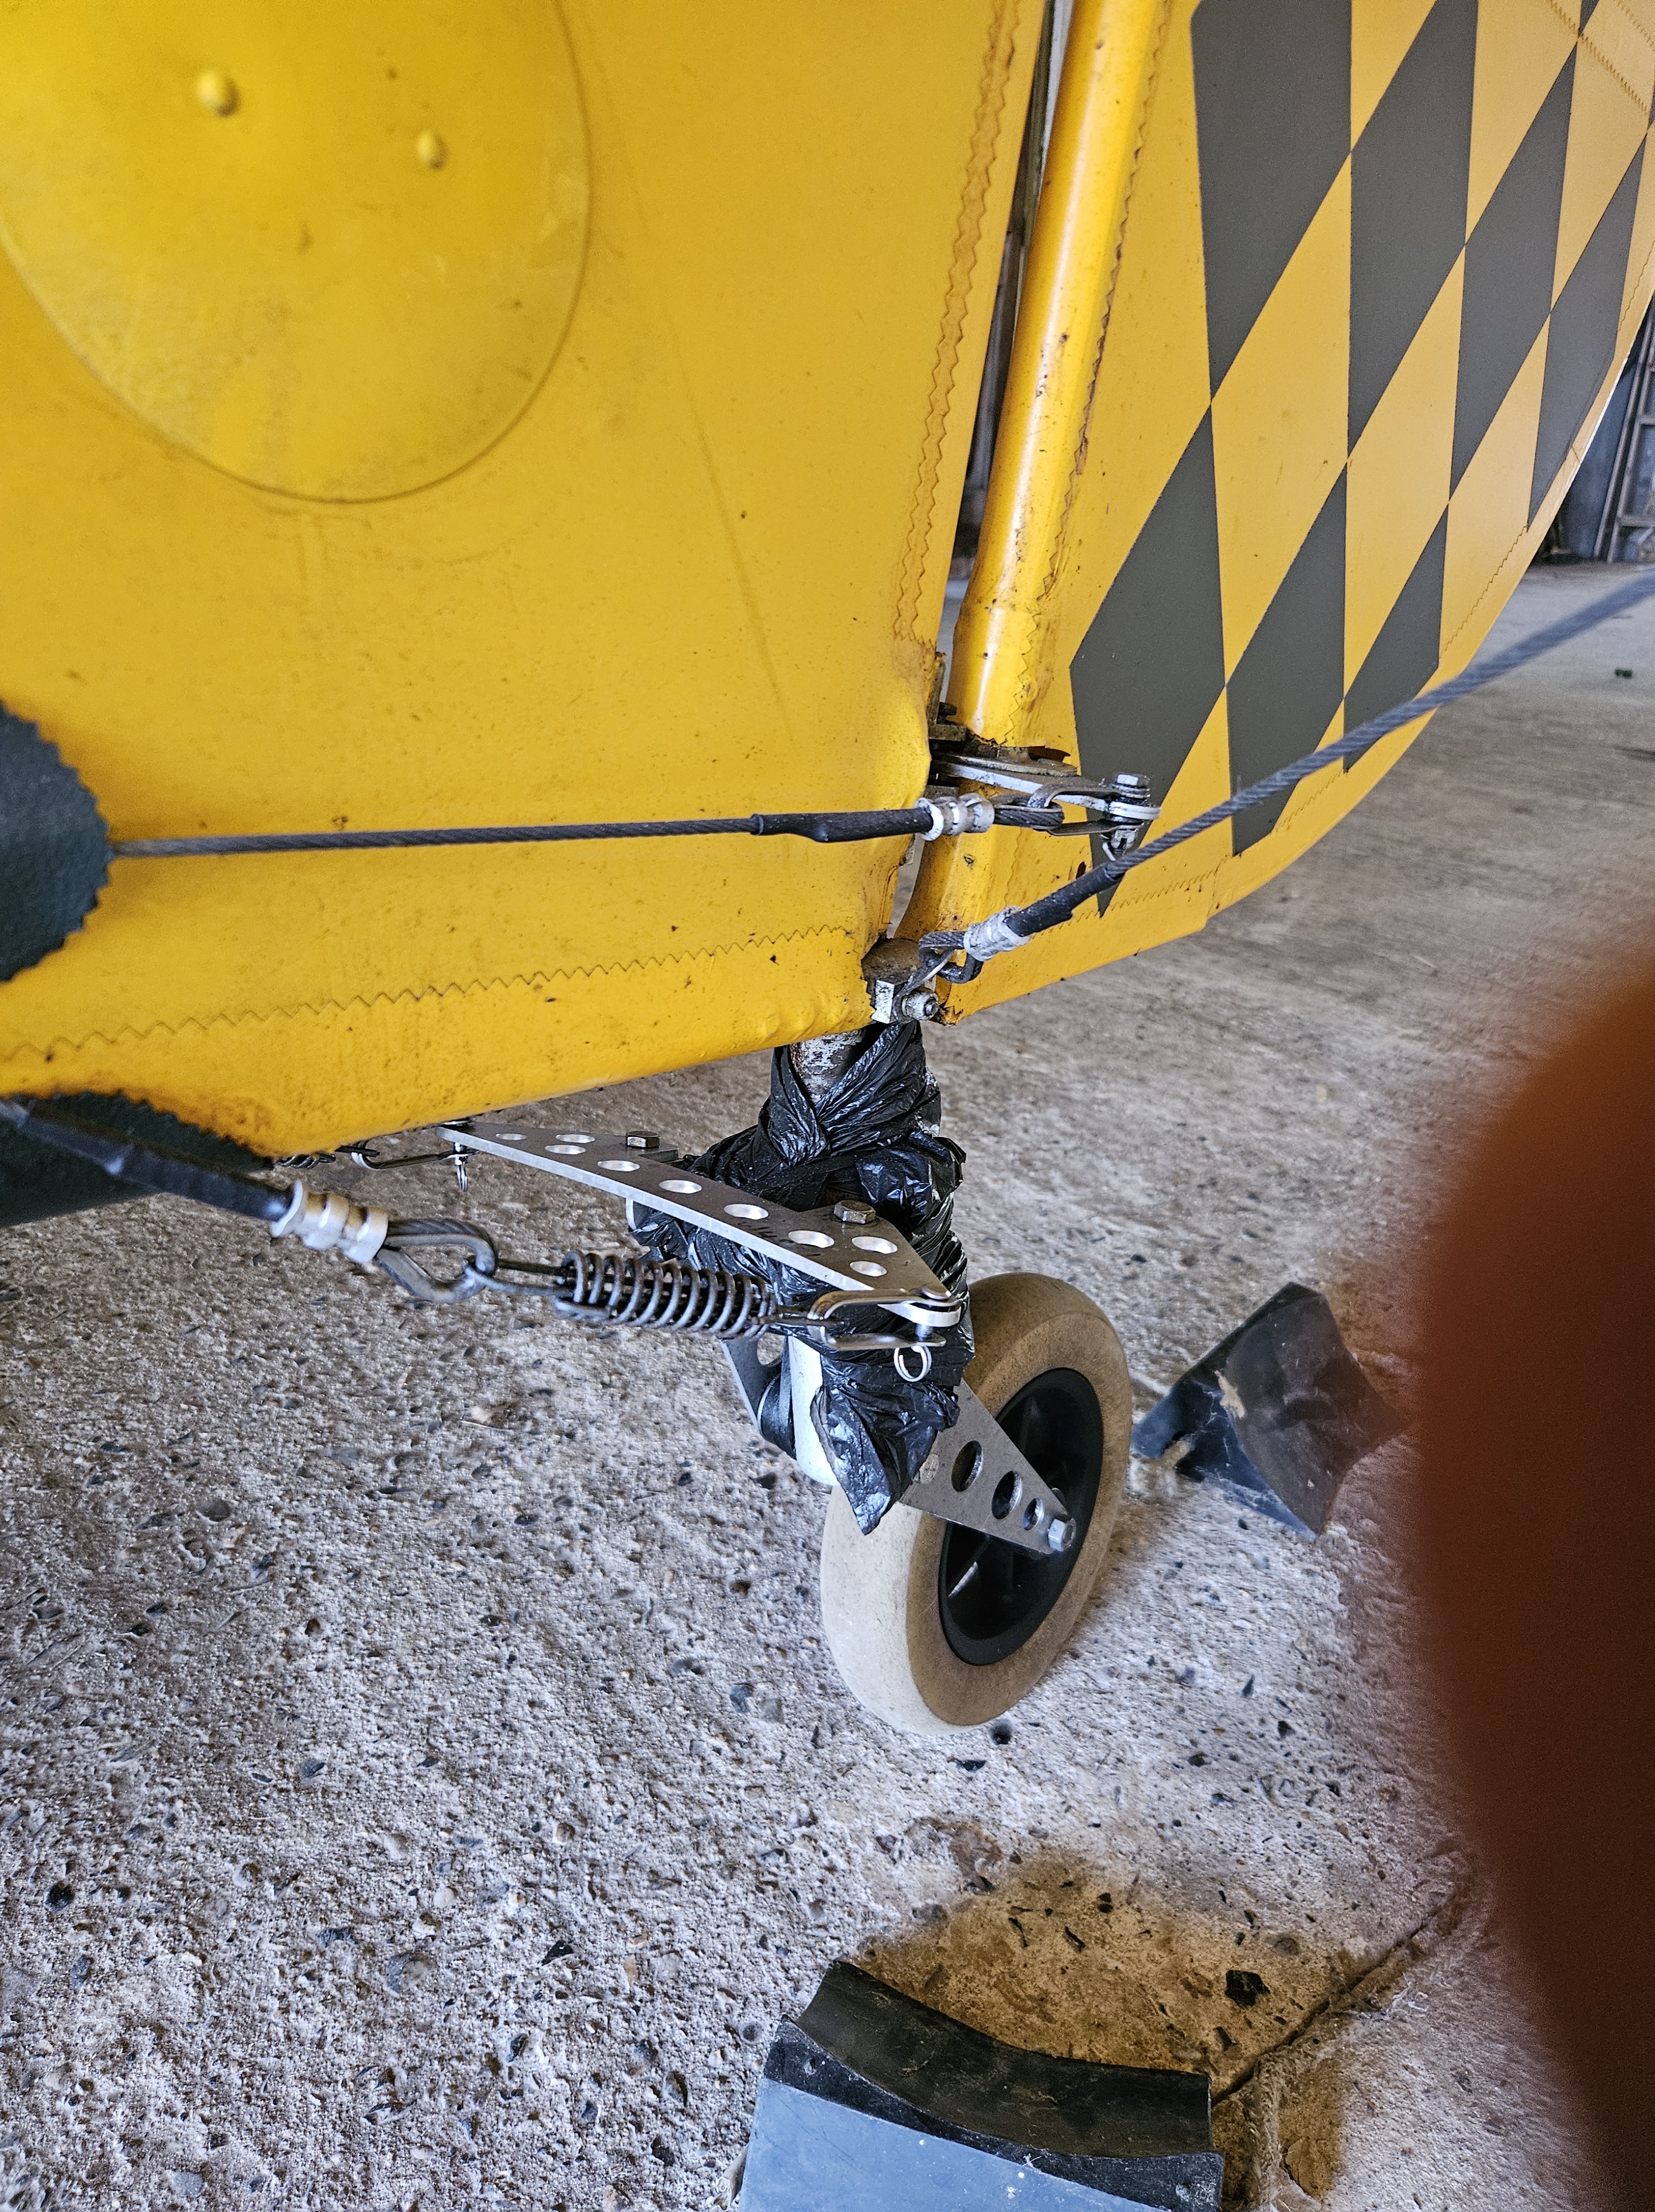
So, for all time, I’ve simply performed the hugely accurate ‘open the tank and look in’ technique .. which doesn’t need power ..doesn’t really need calibrating and has served the test of time !
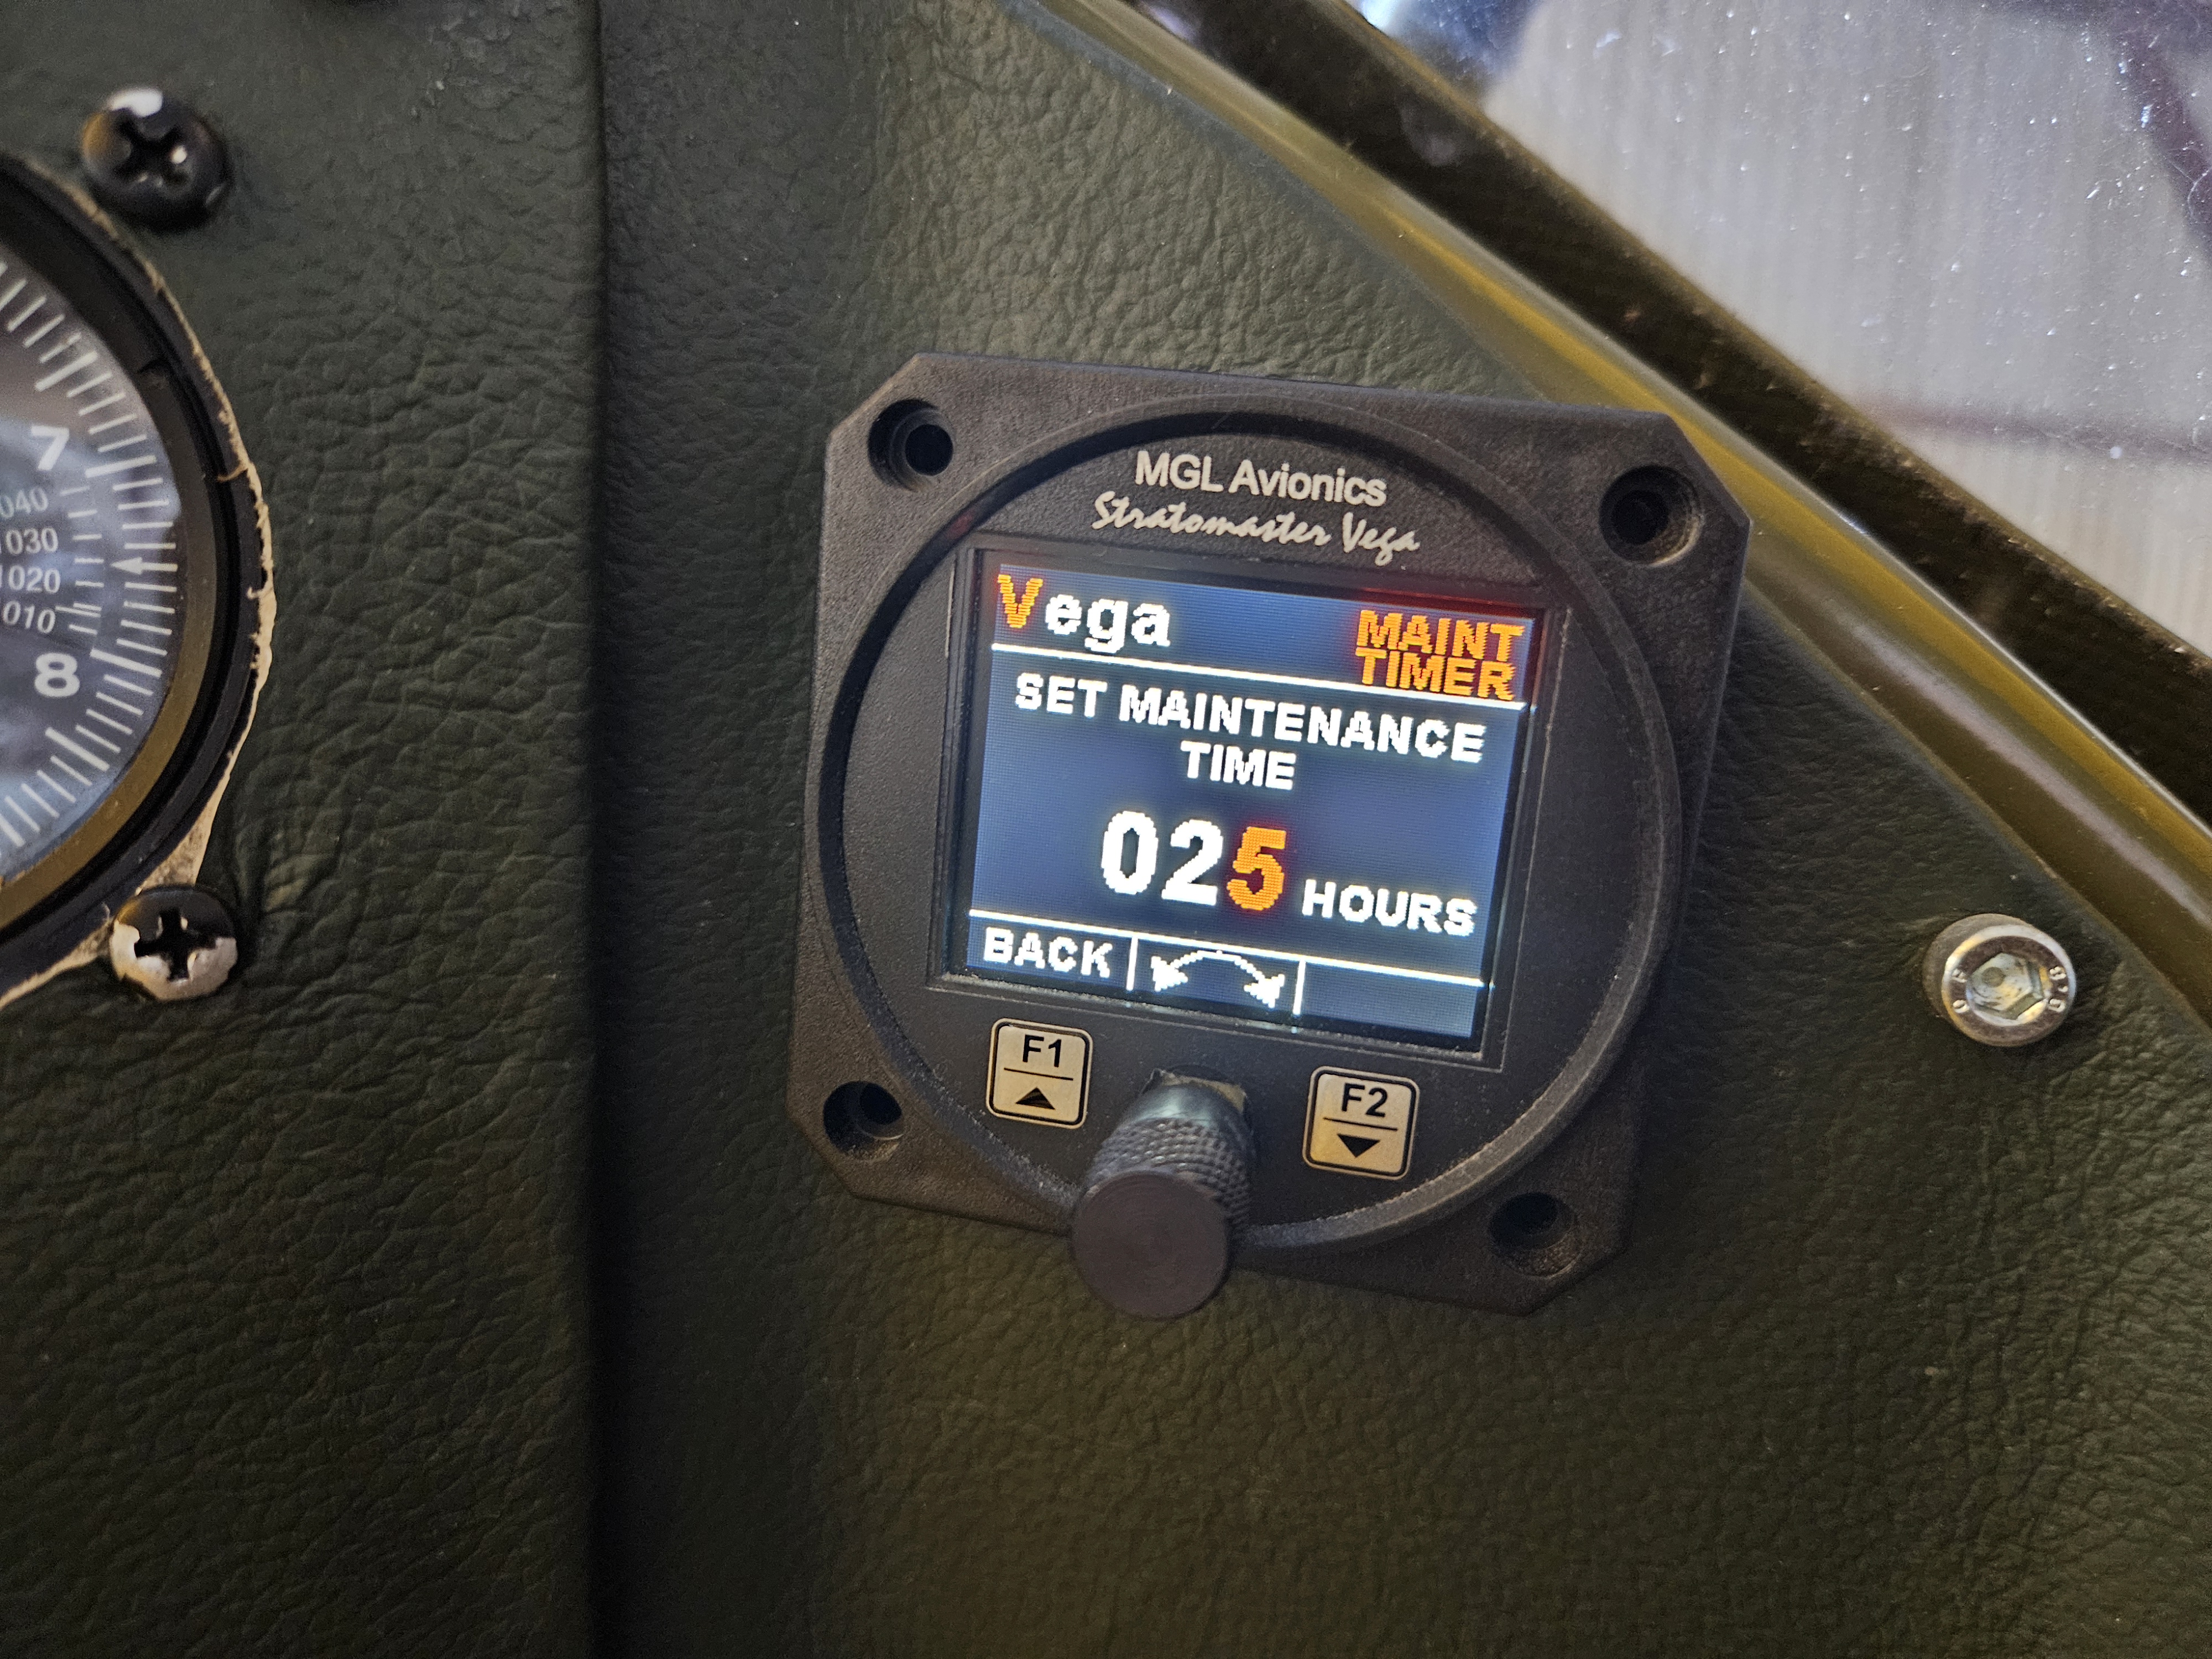
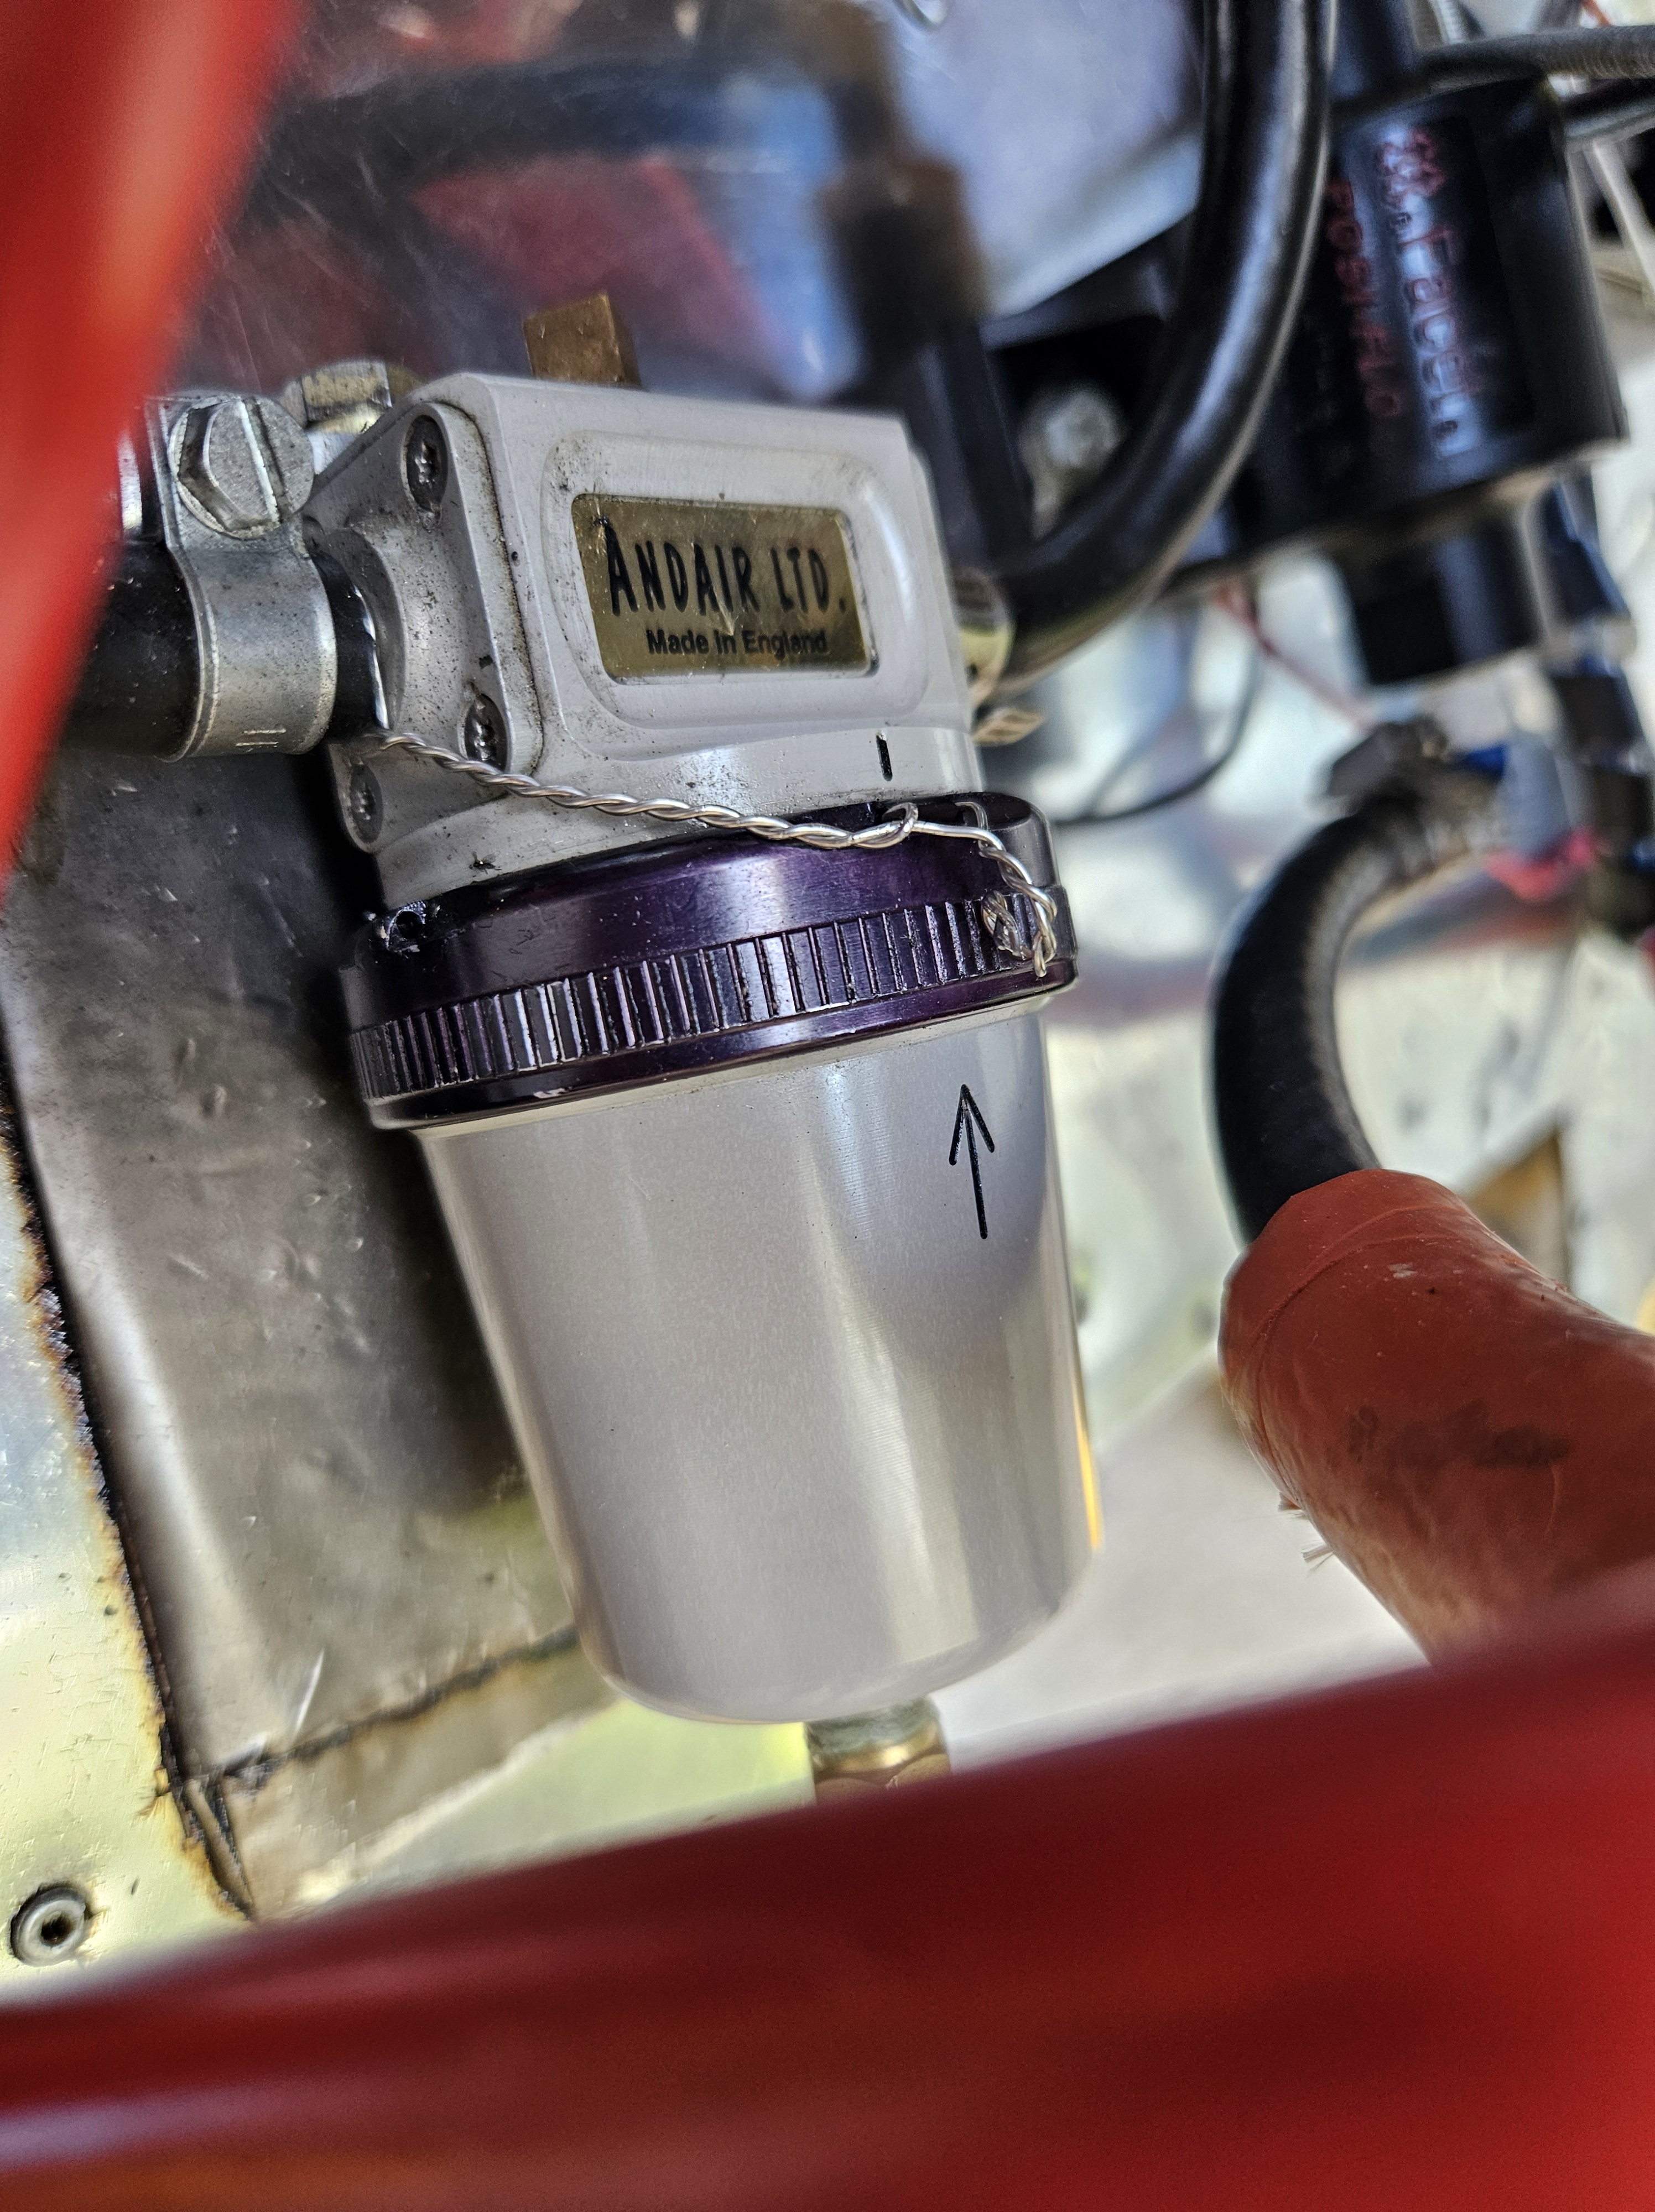
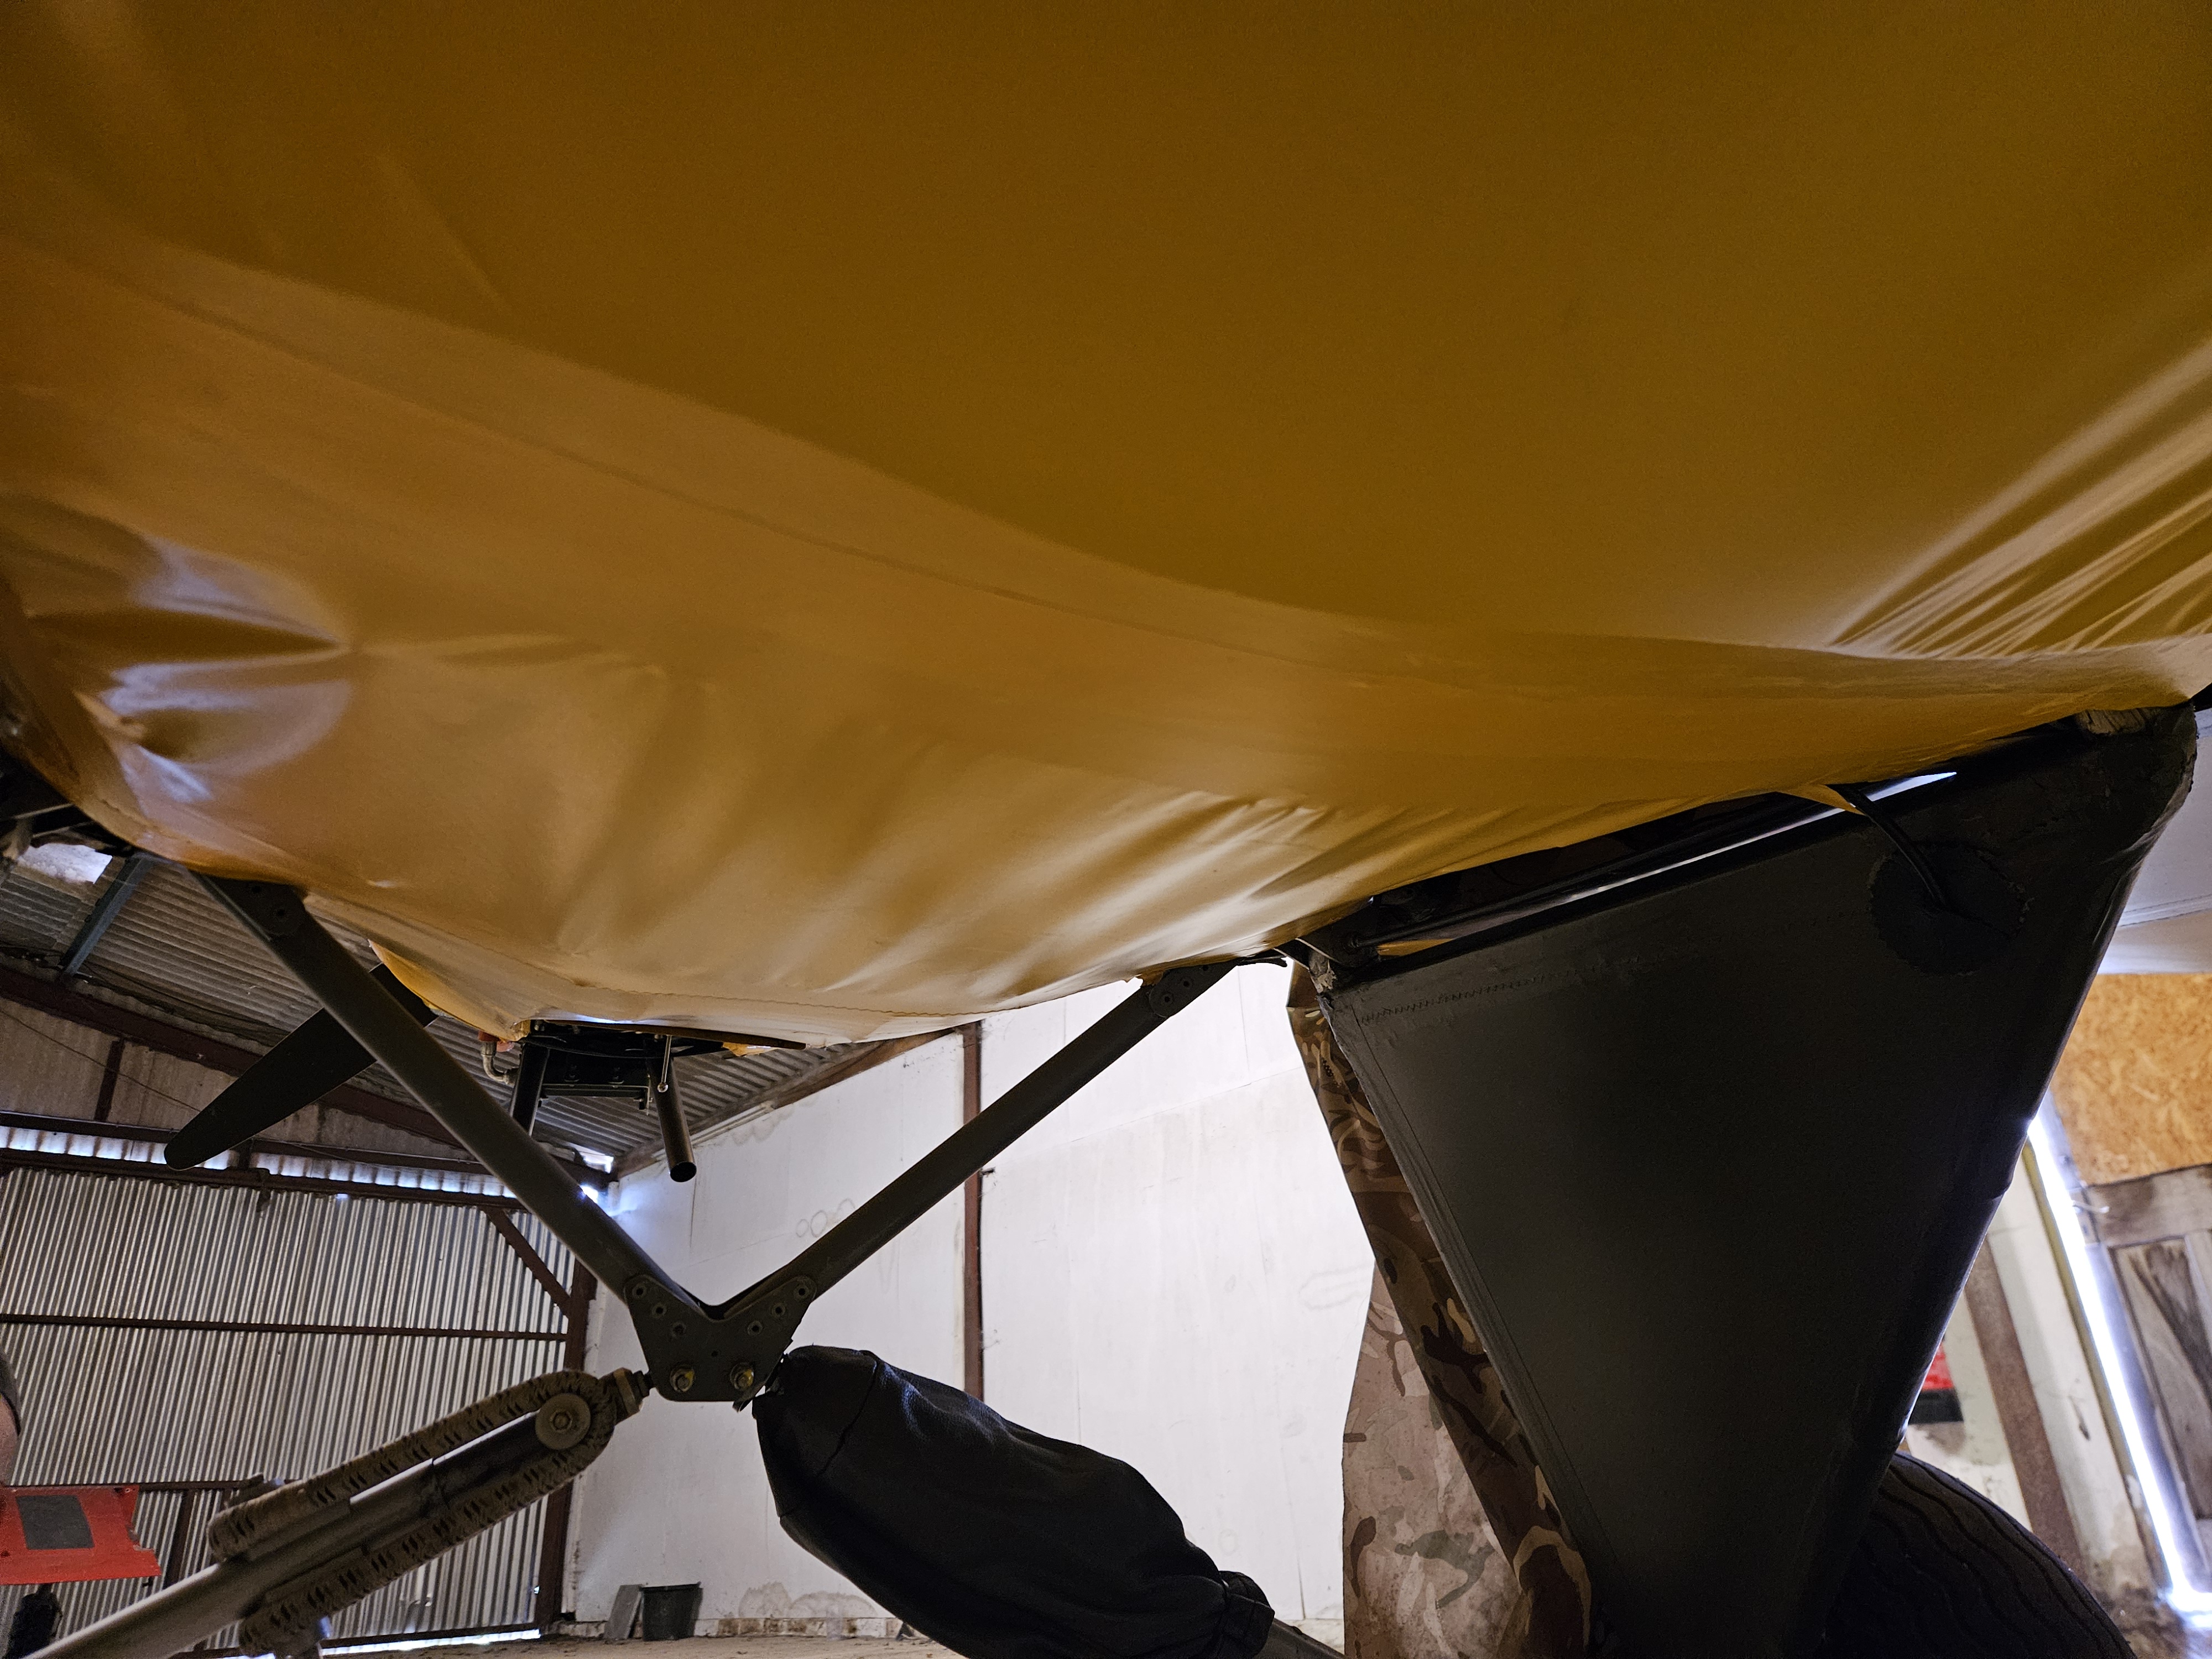
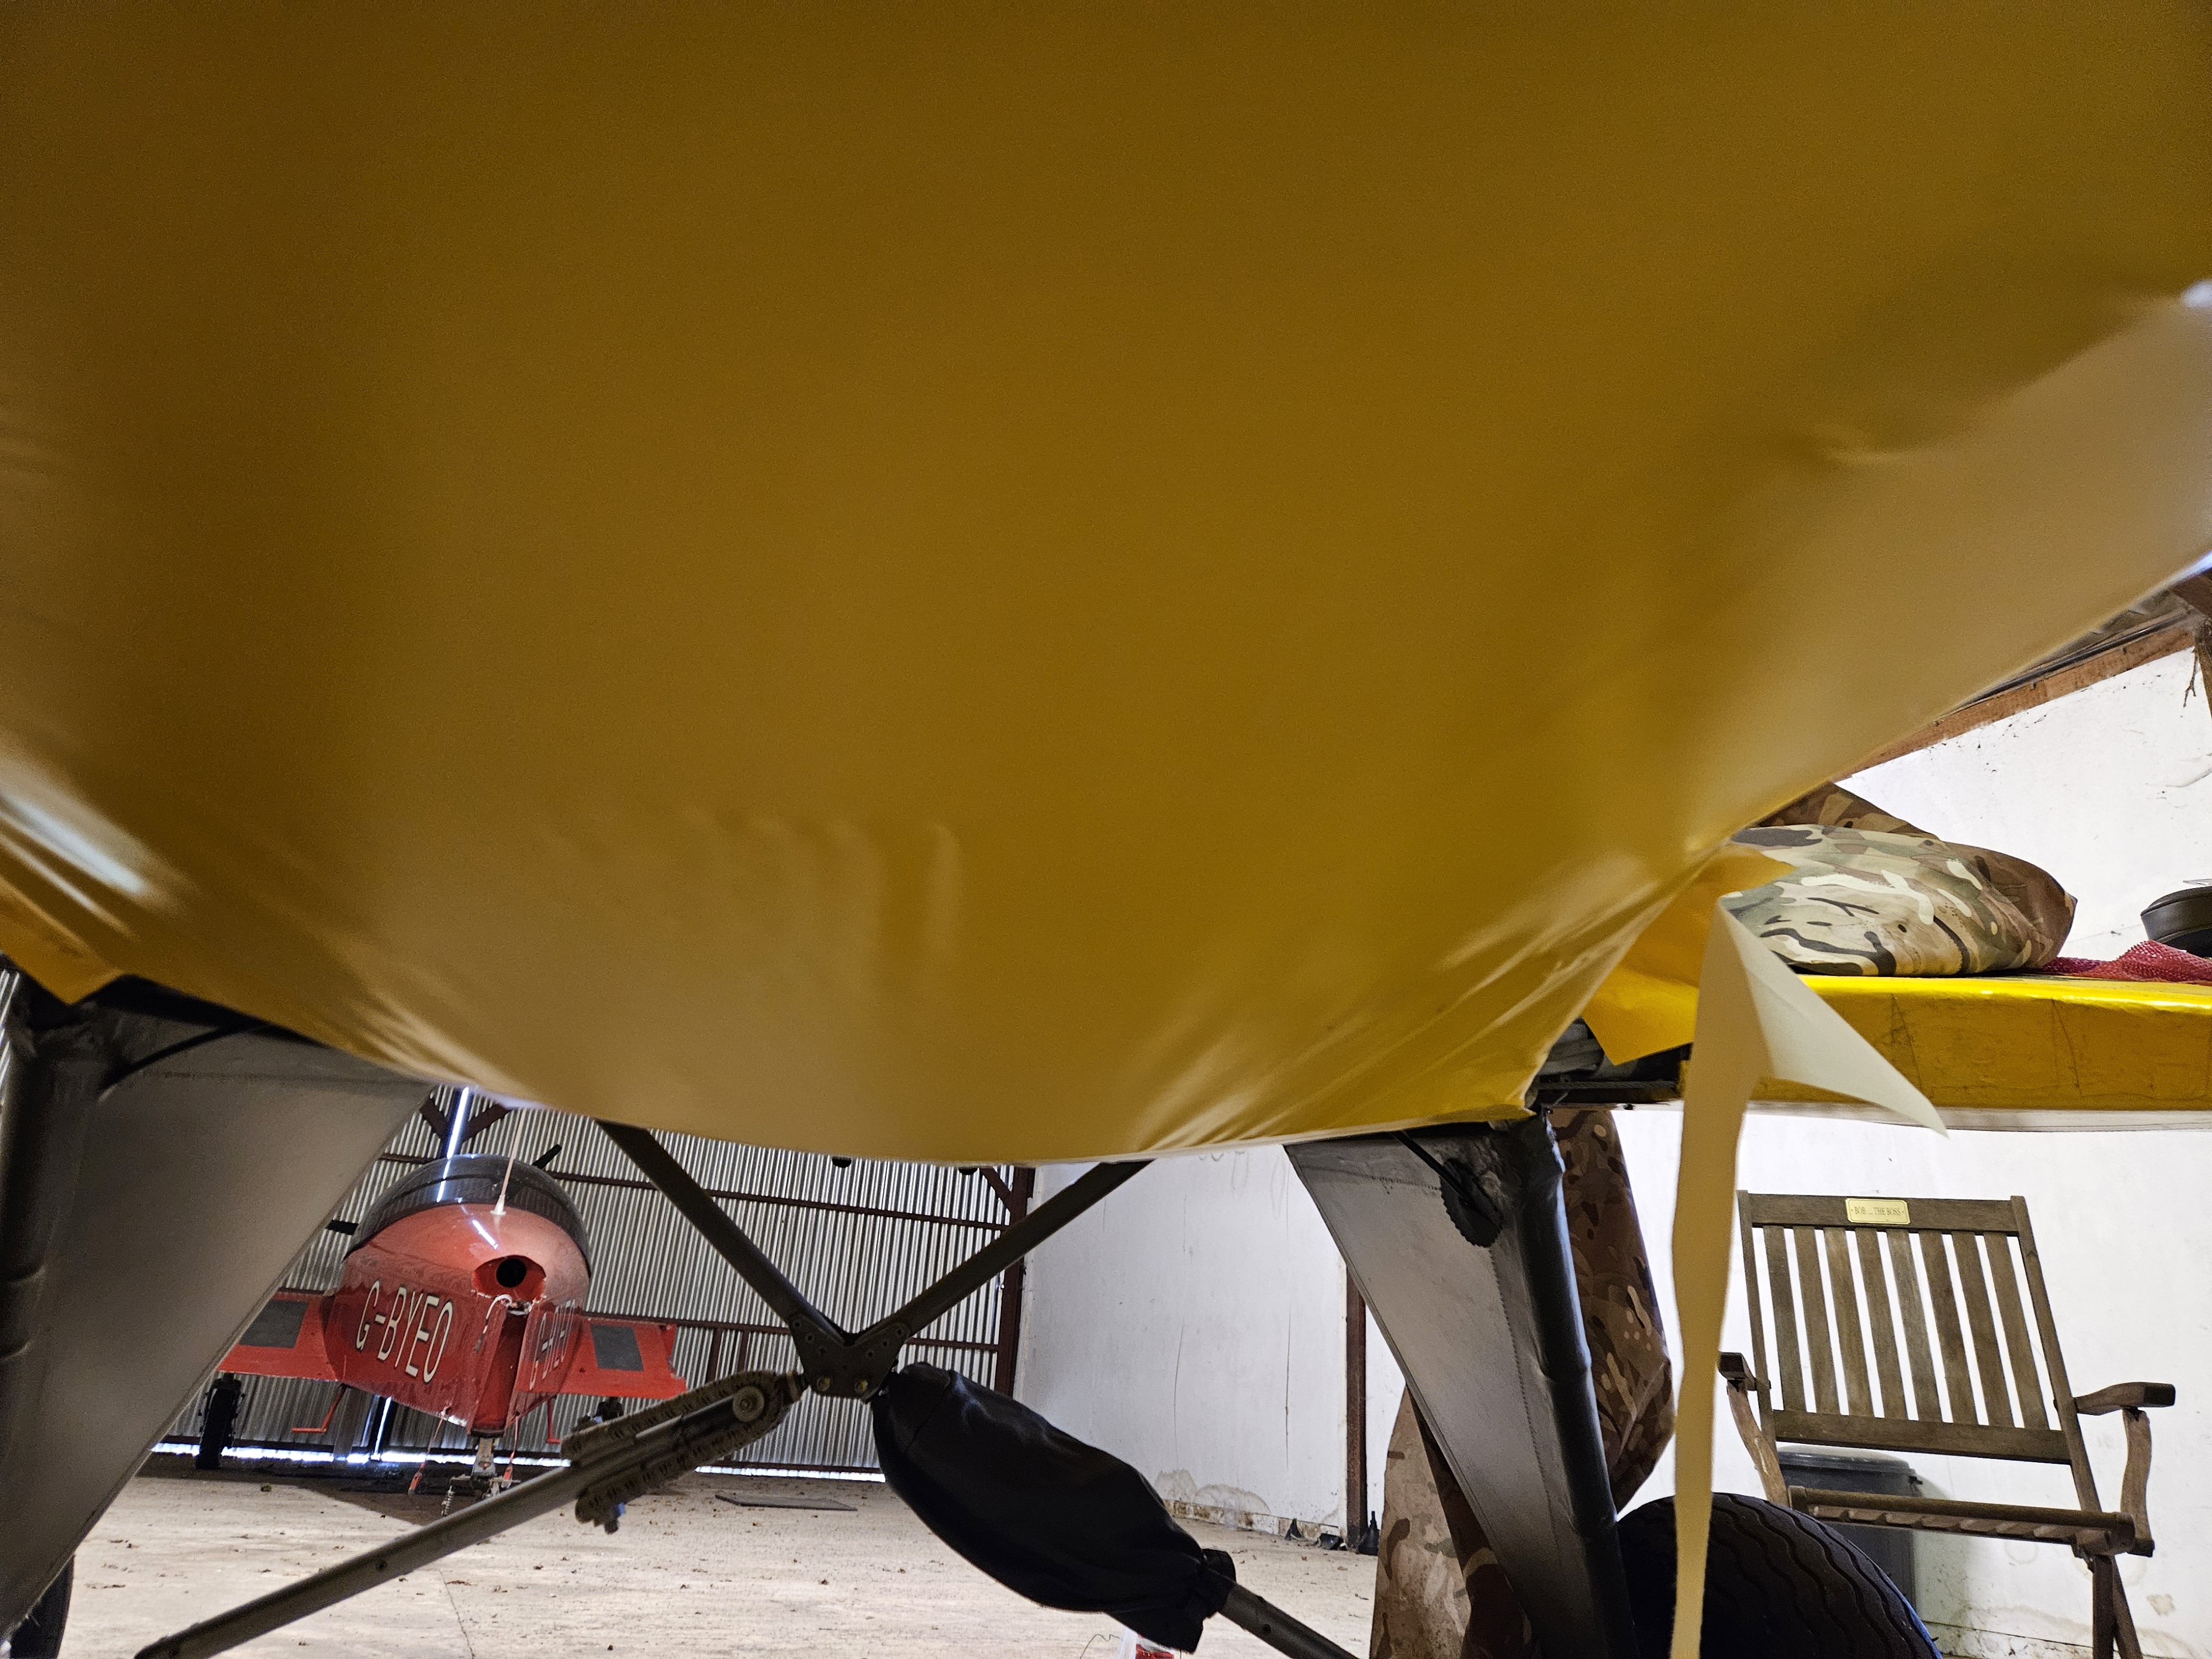
Fadt forward to the recent rebuild and the LAAs insistence that a fuel guage be fitted. At first I was reluctant to try and retro fit the large alloy backplate and see through tube that TLAC fitted so some later models but, forced with the LAA directive and there being no real obvious alternative, I have fitted it this evening.
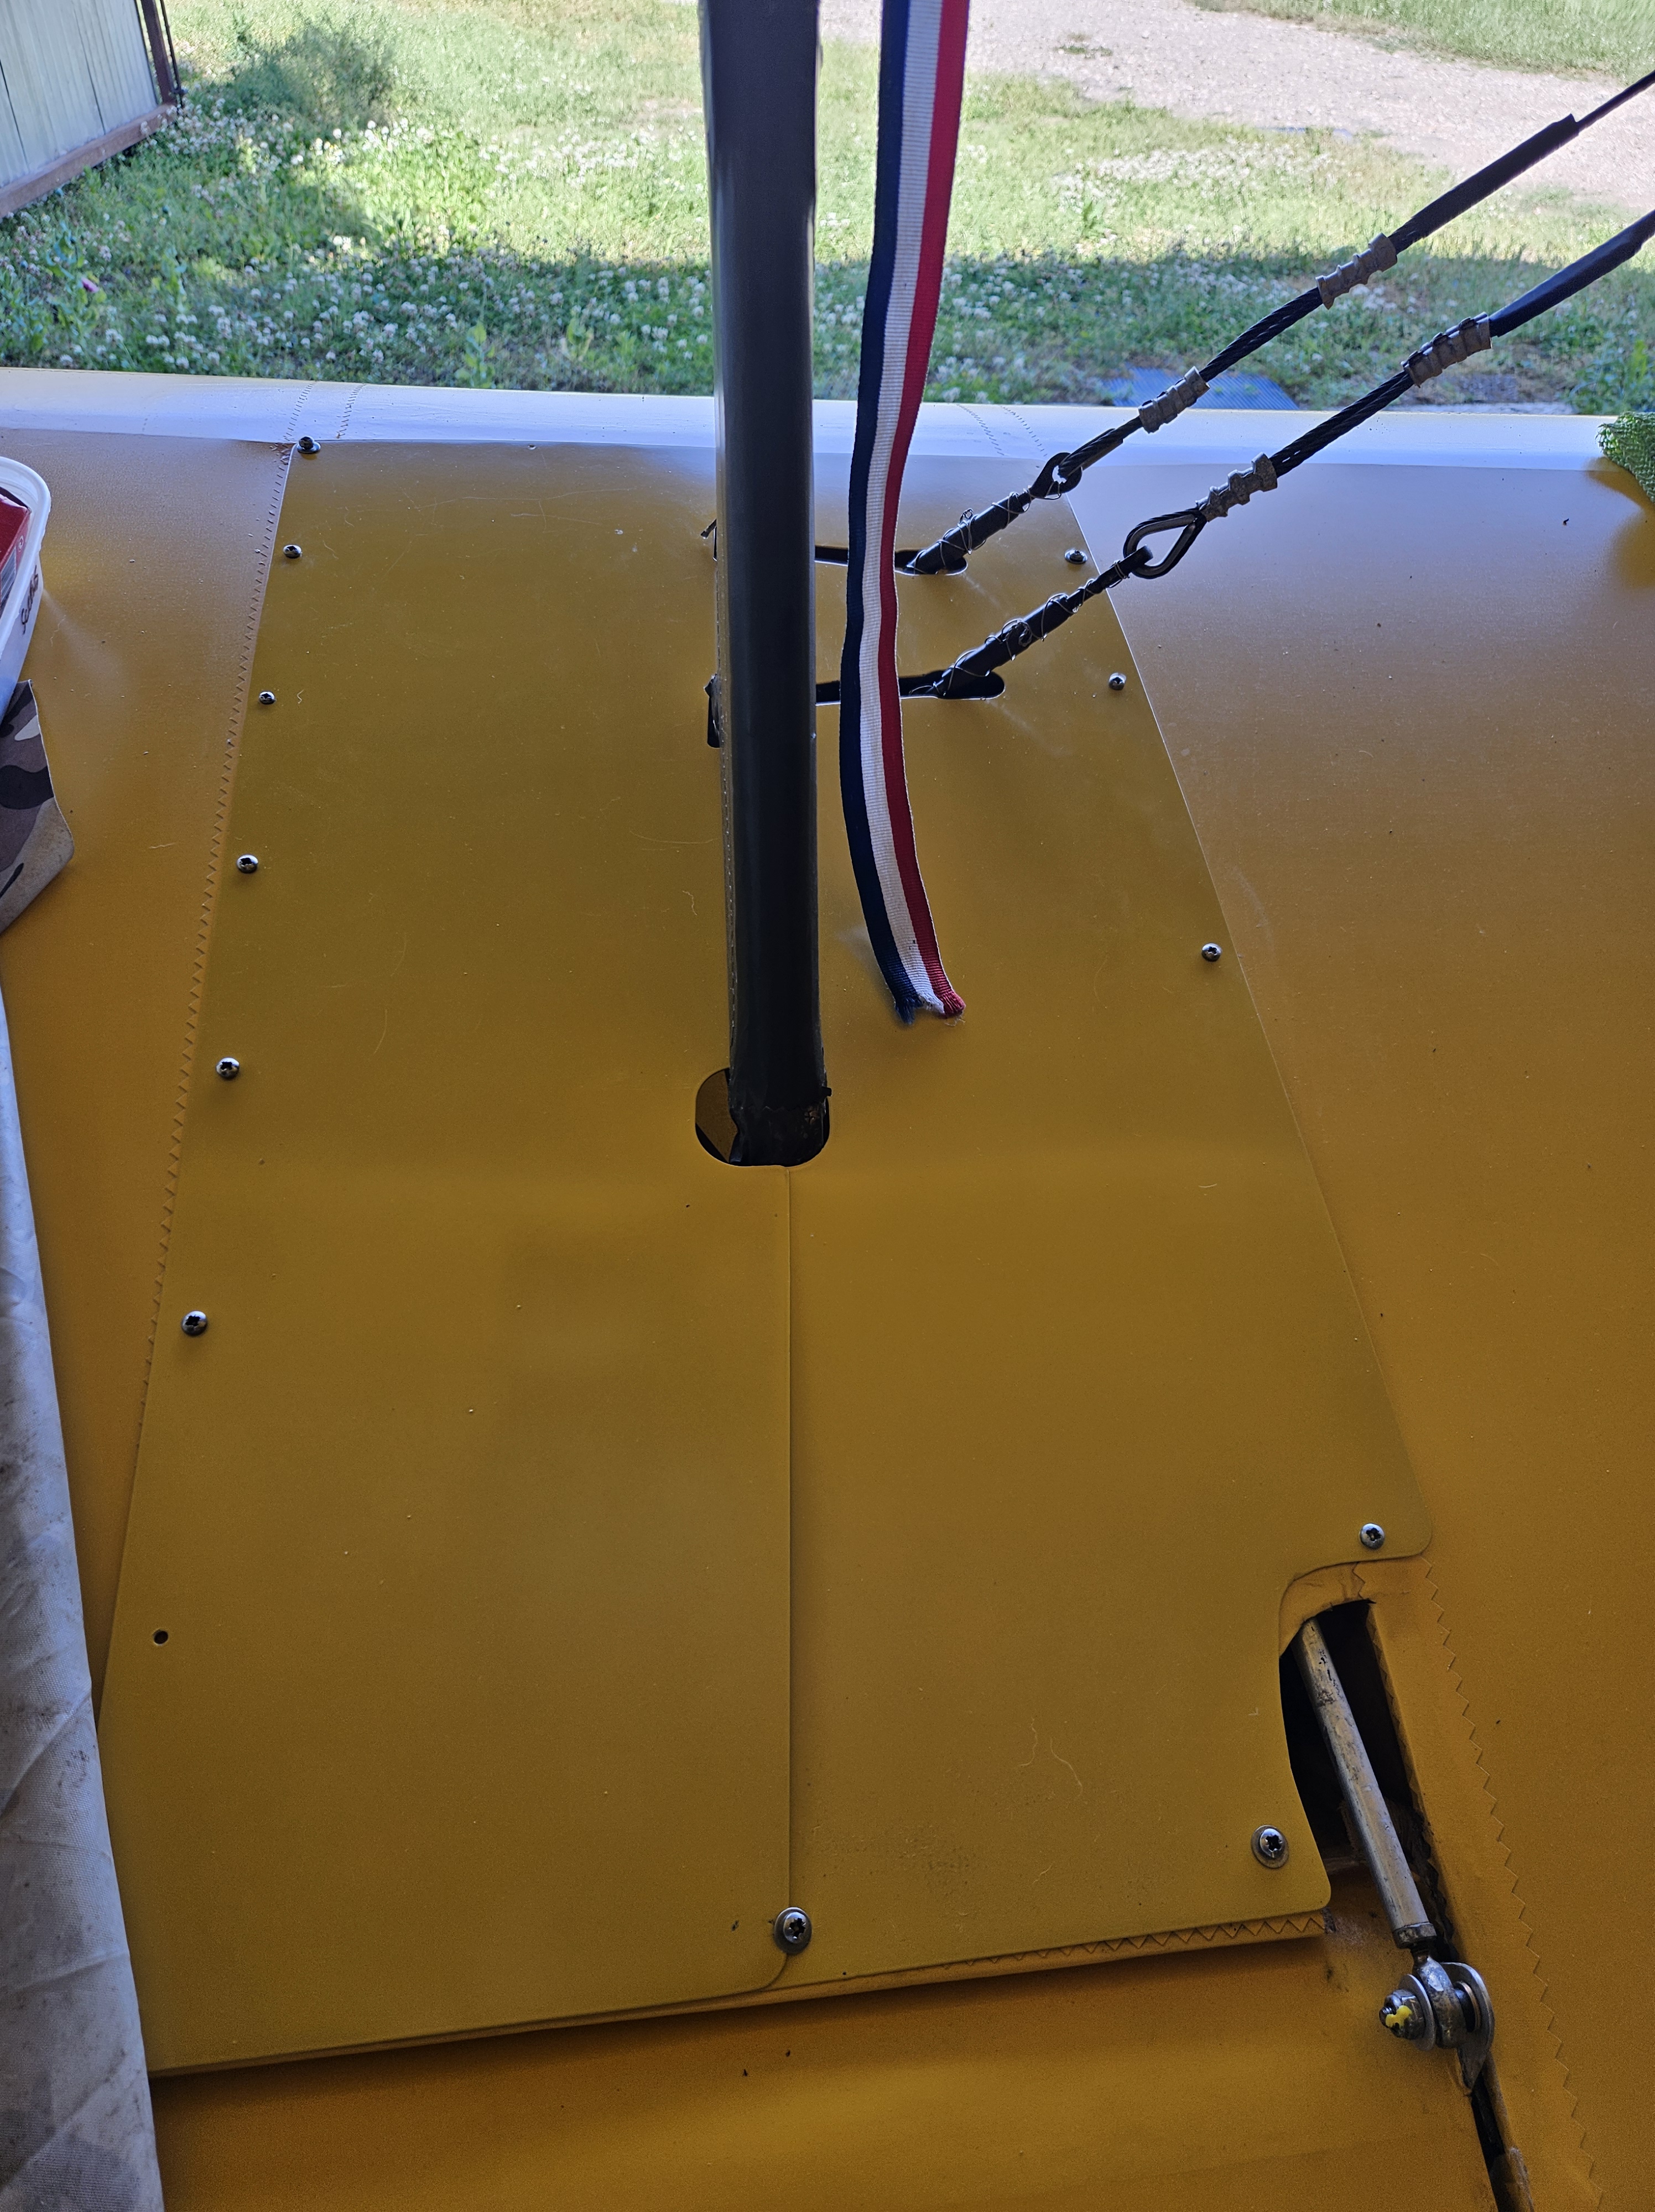
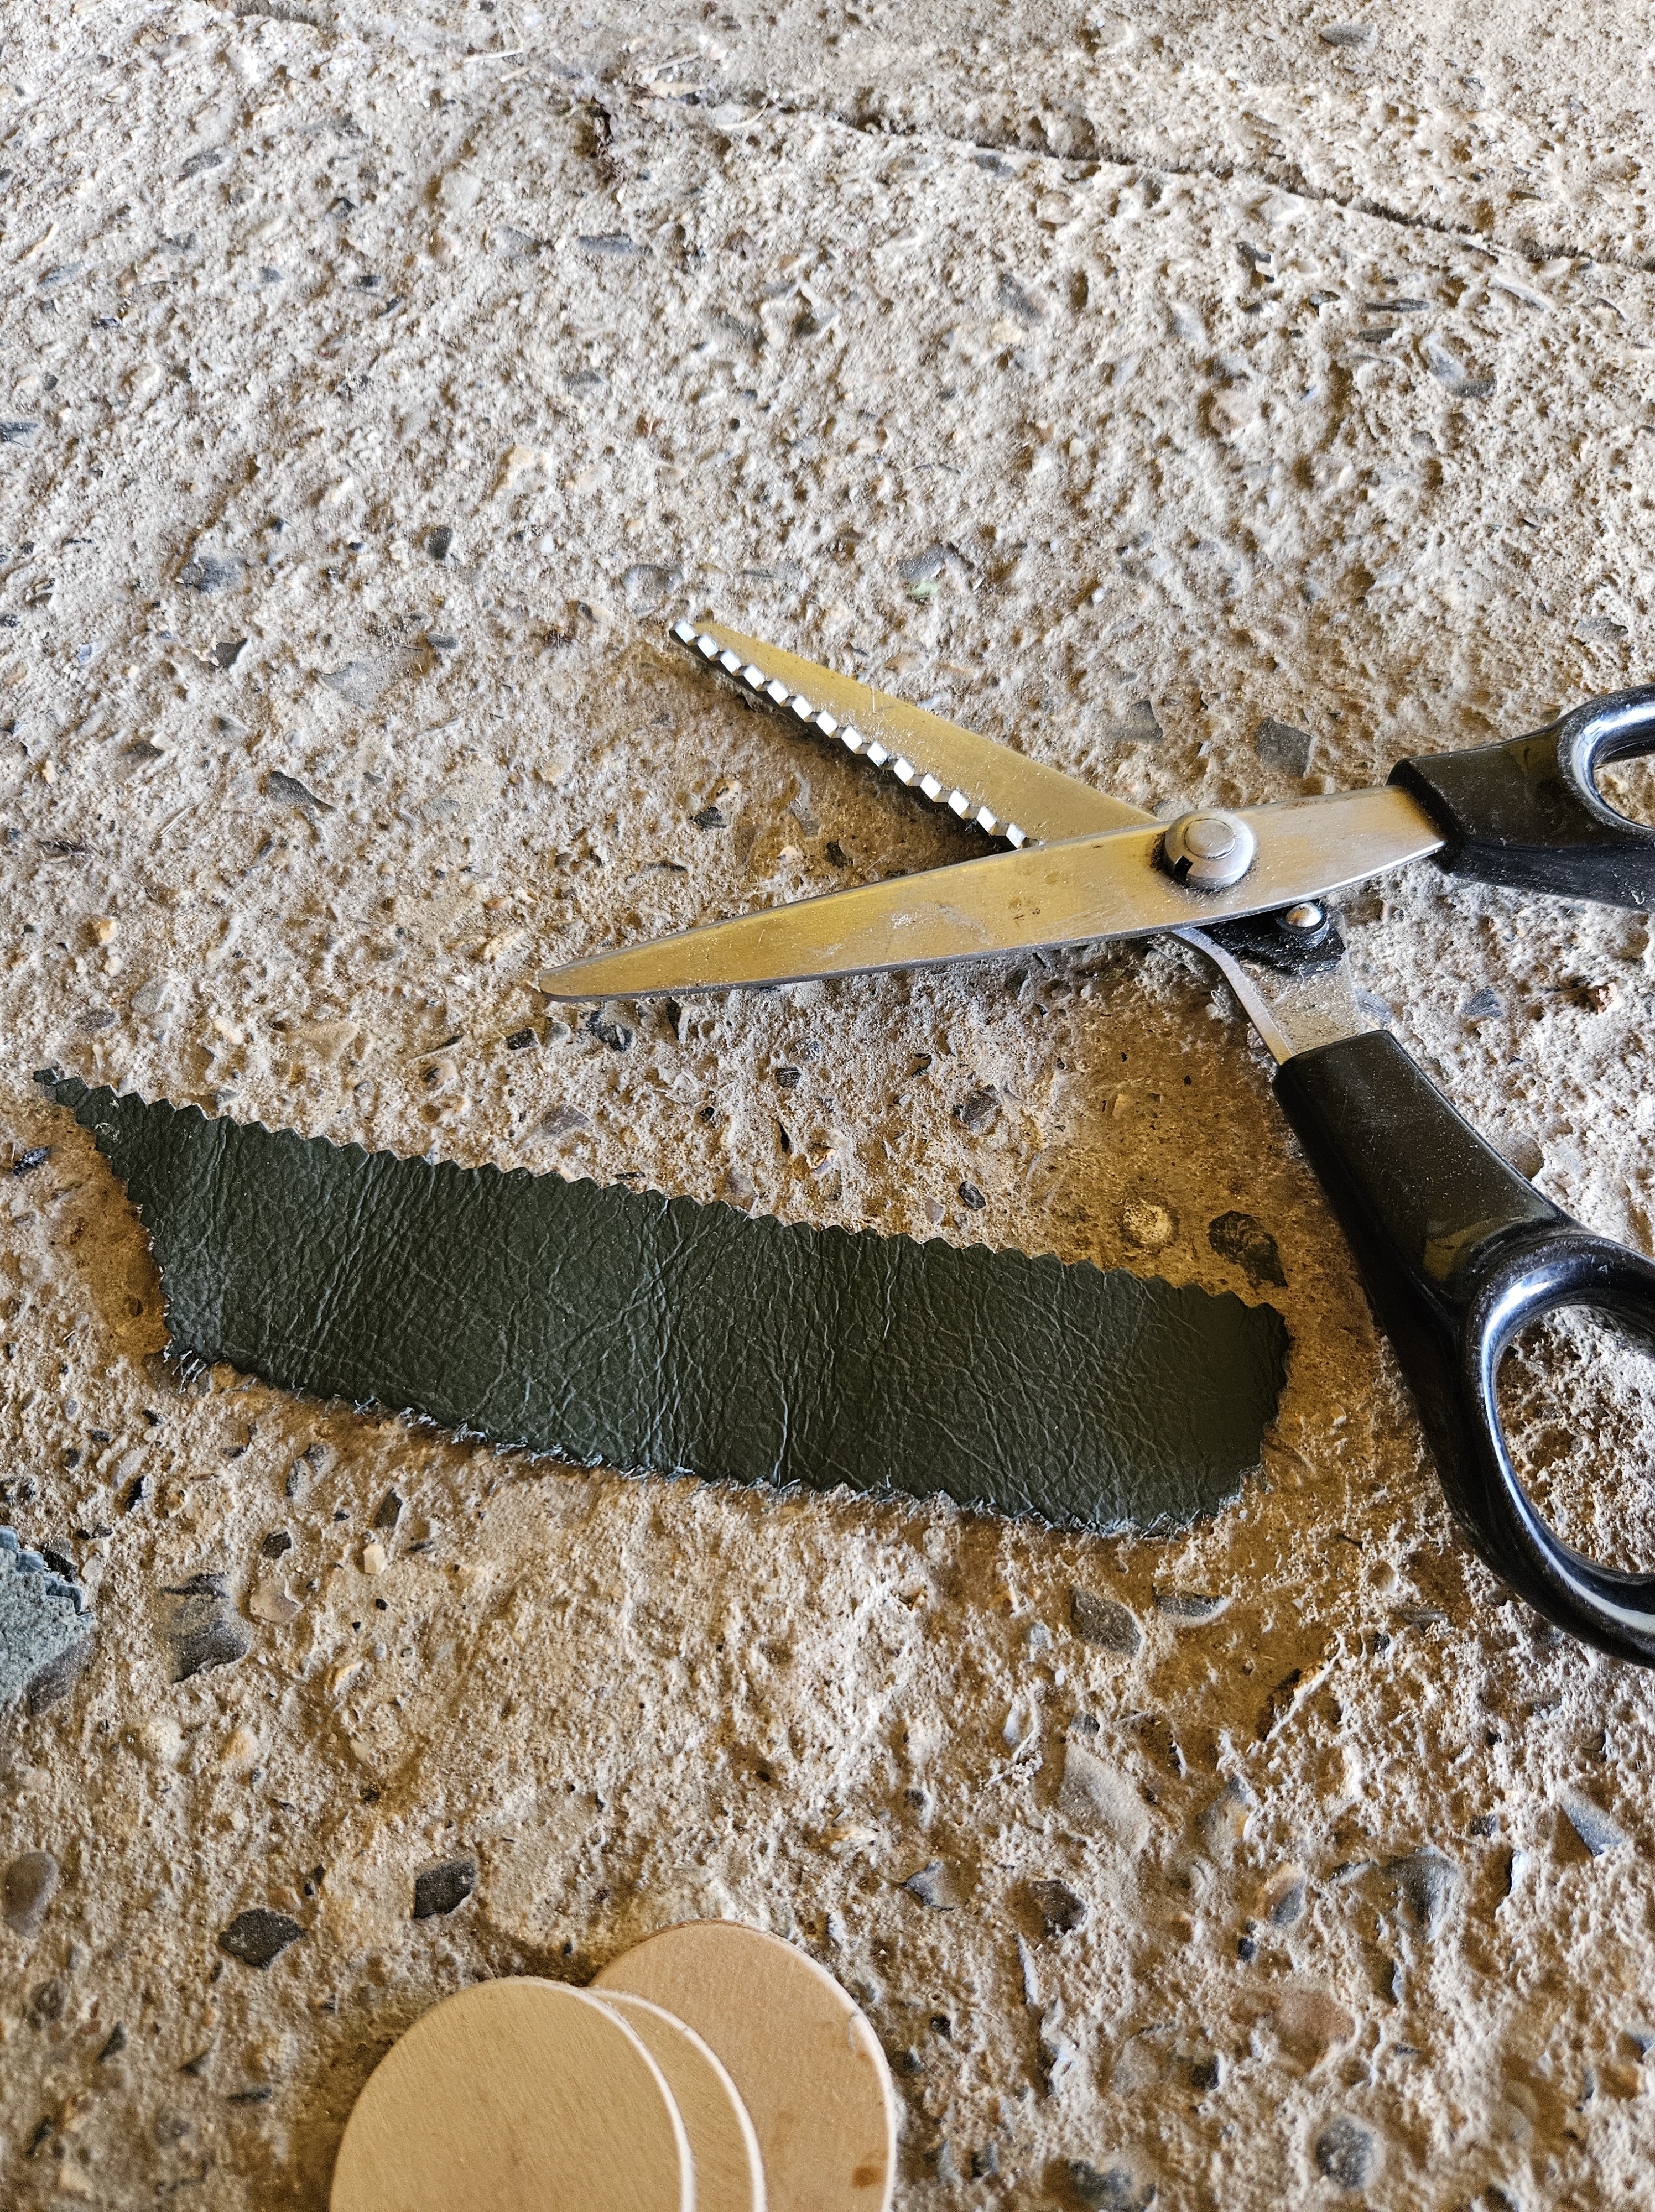
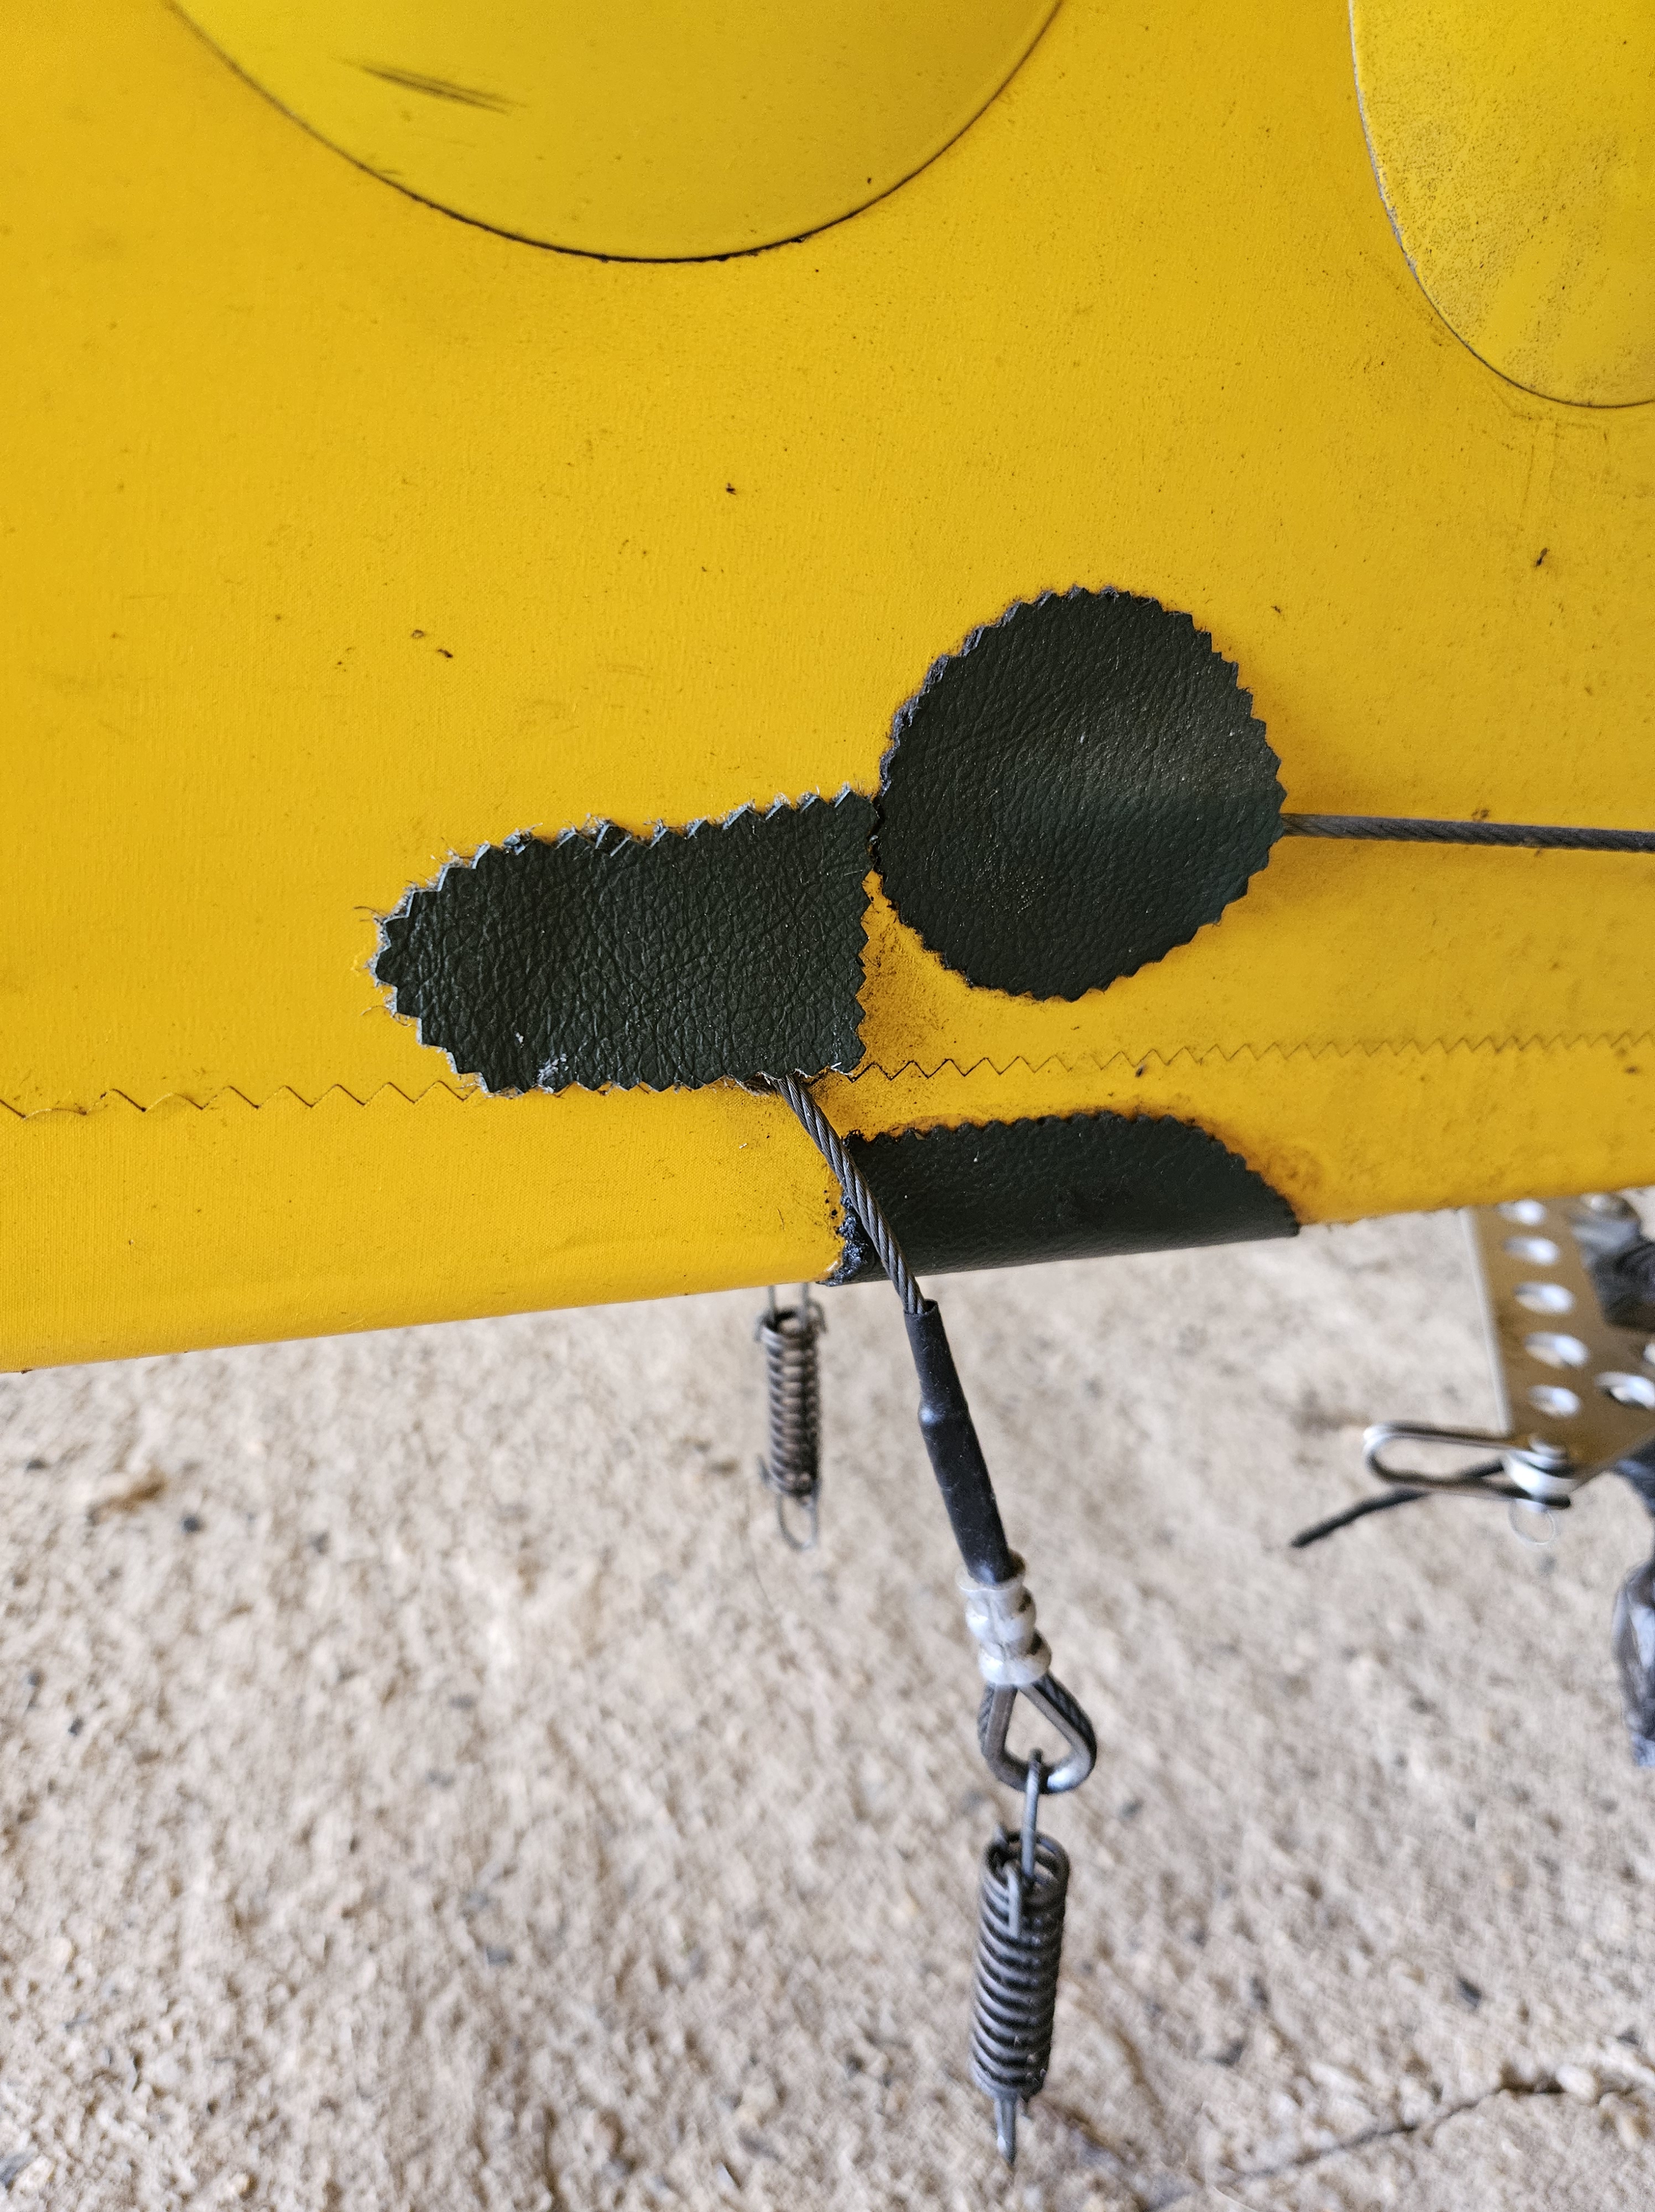
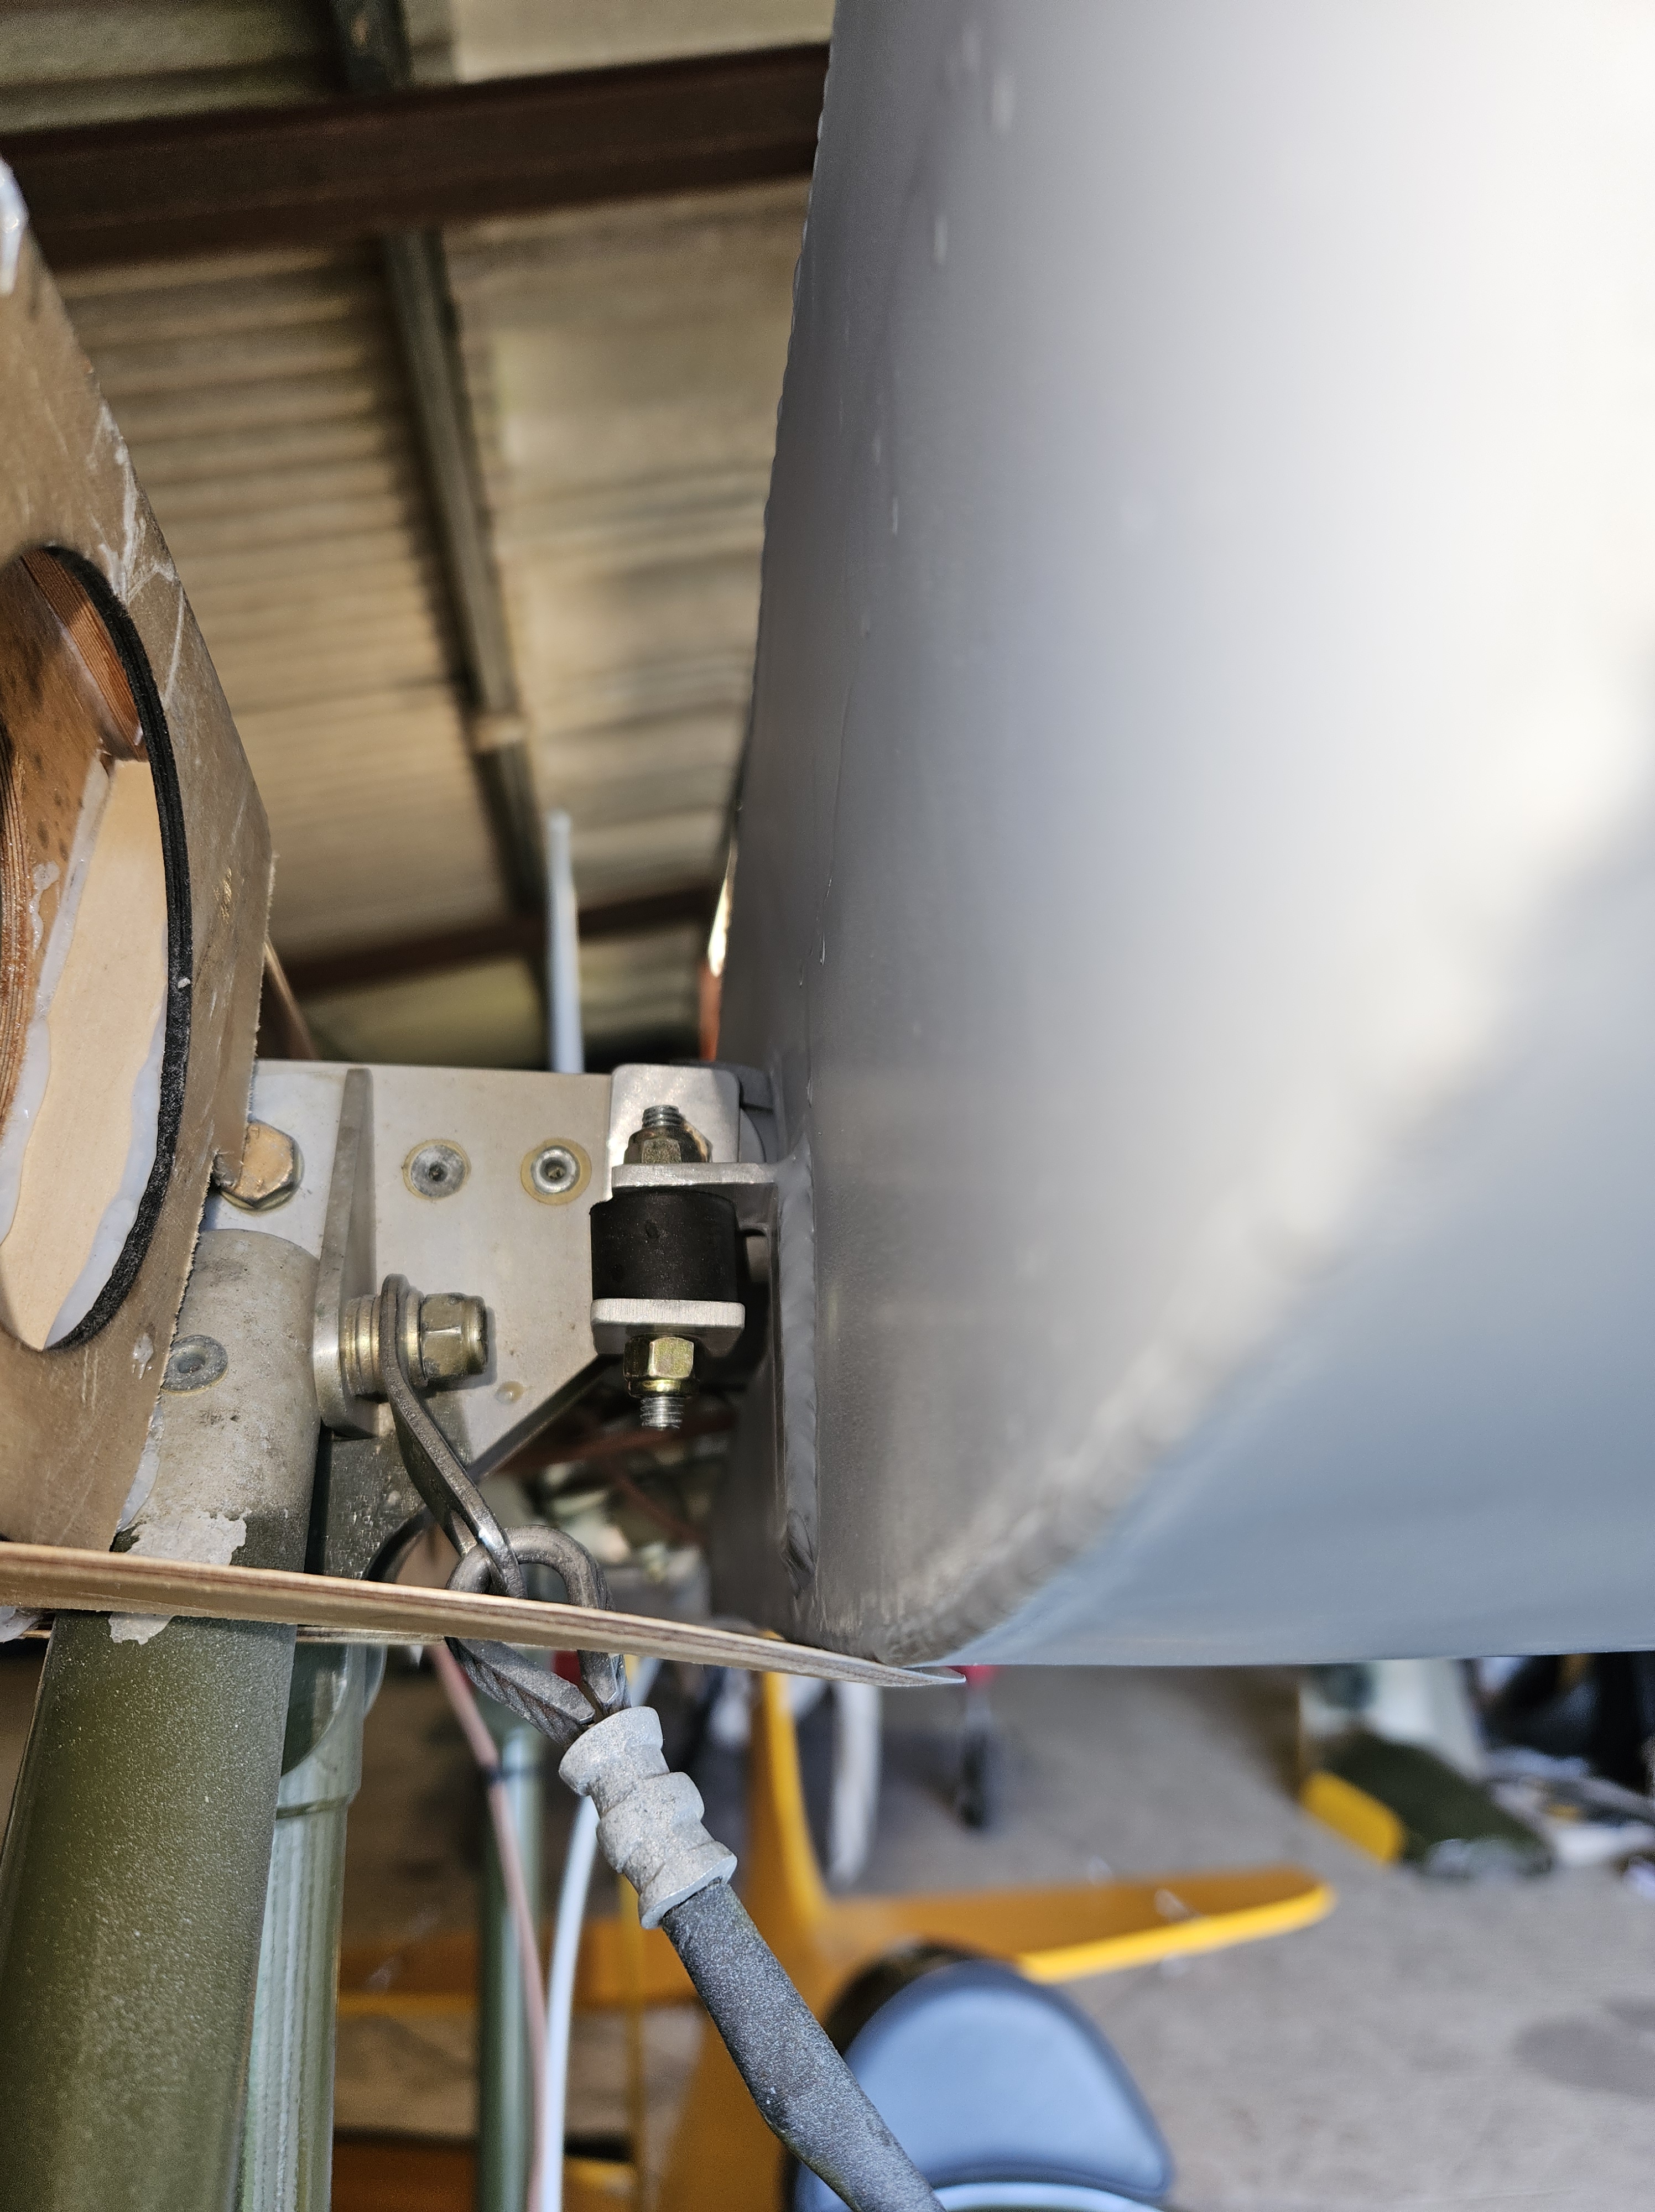
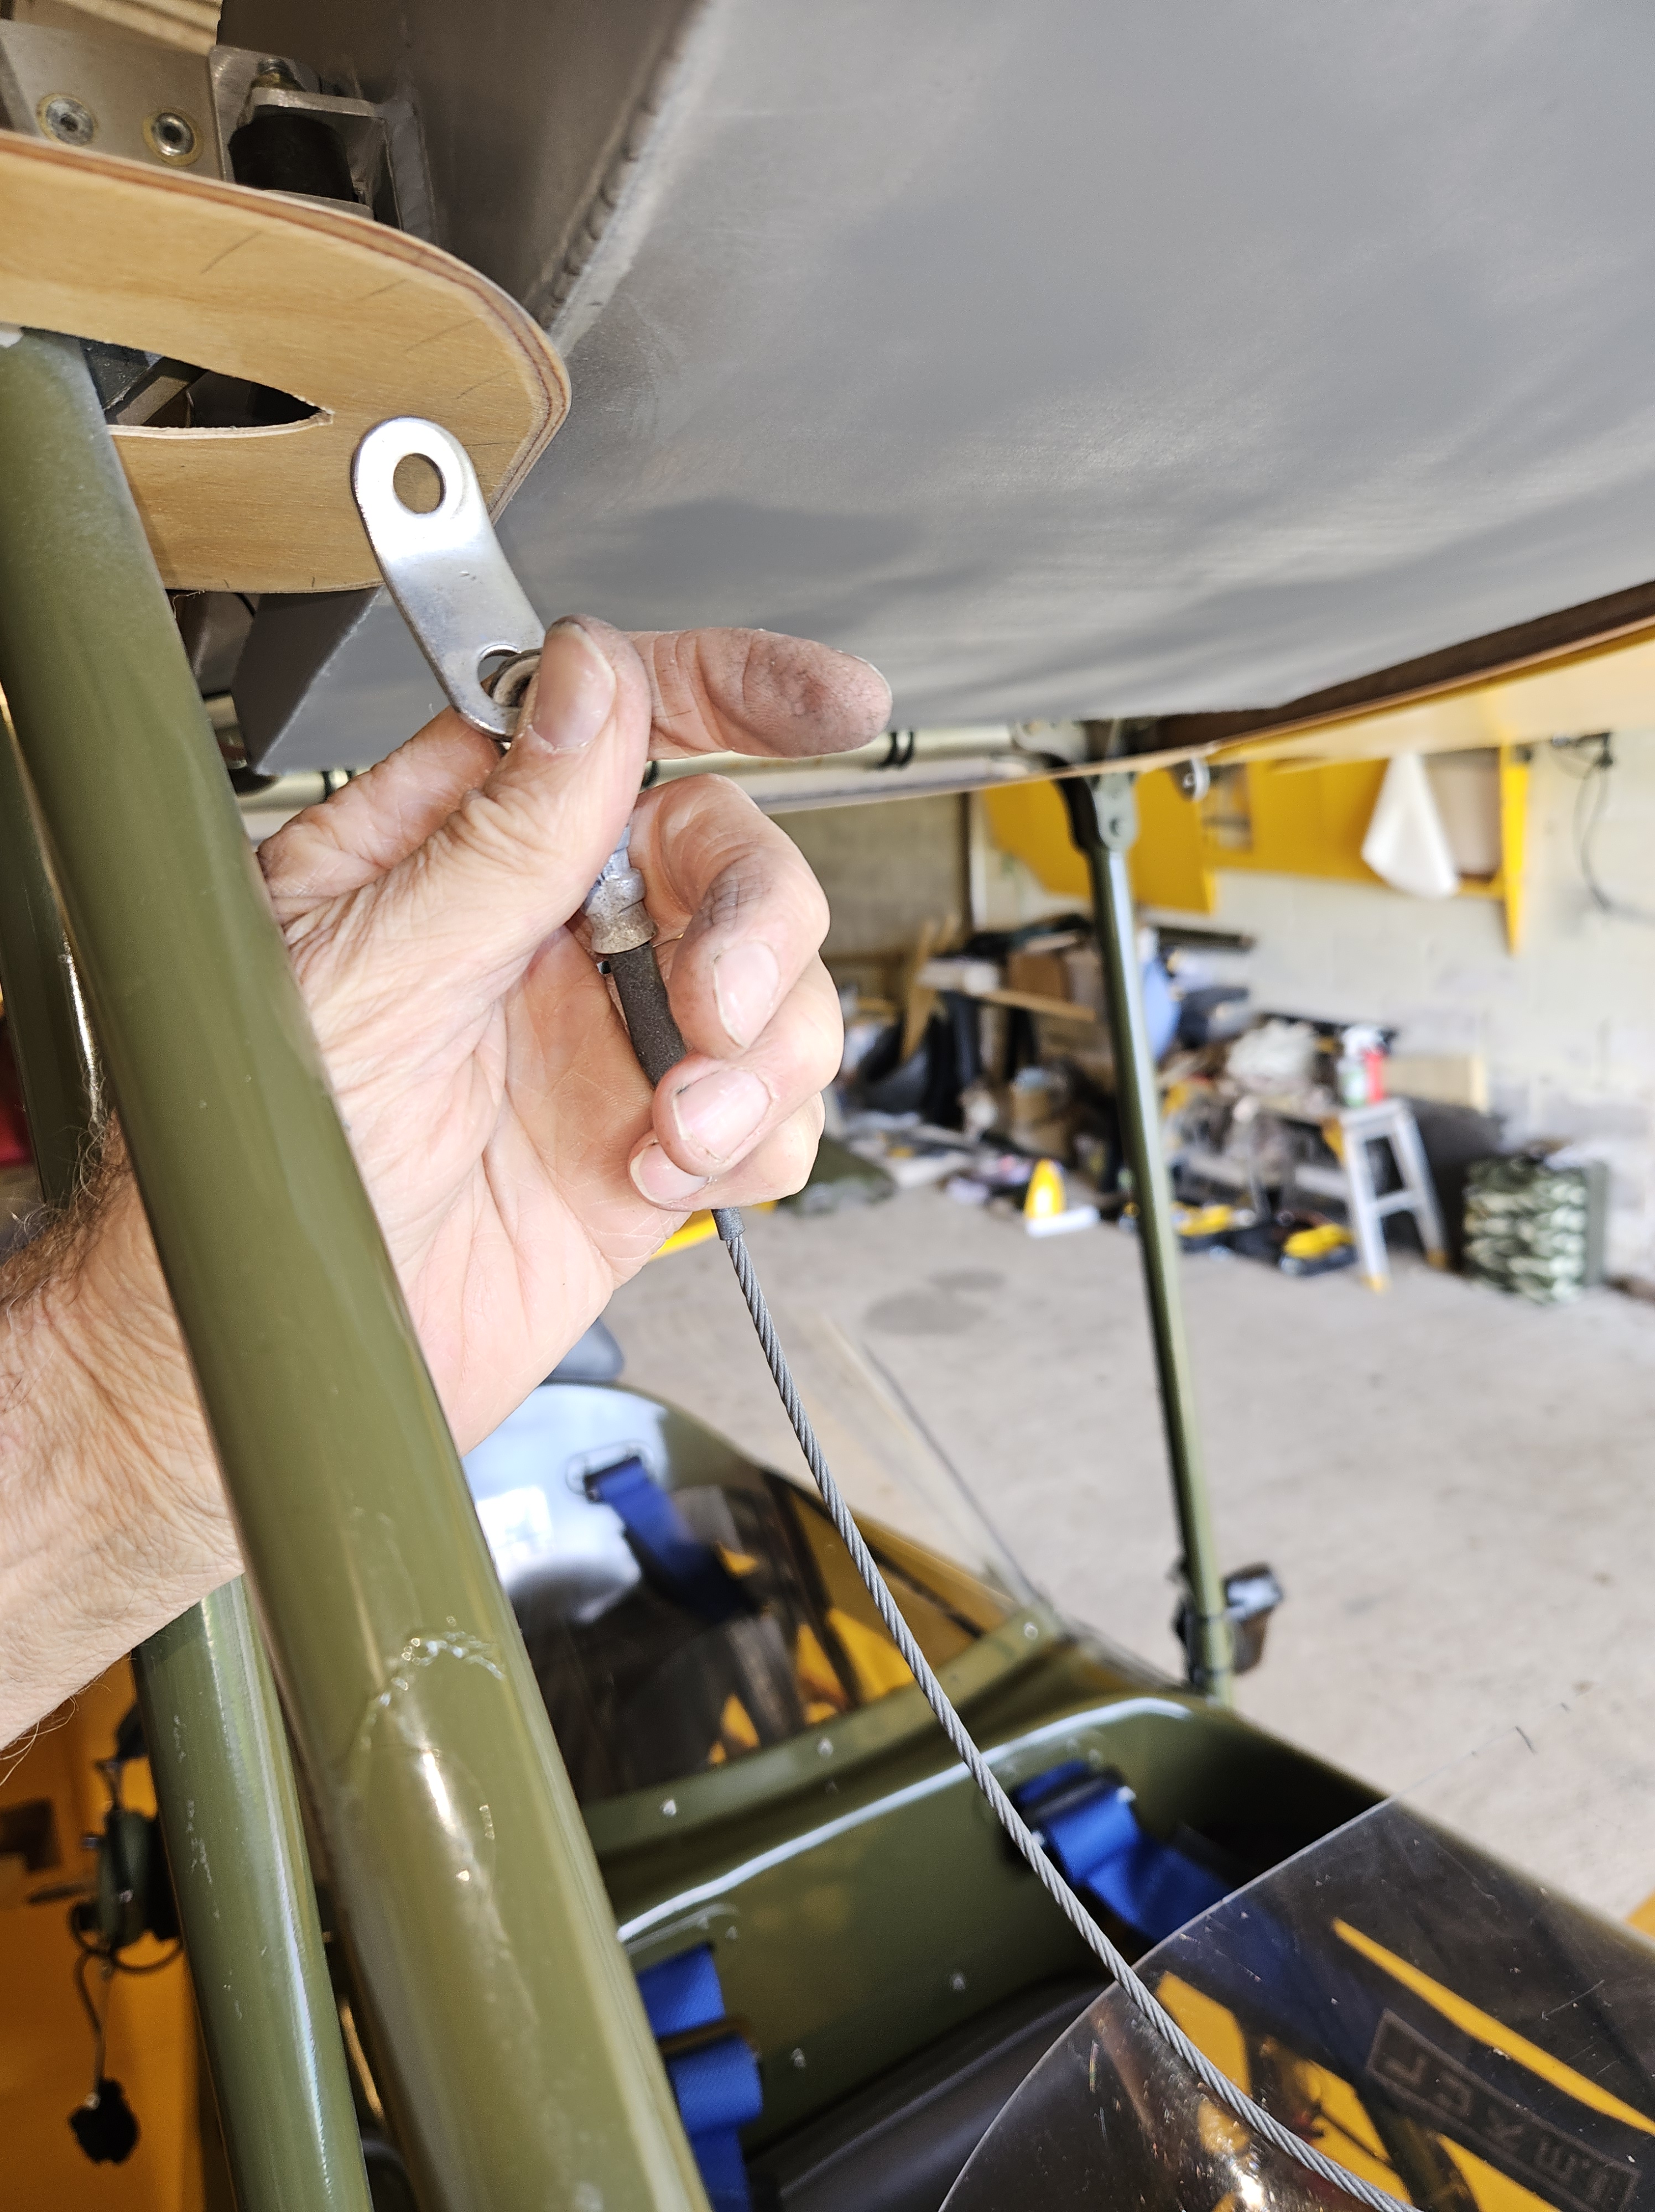
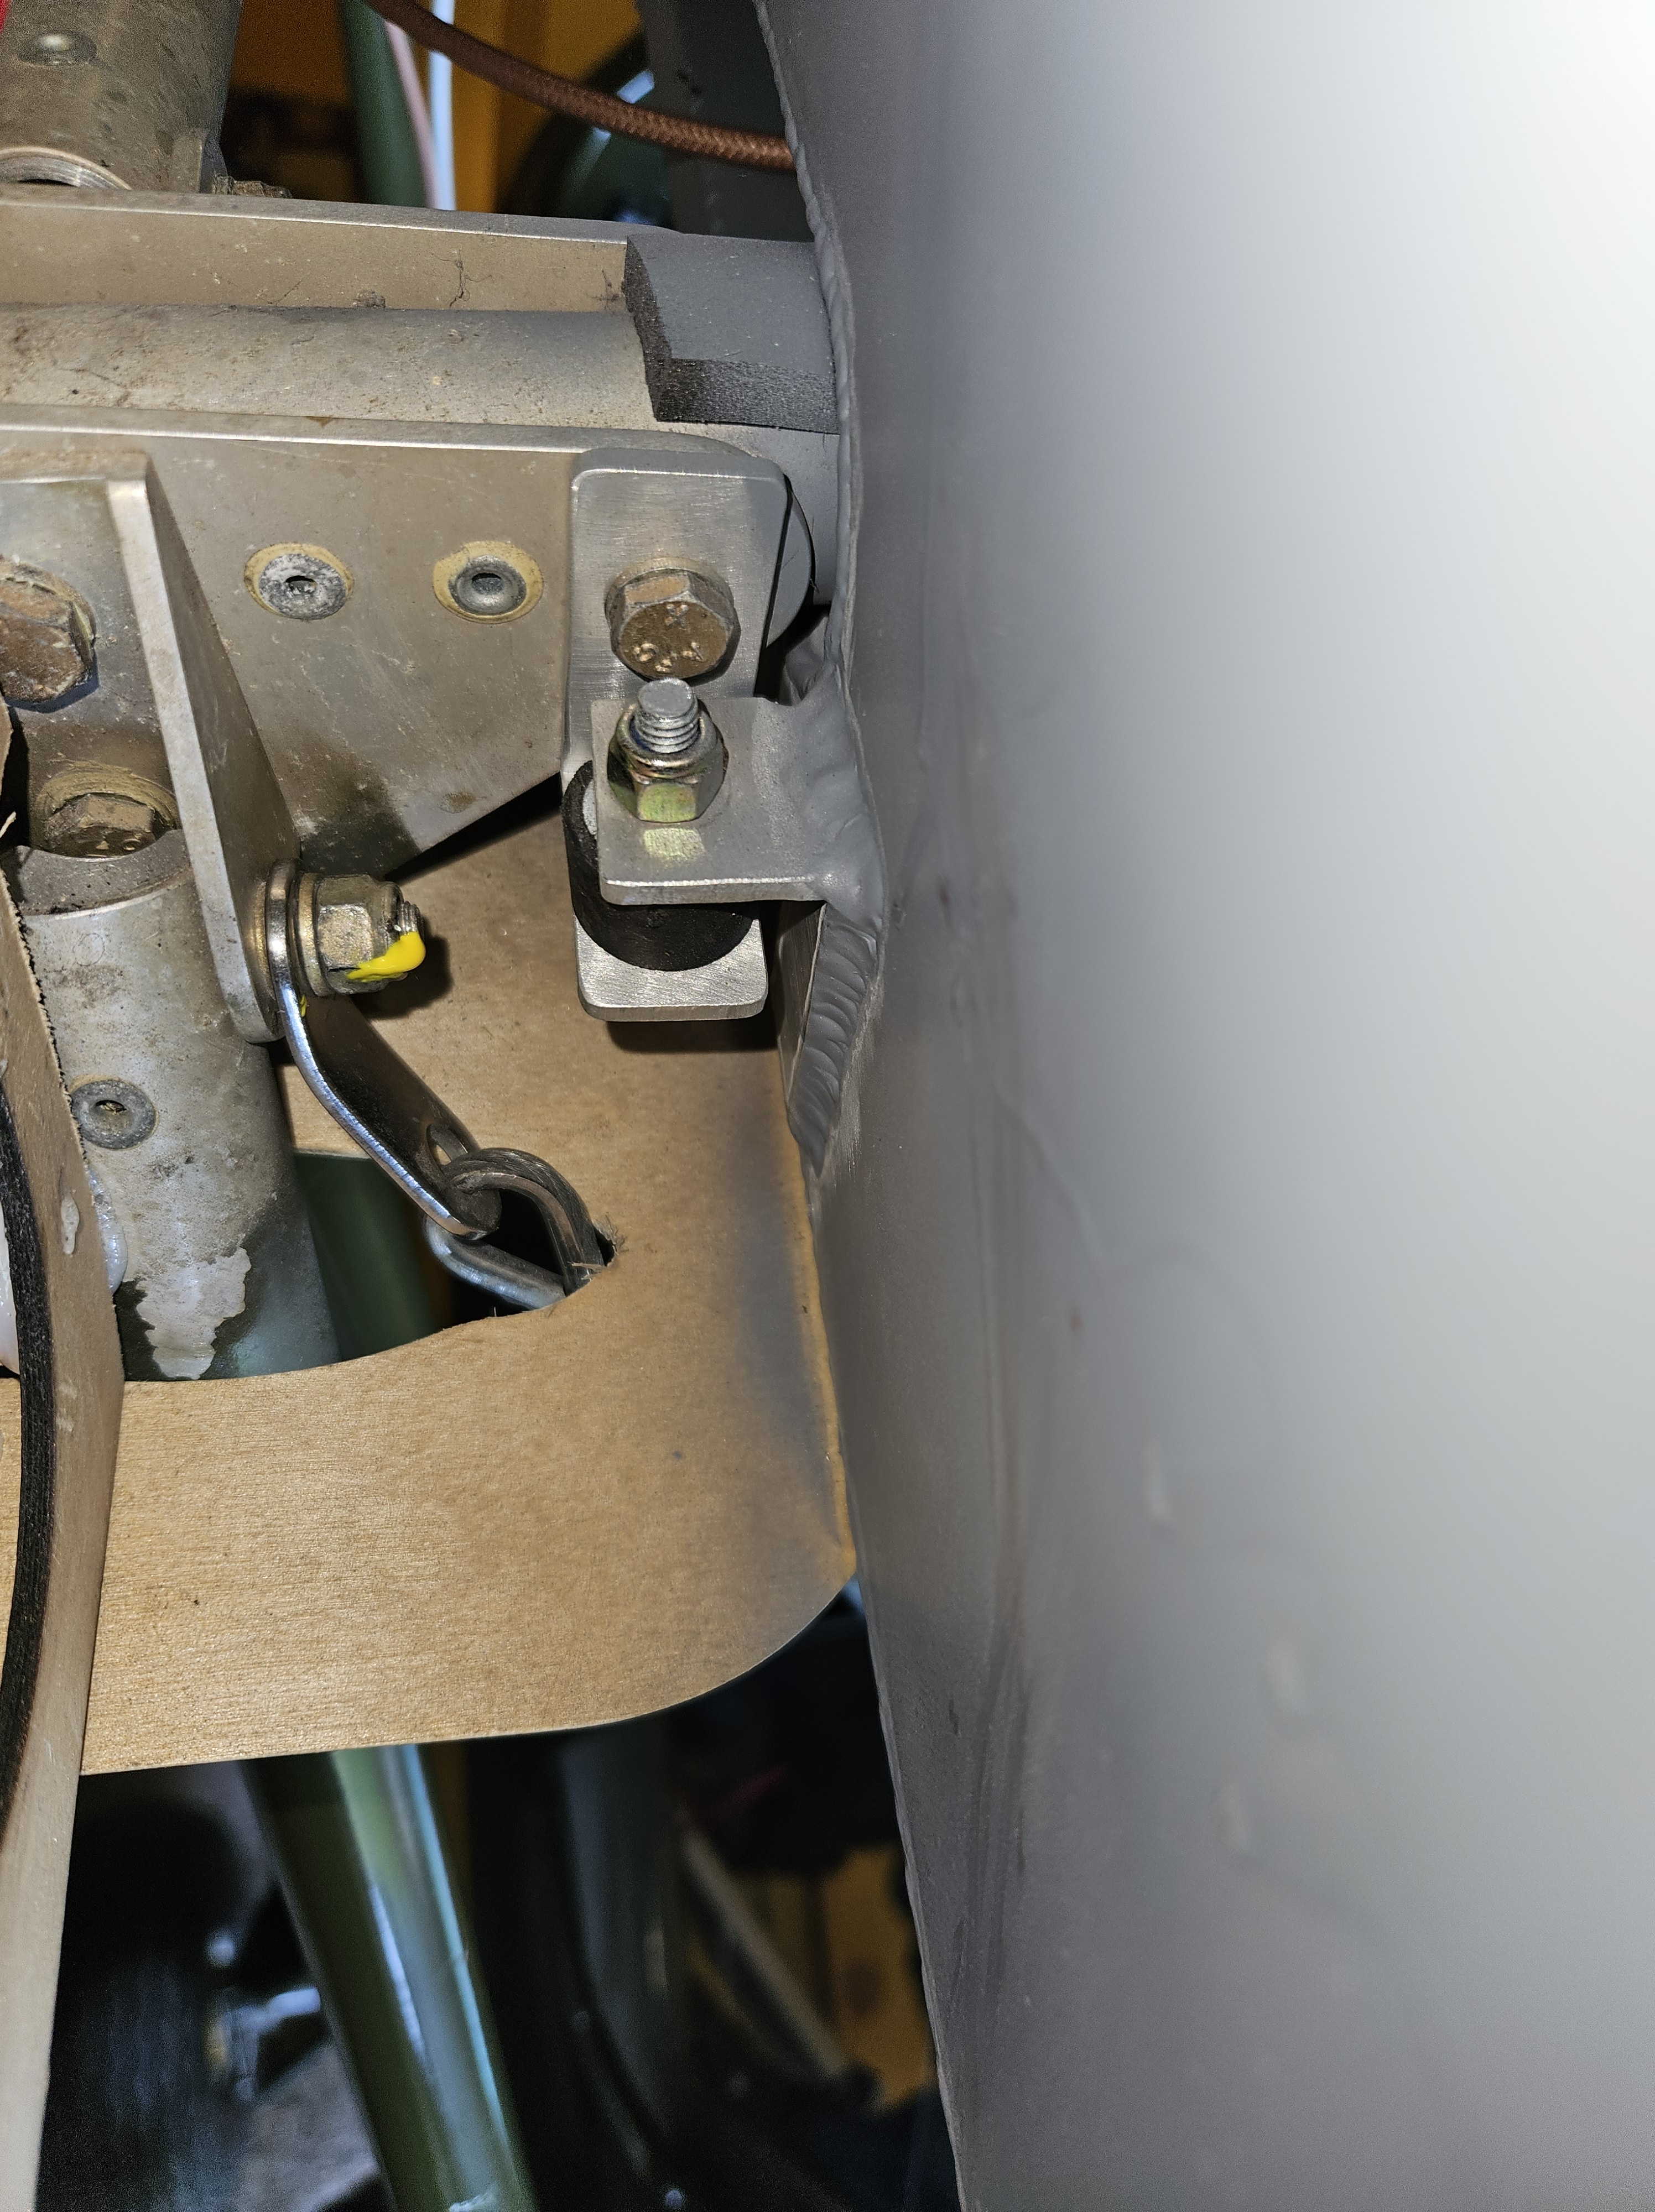
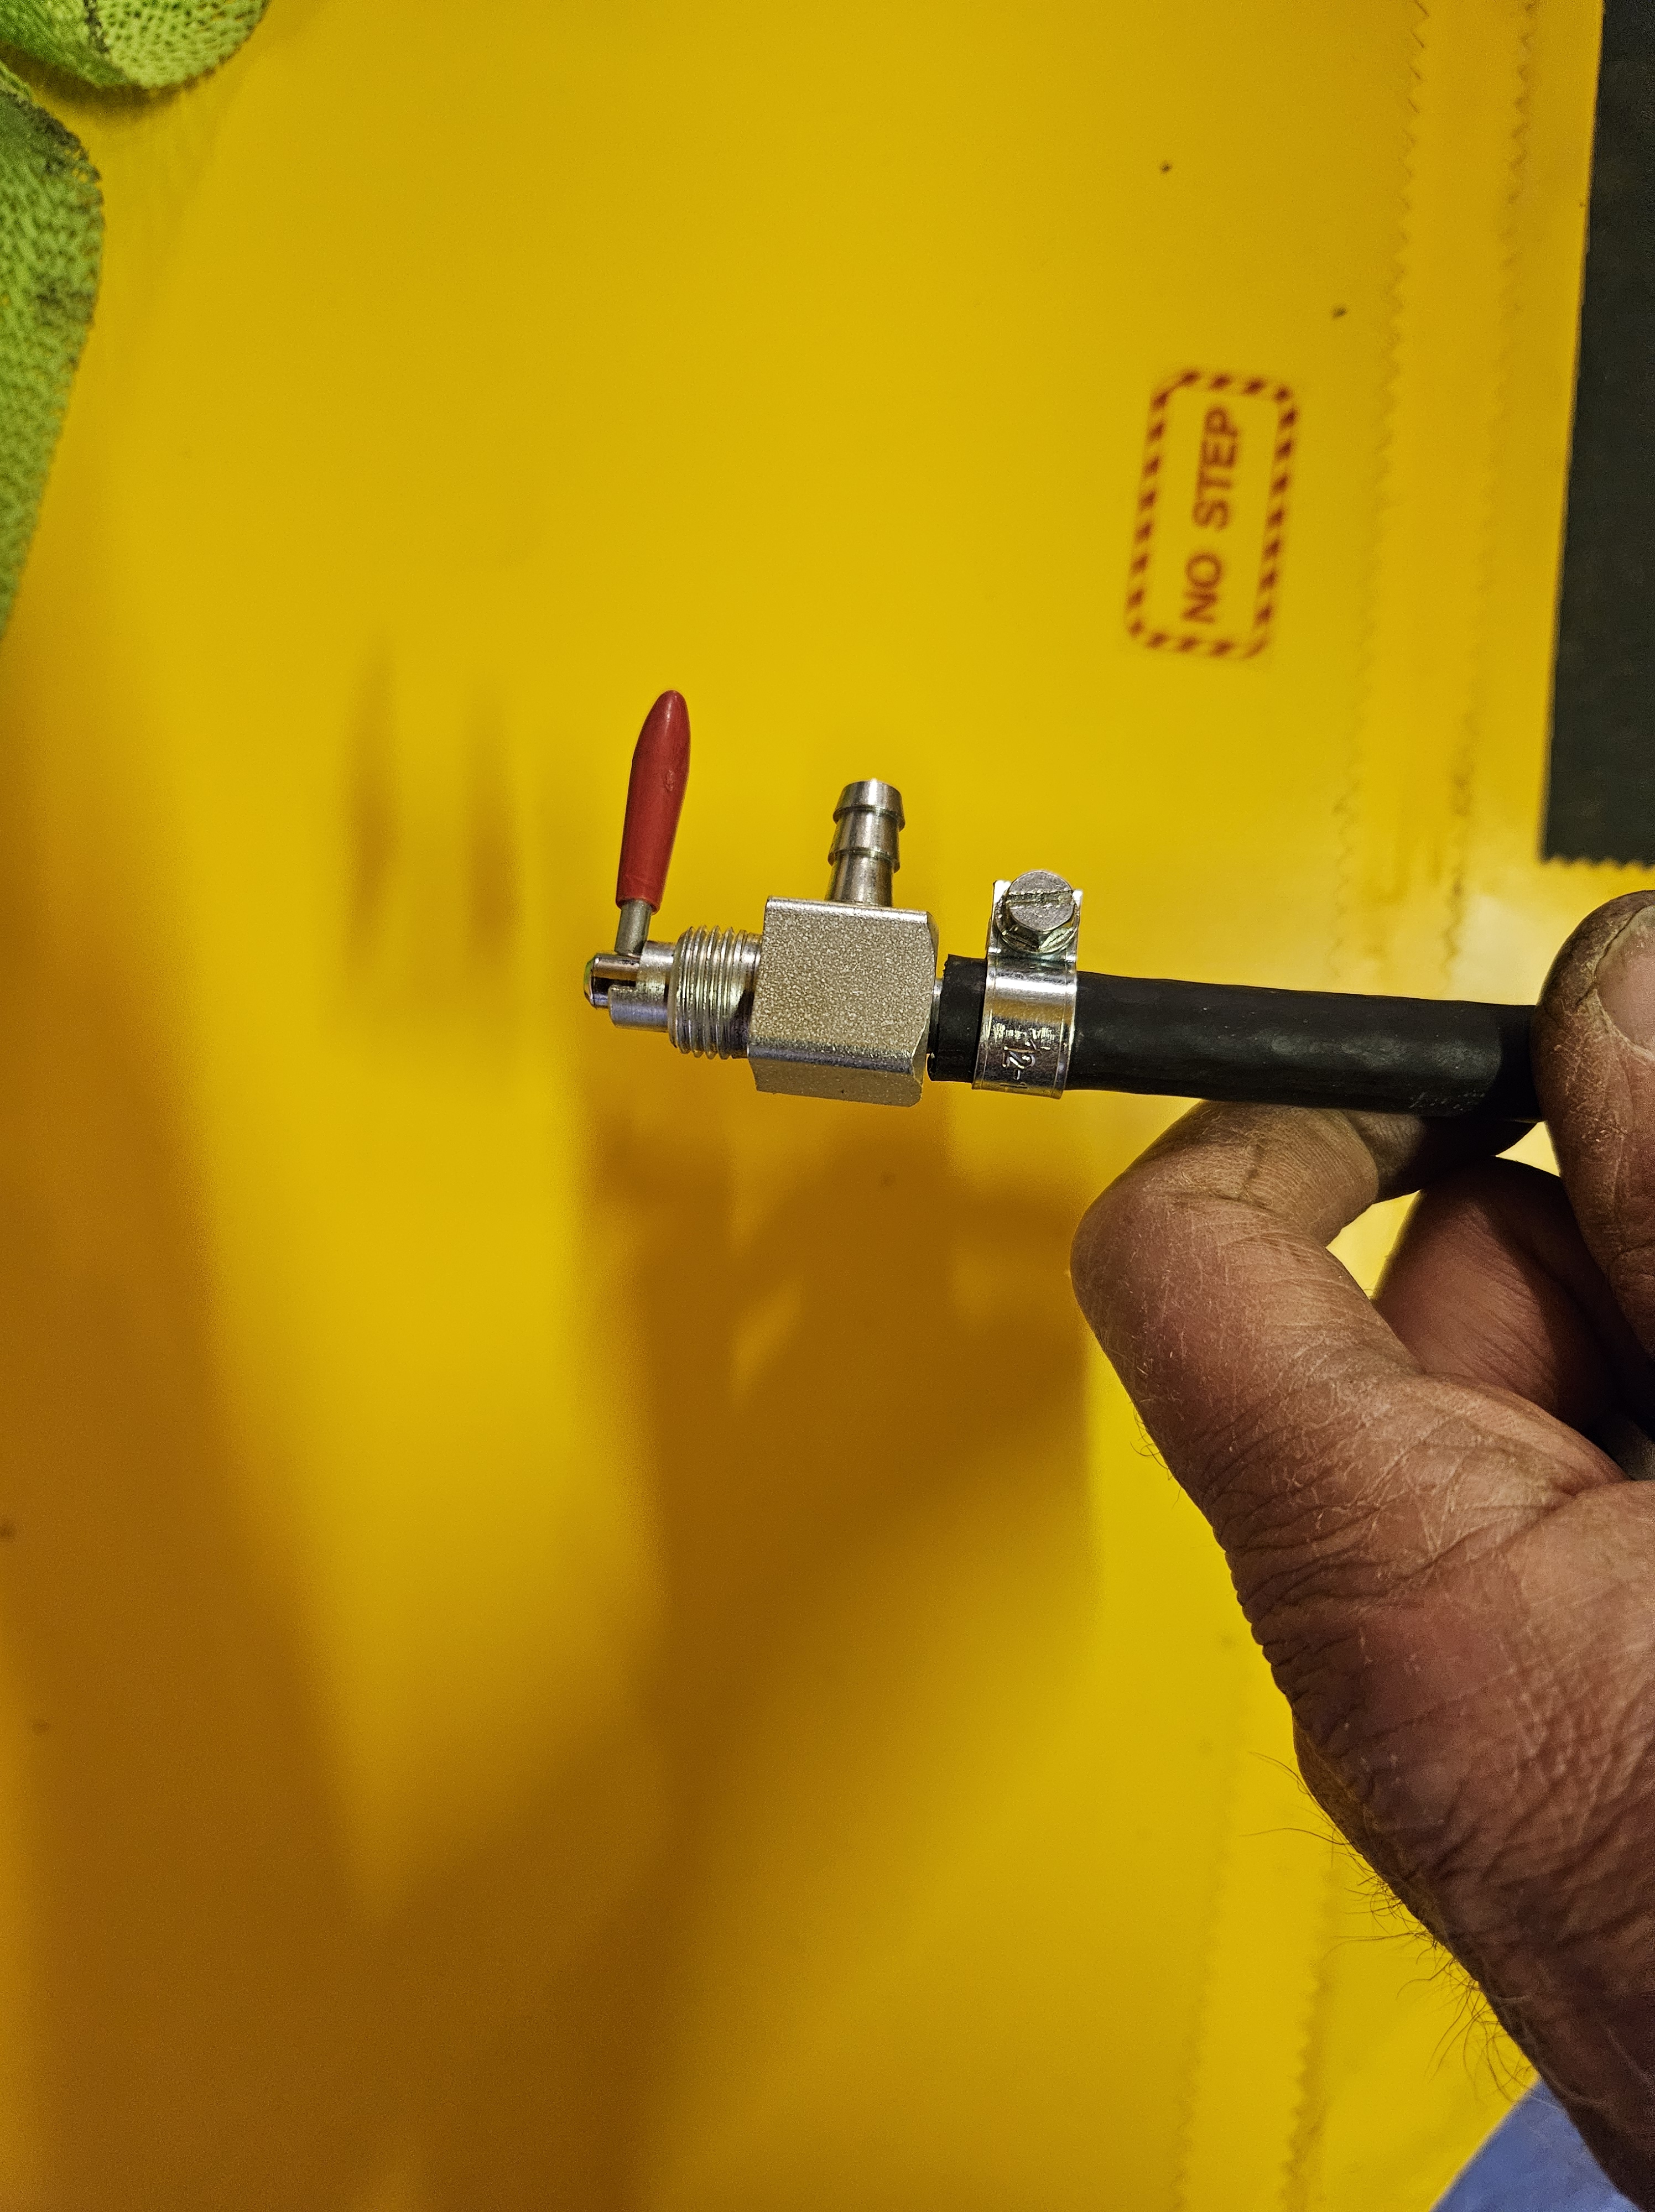
It turned out to be easier than I thought, there being 2 threaded holes in the tank, one at the top and one at the bottom. These were fitted with the tapered brass bit rings that allowed the clear tube to be warmed and slipped over and suitable clamps applied.
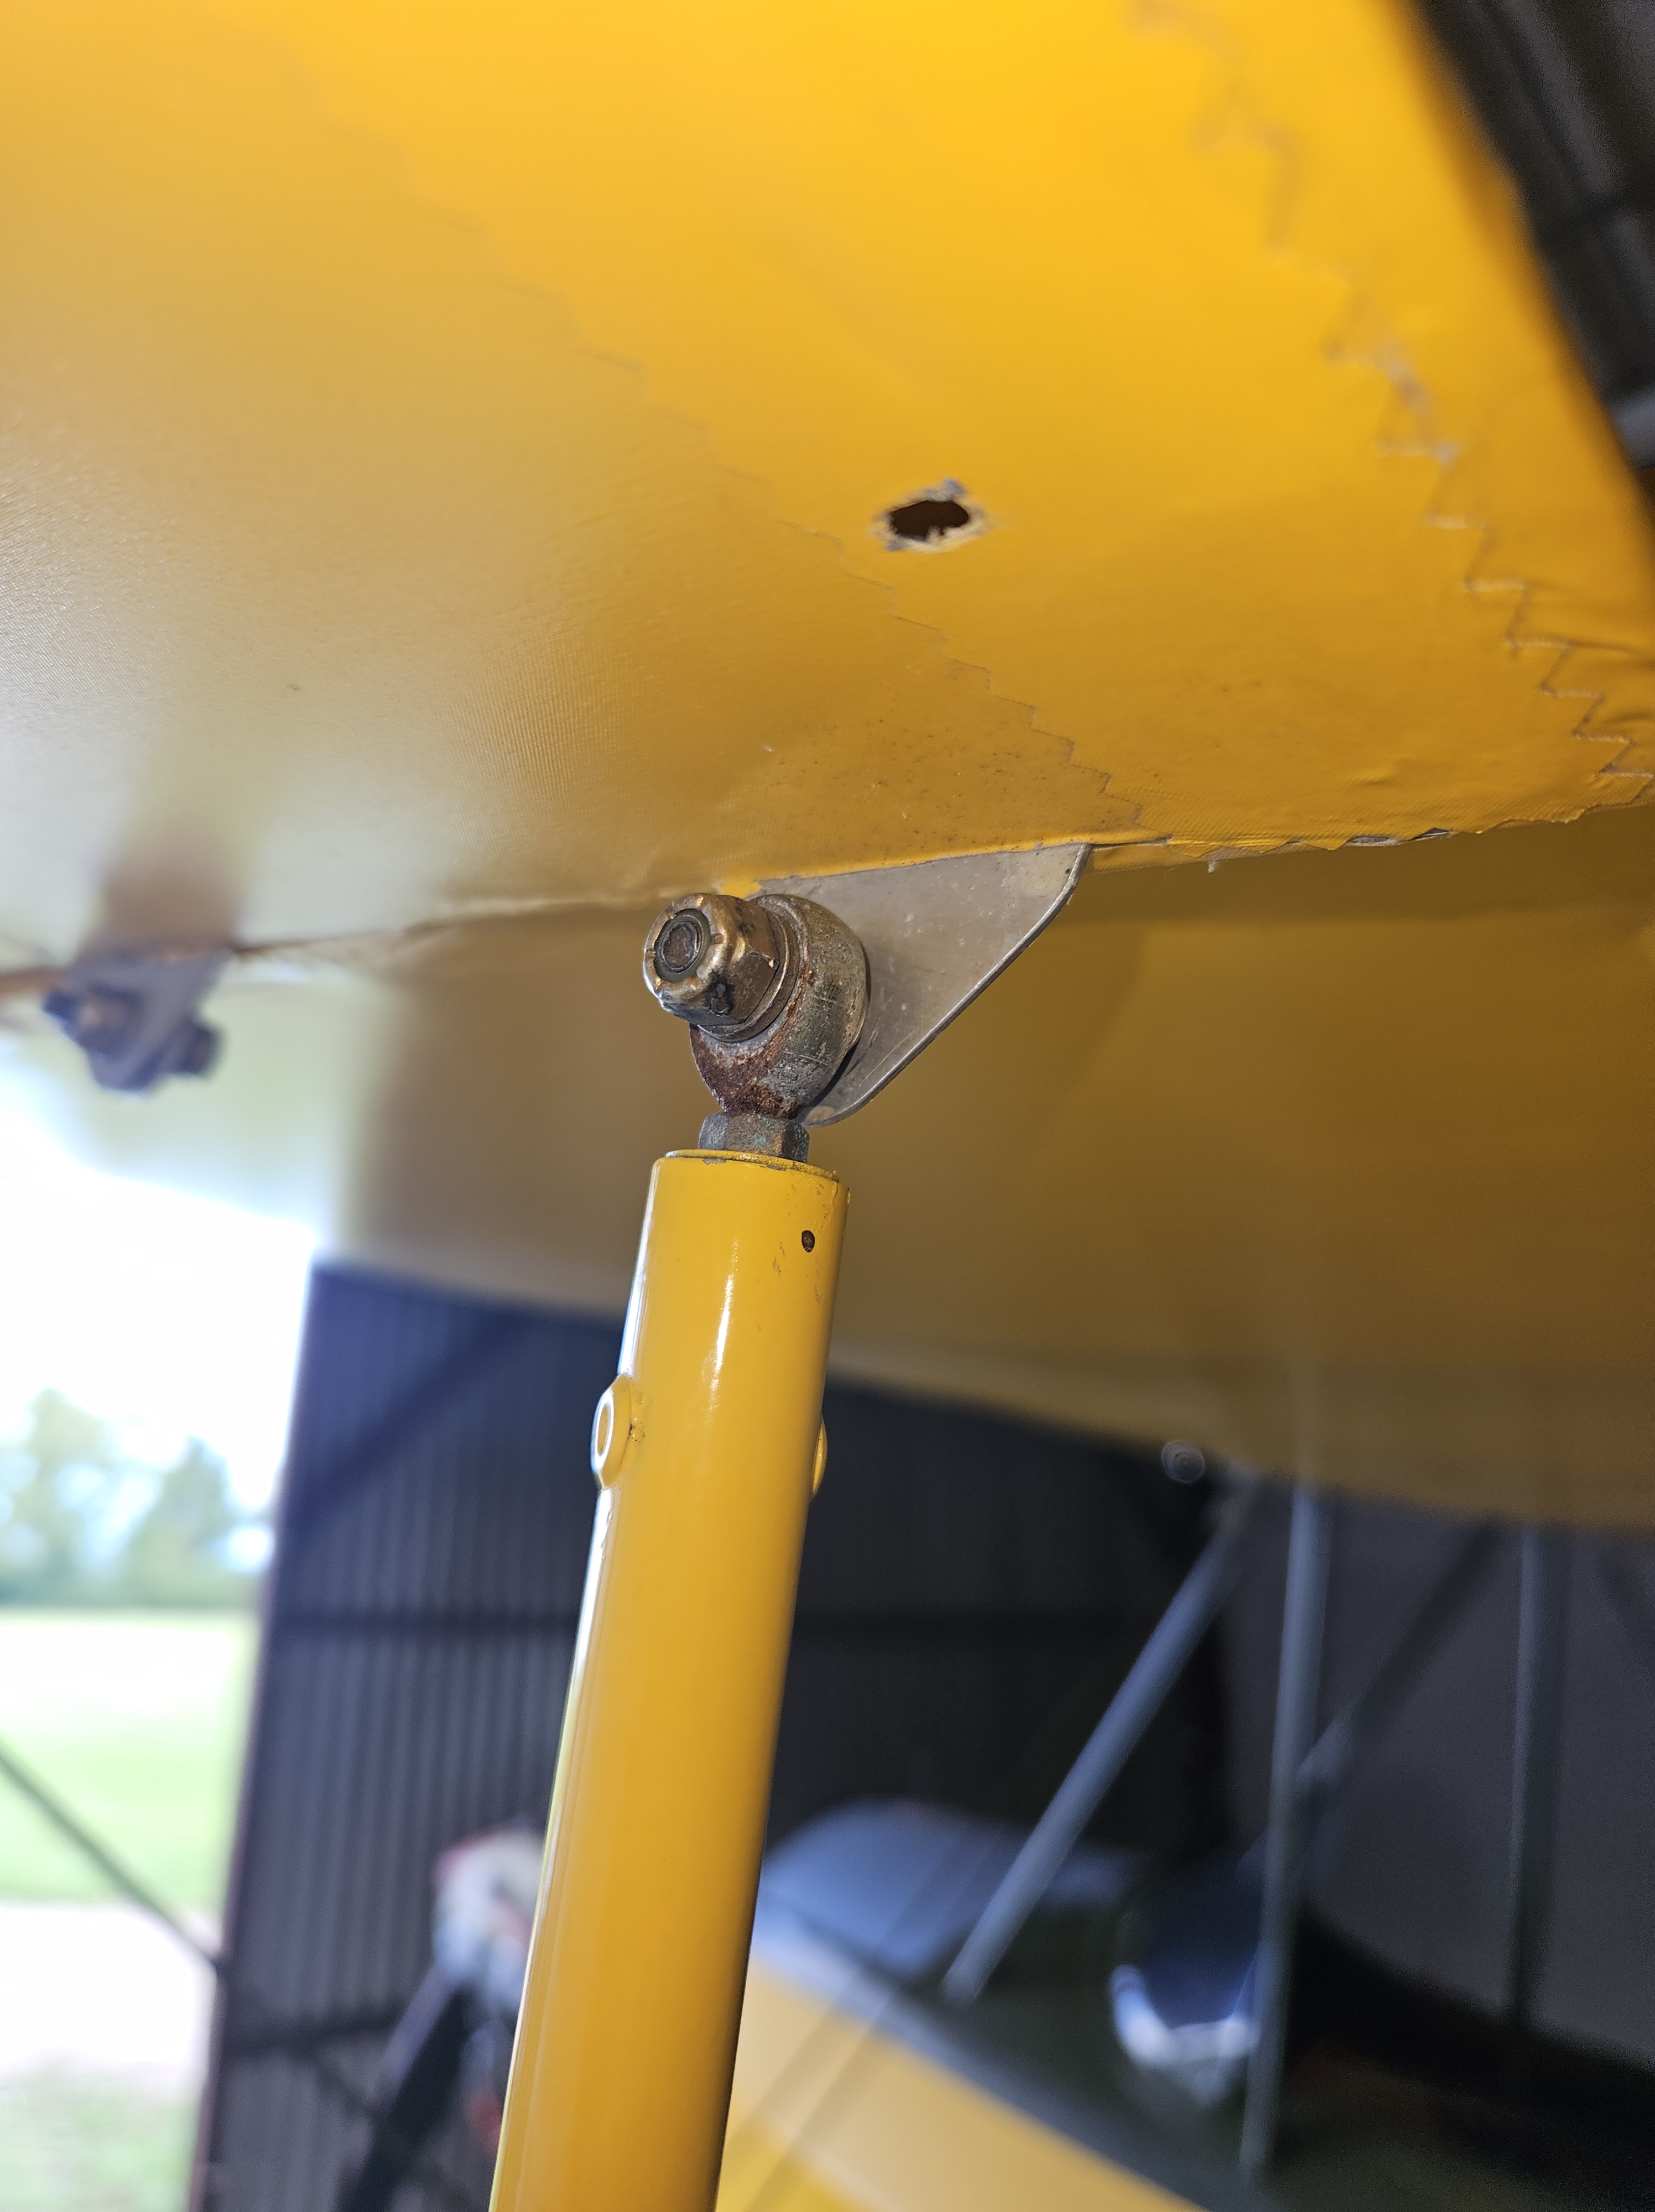
A hole was drilled in the dashboard and the tube fed through. I’d opted to not use the large alloy arm that TLAC supplied as my (long ago fitted) panel didn’t lend itself to have this retro fitted.
Nevertheless, the tube fitted neatly on the right hand side of the P2 panel- so I should be able to see the top 6” or so even with a passenger run situ.
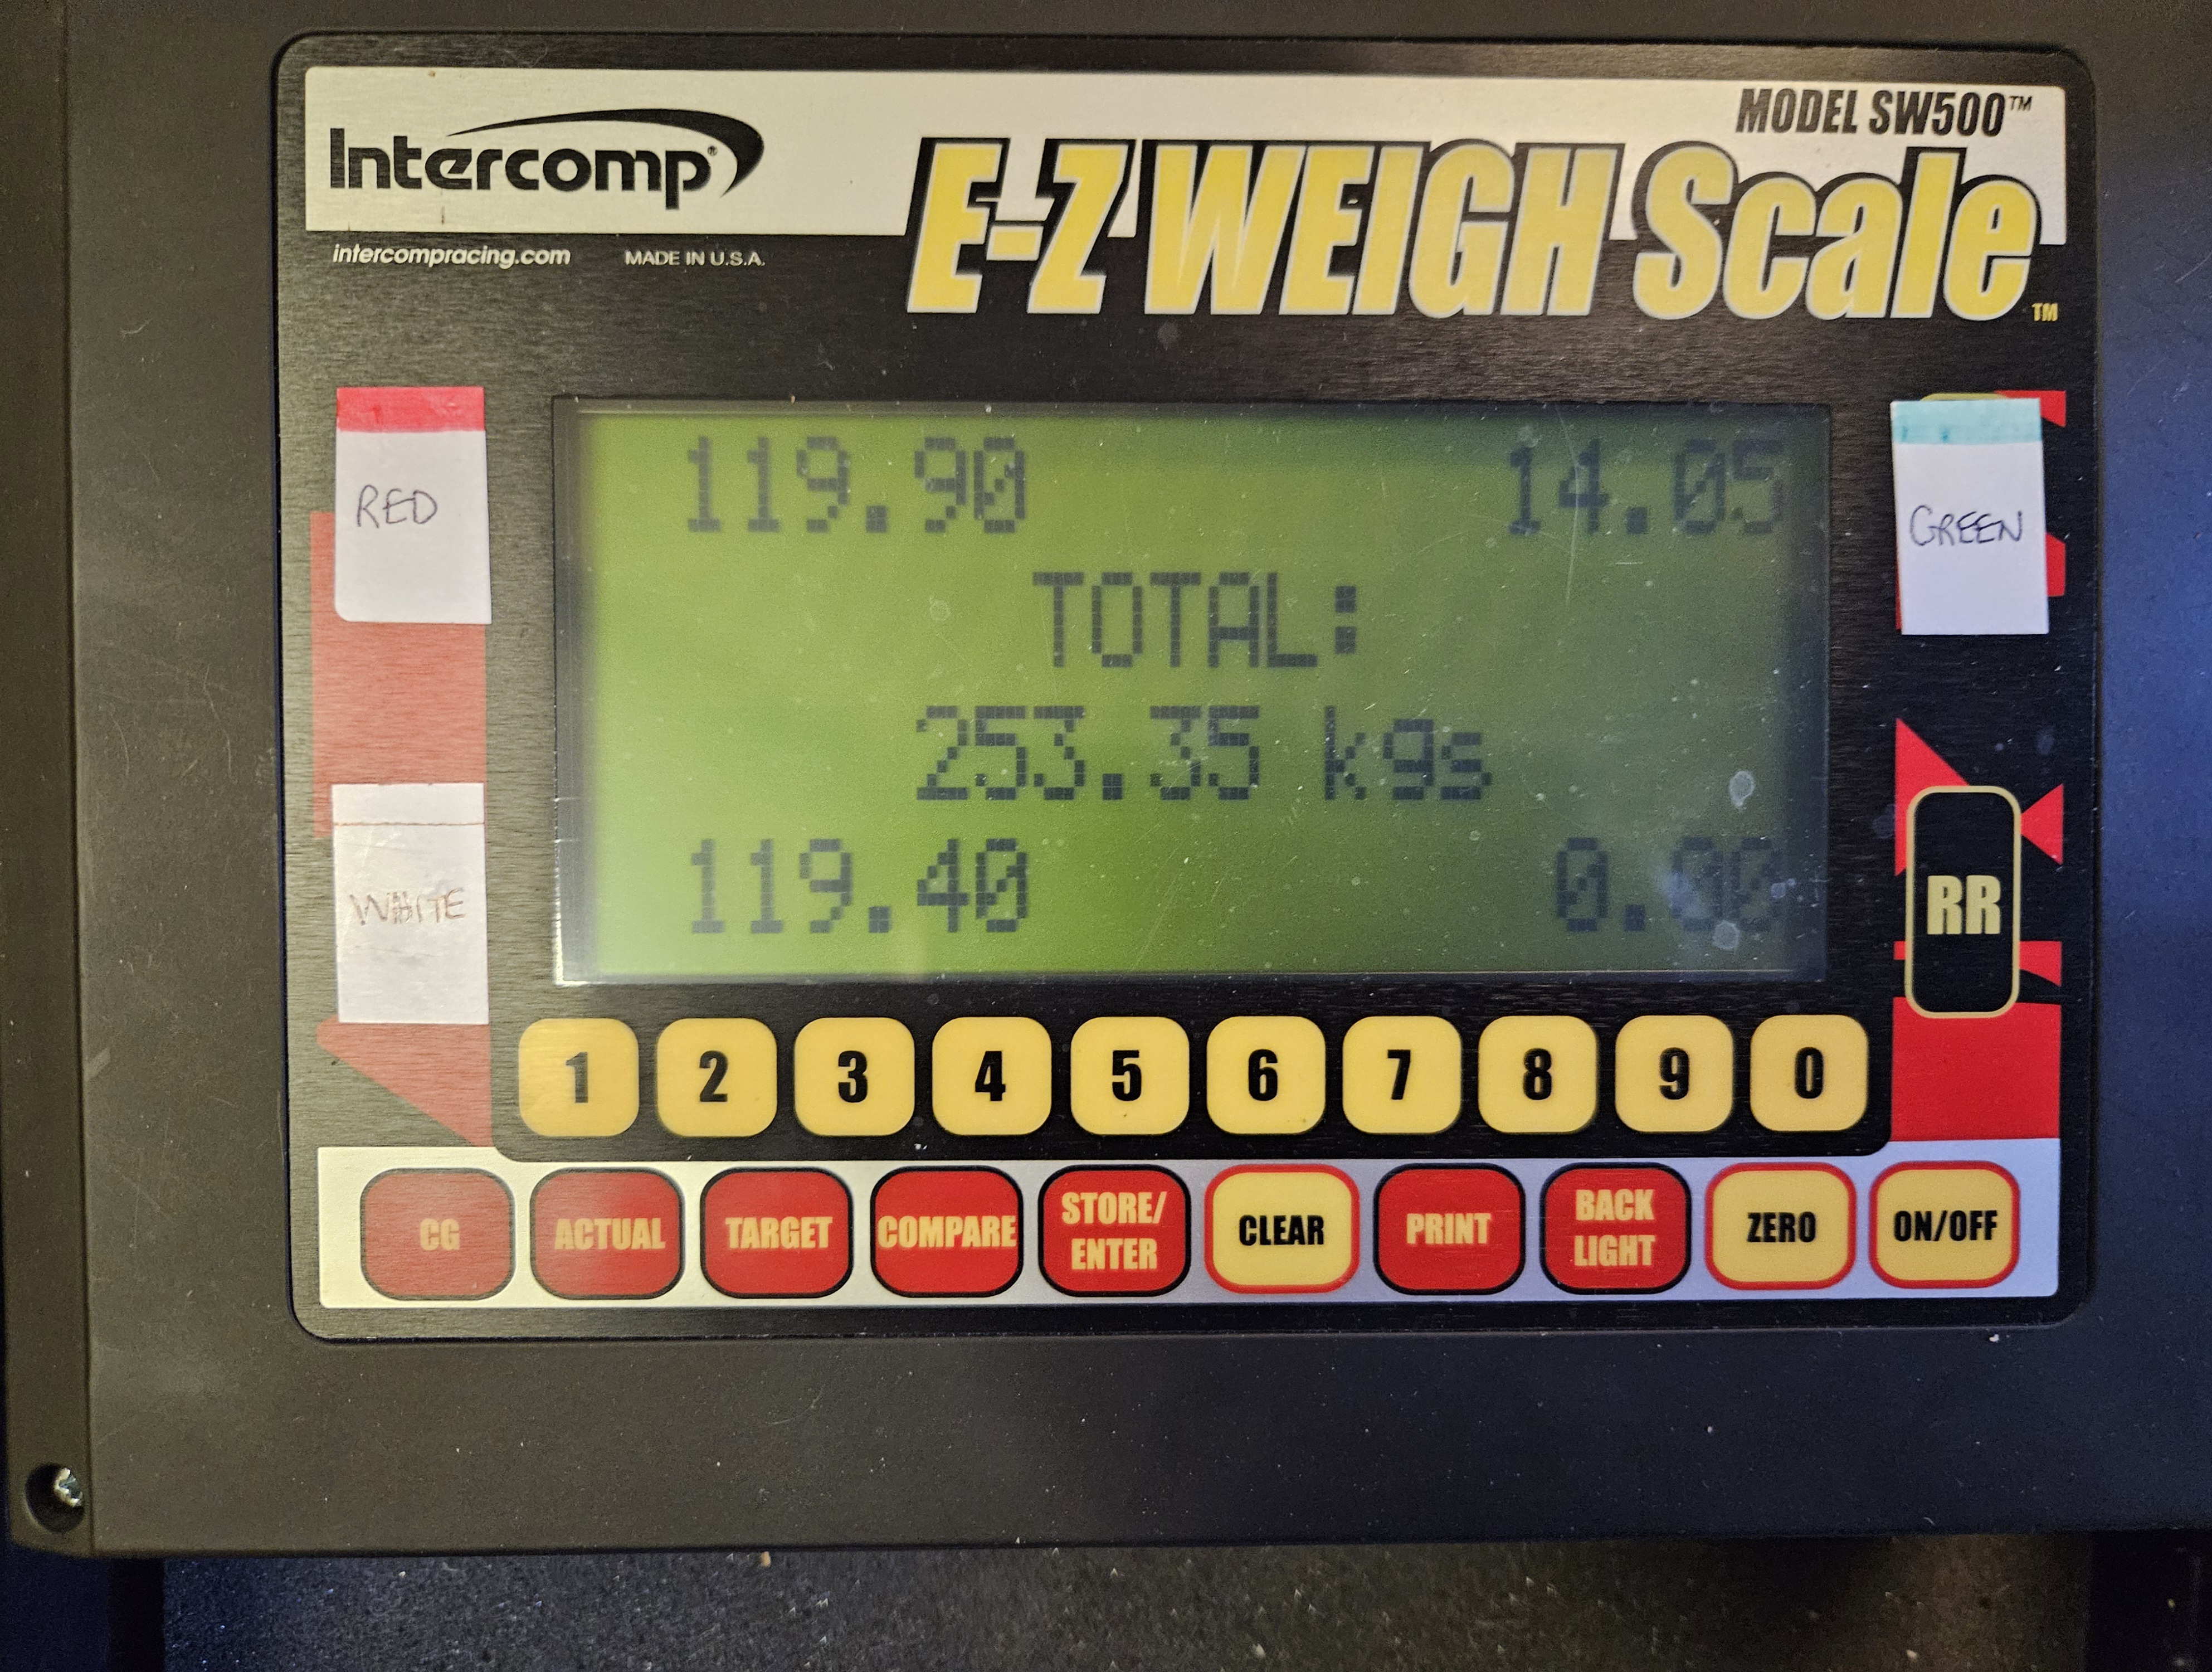
Having drained the tank to fit the brass fittings, I then put a quantifiable amount in, 20L from my new Jerry can.
This gave a very satisfactory measure at pretty much top of the dashboard level. I’d expected lower, so lifted the tail but, after bobbing a little, it settled pretty much at top level again.
So it looks like I won’t get to measure full to top but I will know exactly when 20L left and, once I’ve drained a bit, will set the 10L mark as well.
This should provide e visual reference when I open the tap and dump from the new upper tank too.
All the above said, I have hatched a plan to devise and submit a MOD for a good old fashioned cork float … the sheer visuality of a wire suspended cork slowly going down or bobbing up has that tactile visuality that appeals !
Mike, at Priory is an expert on all things ‘original’ and has given some great advice …