Dashboards and struts and footrests

Finally got a browser that works ! Firefox …

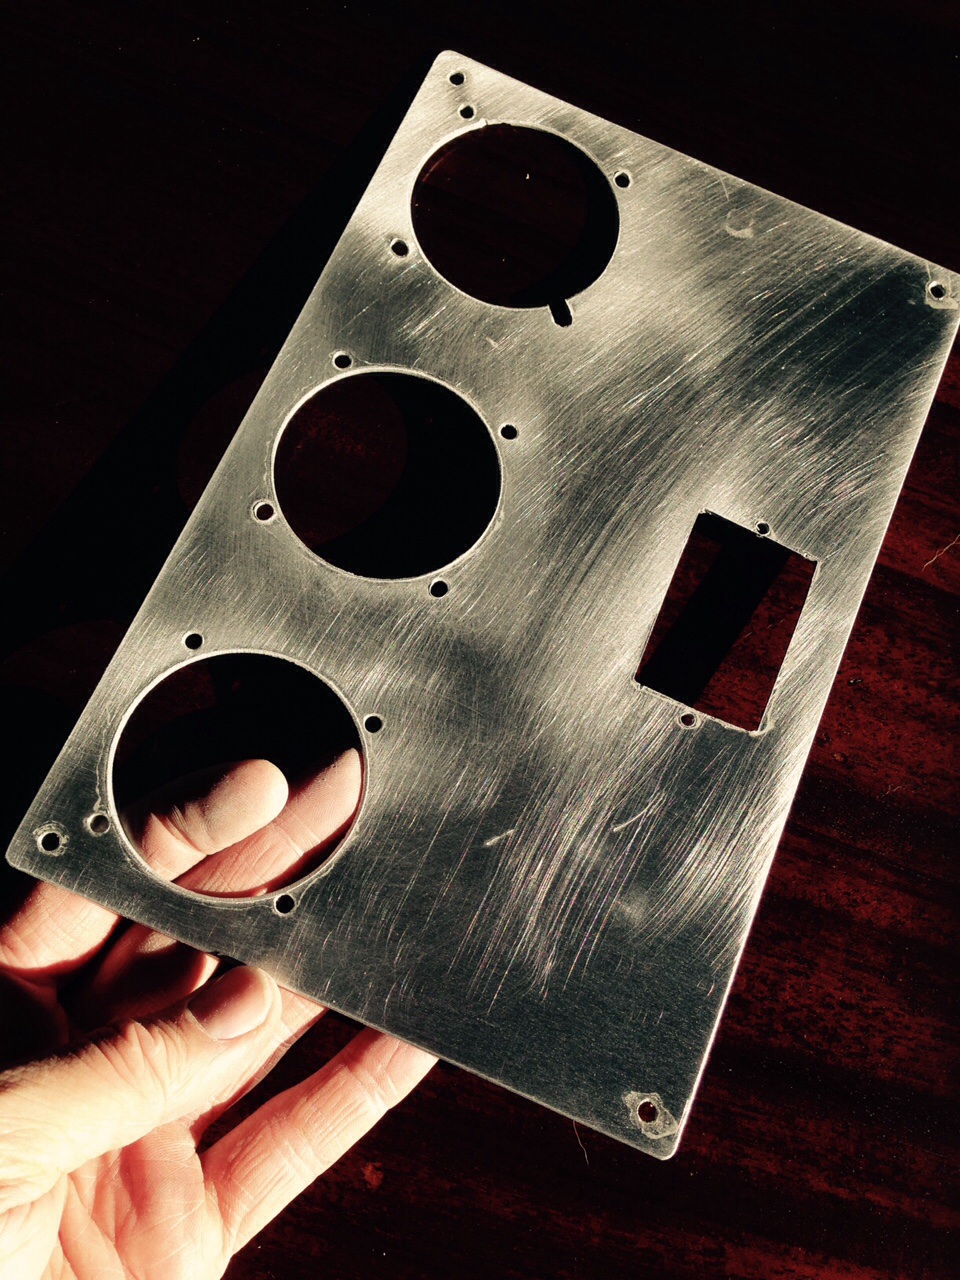
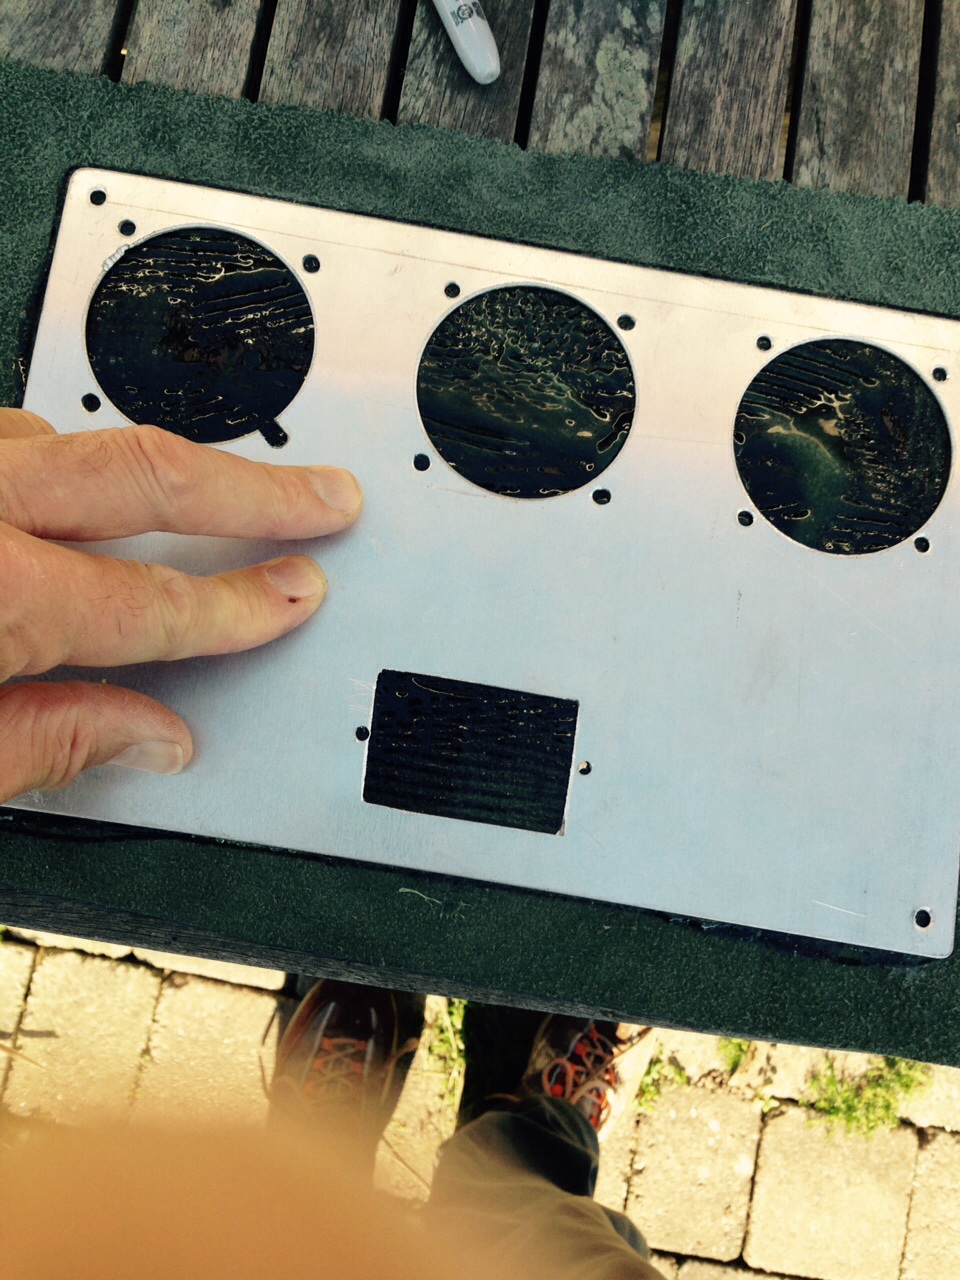
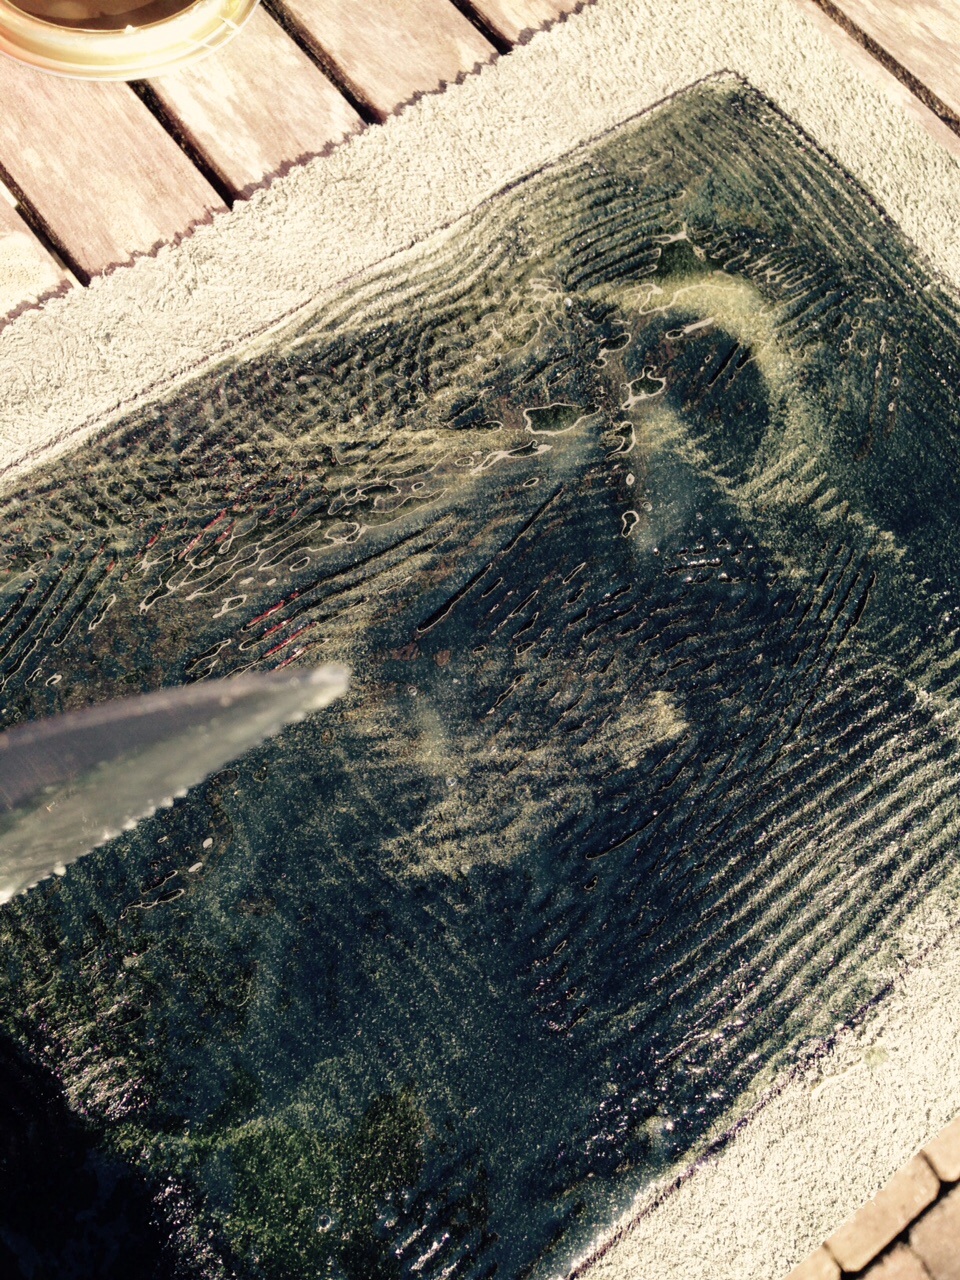
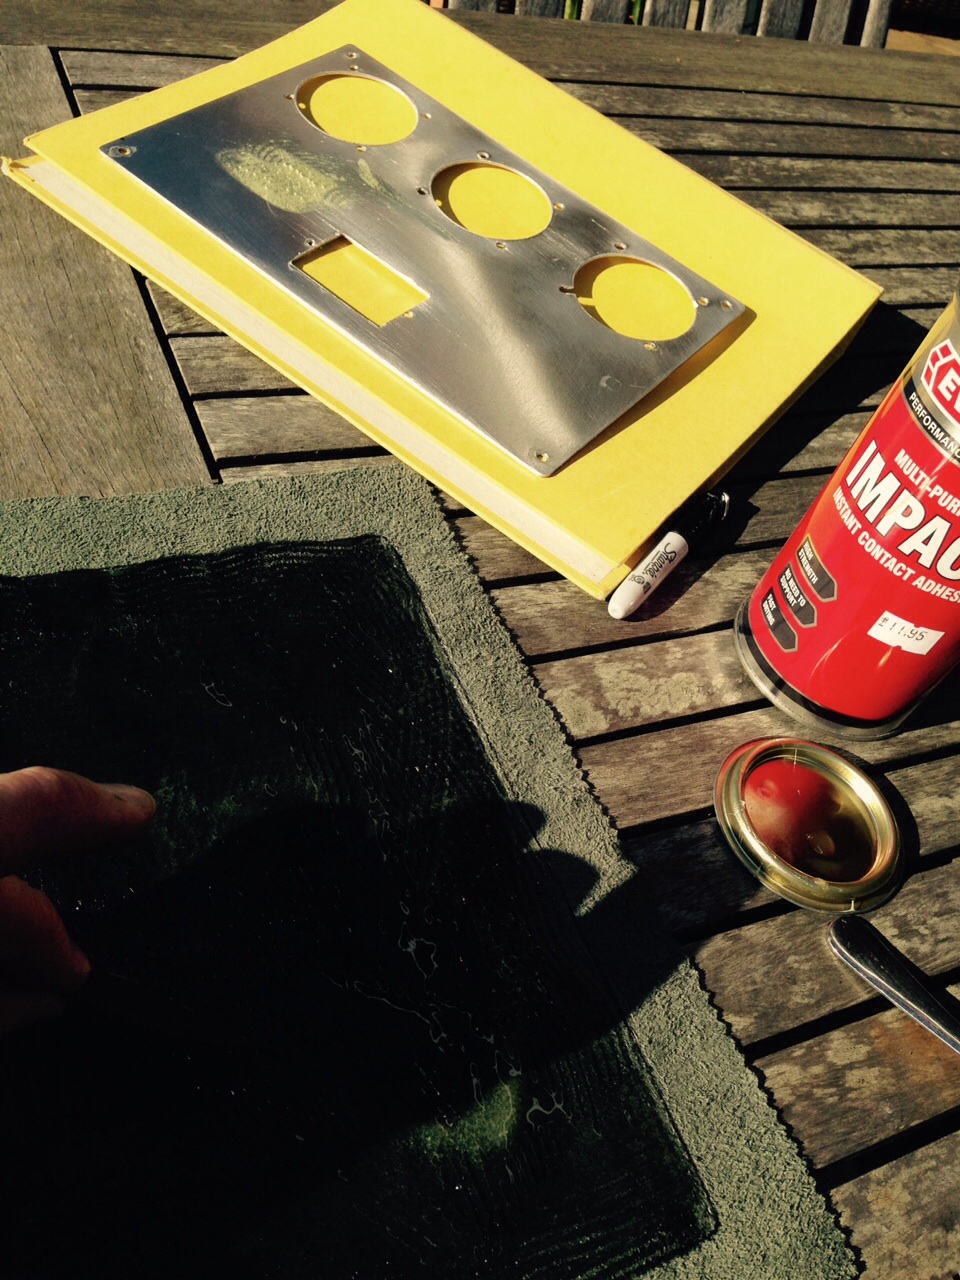
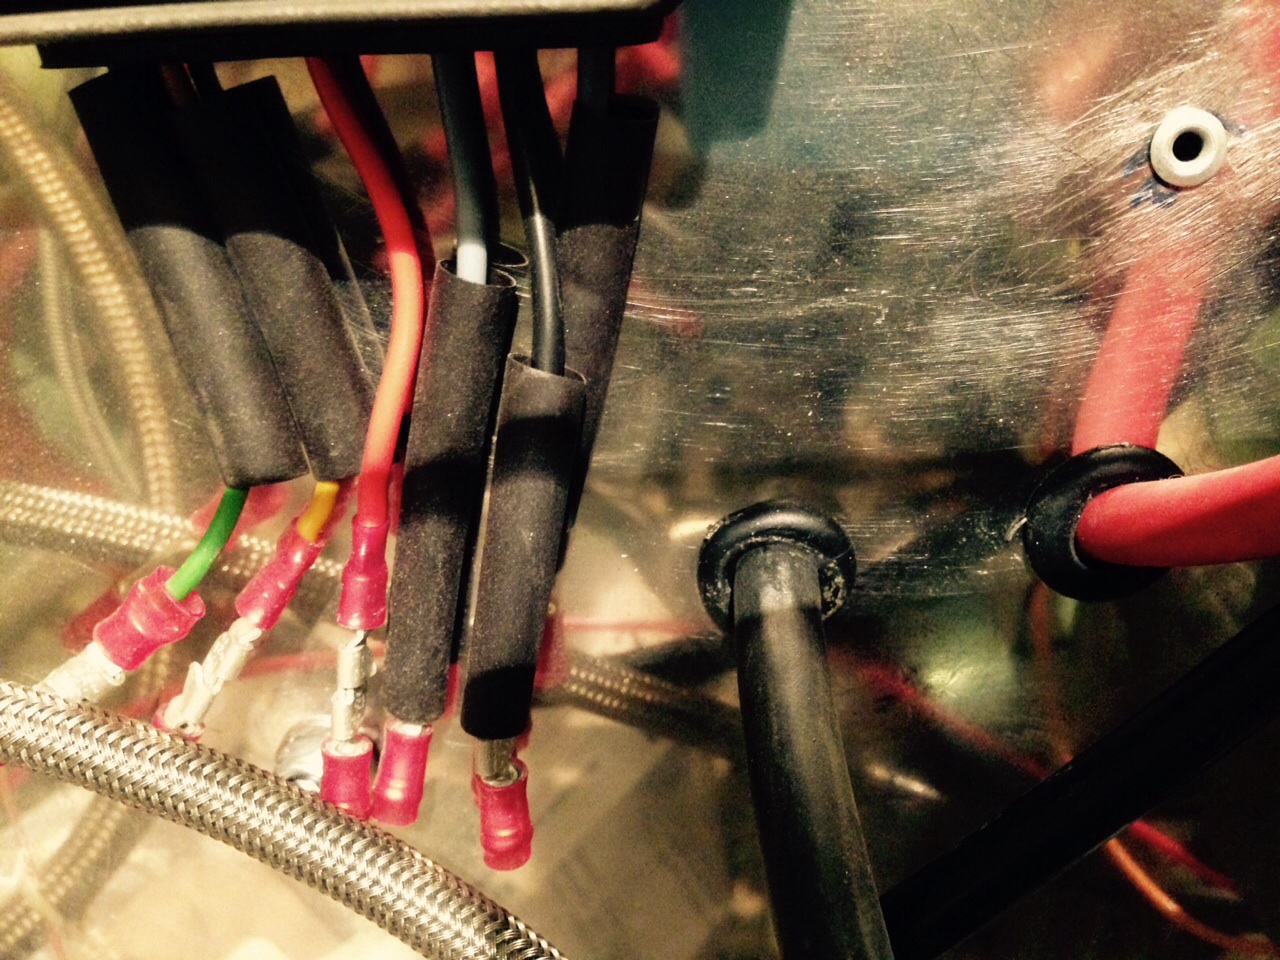
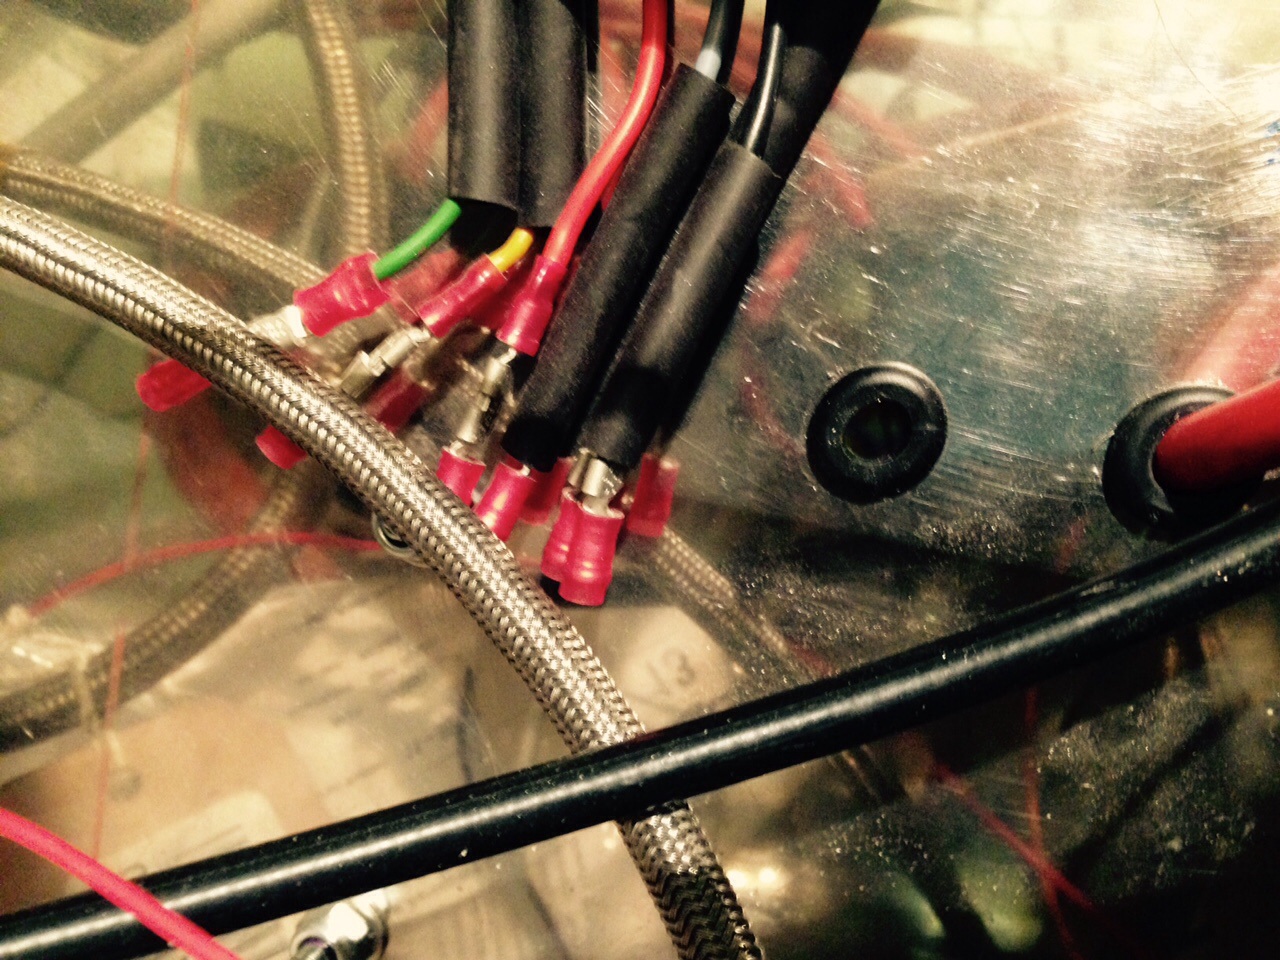
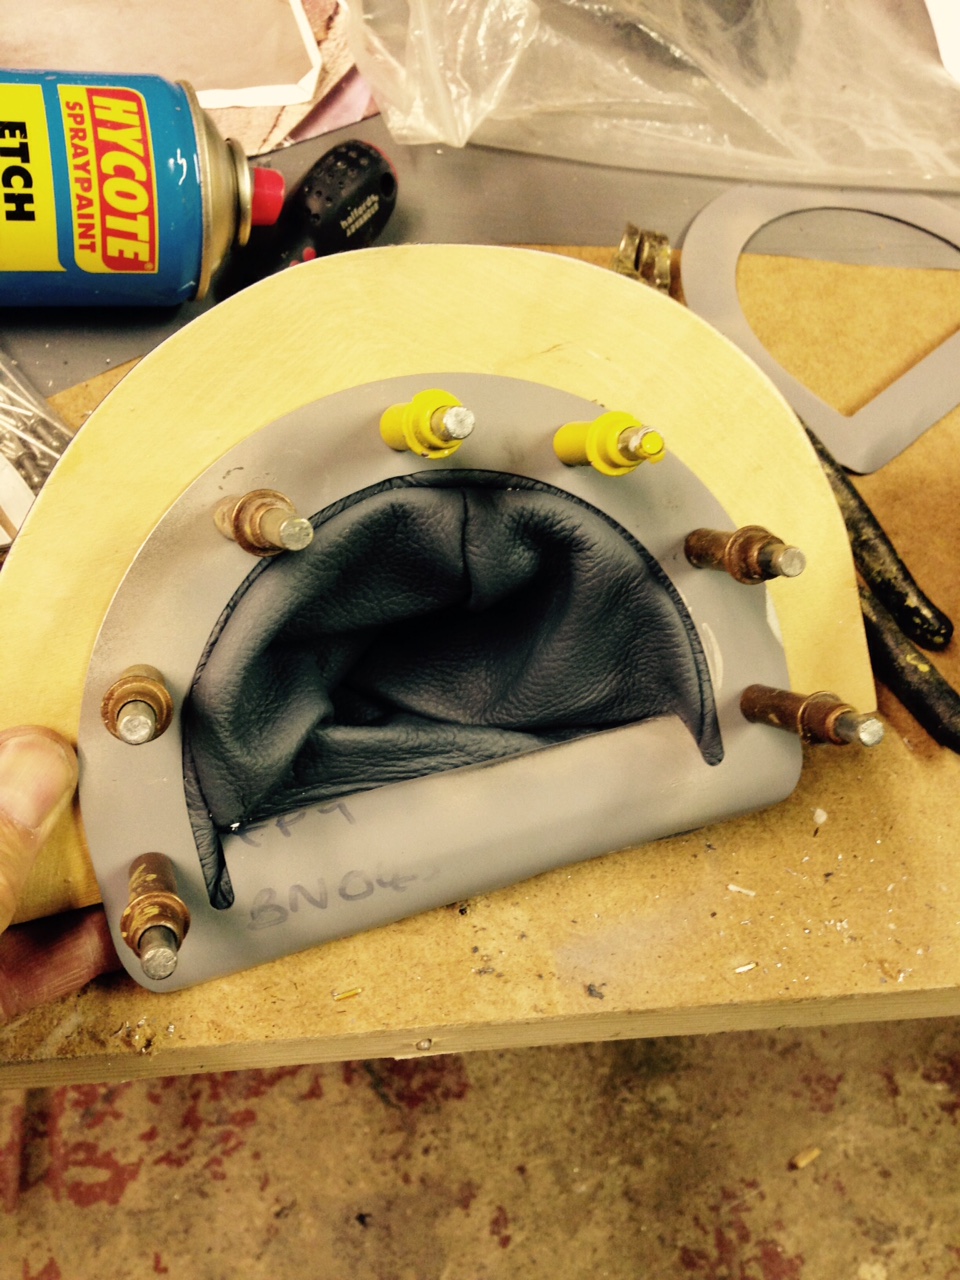
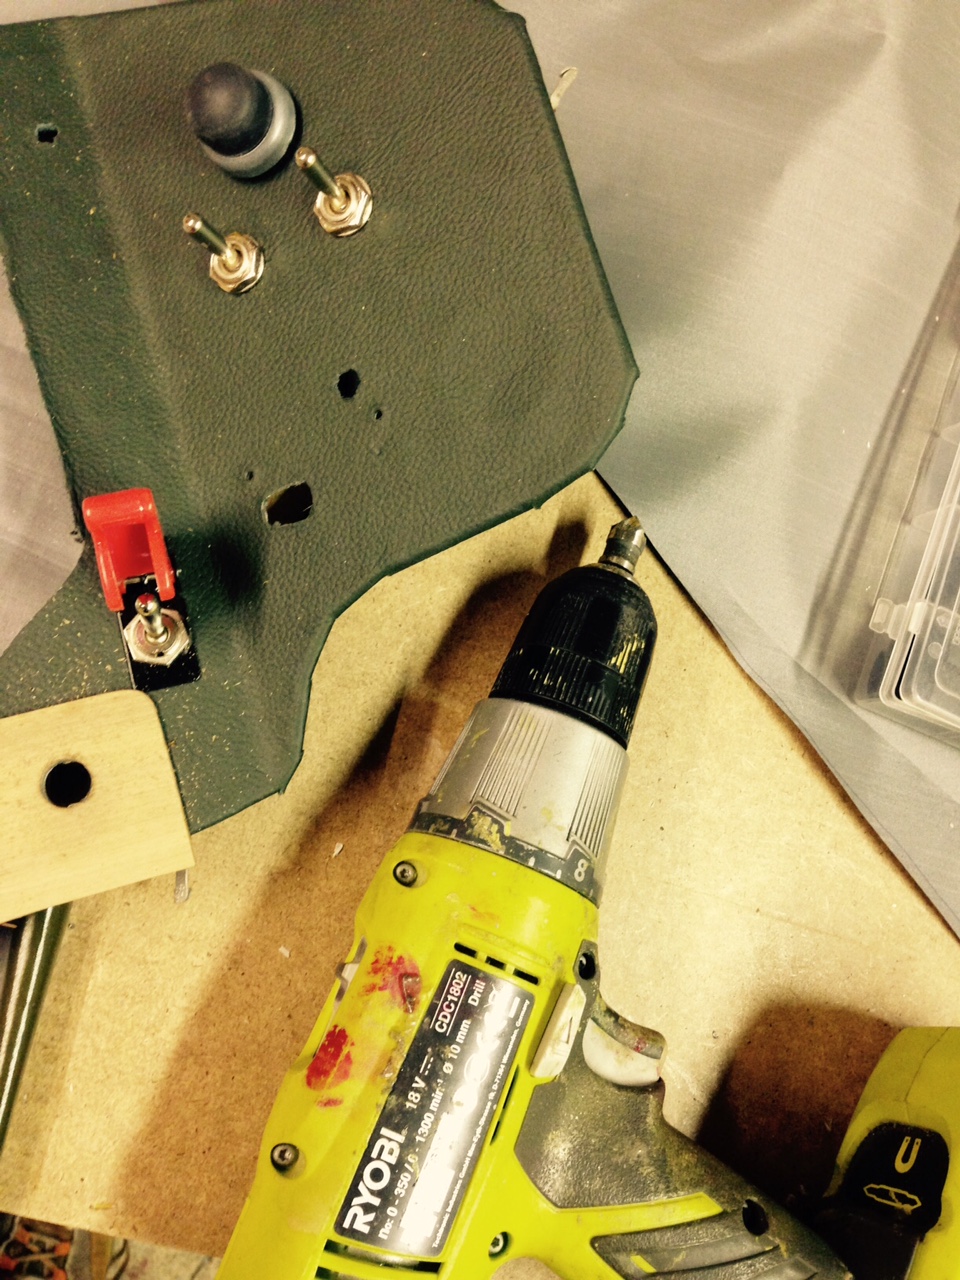
Dashboards have been worked on and are both now fully covered in the green leather i got. Holes have been re-opened and now starting the wiring up process. Lots of handshake fly leads to connect up.

The fuel sender has come straight back from the guys in Norfolk from repair so ready to calibrate


Been a very very busy few weeks …but ..managed to keep moving on ..

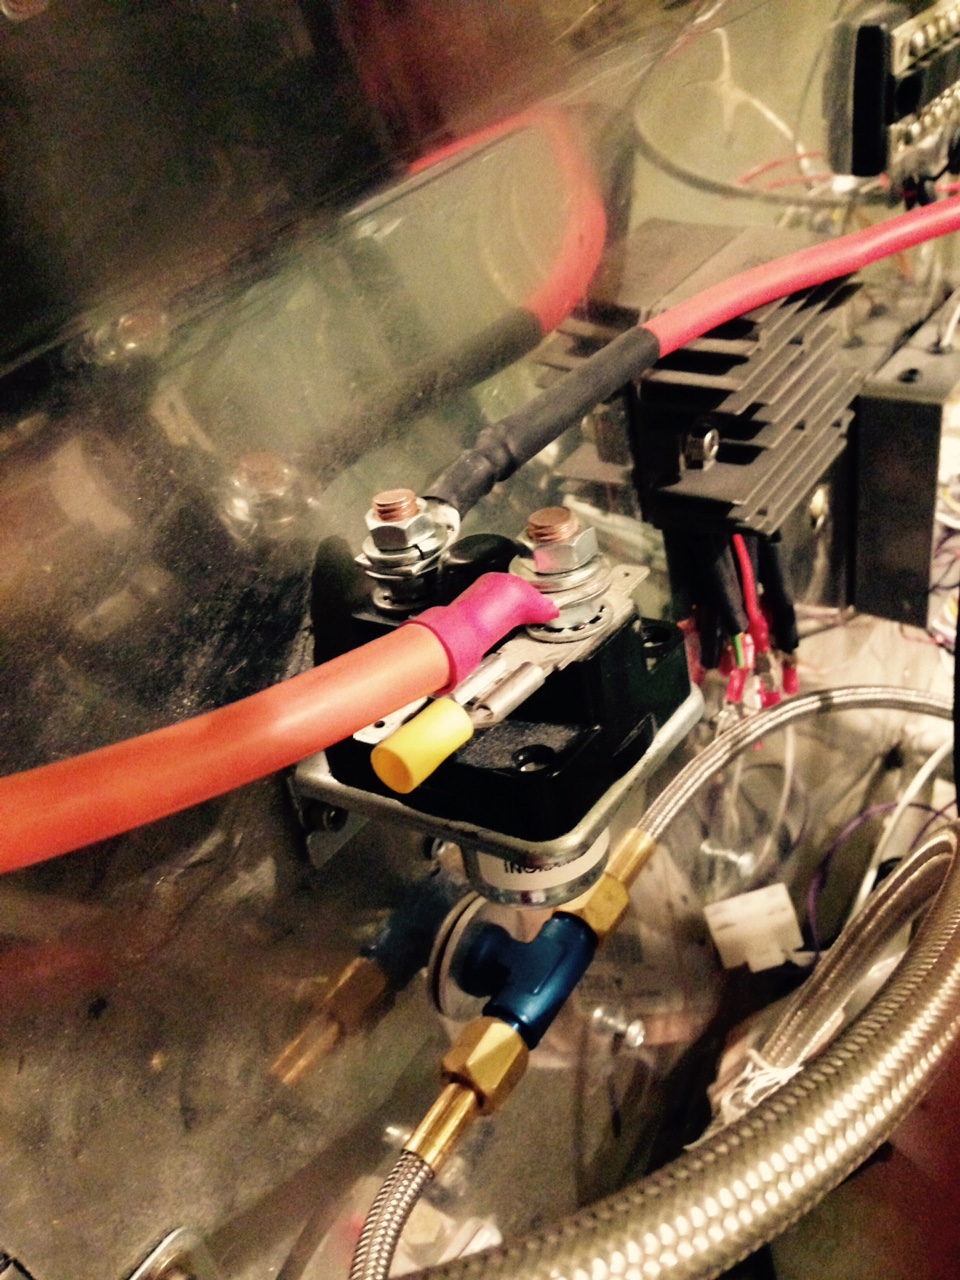
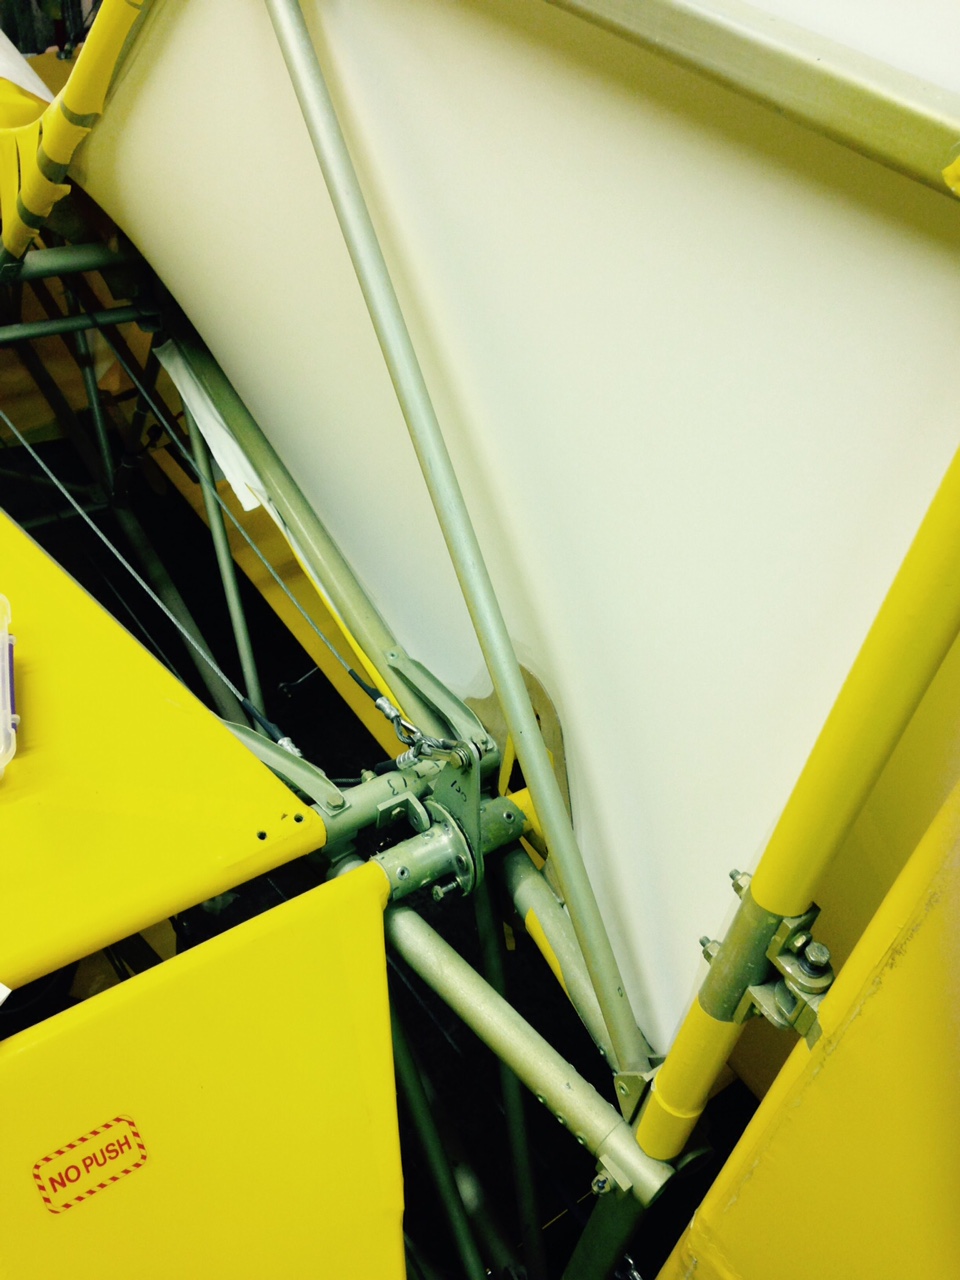
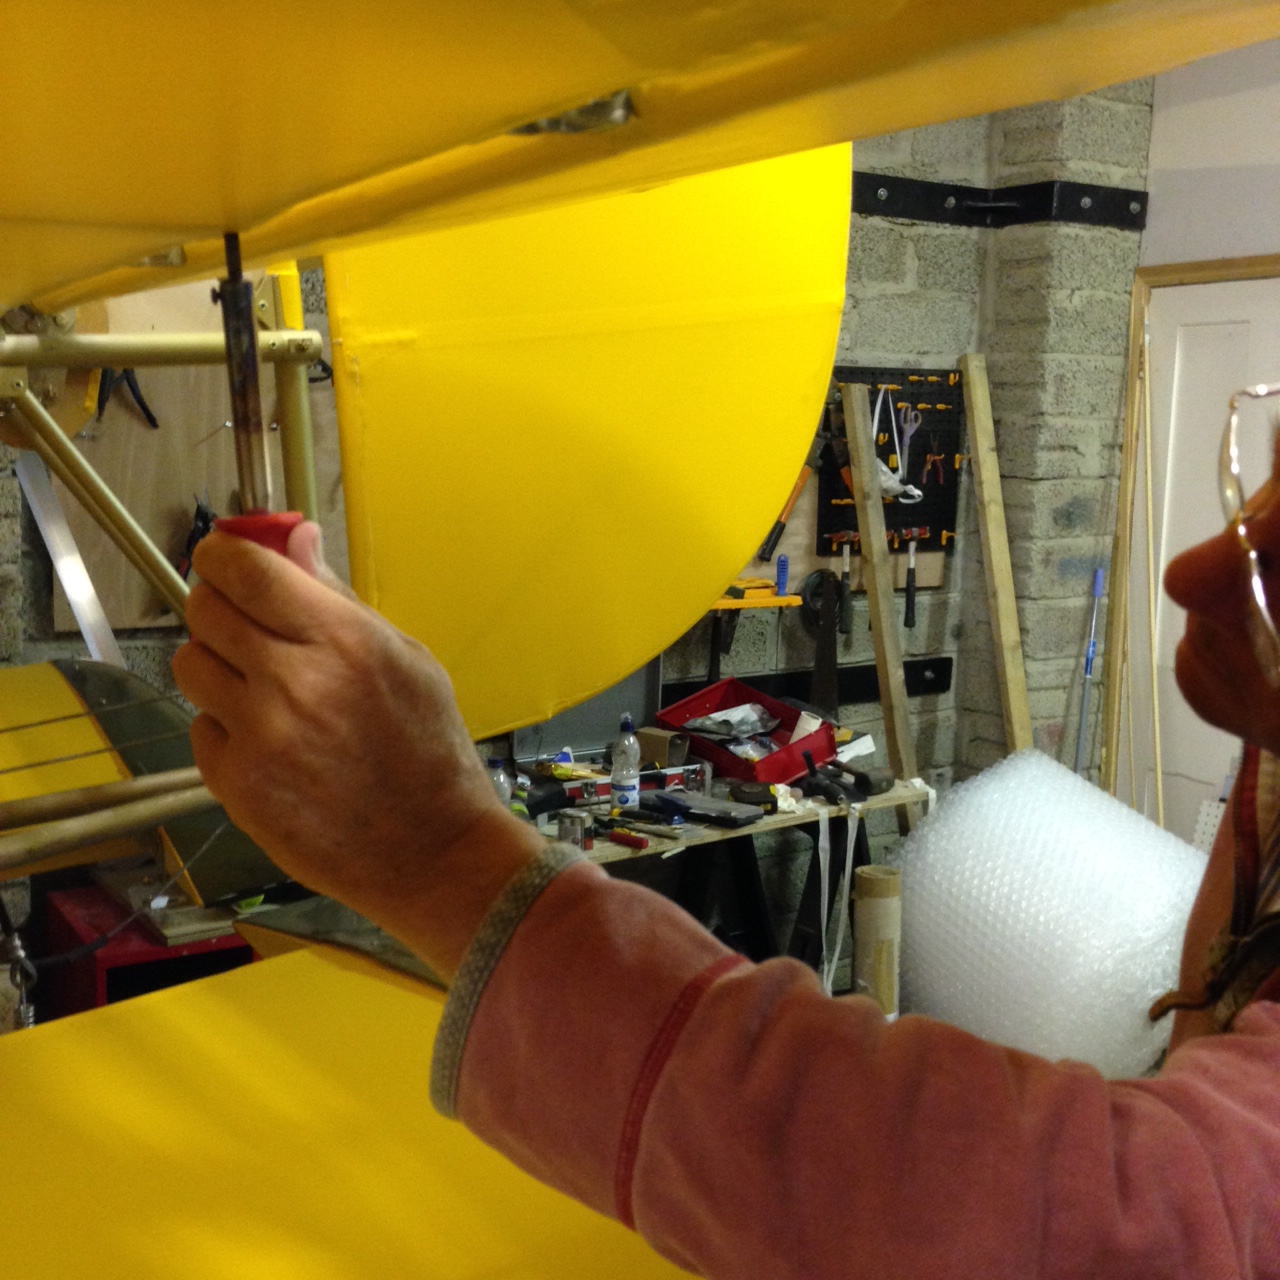
With work going crazy and flights tobe made toLuxembourg (a very very long runway of 4k+ !) and last weekend Paris/Toussus .. I have finally managed to get back to some work on the Sherwood.   I have made so many lists of things that need to be finished off … so this session has been lots of those … struts covering (decided Olive Green would contrast the predominance of cub yellow  !) … electrics cabling from battery through the bulkhead to the solenoid …   Brake turnbuckles…. re doing some top covering (more on that later) …   Also, post the LAA recent article ..a full re check of my 12 wheel nuts for tightness ….    

FullSizeRender pic 2

Wiring and Finding Pre Covered Oratex holes !

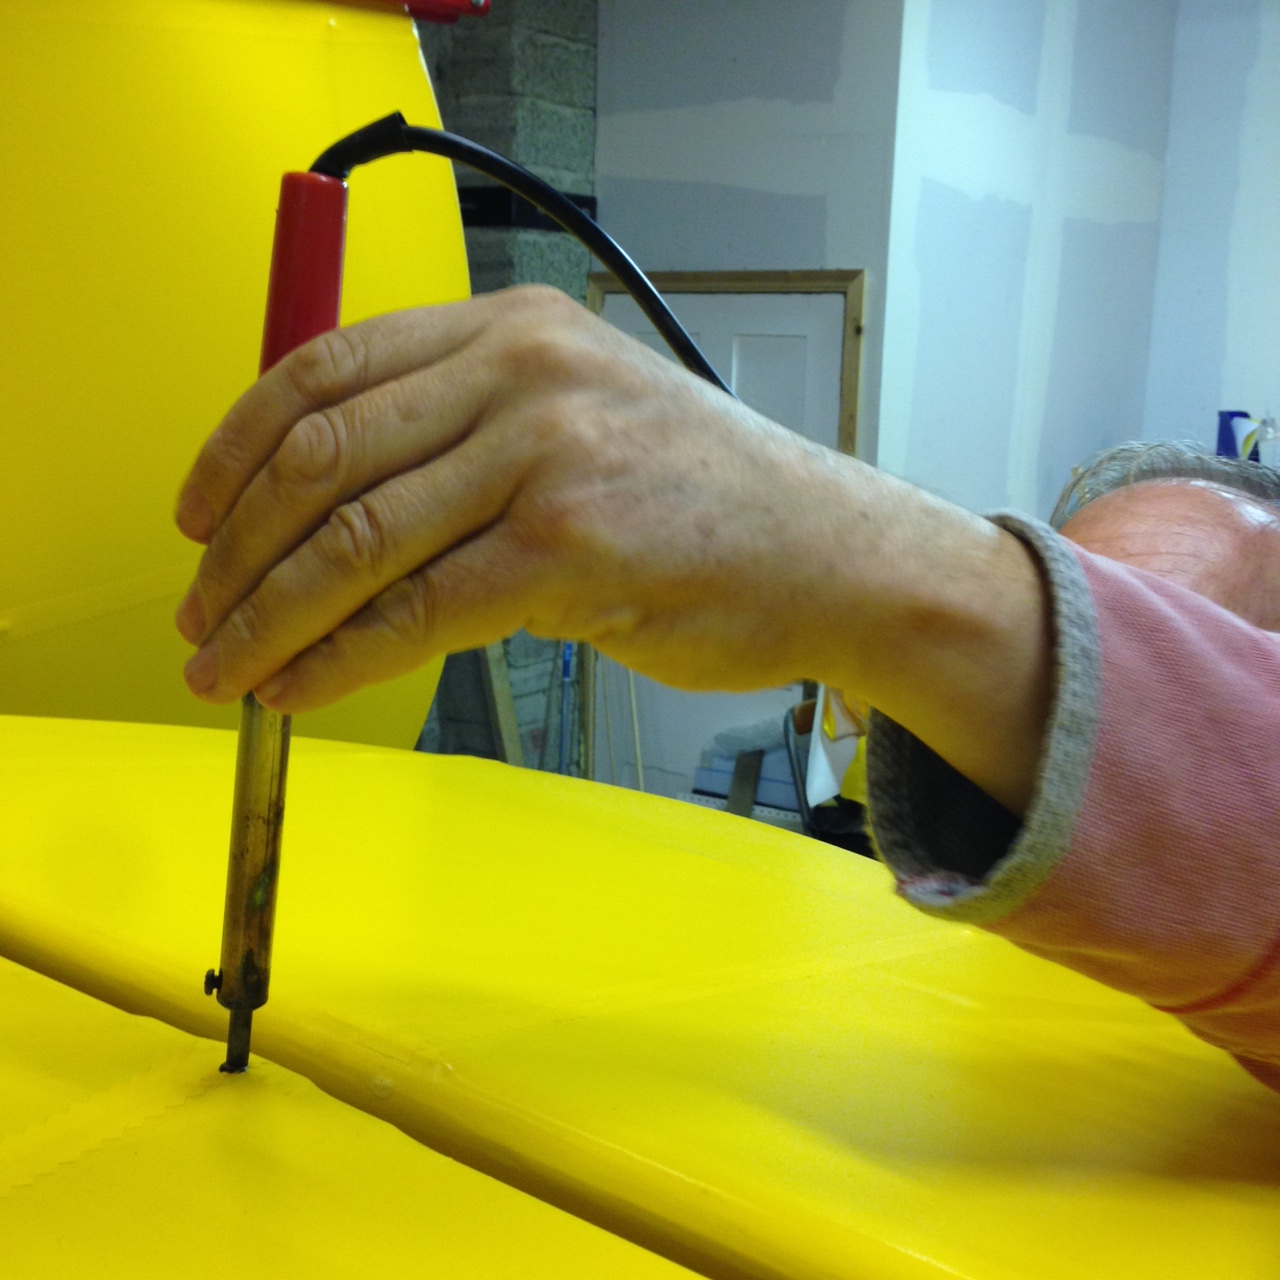
Oratex is amazingly strong and opaque ! Once you have an overlapped joint – re finding a pre drilled rigging hole involves some very bright lights to see if you can see through the covering to re find the holes. Then a nice hot soldering iron through and bingo …

IMG_1033  IMG_1035

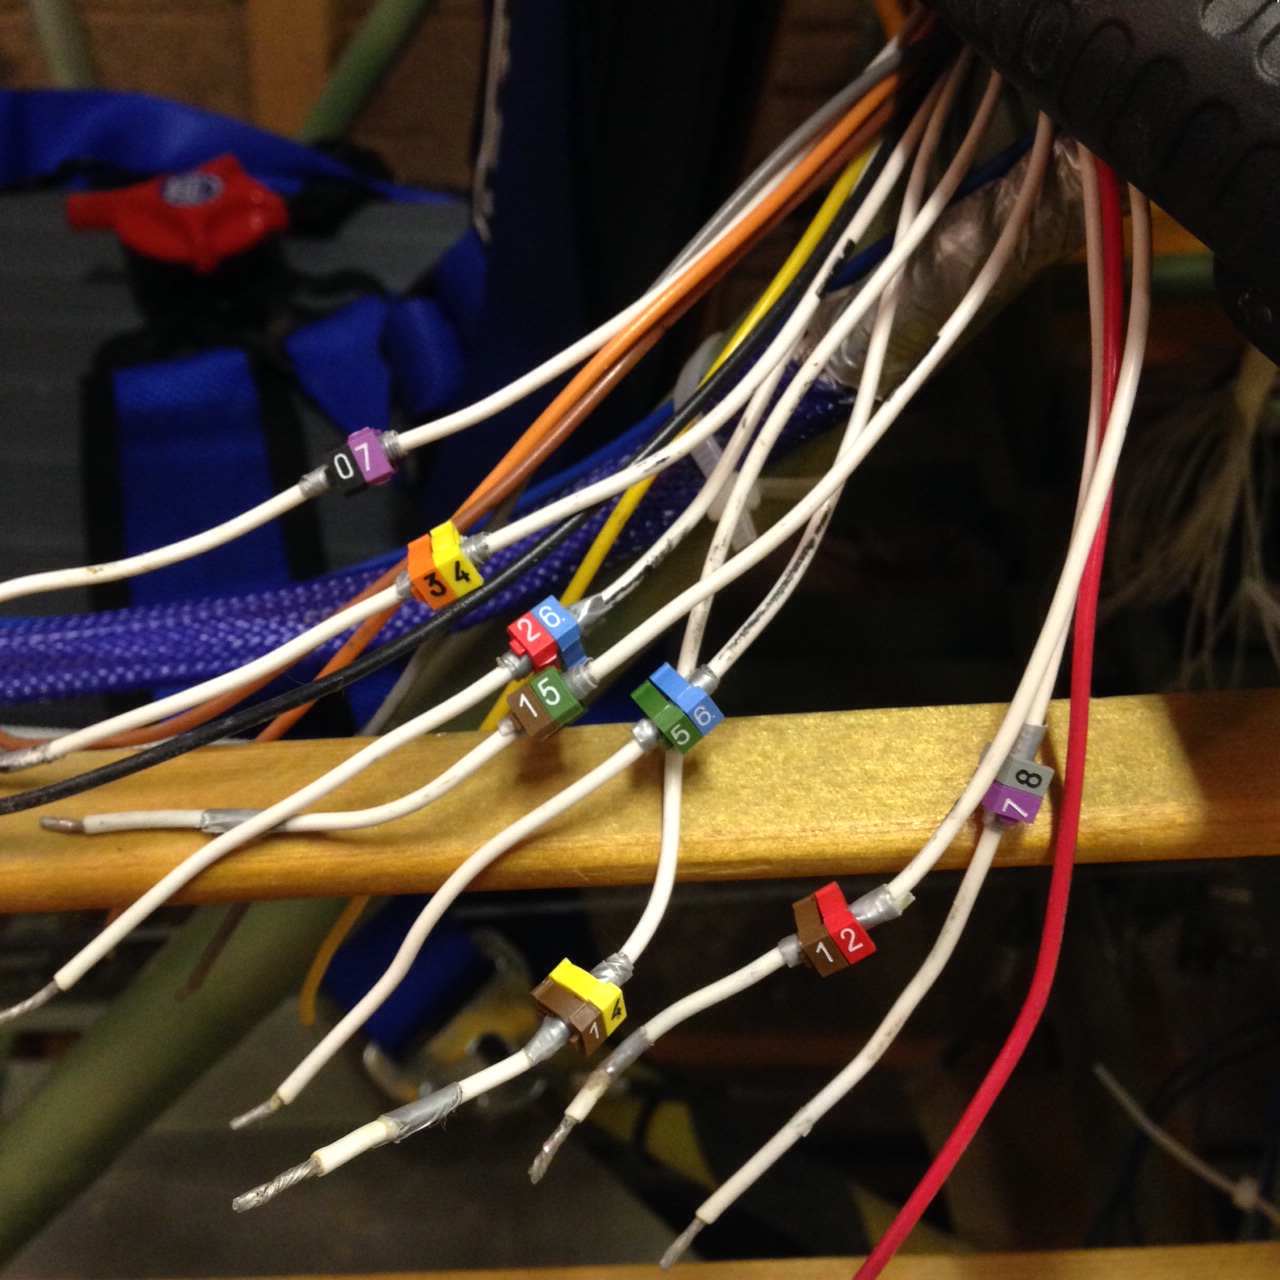
Also get the wires properly labelled with the RS coding method

IMG_1031

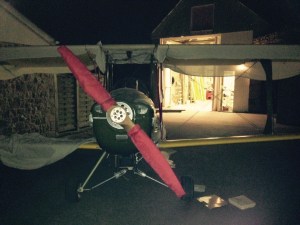
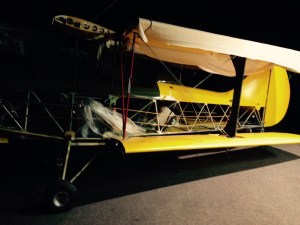
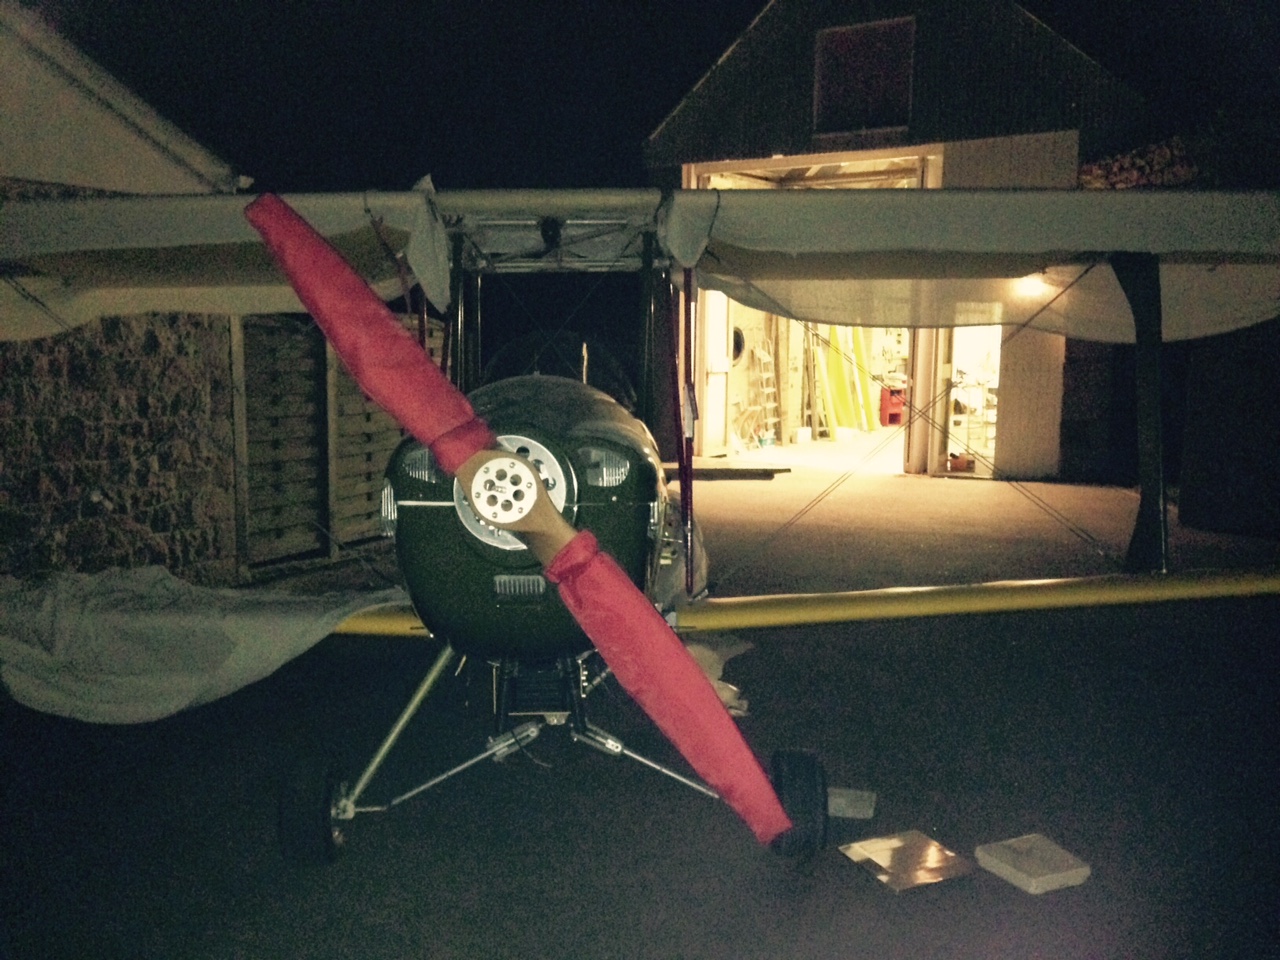
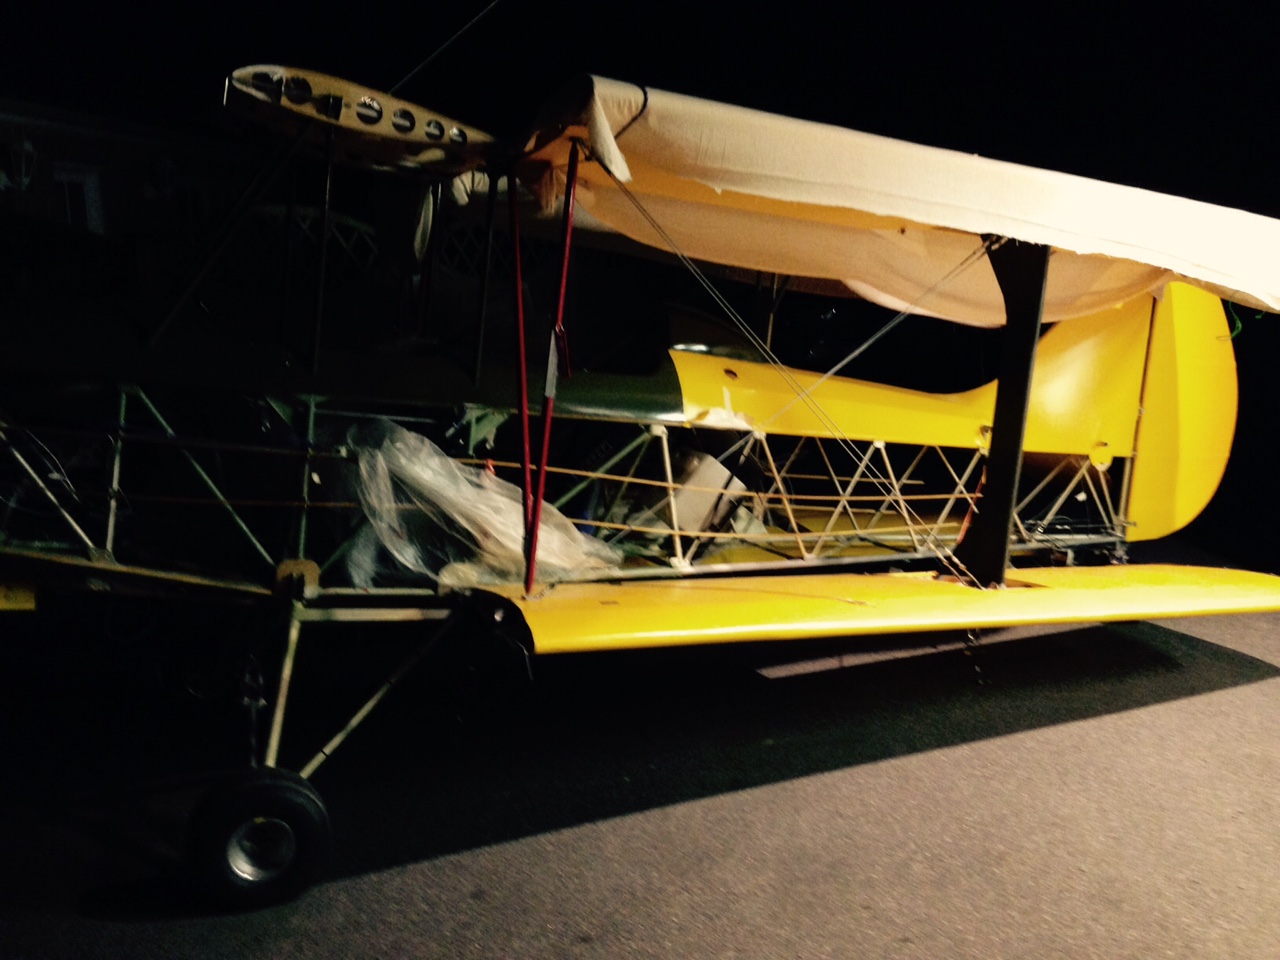
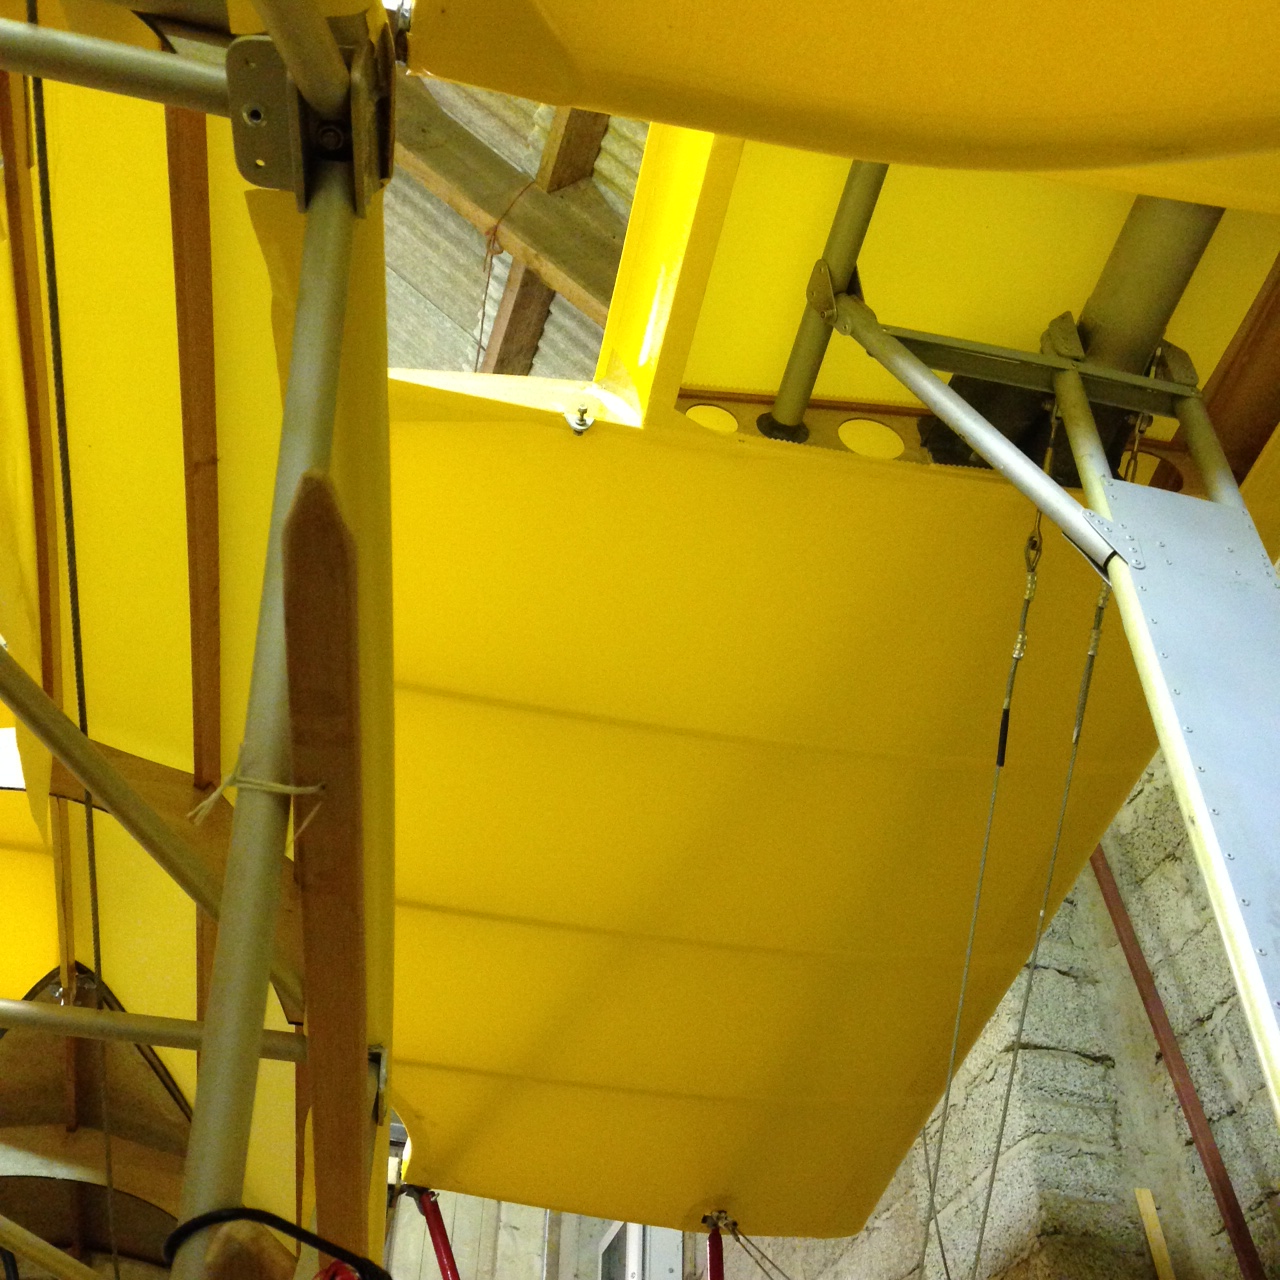
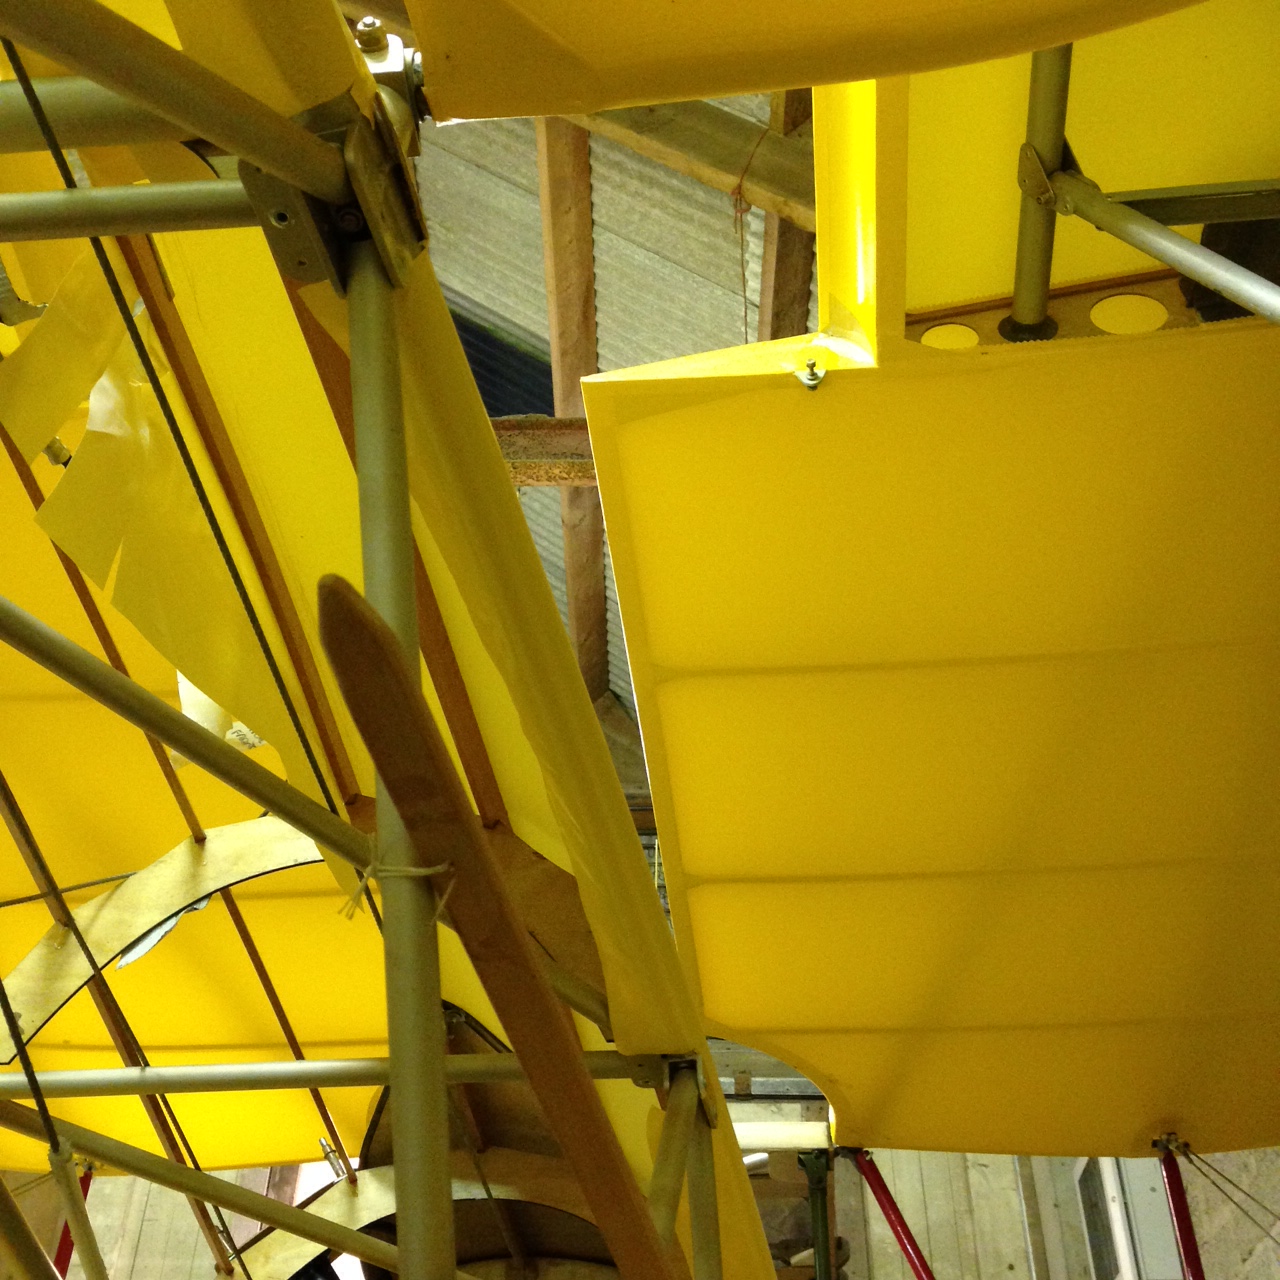
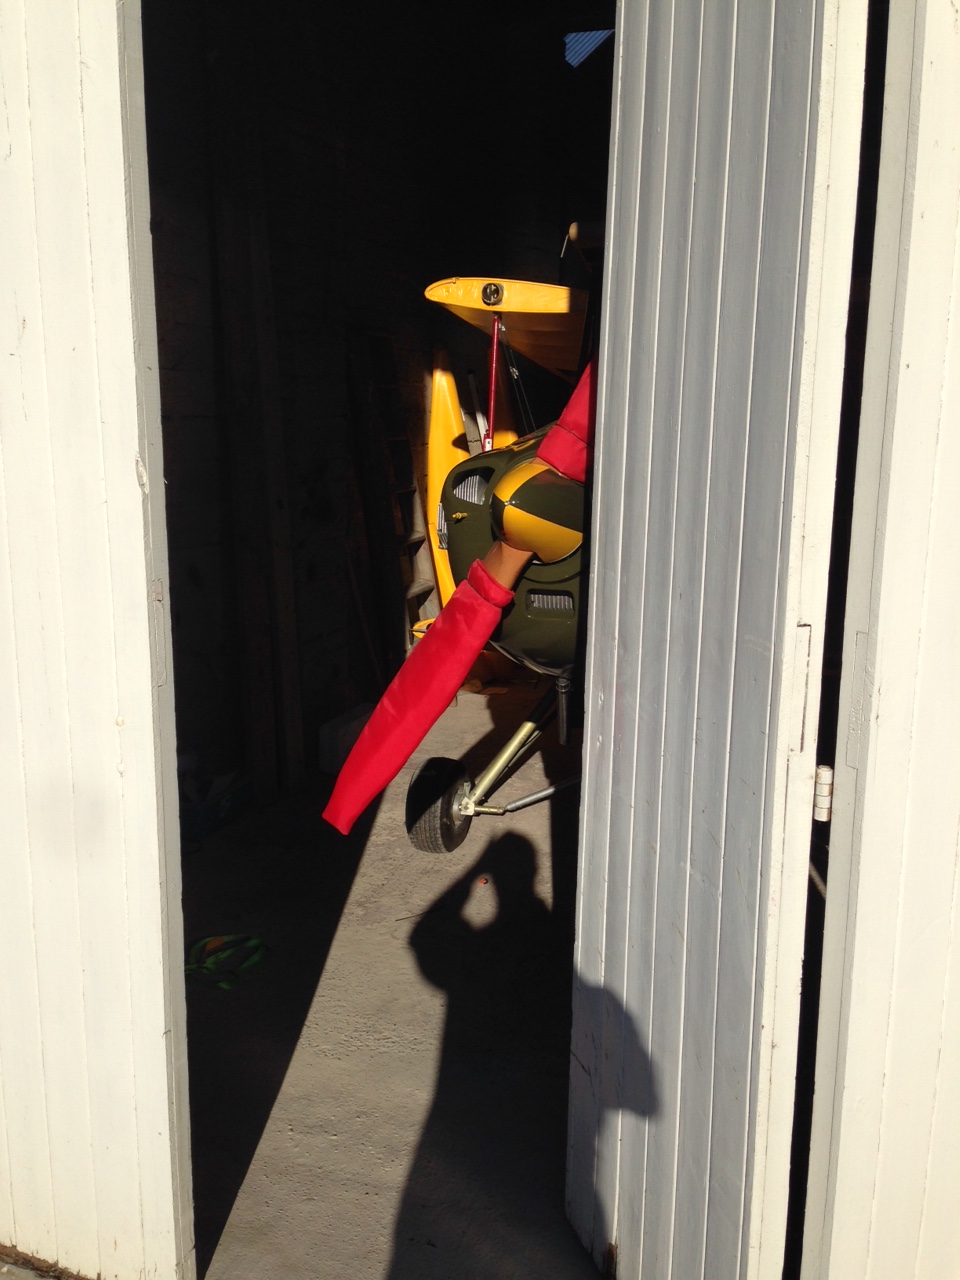
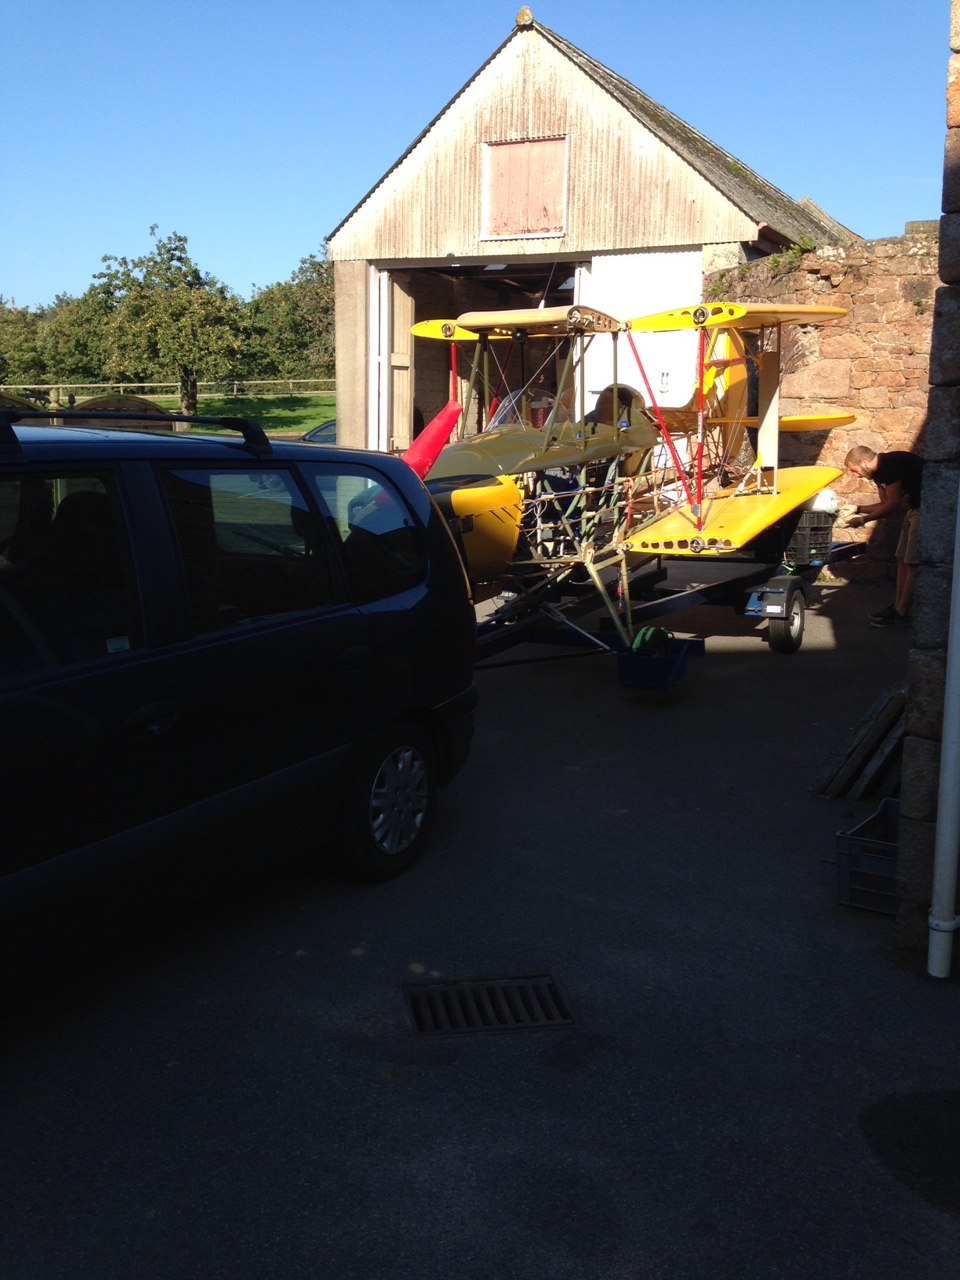
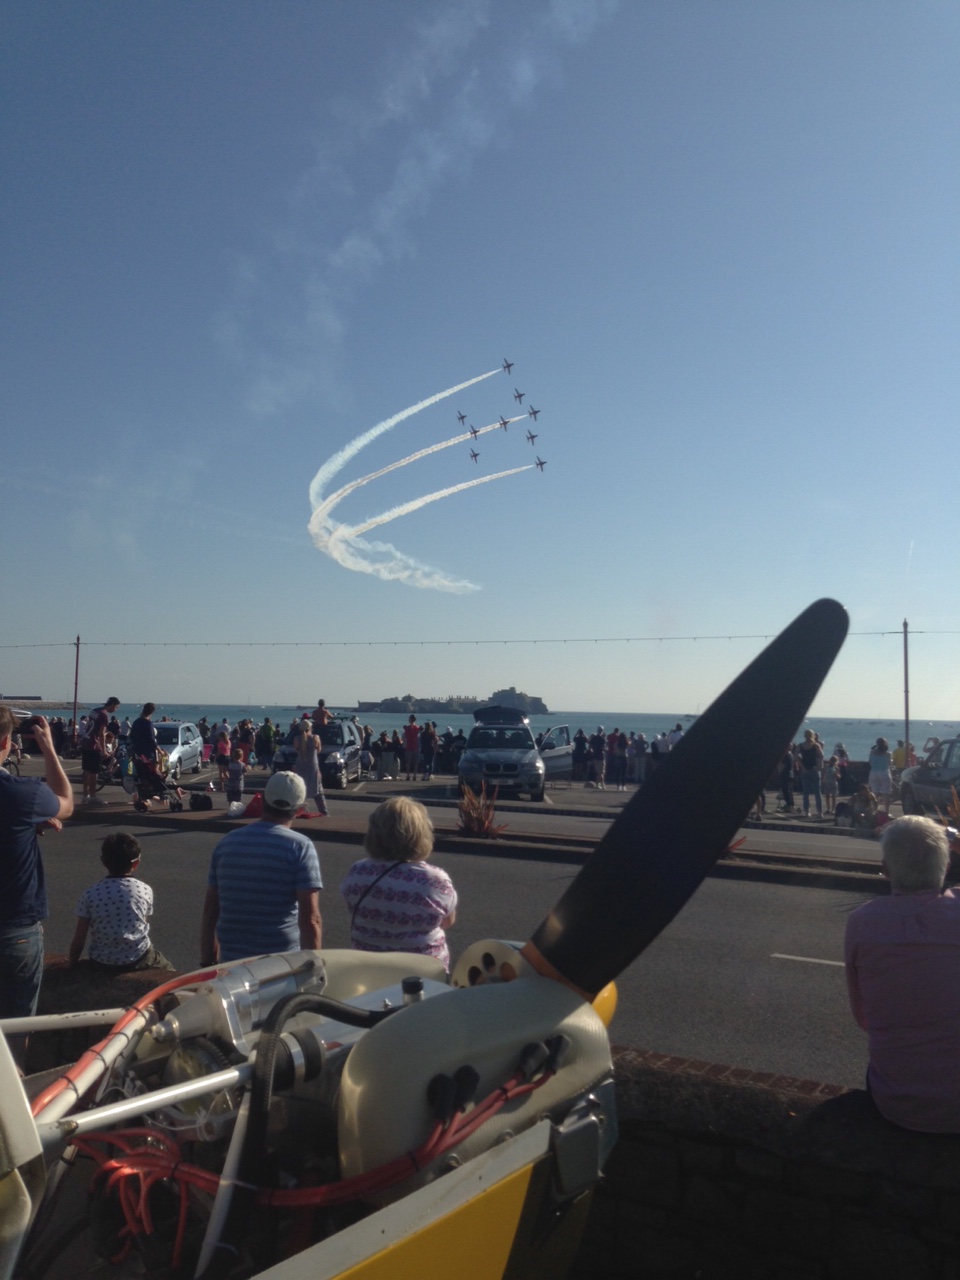
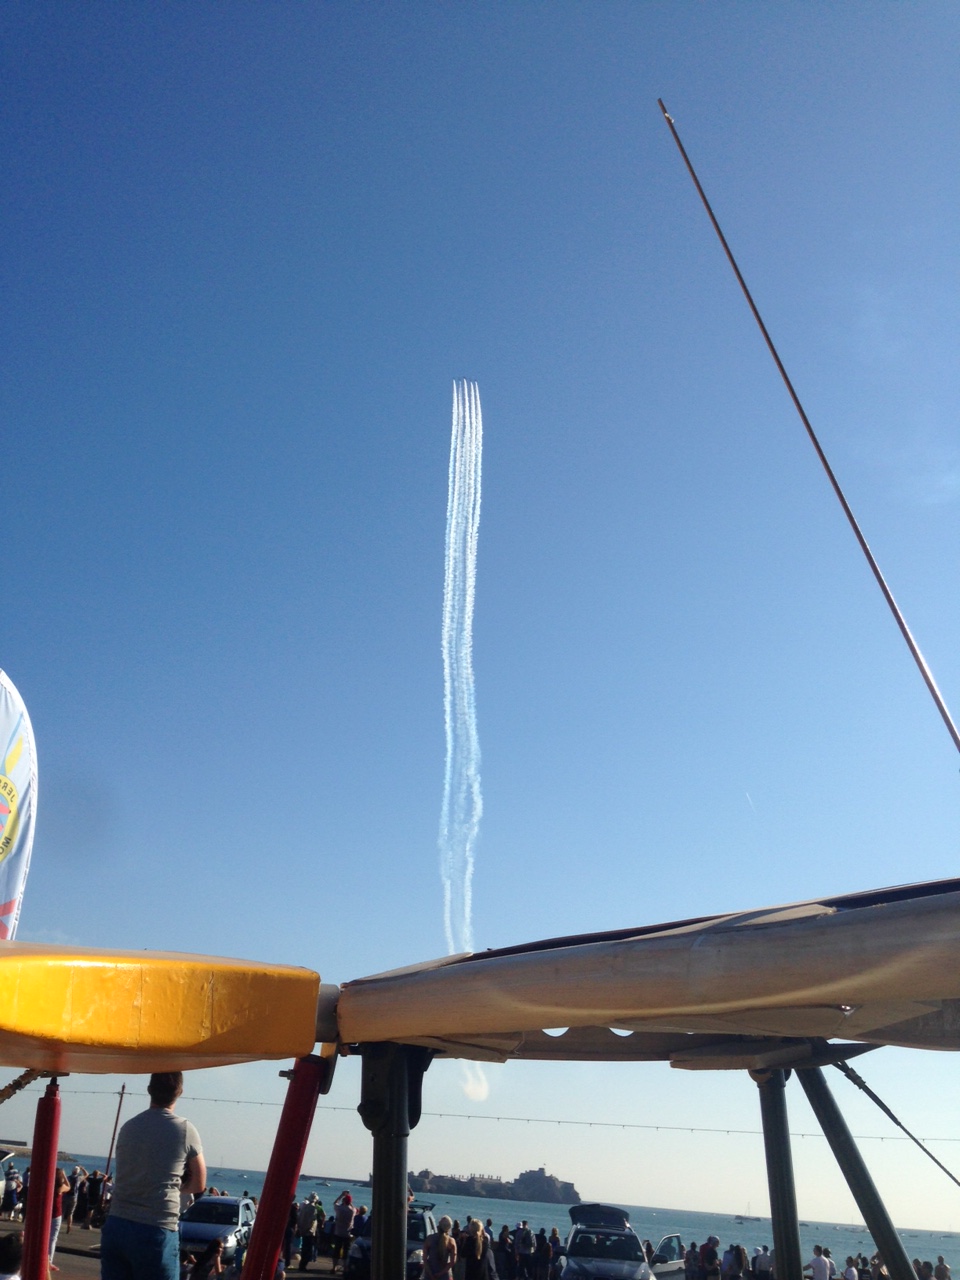
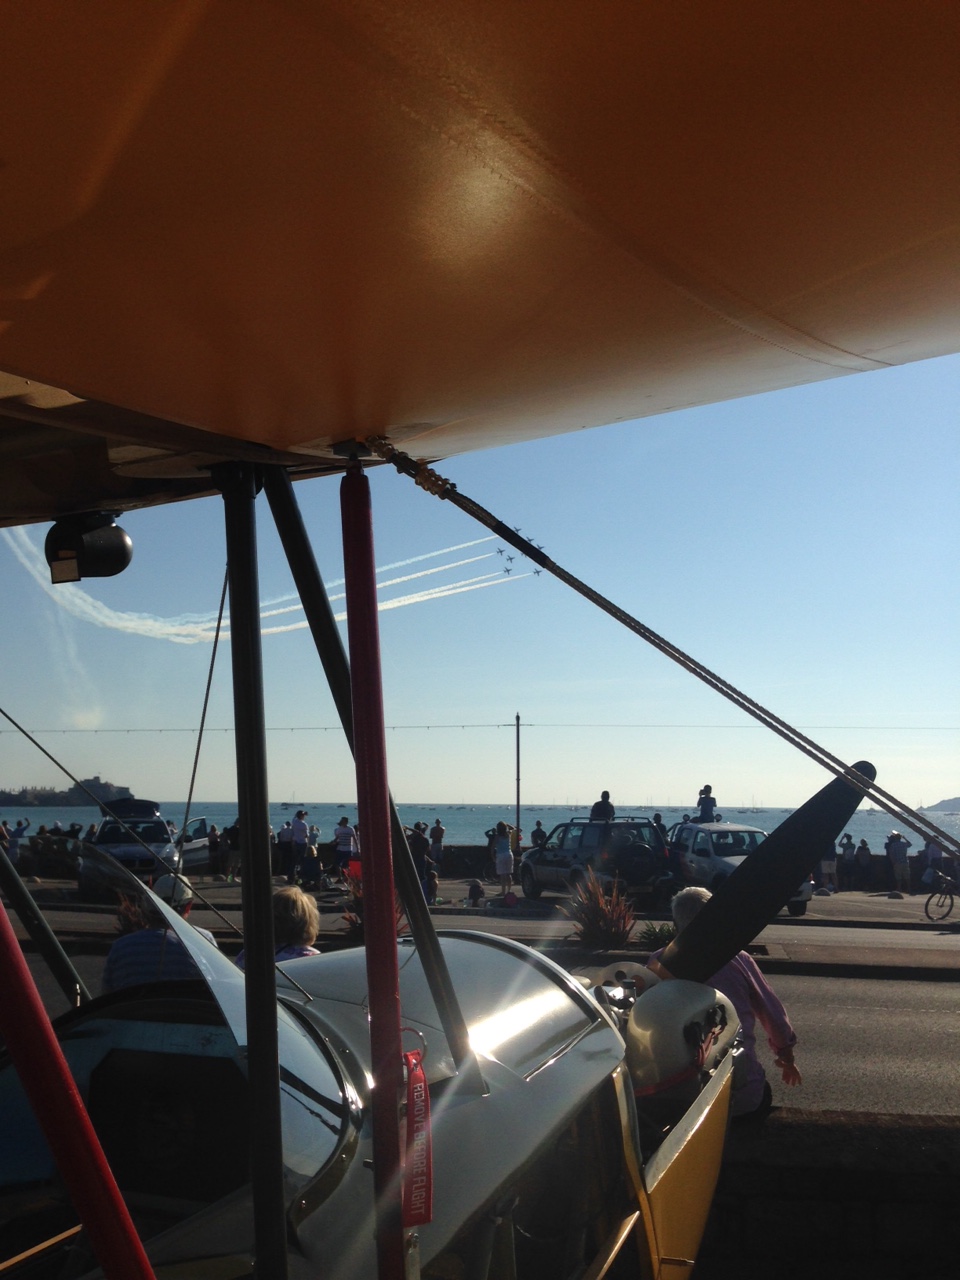
A few unusual shots as I was under the ‘plane checking transport after the static show

IMG_1036  IMG_1038

Windscreens in

Andrew (Koester) very kindly popped around again to assist … he had won one of the charity raffle prizes to spend 1 hour ‘plane building !

He is now over 6 hours into his 1 hour prize !! Well done and much appreciated Andrew ..Having learned the art of gluing and fitting reenforcing Oratex strips we moved onto that 3 handed job of fitting and drilling the perspex windscreen fittings.

IMG_0964  IMG_0963

The first hole was drilled without a support alloy strip behind .. but ran the risk of the drill going through the body and then whizzing through the perspex and marking the inside of the cockpit coving … Andrew ‘back filled’ and we drilled all 22 holes (11 front, 11 rear).

With so much swarf around my nice clean screens we elected to cleco as we went, remove everything once drilled , blow it all clean and then re-fit.

Busy Busy weekend – Living and Breathing Oratex – Start Body covering

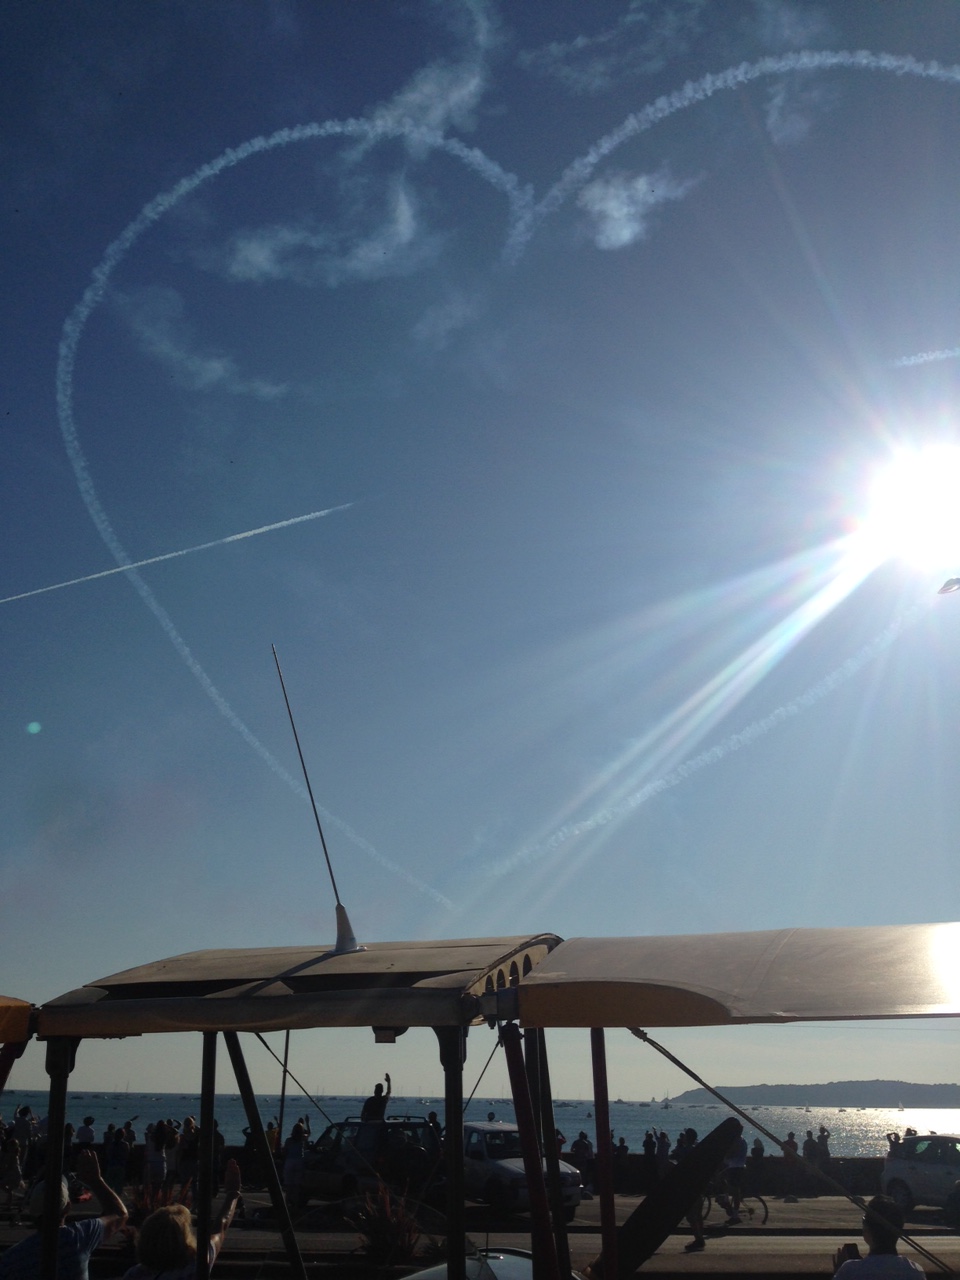
Full on weekend ahead of the Jersey Air Display this week (in the static display – flying next year 🙂

Lots and lots of covering bits including the first AND THE MOST AWKWARD piece … the dreaded bottom of the fin curve to the longerons / turtle deck !

IMG_0956  IMG_0958

Roll out the material across the top of the tail end and loosely clamp to give some basic form

IMG_0957 IMG_0959

Now start to pull the shape and bring clamps more into play …. I noticed that the tail end of one of the stringers was protruding and making a noticeable point in the material… so took around 20 mm off the end and curved more.

IMG_0965  IMG_0967

Decided to start ironing from the lower centre forwards and rearwards .. small iron set at 150 (as metal bars) Trying to get as tight as I could on the first pull.

The complex nature of that lovely curve from fin leading edge to the top of the body is frightening to try to get the material to follow. Even just offering up the material is ‘fighting’ to stay straight !

IMG_0961  IMG_0960

Slit to follow the strake lines BUT make sure the hotmelt glue is on all the parts that you might wish to secure it to ! Once the se cuts go in the whole thing starts to ‘behave’ and follow the lines .. but don’t cut too much as it will affect the relatively narrow surface area it grips to.

IMG_0968  IMG_0969

I have learned that having an initial run through with the heat gun around 130 starts to take up the slack gradually .. rather than just blasting through on 150+. Also, my very good friend and fellow builder Danny (Baker) kindly advised me on cut patterns for the body and care on this curve .. too much rapid shrinkage could distort the underlying framework

The bit securing to the fibreglass decking was easier than I thought .. again complex curves and adverse cambers but it looks neat once done.

Returning to a previous awkward ripple once cooled a bit brings much more control to the phased tightening and even look ensues !

IMG_0971  IMG_0970

Second run through and have had to crank up from 130 to 150 to encourage that latter (now small) ripples to flatten out in a curved way !

Very pleased (and HUGELY relieved) at the result !

The ‘other’ side should be somewhat easier as its simply overlapping .. already templates based on this first side (reverse image !)

Aim was to cover one piece in Cub Yellow on top deck and then paint it green .. but I kinda like the two-tone look at the moment !

Invasion Marking go on wing 3 !

Wing 3 just about complete … just adding the taped off glued area for the re enforcing strips then its just Leading and Trailing edge.

IMG_0866

Wing 4 – Port lower … has had the final smoothing of the wing step completed and pre glued. Also underside material in place and glue drying for next session.

Weekend away (arggggh) in UK but back to finishing last wing Tuesday/Wednesday


Wing 3 – almost complete – just the re enforcing tapes to go and Leading edge

Run out of hot melt glue now as its been impounded by Jersey Customs after Fedex took 3 days to advise me it was actually on island .. how does anyone do anything actually important and time critical in a far flung colony ??!!


Anyway, moan over, cracked on with wing 3 and pretty much finished late last night, probably the best pre tensioned Oratex to date .. by wing 6 I will be an expert ha ha

Texted Paul at TLAC to check if I should glue the material and full step … definitely !

IMG_0843  IMG_0846


IMG_0847  IMG_0848

Hope I am cutting into the correct panel for the metal covers !

IMG_0849  Oh Yes, it’s the correct one 🙂

IMG_0850 IMG_0851
IMG_0852  IMG_0853

Wing sharing space with two of the sons offroad and track motorbikes !

Inspection panels

Before you seal the wing by adding the top layer – don’t forget to position any inspection rings required … I have had the alloy discs that cover these pre painted cub yellow..

IMG_0836   IMG_0837

As well as positioning these for aileron adjustments I am considering adding a couple to the front fuselage section to allow access to rear firewall bits.

Update from a FB post with Lars … very useful detail here

David Brown These Rings are typically glued ON Top of the Fabric and not under the Fabric! If you glue them under there will be nothing to keep the round inspection cover from wandering around all over the place. I always email this to anybody who asks: Regarding Inspection holes/panels:With our system you just use the clear plastic rings that are on the market for the legacy fabrics,see here attached!Smaller rigid structures can also be glued to Oratex with Superglue (Cyanacrylate).Superglue can also be used to adhere to concave structures, inspection rings,grommets, drains and vents…such as those on the trailing edge undersides. When melting the holes for the drains and vents 3/16 is too small, at least in my world it is. Its better than smaller yet, but I would make it bigger. 1/3 of an inch is what I will do on my planes. 8mm. So you just get the clear re-enforcement rings for the round inspection covers of the legacy aircraft fabrics, level the surface you are planning to glue them on, wipe the area with Alcohol, drop the ring onto the top-surface of the Oratex, take the THIN Cyanacrylate Superglue from the Hobby store, and soak it under the well positioned ring from the inside diameter of the ring while it is laying on the surface, until all the surface of the ring appears clear, as the glue wick’ed underneath. Once that is achieved, stop feeding it glue and let it dry! – That is it, done! Be careful with the use of the “Free Radicals” sprays(“Zip Kicker”) for Superglue, as many will cause the glue to turn white and that will make it look ugly. A “Doily” Overlay on top of the re-enforcement ring is unnecessary with Oratex, many do it just for the old-style looks. Use shrink tube on the steel arms of the inspection cover and tape its underside with good quality tapes in order to prevent chafing and aluminum streaks due to airframe vibration as the plane is being flown. Used as is these covers will trail black as the aluminum rubs off under vibration: It’s easy to avoid! Cut the hole only after it is 100% for sure all dry; and there is no need whatsoever to leave any fabric on the inside diameter of the ring,it’s not like with the legacy fabrics where that is needed to be in contact with the Doily Overlay in order to keep the ring on there! With ours, cut ring into the edge of the ring and make a nice big and smooth-edged hole! Your wrist and mechanics will love that later when it comes to maintenance…I use various glues and they all work. Hobby Lobby and Hobbycraft both sell good Superglue that works fine. The instant activator is BAD as it discolors the glue. In contrast, make sure to use only the Gel-type Super-glue for the issue to attach Micro Vortex Generators to the Oratex. That worked always best for me. If you try to use too liquid a super glue for this purpose, it will be a big runny mess that cannot be cleaned up !

Finer detail of finishing

Worth taking the time and trouble now to get the finer detail as you would like others to see it as well !

IMG_0832  IMG_0831


Using the 1″ wide pinked edge not only over the rib caps but also over the edge of the open areas that will have access panels over the top.

And preparing for the final top covering of wing 1

IMG_0833

Tape applied to provide a thin 1/4″ strip of glue on each rib cap … REMEMBER to take the tape  off as soon as the glue has been applied to save it sticking to the wing !


Blog at WordPress.com.

Up ↑