Top Wing Cradle – Coop !

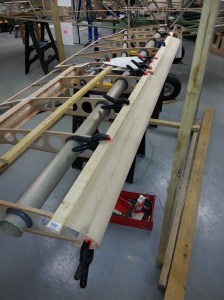
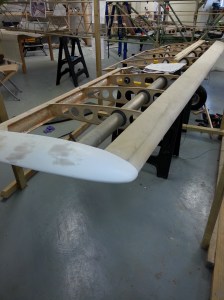
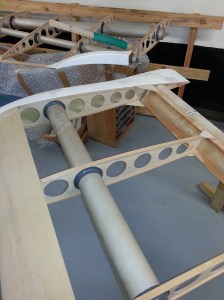
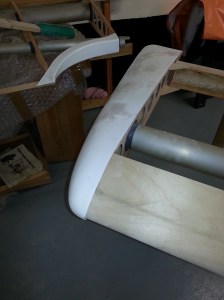
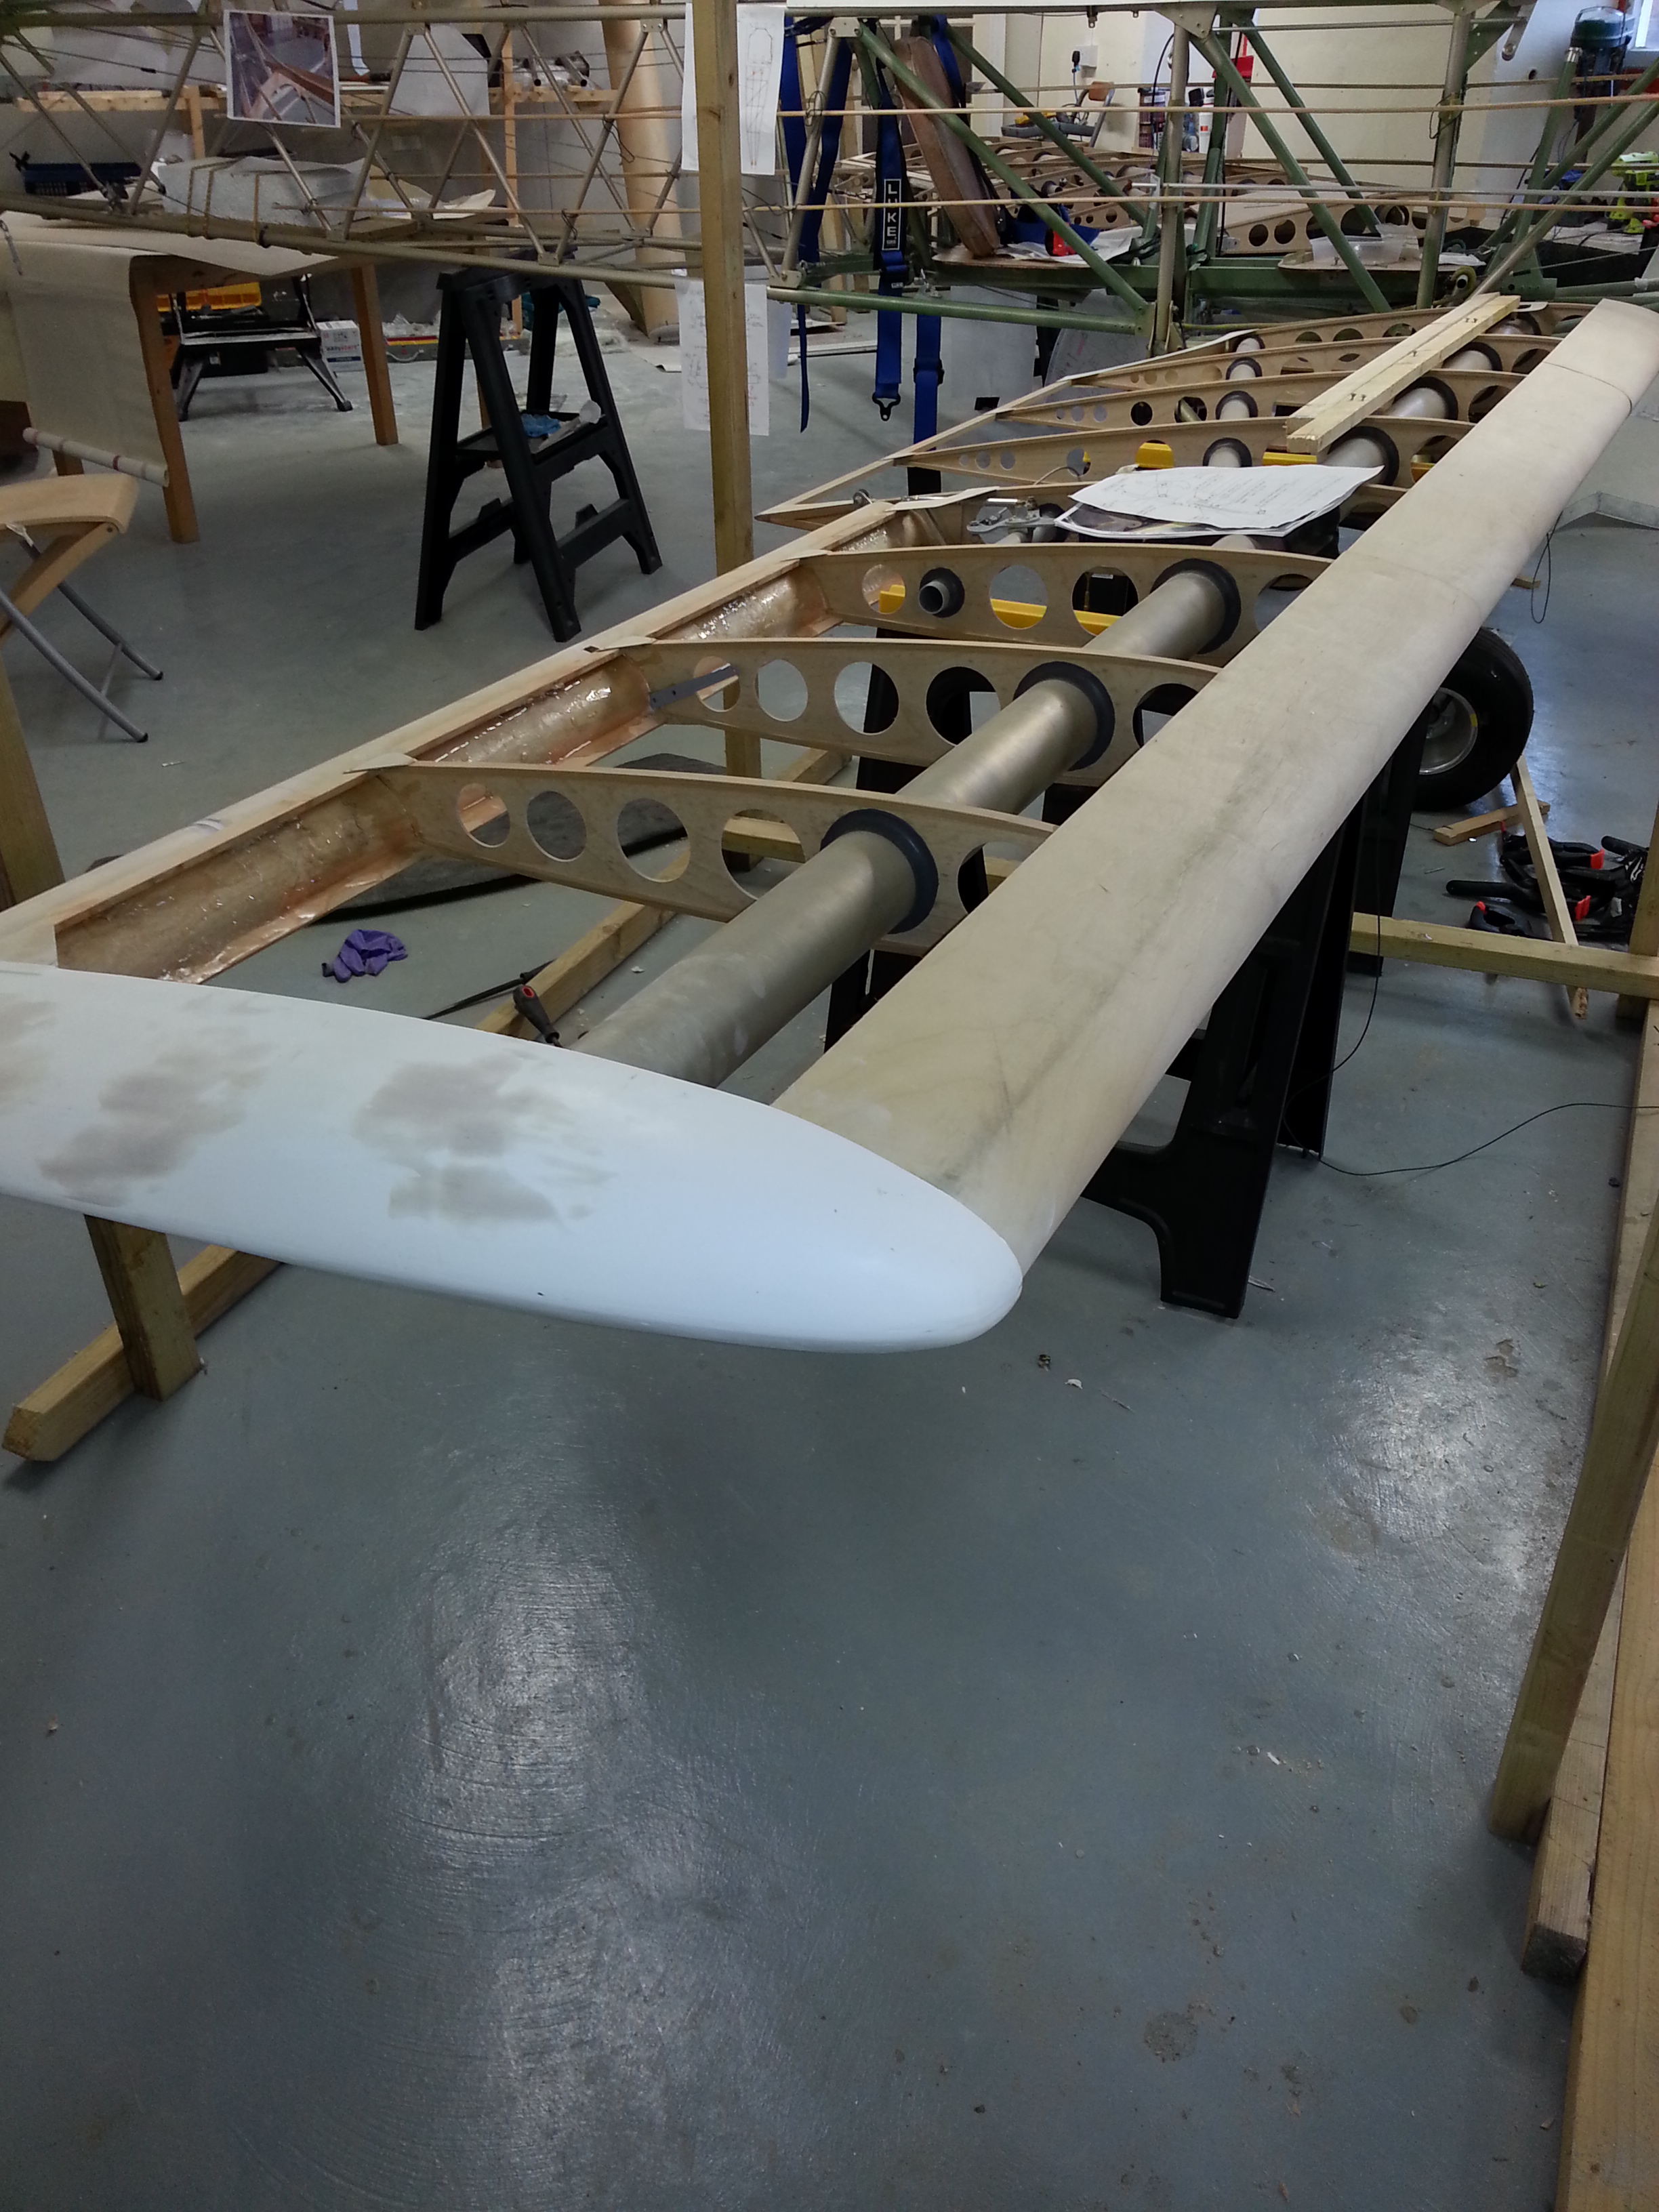
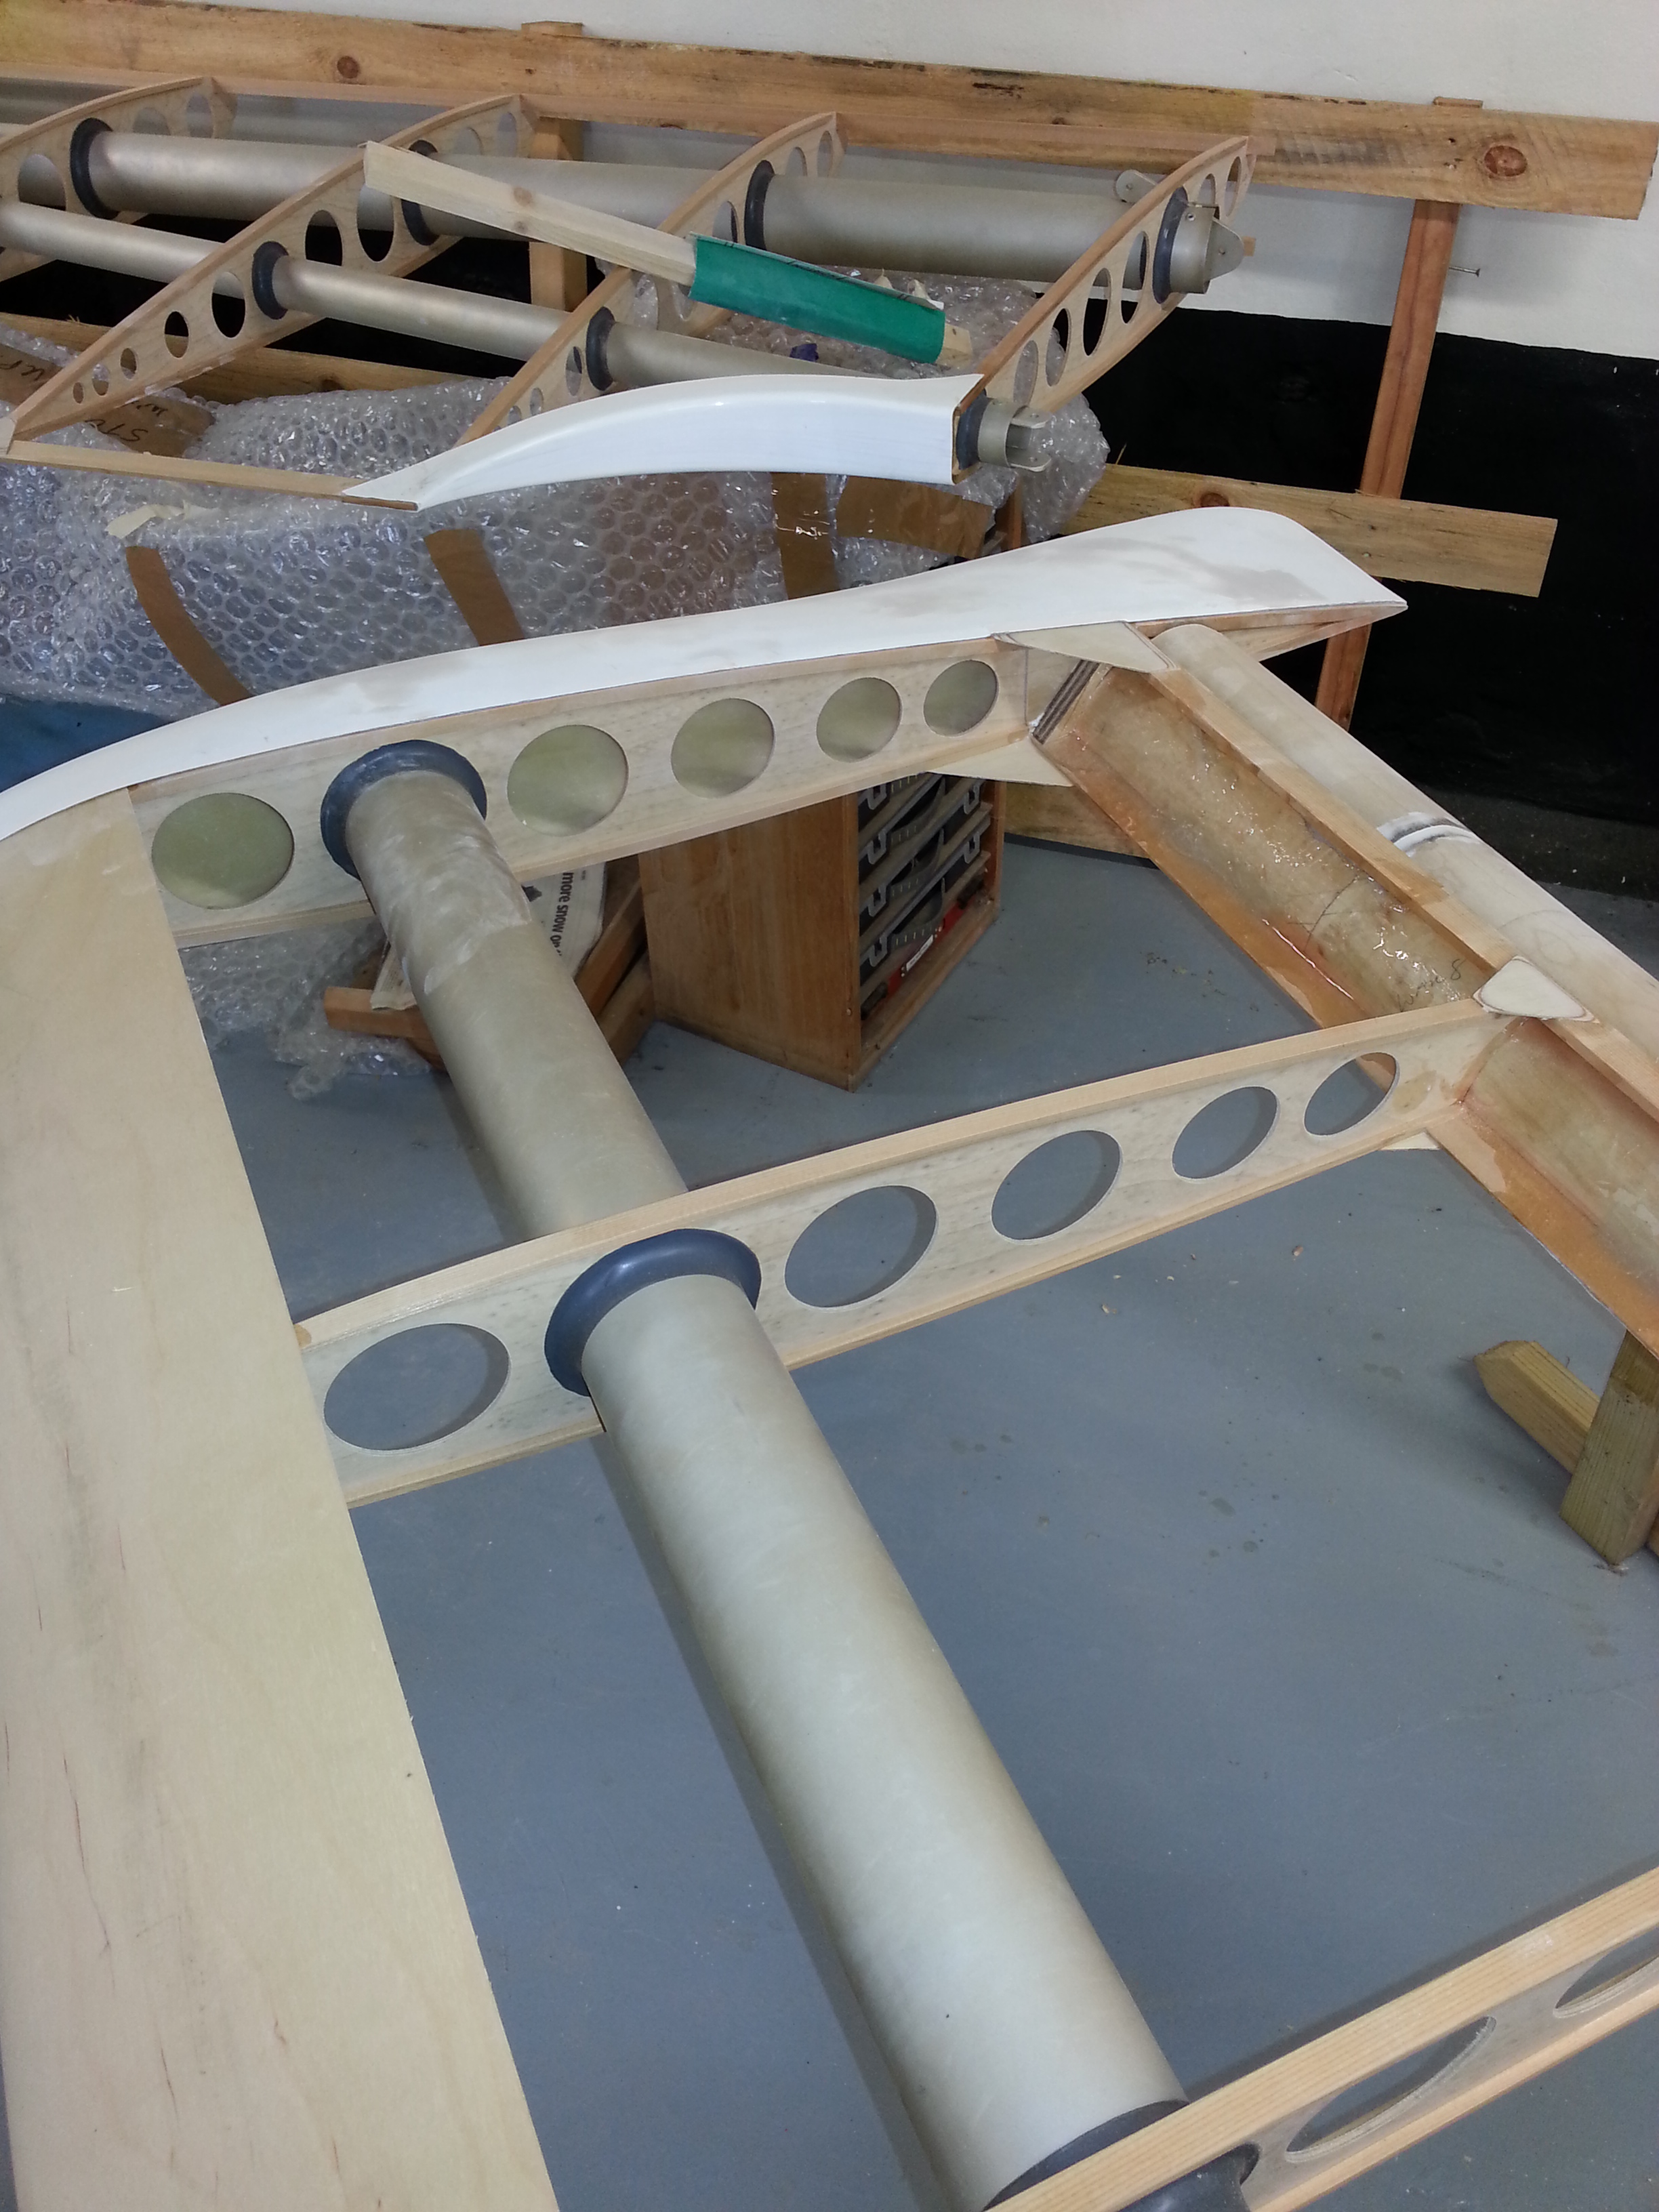
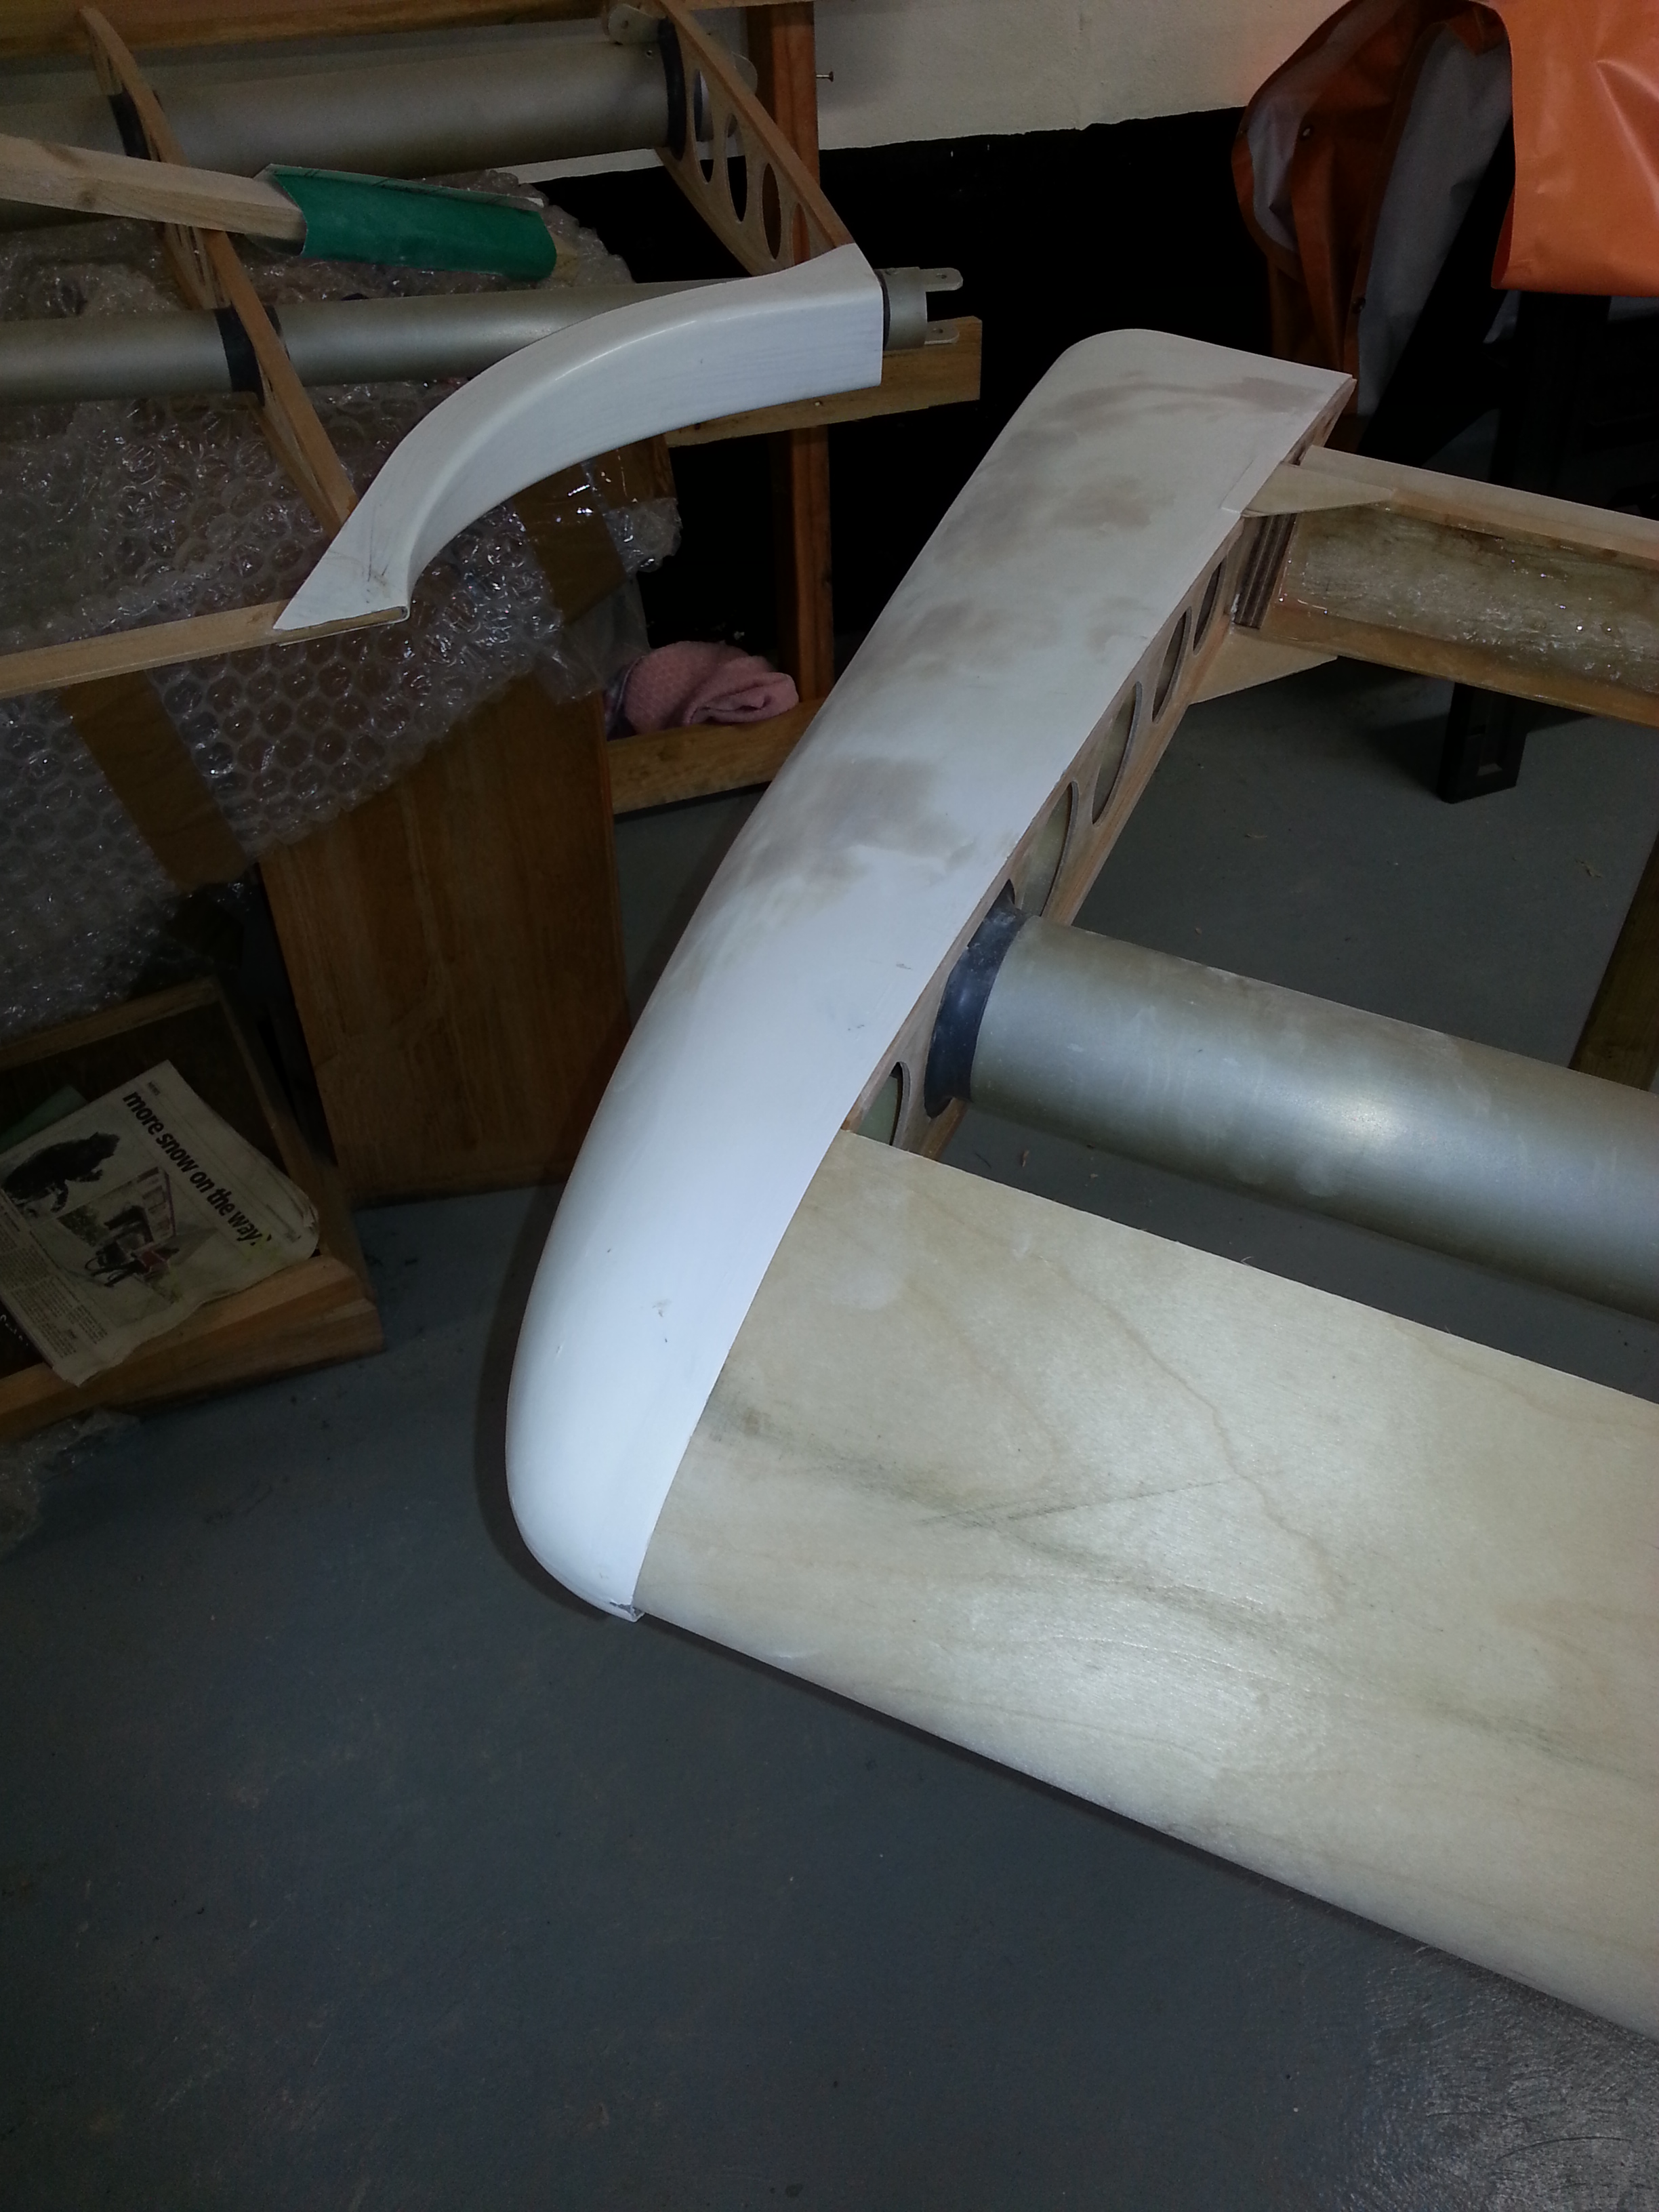
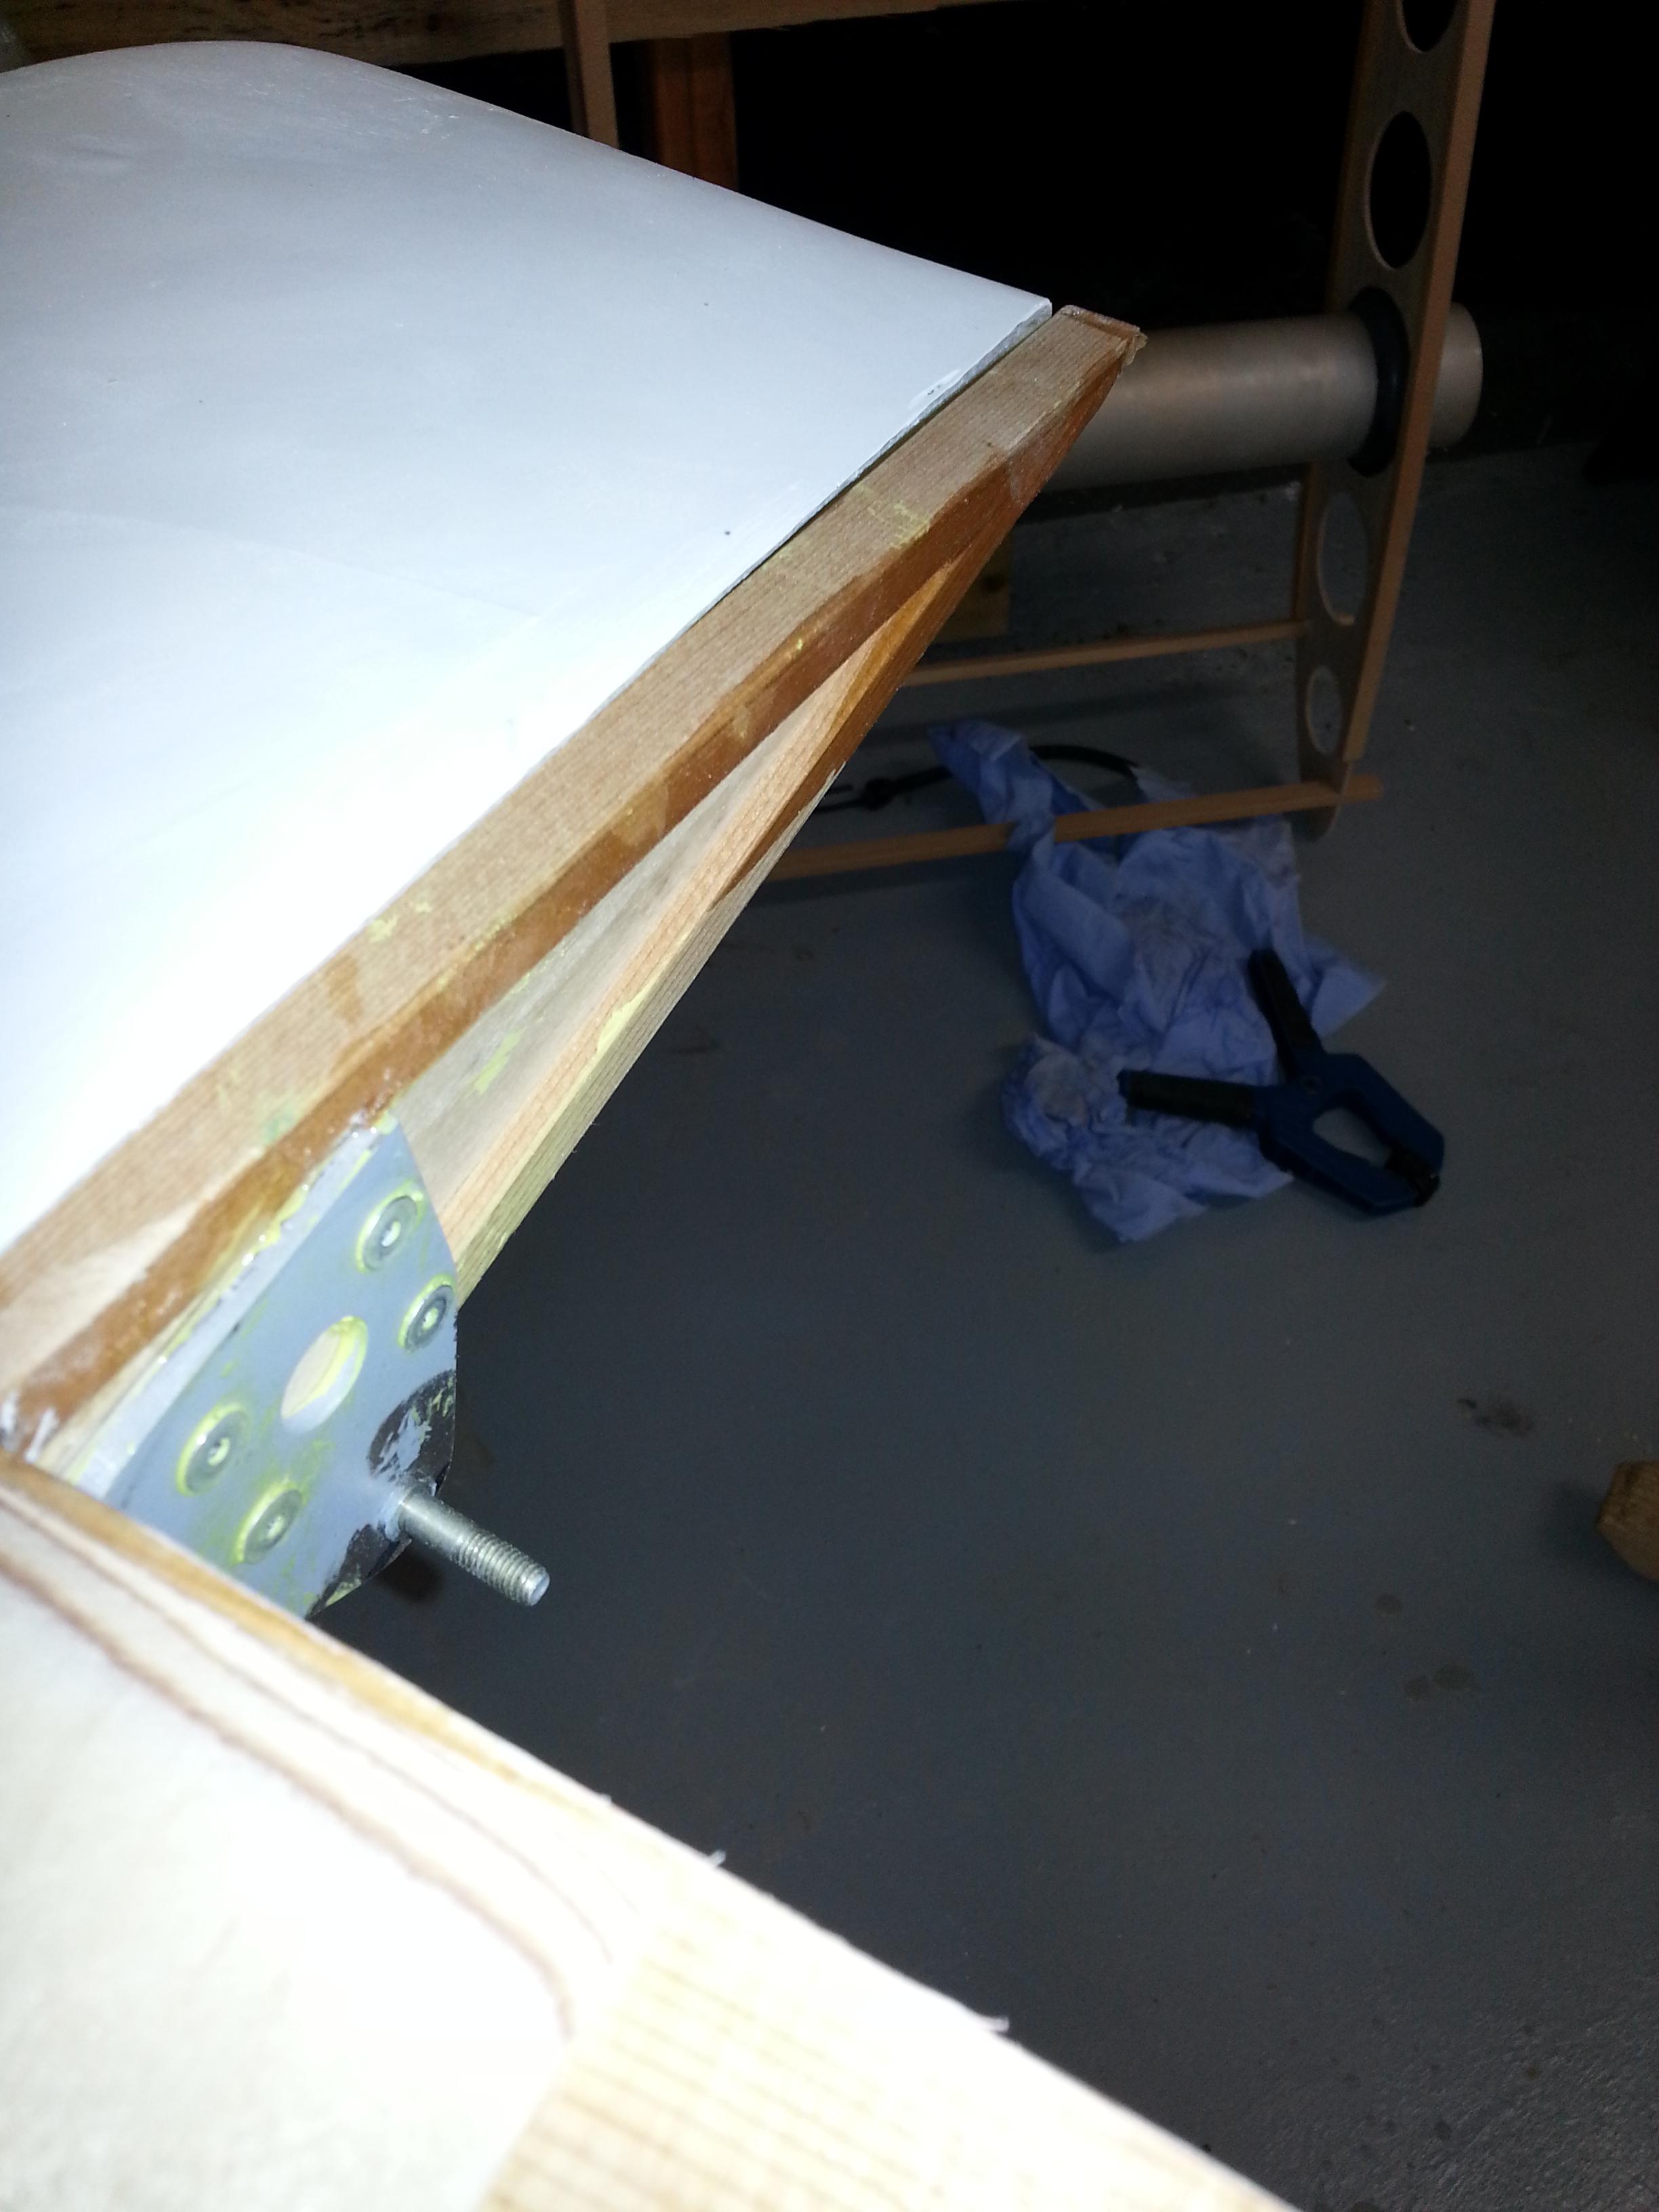
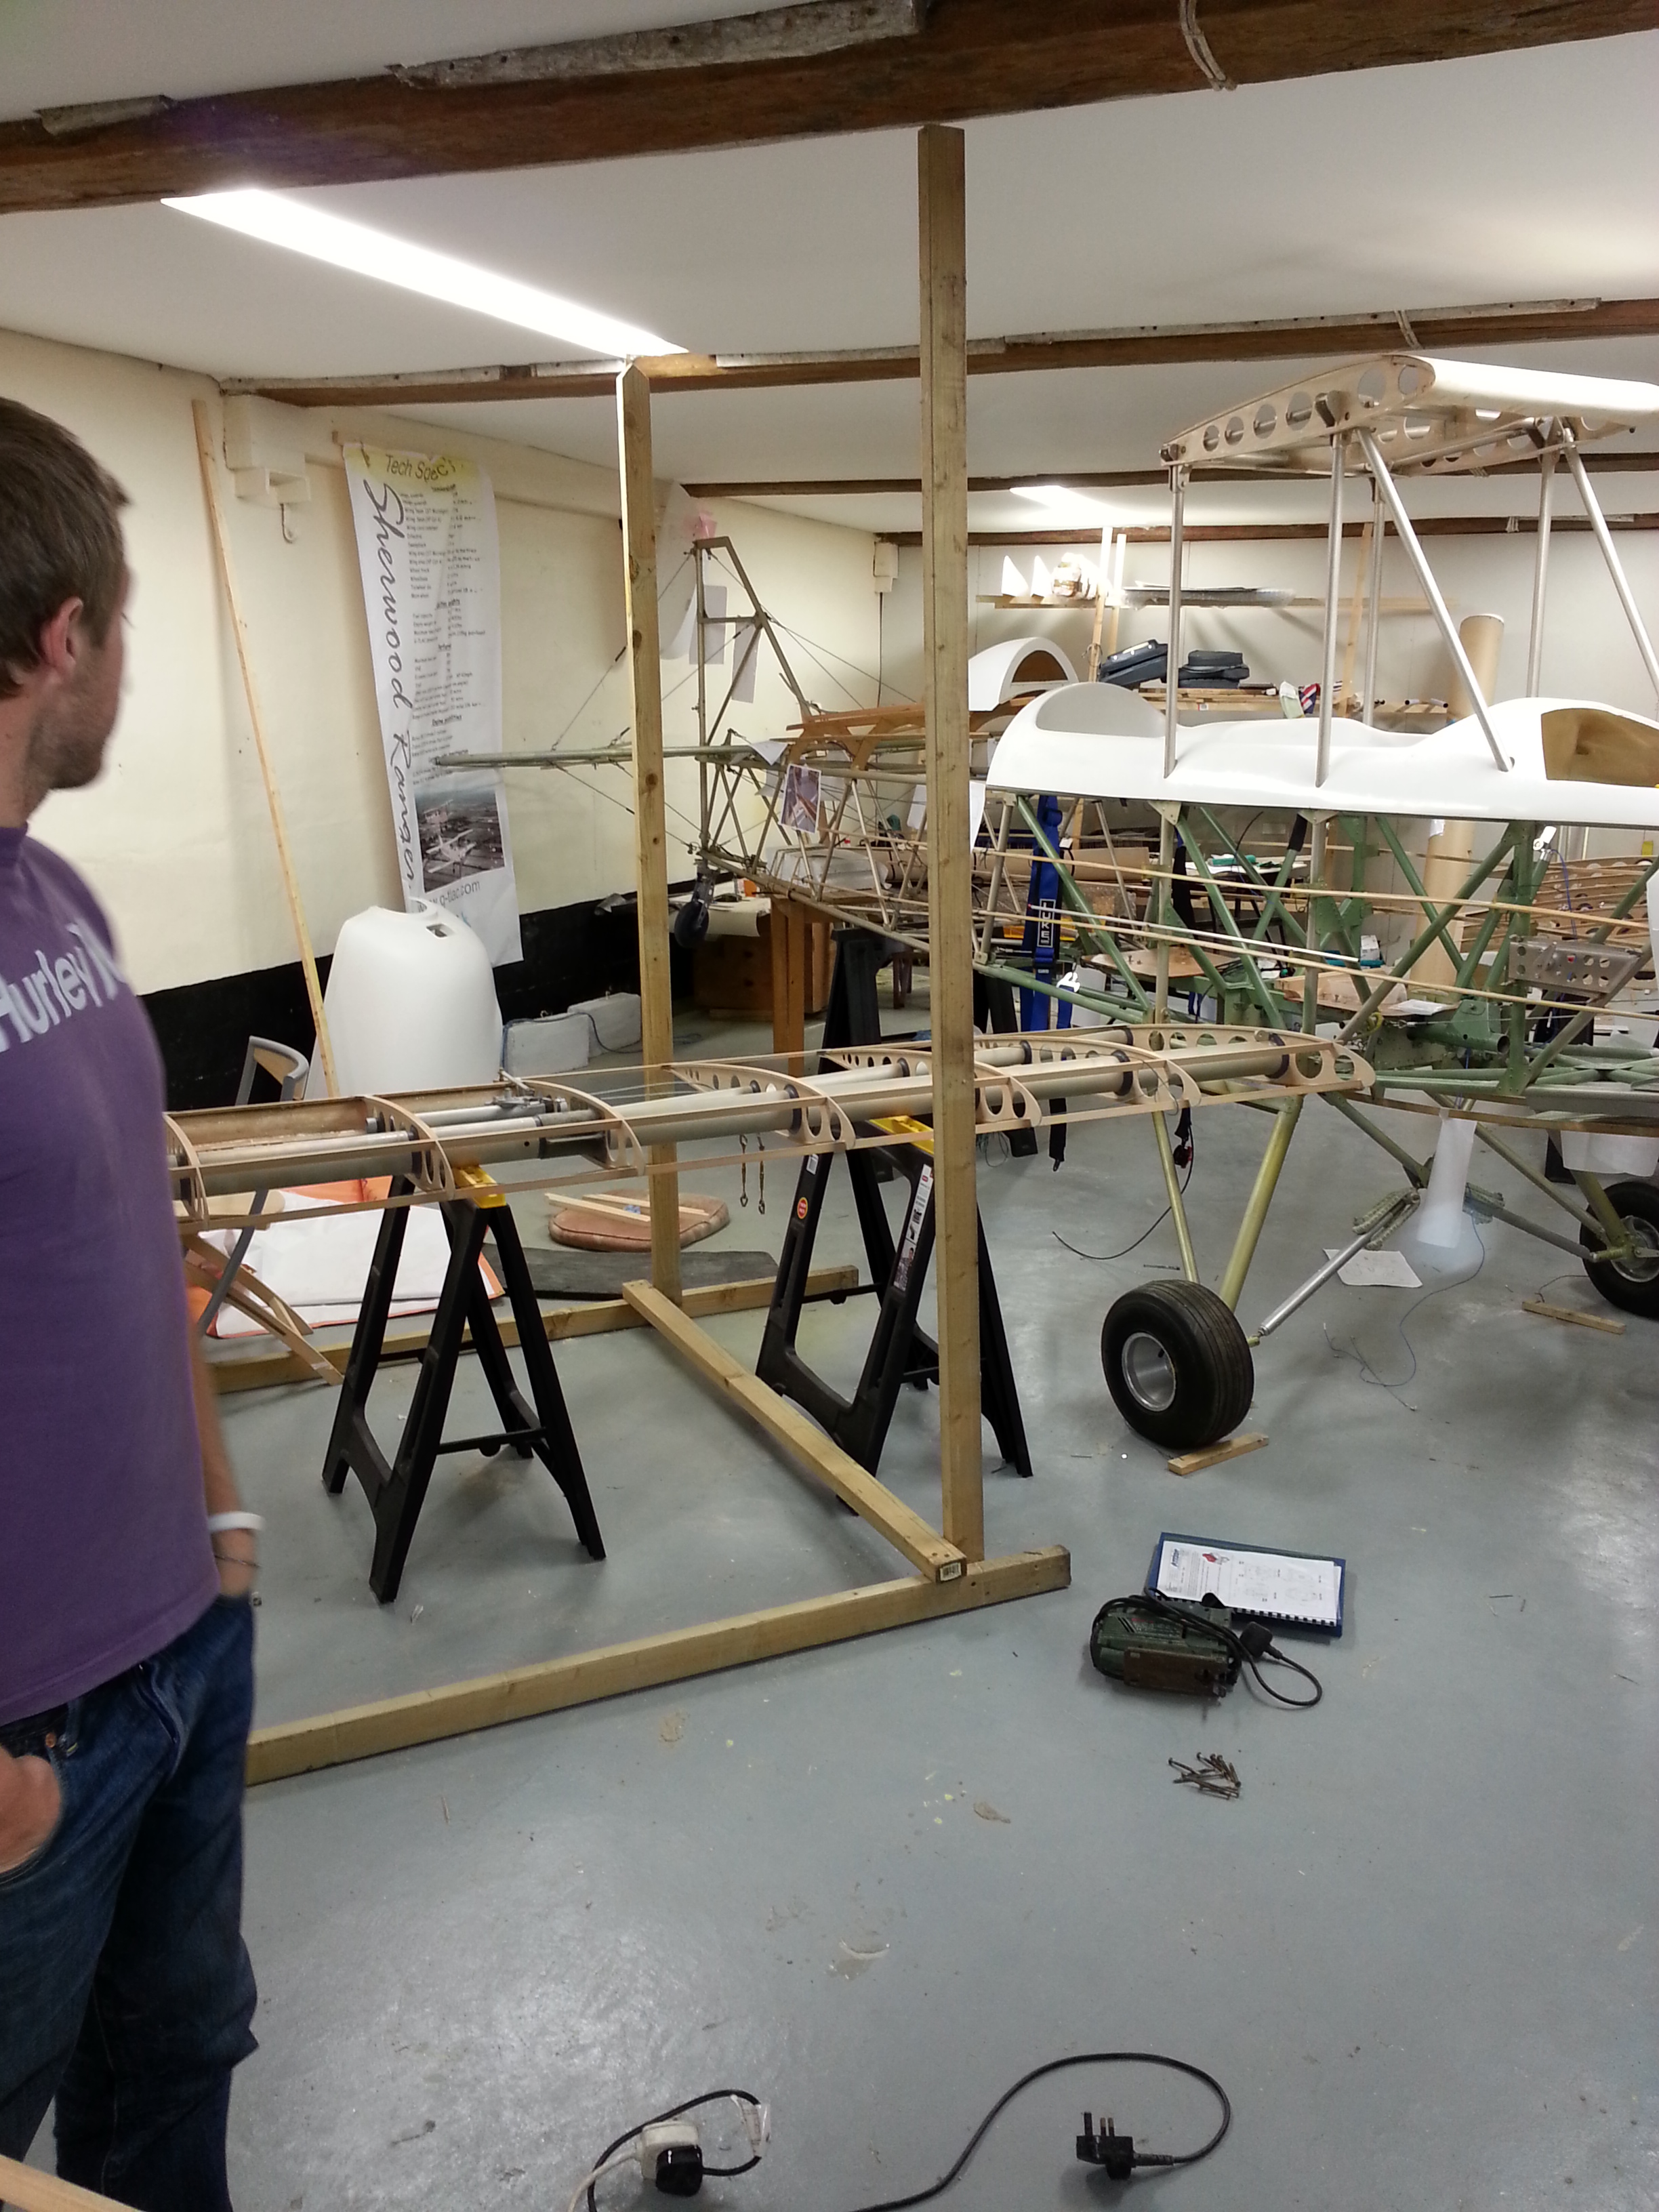
Planning now for the seating of the top wing. This will need a cradle or similar setup as I cant obviously use the floor mounted trestles that I have for the lower wing.

A couple of years ago we bought a few chickens and I built a walk in coop for them. Eventually, when they had stopped performing ‘Chicken Run’ type escapes over the fence into the next door field we could dismantle the coop and leave them in the garden. NOW – all that spare wood (that I just knew I would use someday !) has come into use as the cradle outer for upper wing support.

Wing Cradle Part 1

The aim is to provide multiple checkpoints so that the wing can be carefully settled and aligned and jigged to provide the (on plan) 0 – 1 Degree dihedral on the upper and 3 degree on the lower.

First step is to pre test the cradle one side without actually fitting wing and, if it looks good, build a matching one the other side so they can be done together in situ … don’t want any lop sided weights setting an adverse tilt !

Cold enough to Scarfe !

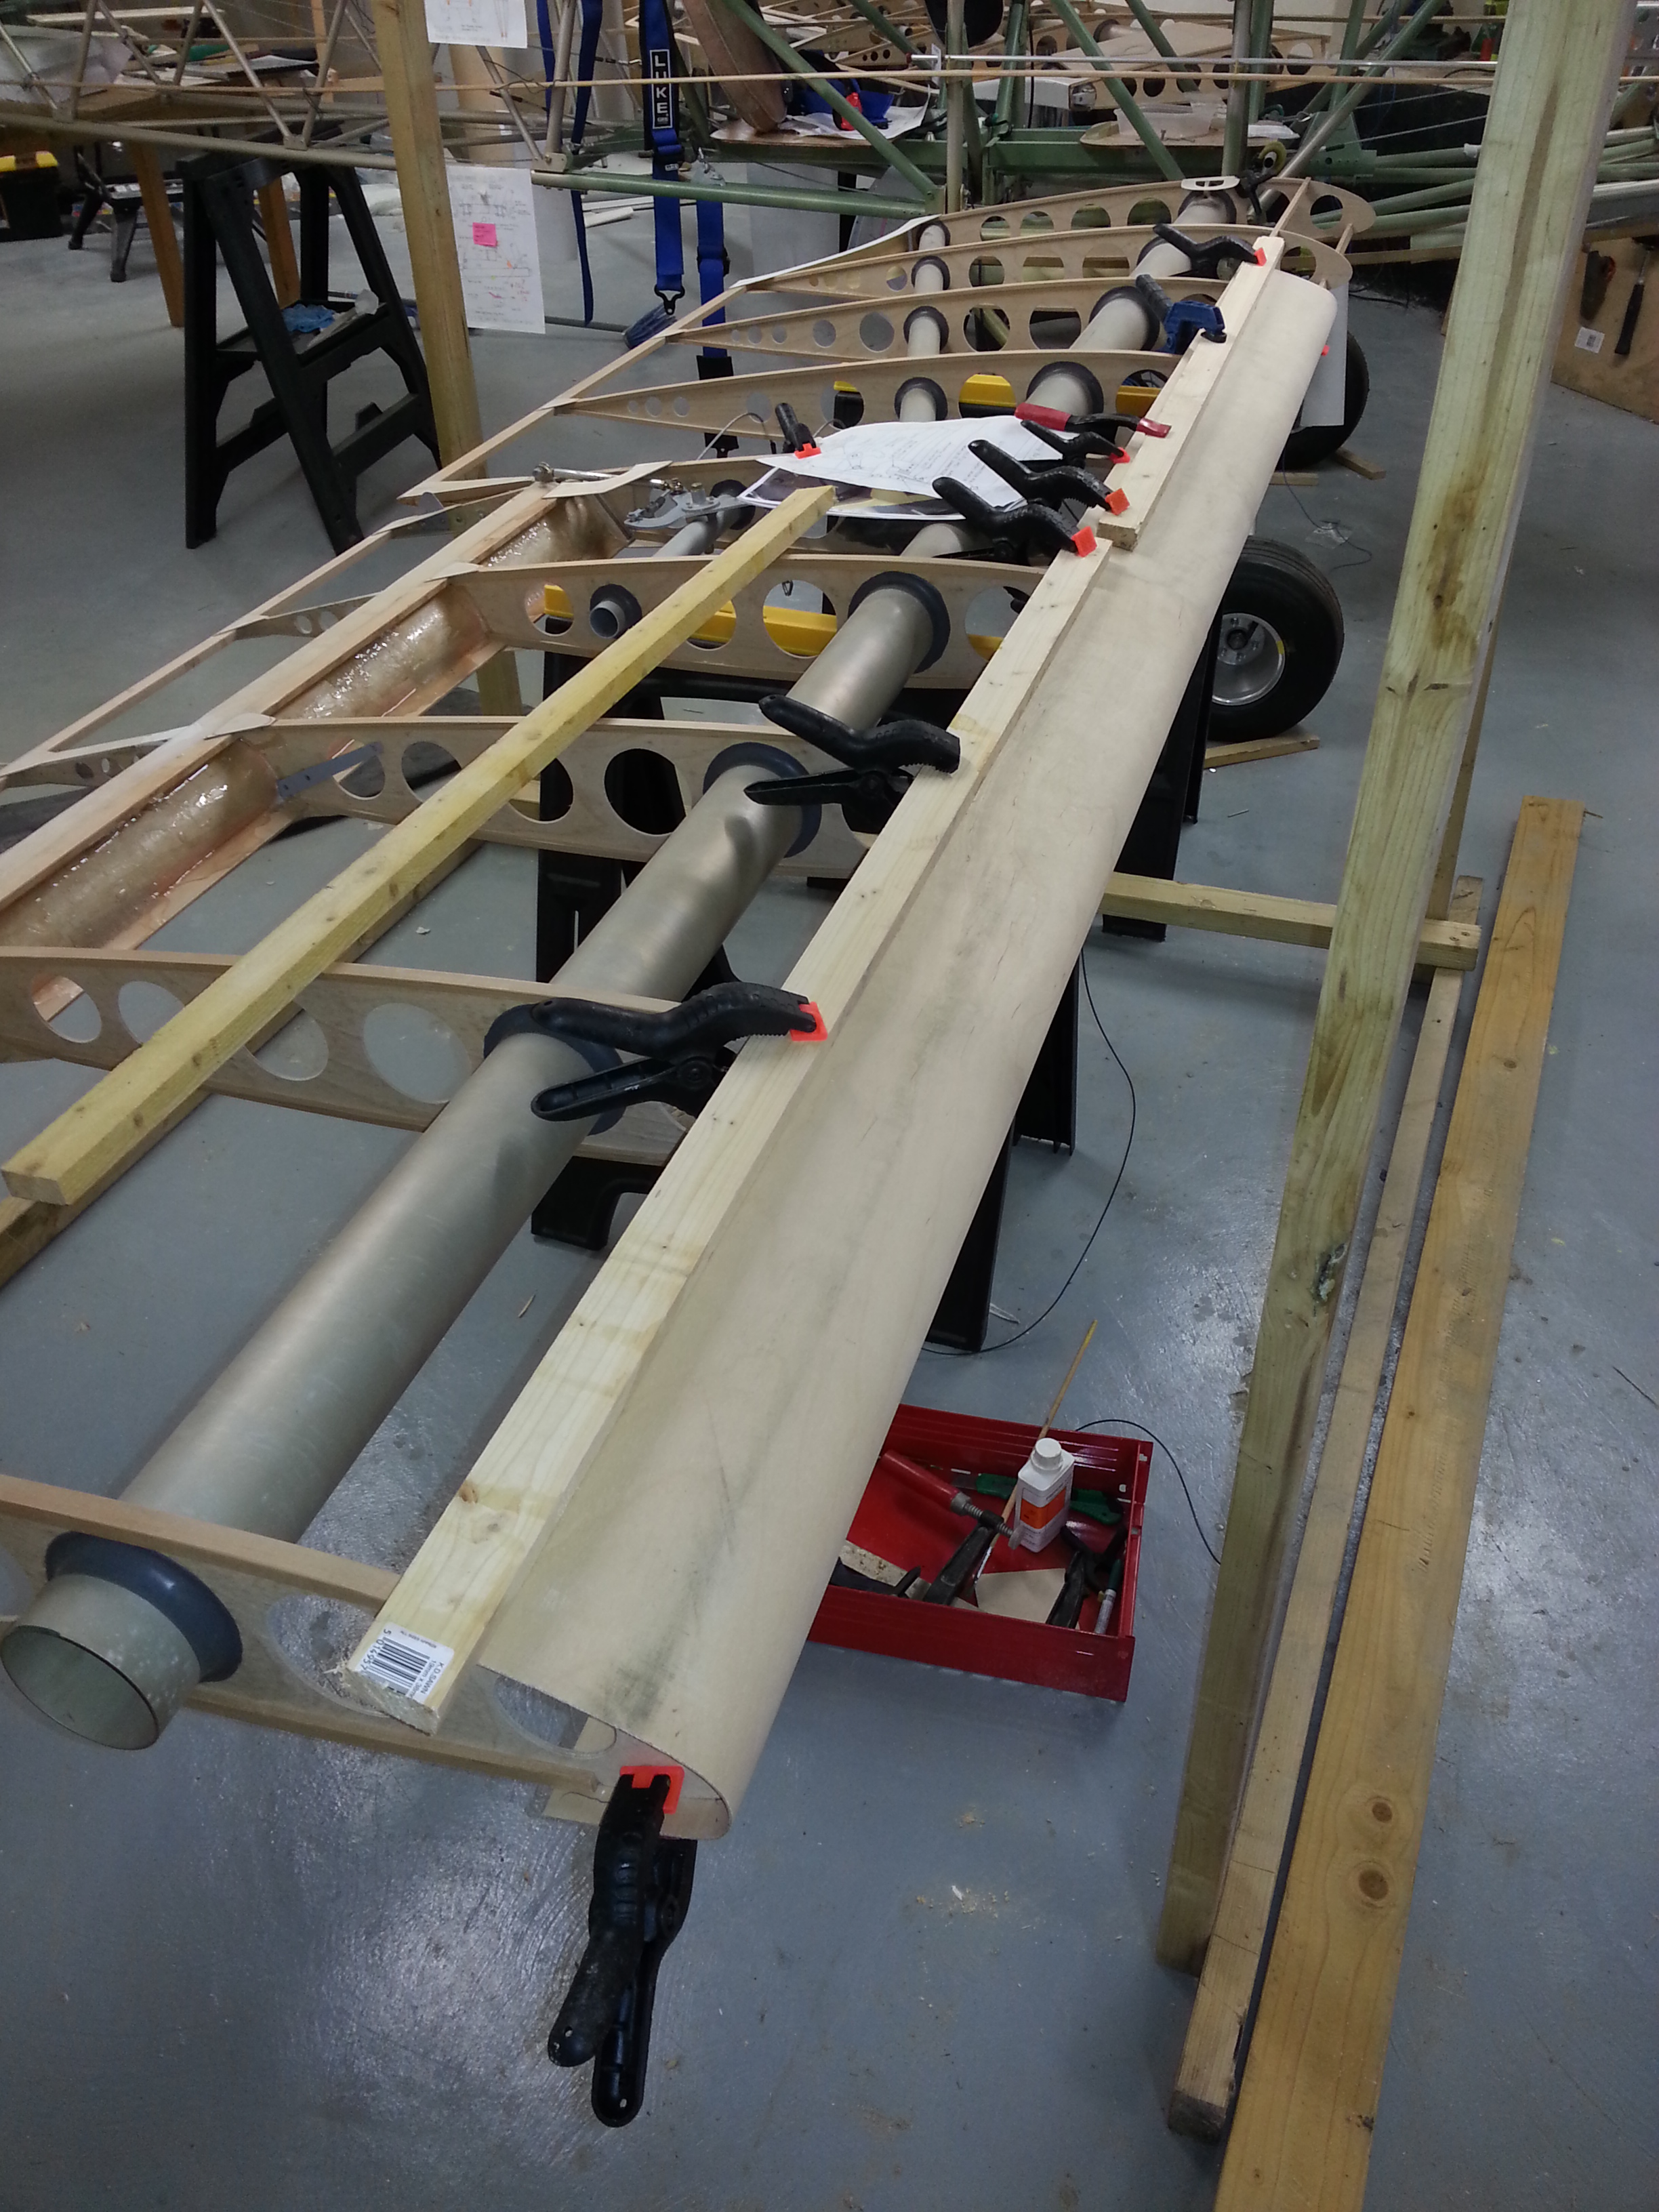
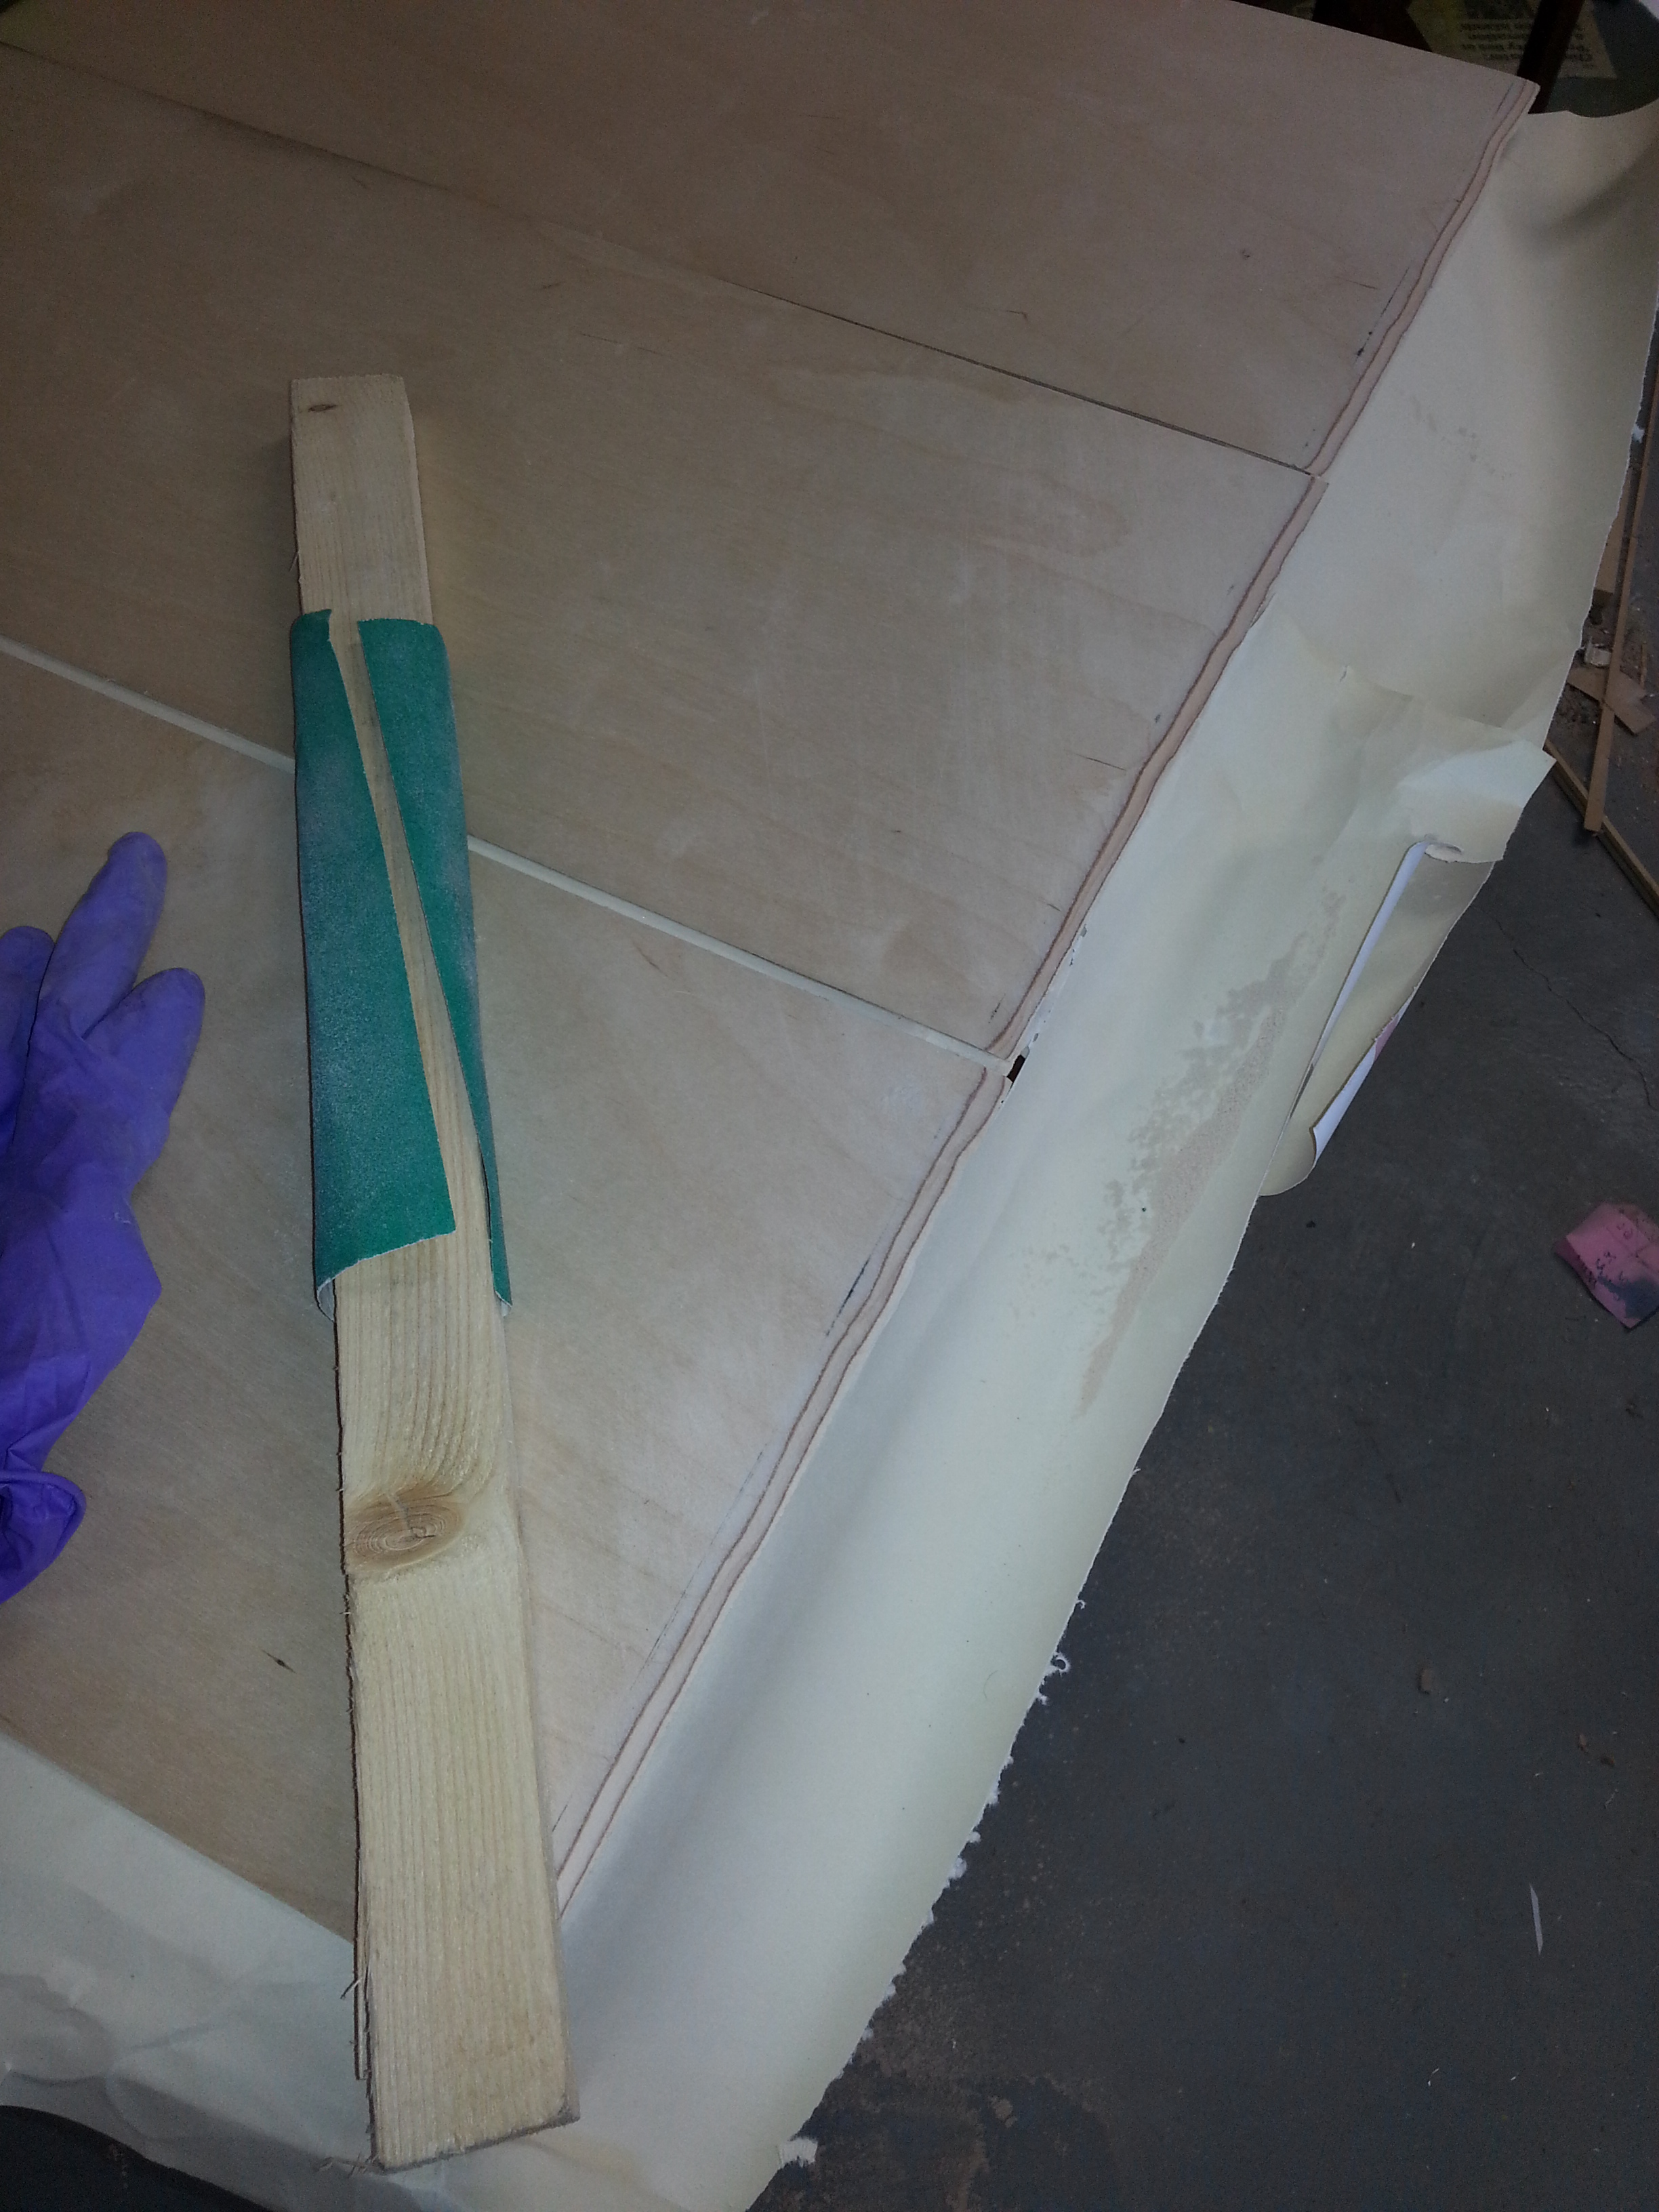
Been preparing the wing leading edge panels which are Birch ply and need to be scarfed before soaking and setting in a jig to preform the wing leading edge curve.

Wing scarfe prep

This will make fixing them much easier without the natural ping of the ply trying to pull it off the ribs !

With 3 sections per wing and 4 wings and the centre section needs scarfe’s both ends that’s 4 per wing so 16 joints to prep. Makes your wrists ache !

Oil Pipes – Connectors

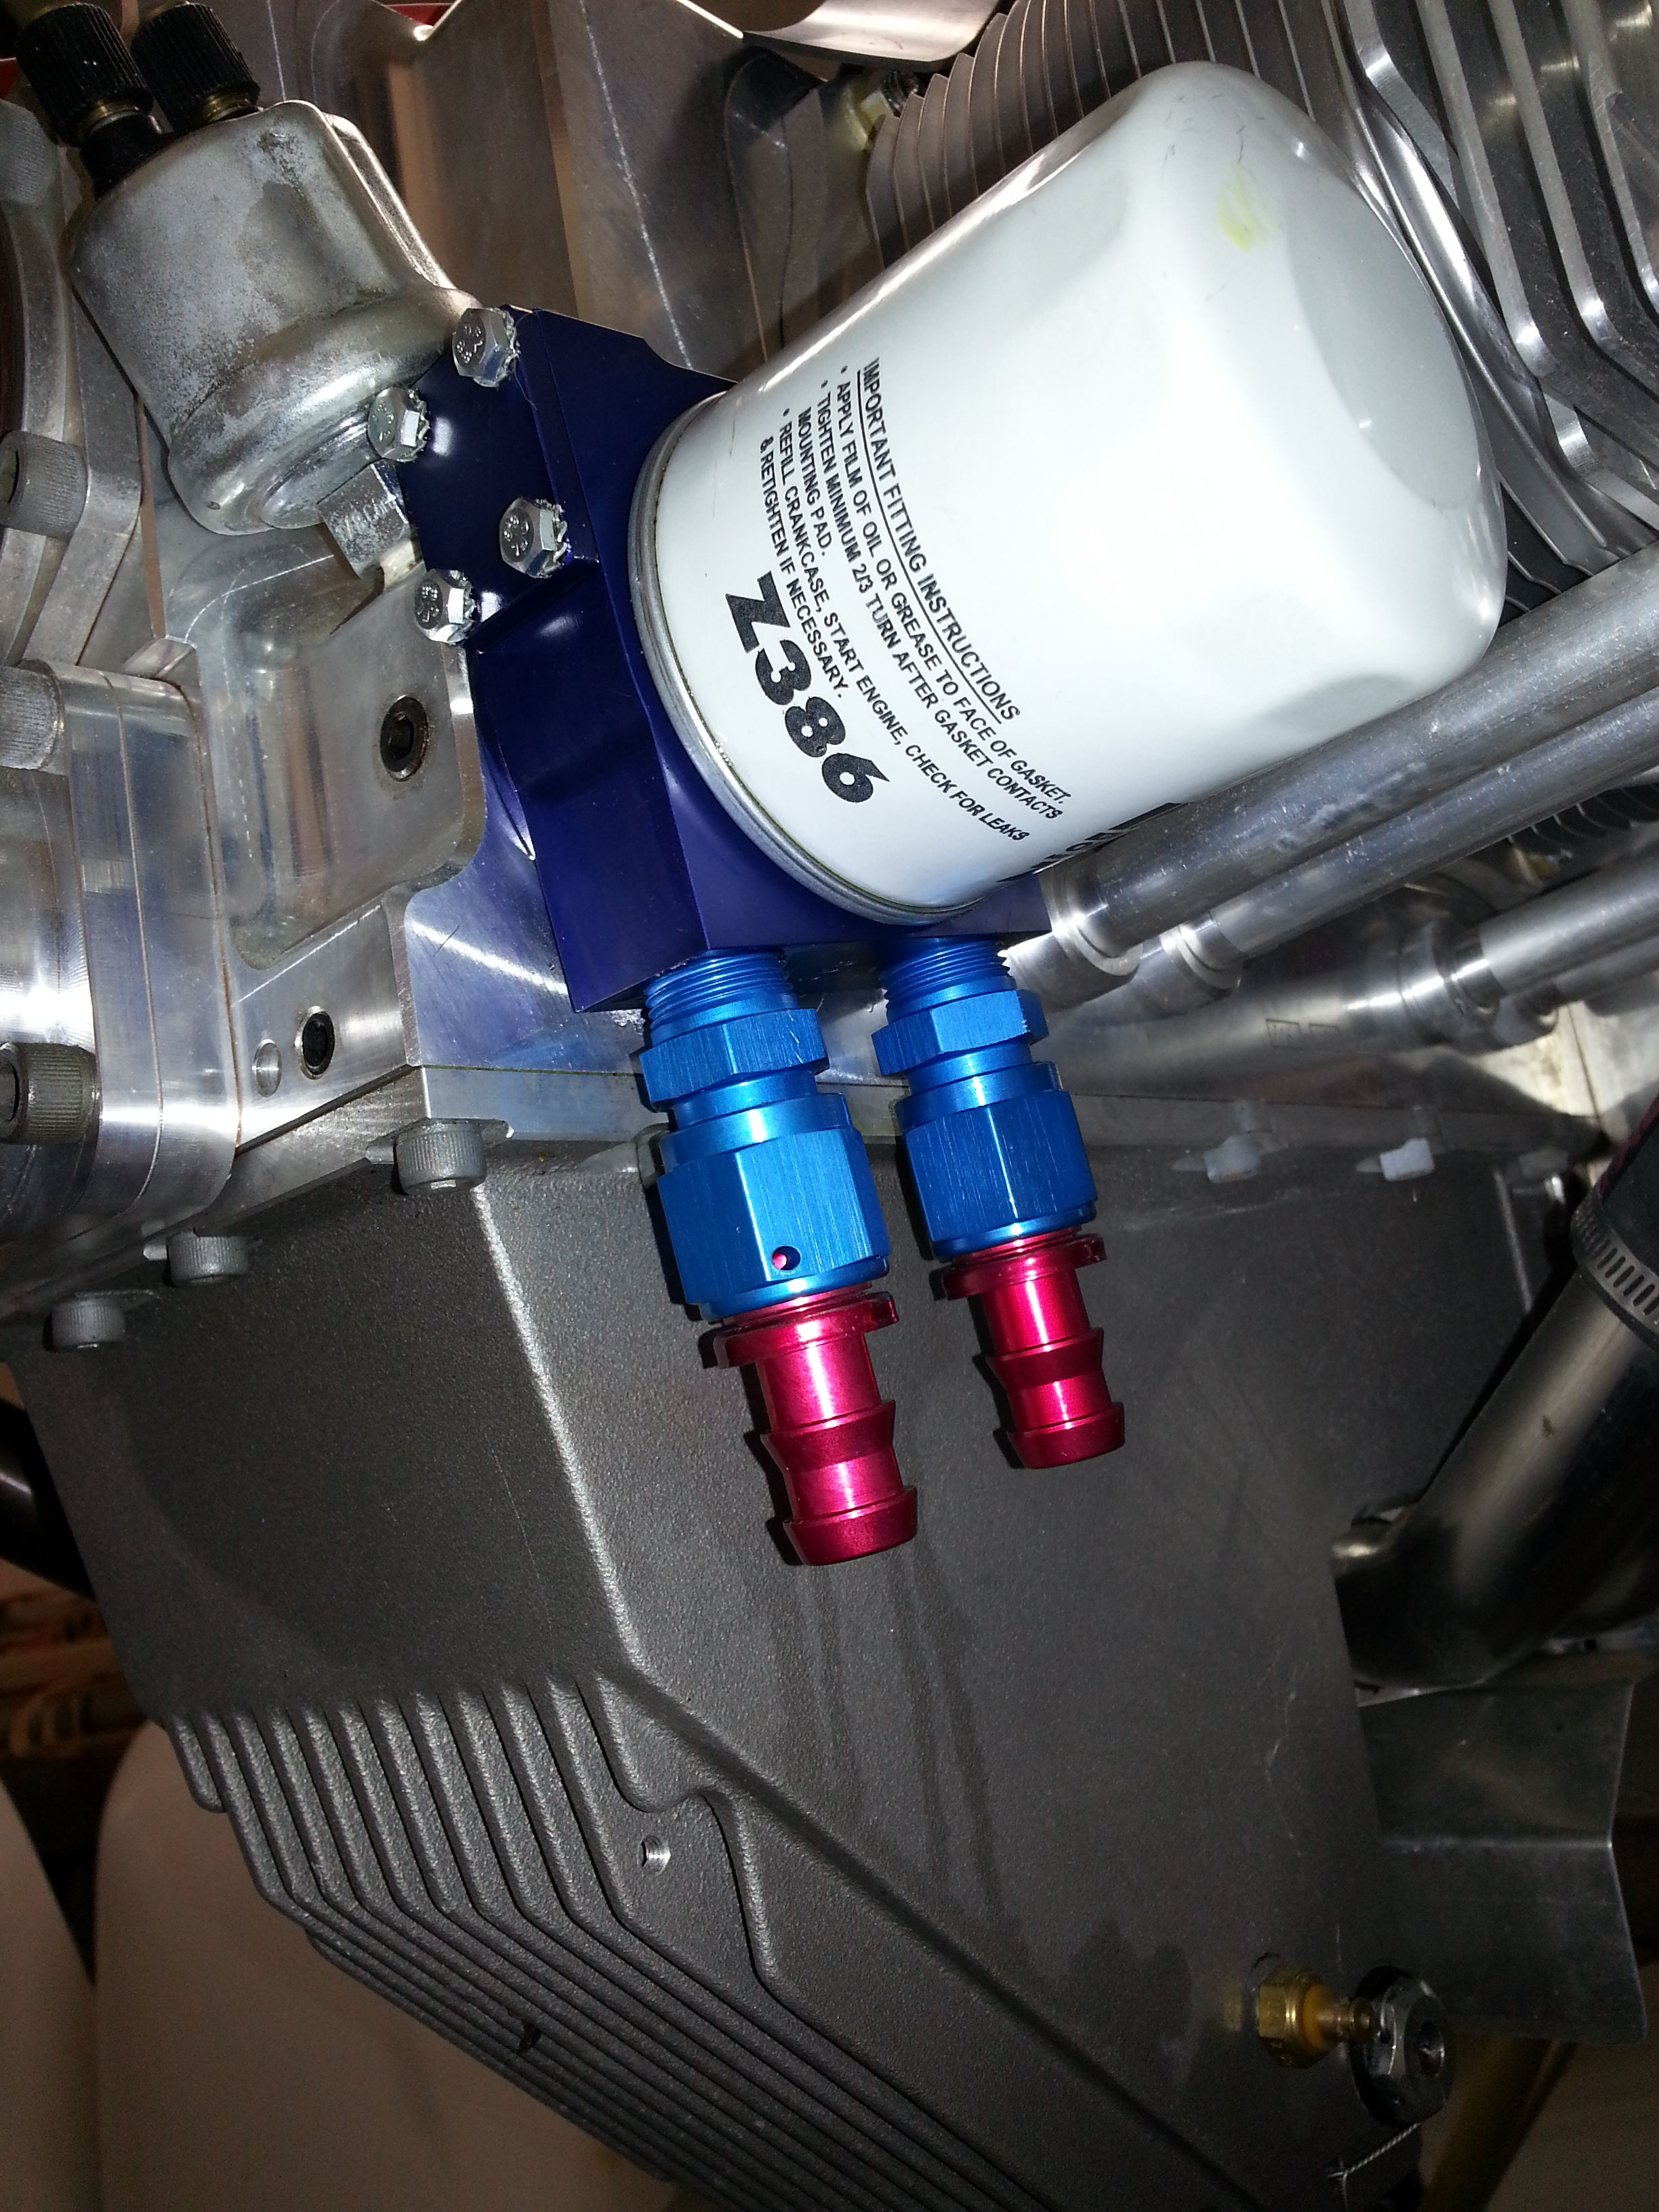
Started to add the oil cooler pipe connectors last night …. have realised I need to plan which is flow IN and which is flow OUT so I get them the right way around !!


Oil pipes 1


Next step – around the time of cowl fitting will be to work out where to locate the oil cooler matrix to get the best ram air flow.

Draft Colour Check – Oratex

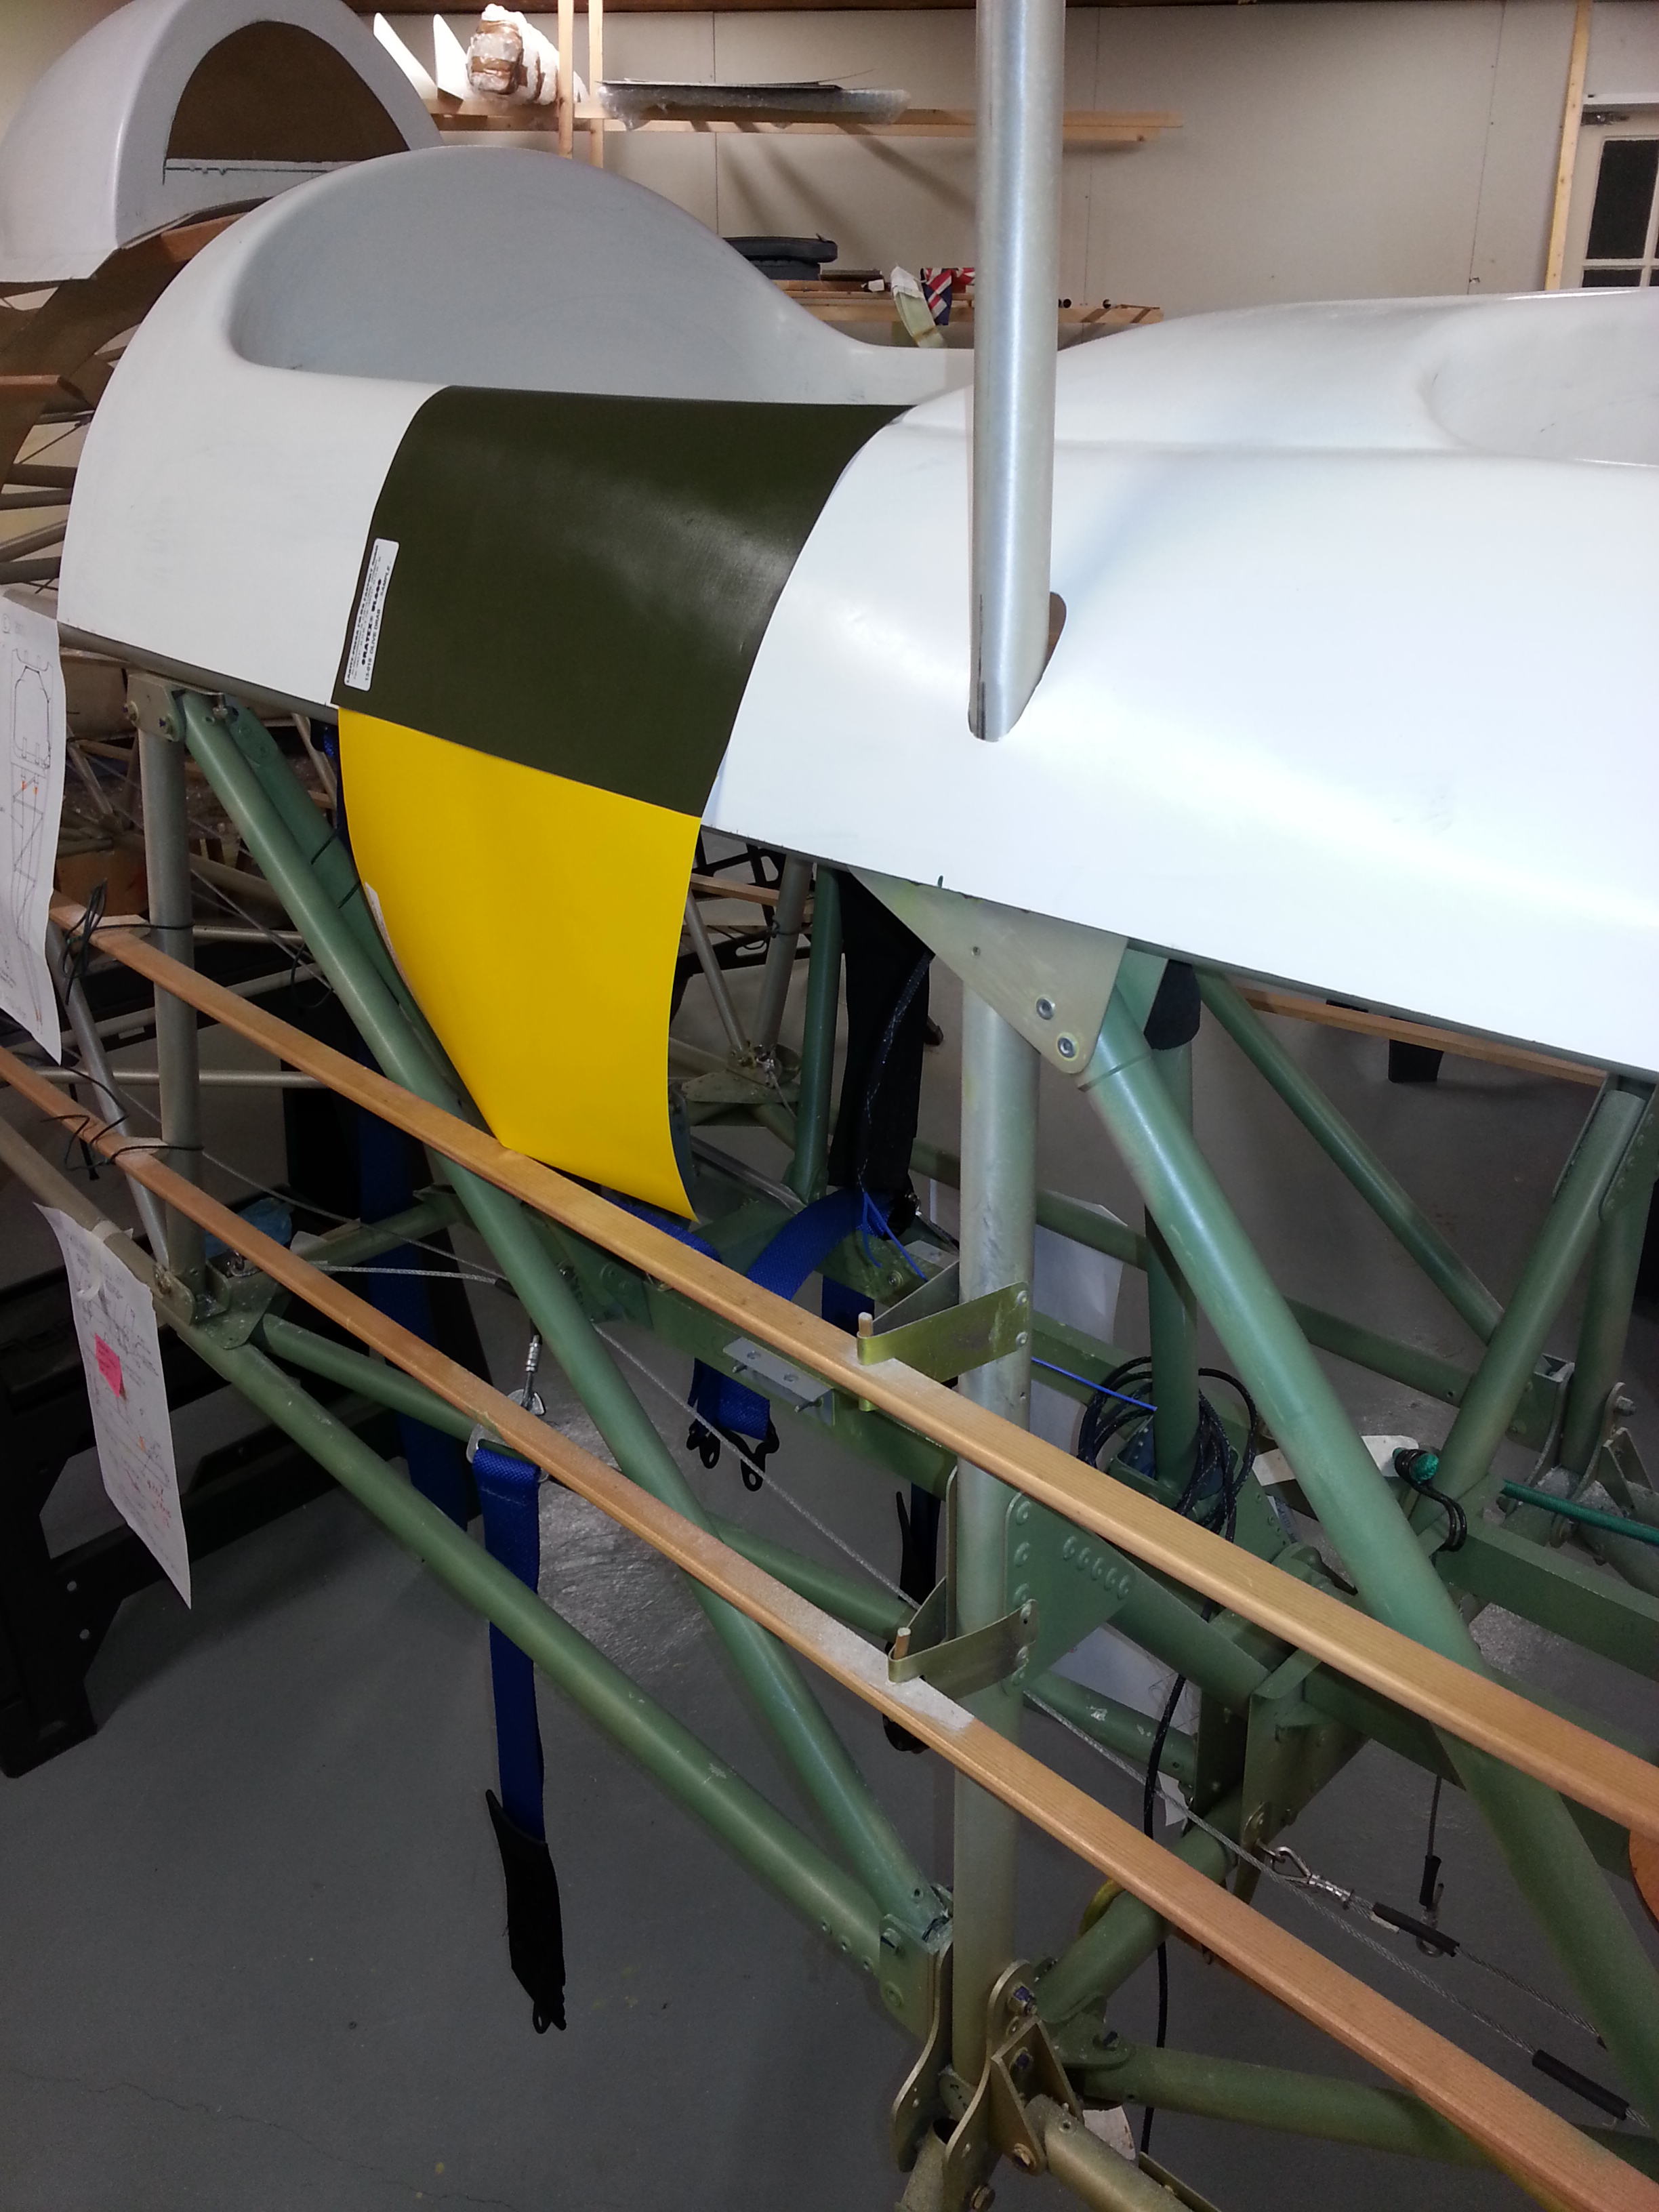
I was planning on doing an Out of Africa lookalike but unfortunately Oratex don’t do Black ! So I asked them last week for some samples of Cub Yellow and Olive Drab (closest to Black).

Olive Yellow test

Looks OK I think …. very traditional Olive colour …

So plan with be top decking Olive, Top cowl Olive with a sweep of Olive curving around the nose into the lower cowl … then yellow wings and remainder of lower half of body.

The spinner will be probably quadrant of alternating yellow and olive

May do wing tips Olive to match and decide on scallop leading edge of fin/elevators when I see what it looks like.

Cabane refit

Reached the point where I can now refit the top cabane. This was a pretty heavy evening – with careful alignment of the holes put to the test as the cabane supports fed back through and slotted back into the existing fuselage framework.

Cabane1   Cabane2

Just the front two supports to seat back into their slots and then I can start to plan cable cross bracing and, eventually, top wings

Top Turtle Decking

Another thing I had been tentative about starting .. due to the ease of which you could very quickly mess up and nice piece of moulding !

Started off by drilling a test hole (using the clever guide marks that TLAC provide). Then dropping a thin plastic rod down to check centring in the receiving hole.

dECK 1  dECK 2


Then widen and slowly open up – as Paul says – its easy to take a small amount off each time than to re-add once removed !


Registration – G-SWAB

This long running saga with the new Channel Island registry – sort of thought it would be nice that a Jersey built aircraft could adopt a Jersey registration (the new ‘2’ prefix) .. but no .. too much for the CI authorities to cope with ….

Approached the CAA who did an amazing job – registered it in 24 hours ! Sit up and learn CI you took longer telling me why I couldn’t register it than the CAA did to actually do it  !!!

G-SWAB – Named after the family who have been putting up with my building mood swings from elation through doldrums … S (Sam), W (Will), A (Amanda) and B (Benjamin) .. also sort of nice as its Sherwood (SW)

Top Decking

Now time to get this positioned and in place for riveting.

The prep work is relatively easy as the rear end only needs a small amount of filing to let it sit mid longeron. There is a cross bar to be fitted in front cockpit between the diagonals and just checking with TLAC exactly what profile this is ie same as existing longerons ?

Decking 1

This makes up the rear support bracket of the front instrument panel.

The whole thing is cleco’d to start as I have some interesting elongated holes to cut to let the top cabane sit squarely.

Jabiru – Oil cooler

Following discussions I have elected to fit a Thermostatic Oil Cooler Adaptor (TOCA). This is a really neat unit that fits against the engine block and then, with an extended centre threaded spigot, allows the oil filter to be then mounted on the top face of the TOCA.

TOCA2

The advantage is that instead of cold oil being pushed around the whole system and out through the oil cooler matrix well before it reaches anything like warm temperature, a valve in the TOCA keeps the oil within the engine block until it reaches temp the opens the valve to let it flow through cooling matrix.

TOCA1

Slight problem with normal sized filter being tight to get in but working on that.

(Update 28 Jan 2019 – Saw someone looked at this old post so re-read it and wanted to add an update … getting the TOCA on with the oil filter can be a challenge .. don’t worry .. it DOES go on … i think it’s eassier to part screw the inner threaded sleeve into the new filter and then offer this up as a whole ..with the blue TOCA unit .. this helps you get the whole unit in next to the cylinder head)

I can now start to plan the pipe runs and more importantly which angle junction to use to ensure best / easiest run.

Also got to plan how and where I site the cooler itself. This will have to now wait the completion of the top deck and subsequent cowl fitting.

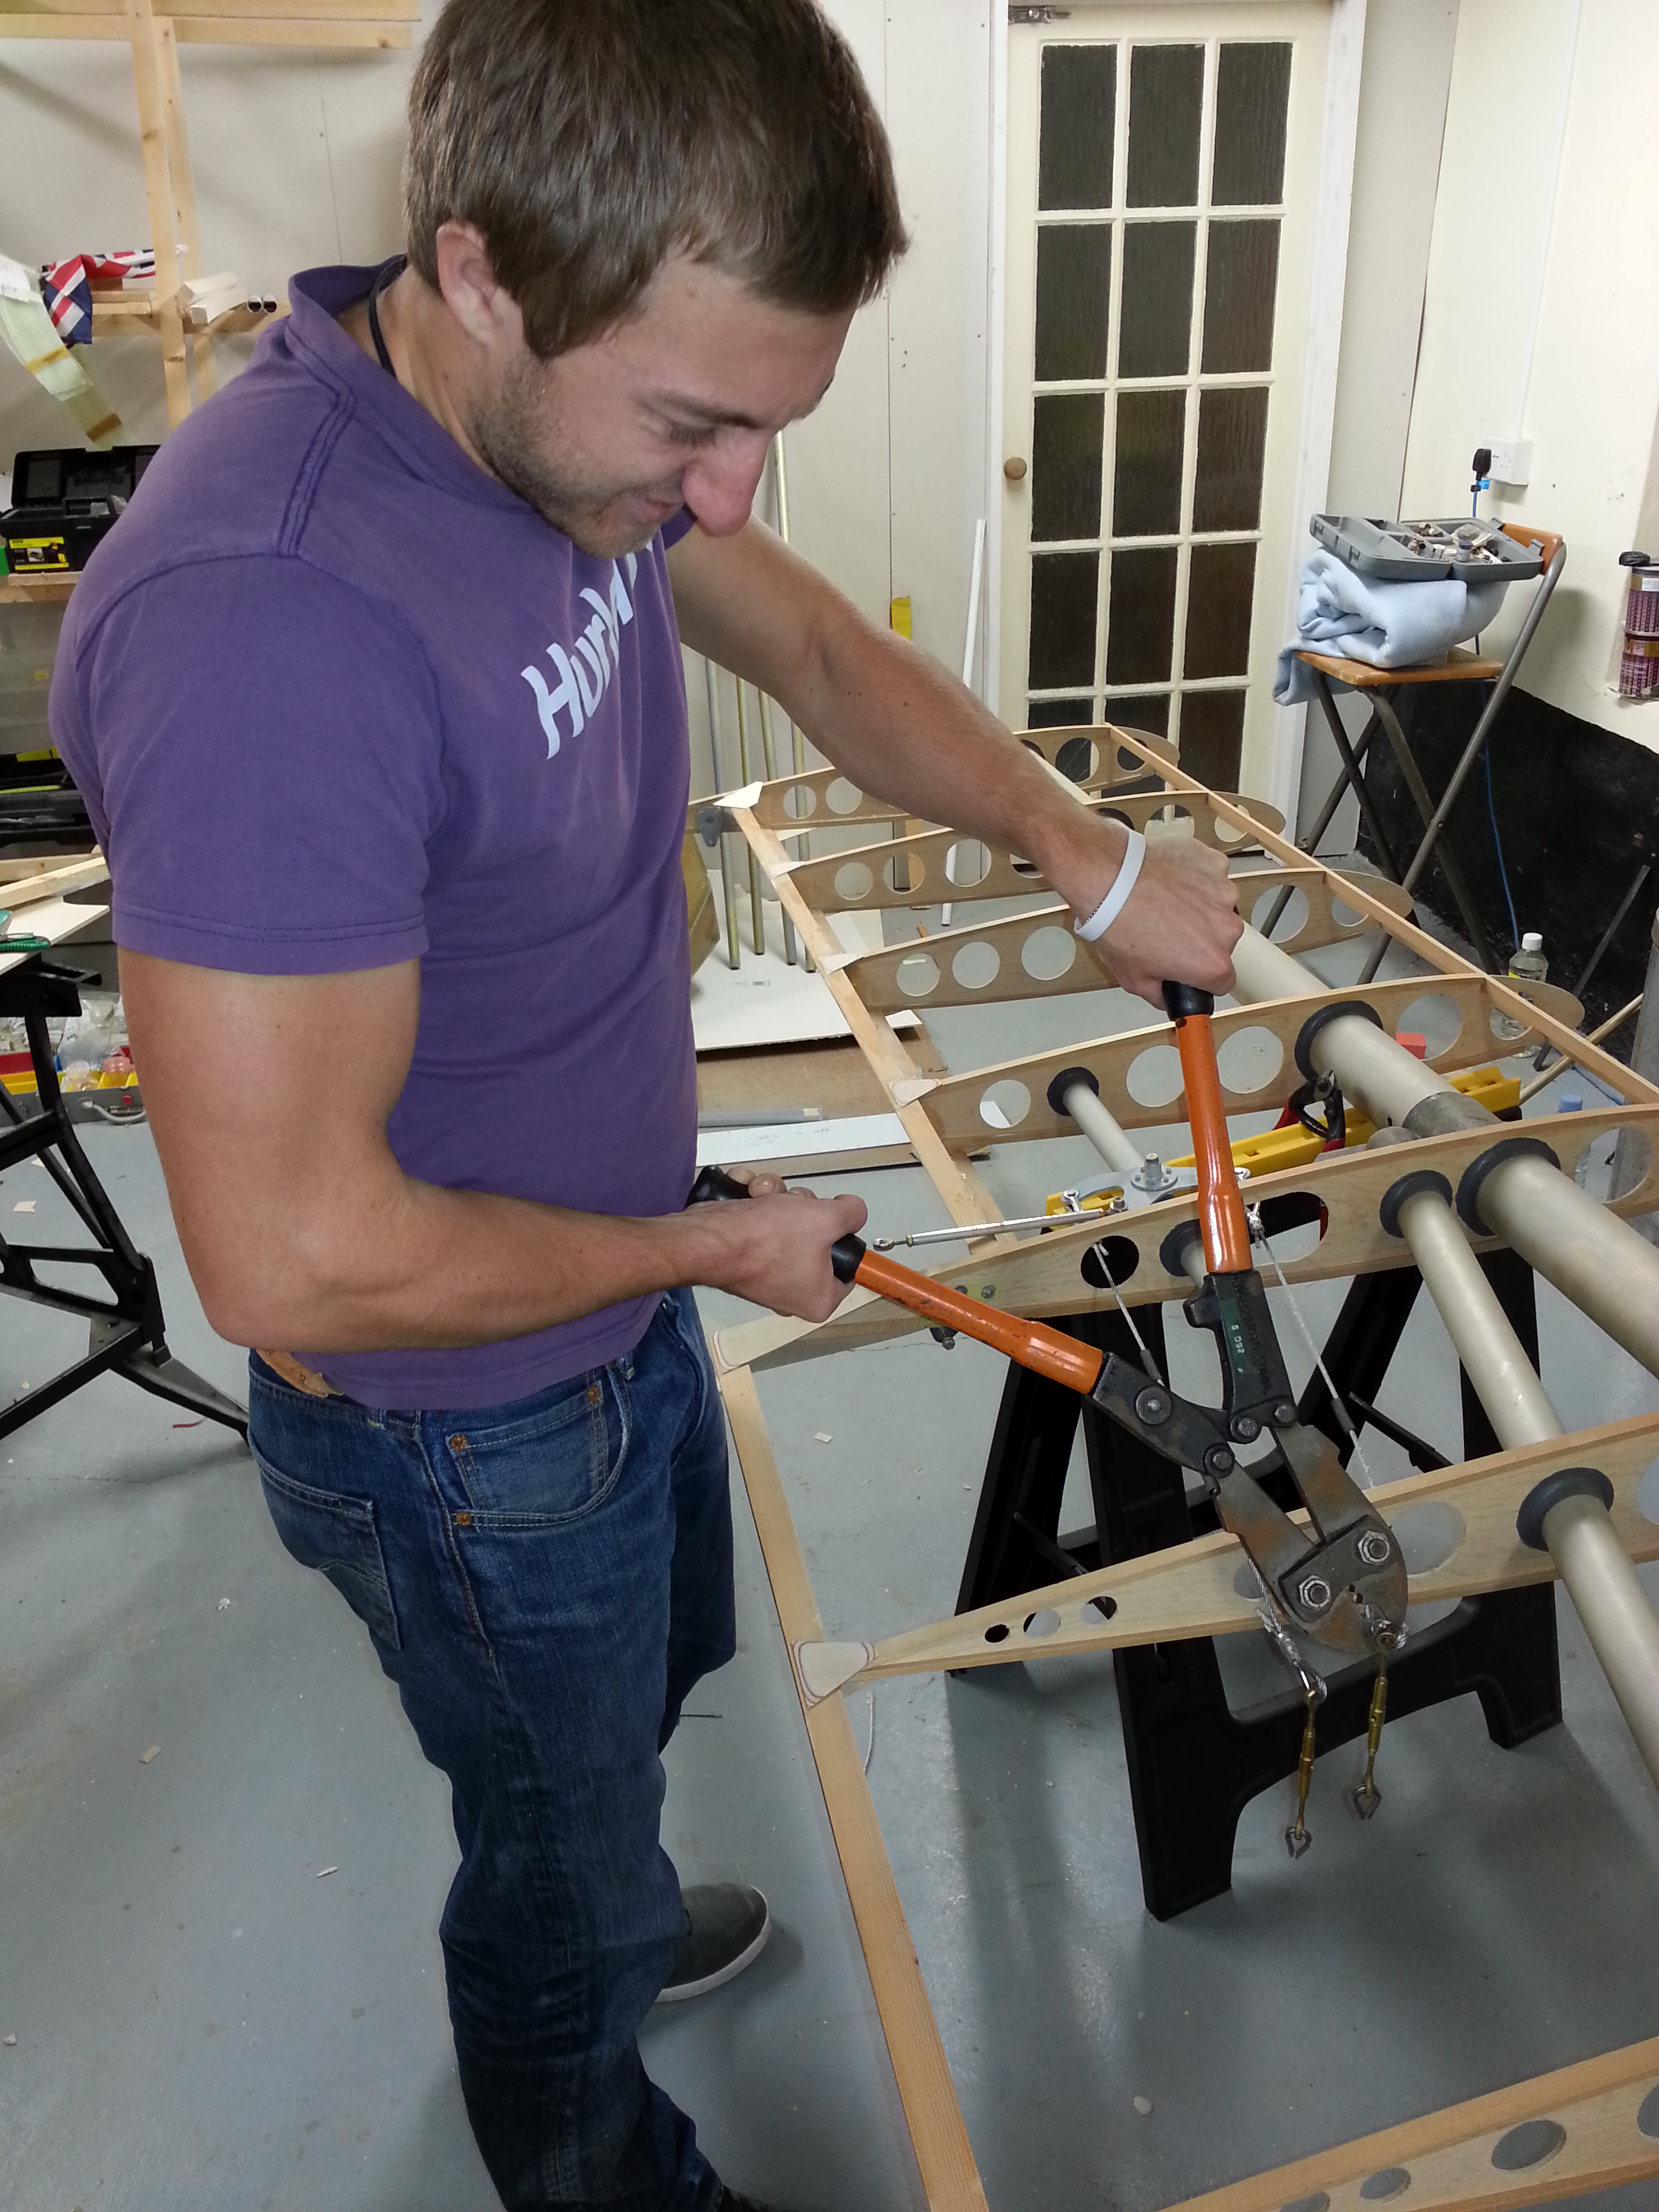
Aileron cabling – Bellcrank inwards

Started this the the other evening and made a small template of ply to make sure the 99 degree angle was maintained as the cables were made up.

Ail 2


The initial install showed that the cable fouled on the inner rib hole which was enlarged to ensure a good clear run.

ail 3

Blog at WordPress.com.

Up ↑