Seat harness side cables

Having prepared and cut and swaged the first short cable the tail end cable unravelled as i had omitted to pre bind the cut with masking tape.

I realised it was a hopeless task to try to pull it back and the cable splayed just as it left the collar so had to be trashed.

Seat harnes RIGHT

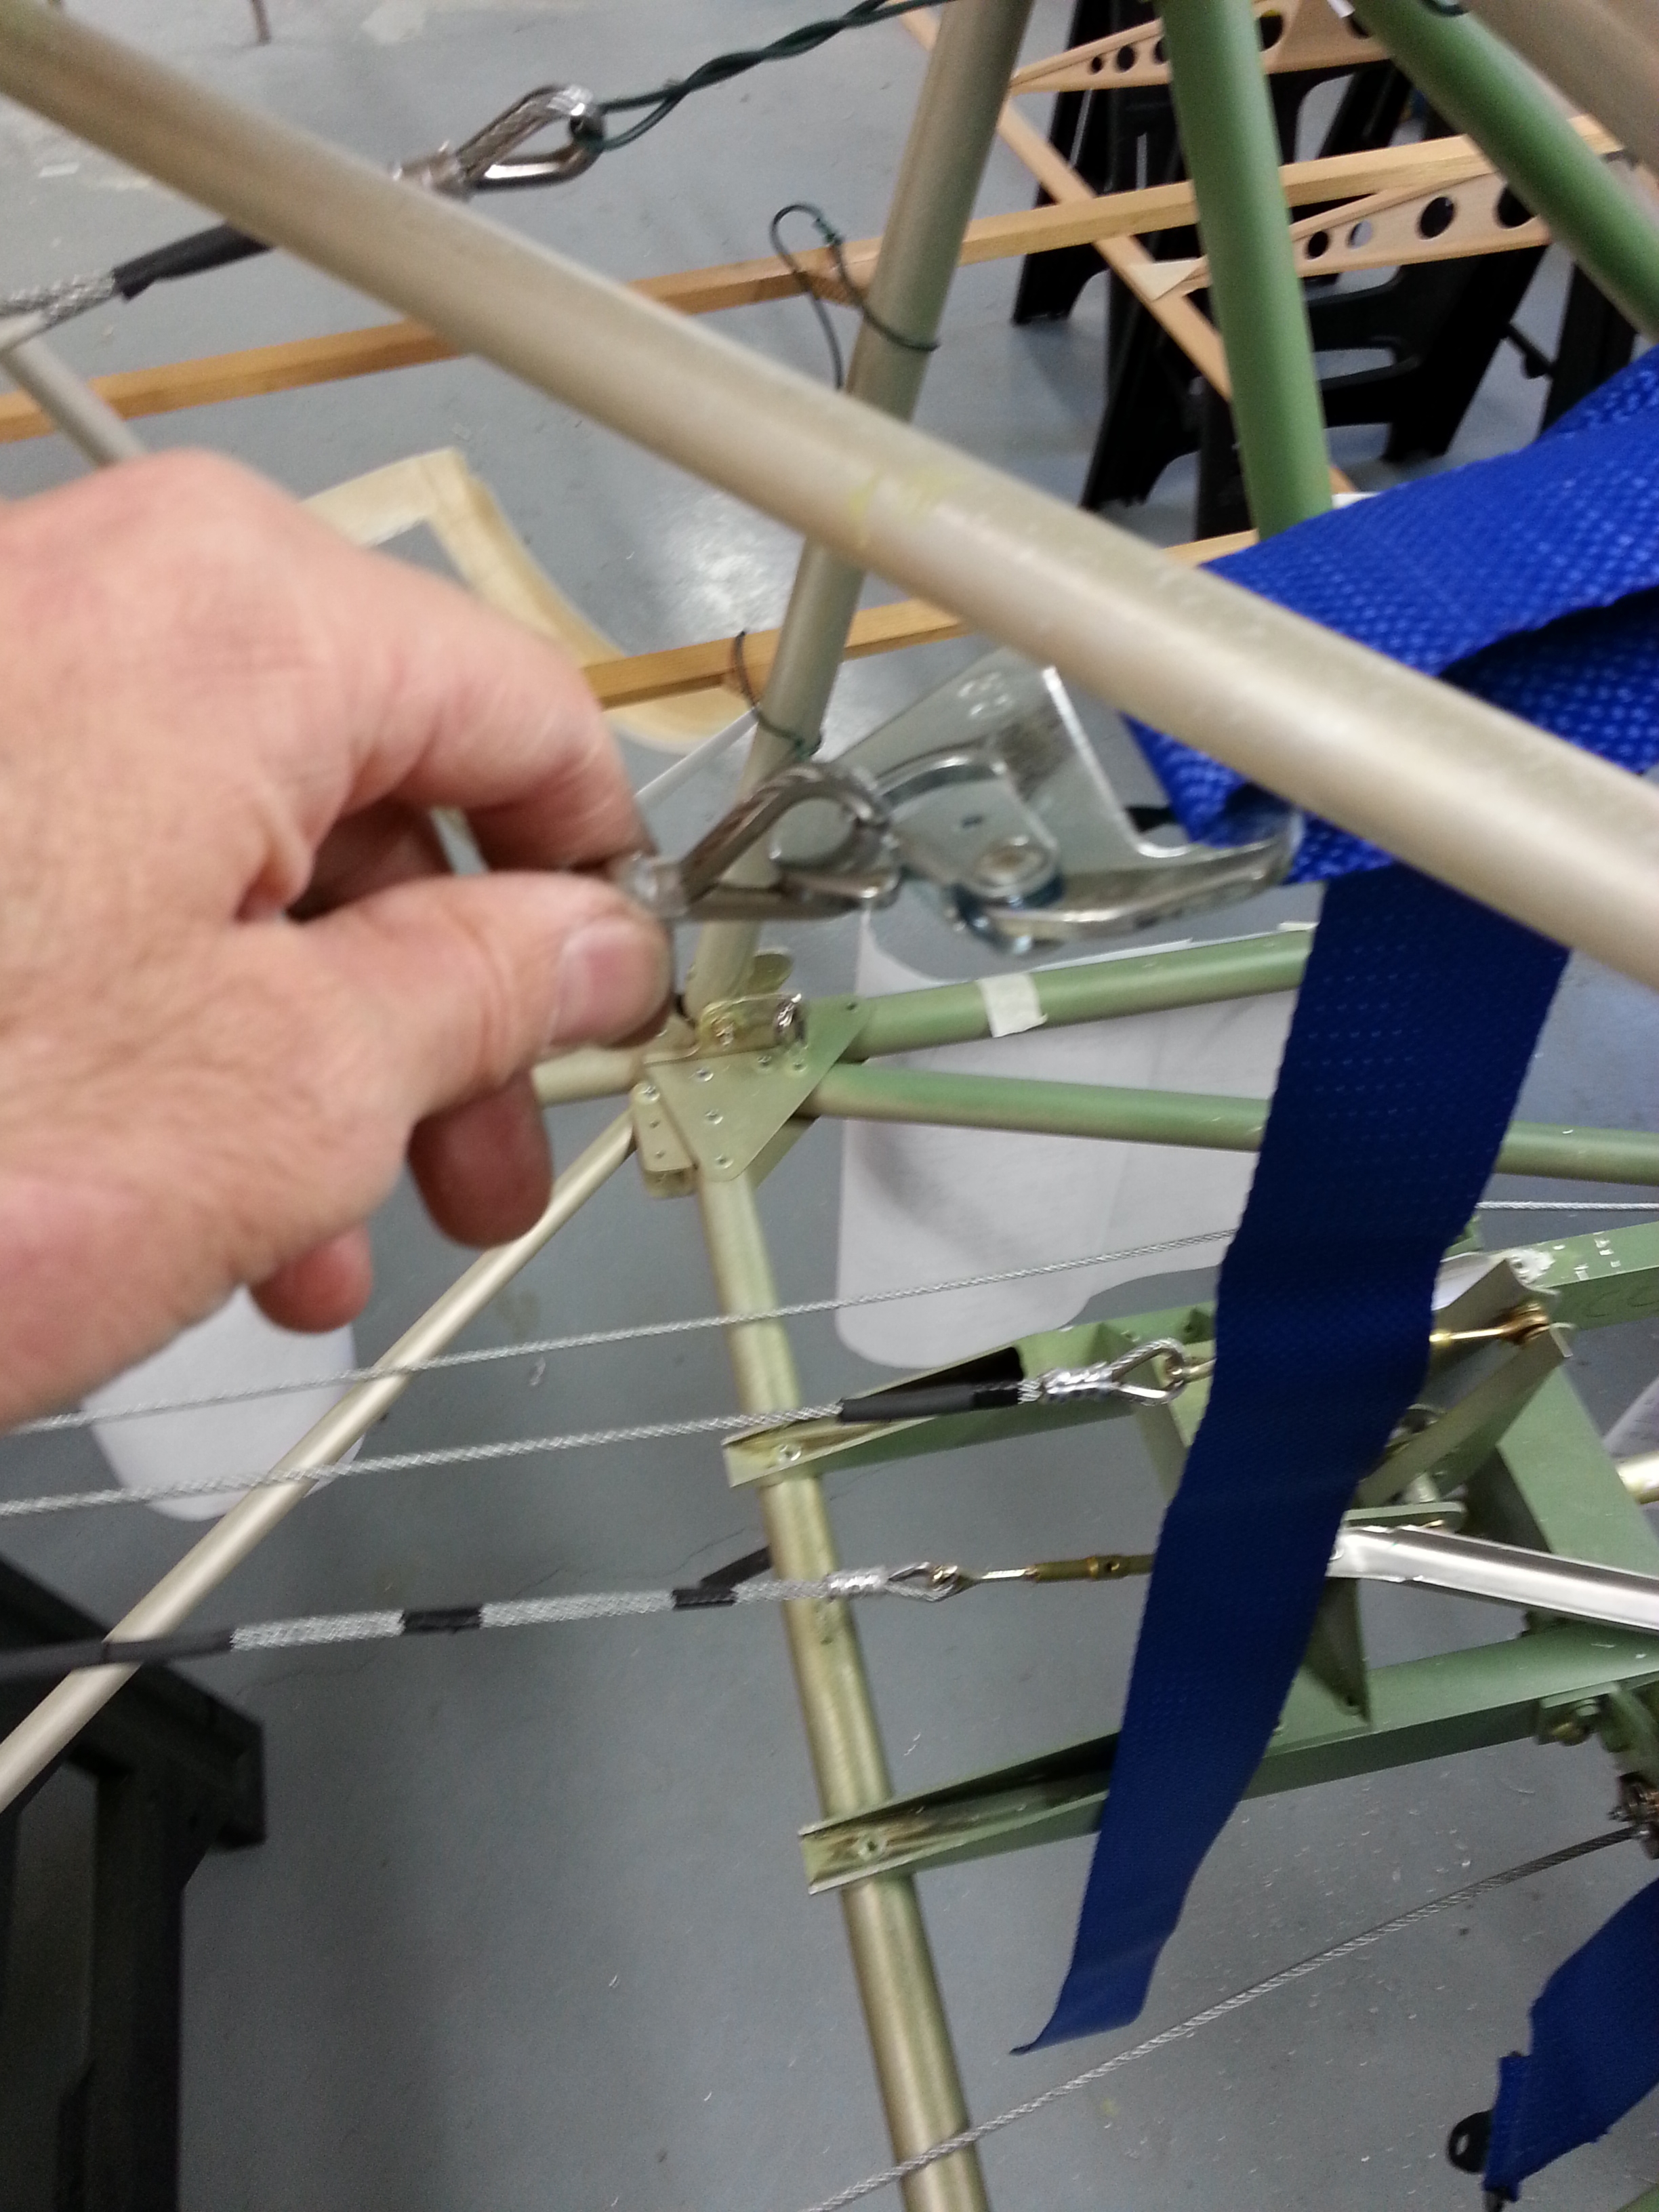
Having got the second one just as i’d like i created a matched copy for the other side.

P1 harness clamps

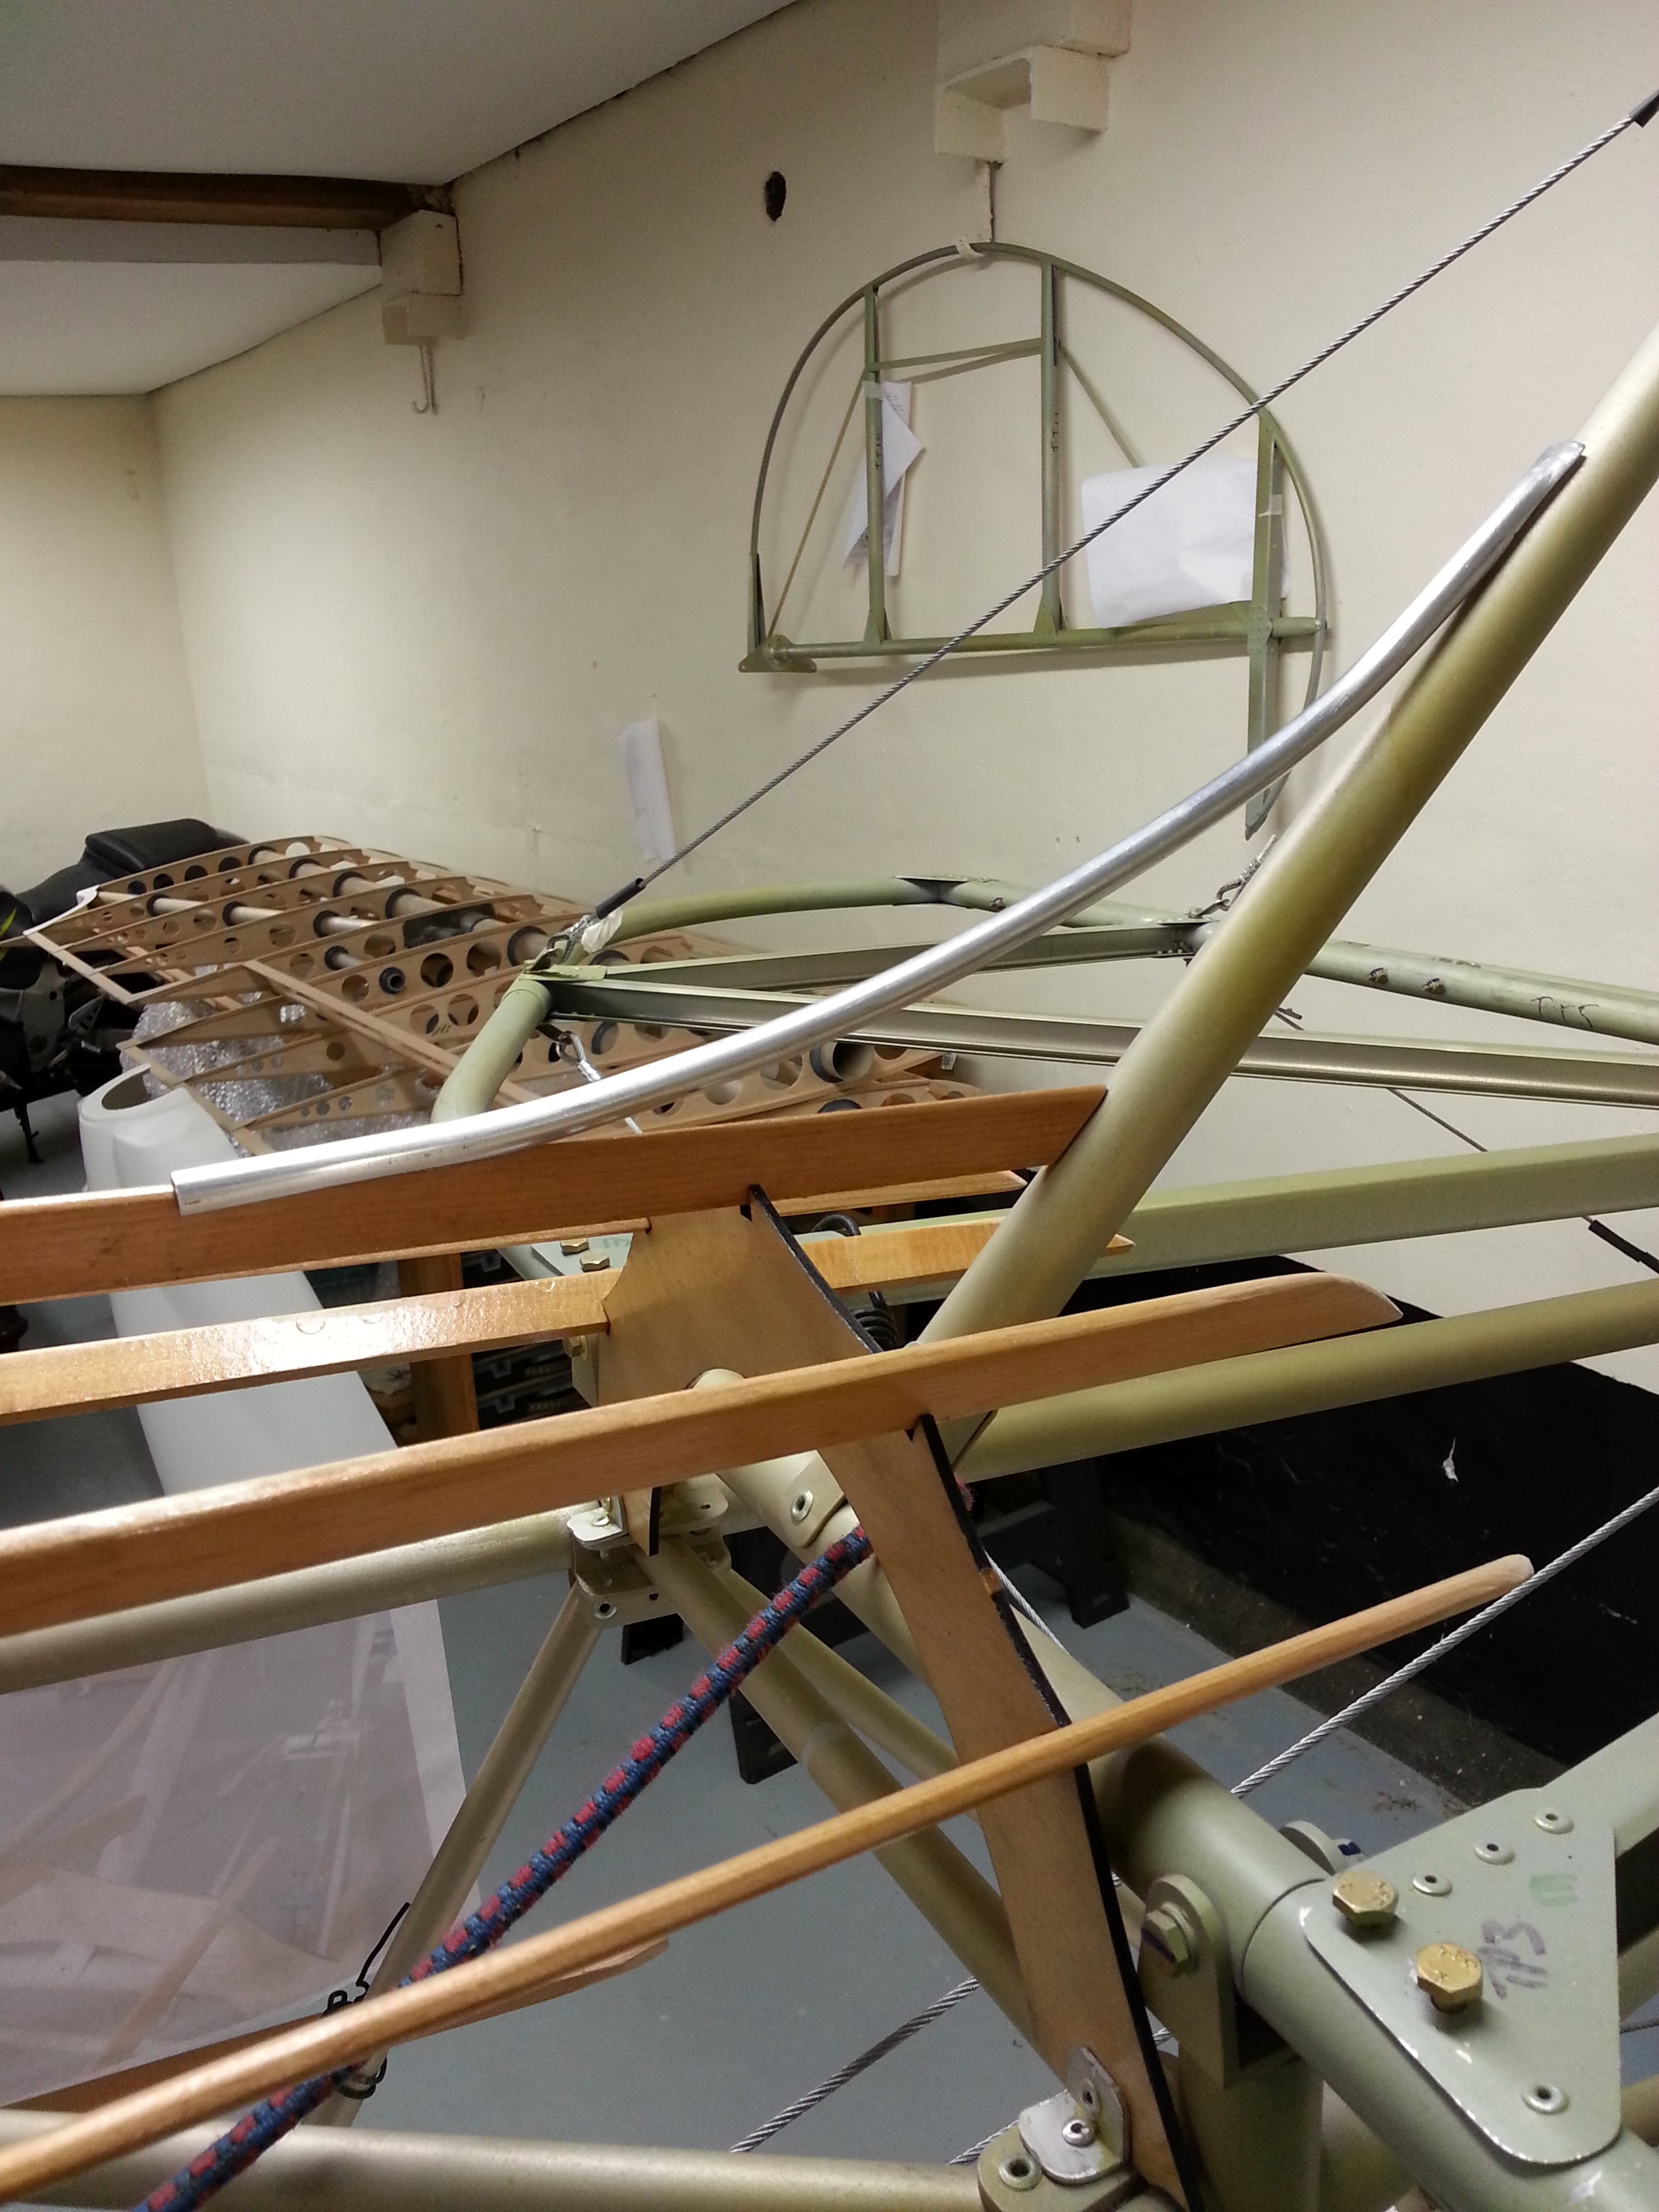
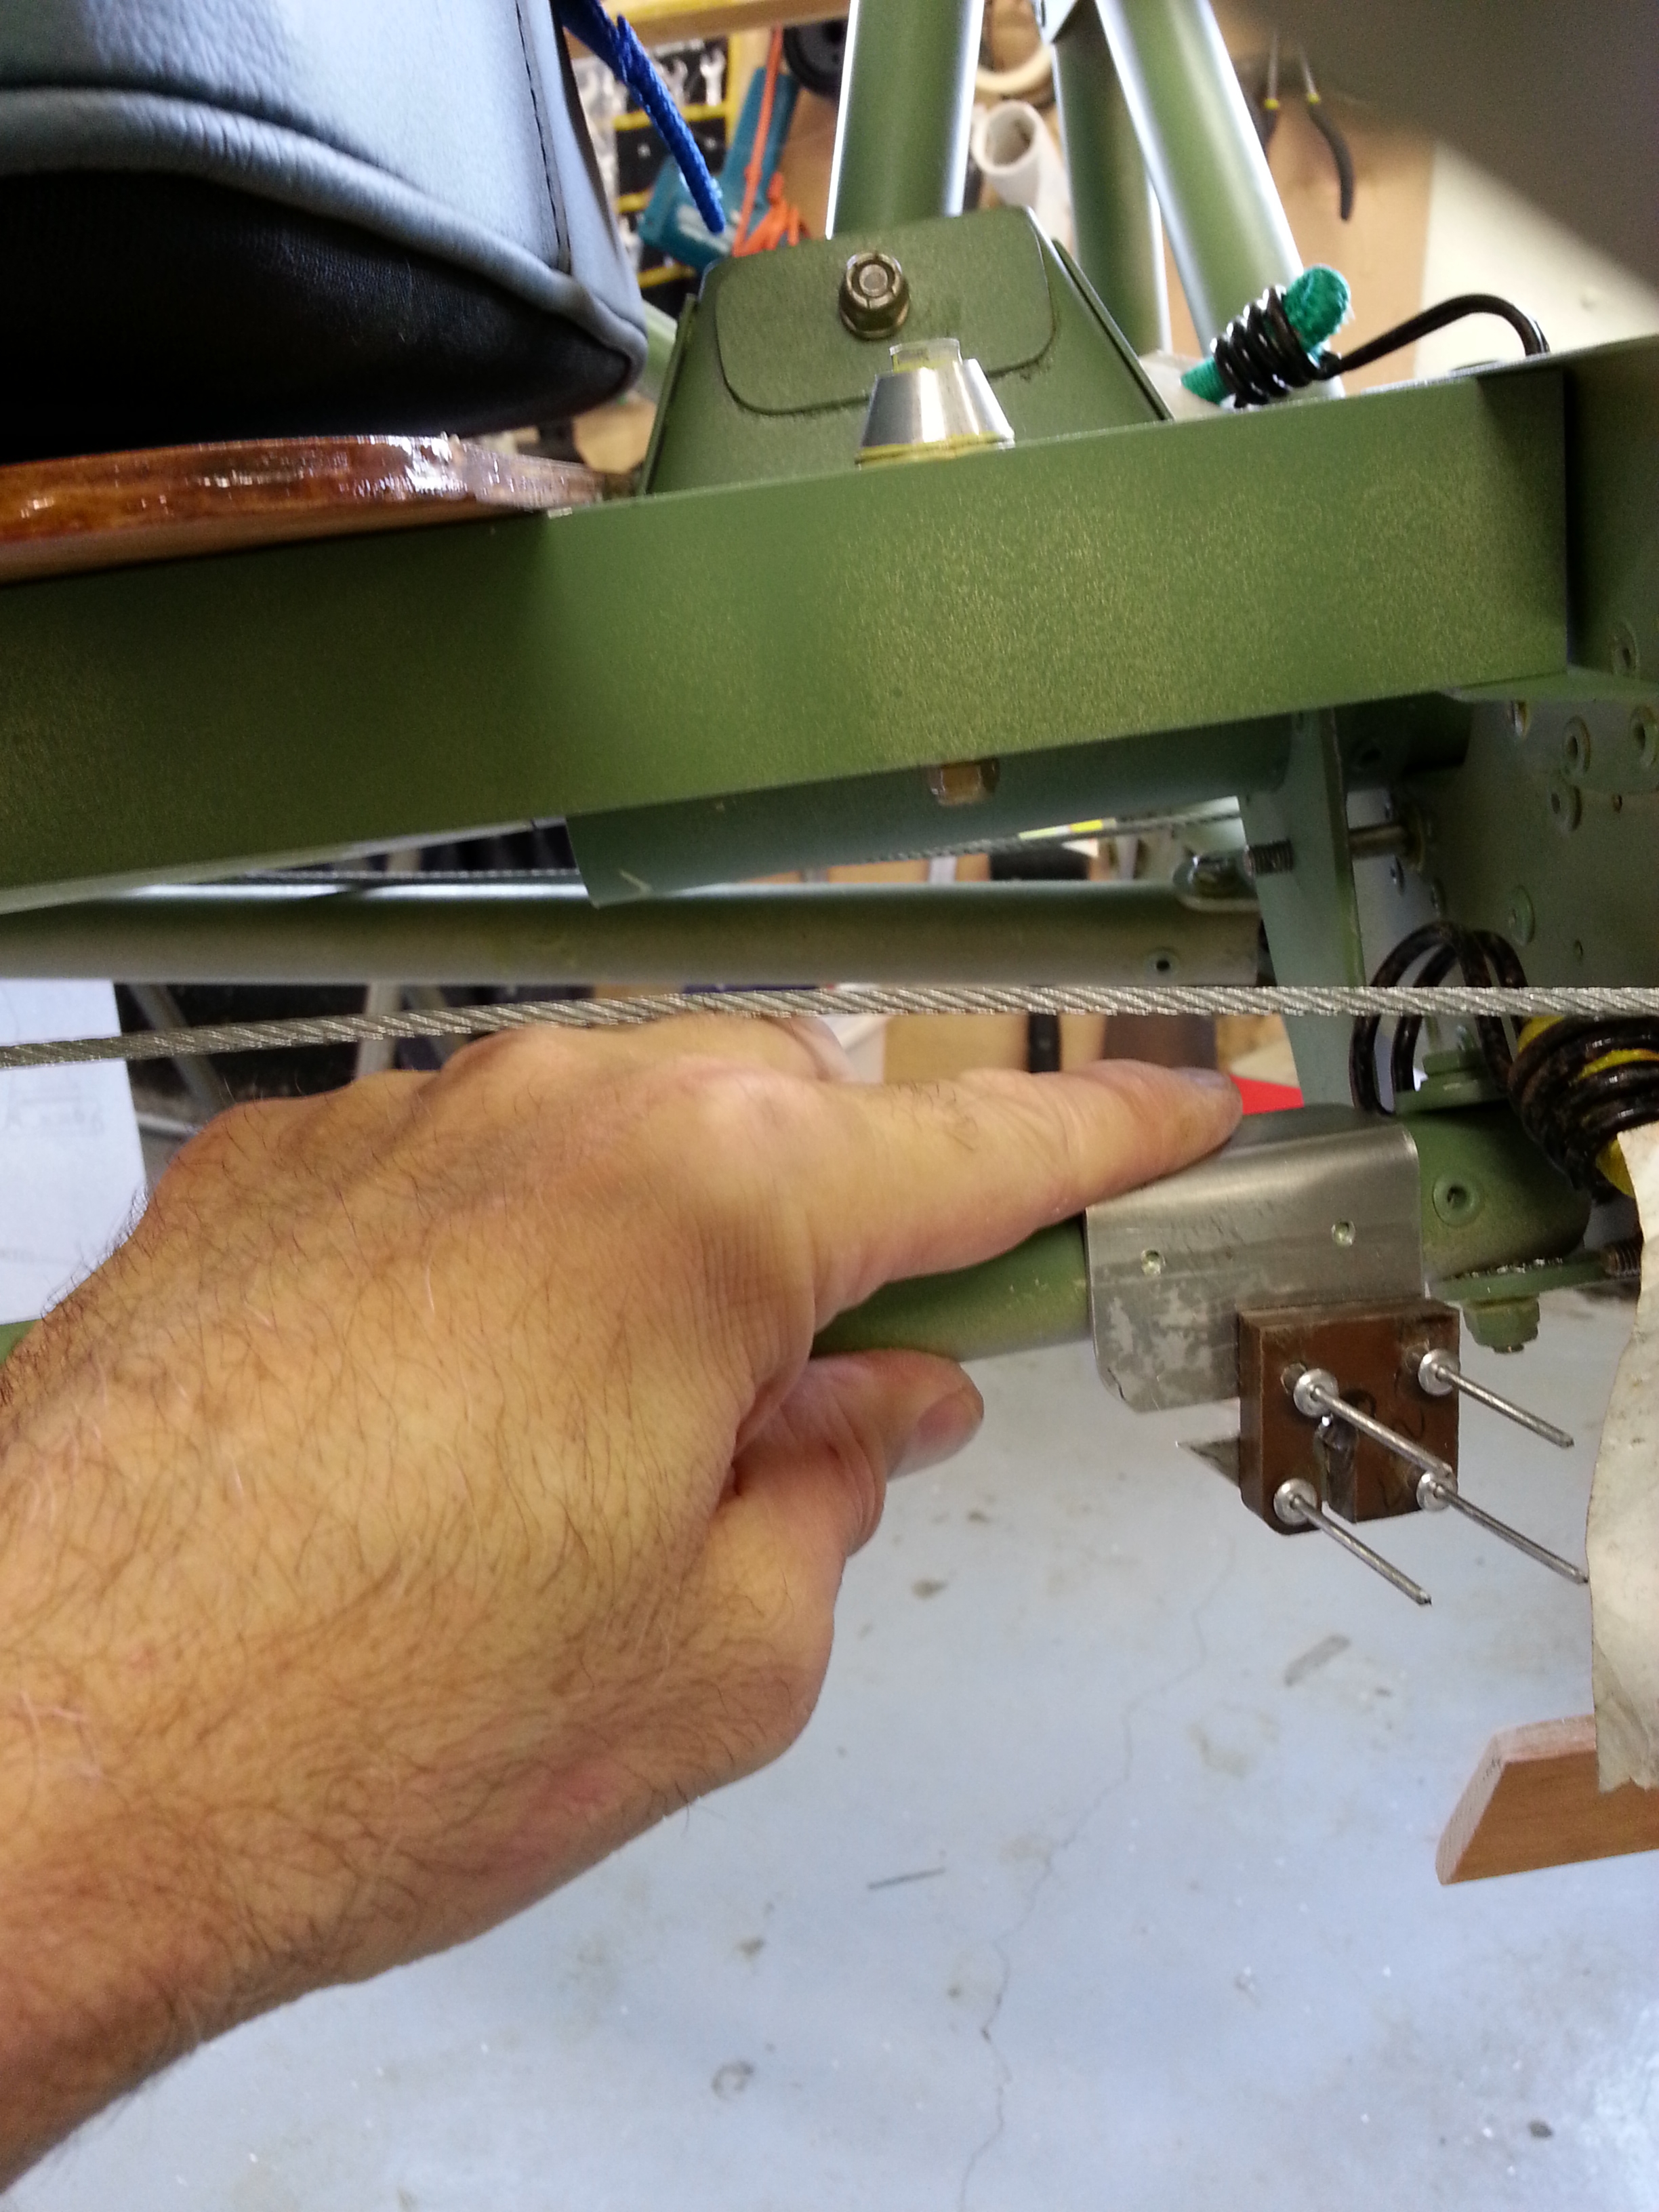
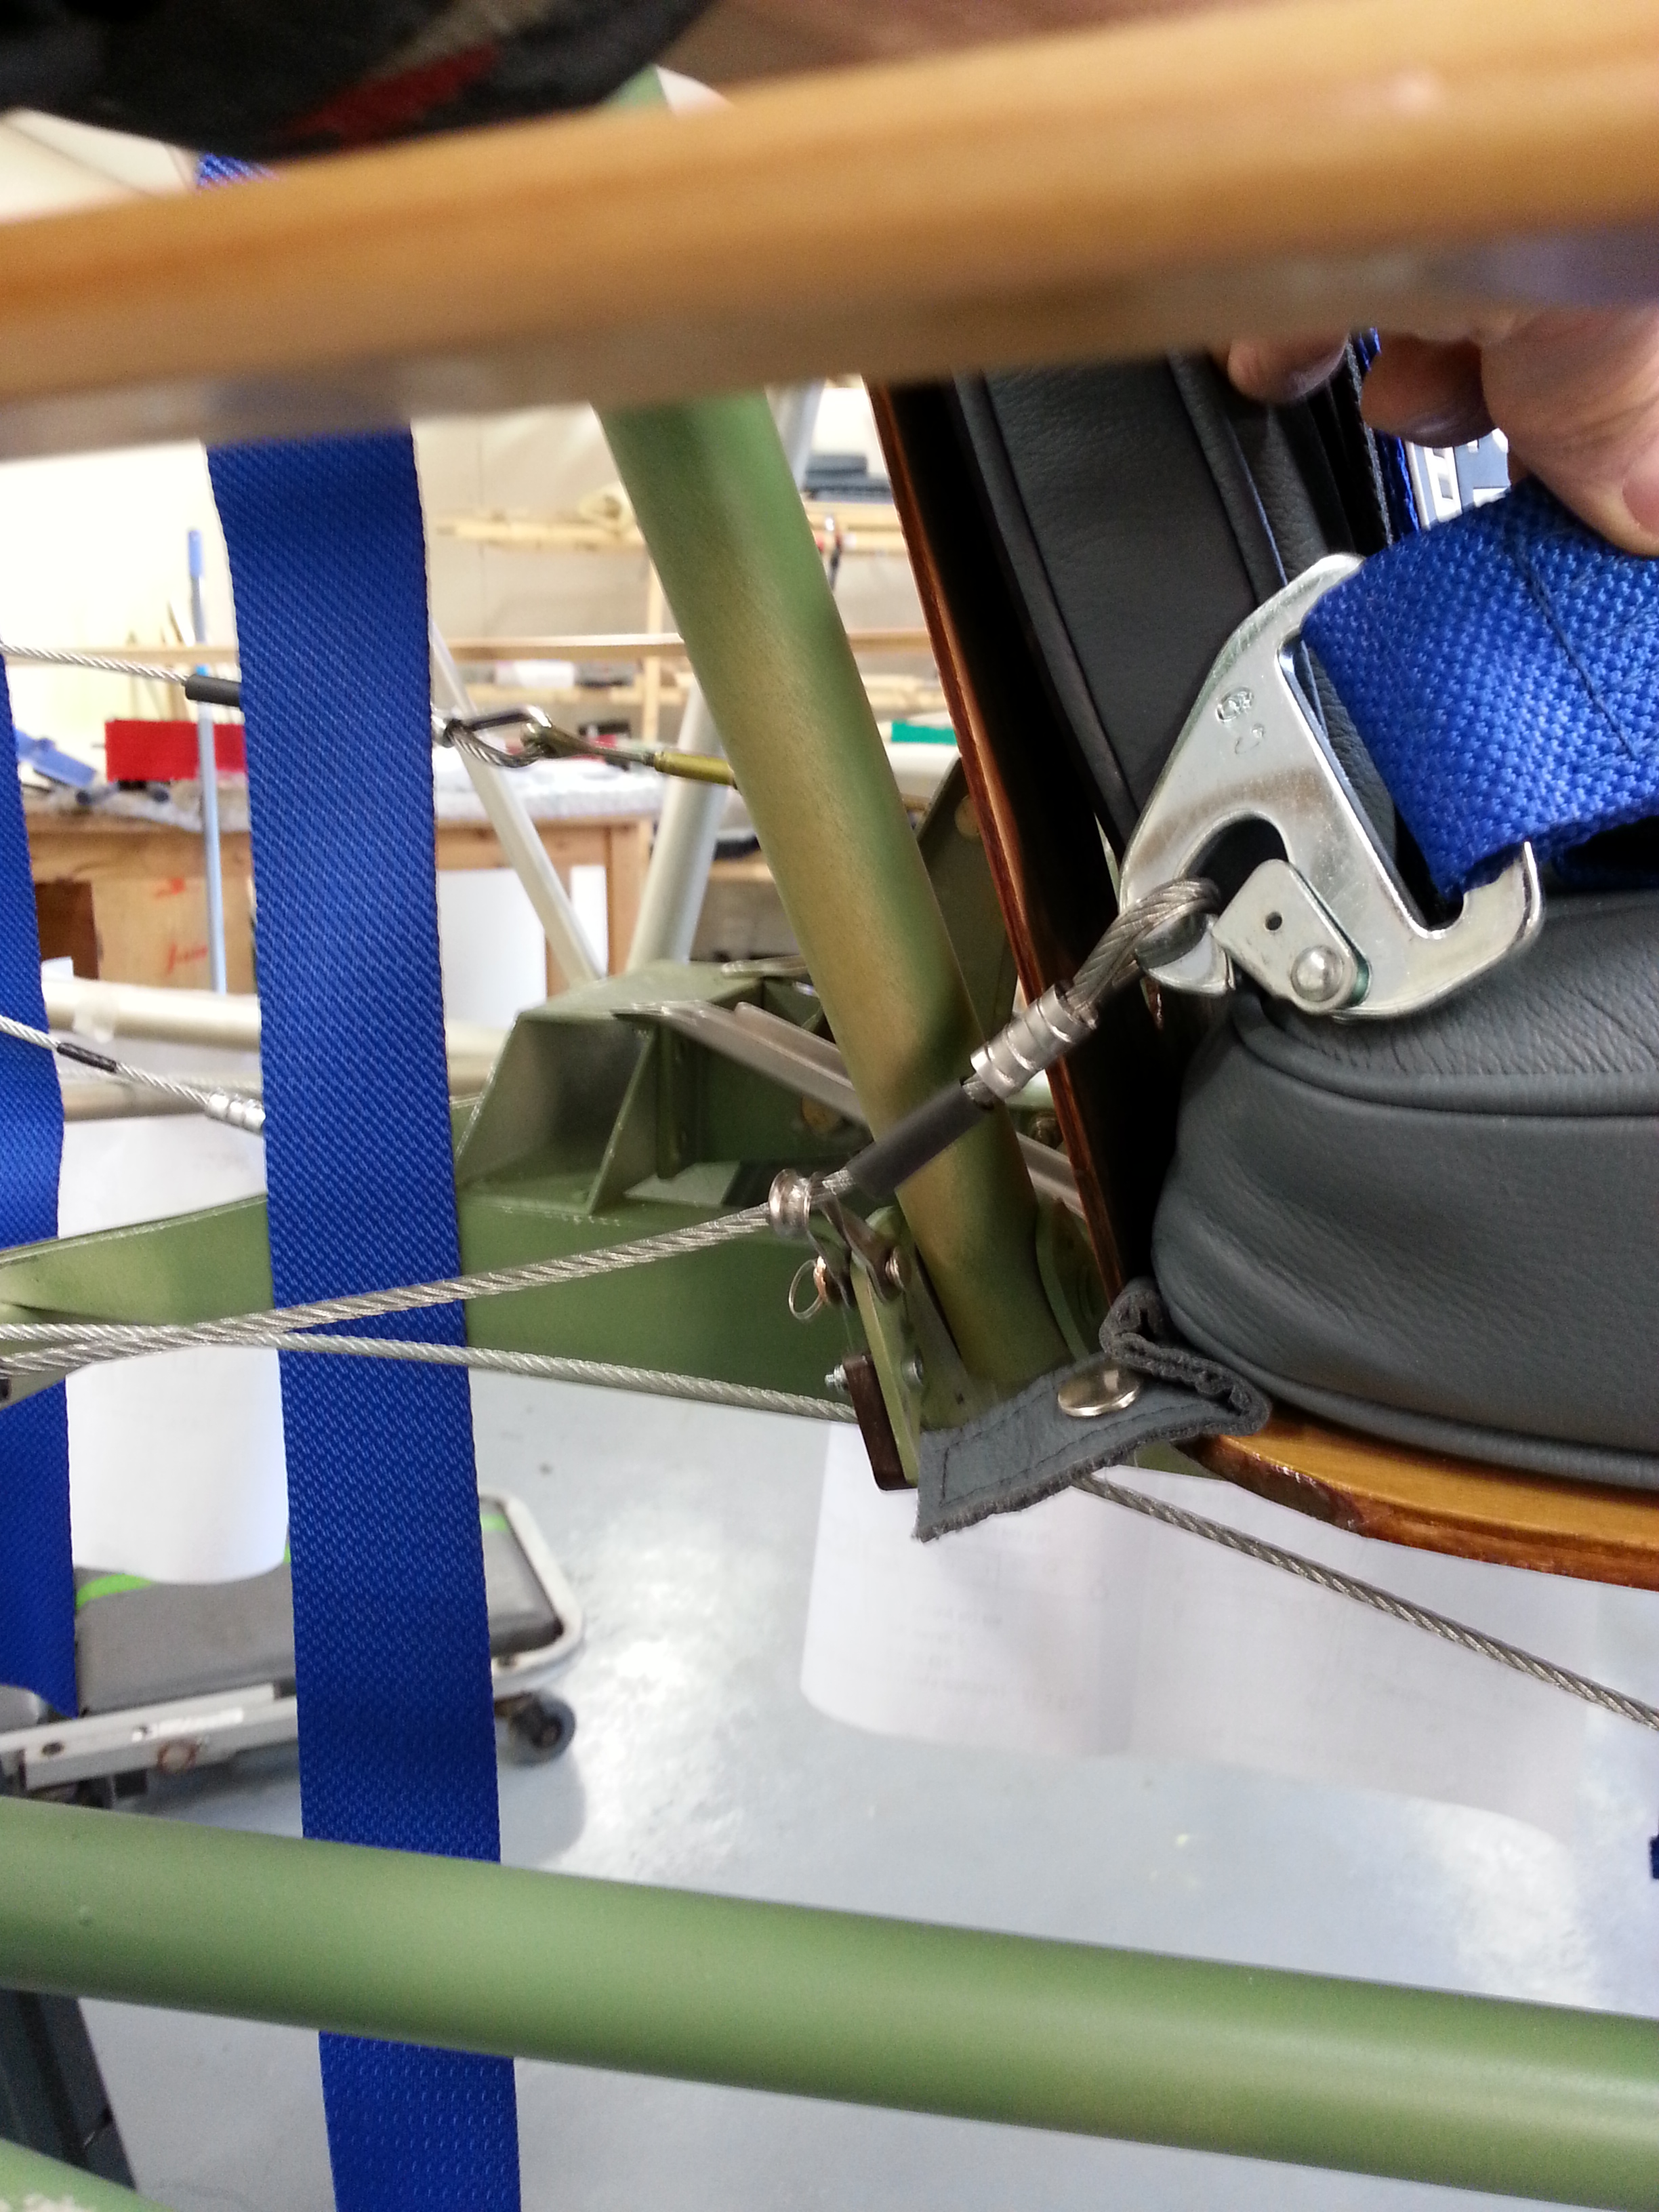
The cable was looped through the twisted turnbuckle just at the rear of the seat to ensure it misses the tubes on its way through.

P1 Harness cables and fitting

Fitted the cables from the rear sternpost right through to just behind the P1 seat (rear)

P1 harness clamps

The Luke harnesses are supplied with bolt fittings which are removed so the thimble fittings can slip on.

The straps are then adjusted to take up the slack so they sit in about the right position for the shoulders (finer adjustment can take place once the seat is fitted and I have sat in it – for the FIRST time !)

P1 harness

The straps will eventually need completely undoing and rethrewading as they pass through metal guides set into the top decking.

Aileron sanding

Having got all 4 ailerons to a point where I can start to apply block balsa support to build up to the capping level I can now satrt to sand down to ensure a flush fitting.

Ail sand

Weighing one aileron (minus its 0.8mm ply sheet leading edge) came in at 450g

Seat Brackets

The seats are made from plywood base, fitted to the seat rails (running fore and aft) and then have the very nice TLAC designed and made Leather cushioned seats studded in place.

seat fitting

Fin Strake

Silly I know .. but I have been putting this little item off as the first bend I put in it looked more like a kink and so stopped as I didnt want a 5 sided curve !!

Completed this last night with the aid of some old pipe bending springs that I had from France .. very small bore .. so they were far less likely to cause a kink when trying to form a nice line from stringer to blend into the fin.

Fin strake

One end required cutting to allow it to seat either side of the stringer … the other end required opening out and flattening and then finally rounding … although this will be covered it will certainly still show through so pays to make it a good fit !

Wing – First Test Fit !

Sunday 10th November – bought some plastic saw horse trestles and these were cut down by around 40mm to ensure that offering up the first wing (Starboard Lower) was a mill or so aligned with the standard (out of the factory) holes.

Long thin temporary split pins were used to locate the wing and get a sense of where things would line up.

wing fit first 1

Lots more pre reading planned now on the general fitting of the wings as well as repositioning the ‘plane so that I can get wings either side (need to remove the rudder – so I can get around the back end to the other side of the workshop). TLAC offer the load of their drilling guide and extended drill bit to ensure that the wings fit correctly.

Temp fit of the second wing and your realise the rake is quite pronounced

two wings


Then I have to work out a method of supporting the top wings … possibly a series of uprights with adjustable pegs to allow careful positioning.


Centre Cabane

 cab sandThe centre cabane has 3 ribs that make up the basic surround. The outer two ribs are fitted and bolted to the frame using ply doubles to ensure that the bolt head can sit as flush a possible and so not impede the wing fitting.

Once these are fitted the capping beech can be added – tricky as it is quite a bend on the upper section so a combination of clamps and twisted wire keeps it in place whilst the Aerolite goes off.

Cabane fg 1The trailing edge is shaped ready for the balsa filling to be epoxied into position and then sanded to profile.

The stringers are fitted top and bottom and then the top leading edge sheet ply. Gussets are finally added before smoothing the whole thing down.

Aileron return lead guides

The aileron return leads come back through the trailing edge and then travel under the body (above the driving aileron leads at the back end of the control column). 

To keep them clear of the body they run through small metal angle brackets which have paxolin plates riveted in place to ensure that the steel cable (3.2 multi strand steel) rub against paxolin vs the steel bracket.

aileron guide

Blog at WordPress.com.

Up ↑