Fin Strake

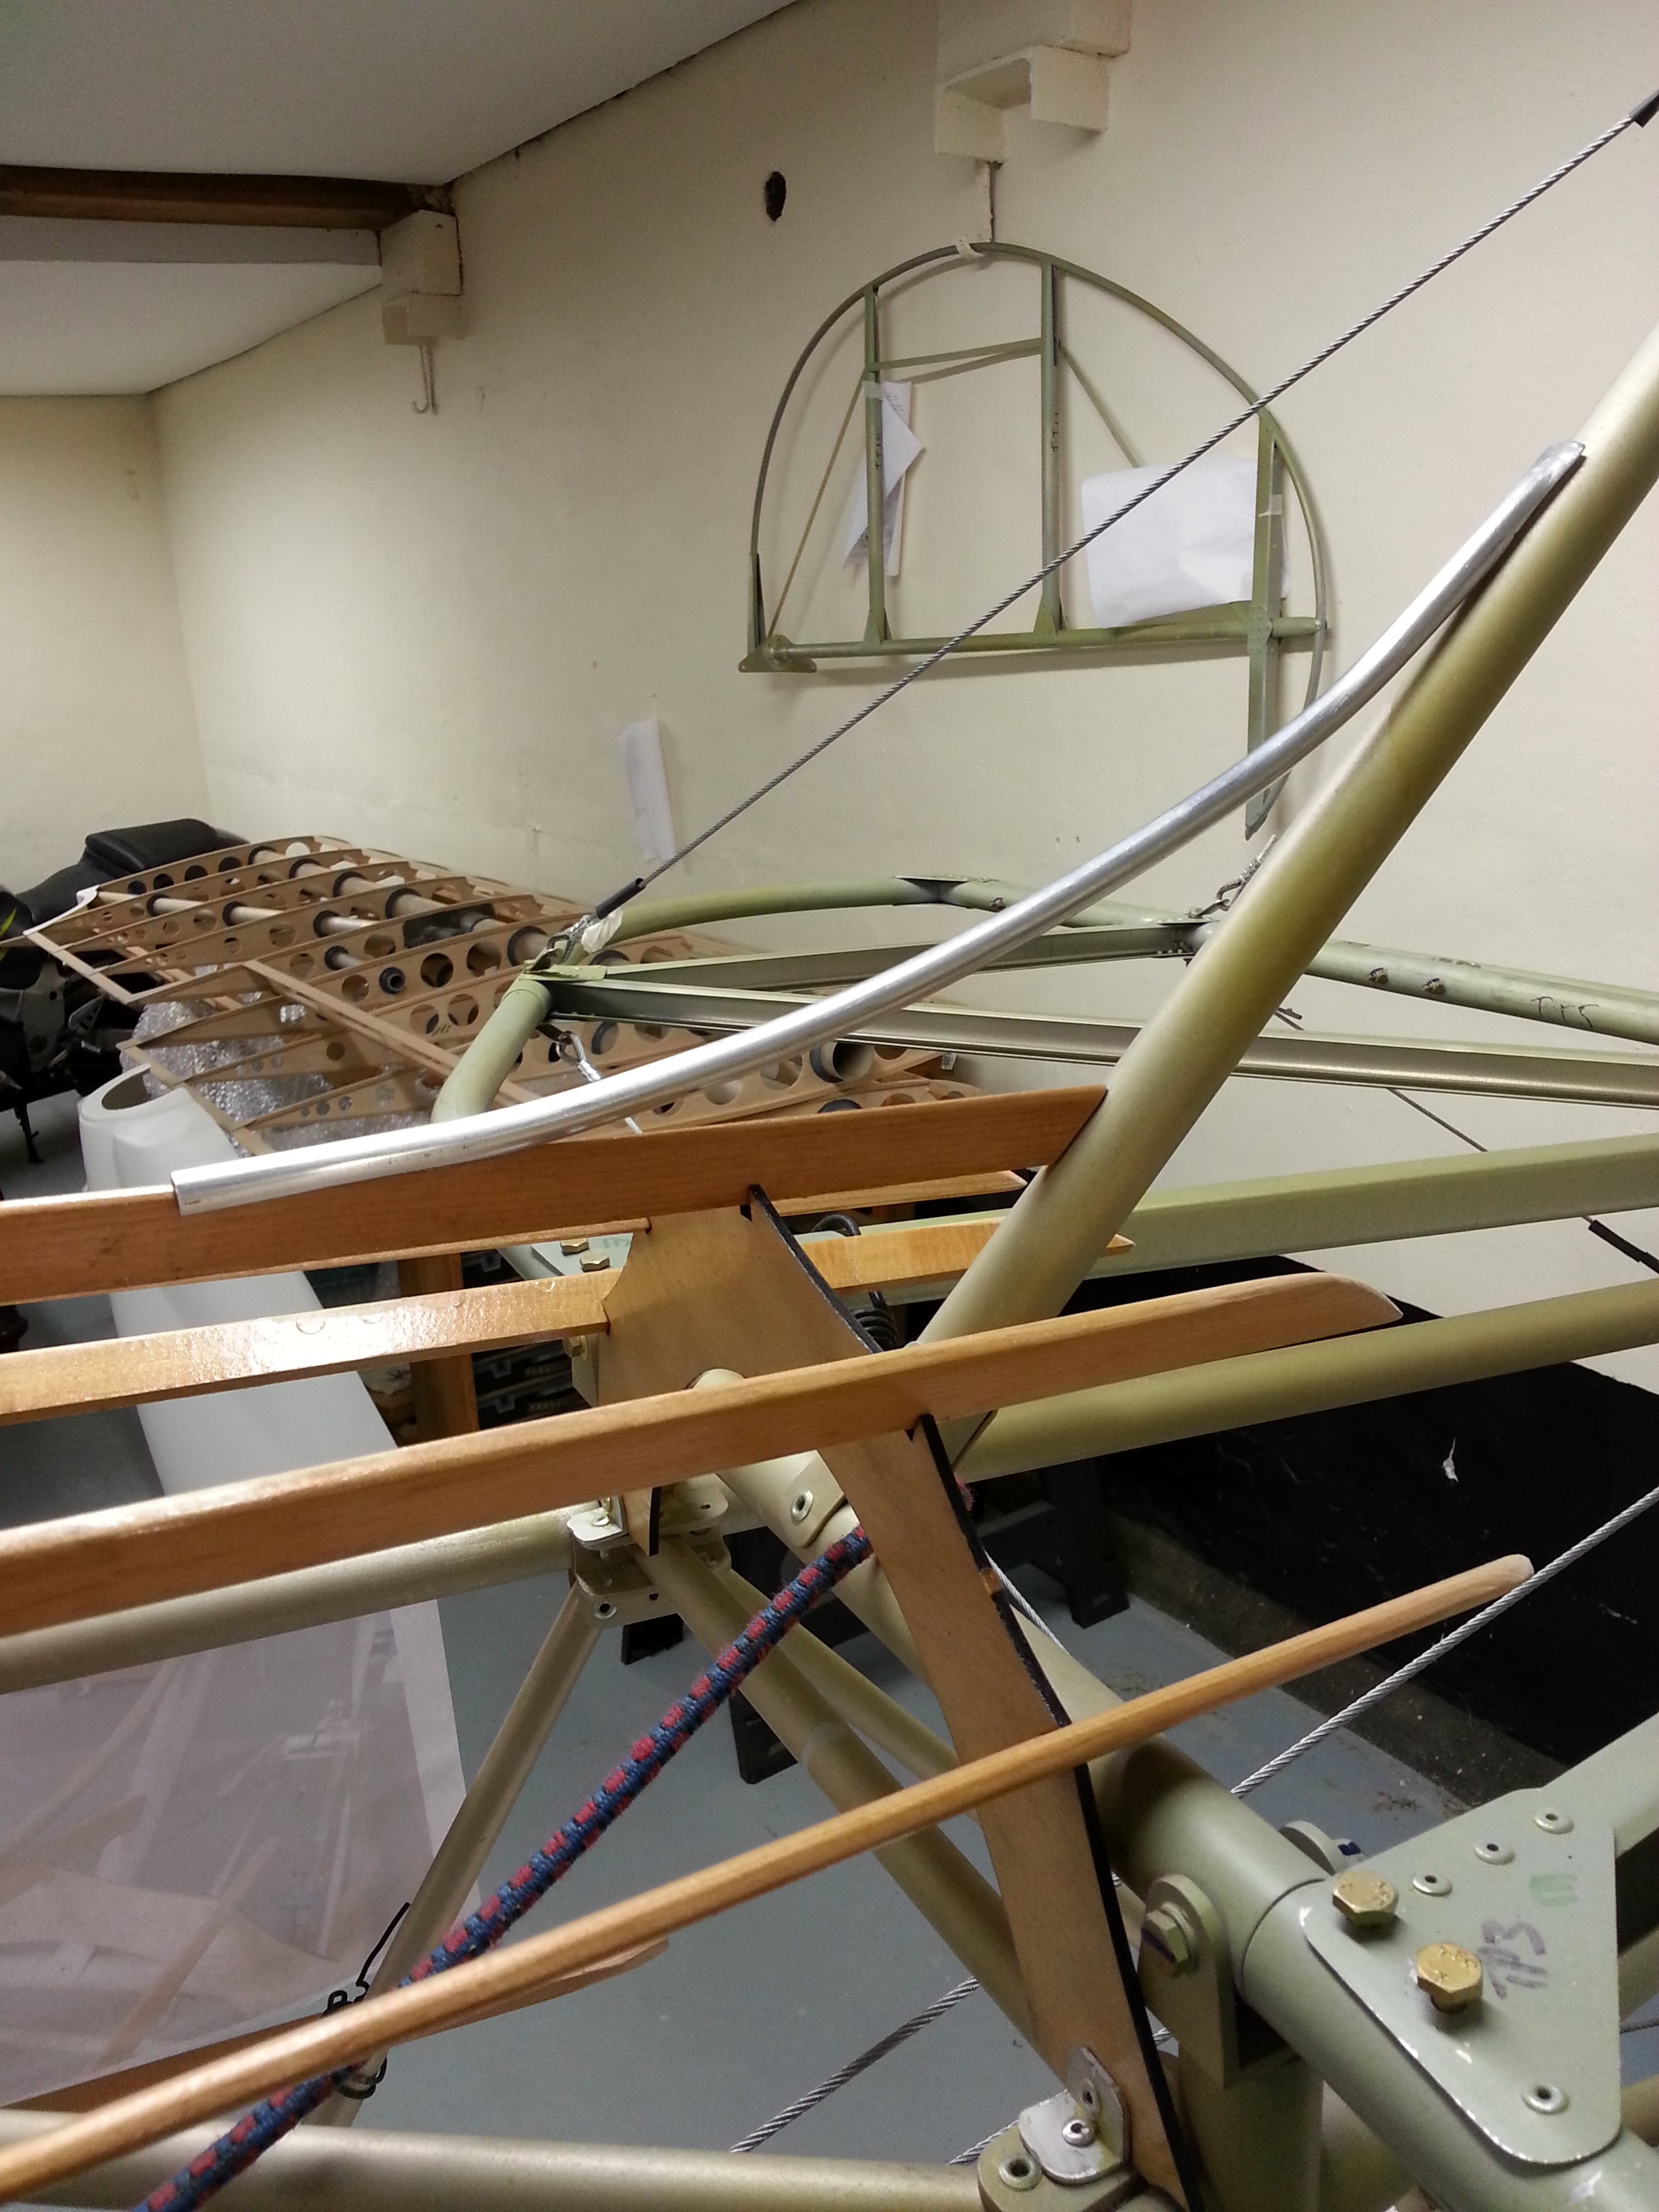
Silly I know .. but I have been putting this little item off as the first bend I put in it looked more like a kink and so stopped as I didnt want a 5 sided curve !!

Completed this last night with the aid of some old pipe bending springs that I had from France .. very small bore .. so they were far less likely to cause a kink when trying to form a nice line from stringer to blend into the fin.

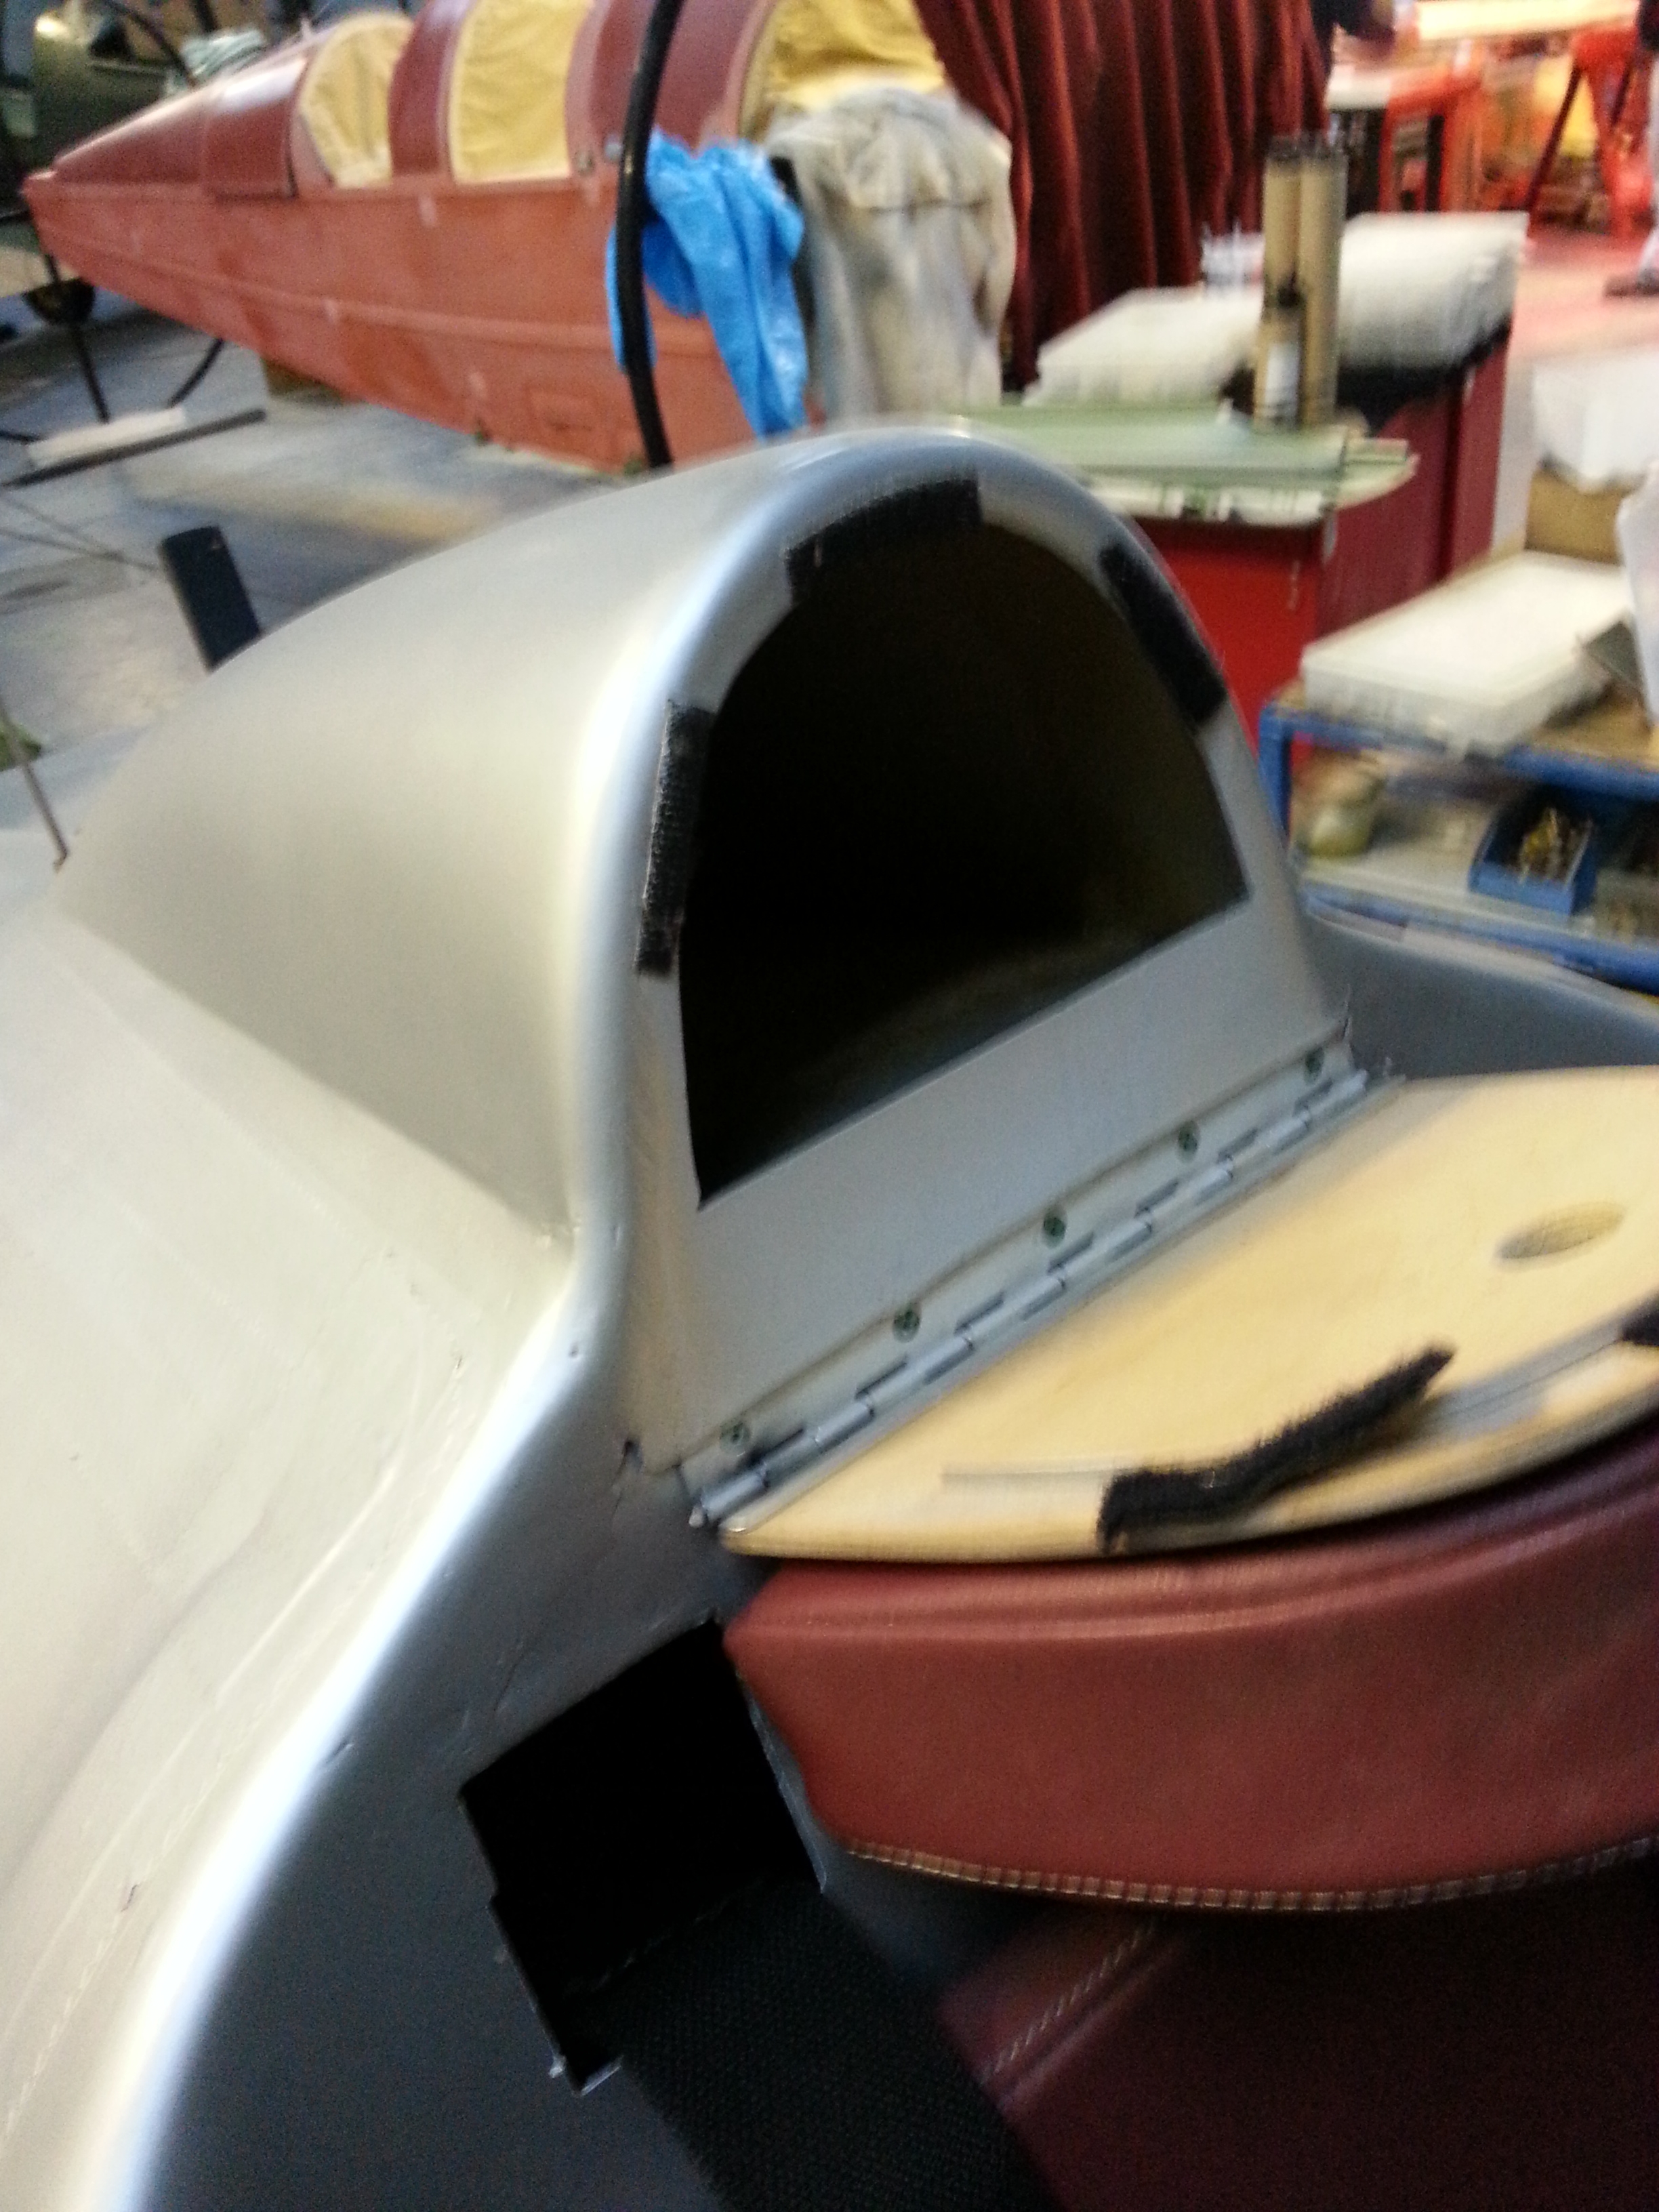
Fin strake

One end required cutting to allow it to seat either side of the stringer … the other end required opening out and flattening and then finally rounding … although this will be covered it will certainly still show through so pays to make it a good fit !

Wing – First Test Fit !

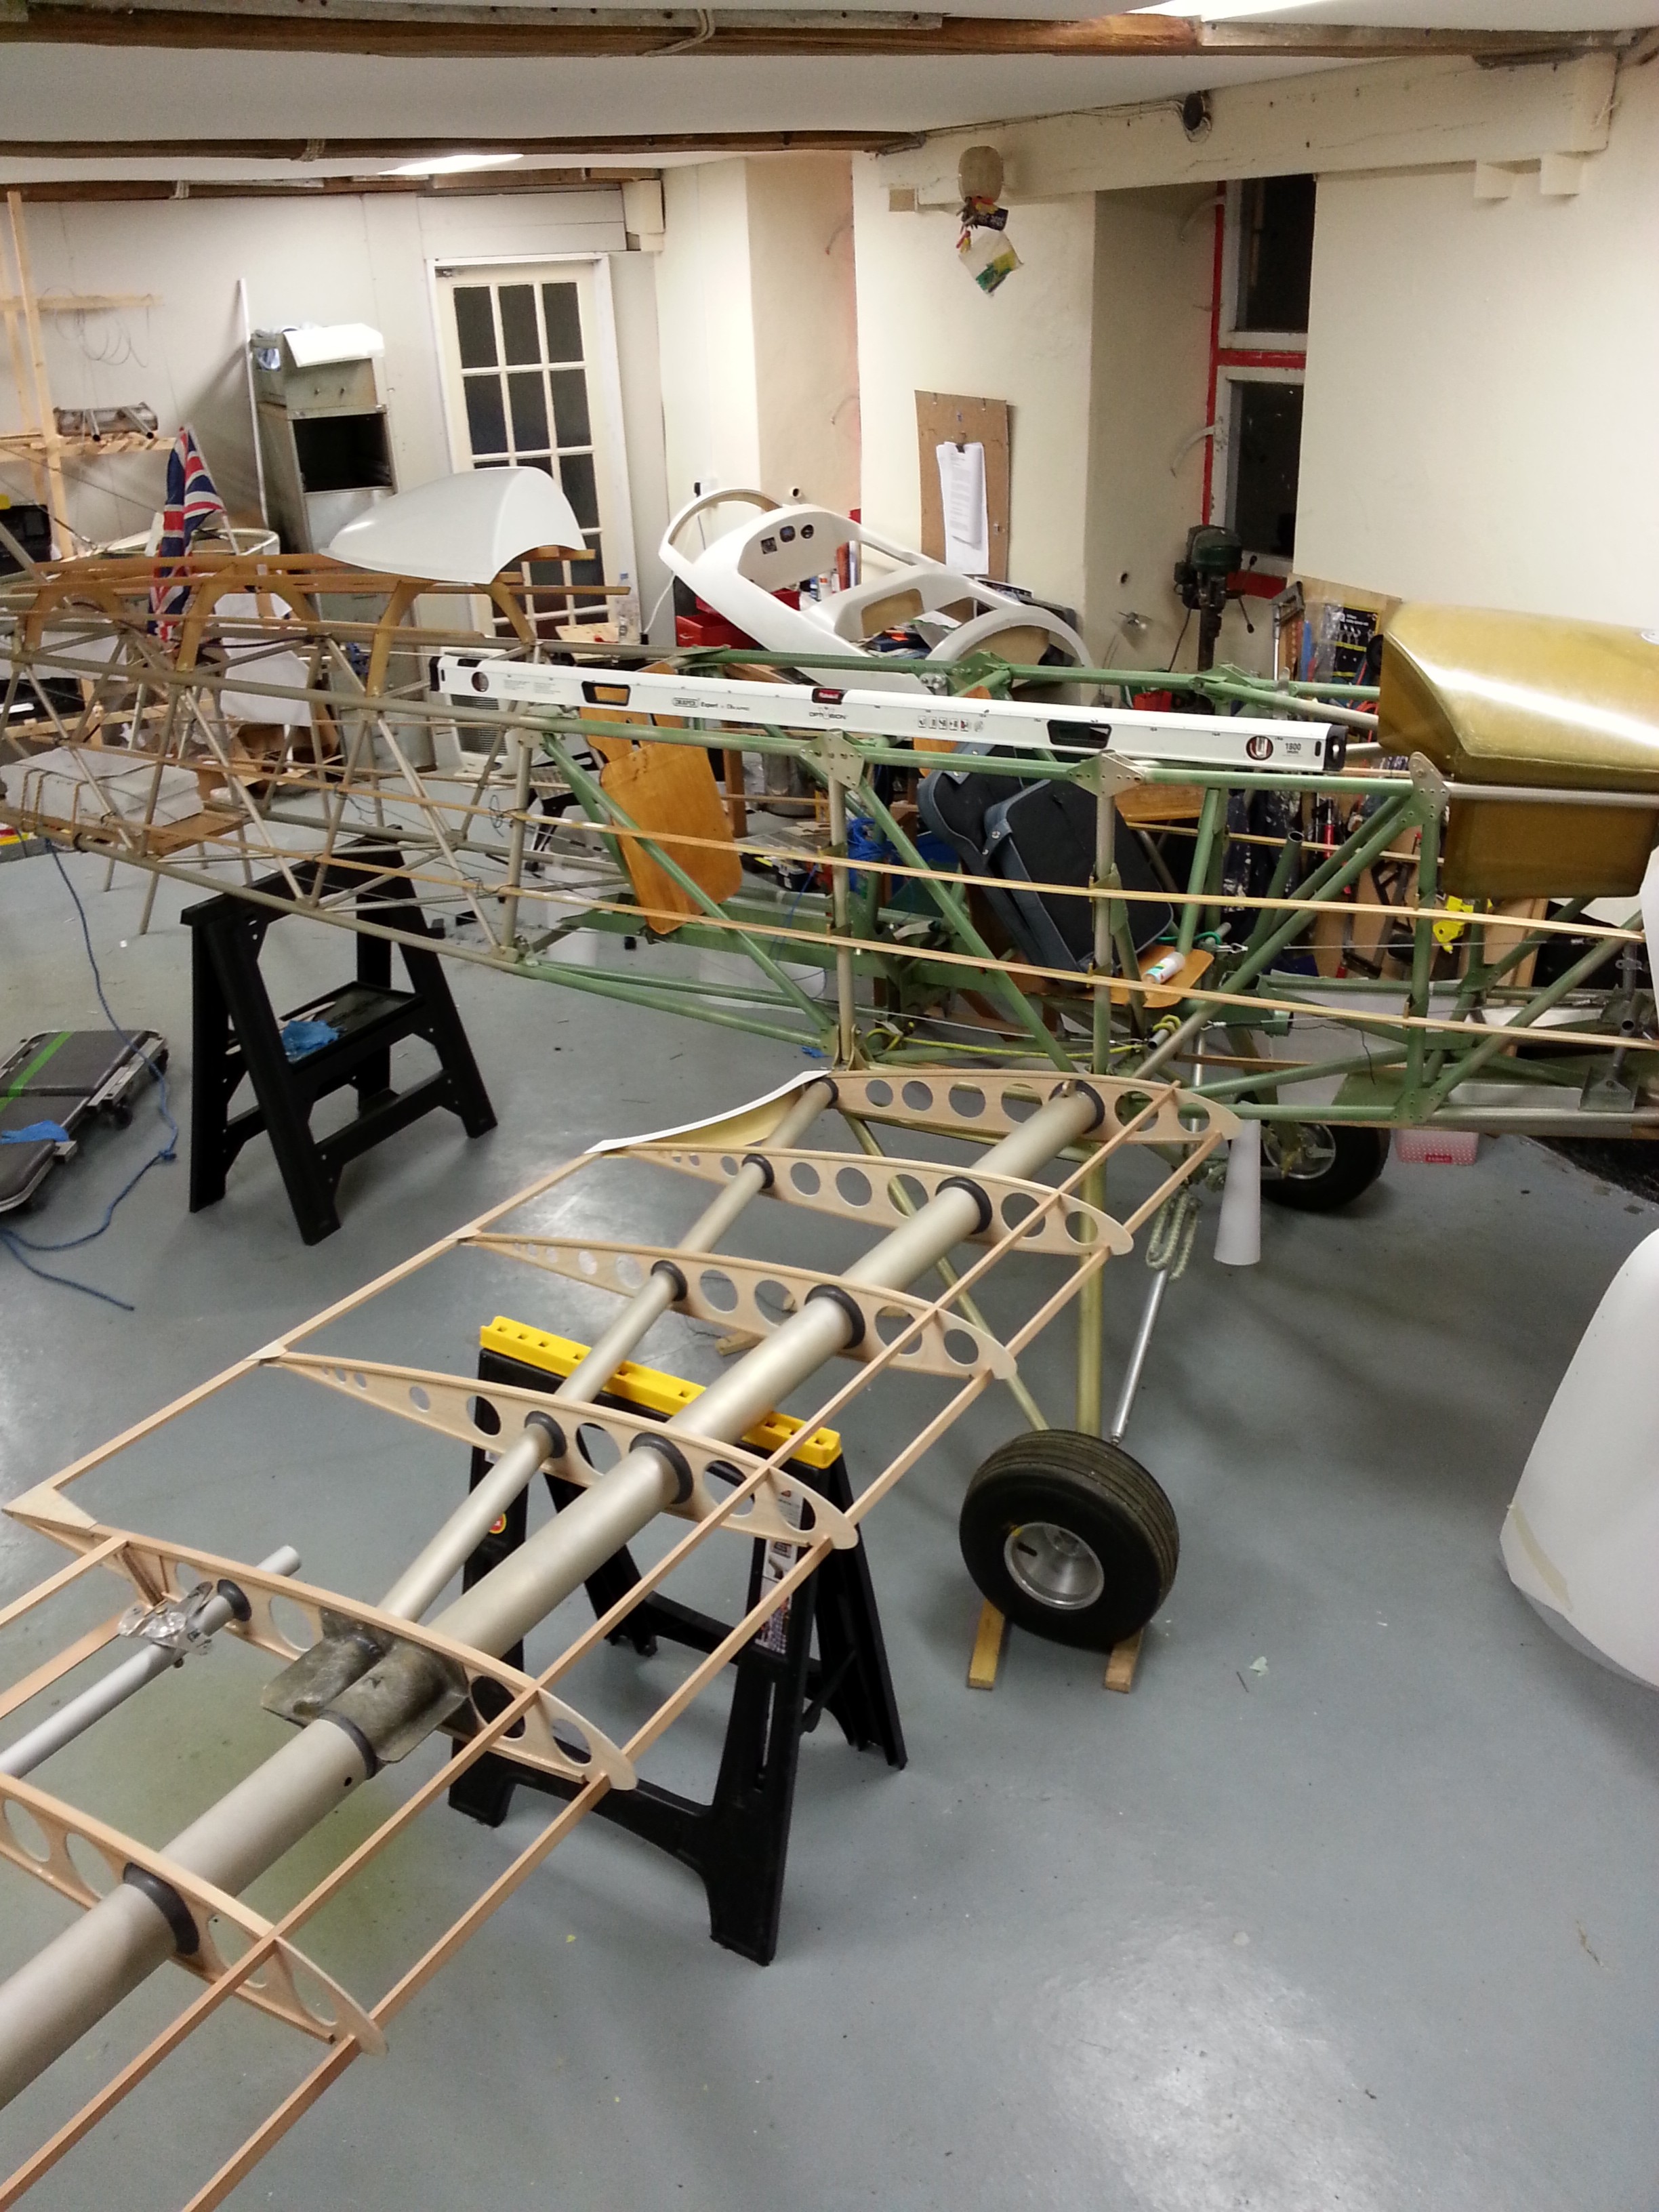
Sunday 10th November – bought some plastic saw horse trestles and these were cut down by around 40mm to ensure that offering up the first wing (Starboard Lower) was a mill or so aligned with the standard (out of the factory) holes.

Long thin temporary split pins were used to locate the wing and get a sense of where things would line up.

wing fit first 1

Lots more pre reading planned now on the general fitting of the wings as well as repositioning the ‘plane so that I can get wings either side (need to remove the rudder – so I can get around the back end to the other side of the workshop). TLAC offer the load of their drilling guide and extended drill bit to ensure that the wings fit correctly.

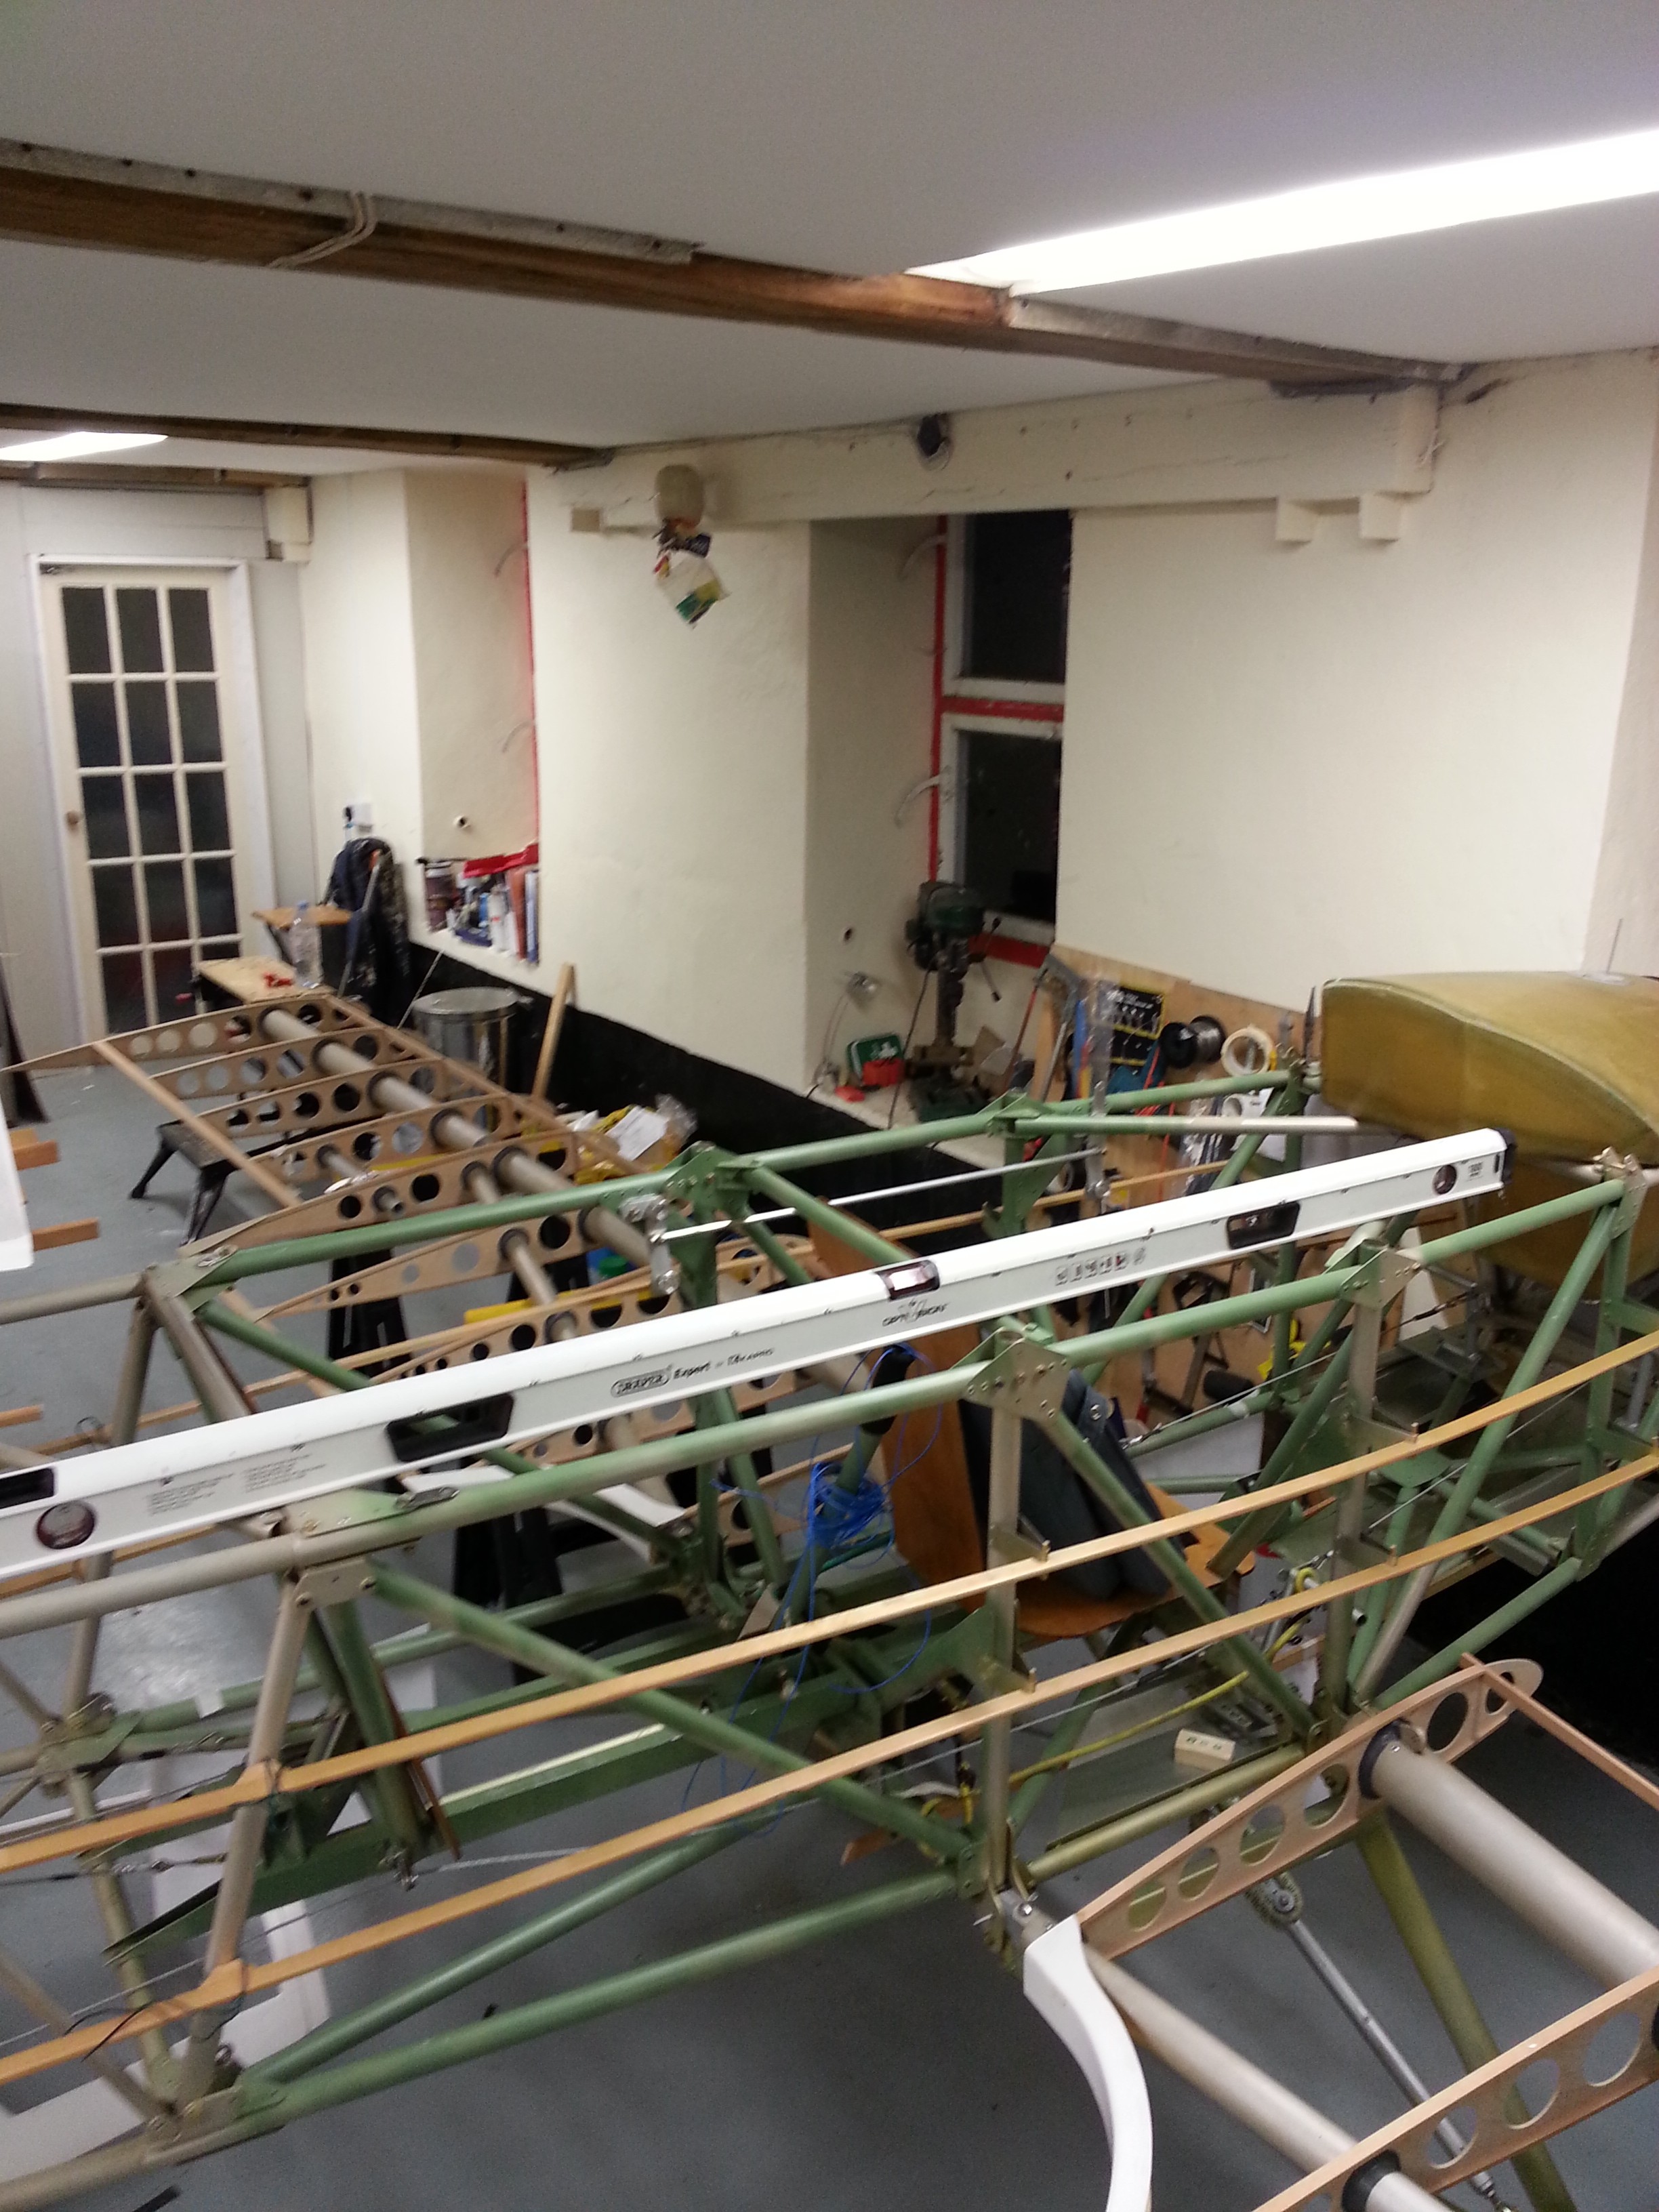
Temp fit of the second wing and your realise the rake is quite pronounced

two wings


Then I have to work out a method of supporting the top wings … possibly a series of uprights with adjustable pegs to allow careful positioning.


Centre Cabane

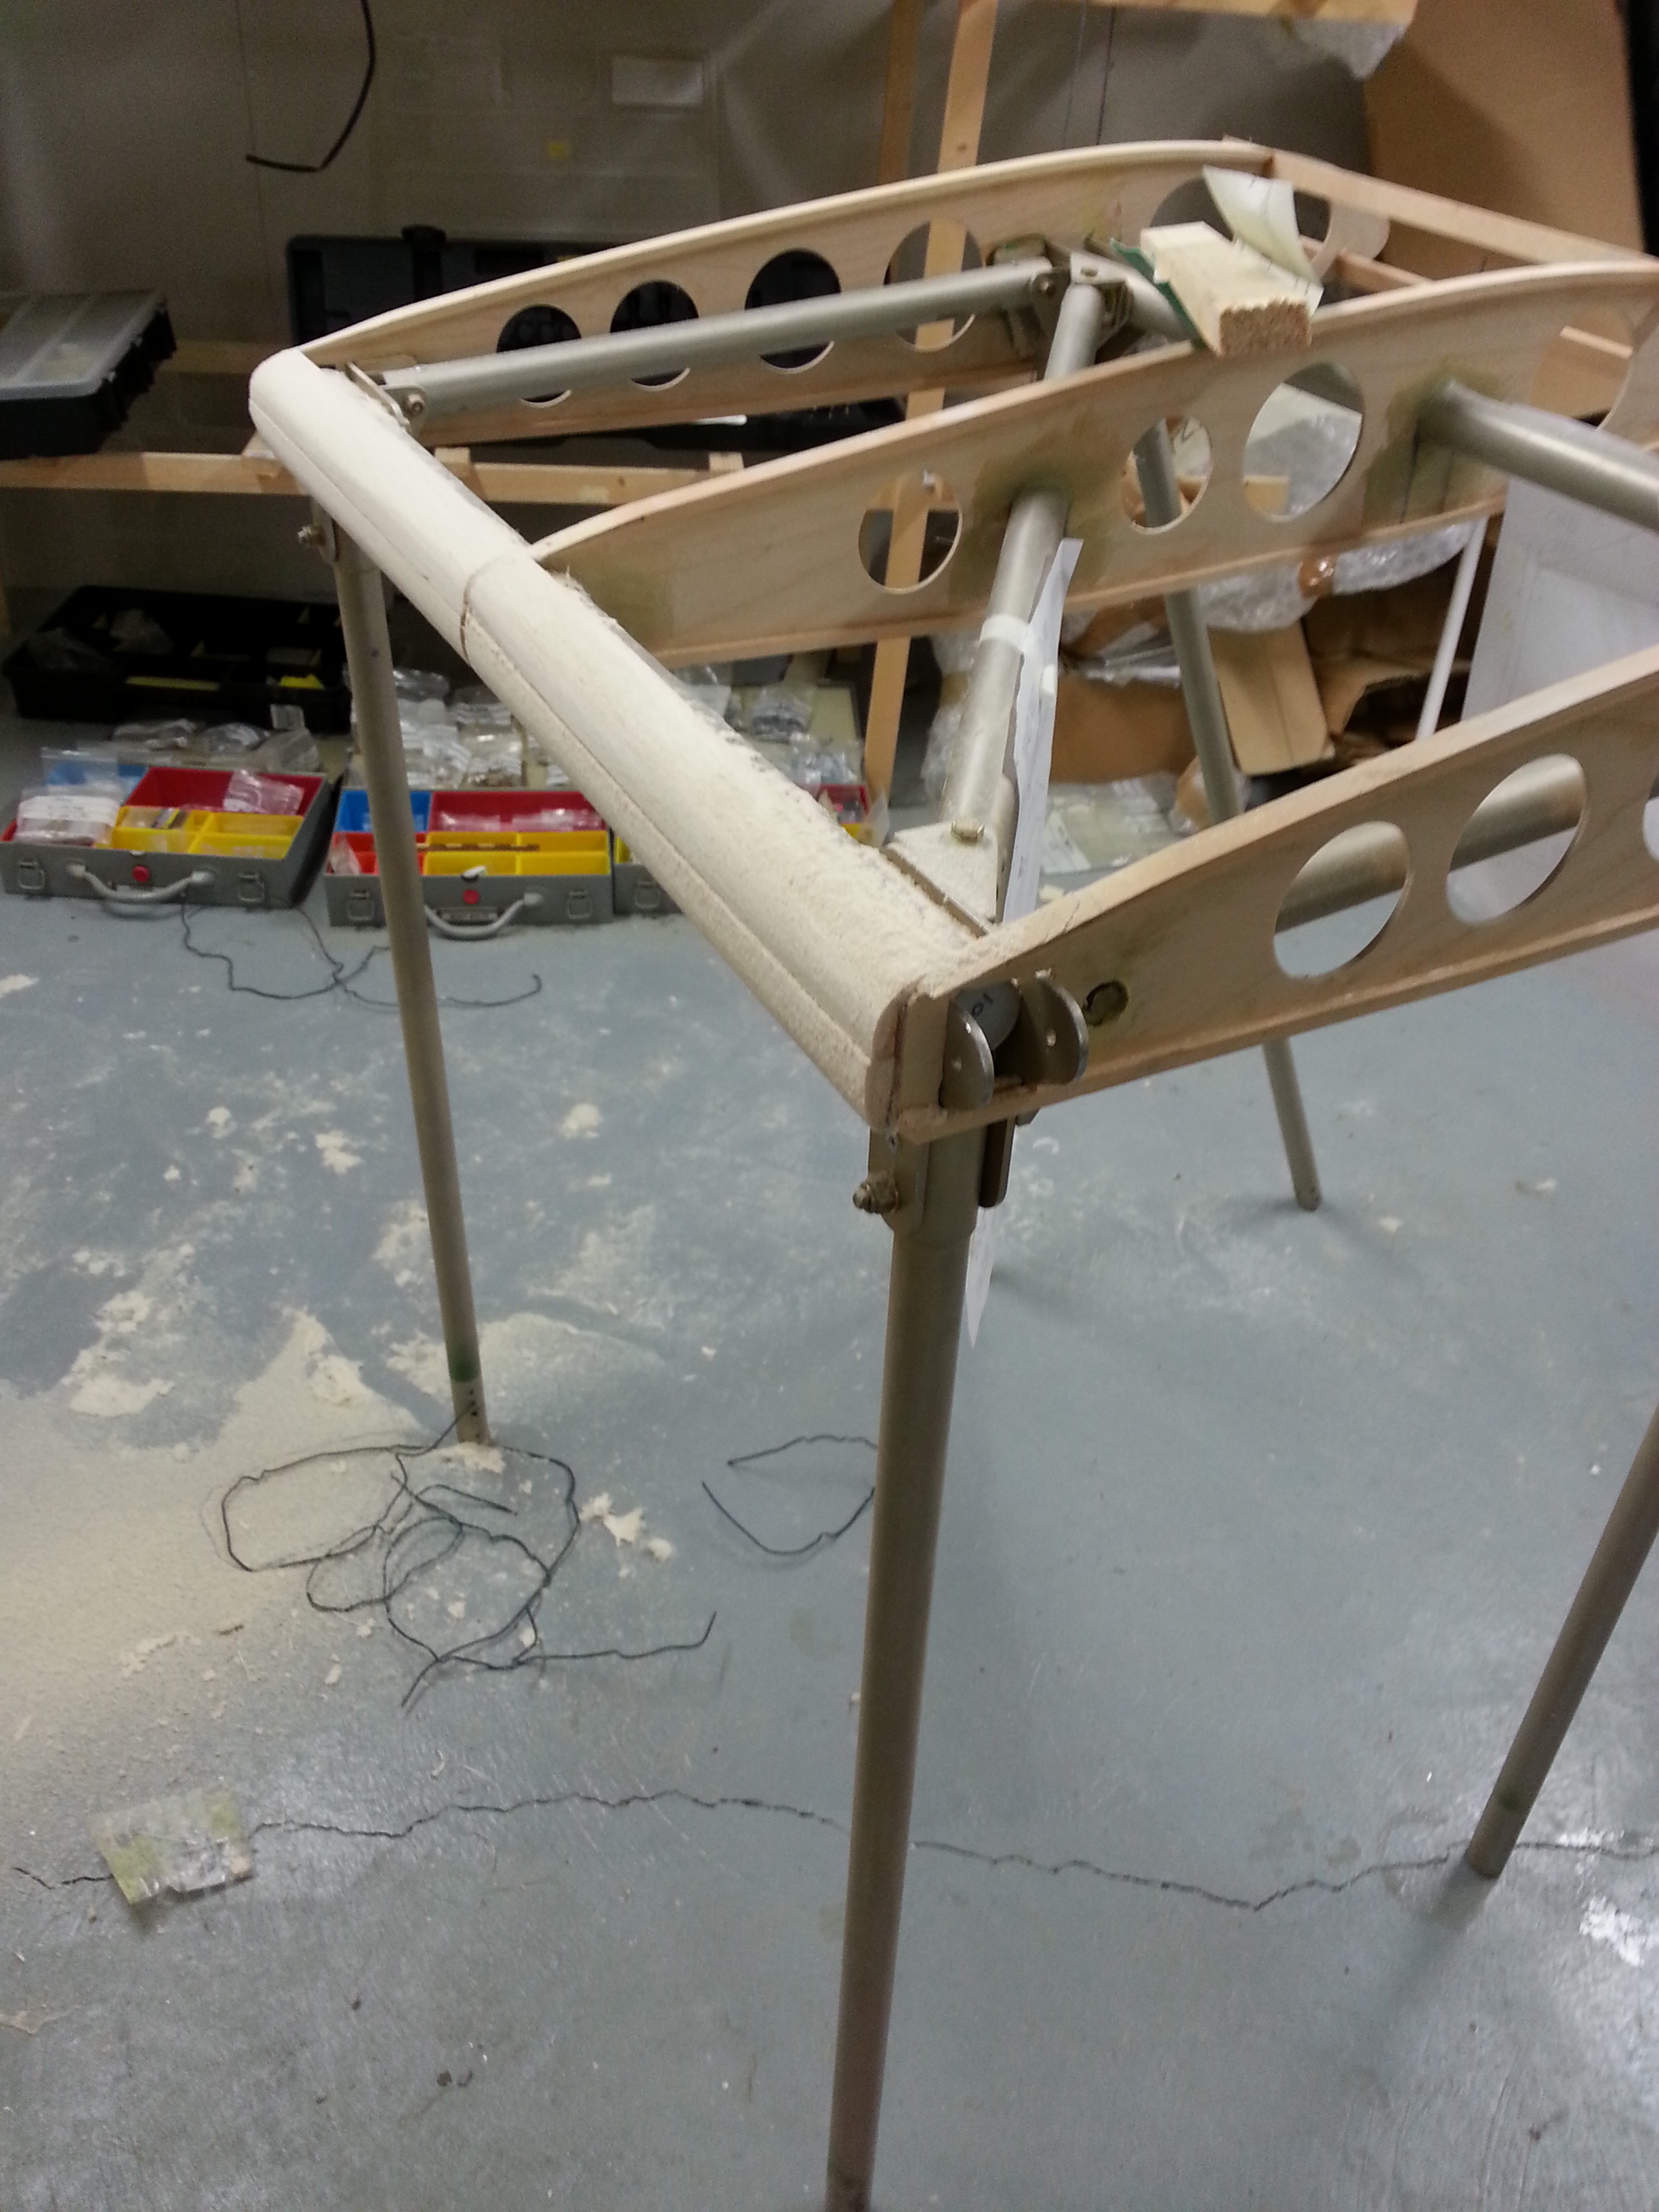
 cab sandThe centre cabane has 3 ribs that make up the basic surround. The outer two ribs are fitted and bolted to the frame using ply doubles to ensure that the bolt head can sit as flush a possible and so not impede the wing fitting.

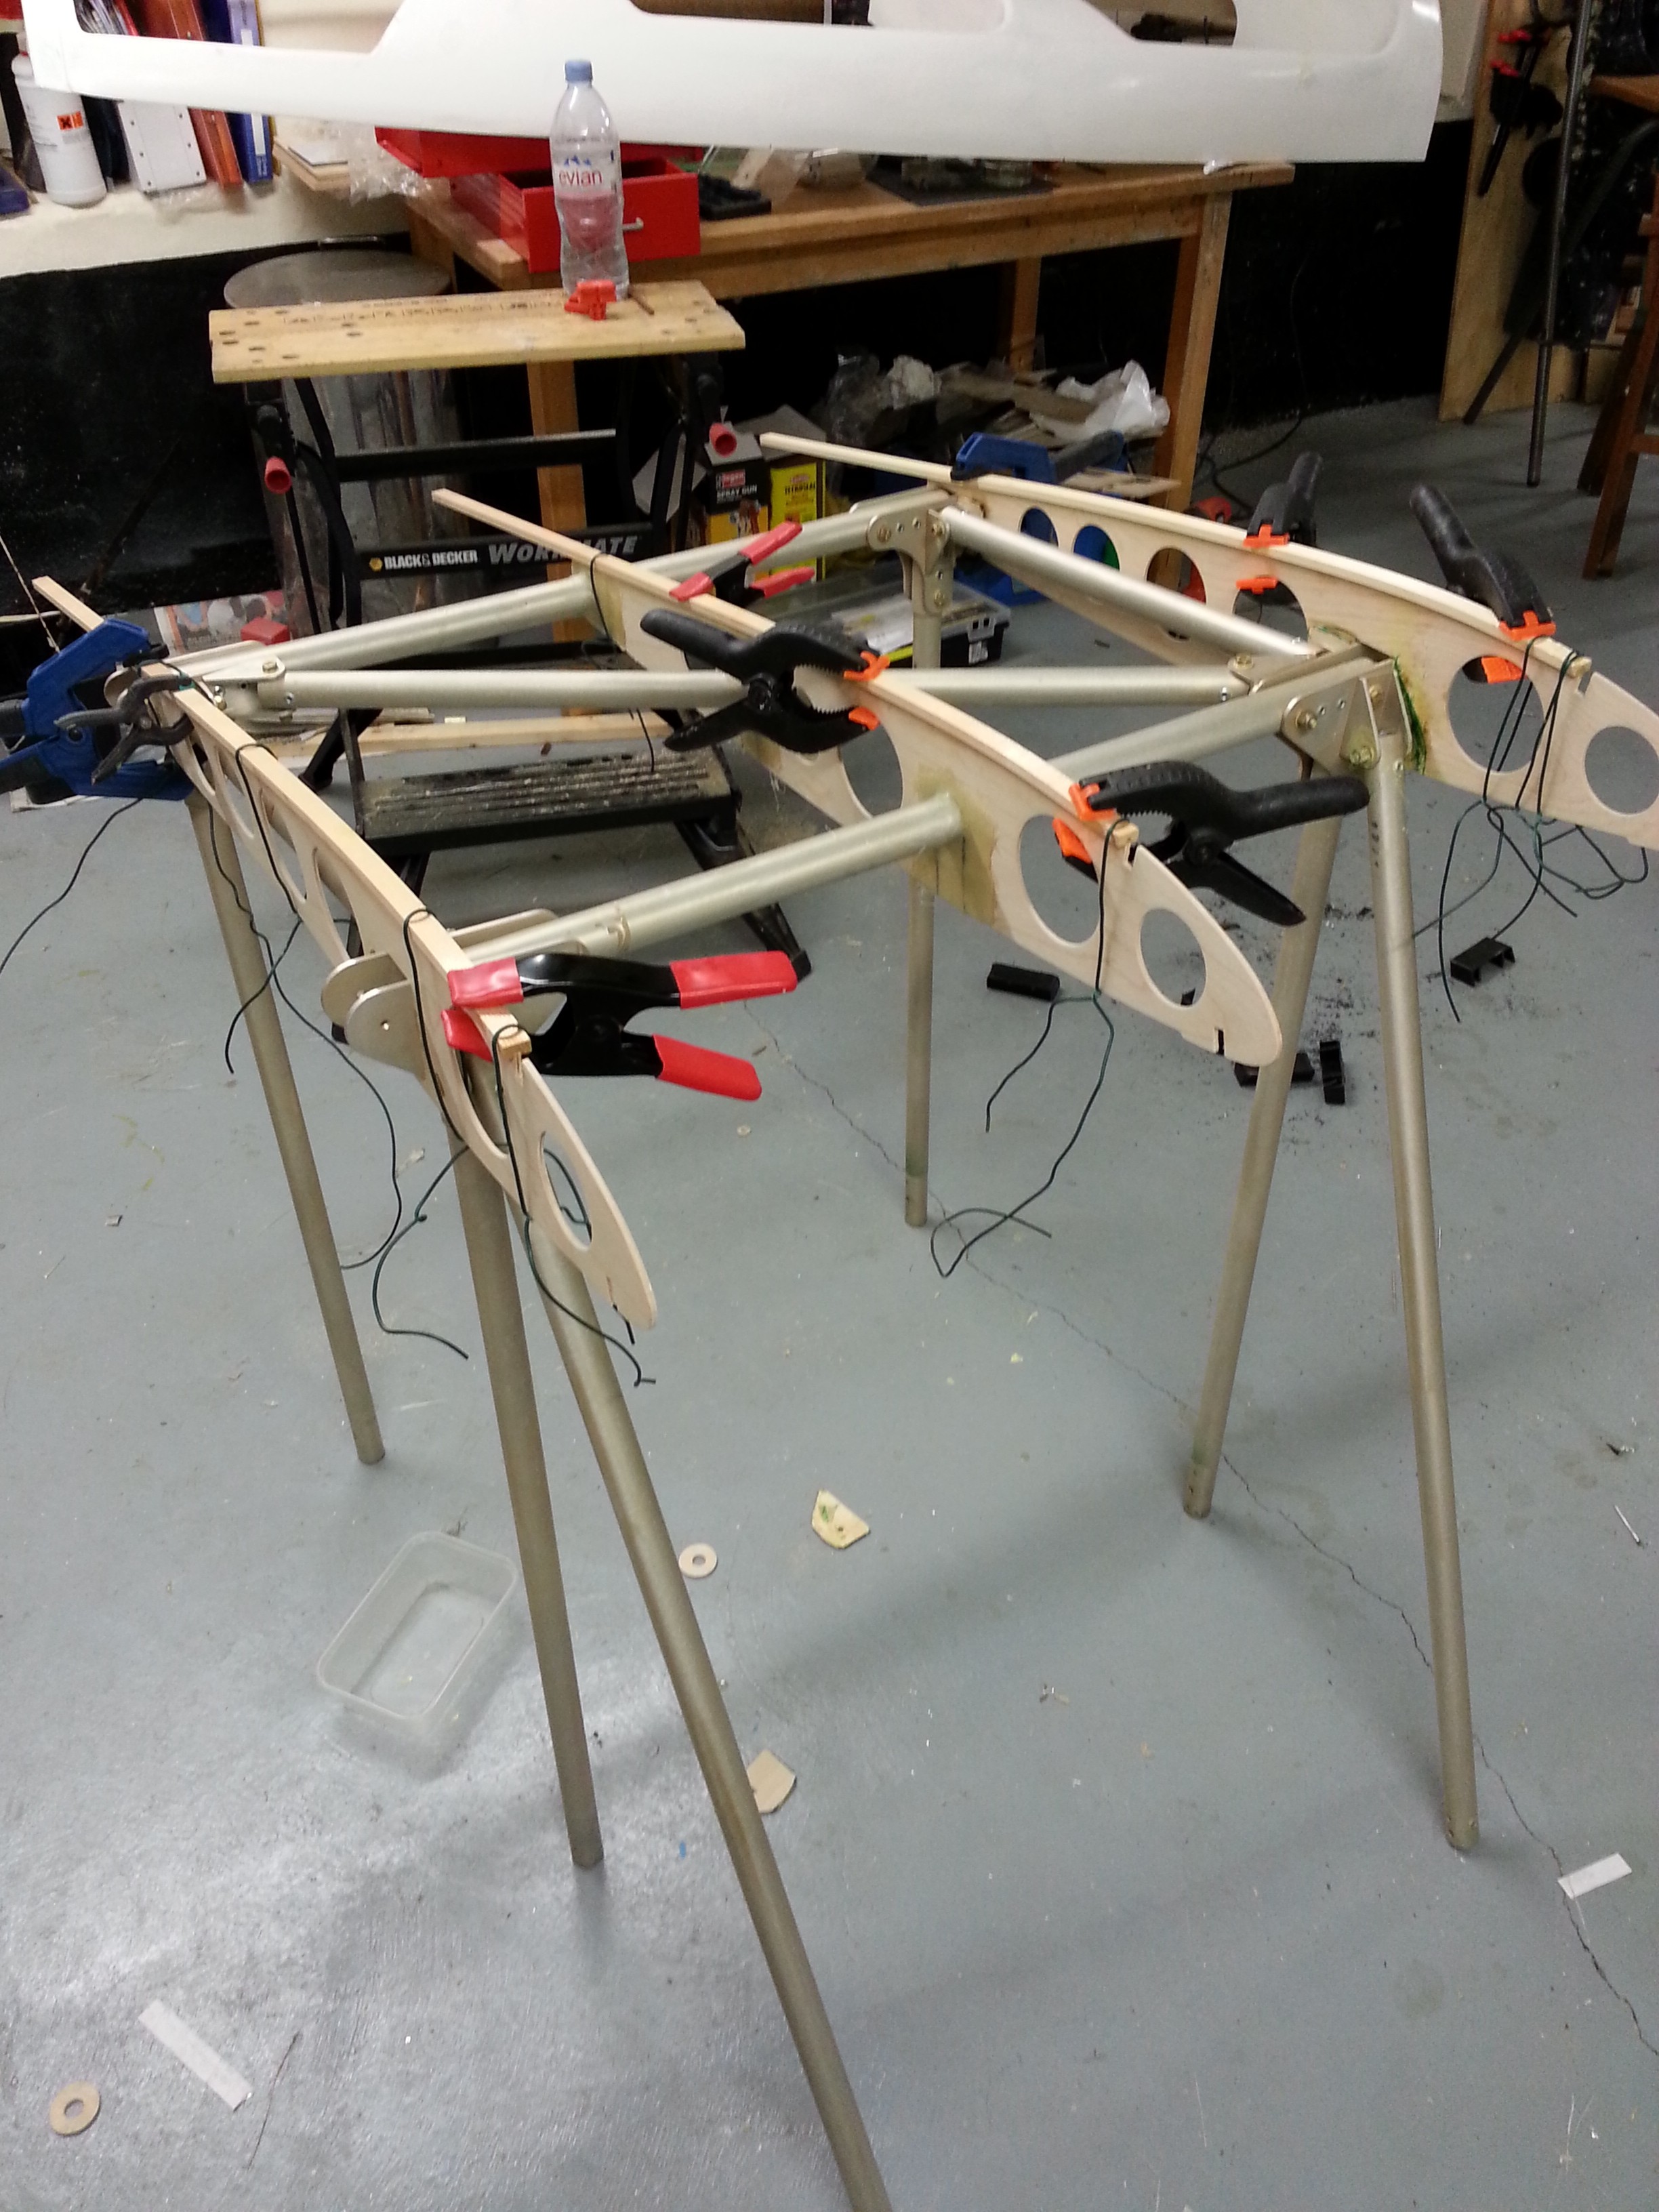
Once these are fitted the capping beech can be added – tricky as it is quite a bend on the upper section so a combination of clamps and twisted wire keeps it in place whilst the Aerolite goes off.

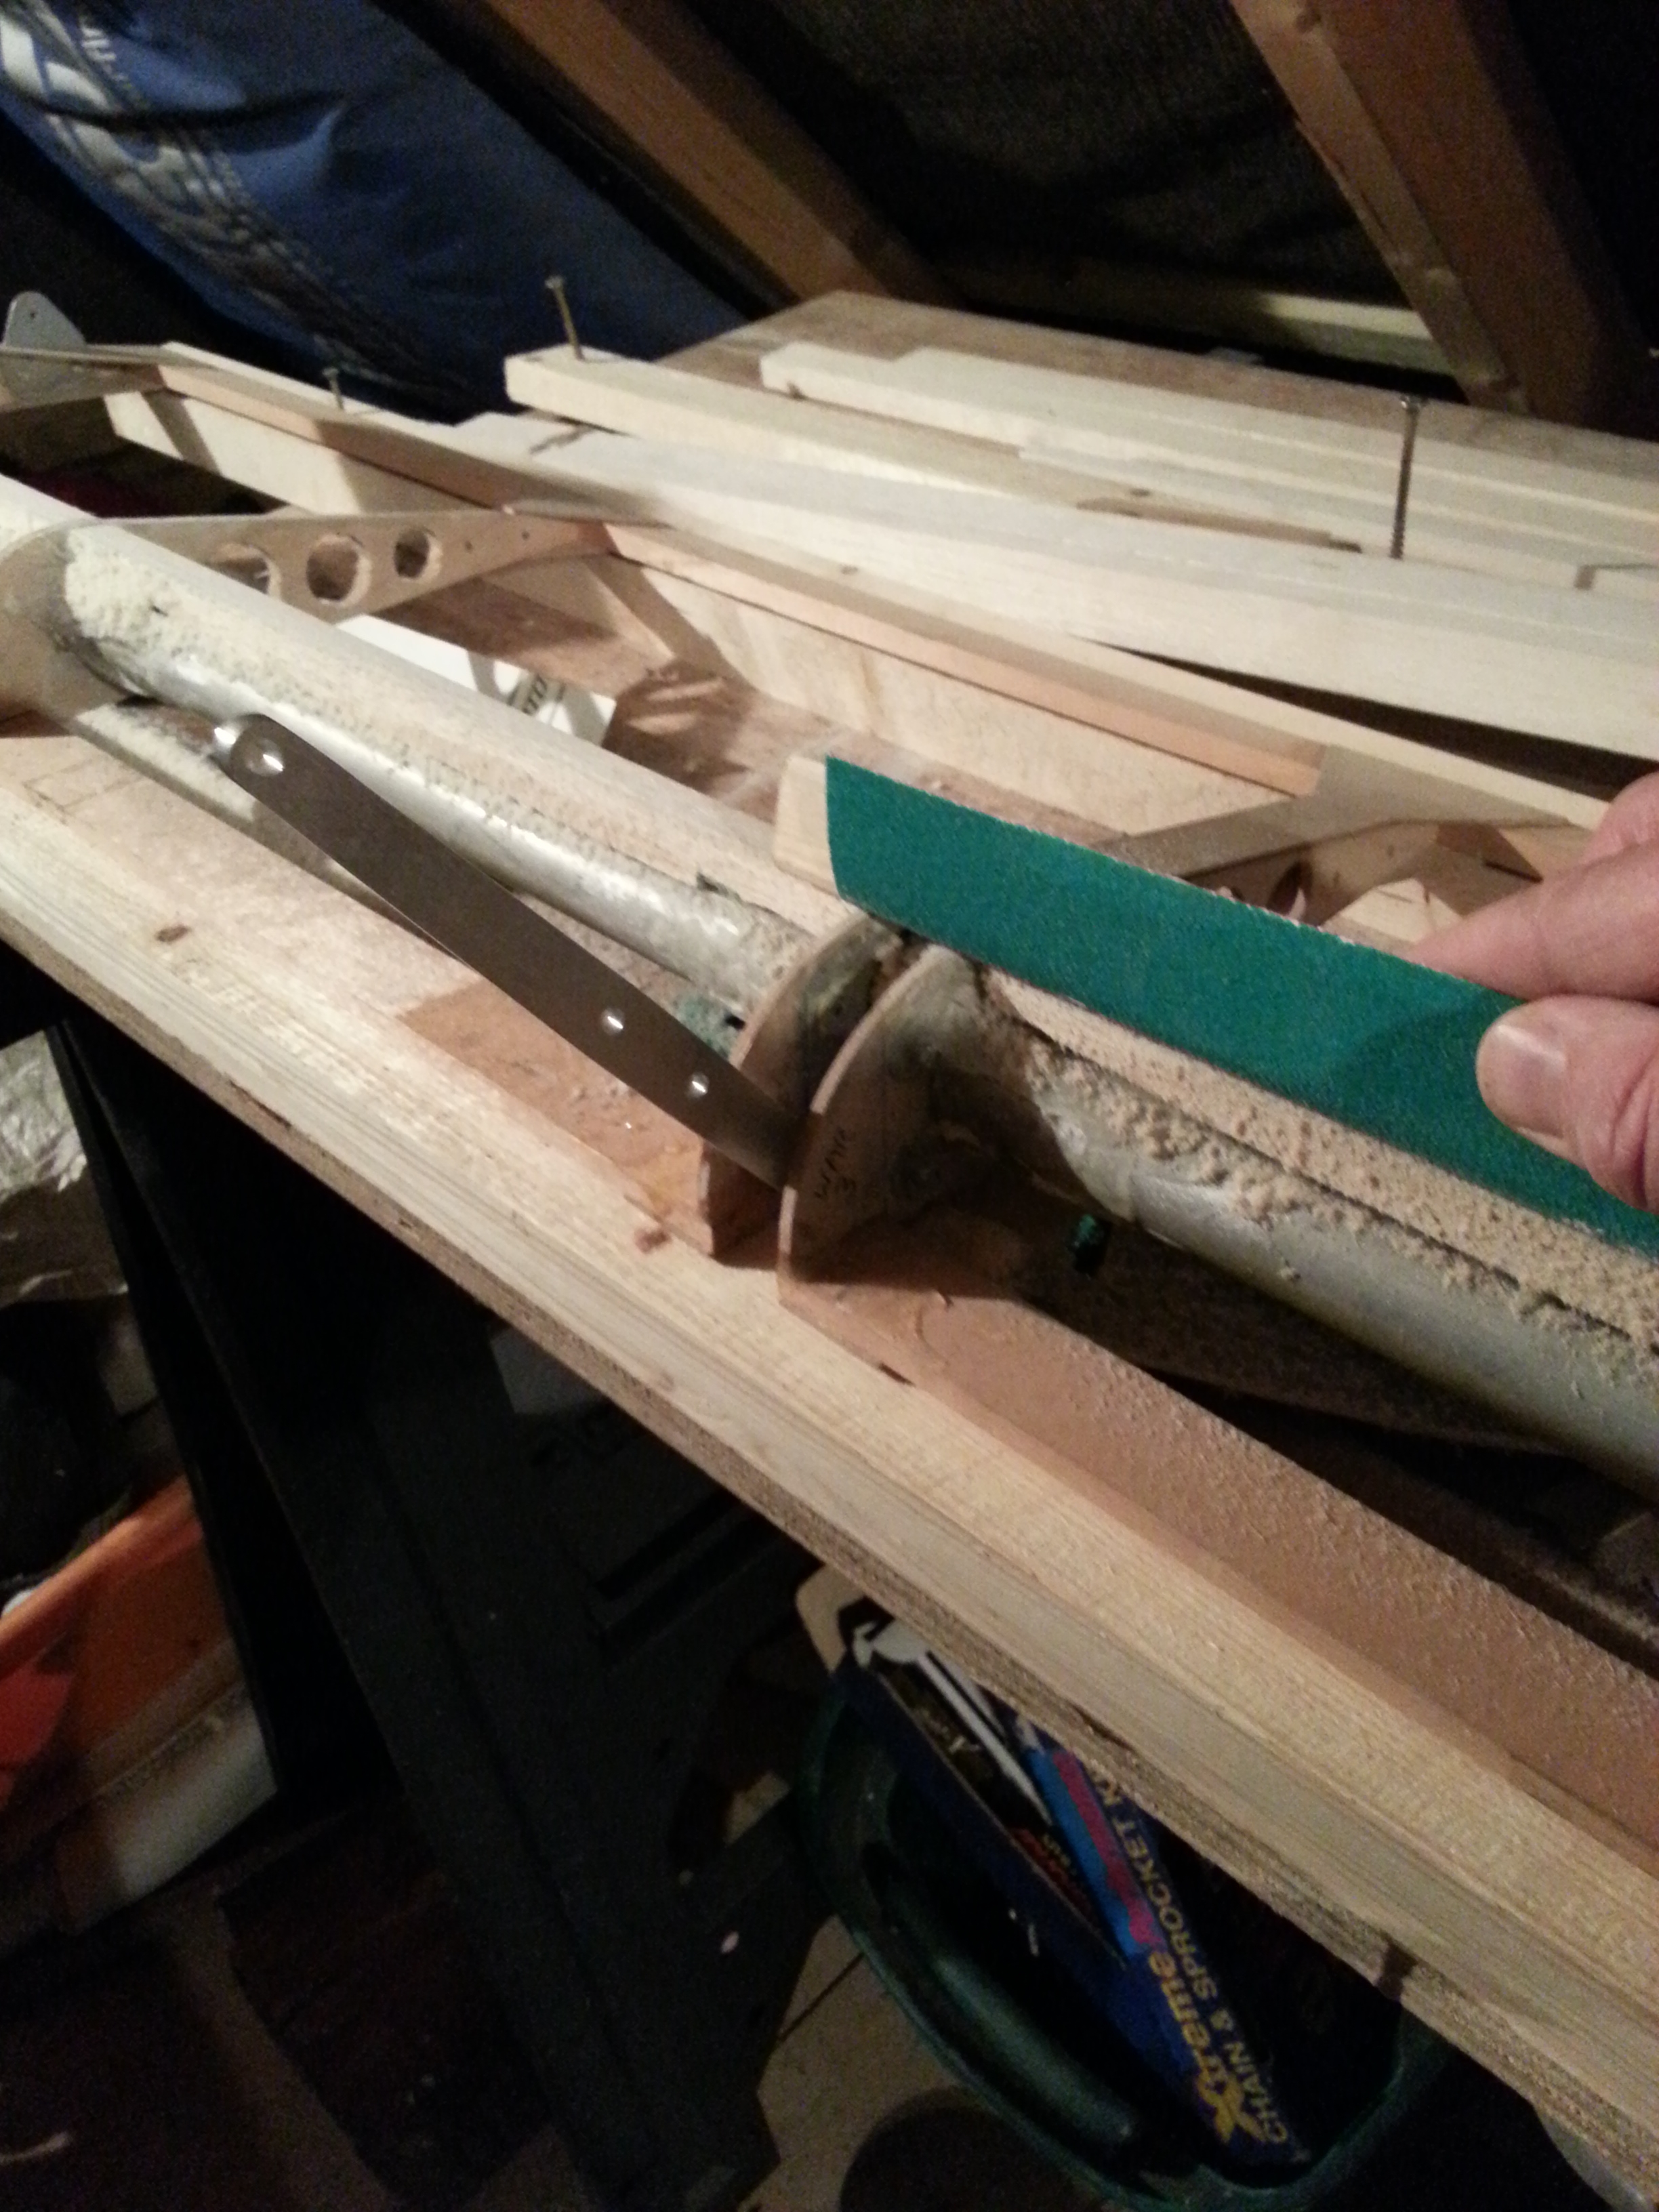
Cabane fg 1The trailing edge is shaped ready for the balsa filling to be epoxied into position and then sanded to profile.

The stringers are fitted top and bottom and then the top leading edge sheet ply. Gussets are finally added before smoothing the whole thing down.

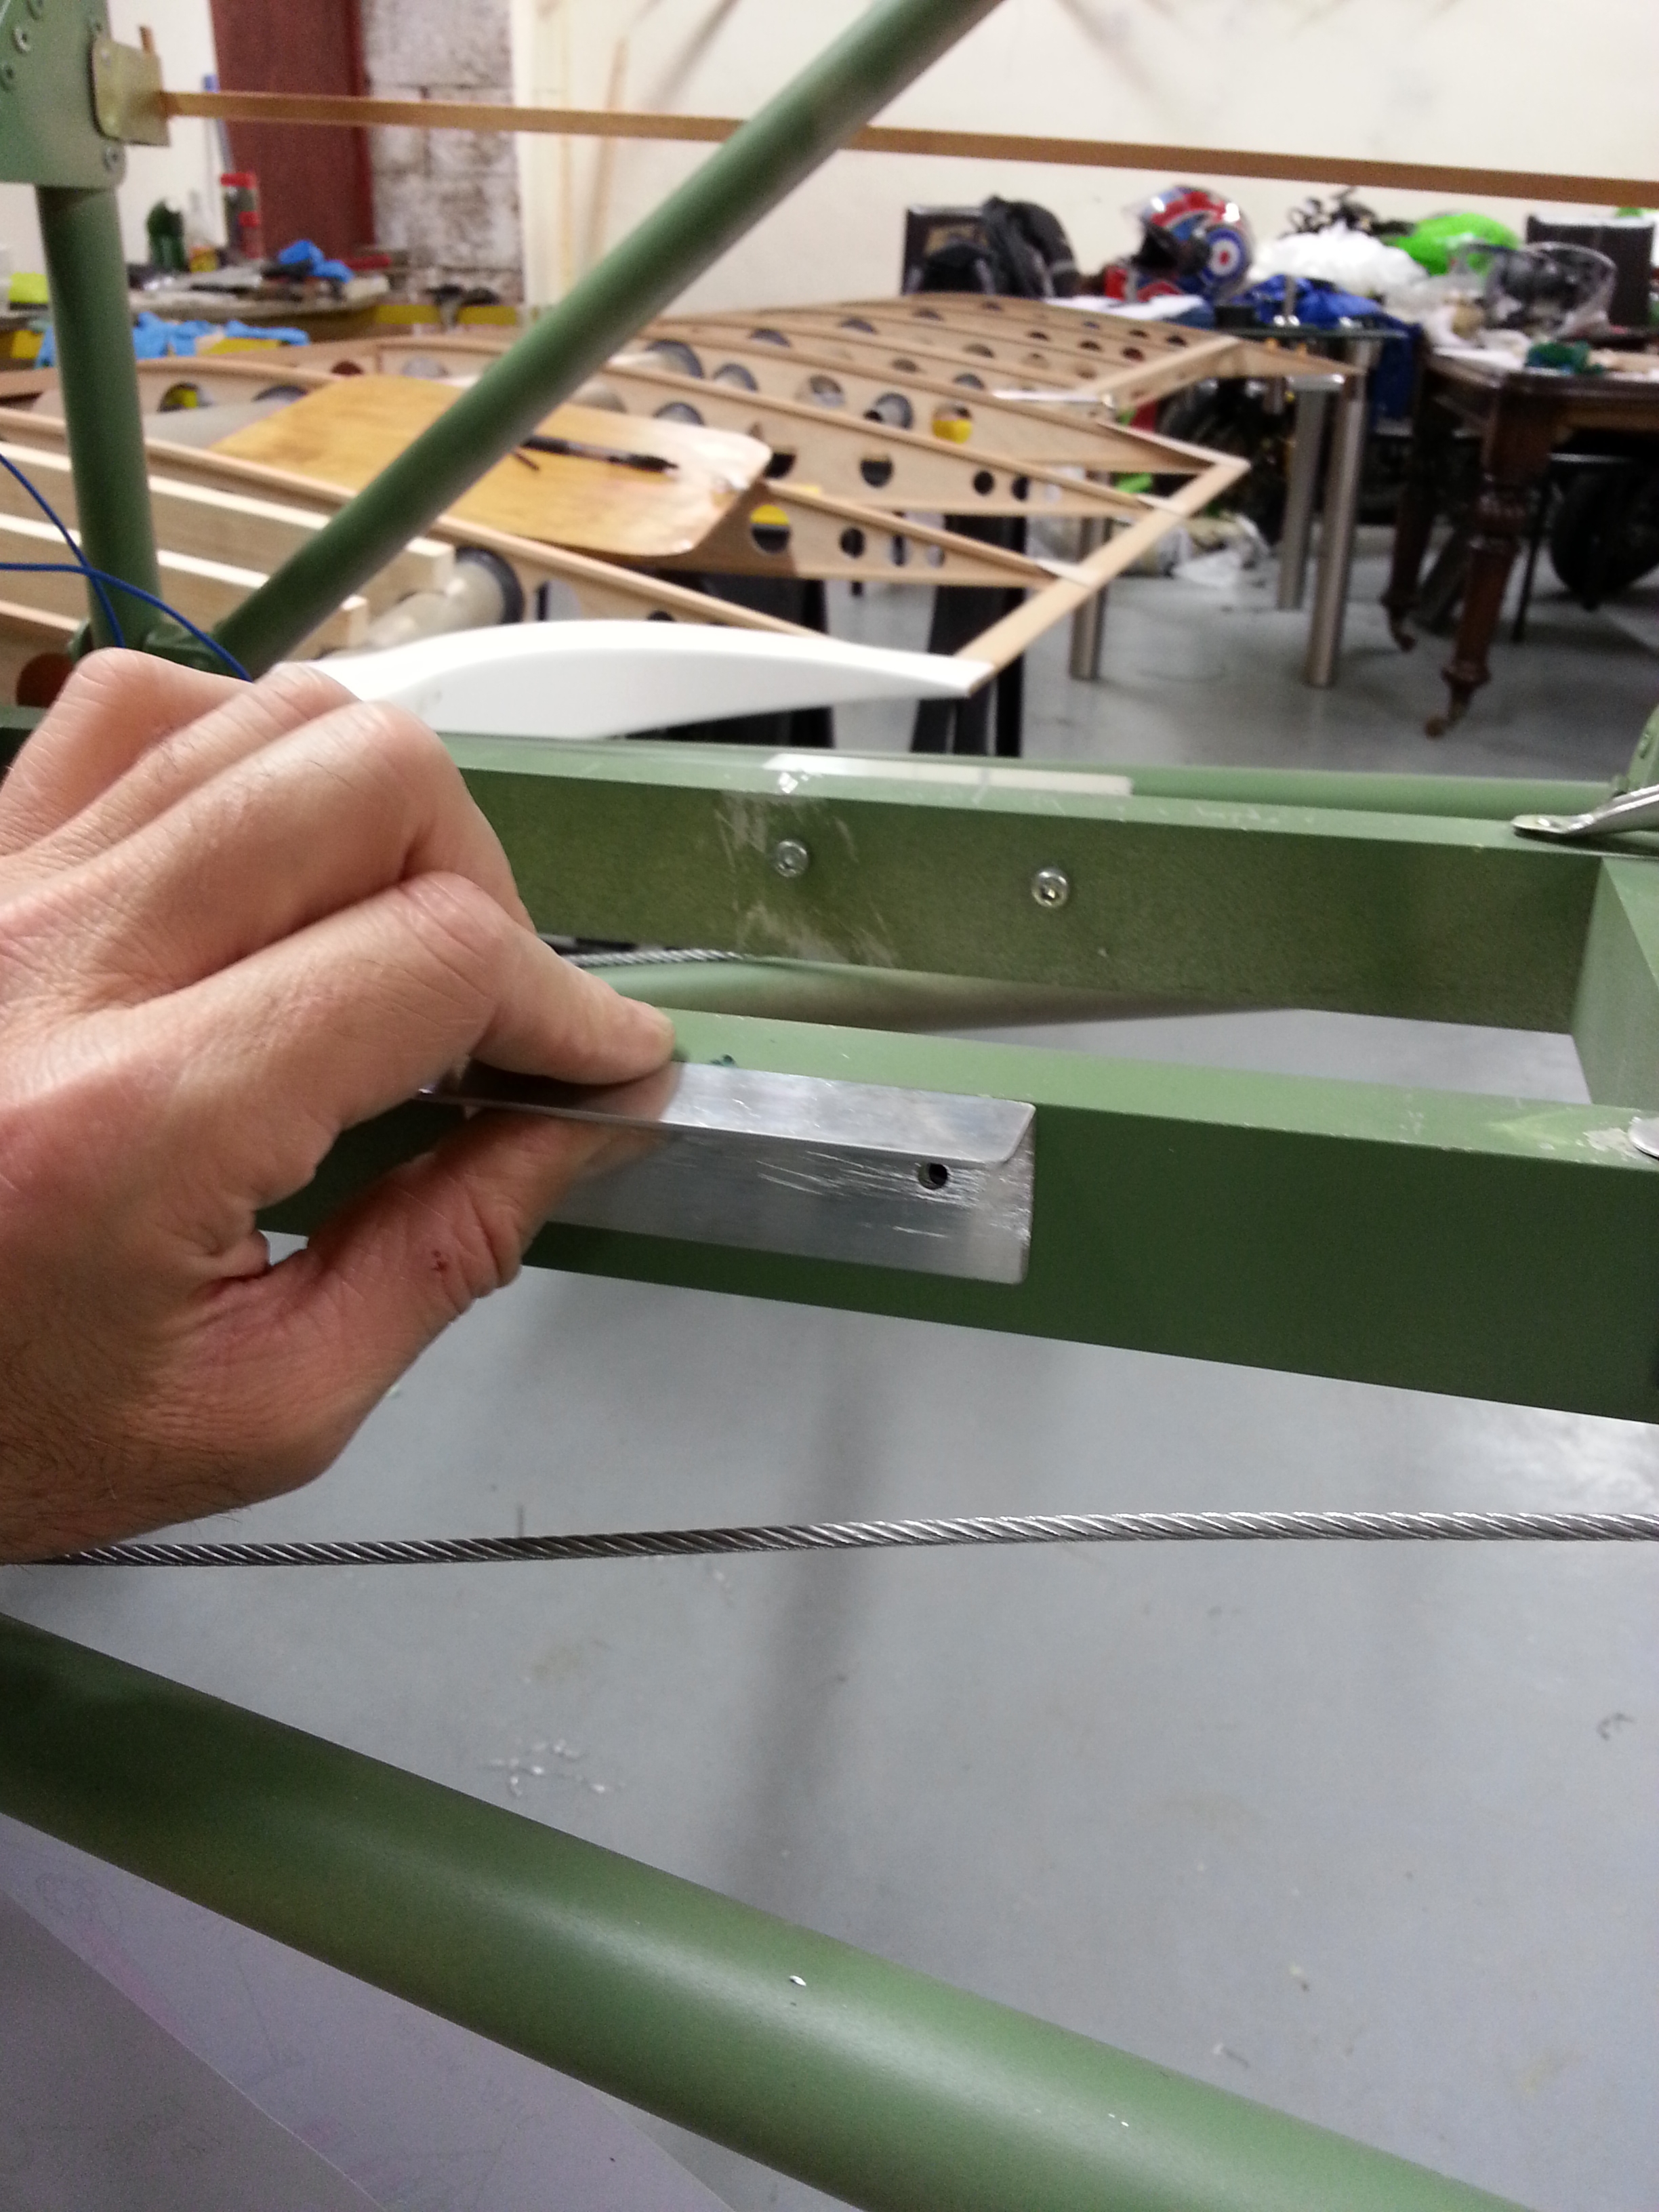
Aileron return lead guides

The aileron return leads come back through the trailing edge and then travel under the body (above the driving aileron leads at the back end of the control column). 

To keep them clear of the body they run through small metal angle brackets which have paxolin plates riveted in place to ensure that the steel cable (3.2 multi strand steel) rub against paxolin vs the steel bracket.

aileron guide

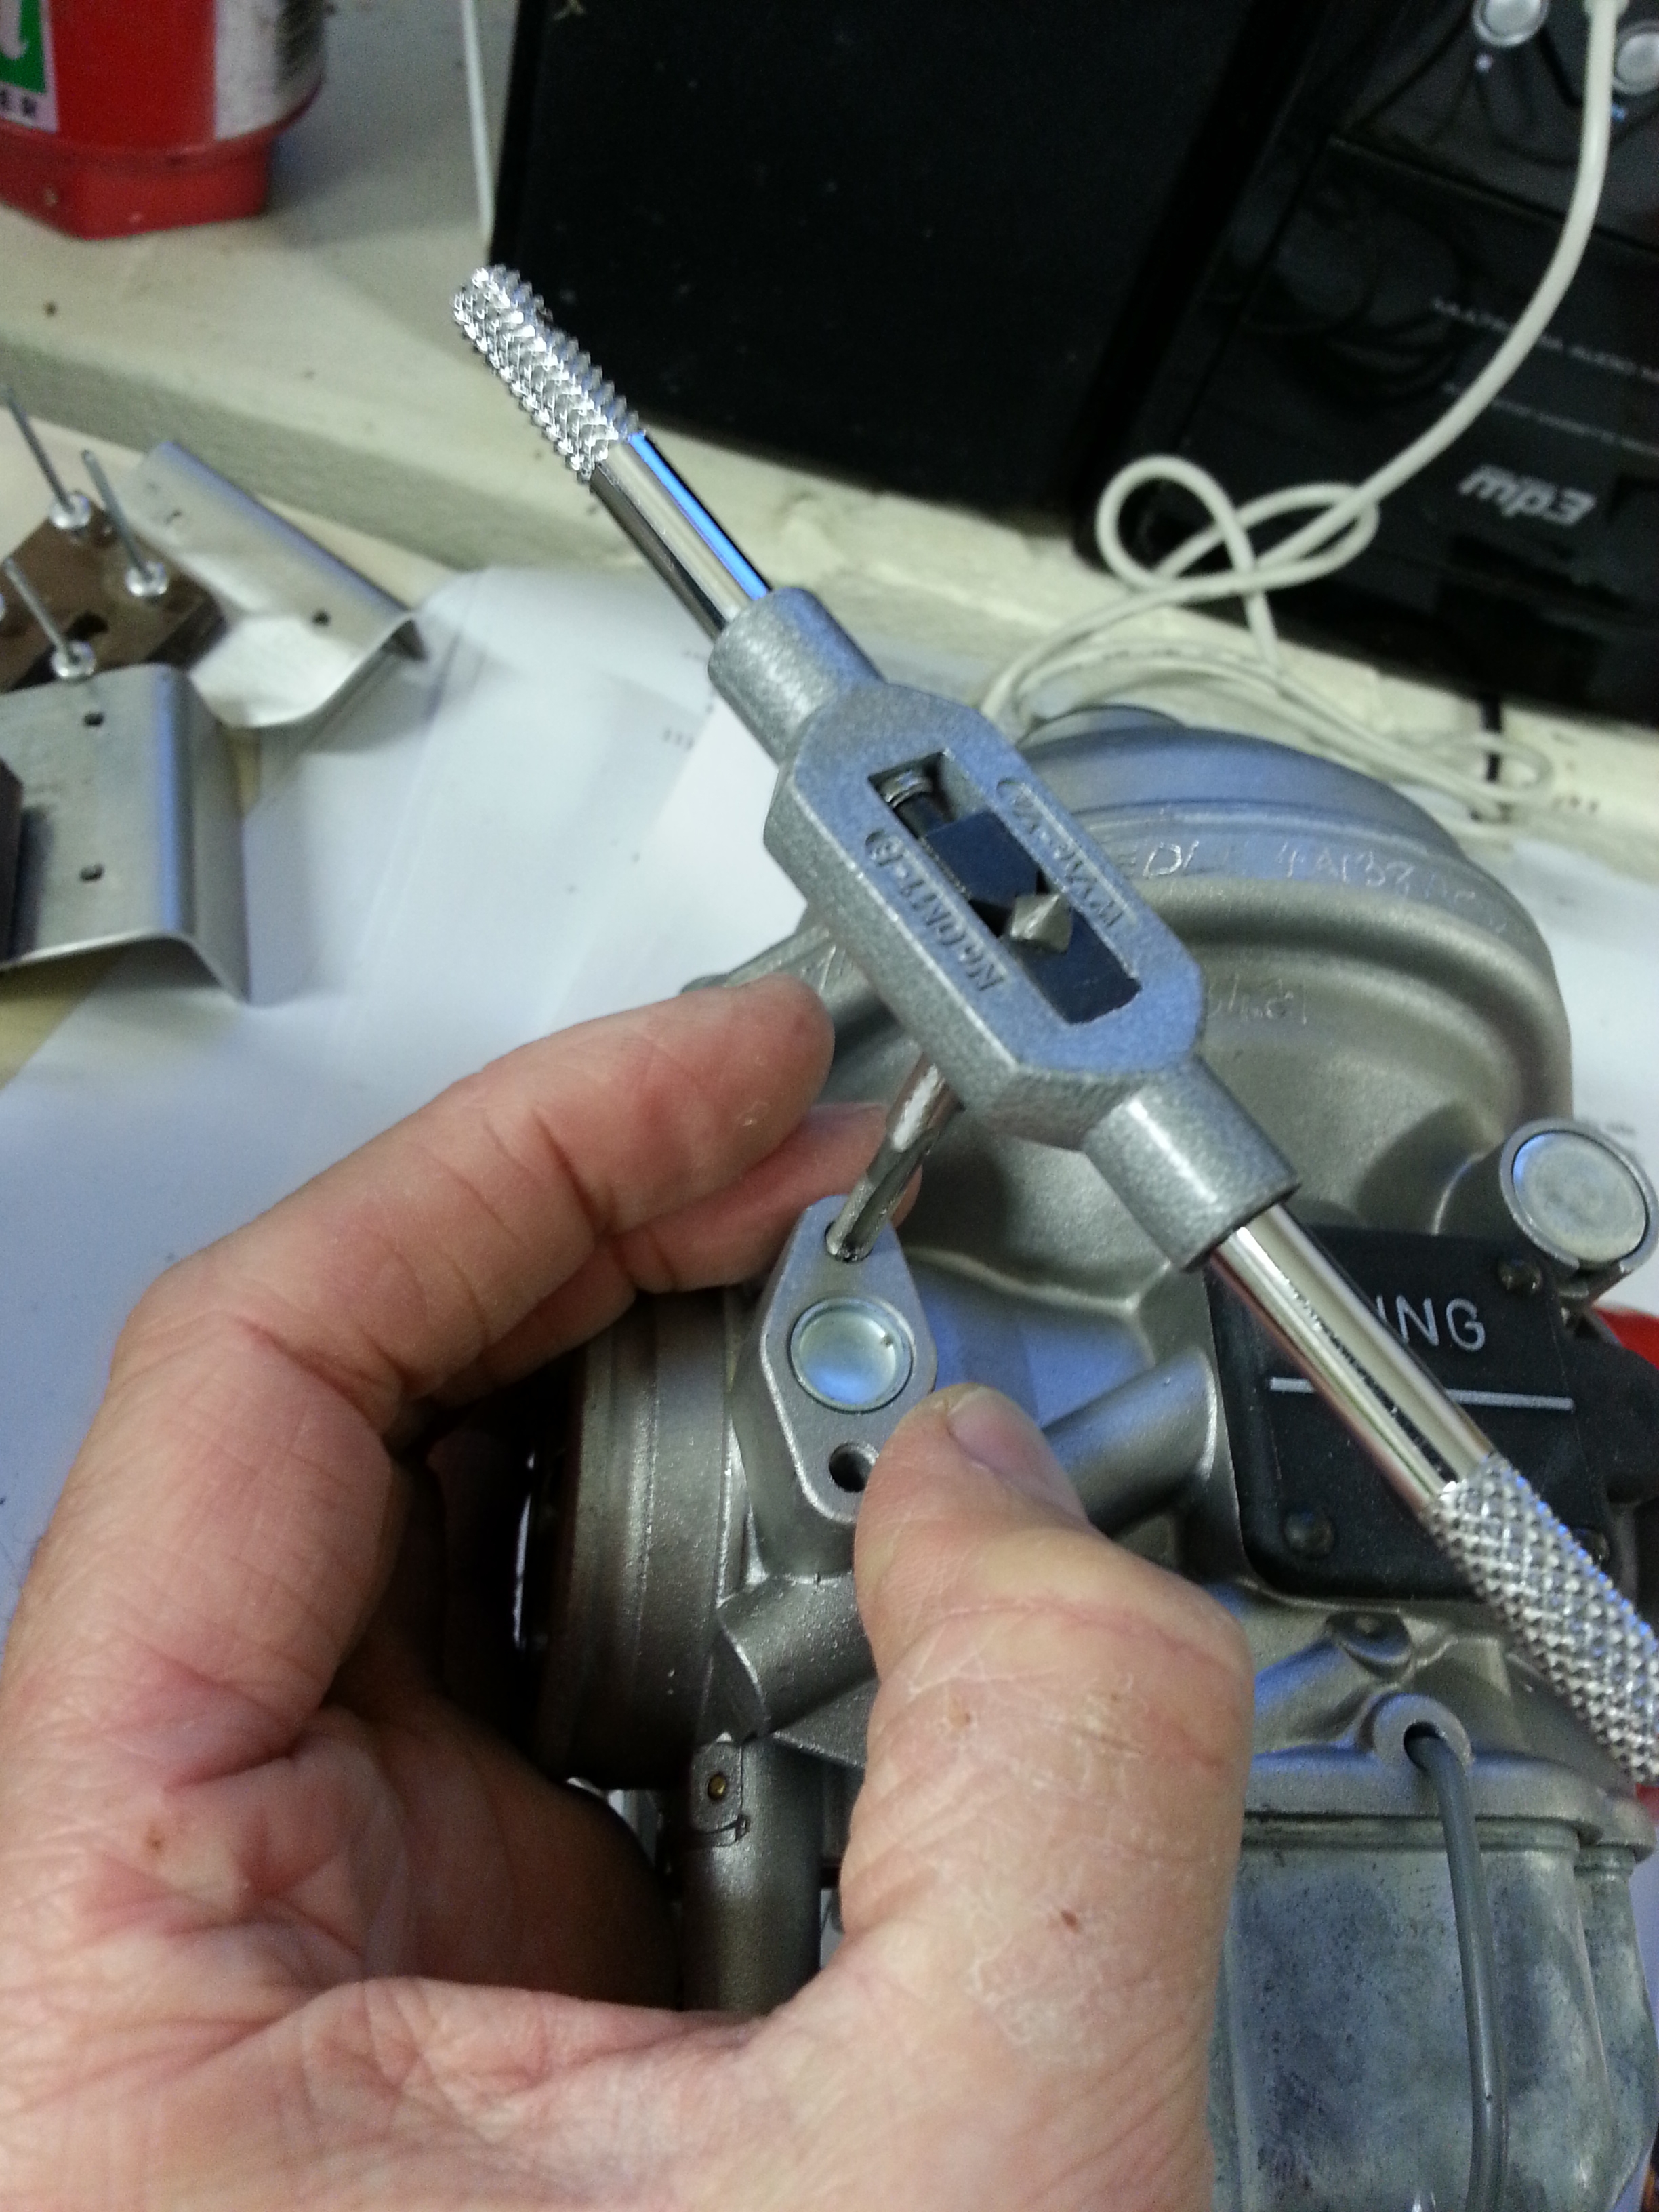
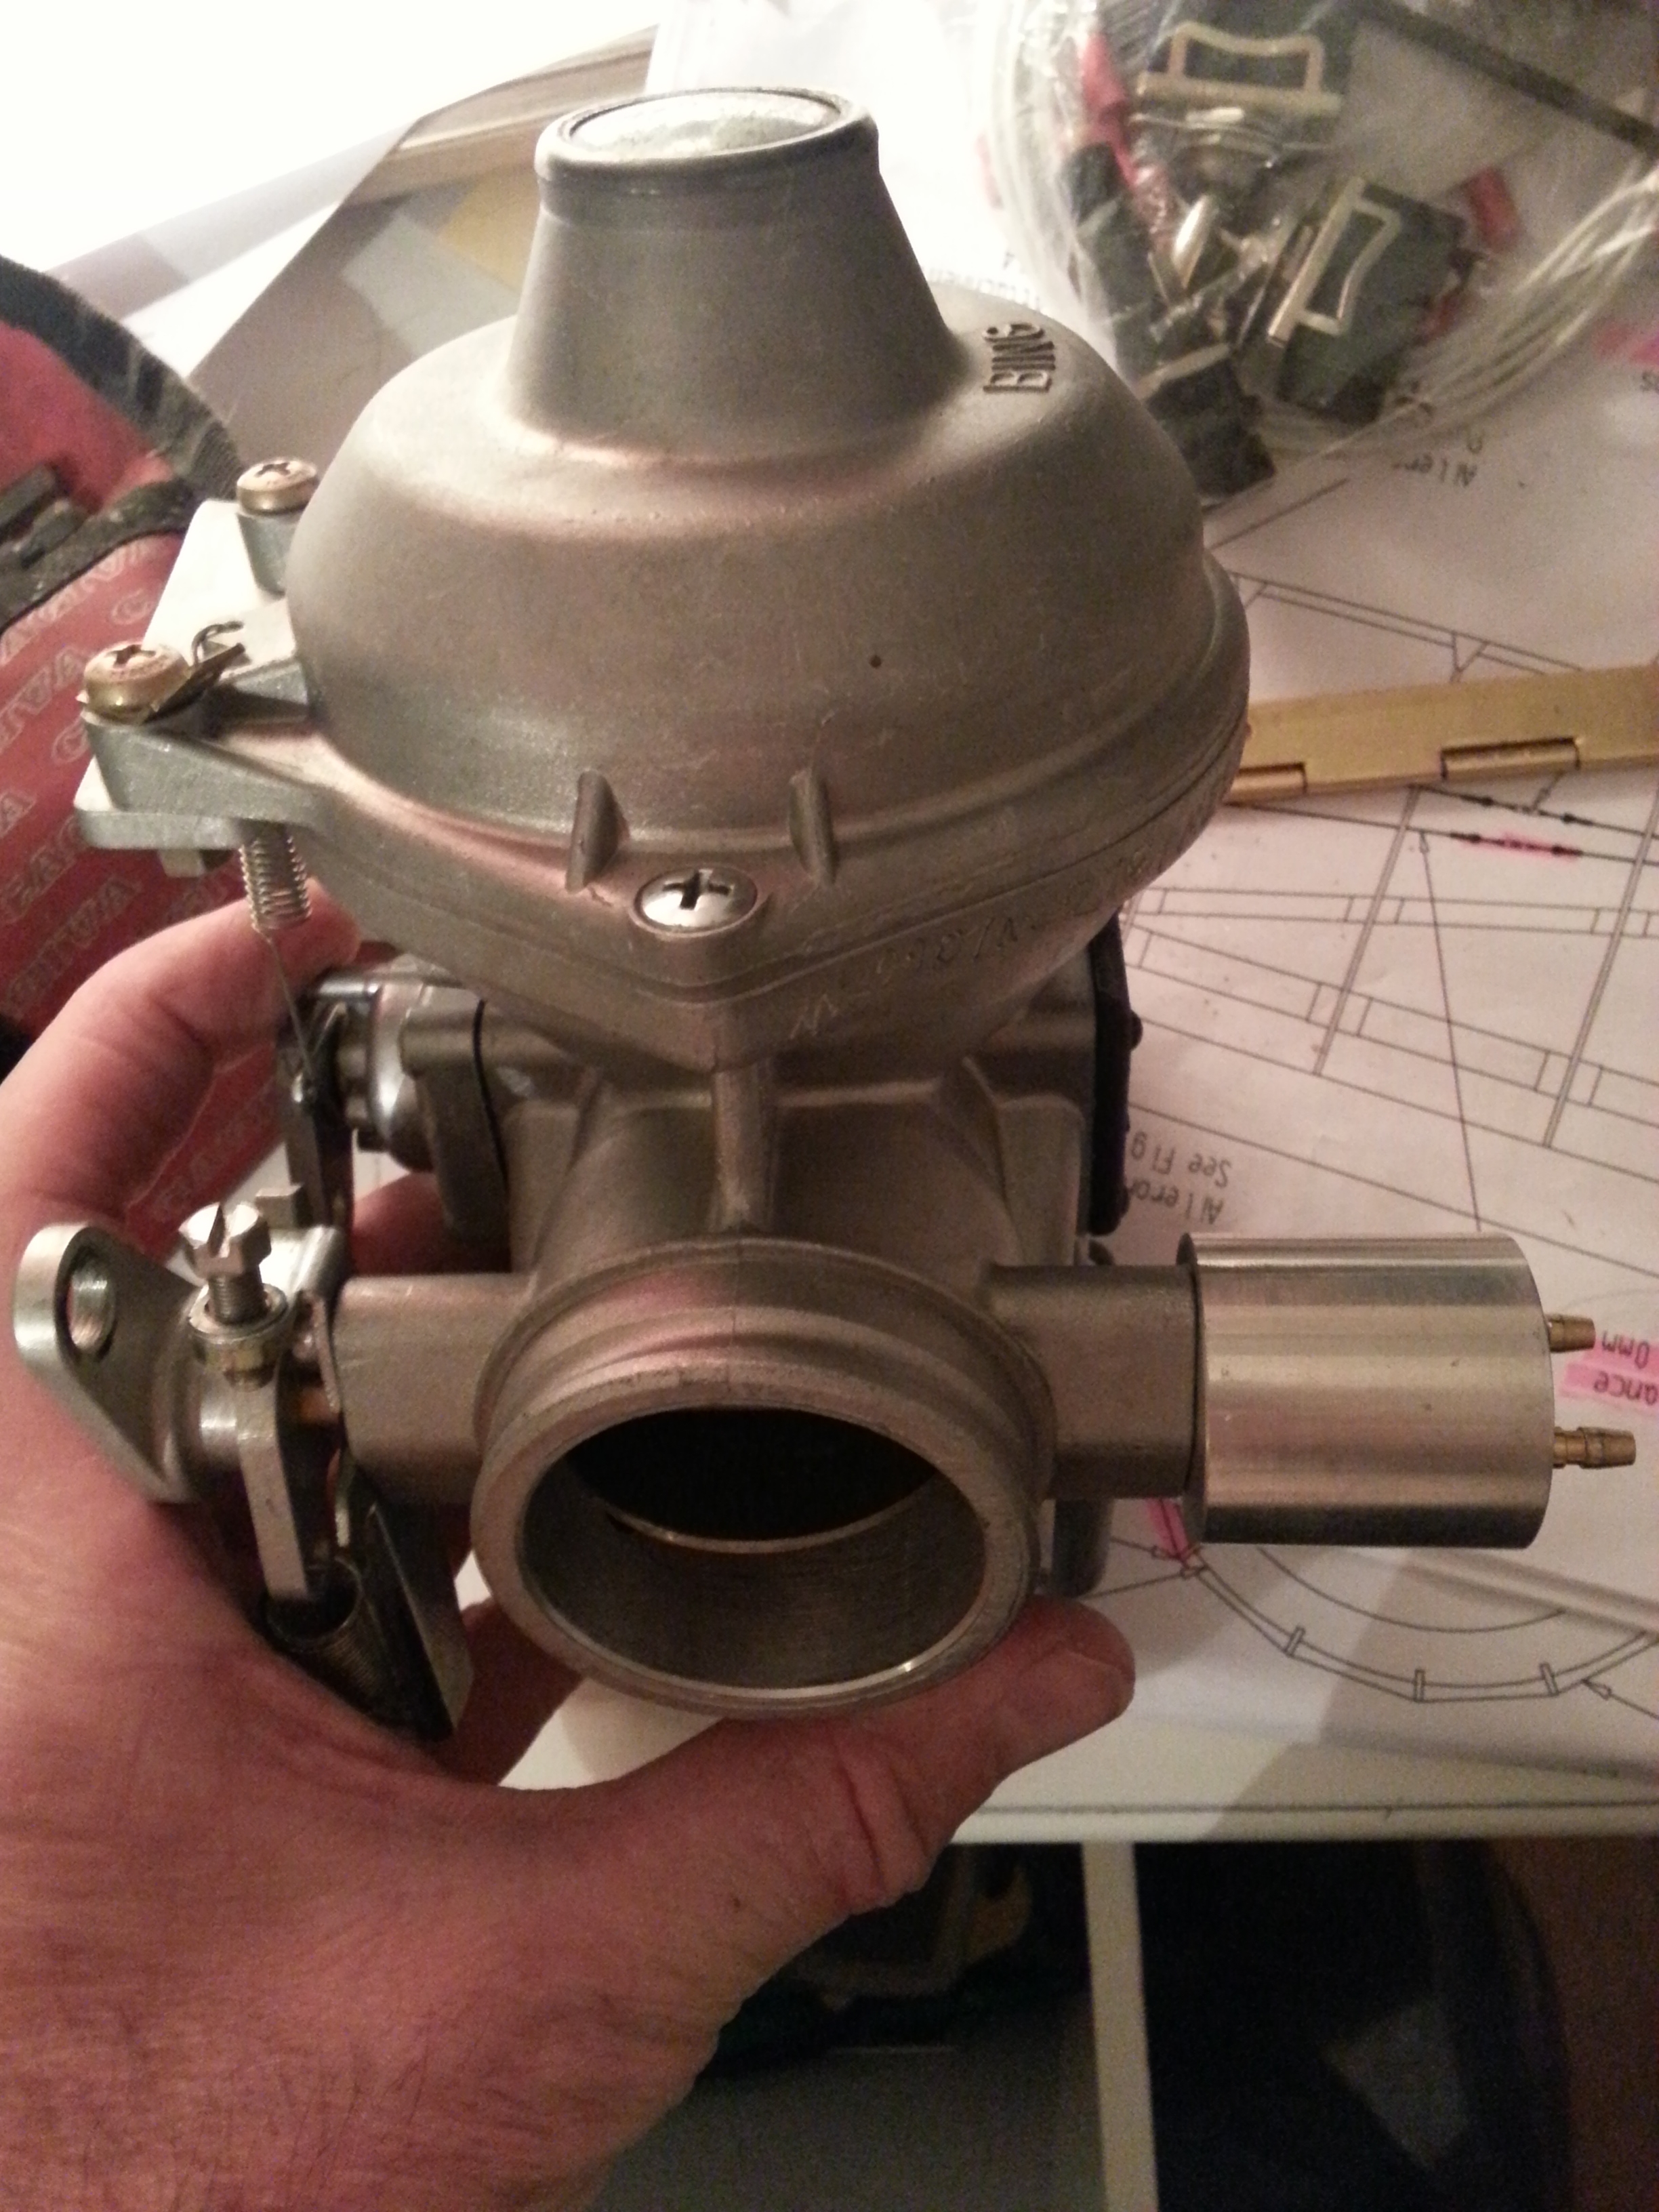
Getting ready for engine parts

I had some parts in the engien box but I have started to note down what additional parts I need to get the engine connected and plumbed in !

eng bits 1

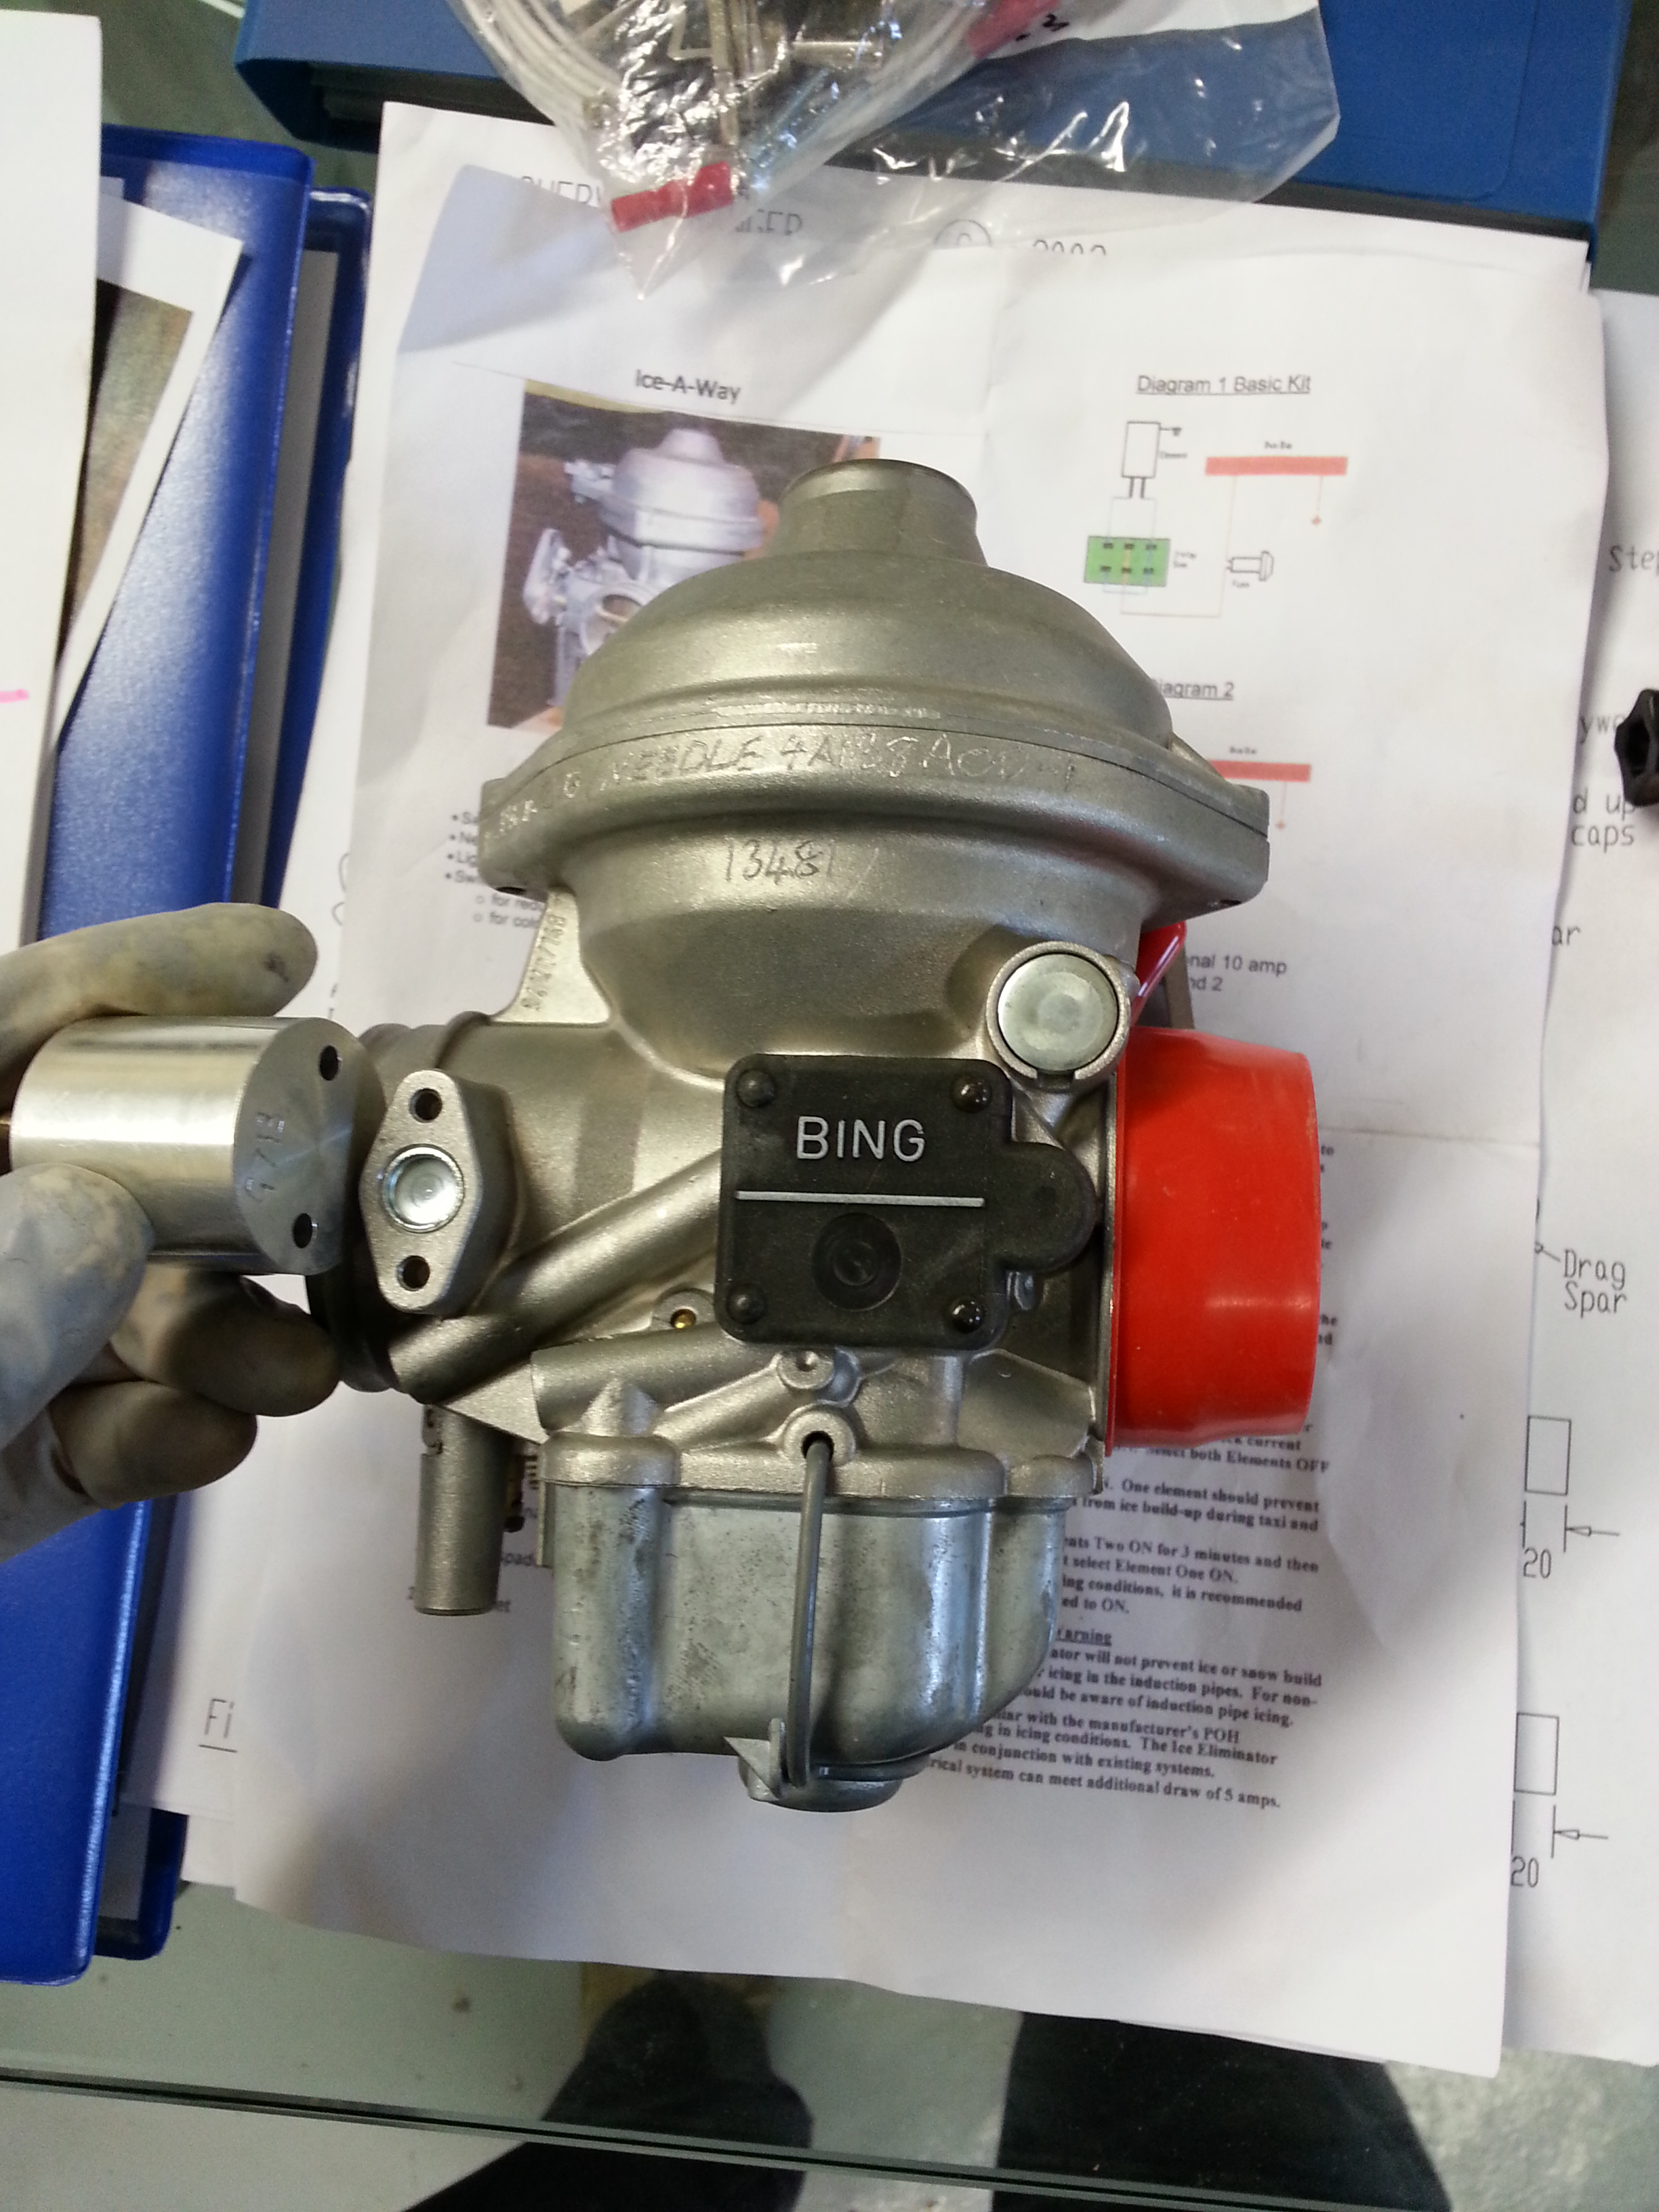
So far have a regulator, a starter solenoid and a car oil catcher which will keep the engine bay clean. Bits being ordered through good services of TLAC are

  • Fuel pipes – sheathed
  • Oil pipes
  • Oil cooler matrix
  • Pan head air filters
  • Cabling for battery
  • Cabling for starter
  • Tacho head and cable
  • SCAT pipe for air ducting
  • Oil temp cable
  • Cylinder head monitoring unit and cable
  • A clever single gauge that tracks all this but takes up very little space on dash


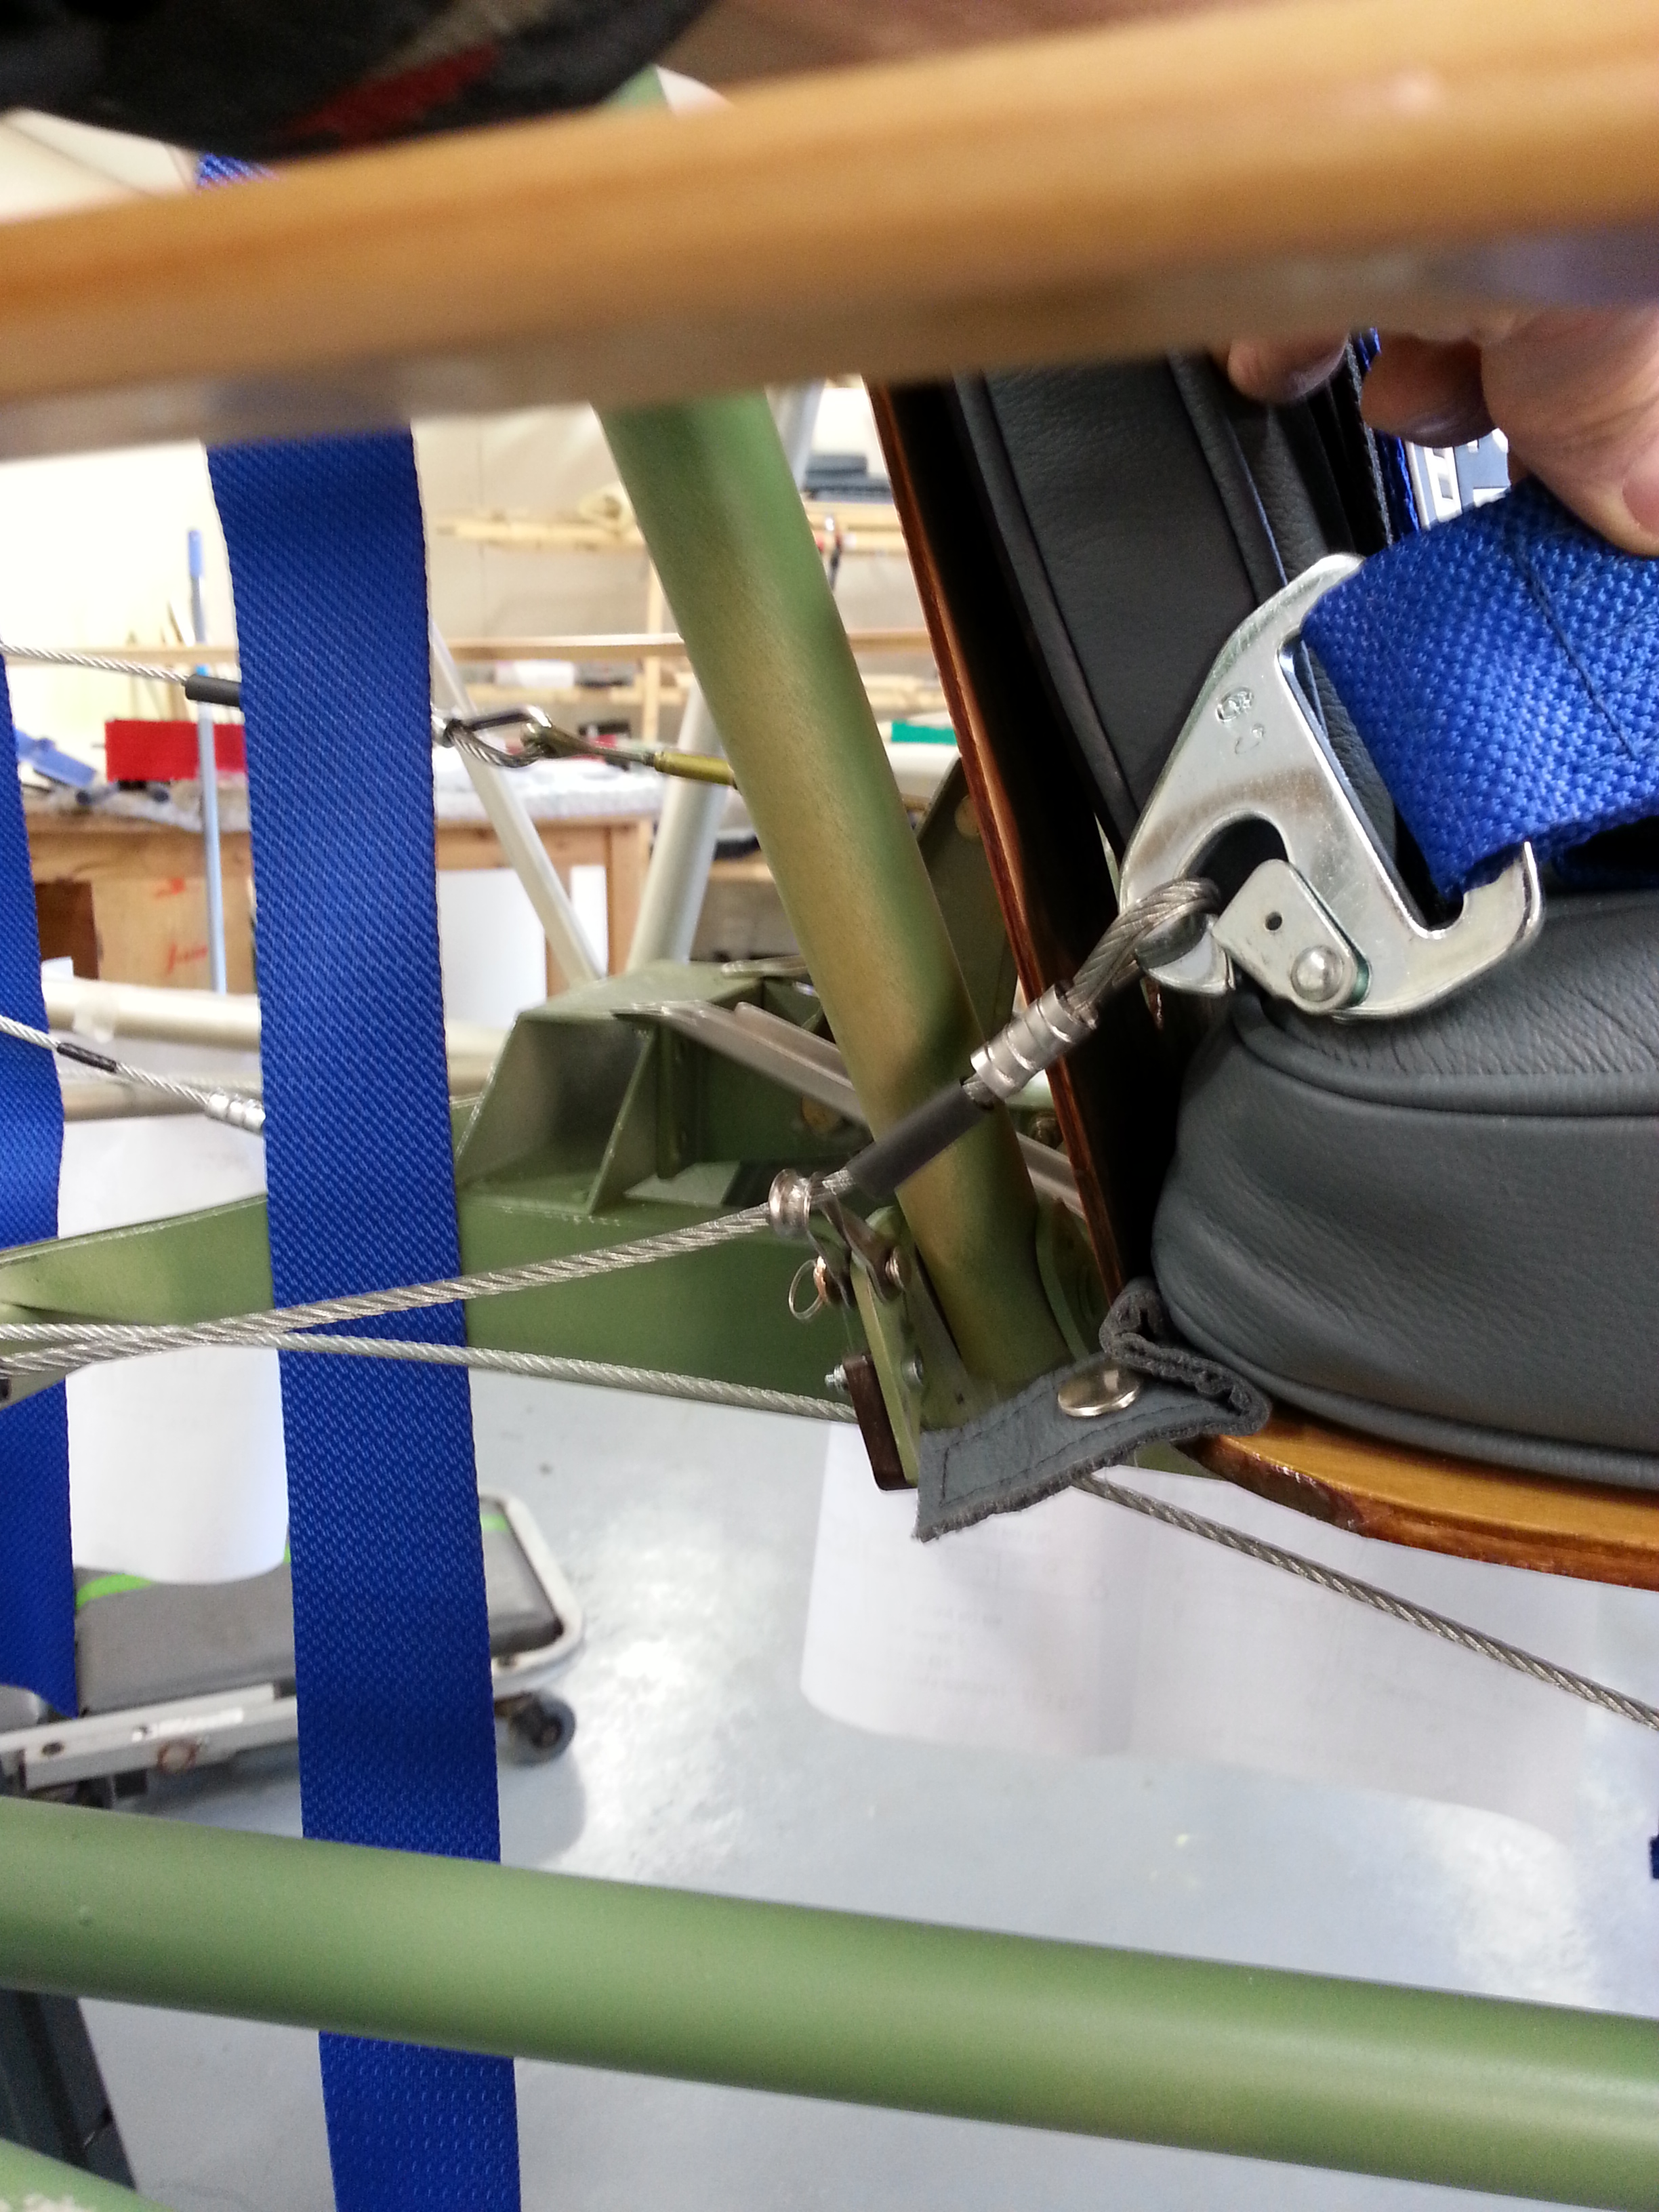
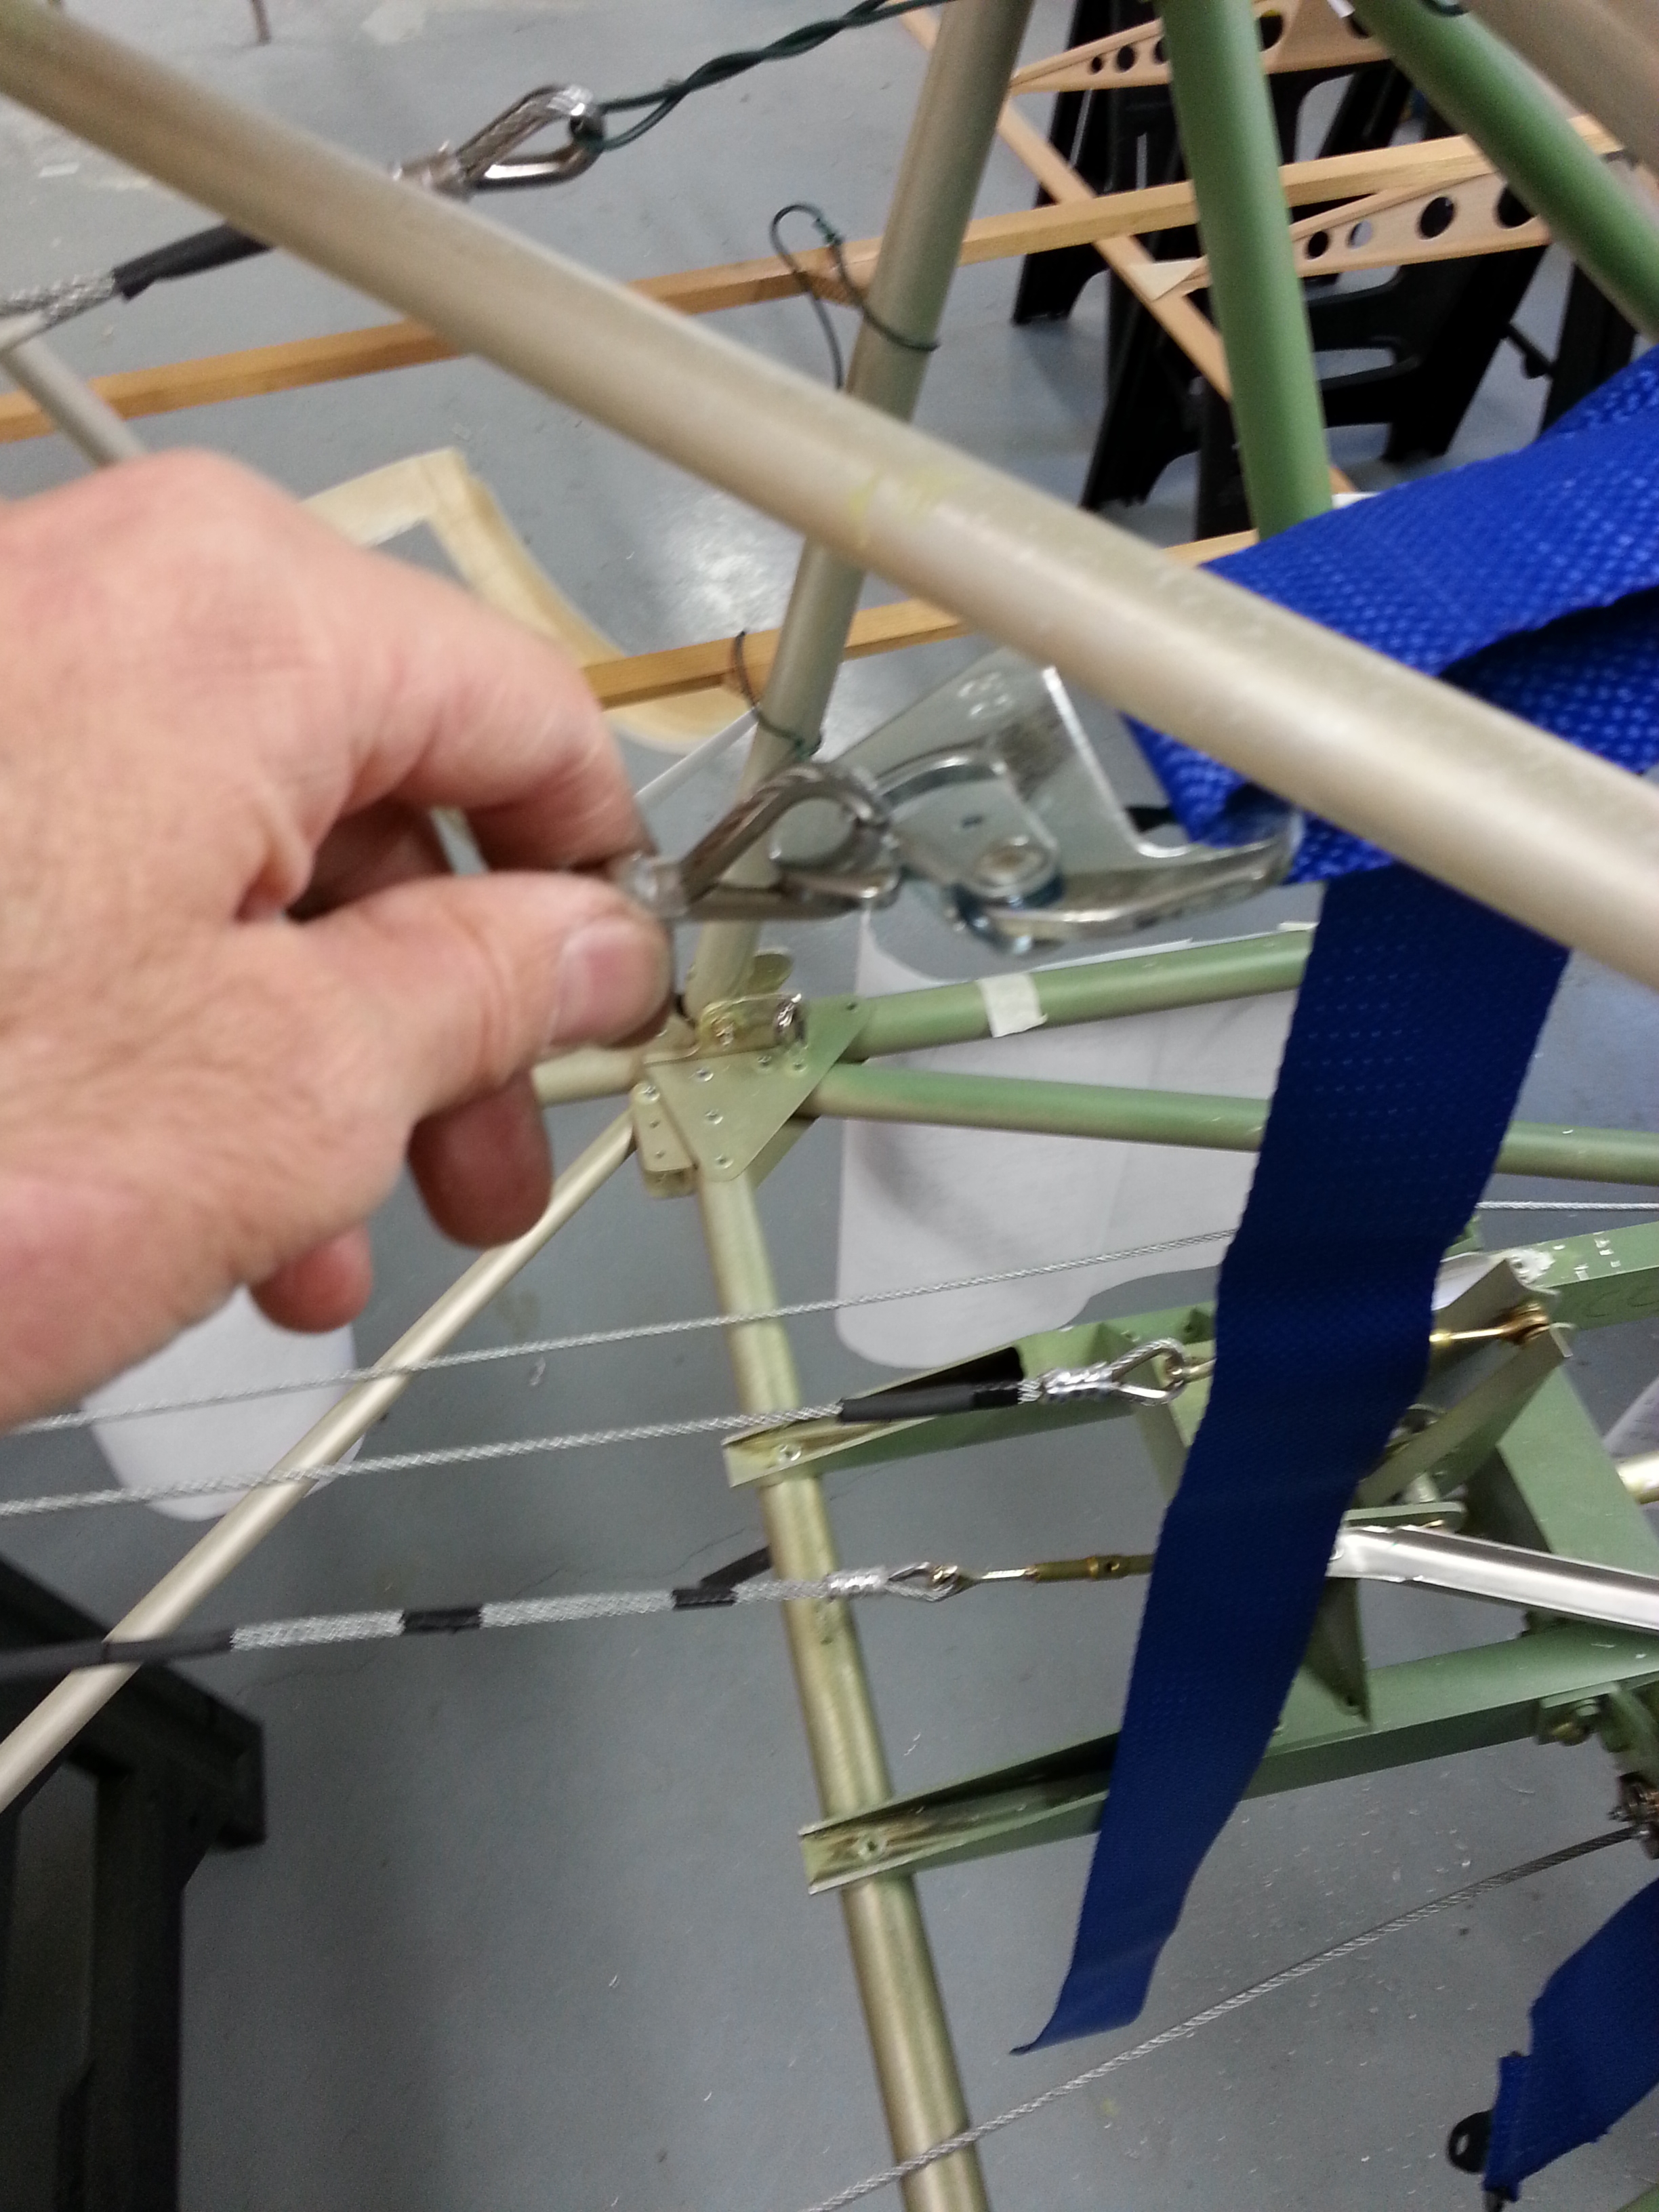
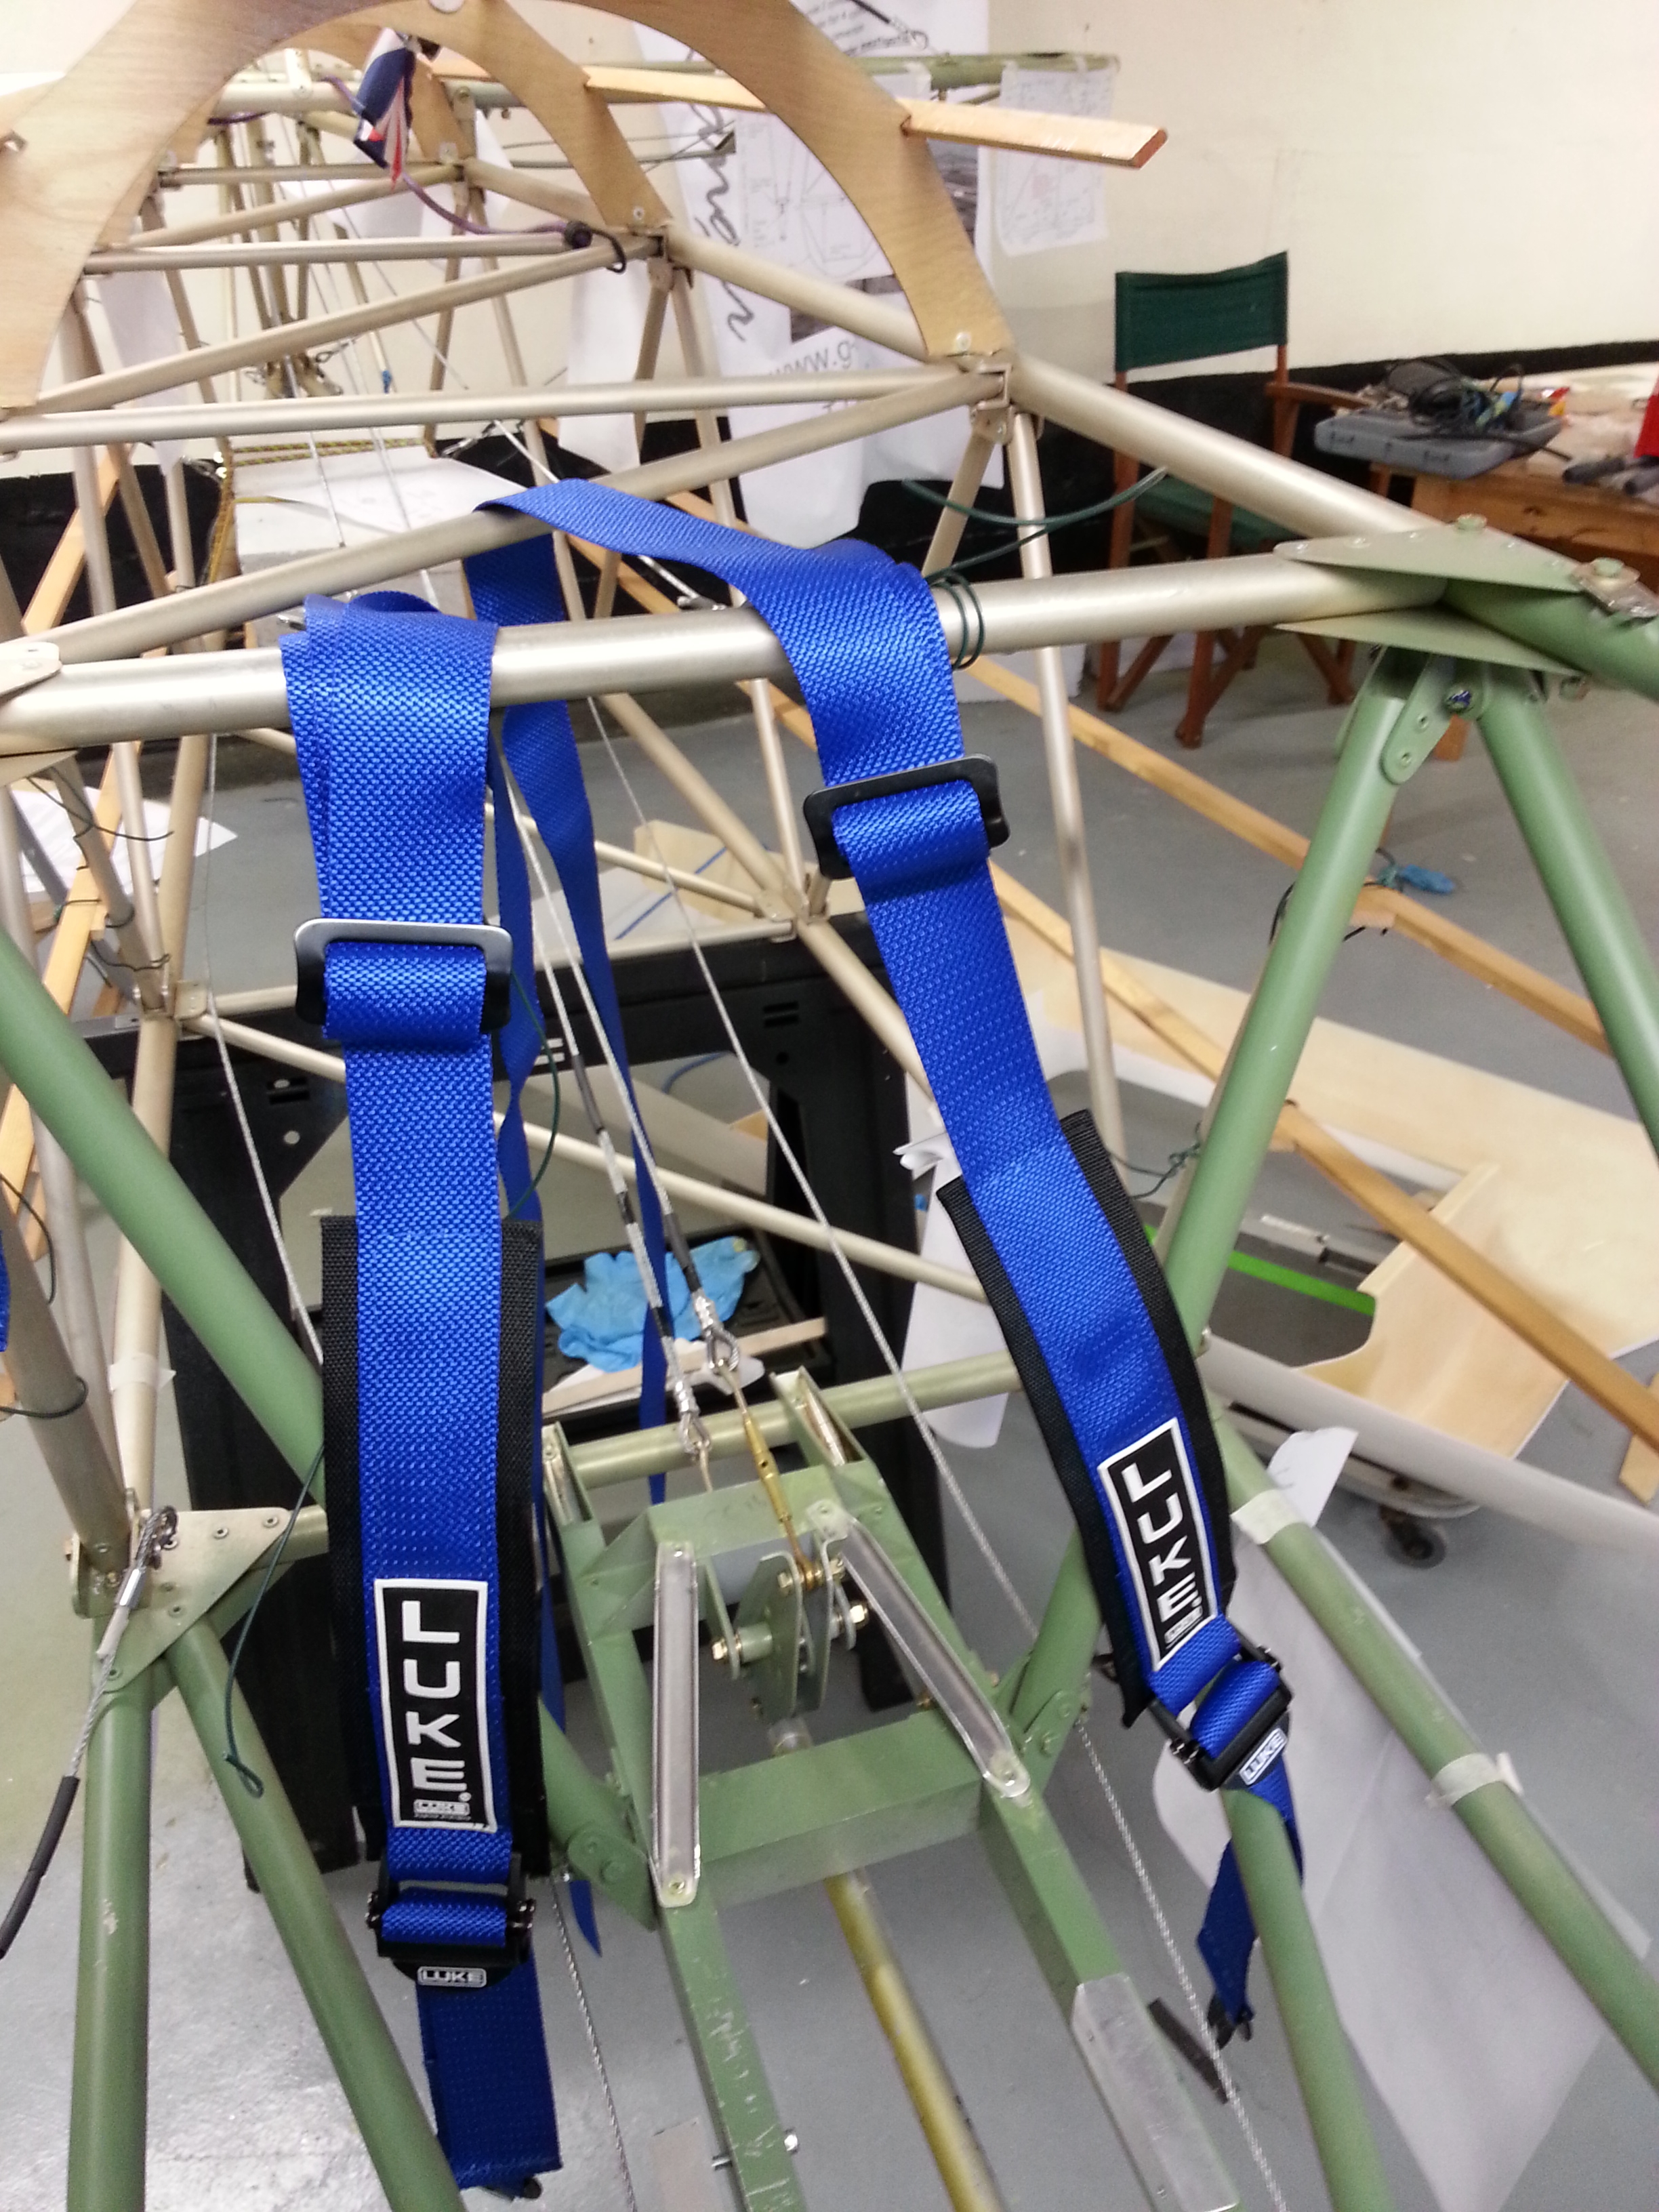
Multi Point securing positions for Harness

The Luke Harnesses I have bought through TLAC are multi point and provide full support for both normal and inverted flying.

Harness guide

The twisted shackle ensures the cable misses chafing on the seat support post and will provide an anchor point for the thimble and 3.2 mm steel securing cable.

Cabane – Top Wing Centre Section

The cabane has three ribs that make up its basic structure and the ribs need to be shaped and cut to allow clean tight slot fit over the support structure.

Holes have to be drilled where the bolt heads protrude to ensure the outboard ribs sit flush with the structure

cabane 1

cabane 2

Turn her around to make space for wing jigs

Last night was a fun packed evening of a complete re-arrangement of the workshop. This was to allow space to start jigging the wings. I need space either side of the body (obviously !) to allow bot the upper and lower wings to be test fitted.

Turn her around 2

This meant turning the ‘plane through 90 degrees and using every available inch to work on it as I still have a lot to do around the nose area with cowl trimming.

Blog at WordPress.com.

Up ↑