Henstridge – Sunday 16th December – Kevin Crumplin

Flew to Henstridge on Sunday to pick up a puppy for a friend (using a local PA28). Forecast was grot, then Jersey changed their mind and said it wasnt going to be too bad after all ! Bournmouth were giving broken at 1000 so took off. 1 Hour later Henstridge was BKN at 300′ ! but managed to get in safely.

Popped across the other side of the runway to see a genuinly nice gentleman of aviation (Kevin Crumplin). Could spend days with Kevin and still only pick up a fraction of his expertise. He was busy doping some part of a ‘plane and was happy to talk about his incredible feat of rebuilding 3 Tigers simultaneously !

The wing repair of the Jungmann was just incredible to see a true work of art. The centre rib carved out and the internal wire cross bracing – just amazing.

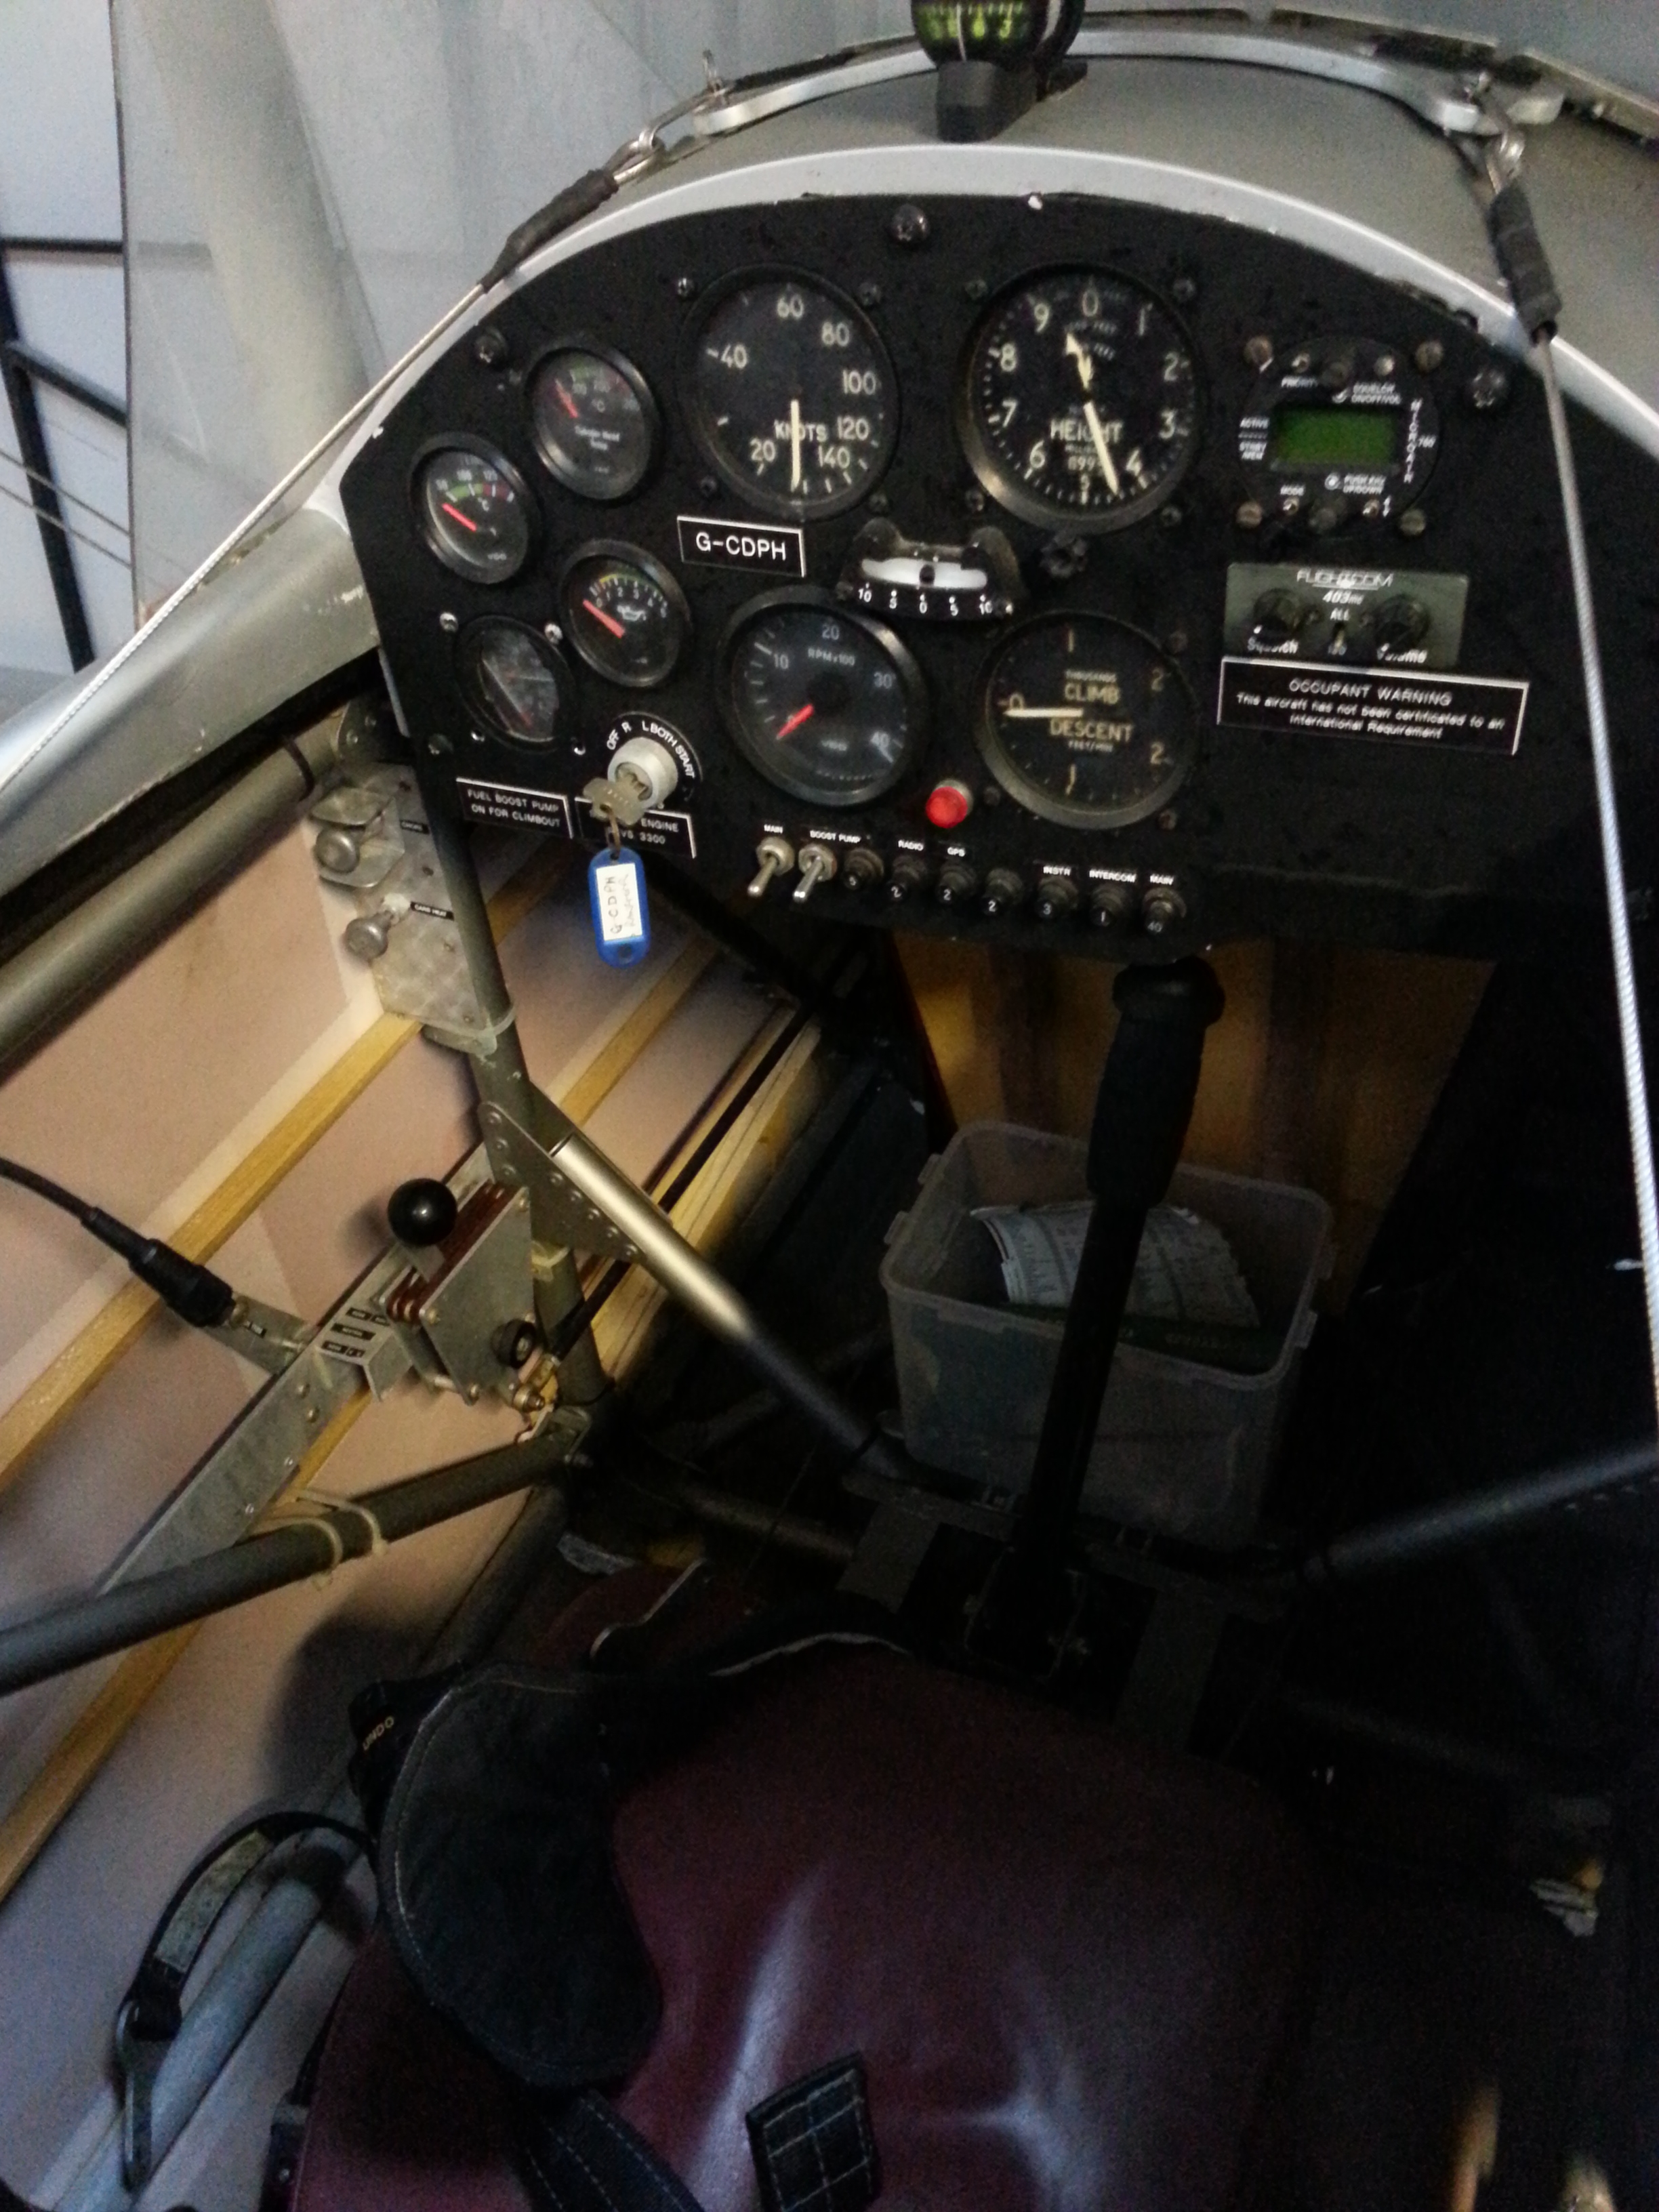
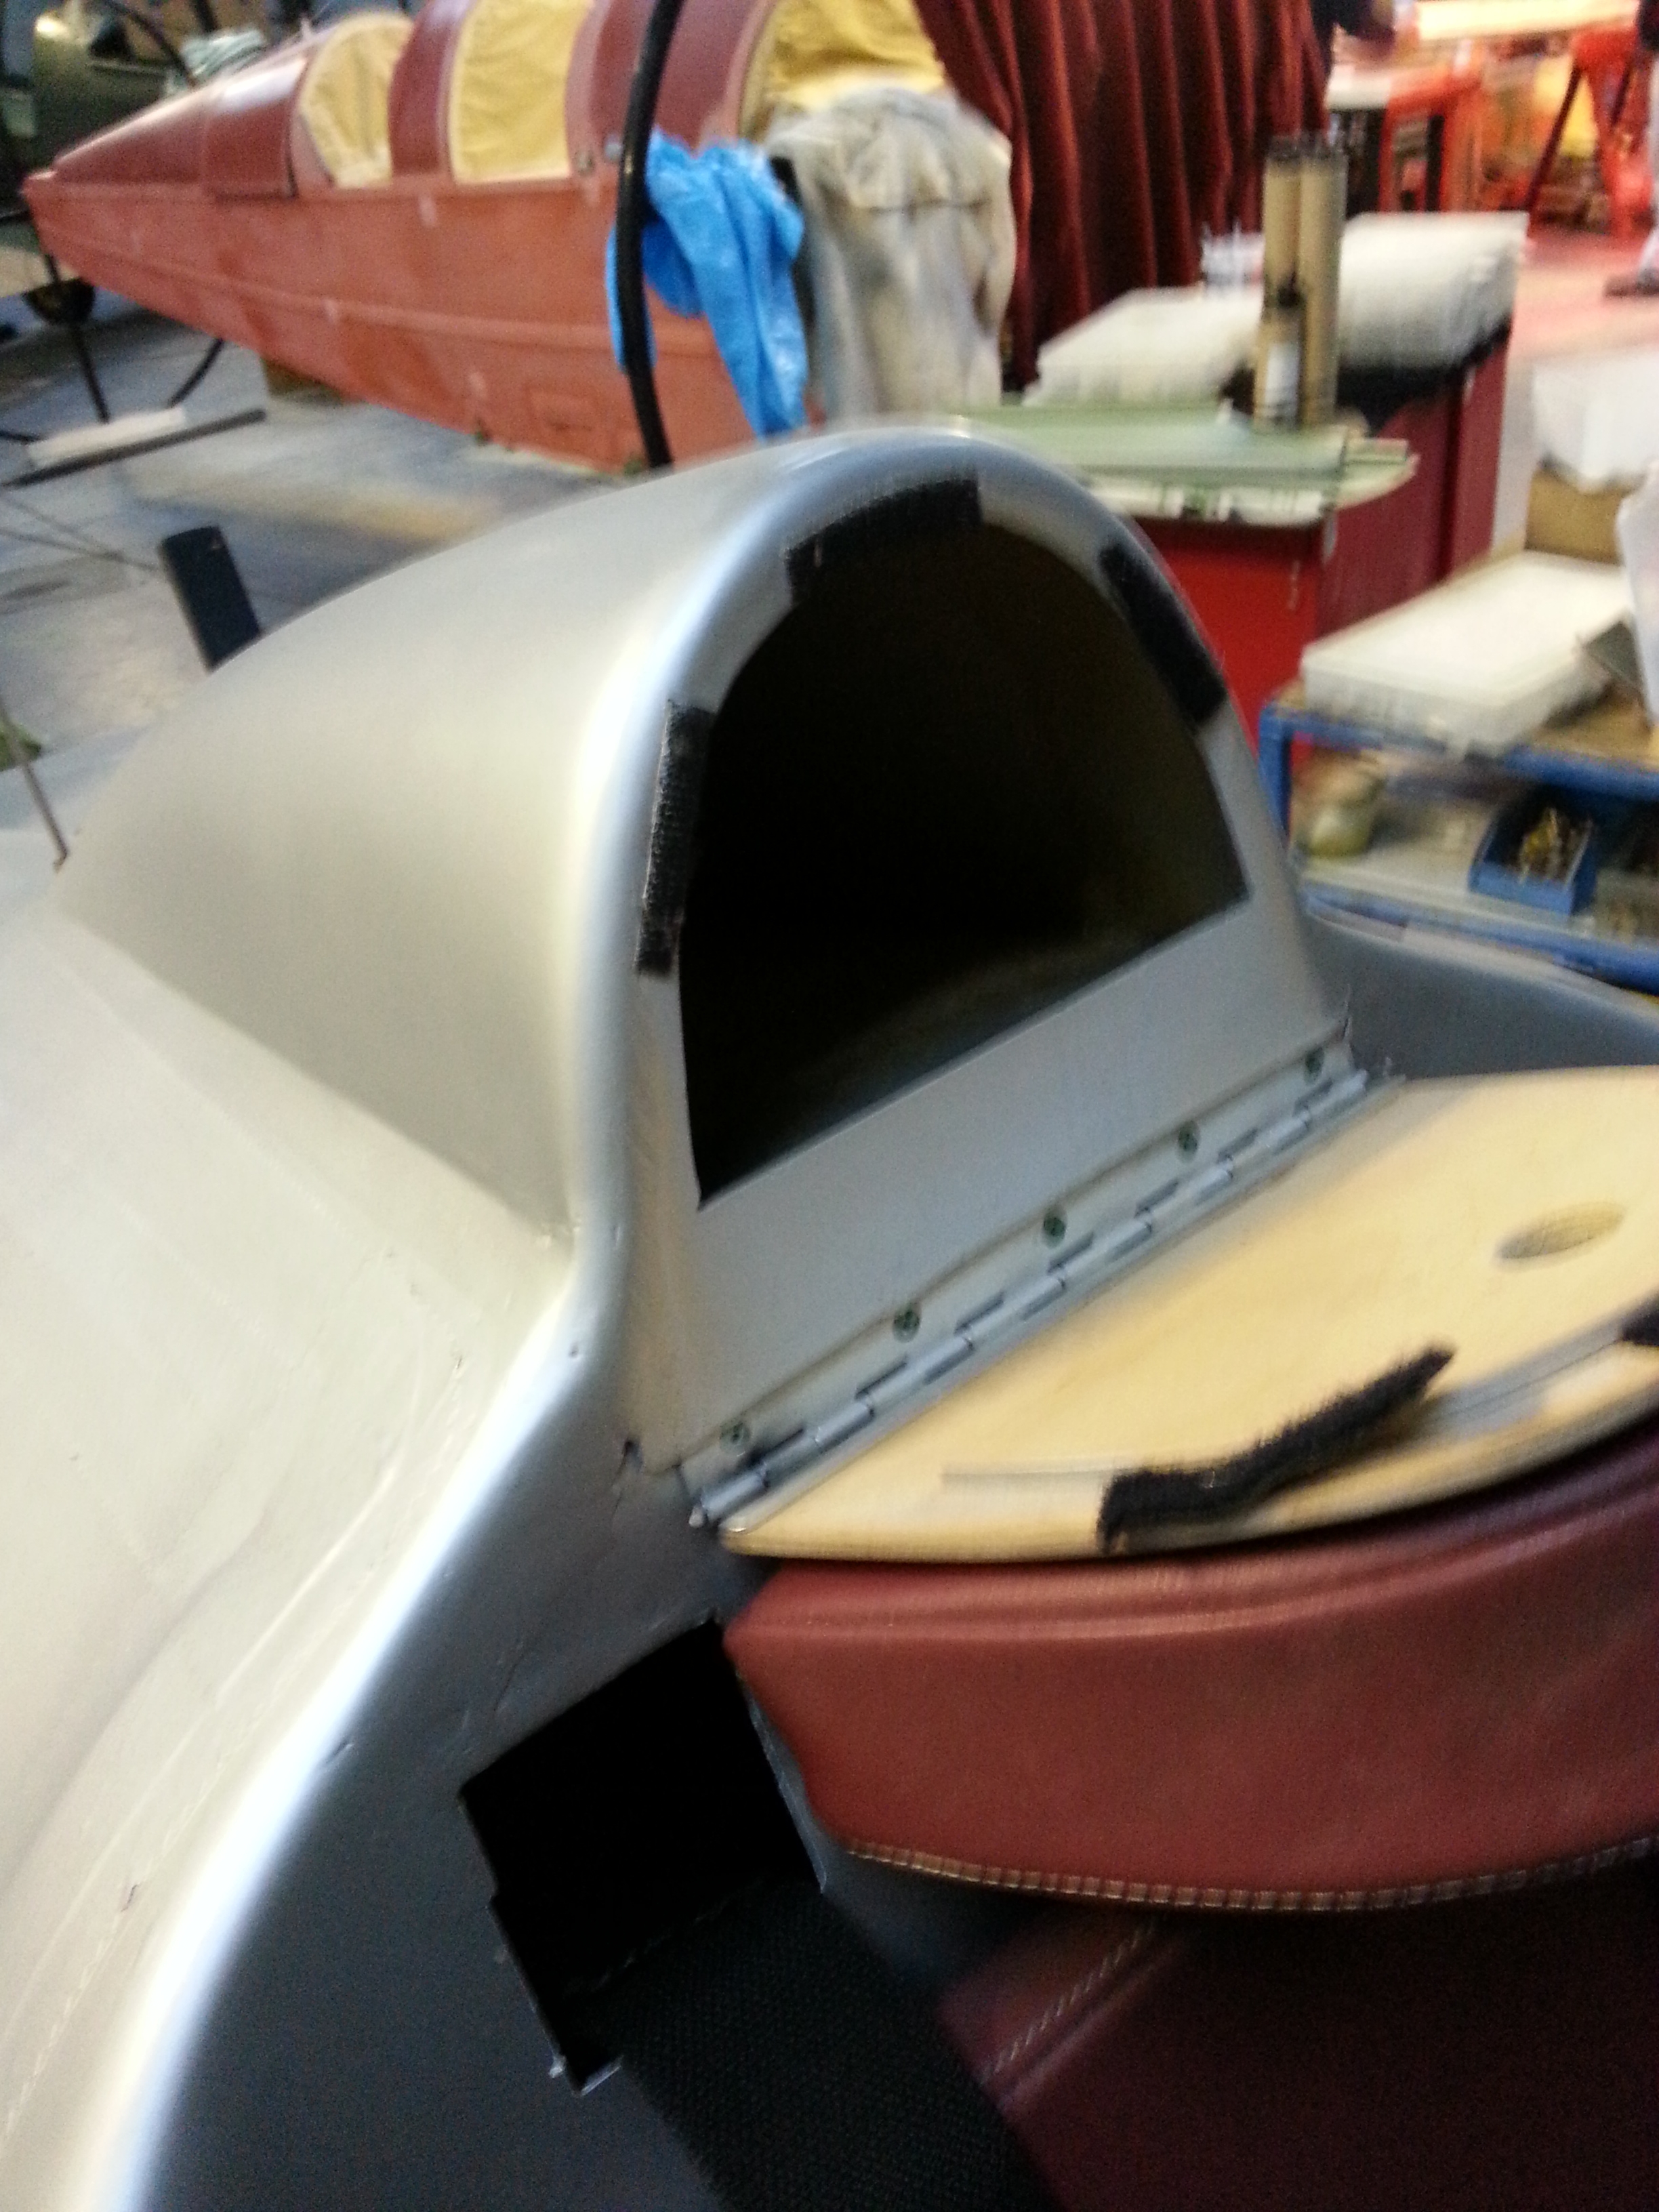
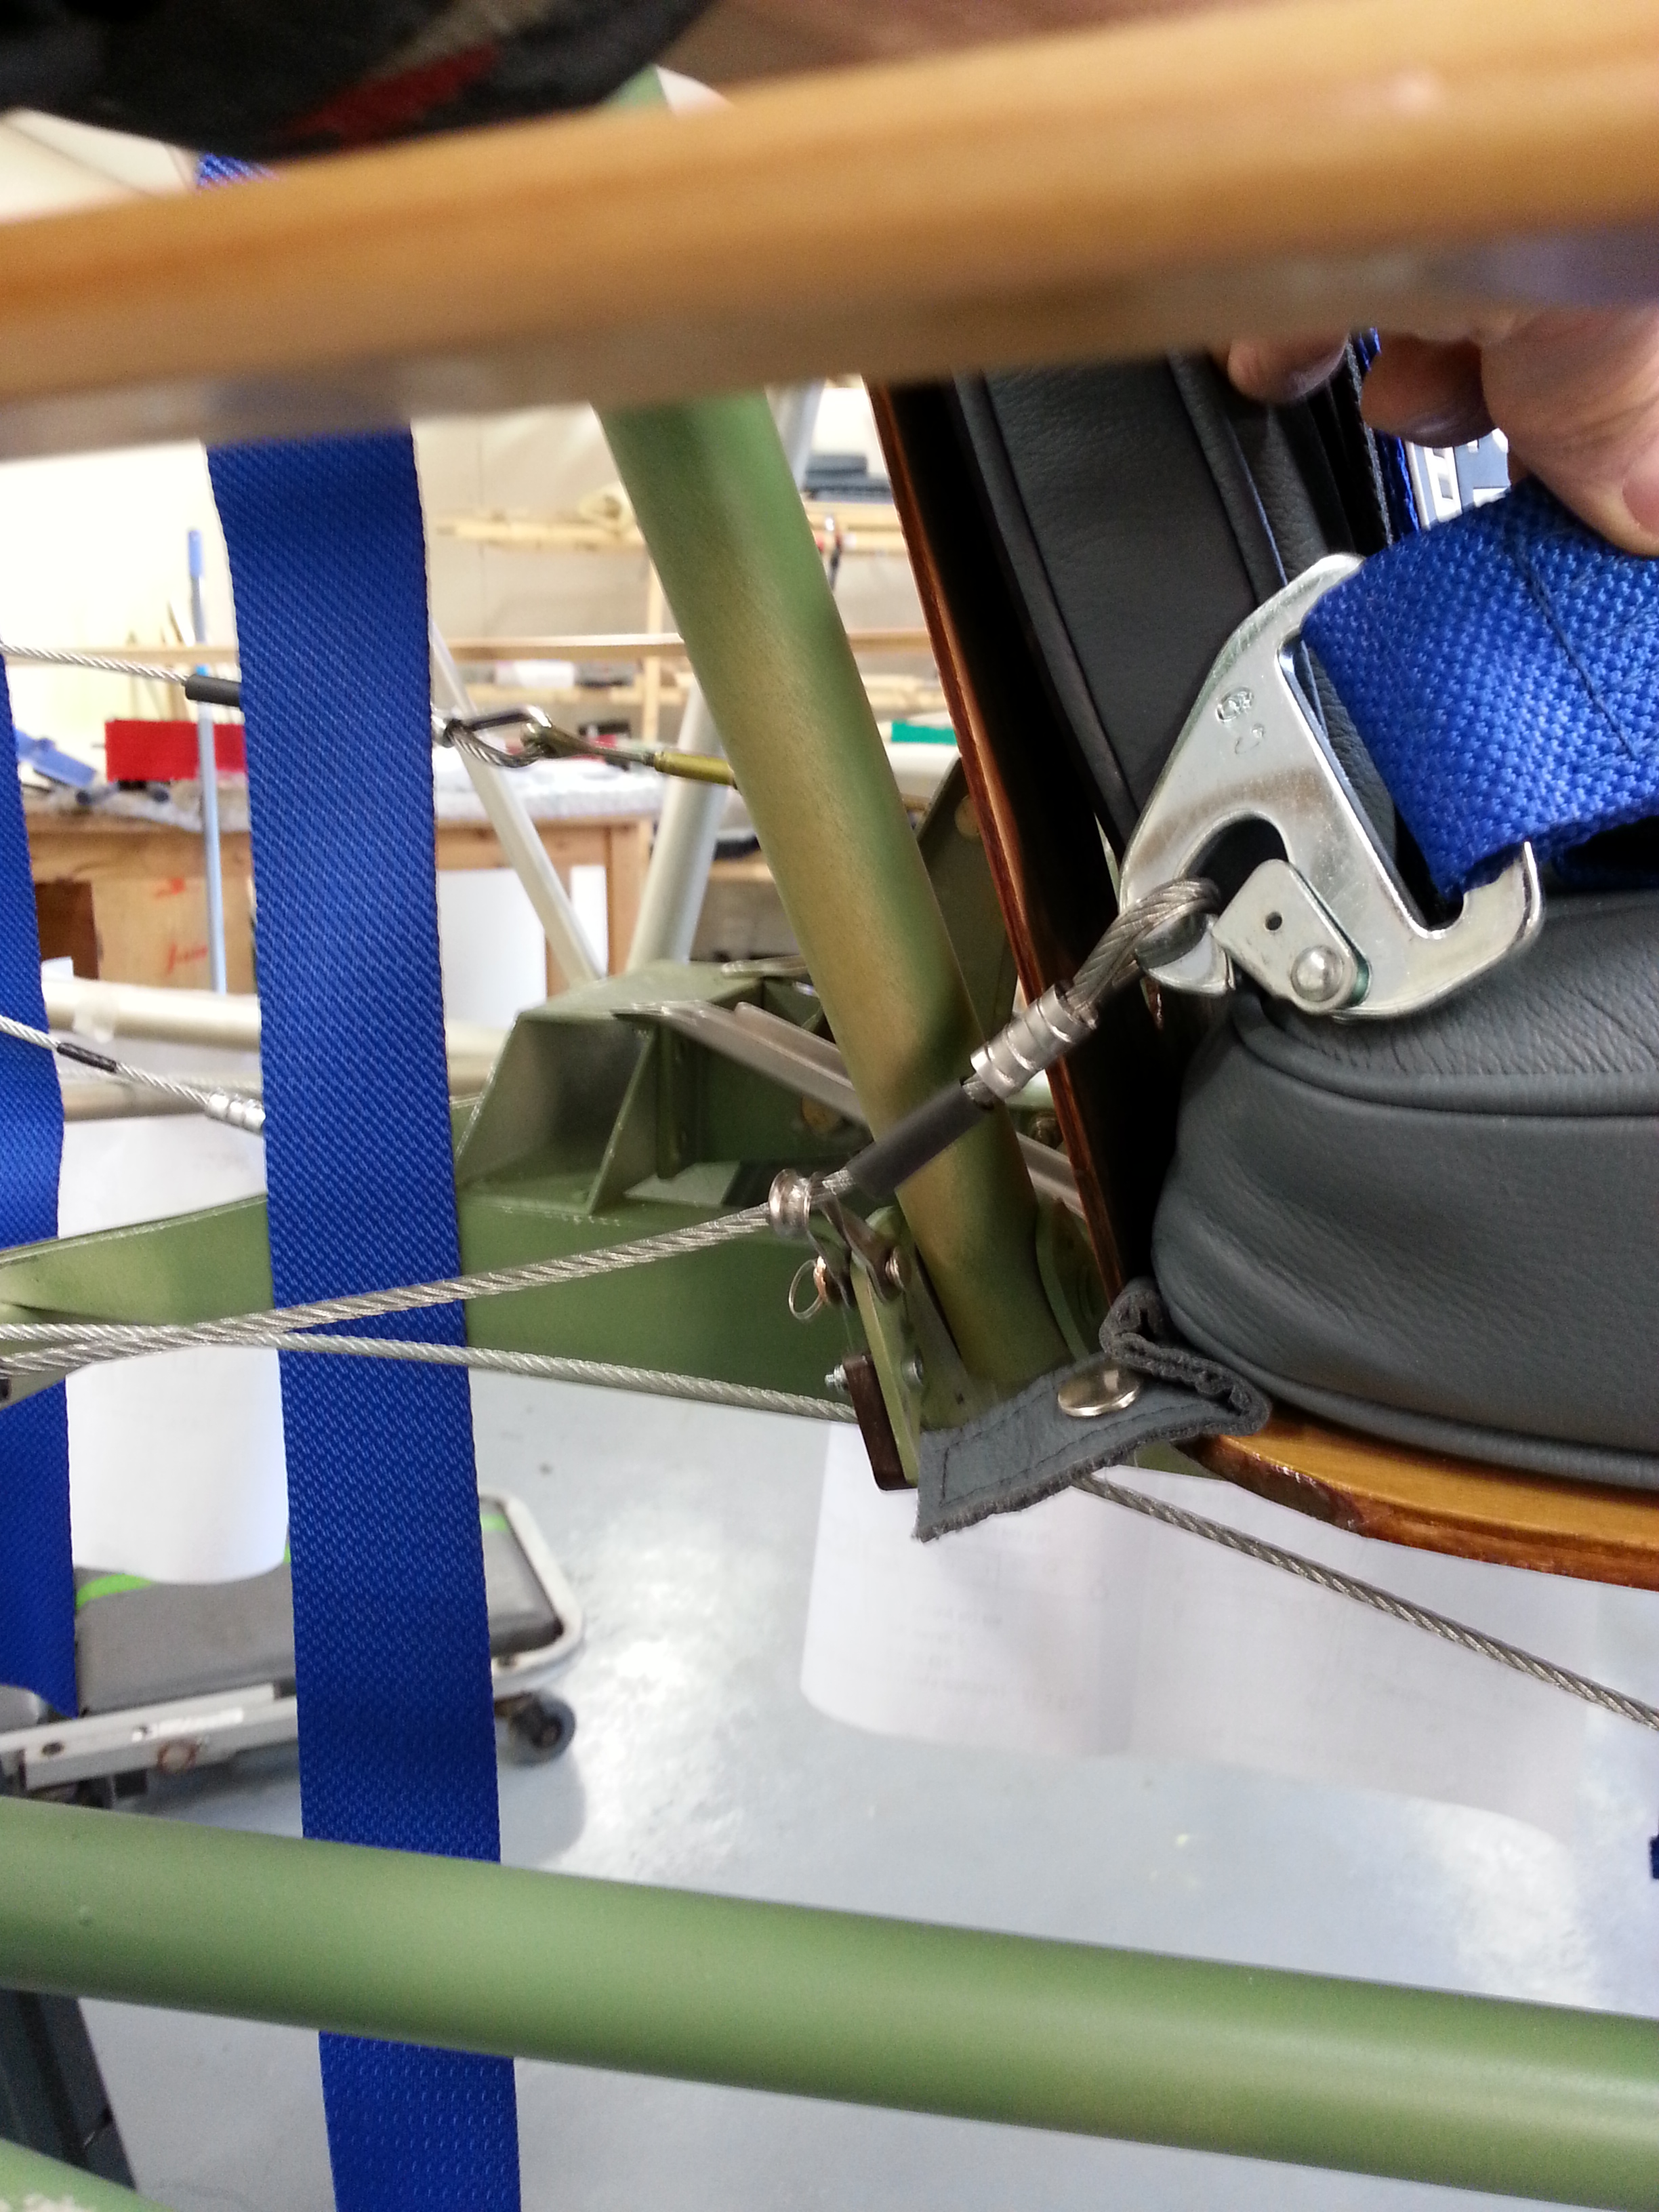
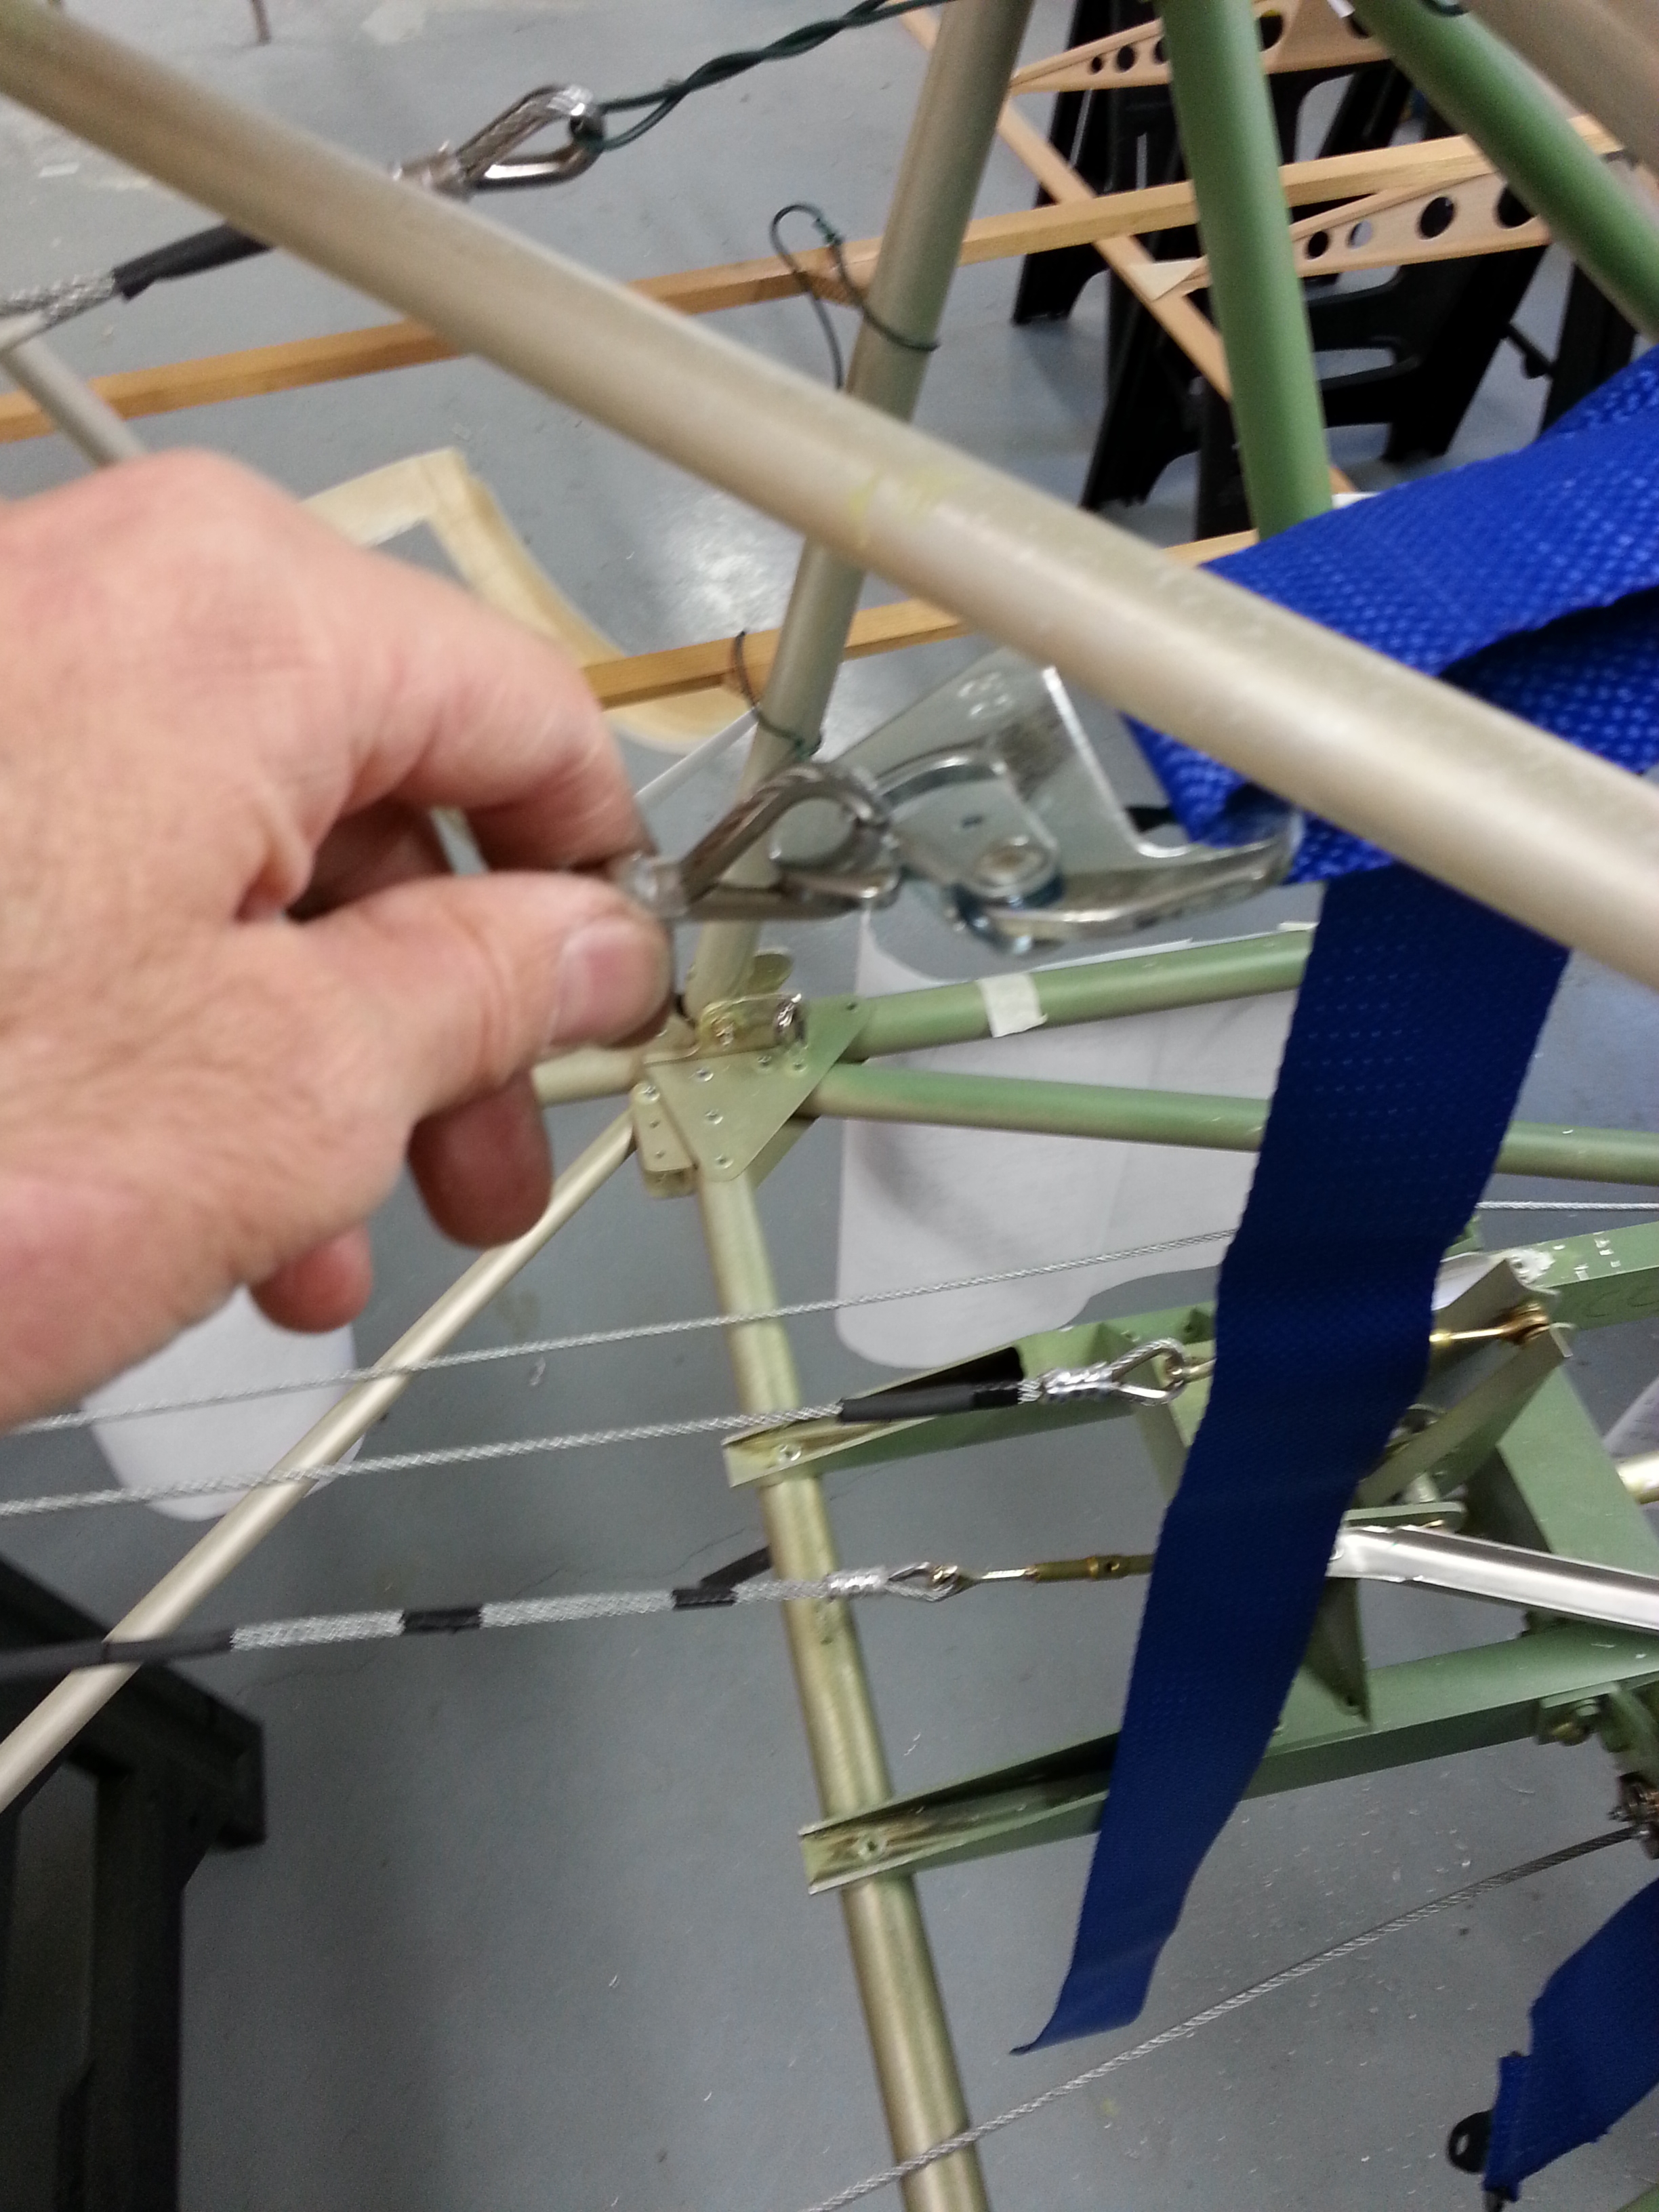
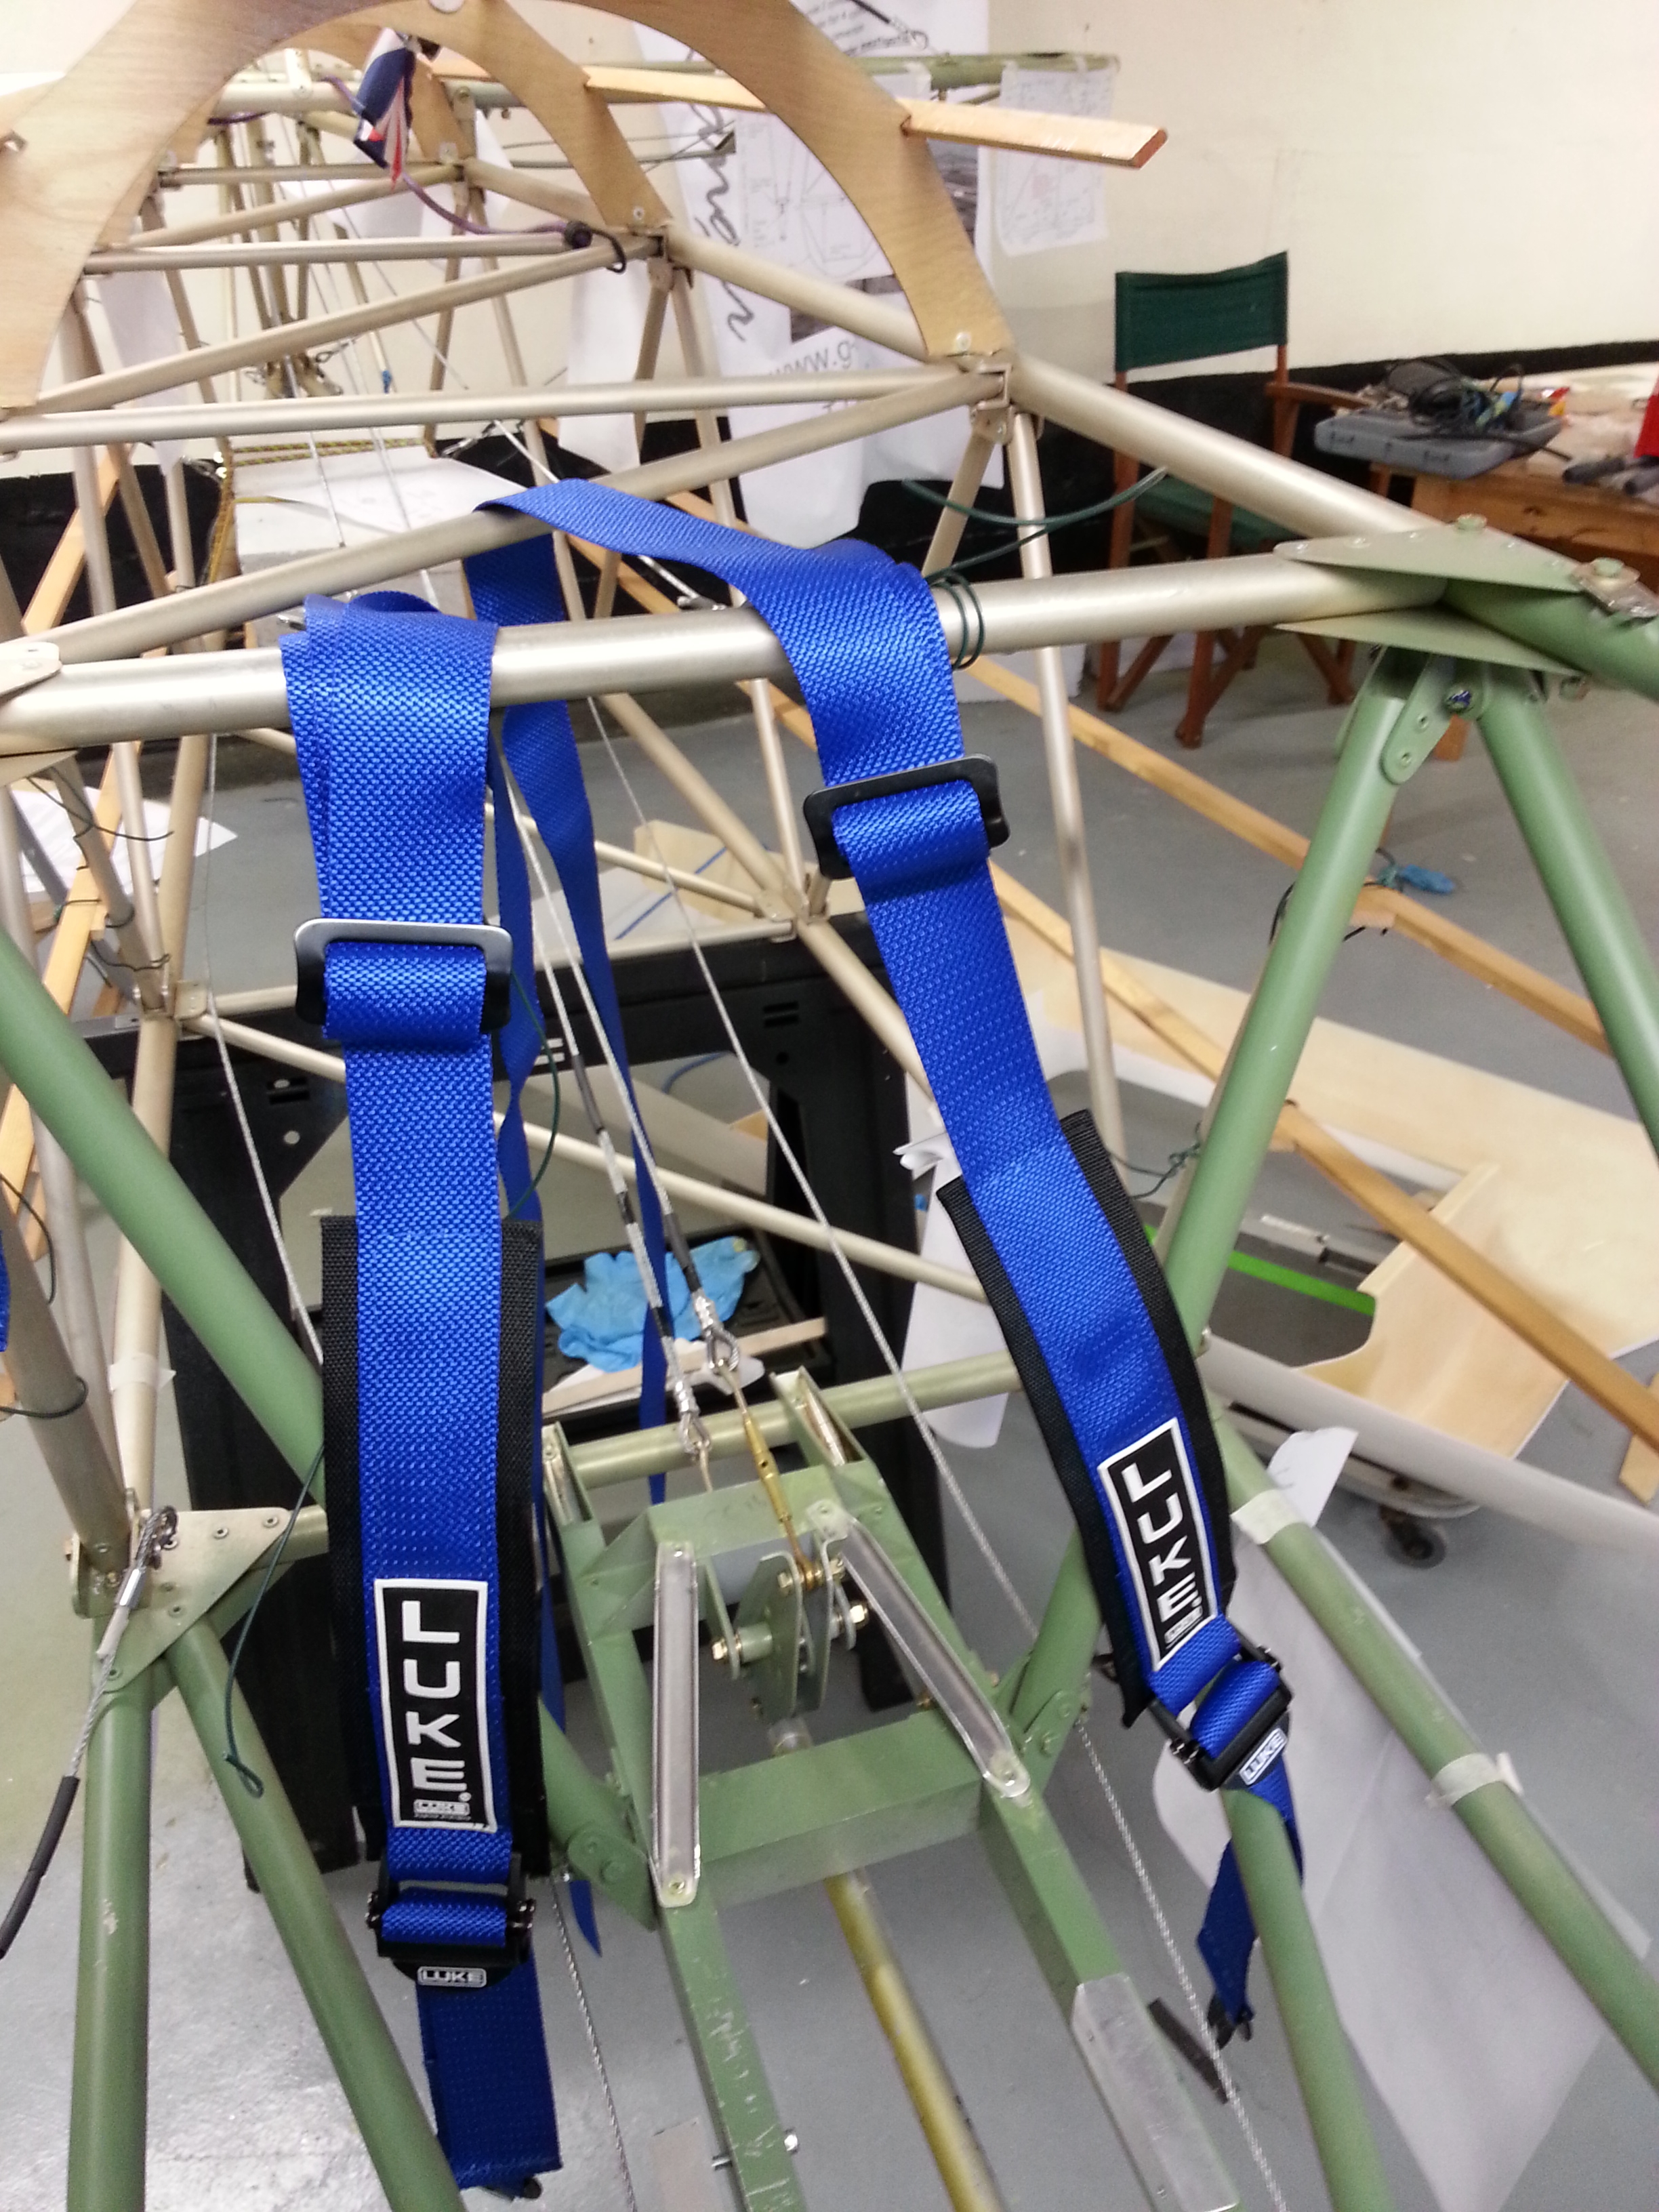
Got a few snaps of Kevin’s Sherwood which were really handy to see … see he has gone for the additional storage I had considered (in the headrest) and, as Kevin says, everyone who flies the Sherwood says it is such a beautifully balanced aircraft !

kevin crumplin internal  Head storage

First use of Rivnut for seat brackets

Last night I used the Rivnut adaptor for the first time. This was to make blind nut fittings for the seat bases so that they can be easily removed and refitted if required post covering.

Took a couple of goes to work out just how the nose adaptor on the rivet gun worked but easy once the first one was done.

rivnut

I made a small mistake on one of the holes and made it fractionally too large so when the rivnut was tightened it didnt sit flush and part of the rim was depressed into the bracket – so the whole bracket was trashed and a new one made up.

(Later note – the rotating head of the gun means that you can also use it in confined spaces .. like the cockpit – as the squeeze action of the levers is transferred to a ‘pull’ action on the rivnut but through 90 degrees .. neat device and not too expensive)

Carb heat unit

Having flown for over 20 years in and around Jersey and its neighbouring French coast you get used to checking for (and finding) Carb icing.

Paul at TLAC has access to a neat little unit that bolts onto the side body of the carb and has two switches, one for a single element and a second to boost.

Carb heater

Just need to drill out the holes to 11mm deep and the right diameter to prepare to accept an M4 reamer tap. Checking with Paul on pre drill size as once you have drilled the carb body … Thats it !!

The carb was relatively easy to get off – the engine is unused but around 5 years old, so the fuel pipe was fairly tricky to get off …. NOTE to SELF – What frequency before fuel pipes should be replaced (even unused ones will age harden I guess ?)

Update 6 Jan 2014 – Bob from CIAS has advised pipes are OK … so good news

I have now pre drilled the carb body with 1/8″ drill – well 3.2mm as no one on the planet sells imperial anymore !

tapping

The holes are drilled to a depth of 11mm (he said carefully mixing his standards !) and then tapped. Havent tapped since I was at school ! – turn, cut and then back to break the cut …. a couple of minutes later all done and nicely bolted up.

Carb heat

Can go back on the engine and start to run the wires. Just started a hardboard mockup of the dashboard so will locate the two heater unit switches and tell tale lights in a suitable place.

Seat harness side cables

Having prepared and cut and swaged the first short cable the tail end cable unravelled as i had omitted to pre bind the cut with masking tape.

I realised it was a hopeless task to try to pull it back and the cable splayed just as it left the collar so had to be trashed.

Seat harnes RIGHT

Having got the second one just as i’d like i created a matched copy for the other side.

P1 harness clamps

The cable was looped through the twisted turnbuckle just at the rear of the seat to ensure it misses the tubes on its way through.

P1 Harness cables and fitting

Fitted the cables from the rear sternpost right through to just behind the P1 seat (rear)

P1 harness clamps

The Luke harnesses are supplied with bolt fittings which are removed so the thimble fittings can slip on.

The straps are then adjusted to take up the slack so they sit in about the right position for the shoulders (finer adjustment can take place once the seat is fitted and I have sat in it – for the FIRST time !)

P1 harness

The straps will eventually need completely undoing and rethrewading as they pass through metal guides set into the top decking.

Blog at WordPress.com.

Up ↑