Free castoring tailwheel – Considerations

Many many months ago , when I first performed taxi testing I found I had trouble getting around some of the tighter angles in front of the hangers at Jersey.

The way around this was to disconnect the steerable tailwheel and this has been absolutely fine and let me turn the aircraft on a sixpence for parking

There was one slight issue i noted ,, when looking at a go pro footage in November when I spotted that if I let the tail down super gently on landing and it touched then left the surface then it had a propensity to spin around

In November it simply snapped straight on the next touch …

Last weekend .. it appears the same happpened  except this time .. as the tail wheel touched a second time it was at 90′ to the direction of travel

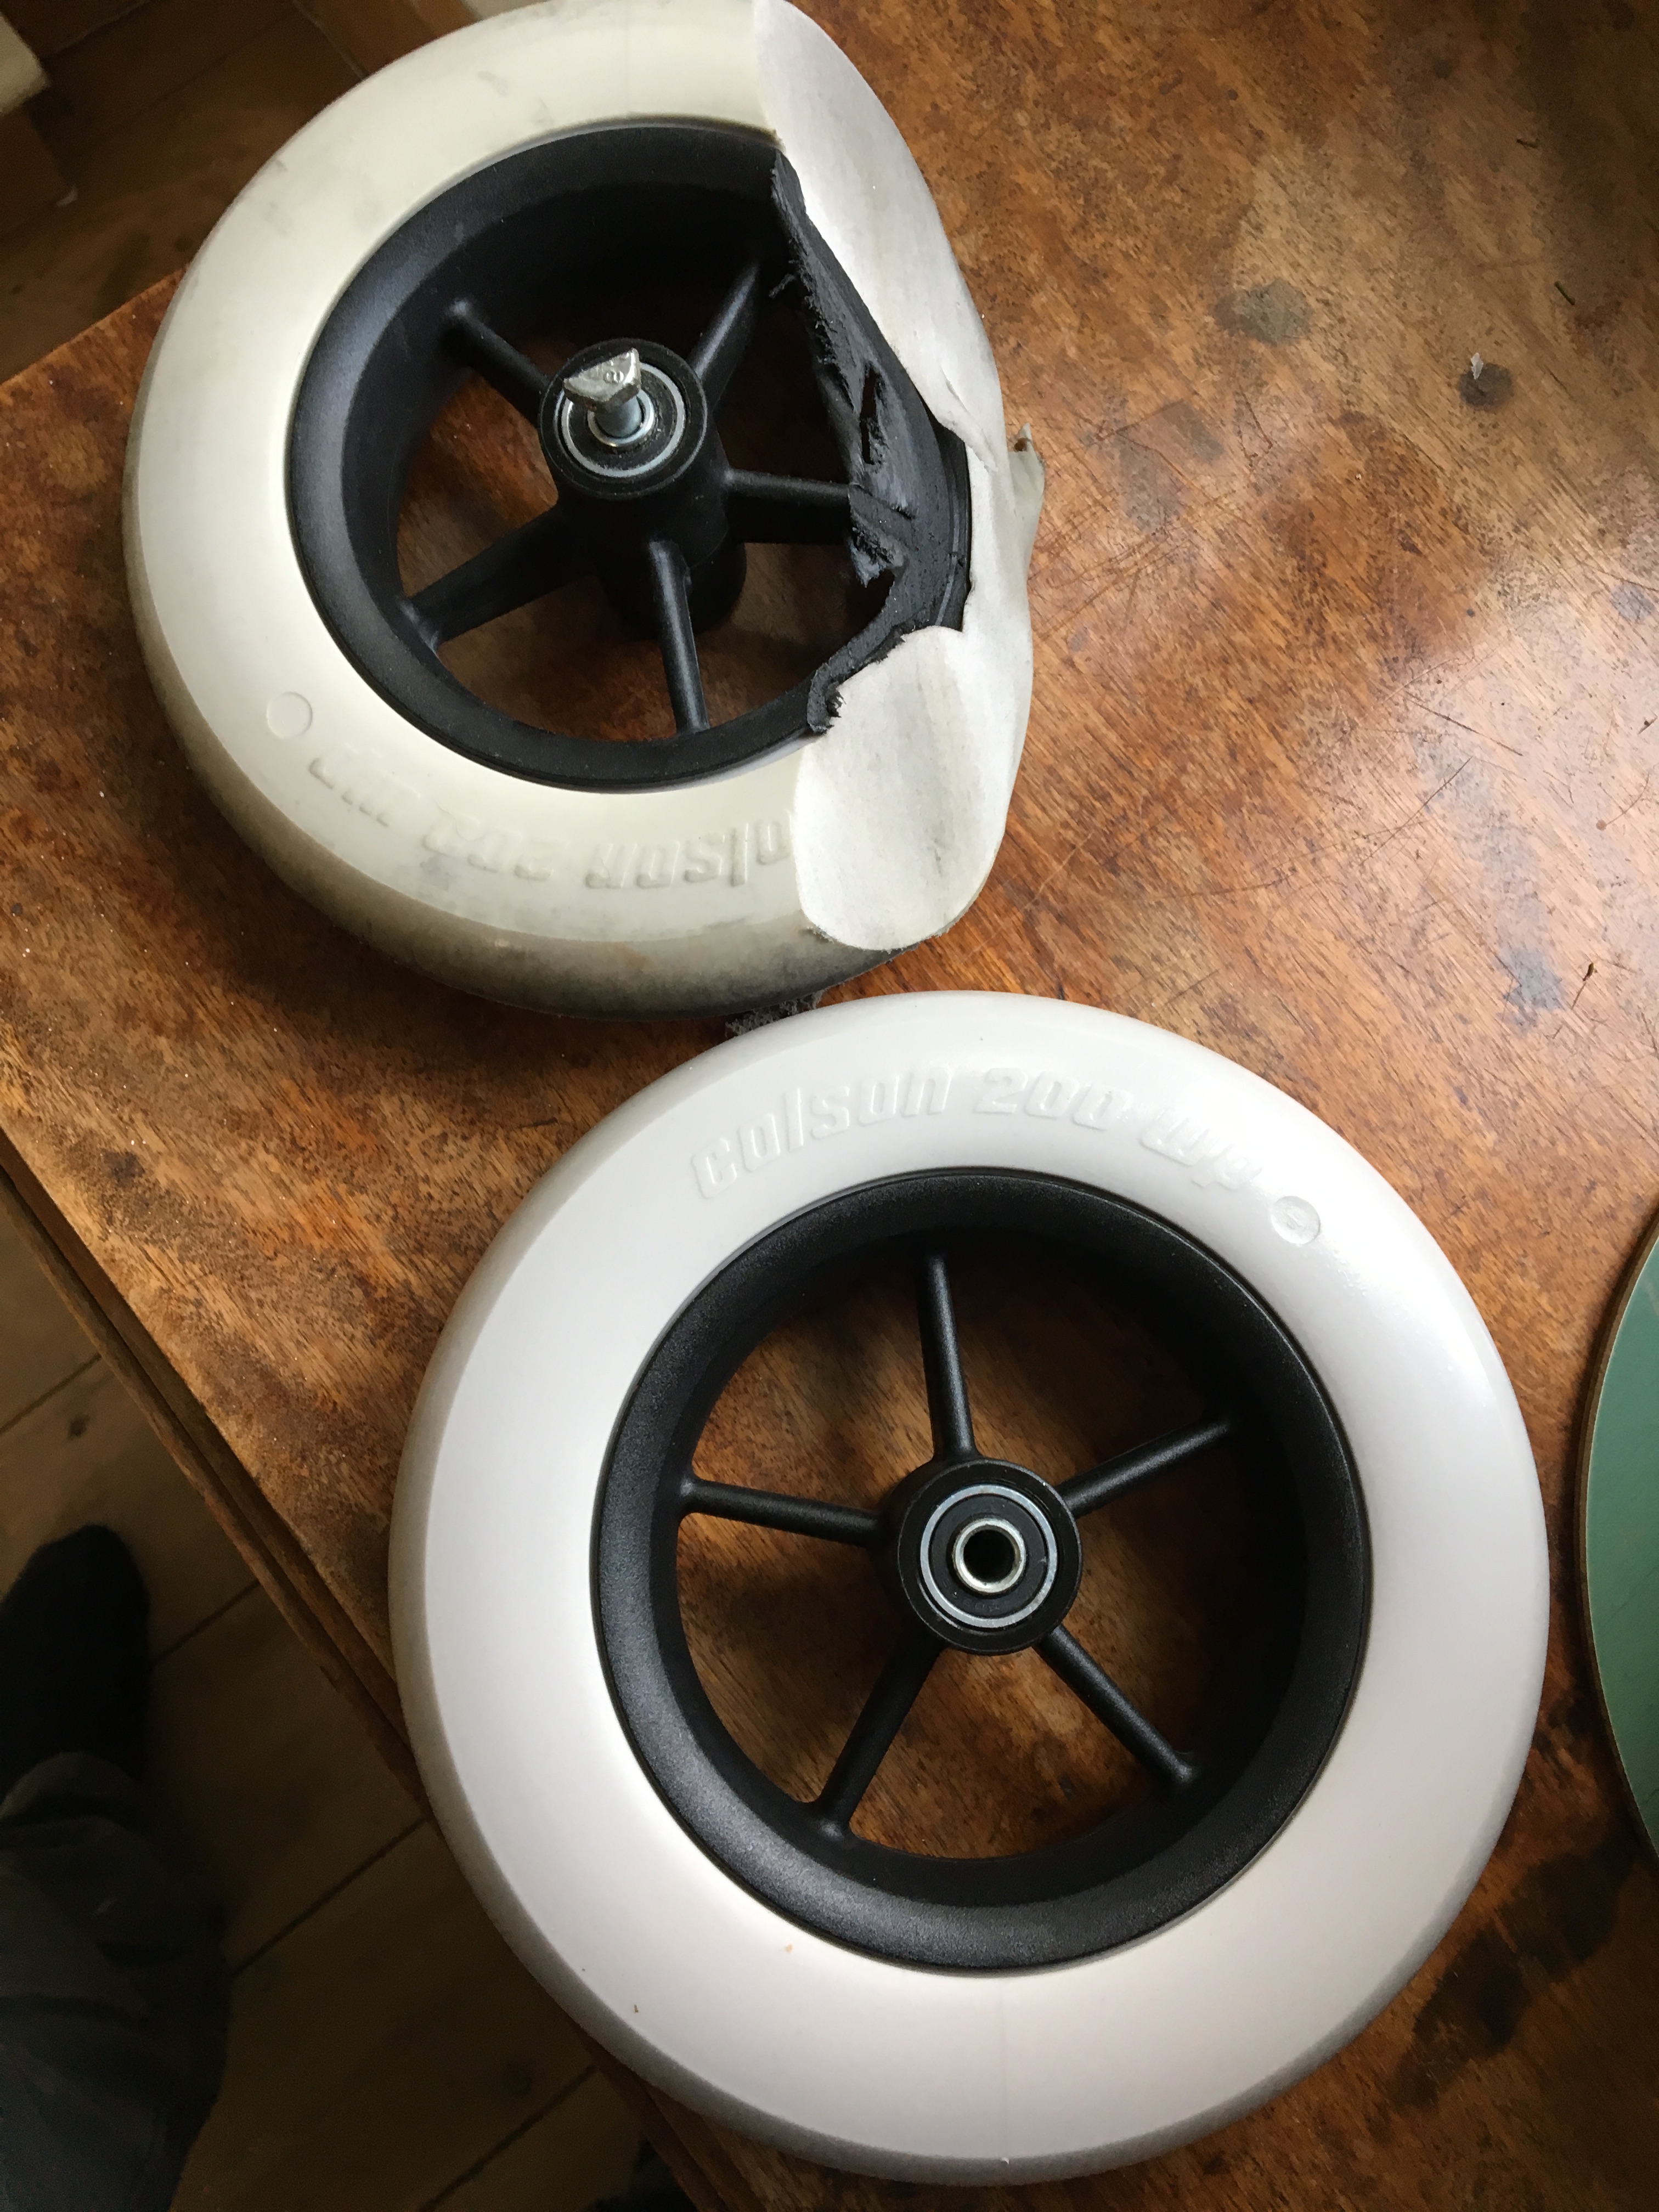
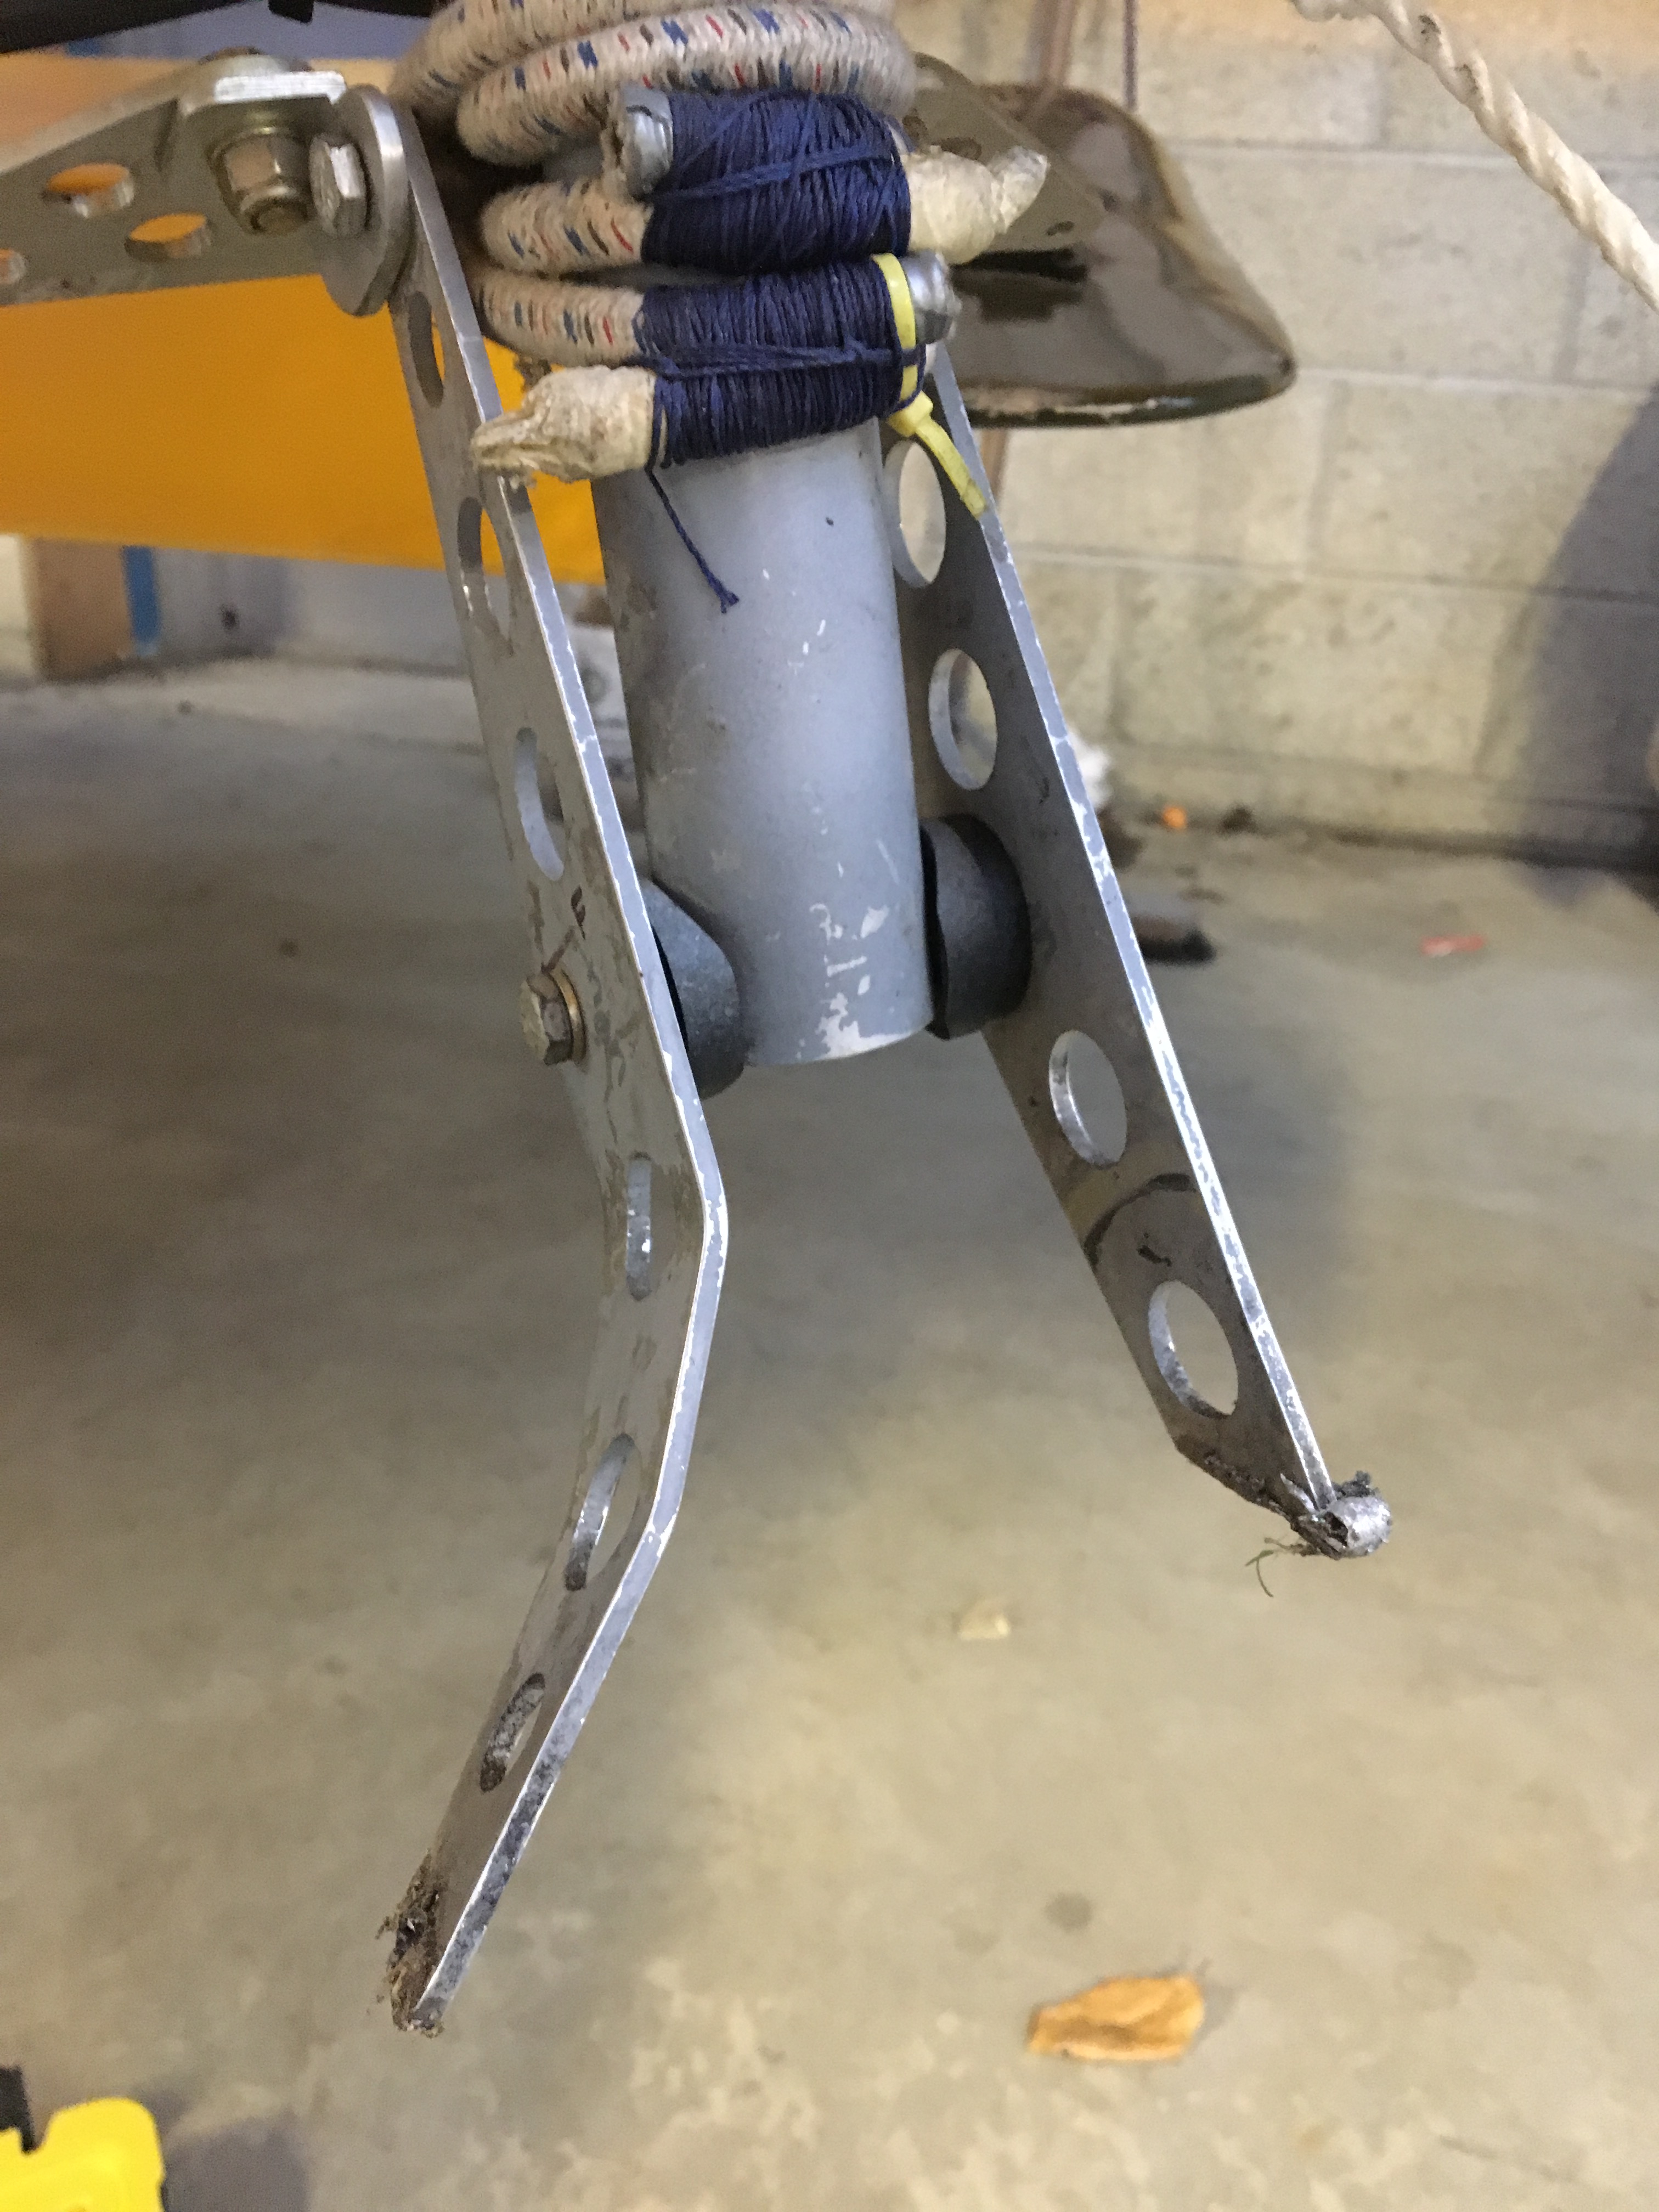
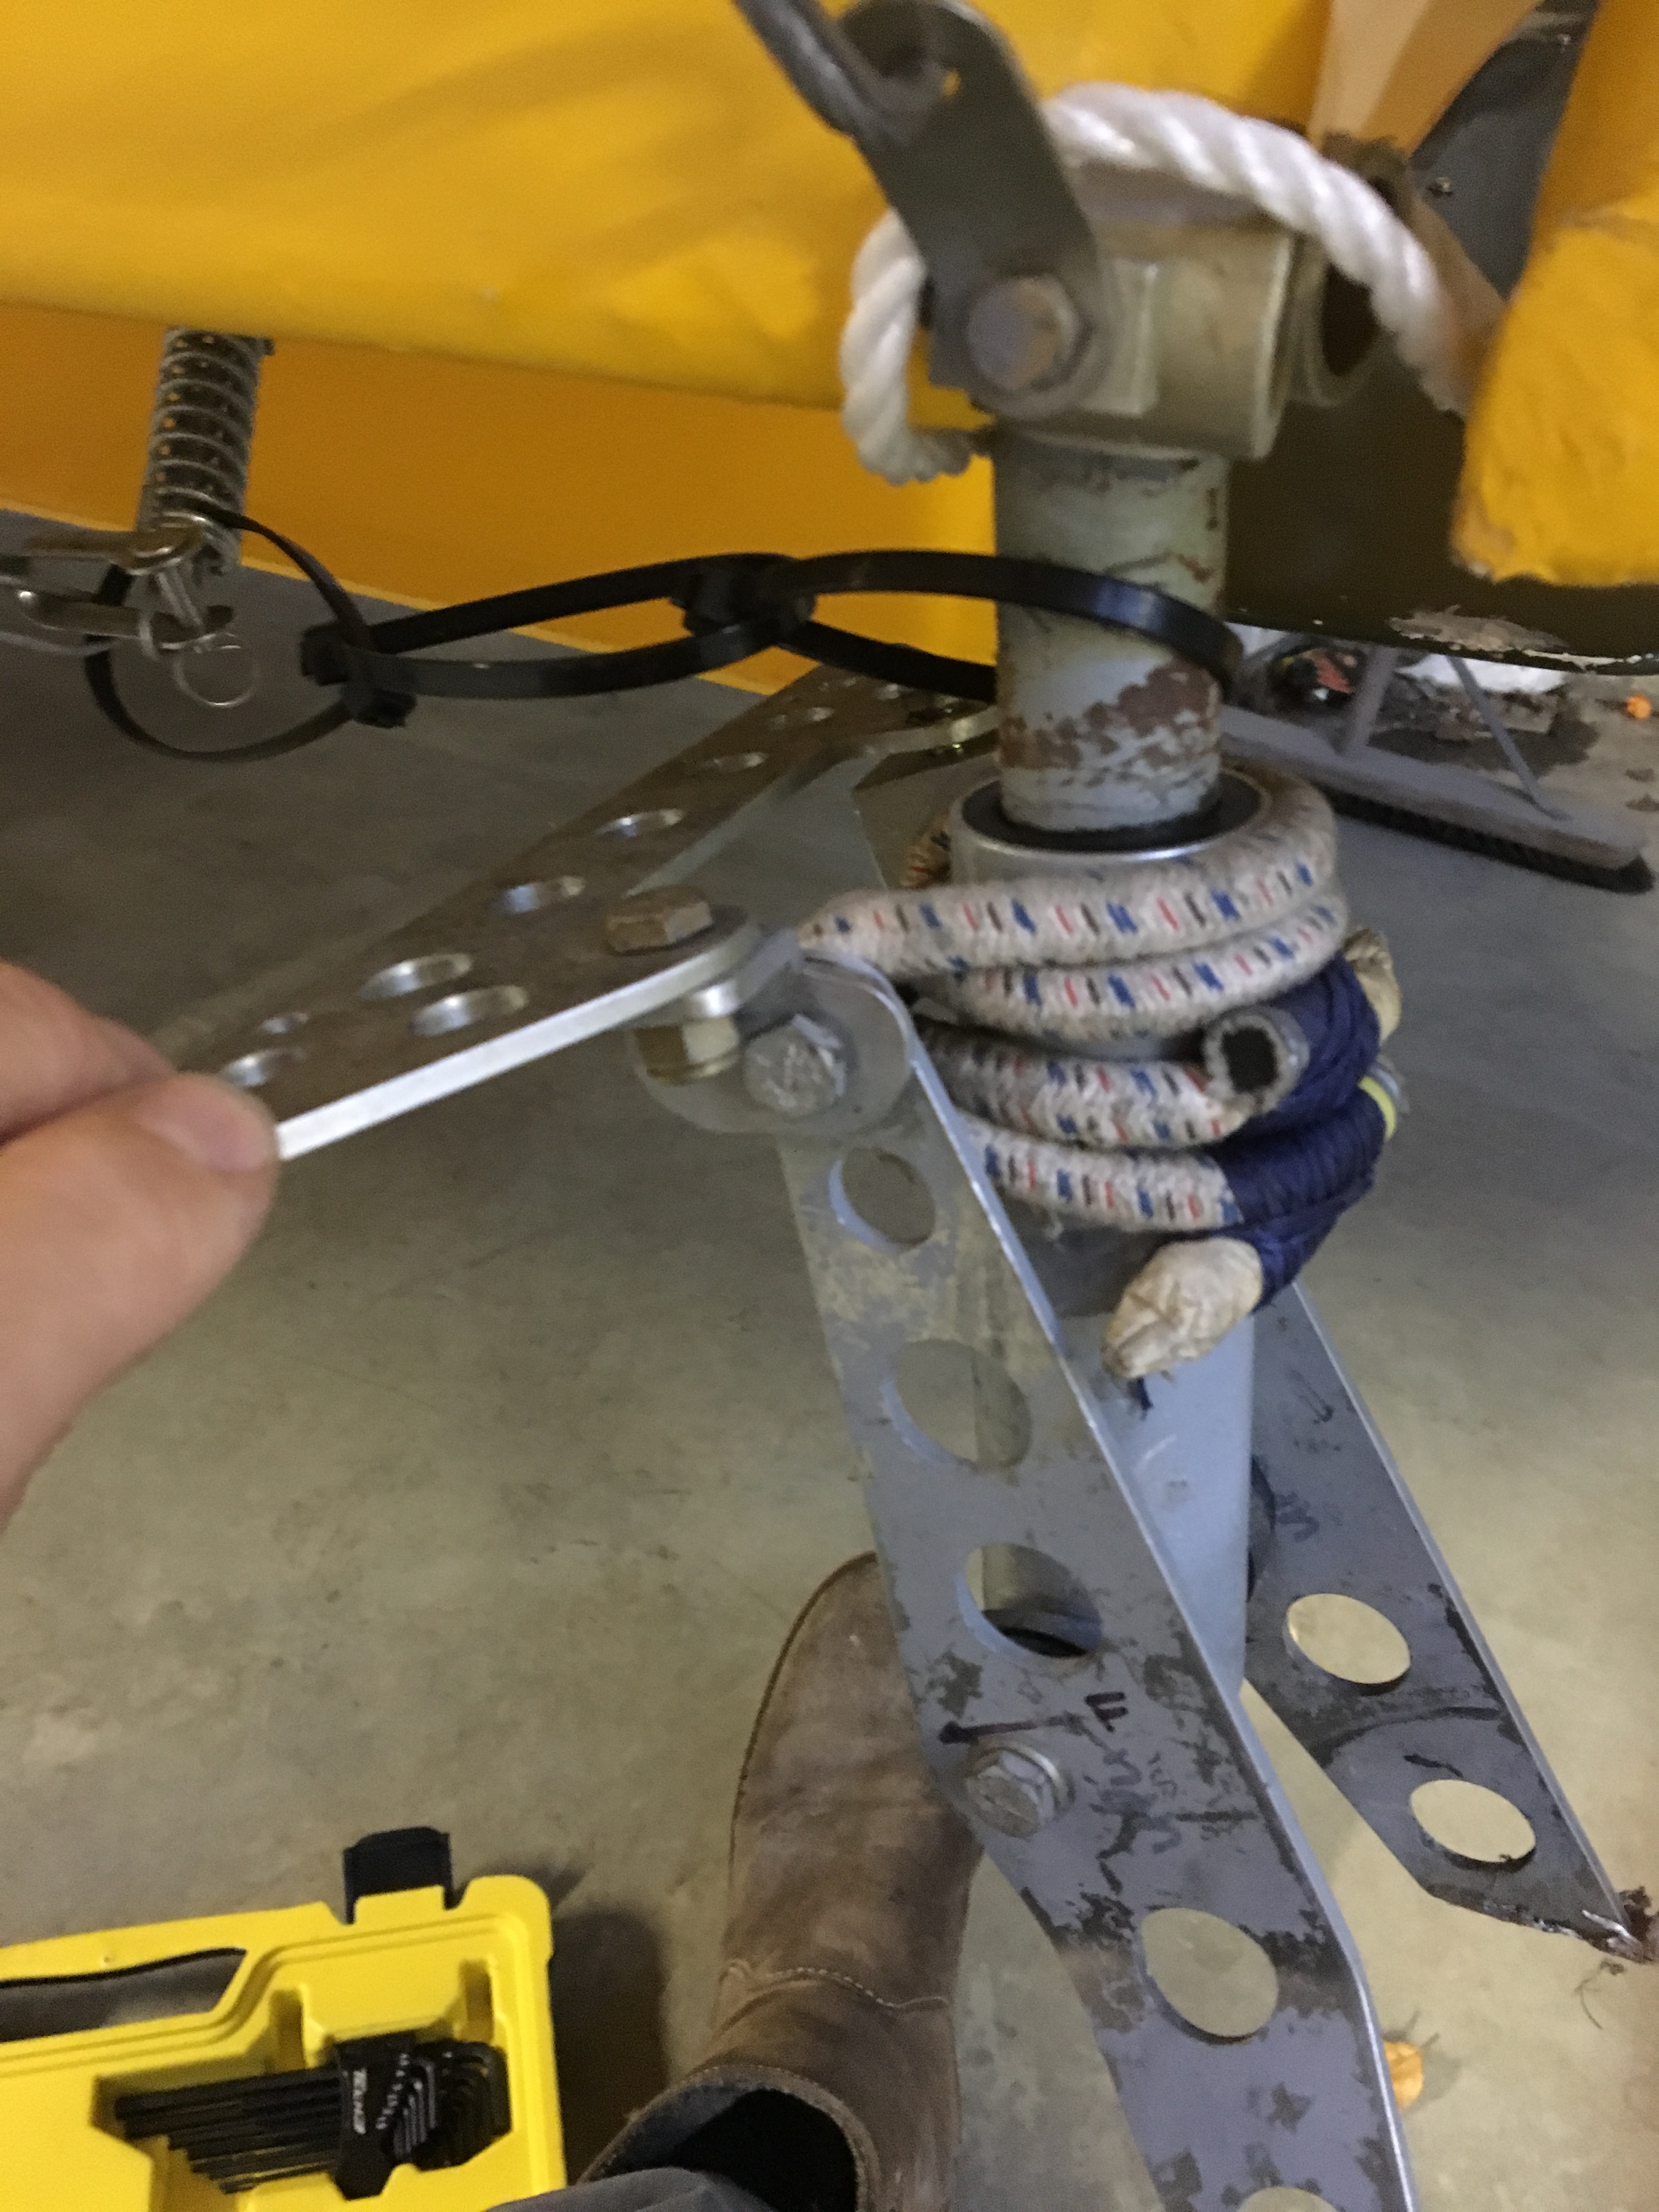
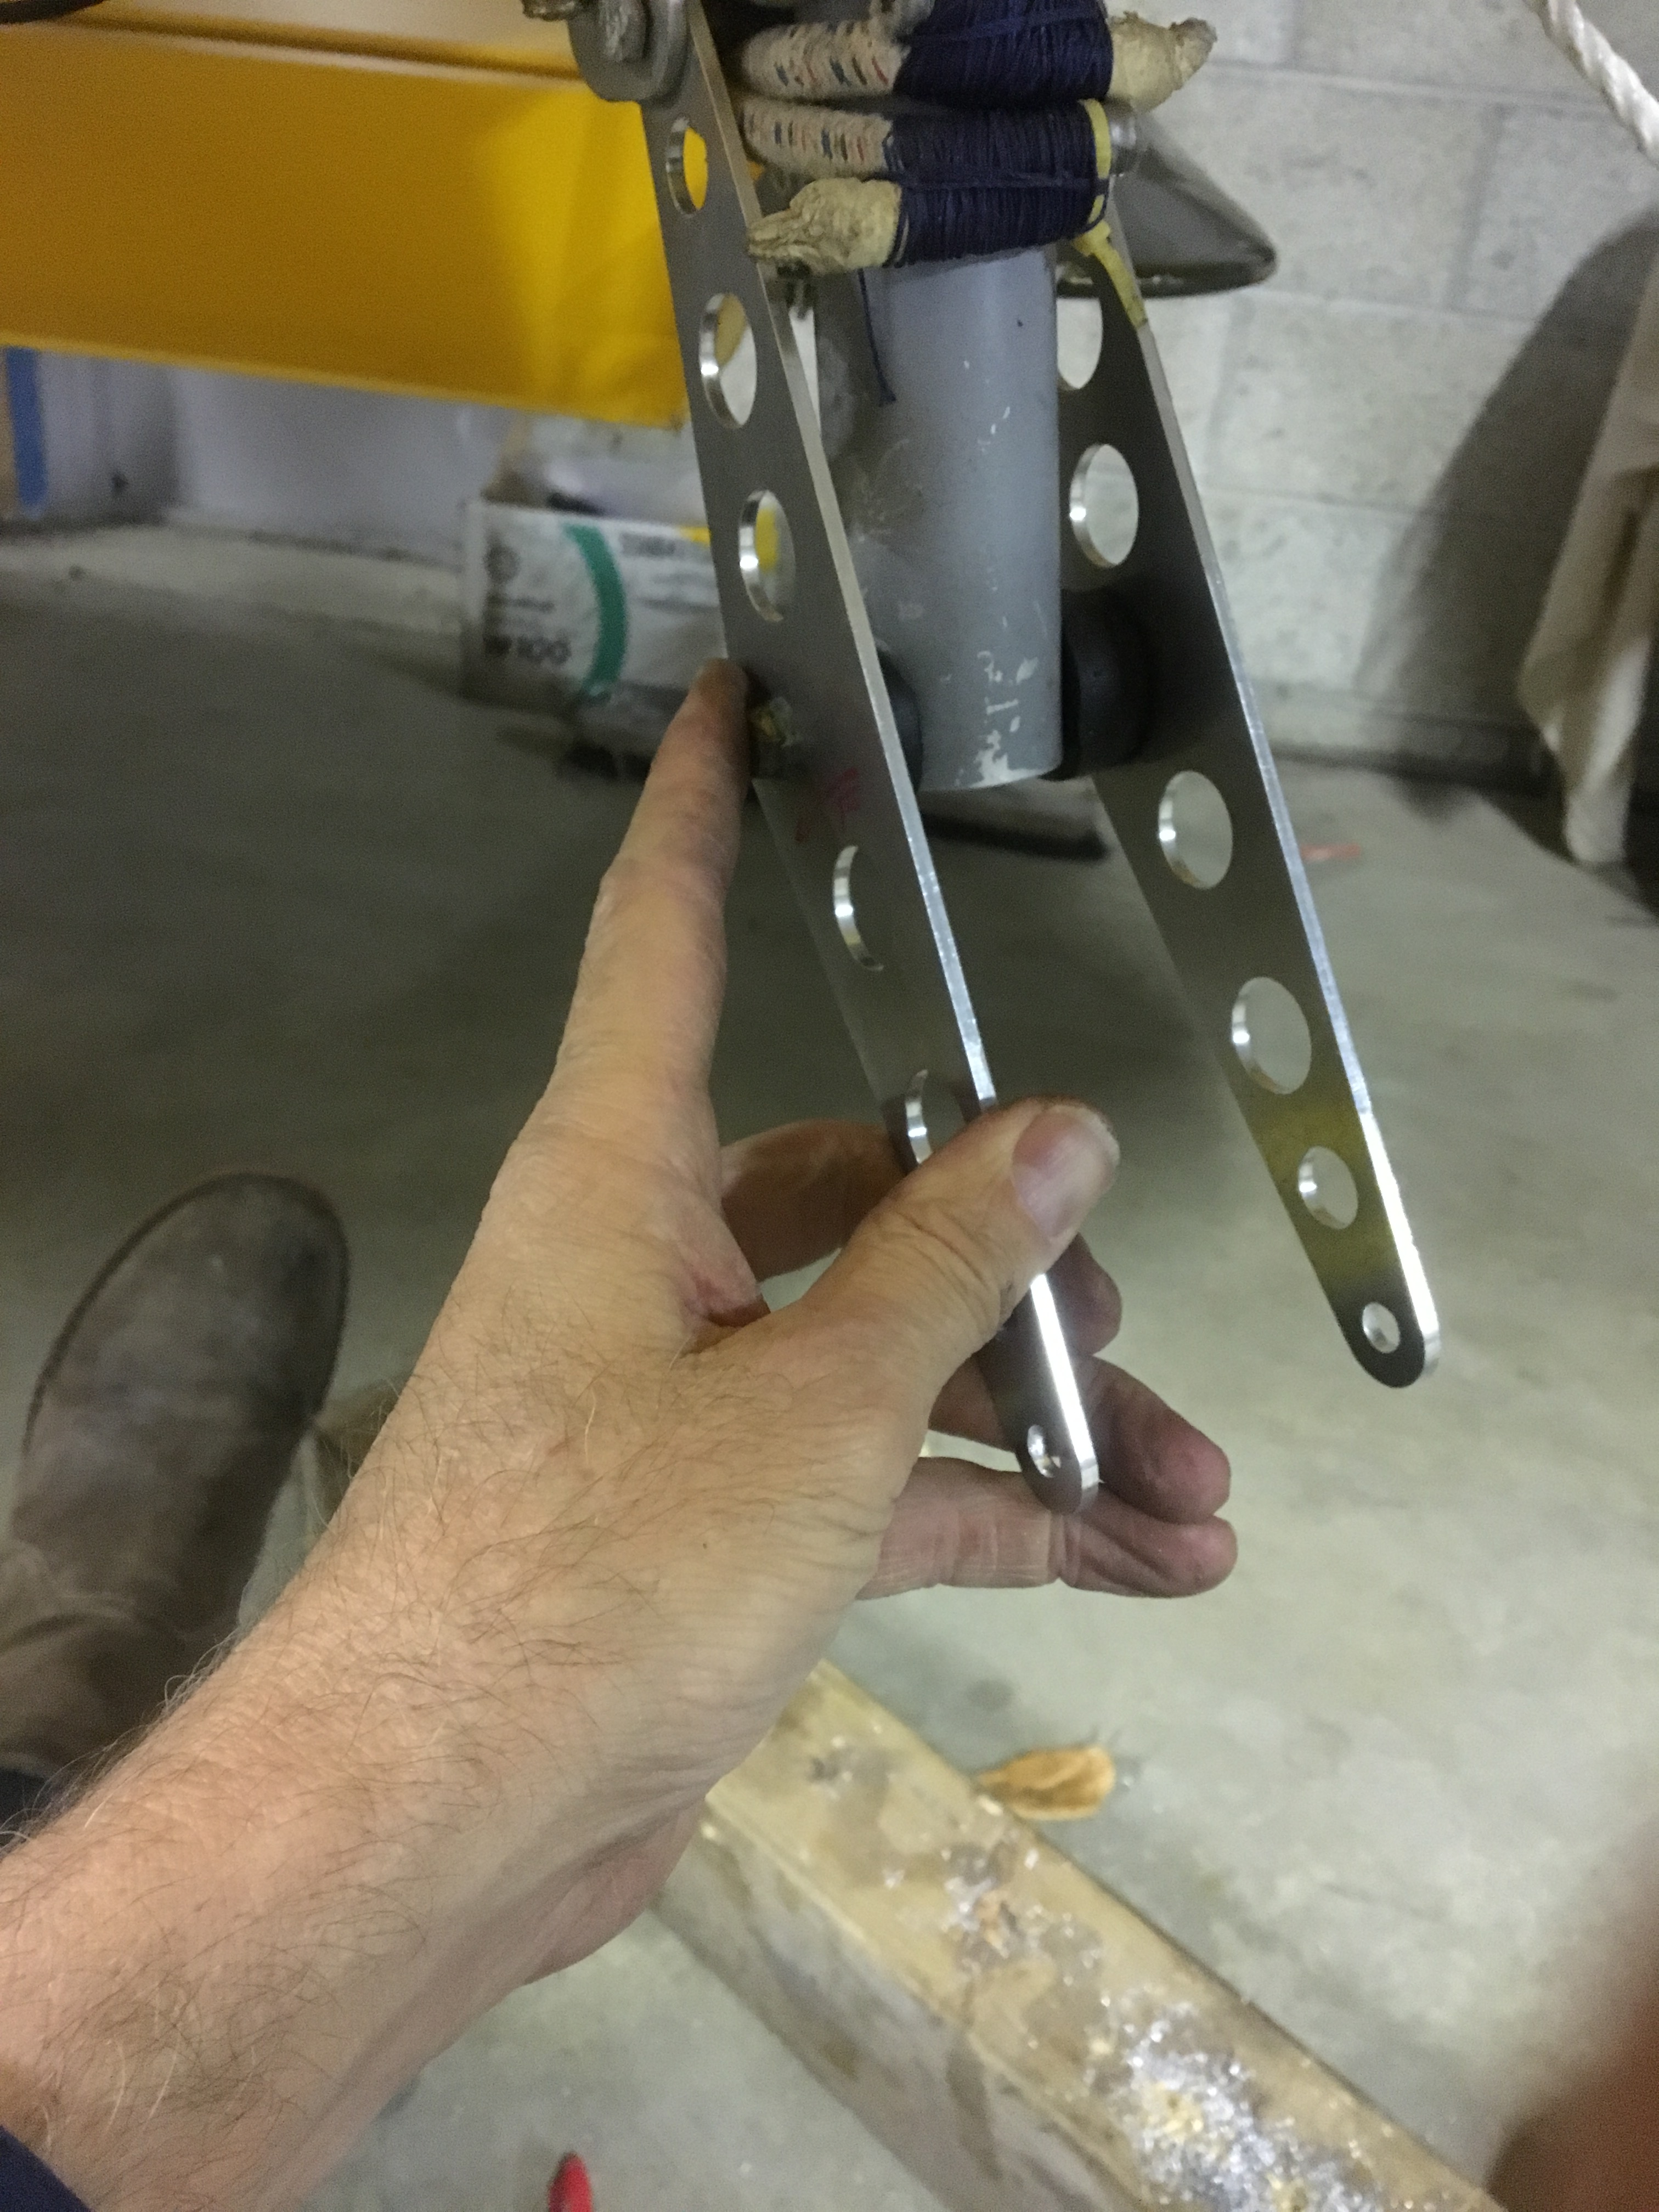
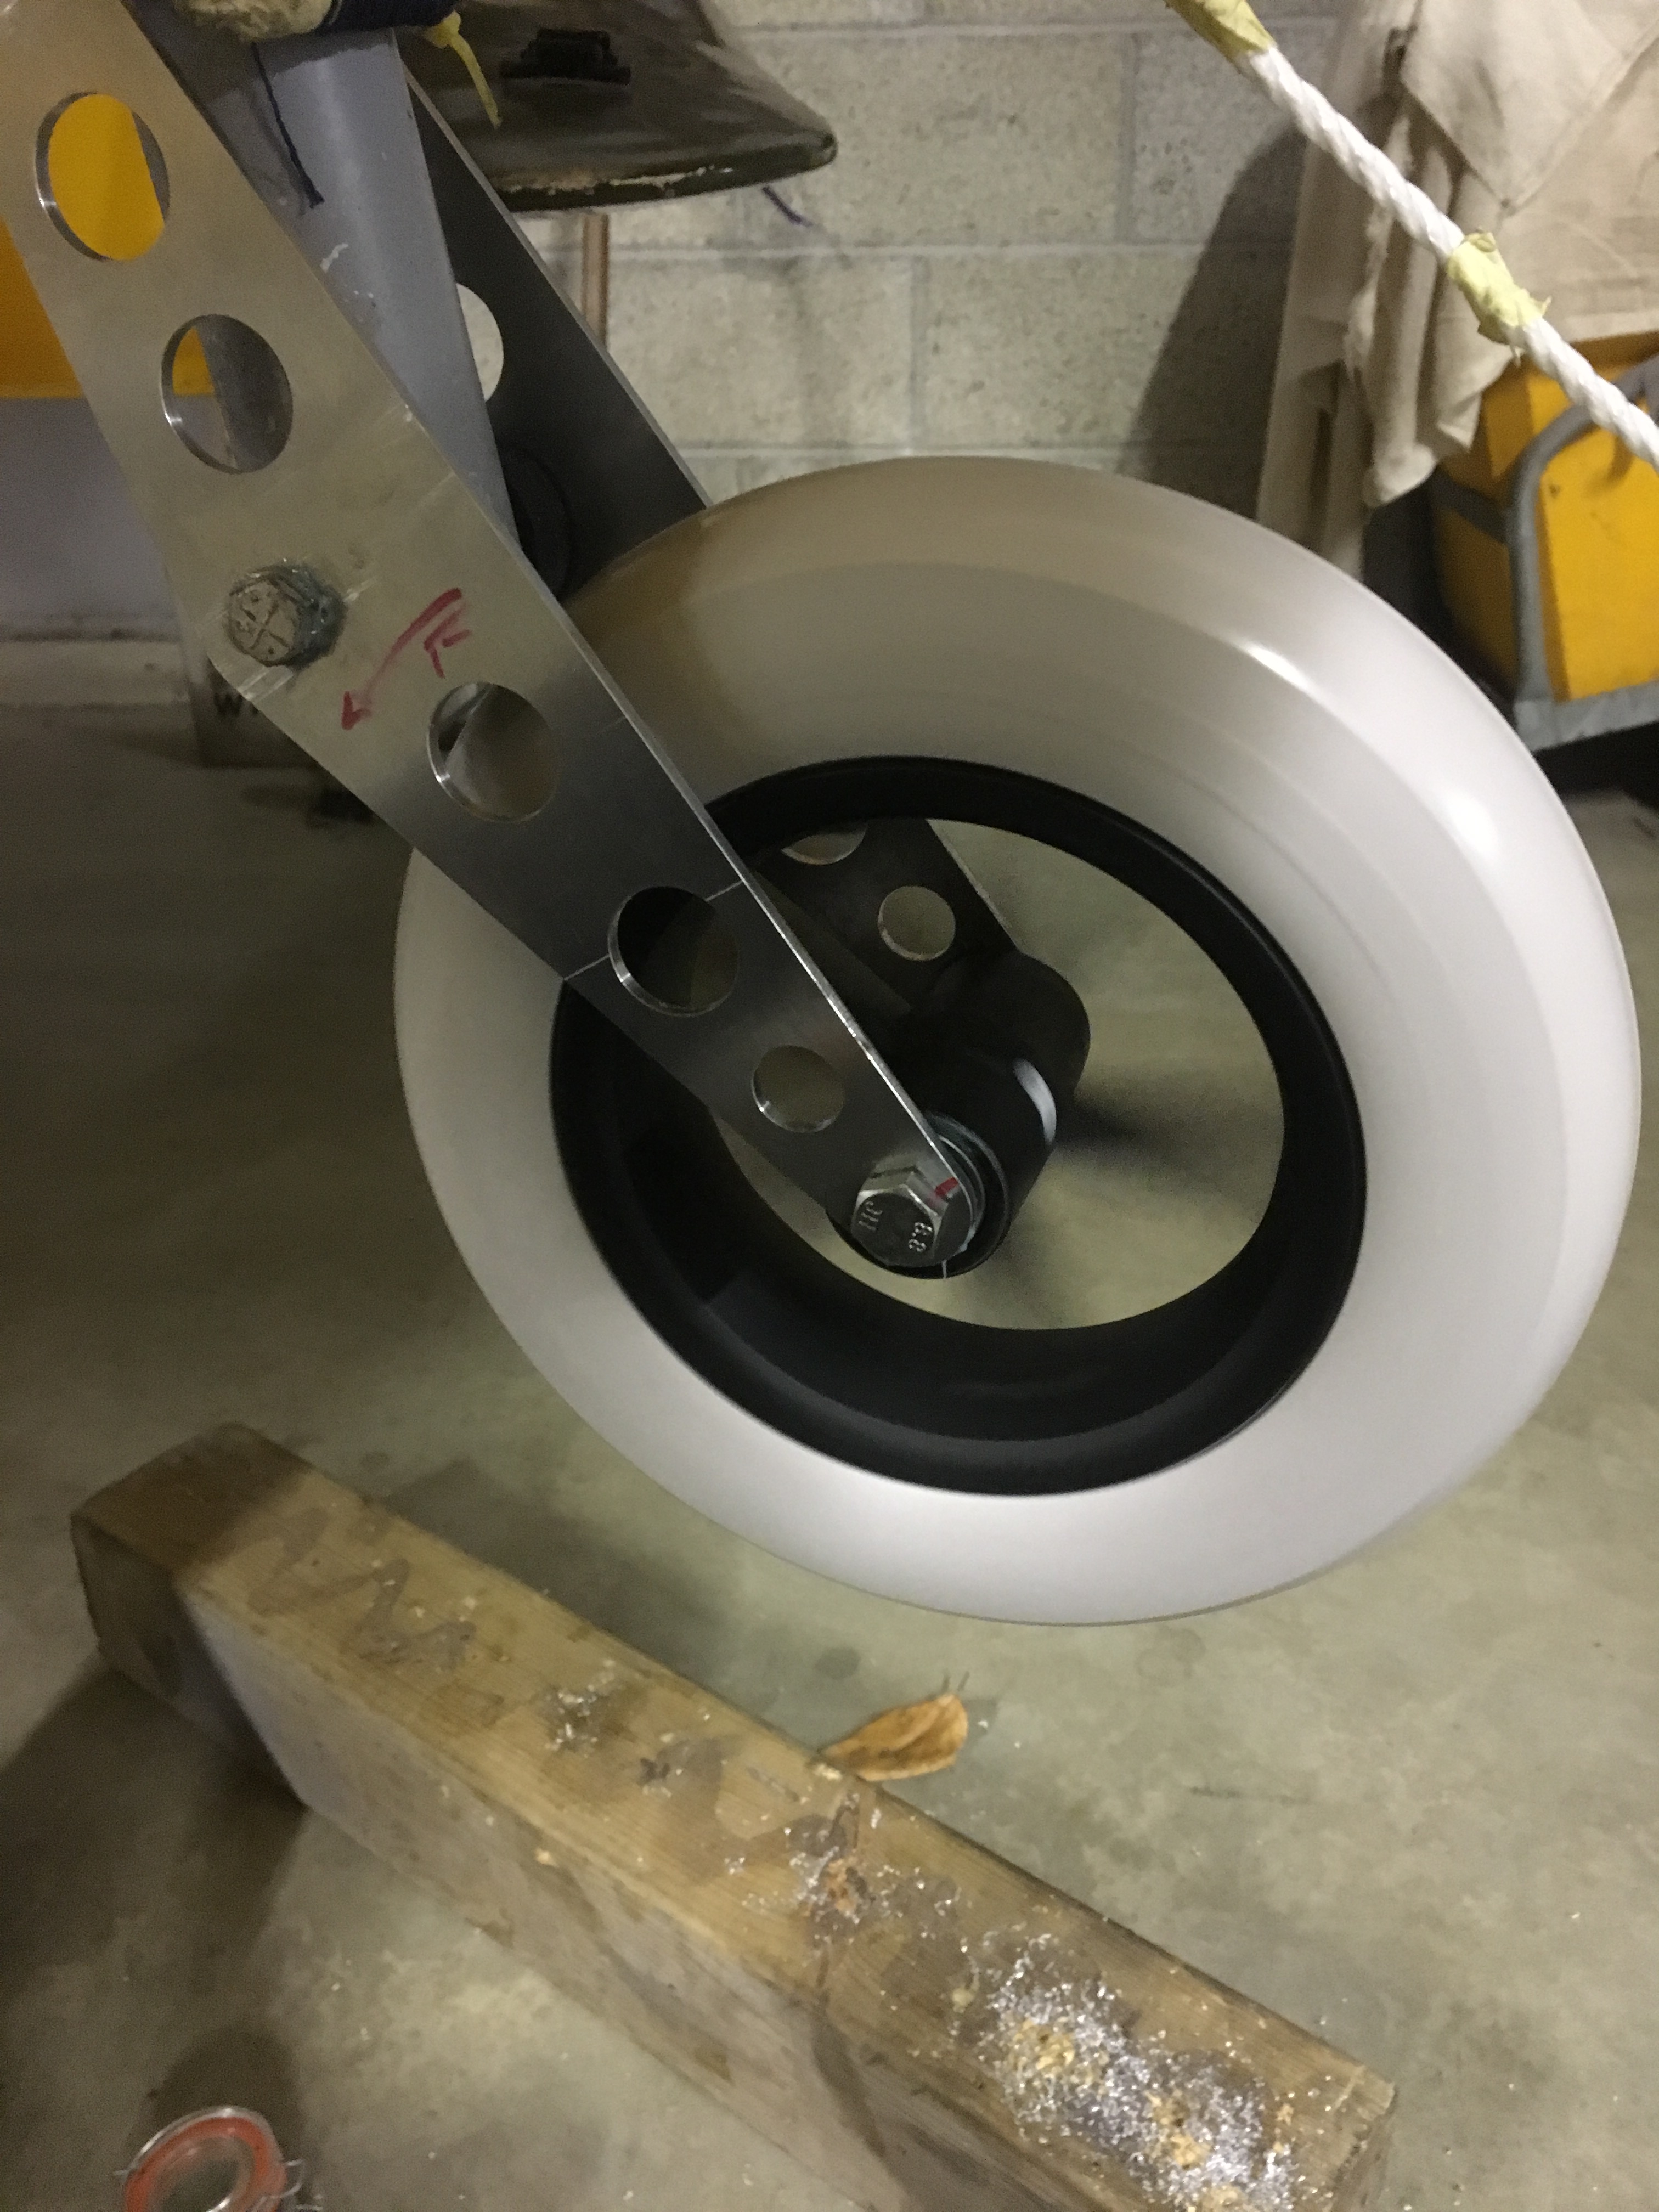
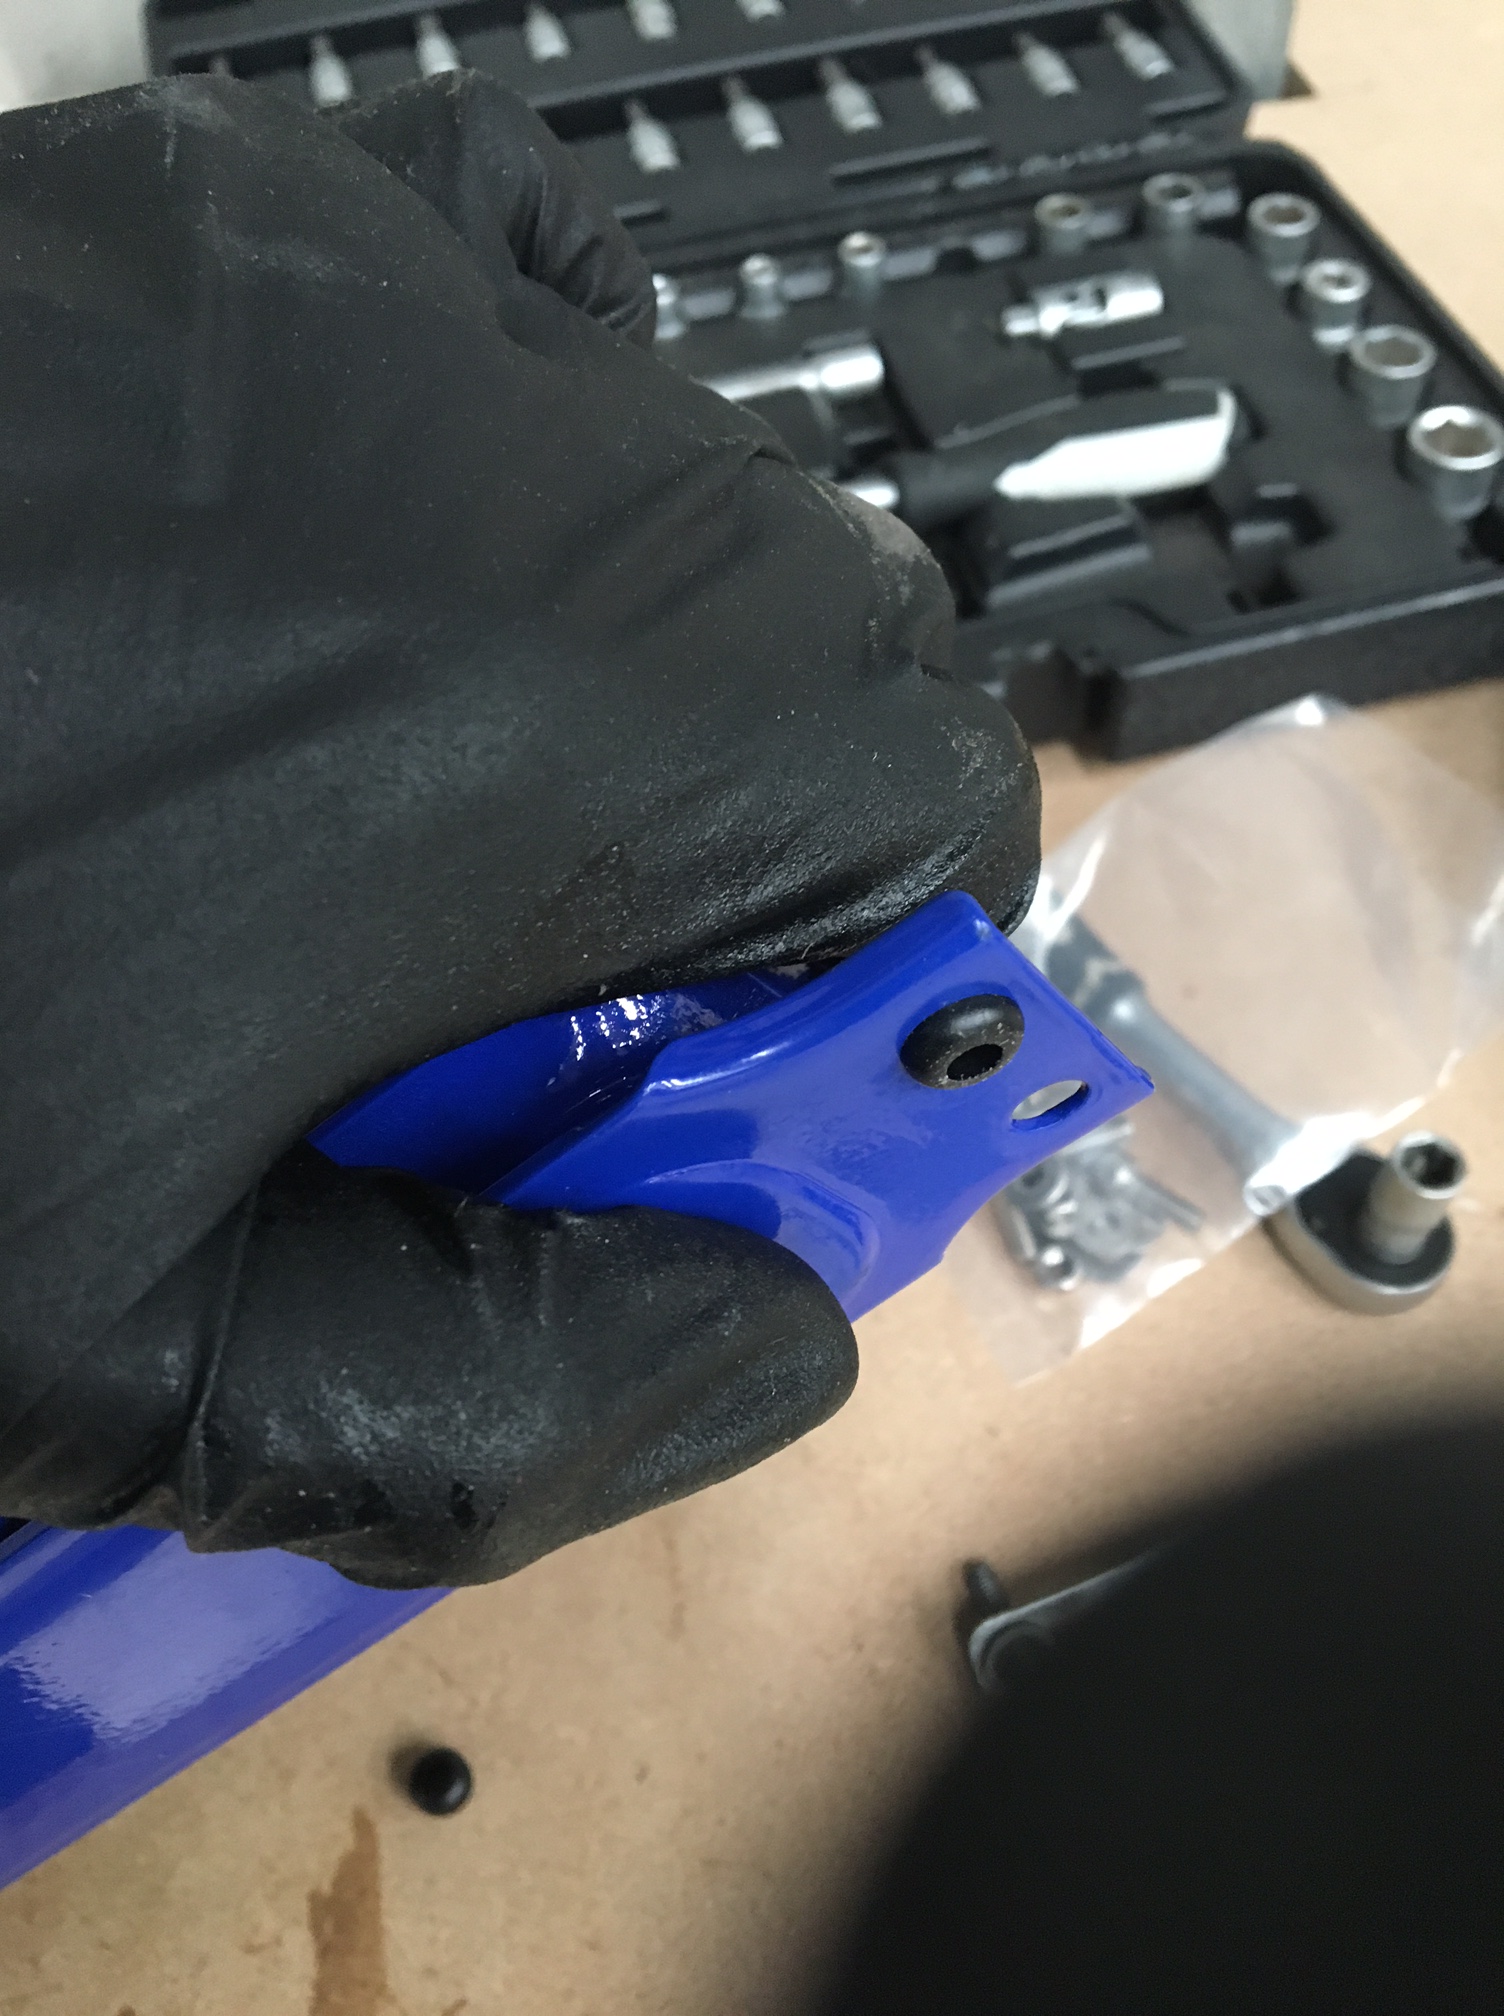
The wheel then jammed and my 1/4 mile taxying flattened the wheel at one side eventually ground through the securing bolt as I pulled  into the aeroclub

Continue reading “Free castoring tailwheel – Considerations”

Cooling update – end March – Fixed !

Finally got a break in the weather and got airborne after a few engine ground runs

This proved that there were no leaks and sure enough the temps held perfectly at below 80-88′

This now opens up the possibility of getting the rest of my LAA tests undertaken

Cooling update no 3 – March

After landing following the last hot running circuit I contacted Paul in Norfolk

Paul kindly got a couple of other builders with the same (Jabiru) engine .. Charles (UK) and Rool (Holland).

The cooler fittings looked very similar but, on checking the sizes and also getting some pictures from Danny B it was clear that my cooler size was hopelessly undersized.

I thought back to why I had sized the cooler the way I had … It was the thought that I wanted to try to fit it into the under belly scoop … This sent me down a route that left me with an oil cooler that was nearly 4 times too small …. My surface area was around 11,000 sq mm … Danny and Rools were over 45,000 sq mm !

Danny sent me a link to the one he bought and I ordered it that night .. Duly arrived 3 days later

Rubber grommets for anti vibration

Fitting it was fun as the lower cowl needed opening up a little more

Now to work out pipe new routing

Will have to do some lower cowl patching and filling before tidying up and then re spray

Ready for test run and then build a shroud to protect and shield the new radiator

Cooling Update # – March 2017 – No 2 :-) plus some in flight testing

Right … that didn’t work ! still hot

2 more (cross country) circuits were planned but she was up to 115 by the time I got to finals on the first circuit so changed it ‘To Land’ .. getting lots of take off and landings in though ! – always look for the positive 🙂

Having seen the other examples I will remove the top duct rubber to allow the air to flow in above the new cooler matrix and then get the whole cowl touched up and repainted once tests prove ok.

Thanks to all for their kind input and advice …. makes it so much better 🙂


One other thing I did on this short test was to start to try the tests that Howard (Barber) had suggested … I did a nice wingover on departure into the circuit – which felt great … then downwind I let go of the controls .. fine .. then I pushed full left aileron and let go … just a gentle bob back into S and L ,…. then the same to the right .. such a joy to fly this aircraft ….

So, back on the ground and a hot engine .. 😦

Calls to Paul and Danny ensued over the following 24 hours

Bingo …. with input from Paul and Charles and Rool

Looks like the cooler i’m using is hopelessly undersized ! – Now I’ve thought back and this didn’t get delivered with the engine … I remember simply measuring the gap of where I planned to locate it .. ie the scoop under the belly and then buying one to fit. Not very scientific but I’m not sure I have seen a spec for a ‘standard’ size in the Jab manual.

It turns out that Danny and others have one that is around 300mm x 140mm x 40mm

Mine is 140mm x 90mm x 50mm – so probably about 25% the size of Danny’s !!

Danny kindly dug out his spec order number and I am now awaiting the shipping to Jersey – hopefully 48 hours

Rool had a neat idea of making a front shroud for the cooler .. protects and also acts as a gurney to create backdraft and suck the air out … so have a sheet of nice aero metal (thanks Graham CIAS) and that will go on after the next test.


Cooling update No # – March 2017

Well … this has proved to be quite a challenge as the art of cooling – without the aid of a £1m plus wind tunnel makes it a little trial and error … perhaps Benjamin could sneak a mornings use of the Williams F1 tunnel and that nice long smoke pipe that would really let me know what the airflow was doing 🙂

Anyway … back to chalk and board .. as my first instructor used to say …..

In this case its drawing on experts like Paul HS and Danny B who have been really great through my current challenges and have certainly kept me going with this ‘long distance’ OU style course in aerodynamics.

As you can see from the previous blog entry I had failed to shroud the intake area around the oil cooler matrix – Now done … but … 2 Jersey style circuits (around 6 miles !! – EACH ! ) and it proved to not fix the problem and temps still crept up above 100.

Plan B – was to relocate the underbelly mounted cooler to the front of the ‘plane – right behind the prop .. that should def fix it as there was nothing in the way to prevent a good solid flow over the face of the matrix .. either that or it would demonstrate that THIS wasn’t the problem so at least move me on to the next option.


As you can see in the background of the picture I had to ditch my nice braided oil cooler pipes .. once I have established a proper fix I will get some new ones made up to whatever length / shape needed.

I made up some mounting brackets and moved the old oil cooler into position

The cowl then took some definite slow and steady fiddling to remove JUST as much as was required to get the cooler AND its pipework in position. Then, with some new wider ducting tape/rubber fill the gaps.

Took the opportunity to remove the original engine top cowl ducts and replace the rubber strips with wider – needed as earlier ‘fettling’ had meant I now had some small gaps between cowl and intakes


T


Blog at WordPress.com.

Up ↑