Cooling is clearly a tricky subject that is not really open to novices … Like me ….
Having reviewed the back section of the Jabiru 2200 engine manual it is very useful BUT it refers to the 2200 engine going into a Jabiru aircraft ! clearly they can’t put all scenarios but it does provide useful overview and pointers.
I elected to call the oracle .. Paul H S … And this has opened up a fascinating subject
Clearly no definite right answers as each design, build, tweak could mean and drive a different result.
The initial summary for now is
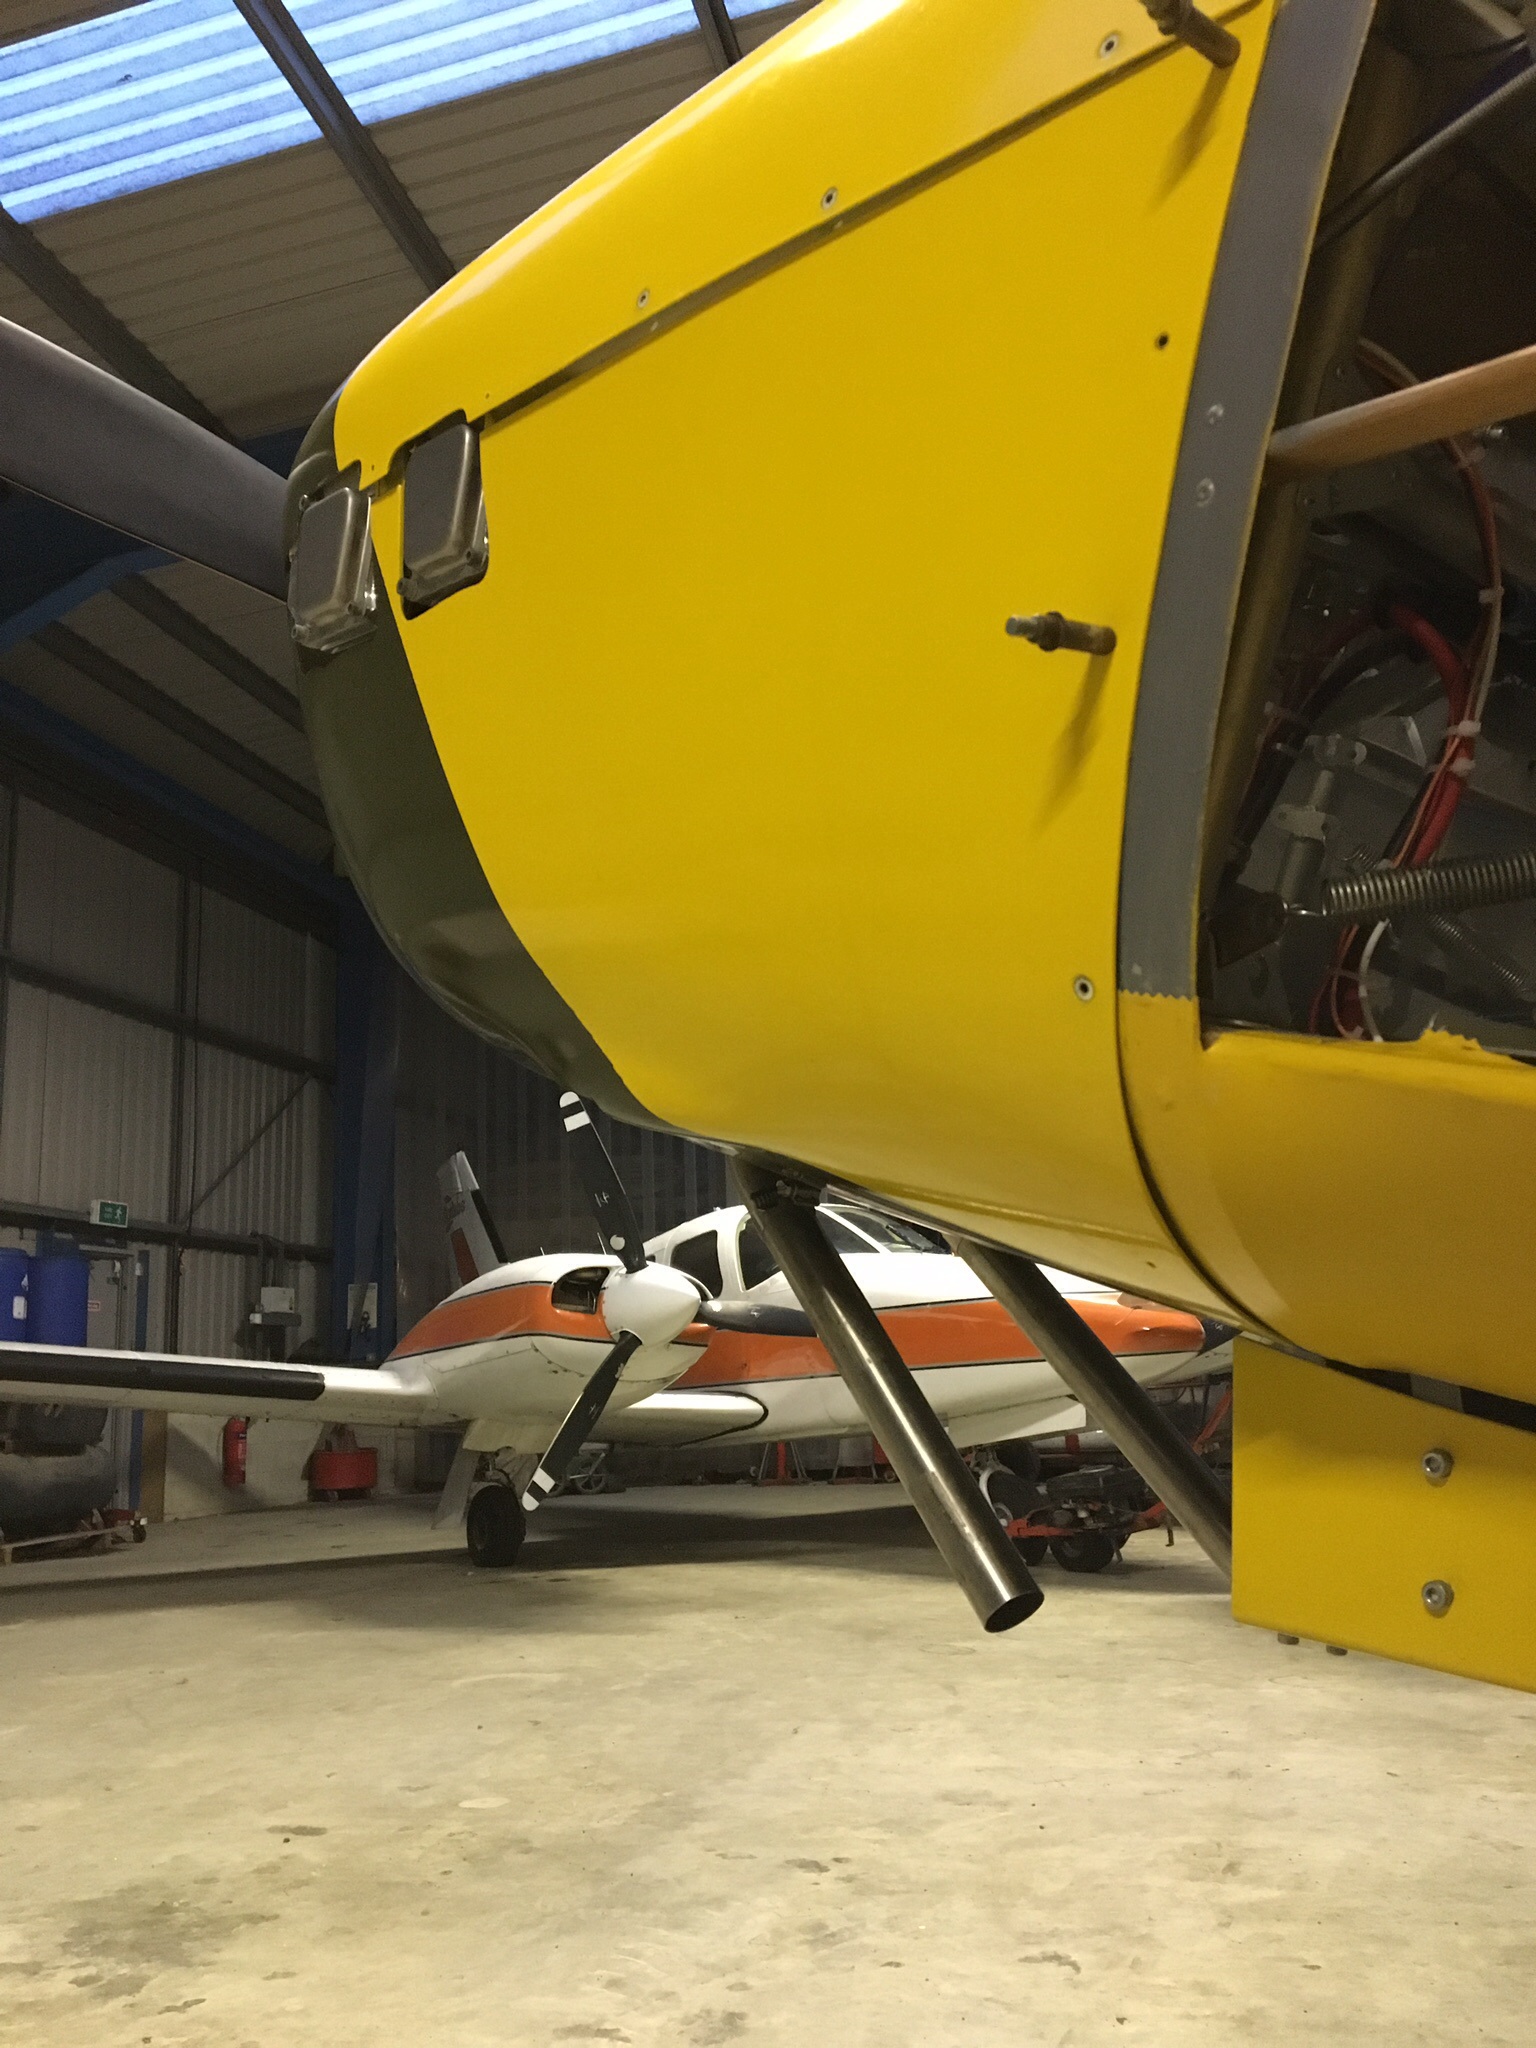
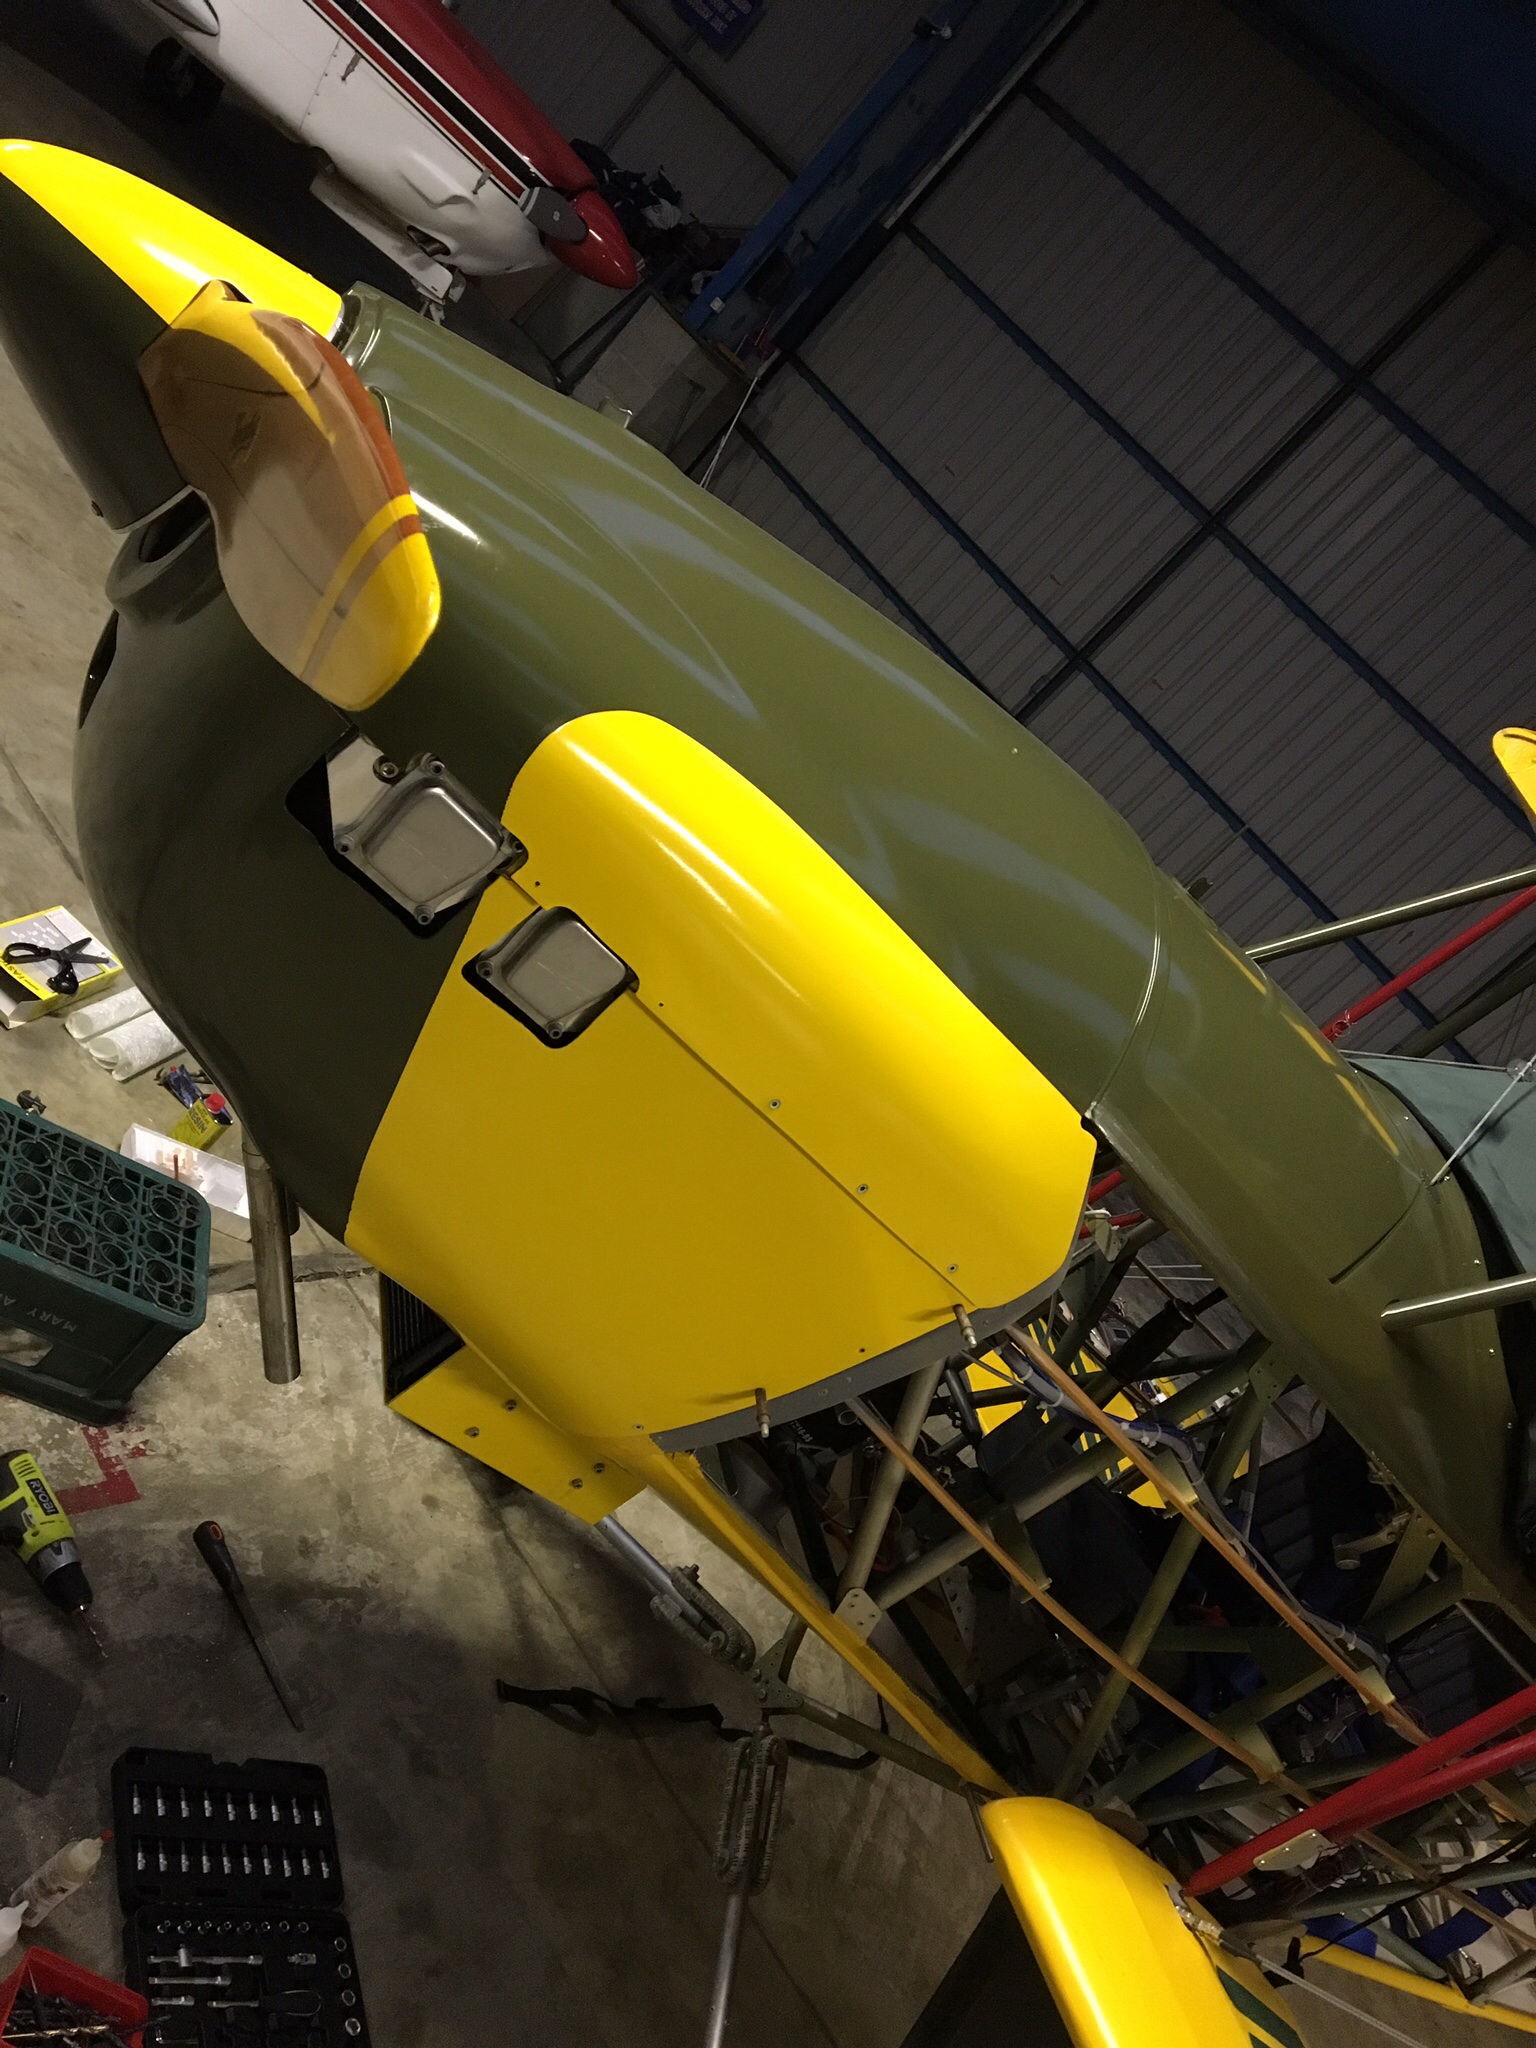
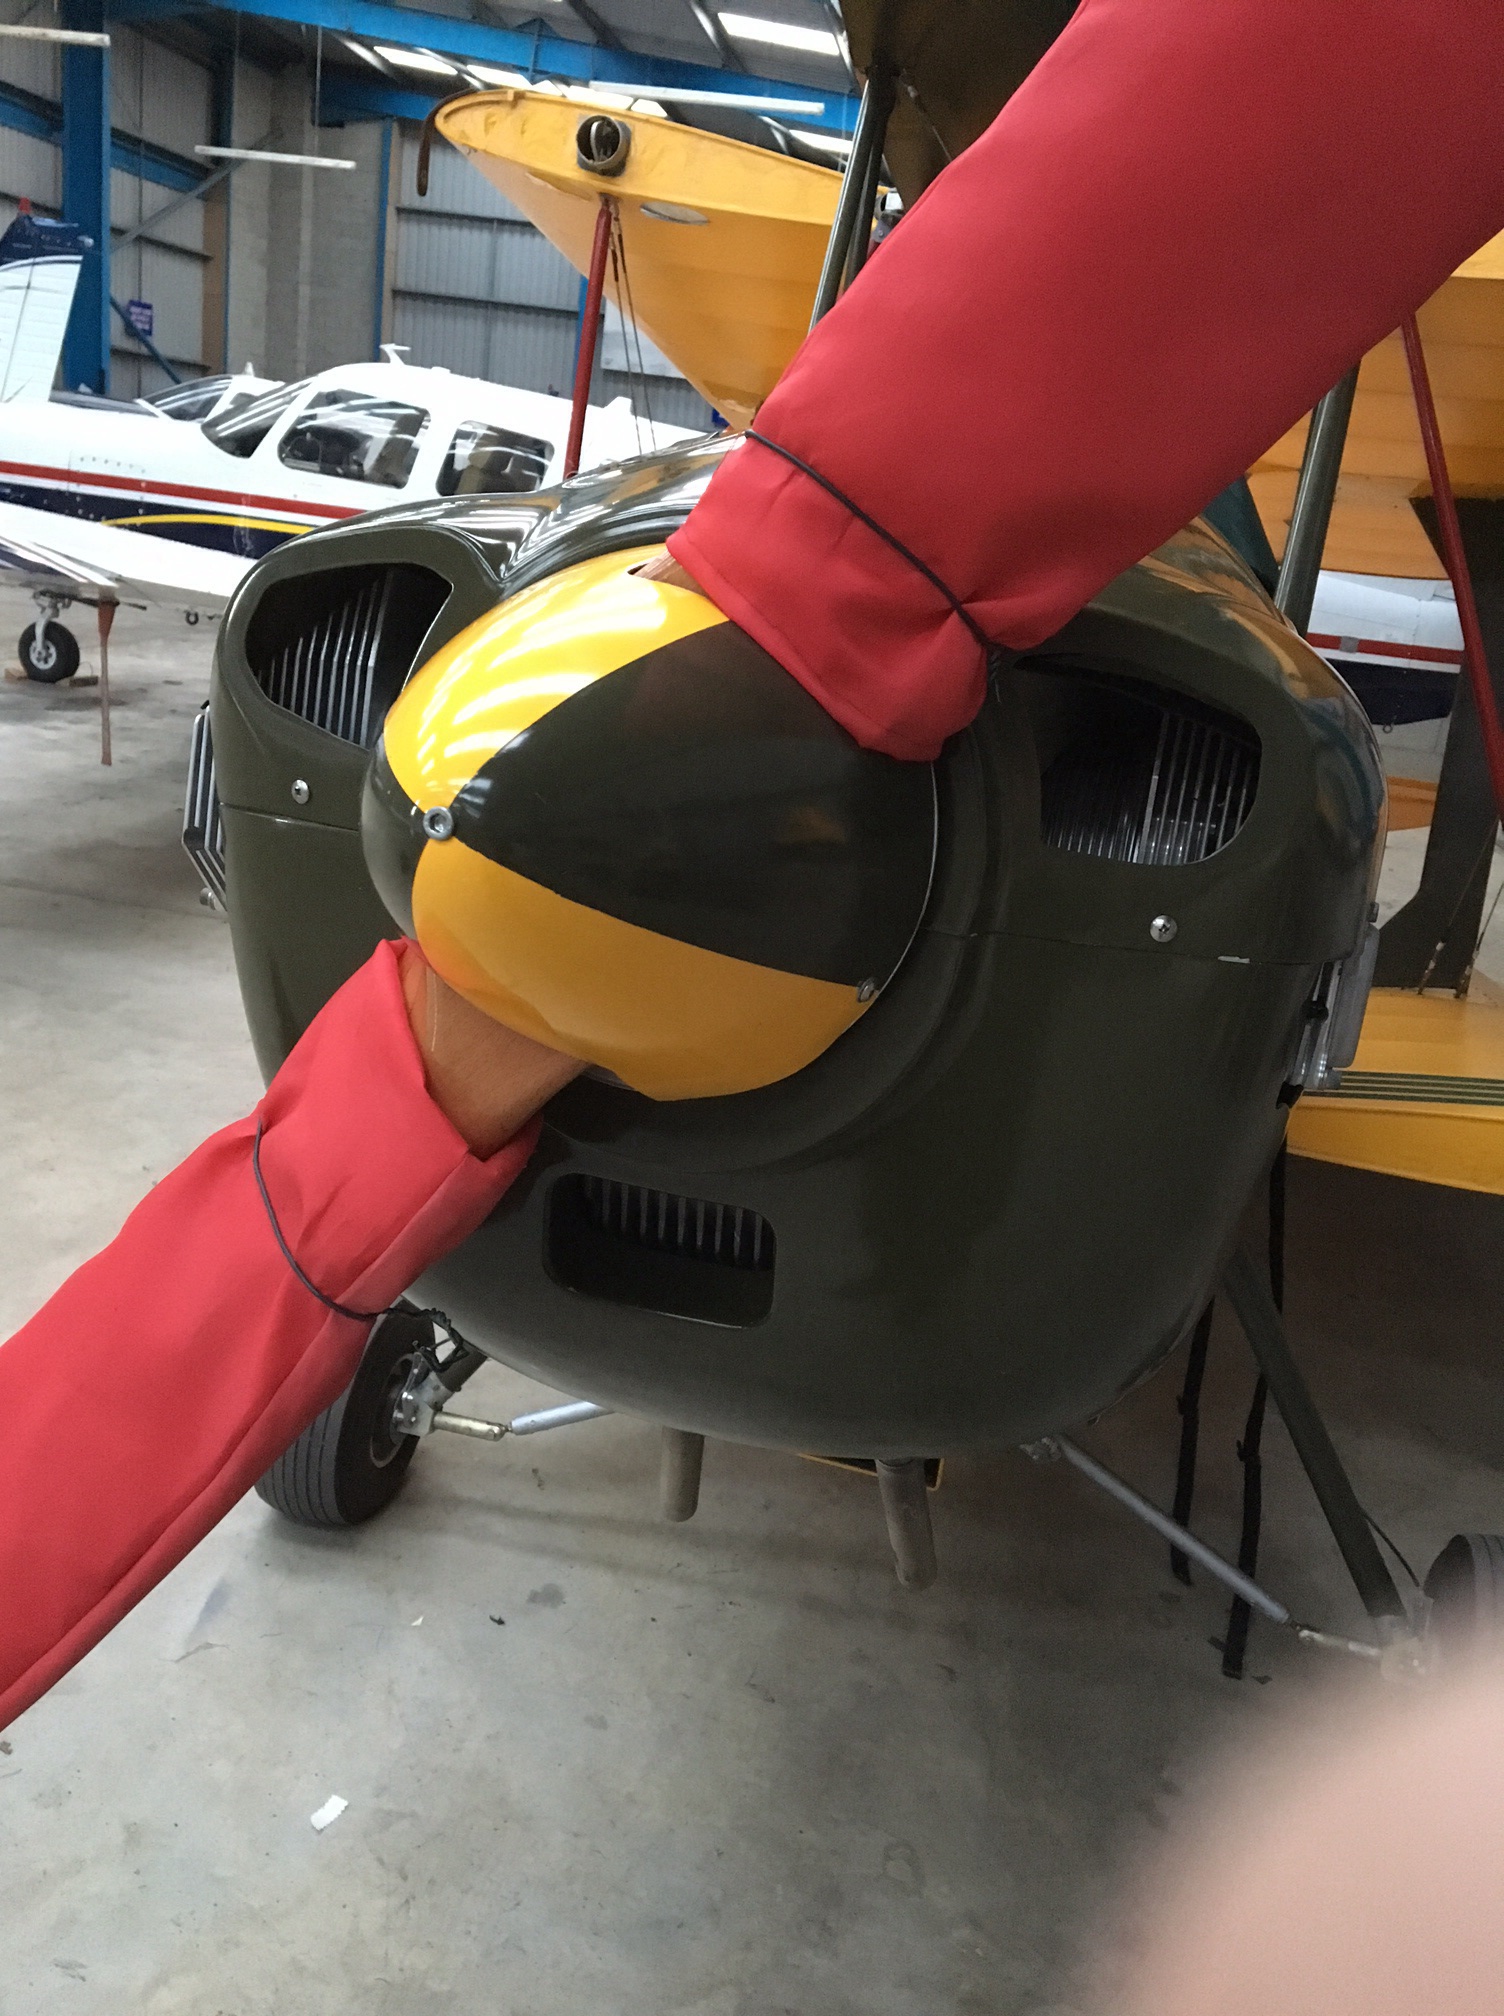
- my dinky neat looking ‘eyelet’ type intakes on the cowl cheeks are probably too small
- i have fitted internal cylinder head shrouds and rubbers
- these mate nicely with the cowl so no air bleed BUT the small openings mean a reasonable (significant) amount is shrouded
- plan is to Dremel out these BUT still stay within rubbers to preserve ram air effect
- trimming these out will probably increase INPUT flow by around 20%
- the fun part of all this is the dynamics that will leave in the cowl in terms of pressure and exit capability
- i love engineering !
- so as well as enlarging these I plan to tape up the lower pre moulded hole in the cowl which is there for those designs where you place the oil cooler matrix up front .. And mine is in a scoop underneath
- this means that I have an open hole in the front, albeit blowing onto the sump – which in my MGB engineering mind was good .. But in an enclosed aero cowl that works on pressures isn’t particularly good !
- blocking this up may help that ‘equation’ and I at least know from the 10 circuits I have done I can prove this in probably 2 circuits !
- next steps will be to review me air exit path and how large that needs to be ..
- small steps .. Small steps … But all POSITIVE !


This ‘plane keeps on giving … So much to learn .. So much interesting stuff !