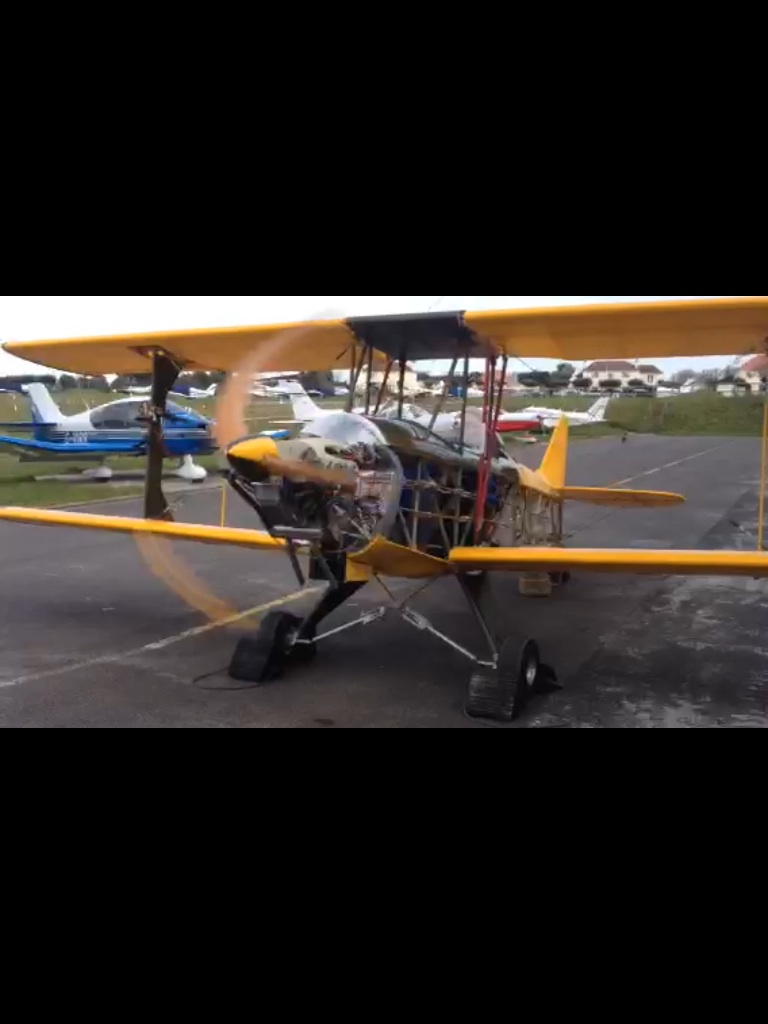
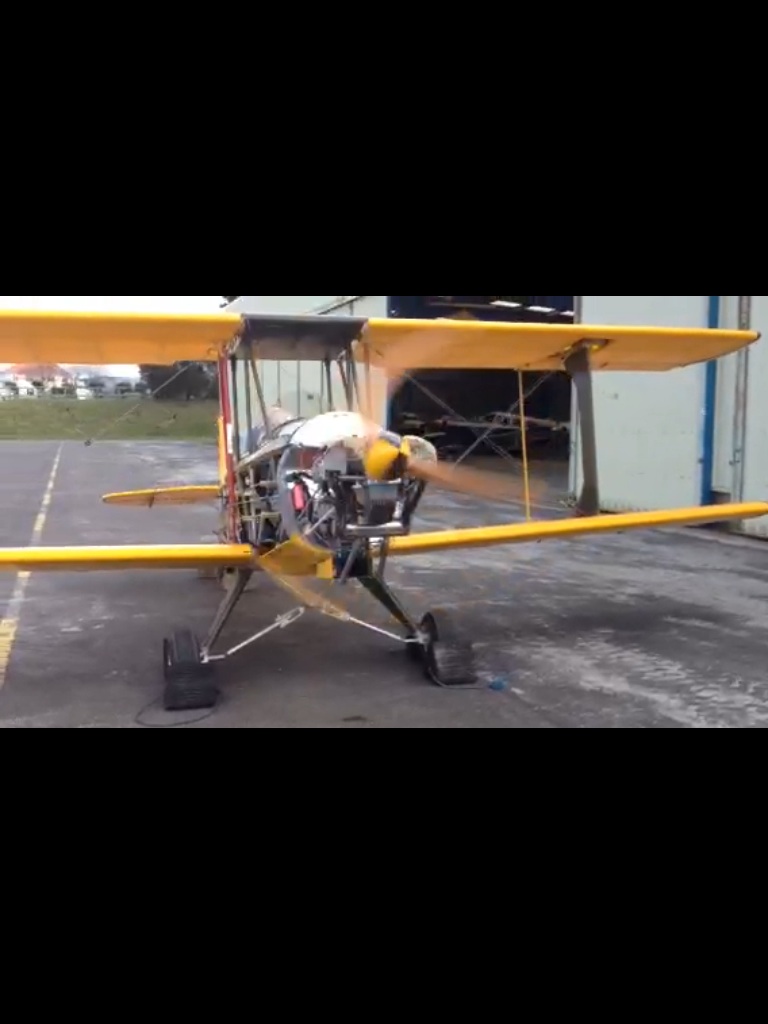
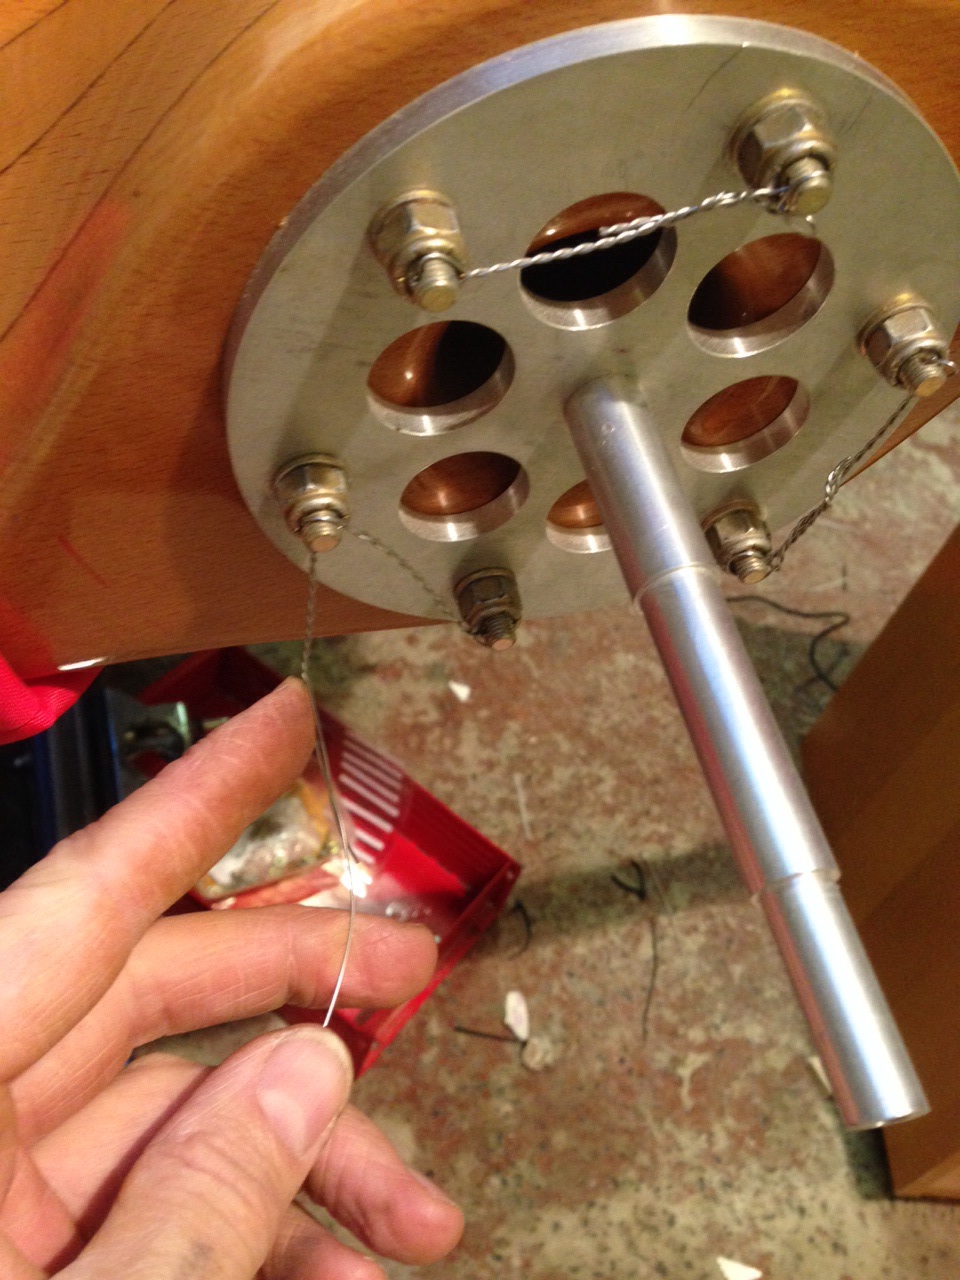
Wired up prop ahead of planned engine test ..
Pre torqued up as per Hercules spec … Nice clear instructions they provide with each prop
A mile of runway can take you anywhere
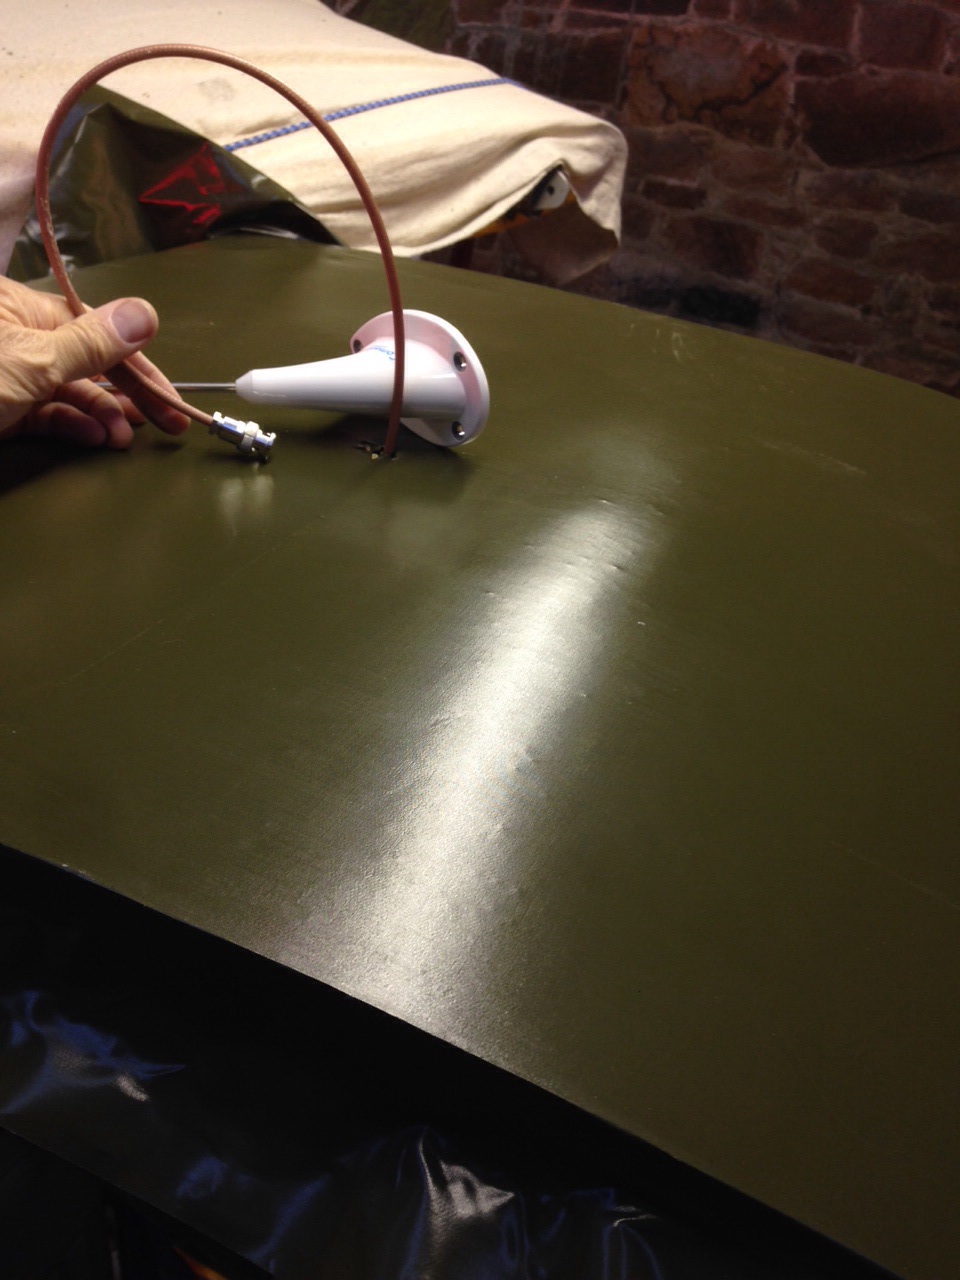
Although i intend to put a double Trig set in i am starting off with an Icom unit. The ariel that comes with the Icom should be fine for testing but def not mid channel crossings !
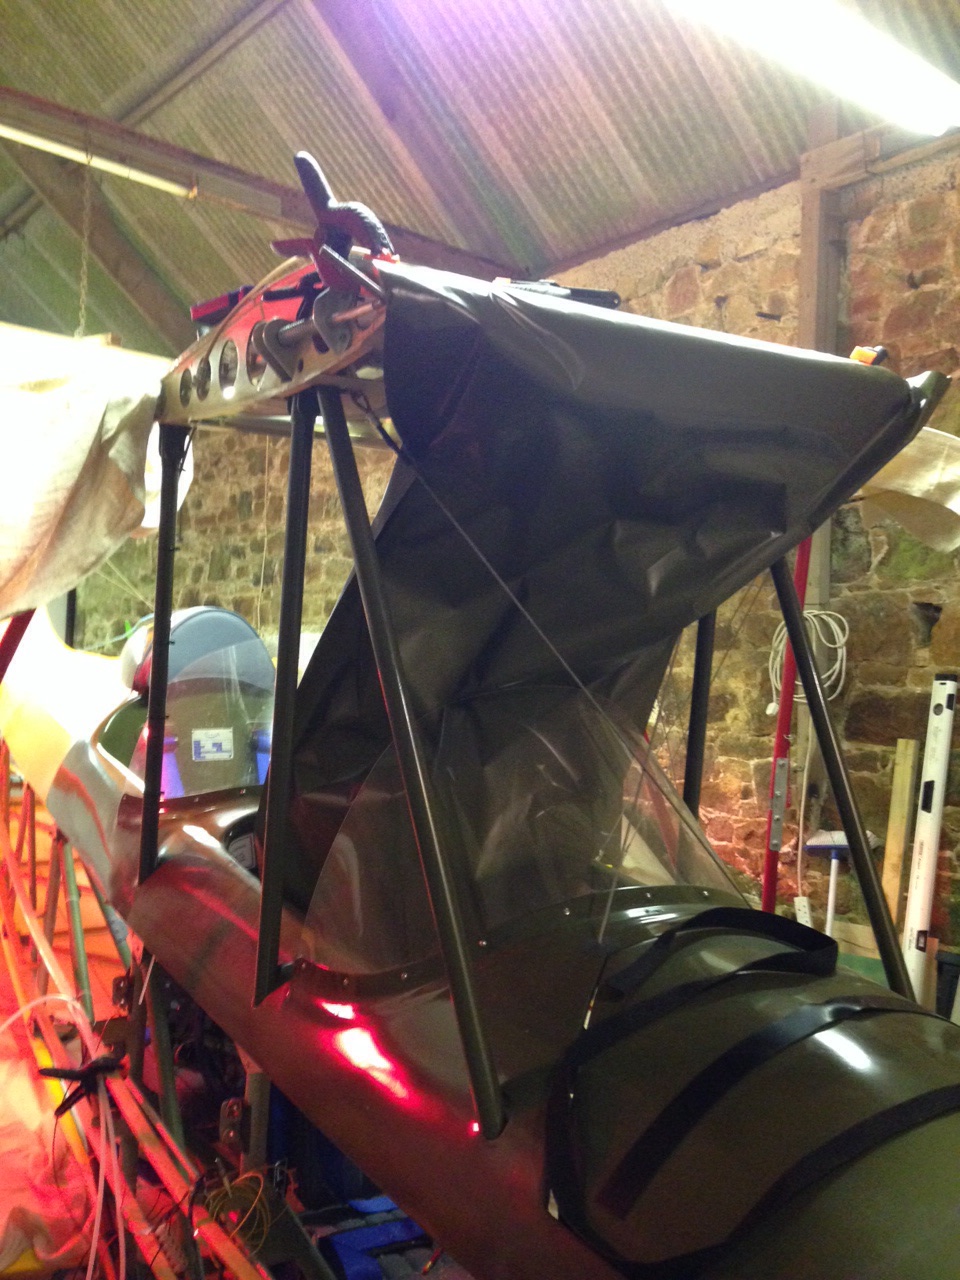
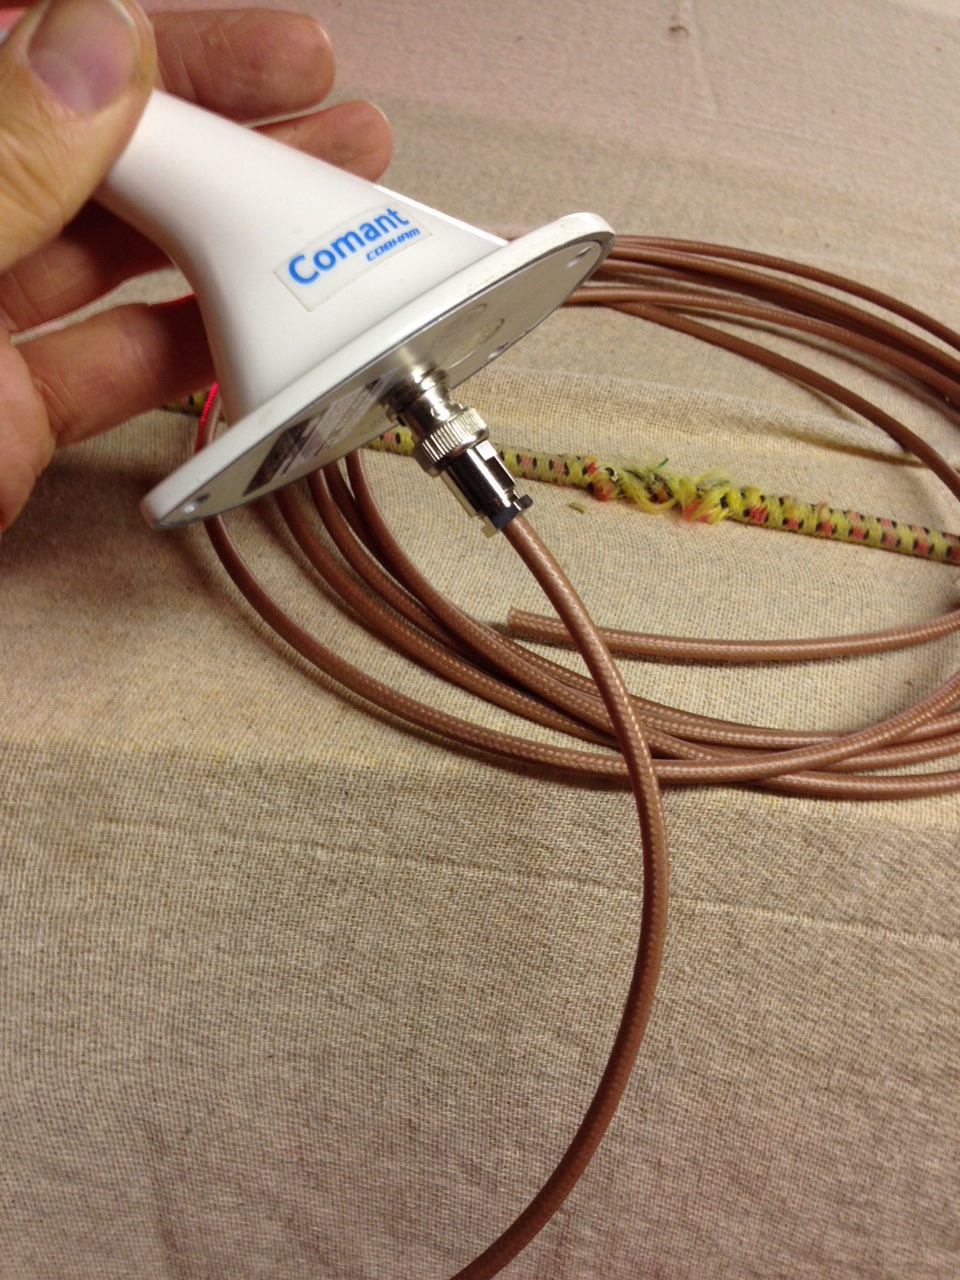
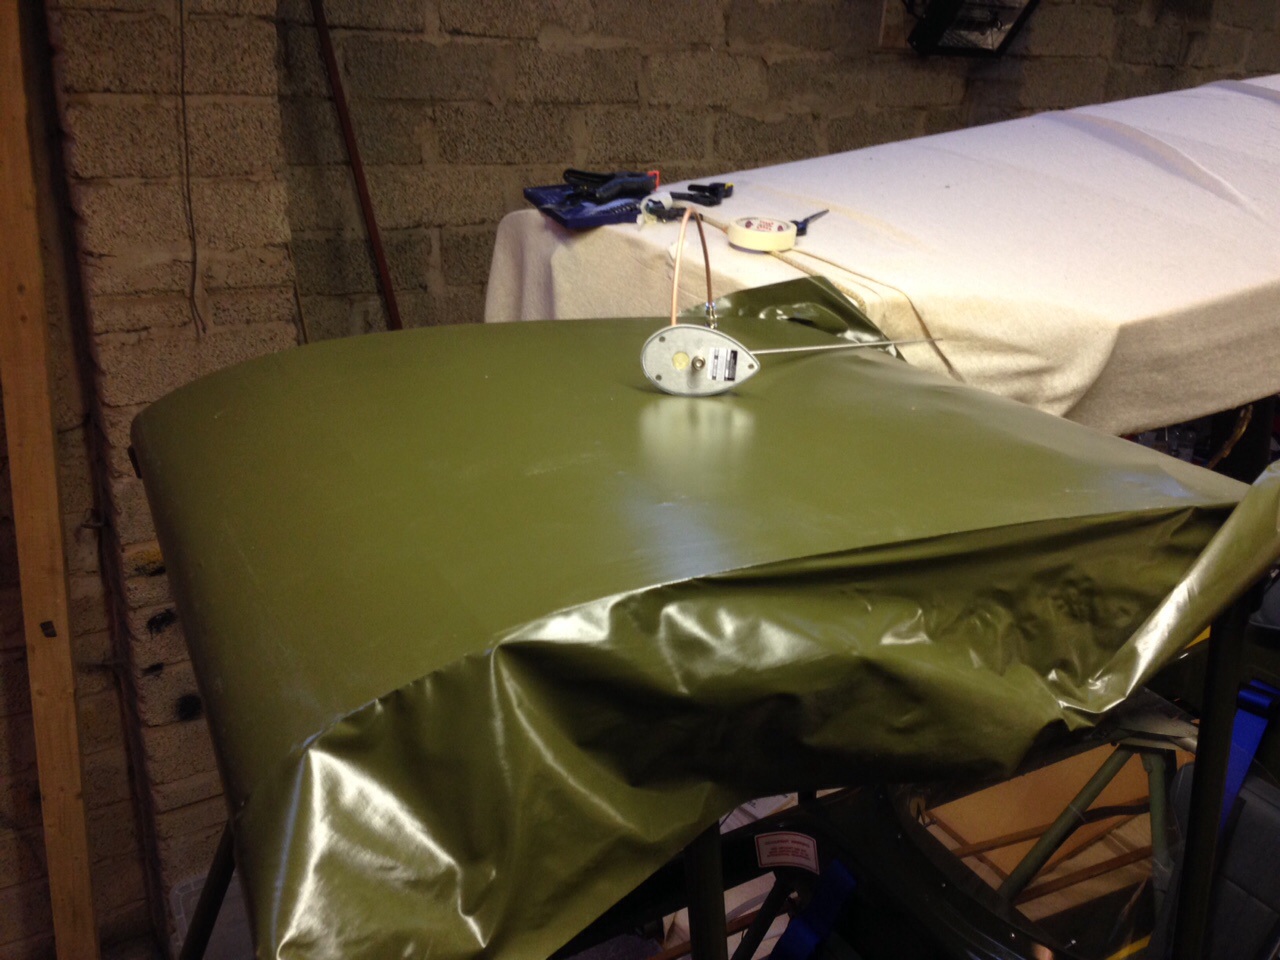
So i have a top of cabane mounted comant ariel which i have made an under tray for with rivnuts so that i have blind access. Three long countersunk allen headed bolts complete the fitting.
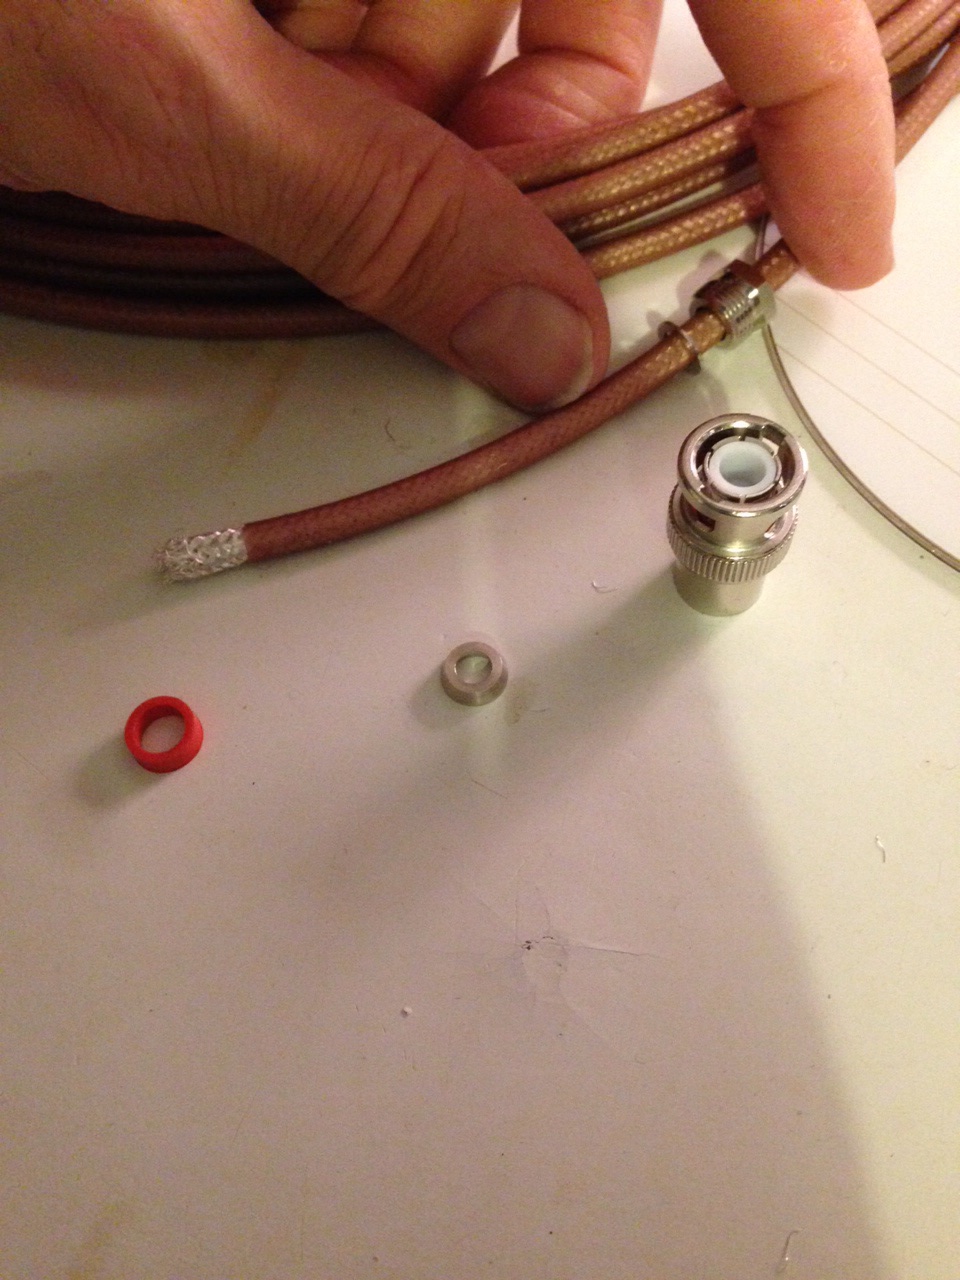
I sourced two RG58 co ax plugs from RS and these will be fitted to the base today ready for covering the centre top cabane (Olive Green). The Green contrasts to the Cub Yellow wings but carries in the top cowl, upper body colour scheme before it changes to Yellow behind the pilots head.
I intend to curl some slack ariel cable in the top cabane so that i have ‘working’ cable should i need to service the ariel.
I am now looking for suitable trunking rubber to secure down the back of one of the supports struts so that the ariel cable routes neatly to the cockpit.
Mike has made some final tweaks to the wing supports. Kevin made some fantastic light alloy dollys and some nice wide carbon fibre under wing supports that mould to the wing shape.
This will prevent any bouncing whilst trailering.
With the engine monitor all pretty much wired up and throttle connected its up to the Channel Island Aero Services to check her out, get Avgas in and test start the engine.
Tail weight sourced through a UK diving company .. So provides a simple sungle 3Kg block. Made up a clamping plate for both sides, glued and bolted onto the plate and then 4 x rivets to the airframe.
Although it’s been a long family break I have been trying to keep things moving over the Christmas and New Year break !
The big build to a ski trip was dashed when the high winds meant we couldn’t sail off the island so ended up flying to Malta .. Not renowned for its ski slopes ! But lovely 20′ nonetheless …
it’s been a great chance to catch up with odd days and hours when the work support and trips permitted …
Next step .. Onto trailer and up to the airport for first engine test run
Haven’t done this for years !
Middle son Will is picking up the old traits and, rather than buy all foam, out of the box, battery in, and fly type models … he has opted to build an RCM&E FW190 plan based aircraft.
Interesting to get used to reading this sort of plan again and prepping all the ribs and spars etc He has also invested in some Robart retracts … I always dreamt of those but could never afford them … had mechanical set which were a bit clunky ! Flew them in my SuperStar off an old American aerodrome in Suffolk called Alpheton
Spent a few hours pulling various parts that were covered some time ago and can now be re-joined to the mother ship !
The Elevators have been off ever since covering as have the tailplanes and elevators but now I have decided the wings are on to stay (they have been on and off about 3 times to date) then they can all start to go back on board.
Pays to mark these ..(‘S’ for Starboard) as each was pretty built in situ you do get slight deviations in fitting placements … which effectively makes all placements unique.
Looks so much better when the tail goes on … will leave the re rigging off for now as that will get in the way of covering the sides. Picture right above … shows a position that will NEVER happen .. differential elevators ! – mid way through re connecting.
These are extremely difficult to re-connect post covering I imagine so I took the opportunity to reconnect now where I can get easy access. Will take the overhead of tricky side covering !
Nice to get first aileron back on .. These look quite nice now they are covered and sensible gap on the frise 🙂
As I don’t have the facility to hoist the entire body skywards and work on covering I have opted for what PHS (Paul) mentioned was the ‘keep fit’ option ! ie forget gym memberships and riding pushbikes …just nip under and over, nose to tail, under the wings etc to measure and trim the material for covering the full body underside … Then use temporary clamps to hold it in place so that I can get pencil marks for the glue line.
Then work a method for releasing the forward pieces to get those hotmelted in place and slowly work backwards… this method seems to be working a treat !
Had a problem prior to this getting a good ‘hold’ for the glue on the stainless bulkhead .. but, following PHS advice roughed it up using wet and dry, then a thorough cleaning/de greasing then etch prime.
Just need to secure the exhaust duct tail oratex using same method as above.