Drilled out the brake lever arms last night and cut the outer cable, greased and ran the bowden cable through and started to plan the routing through the open Undercarriage leg. This will all get covered and the exit tube will run through a leather patch. Time to get my green covered cow out again ! I also need to start cutting sections out of this for the panel covering.
Remove the manifolds for sensors
Removed the two rear exhaust manifolds from the Jabiru to get the holes drilled for the Exhaust Gas Temp (EGT) sensors.
Need to be 100mm down from the manifold.
Also, this is how every self respecting ‘plane builder goes to work .. on his motorbike .. with a Jabiru exhaust stuffed down his front … this is going to have two holes drilled for the smoke atomizers (10″ from the exit hole)
Smoke on ……. Go … (Part 1)
Kit arrived from Smokin Airplanes … wow … what a fantastic top quality kit it is …
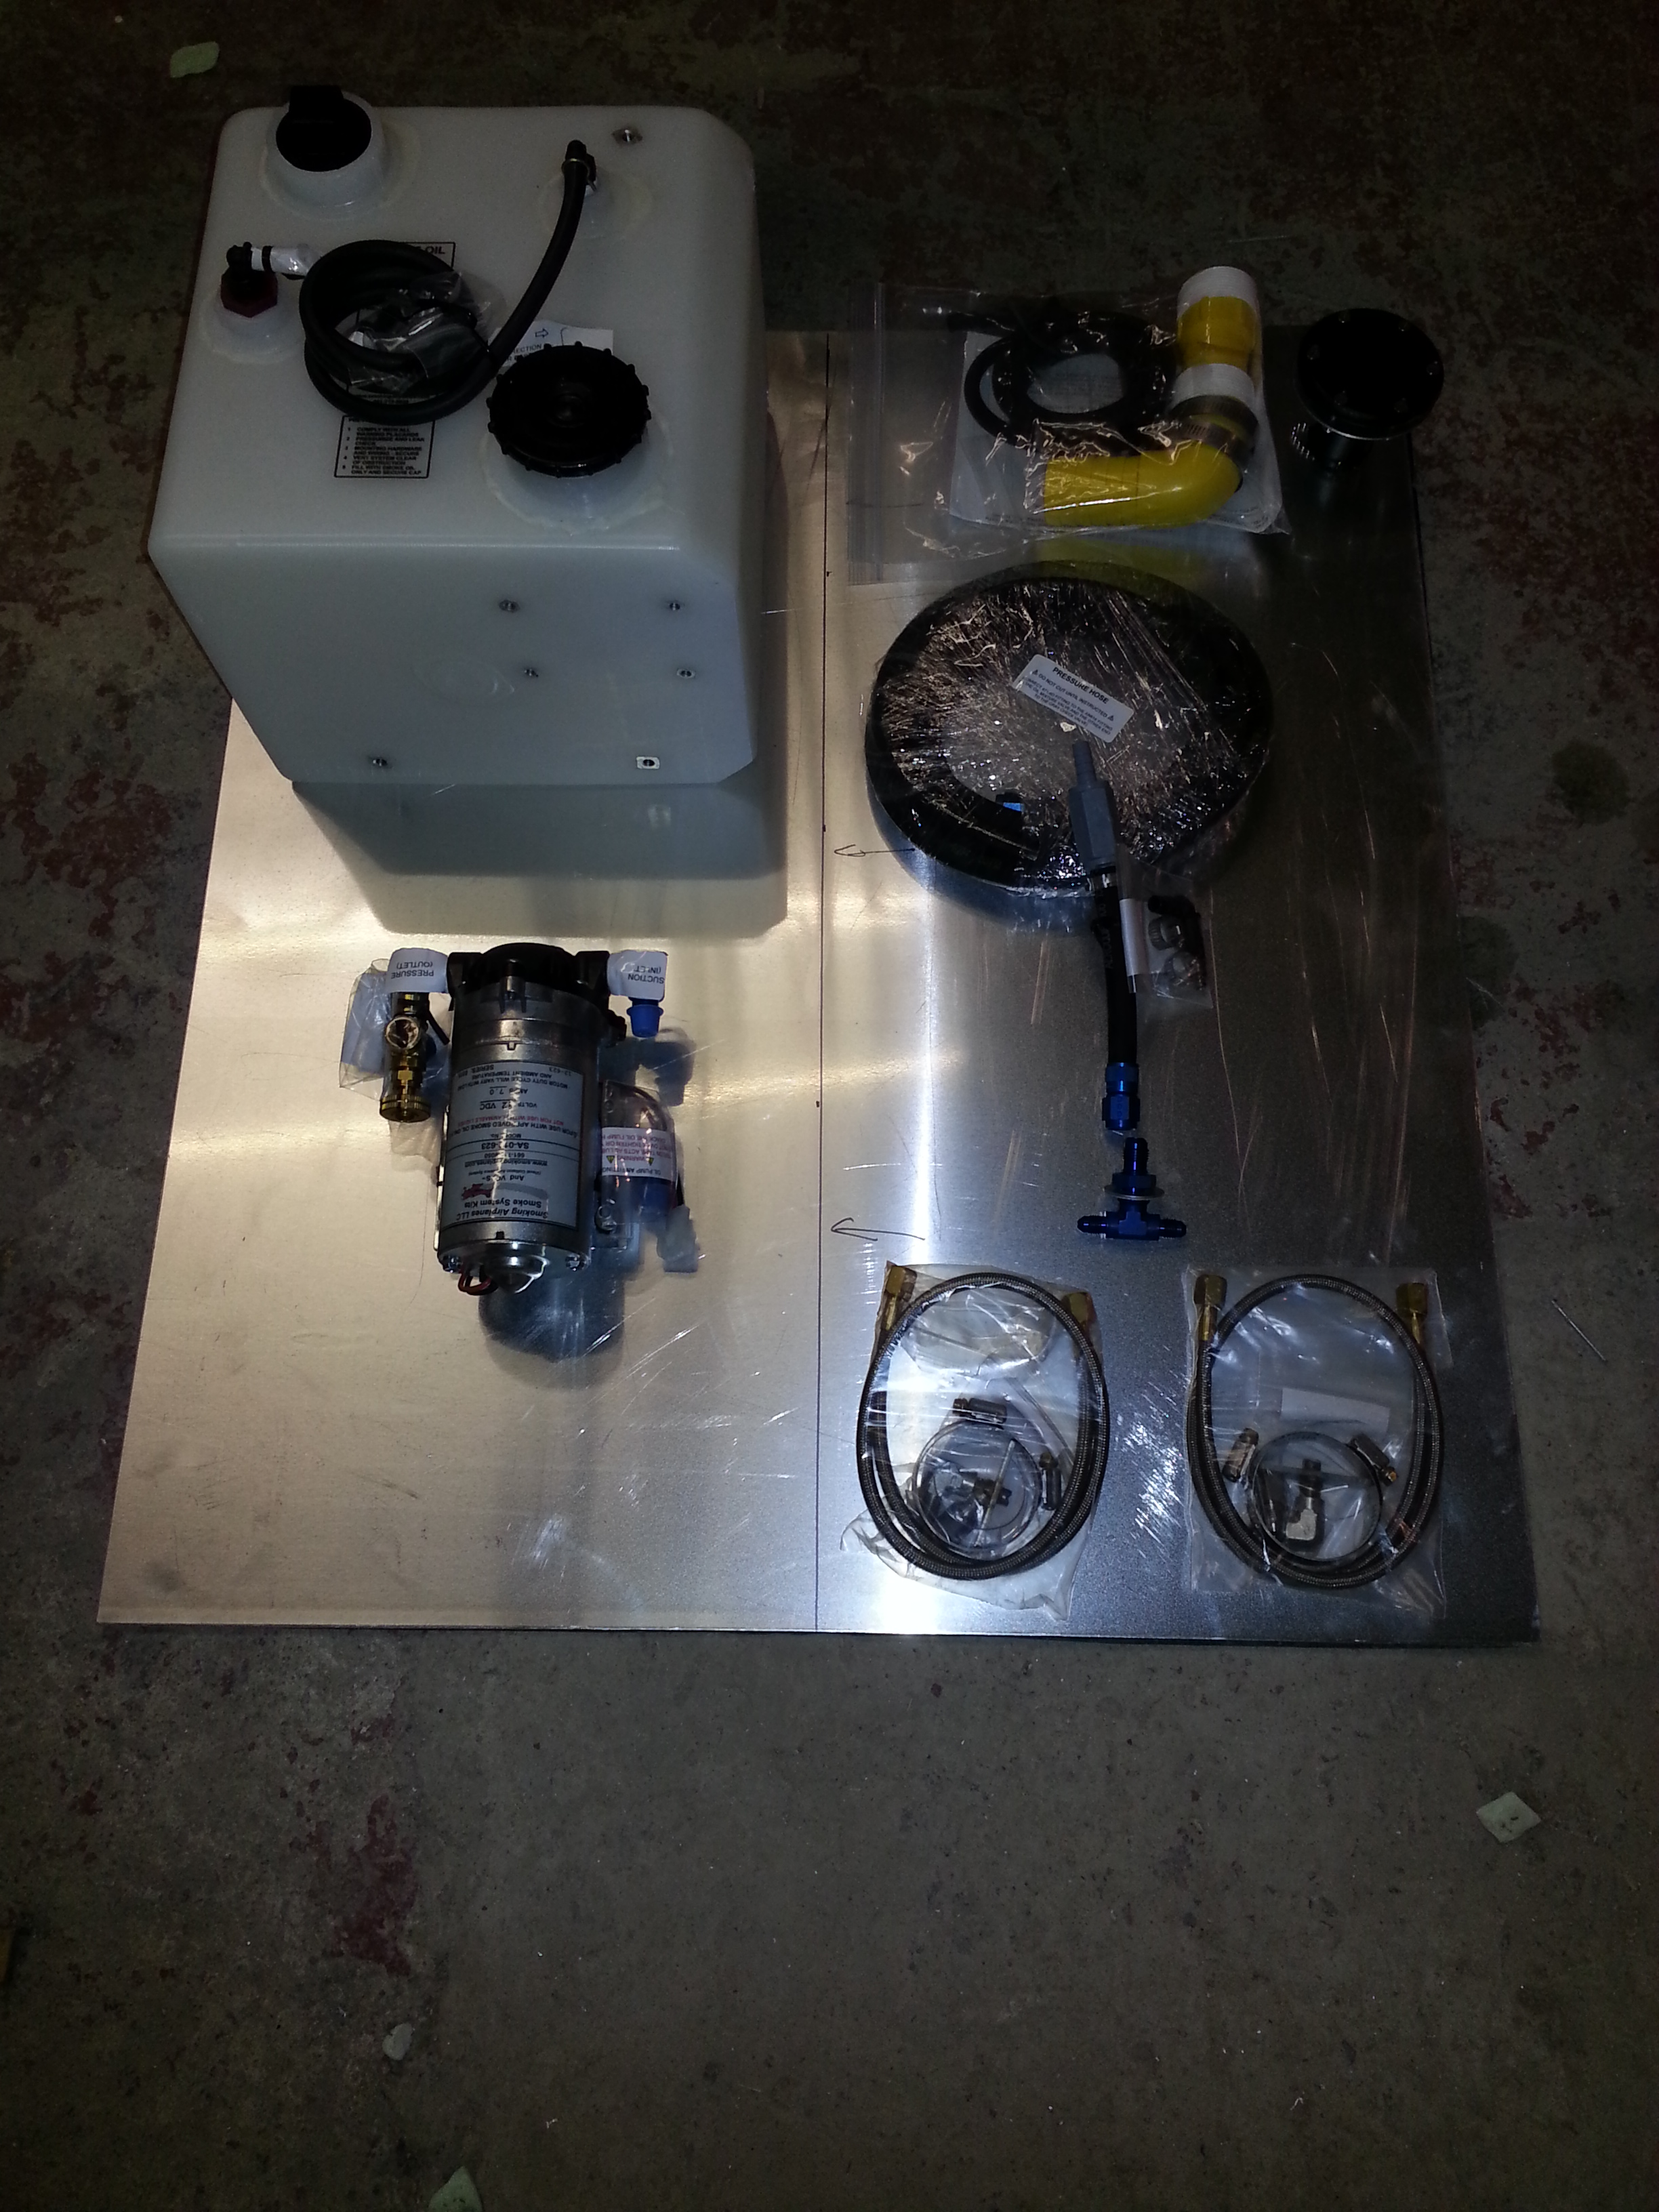
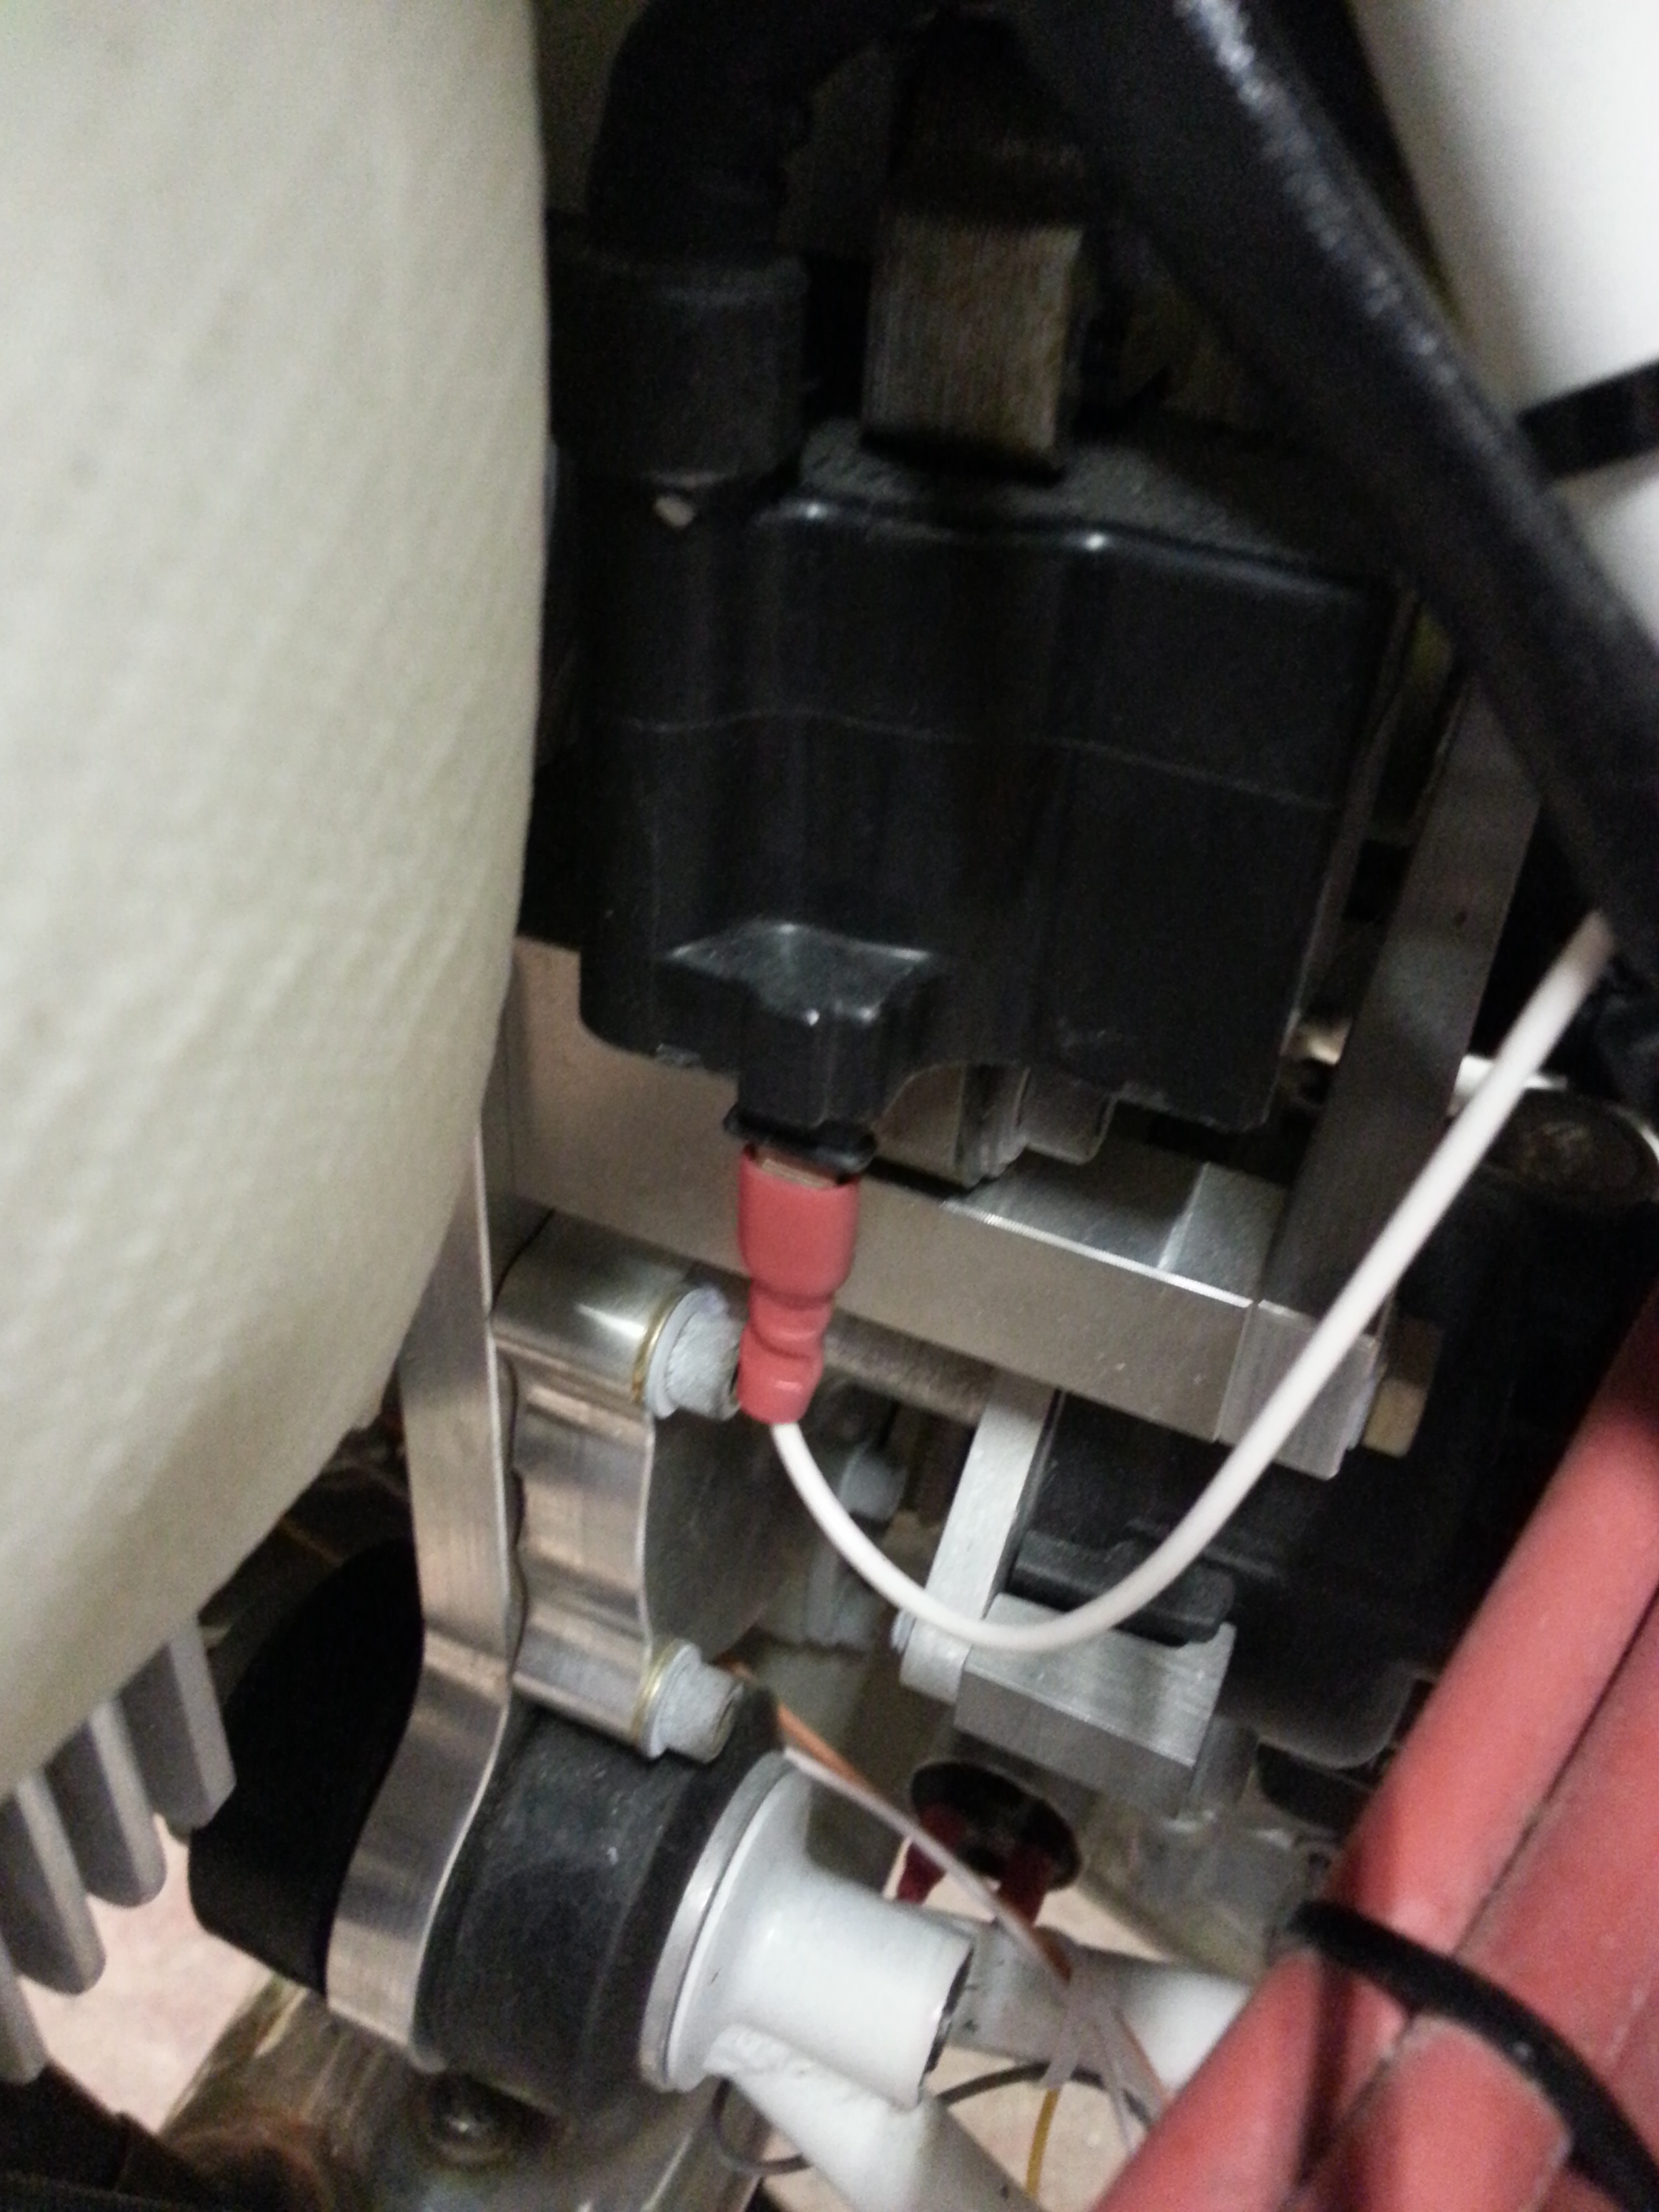
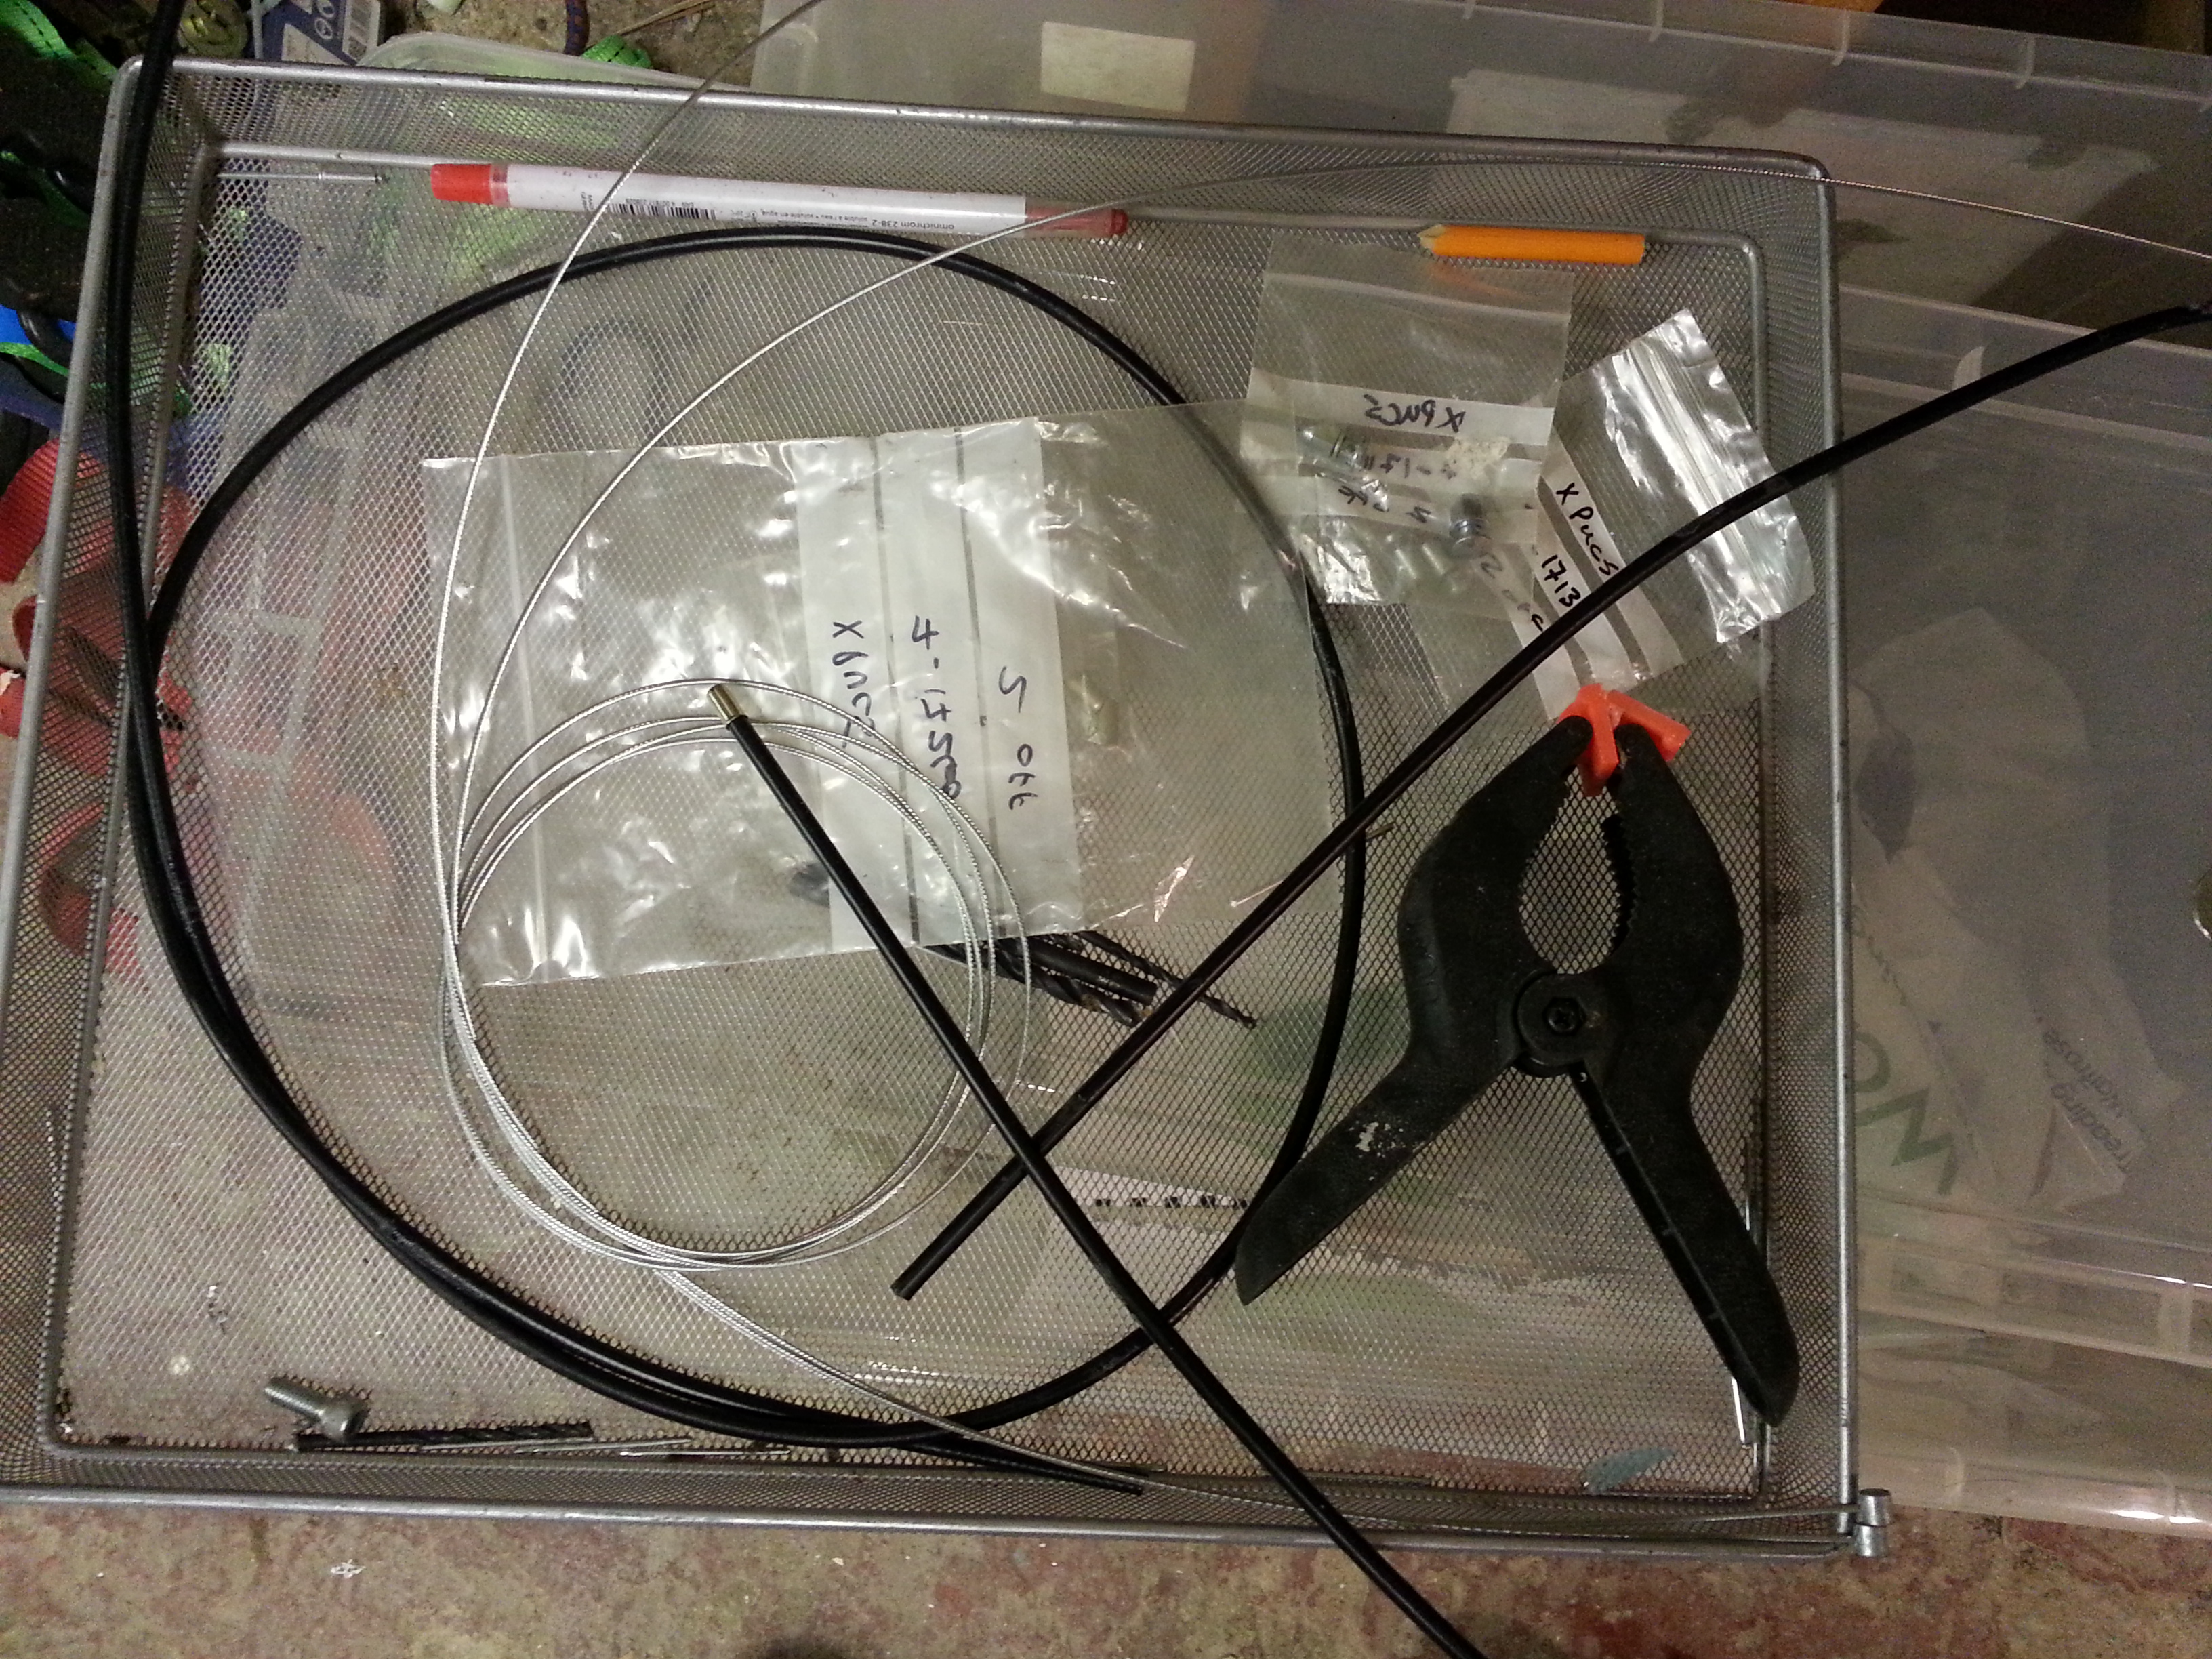
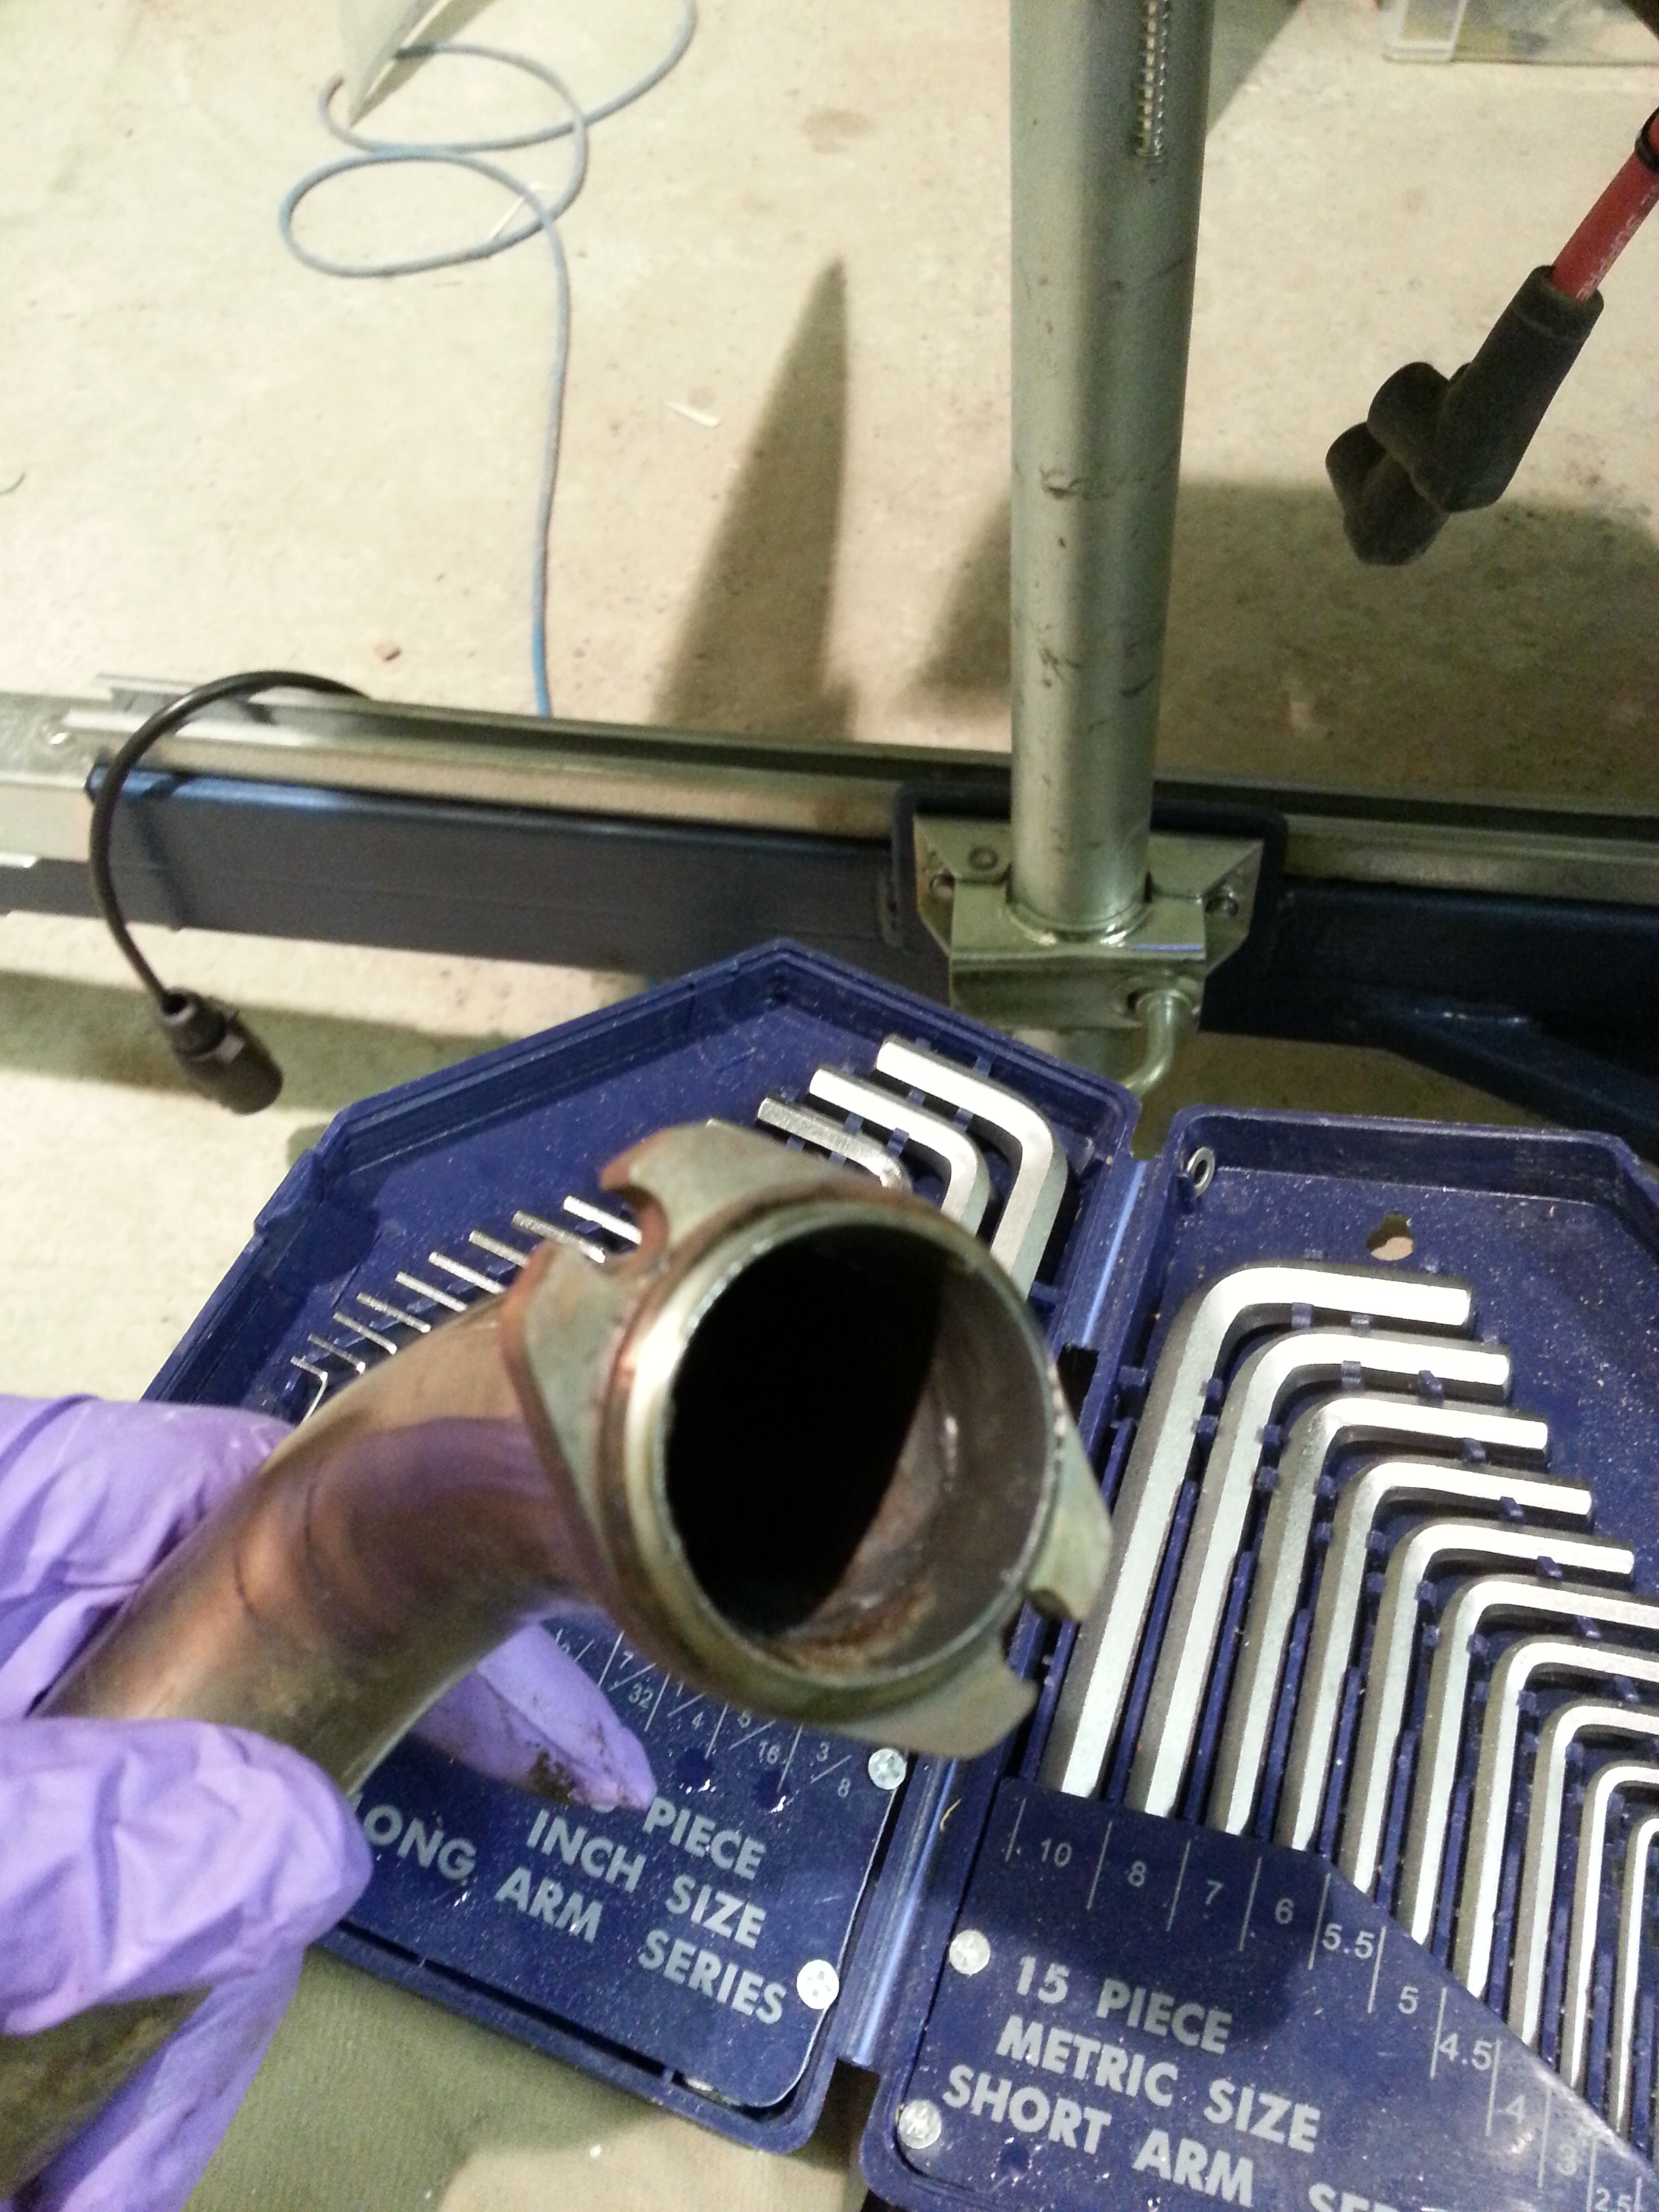
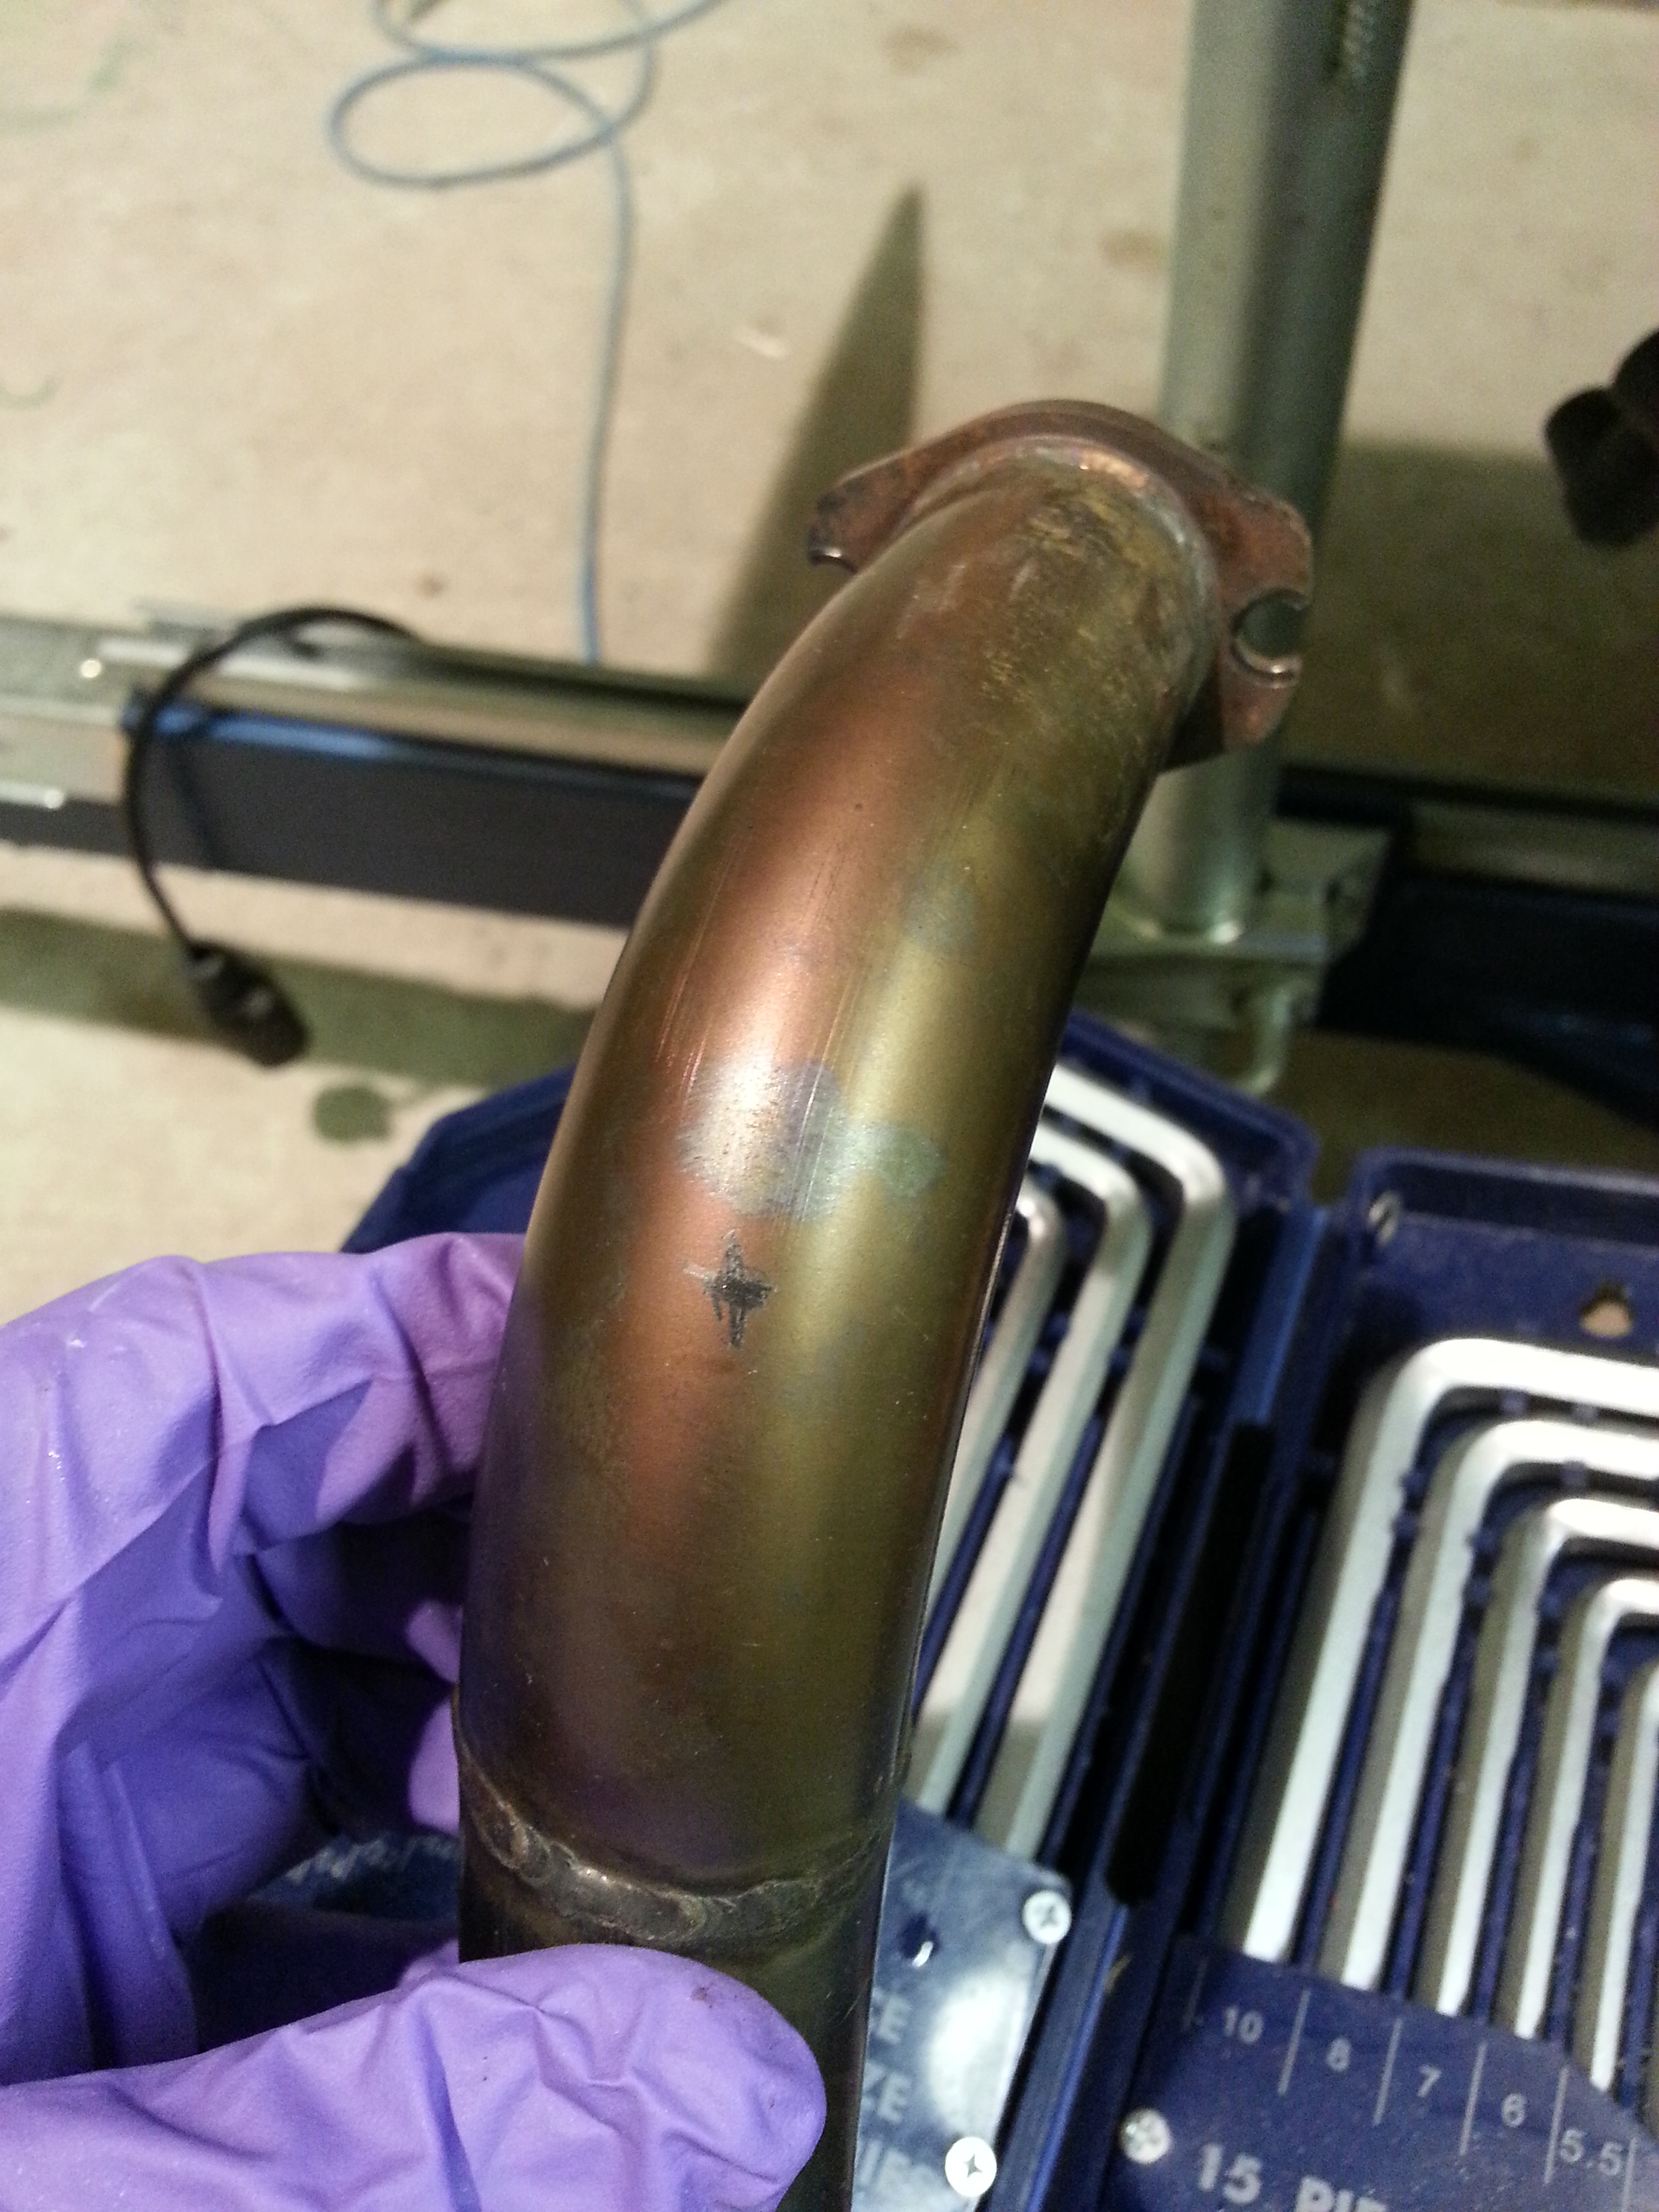
Everything very neatly and securely boxed up. All the pipes finished and cut o length with appropriate bushes and ends in place. Very very clear instructions and a very neat end to end connection system that simply leaves you drilling a hole through the bulkhead, securing the anodised T bar which then splits off two braided feeder tubes. The end of the feeder tubes have atomiser spray heads that cloud the oil into the top end of the exhaust.
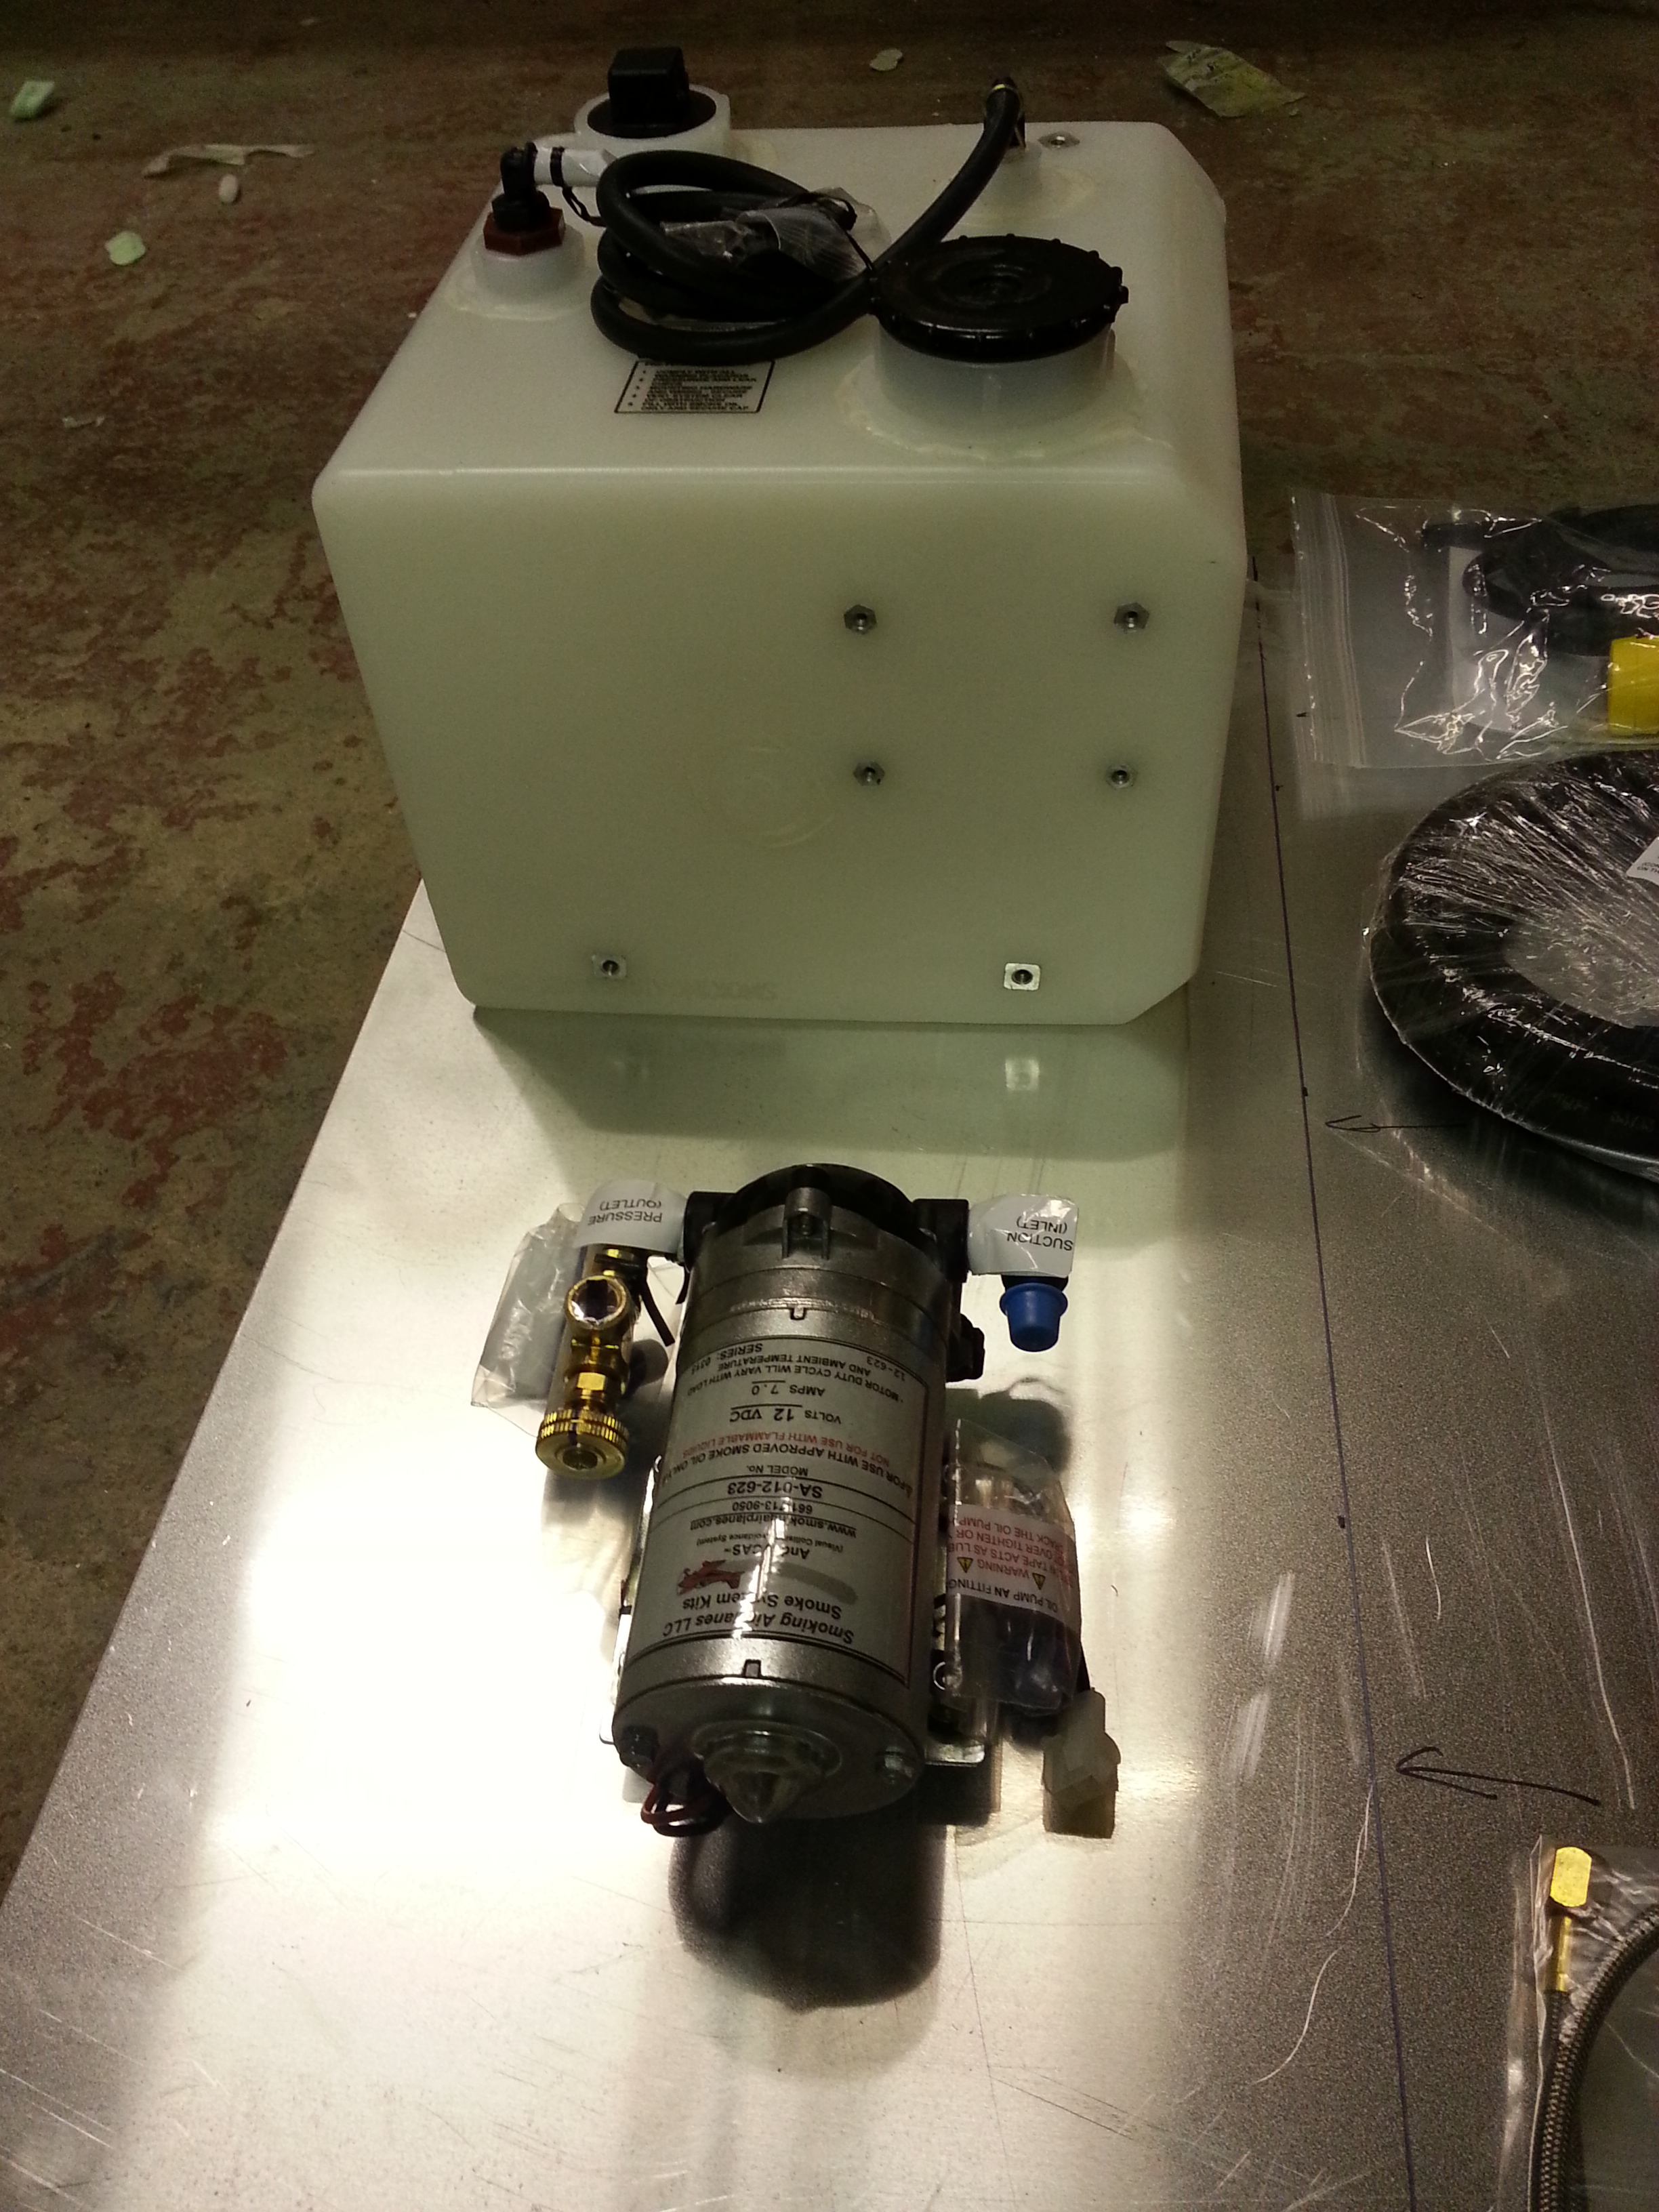
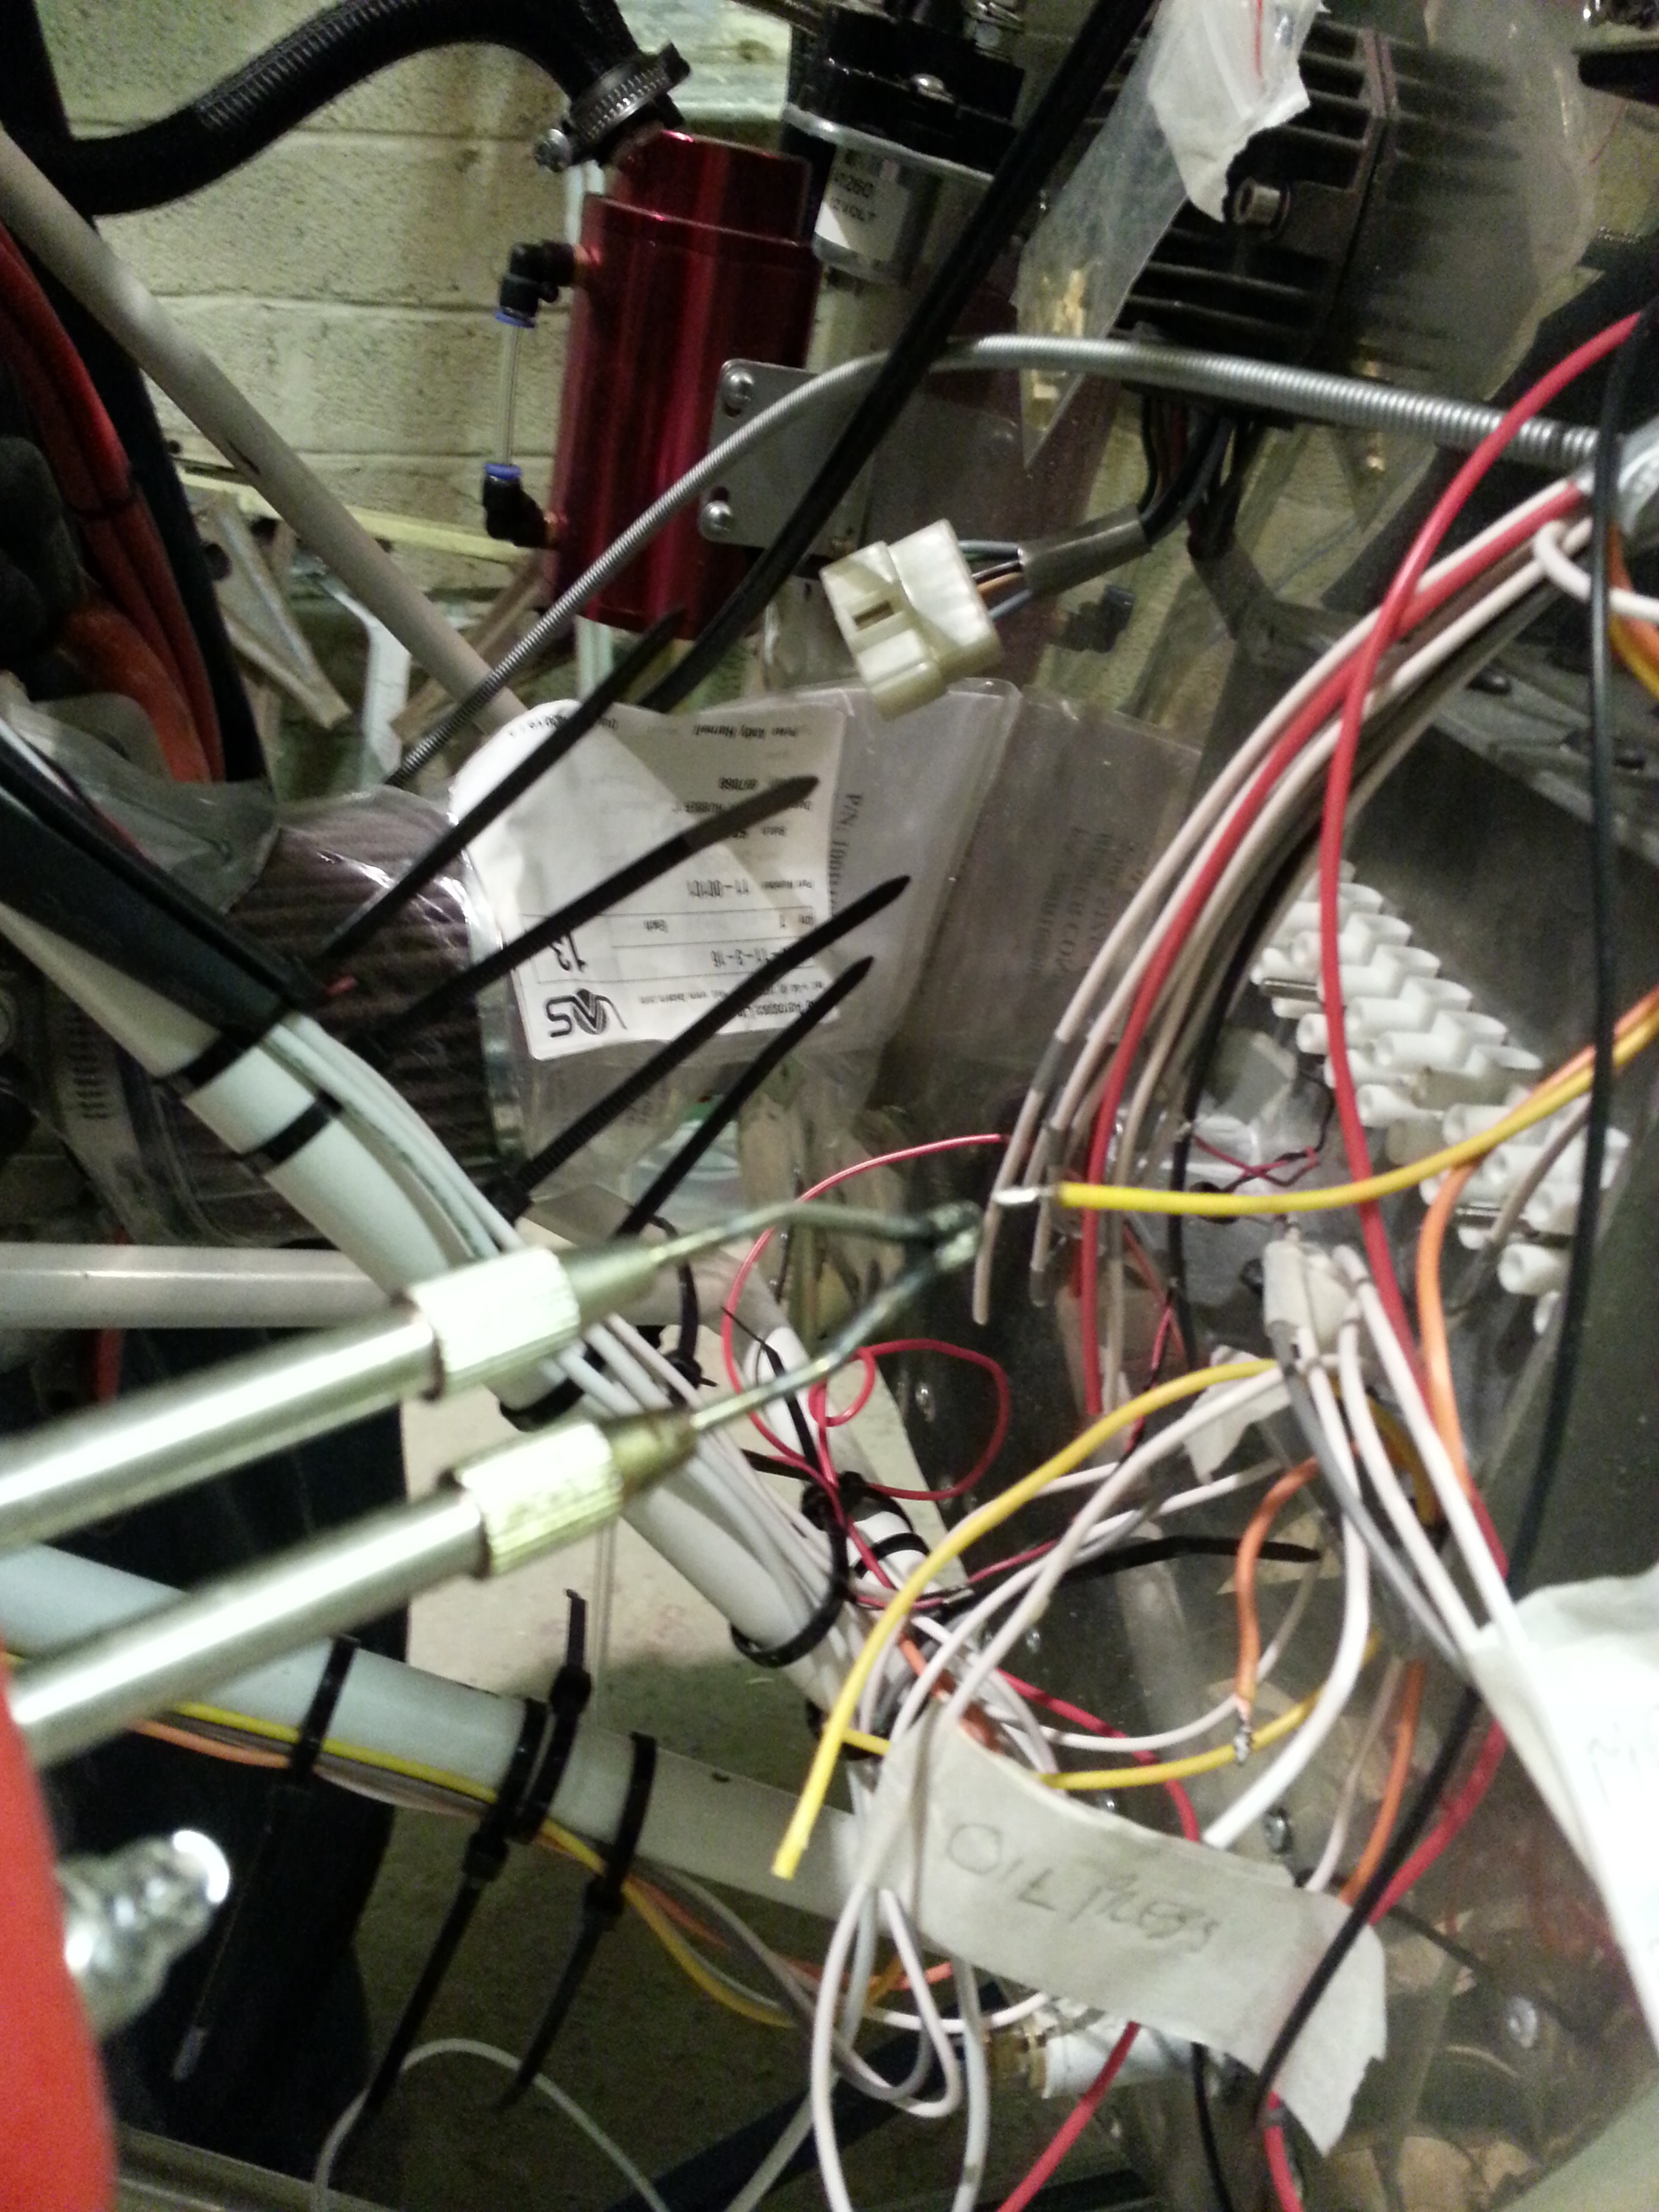
The tank, I went for the smallest they do, looks like it could withstand an atomic bomb .. very sturdy with loads of pre fitted rivnut style fixings to cater for however you may wish to mount it or its associated pump.
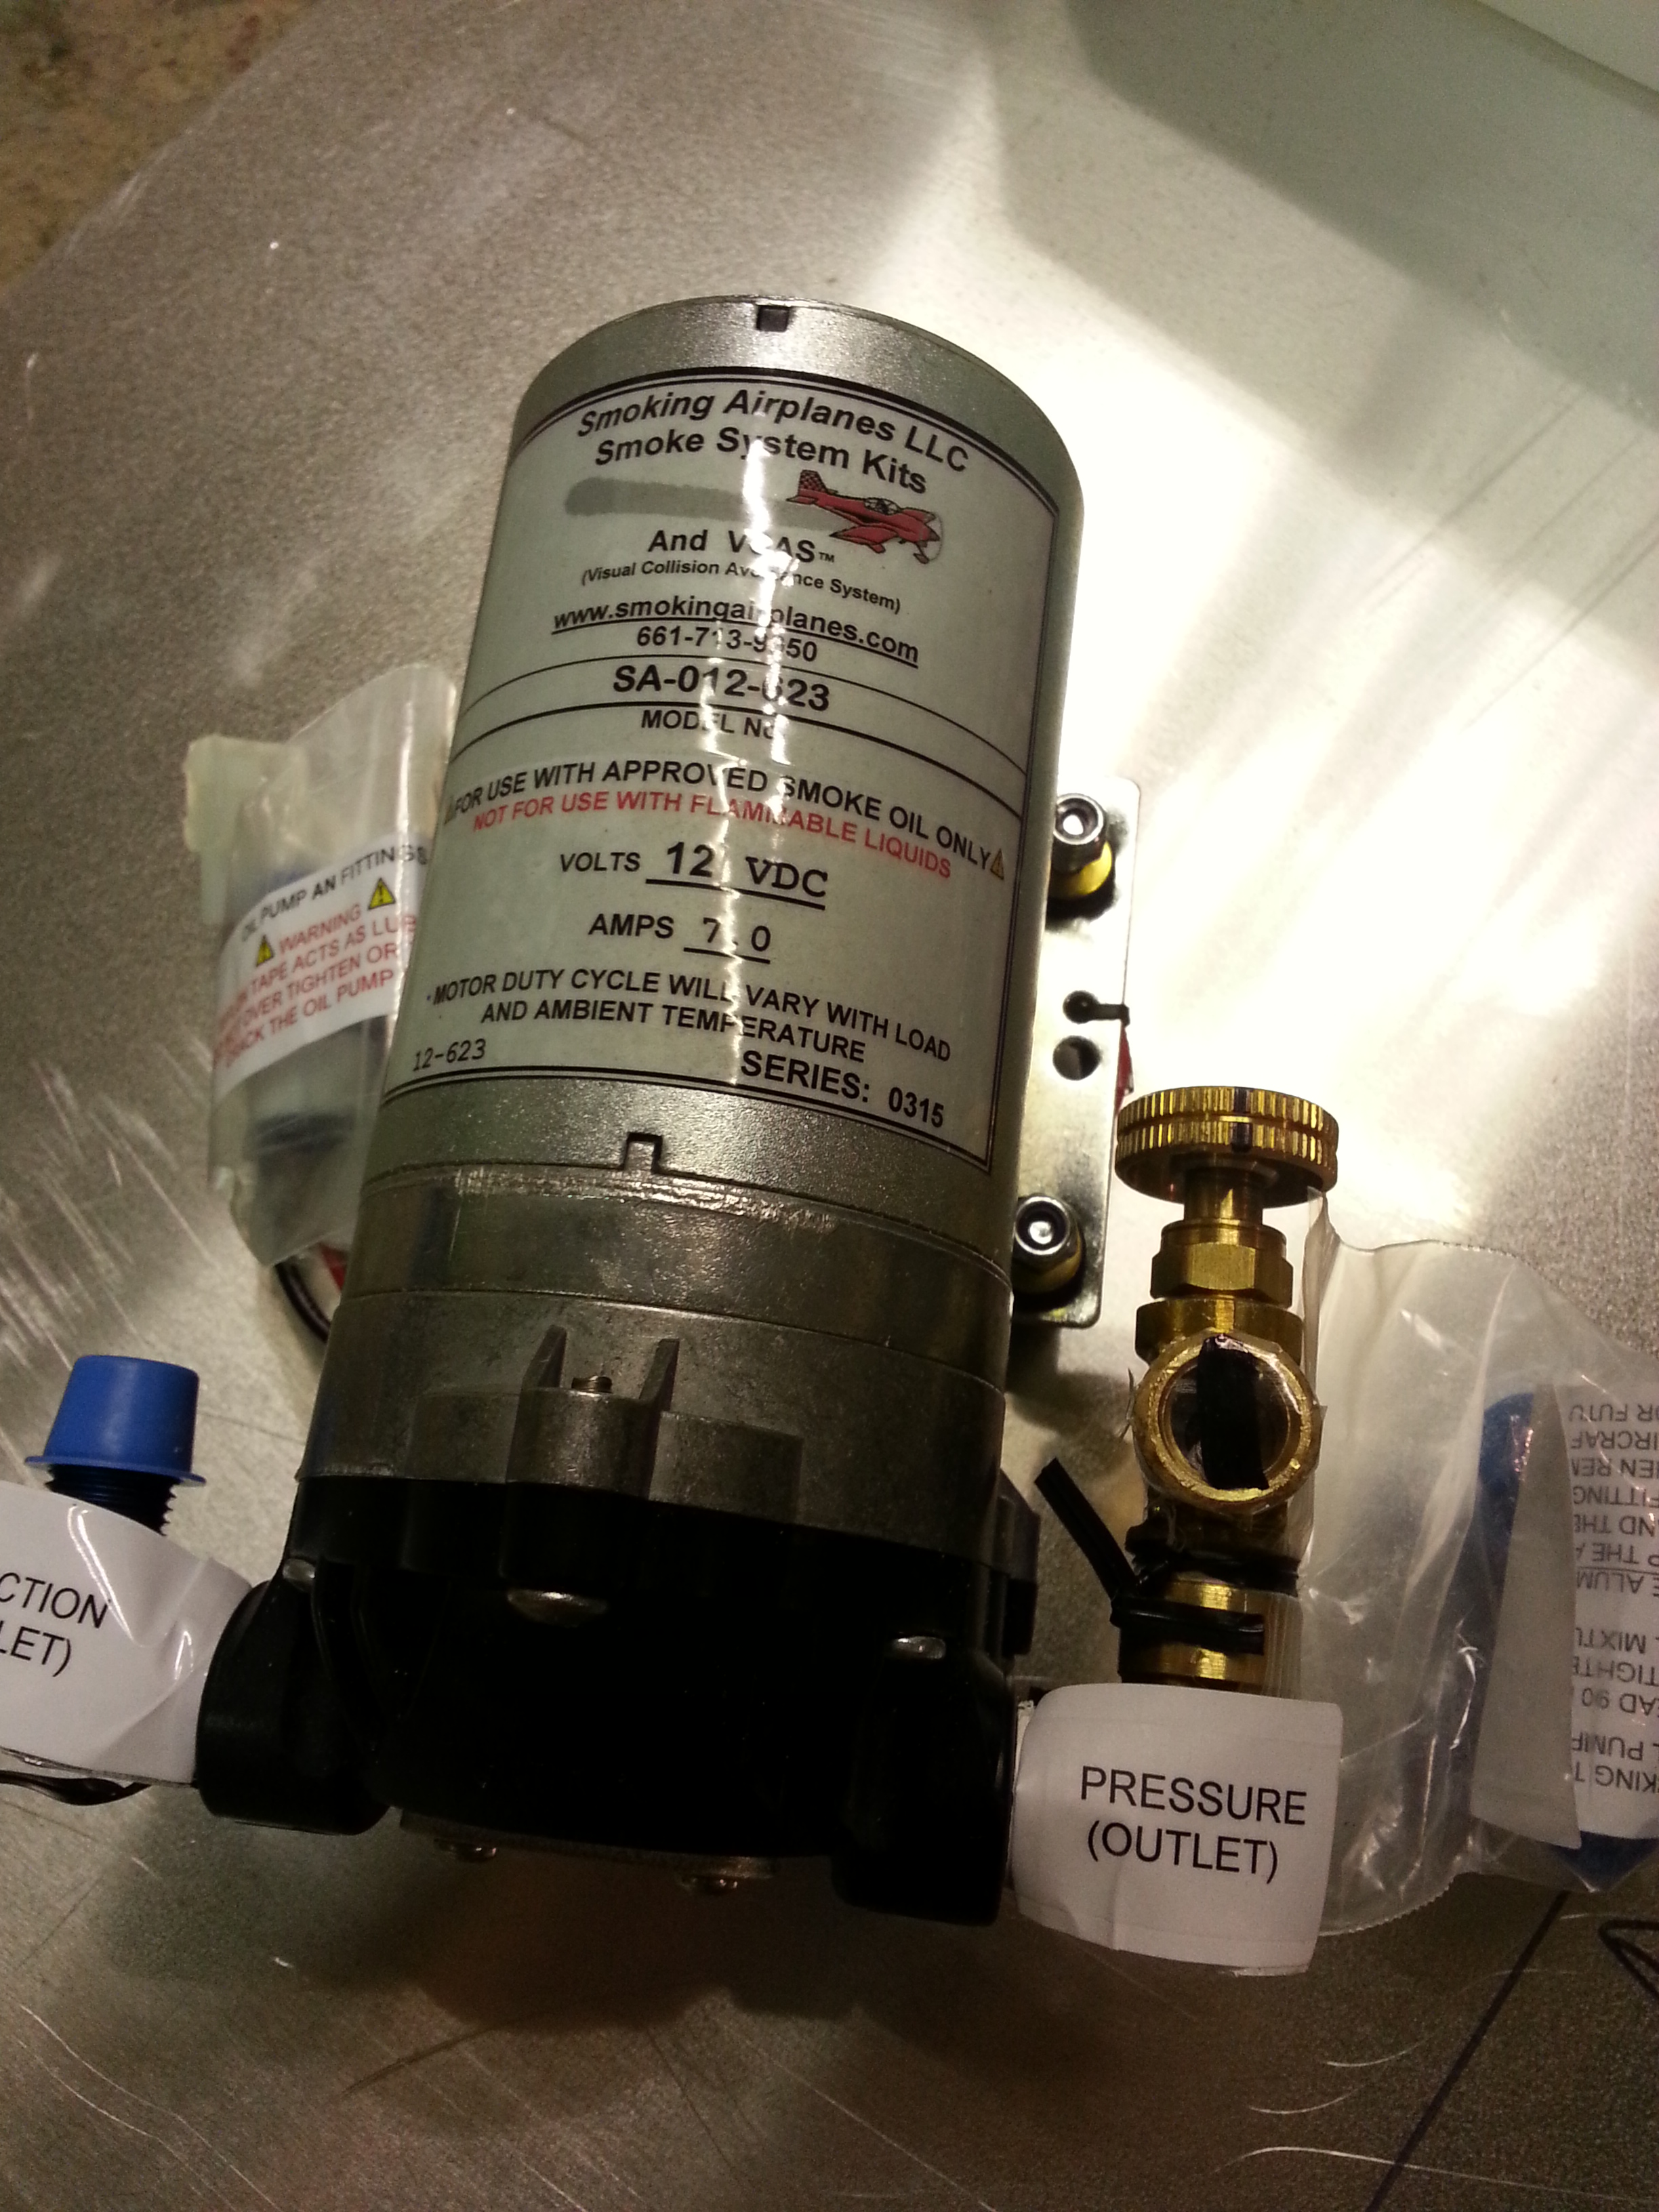
The pump, well that also looks built to last a million years. One concern I had was it felt quite heavy but I quickly decided to reverse my planned install and instead of the pump installed next to the tank and ‘pushing’ – I am going to flip ends and have it on the bulkhead and ‘pulling’. Quick email to Scott in the US and he said lots of people do that so no problem !
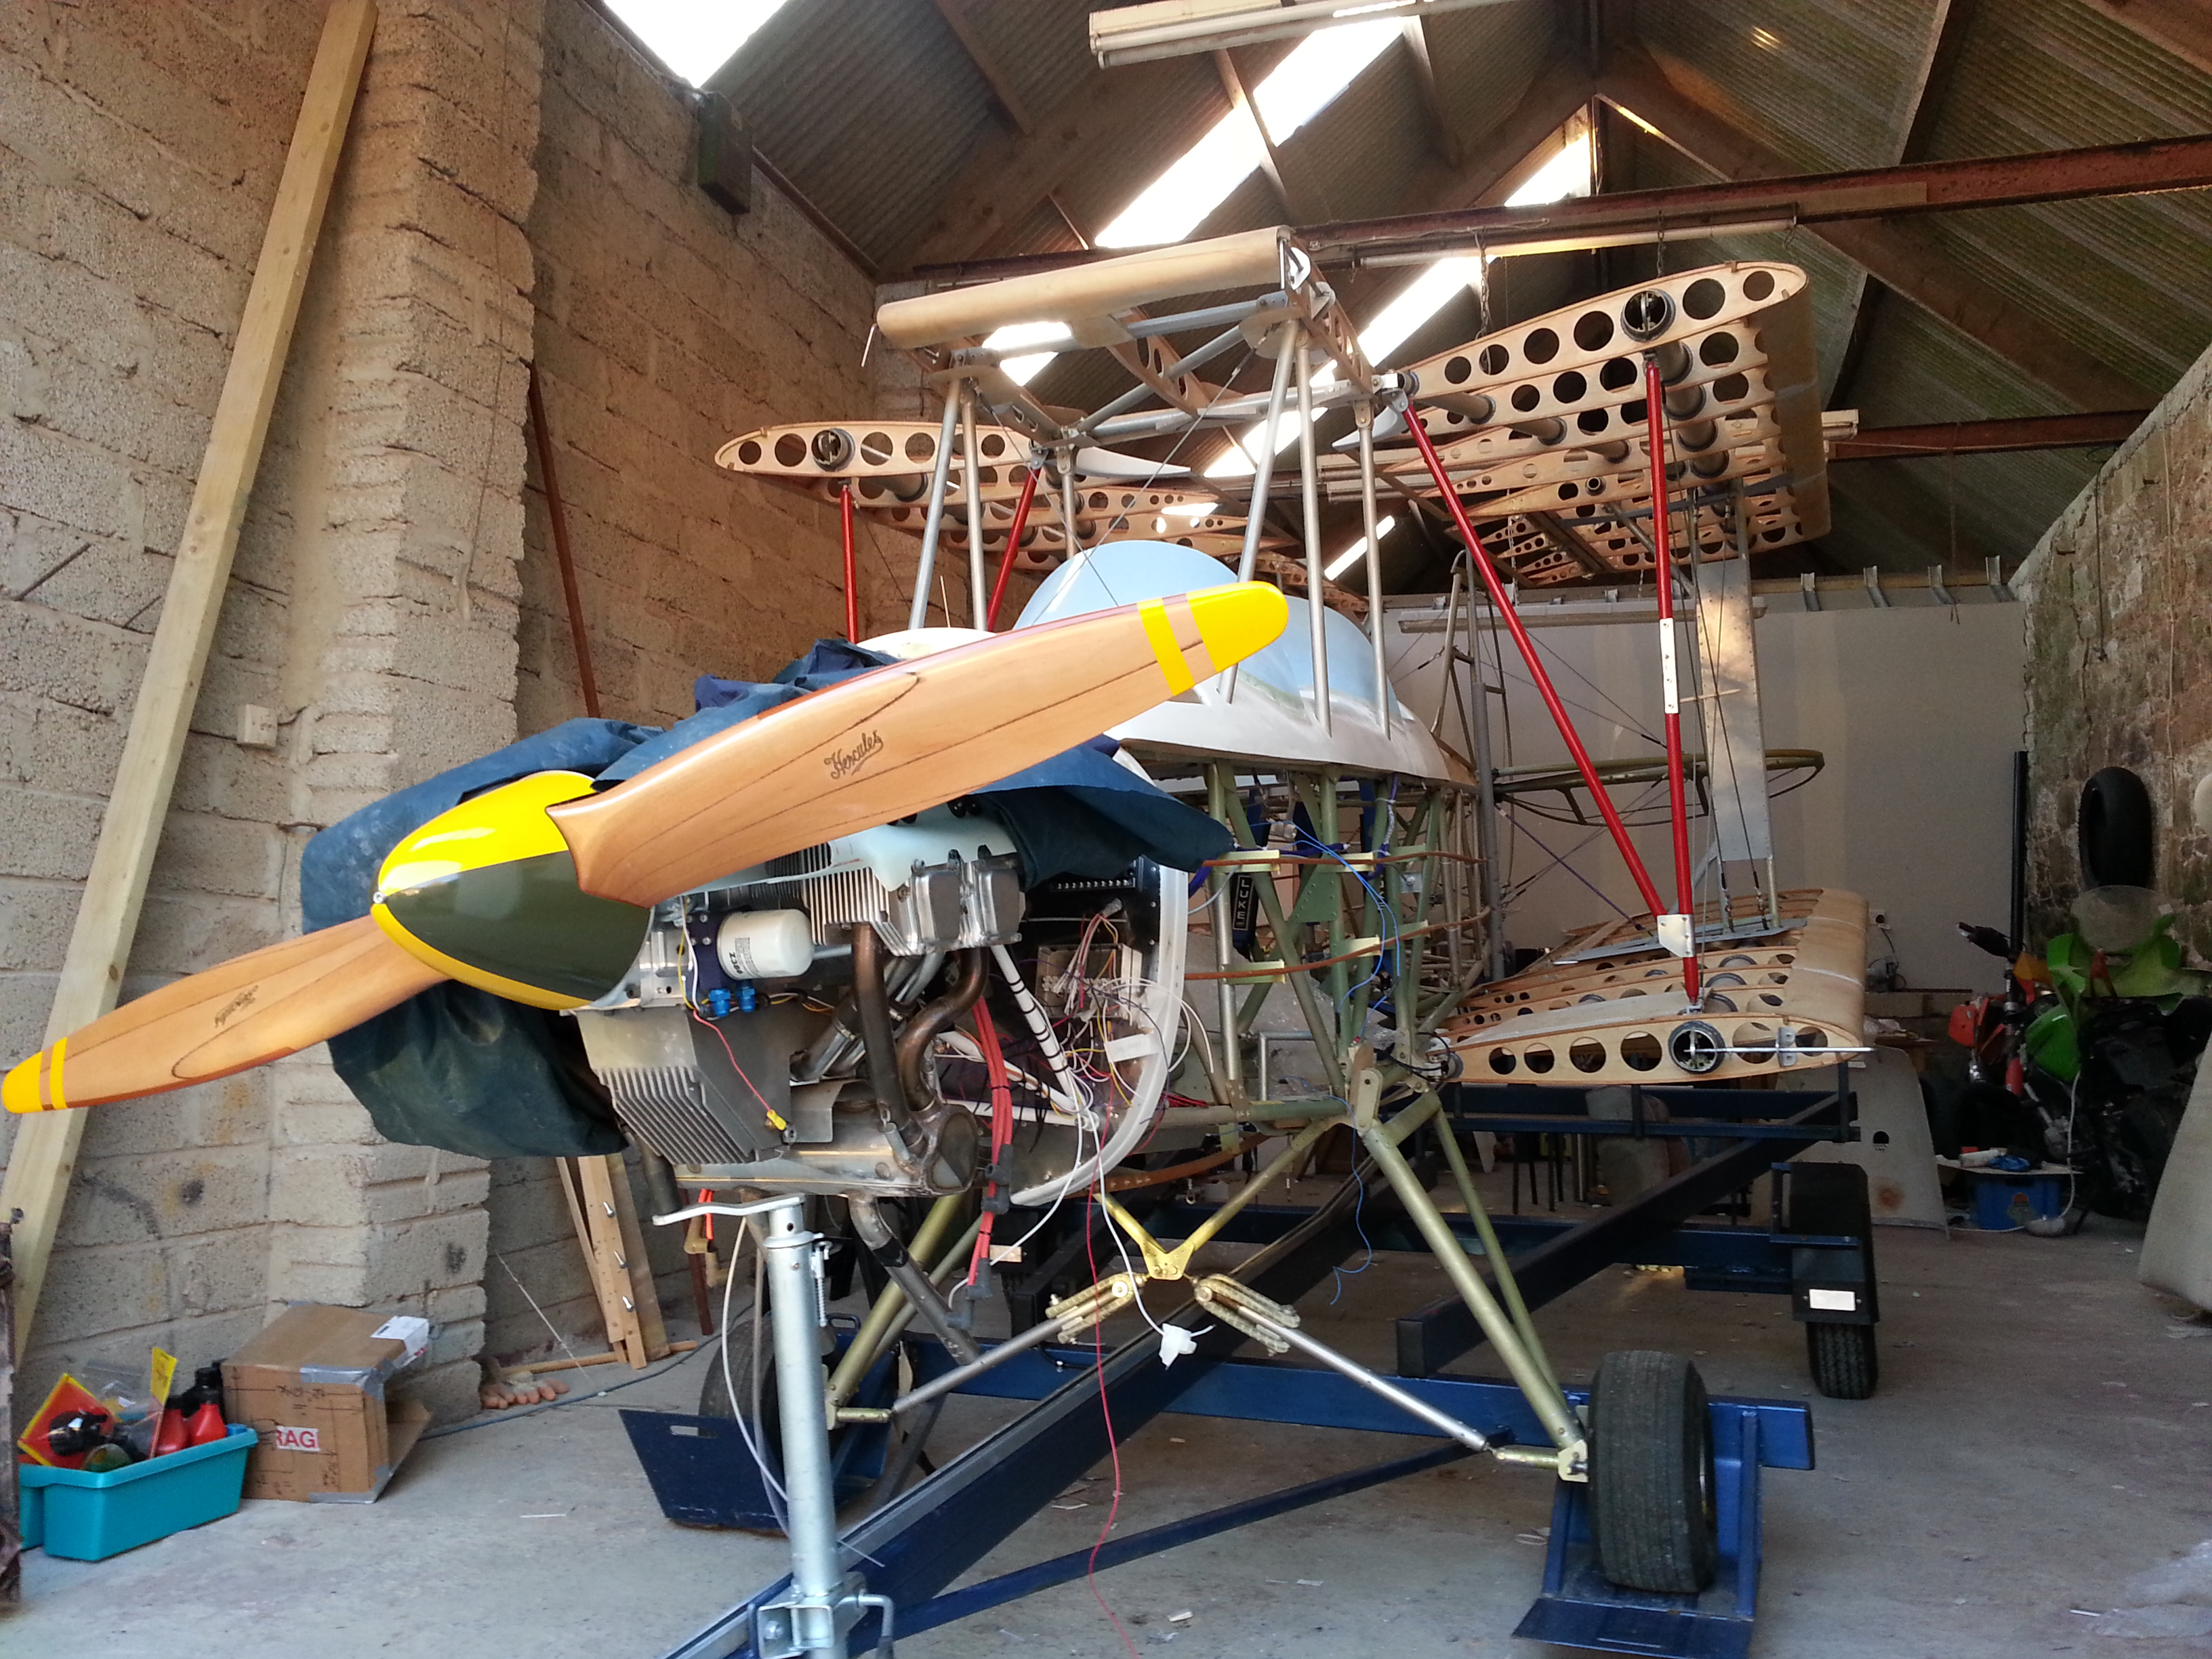
Next plan is to trim down the light dural I have (from Marin Fabrications – Many thanks Ray for sorting so quickly) and make a small supported shelf behind P1, light and secured – must withstand 9G according to LAA rules !
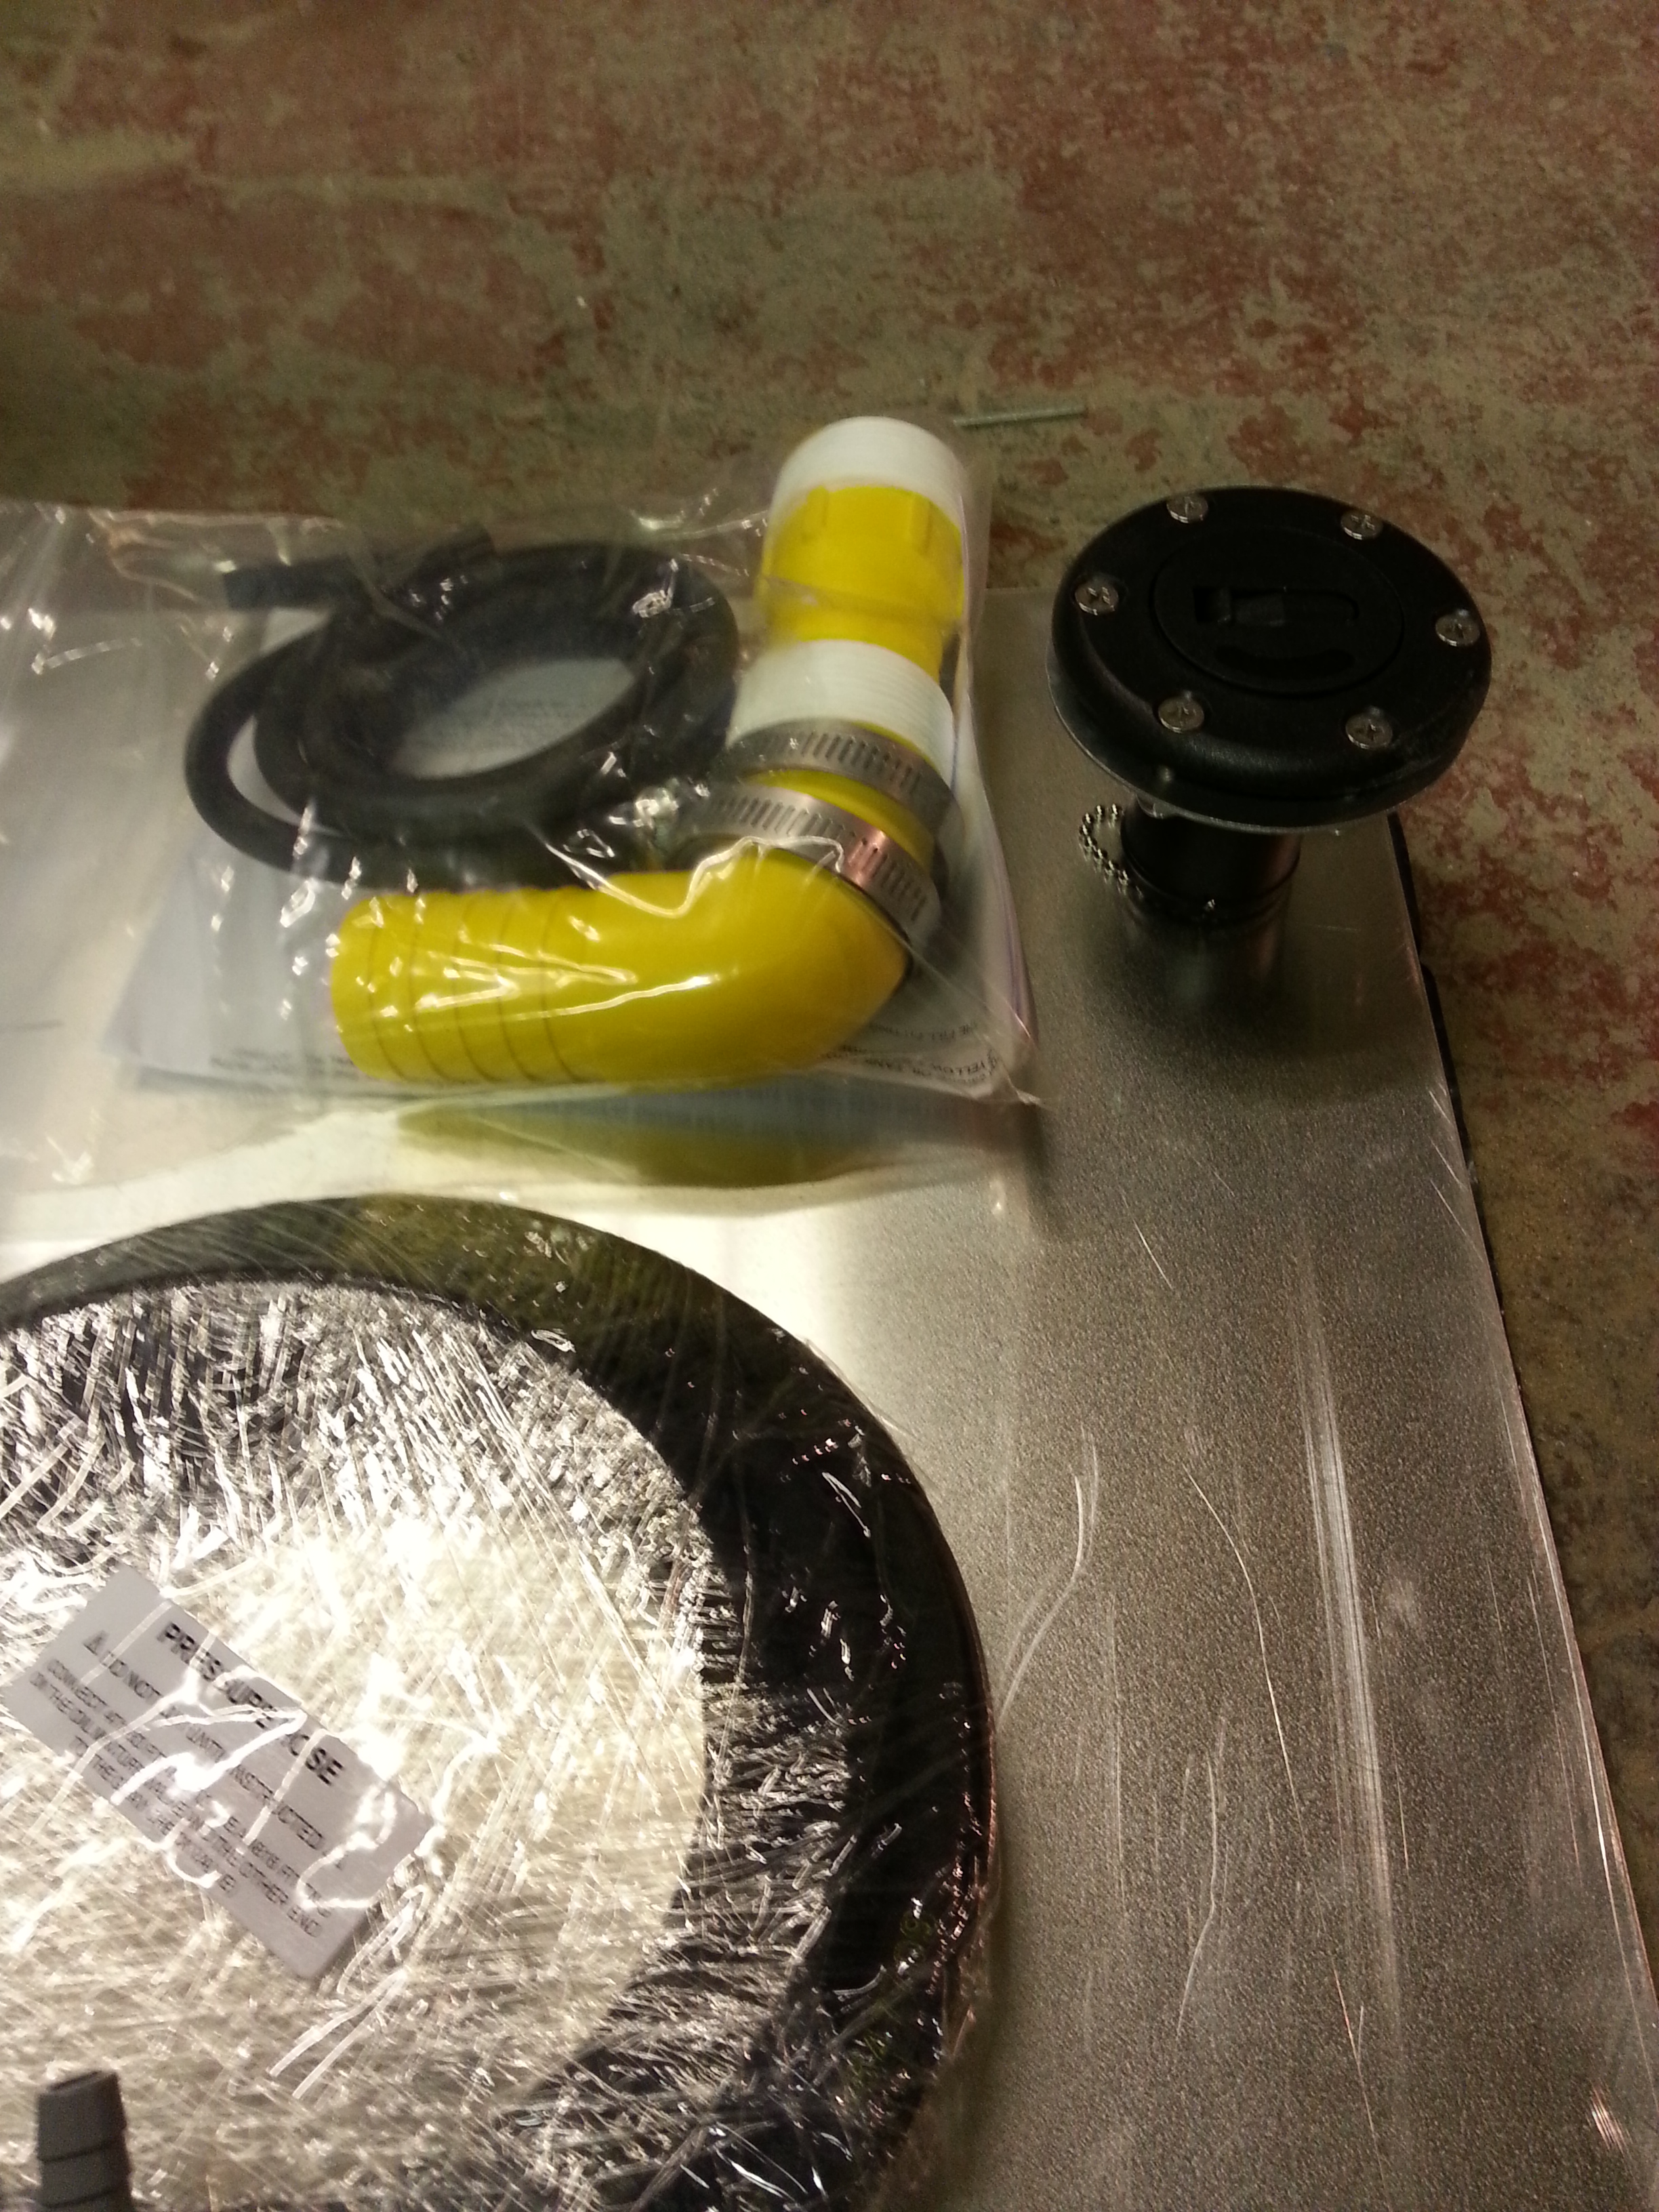
Also, went for the remote fill option .. don’t want to be sloshing diesel around .. I plan to put this small screw cap into a ply surround and mount just next to the pilot head bubble.
Watch this space !!!
Painting Prep – Top deck
I have rubbed down as much as I can ahead of the professional paint guys getting a hold of the body and doing it properly and more skillfully … I just love seeing the pre spray result all matted down and immaculate !
Anyway, I know I have to make a hole in that lovely shaped top cowl for the dipstick inspection pre every flight. But, can I bring myself to make that really nice flap that TLAC made ? Having already knackd (an aeronautical technical expression – meaning to work very late one night ‘thinking’ you are doing a good job, but actually to be taking too much off the edge of the cowl in the wrong places) one top cowl, I am definitely NOT going to risk messing this one up.
So, brain wave … whilst ordering my Demon Tweeks aeroquip bits I looked at their nice flat alloy petrol cap covers. These are very flush fitting and have a sunken ring of mounting bolts. Having measured and checked, I have ordered one large enouth to allow even fat fingers to get in and unscrew the dipstick and you then have a nice flush, alloy, turn / lock.
Will add a picture once fitted and get it sorted ahead of imminent top deck painting.
Straight … or ……
No .. not what you were thinking …. Had drained the delivery oil from the engine and put the standard oil in ready for initial use before my Sherwood Pilot mentor James – eagle eye – spotted I wasnt using straight oil which you MUST for the initial 30 hours.
Picked up my first bottle of straight 100 … not sure the exact quantities a Jabiru 2200 takes as the PDF manuals that litter the internet don’t actually give volumes ! Have a dipstick and know it will be at least another bottle or so to fill the filter and oil cooler and associated pipework.
Just waiting for Demon Tweeks to source my 90 degree angled pipes from the TOCA connection. I managed to order the next size up doh ! Demon were really good and took the slightly opened packet back.
Soldering up
Tinning all the connections before they go … have you tried to go out and buy flux nowadays … people look at you like its something off Back To The Future … no, not Flux Capacitor – Marty …. I want flux .. like you use with solder ! .. They then give you multi core solder which admittedly has flux in it … but not really useful …
Mr Fleming to the rescue … who actually has some in the boot of his car ! I think he also has a lathe in the glove box but I don’t want to ruin a great friendship and pry !
Lovely small pot of gooey flux in hand .. get cracking tinning the wires .. very satisfying until just after midnight last night 🙂
Wing – re rigging
Have had a nagging problem with the setup of the port wing ever since I first rigged it. The rigging went in like a dream originally but, thinking back, I finished setting her up very late one night then came back the next day to rig that wing. I now realise that something must have moved in the night !
I rigged the cables to mm perfection BUT … I now realise the wing had obviously dropped ! I have tried all combinations of tightening and slackening landing and flying wires and in the end it’s so so so much easier to simply get the plane out in the open, trestle her all up again and remove the rigging o check whats going on.
I did this yesterday and BINGO ! one pair of wires was too short and the other too long on the Port wing. unfortunately they weren’t ‘wrong’ in a matched way as I could flip them over and re-use ( I did measure three times to see if I could ! but nope).
I had pre-ordered enough spare Thimbles and Ferrules from Ivor to do one pair of cables but not four.
So I made one new Flying wire and 1 new landing wire so I could at least fold the wings back safely pending 8 more ferrules and 4 more thimbles !
The wing pegs now pretty much slip in !! Happy days – even though I didn’t progress the engine wiring much as planned yesterday


