Panel update

Started adding some more pieces to the panel. I don’t want to rush ahead and simply add everything , mainly because I havent got ALL the parts yet ! but also because you need to start thinking things 2 or 3 steps ahead (as always with the build). The placing of all items in the cockpit needs to be planned around the fact that you are probably flying the ‘plane with one hand whilst needing to adjust, flick switches etc with the other.

The Stampe was a lovely ‘plane to fly with its nicely setup and easy to reach controls and the very small radio and dials neatly set out in front of you.

The Chipmunk, with its throttle on the left and flaps on the right means you very soon run out of hands on approach when you are tweaking the throttle back and wanting to select flaps and probably still keep at least one digit on the stick 🙂

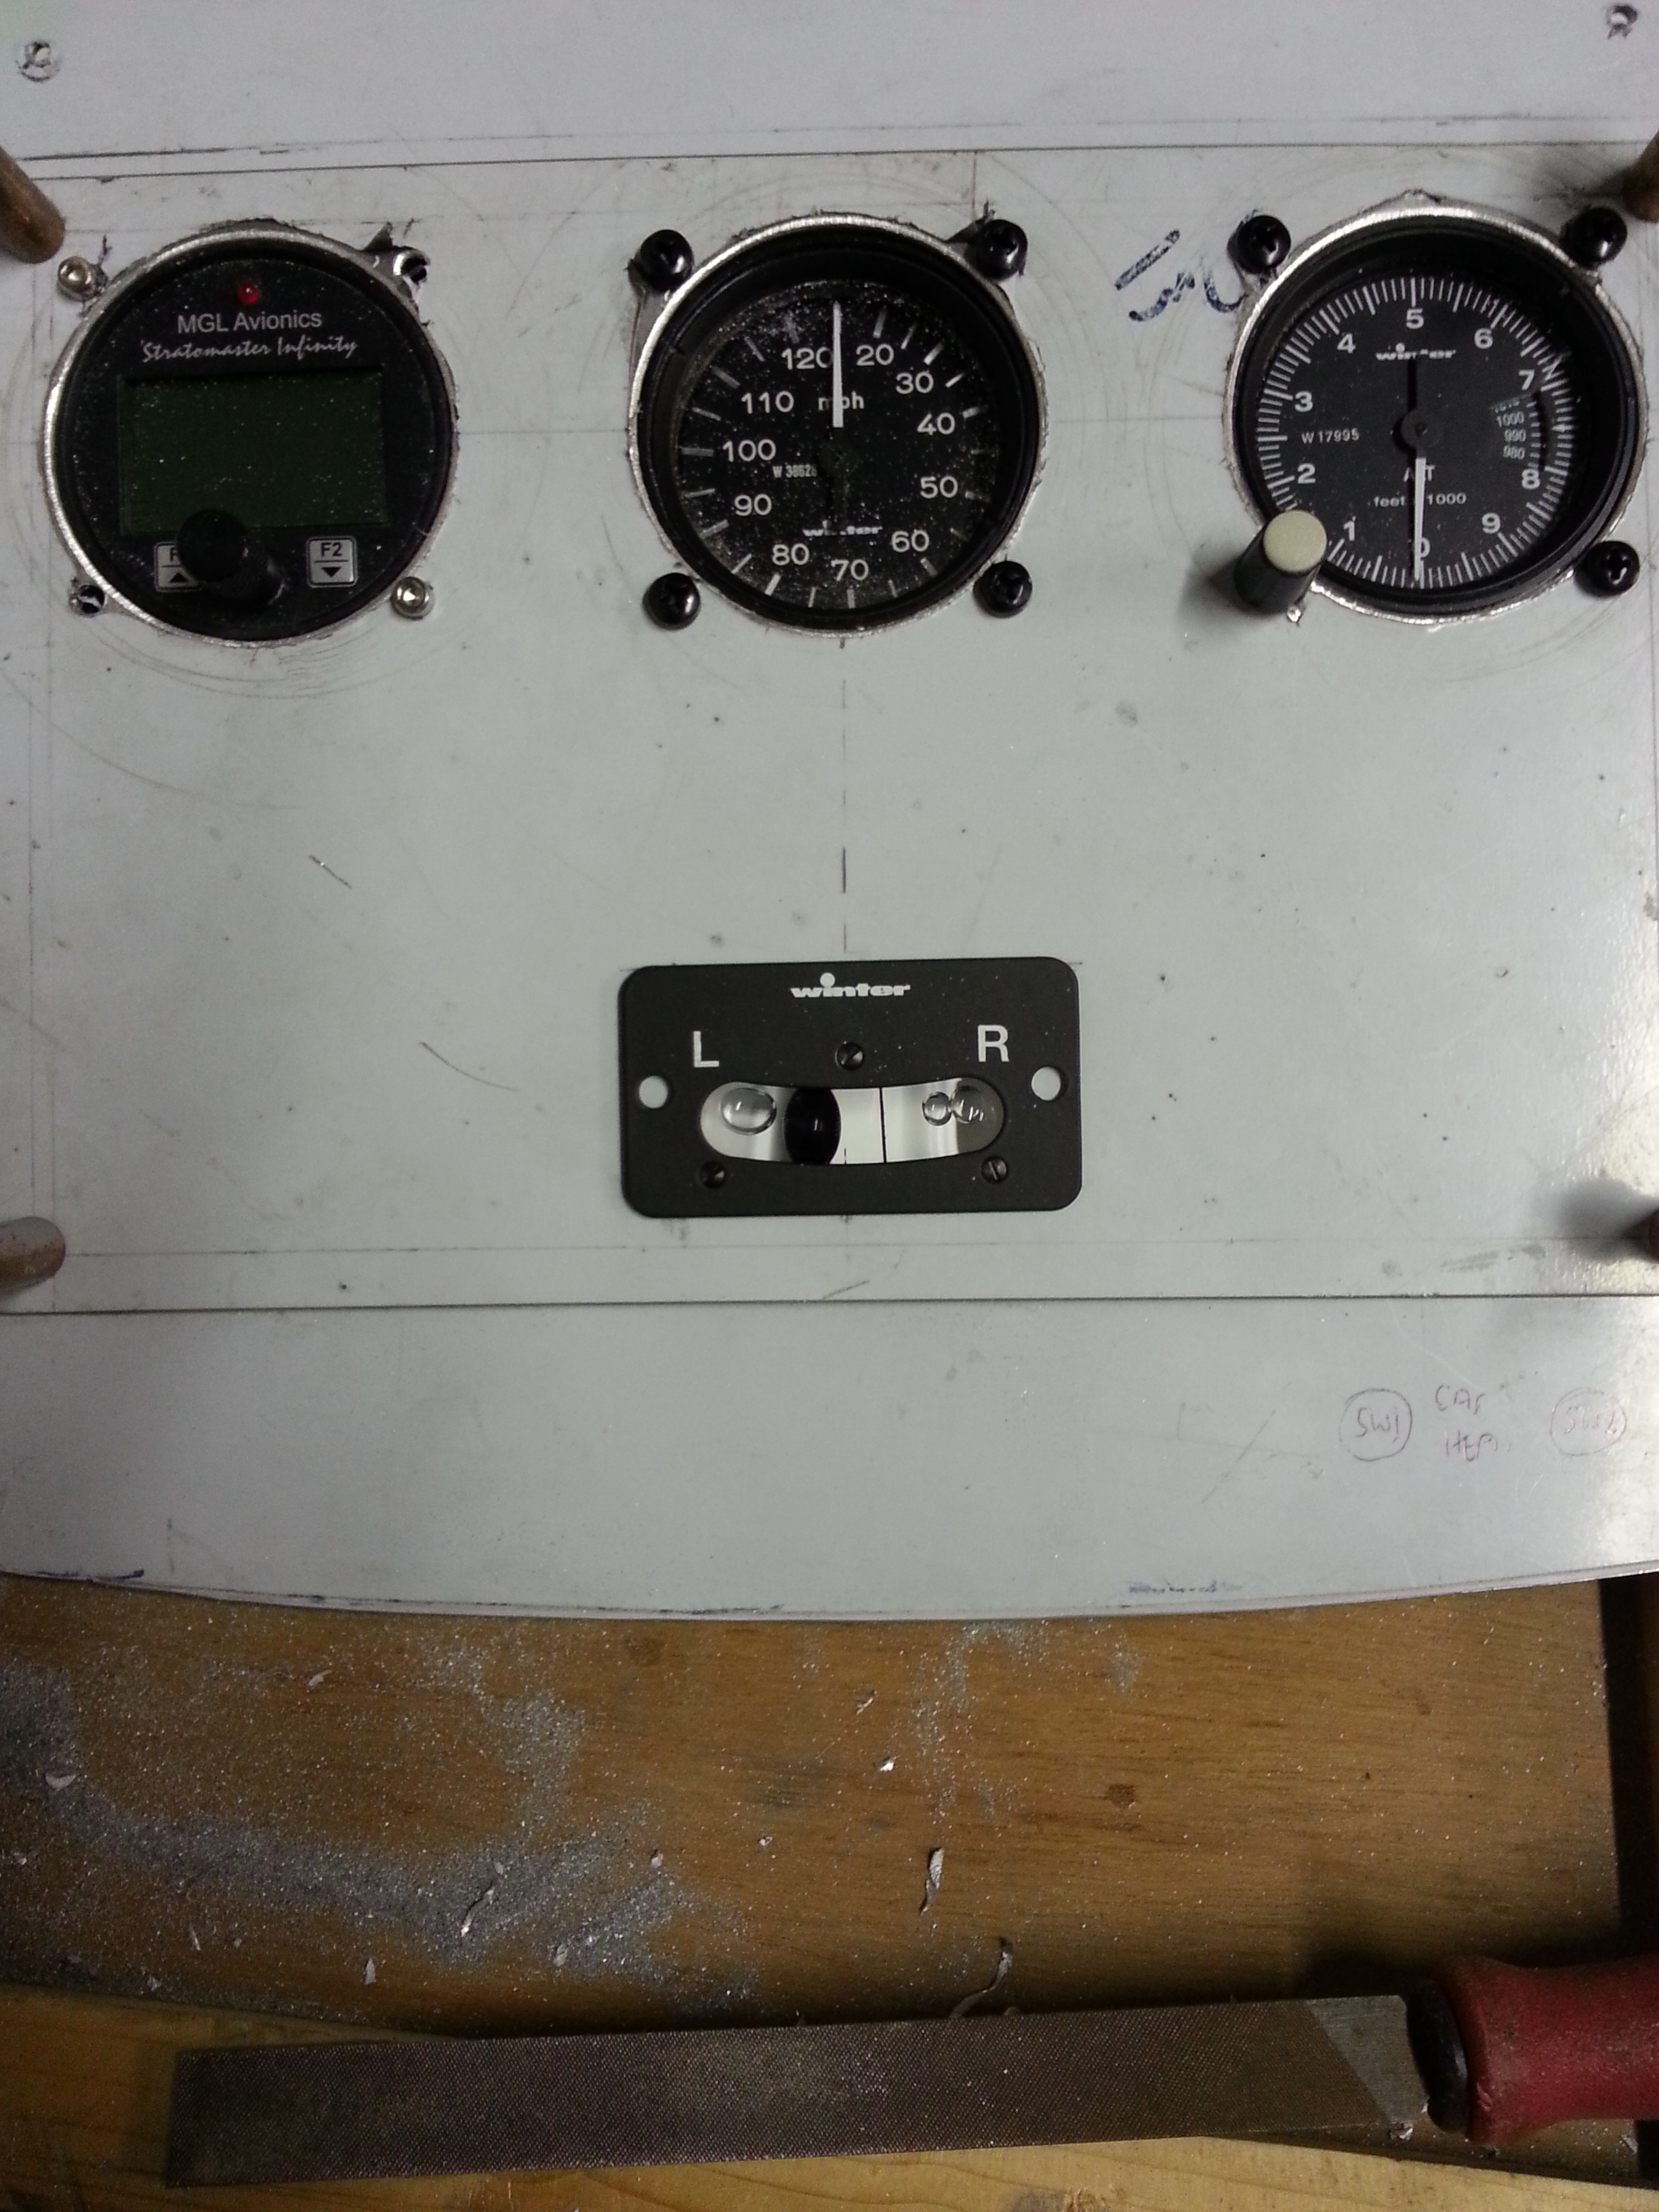
So last night, the turn and slip went centre panel. The first few warning lights also started to go in. Some of these will be on quite frequently – I plan to have two for the two stage carburetor heat – pretty moist around here so will probably have at least one on all the time if not two.

20141116_195729  20141116_203343

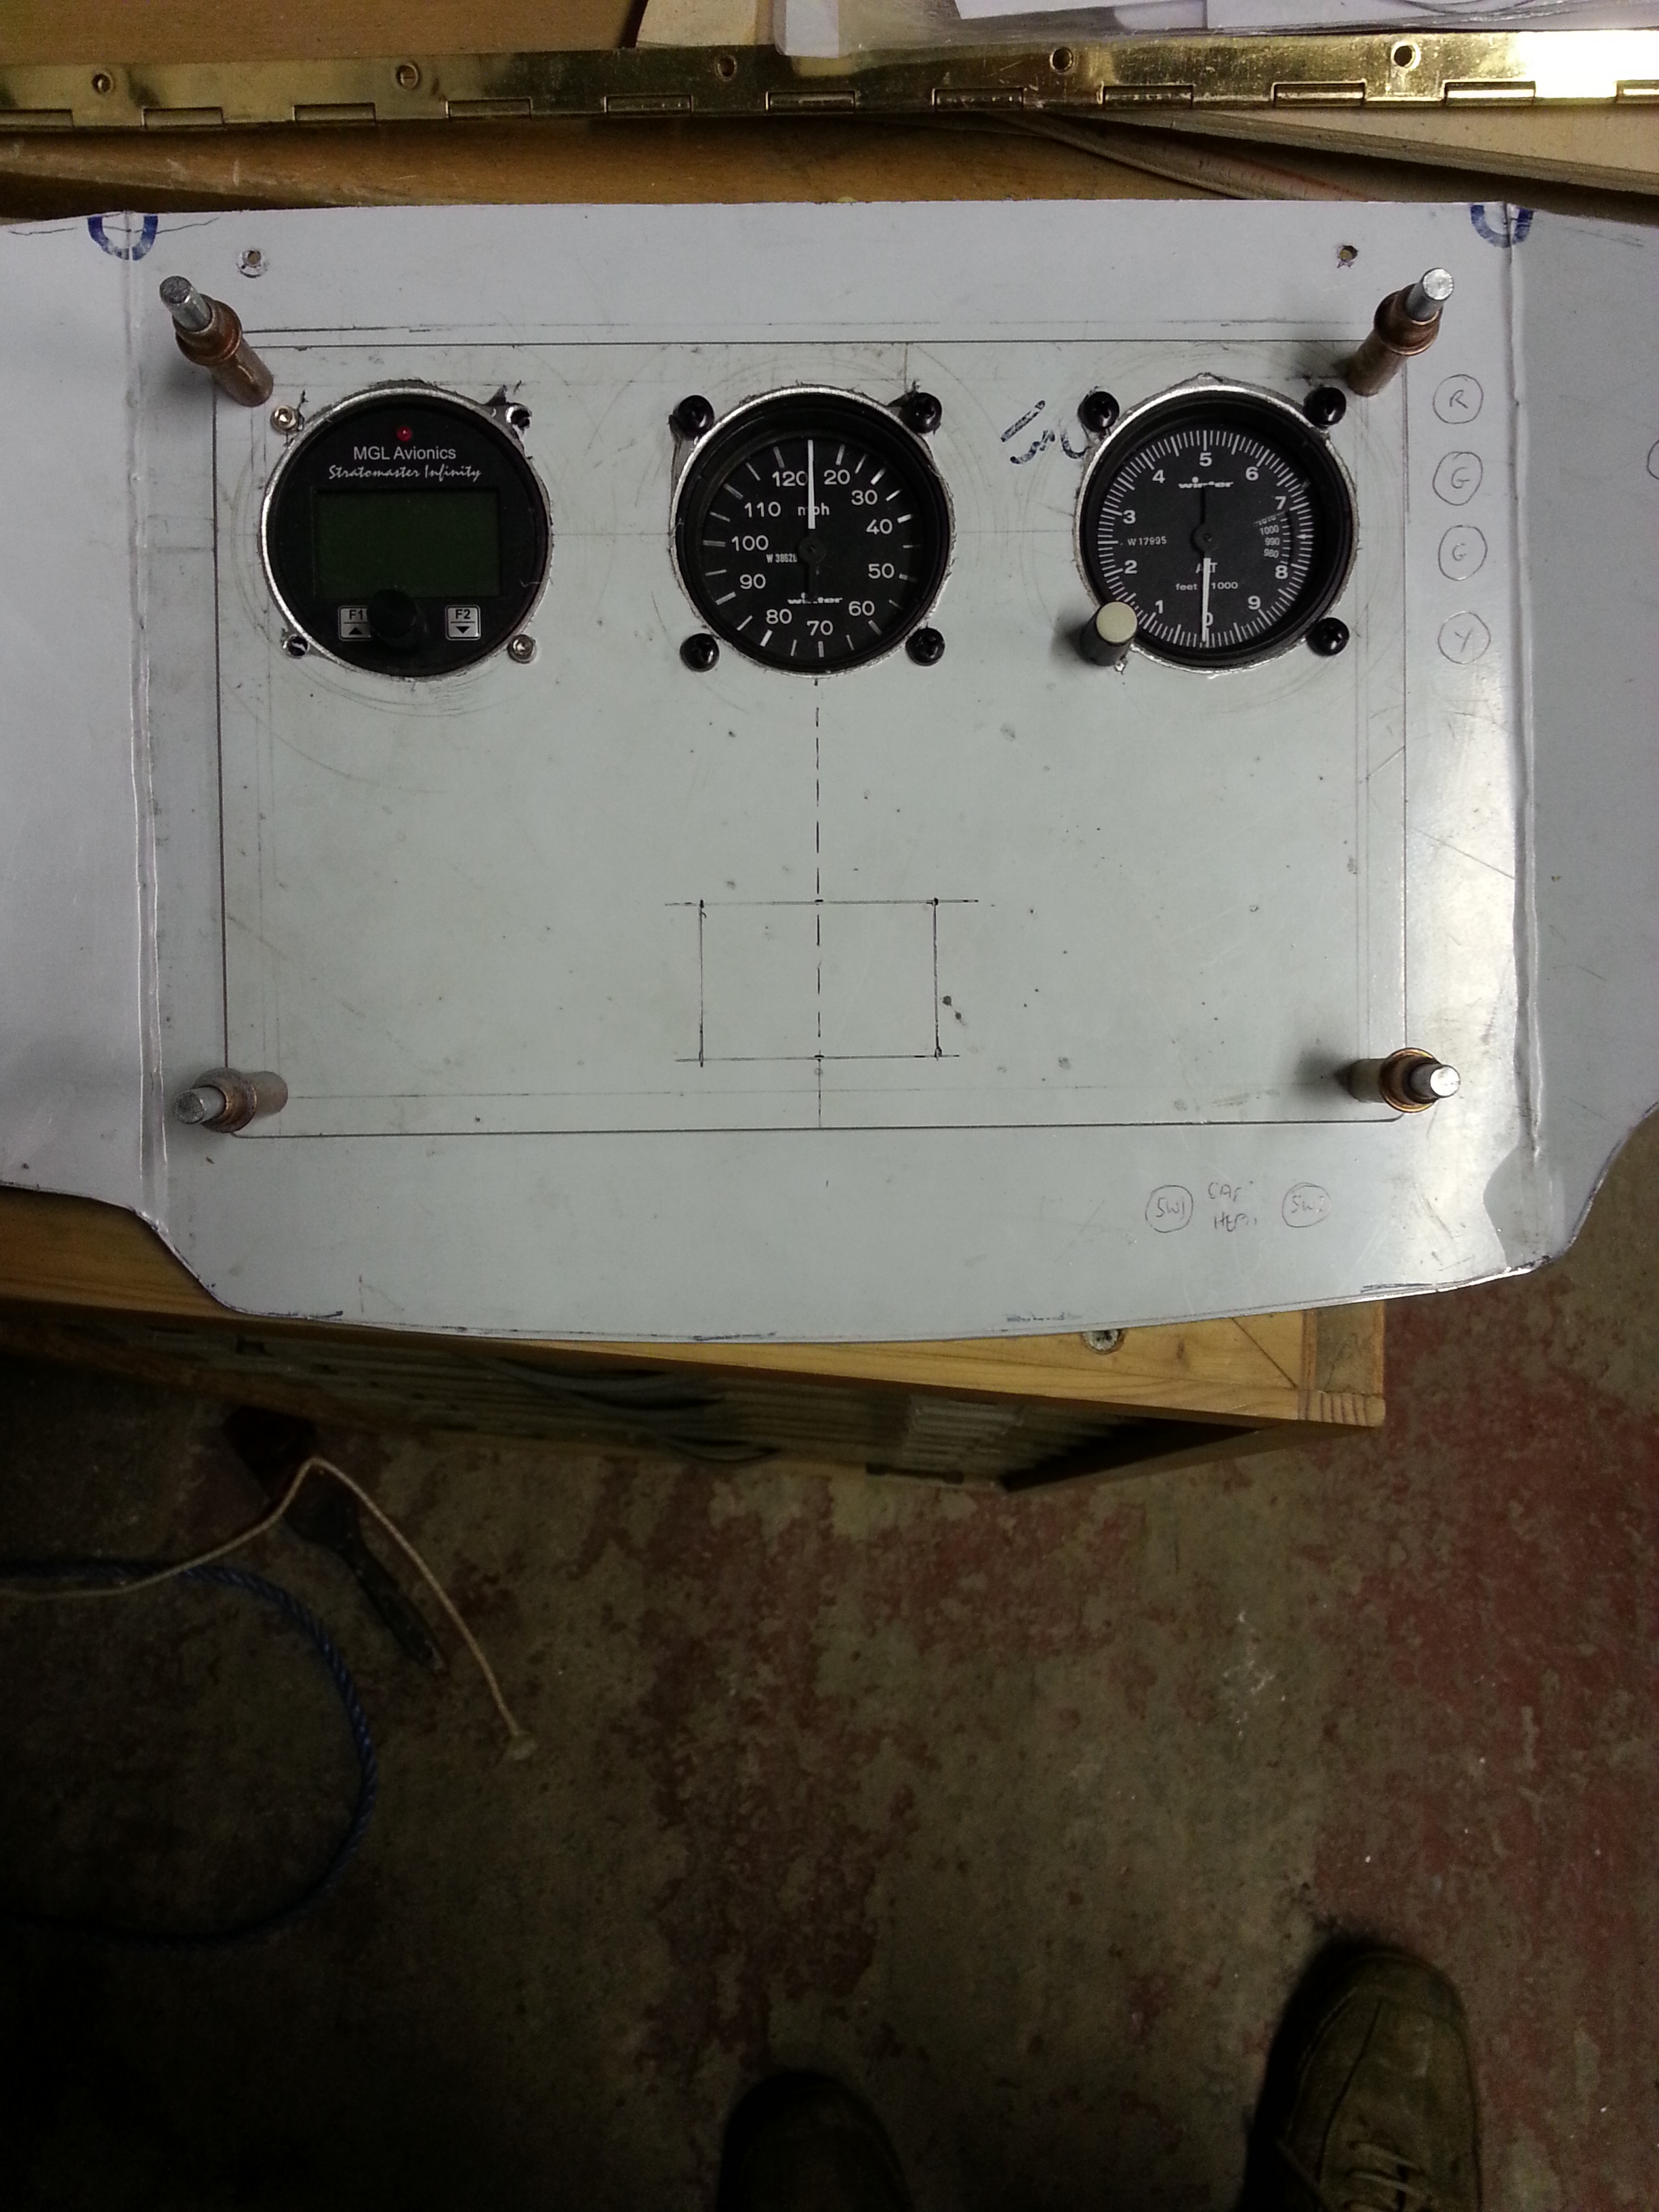
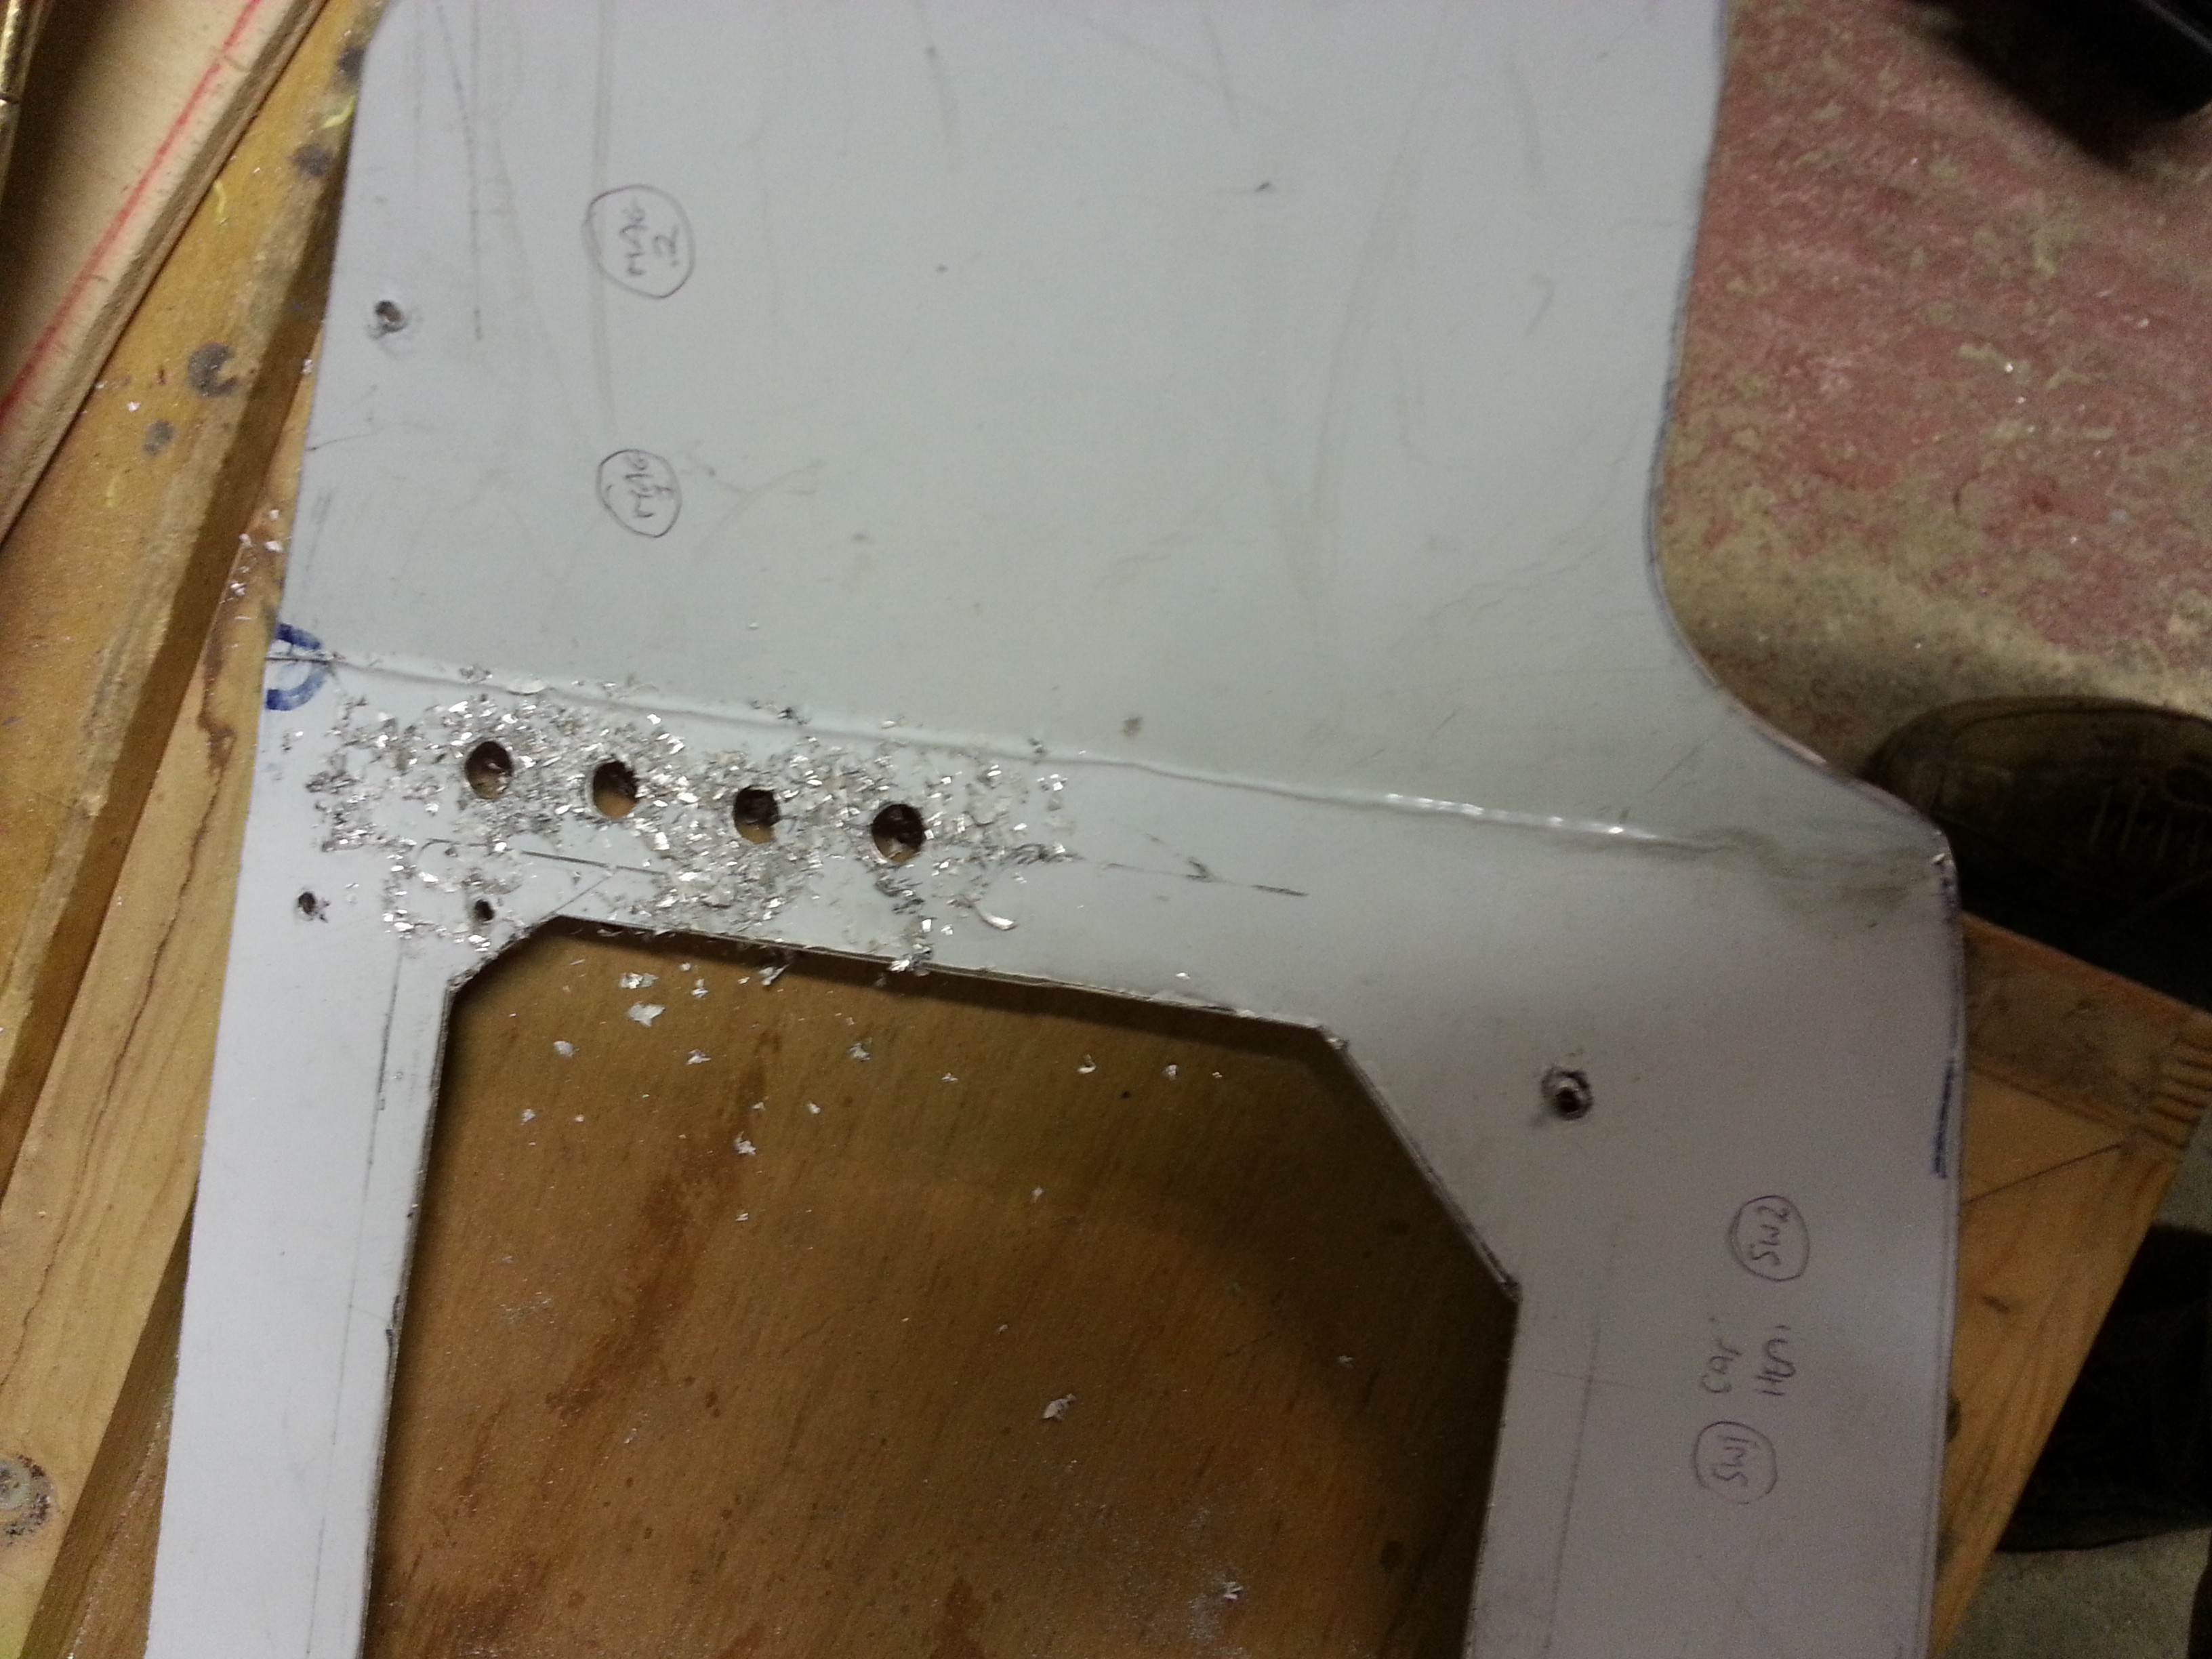
I also started to mount the switches for the Carb heat – these going on the lower panel.

20141116_204308

This just leaves a suitable location for the related (and other fuses). Holding off on this whilst I plan radio and transponders – not a cheap step !

I was planning on the Icom and perhaps one front one rear but with a fairly limited range (and I do intend to fly to France and UK) I really need something with more grunt and 8.33 Mhz of course.

So it looks like a Trig setup for both radio and transponder. They do offer the significant advantage of a small head mount and a remote location for the box (perhaps behind the pilot seat ?).

Lots of helpers !

Good evening last night when Will came along to drill a larger (12 mm) hole in the bulkhead to get the throttle cable through – cant separate the nuts so need to take those through. And Sam came along to prepare the brackets for another wing tip to get this mounted .. only two more tips and 12 brackets to go

20141113_201055  20141113_211432


20141113_211448 20141113_211701


20141113_211709

Weight and Balance

As I was over in the UK seeing my very ill Mum I took the opportunity to run through weight and balance calculations with my Dad. At least I could ask dumb (some really dumb) questions in the privacy of our living room at home in Cavendish, deepest Suffolk .. about how you actaully come up with a C of G when you can’t do what you do with models and supportthe ‘plane on the spar with a finger each side and say .. whooo its tail heavy !!

20141111_202817

The brilliant picture above shows how we talked through moments and weights and significant loads … all seemed perfectly understandable at the time .. just need to plan 3 suitable scales to get the basic weights


Engine – Air Filter

Another easy one last night .. the engine air filter arrived from LAS, along with the second joystick top.

20141104_195910

The joysticks will need reaming out to take the alloy cap that holds the PTT switch.

Top cowl trim – First Cut

Started to trim the top cowl and get the basic outline first fit. As the guide from TLAC states – measure 3 times and then cut once.

20141104_210422_1

The dremel came in very handy although with a wrap around mouth guard and protective glasses it all steamed up very quickly which made following the cut guide line quite tricky.

The first fit showed I had a slight varaition on the rear seating omn the top decking. Seconds trim took a couple of mm further off to level that up.

20141104_214347

Still a little I’m not happy on so will sand now as the dremel can easily run off meaning a reach for the filler !

The problem I now have is howmuch to take out of the top for the engine cylinder heads that protrude and how much to take fom top and how much from bottom. As the guide say, be prepared to take these off and on many many many times !

Choke cable added

Made up another bracket for the choke cable – this will be added to the port side of the cockpit to keep it away from the primary Fuel On/Off valve.

20141102_221759

Have opted for a stiff wire cable and run it through the stringer support brackets before drilling through the bulkhead.

Next major sign off today

Great sunny hot autumn day in Jersey and next major sign off by Bob Wright our local CAA engineer from Channel Island Aero Services.

Bob and I wheeled the trailer out into the sunshine and had a look at all the aspects that needed to be covered. A very successful visit with a few things noted to review.

20141030_120033

I noted a slight problem with the wing bolt shrouds I had fitted the other evening, now, in the open space I could expand the wings to full width .. only to find that one shroud catches on the lower circumference of the mainspar – so a little trimming will be required.

Bob ran through the various checkpoints, namely:

  • Complete empennage structure and alignment and quality
  • Undercarriage for quality, alignment and dimensions
  • Flying control assembly
  • Ailerons before covering
  • Complete mainplane structures, fitting and quality

A few points Bob noted were duly added to the LAA snag schedule under ‘OUTSTANDING ACTIONS’ which I can start to review

  • Looks like I may have used an incorrect aileron bellcrank bolt (fraction too short) with no thread showing through nyloc
  • Aileron stop points – worked at the torque tube when I had no aileron connected but now connected their travel stops short so they don’t actually hit the stops
  • Elevator cable crosses over mid body – need to look at keeping them from rubbing
  • Consider turnbuckle ‘sight hole’ so you know how many threads are engaged vs how many you can see exposed

Bob was pleased I had pre treated all internal tubes with waxoyl as other older aircraft get grounded if they have had no treatment and need internal inspection. I will make a note to add to the builders log that they are all done.

May consider additional internal coating of main spar with an aviation approved anti rust coating. Lots of salt air our here !

Bob left saying he cannot wait to fly in her ! …. high praise indeed 🙂 Cheers Bob

Wing bolts shrouds

Having pre shaped the shrouds that also act as a guide for the lower wing pegs I braved up ! and drilled the spar to fit them last night. Careful drilling – don’t want to mess the spar up. Also, you have to be careful as to where the rivet will go, there are large doubler brackets inside the spar that you need to miss !

20141028_233205  20141028_233642

When done and during fitting .. make sure you can ‘twizzle’ the connecting rod ie it runs freely

Tidying up the stringers

Nice job last night .. got around to removing  the clumps of garden wire that had been holding the stringers roughly in place and replaced with new thicker grade whipping chord.

20141028_212131  20141028_212522

Holes were drilled in the stringers so that the tying of the chord wouldn’t protrude over the outside edge of the wood strips as this would be seen through the covering once added.


Firewall forward – Fuel gascolator

Having pre shaped the gascolator bracket and rounded the edges off, I had pre marked the bulkhead for its location so that it was close to the line of the fuel cut off valve (situated on the starboard nose side) and low enough to keep it away from key electrical parts if anything went wrong.

There had been a slight delay as the Rivnut gun had sheared its mandrill on the 3rd hole used ! Tools Plus in St Peter, Jersey  did an amazing job and spotted that it could probably be replaced by another manufacturers part – perfect ! £4  and back on the road !

With the new holes drilled the reminded myself how the rivnut gun works .. takes a few goes to get your head around it … had Keith and I slackening and tightening every bolt in site until we cracked it

20141026_214459

Then brought gascolator in ….

20141026_215535

Next step, where best to run the fuel lines … ‘IN’ being towards the centre of the firewall, ‘OUT’ being towards the outer edge and nicely positioned for the connection to the carb.

Blog at WordPress.com.

Up ↑