2nd person to sit in

Having had Sam and Will (two of my sons) do masses of work helping trailer the ‘plane down through the narrow lanes of Jersey – think Will loved the sense of power driving in the middle of the road headlights and 4 ways on pulling people over … Sam leaning out of the window giving me constant feedback on 2 feet, 2 feet, 1 foot, 1 foot, 1 foot, 6 inches … minus 2 … ie the distance from the kerb or overhanging bushes !!

Will then had a sit in her .. only the second person to sit in

20140910_125412

With the lowered dash its a bit like getting into an F1 car

Jersey Air Display – 2014 – The Highs, the lows …

Well, back from a fun packed hectic two days of displaying the build so far in her skeletal form. Day 1 saw her trailered up to the south side of the main Jersey apron and parked on the grass. 1,000’s of visitors all showing great interest in a plane, the like they had never seen before !

Then the two Lancasters arrived accompanied by a Spitfire 16 and a Hurricane and parked directly opposite the Sherwood. 10 Merlins sat there running down in unison .. what a sound !!

20140910_145303  20140910_145654  20140911_102227

At the end of the session the Airport Fire Service had to tow her airside so we parked her in the hanger at the Jersey Aero Club. They had kindly offered me space to shelter overnight before the display day on day 2 at the main front in St Helier. Even better, as the Spit and Hurricane had decided the overnight weather was so good I could take their reserved space in the hanger !

20140910_191652  20140910_190522

Day 2

Day 2 started well with the local fire crew arriving spot on time to trailer her back to an exit gate where I would be allowed to hitch up. Then disaster. Their truck and trailer combination hit a raised ramp at the gate and the combination of several tons of Fire Truck meeting a raised concrete lump WITH an iron bar set into the top crunched the right hand trailer wheel, this pulled down and dropped the whole aircraft and bent the lower undercarriage leg. Having got over the ‘crying’ I got down to the serious business of damage checking. It turns out the lower leg has creased (so is a write off) but the top part of that leg – the steel slider is fine along with the top bobbins etc. So it will be a new lower leg, a rubber stop point and lower bush.

20140911_092902

Emailed Paul at TLAC on Thursday night to share my grief …. and (my hero !) advised to take it off, send it in and he would see what he could do. I need to send it back anyway to take advantage of Paul’s special bungee stretch tool.

Panel – Test fit

Ray and Russell had been working away at my panel design and we had the removable centre section drilled out to take the small gauges from Winter plus the multi engine monitor.

20140909_205040  20140909_205116

Having test cleco’d into position I will look at the best places for warning lights and switches and fuses but looking to put lights along either the top or right hand side of the centre facing panel, leaving the angled left clear for radio and the angled right for perhaps a fuel gauge.

Trailer – Load test

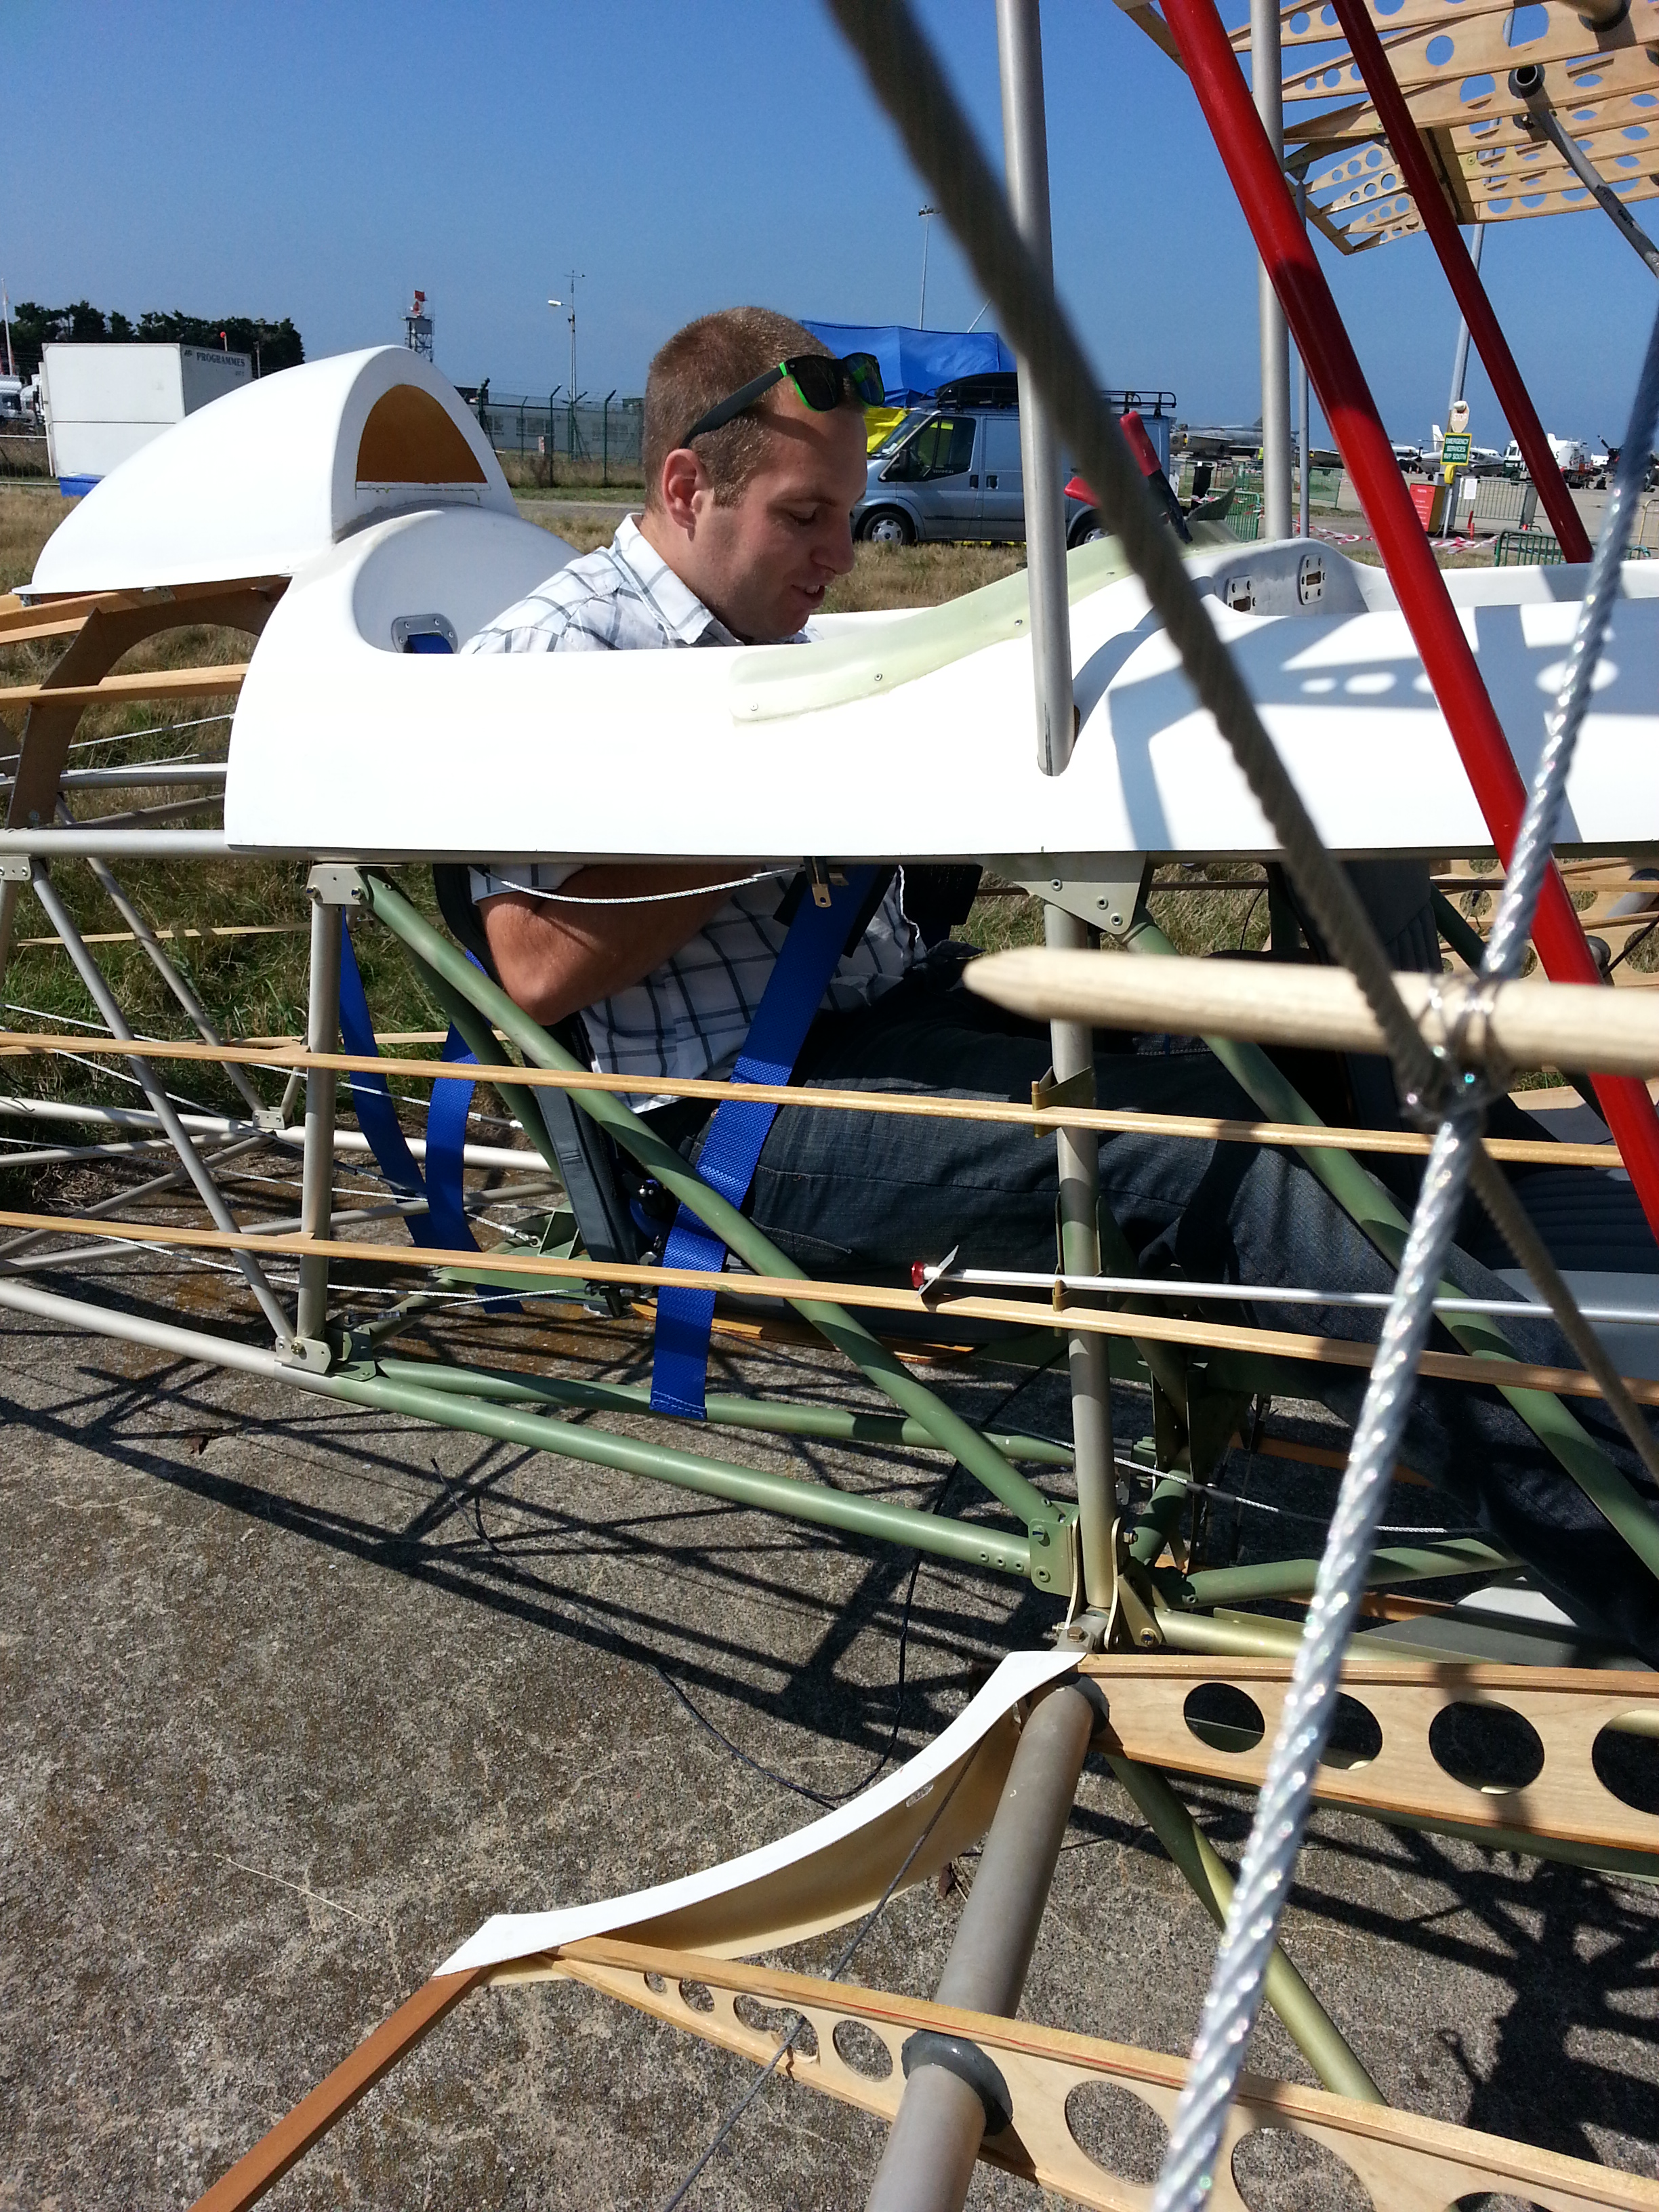
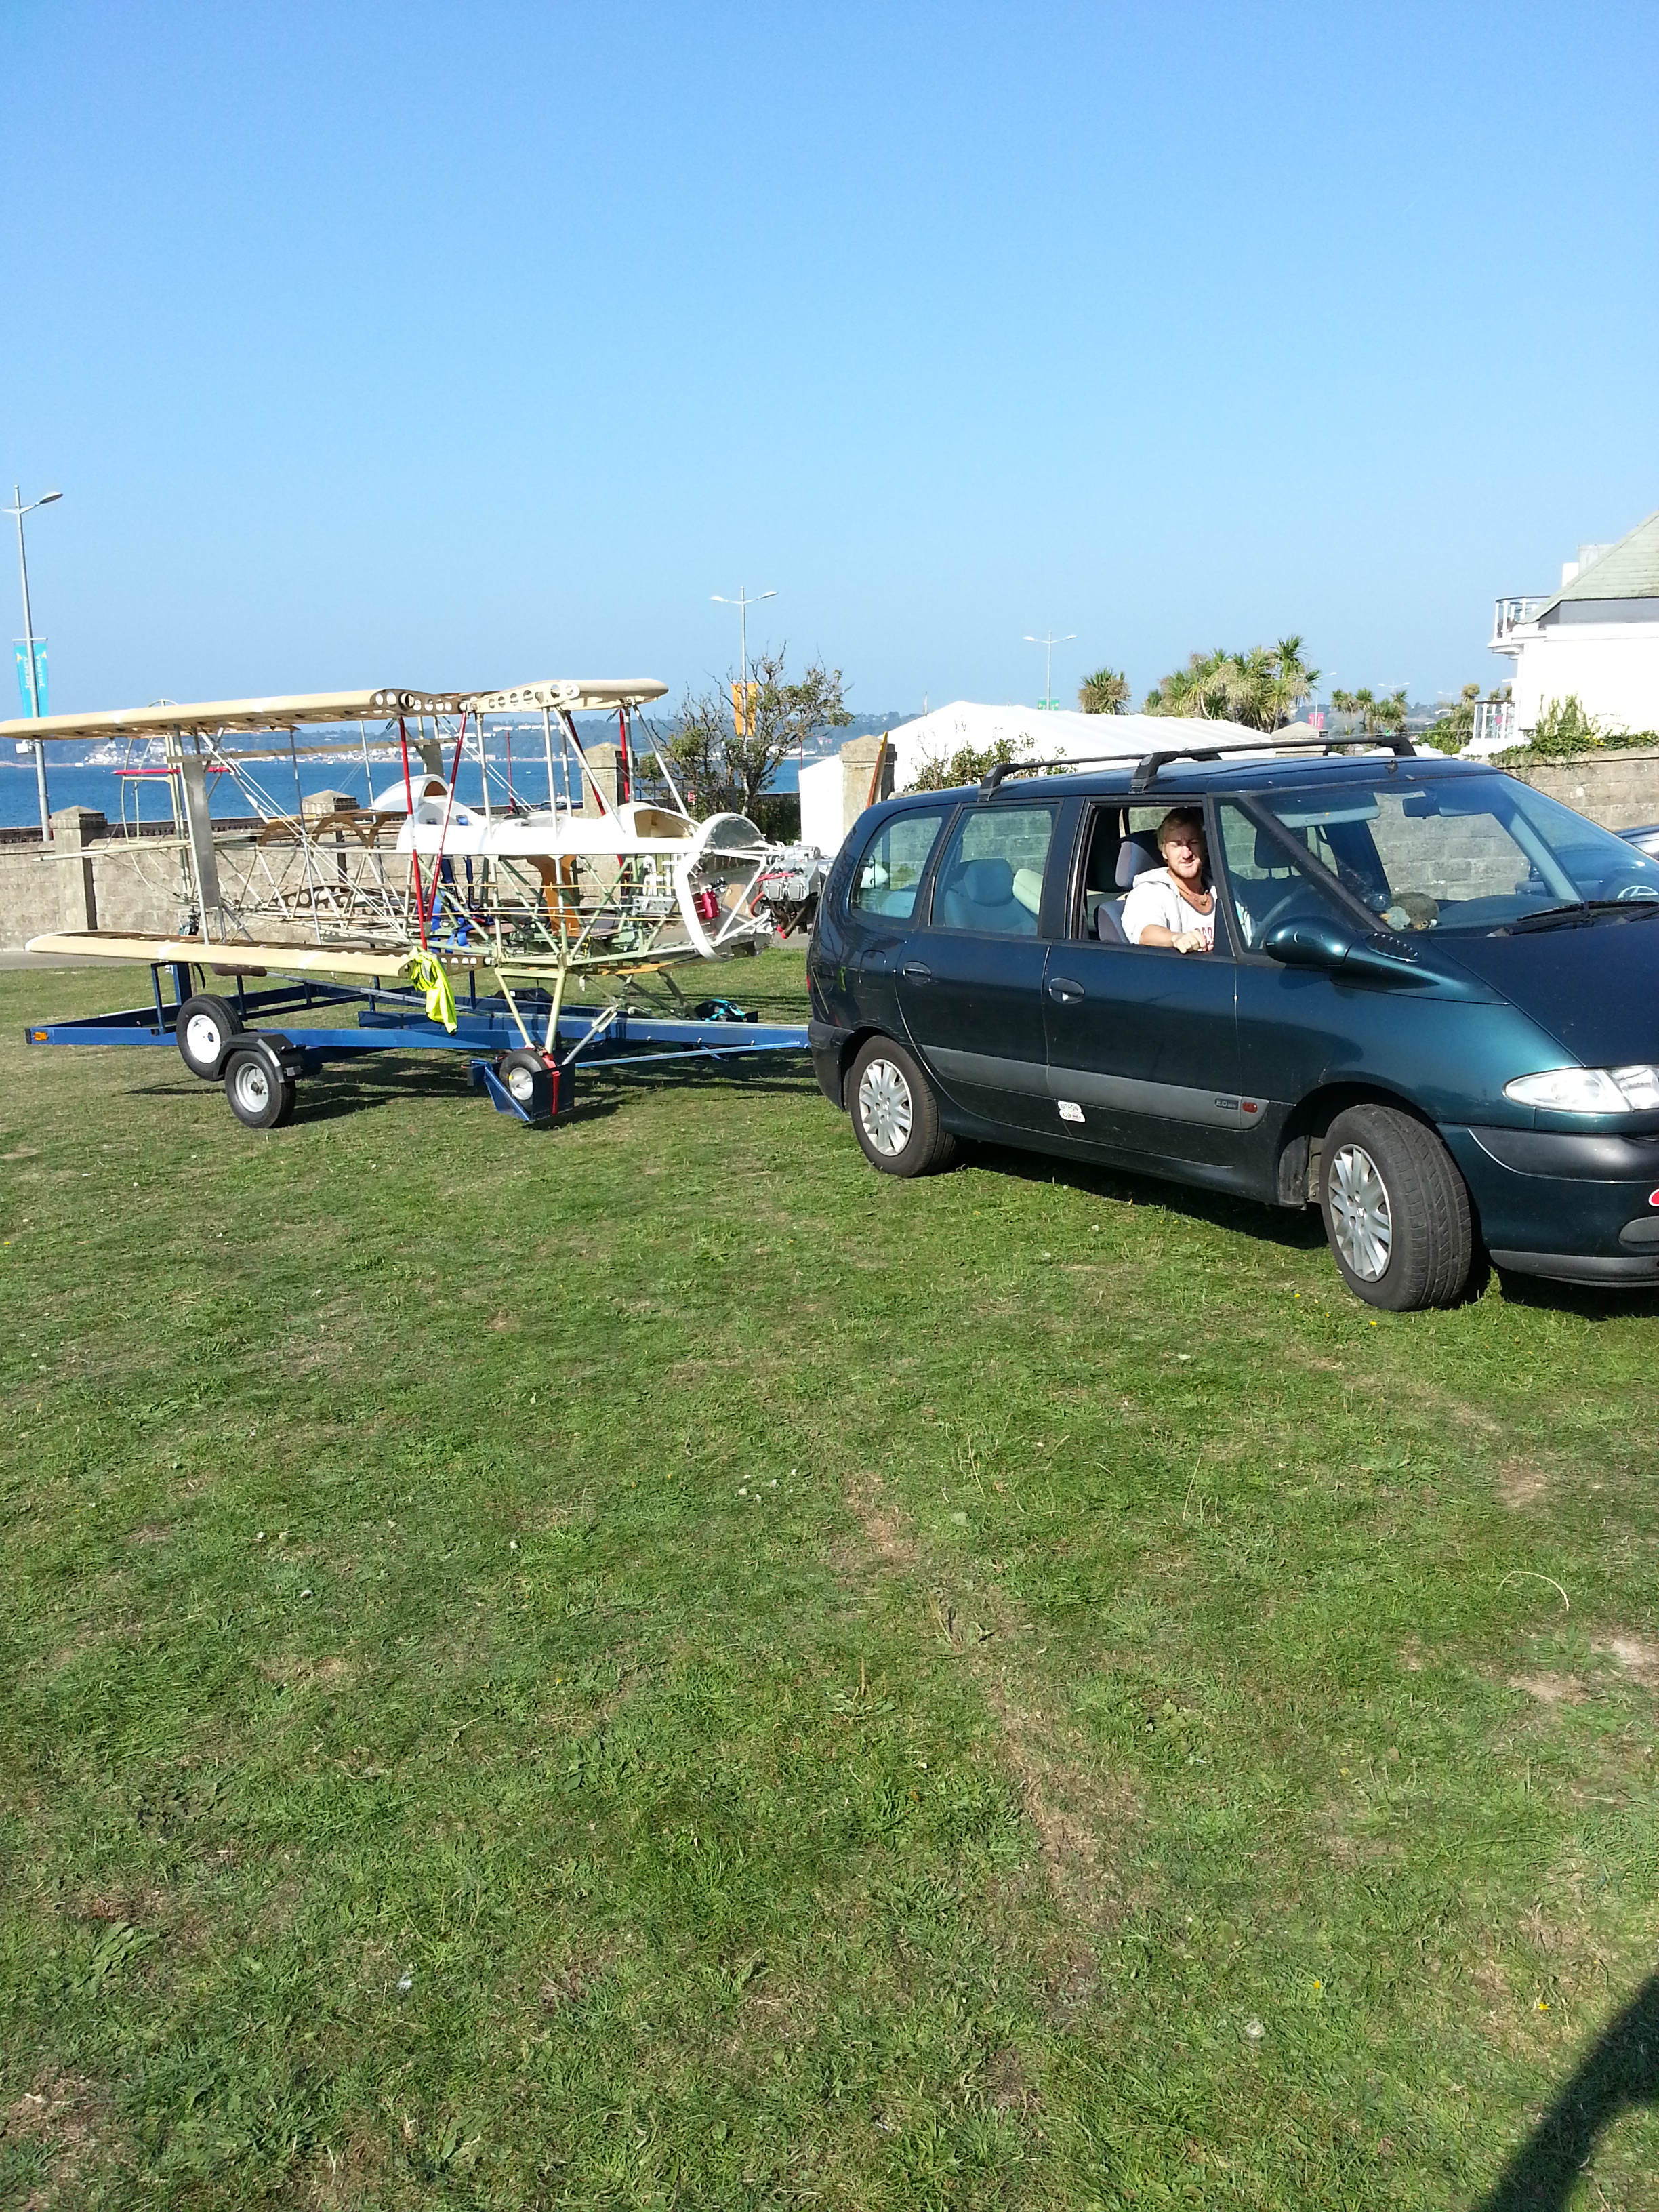
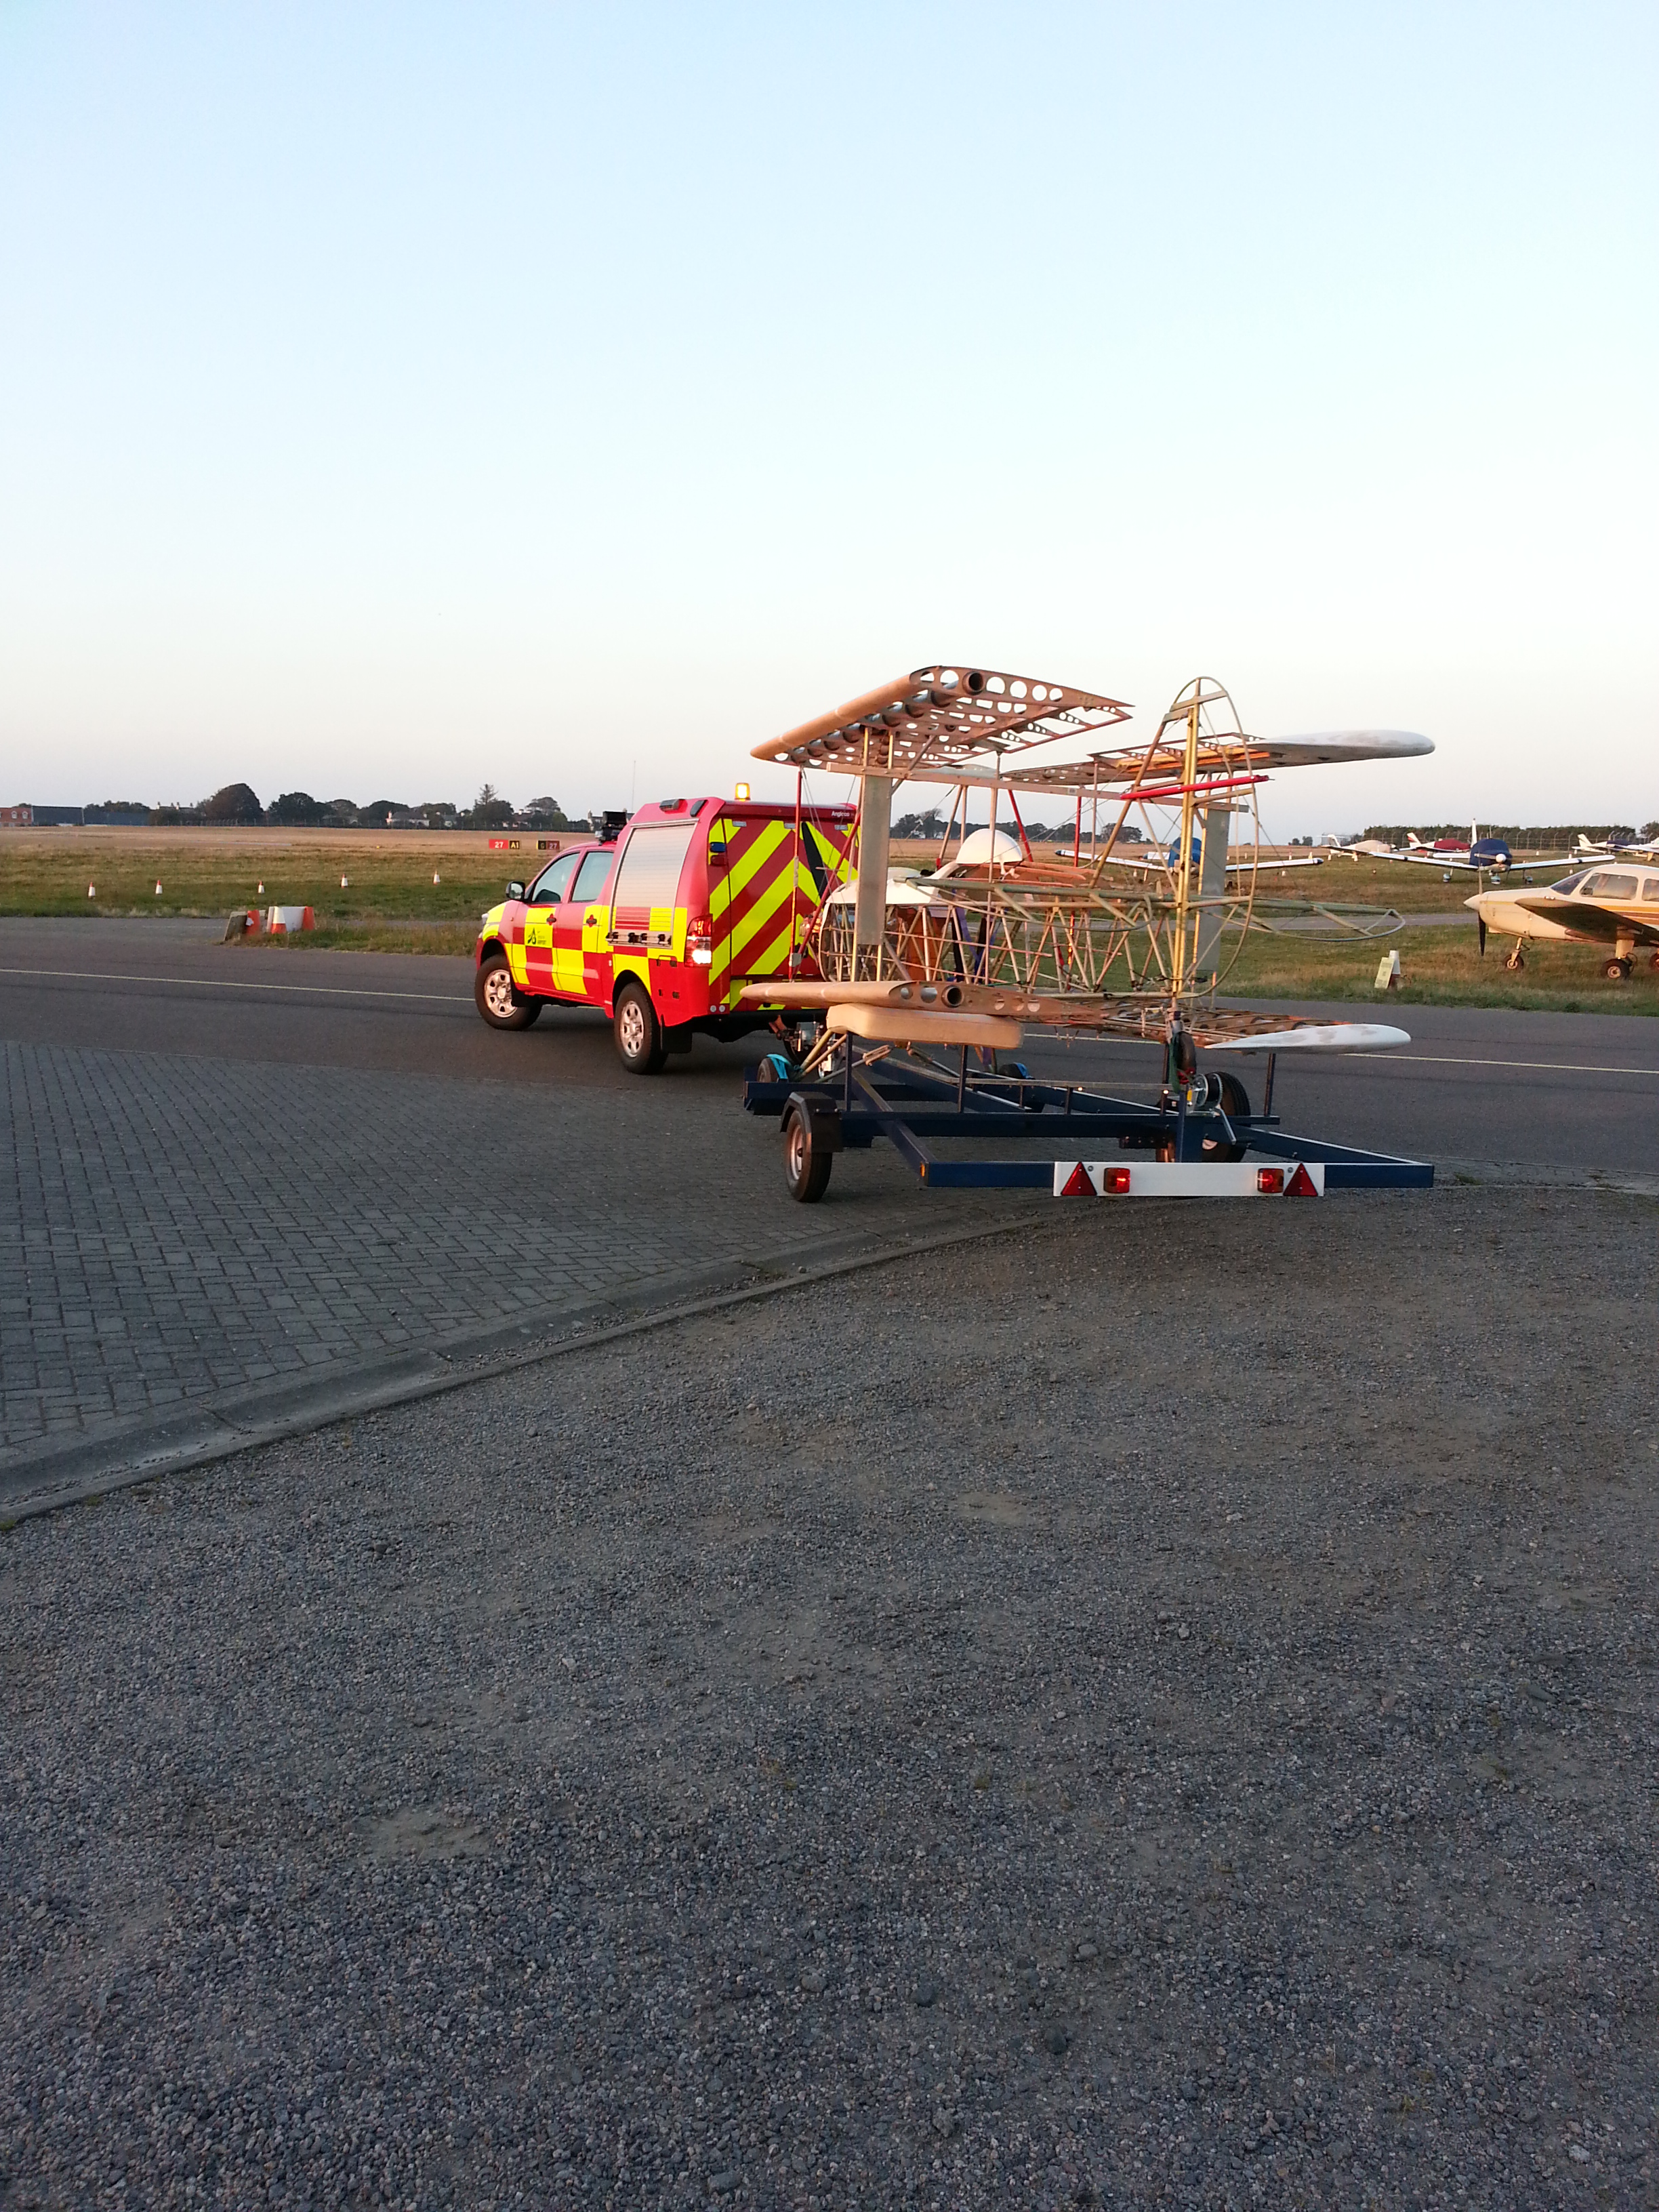
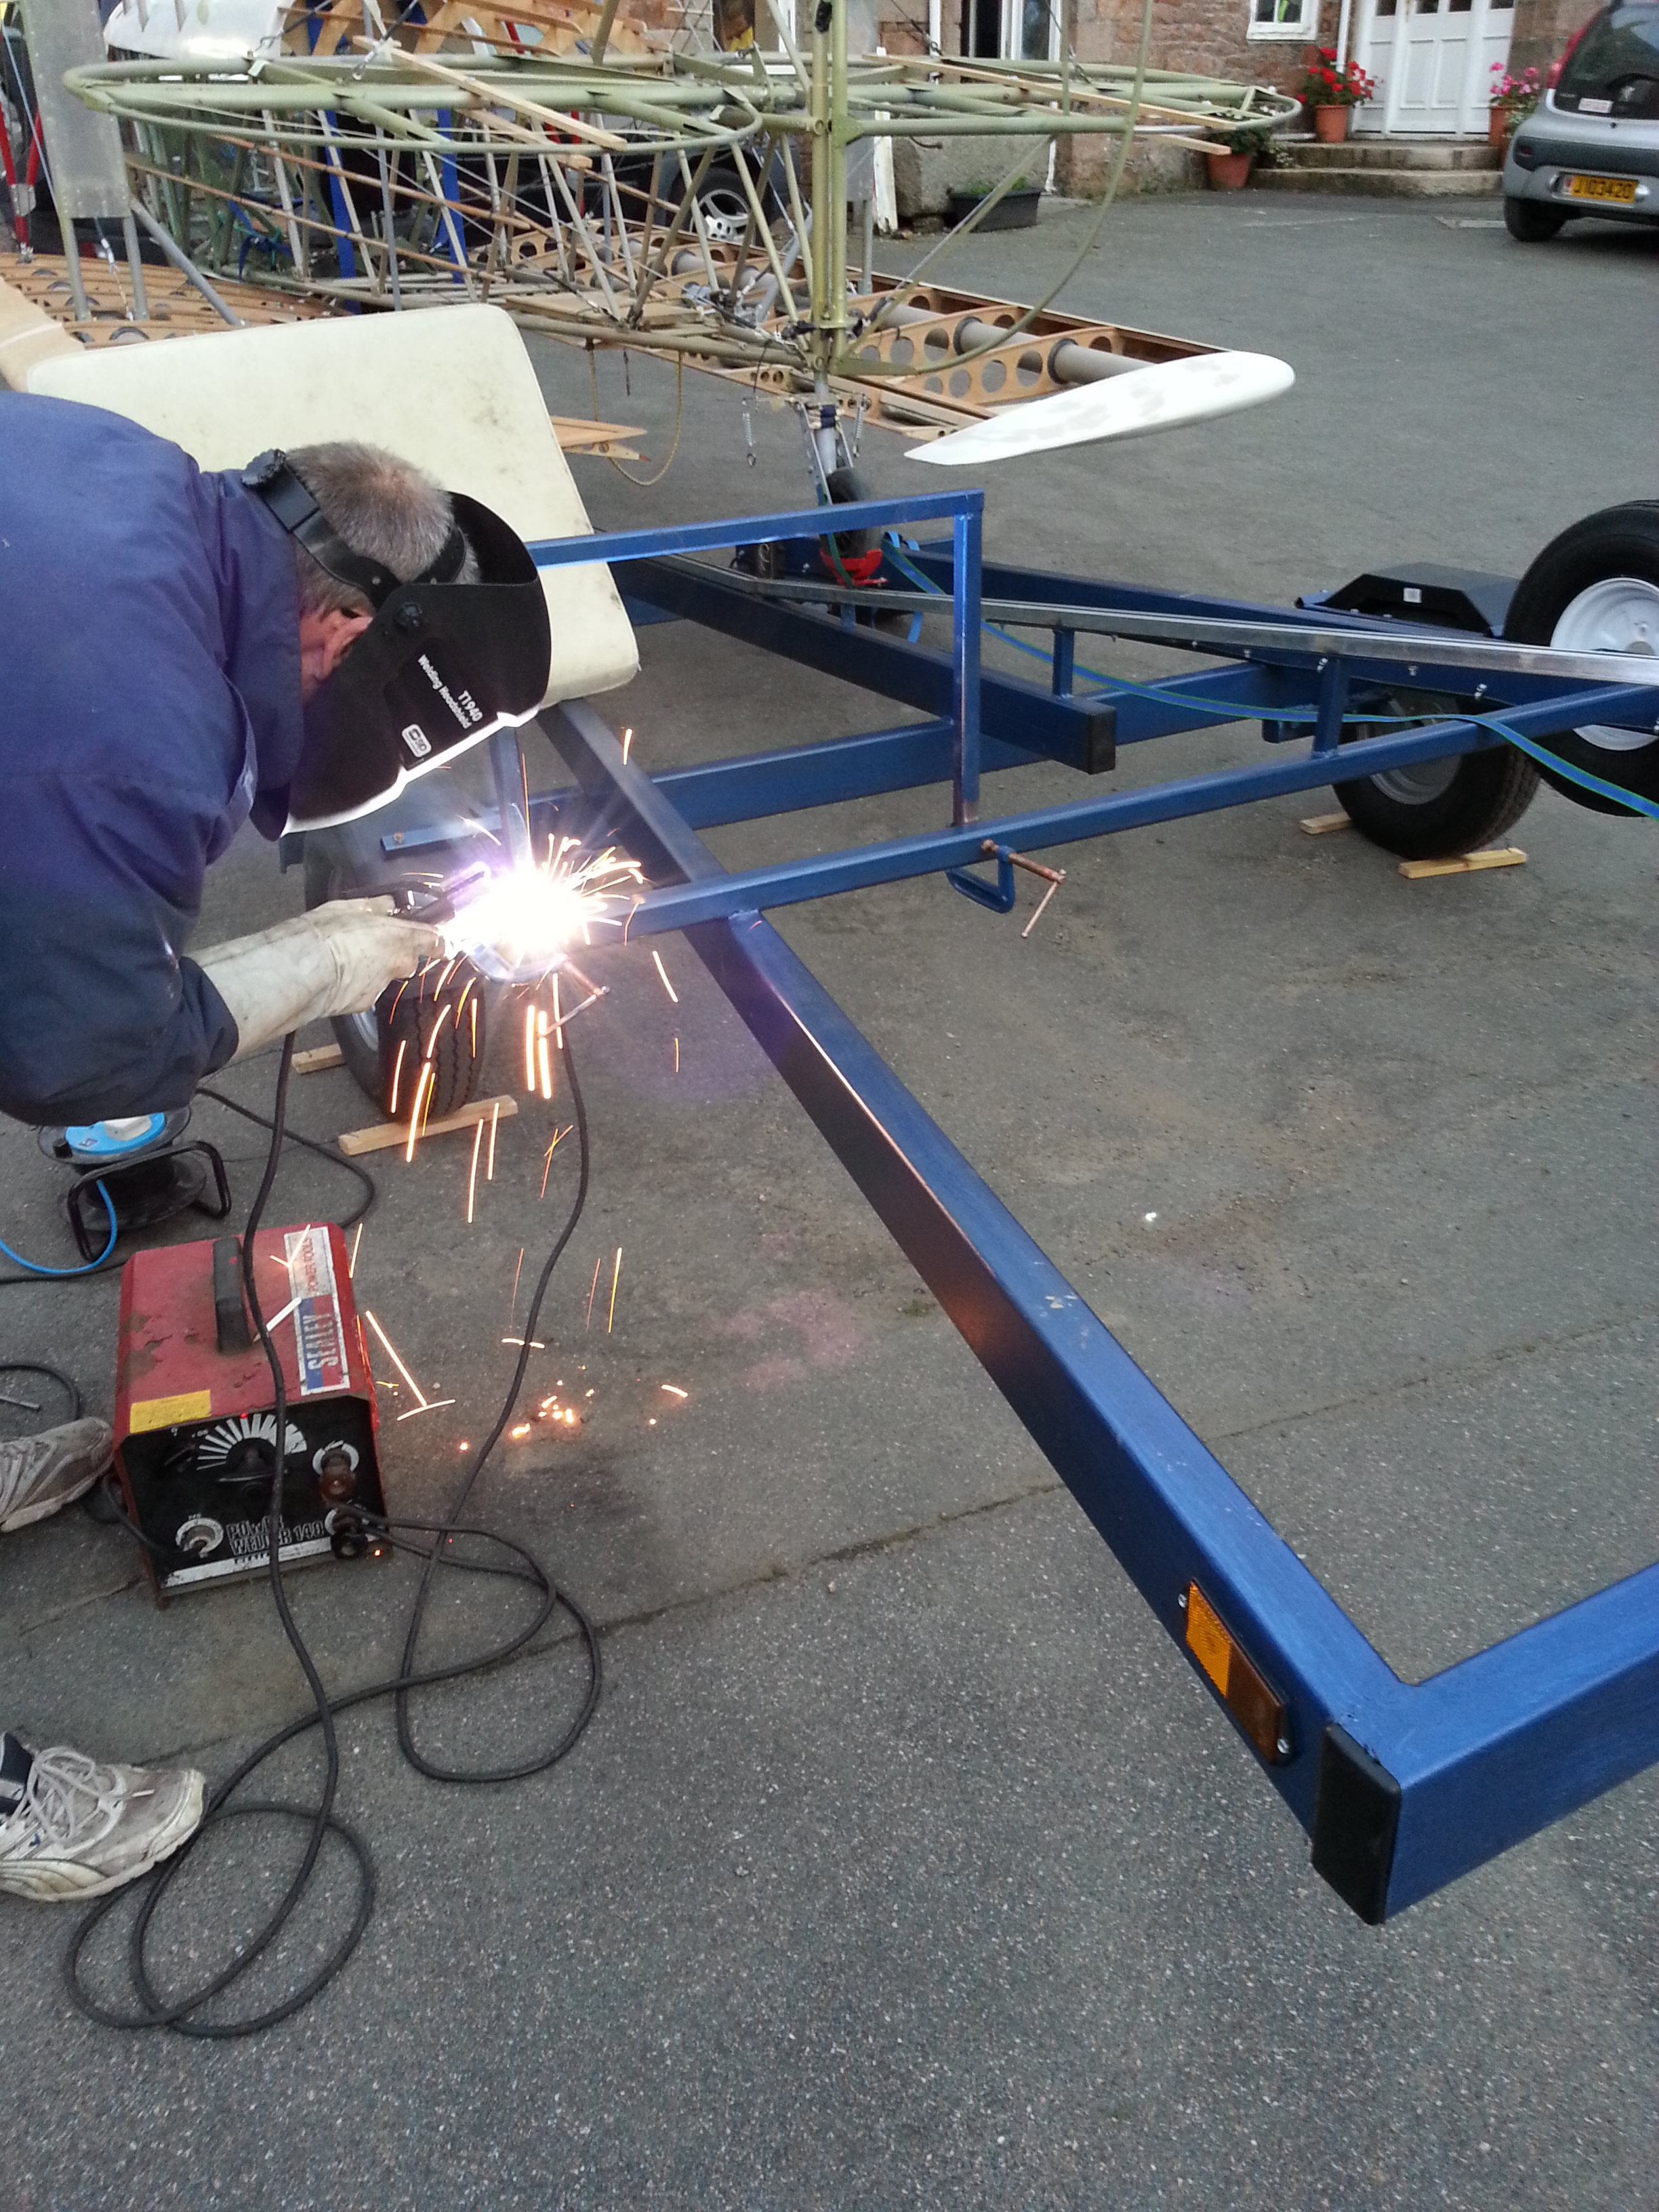
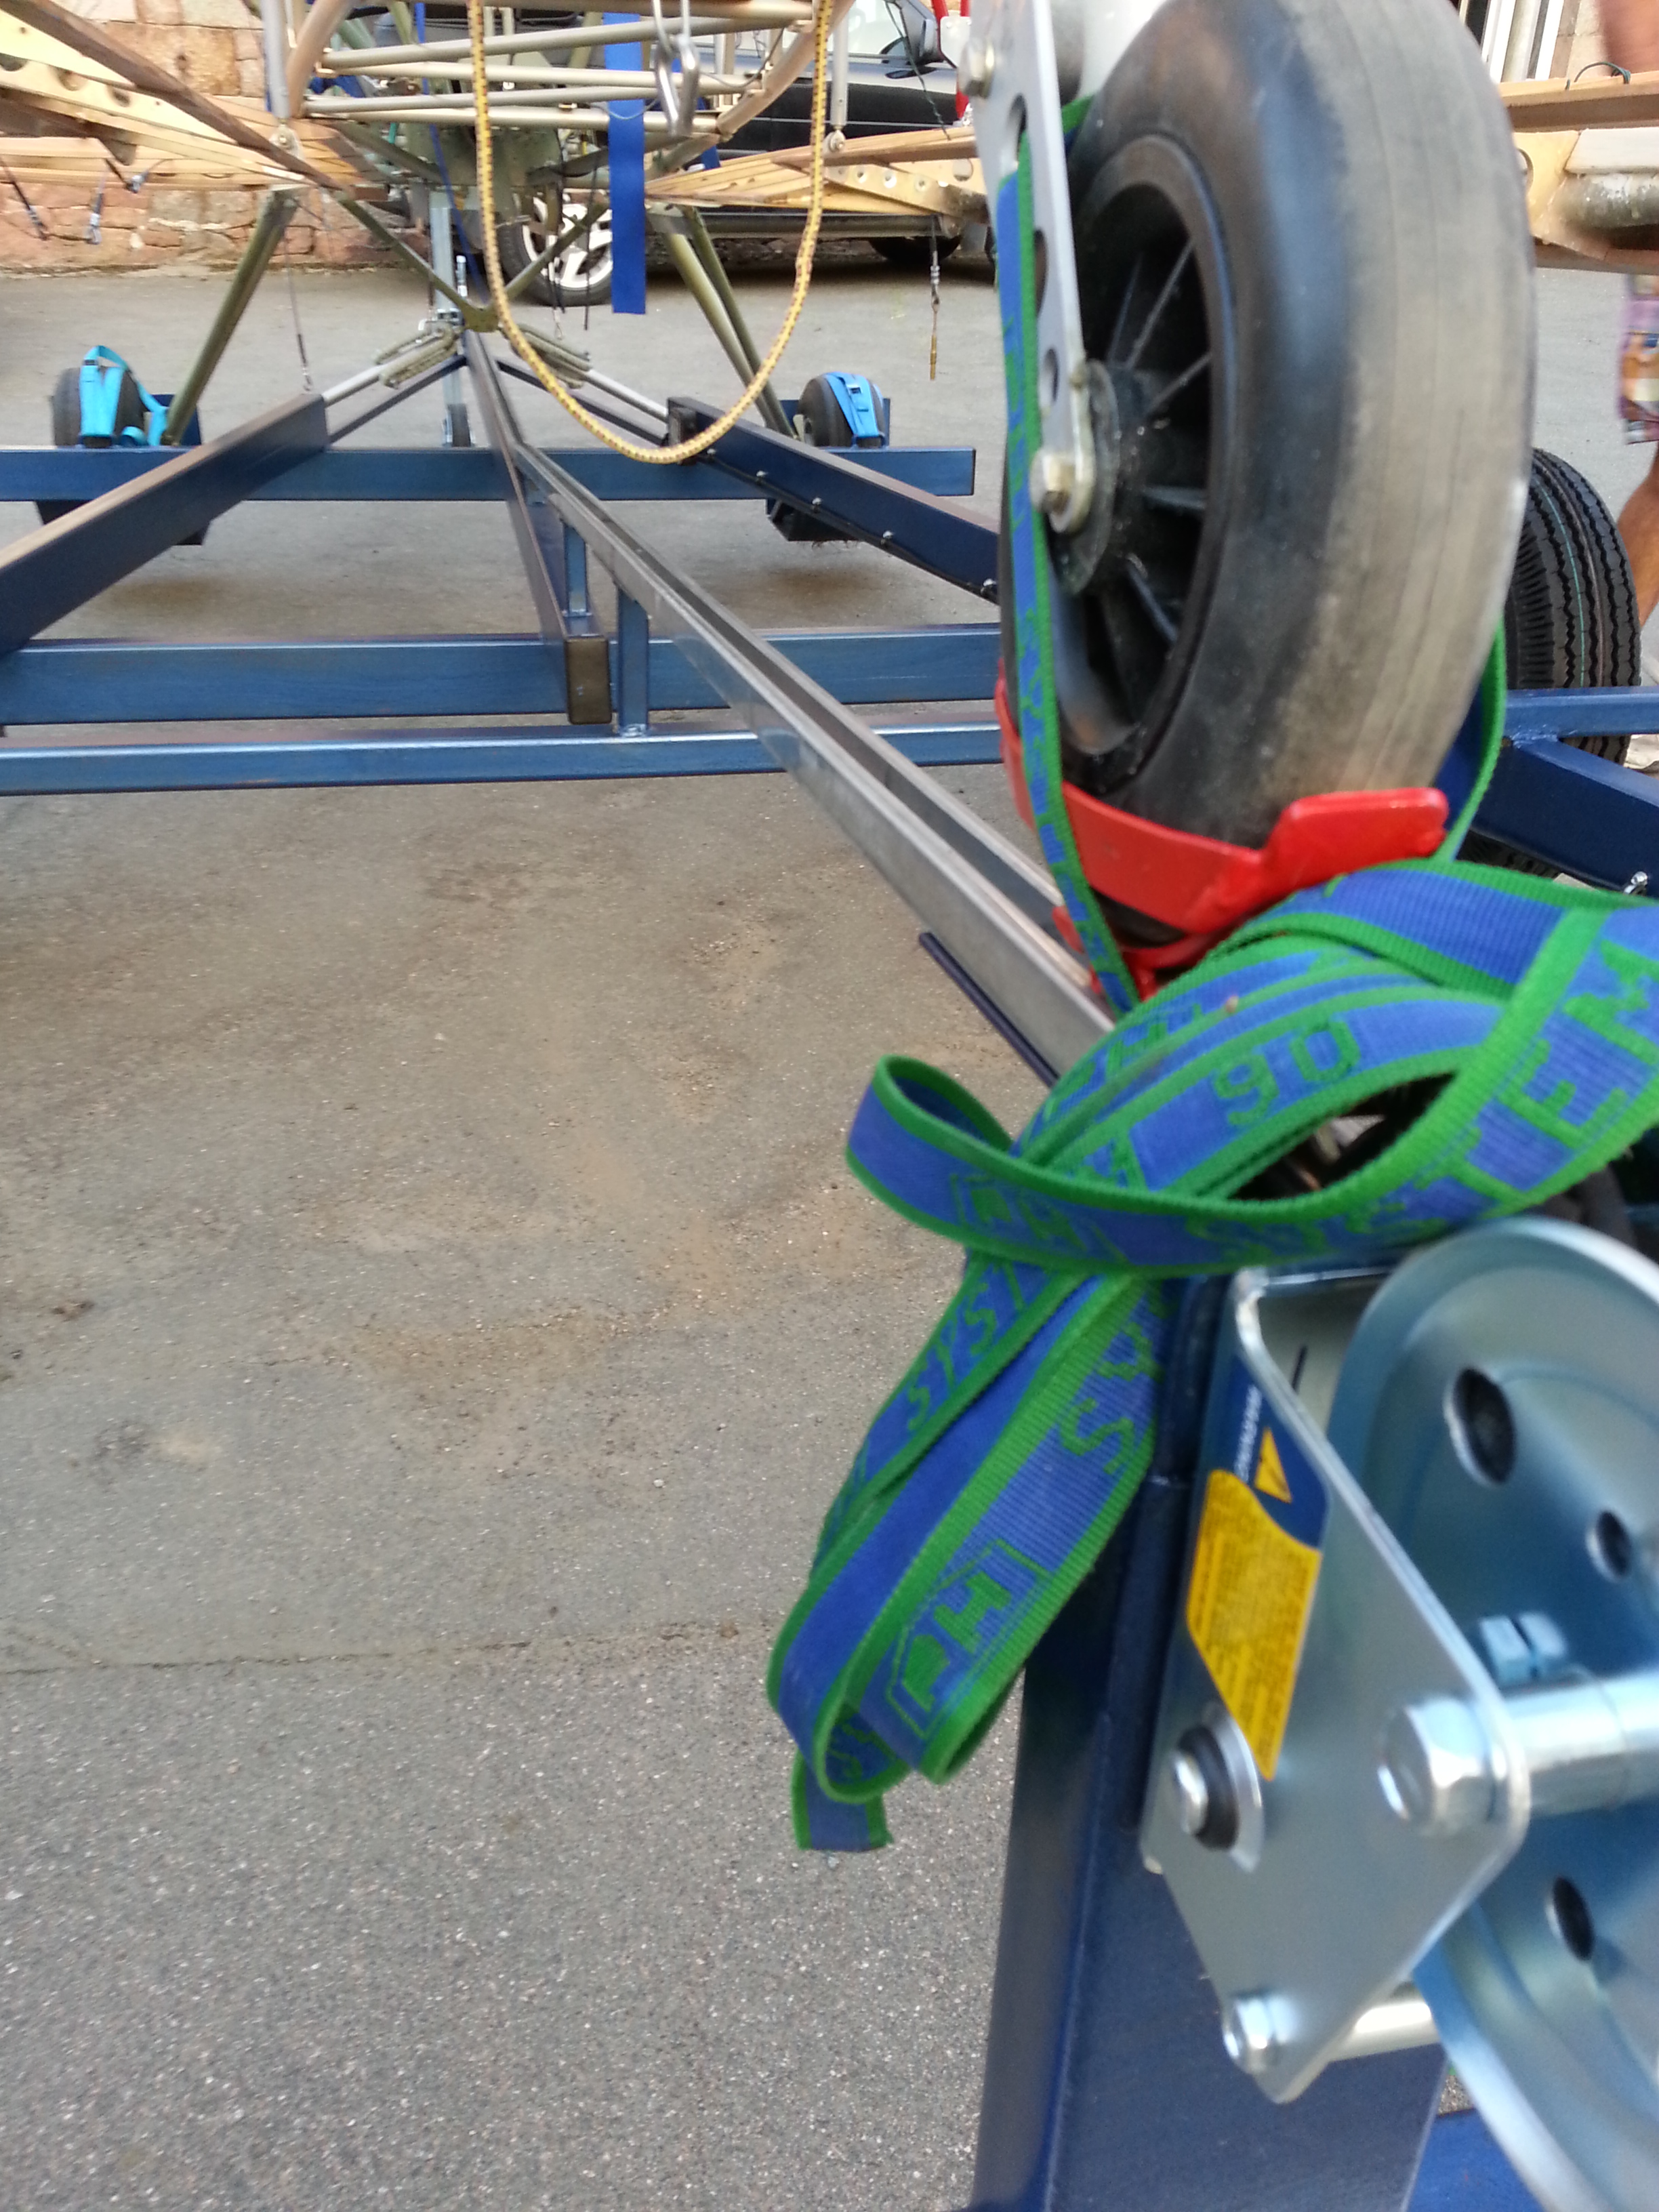
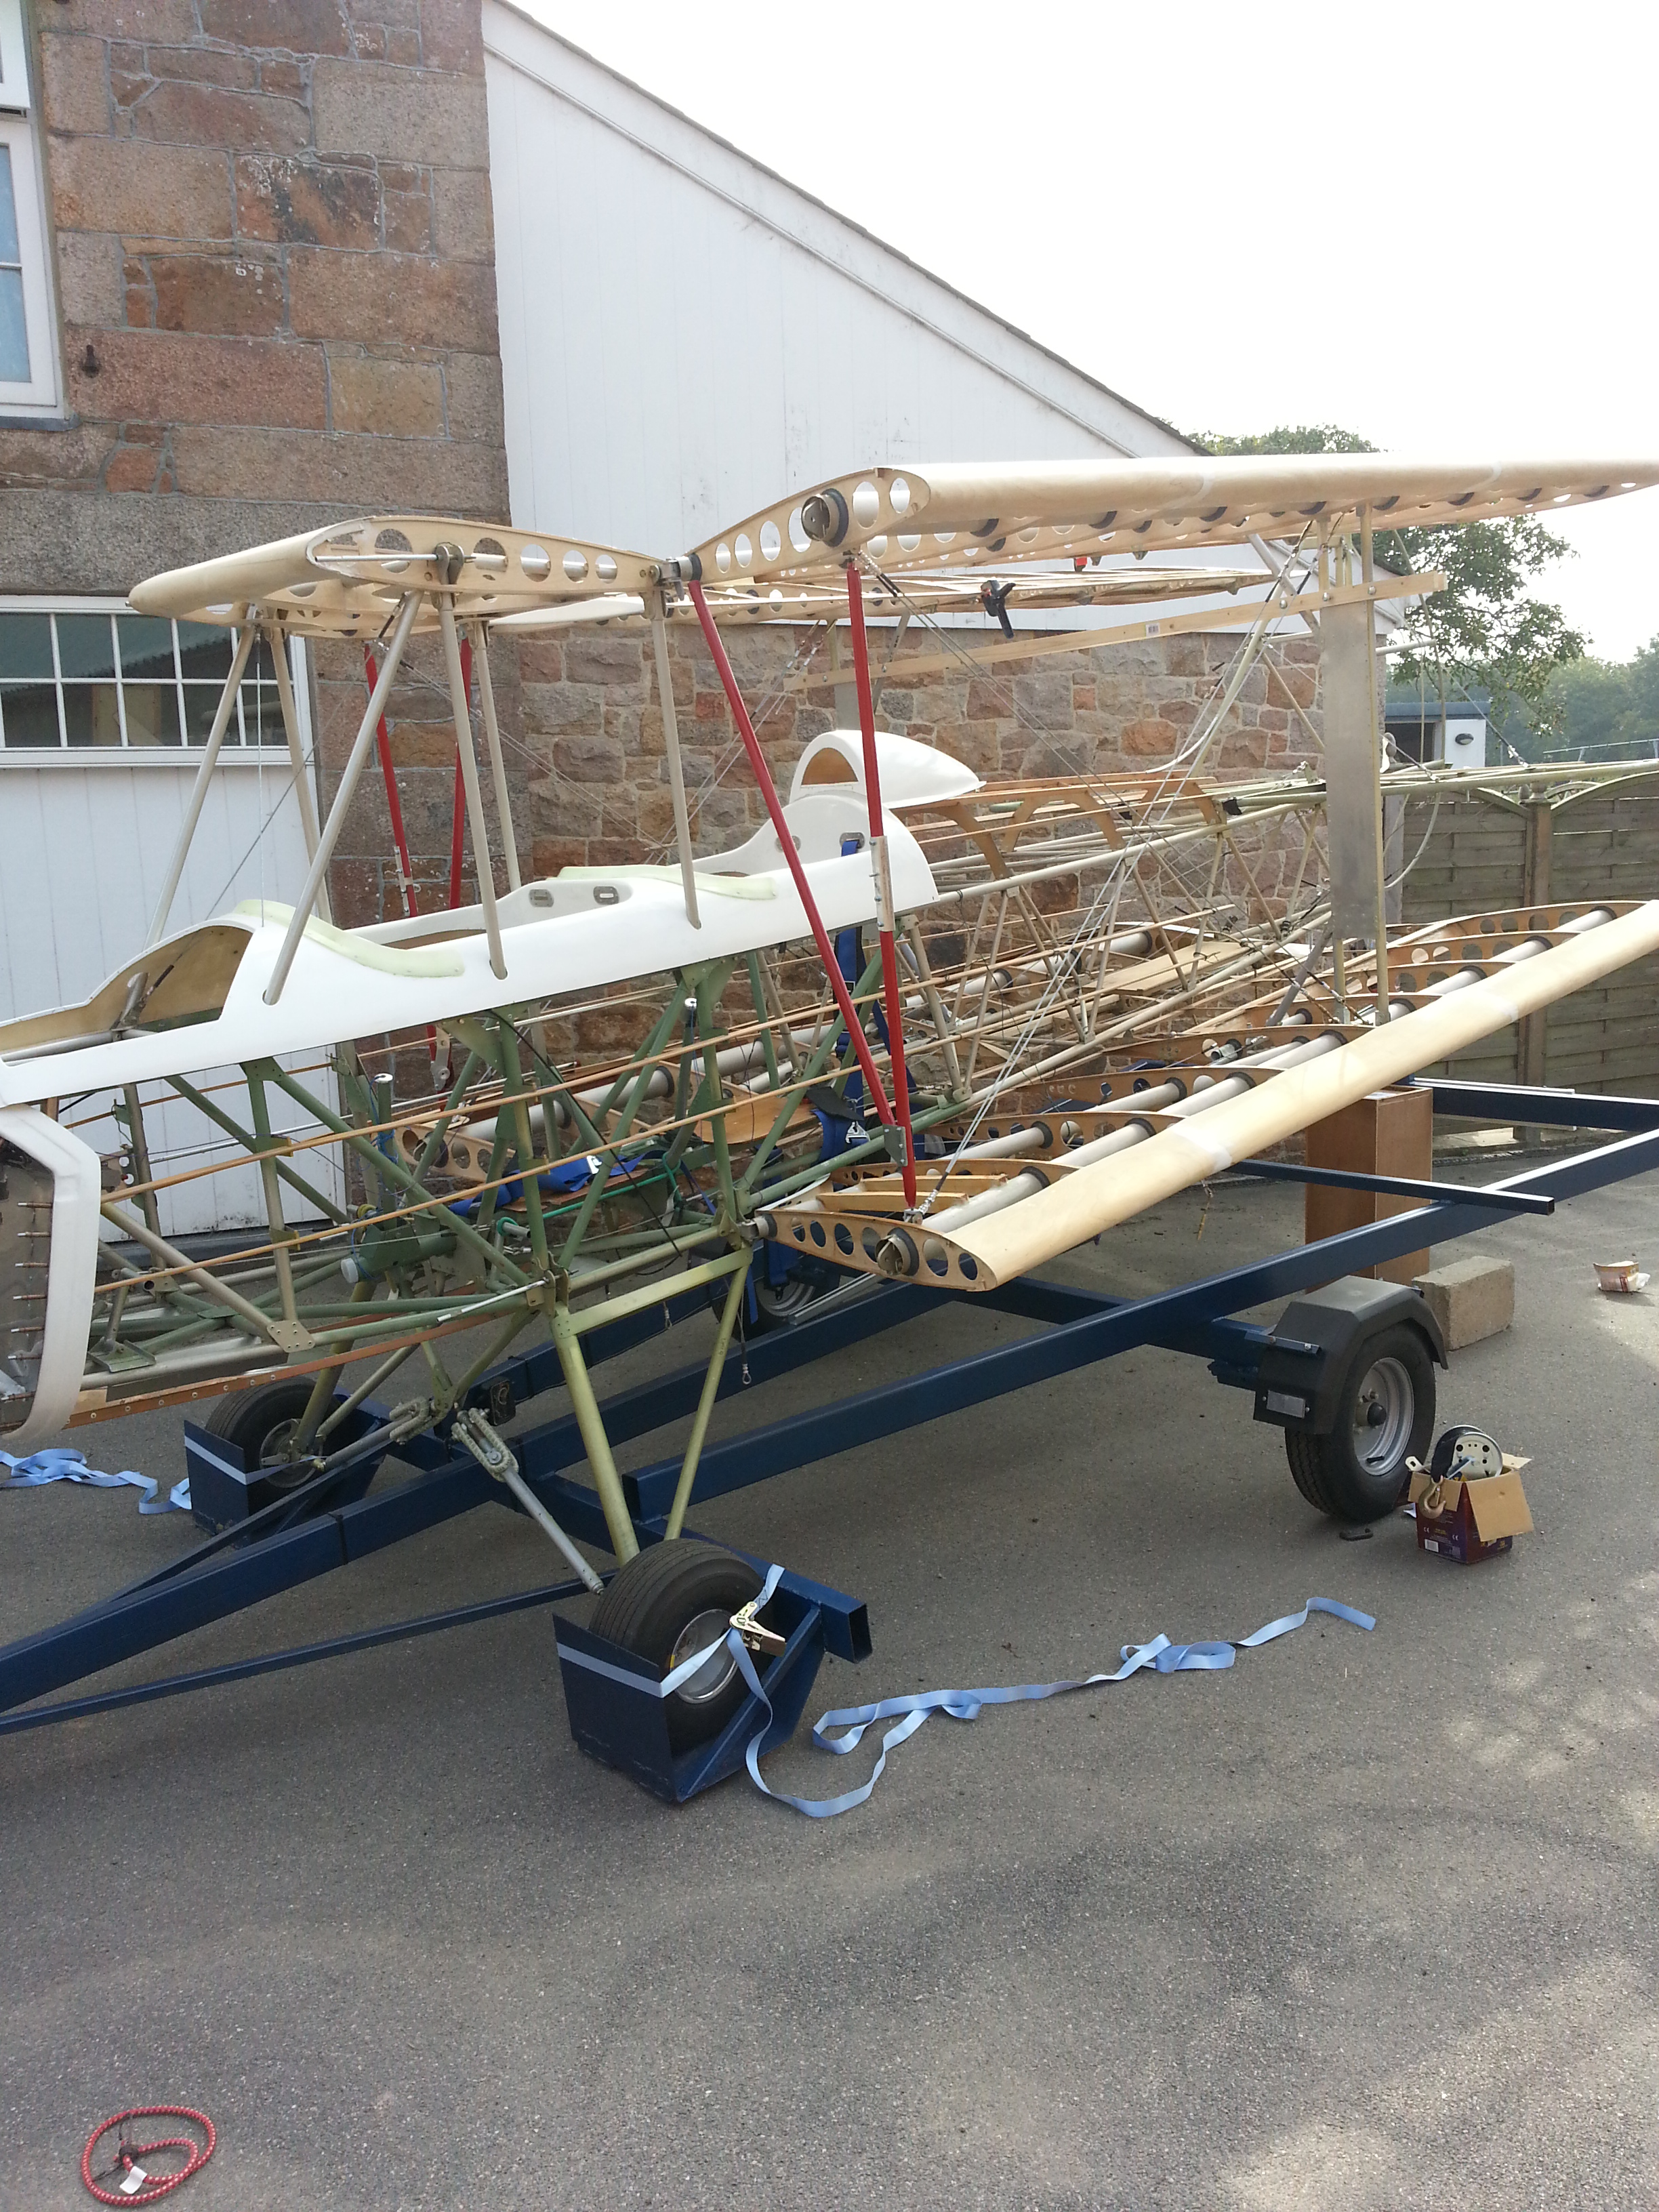
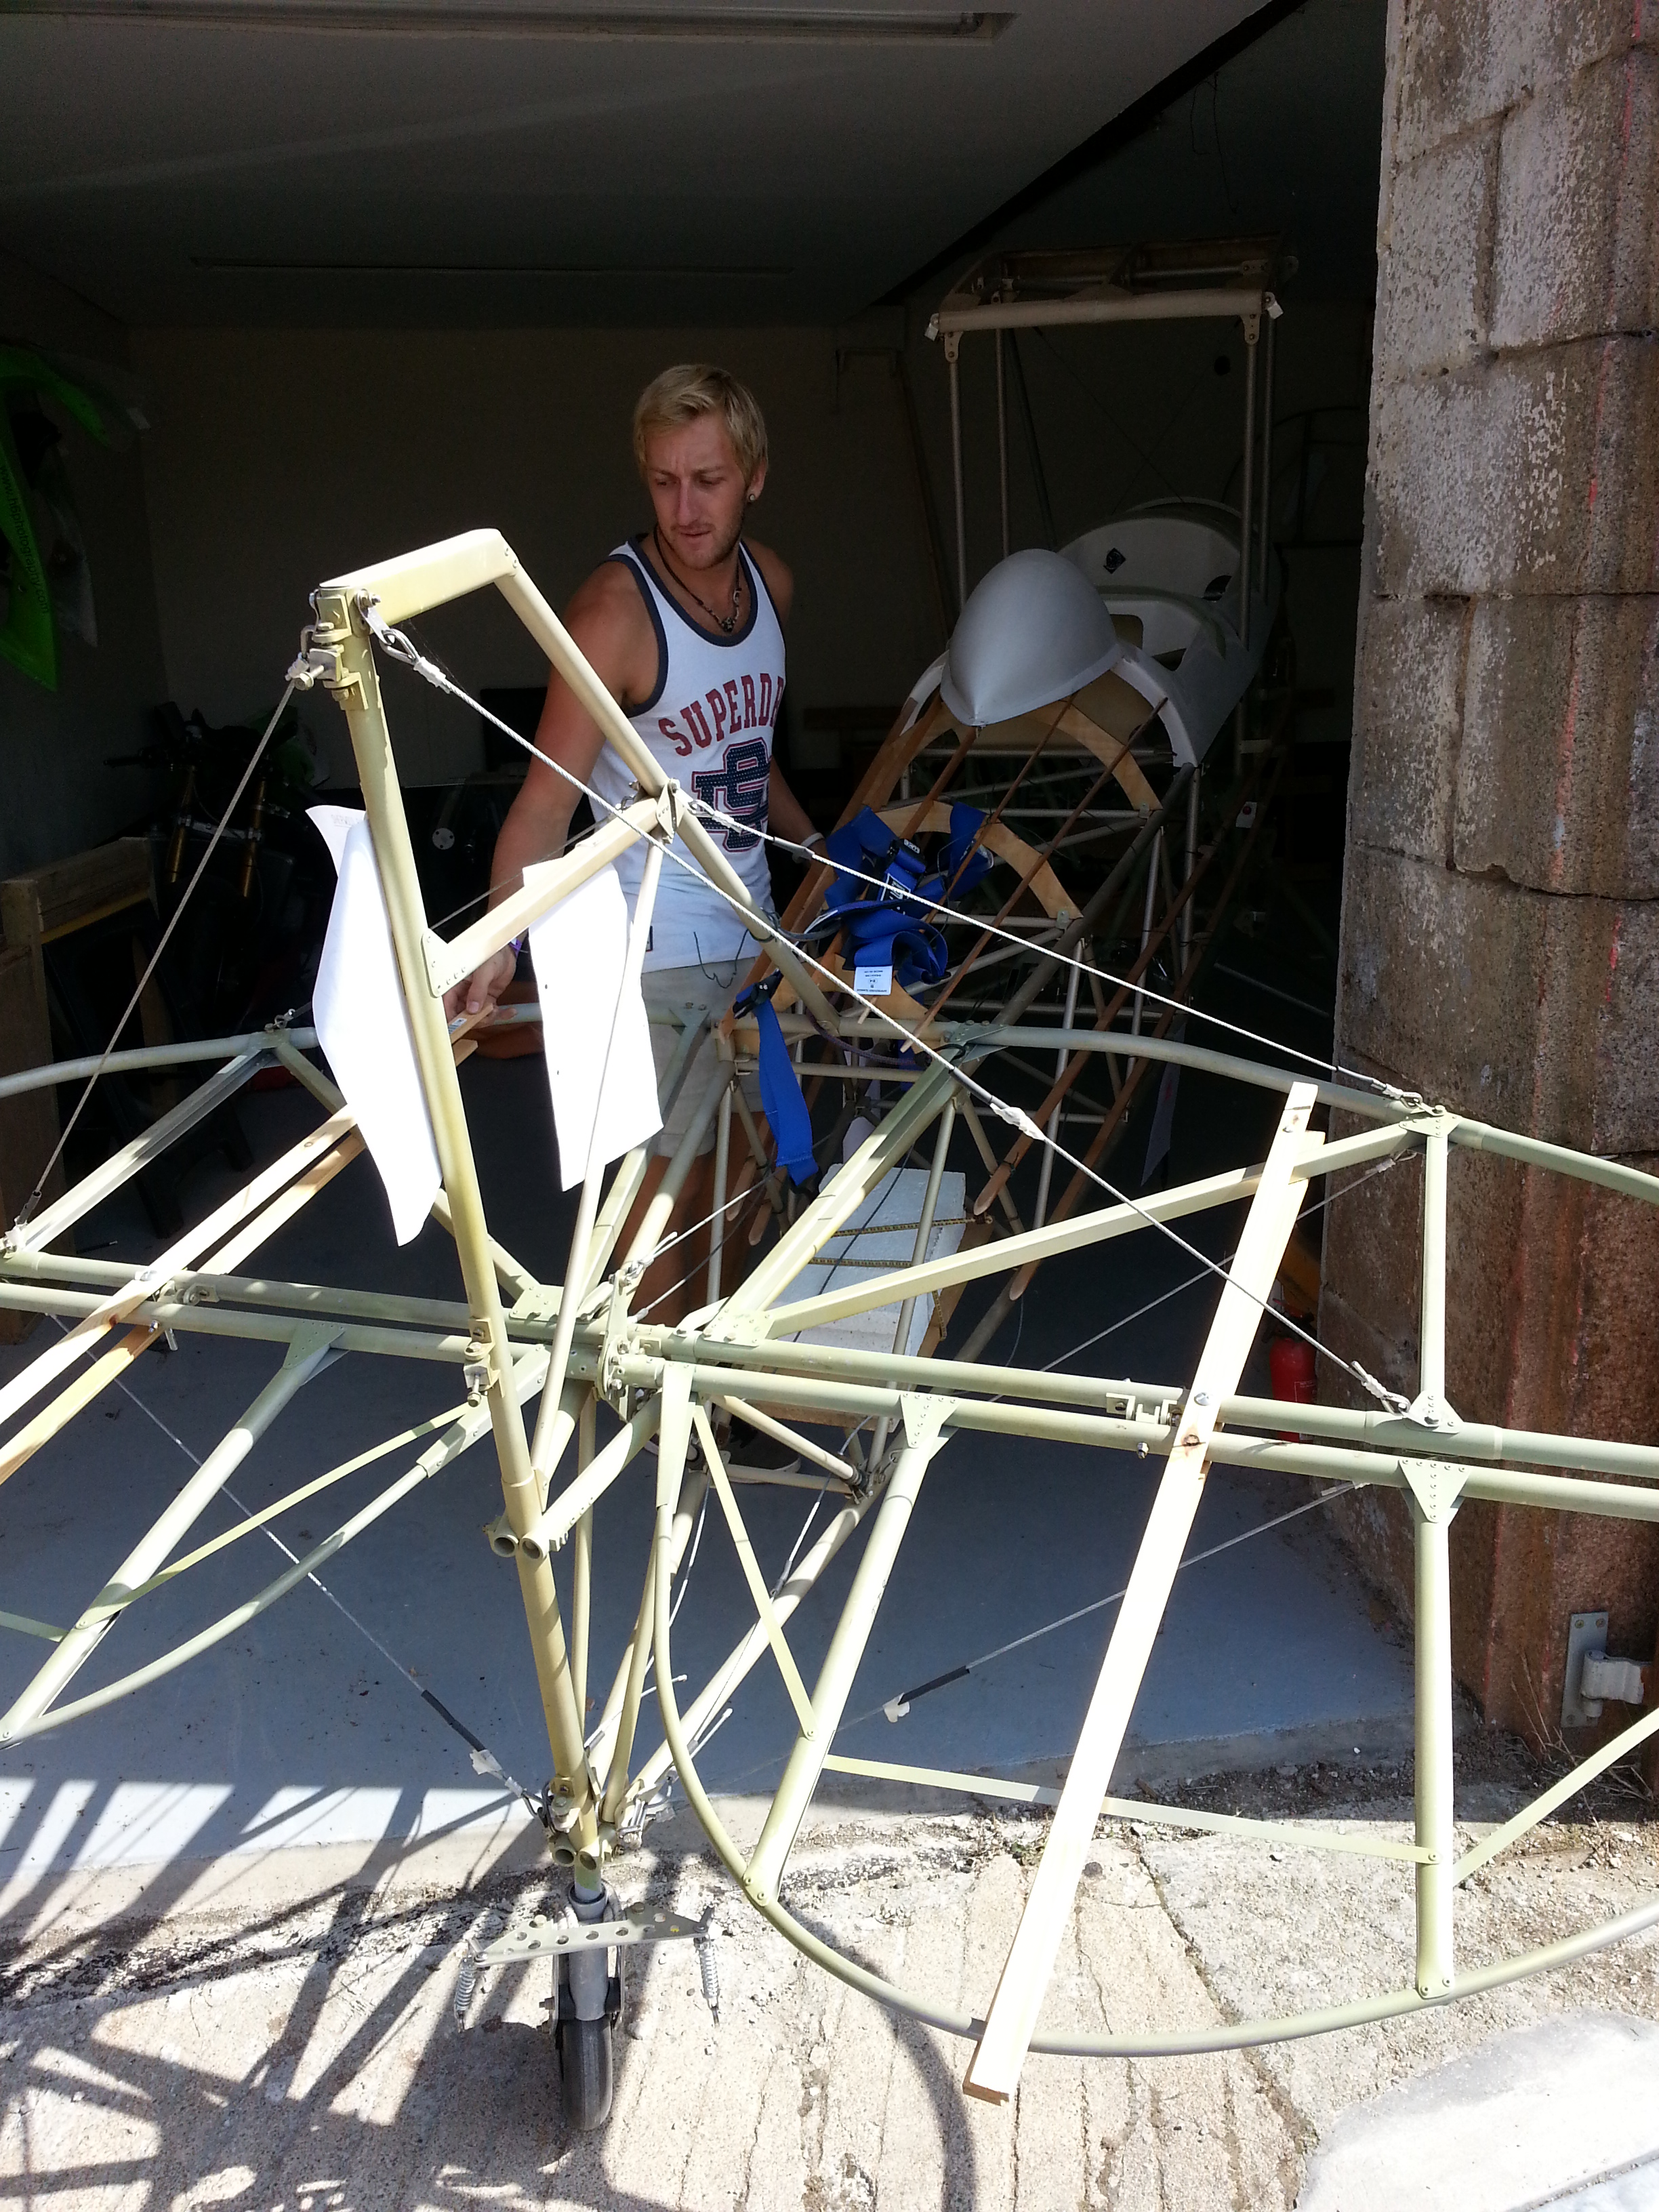
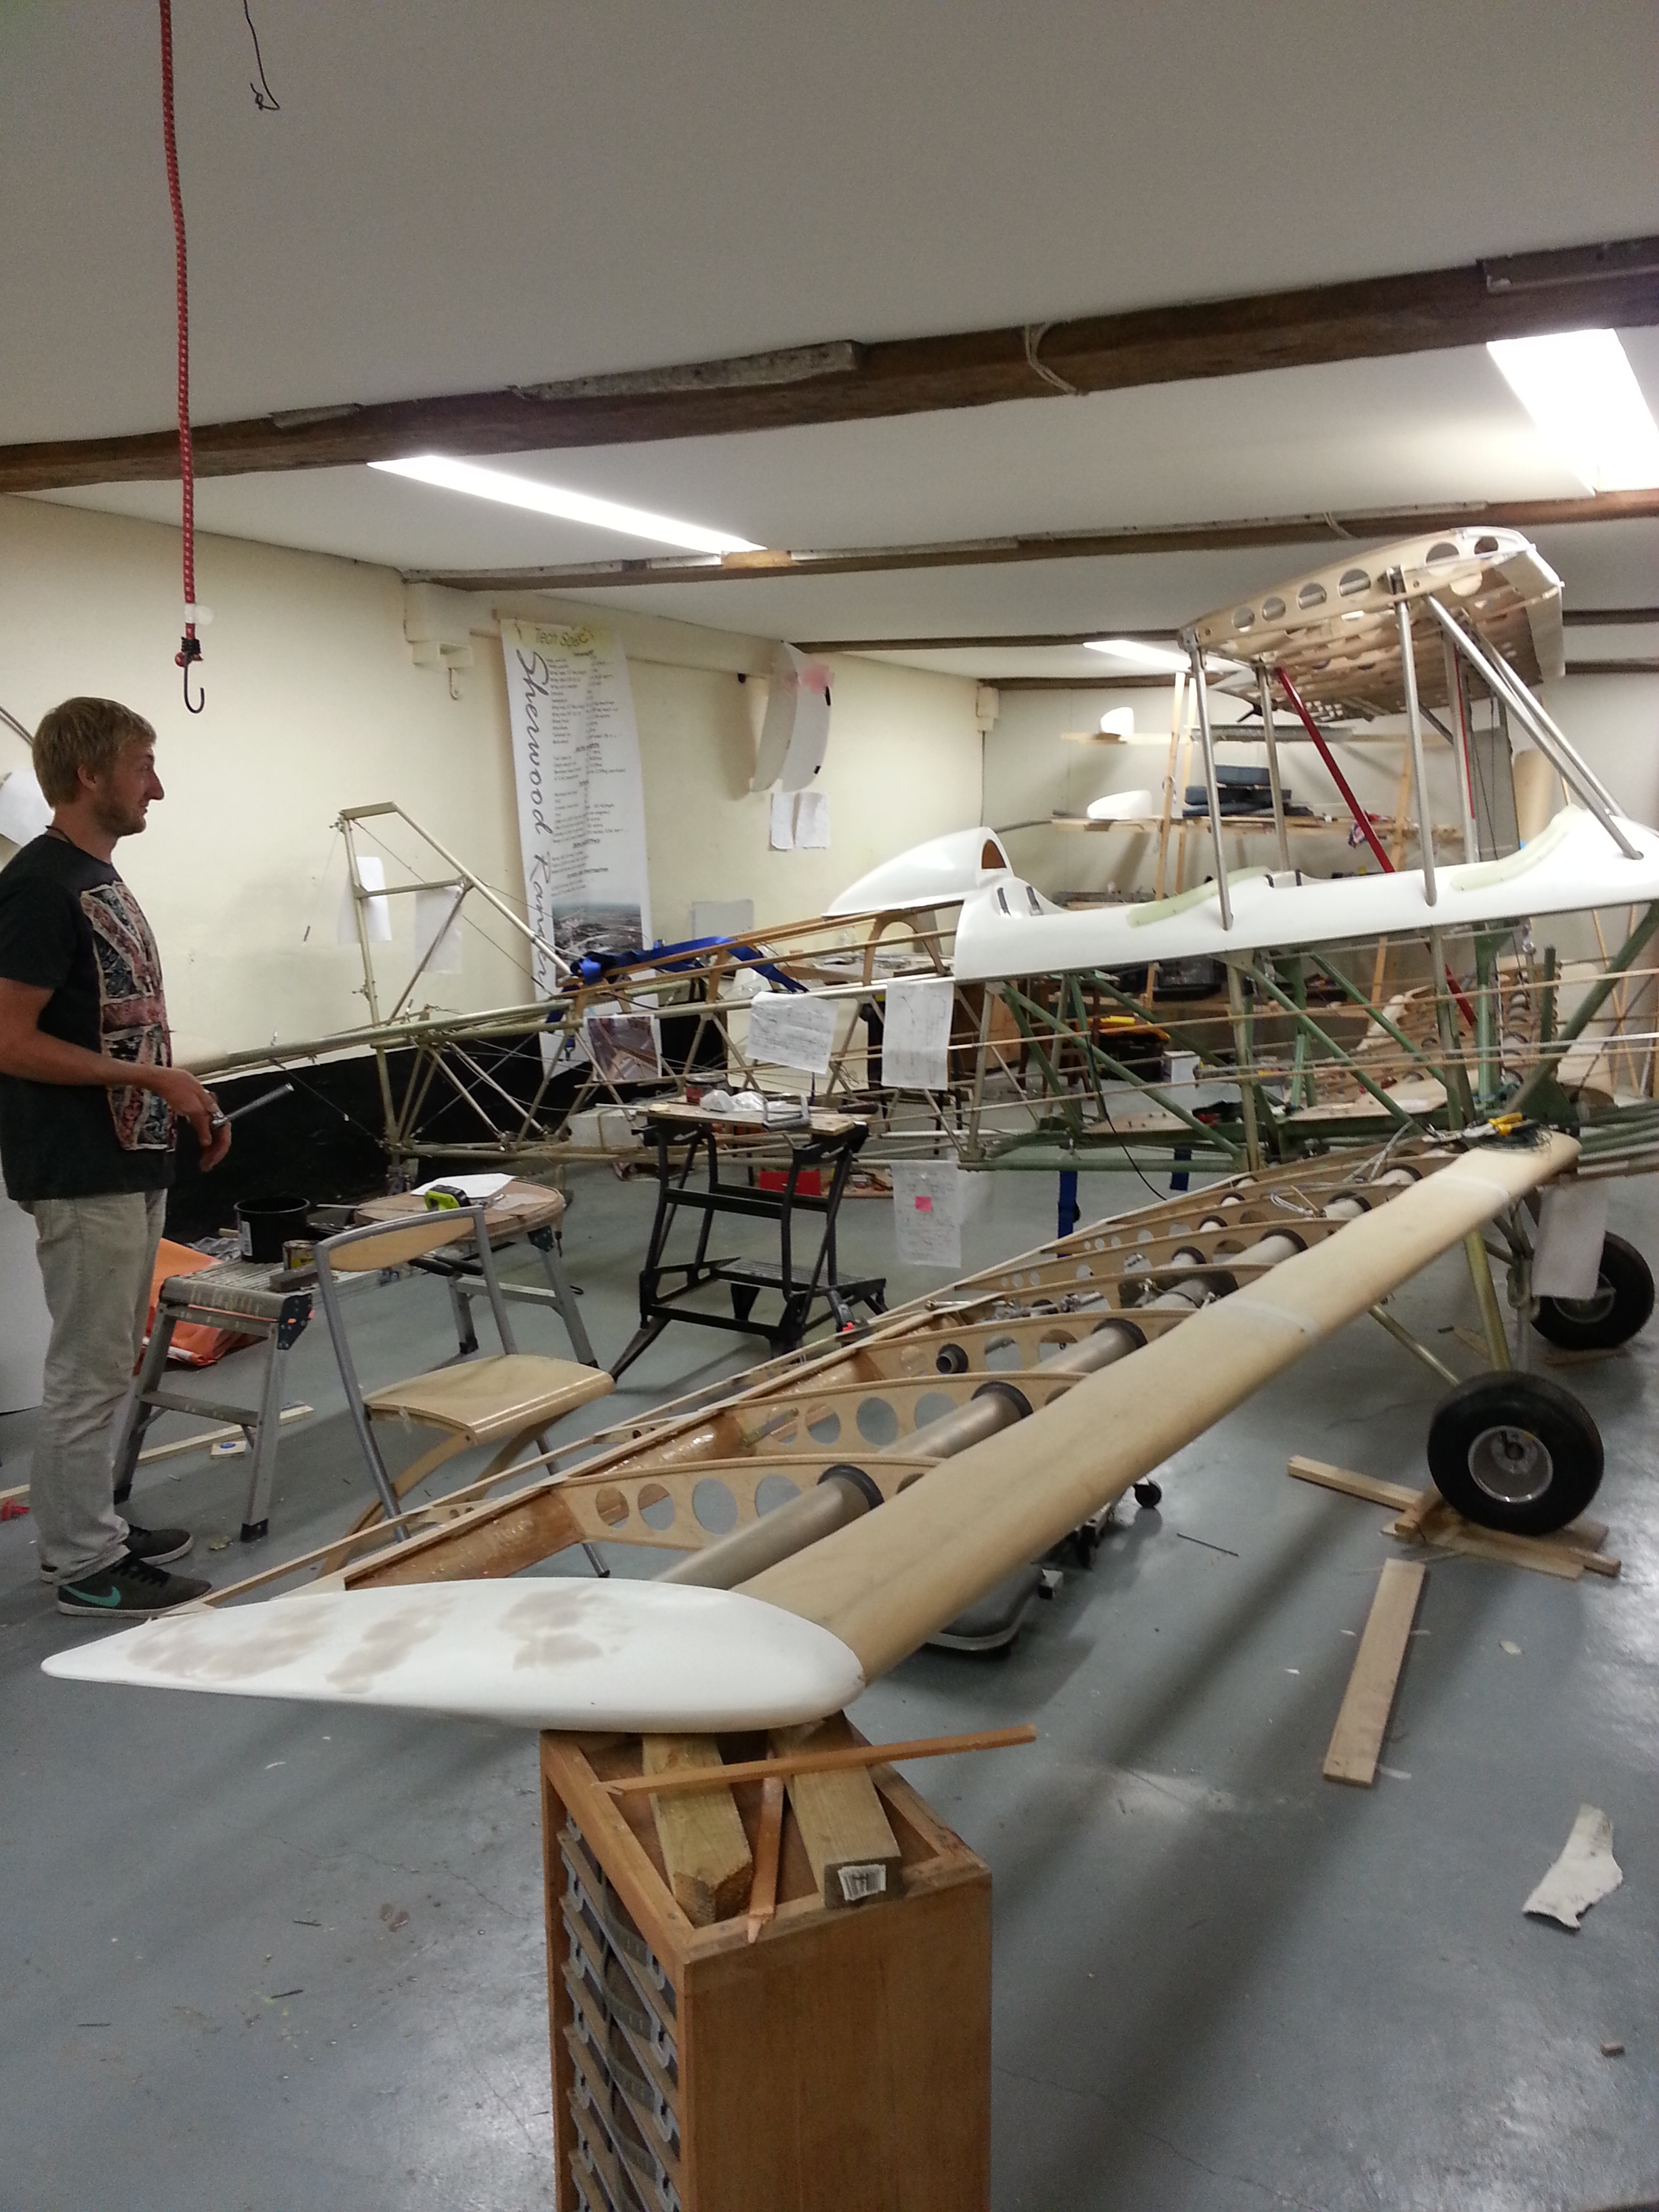
Last night saw the first full load test of the trailer.

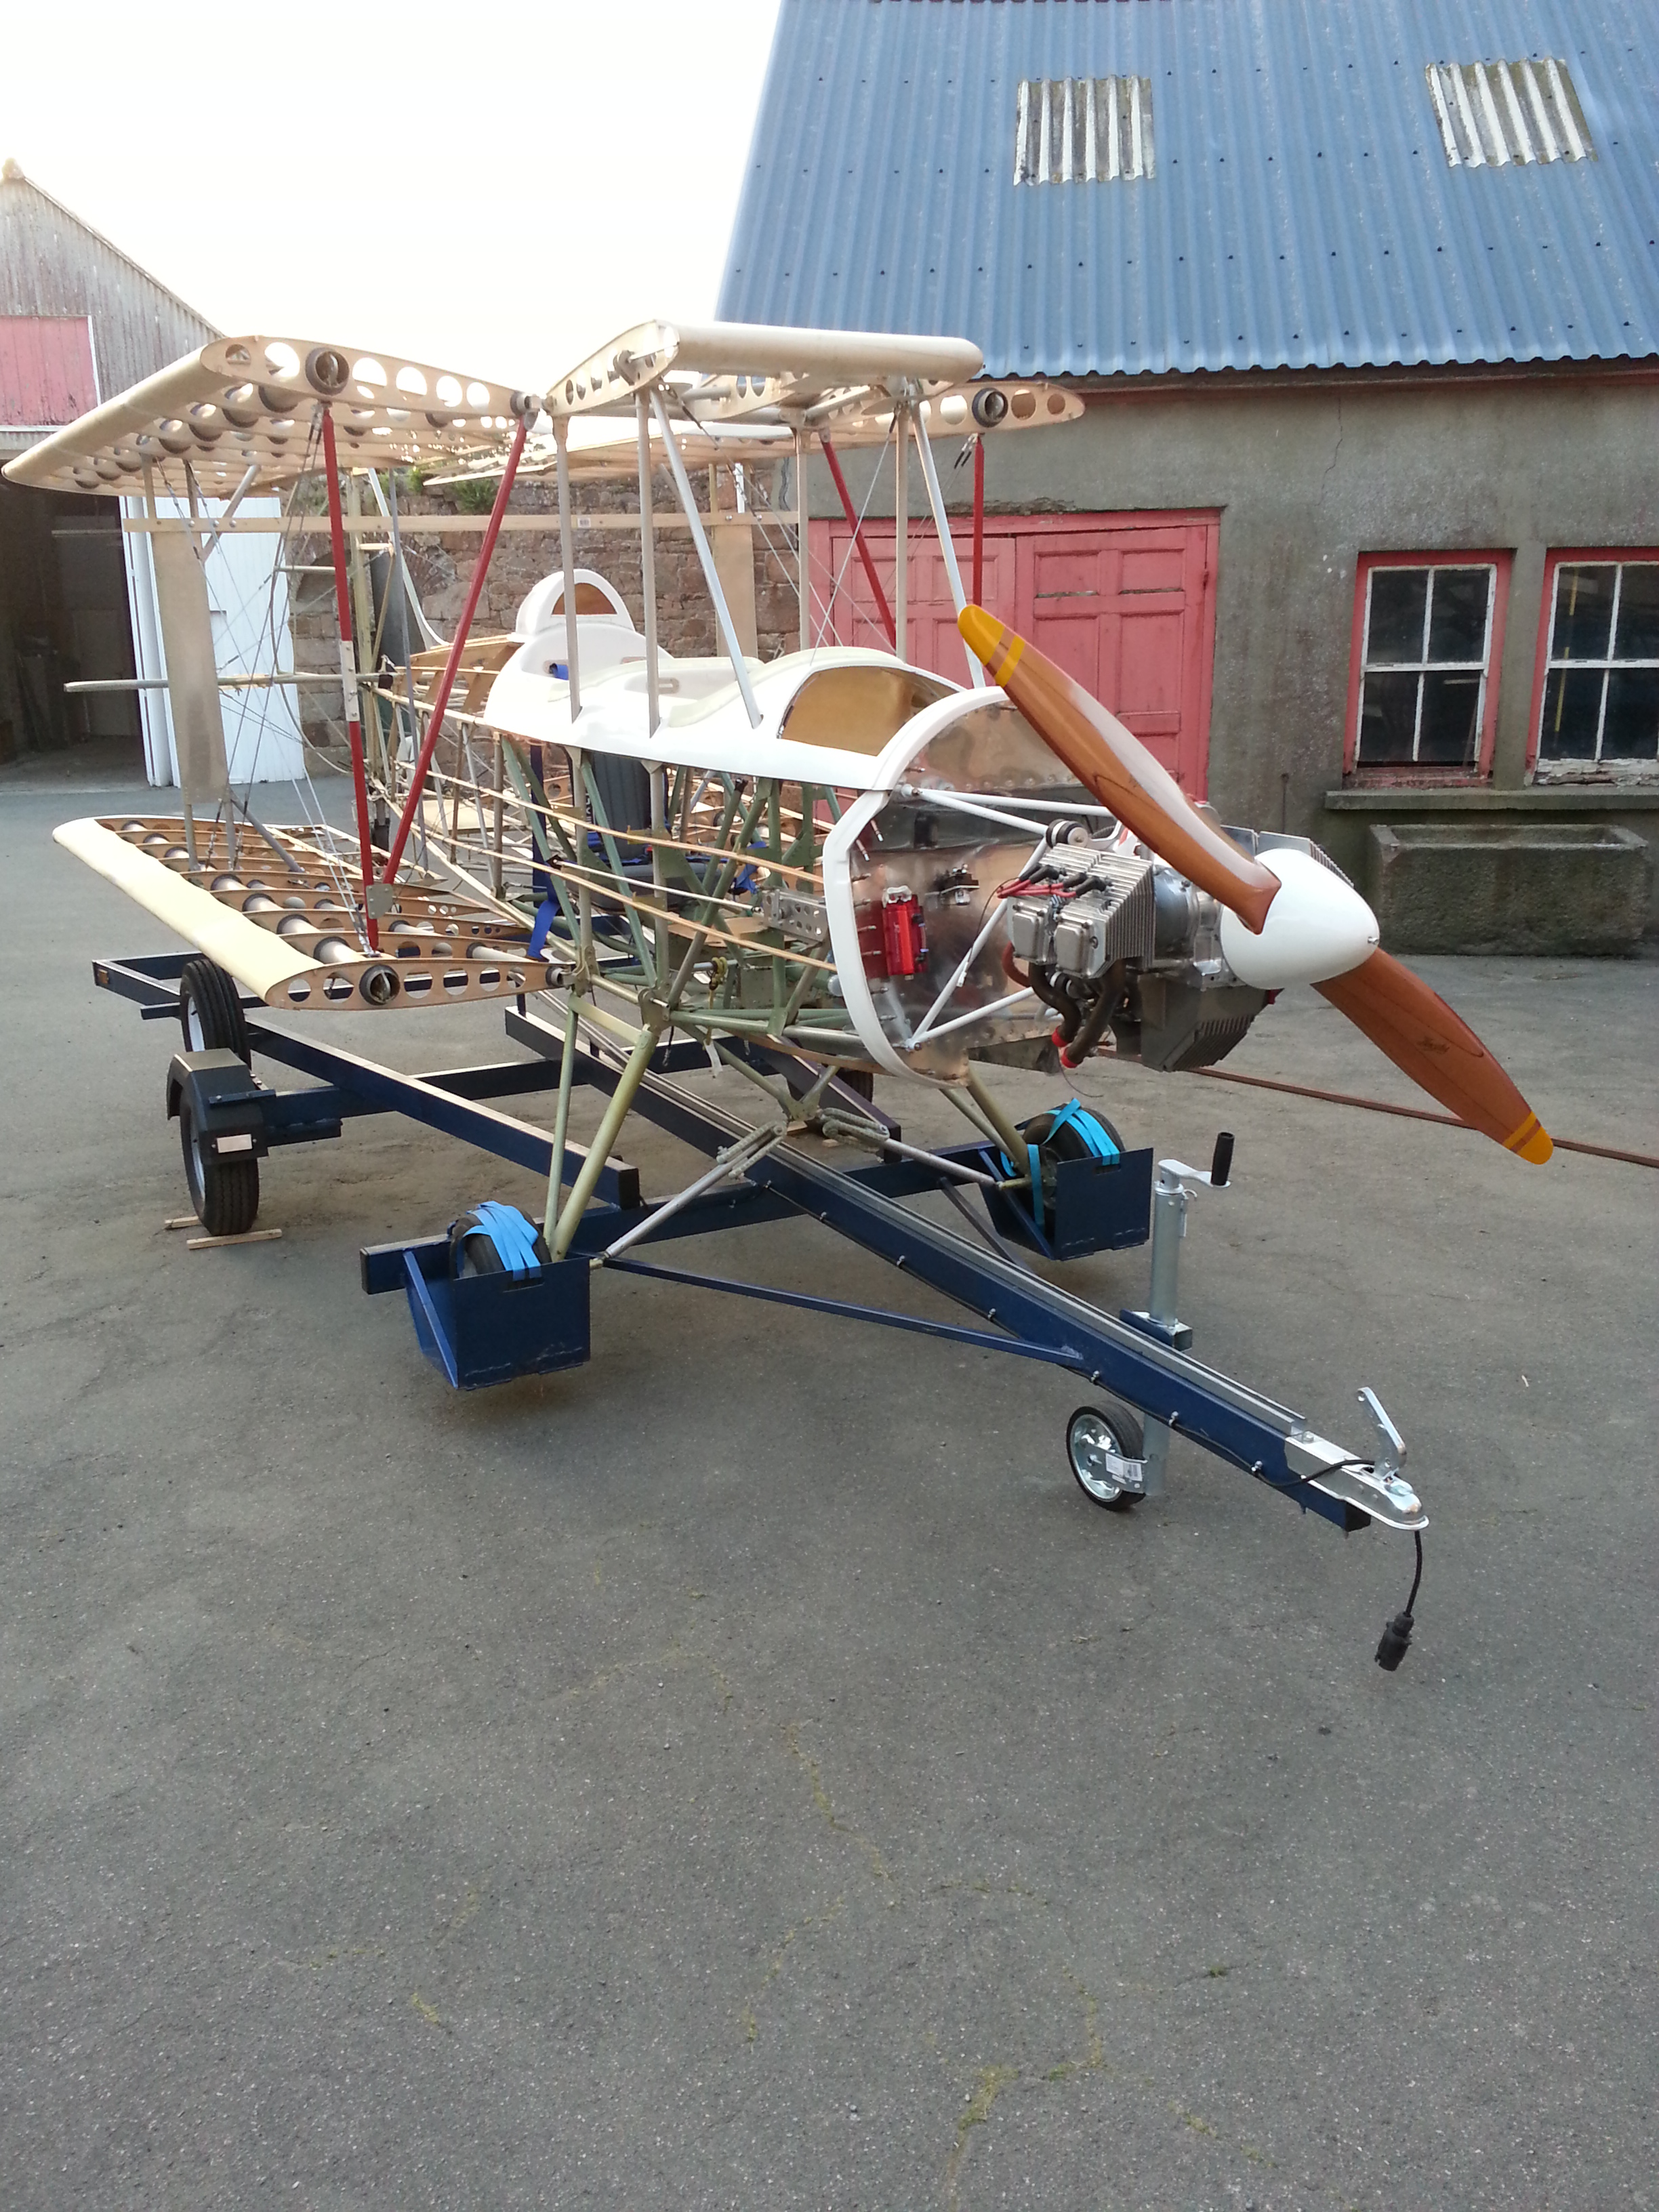
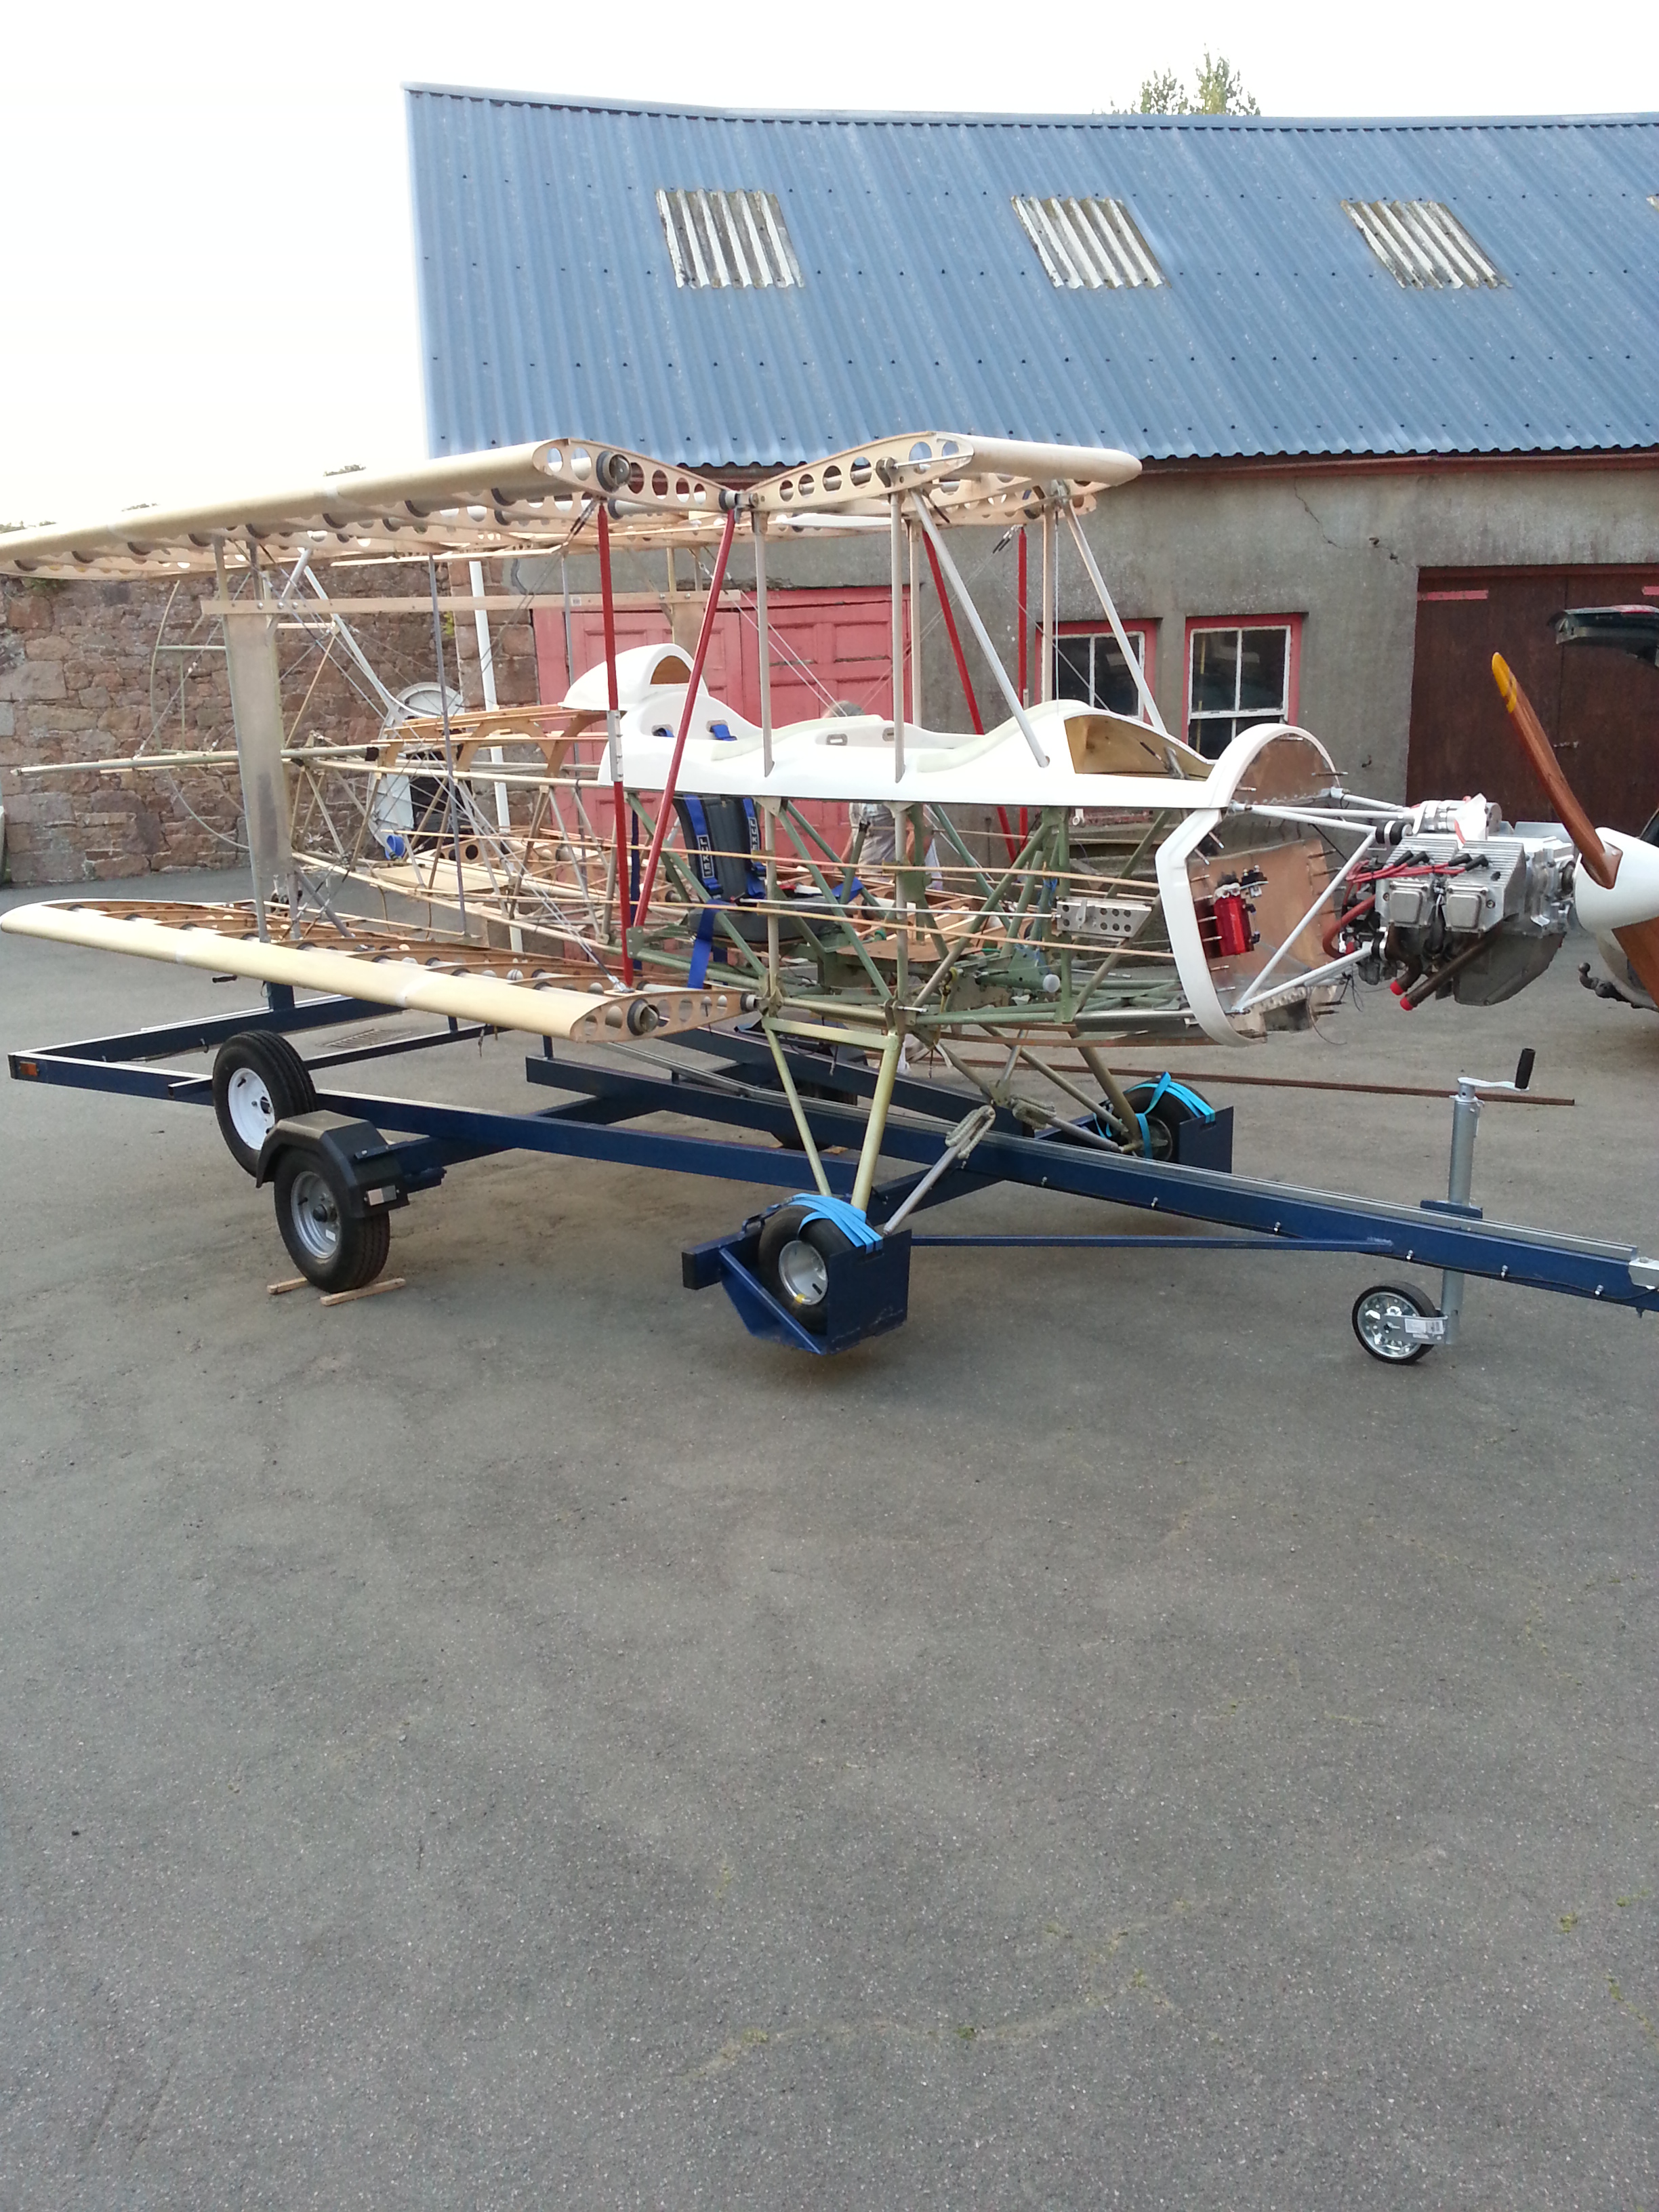
Mike had taken it away following final measurements of the planned dolly/track and worked wonders ! The track runs from one end to the other and the small cradle sits on a quad of bogey wheels. Mike had also sourced a ratchet web handle with a hook that slipped neatly into the base of the tailwheel cradle. It wound up with one finger .. very light and easy. The wheel flaps had also had slots cut and a welded u clamping piece on top. Also, with attention to detail, Mike had lowered the leading edge angled brackets as they were just touching the Sherwood undercarriage. Now we had lots of clearance.

20140909_193501  20140909_190343

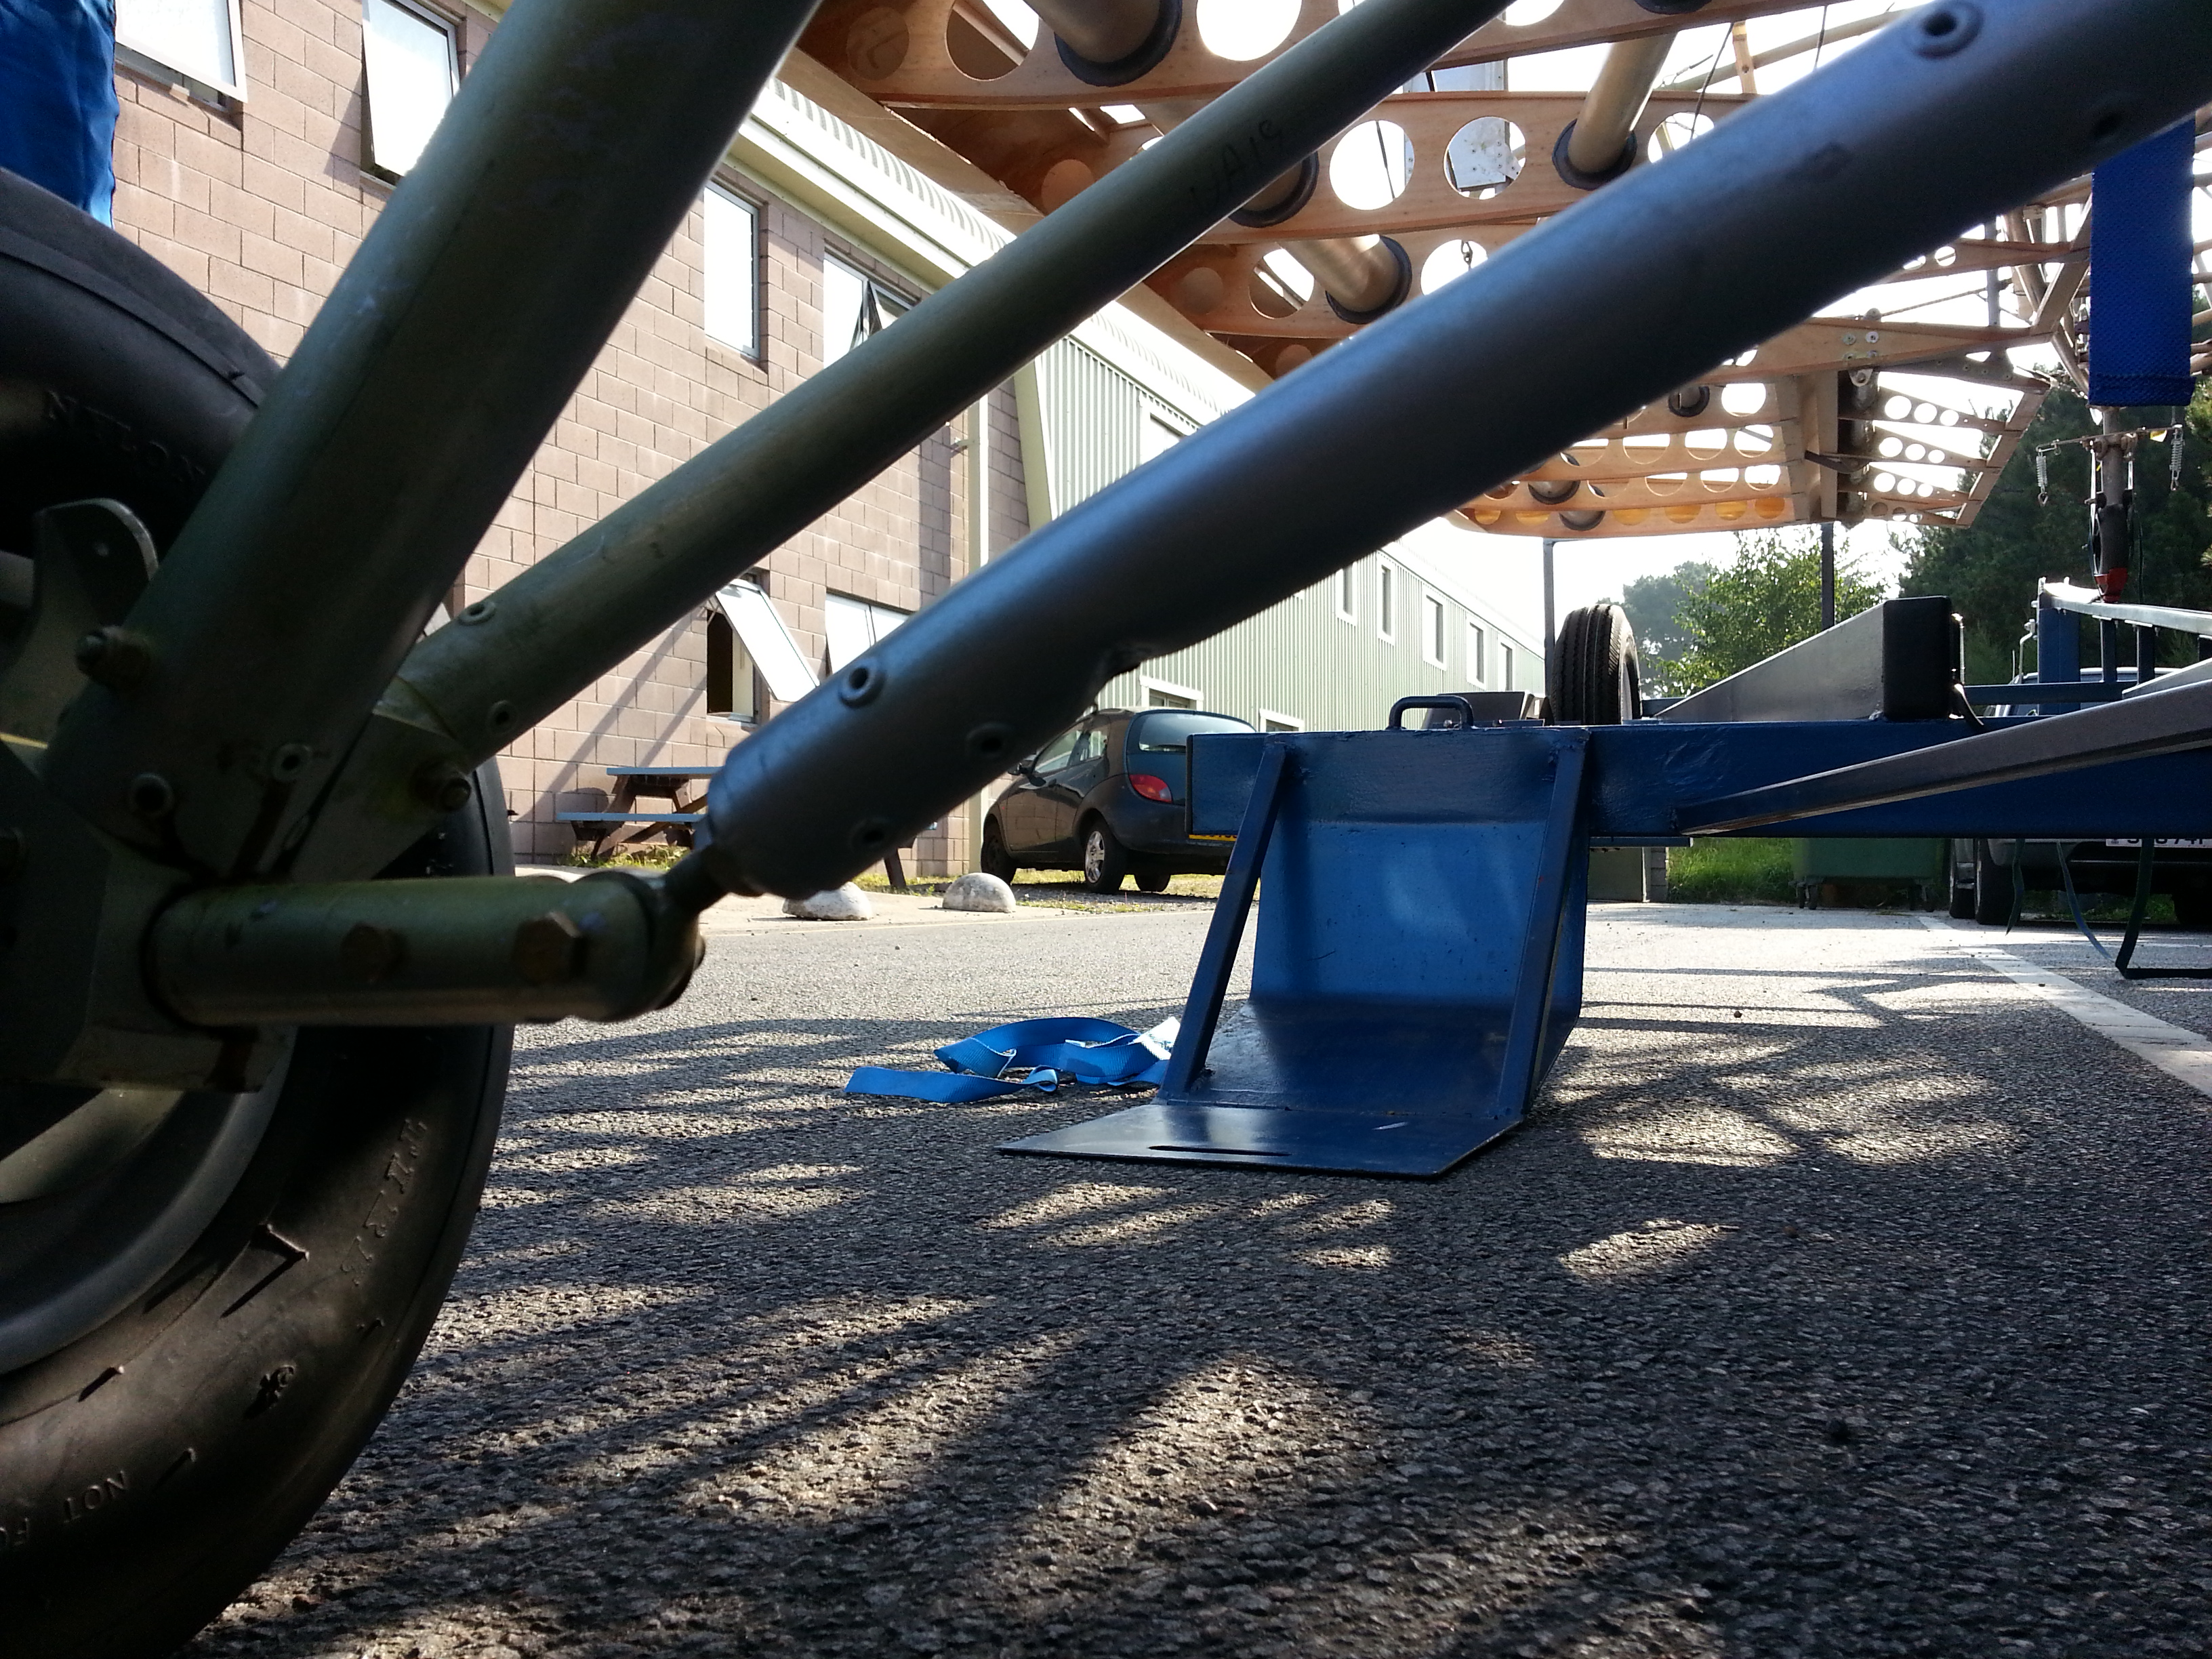
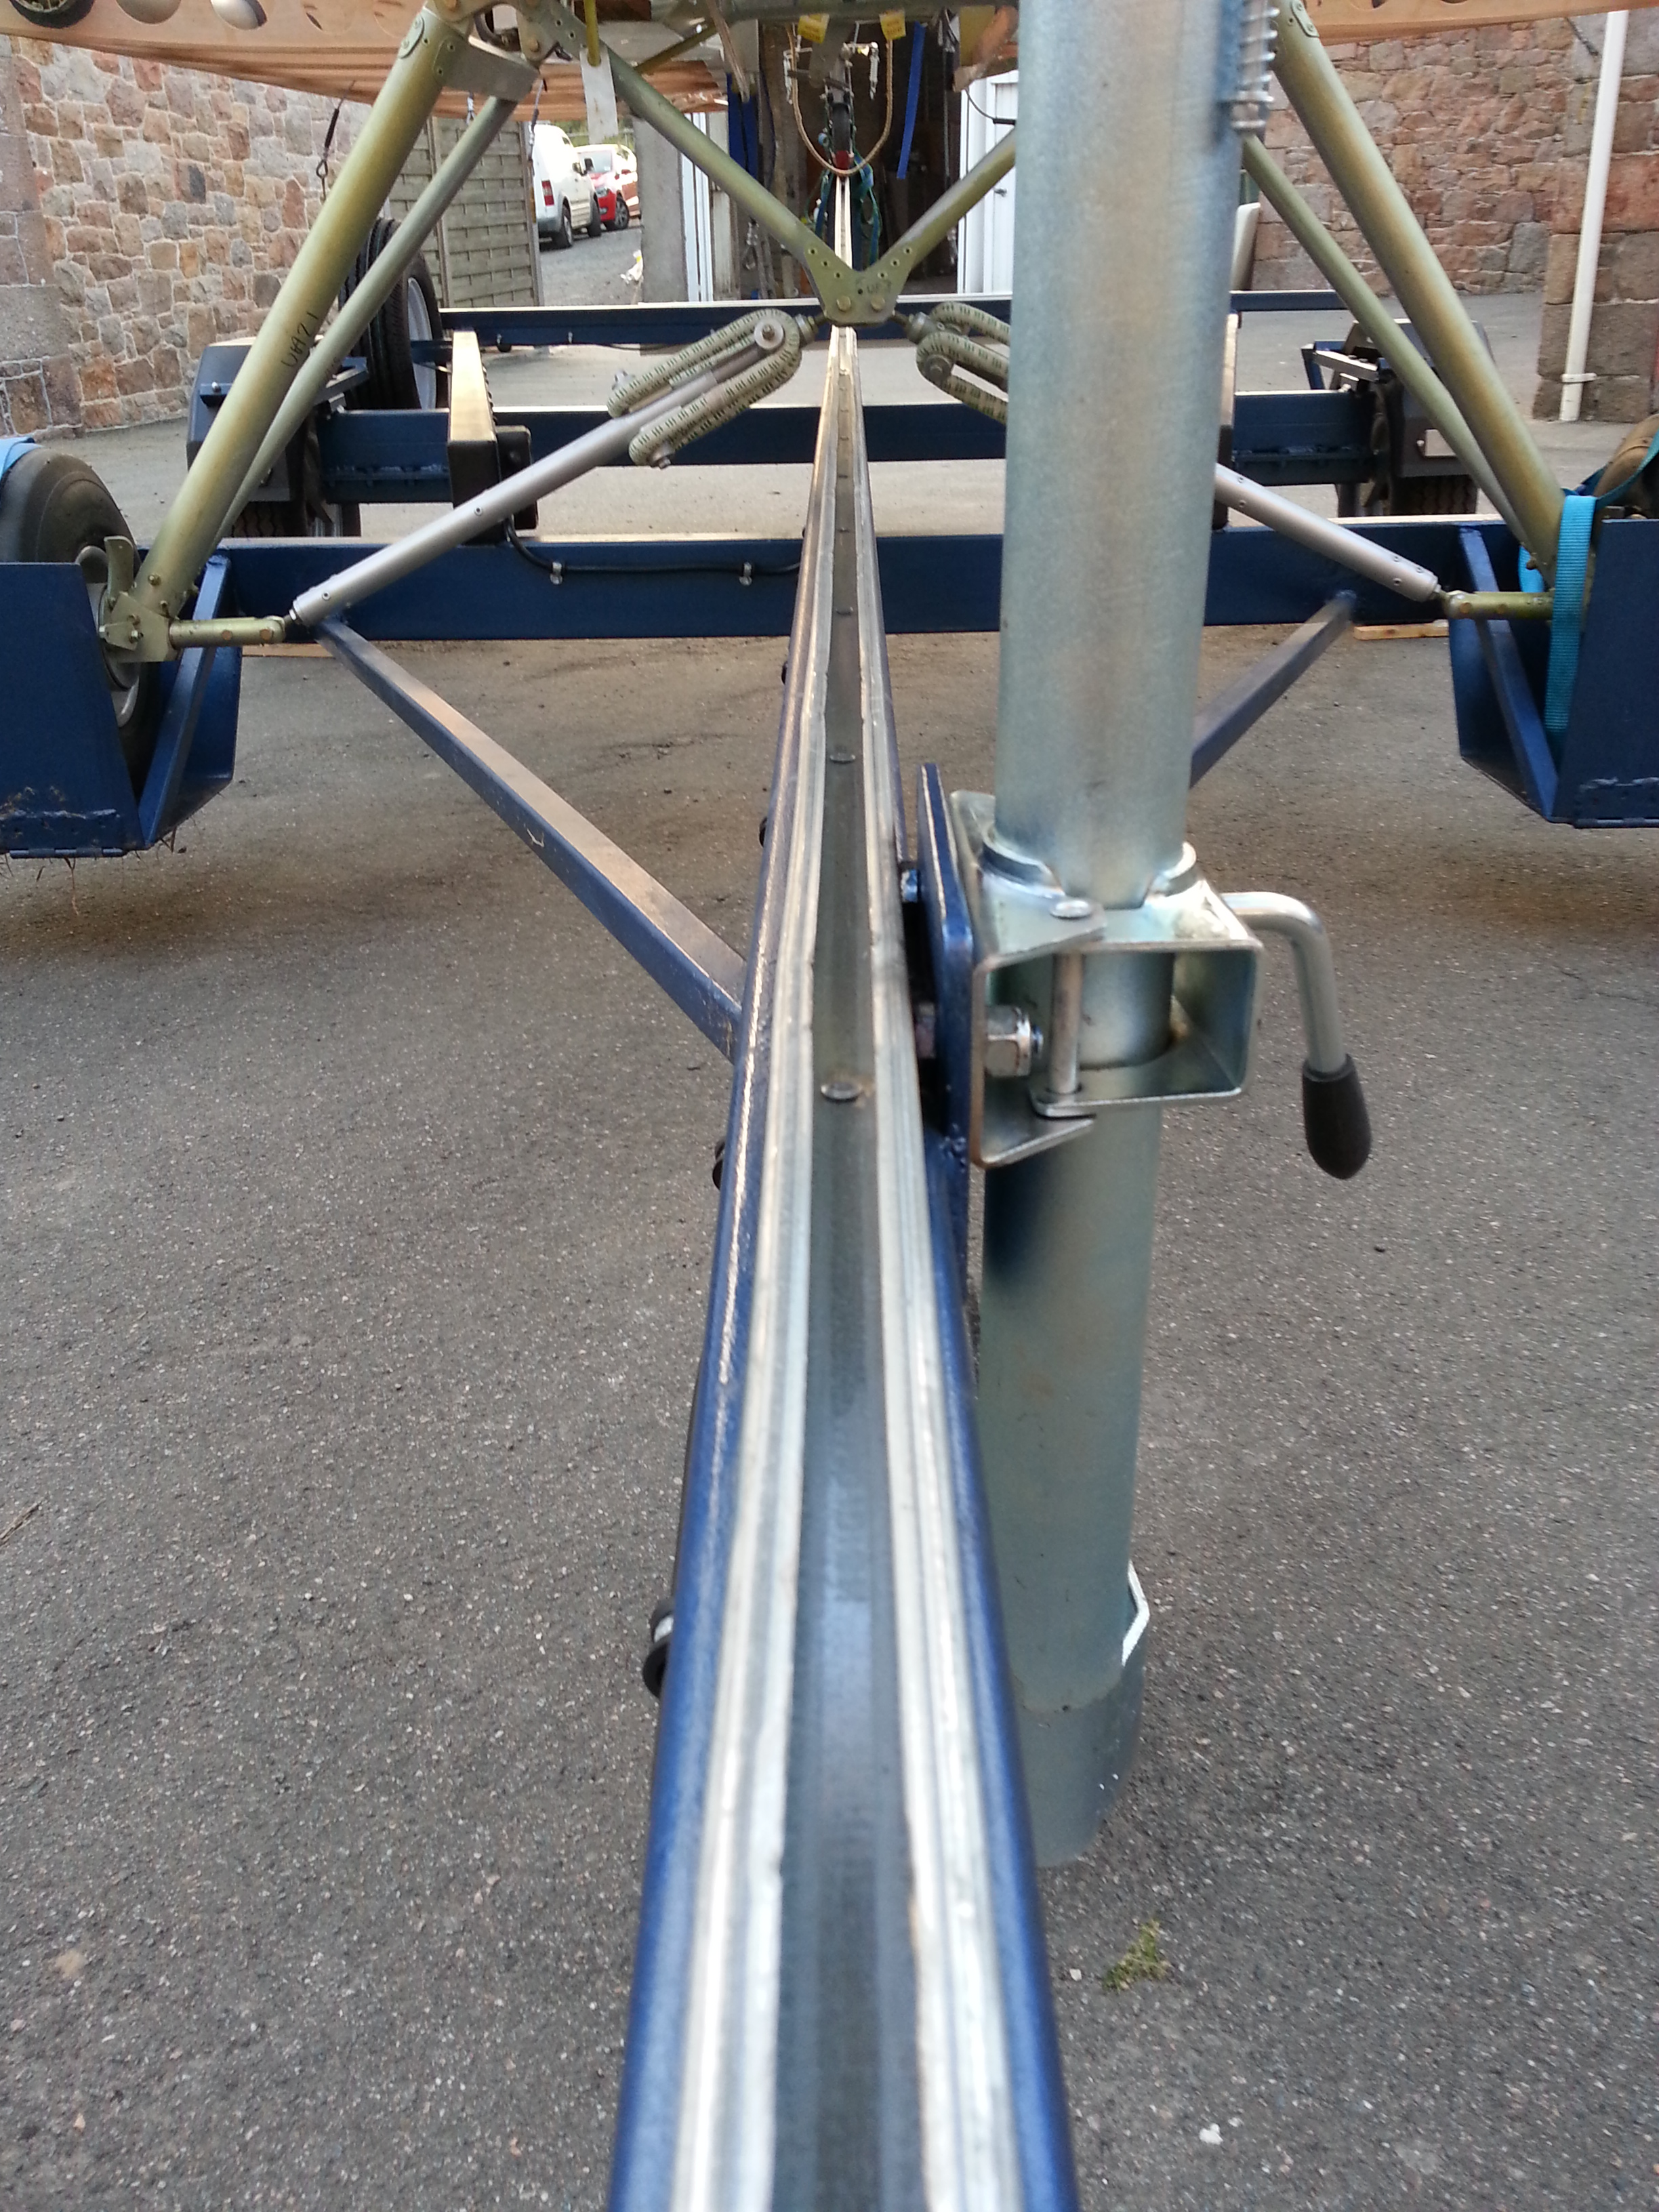
The thing he couldn’t do offsite was set the wing support squares. These weld to the rear trailer bracket and will allow us to design soft support cradles for the wings to rest on when trailering.

Mike had also added a support wheel at the front to make it easier to man handle onto the towing vehicle.

20140909_190348  20140909_190357 20140909_190406

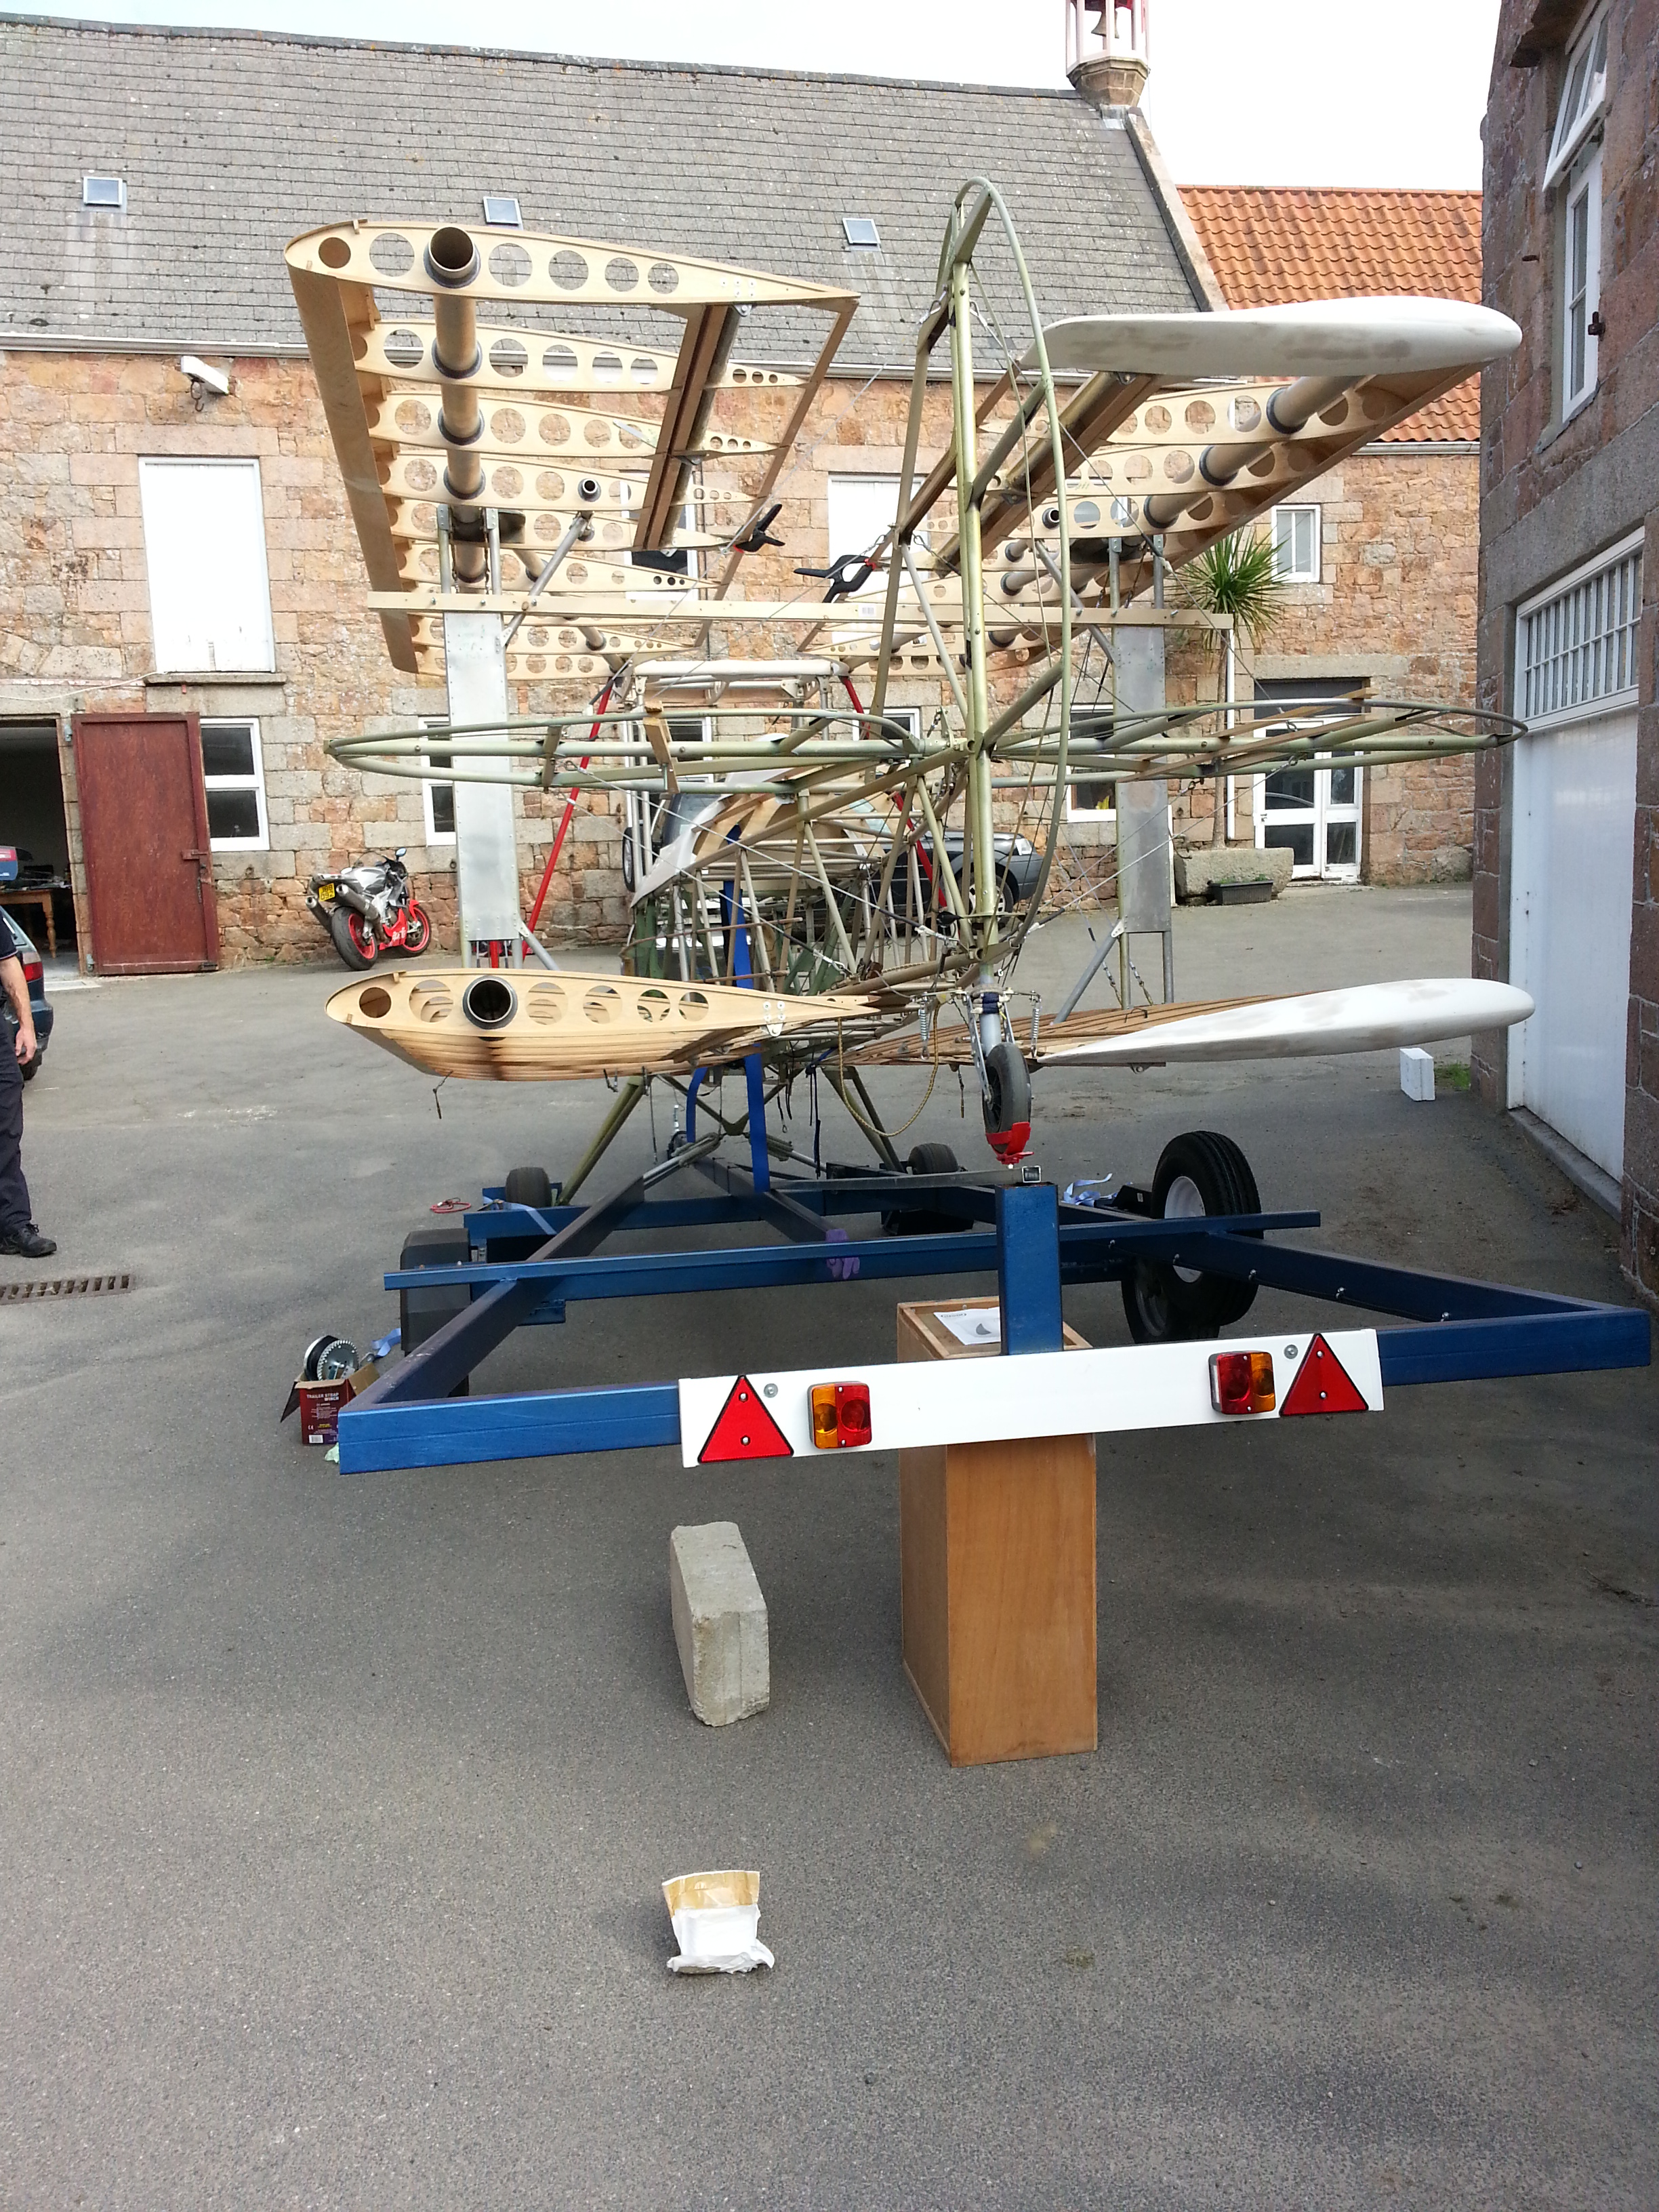
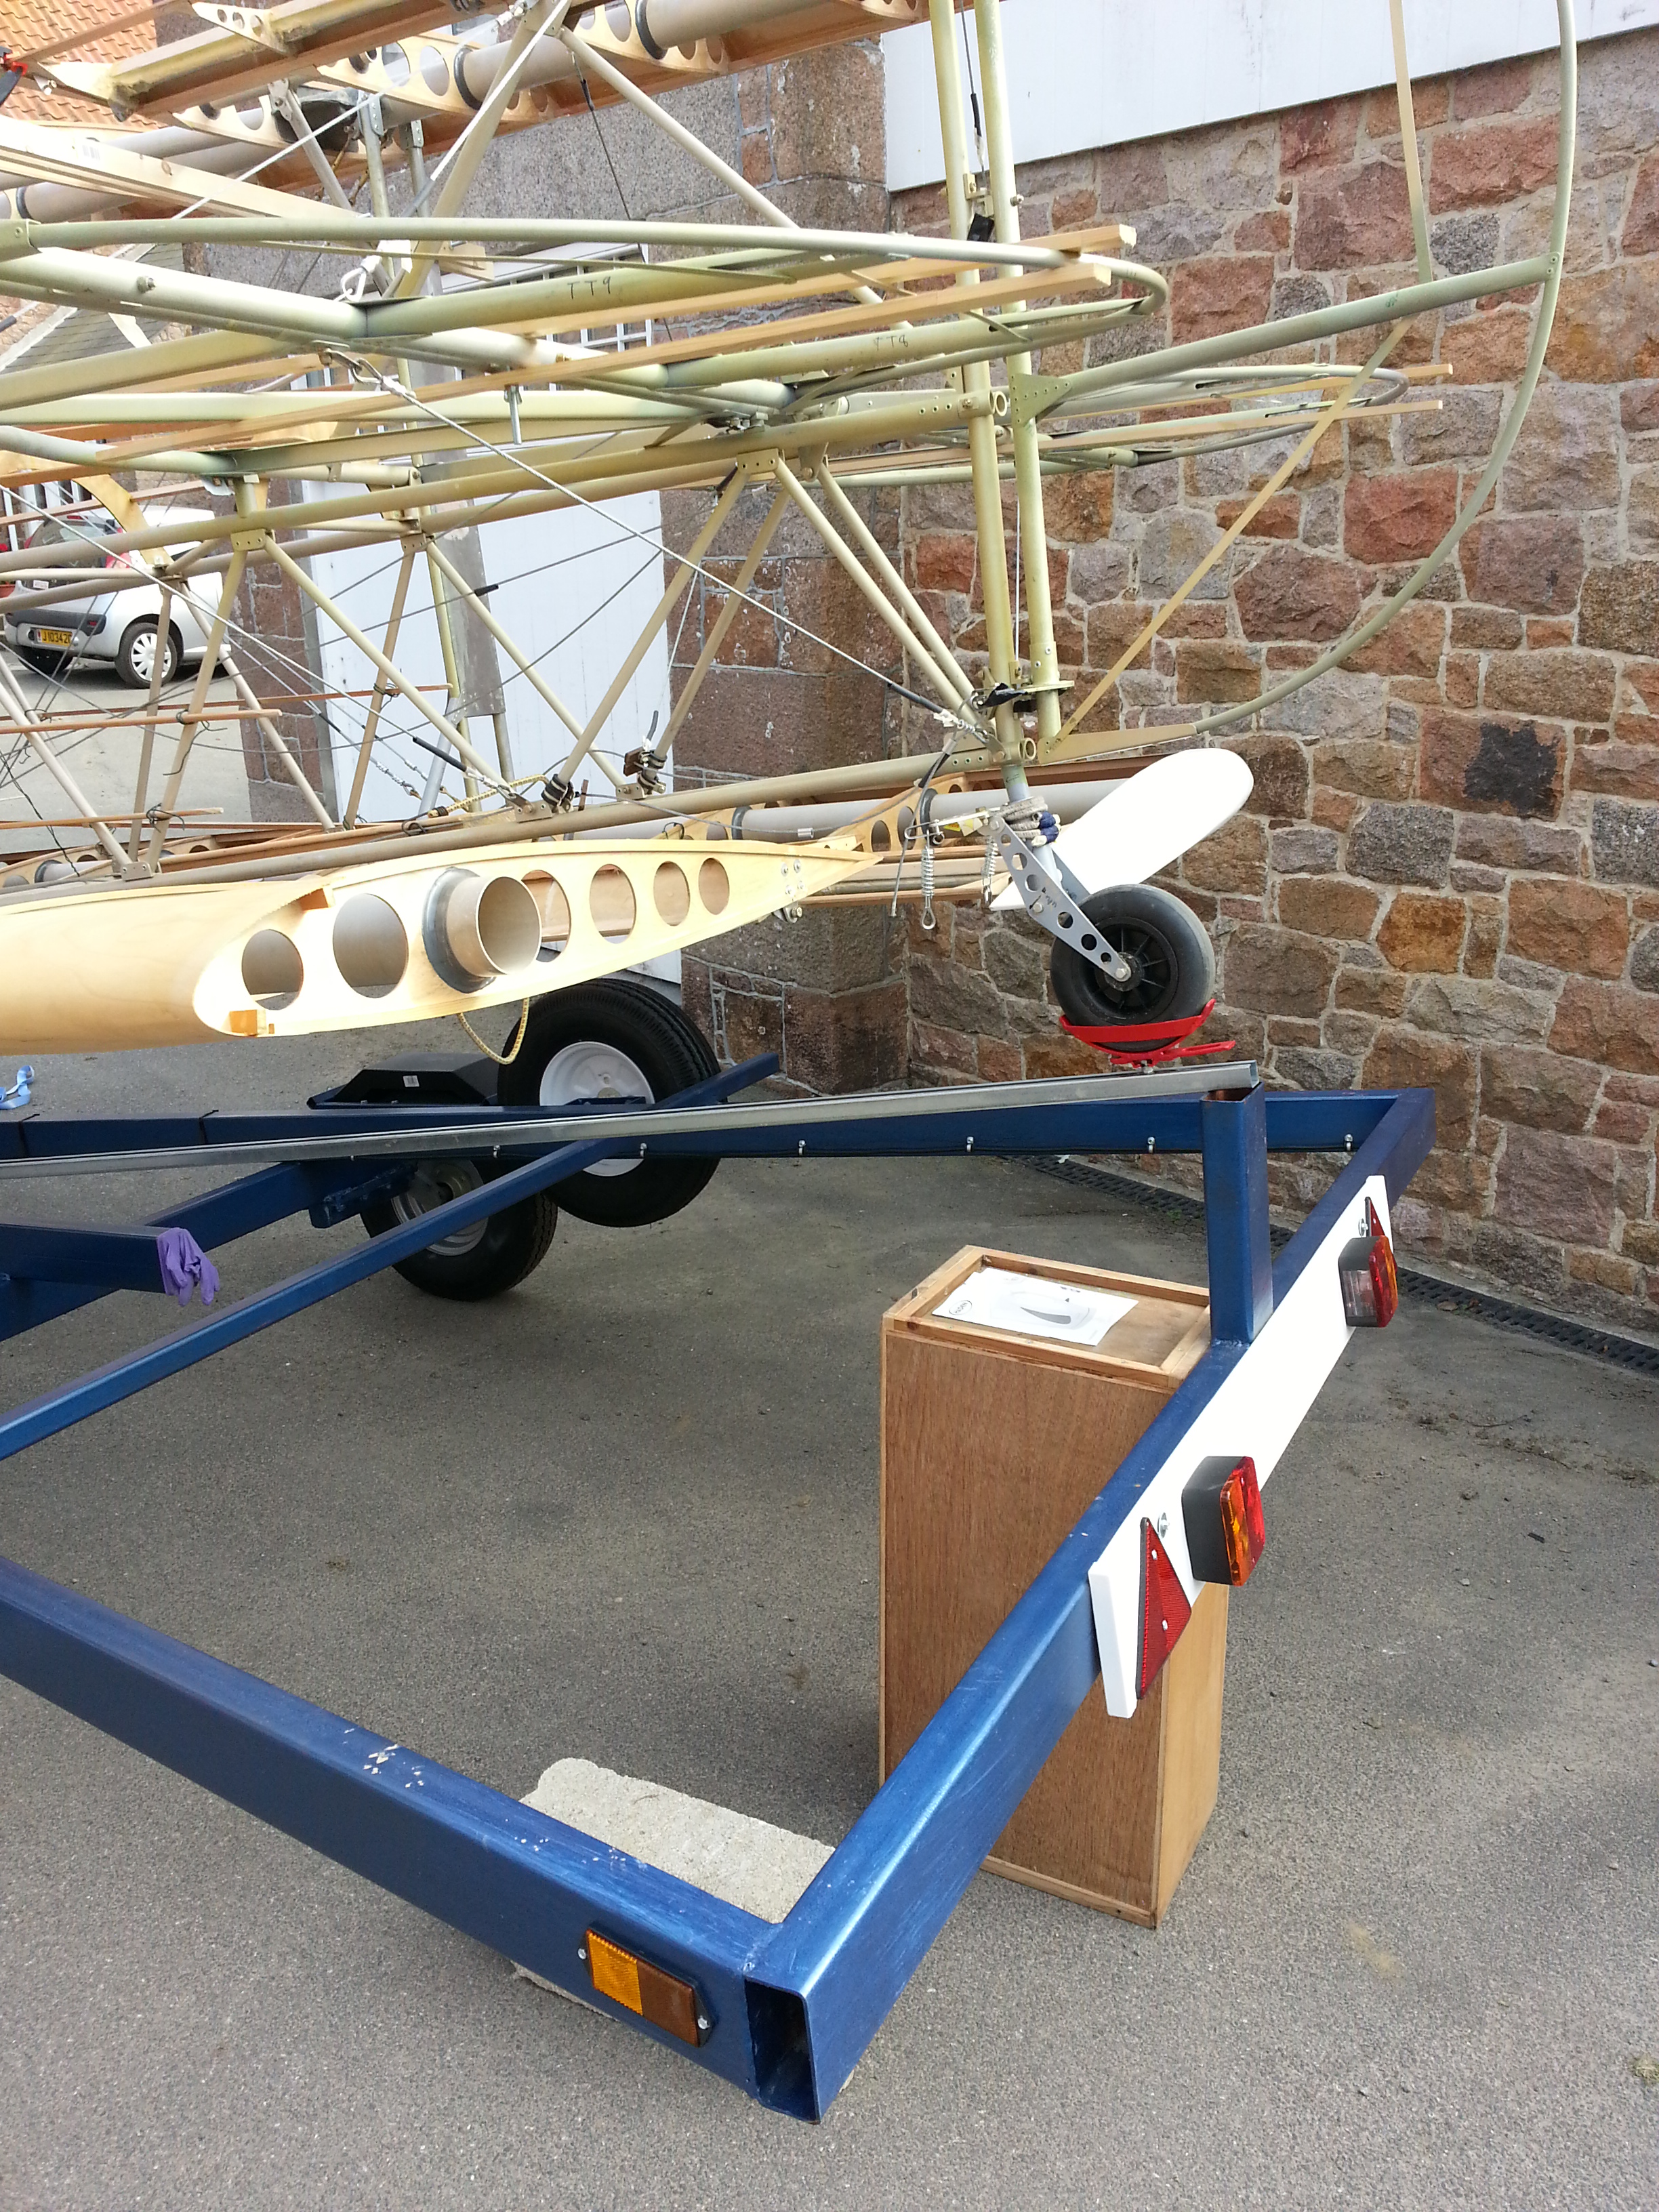
The final weld bits were put in place as darkness fell ! I managed a classic measure twice cut once … which, on reflection, should have been measure THREE times and cut once (not allowing for the depth of the transverse bracket we were mounting on). Mike, as always, came up with an instant solution and re-welded the pieces I had meticulously chopped off and asked me to re-measure and cut again ! (Patience of a Saint that guy !)

He even turned up with the tin of blue paint so not only was it welded on site but tapped (to remove the flux residue), brushed and then painted.

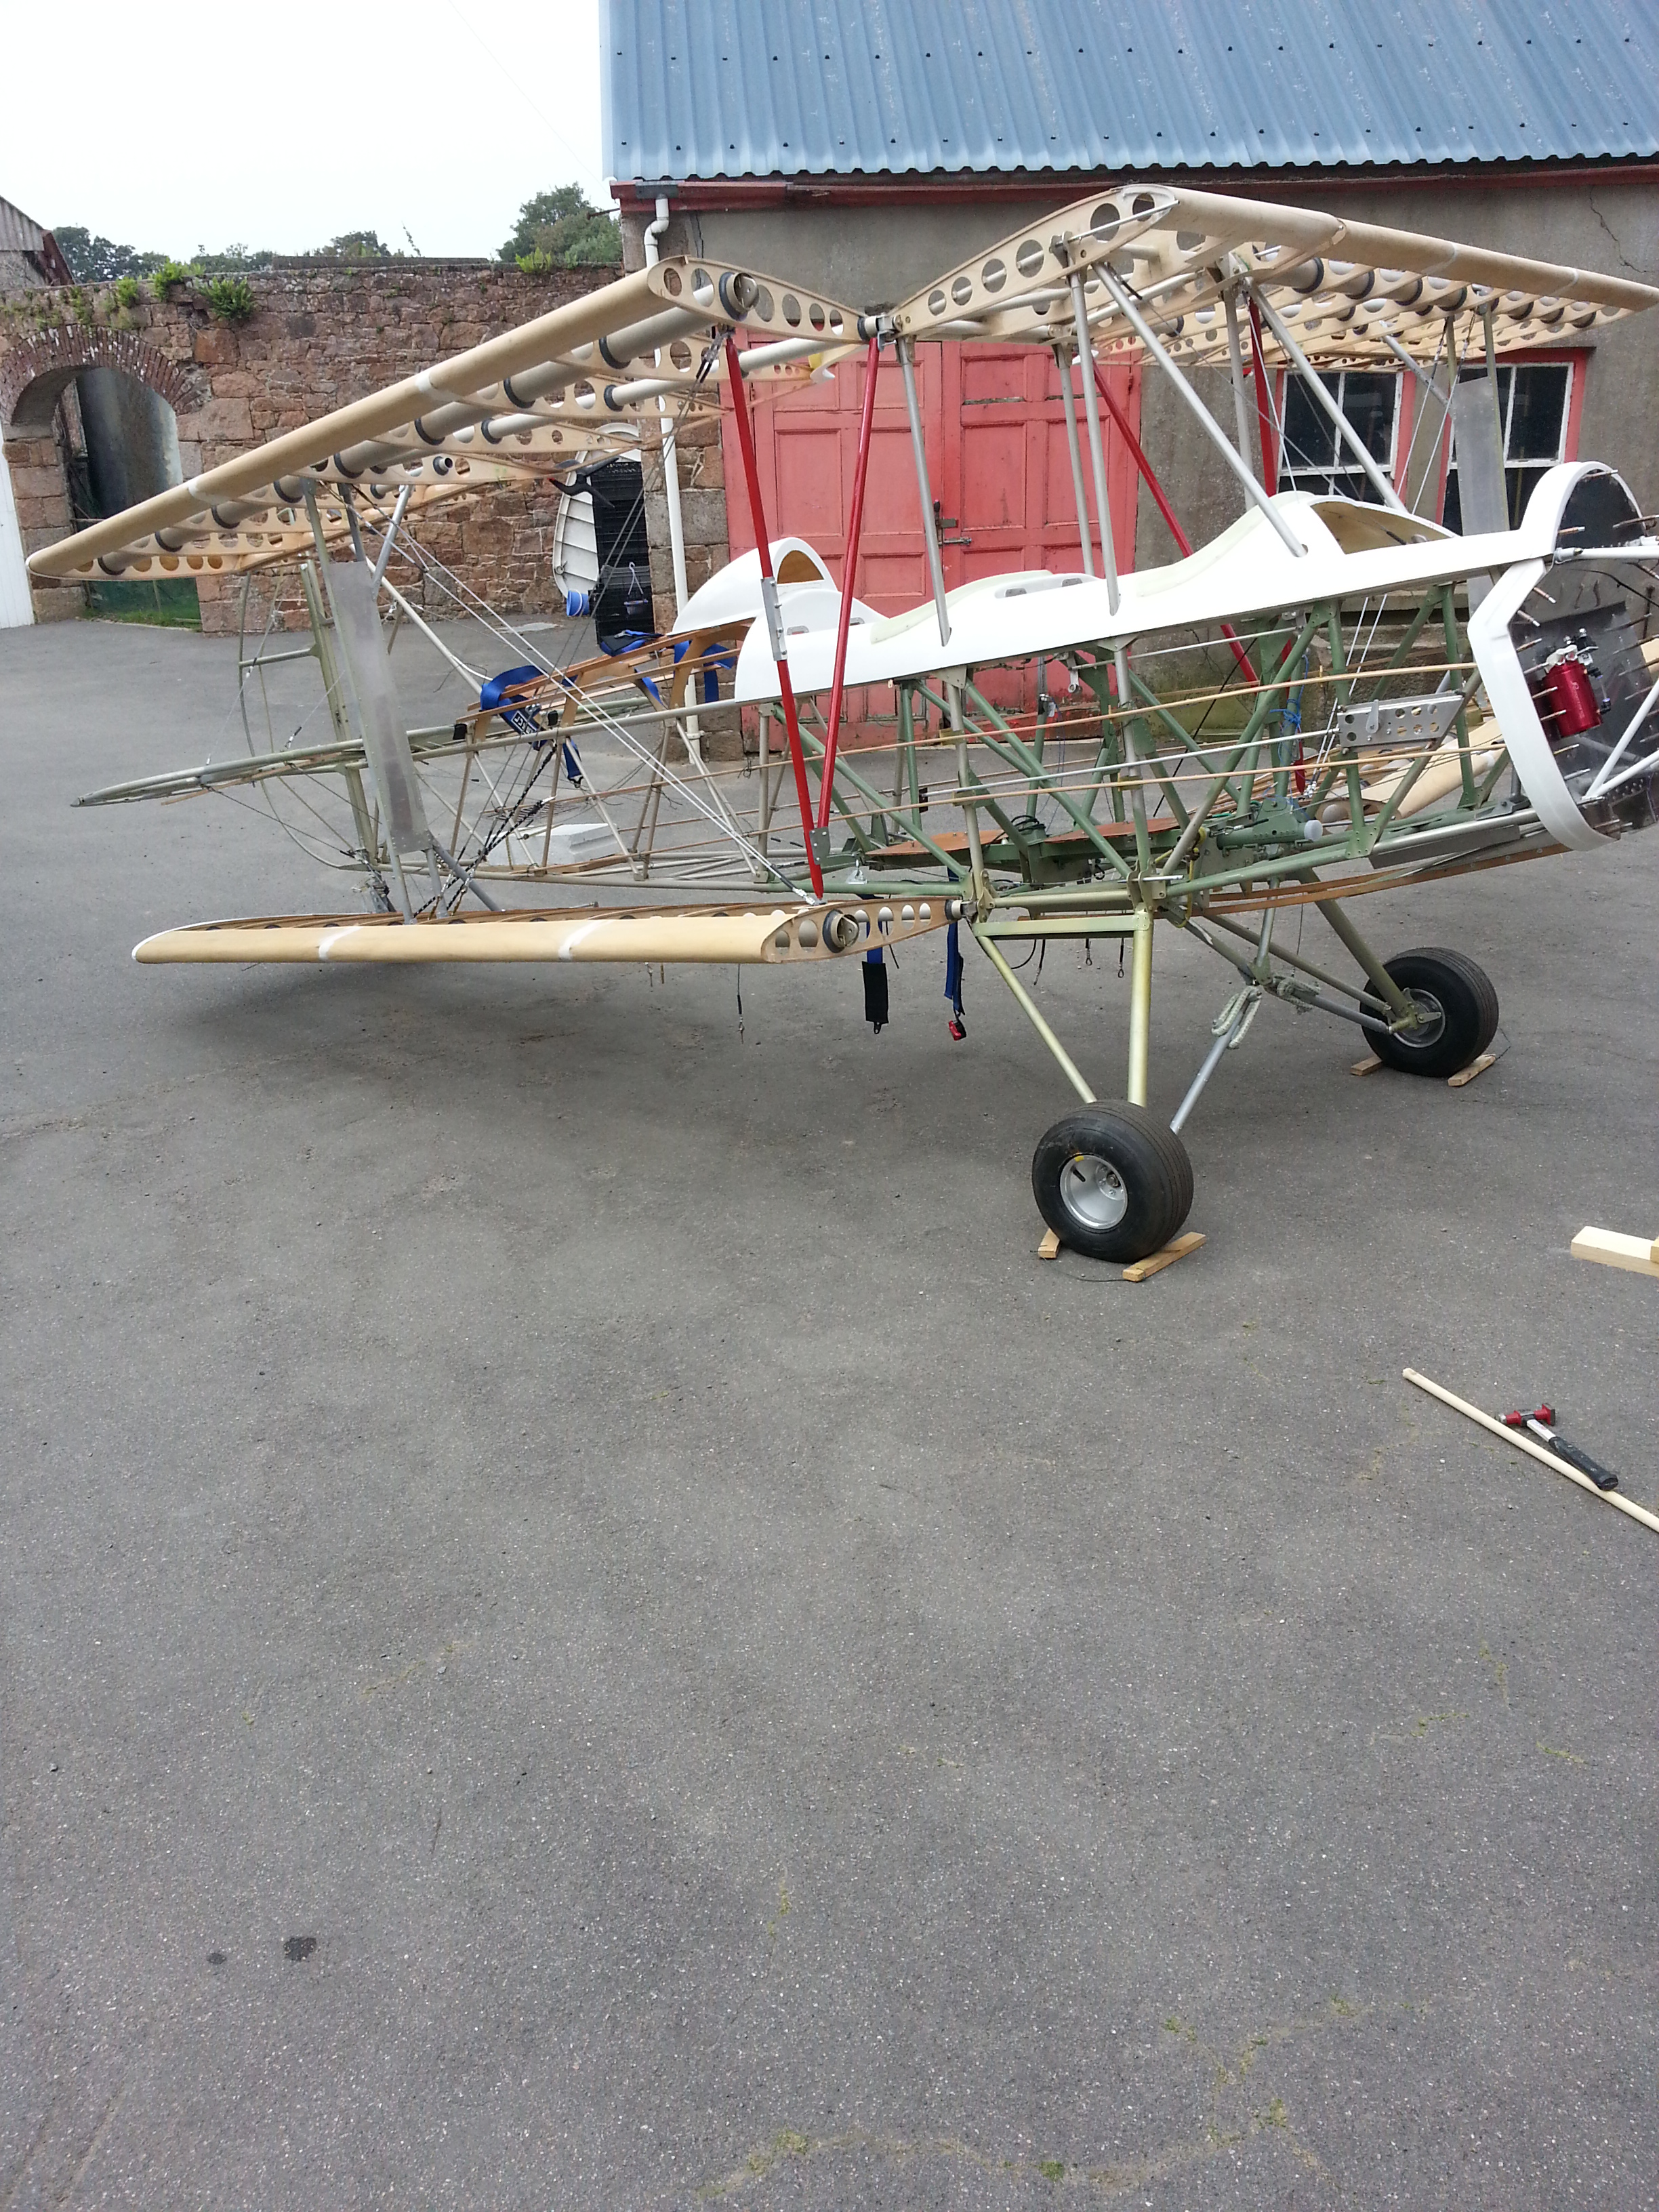
Any Sherwood builders out there who may need a trailer … I am sure Mike would be happy to oblige for a very good price !

Seat Belt guides

Sam filed off the burr and edges from the seatbelt guides and then we both smoothed them off with emery. Having previously sat in the seat to get an idea of height for locating these and width we cross checked with photos from the Little Snoring open day and they looked good to go.

Pencil marks duly made, we drilled 9mm dia holes at each end and then used a dremel to trim out the guides. Then filed smooth and set pop rivets in place with backing steel washers.

20140907_122114  20140907_124158 20140907_122059

Trailer – first proper load test

Having got her safely out of the barn and reconstructed we set about checking her alignment on the trailer.

Mike F – my resident genius of all things steel ! came along with a neatly designed cradle for the tailwheel and some door tracking and a small dolly wheel. We temporarily braced it all up and the Sherwood slid neatly down the track.

20140907_155738  20140907_155700

Mike had also got a wind handle and strop. This was offered up to the back end post and would allow an easy one man wind to clip the tail into the cradle and hook on and wind up to the end. What a neat job Mike !

20140907_155654


First attempt at wing folding

Getting ready for the display this coming week I need to be able to fold the wings so that it fits on the newly designed trailer.

20140907_144916  20140907_145348

Once we had the jury struts in place and rock steady we pulled the pins on the first wing and gently supported and eased it back. It swung very freely and easily and tucked neatly under the fuselage and then stopped as it touched the tailwheel. I decided that was too far back so braced the wing struts to enforce a spacing that kept the trailing edges away from the tailwheel.

20140907_145357  20140907_144930

And then back out to prove it all goes back in to one piece

20140907_144258


Out of the barn and reassemble

Big very hot Sunday this weekend. All the wings were in the old barn on trestles having been coated with polyurethane and all the fittings marked and stored up.

20140906_134514  20140907_142057

Got the body out in the sunshine and started the steady re-assembly job with my son Sam.

Minor panic when I had propped the starboard wing slightly and the rigging didn’t connect … slight adjustment to supports and all ok.

20140907_142053  20140907_132230

The wing pins which have been very tight are starting to ease a little now I have greased them as well and they are getting used to coming in and out.

Barn move … wings dismantle

In readiness for the relocation of the aircraft into a barn where I can get the trailer in and out, I have been finishing off all the wing parts. This means its coming up to the time when I can

  • disassemble the wings from the body – Sam helped me de-rig – all that lovely careful work !!
  • give them a good clean/de dust
  • Thinned polyurethane coat

wings off


  • Relocate the body outside similarly blow all the dust away
  • Mike F has sourced a running rail for the rear wheel which we will be attaching to the trailer
  • Then, with a suitable winch added we will be able to trailer mount her in readiness for the Jersey Air Display
  • Then re-attach wings and rigging before …
  • FIRST test load onto the trailer.

James suggested running the trailer tyres slightly lower to give more protection to jarring whilst towing. Good idea on our roads out here !

Turtle Deck support

One of the many little tasks that needs completing is the blocking off of the gap between body framework and the top decking around the nose area. The plans advise on using 1/2″ balsa which is easy to shape to fit snugly into the gap. Once trimmed it is epoxied into position.


Nose block 1   nose block 2

It can be left to harden here before I give all the woodwork (including this) a coat of 10% thinned polyurethane.

Blog at WordPress.com.

Up ↑