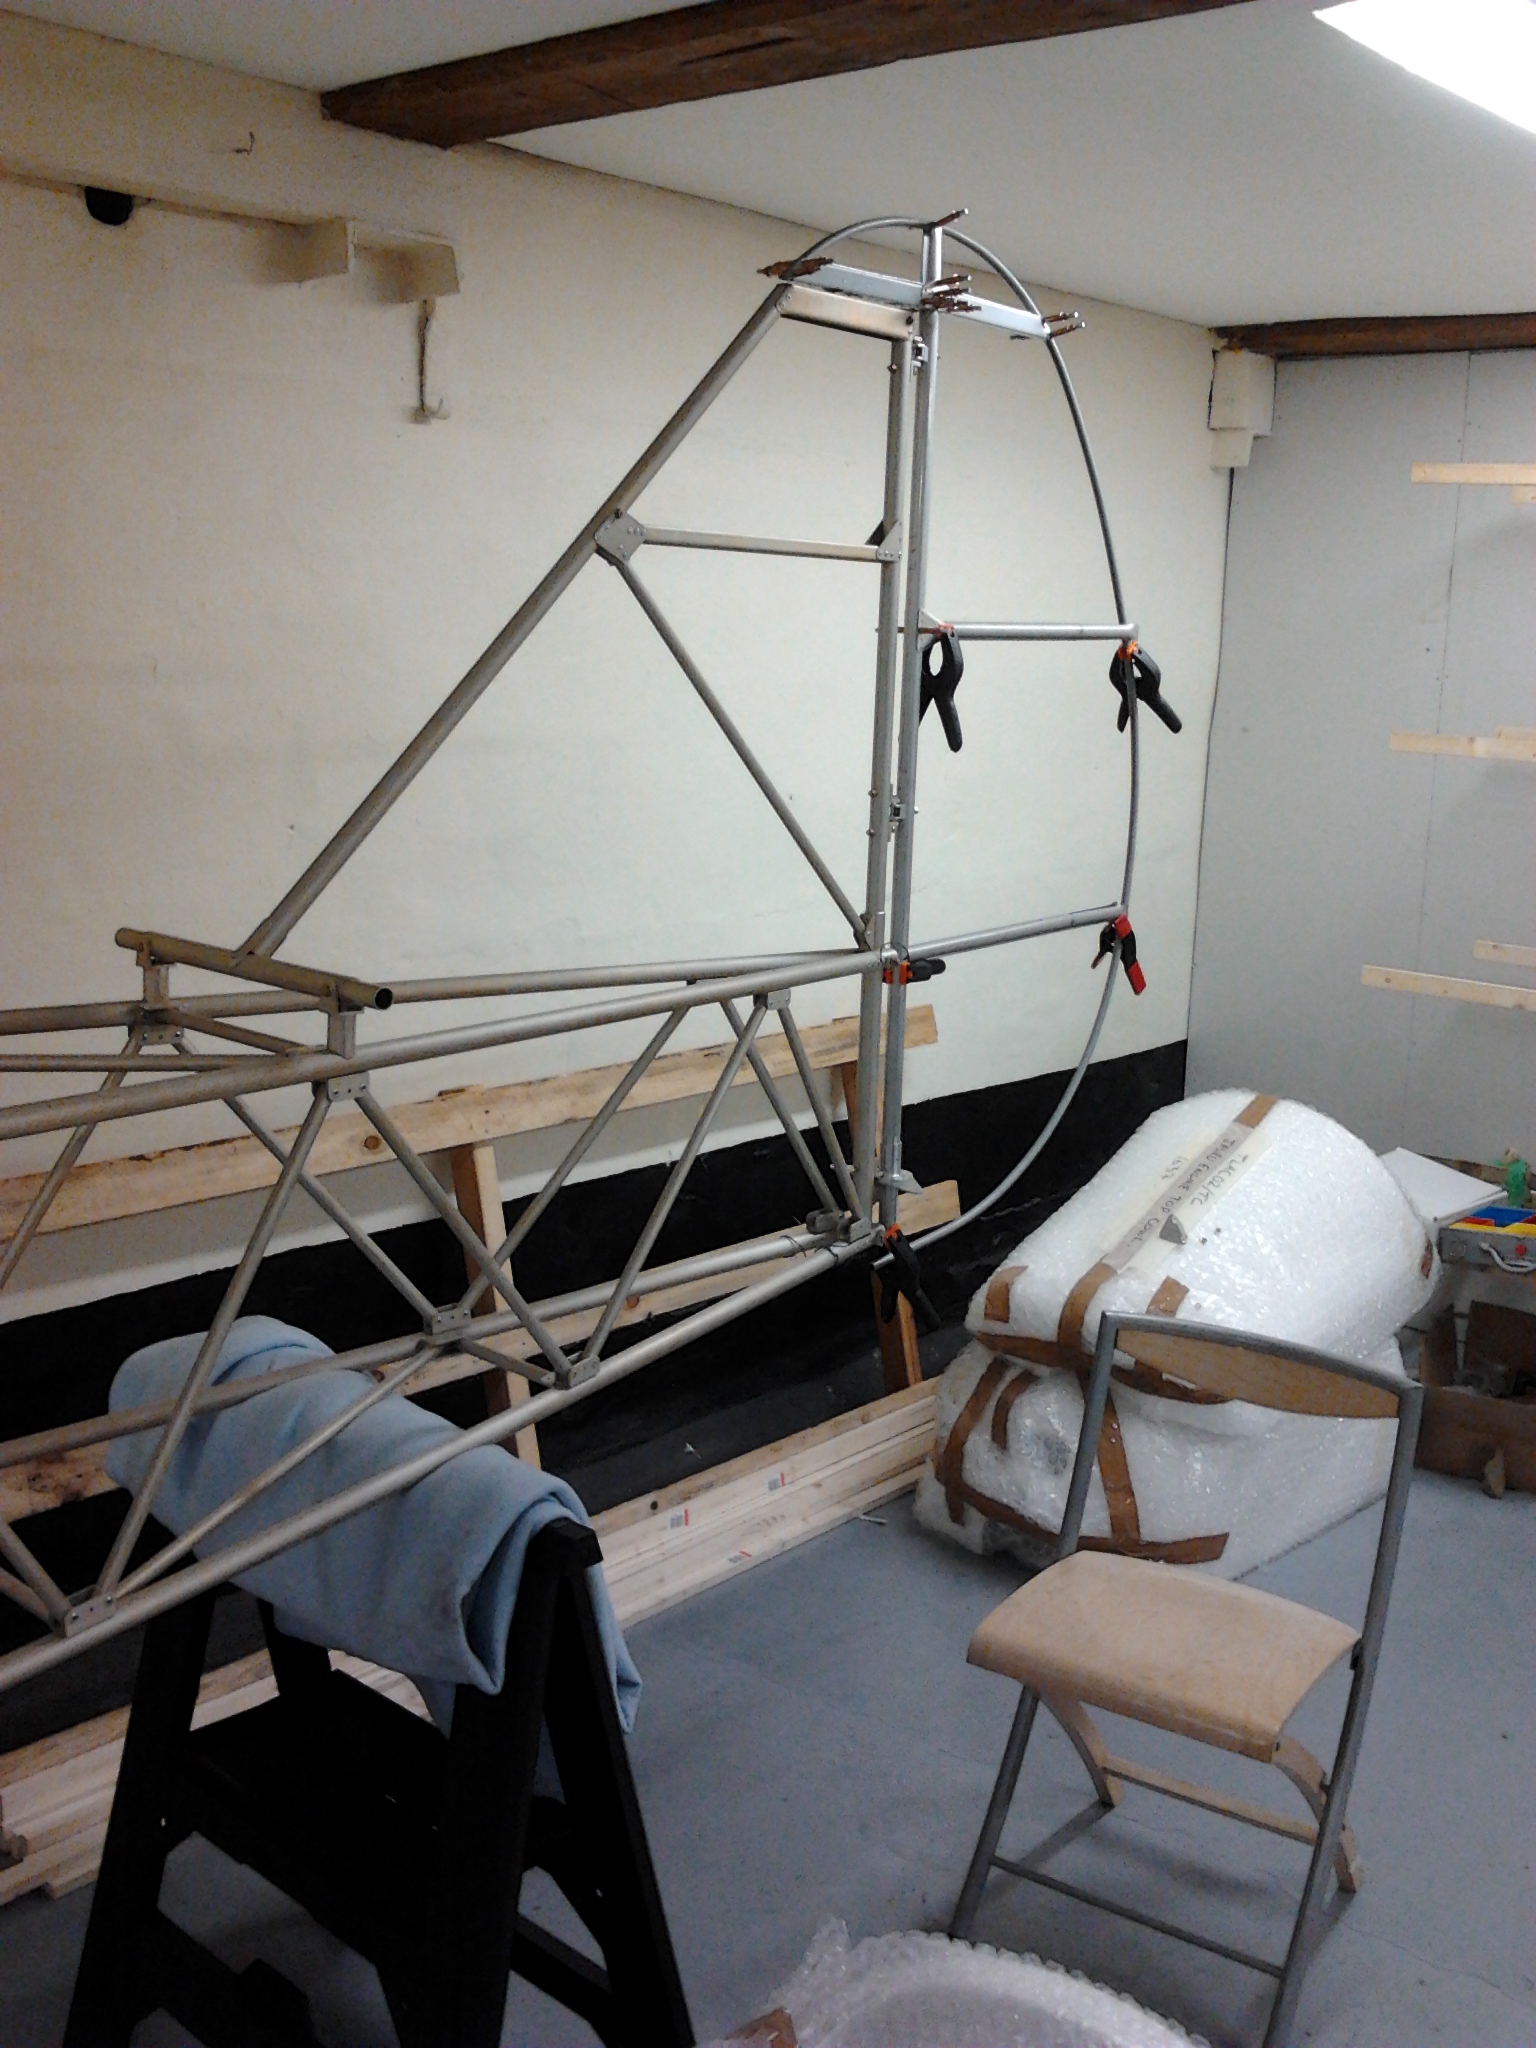
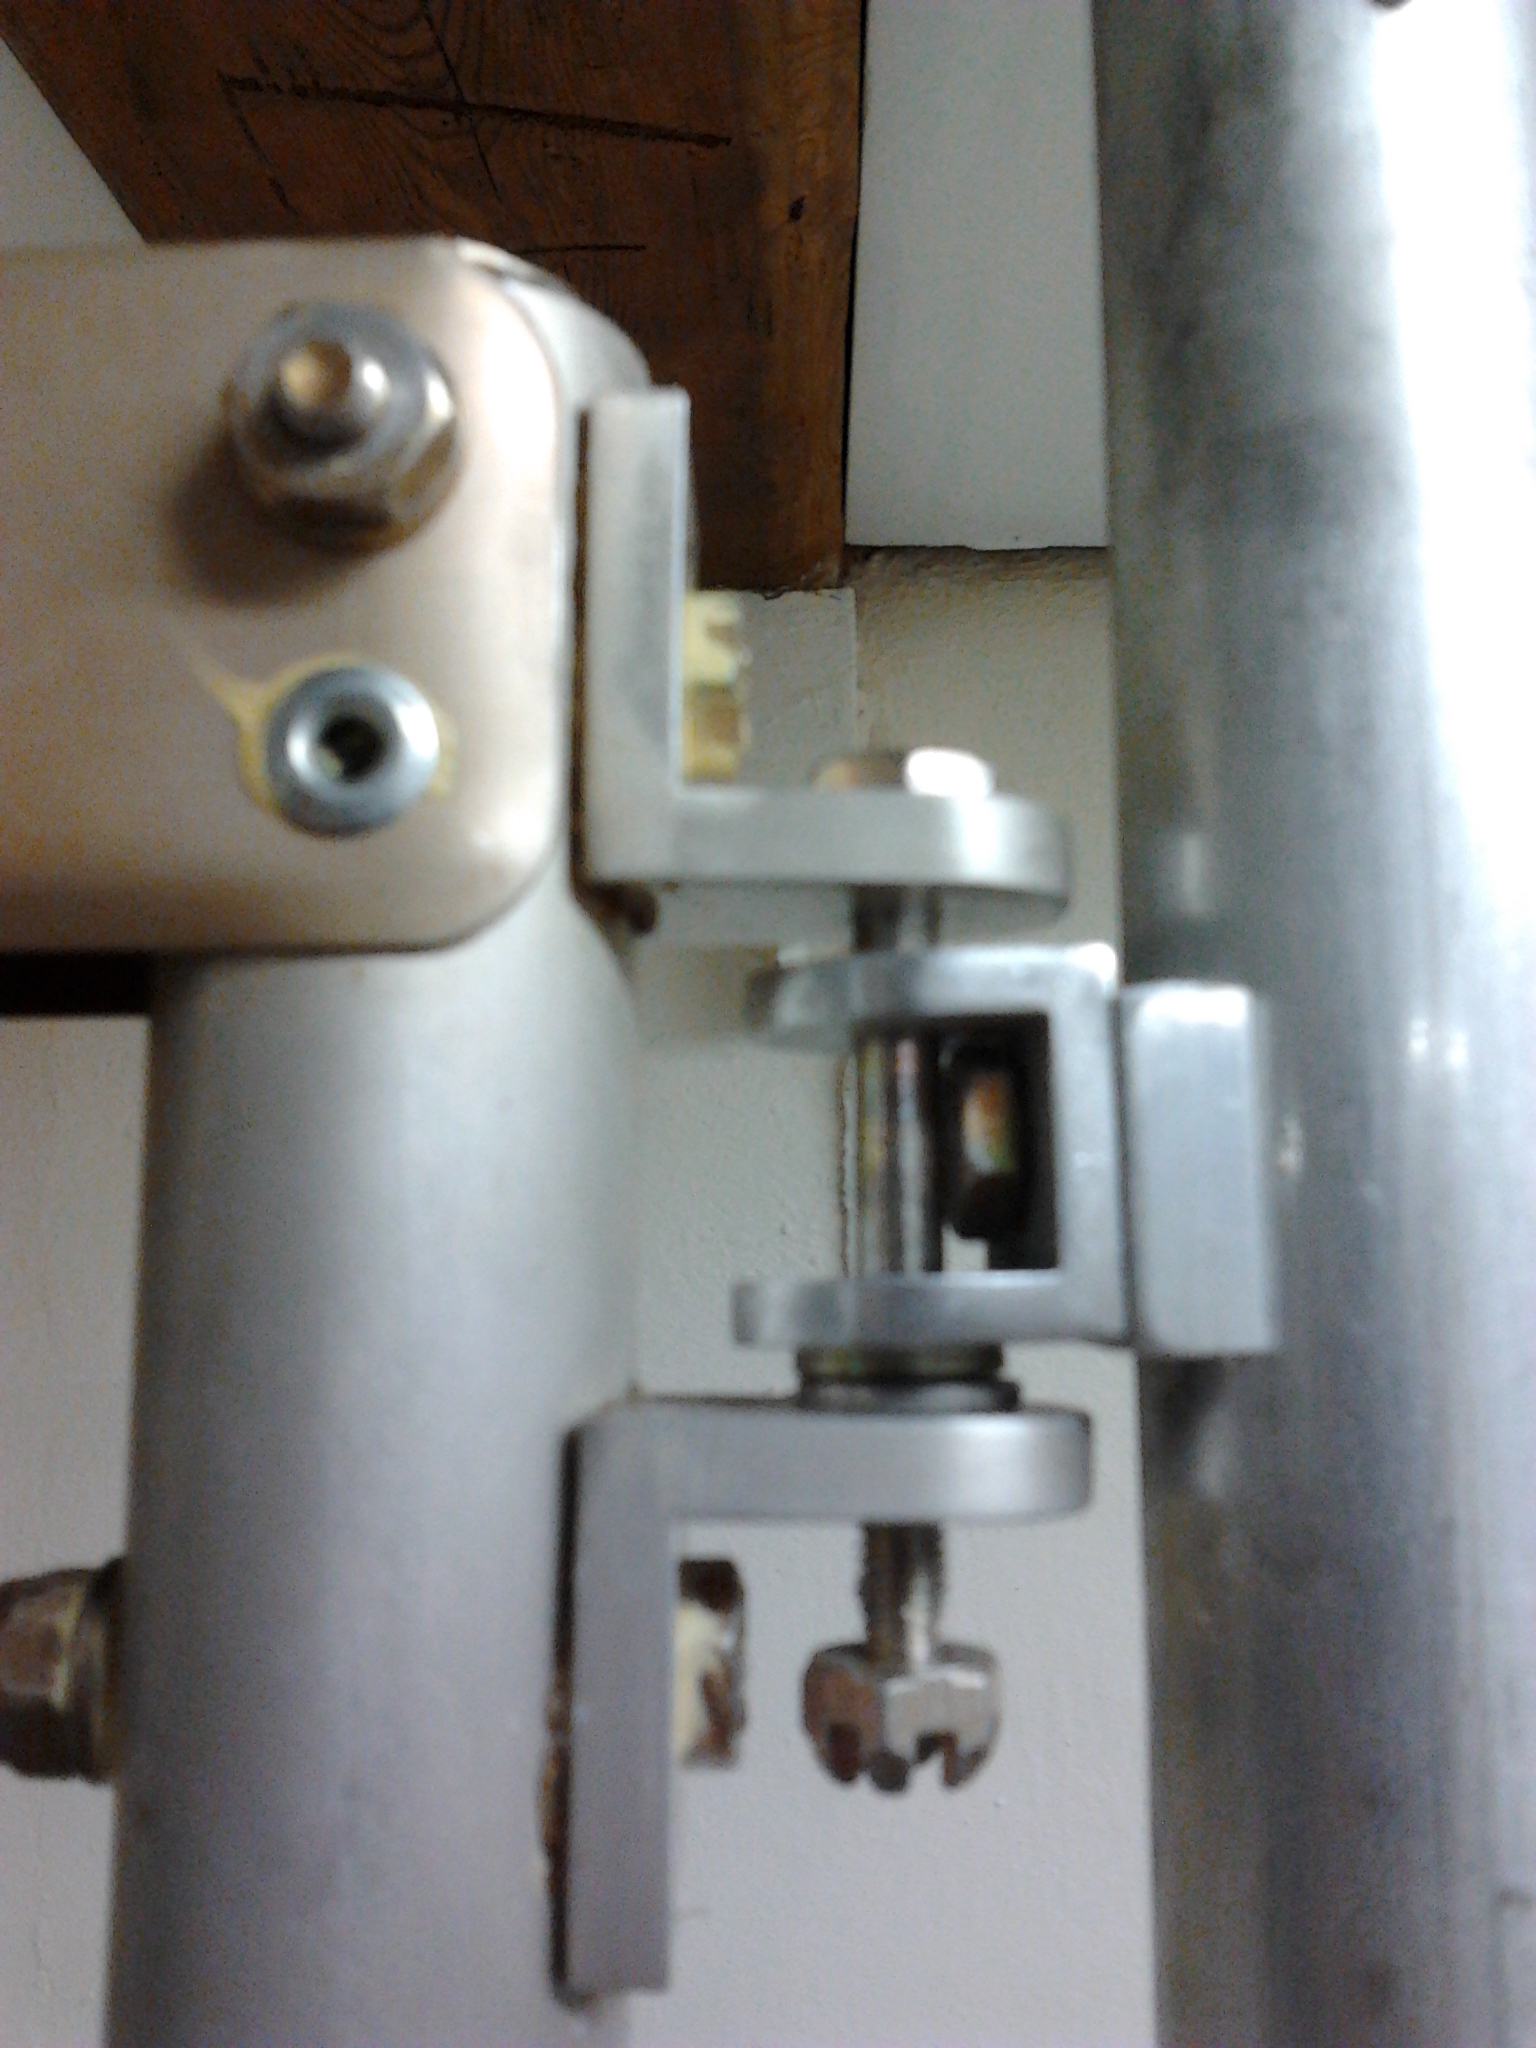
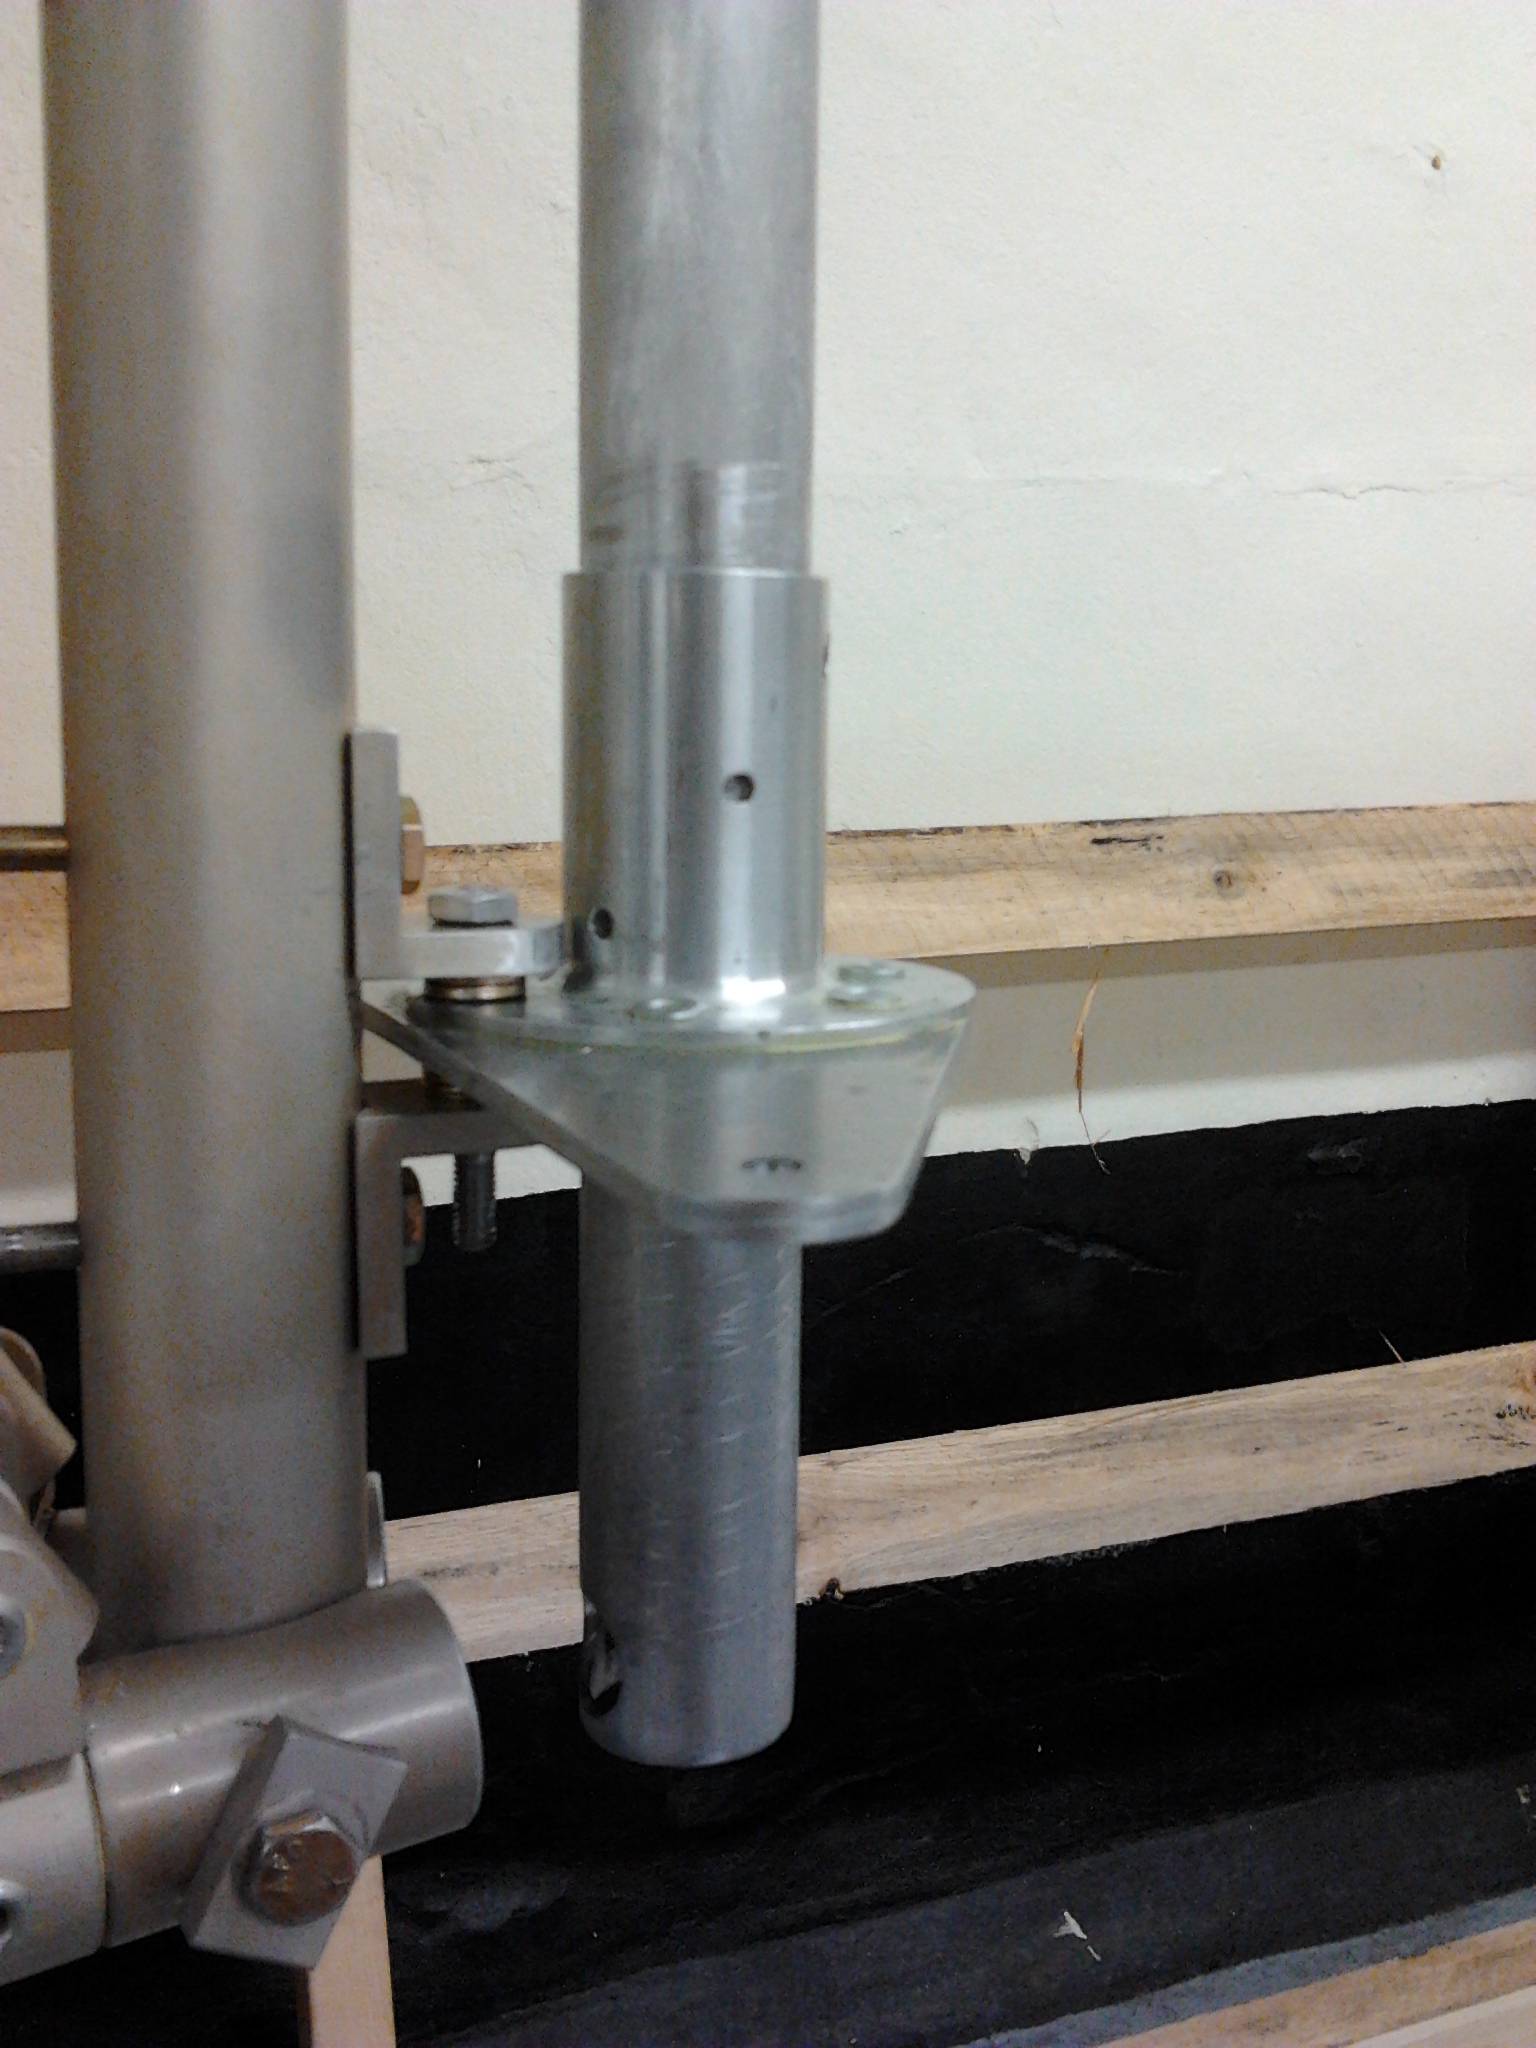
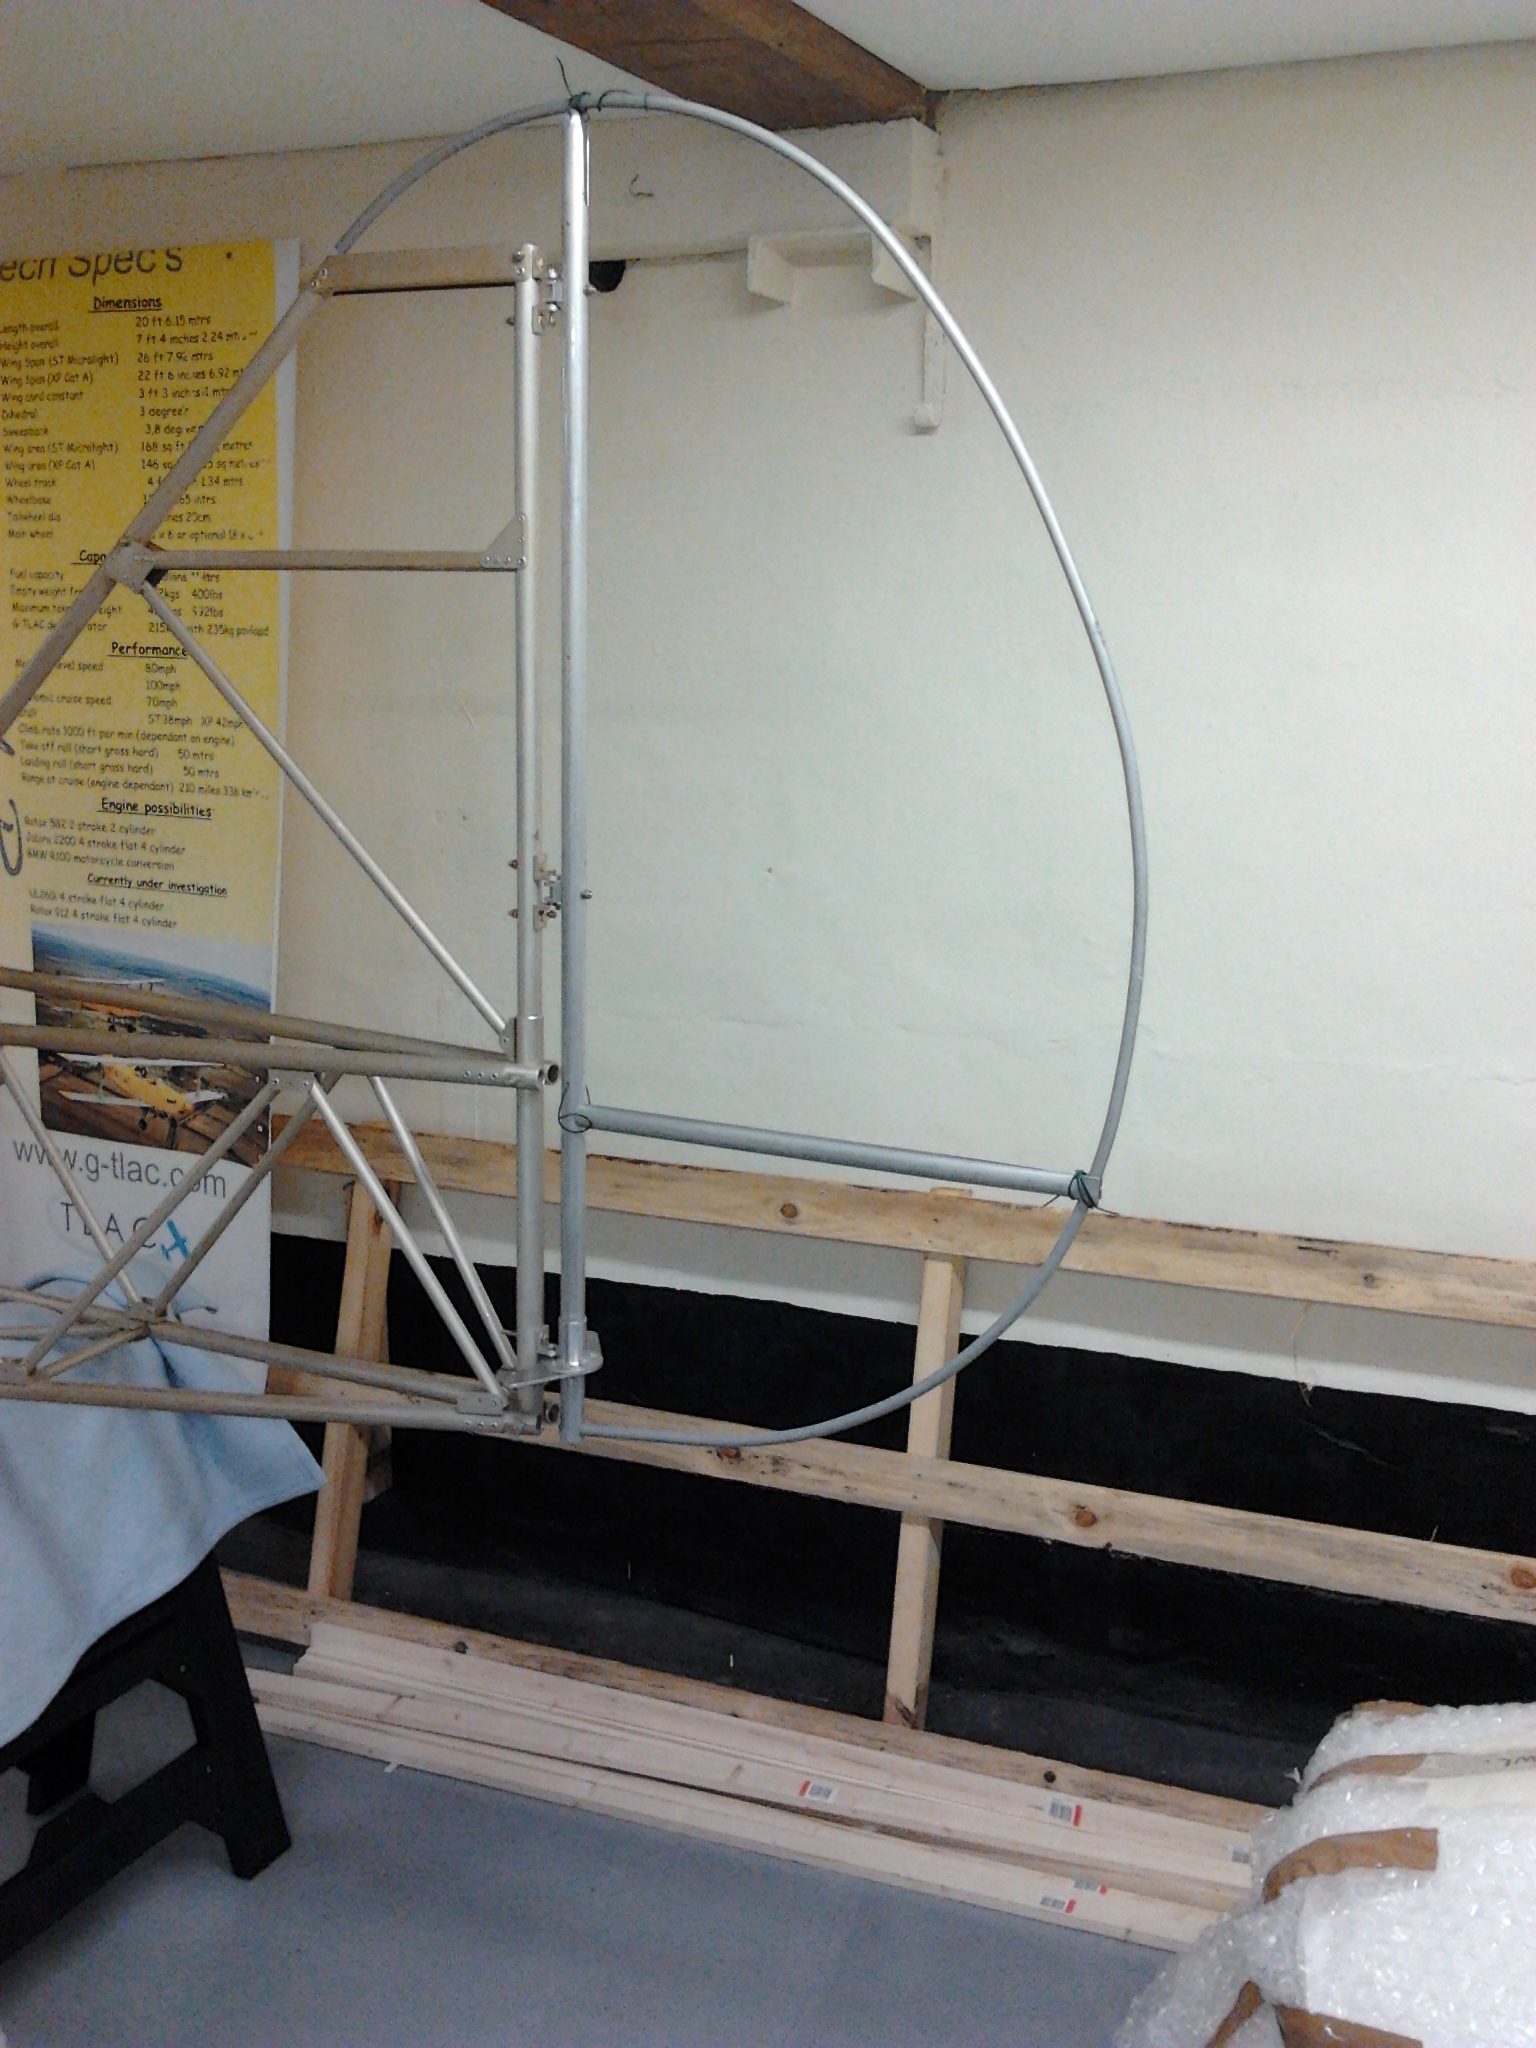
Tailwheel Prep

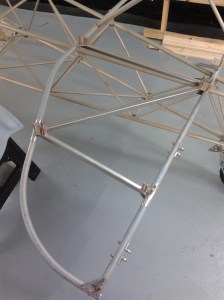
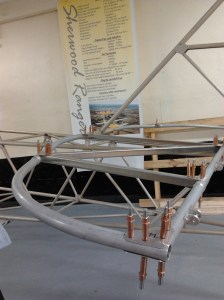
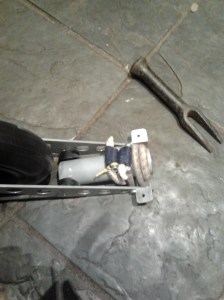
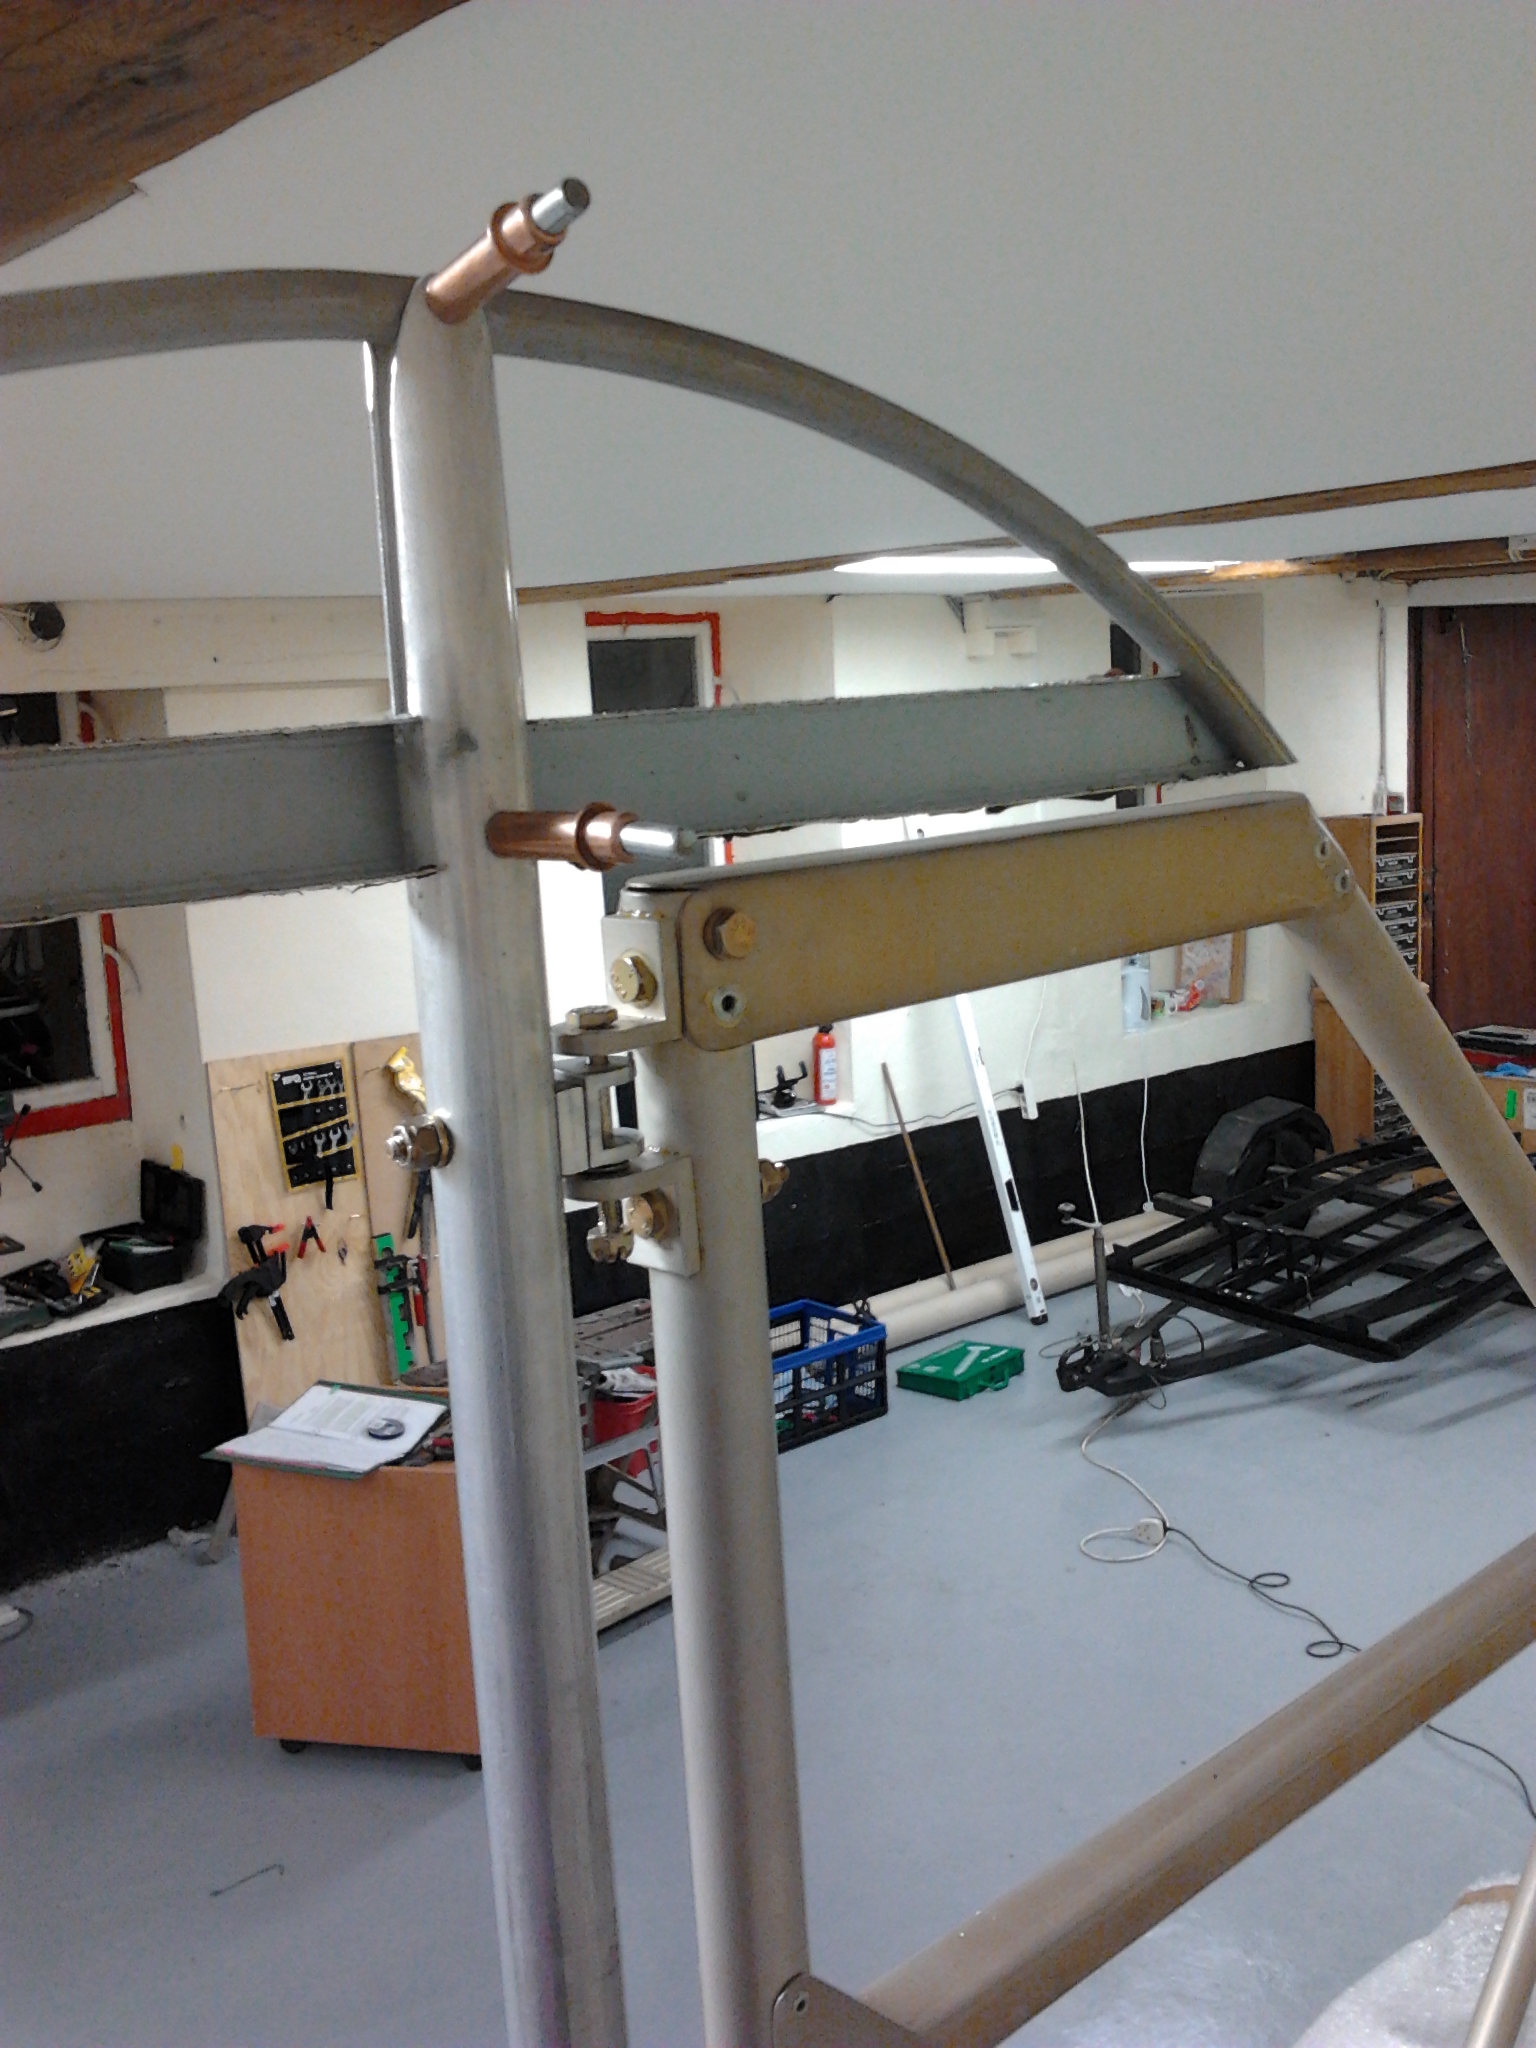
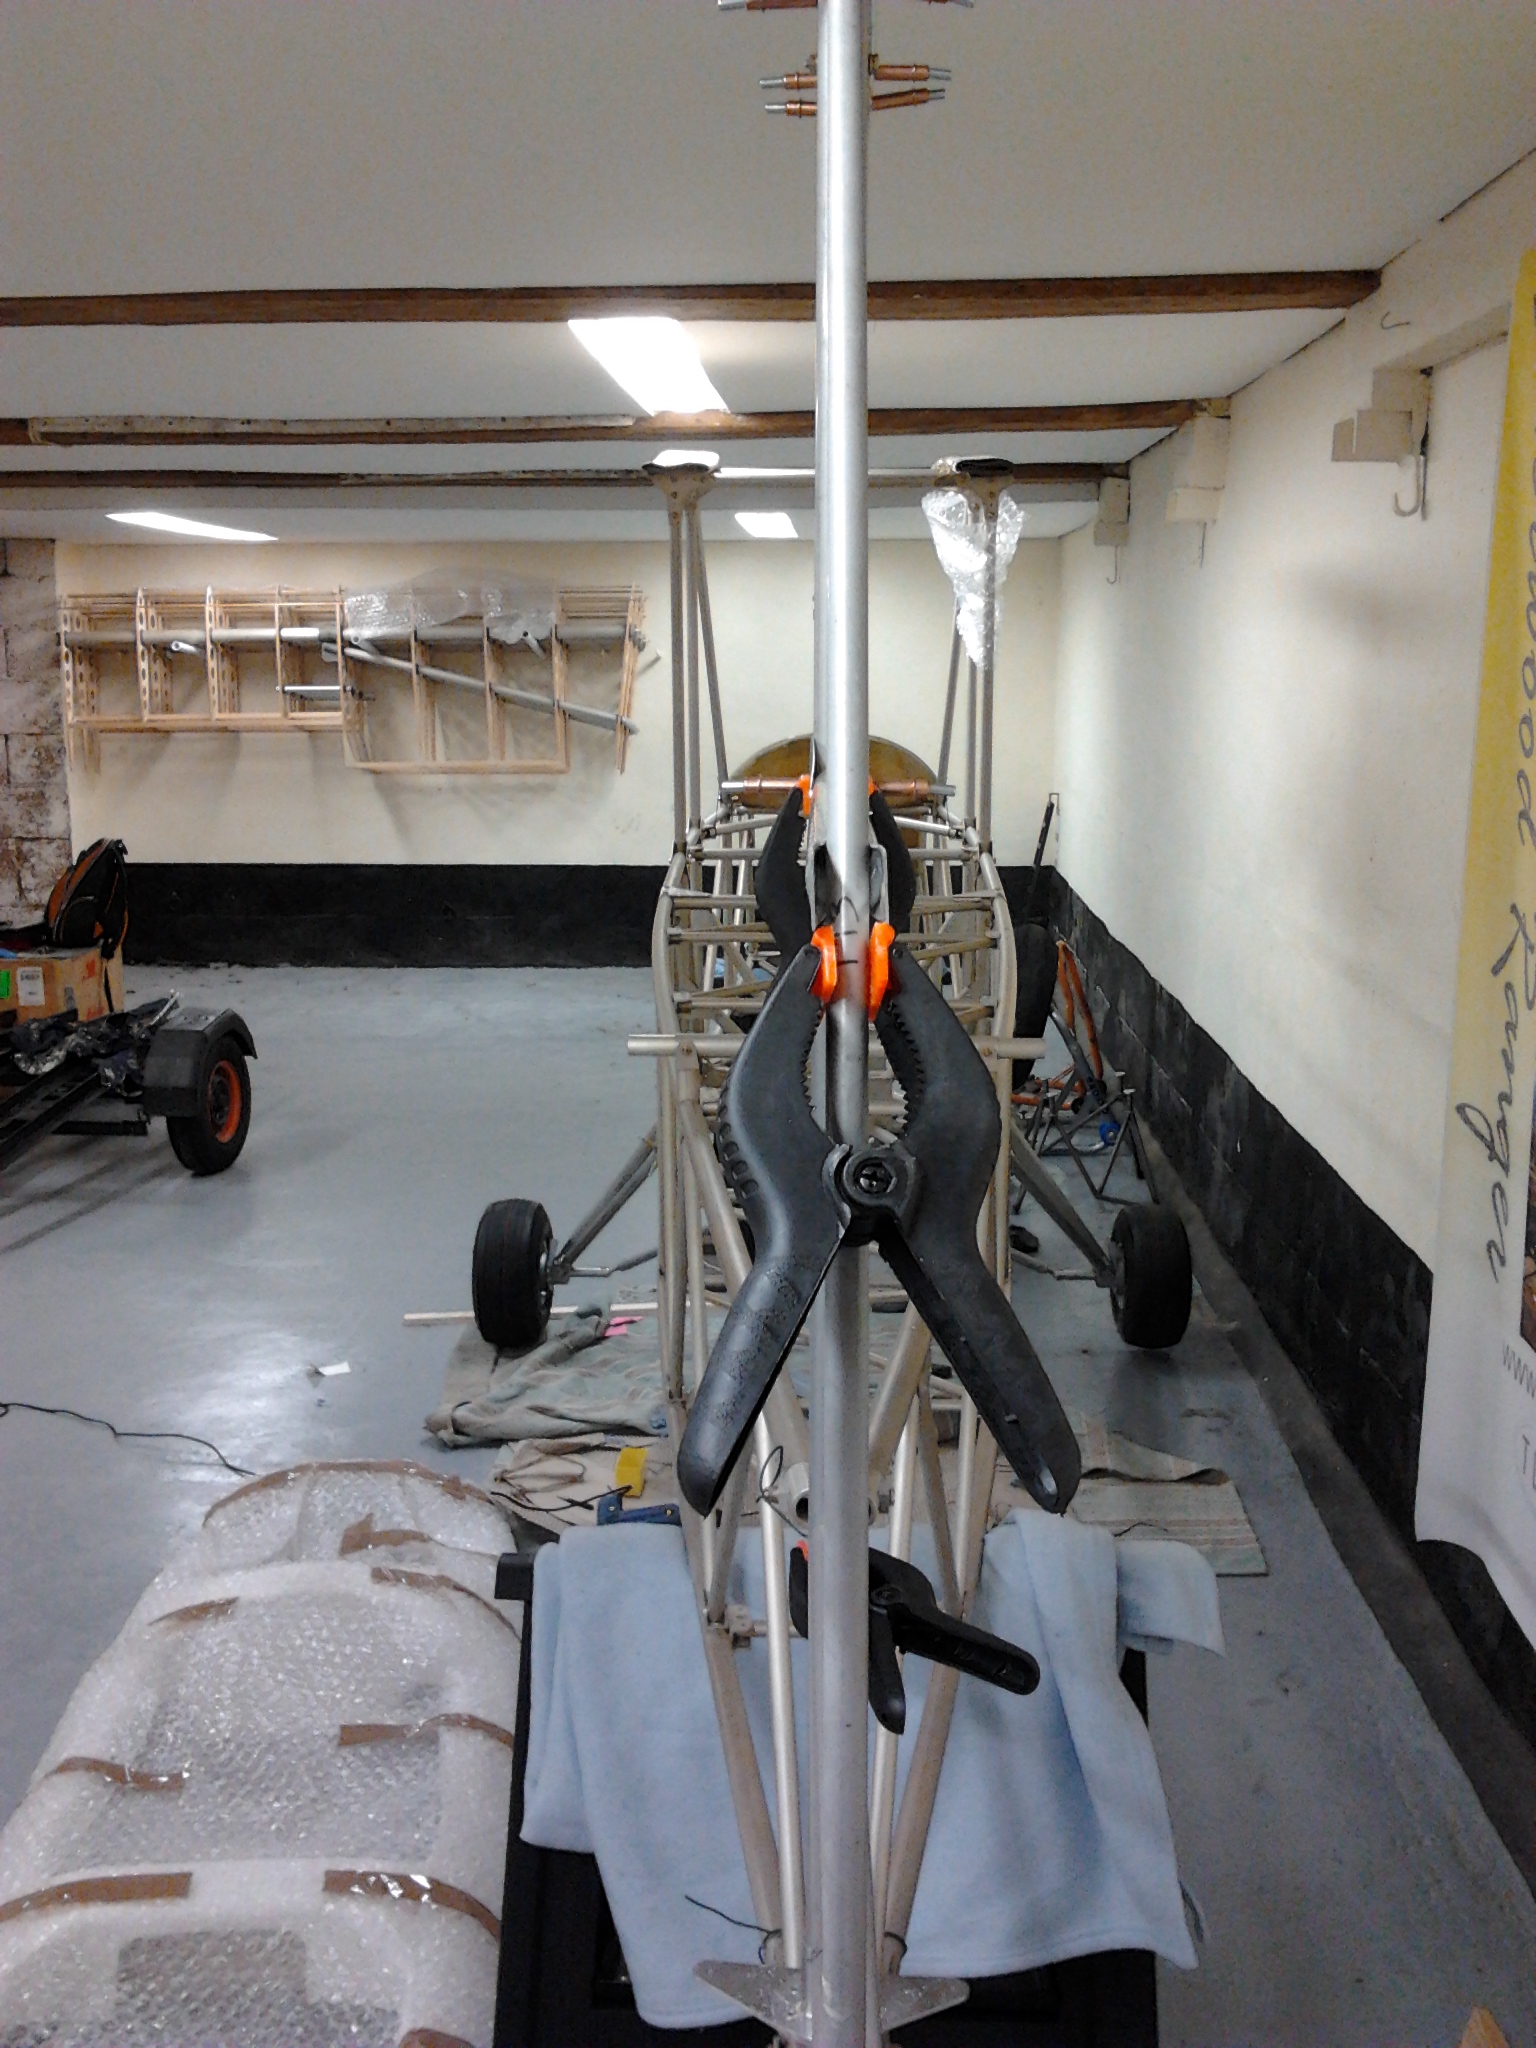
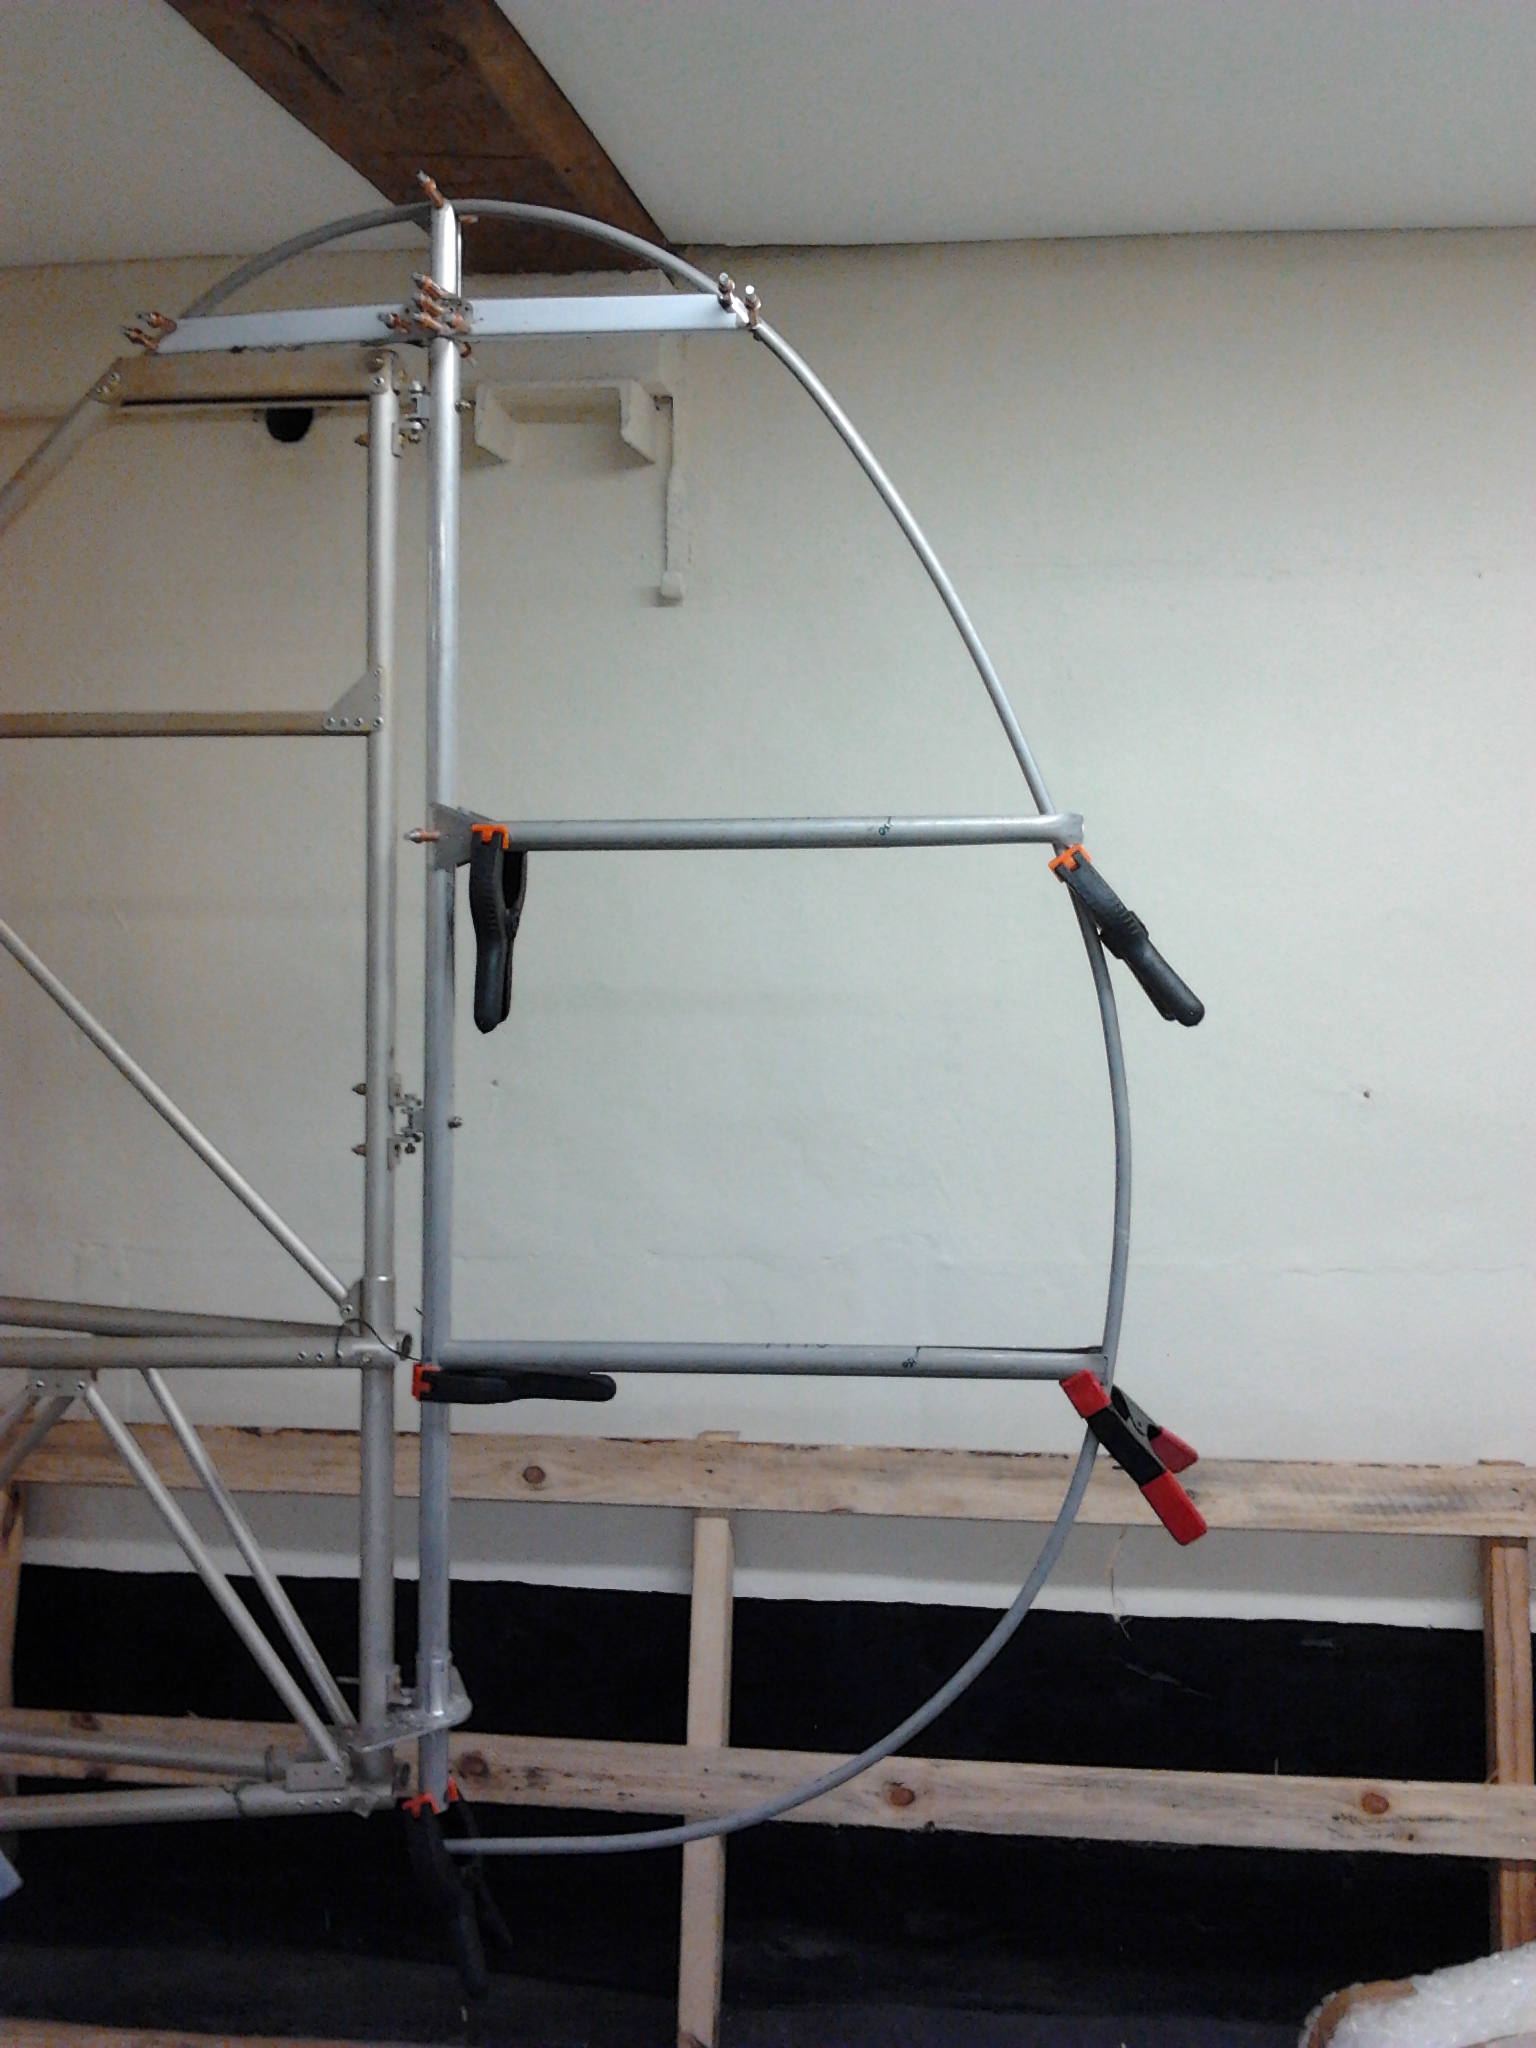
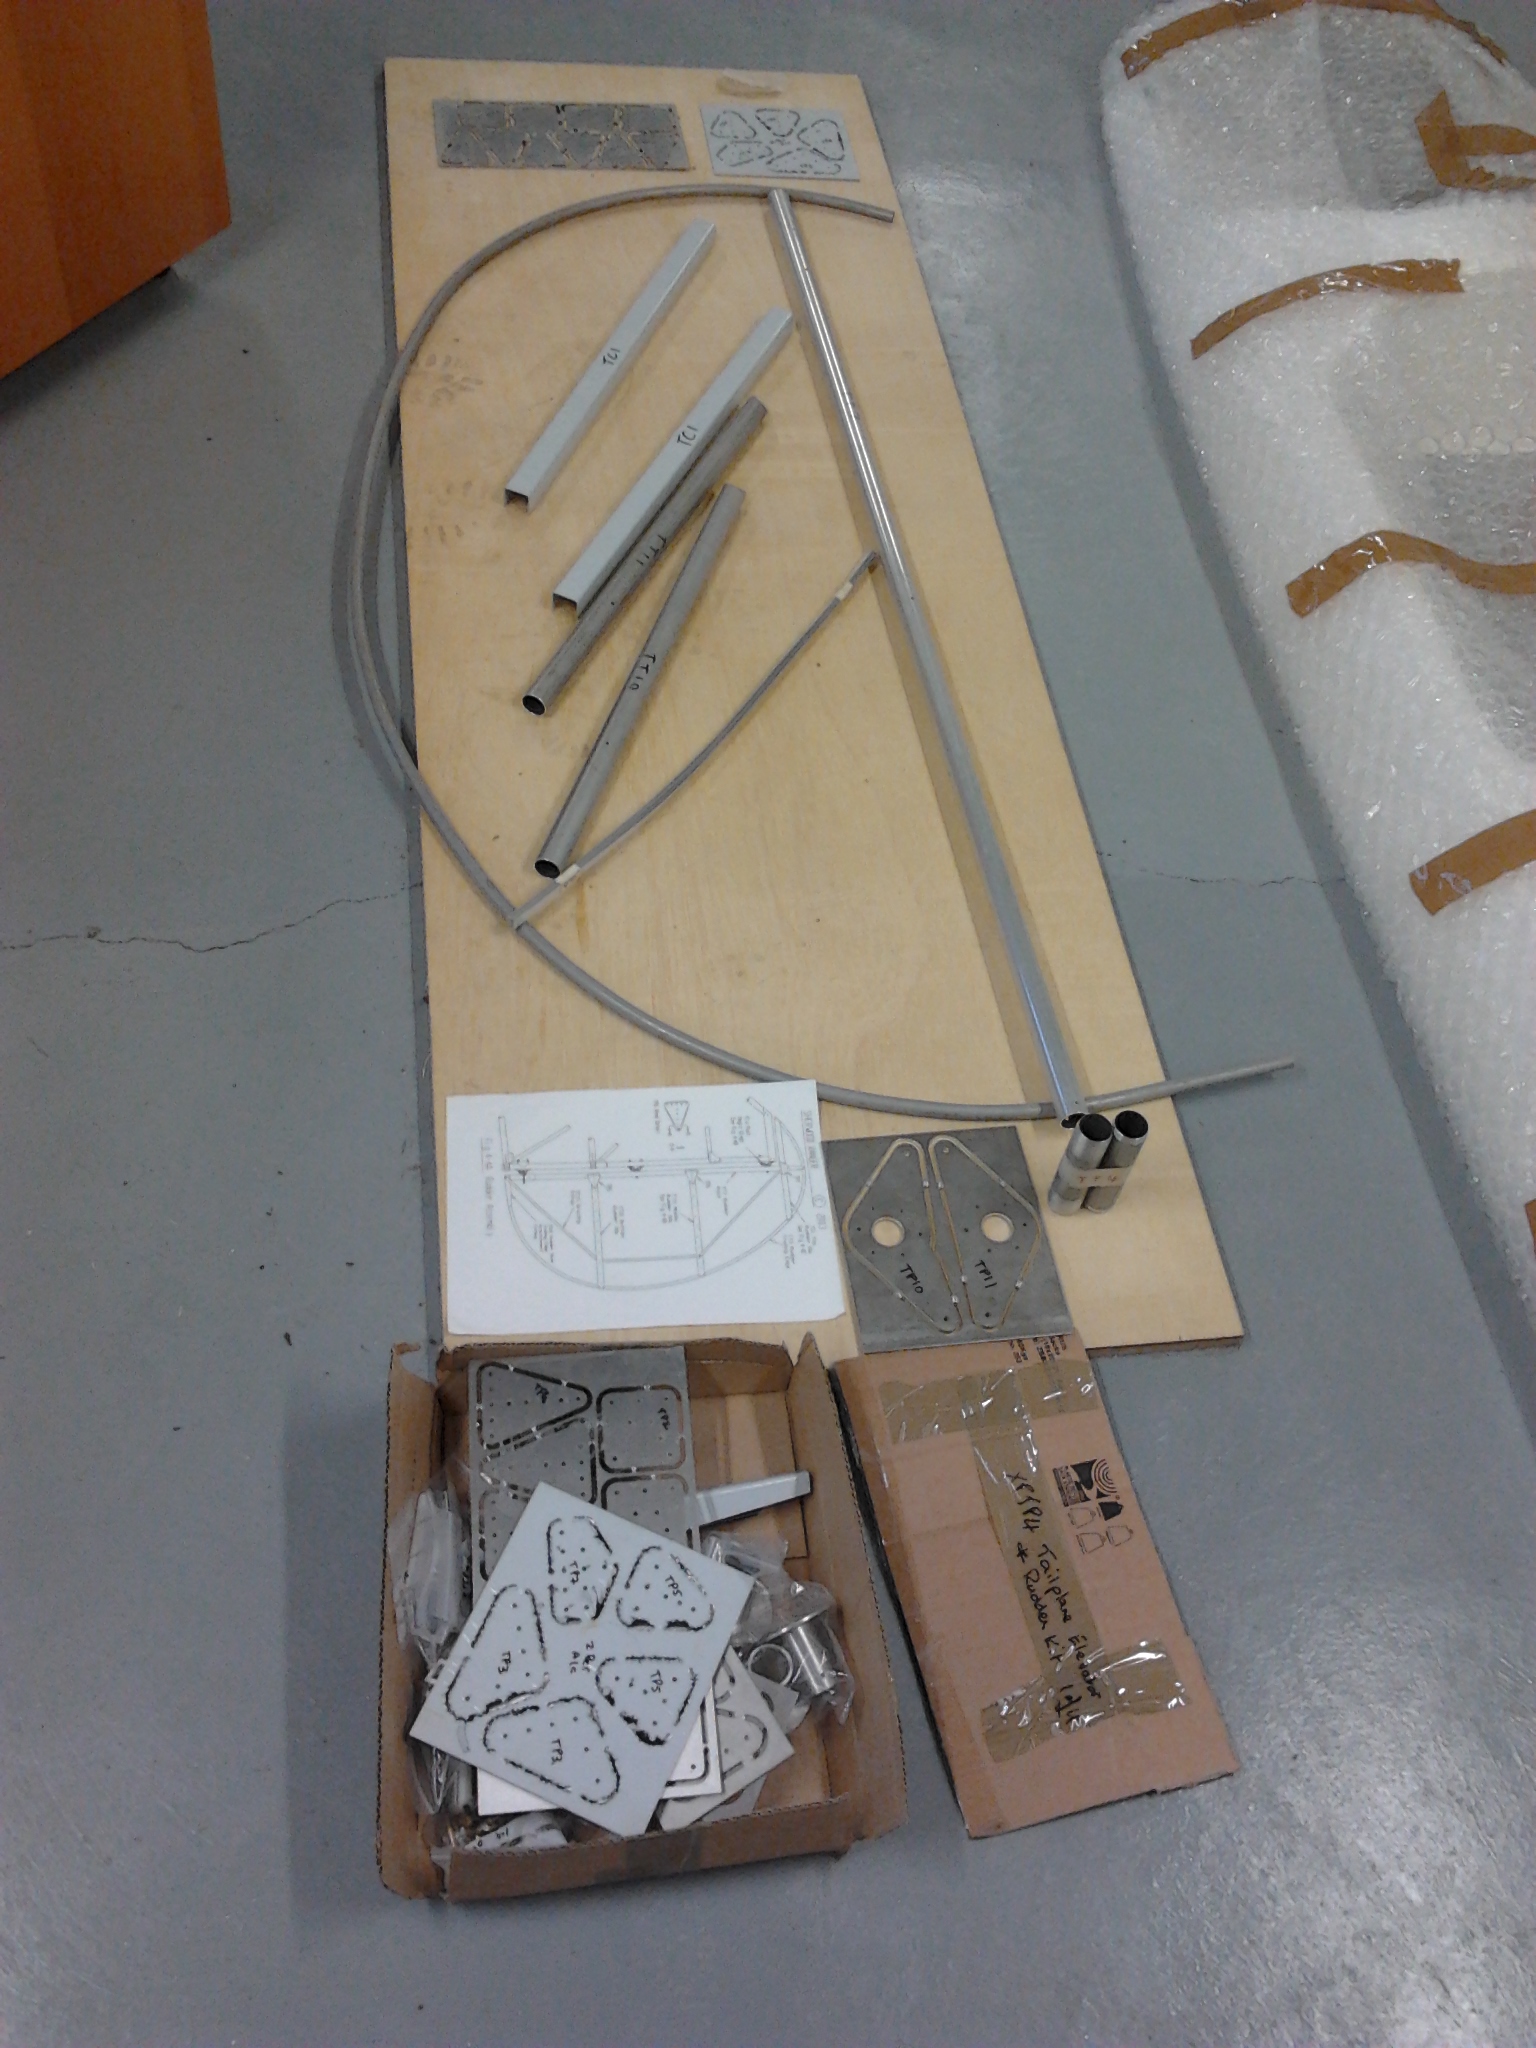
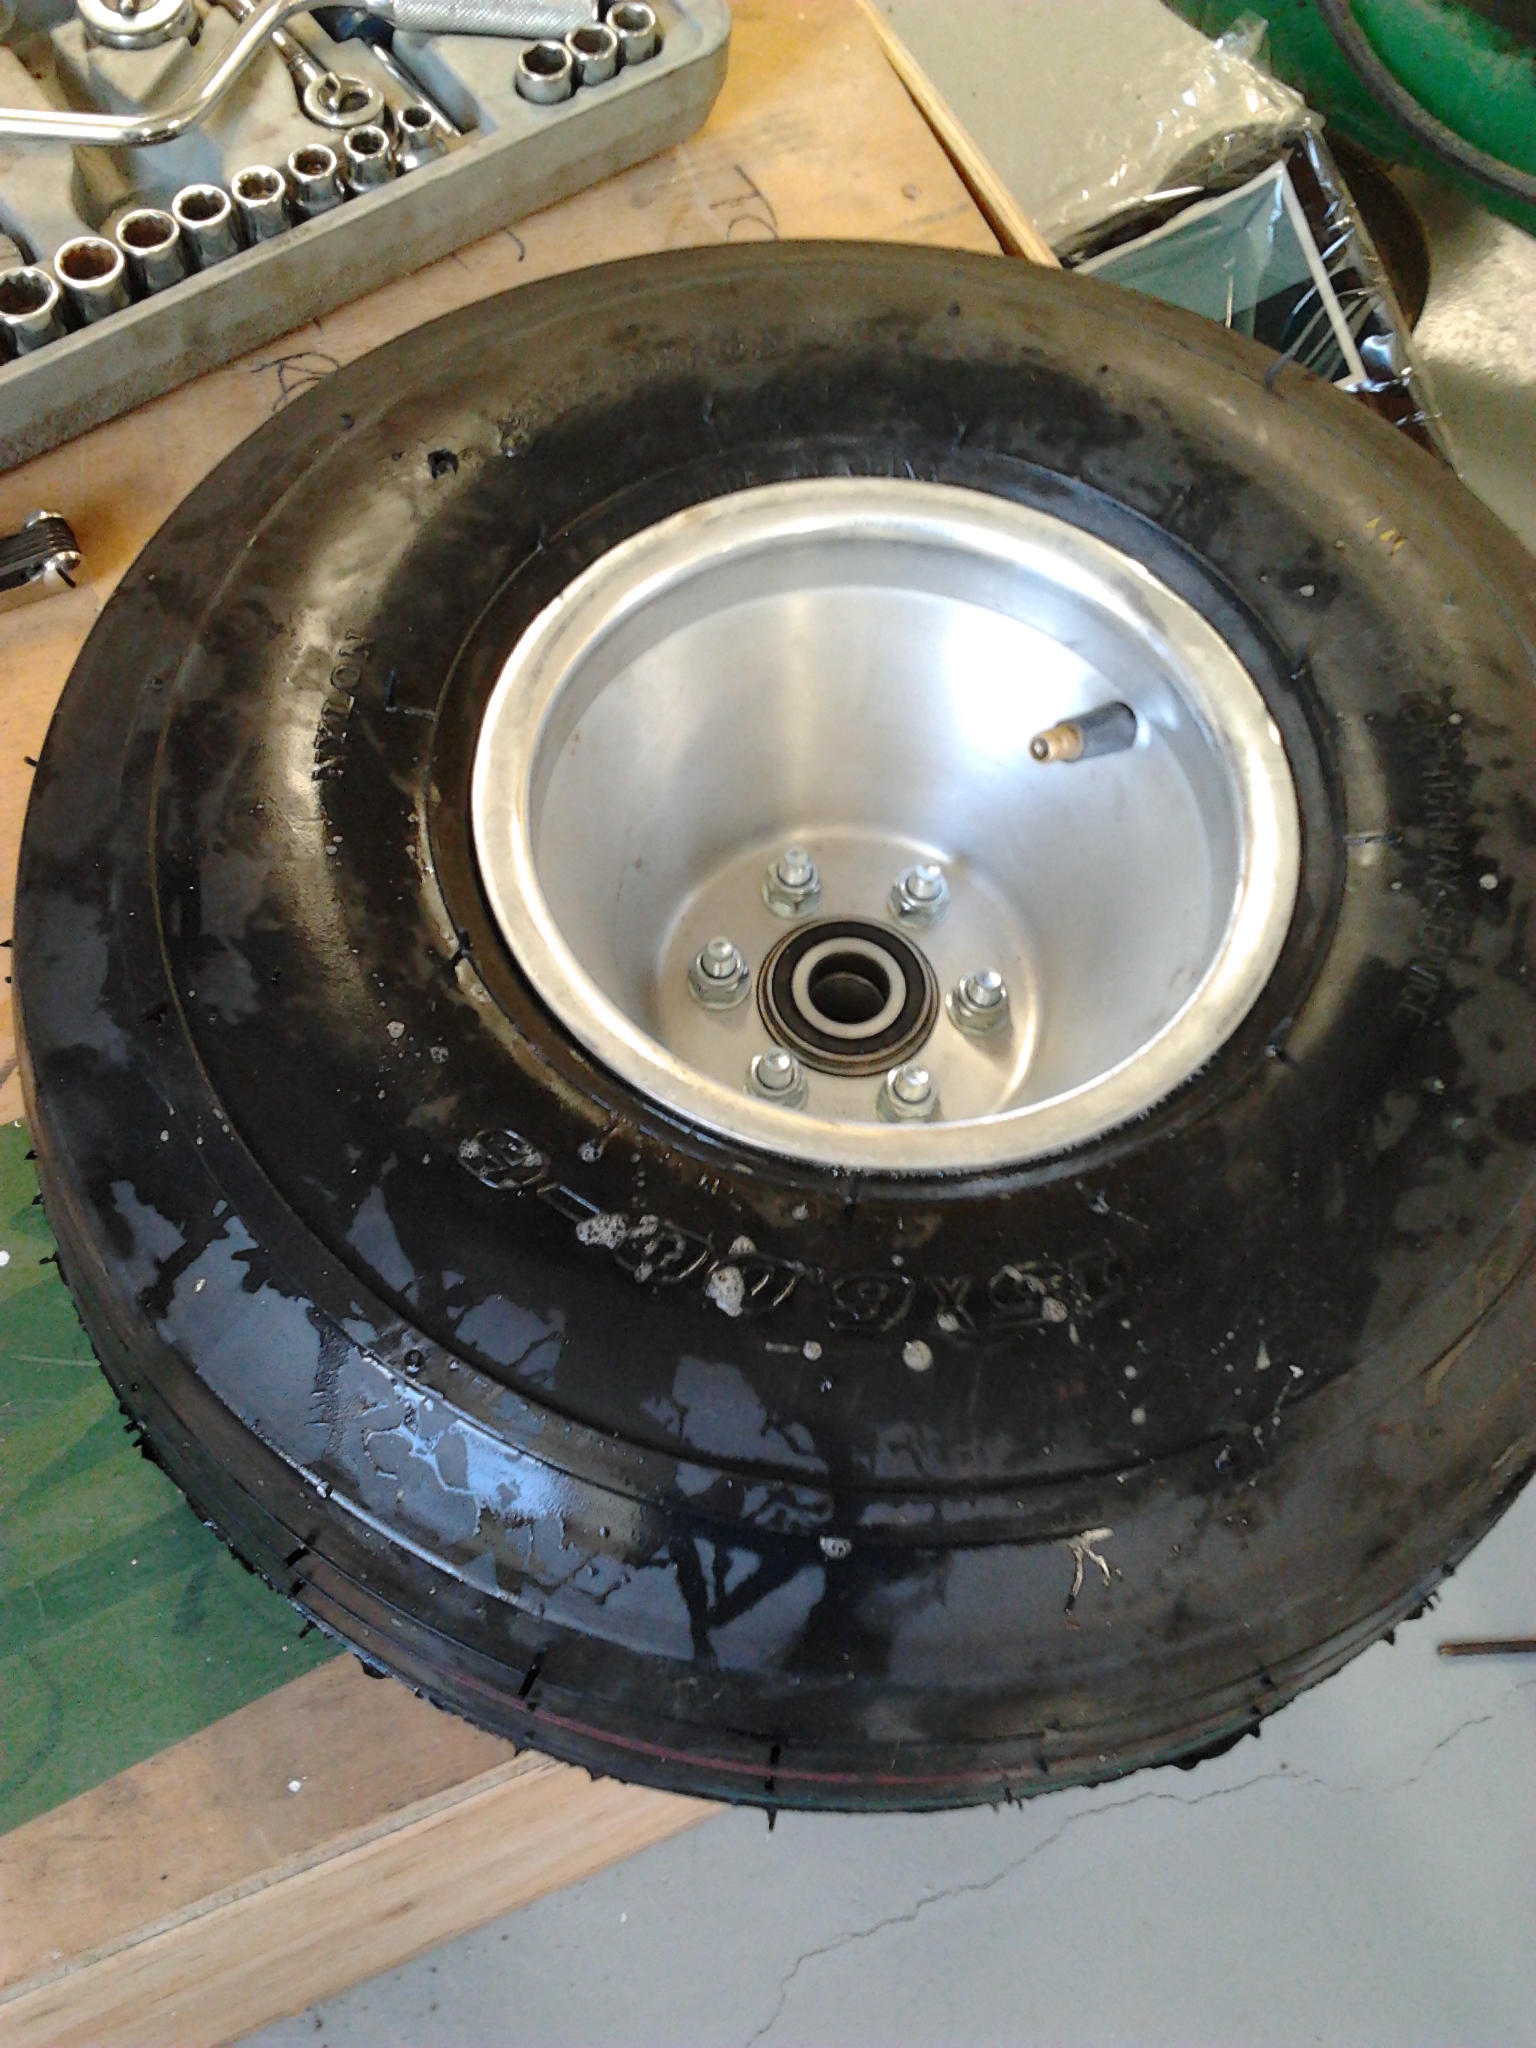
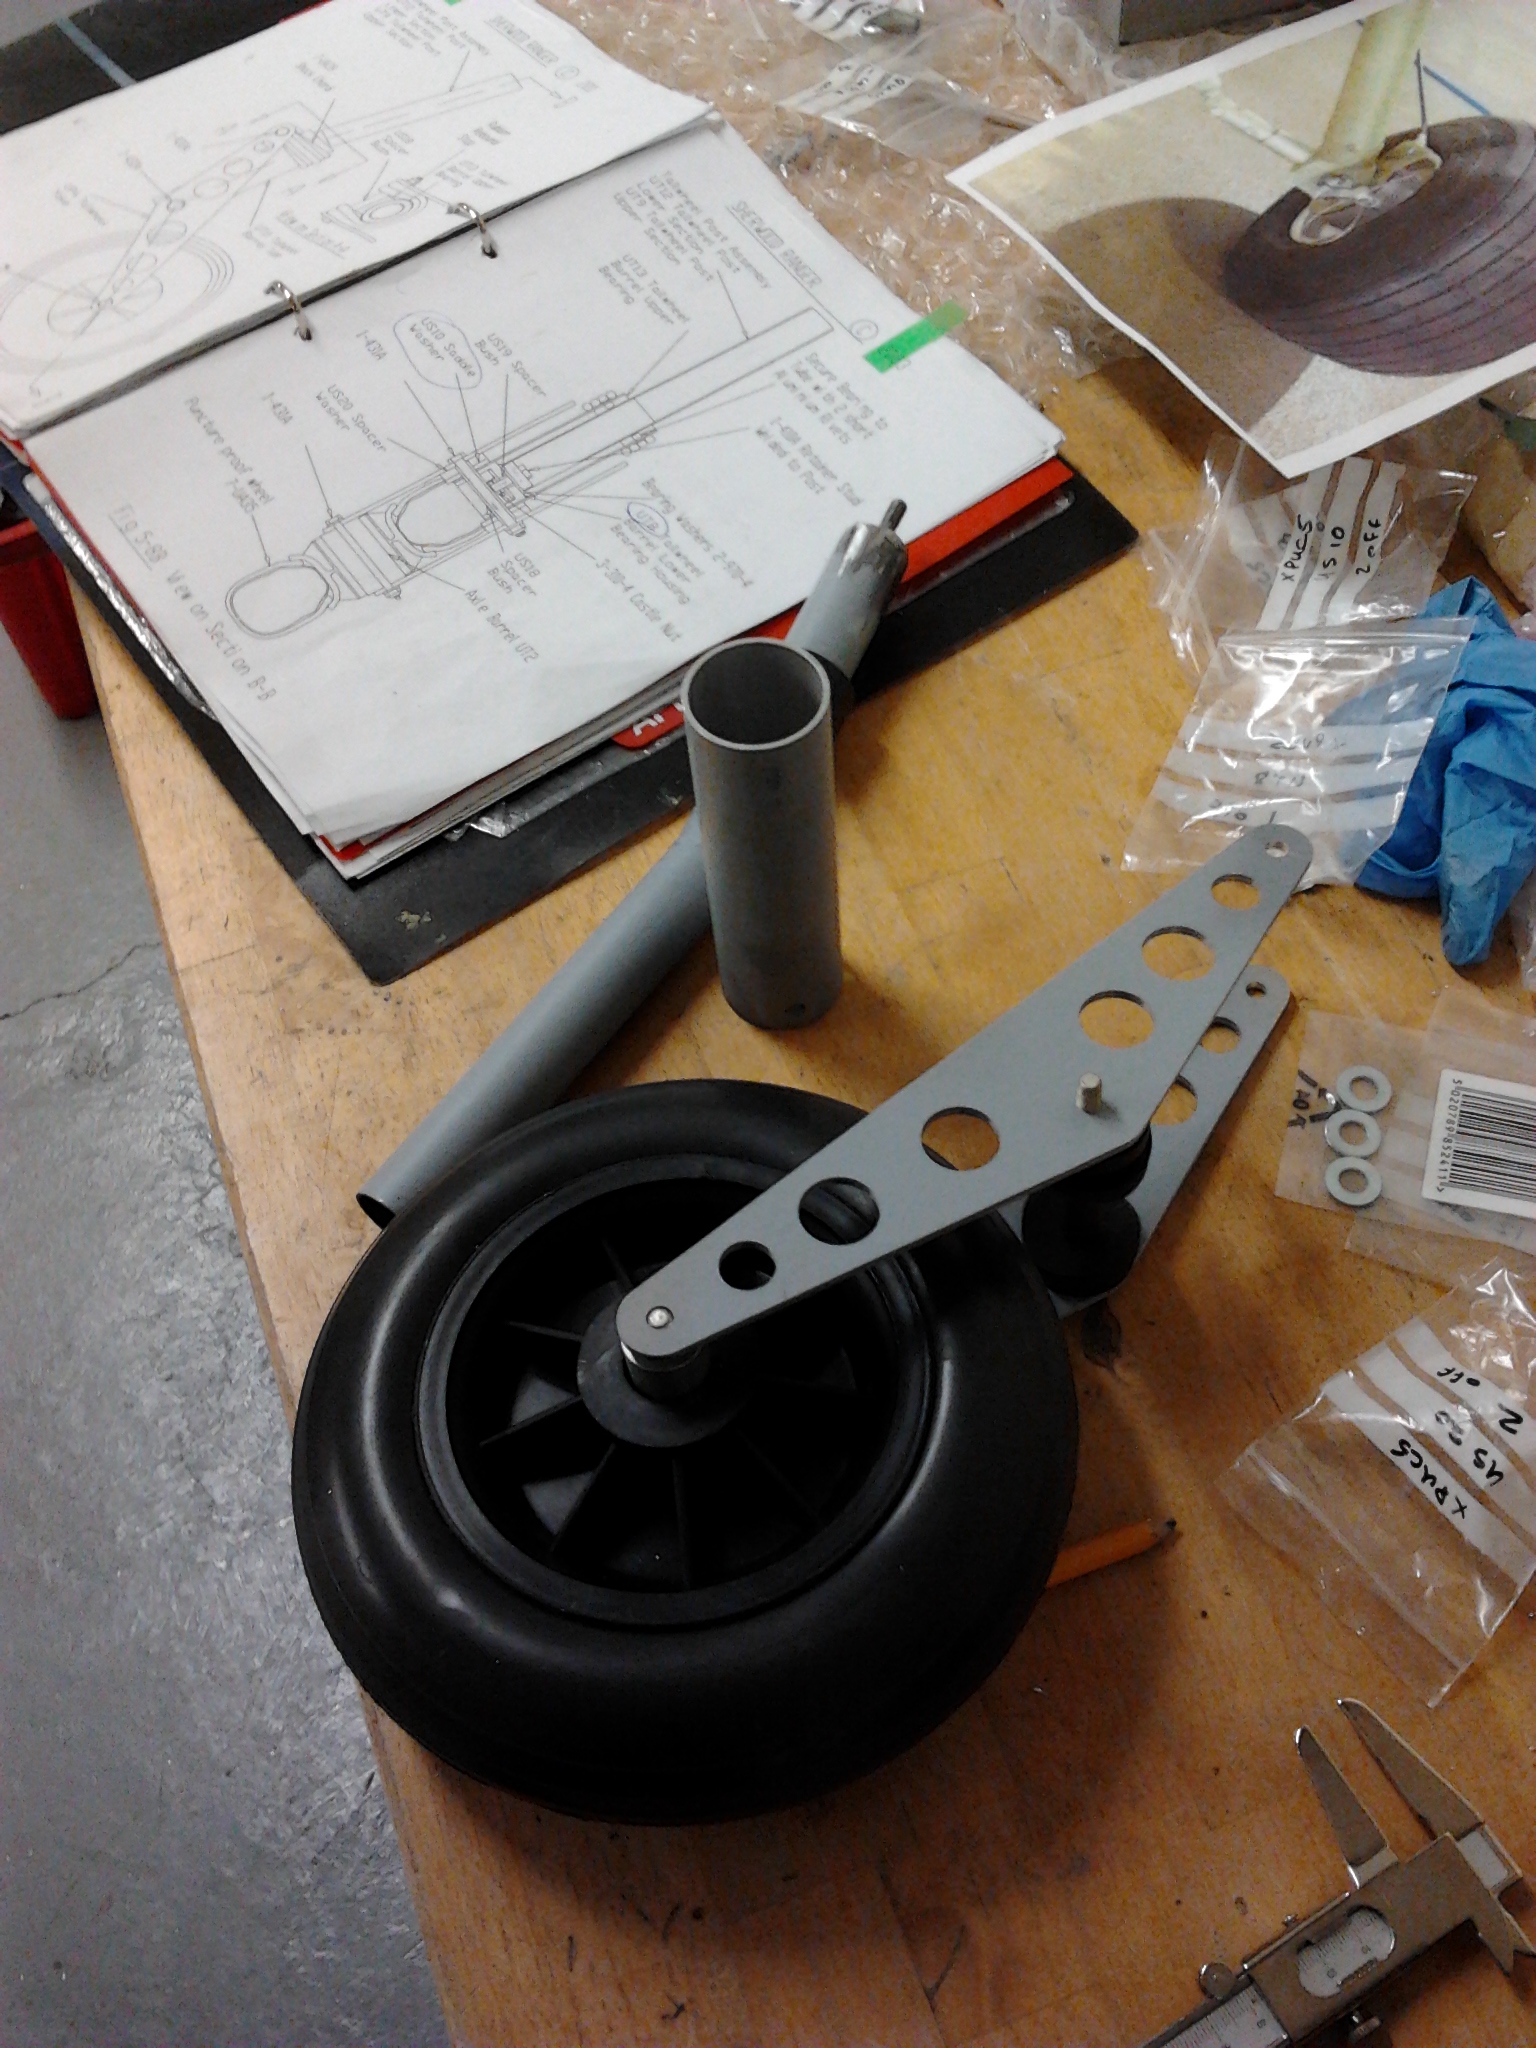
Got all the parts for the tailwheel out and prepared by etch priming all metal parts. I have been using a small hand aerosol etch prime (silver/grey) with a view to re etching the whole body with the kit supplied gold etch when all tail feathers and rudder are on.

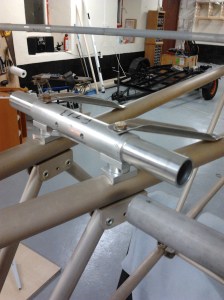
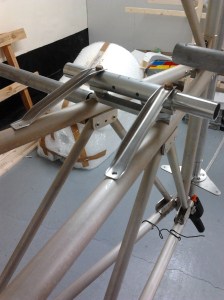
Tailwheel parts are nicely formed and very strong. A few items require drilling out but ‘soft’ assembling lets you check your reading of the tech diagram so all parts are seated correctly and line up nicely.

As I have opted for the steerable tailwheel, I have some other parts in the kit to add on so seeking advice from Paul. The Stampe I used to have the pleasure of flying was my first use of a fully castoring tailwheel and was great when you got it right and buttock clenching when you got it wrong ! Remember once taxying downhill at Jersey with an Airbus 320 about 30 yards behind me …. the wind caught and I went for the brakes but caught one and it did a 180 so I ended up looking up at a grinning BA pilot ! So Steerable for the Sherwood will be a  bit more predictable when trying to park on busy fields in tight spaces !

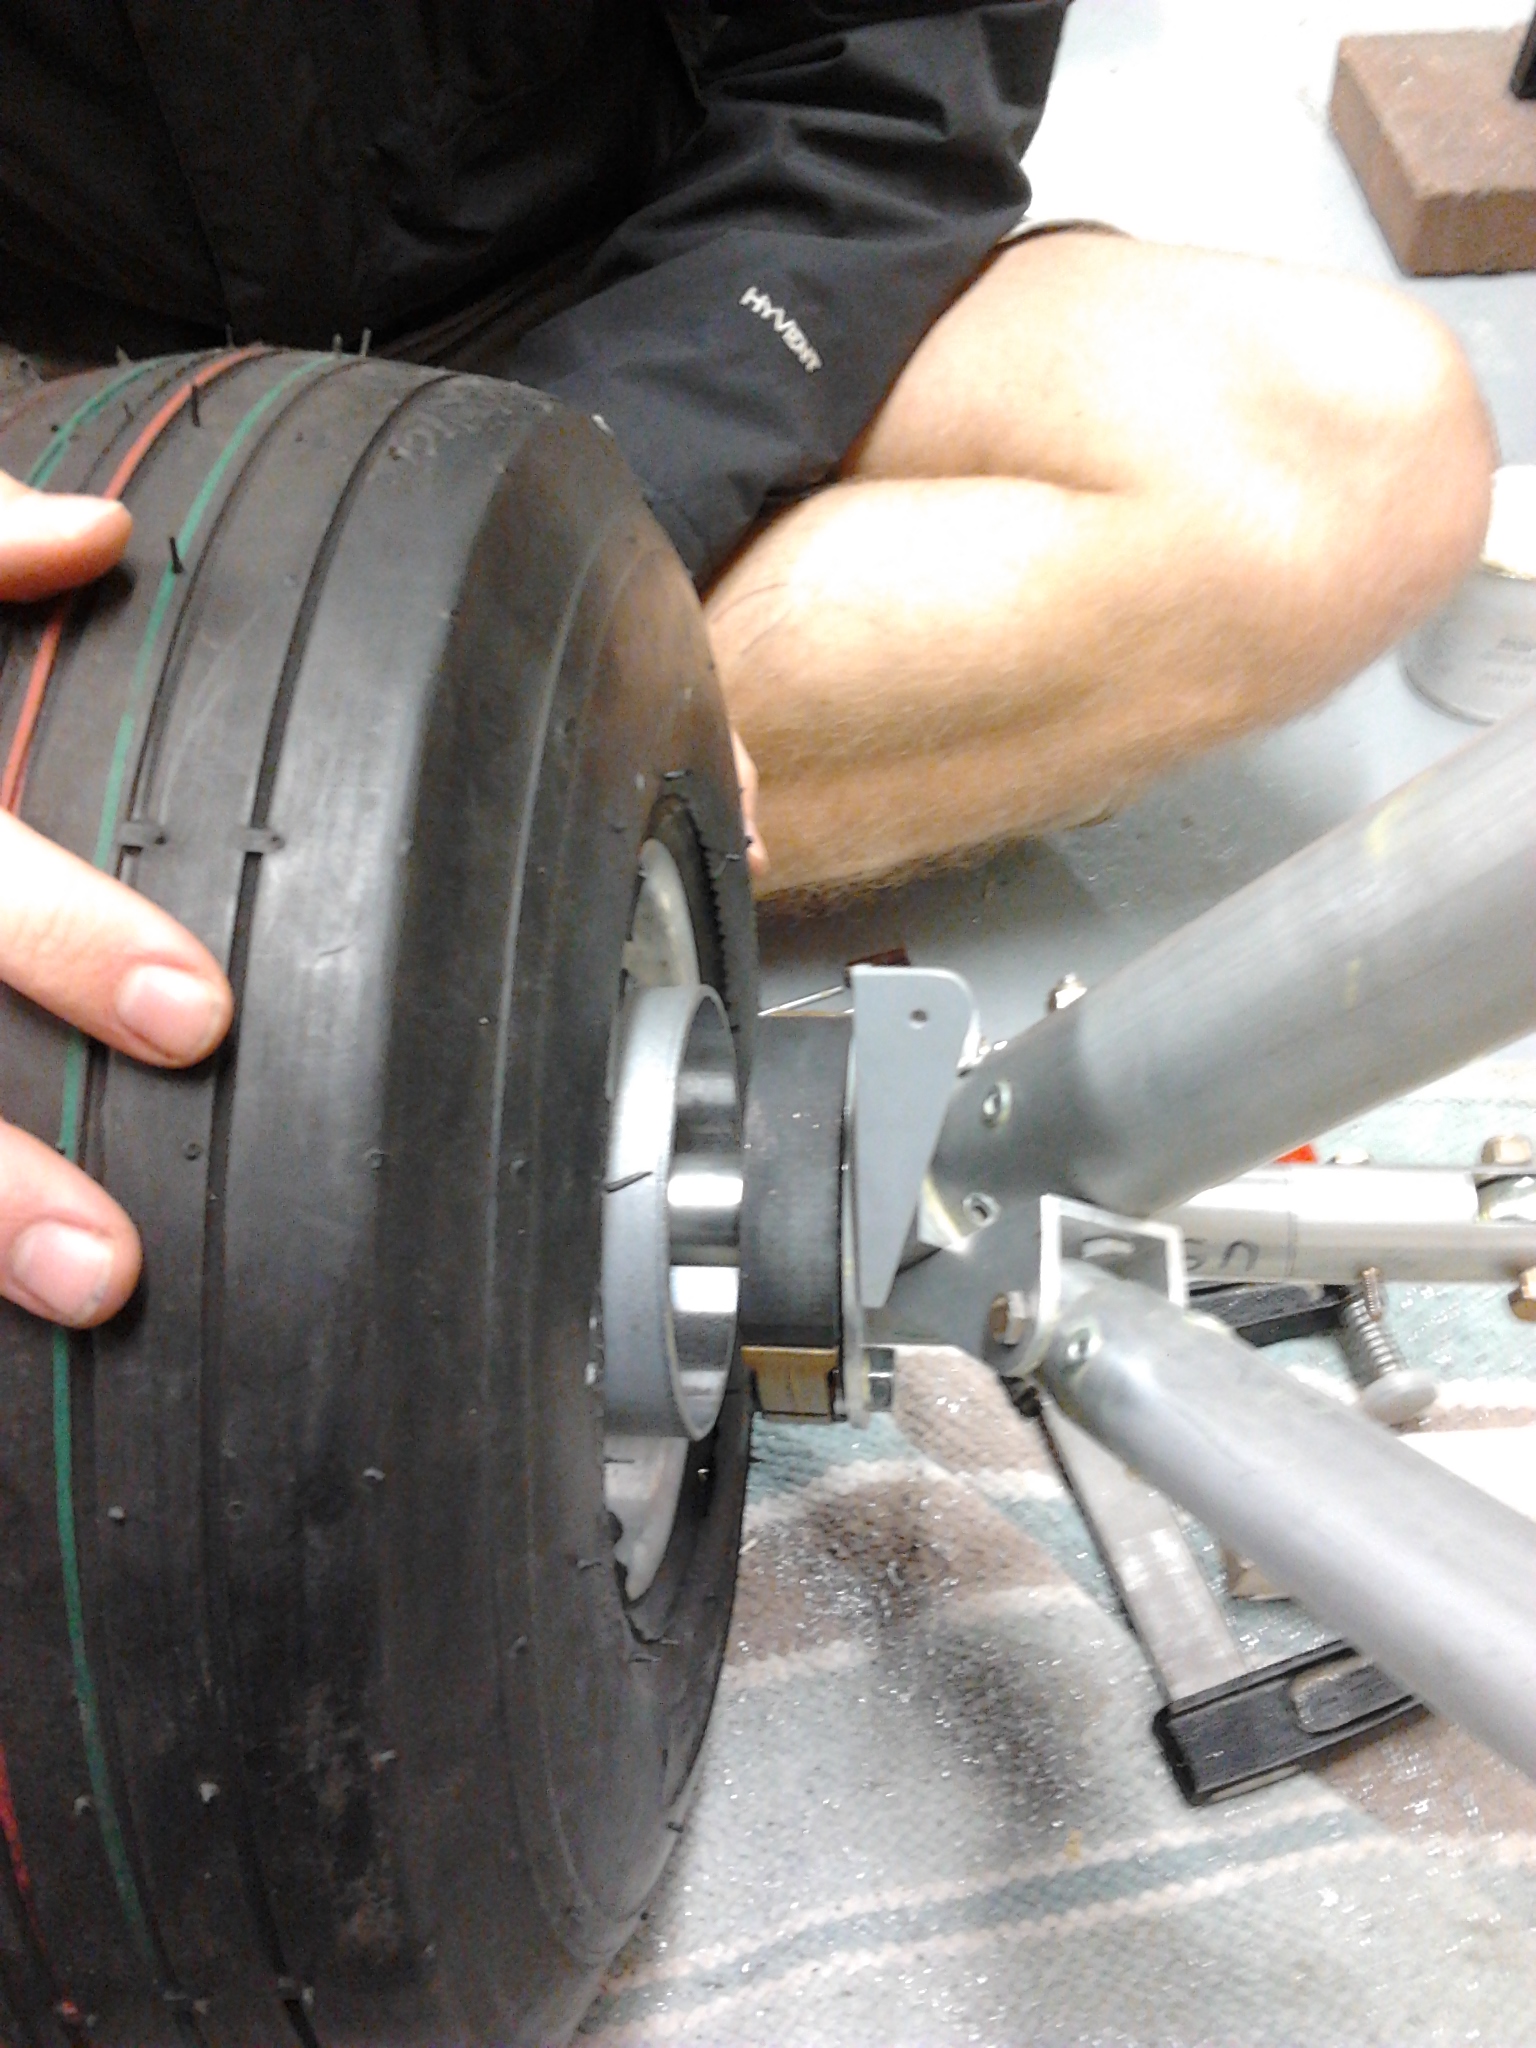
Temporary fit of brakes and wheels

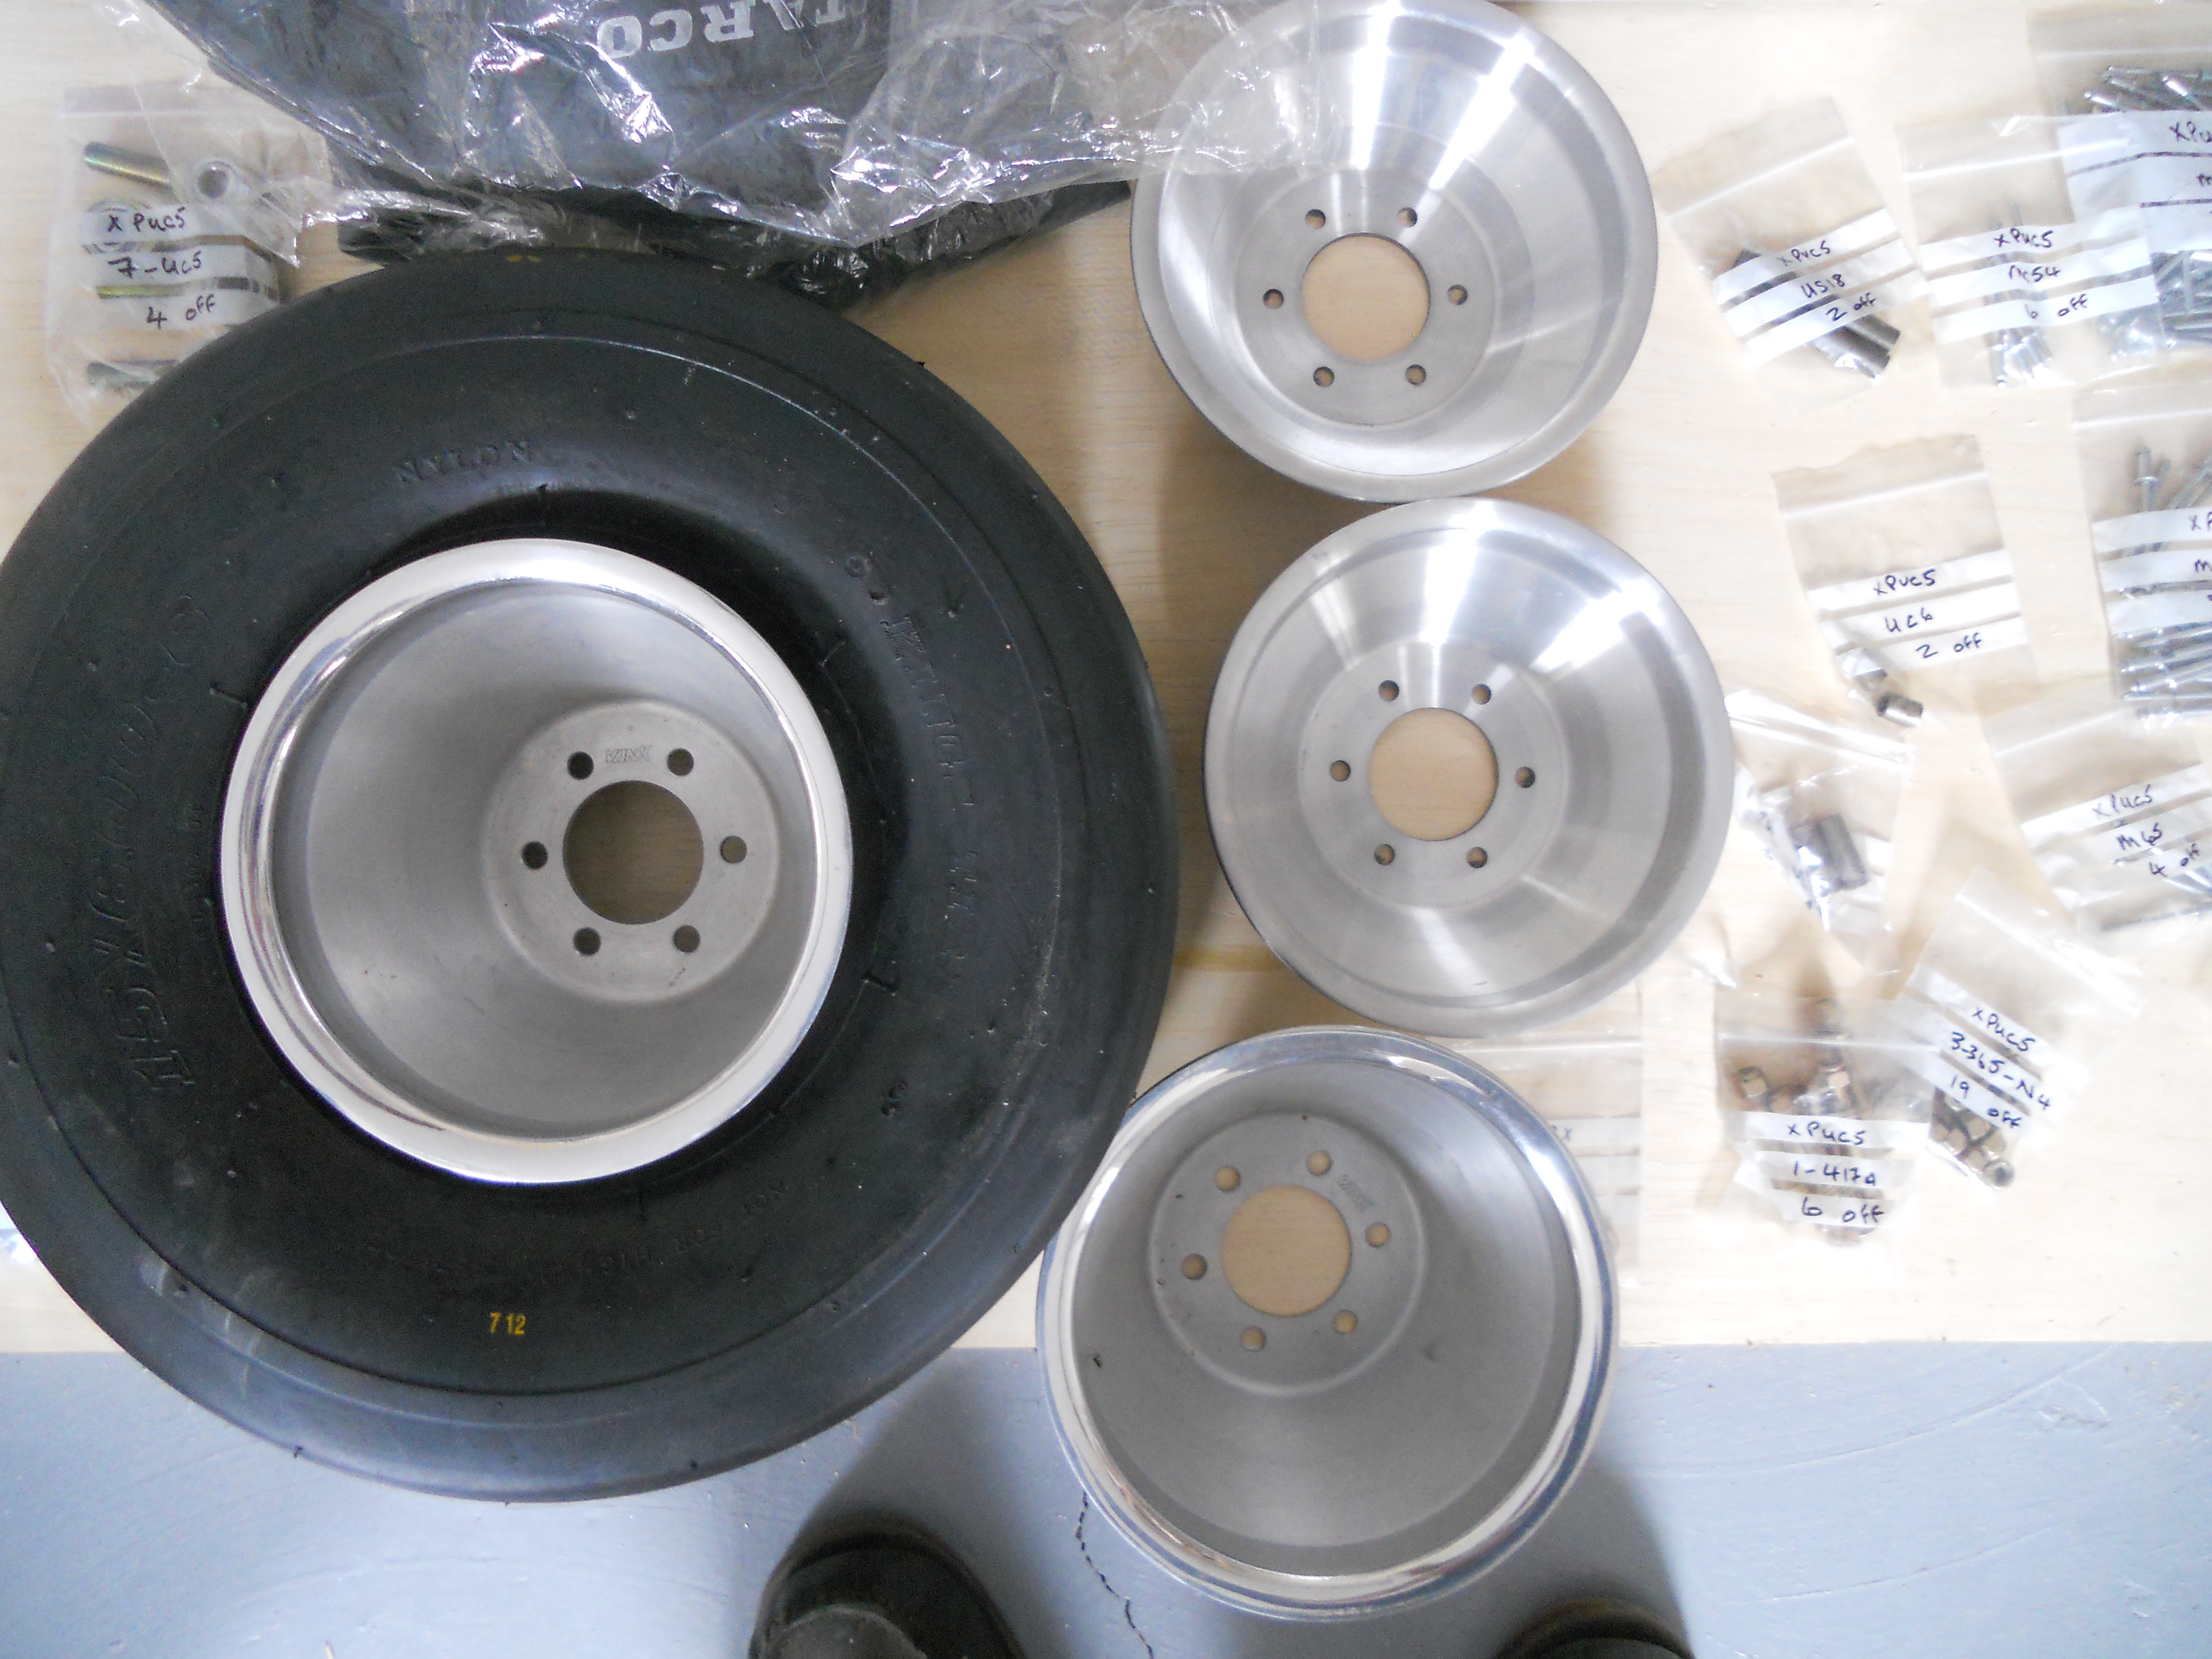
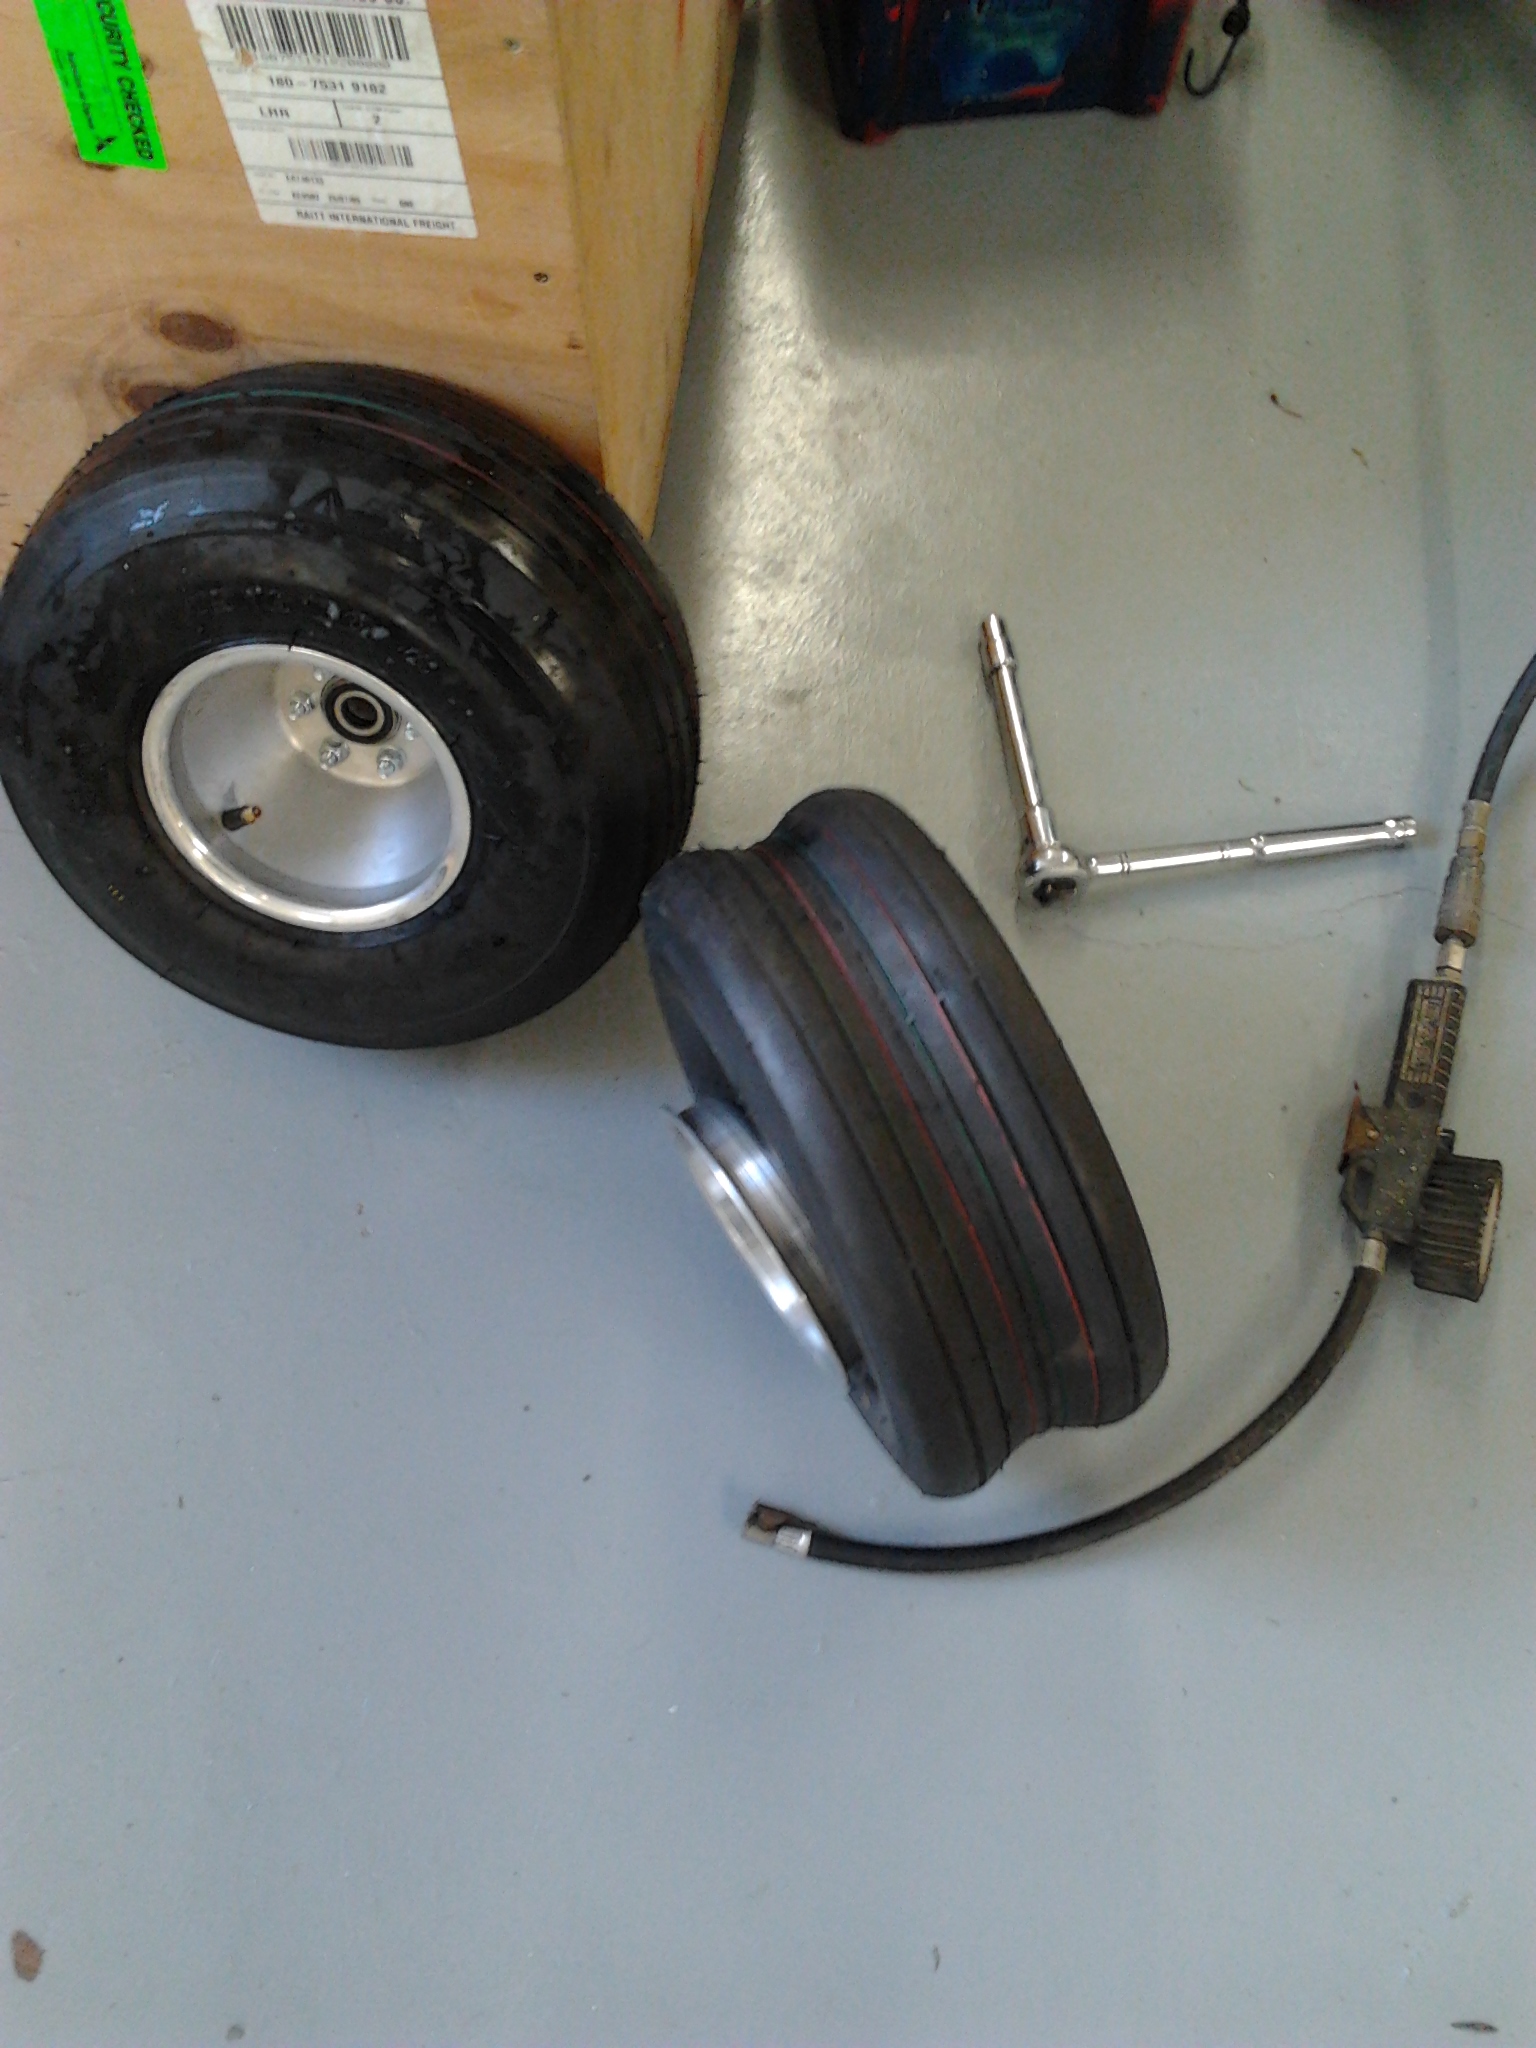
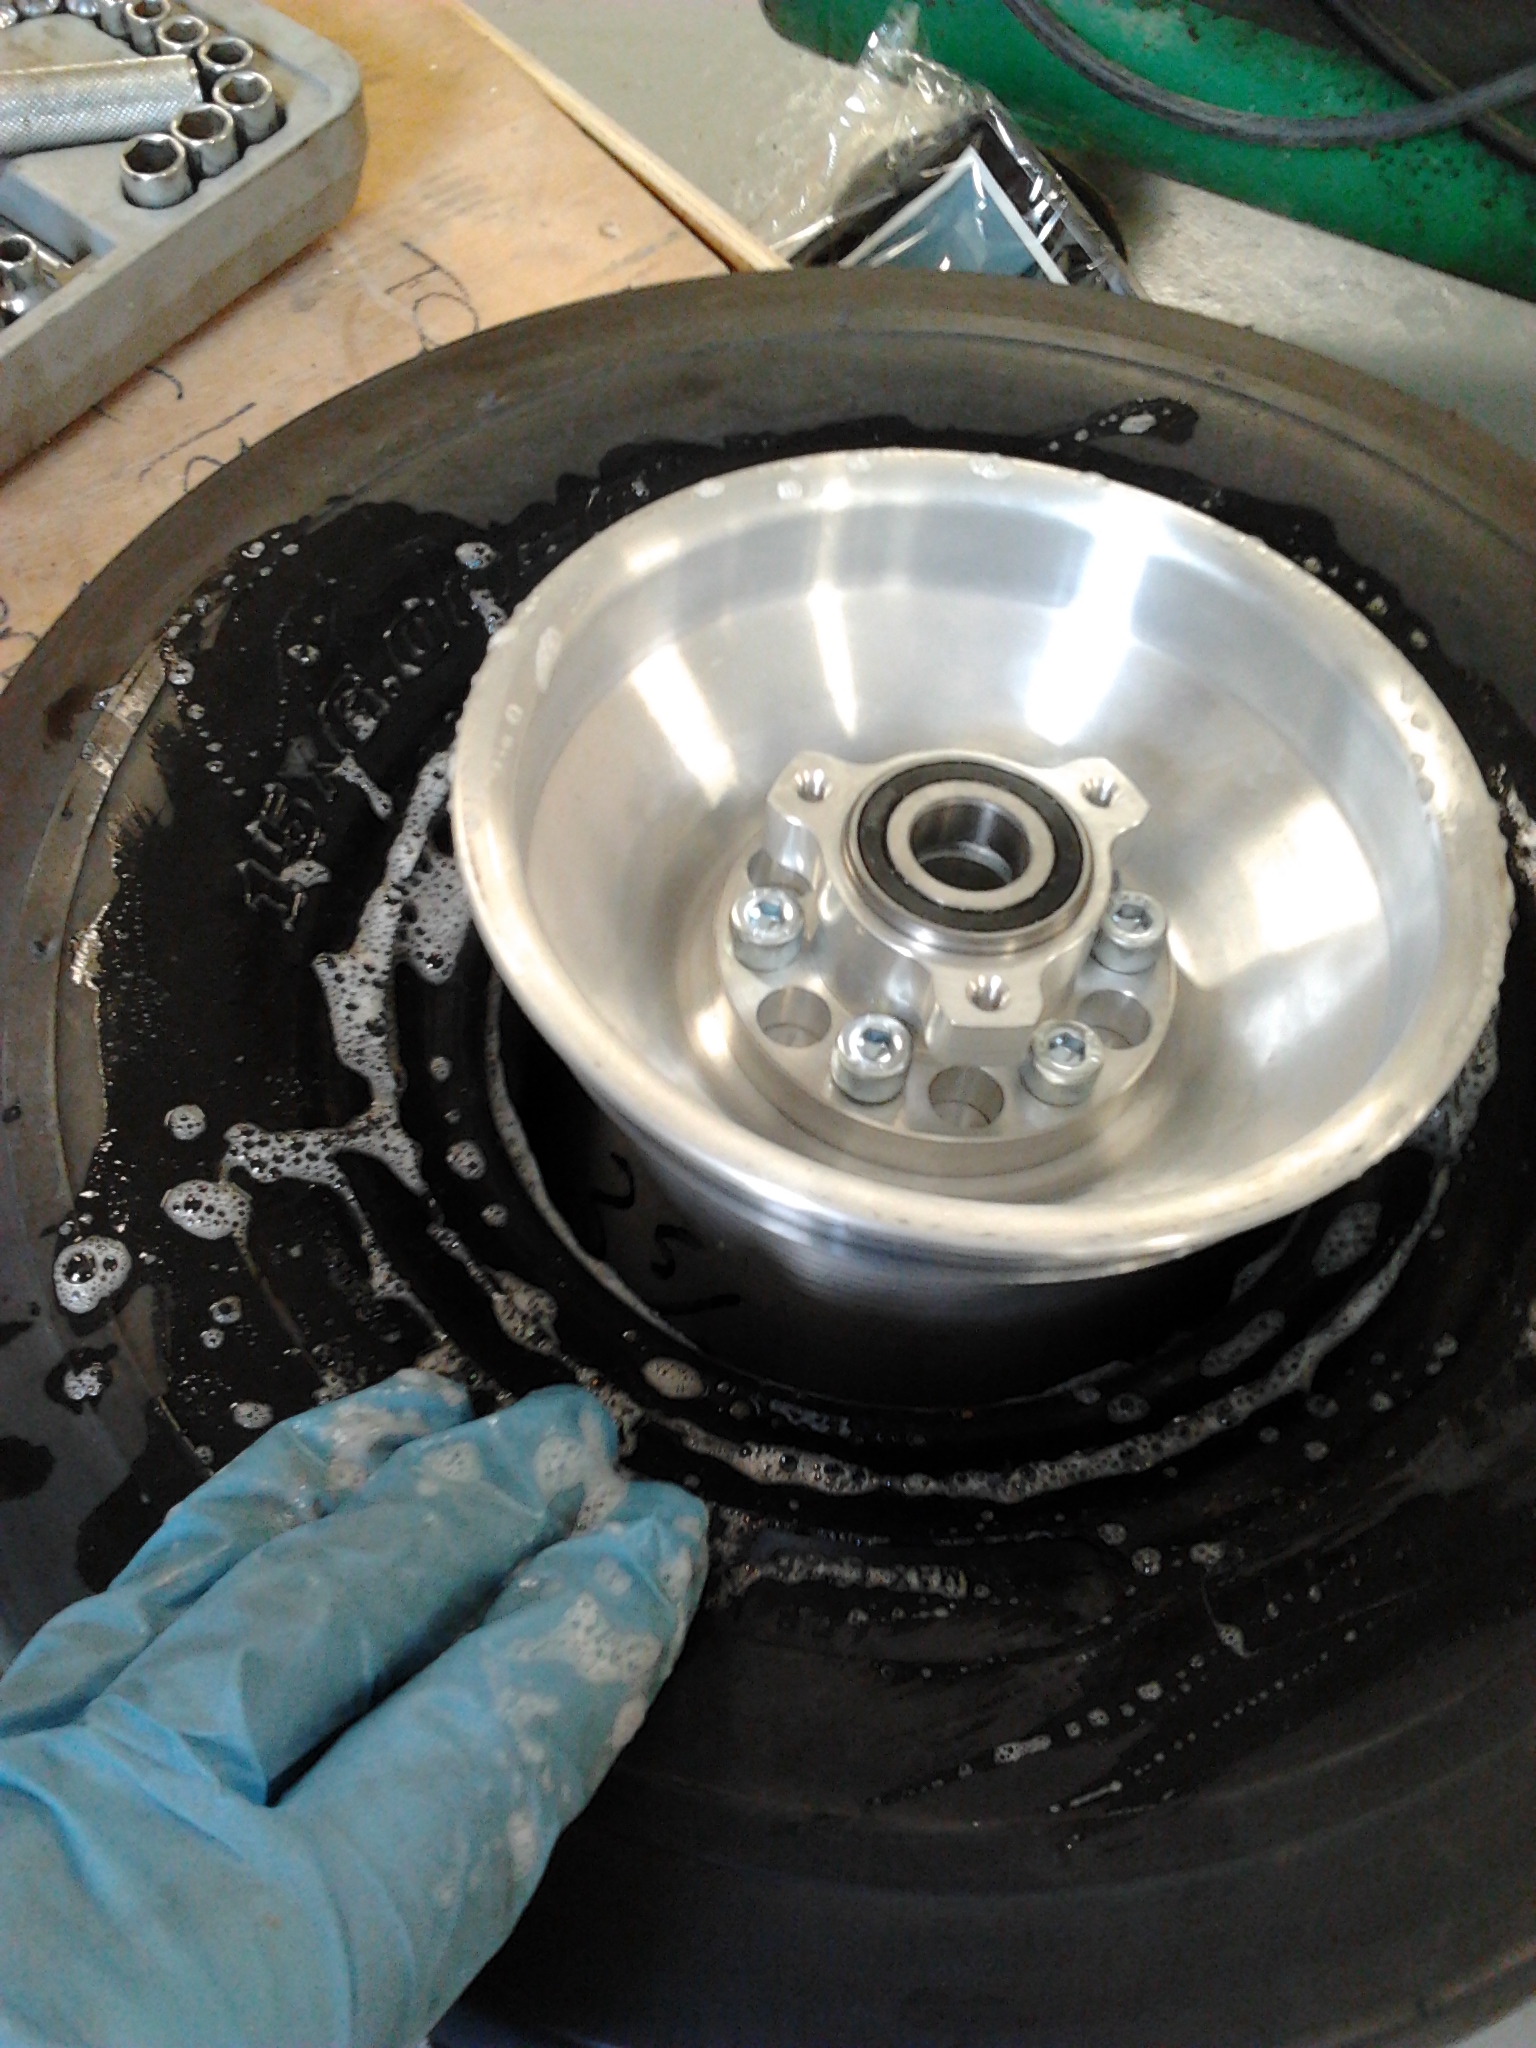
To check all alignment, temporary fit of brake backplates and then slip on spacers then wheels over that. The wheels had had the brake drums painted with silver Hammerite on the outside surface and then bolted to the wheel bearing housing.

Had to raise the body slightly on the tressles to get full wheel clearance but wheels spin freely and brakes grab nicely when the levers are pulled.

View from the rear

Treating the main legs

Put final fixing lower rivets in yesterday for the lower main leg to axle housing having first reviewed the manual for anti rust treatment of the main steel legs.

This involved running waxoyl into the legs and tilting and rotating to get an even covering inside. Pretty messy job as it ran out of the (yet to to be riveted) other holes !

After check fit – start to rivet undercarriage

Having cleco’d and supported everything in place and checked tracking – drill out pilot holes in legs and axle and drag struts.

First time to get unloaded suspension struts in place and connect up to axles.

All a bit tricky when its your first time ! but worth it when you step back

Some rivets need a bit of planning


Started on suspension units

This is a bit more thought provoking … Well worth Pauls recommendation of reading and planning ahead … Think what is happening 5 steps ahead … Took me a while to realise that gentle emery on inner legs was never going to get them sliding smoothly. 

A weekend email to Paul with a photo brings back a quick response and good solid engineering advice on how and where I should file. 1 hour later and its sliding beautifully … Great care not to take too much off.

Prep of bobbins andinternal stops introduces gluing with dual compound loctite … Sticks like …. Well very strong ! wipe the excess so it doesnt seep into the legs and jam your carefully prepared inners.

So thats what a cleco is !

Managed to ship a cleco set from the UK and wow does this make ‘soft’ assembly good …. Undercarriage slowly taking place and managed to find a laser torch to help align legs and axles.

Drilled out alloy wheel hubs to take valve seating.

Decide to do undercarriage first

Lay out all the u/c parts first to check all ready … Ivor has made a great job of packaging all parts in neatly labelled packages.

Some joints to pre form … The ones done in the factory have set the standard ! Very clean .. No pressure !

Getting hold of drill bits like 3.2mm and 4.8mm are impossible in Jersey ! Special order ! So this is very frustrating and holds up progress.

Discovered the top of the range hand riveter from Stanley is definately NOT heavy duty … Those nickel copper aircraft rivets are super hard

Called for very accurate leg alignment – any fraction out could mean toe in or out later and no chance to adjust

DSCN1643 DSCN1653 DSCN1658 DSCN1662

Shaping and filing and lineshing (getting ridof all those awful looking scrape marks)

DSCN1630 DSCN1631

Sunday 19th August – unloading at barn in St John

Gang met the boat in Jesey harbour .. William, James, Sam and Emily to help with the big unload at the barn, rented from an old work colleague (Keith)

Lots of space .. Thought it was too much at first but you can never have enough space …

Unloading was further complicated as the fog and 100% humidity descended around us and made everything wet.

Wings safely stored – showing new jointing compound (ribs to spar)

DSCN1606 DSCN1607

Daunting number of bits and bags and poles of all sorts of shapes and sizes !!

Finally back home just before midnight….

Blog at WordPress.com.

Up ↑