Next major sign off today

Great sunny hot autumn day in Jersey and next major sign off by Bob Wright our local CAA engineer from Channel Island Aero Services.

Bob and I wheeled the trailer out into the sunshine and had a look at all the aspects that needed to be covered. A very successful visit with a few things noted to review.

20141030_120033

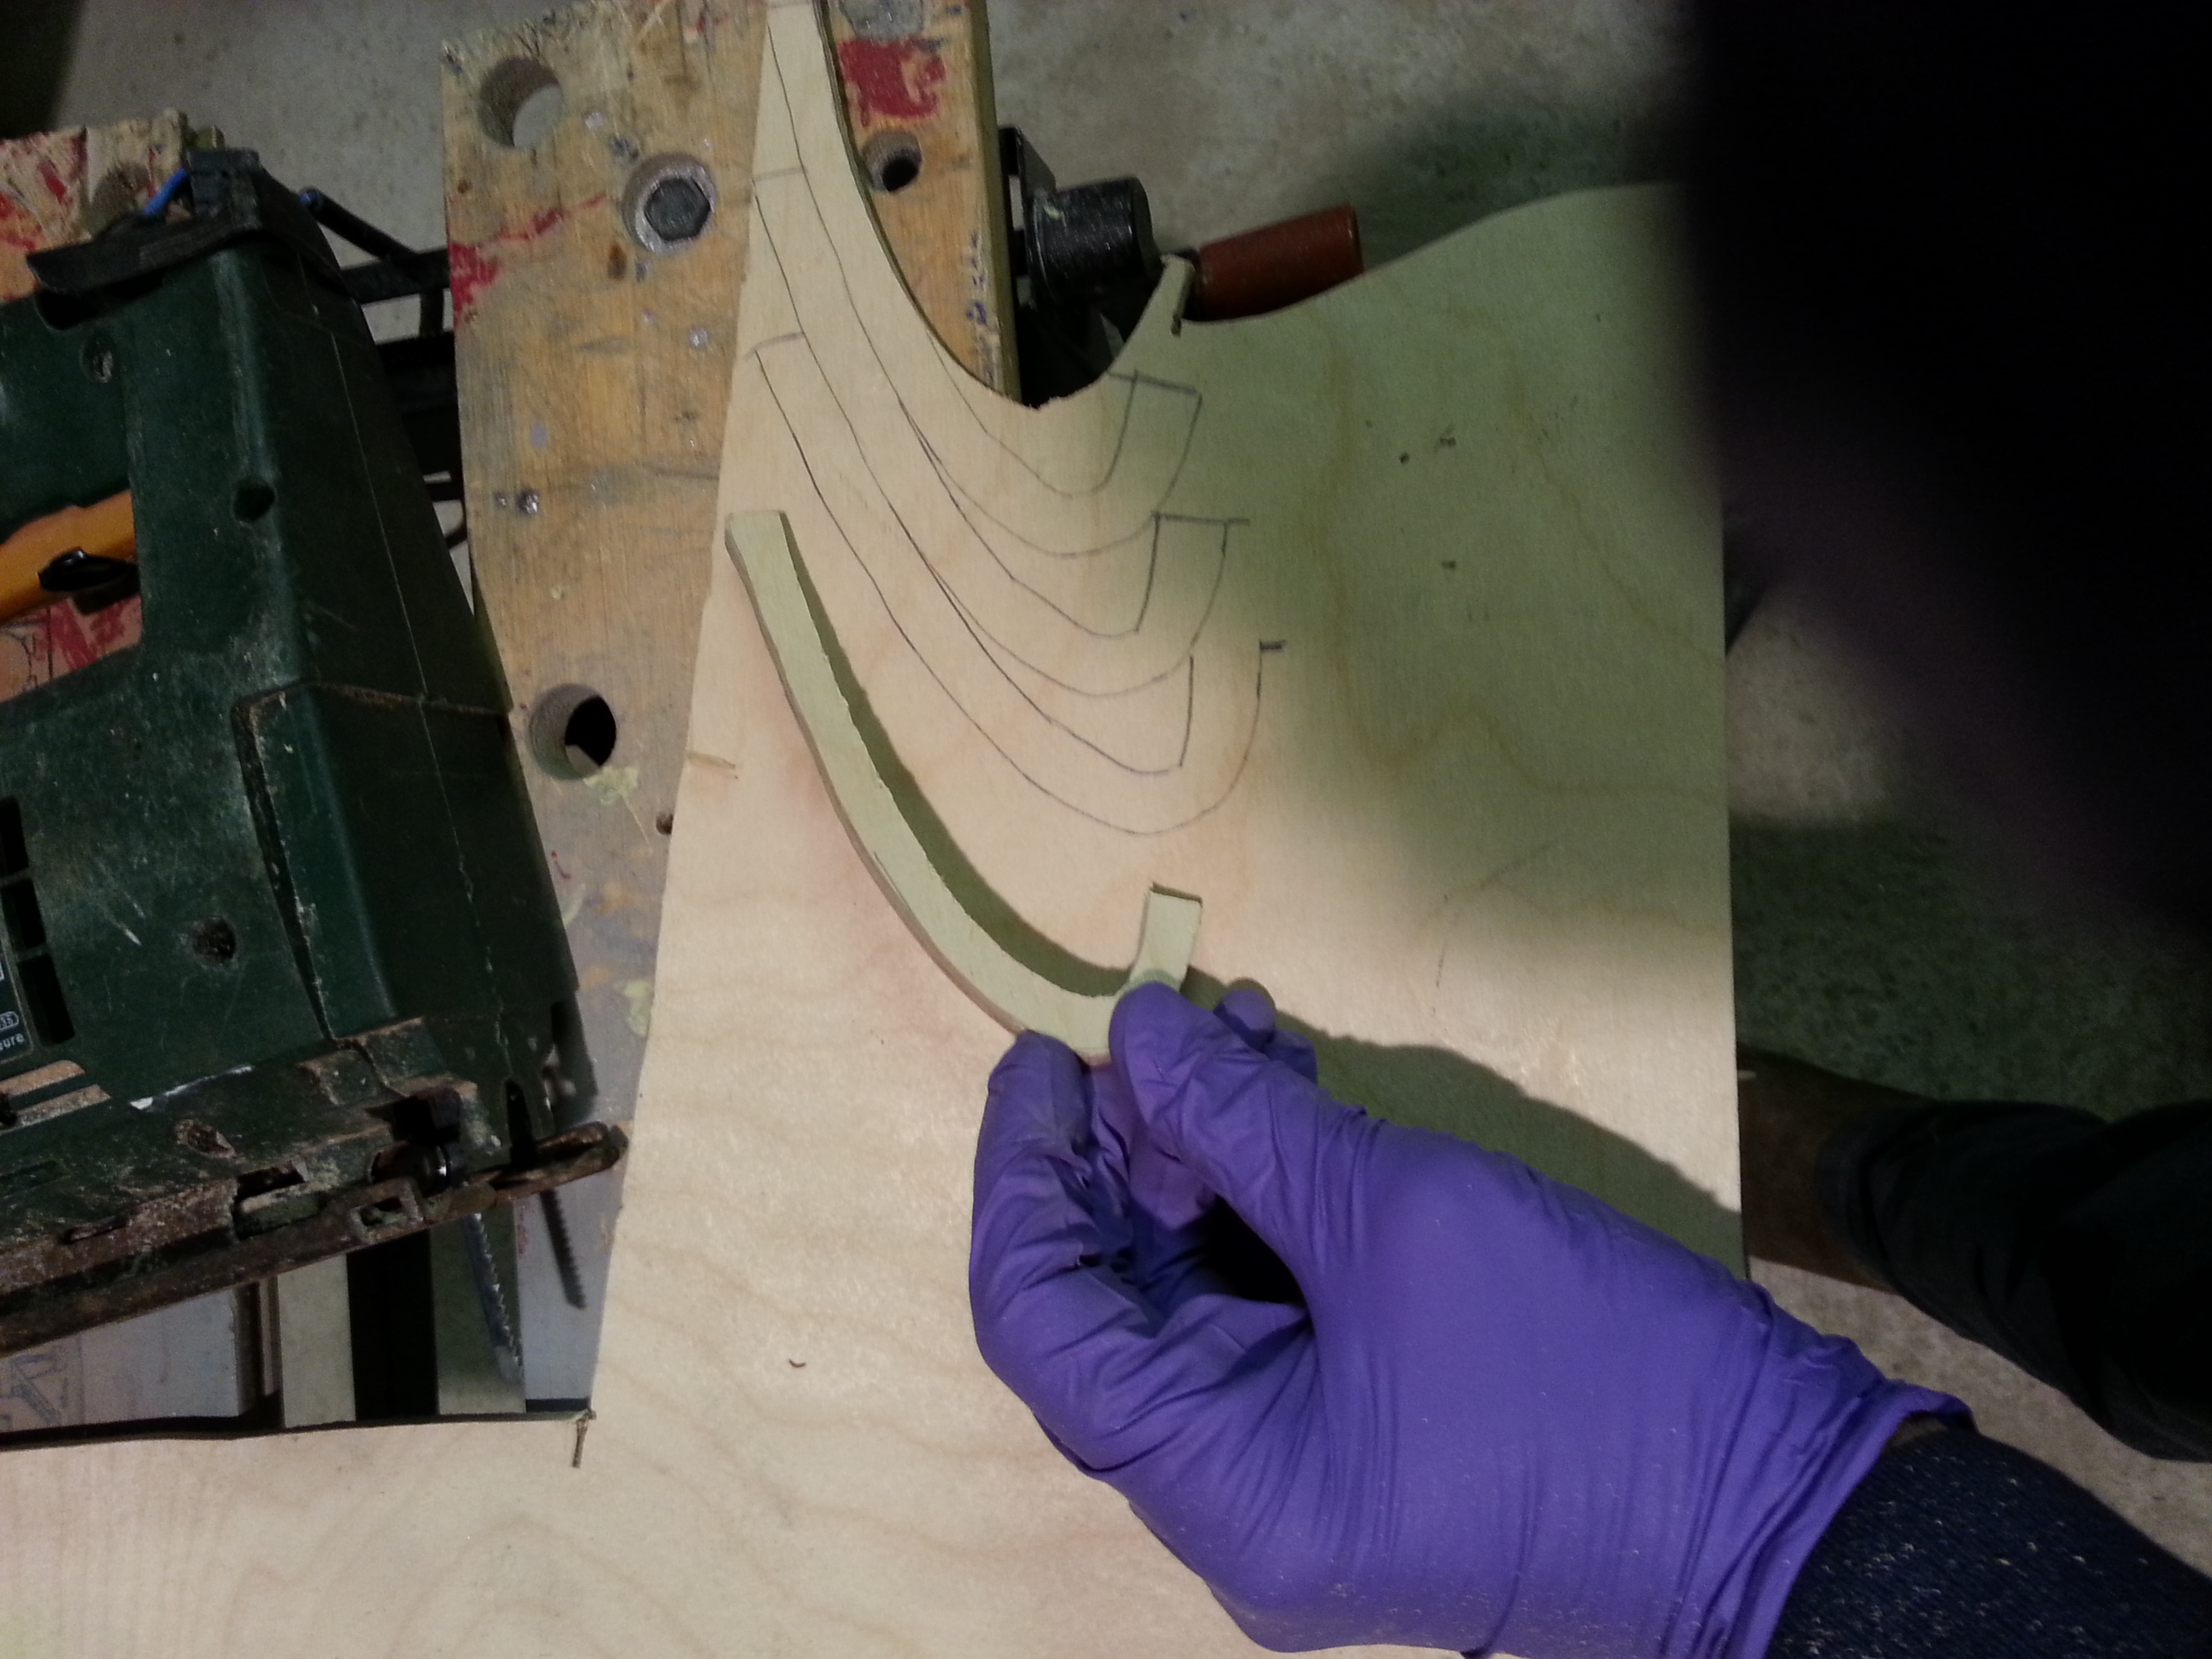
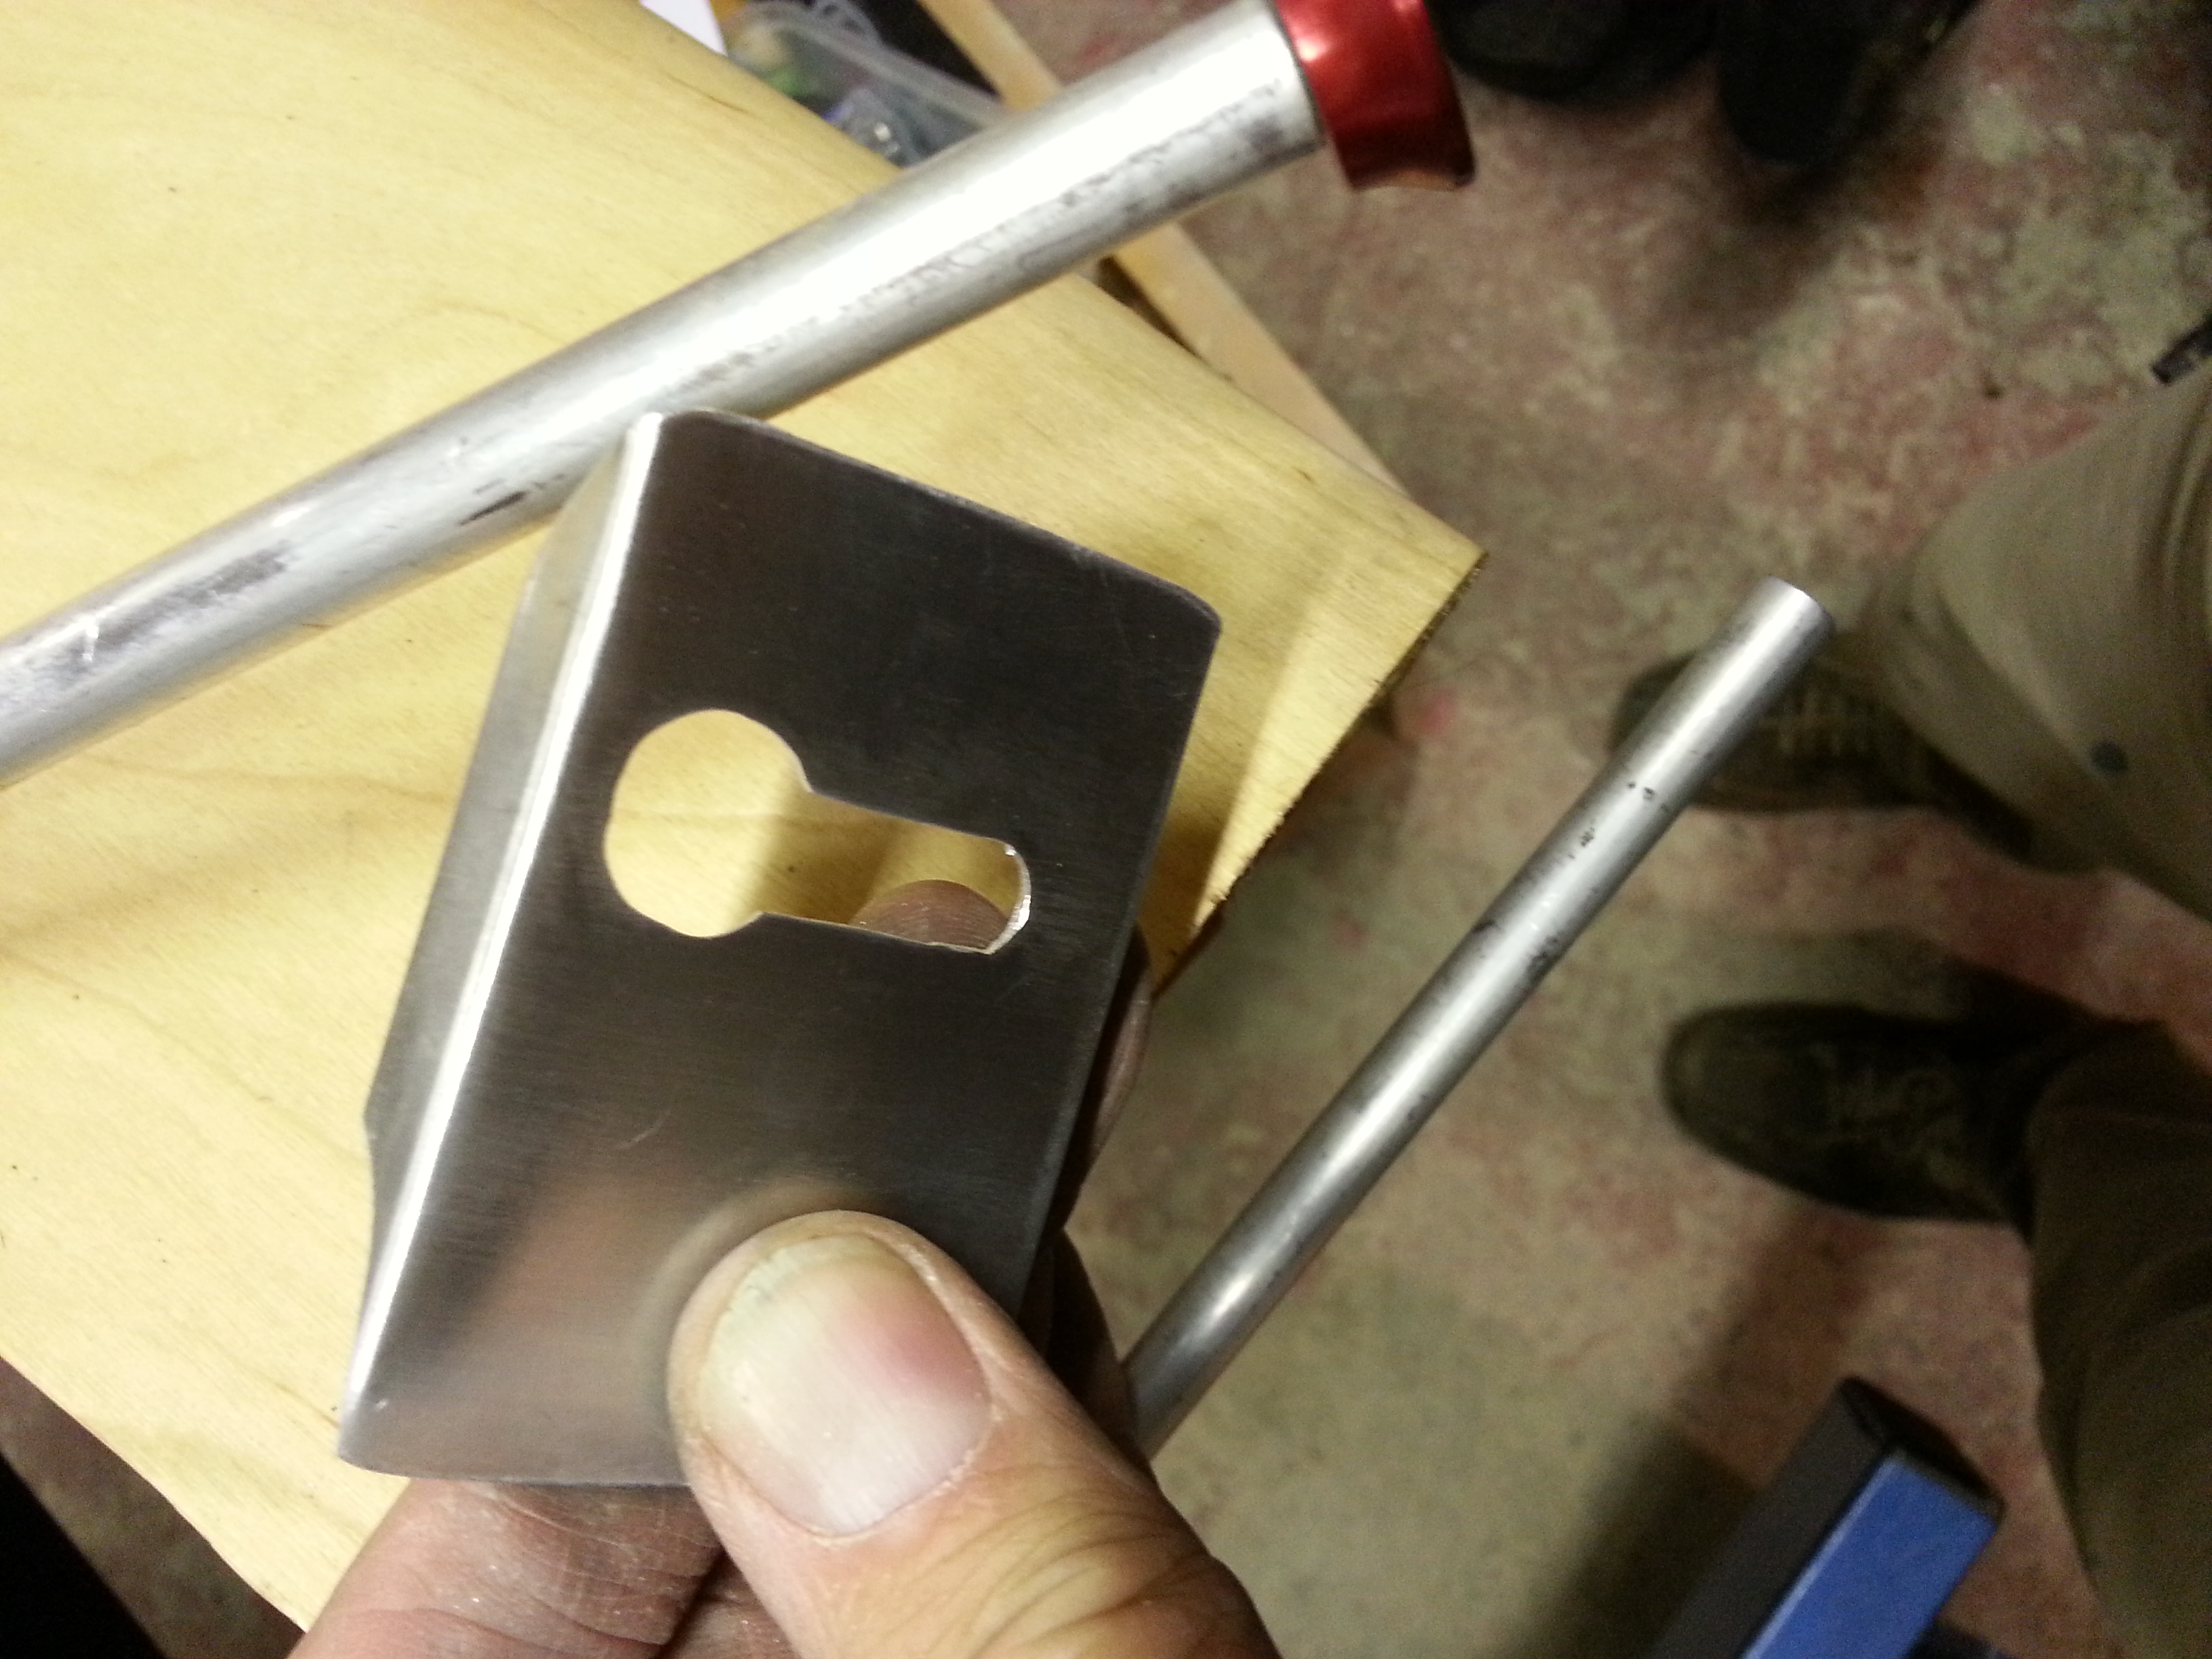
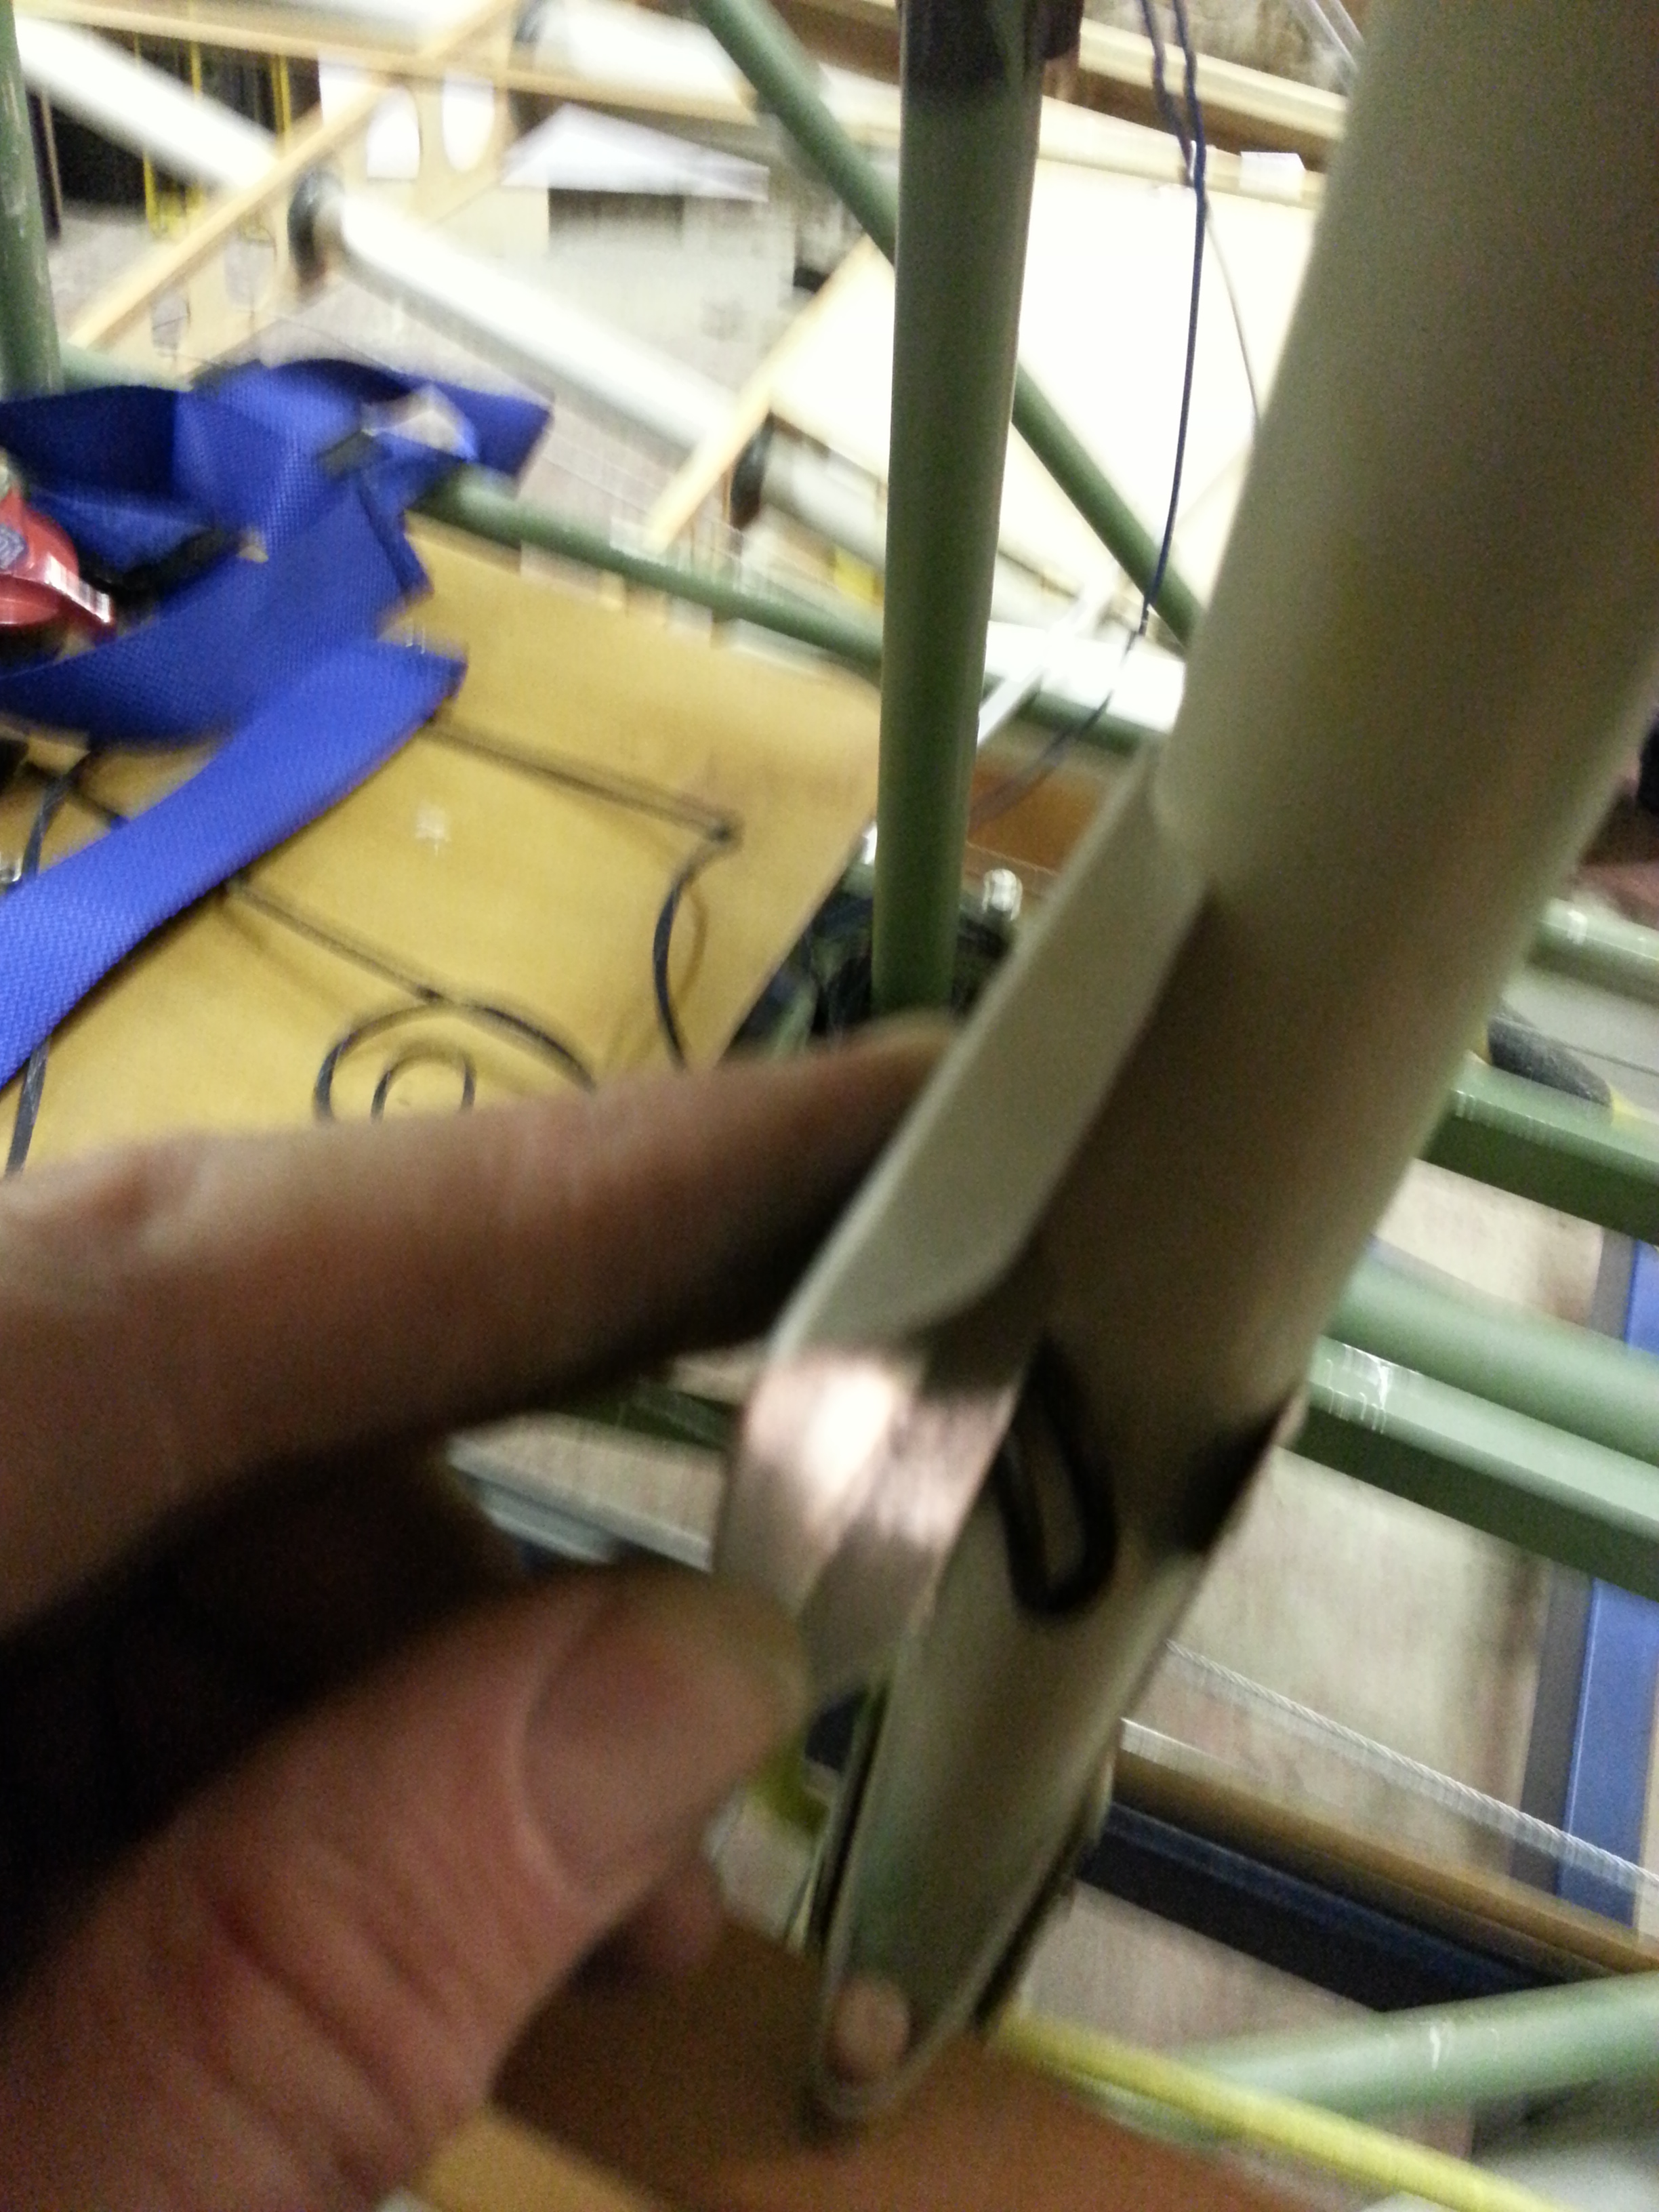
I noted a slight problem with the wing bolt shrouds I had fitted the other evening, now, in the open space I could expand the wings to full width .. only to find that one shroud catches on the lower circumference of the mainspar – so a little trimming will be required.

Bob ran through the various checkpoints, namely:

  • Complete empennage structure and alignment and quality
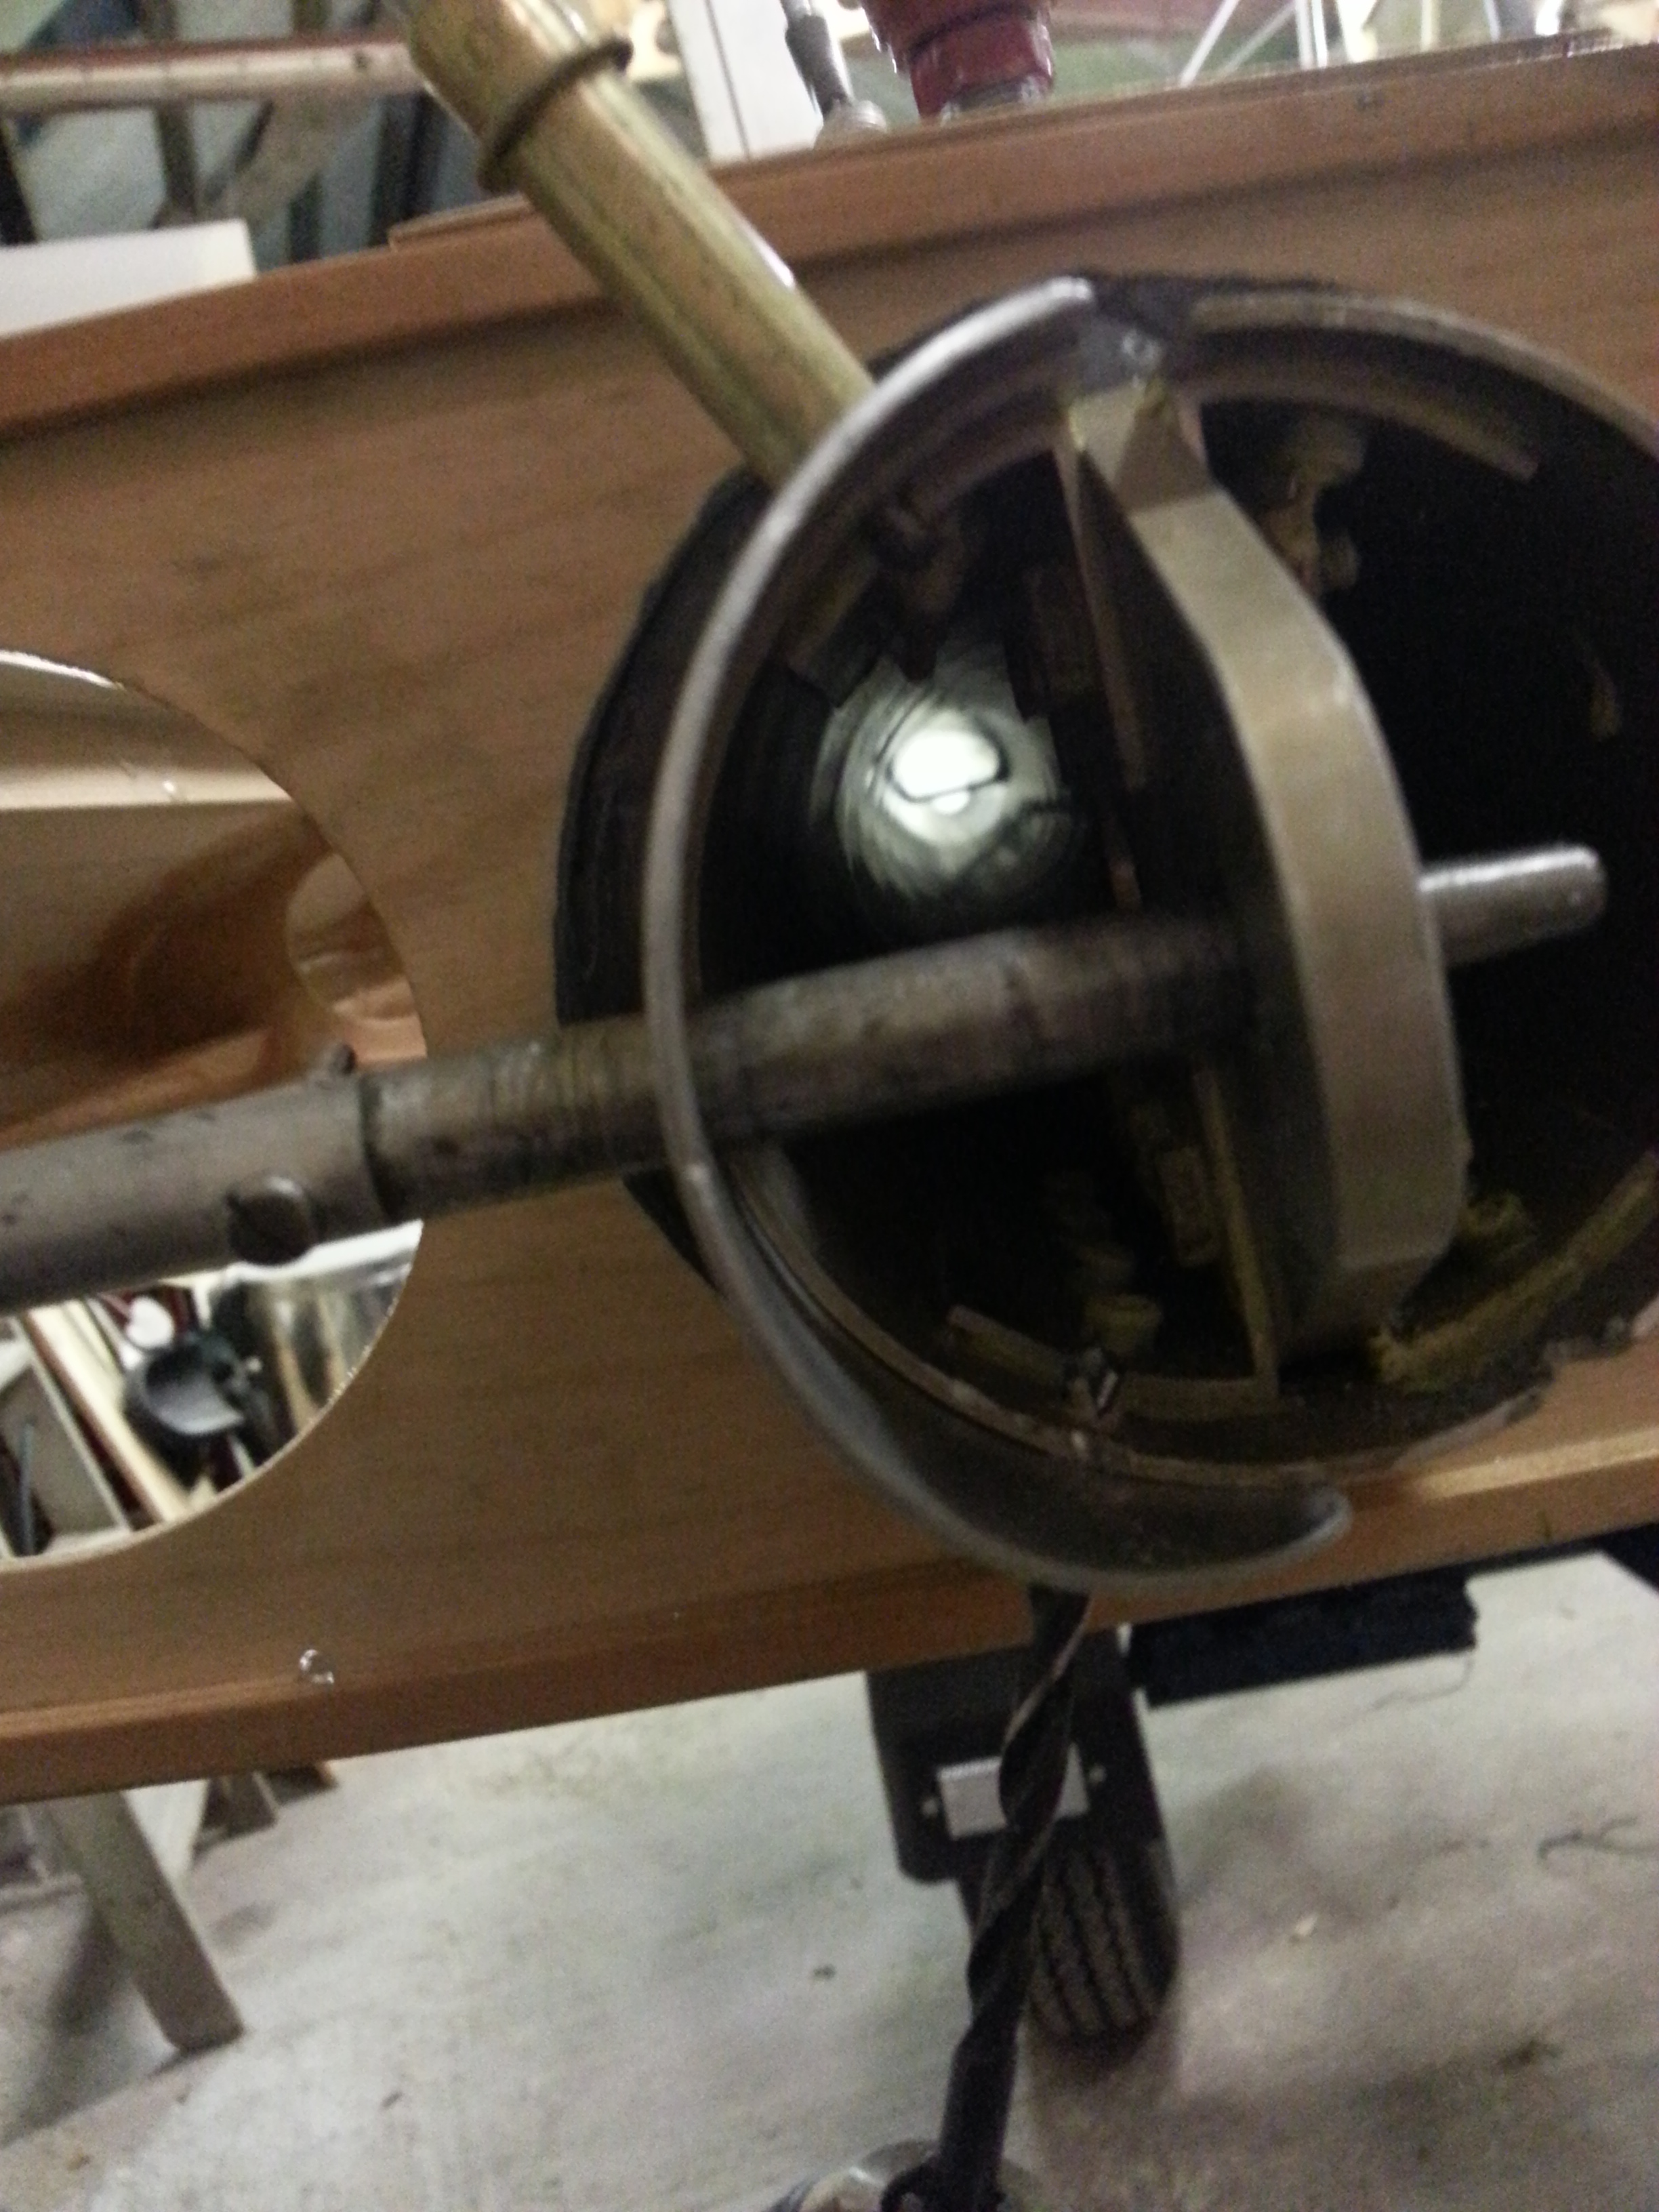
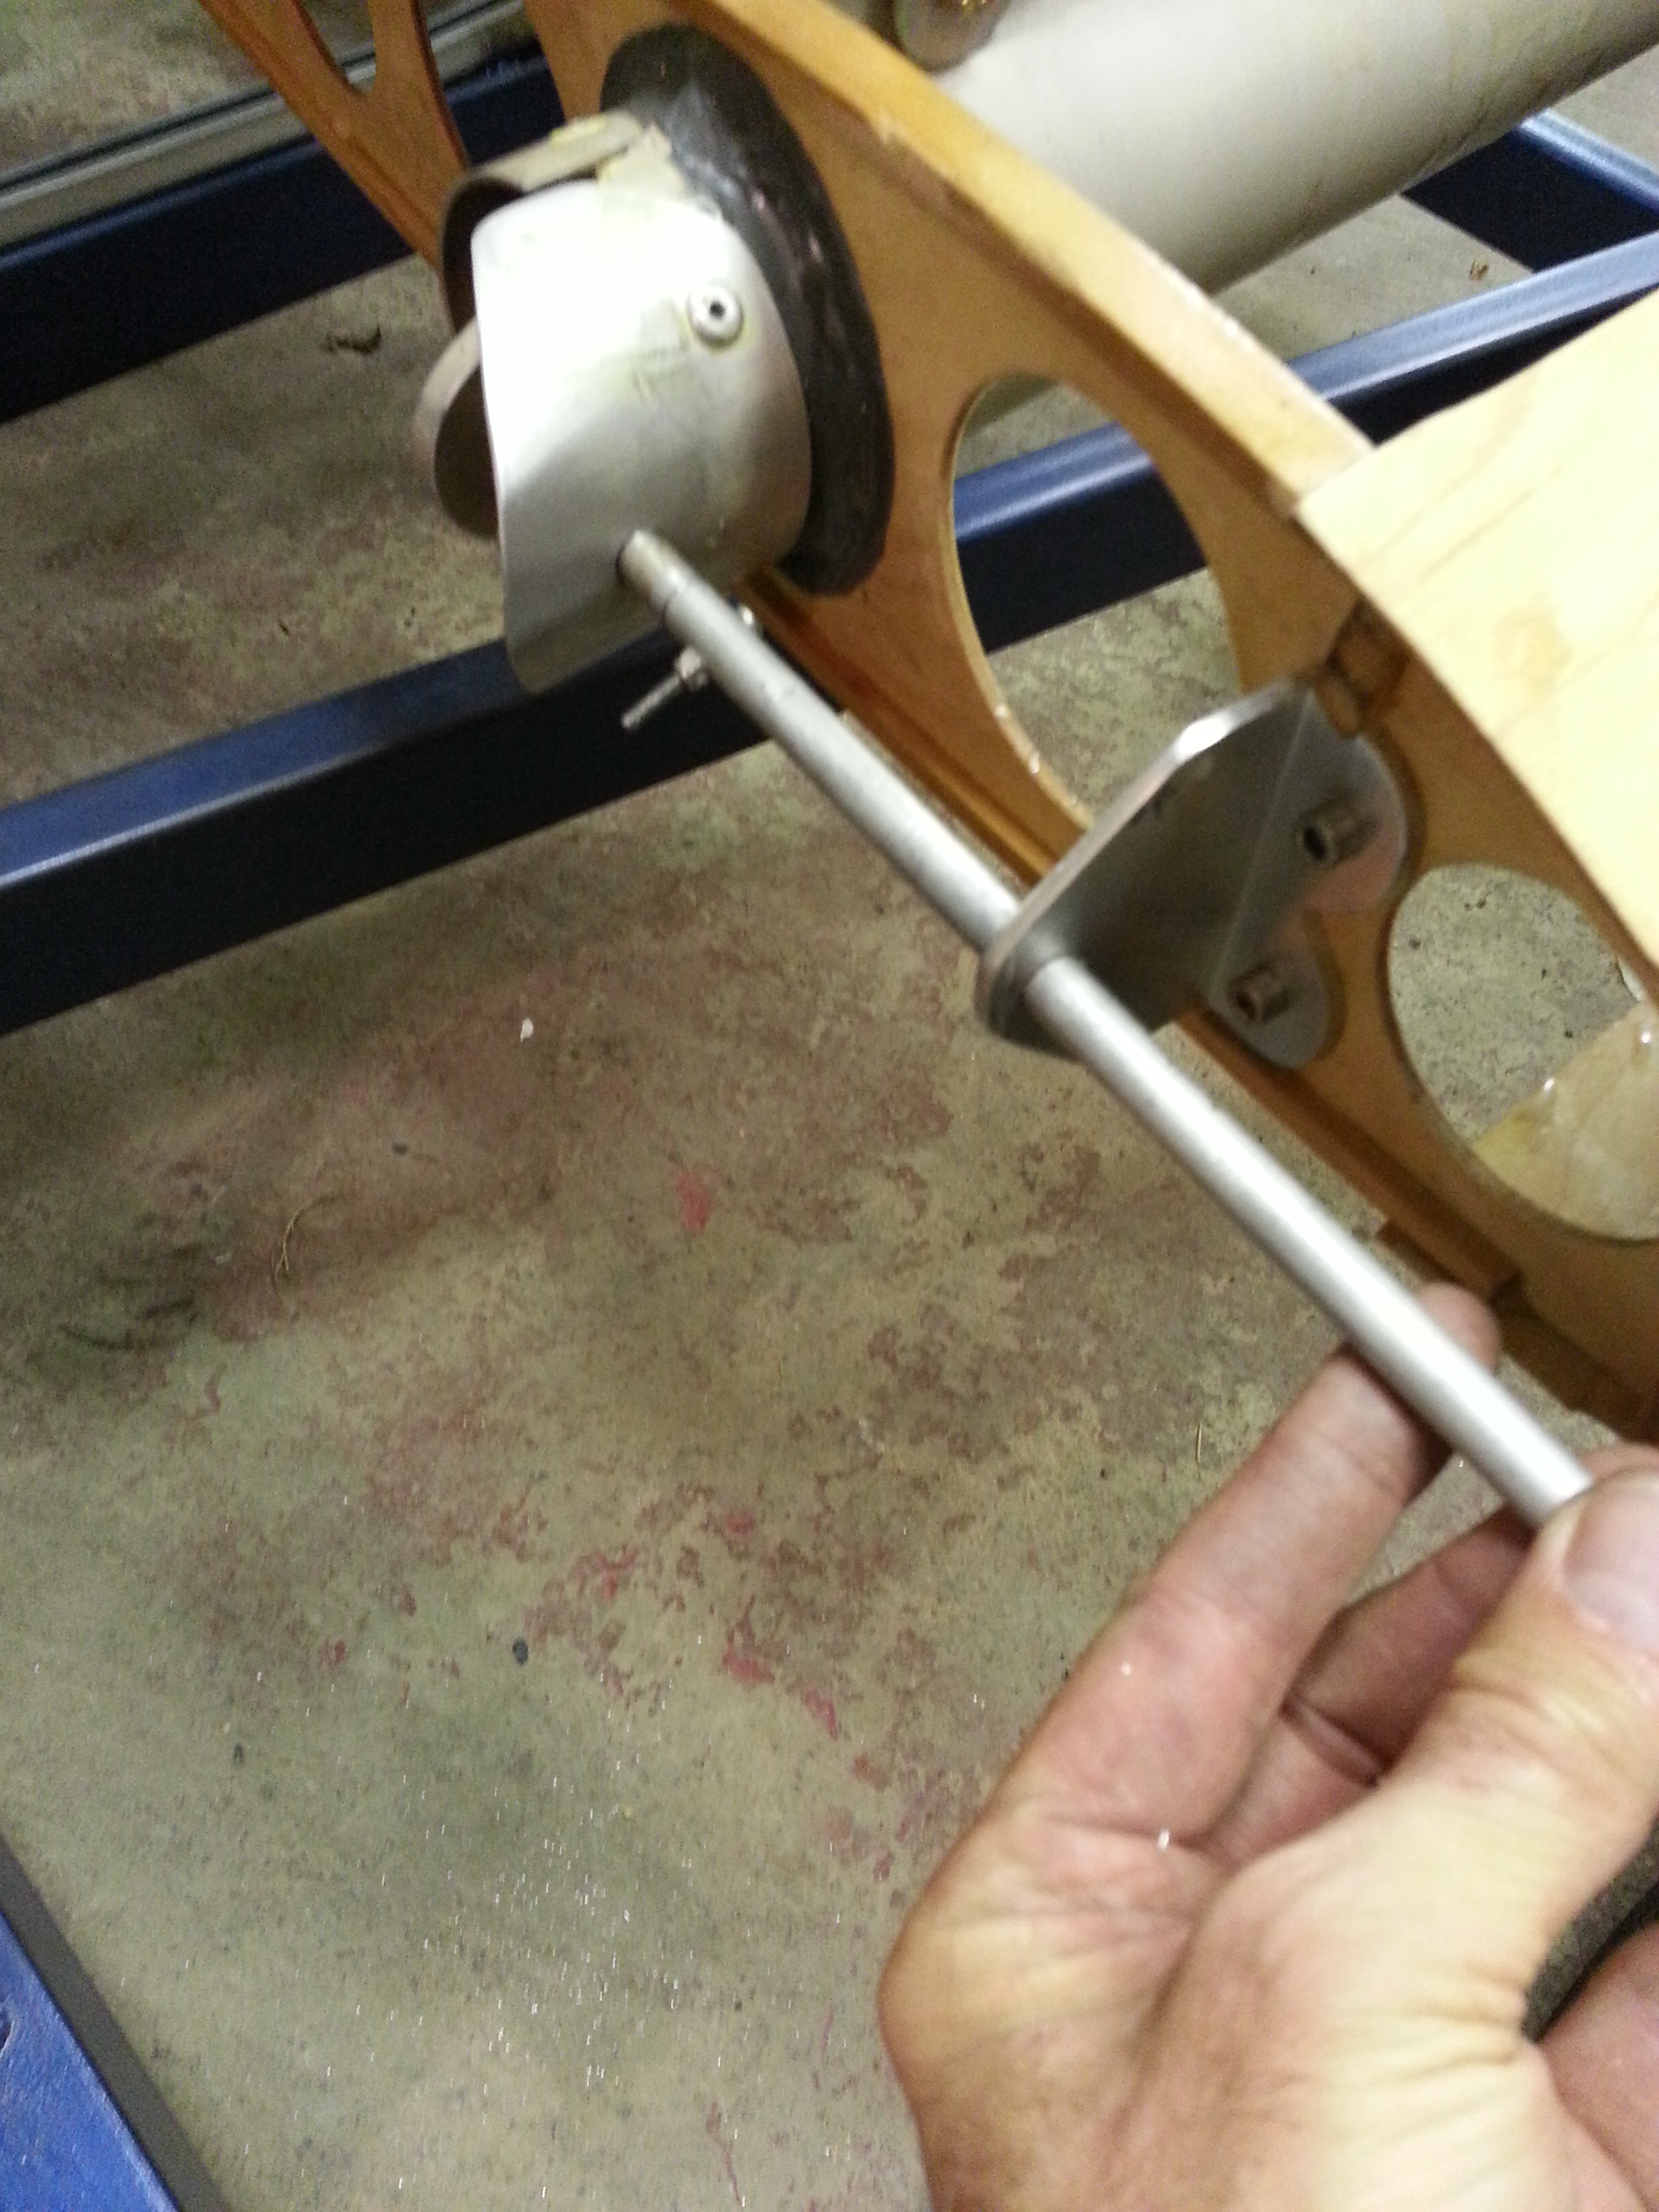
  • Undercarriage for quality, alignment and dimensions
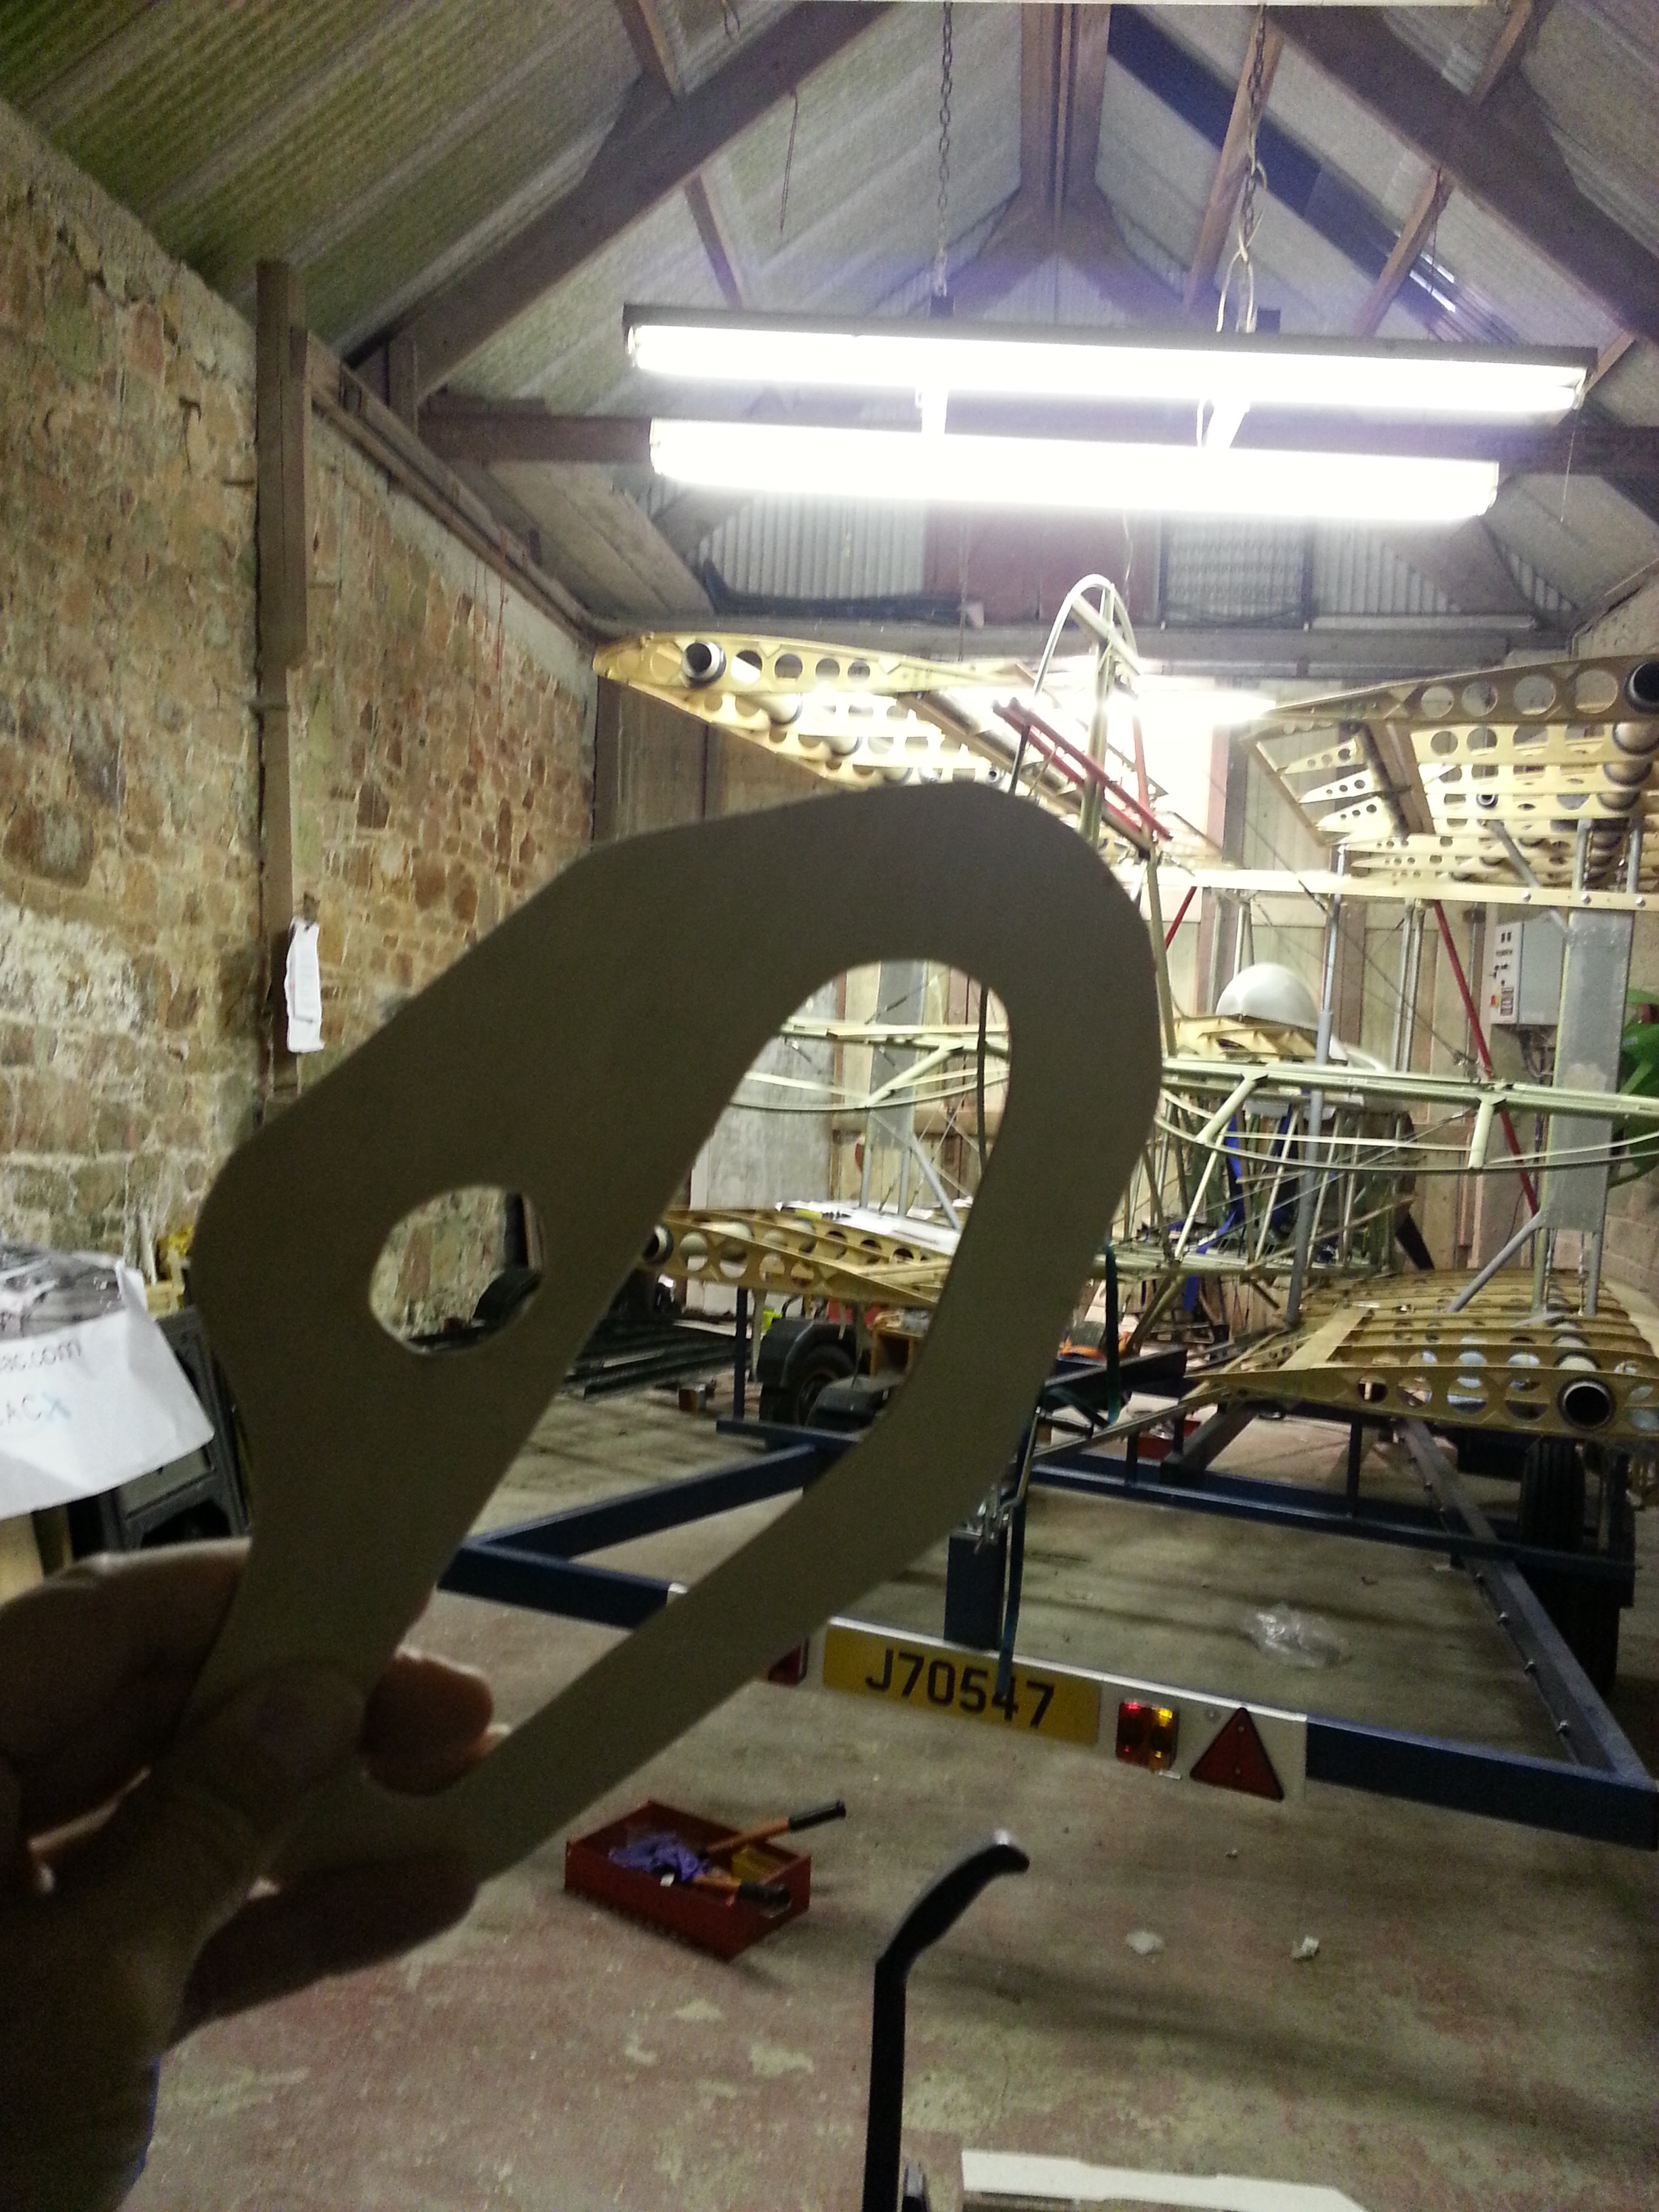
  • Flying control assembly
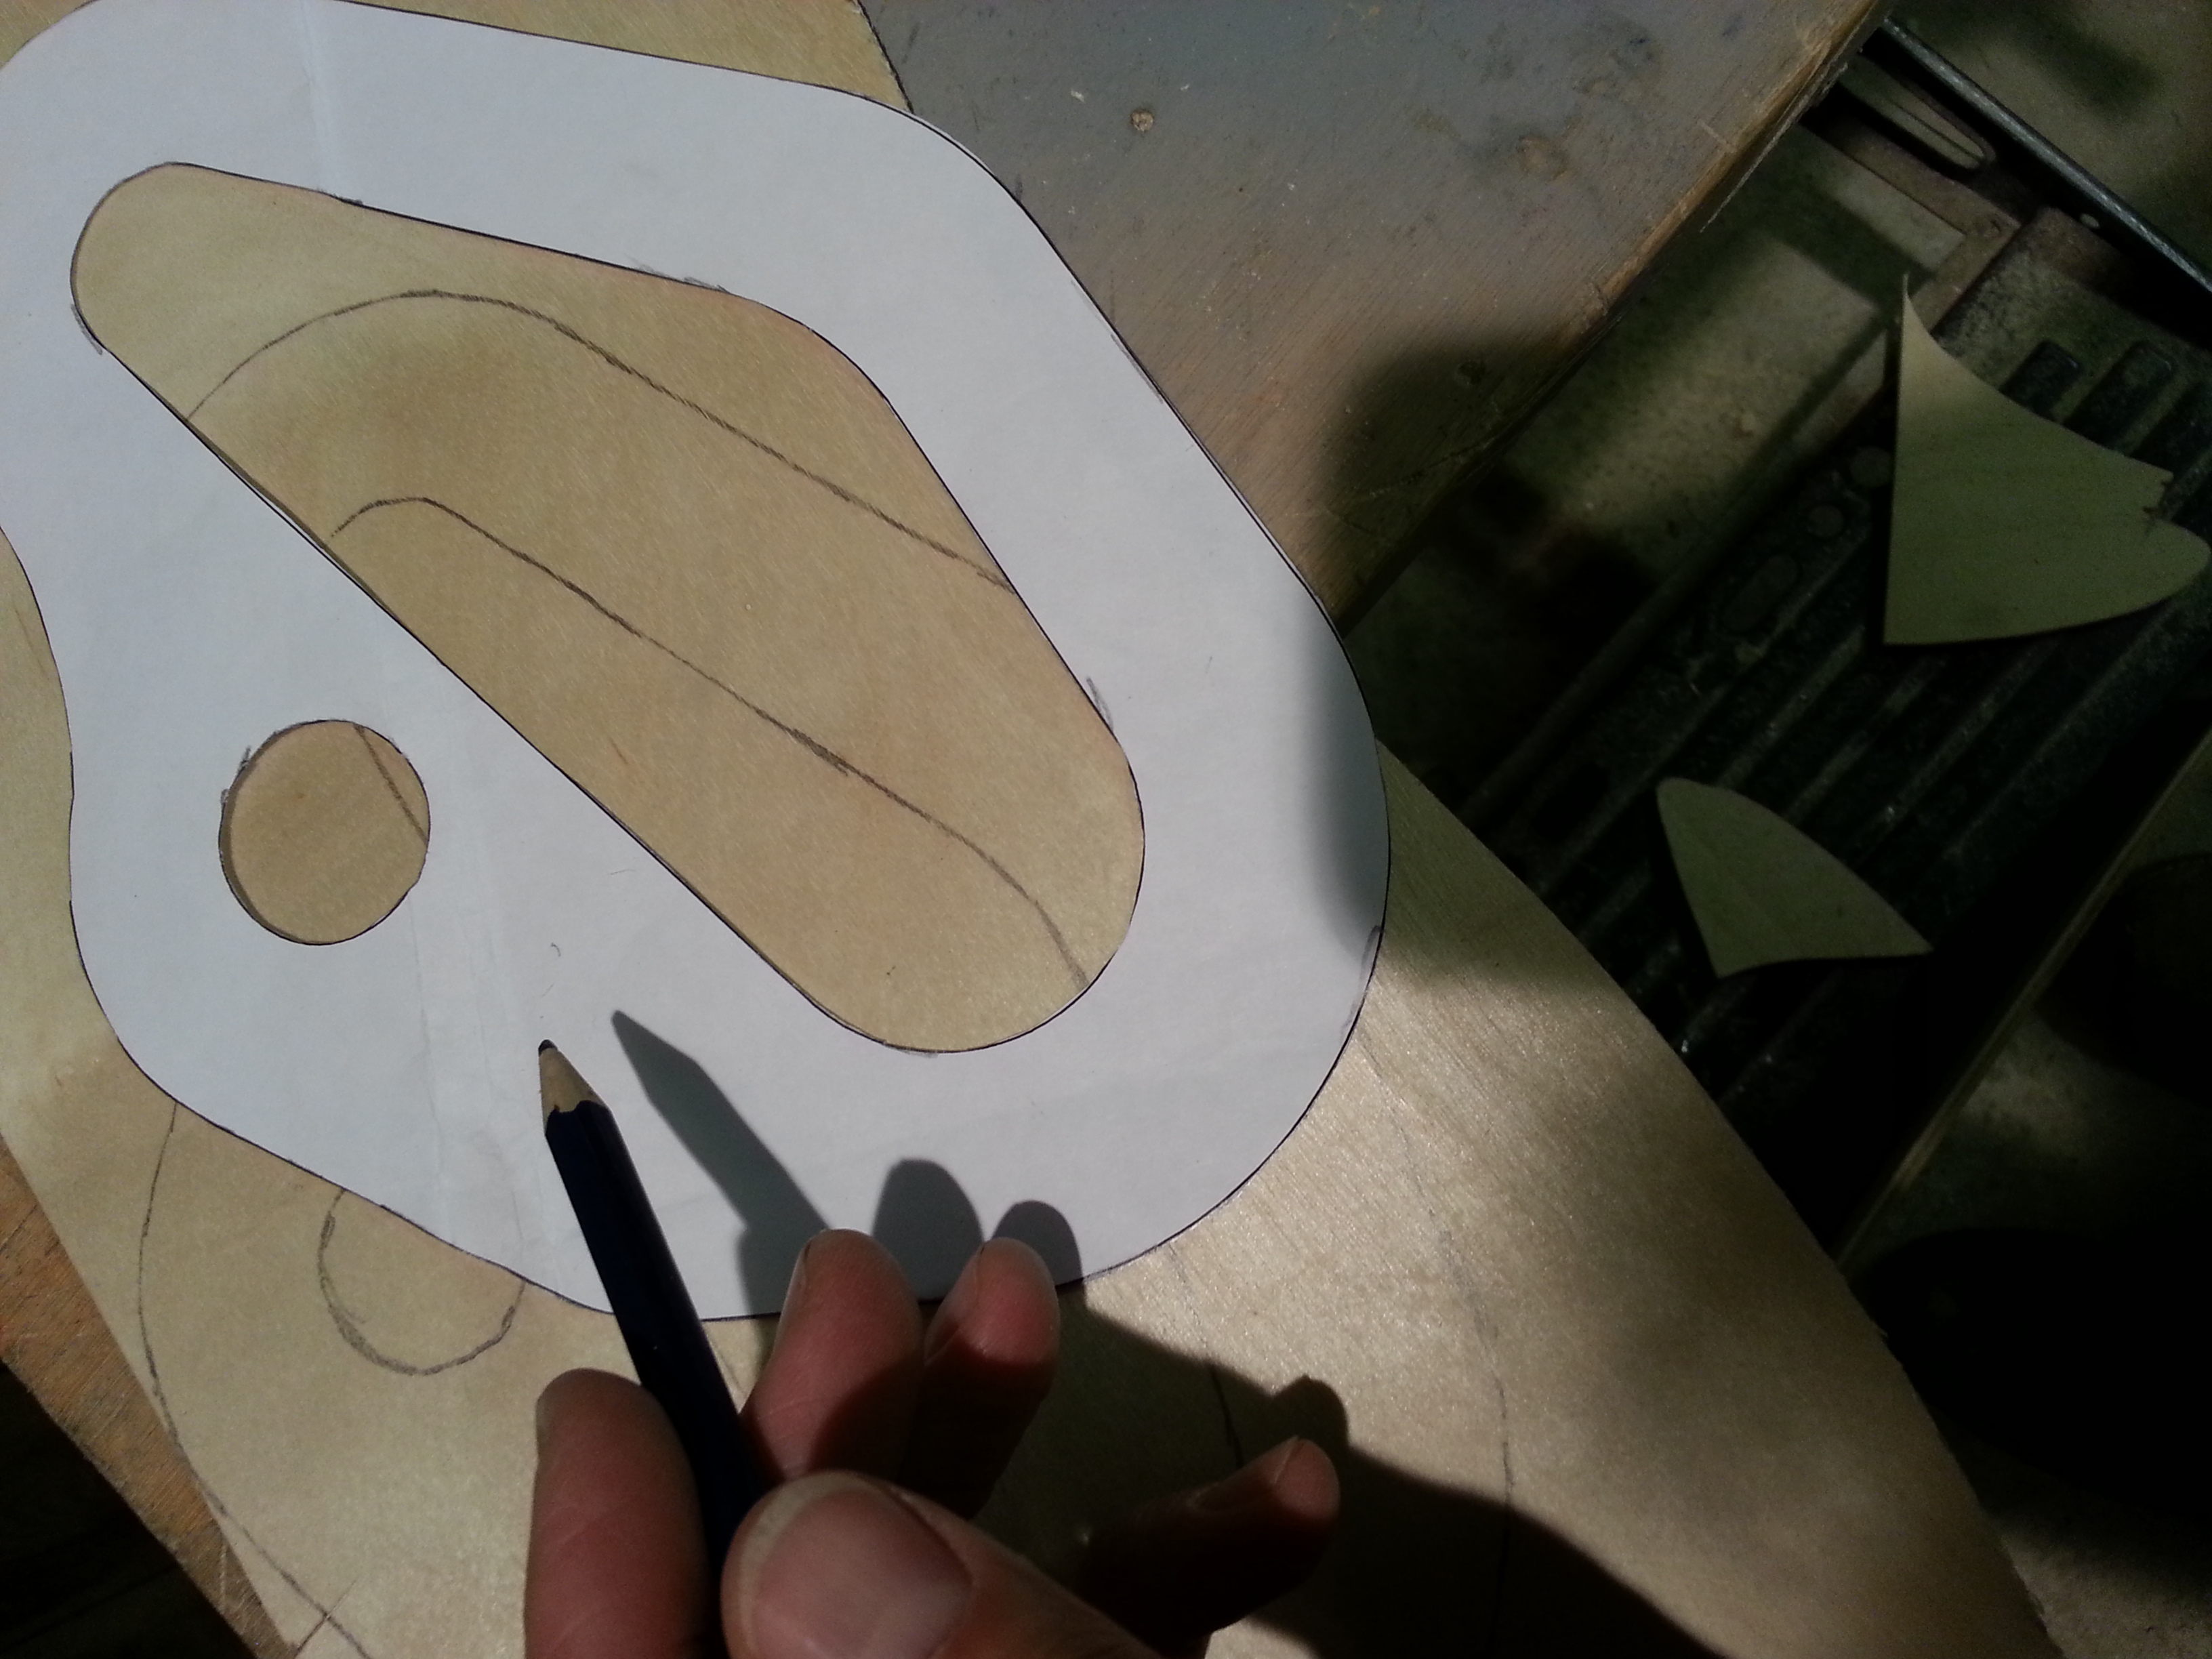
  • Ailerons before covering
  • Complete mainplane structures, fitting and quality

A few points Bob noted were duly added to the LAA snag schedule under ‘OUTSTANDING ACTIONS’ which I can start to review

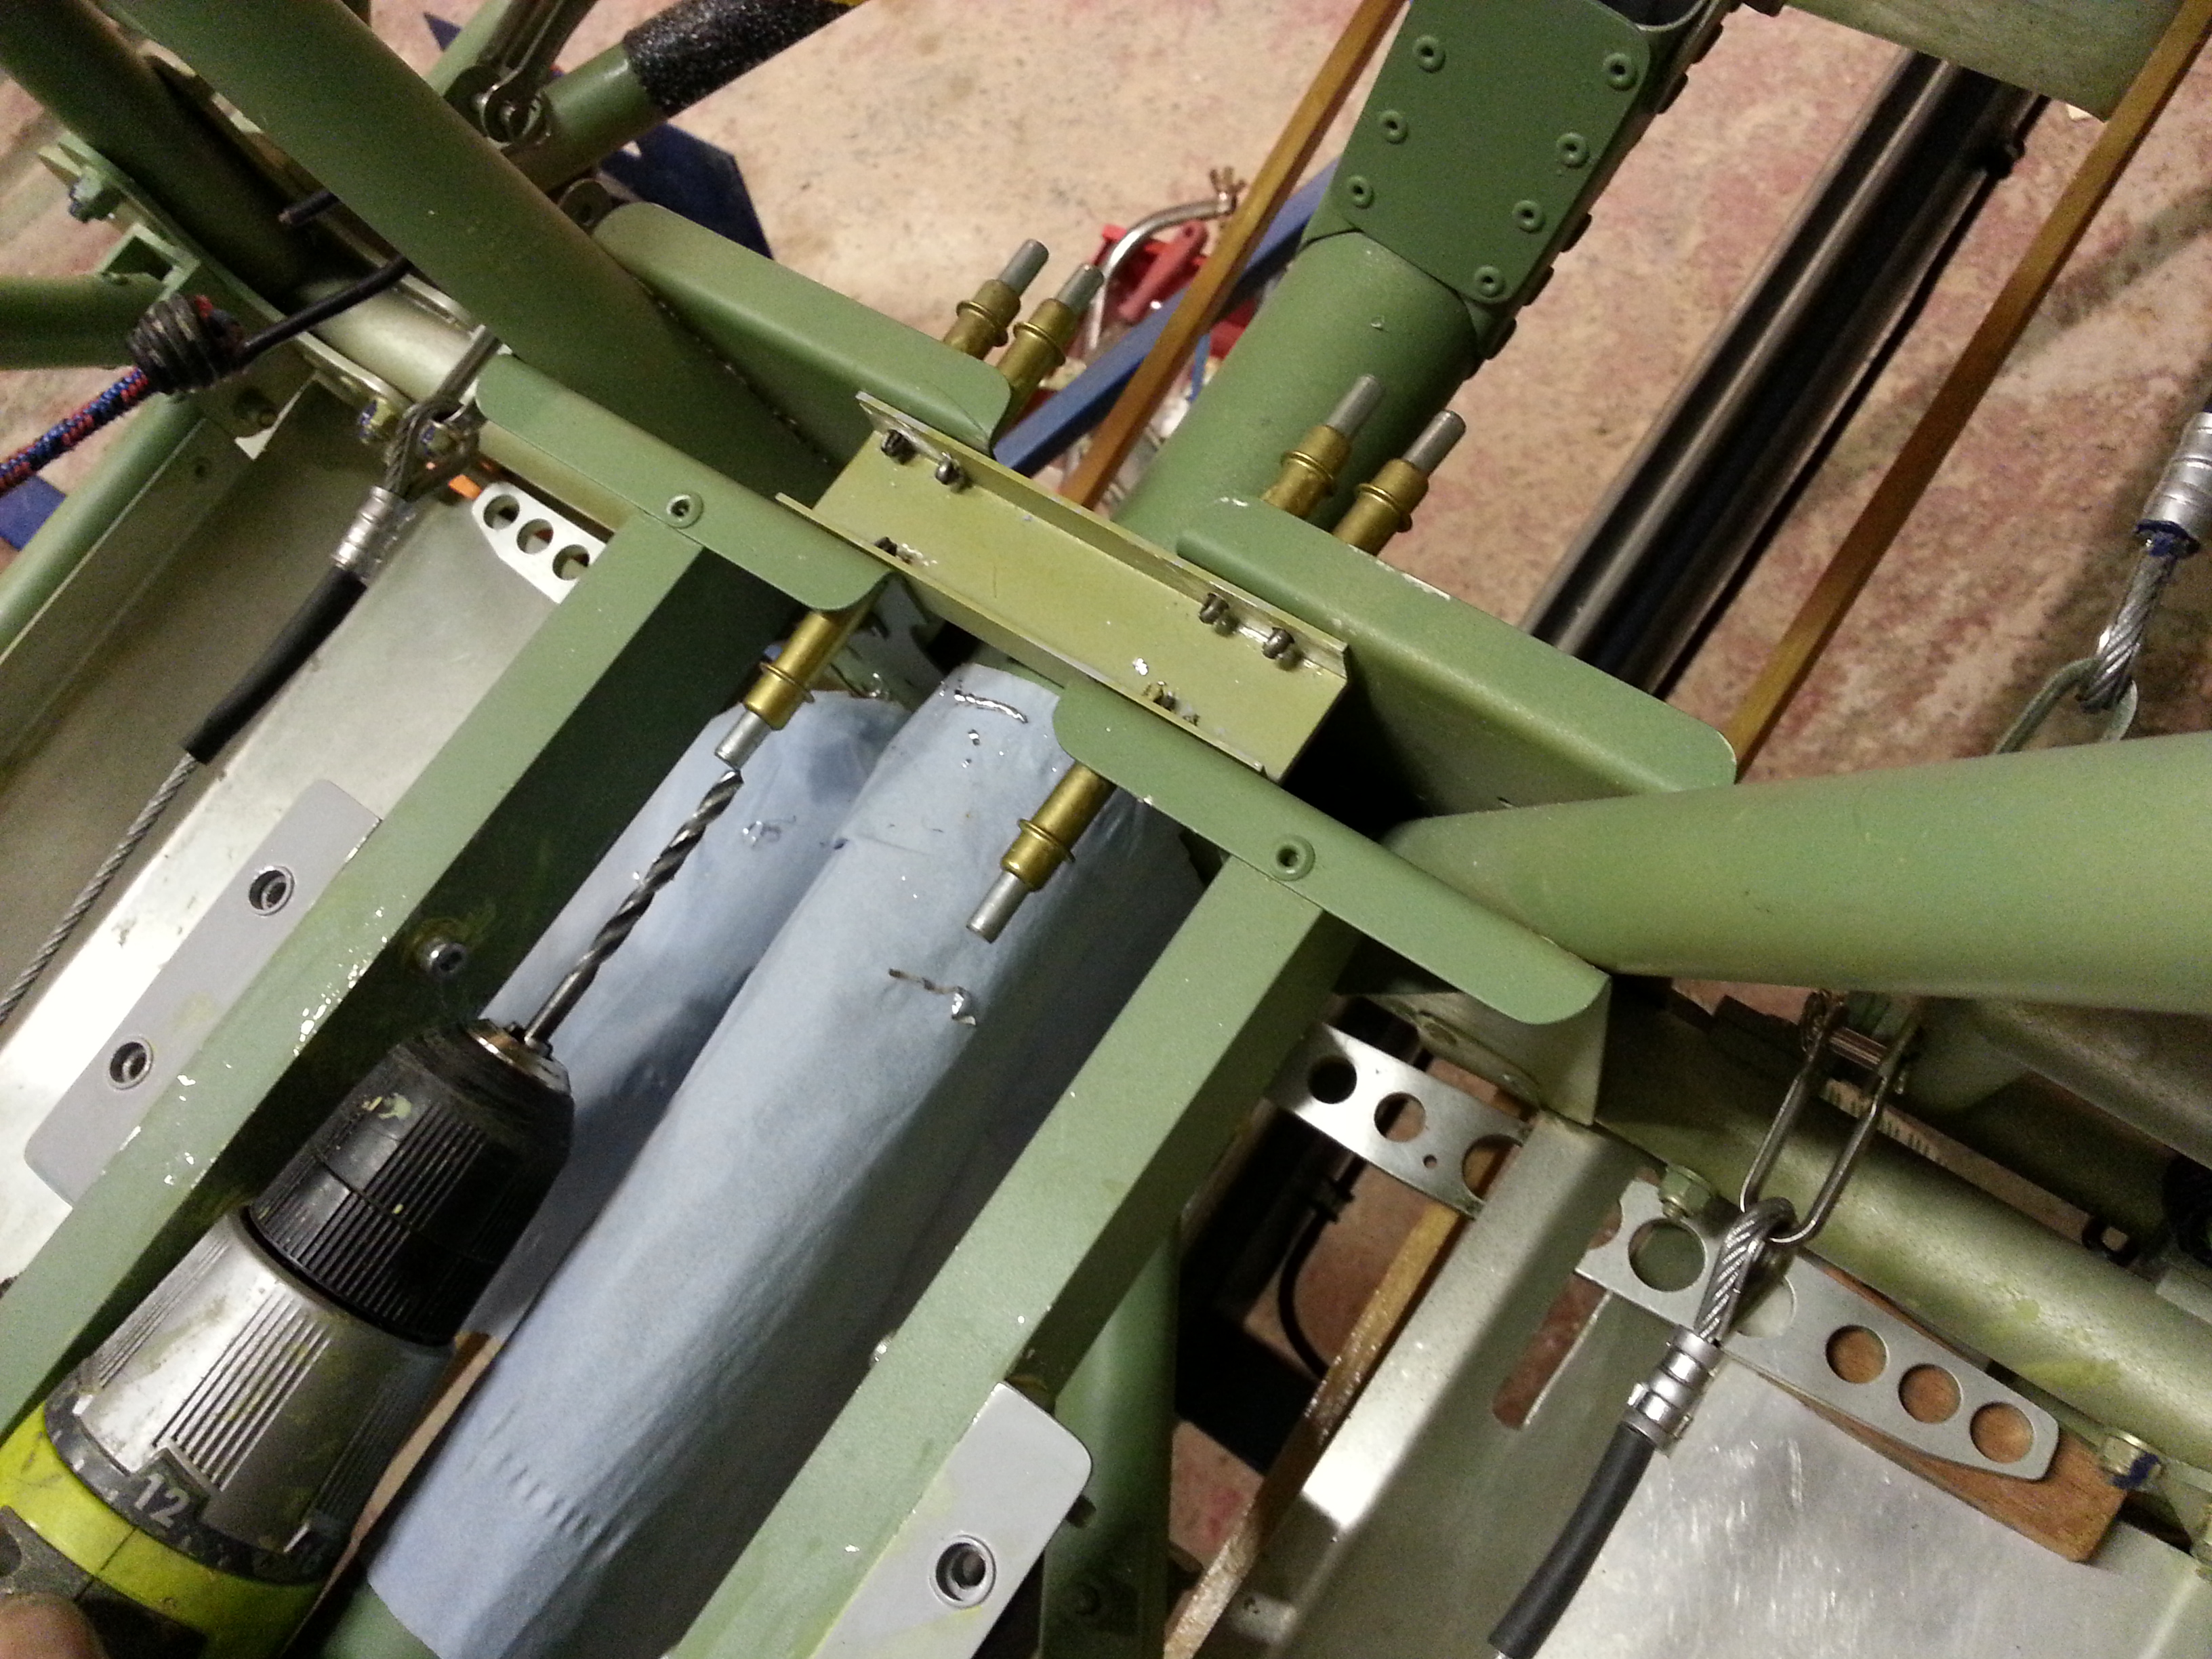
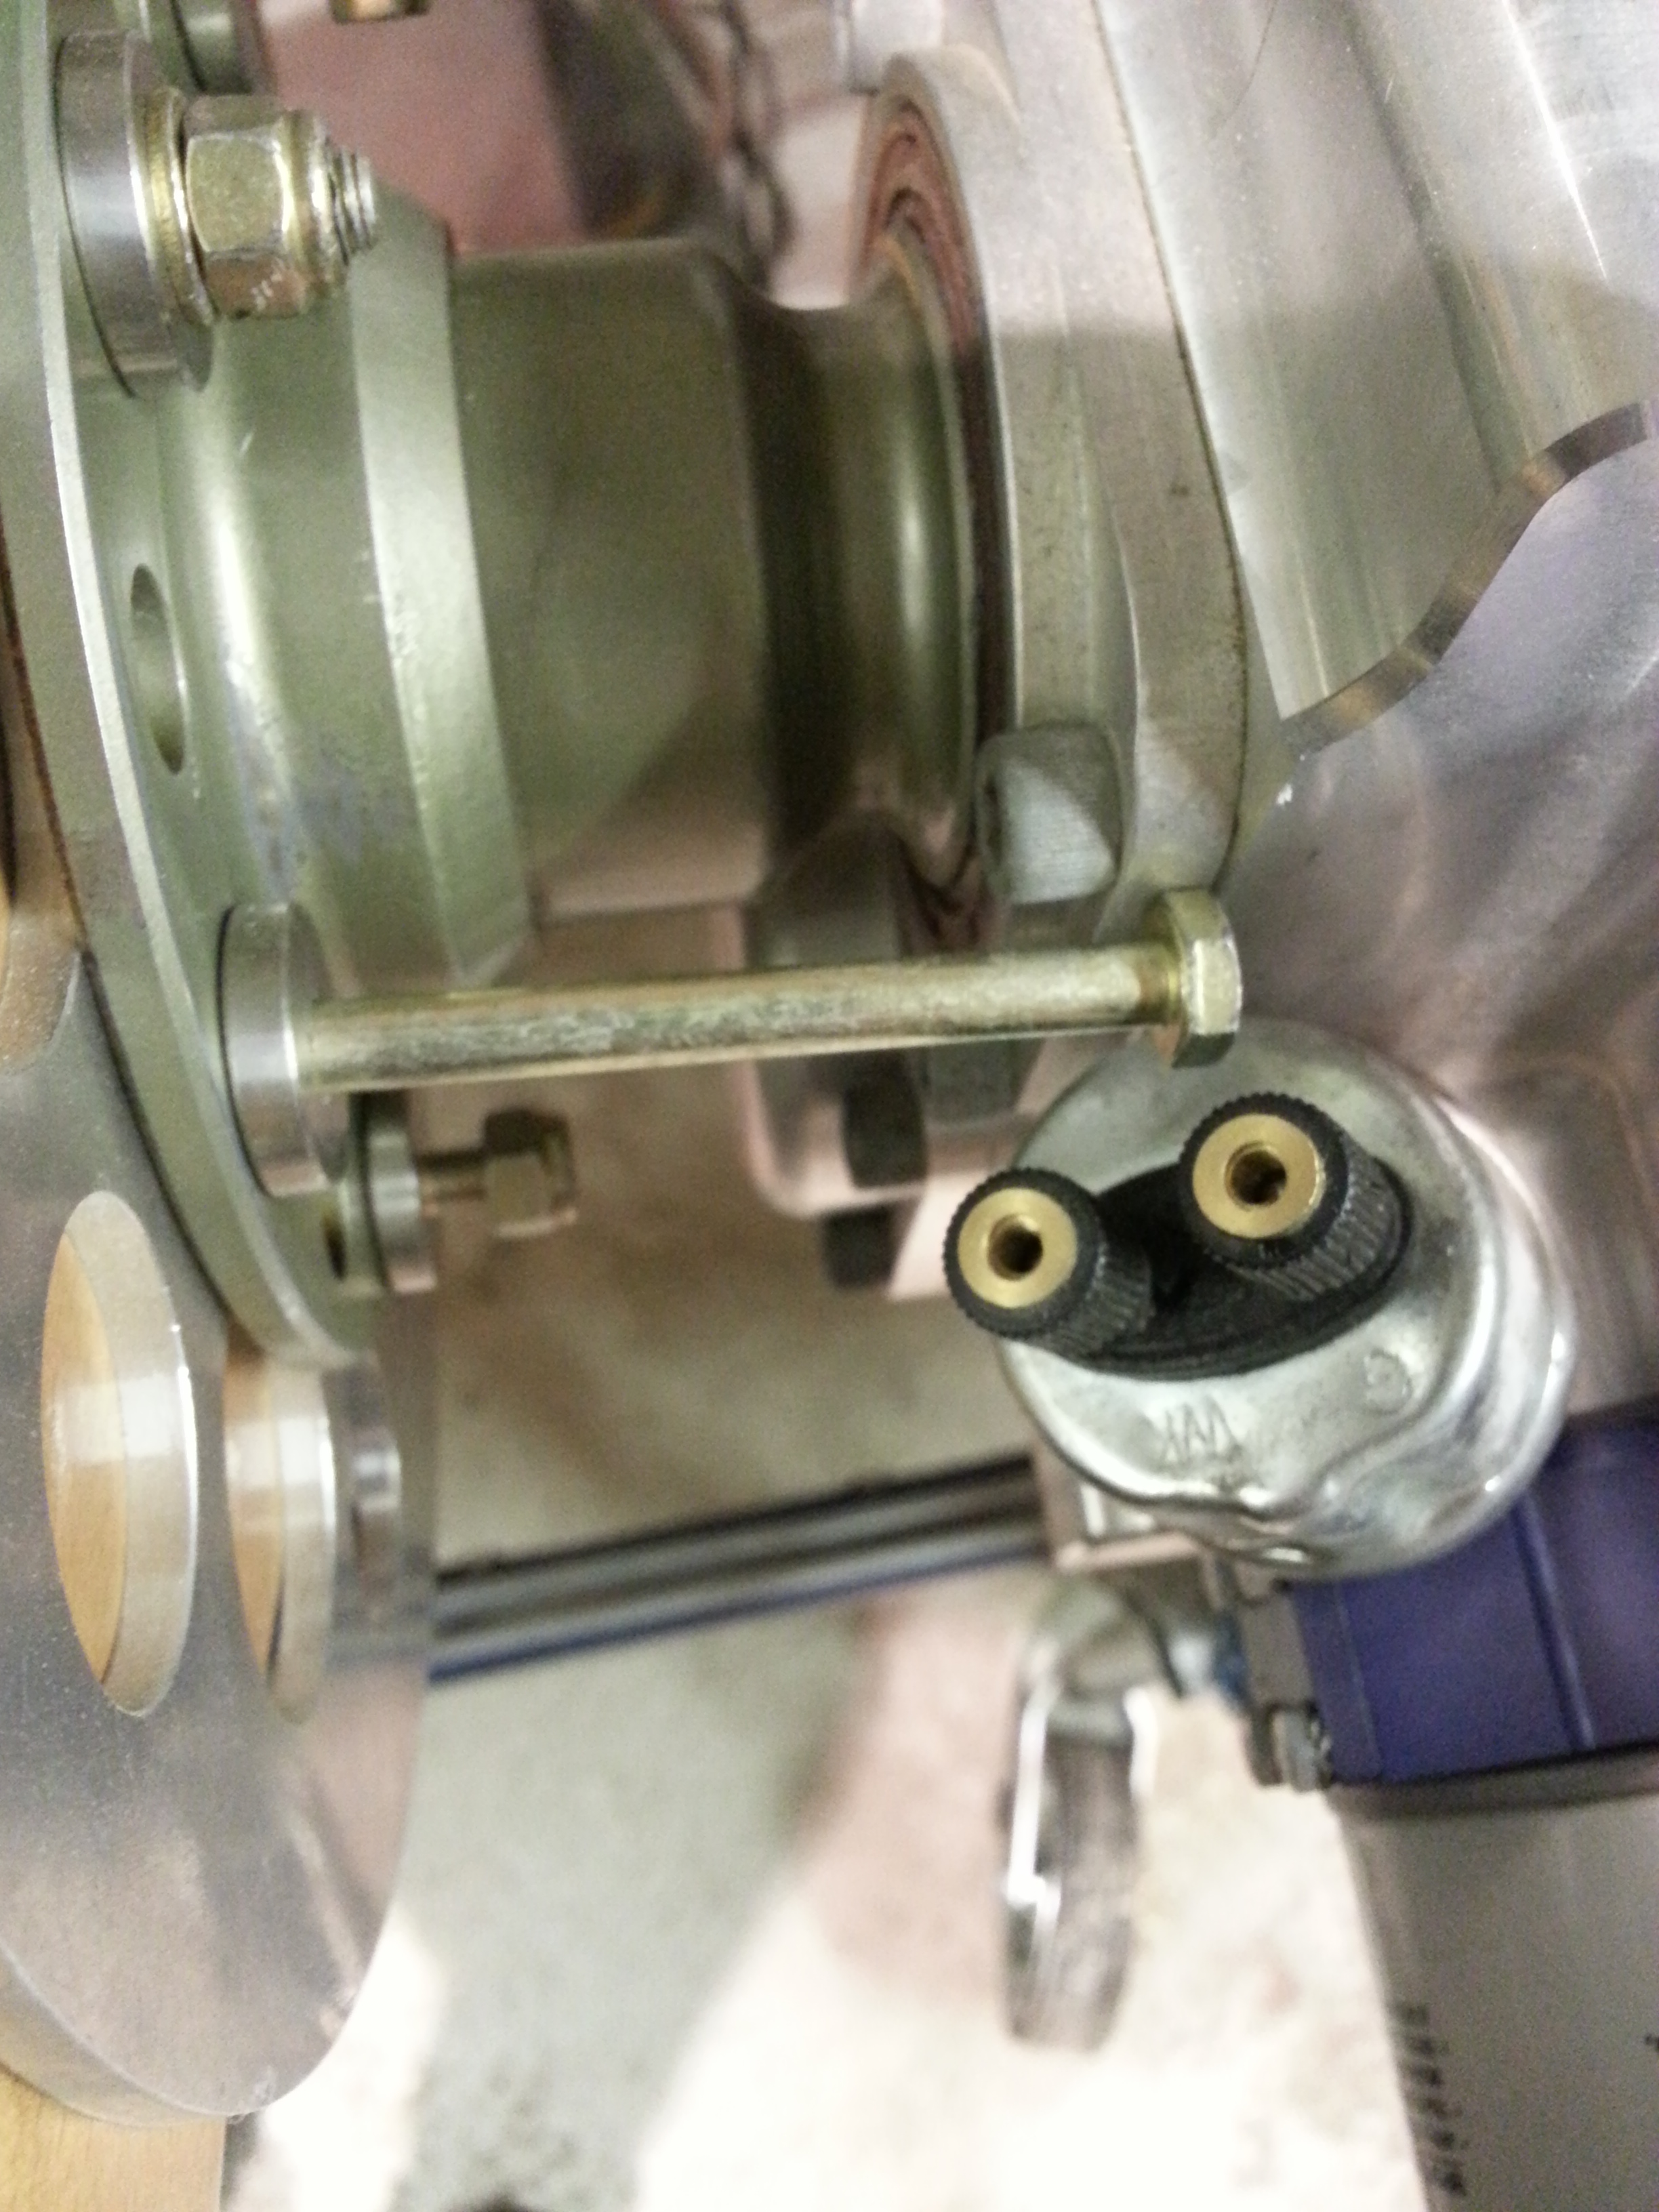
  • Looks like I may have used an incorrect aileron bellcrank bolt (fraction too short) with no thread showing through nyloc
  • Aileron stop points – worked at the torque tube when I had no aileron connected but now connected their travel stops short so they don’t actually hit the stops
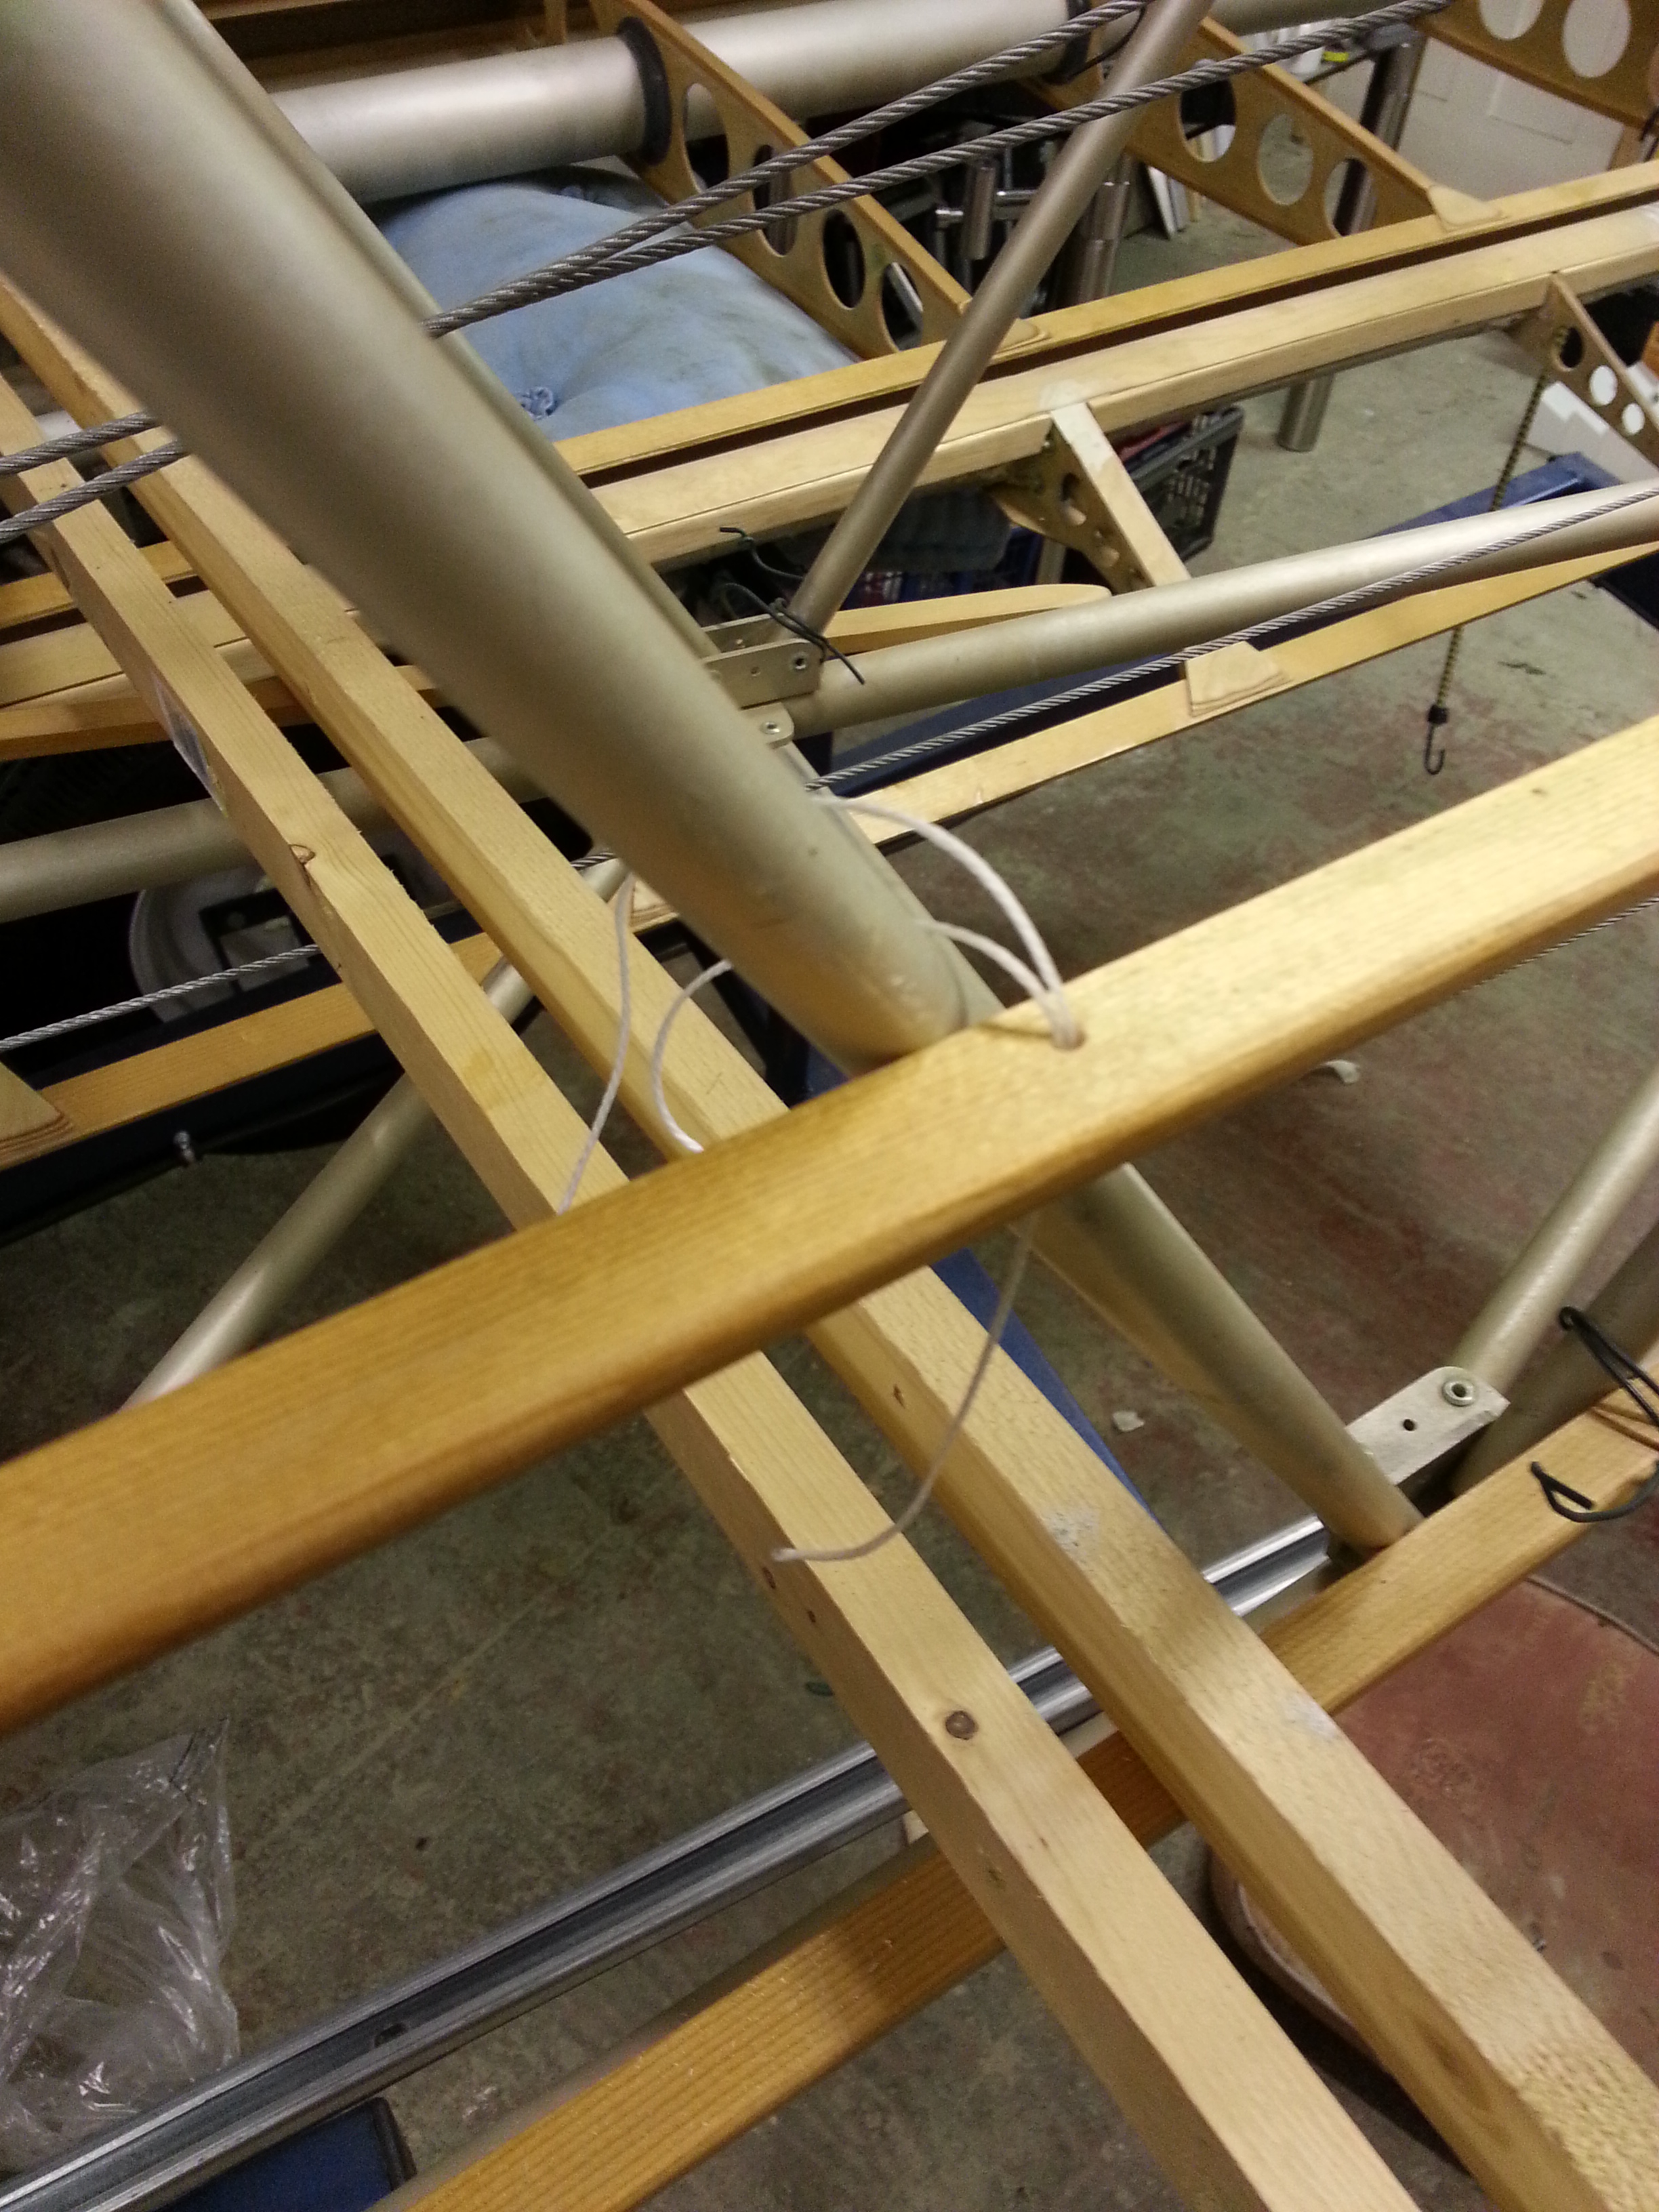
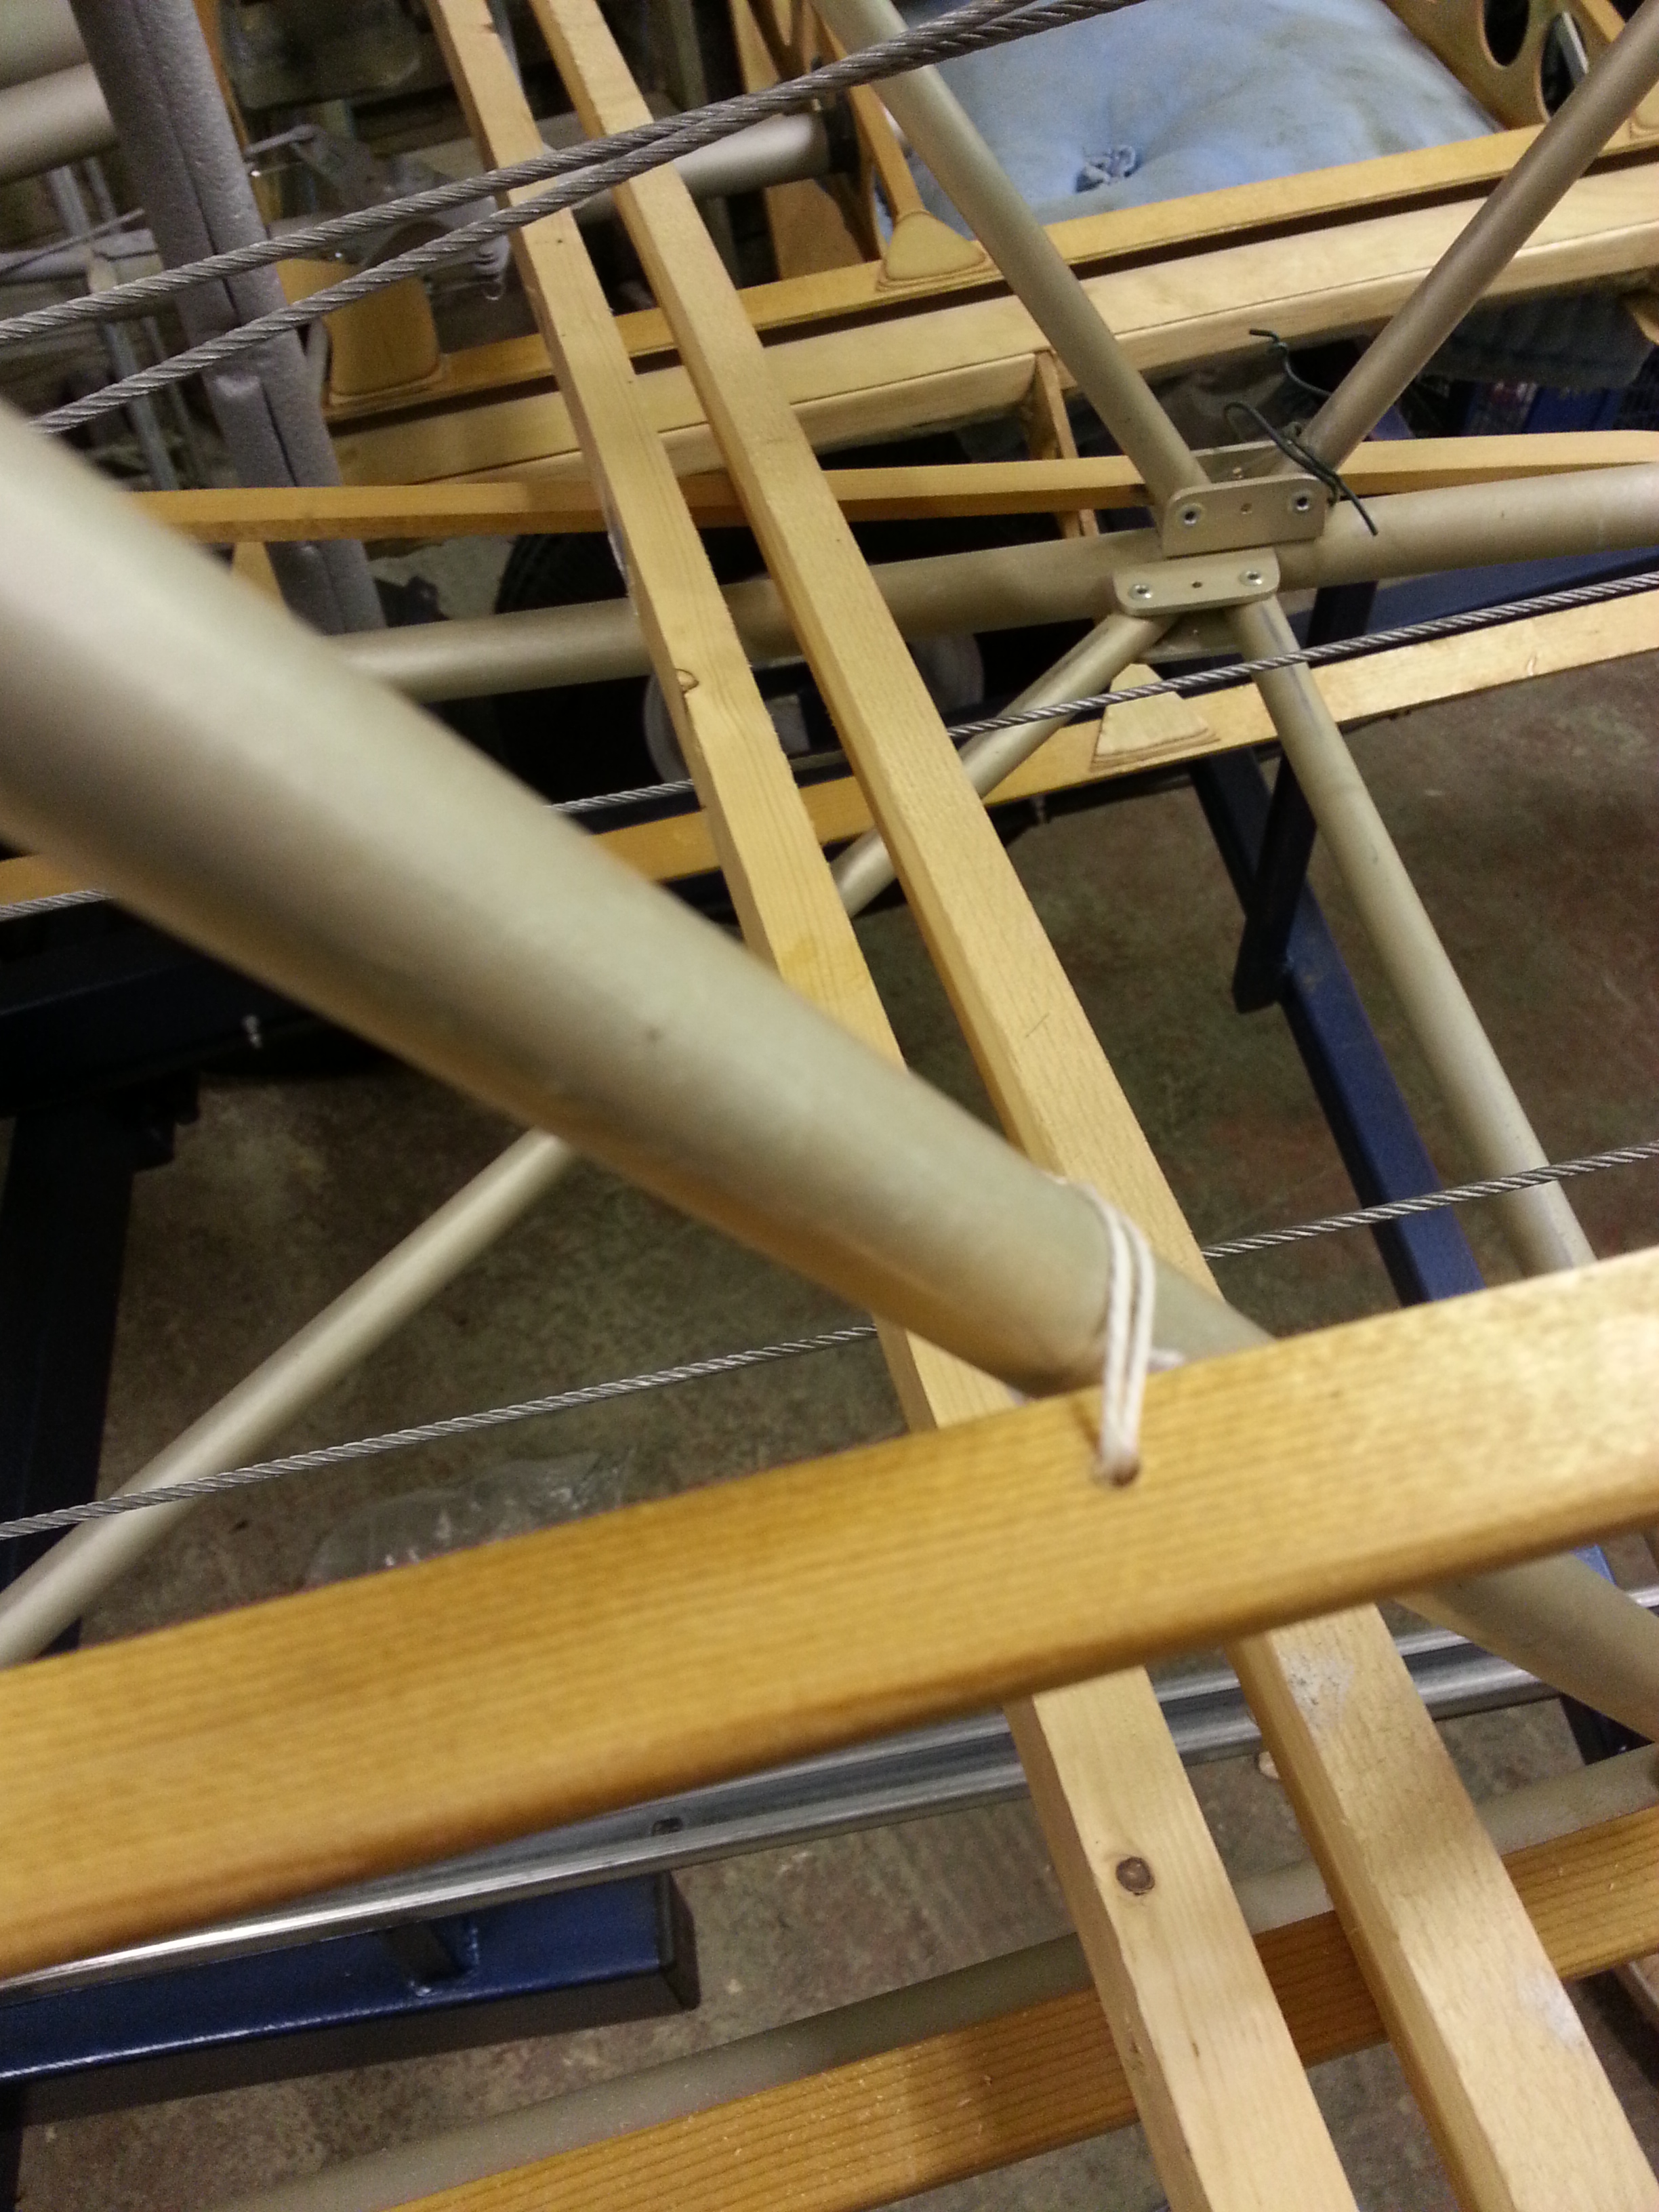
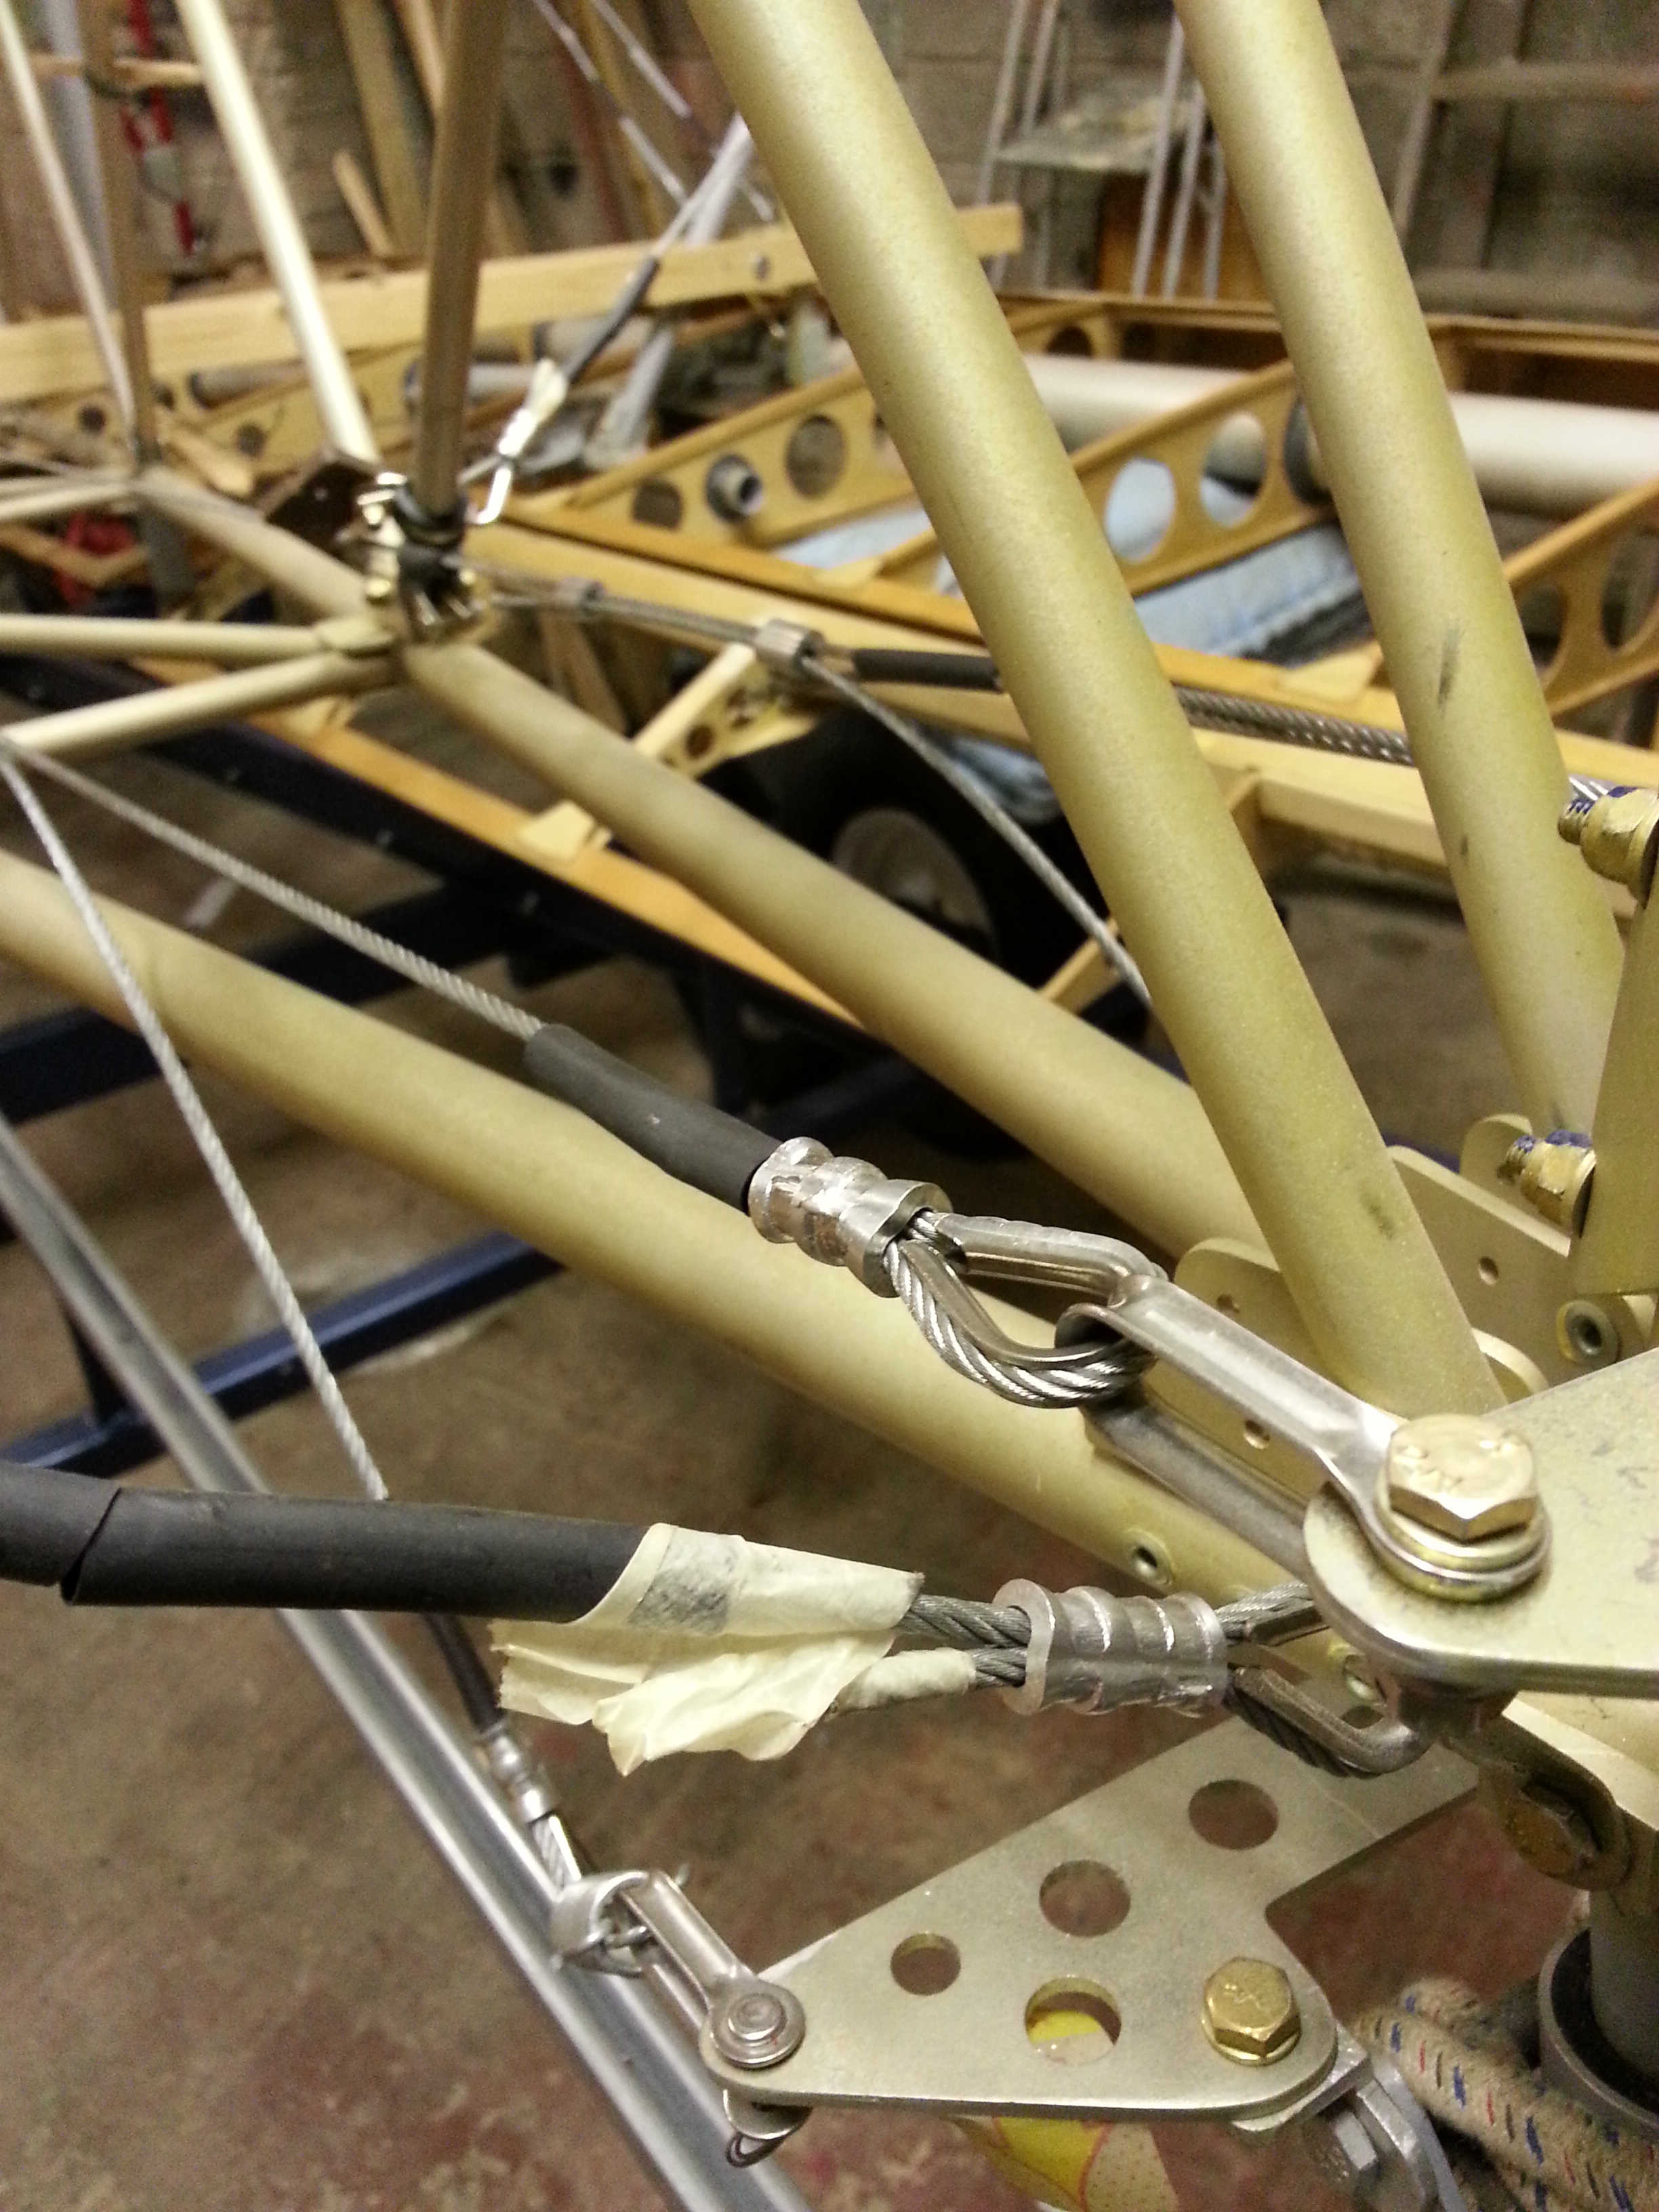
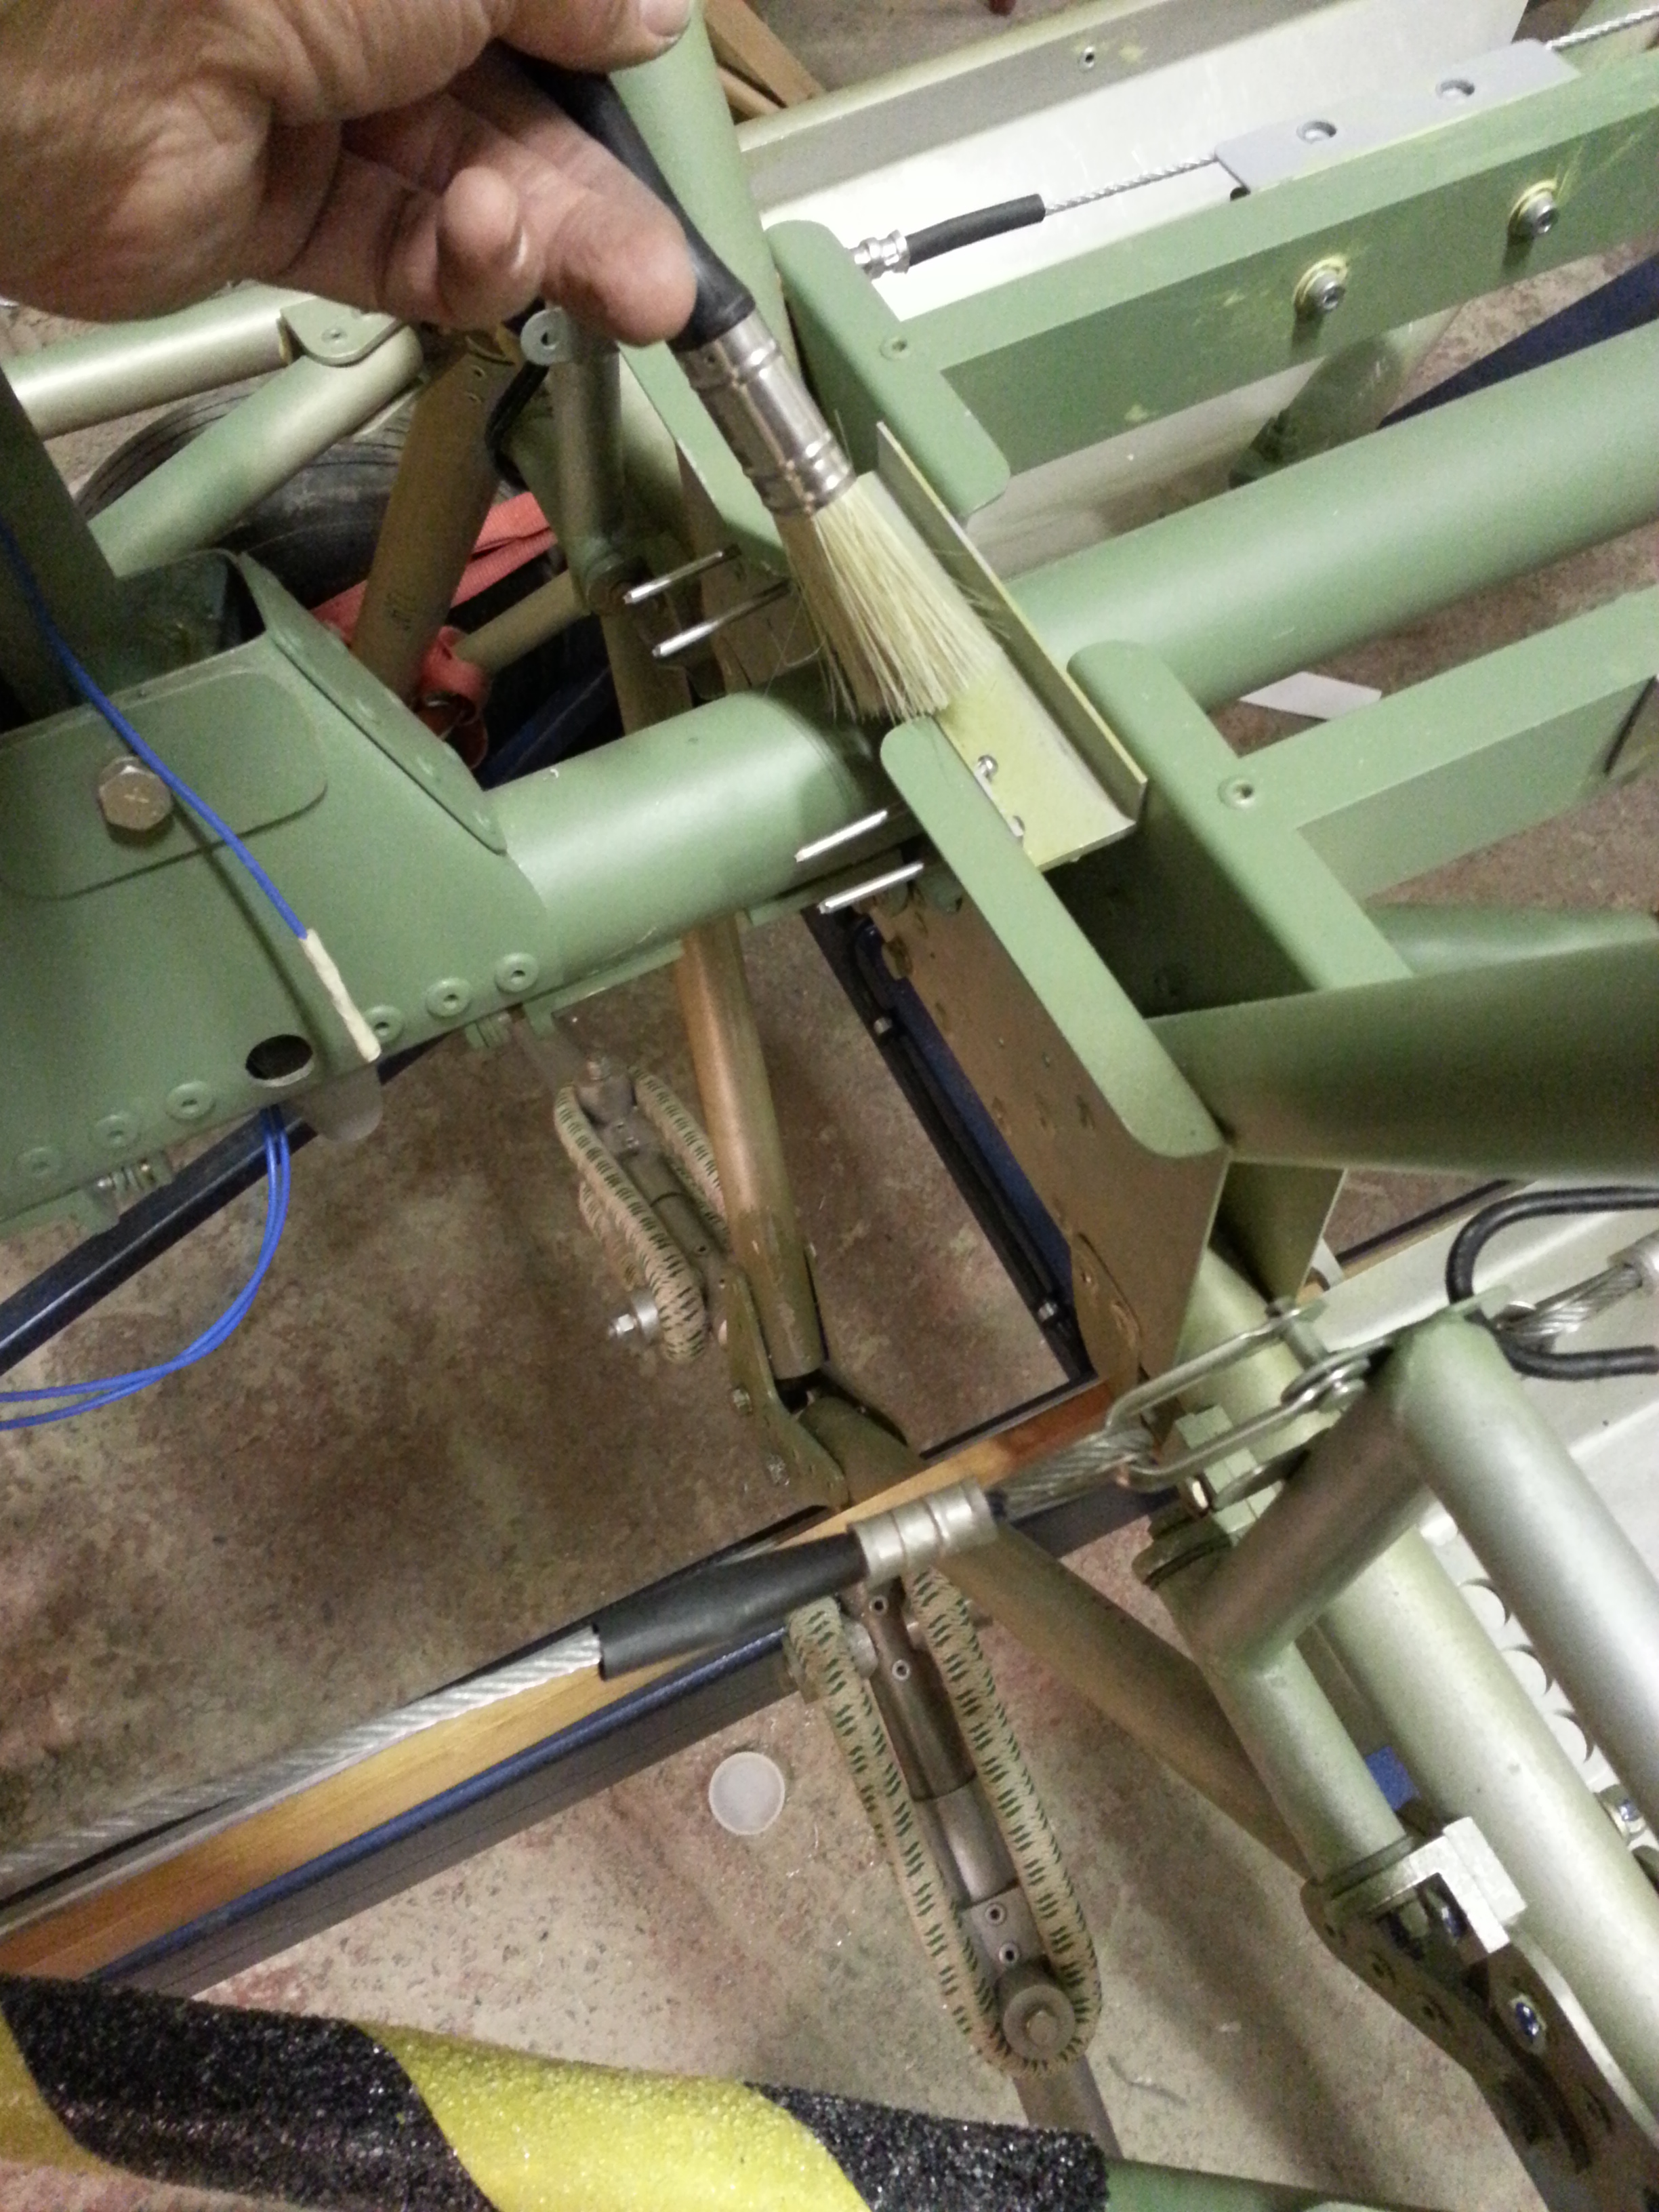
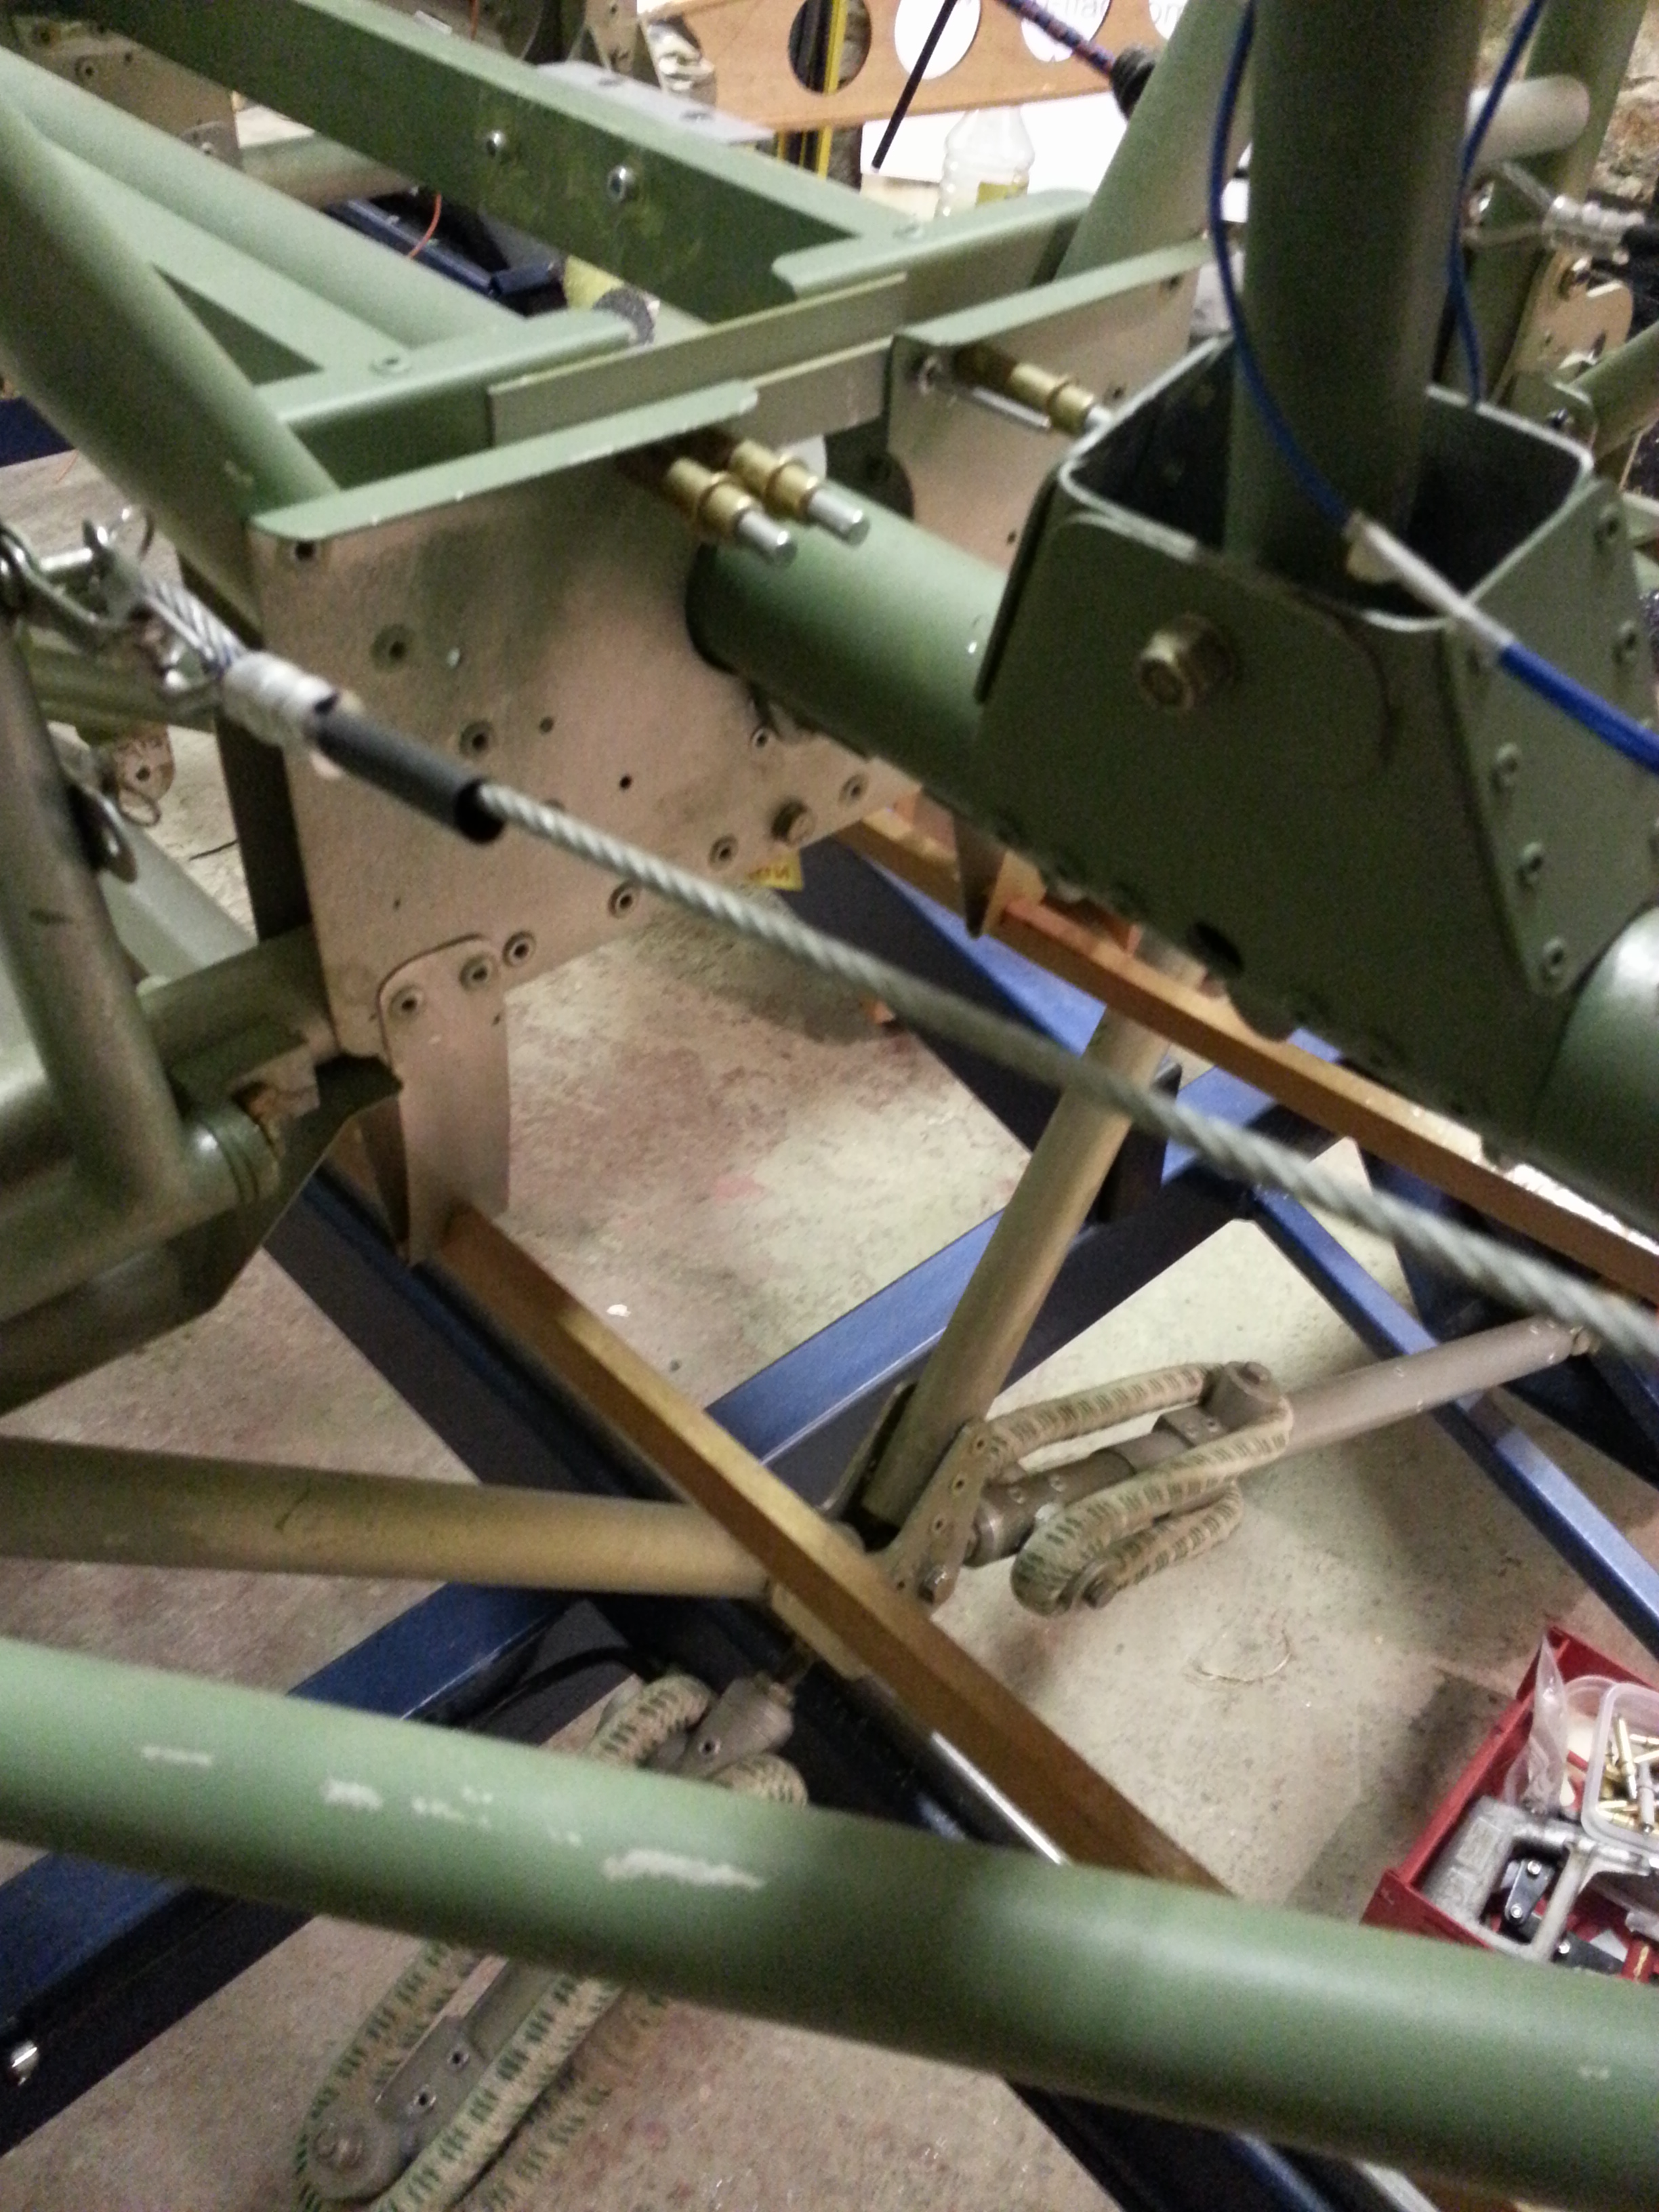
  • Elevator cable crosses over mid body – need to look at keeping them from rubbing
  • Consider turnbuckle ‘sight hole’ so you know how many threads are engaged vs how many you can see exposed

Bob was pleased I had pre treated all internal tubes with waxoyl as other older aircraft get grounded if they have had no treatment and need internal inspection. I will make a note to add to the builders log that they are all done.

May consider additional internal coating of main spar with an aviation approved anti rust coating. Lots of salt air our here !

Bob left saying he cannot wait to fly in her ! …. high praise indeed 🙂 Cheers Bob

Wing bolts shrouds

Having pre shaped the shrouds that also act as a guide for the lower wing pegs I braved up ! and drilled the spar to fit them last night. Careful drilling – don’t want to mess the spar up. Also, you have to be careful as to where the rivet will go, there are large doubler brackets inside the spar that you need to miss !

20141028_233205  20141028_233642

When done and during fitting .. make sure you can ‘twizzle’ the connecting rod ie it runs freely

Tidying up the stringers

Nice job last night .. got around to removing  the clumps of garden wire that had been holding the stringers roughly in place and replaced with new thicker grade whipping chord.

20141028_212131  20141028_212522

Holes were drilled in the stringers so that the tying of the chord wouldn’t protrude over the outside edge of the wood strips as this would be seen through the covering once added.


Firewall forward – Fuel gascolator

Having pre shaped the gascolator bracket and rounded the edges off, I had pre marked the bulkhead for its location so that it was close to the line of the fuel cut off valve (situated on the starboard nose side) and low enough to keep it away from key electrical parts if anything went wrong.

There had been a slight delay as the Rivnut gun had sheared its mandrill on the 3rd hole used ! Tools Plus in St Peter, Jersey  did an amazing job and spotted that it could probably be replaced by another manufacturers part – perfect ! £4  and back on the road !

With the new holes drilled the reminded myself how the rivnut gun works .. takes a few goes to get your head around it … had Keith and I slackening and tightening every bolt in site until we cracked it

20141026_214459

Then brought gascolator in ….

20141026_215535

Next step, where best to run the fuel lines … ‘IN’ being towards the centre of the firewall, ‘OUT’ being towards the outer edge and nicely positioned for the connection to the carb.

Rudder Connected

Big night last night – as I finally got around to connecting the rudder. The cables were set in the aircraft some time ago but I had left as I wanted to double check the splicing of the steerable tailwheel.

With the correct number of ferrules in place before swaging I set the rudder pedals in the neutral position and pulled the cable taught through its paxolin running guides.

20141026_204513

The operation of it was fairly smooth although I think it could move a little more freely. I suspect its the pedals that are a little tight, although I greased them I think the pinch bolt may be one turn to tight.

Starboard wing – rigging

This weekend I plan to get the ‘plane out of the barn – weather permitting and get her fully levelled outside with wings open. I have not been happy with the starboard wing rigging as the wing is sitting slightly low on the trailer when folded. Its a fraction of a degree but I cant seem to adjust with the rigging and having fought slackening and tightening, Mike, my engineer and I, realised that one of the rigging wires may be a fraction too short.

Ordered more cable and ferrules and plan to re-manufacture and new cable to help getting it right.

Wooden evening

Last night was a very blustery evening in Jersey with the remnants of the US hurricane giving us a F8 most of the day and F9 at some stages… cancelled my hop from Jersey to Guernsey and Cherbourg and then back … have been in the circuit at Guernsey before with a 50 knot headwind and boy is it slow .. then they tell you to turn downwind … once you top 150+ ground speed it makes the base leg turn an interesting juggle !

Anyway, last night was a predominantly wooden evening – getting all the material landing plates template and then onto the ply and then cut out and sanded. Becks – our new temp assistant at work kindly did the cutting out of the templates for me – takes a nice steady hand – thanks Becks !

20141021_201141  20141021_212449

All marked onto the 1.5 mm ply and cut, trimmed and sanded. Just need my 1/2″ balsa packing to arrive then I can get onto the fuselage. I also created 8 leading edge gussets for the wings (root and tip) from 6mm ply. This is in readiness for the aluminium root fairing that will eventually cover most of this area.

20141021_215507  20141021_214122

20141021_222529

Part of the problem, living on an island .. you cant get balsa ! – shipping that massively heavy weight of 4 lengths of 4″ wide x 36″ (cost of wood £9) .. cost of shipping £30 !! .. Cost of an Easyjet ticket to Southend – £29 …. the world has gone mad !

Anyway – shipped to my son in Oxford so hope to get a sensible shipping cost and the wood shortly.

Torque tube bracing bracket

One thing that has been outstanding for a while , and I cant really rivet in until my next inspection has been signed off is the torque capping brace brackets.

You can see that I added a piece of covering paper roll to catch as much of the swarfe as possible and then, as my engineer guru noted one time, a brush on hand to get rid of the bits as soon as you have drilled the part. Not good to have these bits floating around control fittings.

20141012_221457 20141012_220733


These are quite awkward to drill with everything else in situ and you need to make sure its seated in a suitable position to allow the rivets to come through at the right level.

20141012_220938

These have been cleco’d for now and will be M62 riveted once sign off is achieved. Another step nearer


Propellor Bolts

Checked the Jabiru manual and realised my temporary fir of prop bolts were the wrong way around ie hex head pushed in from the front leaving the nylocs on the rear !

The challenge was then to work out how I could possibly get the long prop bolt through from behind …. after a few minutes checking I realised that thy must have designed it such that there is one place ONLY that this is feasible … just above the oil filter …

20141012_193729

Very slowly turning the prop to reveal each successive hole (the engine still only has delivery oil in it so need to be careful until we get some proper oil in)… on the 3rd bolt there was a huge pop as an upgoing piston pushed air out and one of the exhaust stack bungs travelled the full length of the barn !

Fuel cut off added

Following my visit to Norfolk and seeing their neat fuel cut off, I made up a bracket last night from offcuts from the footstep (got to go on soon when I work out how the covering will fix on later).

20141012_230520  20141012_224539
This simple neat arrangement lets you create a really positive fuel lock on fitting. Next step will be to check the valve install is smooth and operates in the correct sense (ie open is open !) then connect up my new steel braided hose through the firewall.

There are a few parts to the fuel system that are new to me .. the bowl, gascolator etc …. but have identified where most parts will locate. Need to get my broken rivnut mandril back and get more holes through the firewall.

20141012_234154

Blog at WordPress.com.

Up ↑