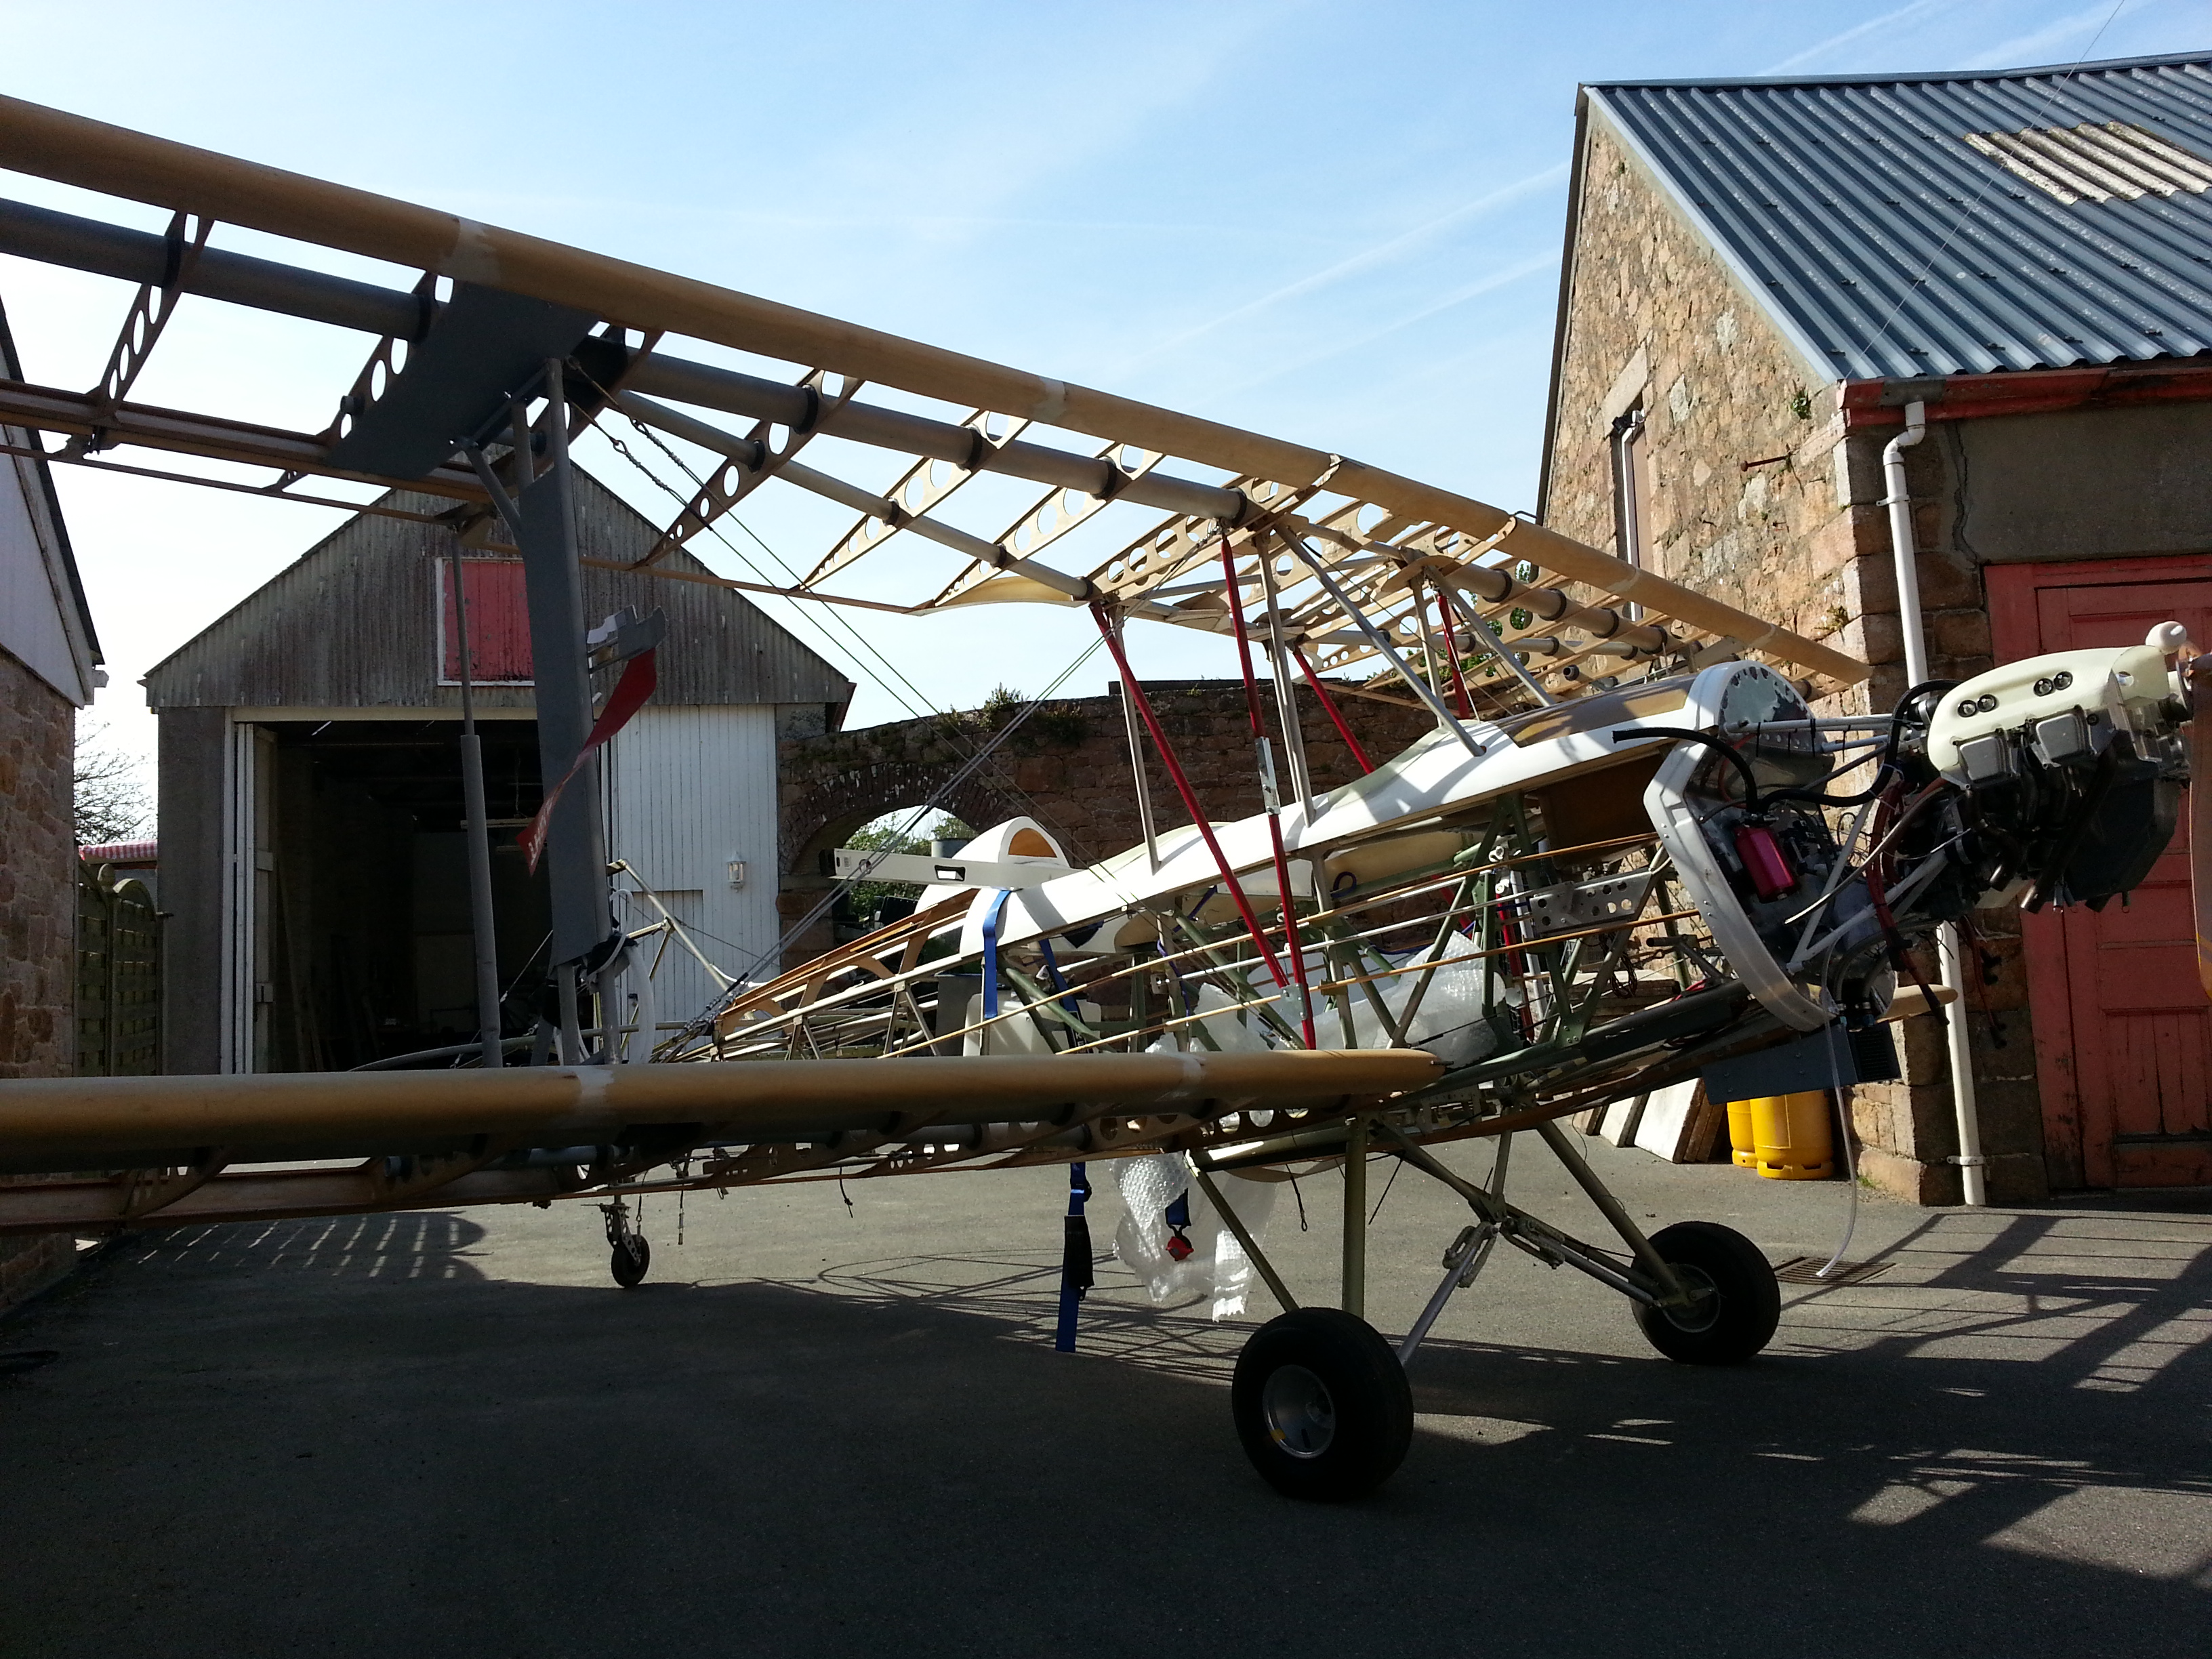
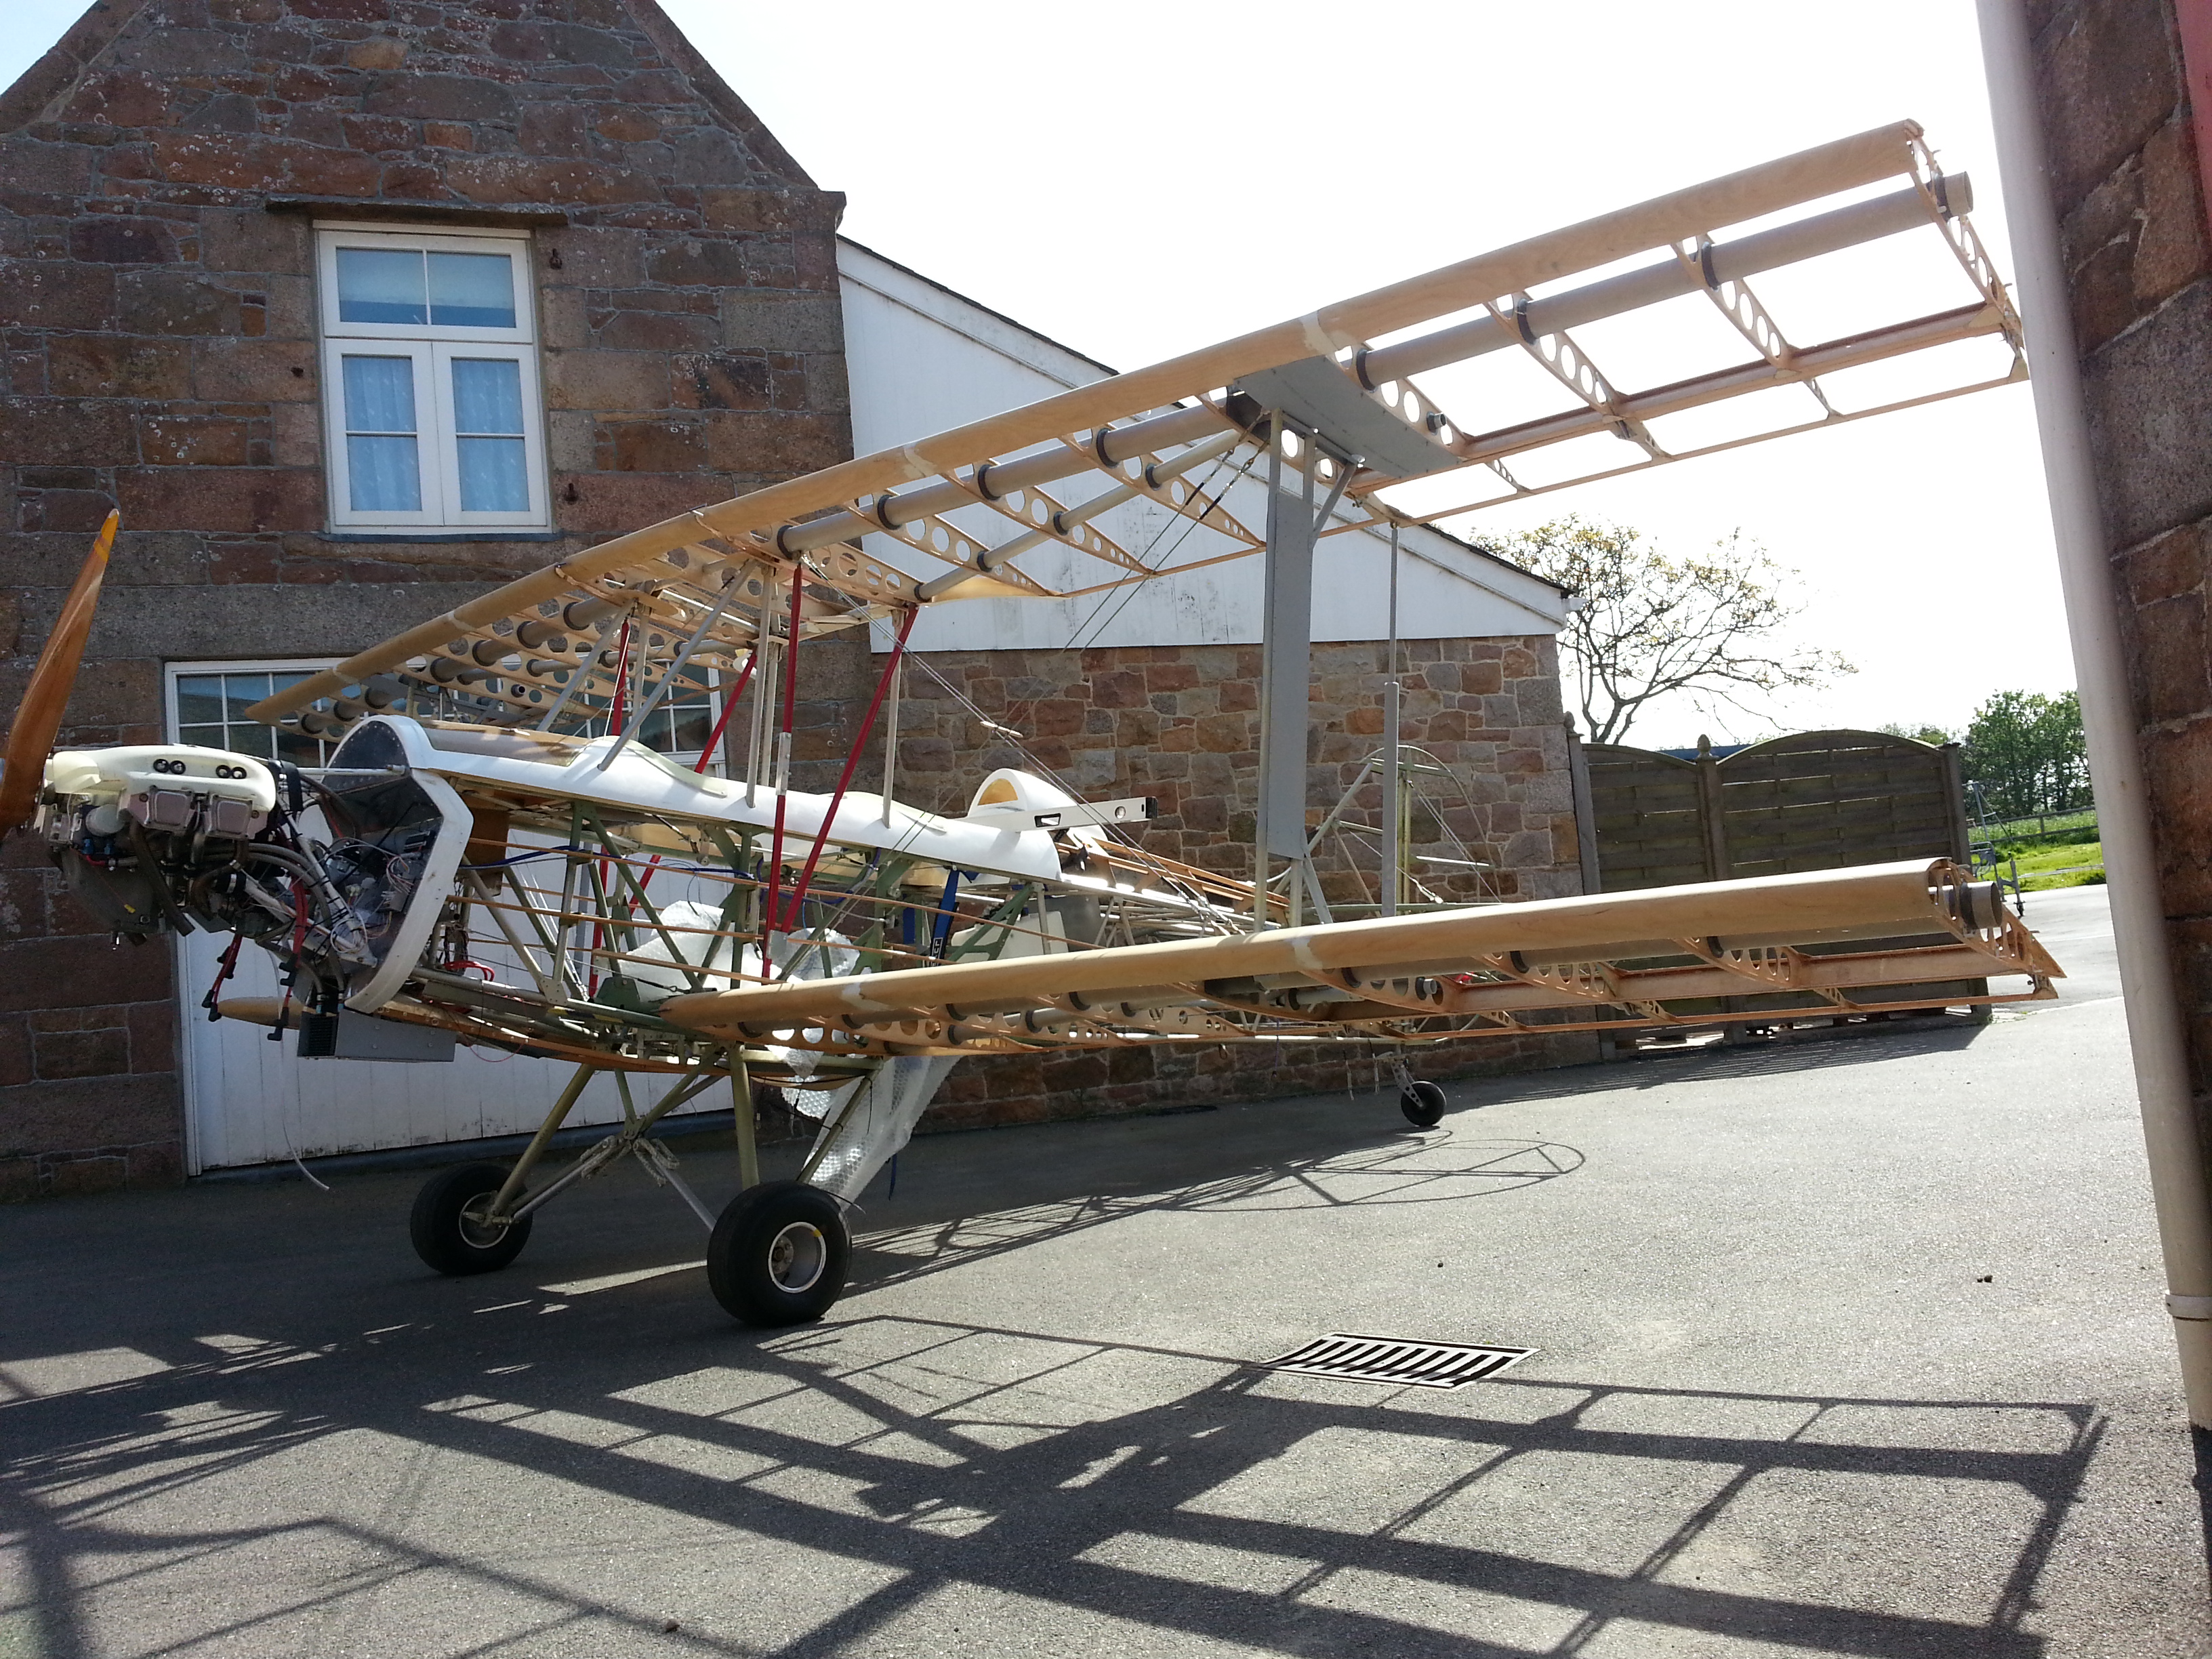
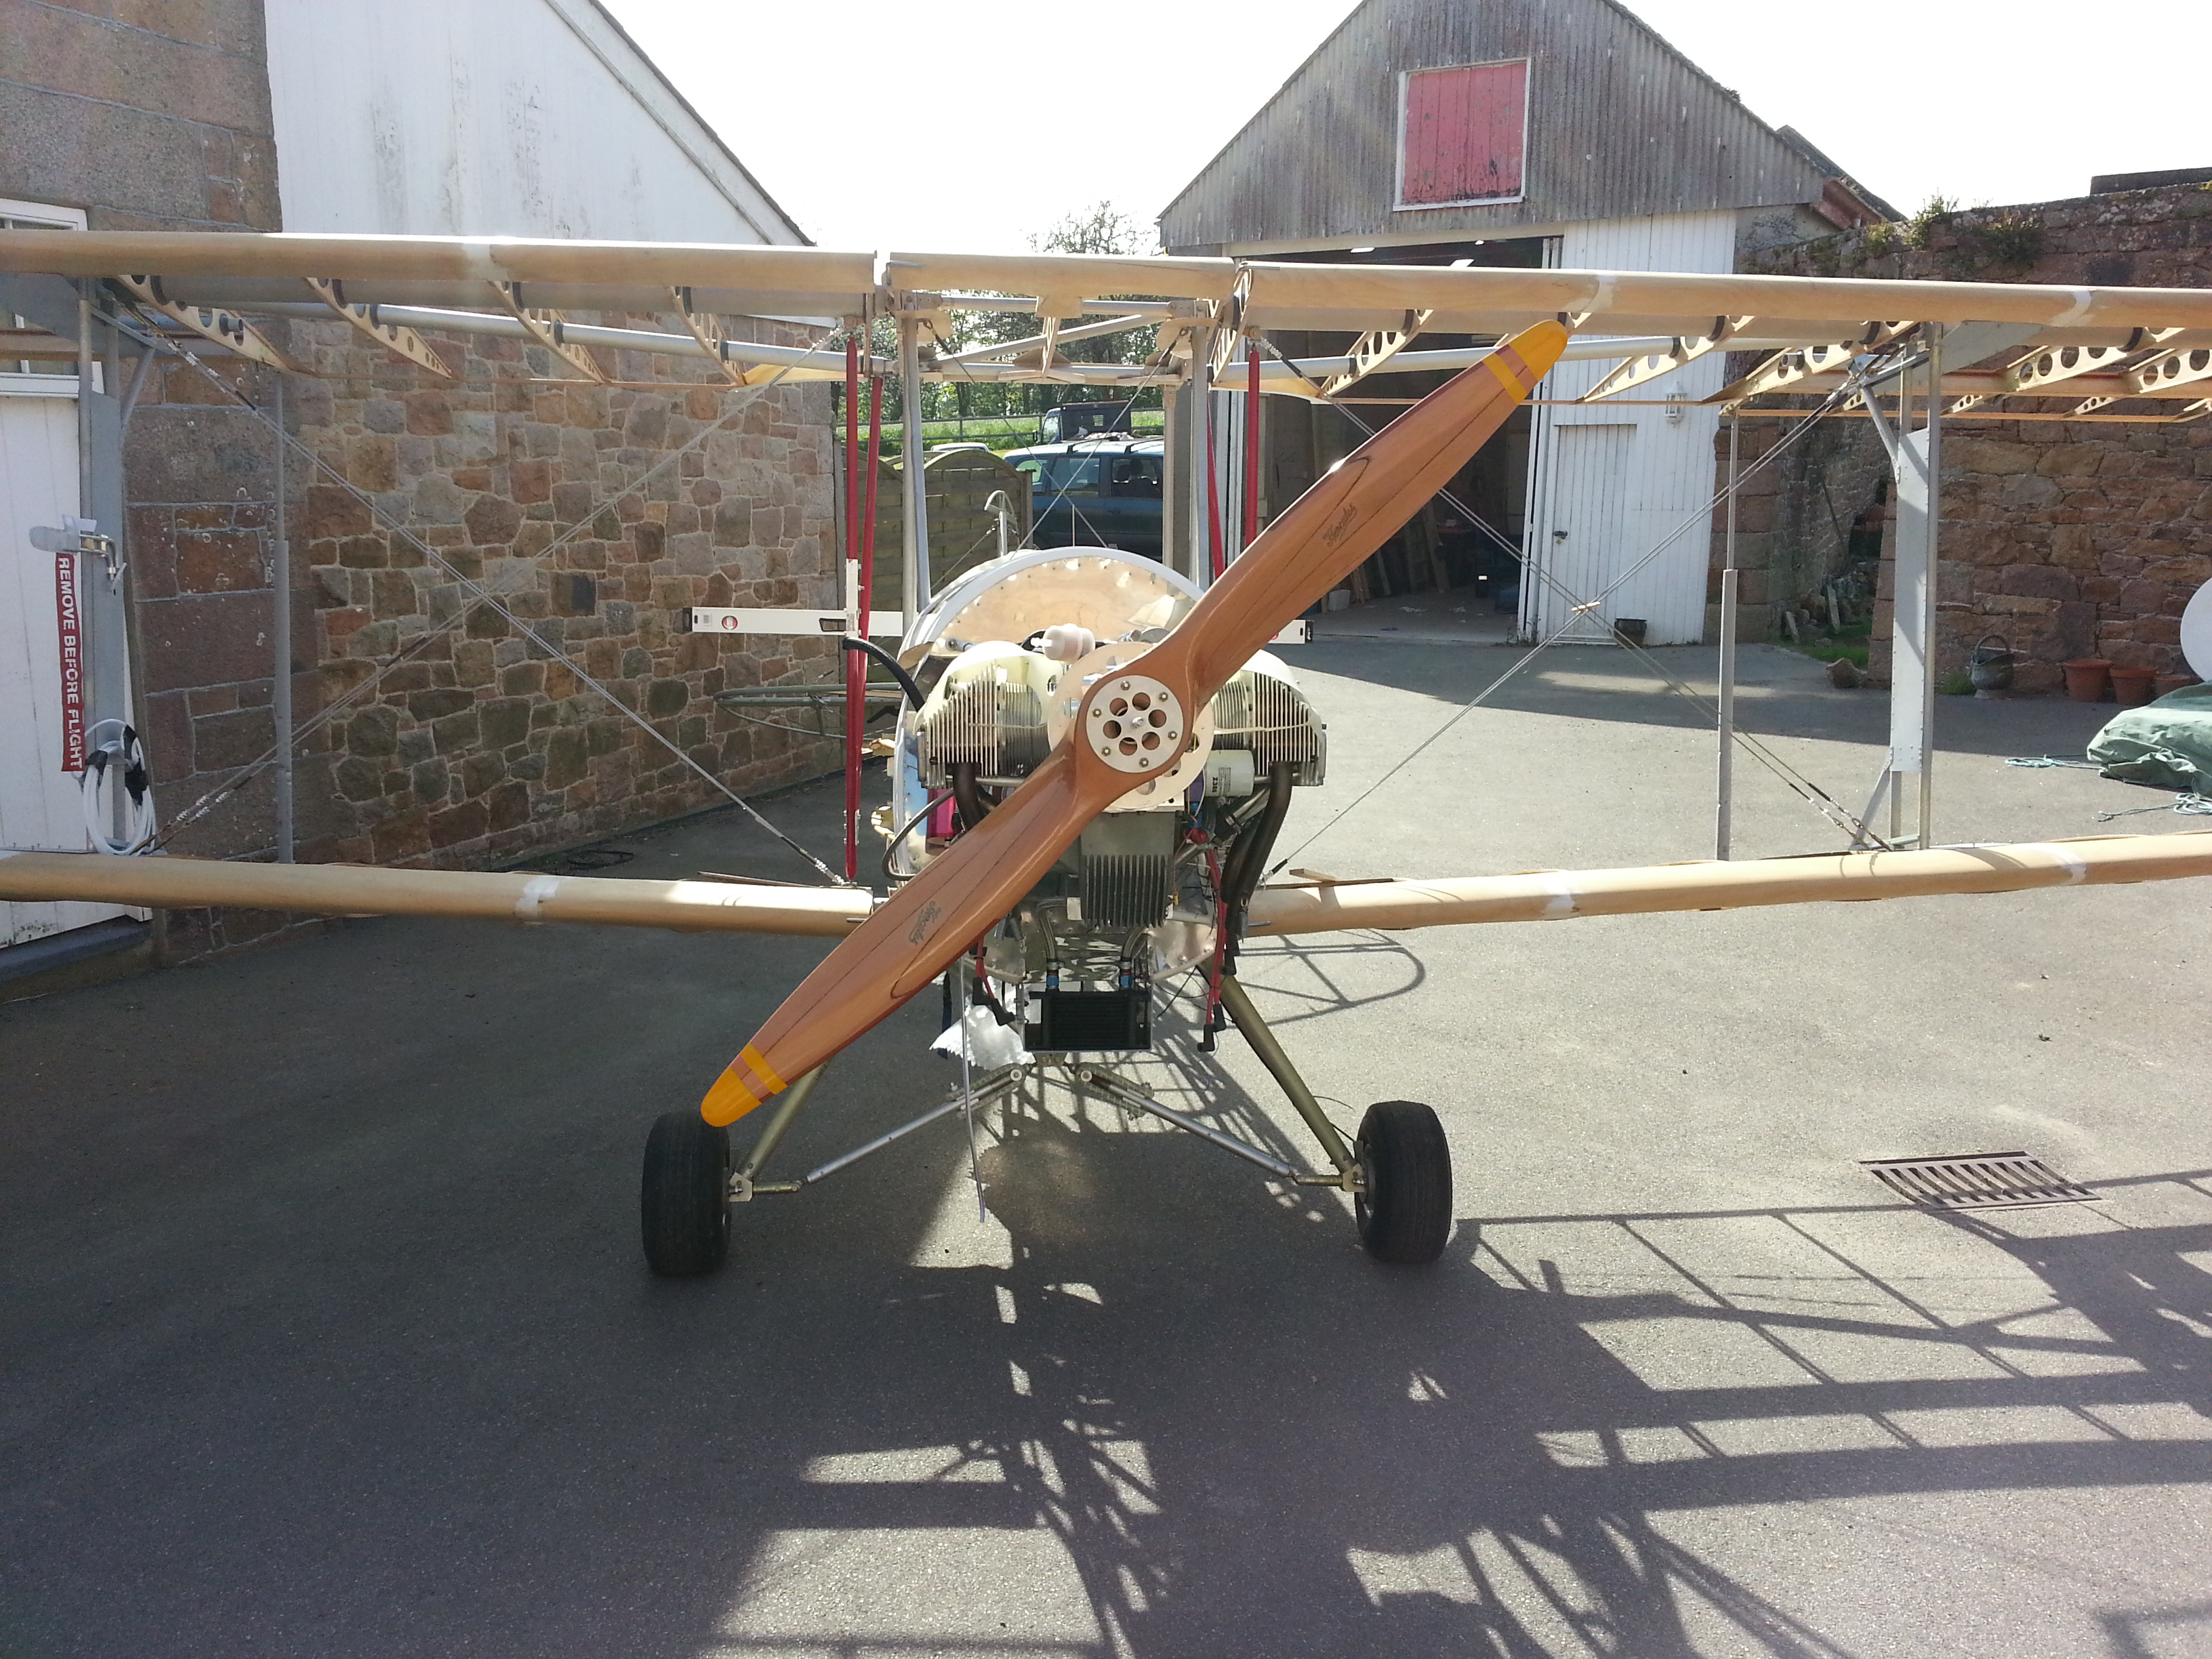
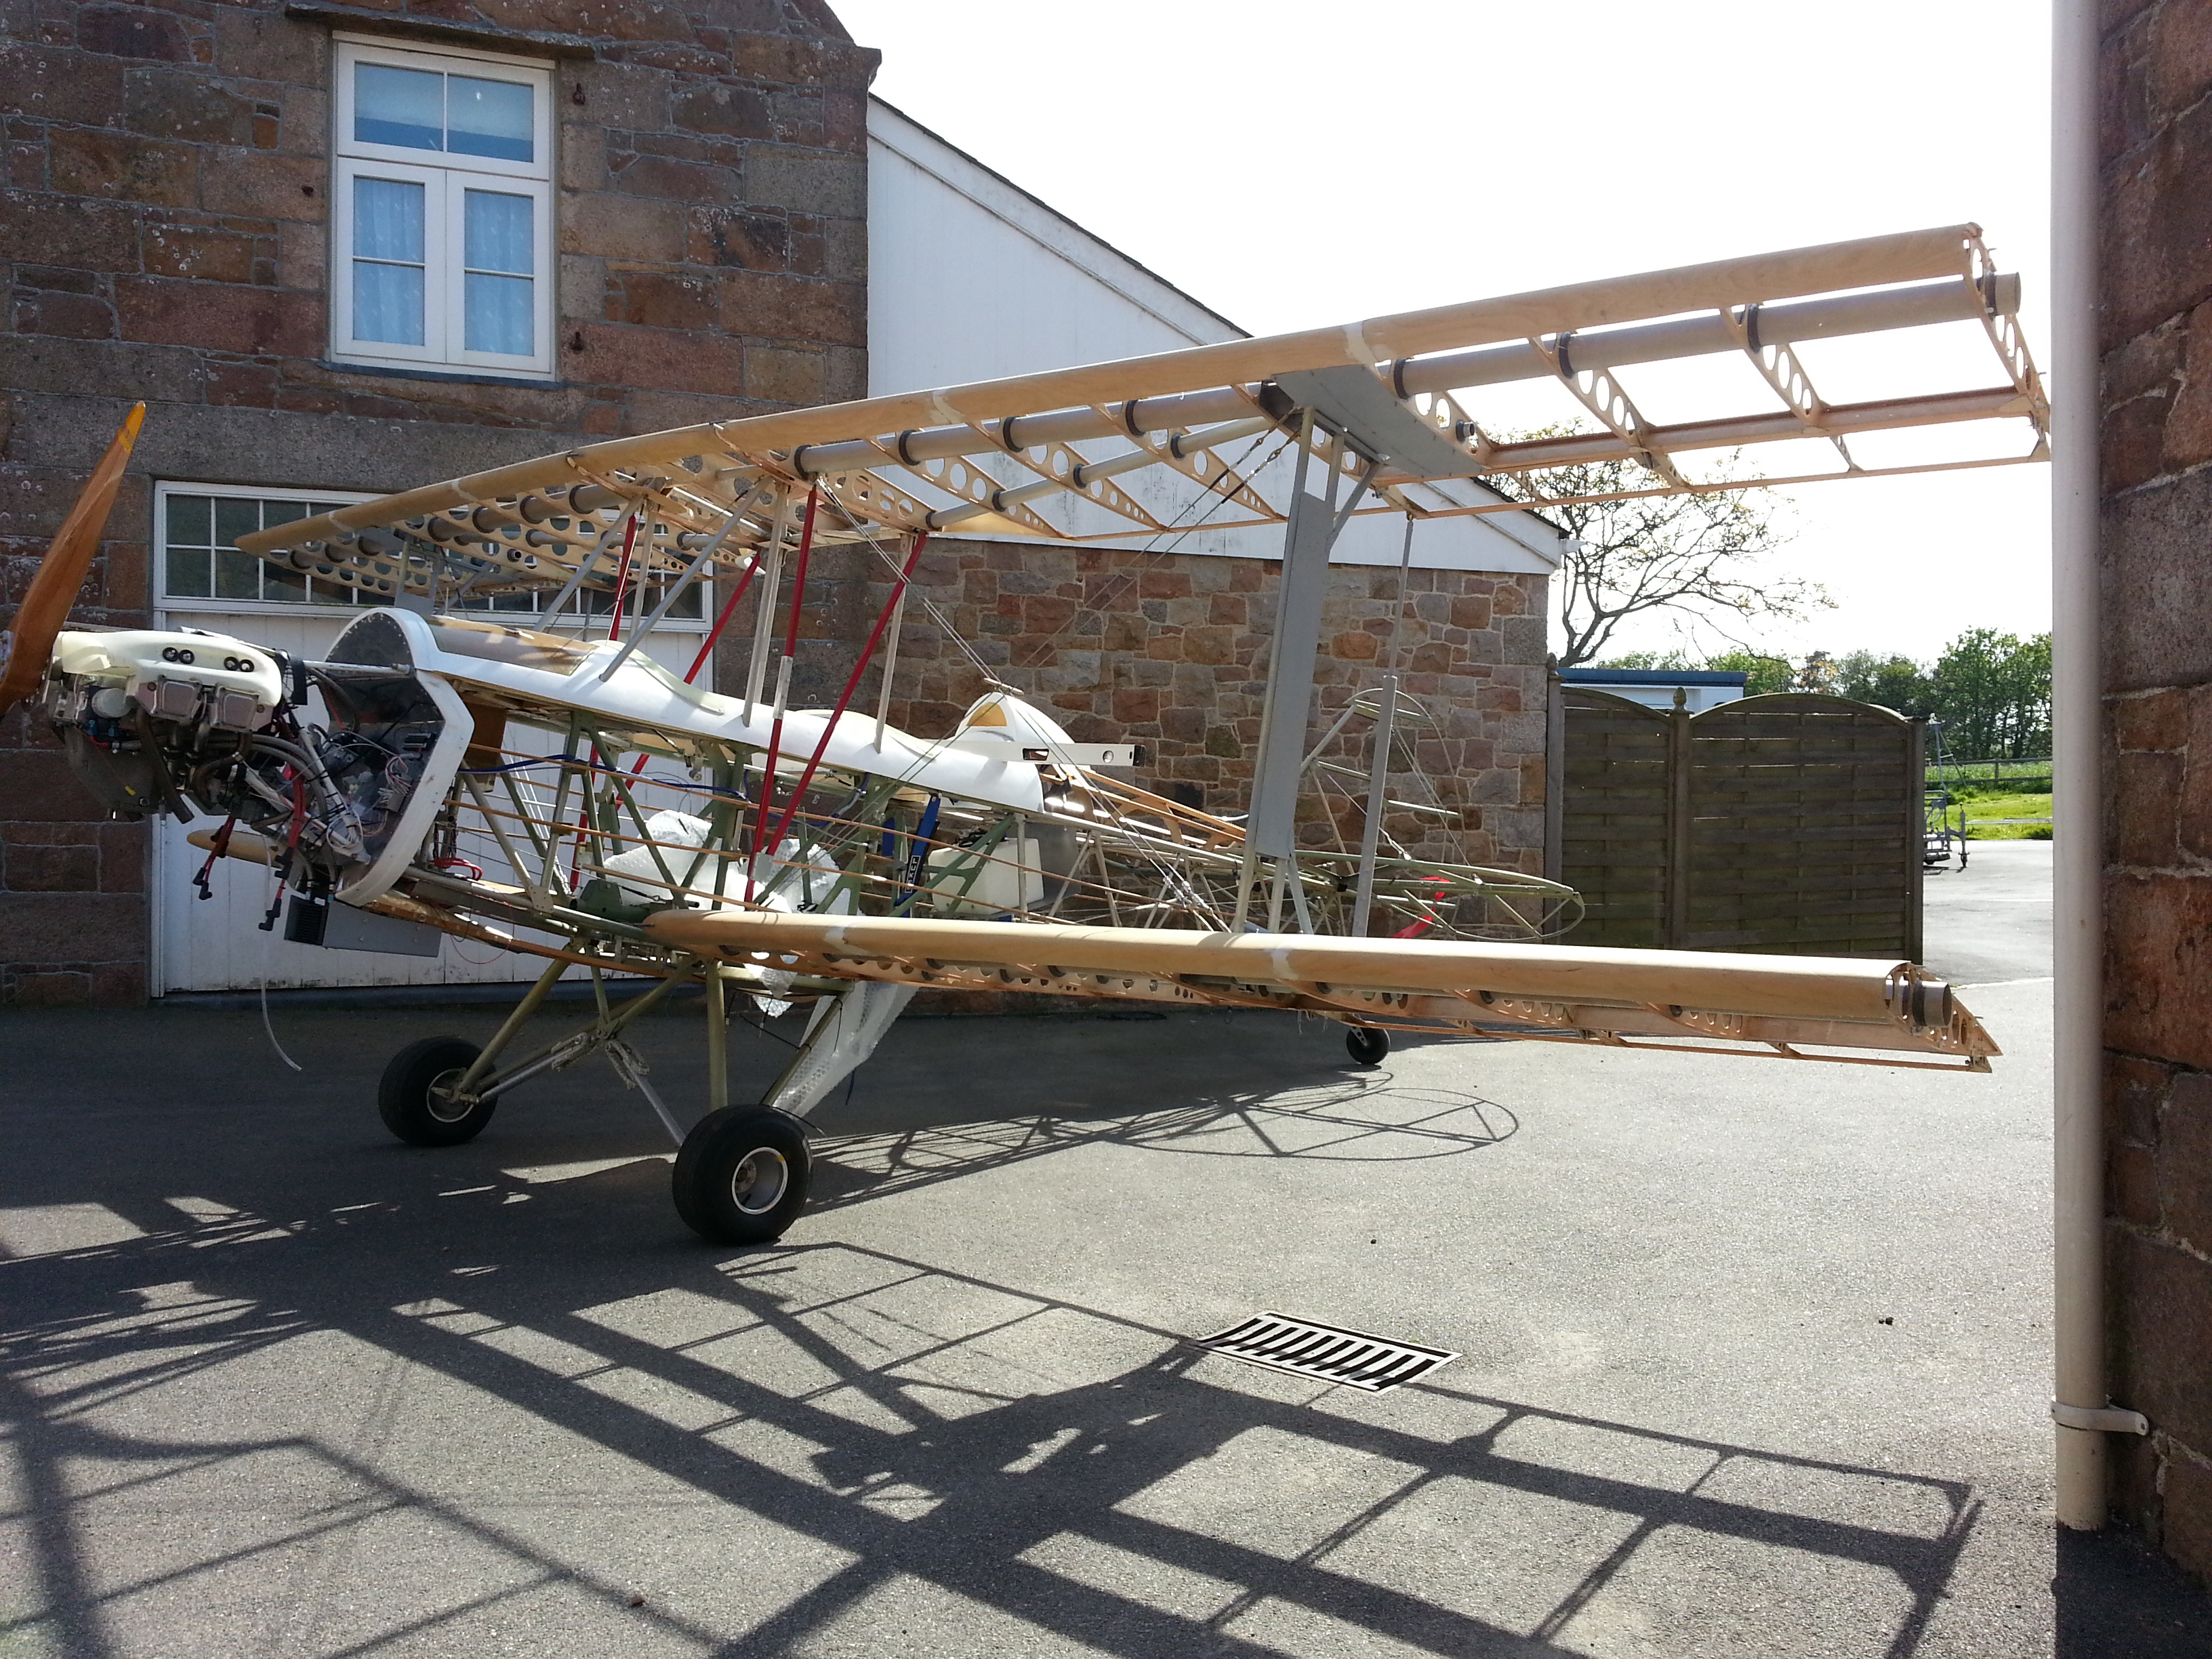
Well .. after my low … I managed to get a good long session last night at the barn …
Keith – the barn owner – was superb and helped me get the ‘plane out and completely cleaned down .. ladders, pressure hose jetting of all the little nooks and crannies and then a really good sweep down of the barn.
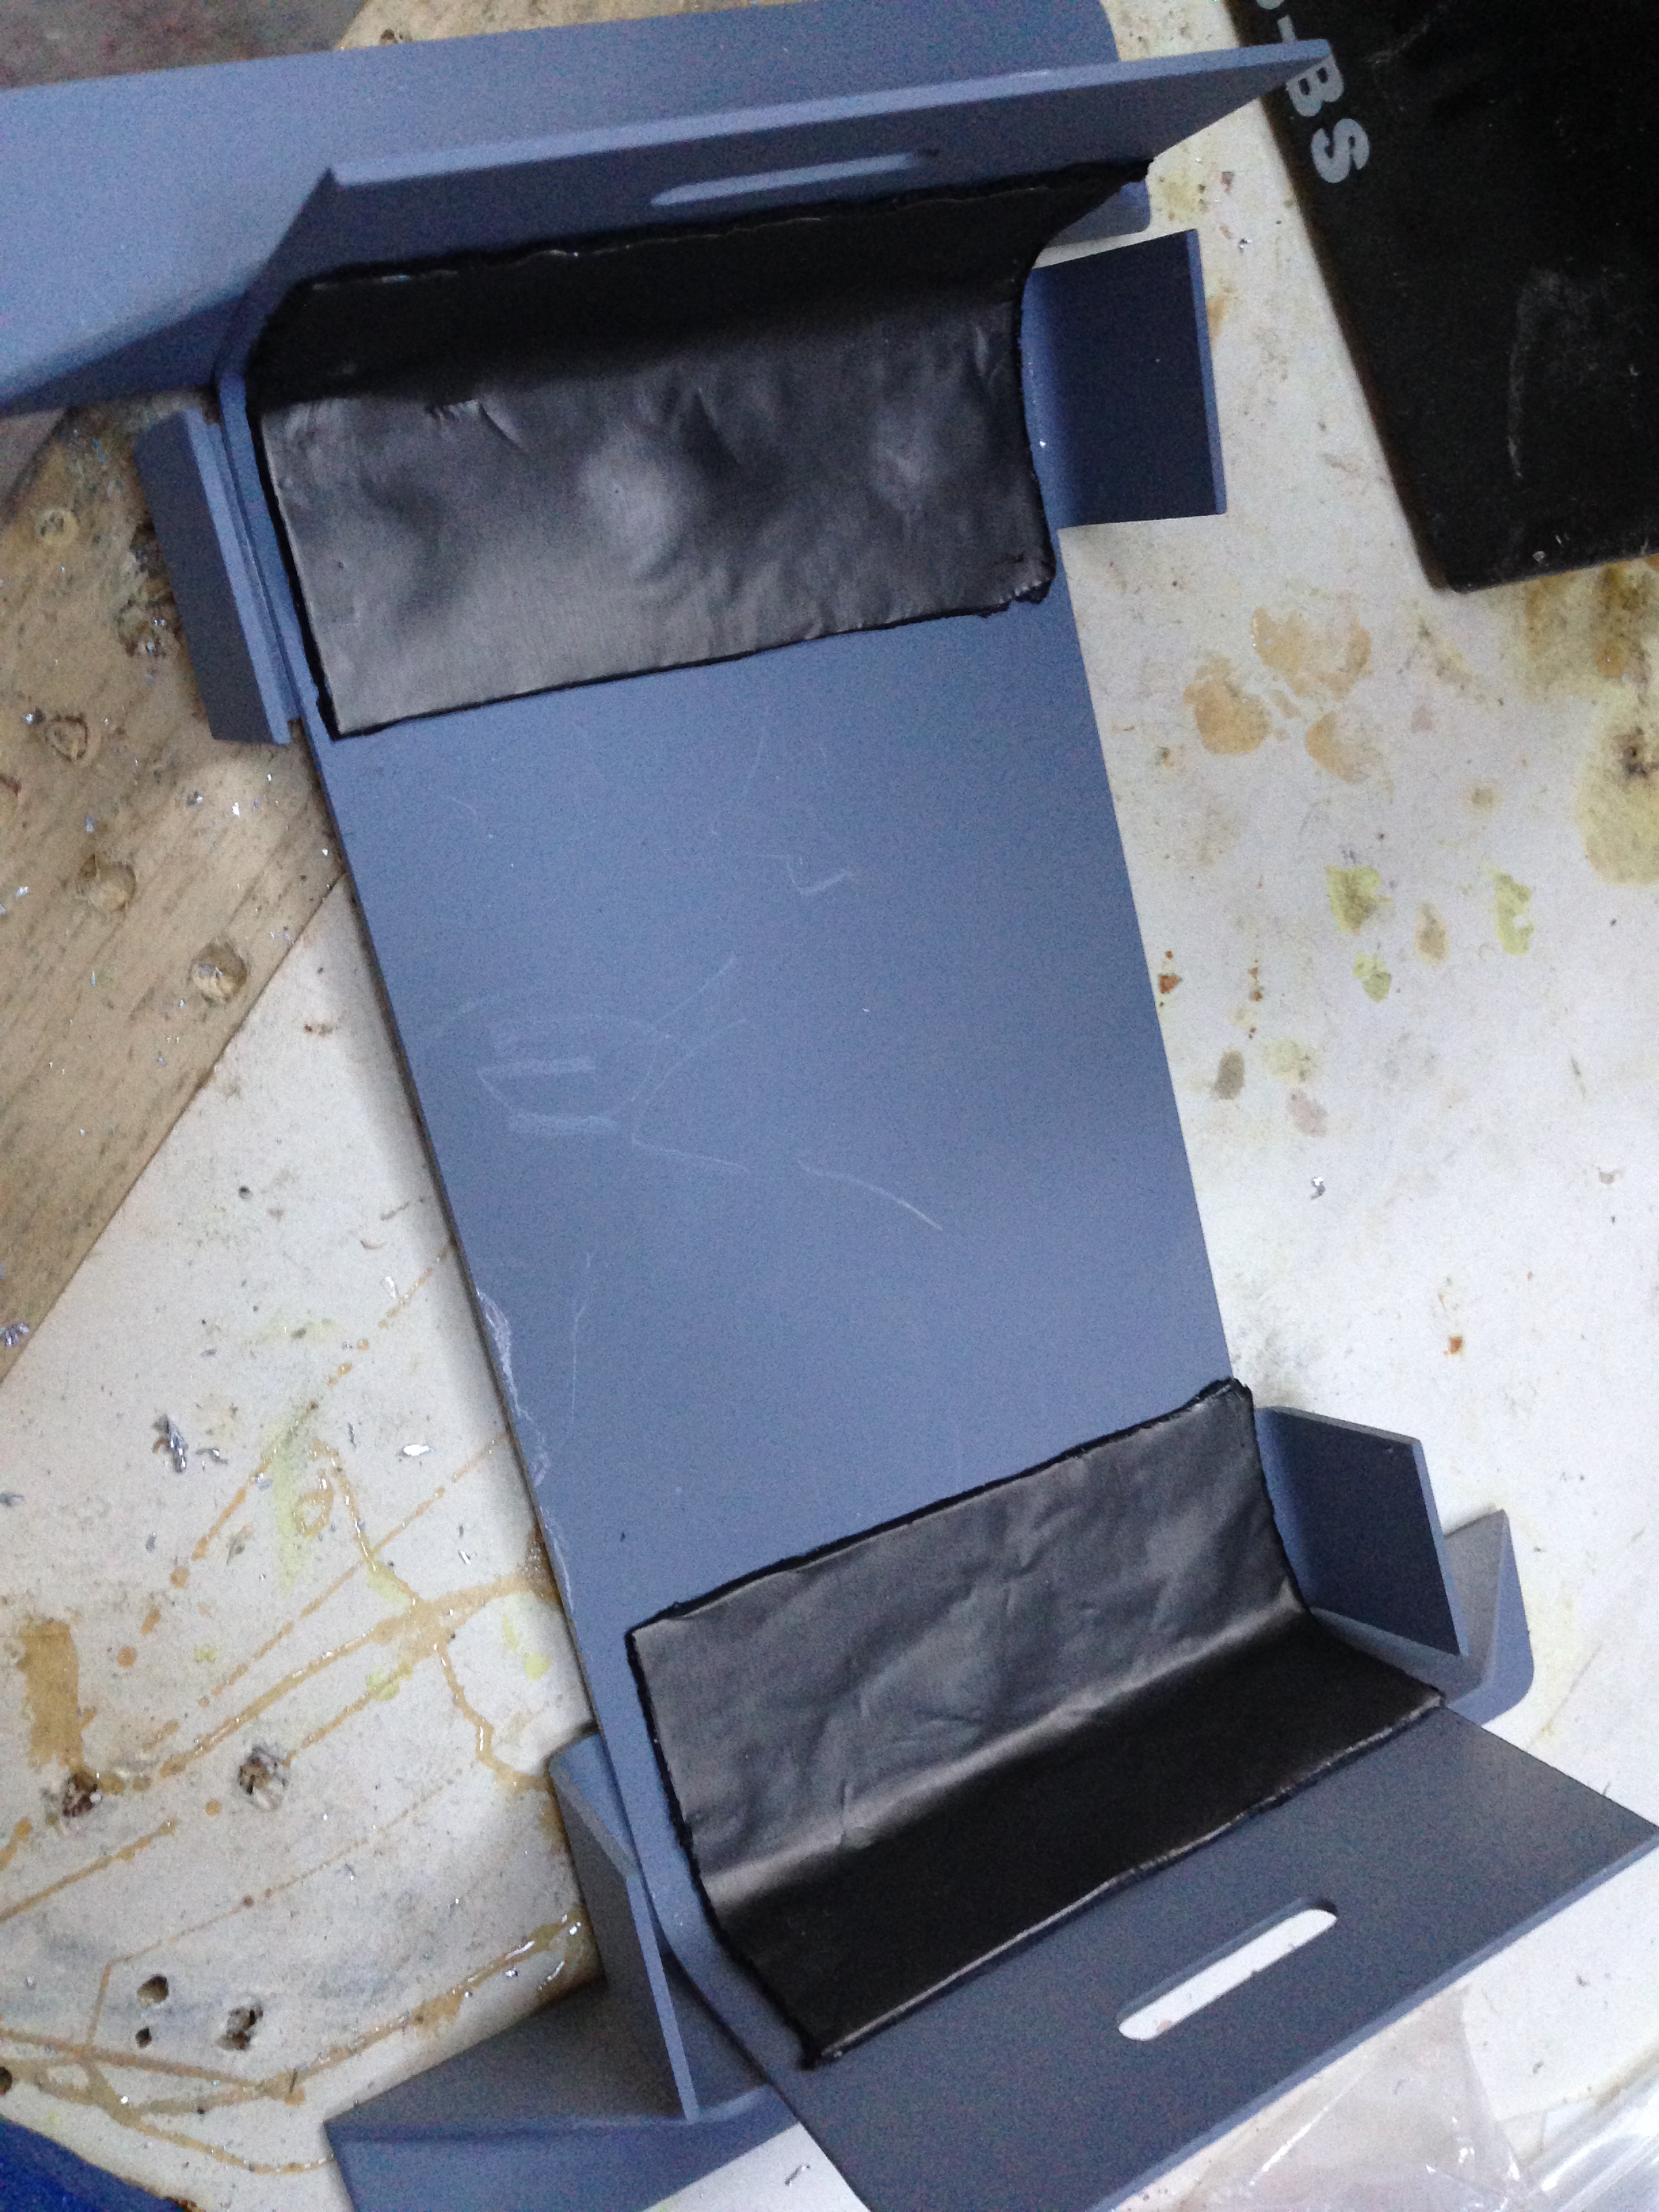
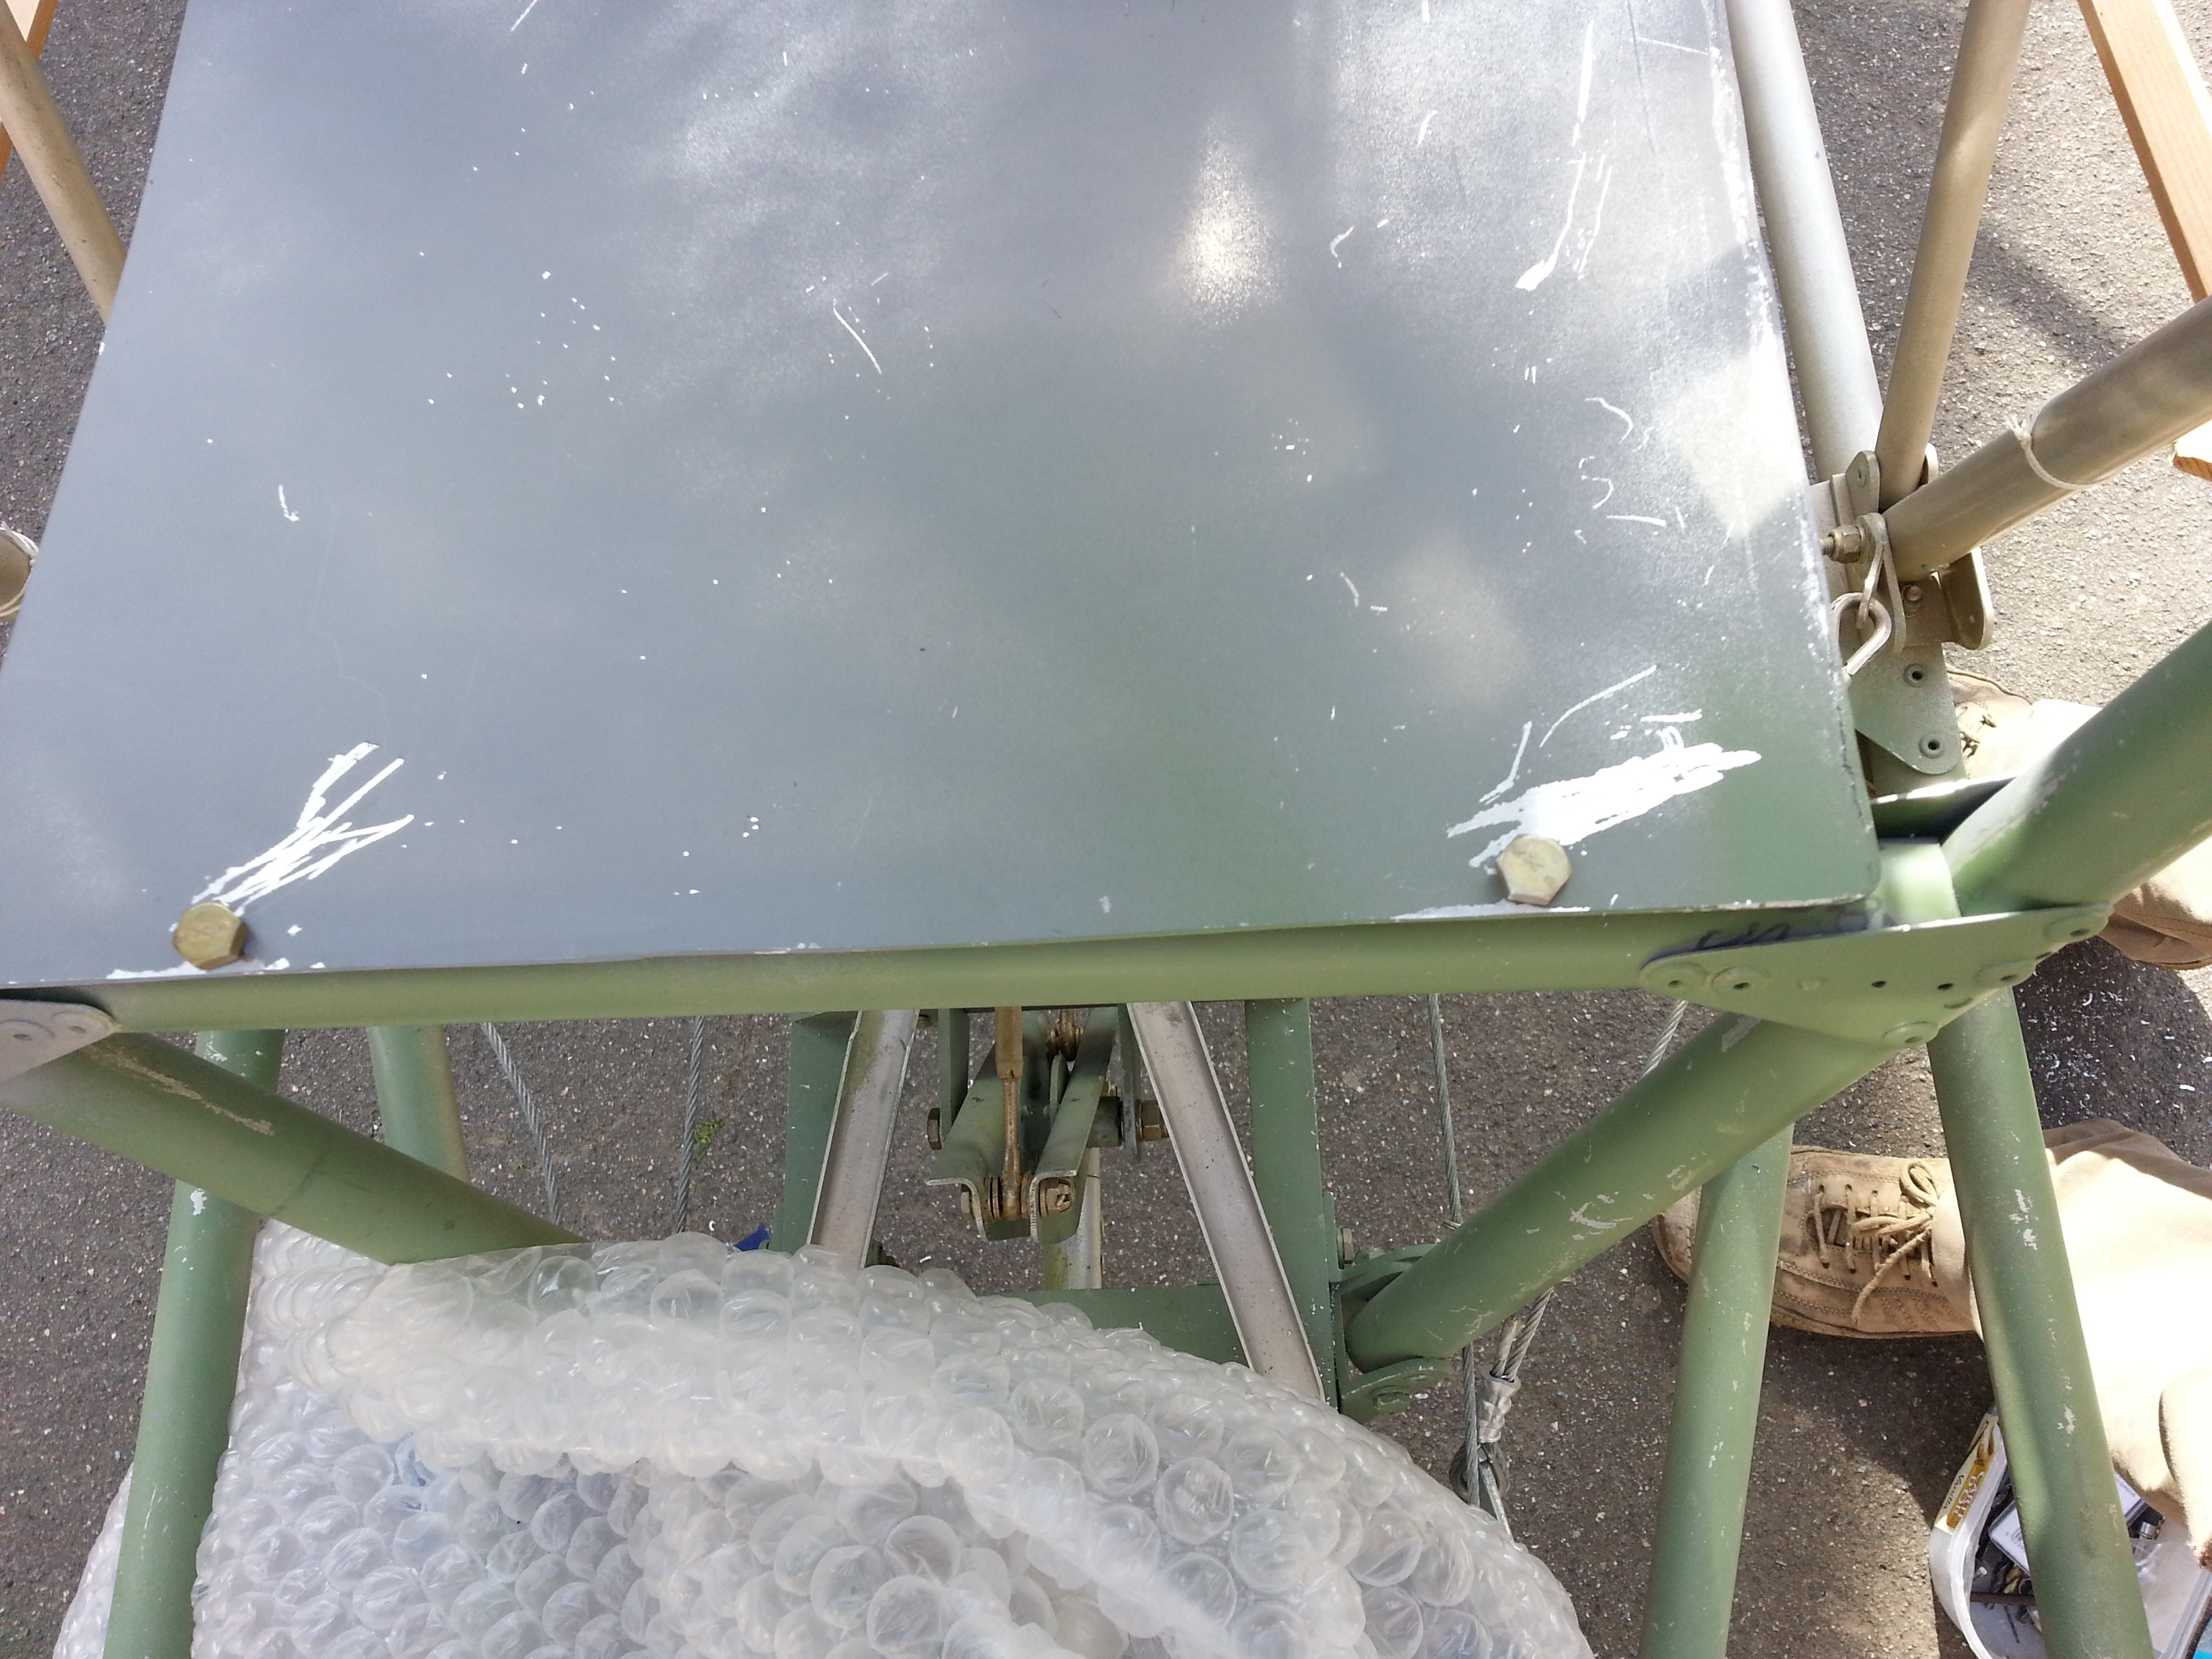
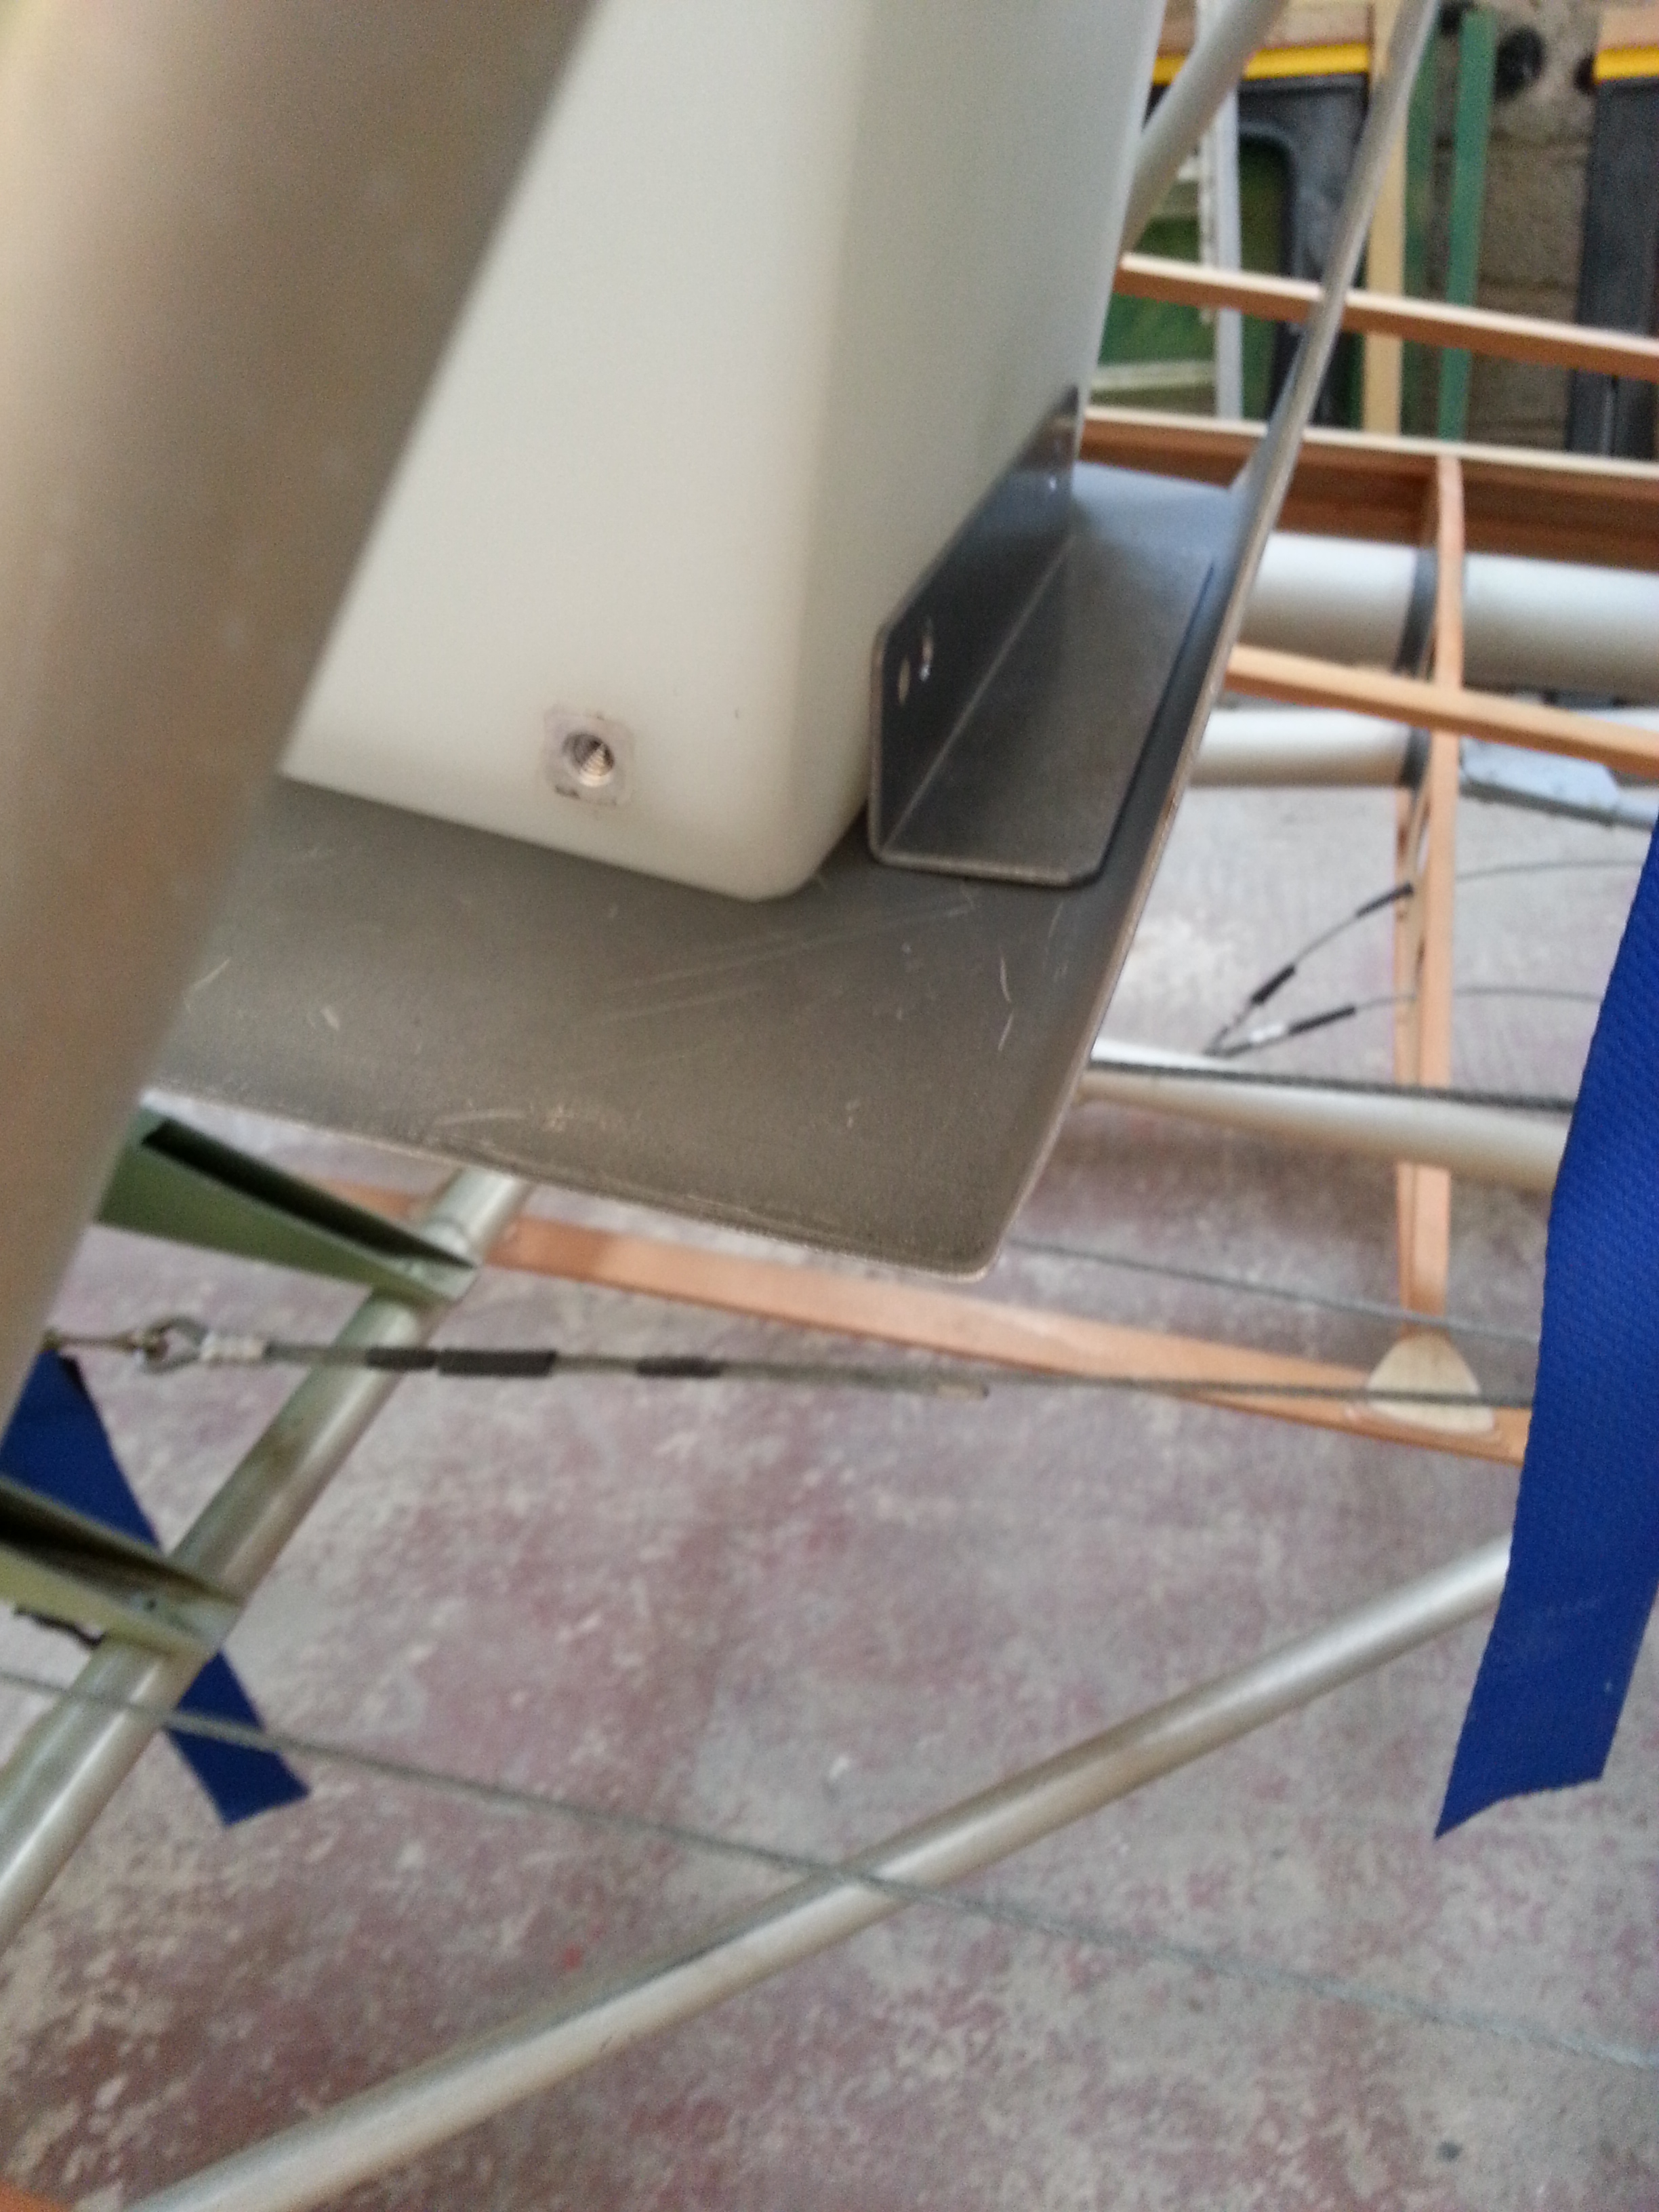
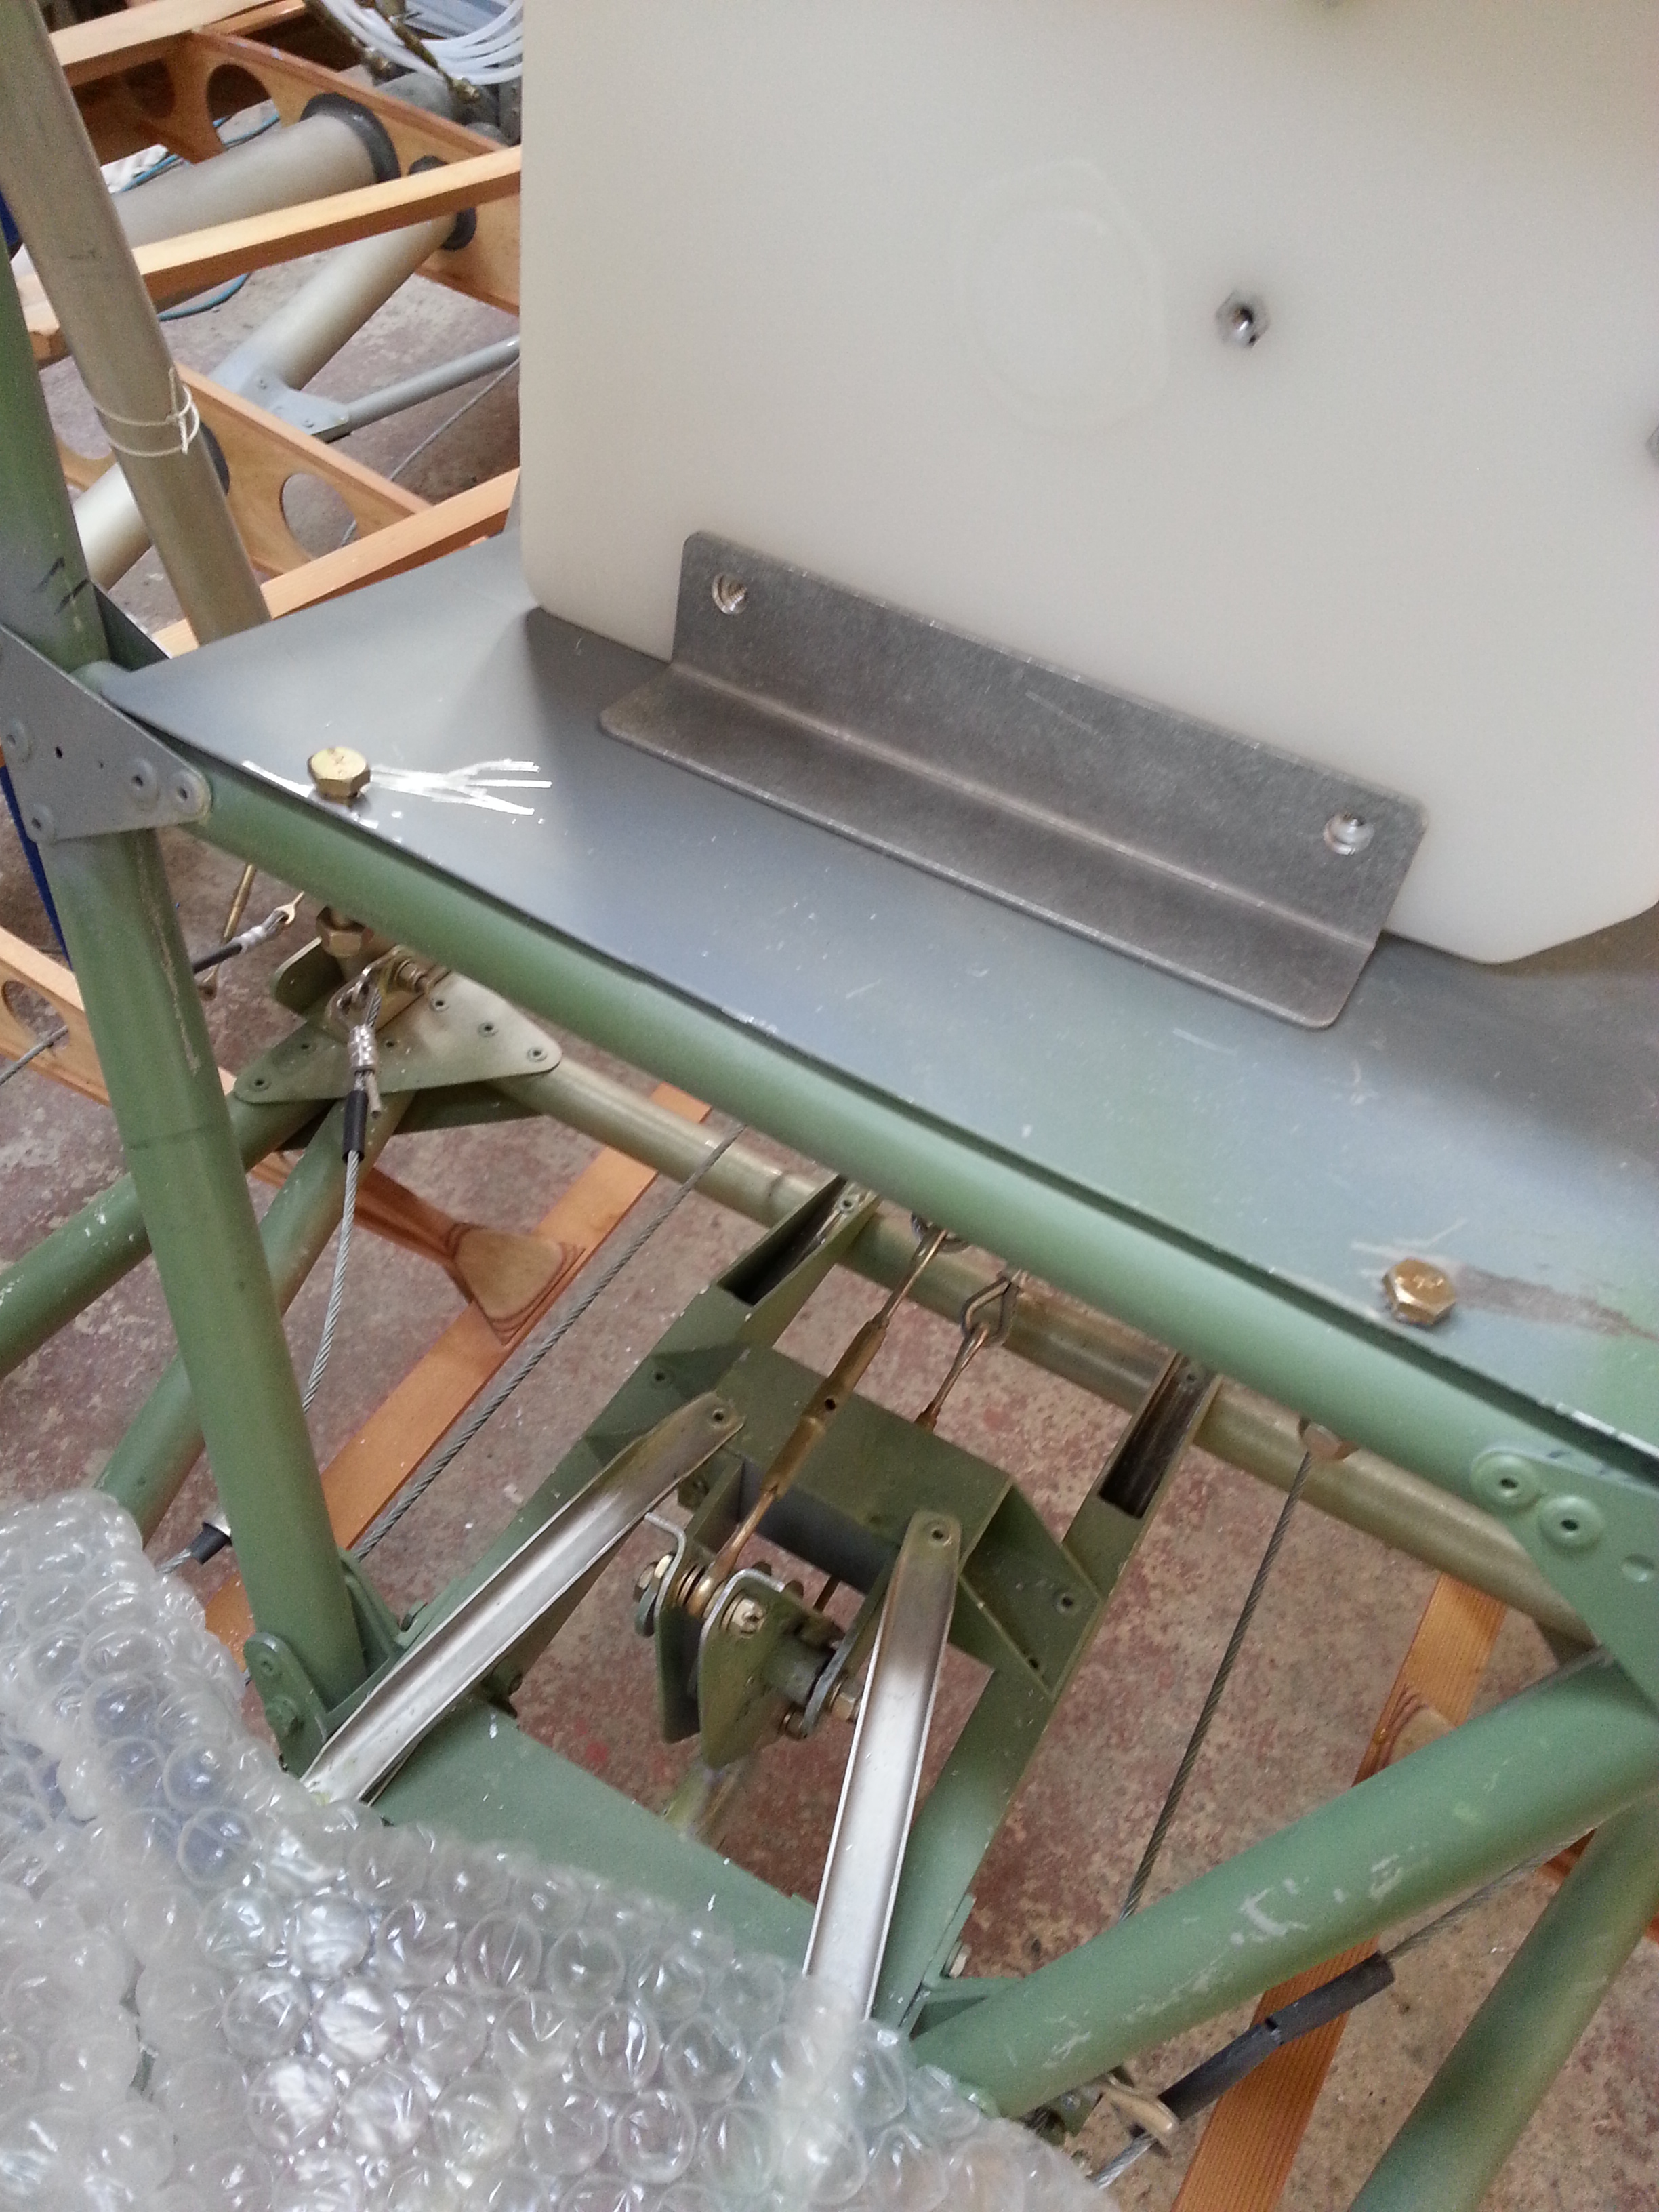
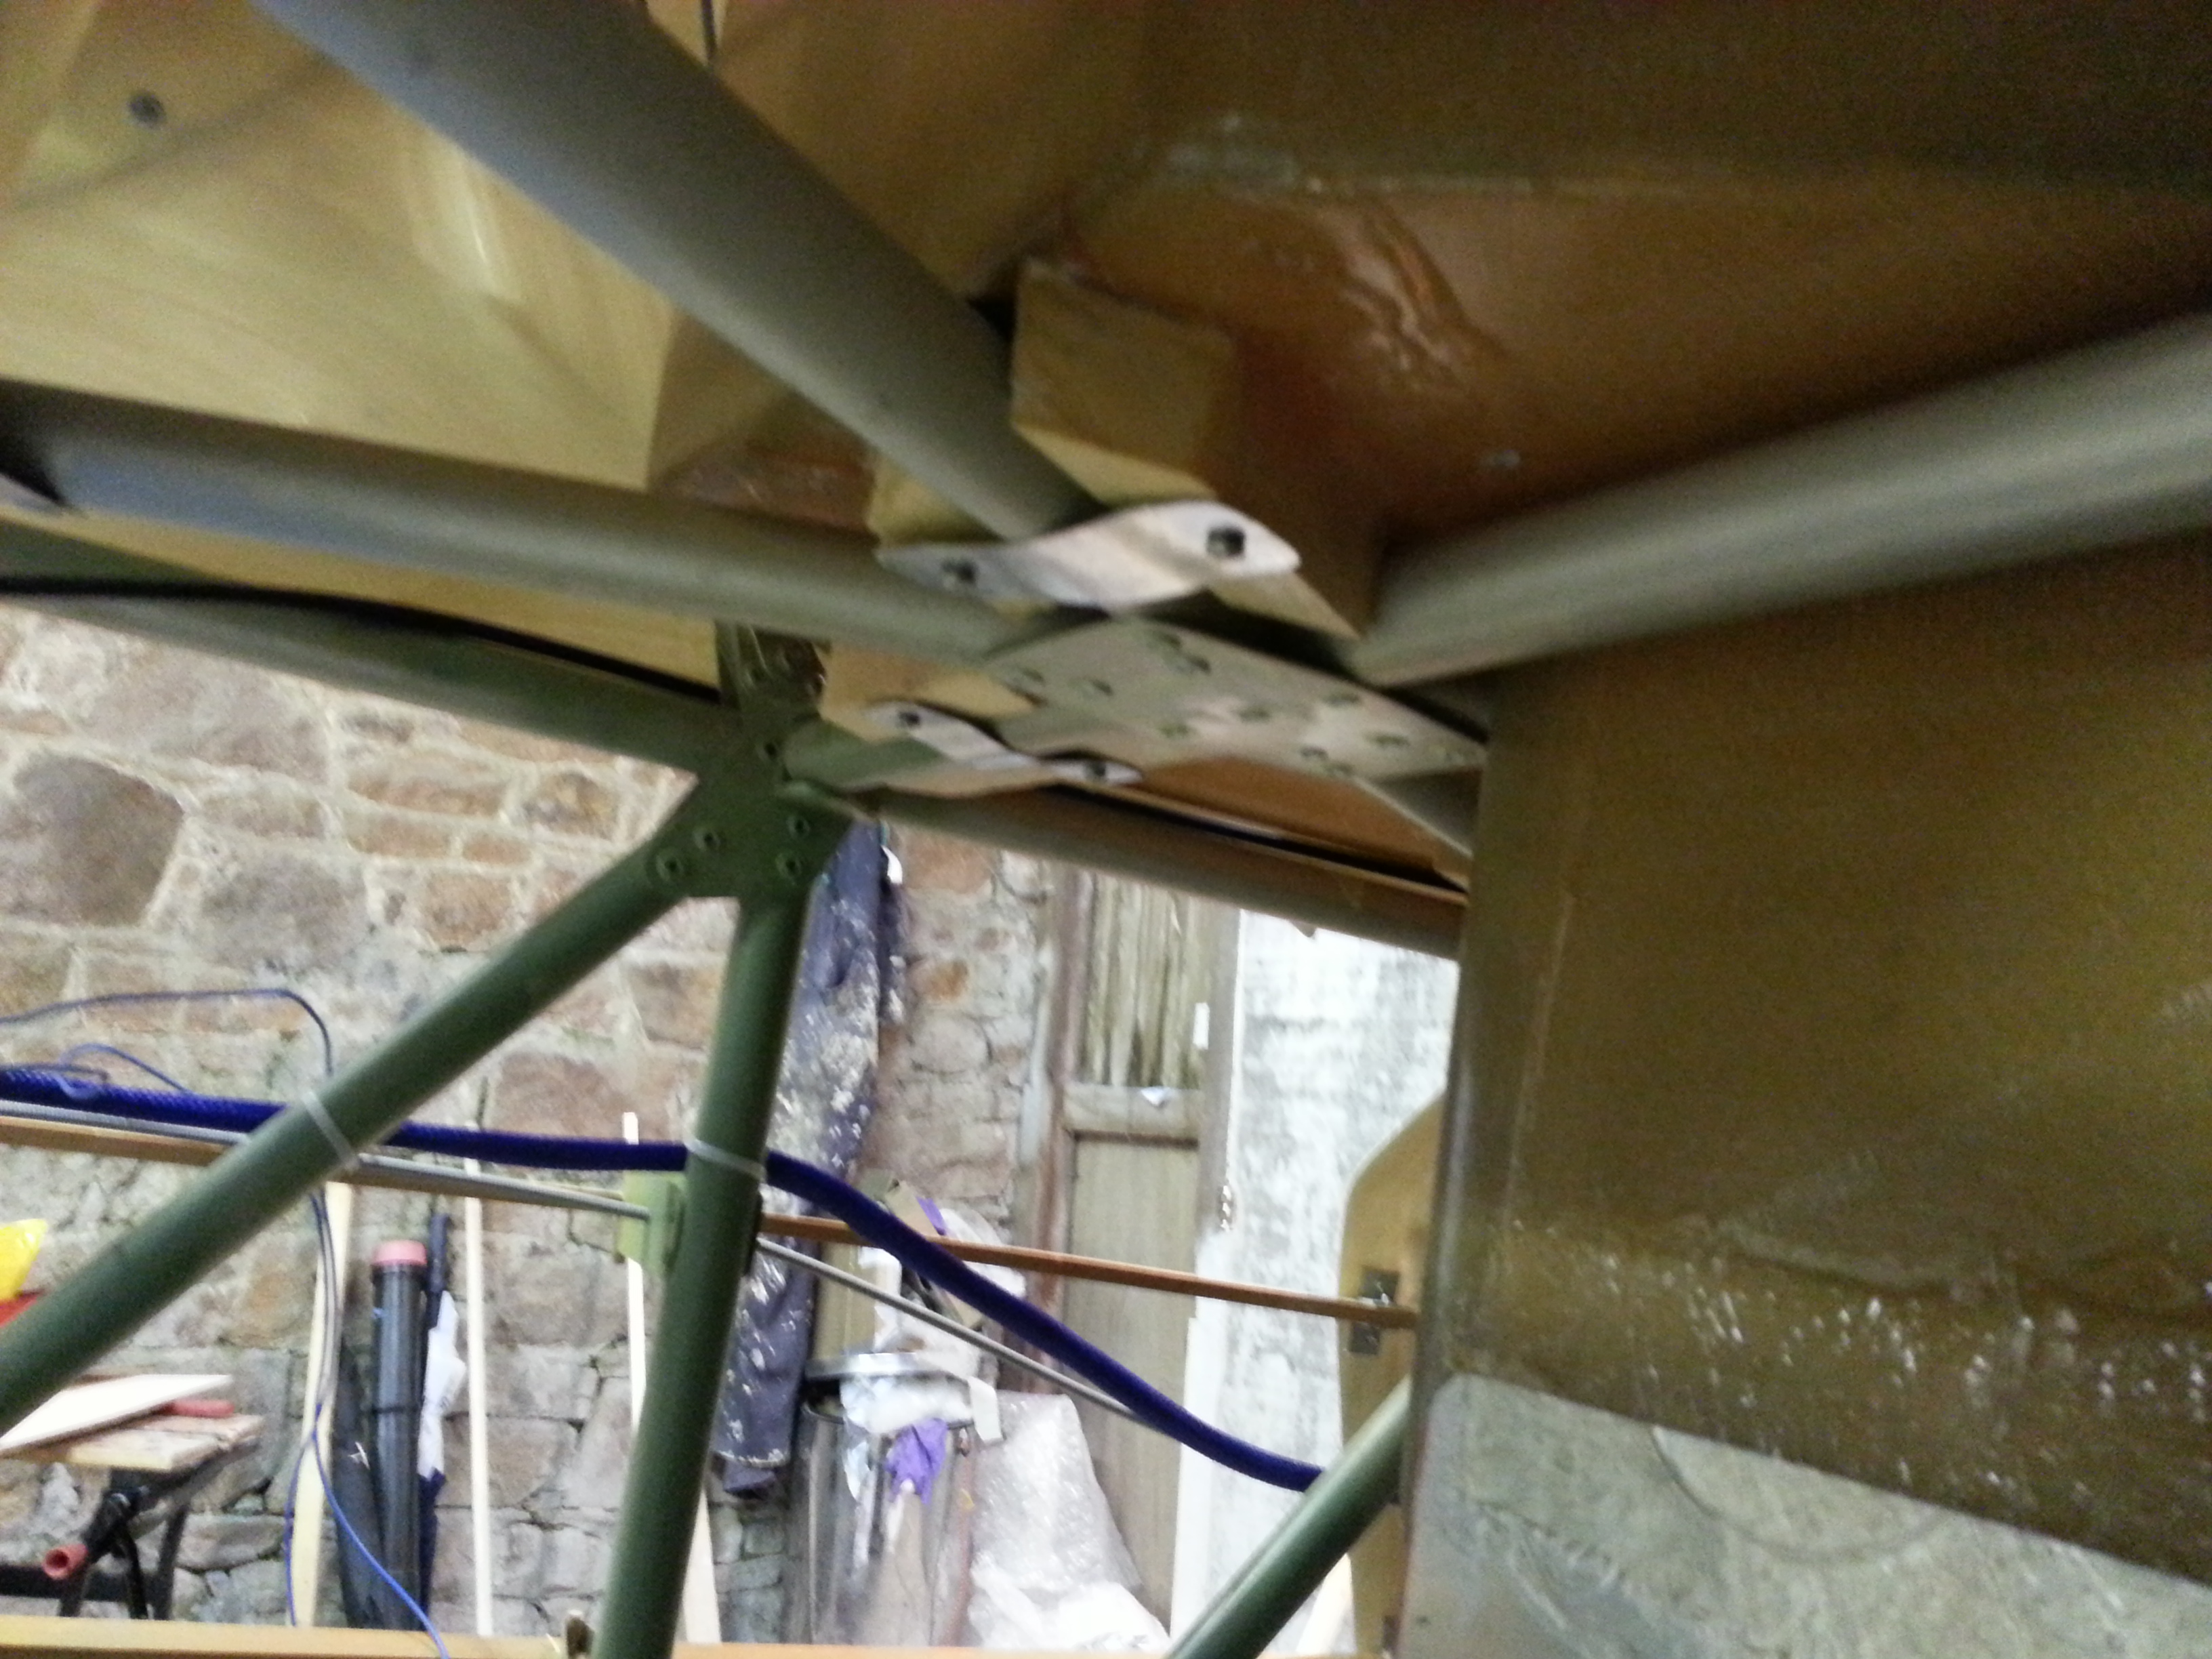
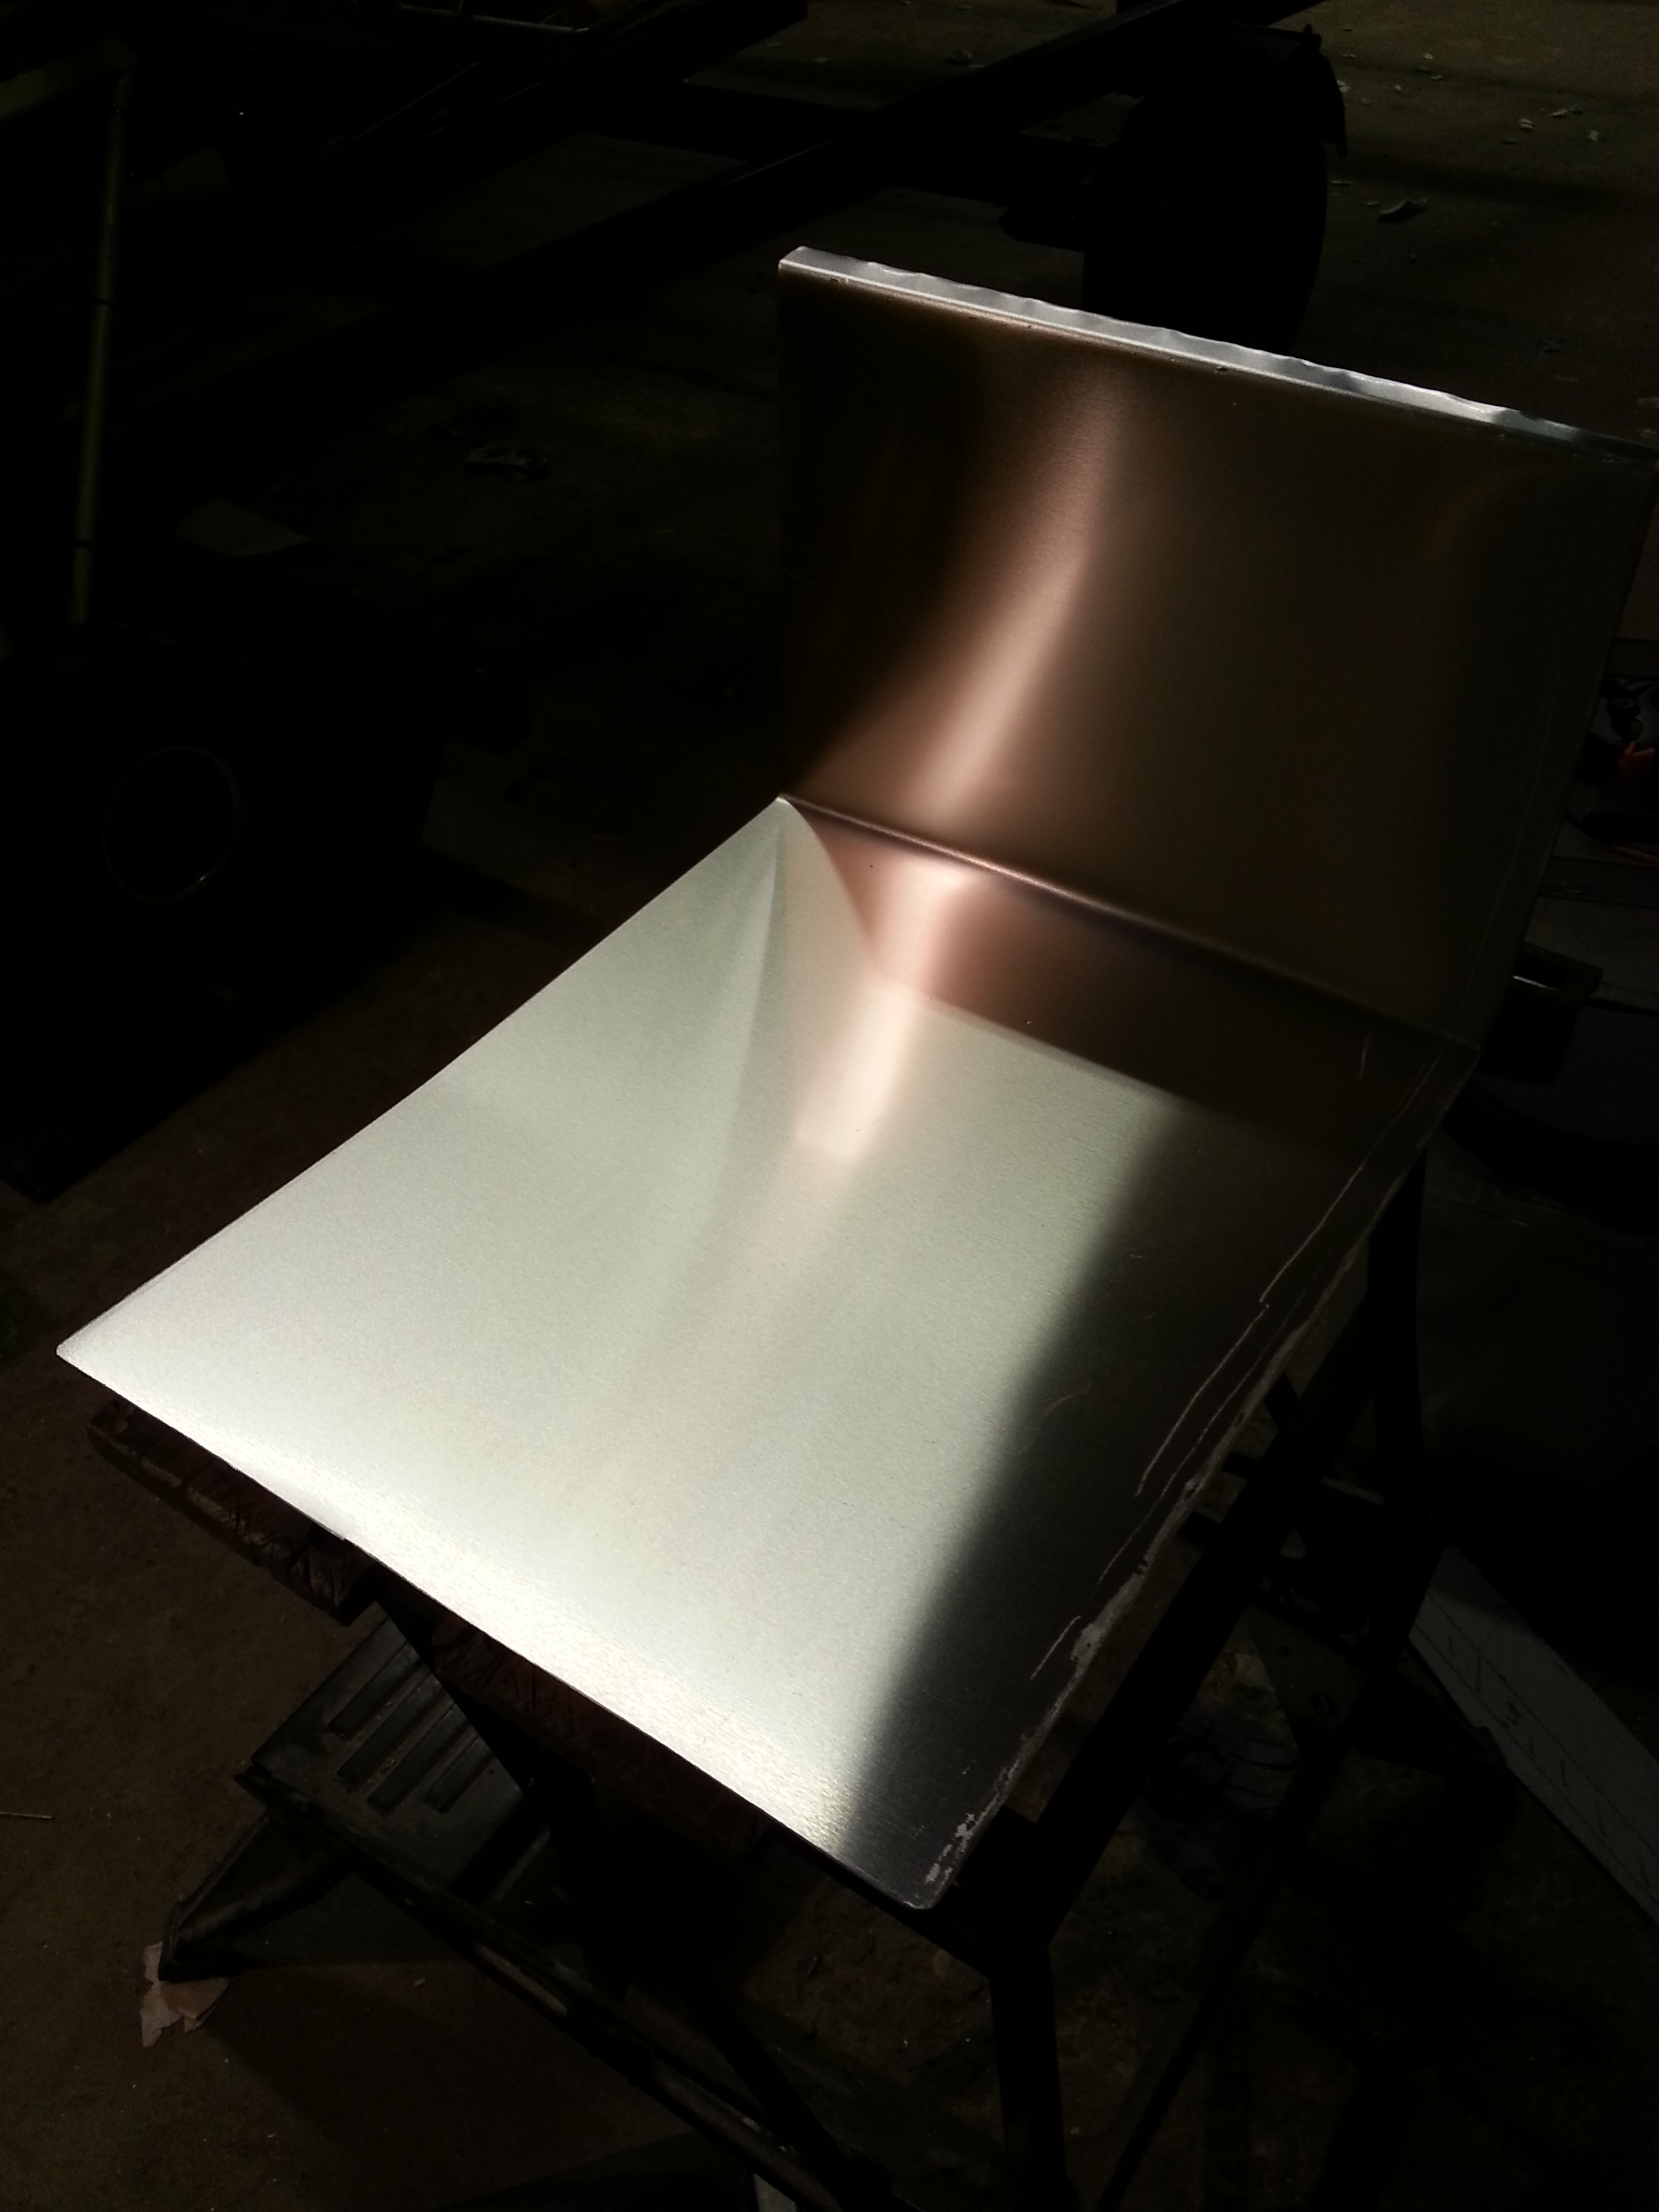
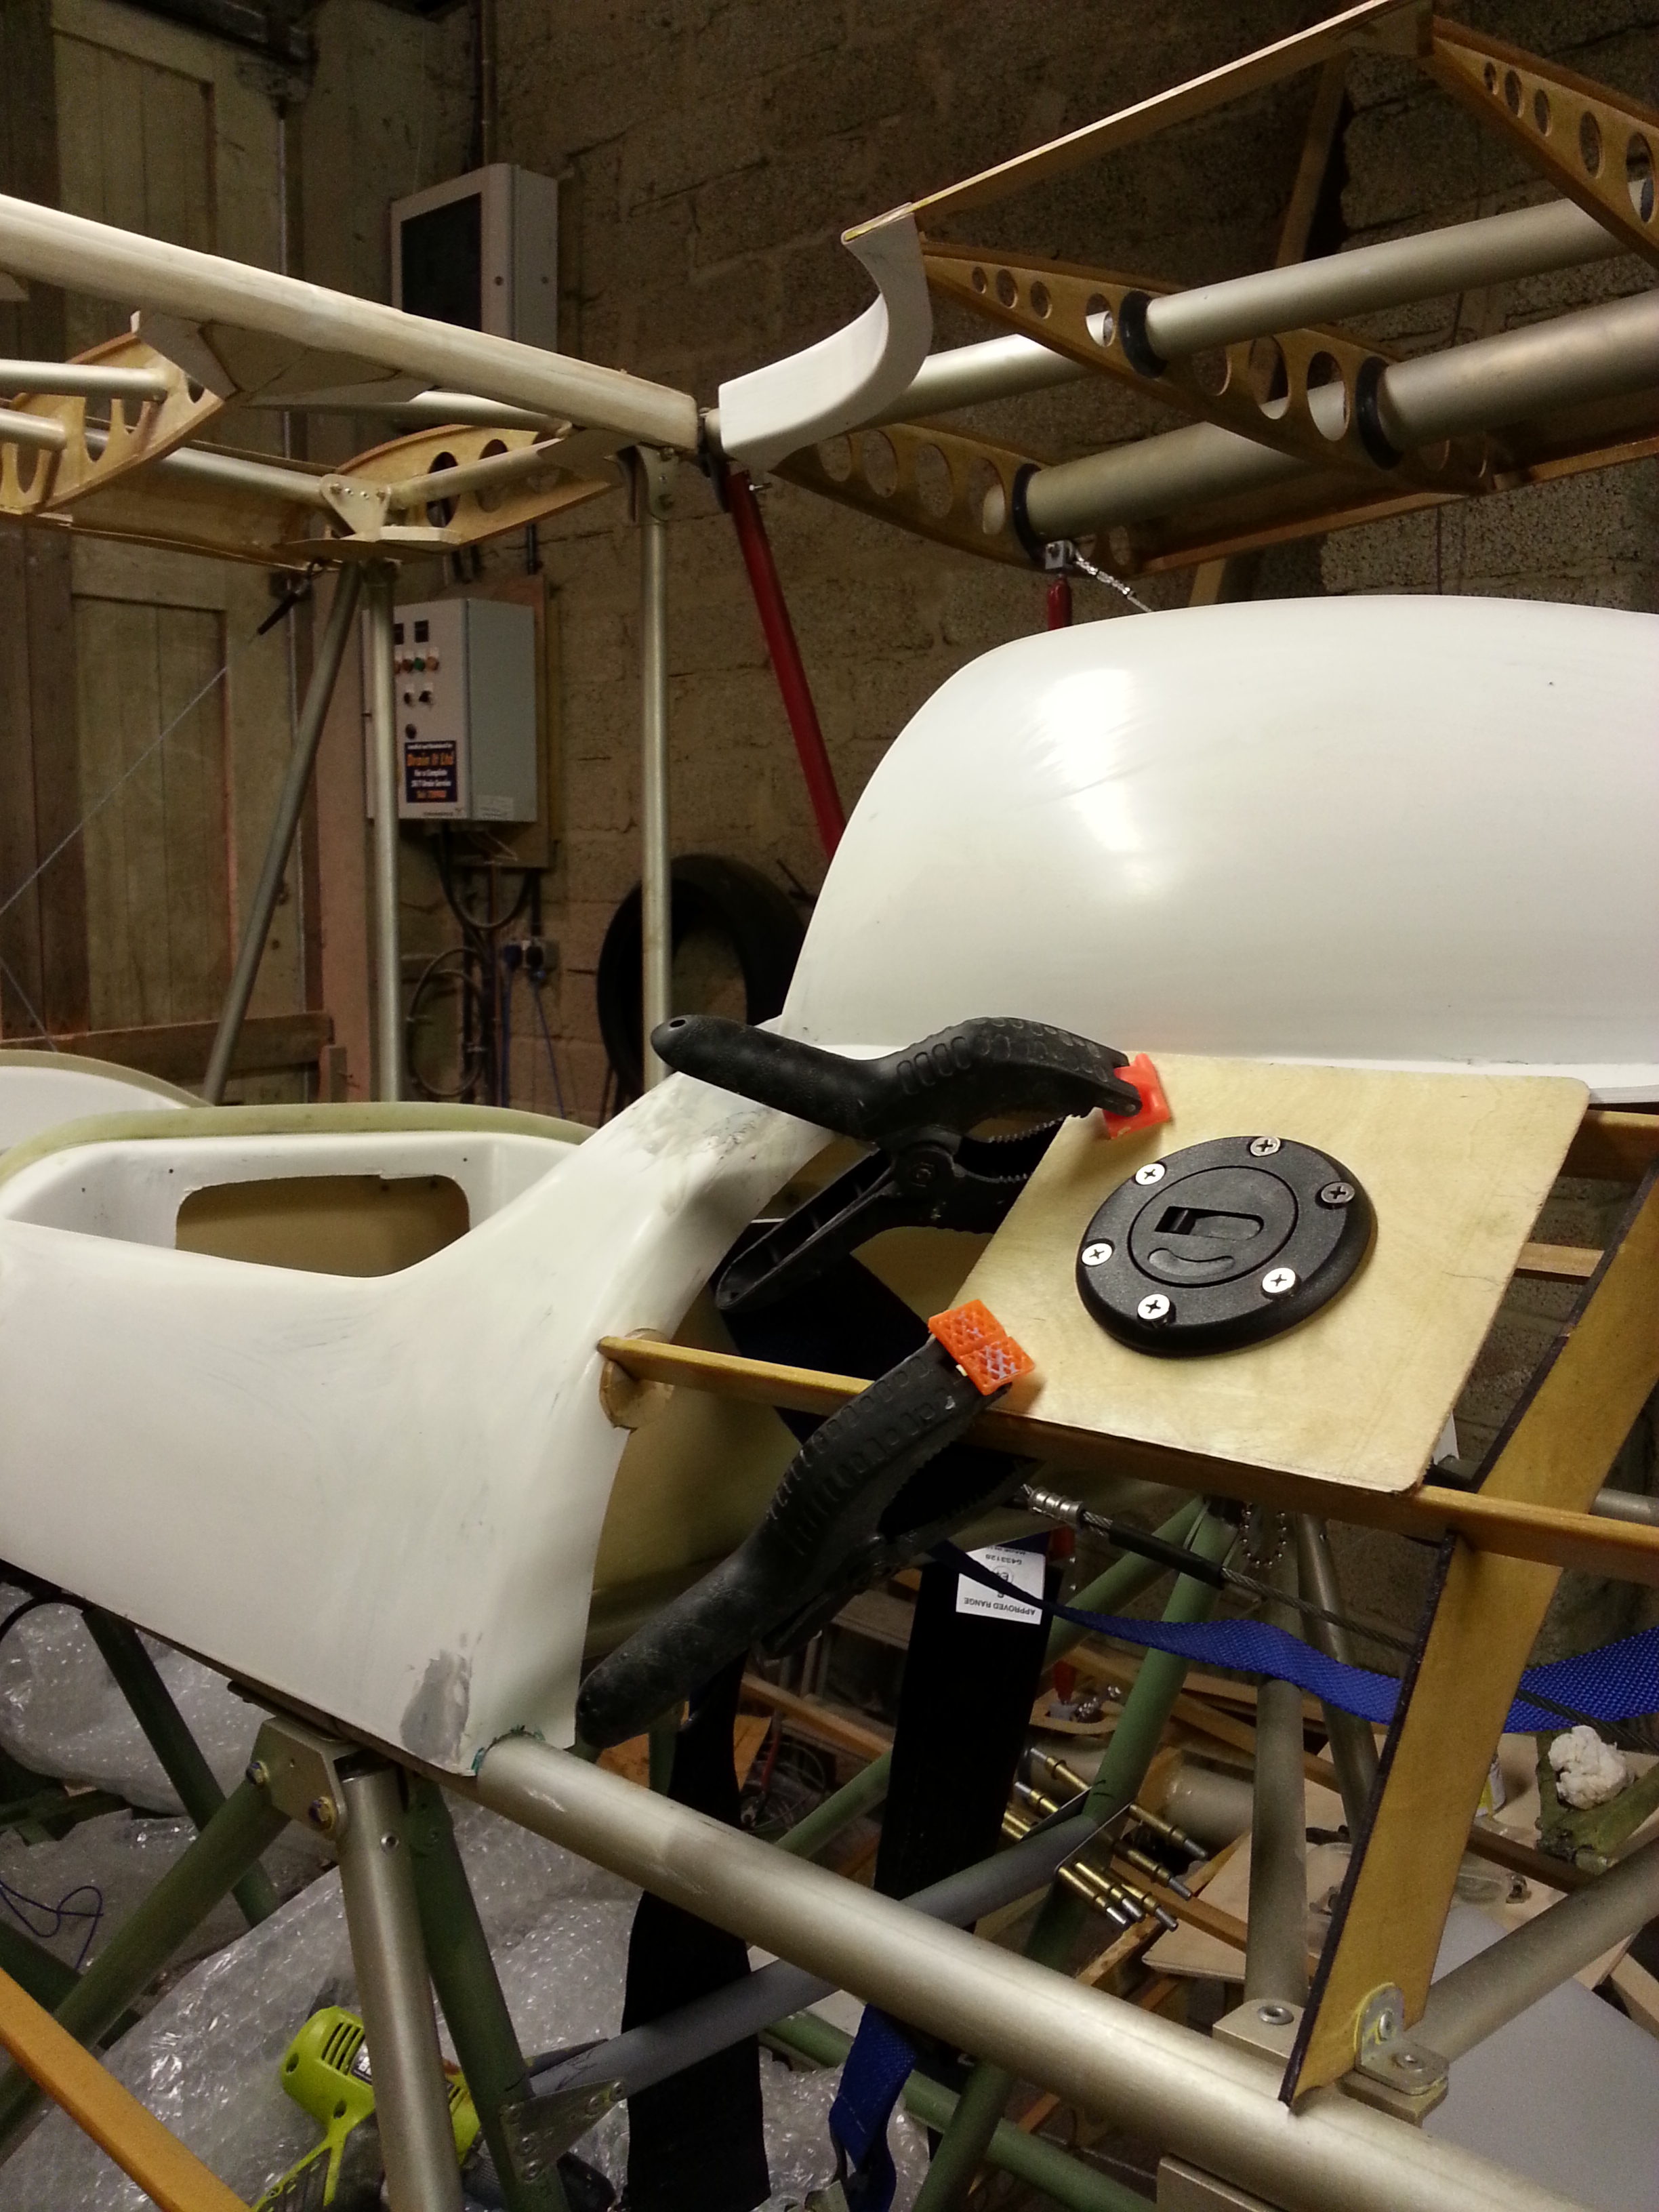
Then carried on with securing the front lower wood longerons that I had missed from the plan (thanks Danny B for advising !). I used a slightly thicker piece of wood so needed to get some longer rivets and make up the alloy brackets to fit snugly against the inside cheek of the cowl. These will be riveted once all set.

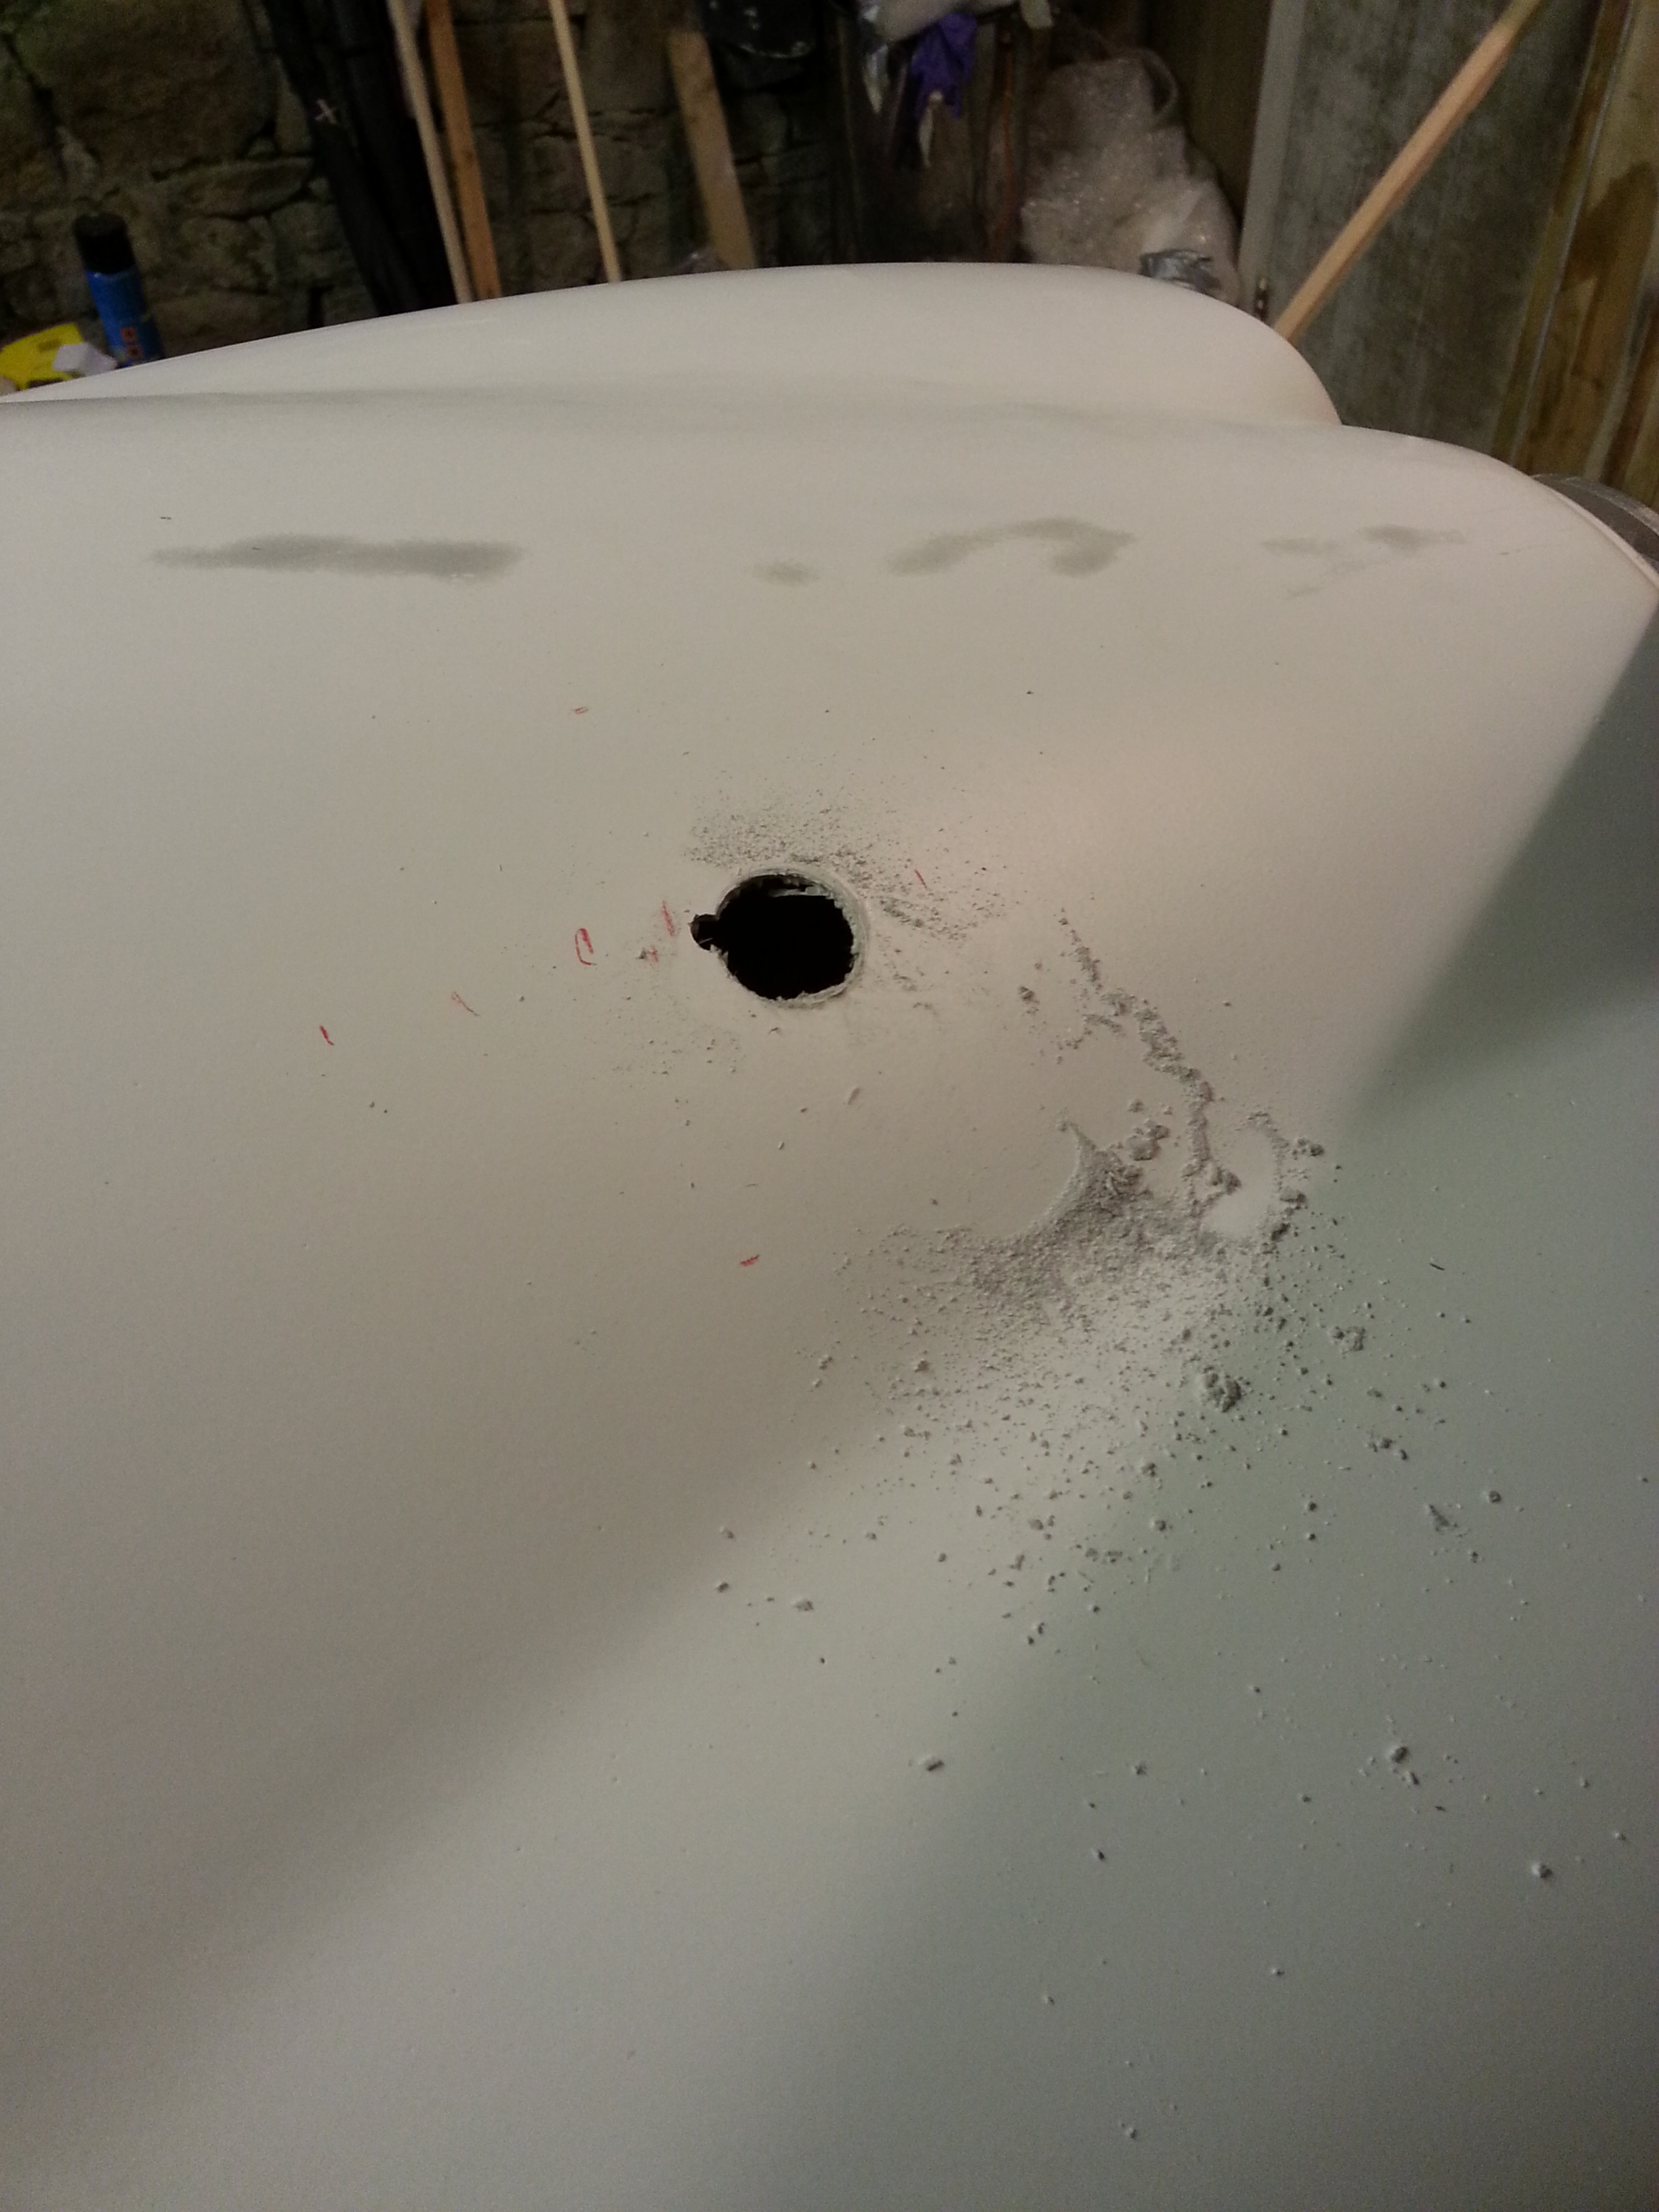
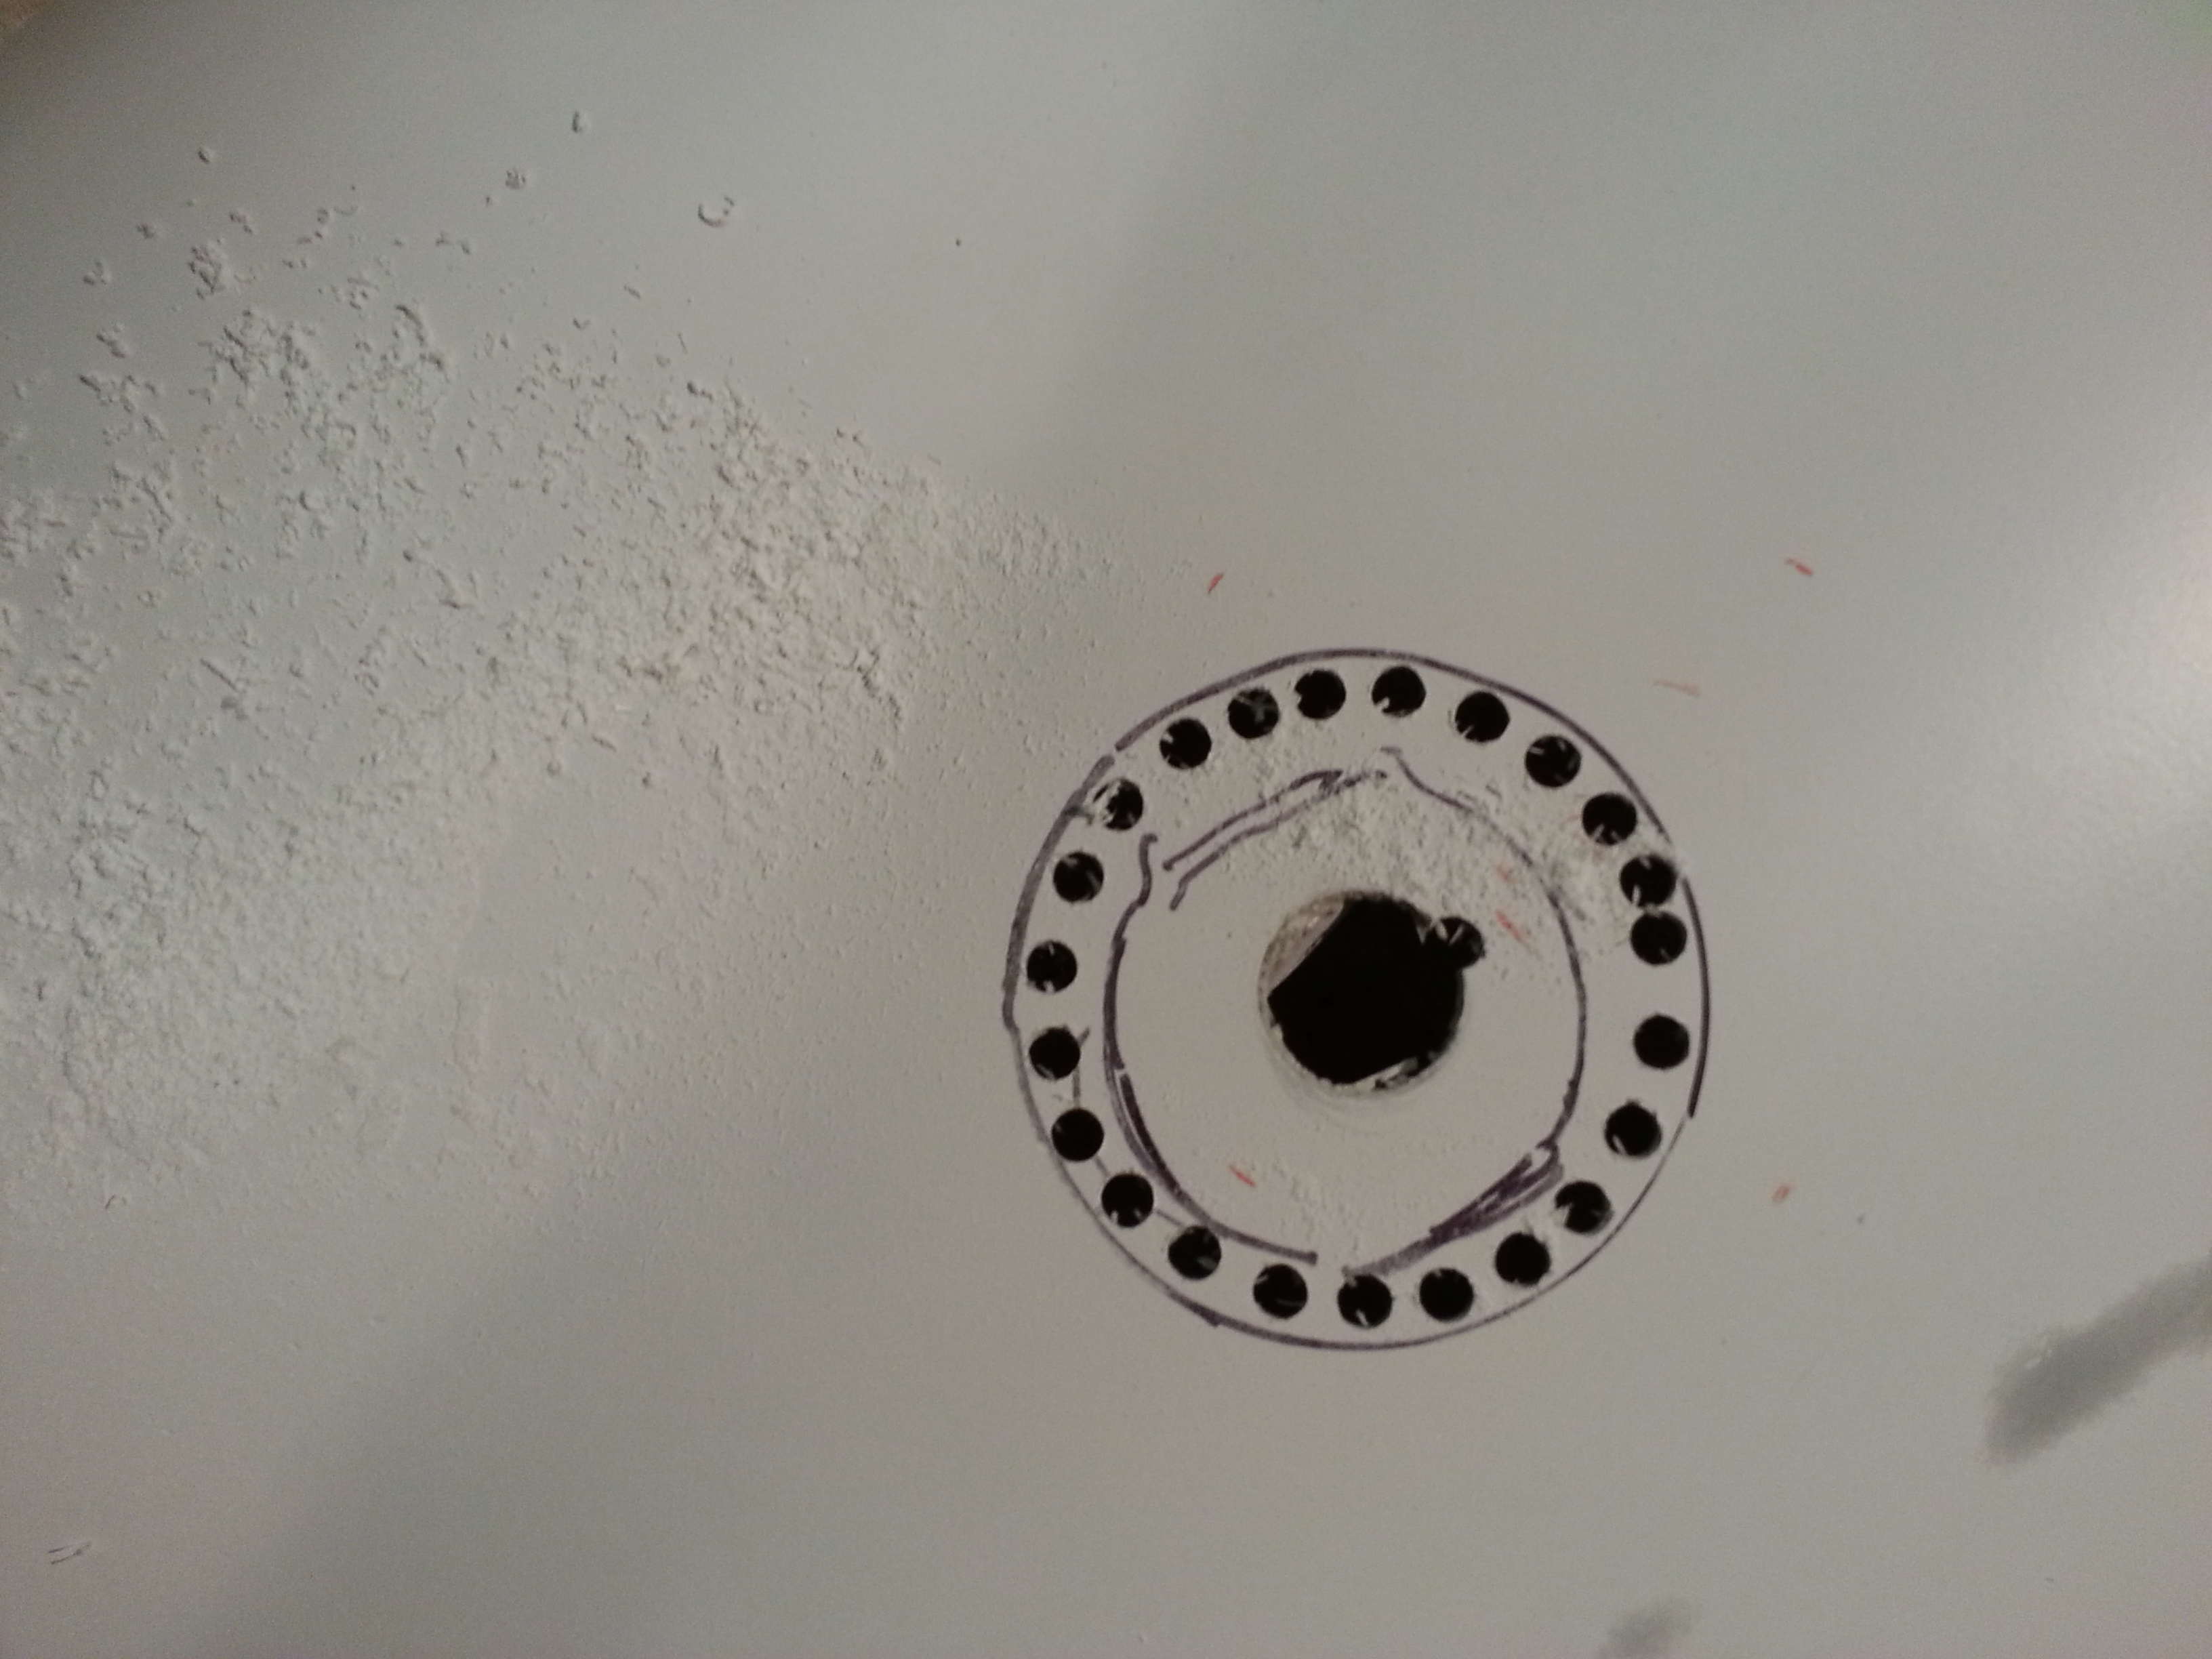
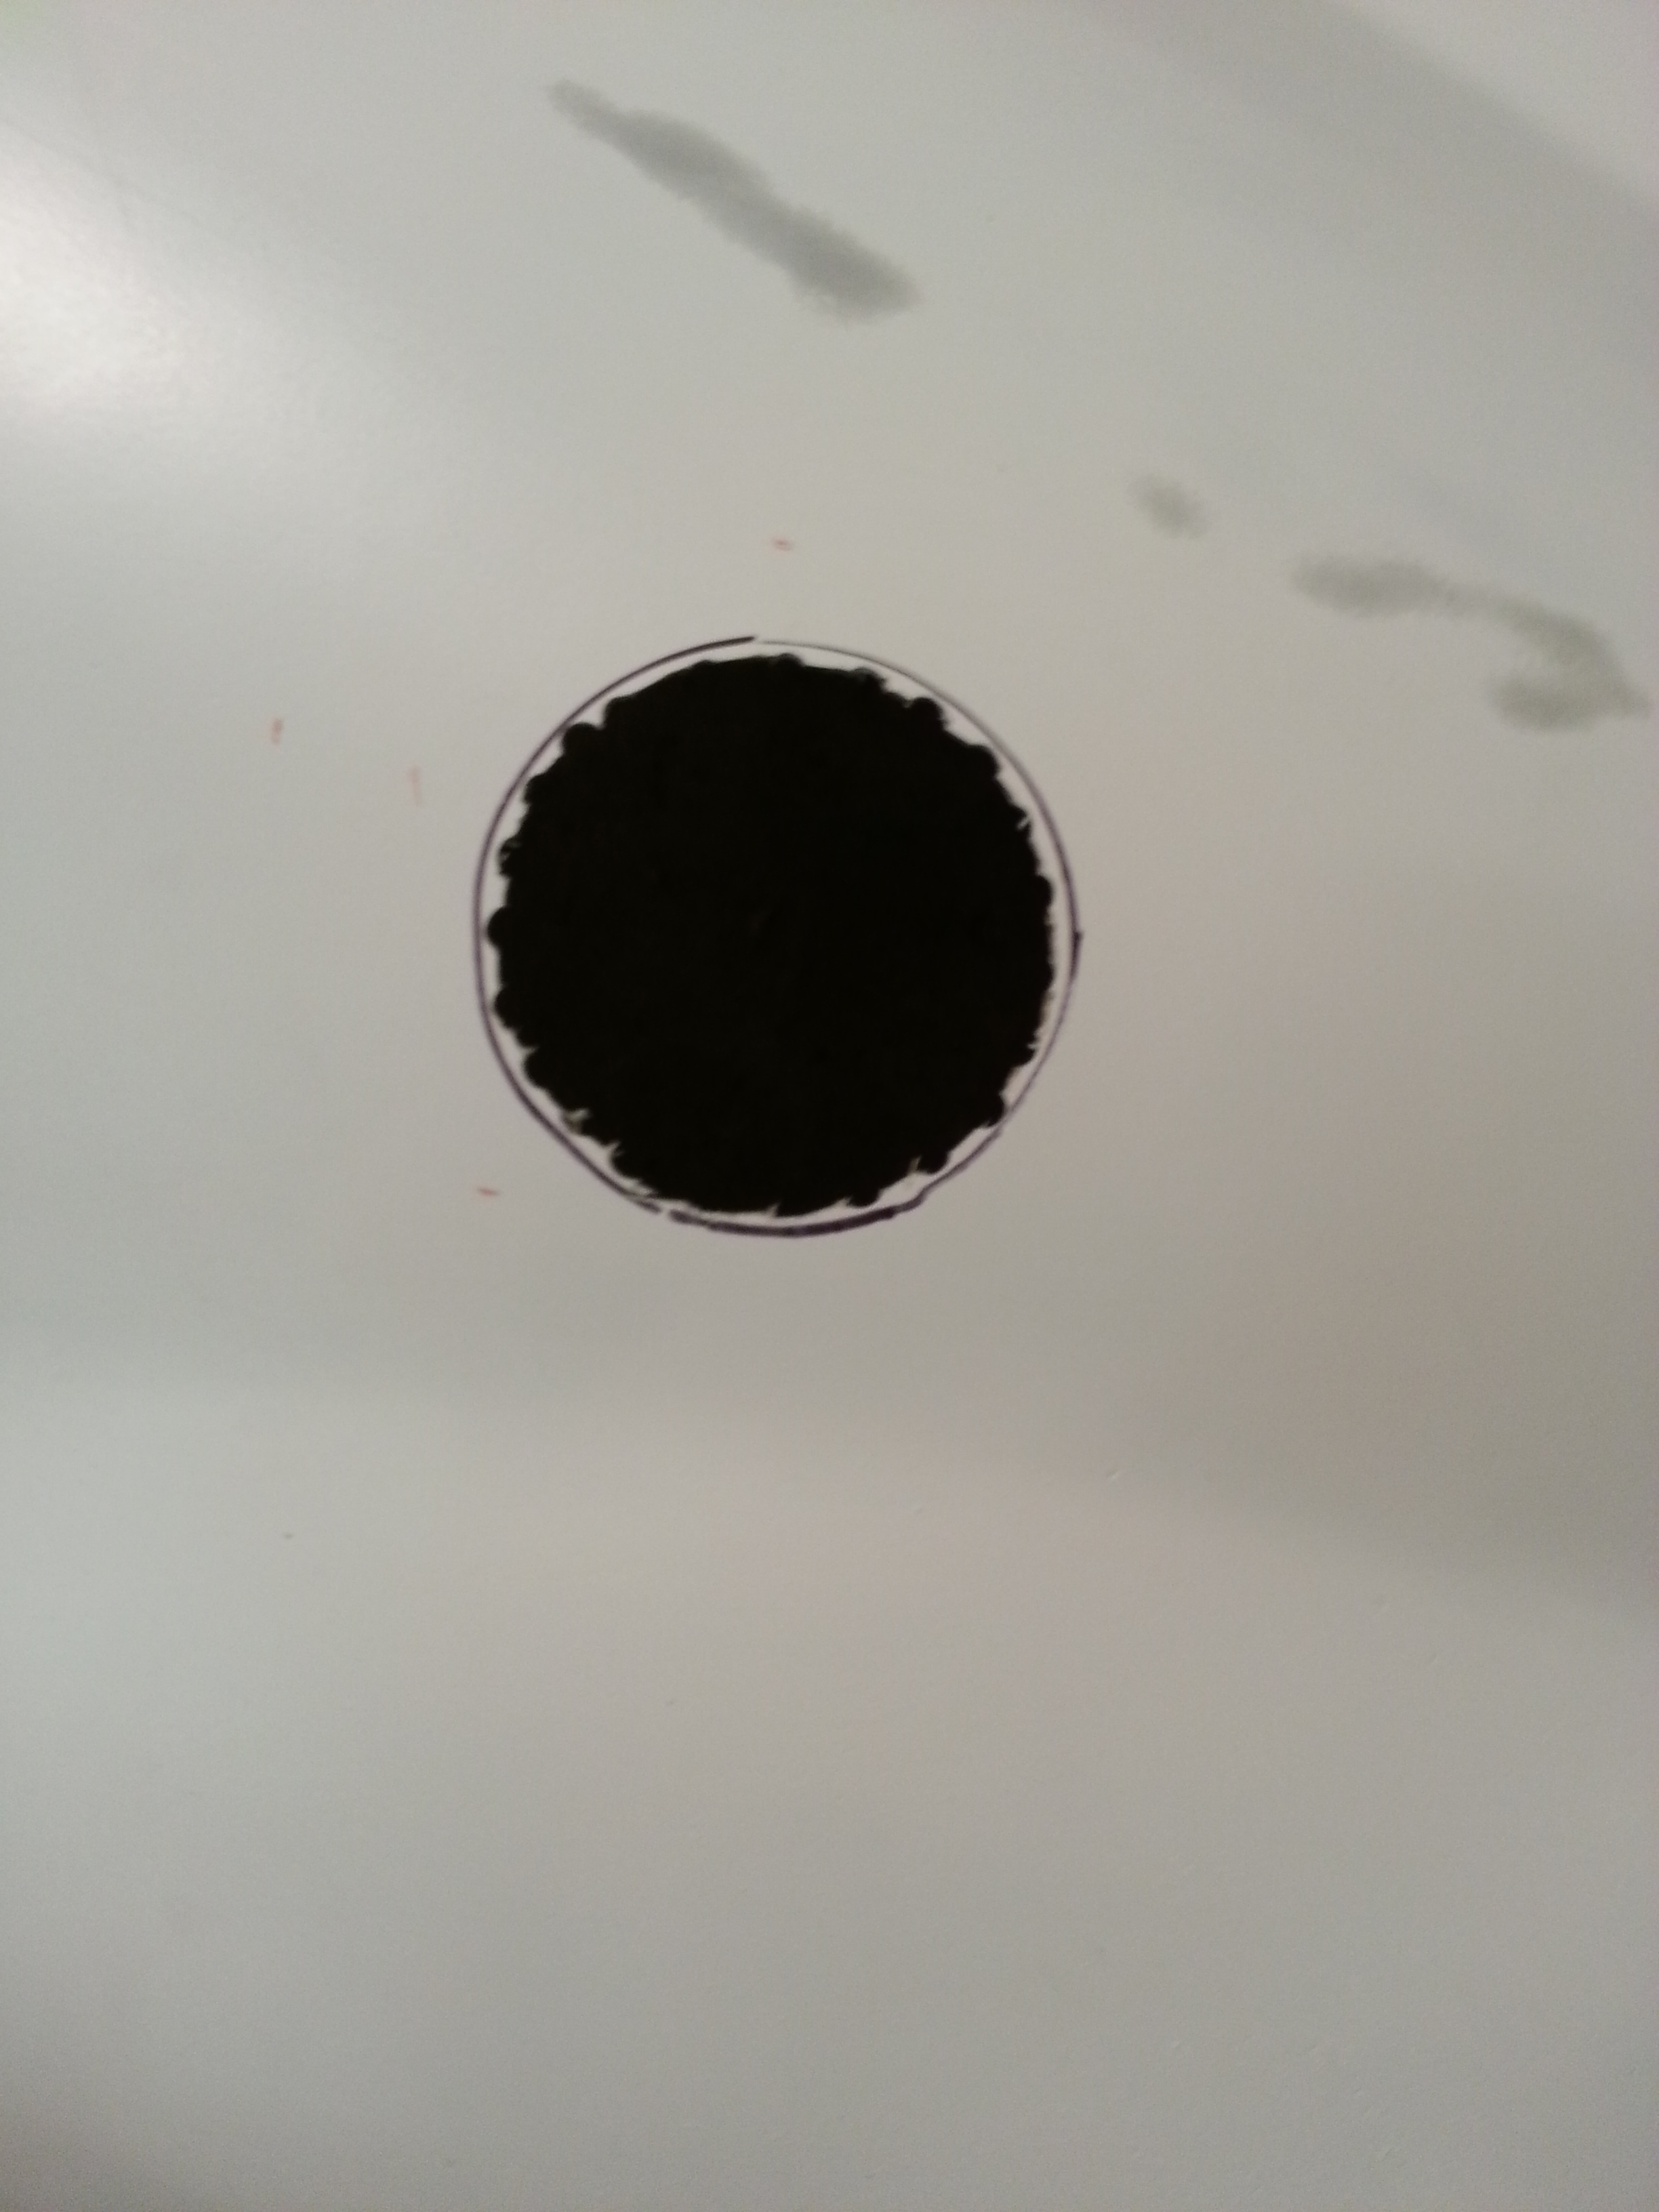
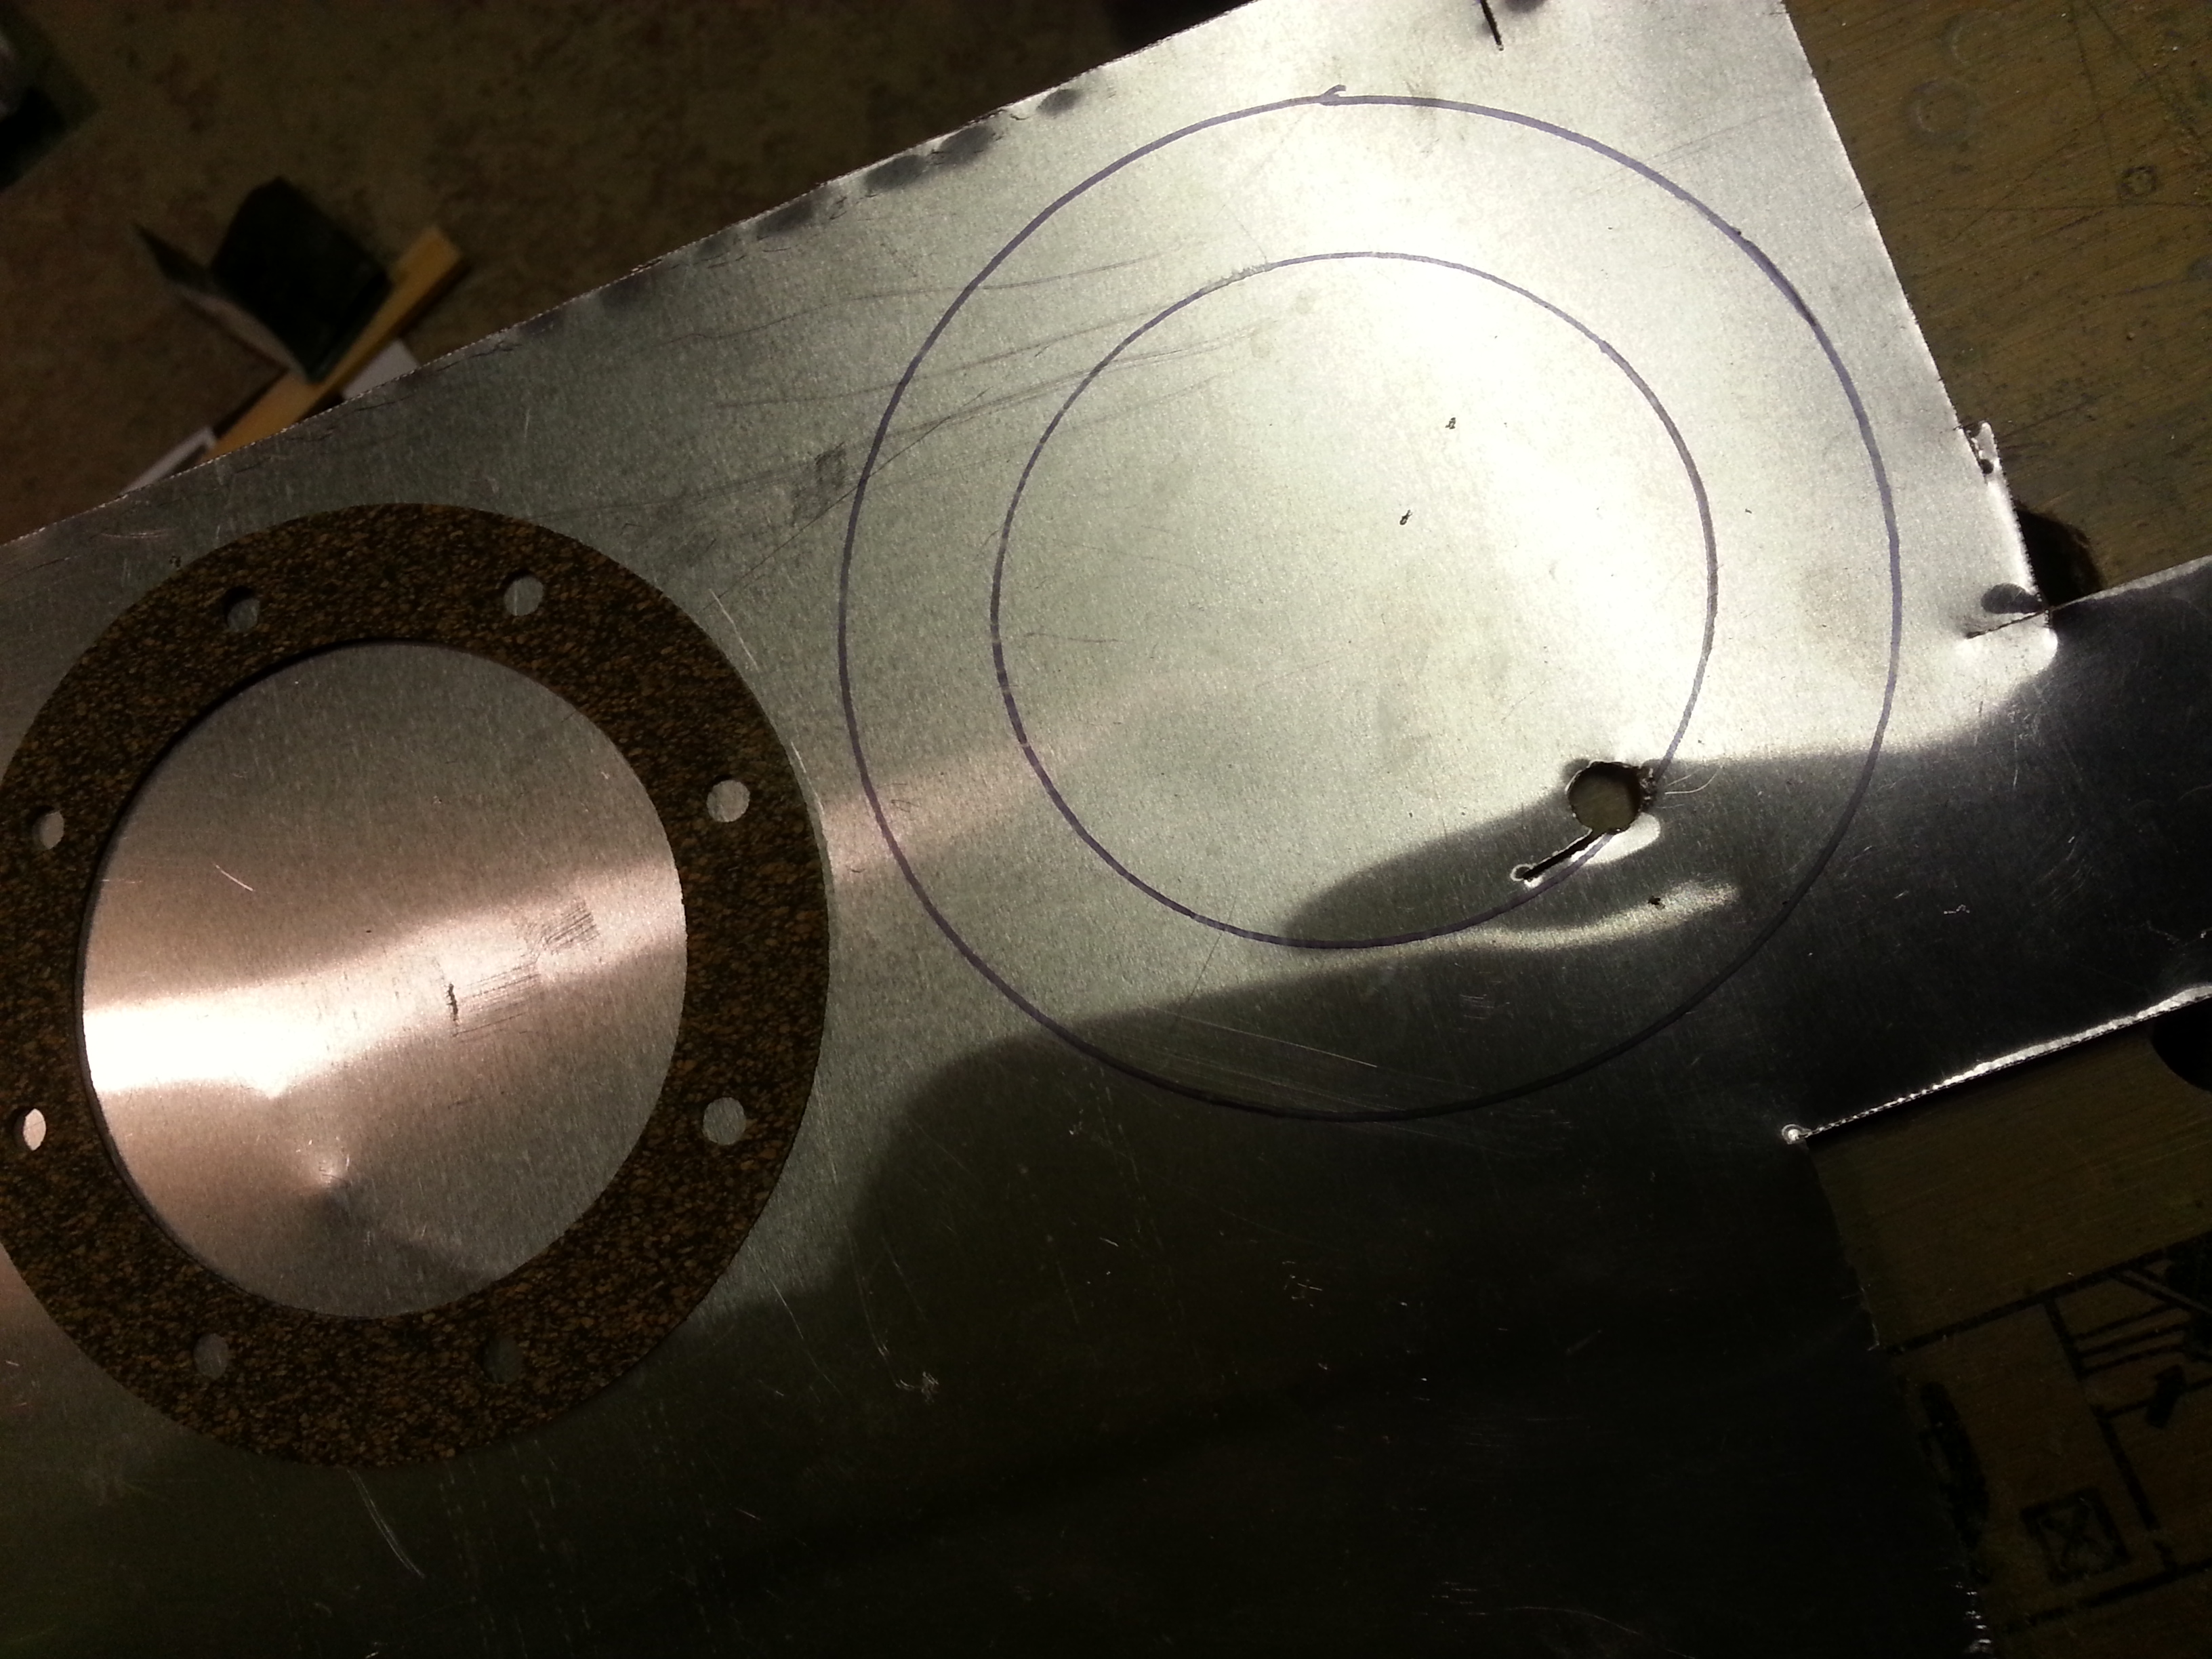
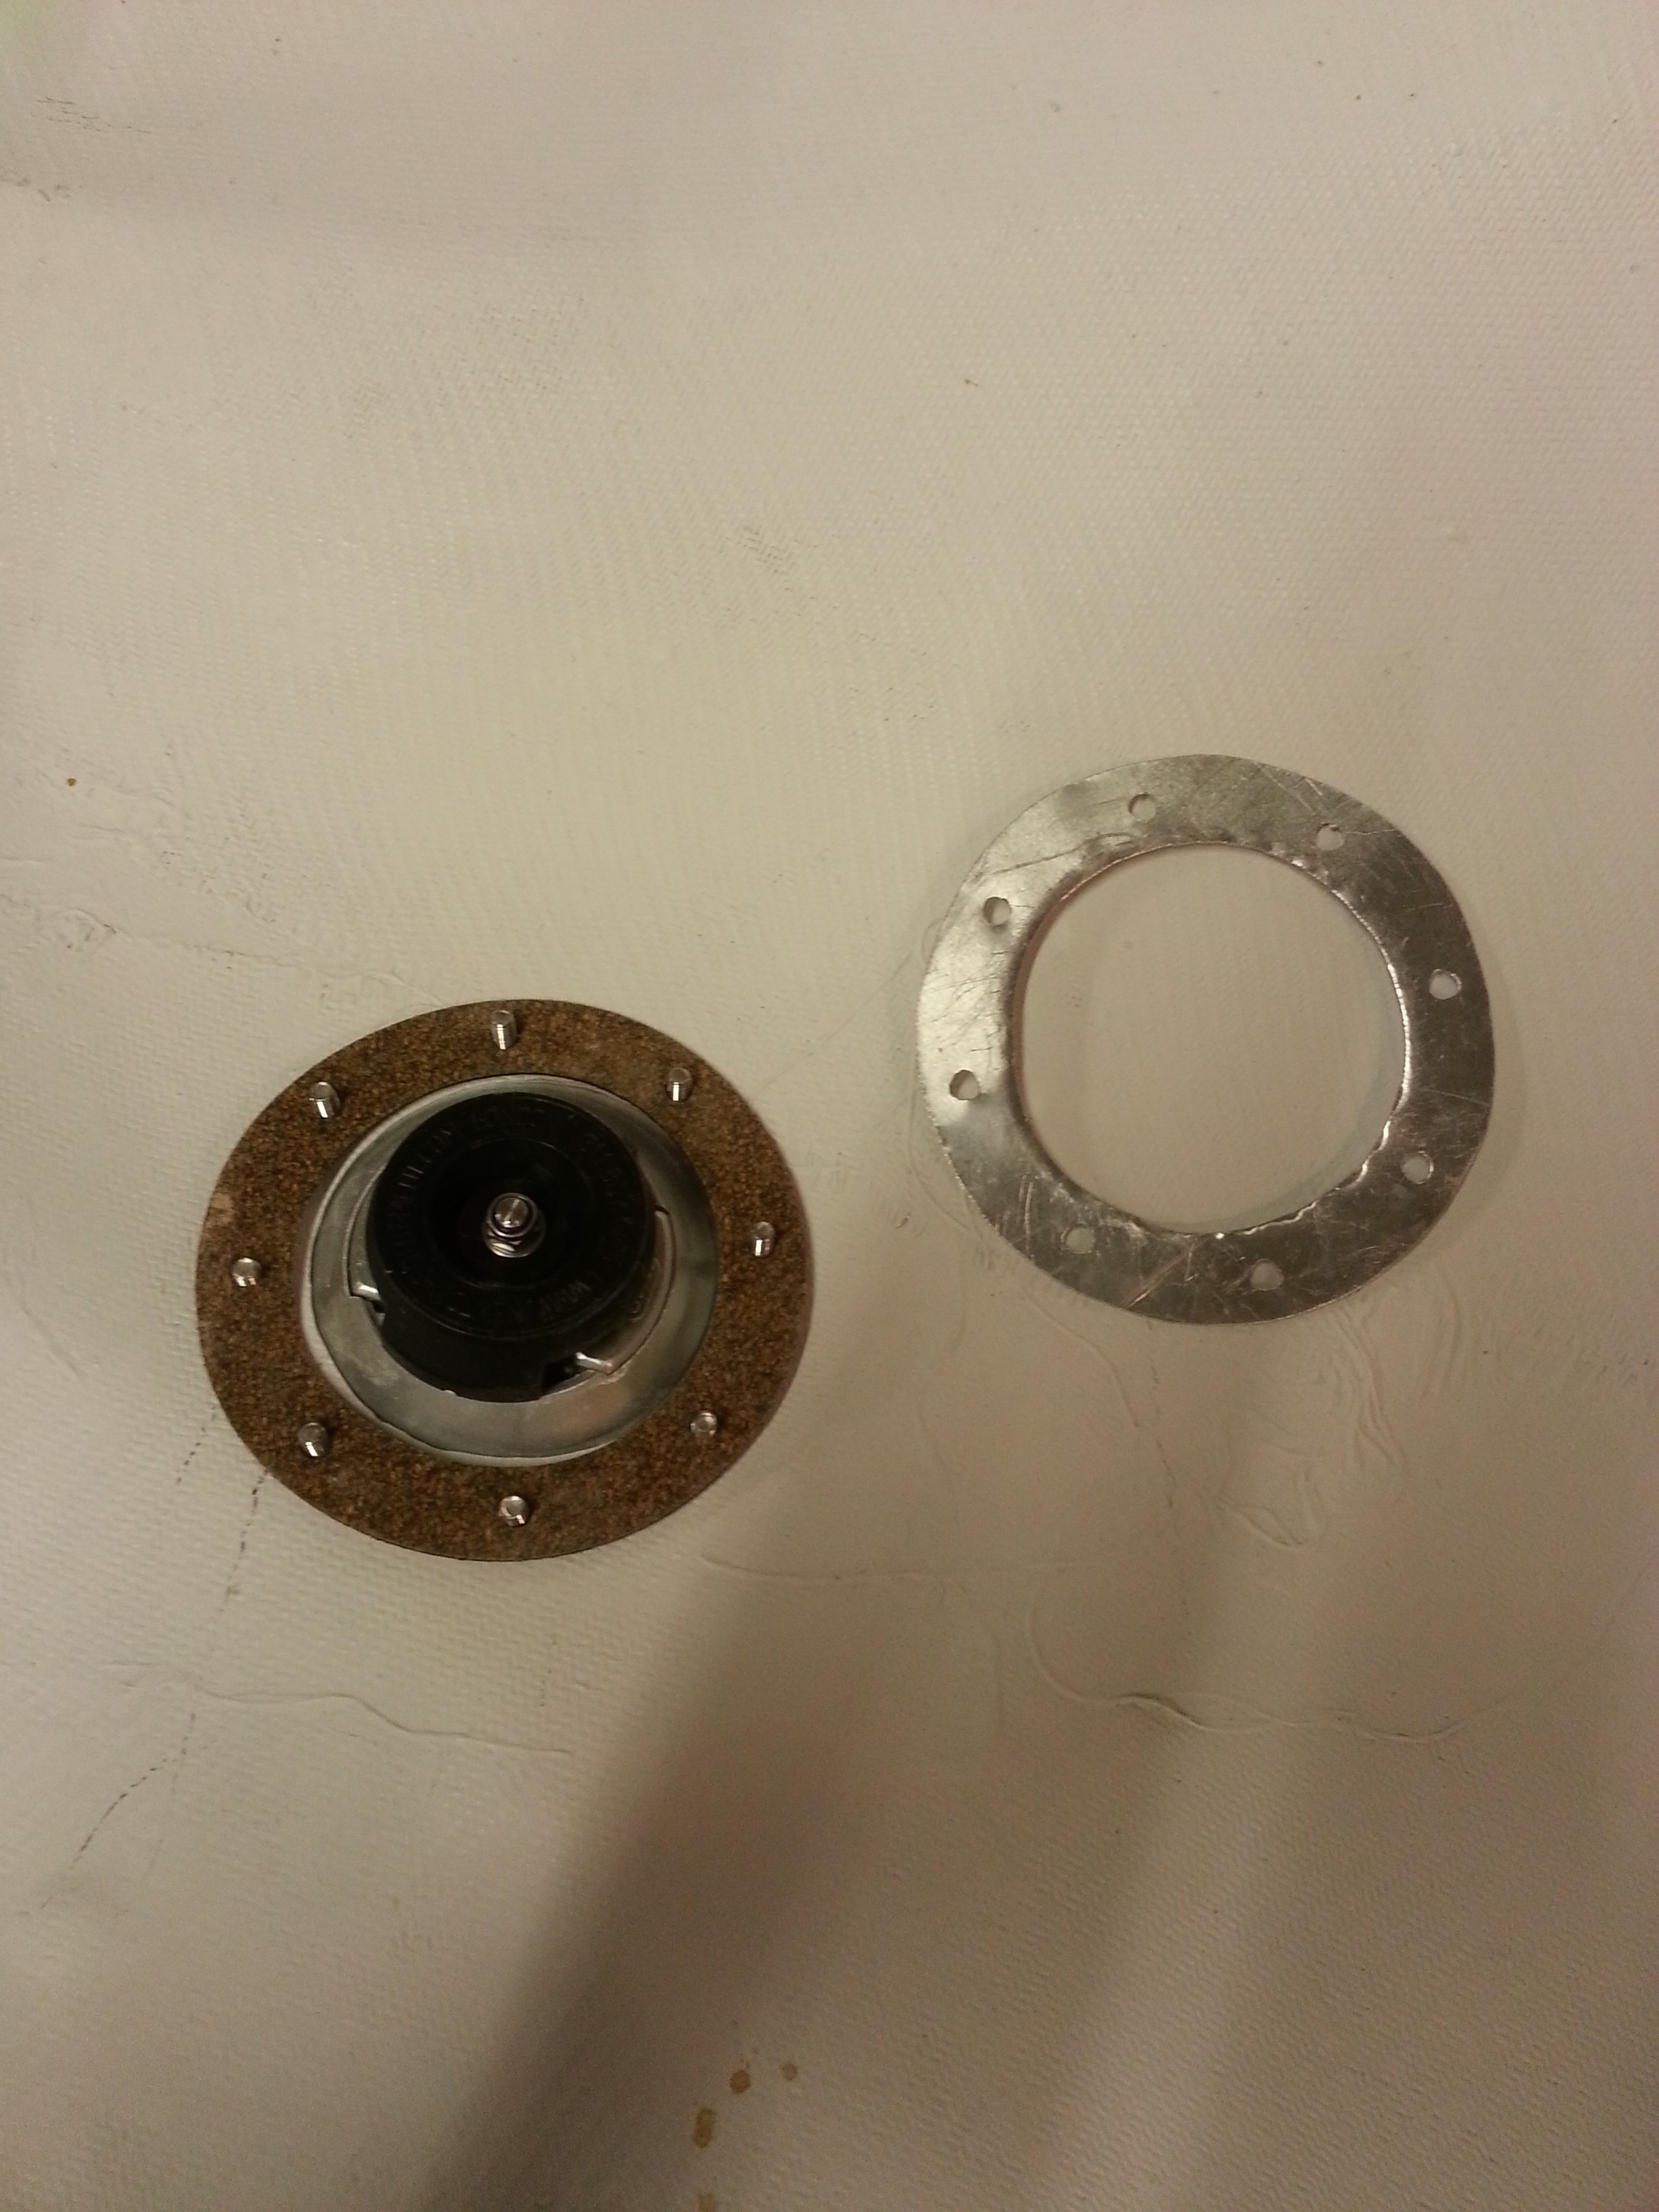
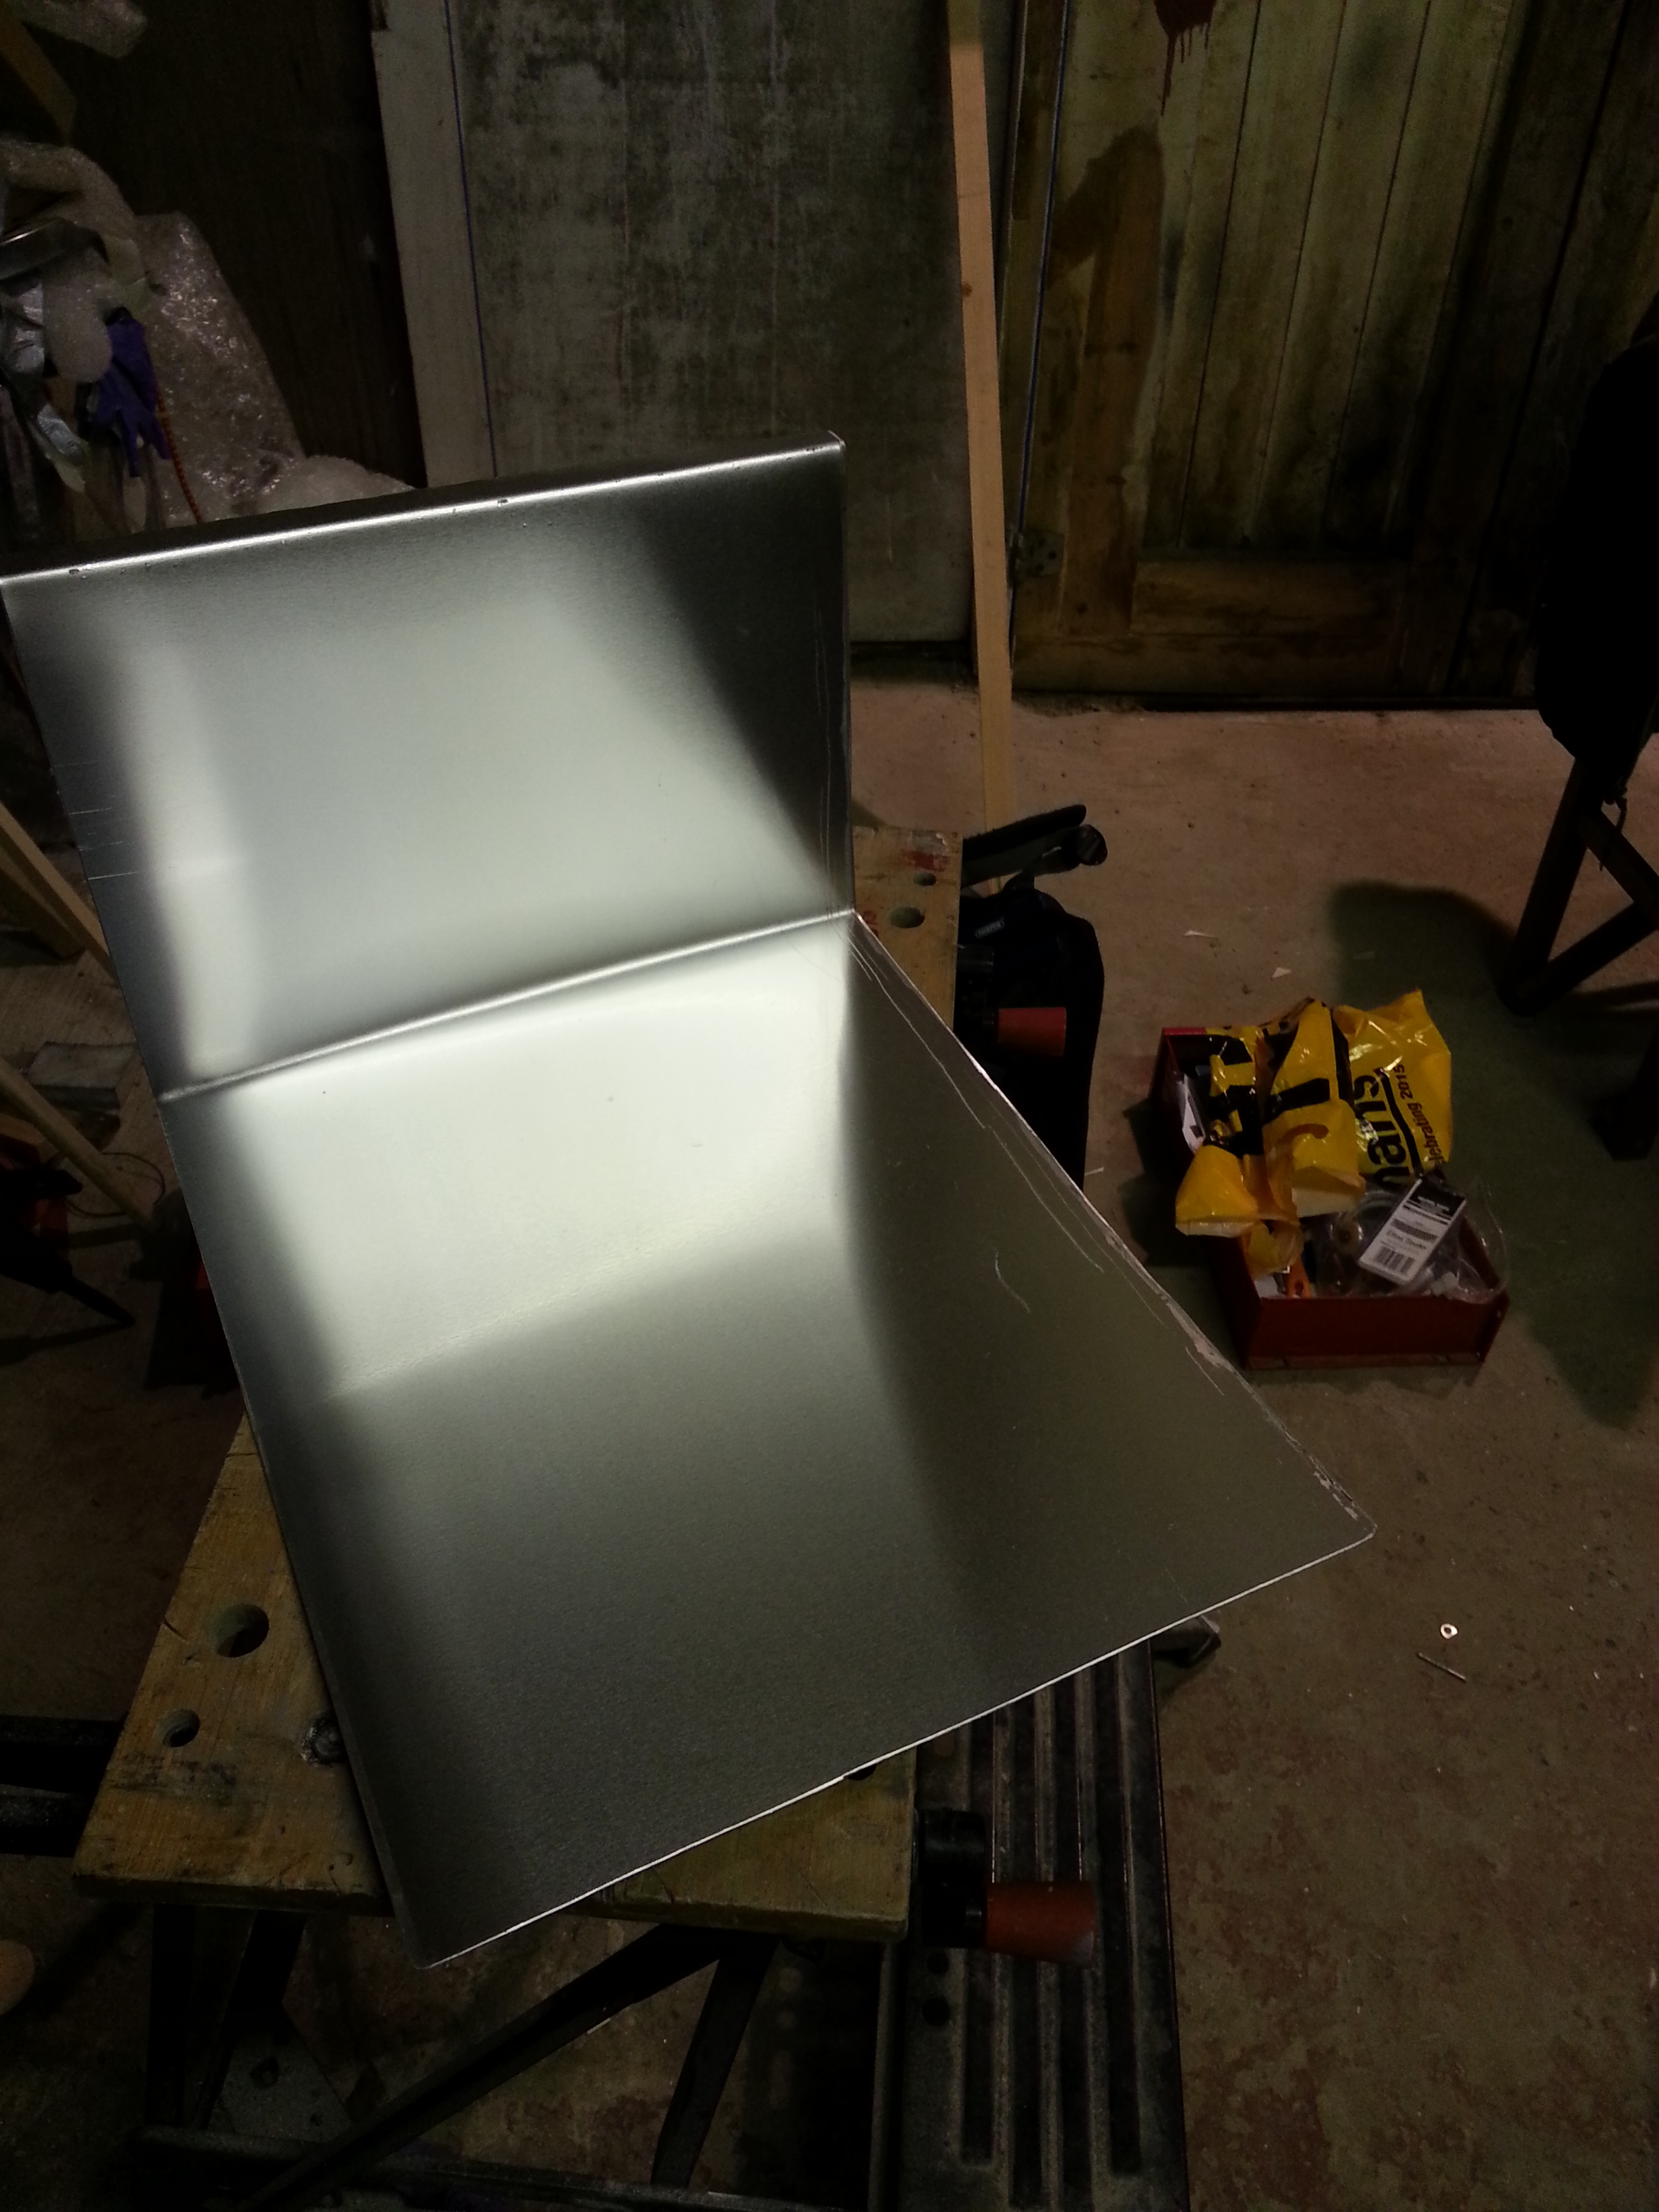
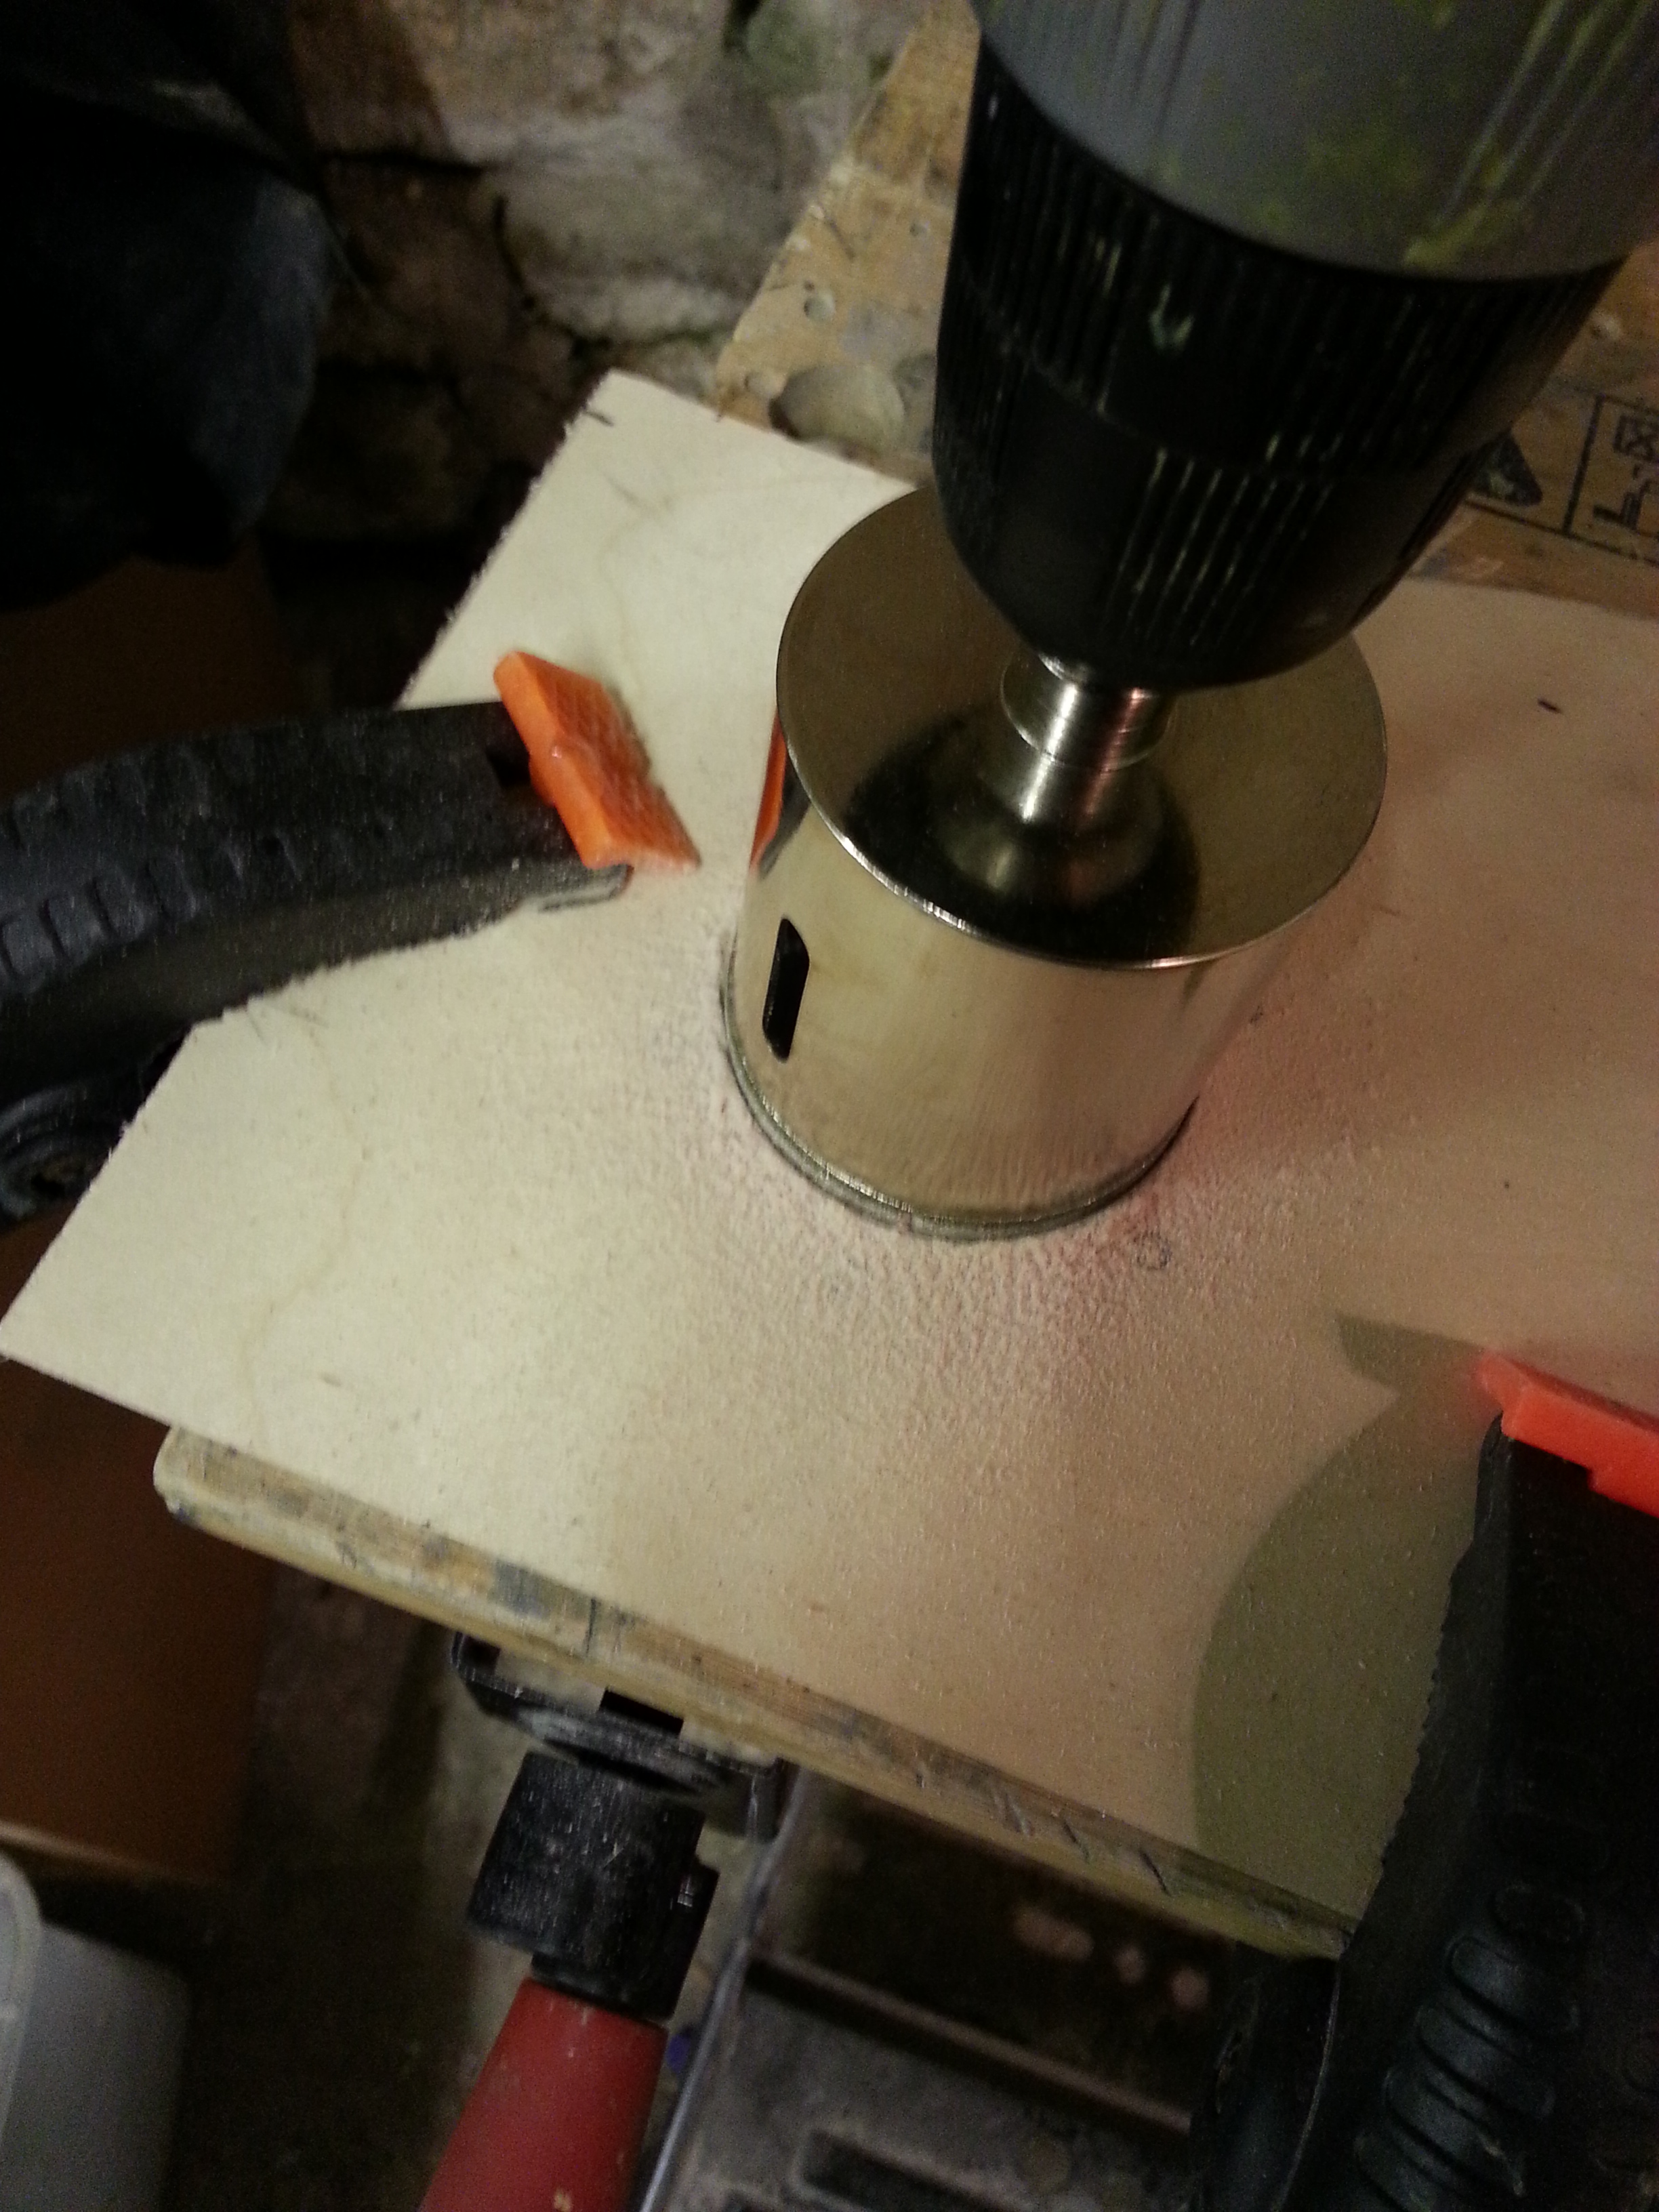
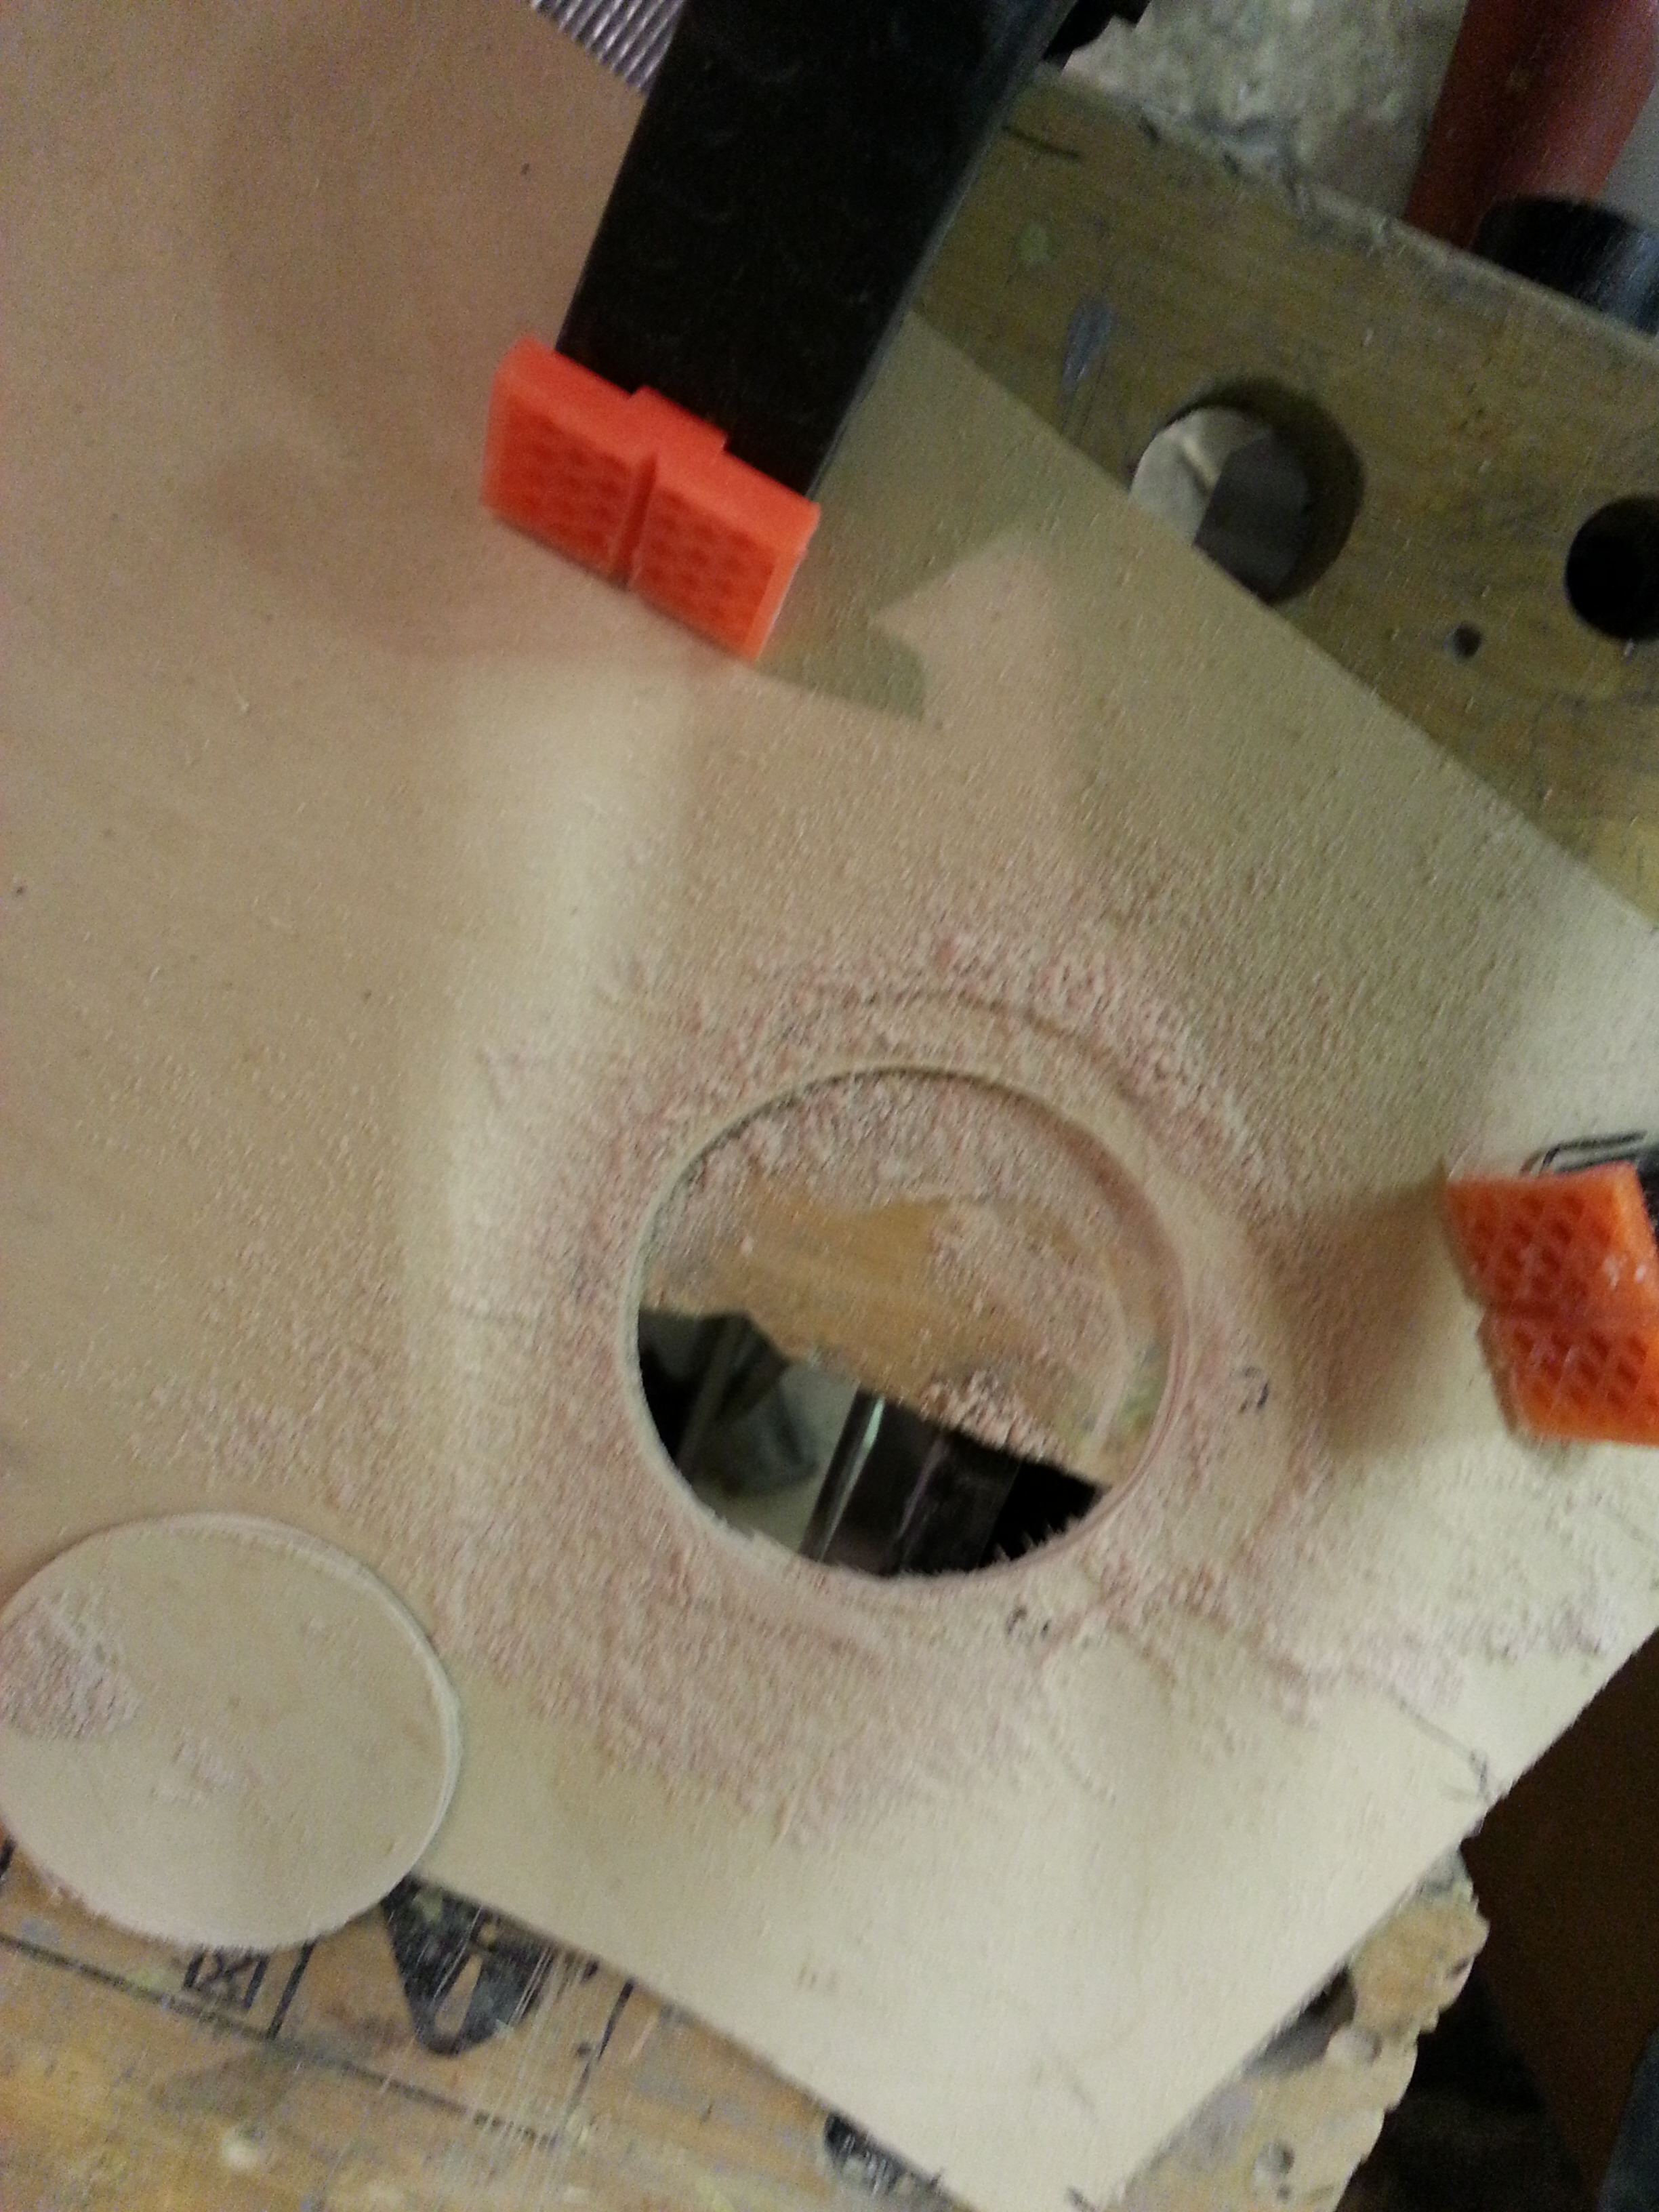
Then moved on to drill the panel positions for the headset sockets (front and rear). Stupidly made the first pairing too close, aesthetically it looked good on the panel BUT I should have realised that the rear fittings on these are relatively large and so should have had a slightly larger gap between them ! No probs, re-drilled and then filled the hole – extra weight saving eh with a drilled panel !!
Anyway, both pairs drilled and fitted. Just need a Trig unit now !
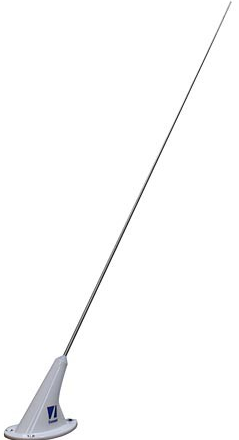
I also got some alloy strip 1m x 35mm x 2mm to act as my Ariel under mount. This will be fitted this week once I decide final resting place for the Ariel… feels likes it’s getting serious now 🙂
All the tail end paint, glue, iron and covering was delivered to my son at Williams yesterday .. just a couple of days too late for me to pick it up following my Oxford puppy pick up on Sunday ! ah well – best laid plans ….
Plan is to now ship this to our London office and I will fly it back next time I’m over. Future ones I may ship through to mainland France and then hop over there to get it. The wonders of living on an island !
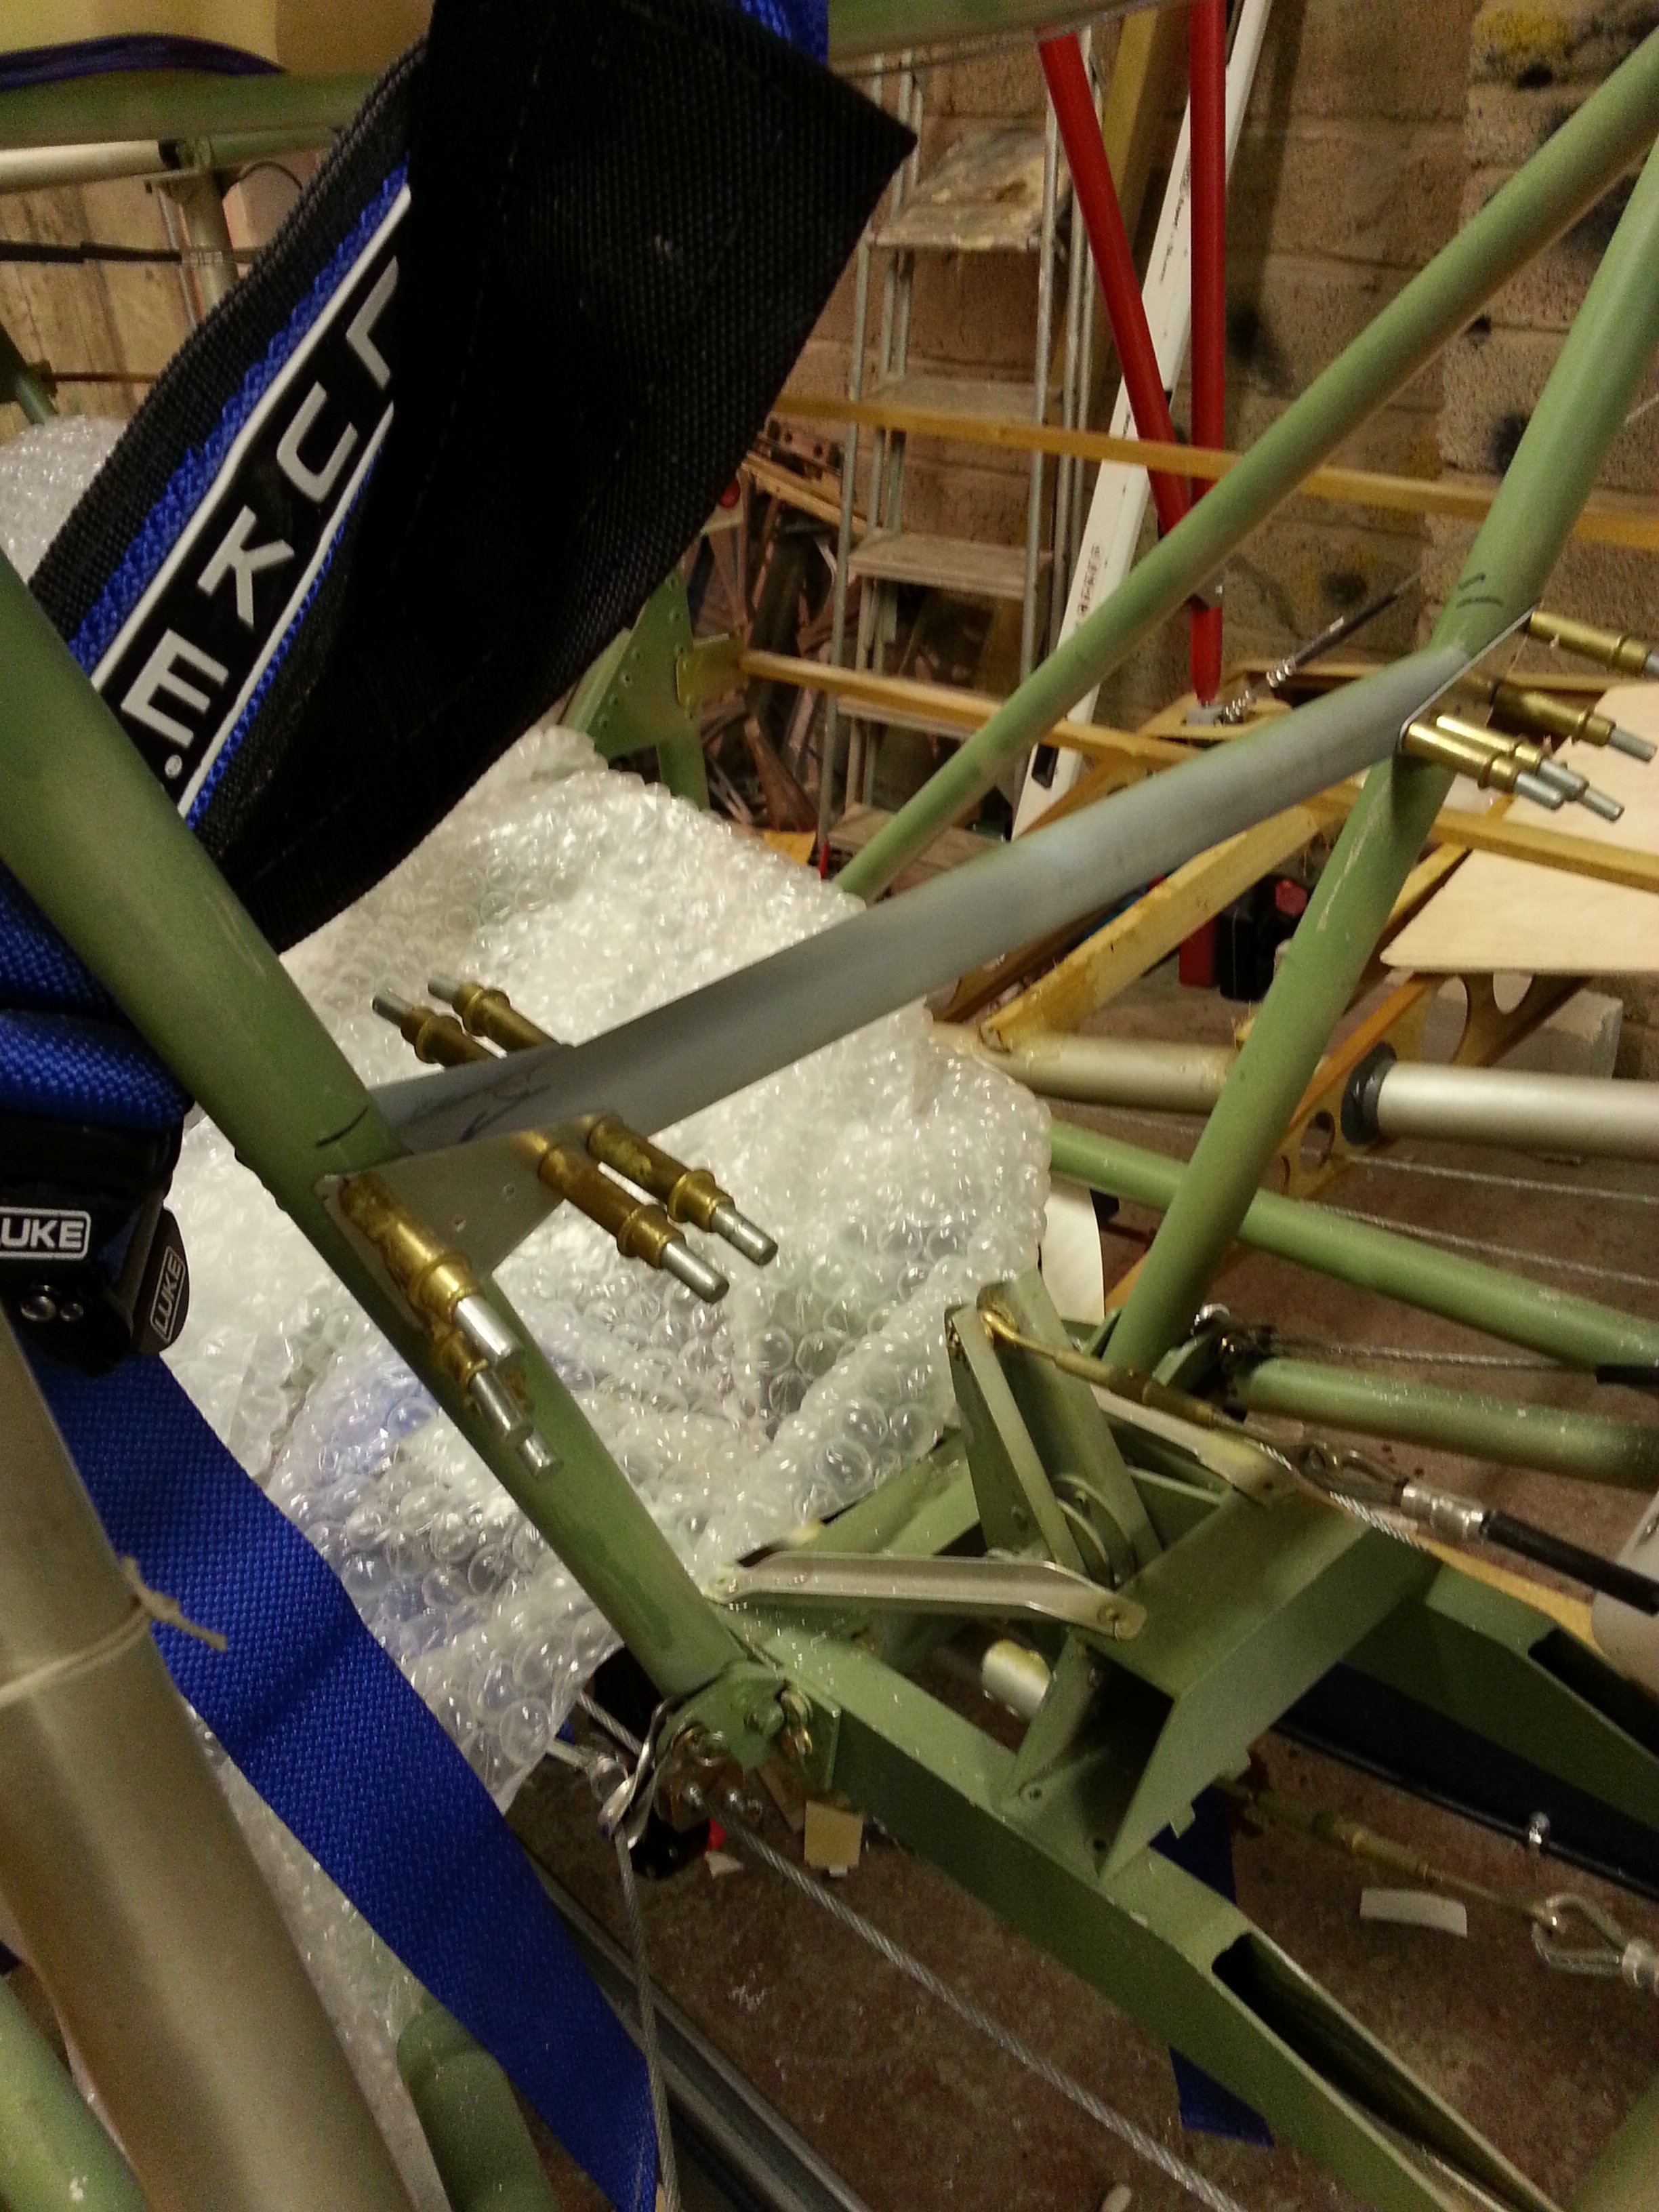
This morning – pulled the pitot cable through the drag spar hole I had made.. presenting it forward of the wing joint.

Just checking with SmokinAirplanes to see if I can position the oil valve at the rear (so easy access behind P1 seat) running the oil pipe to the pump mounted at the bulkhead. Scott is great there as he usually gets back in under 24 hours.