Aileron back on this evening

Got the aileron back on this evening 😊


You see how much had been lost off the bottom of the hinge … only about 3mm

Drill and sink the rivers to be as flush as possible or you will have gapping problems when aileron is fitted

Always time for a bit of auto glym whilst waiting for the Oratex iron to get to temp

Parts arrived :)

Parts arrived from TLAC today ..

So got straight on and finished the neat die cut prepped parts .. haven’t done this for ages !

TLAC provide the die cut parts so it’s really quick to simply saw through the breaks and then grind and file and emery down to a smooth finish

Looking at the new part next to the damaged part you can see just how little was shaved off BUT not worth the risk as you can see the tolerances at the lower end of the hinge point has reduced by 50% ie about 3mm

Paul had advised that the original Loctite 246 two part glue would need warming to break the seal against the ply aileron end rub. I wasn’t looking forward to this as I thought it might damage the end rib but, in the end, it prized away really cleanly

I had forgotten how much this glue smelt ! A very popular move opening this in the dining room on the table 😊😊

Paul had promised to pop something in for me to bolster the tip to ‘important parts’ clearance and the white block would be shaped and fitted to the wing tip

Countersunk rivet heads to allow for close fit hinge at wing tip

Havent seen my trusty old rivet gun for a while ! Did every rivet with this 😊

Also getting the Oratex ready to cover the repair

The value of pre flight check detail

So .. after my last little off – too fast and part wing lift to then leave the runway .. I went to fly again this weekend as we finally got a lovely cool sunny relatively calm morning

My youngest, Sam, was very keen to come down and have a catch up fly so I popped down early to get it setup and ready

As I crawled under the starboard wind I spotted that the outer aileron hinge mount was scraped ..on checking it looked like it had shaved off about 5mm of the lower love of the bracket

I decided that this effectively grounded the aircraft until I had removed the aileron to check further

Sam and I removed the lower aileron in about 5 minutes and could then see both the wing mounted hinge bracket and the aileron mounted end bracket had both been shaved down a little thereby reducing the tolerance of the hinge at the bolt center point

I sent Paul at TLAC a copy of the pics and we agreed it would need two new parts .. Ivor emailed me next day – parts were in the post and should be here (Jersey) in around 36 hours ! Great service guys

I reckon it will take around 2-3 hours to repair .. careful slit of the Oratex underside of the aileron and drill out the rivets … need to sweat the aileron central shaft off the Loctite 246 fixed end plate


It’s not over until it’s in the hanger – with the covers on

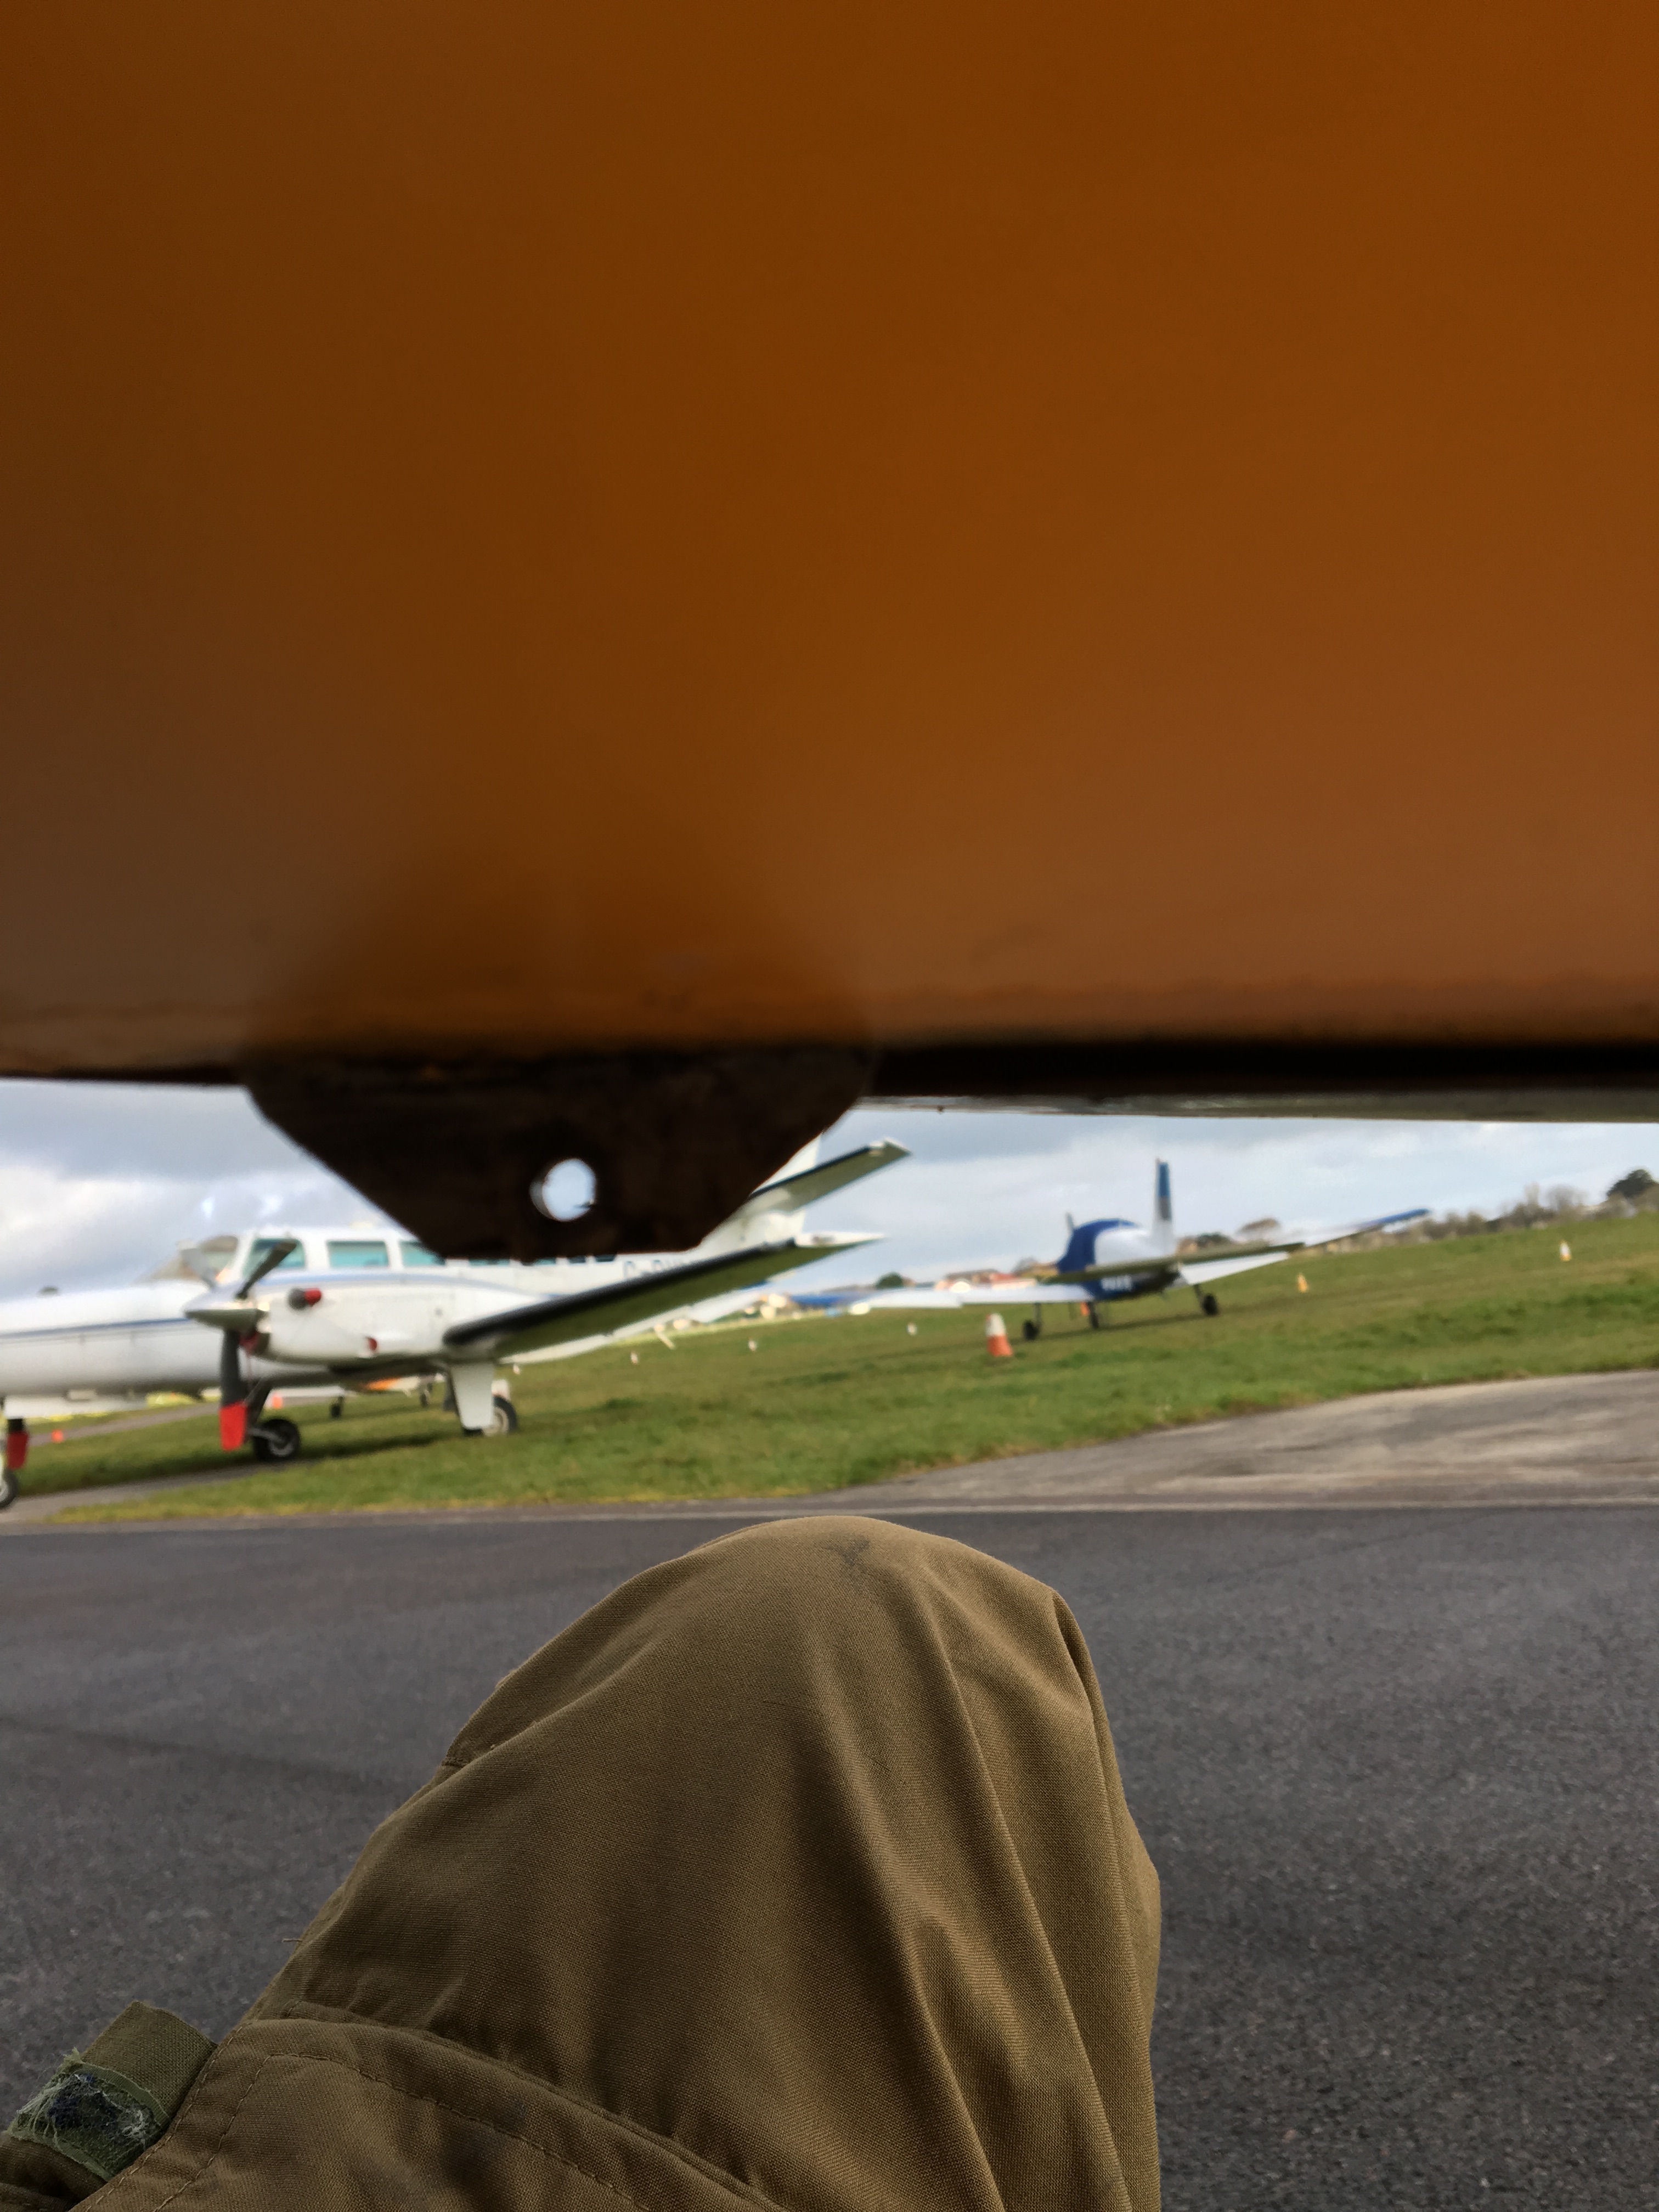
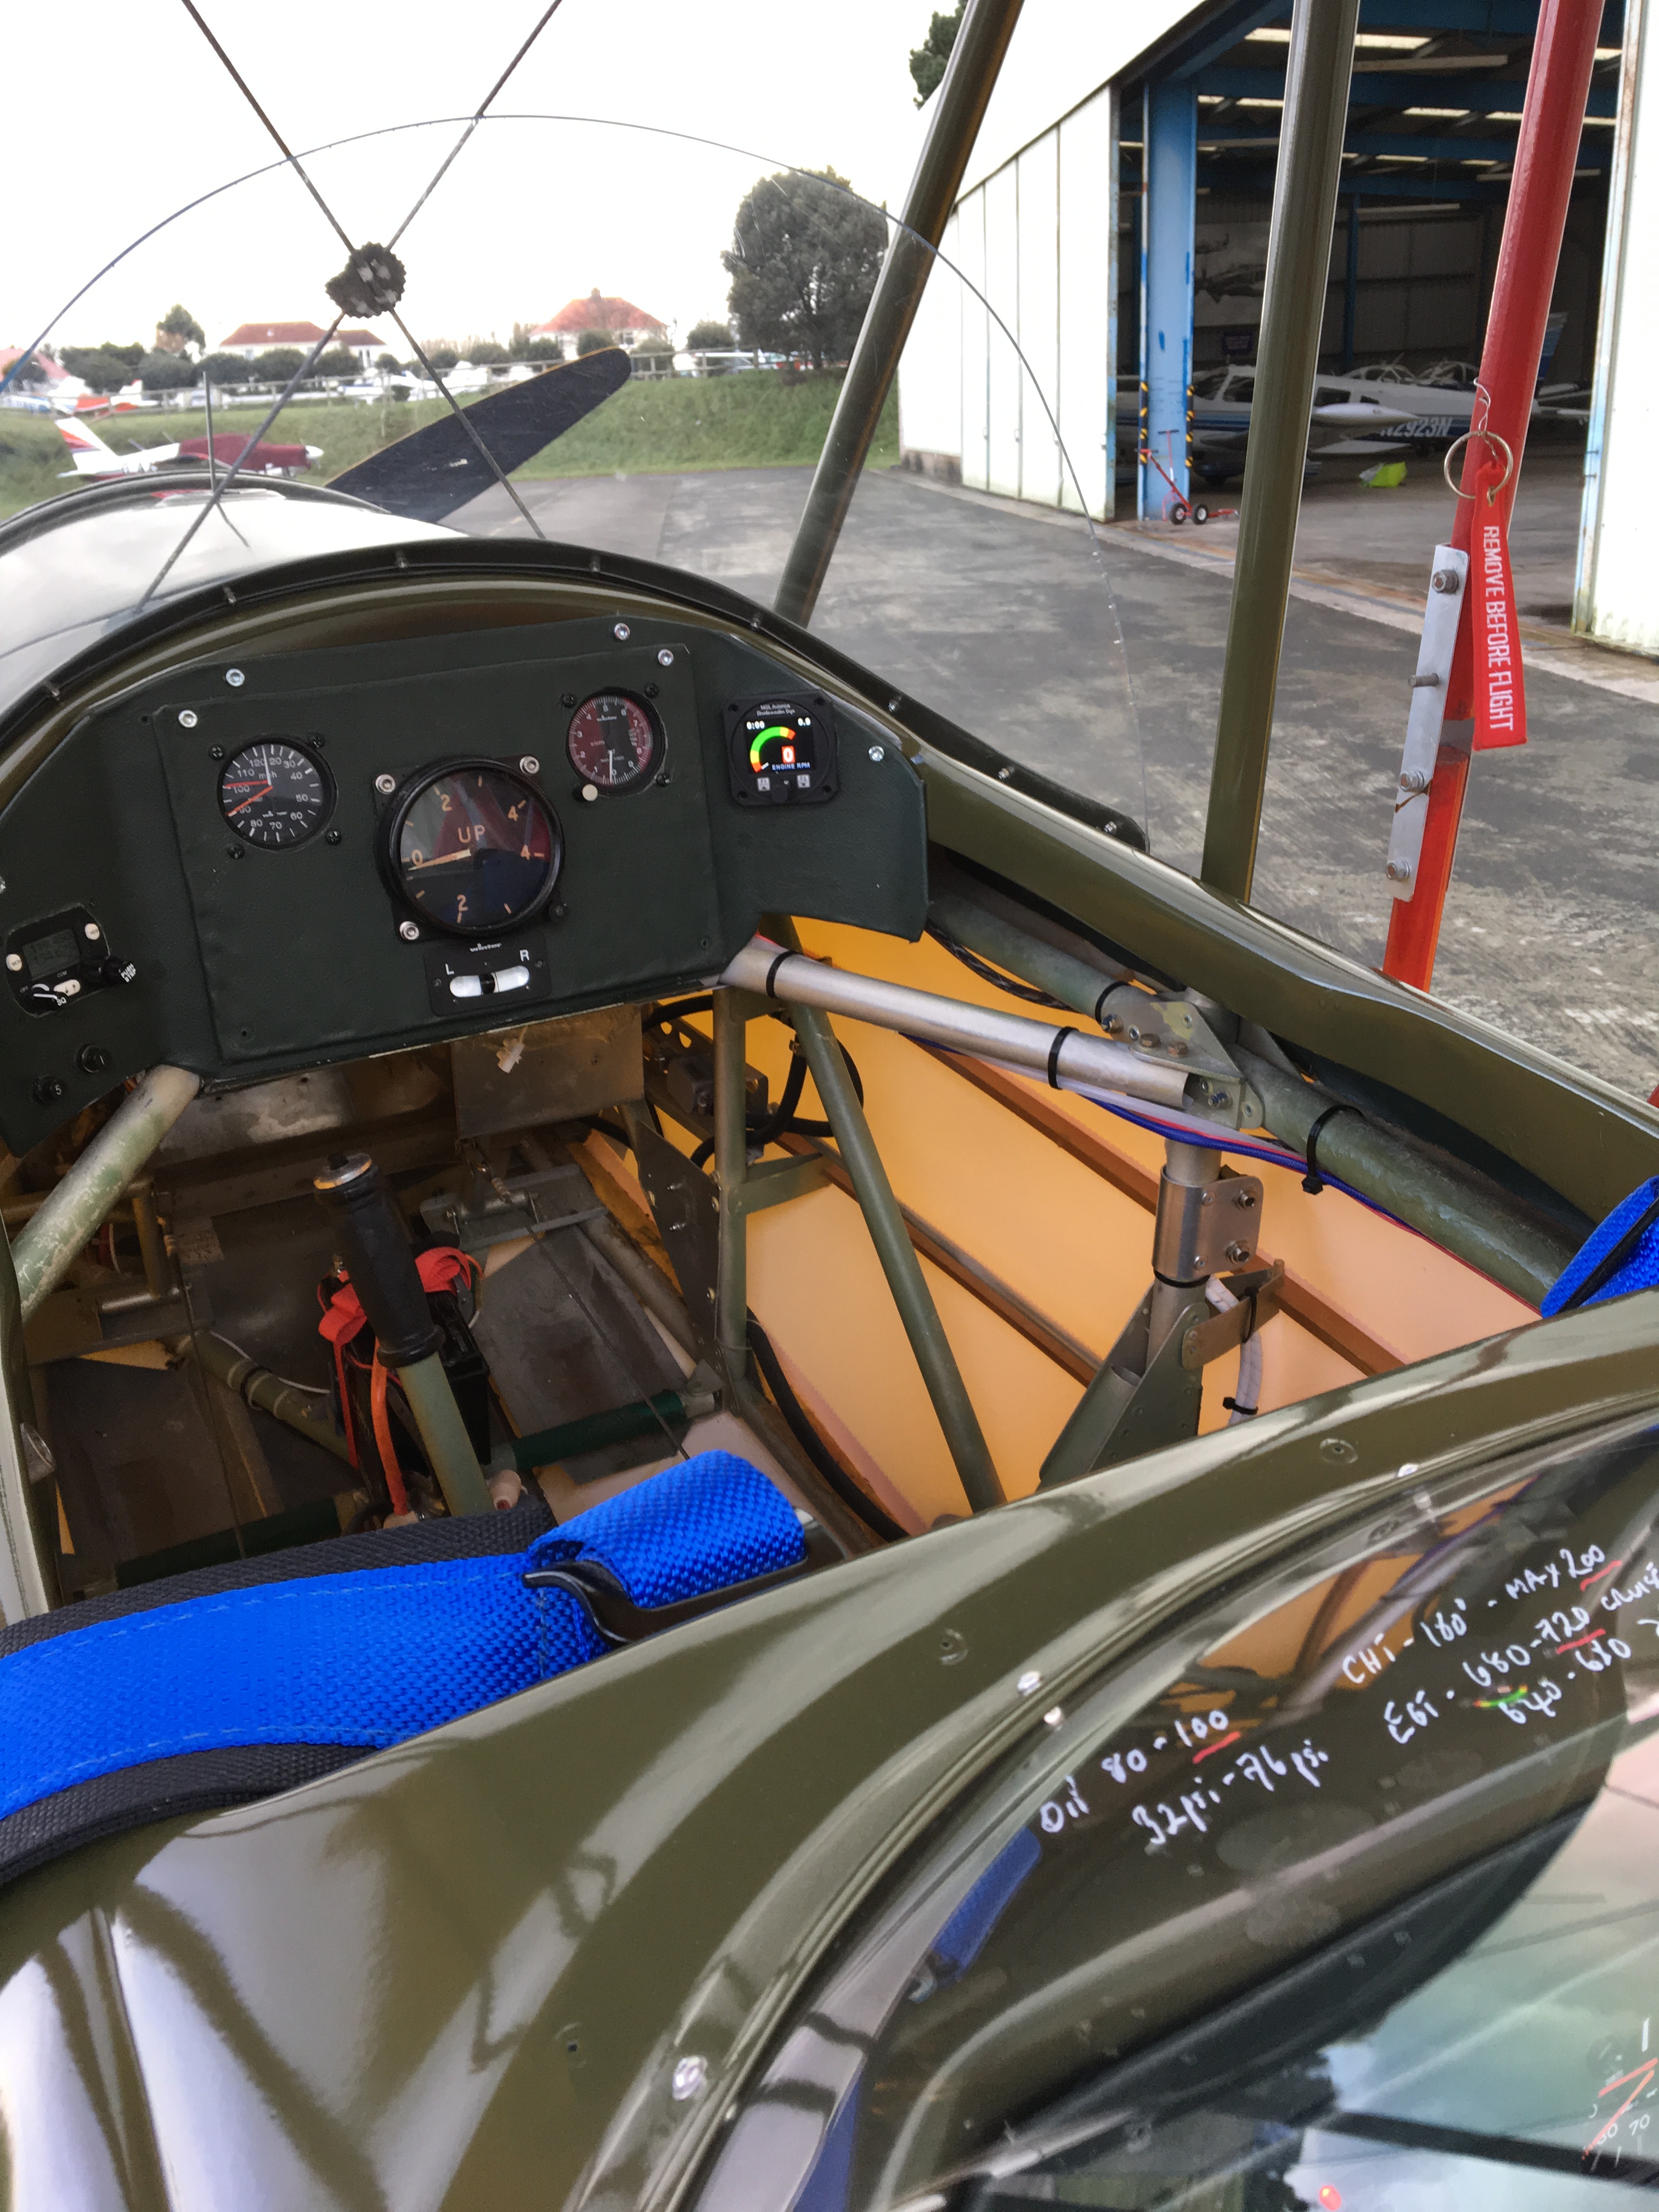
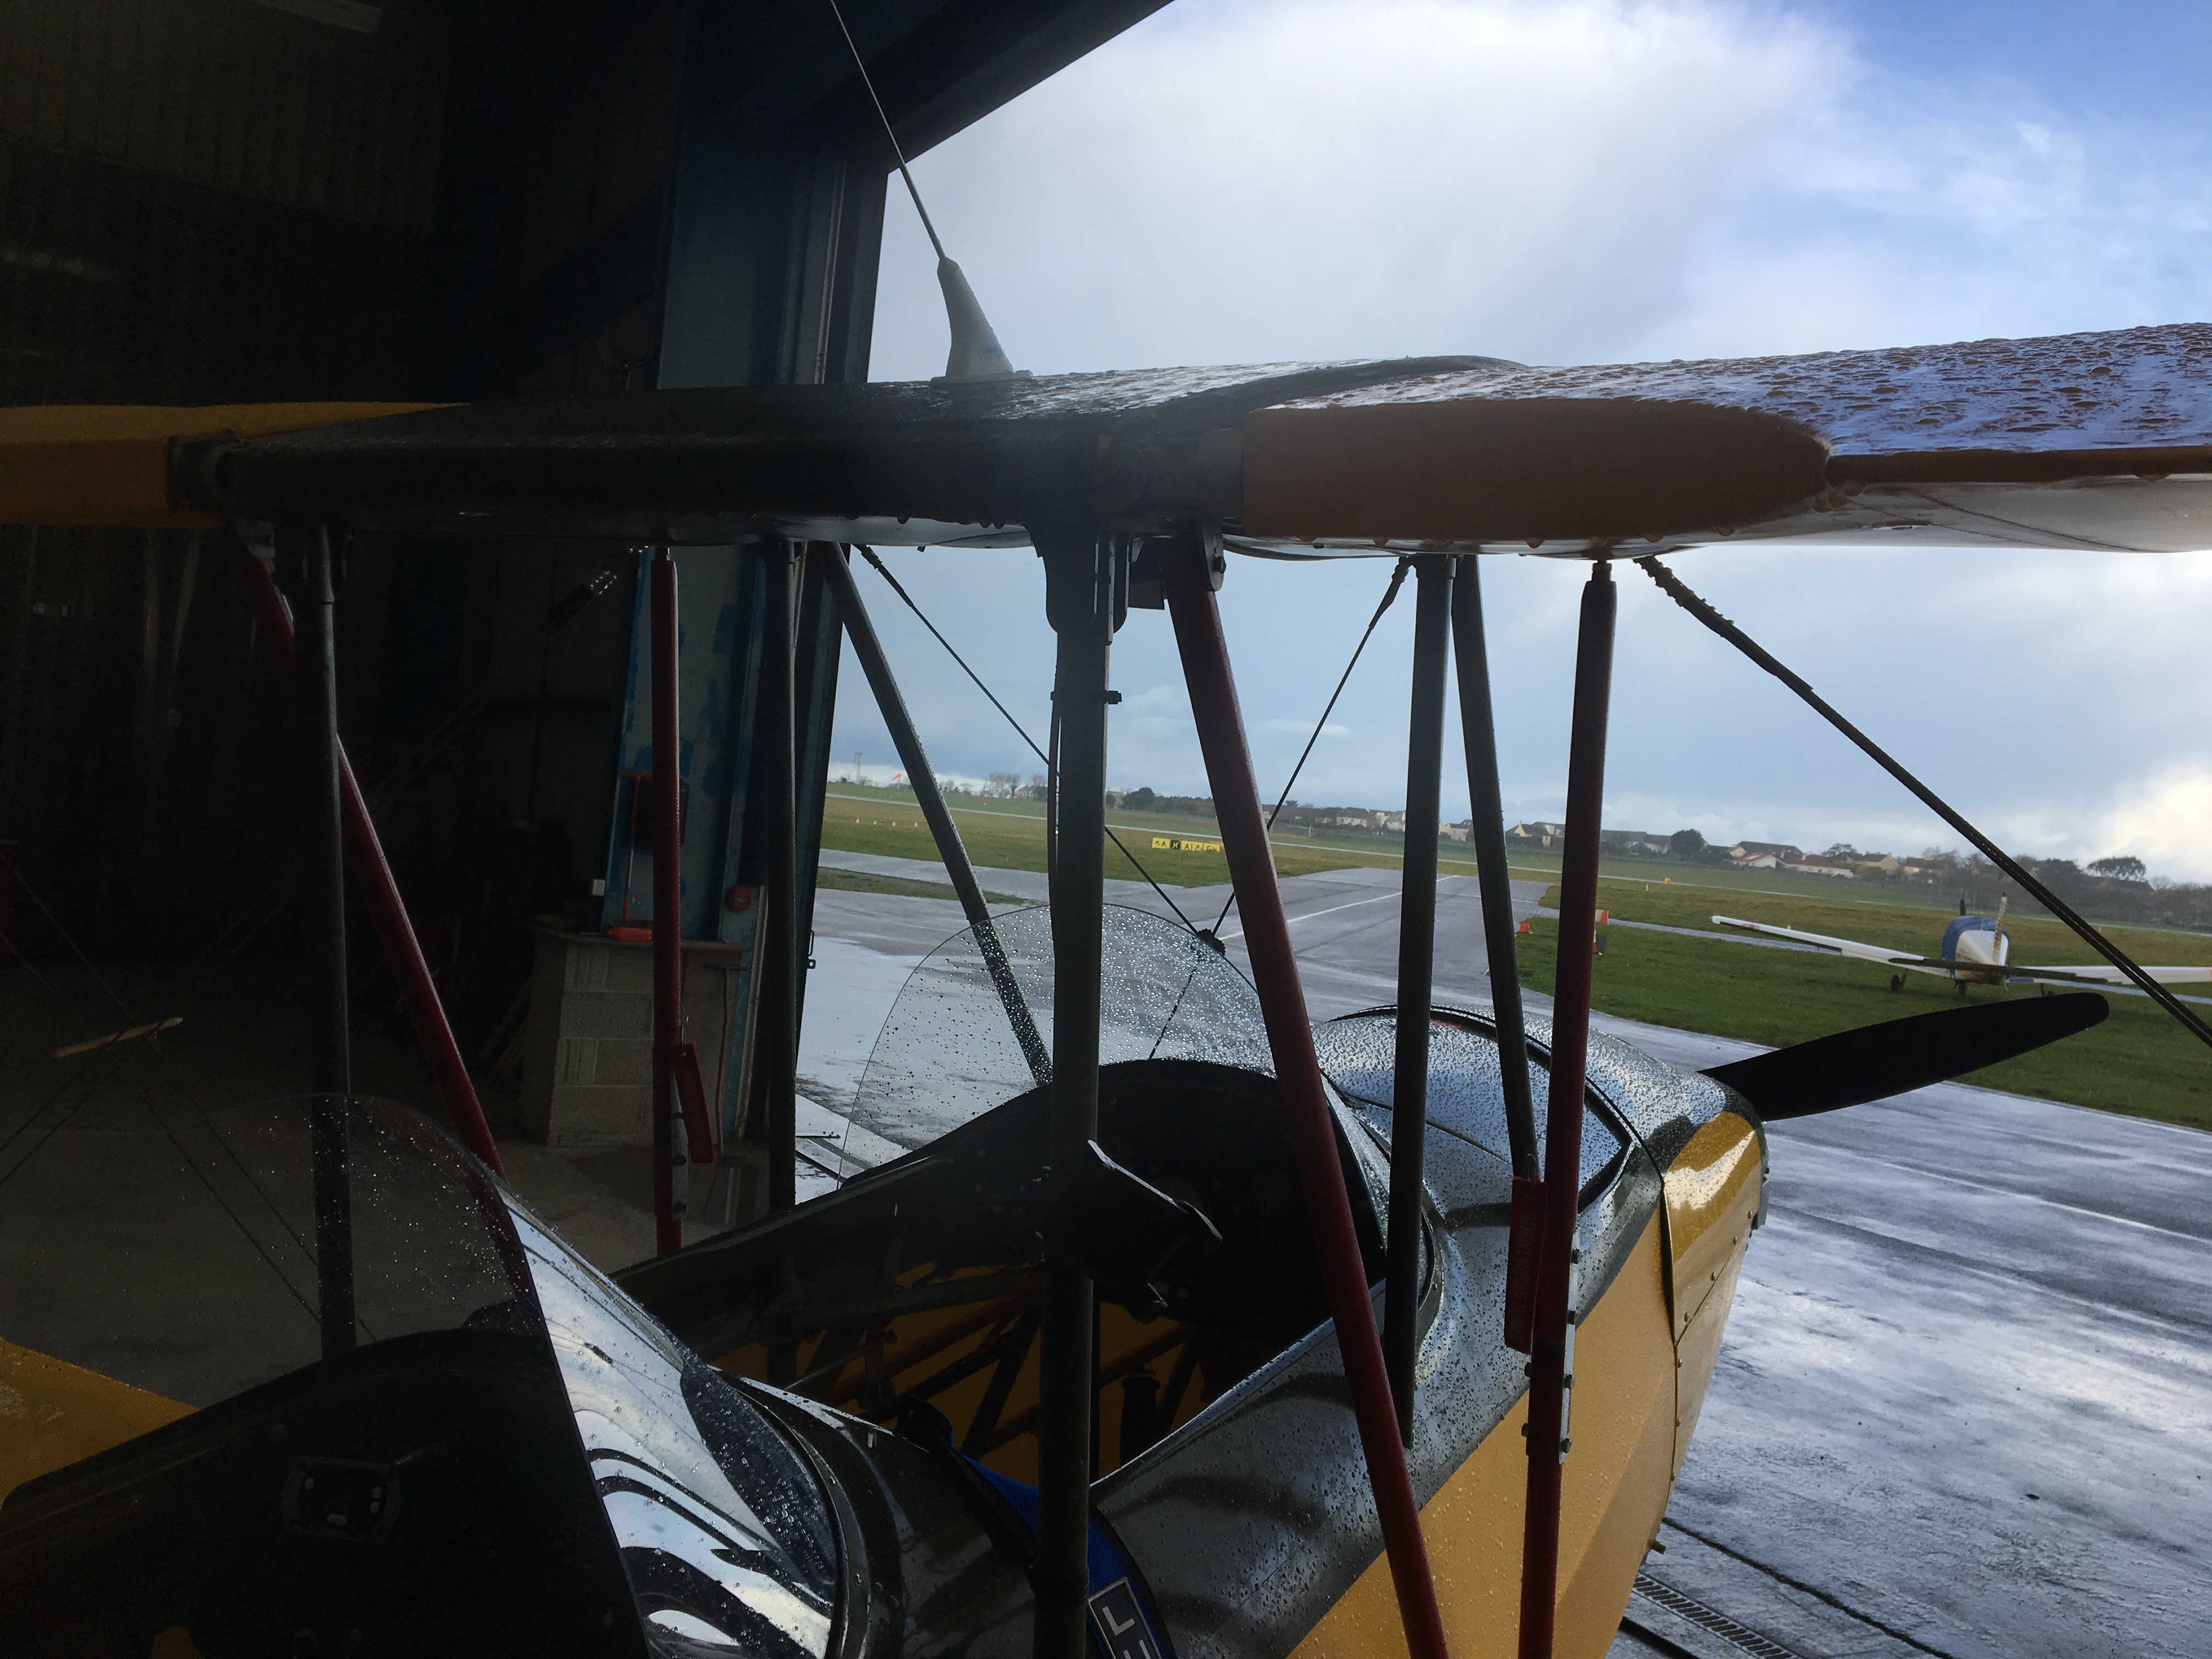
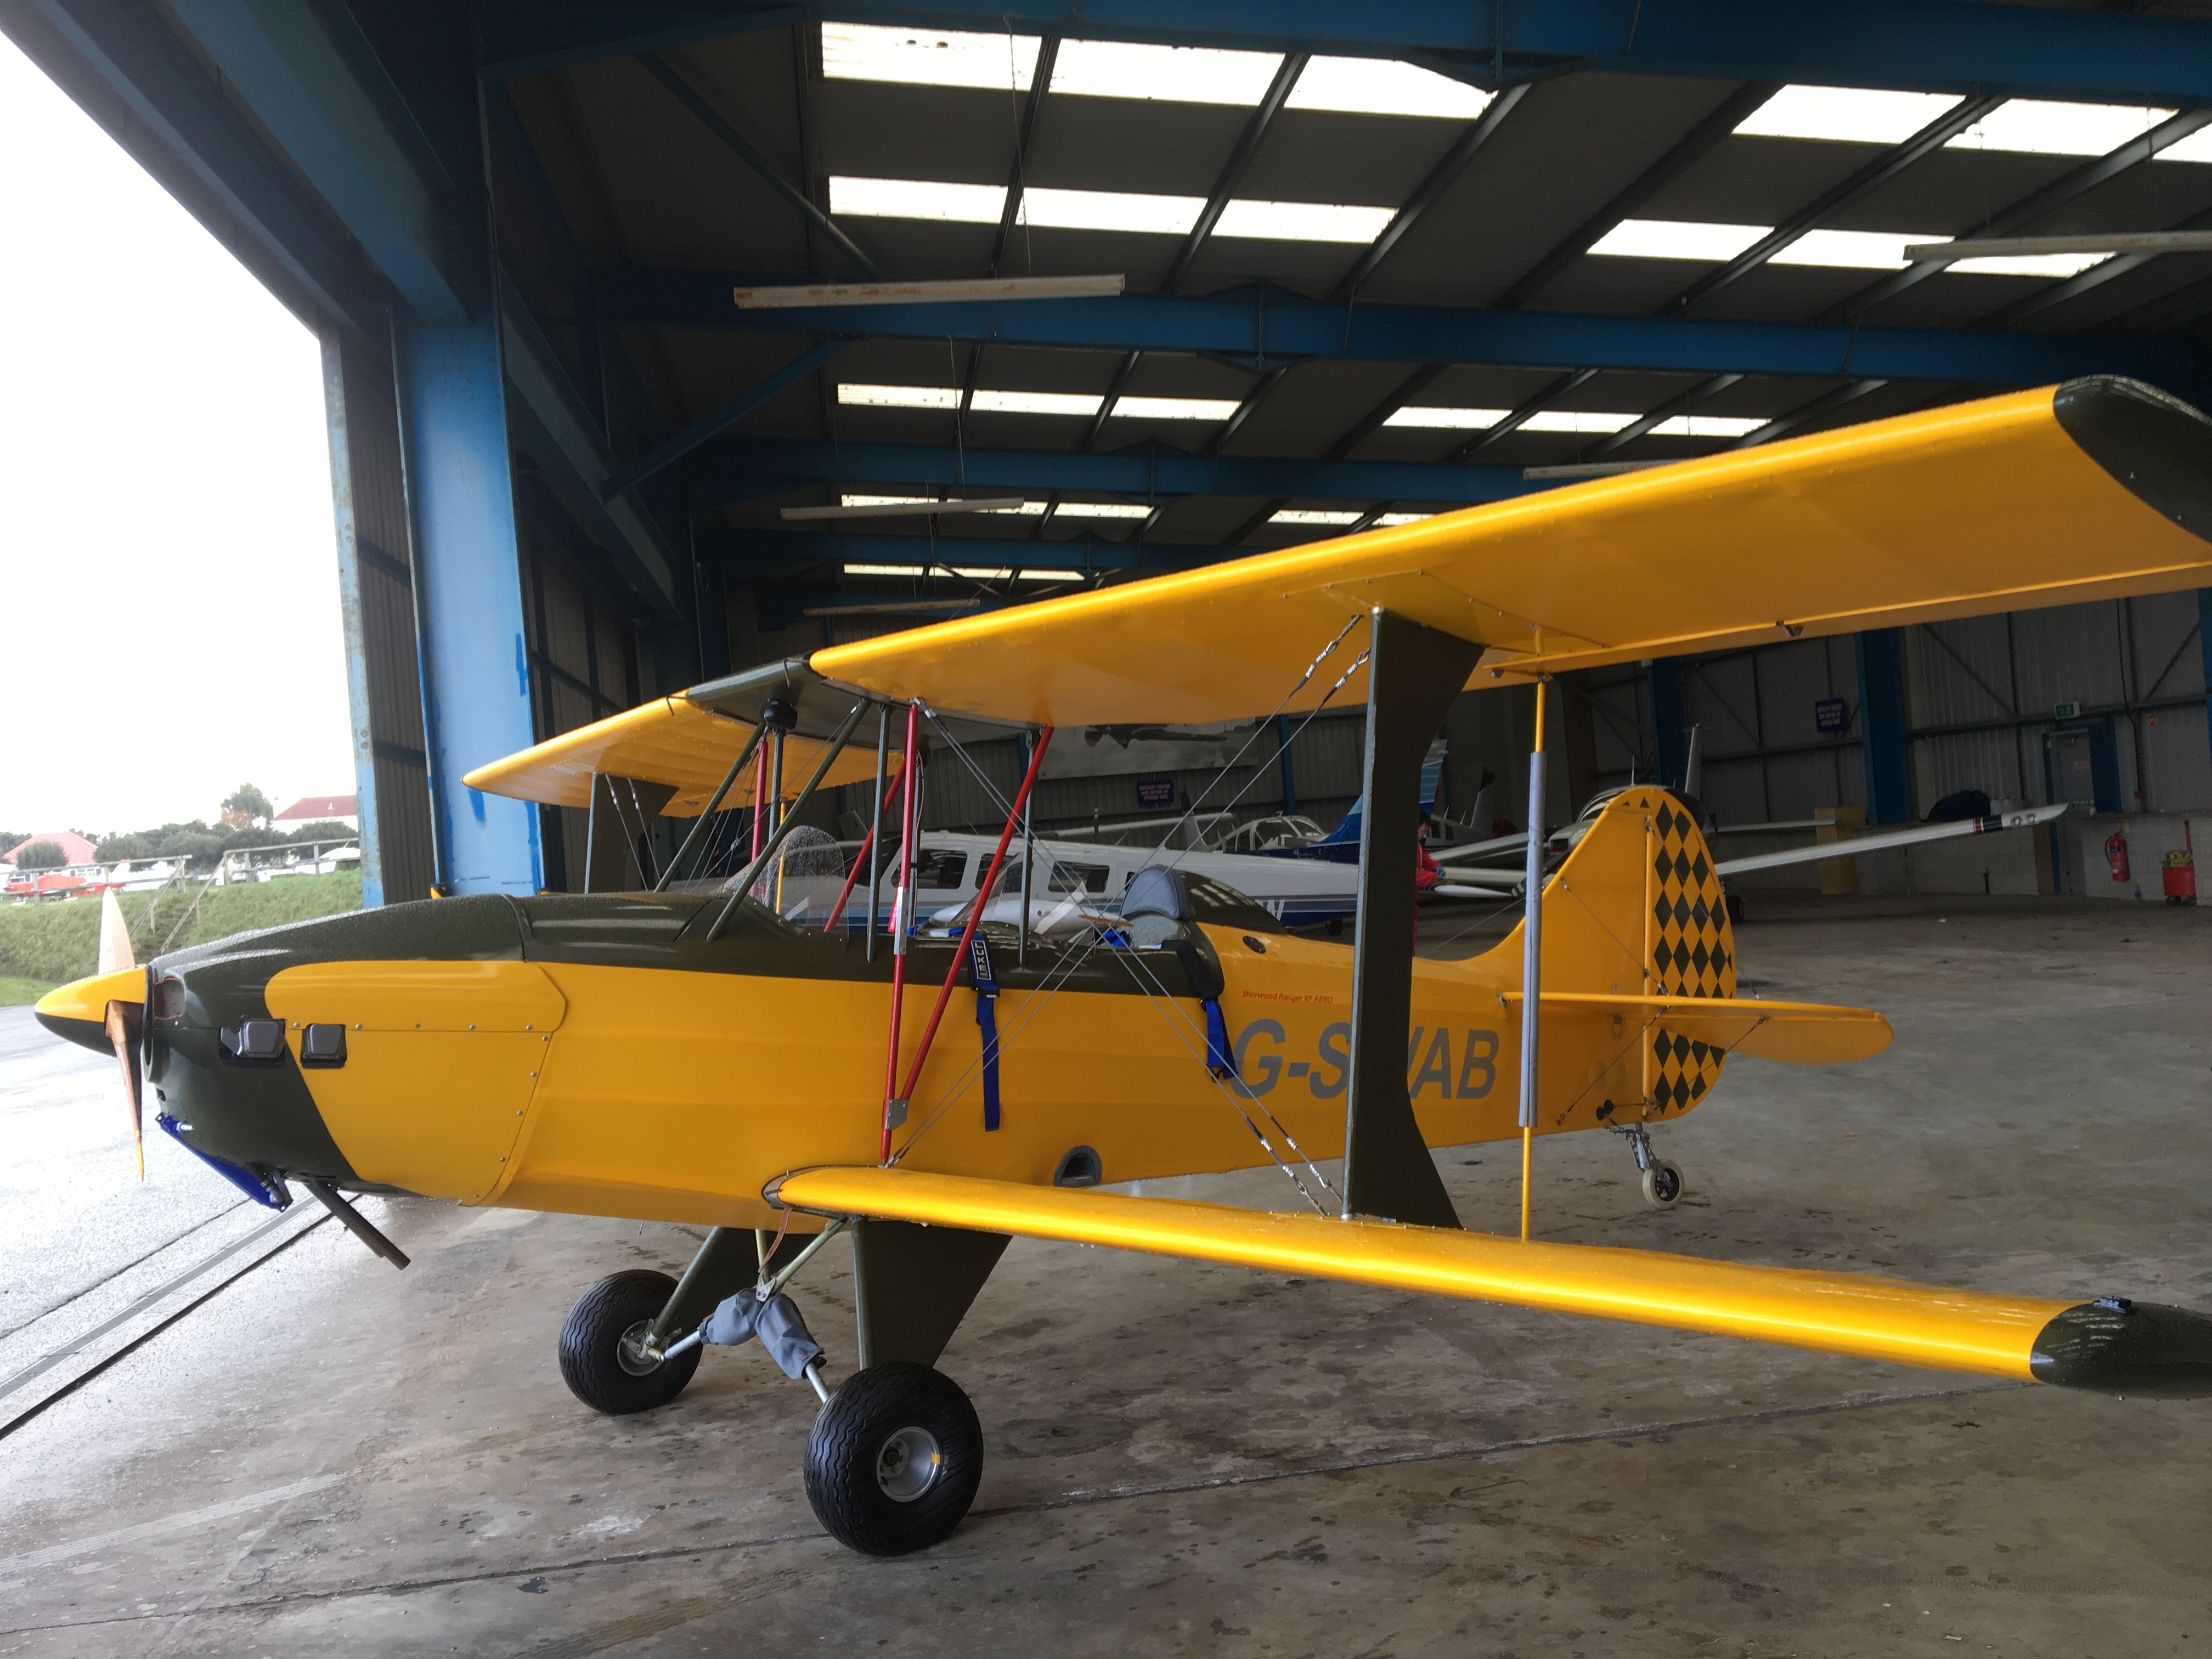
Great day flying today … very calm start but low cloud so delayed until after lunch to get airborne

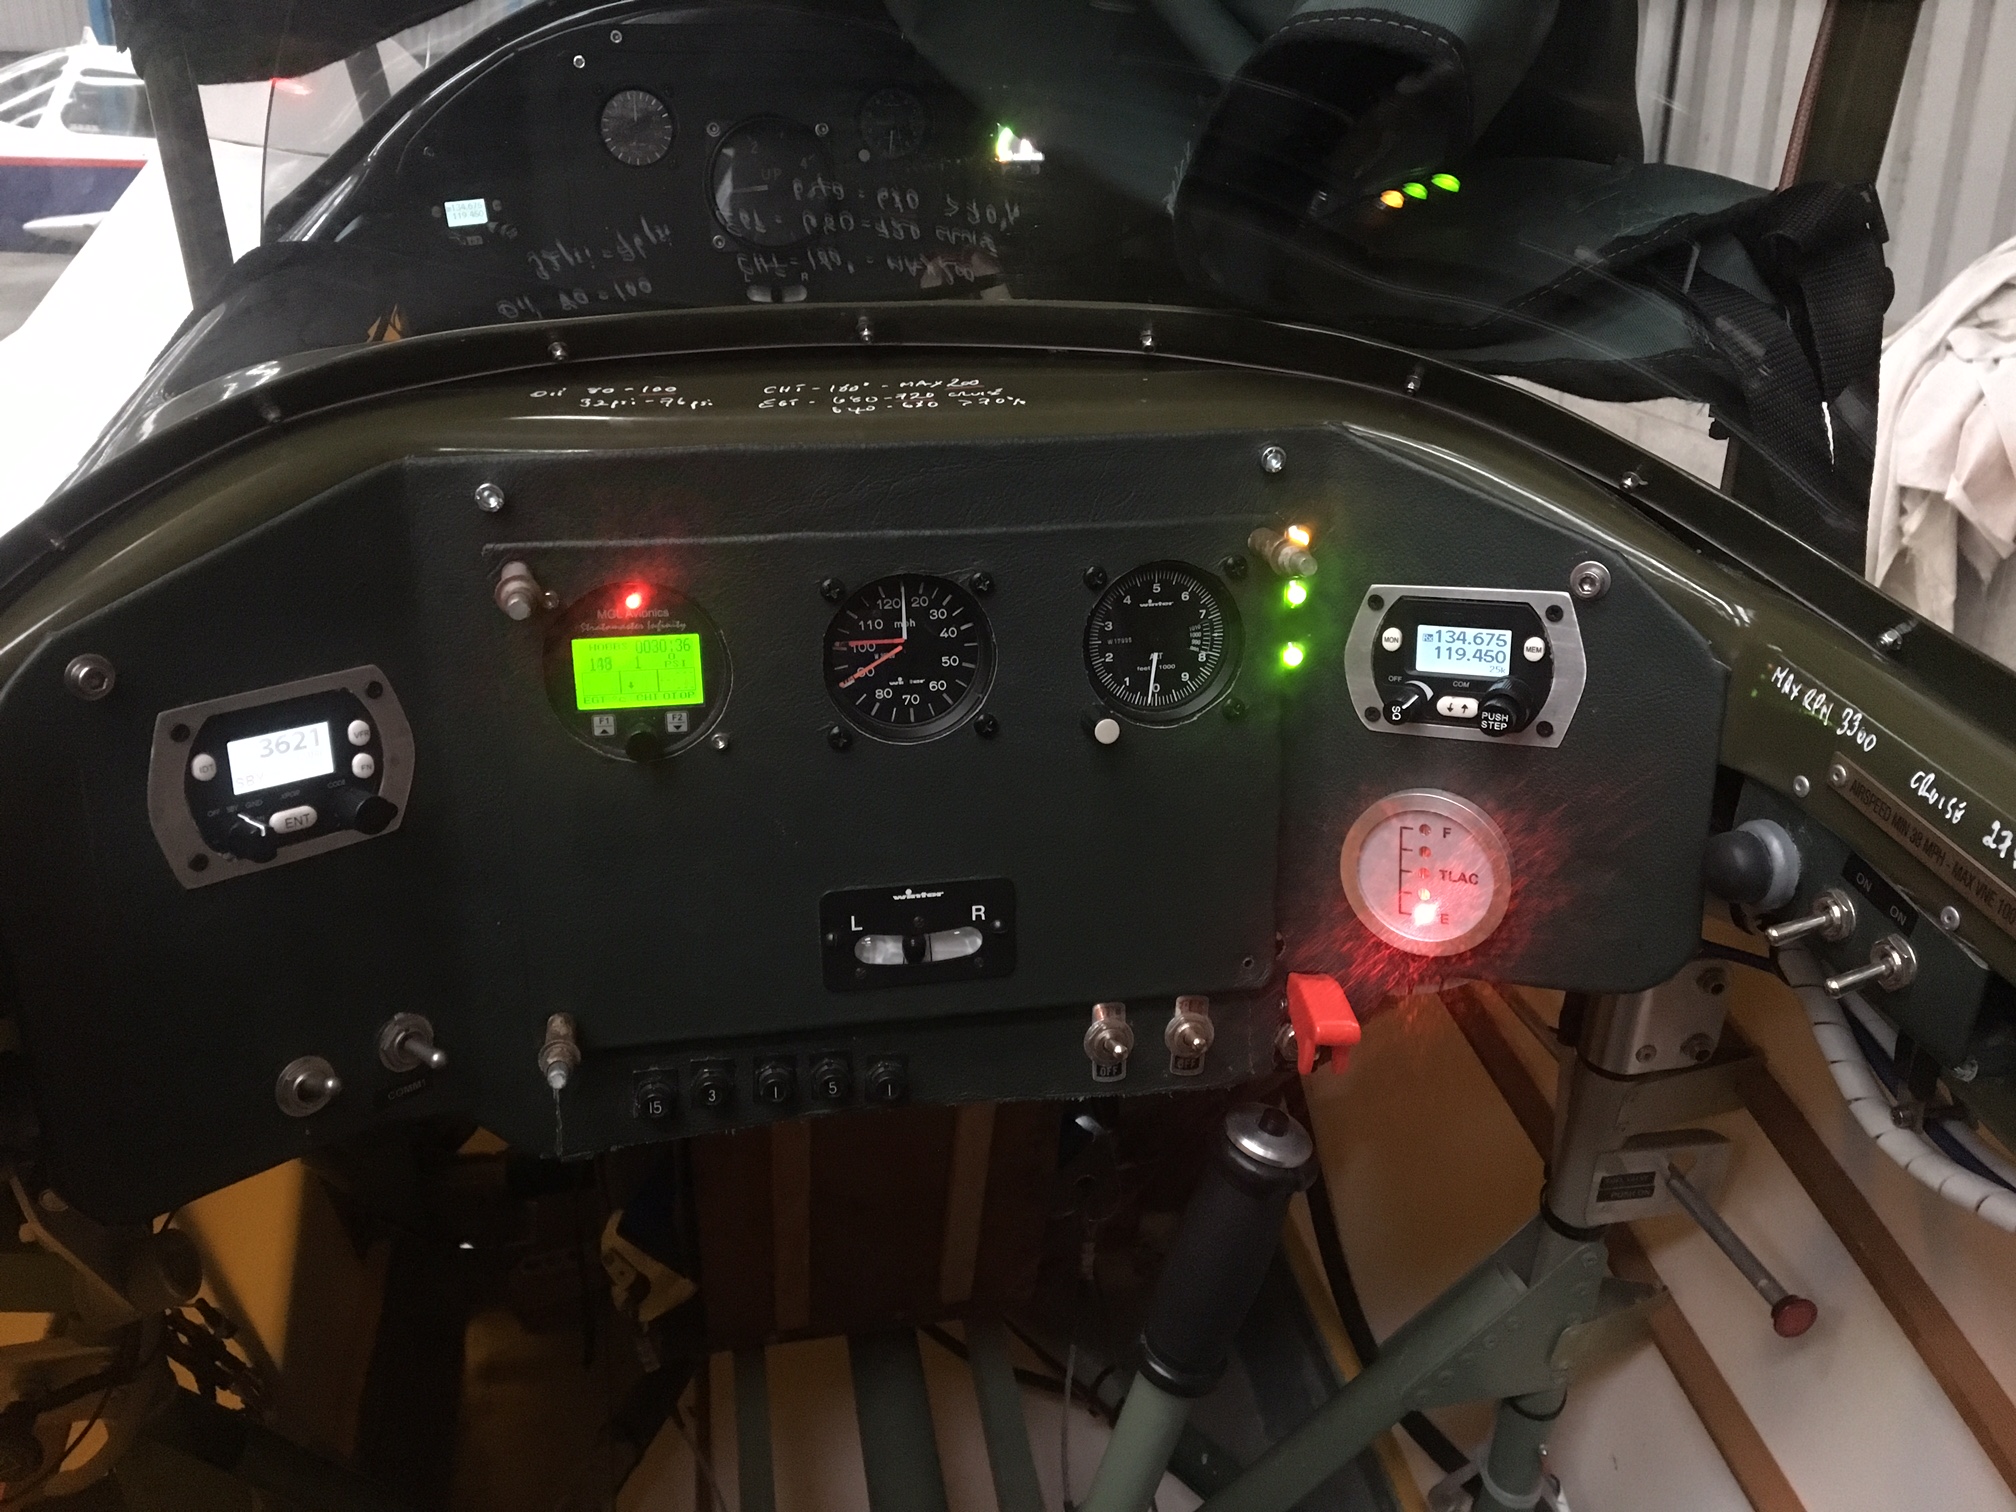
Temp much warmer than last time so started at the touch of a button and ran very smoothly

Did a load of close bad weather circuits with lovely variations of touch and go’s … got high on one approach so tried the old Stampe crossed controls and side slipped off the excess ..

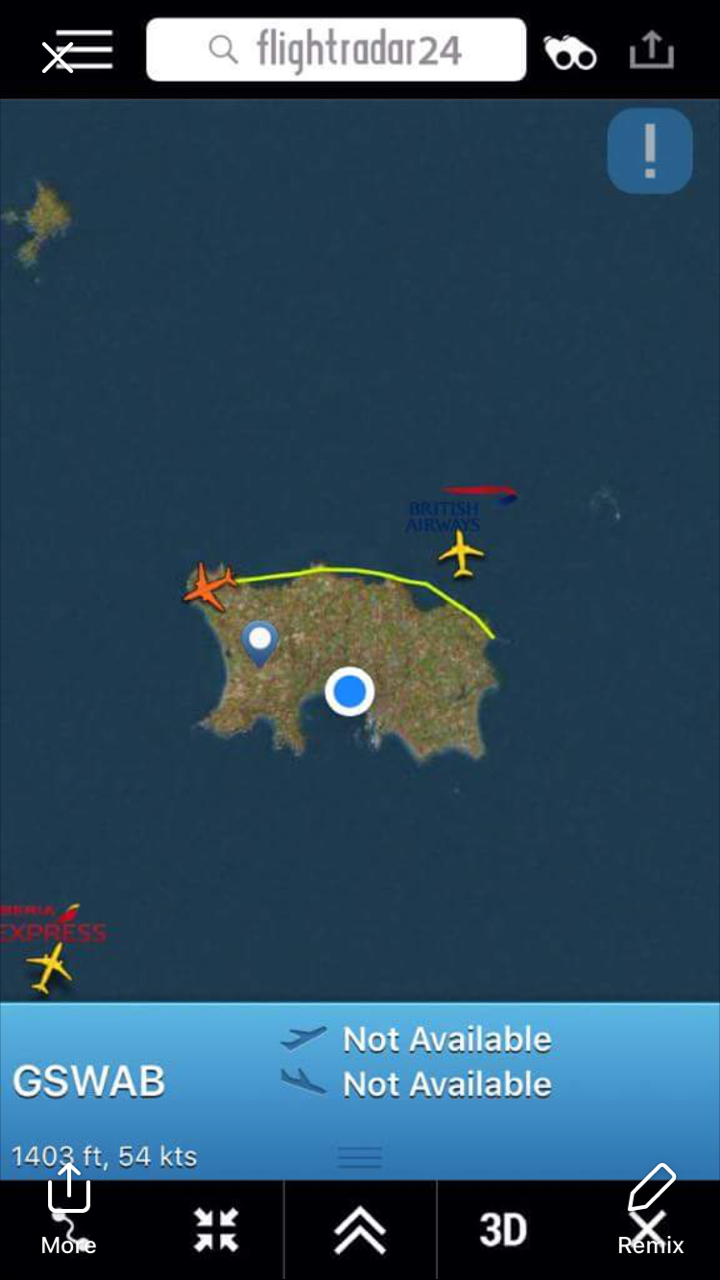
Then a couple of normal (15 min circuits) followed by a head off for ‘round the island

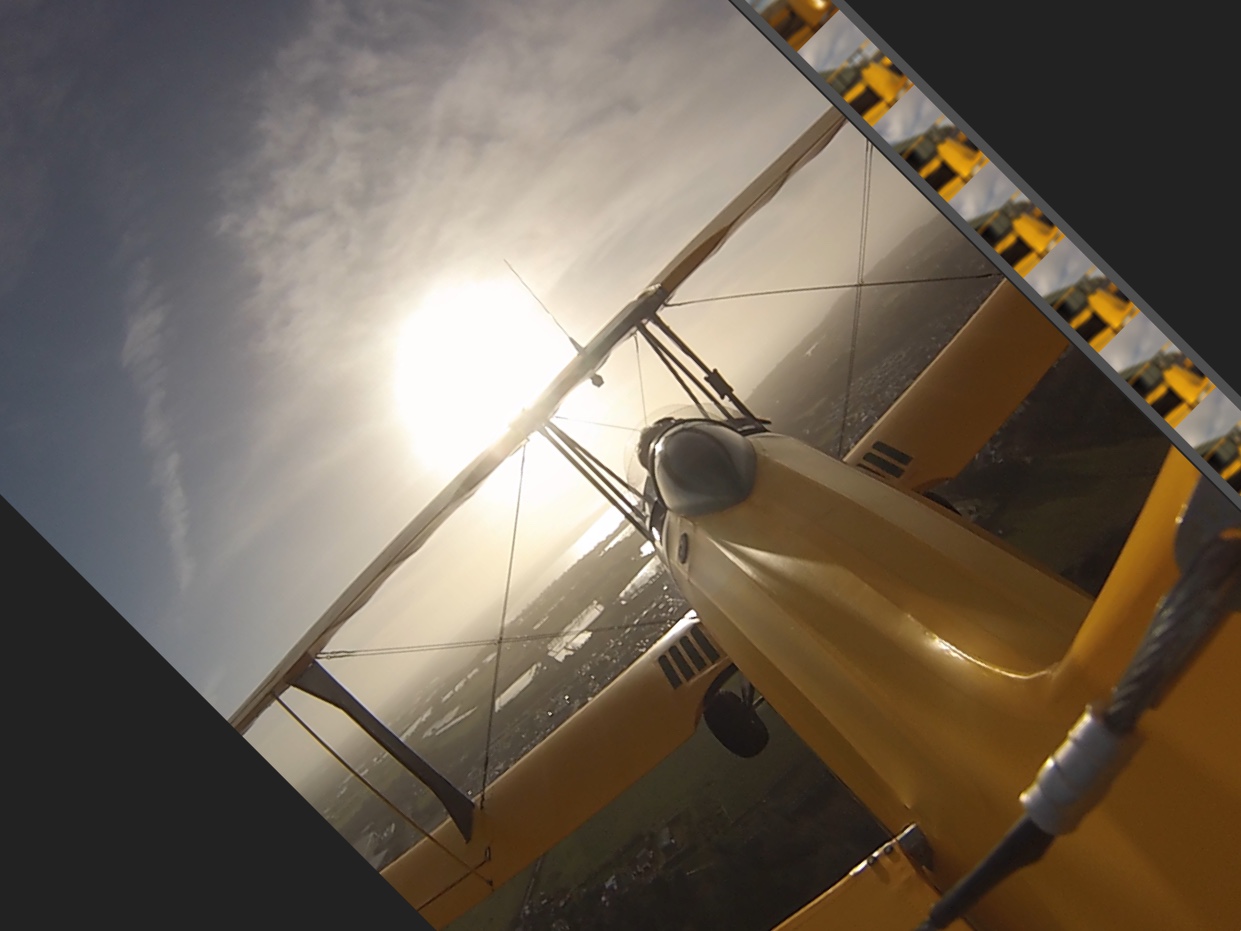
Heading off to the South East (training) area I climbed to just over 1,400’ and then did some nice steep turns and figure of eights and some stalls and dives ..

Back along the top of the island and then back into the circuit with some great landing practices slotting in between the commercial traffic

Eventually .. and mainly because even my 4 layers weren’t keeping me warm enough – certainly in the foot area ! .. anyway .. decided to land .. 1 hour 30 and around 8 landings in

Fuelled up and went to put her away and thought no .. fire up again … good to practice hot start technique on the jabiru 2200 … no choke … and slight open throttle .. fired at the first touch and ticked over beautifully

Then out again for a couple of close circuits … reduced to one as an Embraer from Flybe was on 8 mile final … so made a normal and touch and go off that and then into what I callled as my last circuit

Doh ….

Maybe I was distracted .. maybe the cross wind had got up a smidgen … but I def rounded out too fast ….

Touchdown was fine and smooth but it was obvious I was too fast and I should have gone around

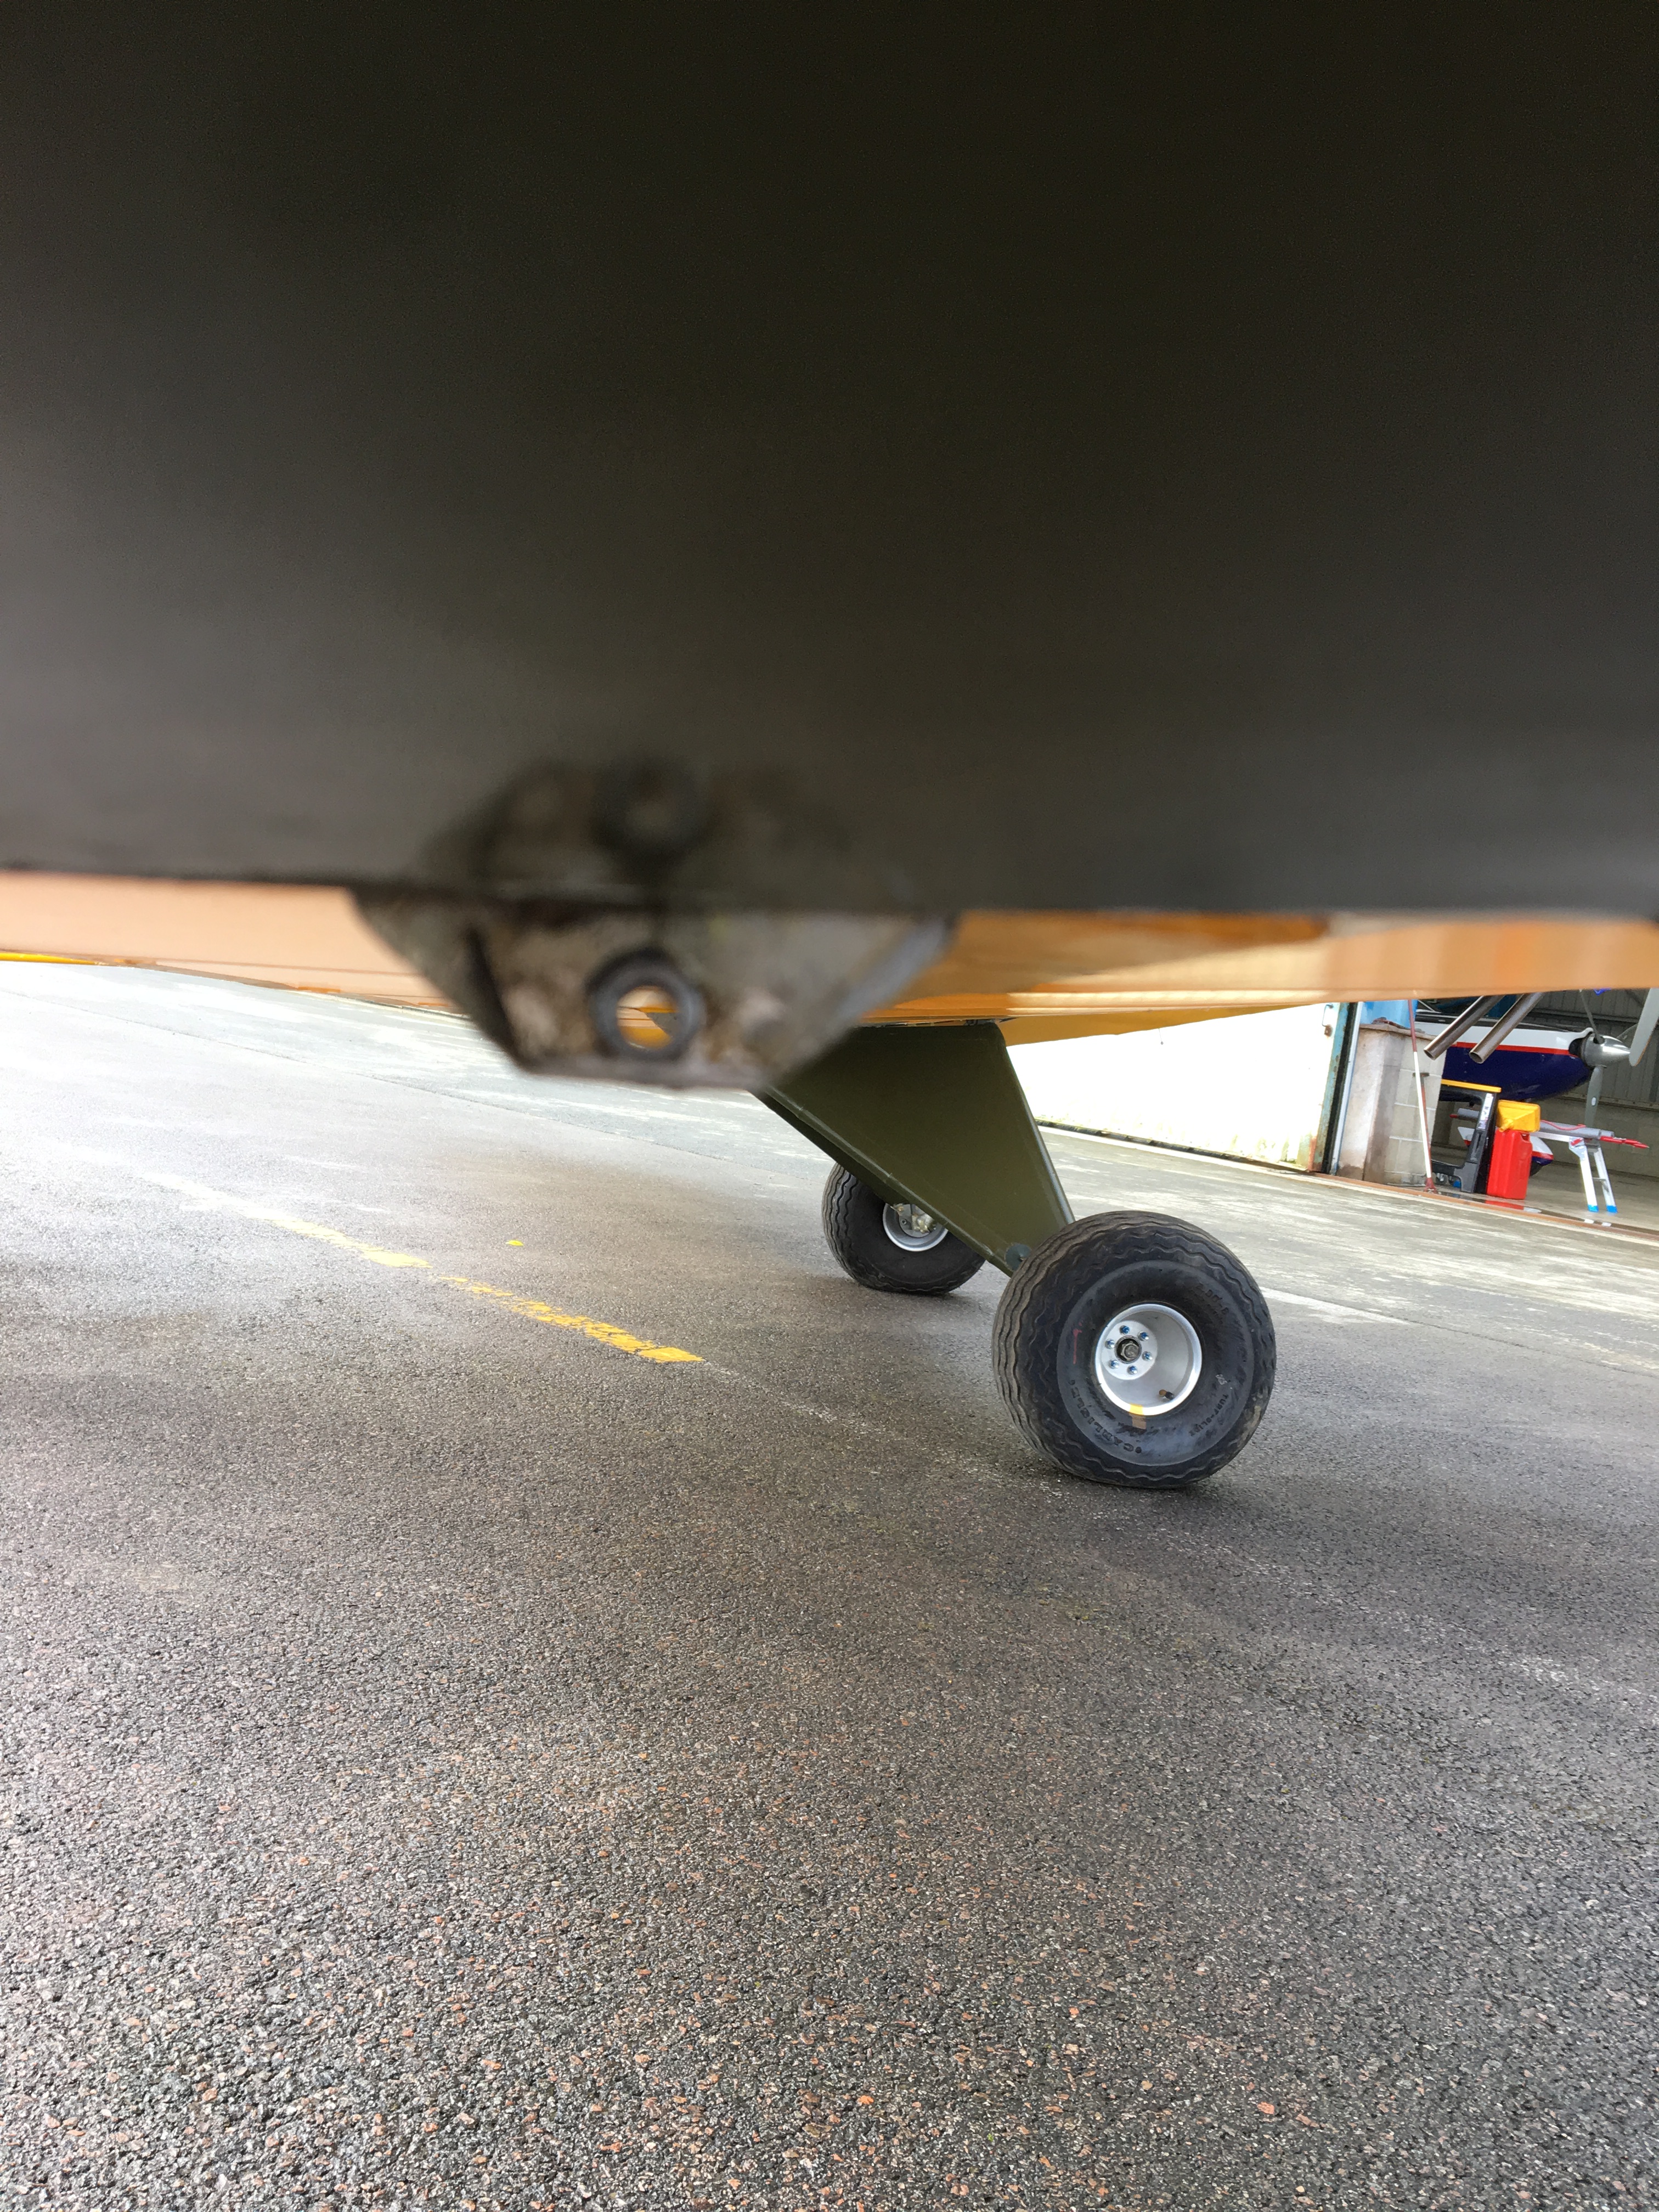
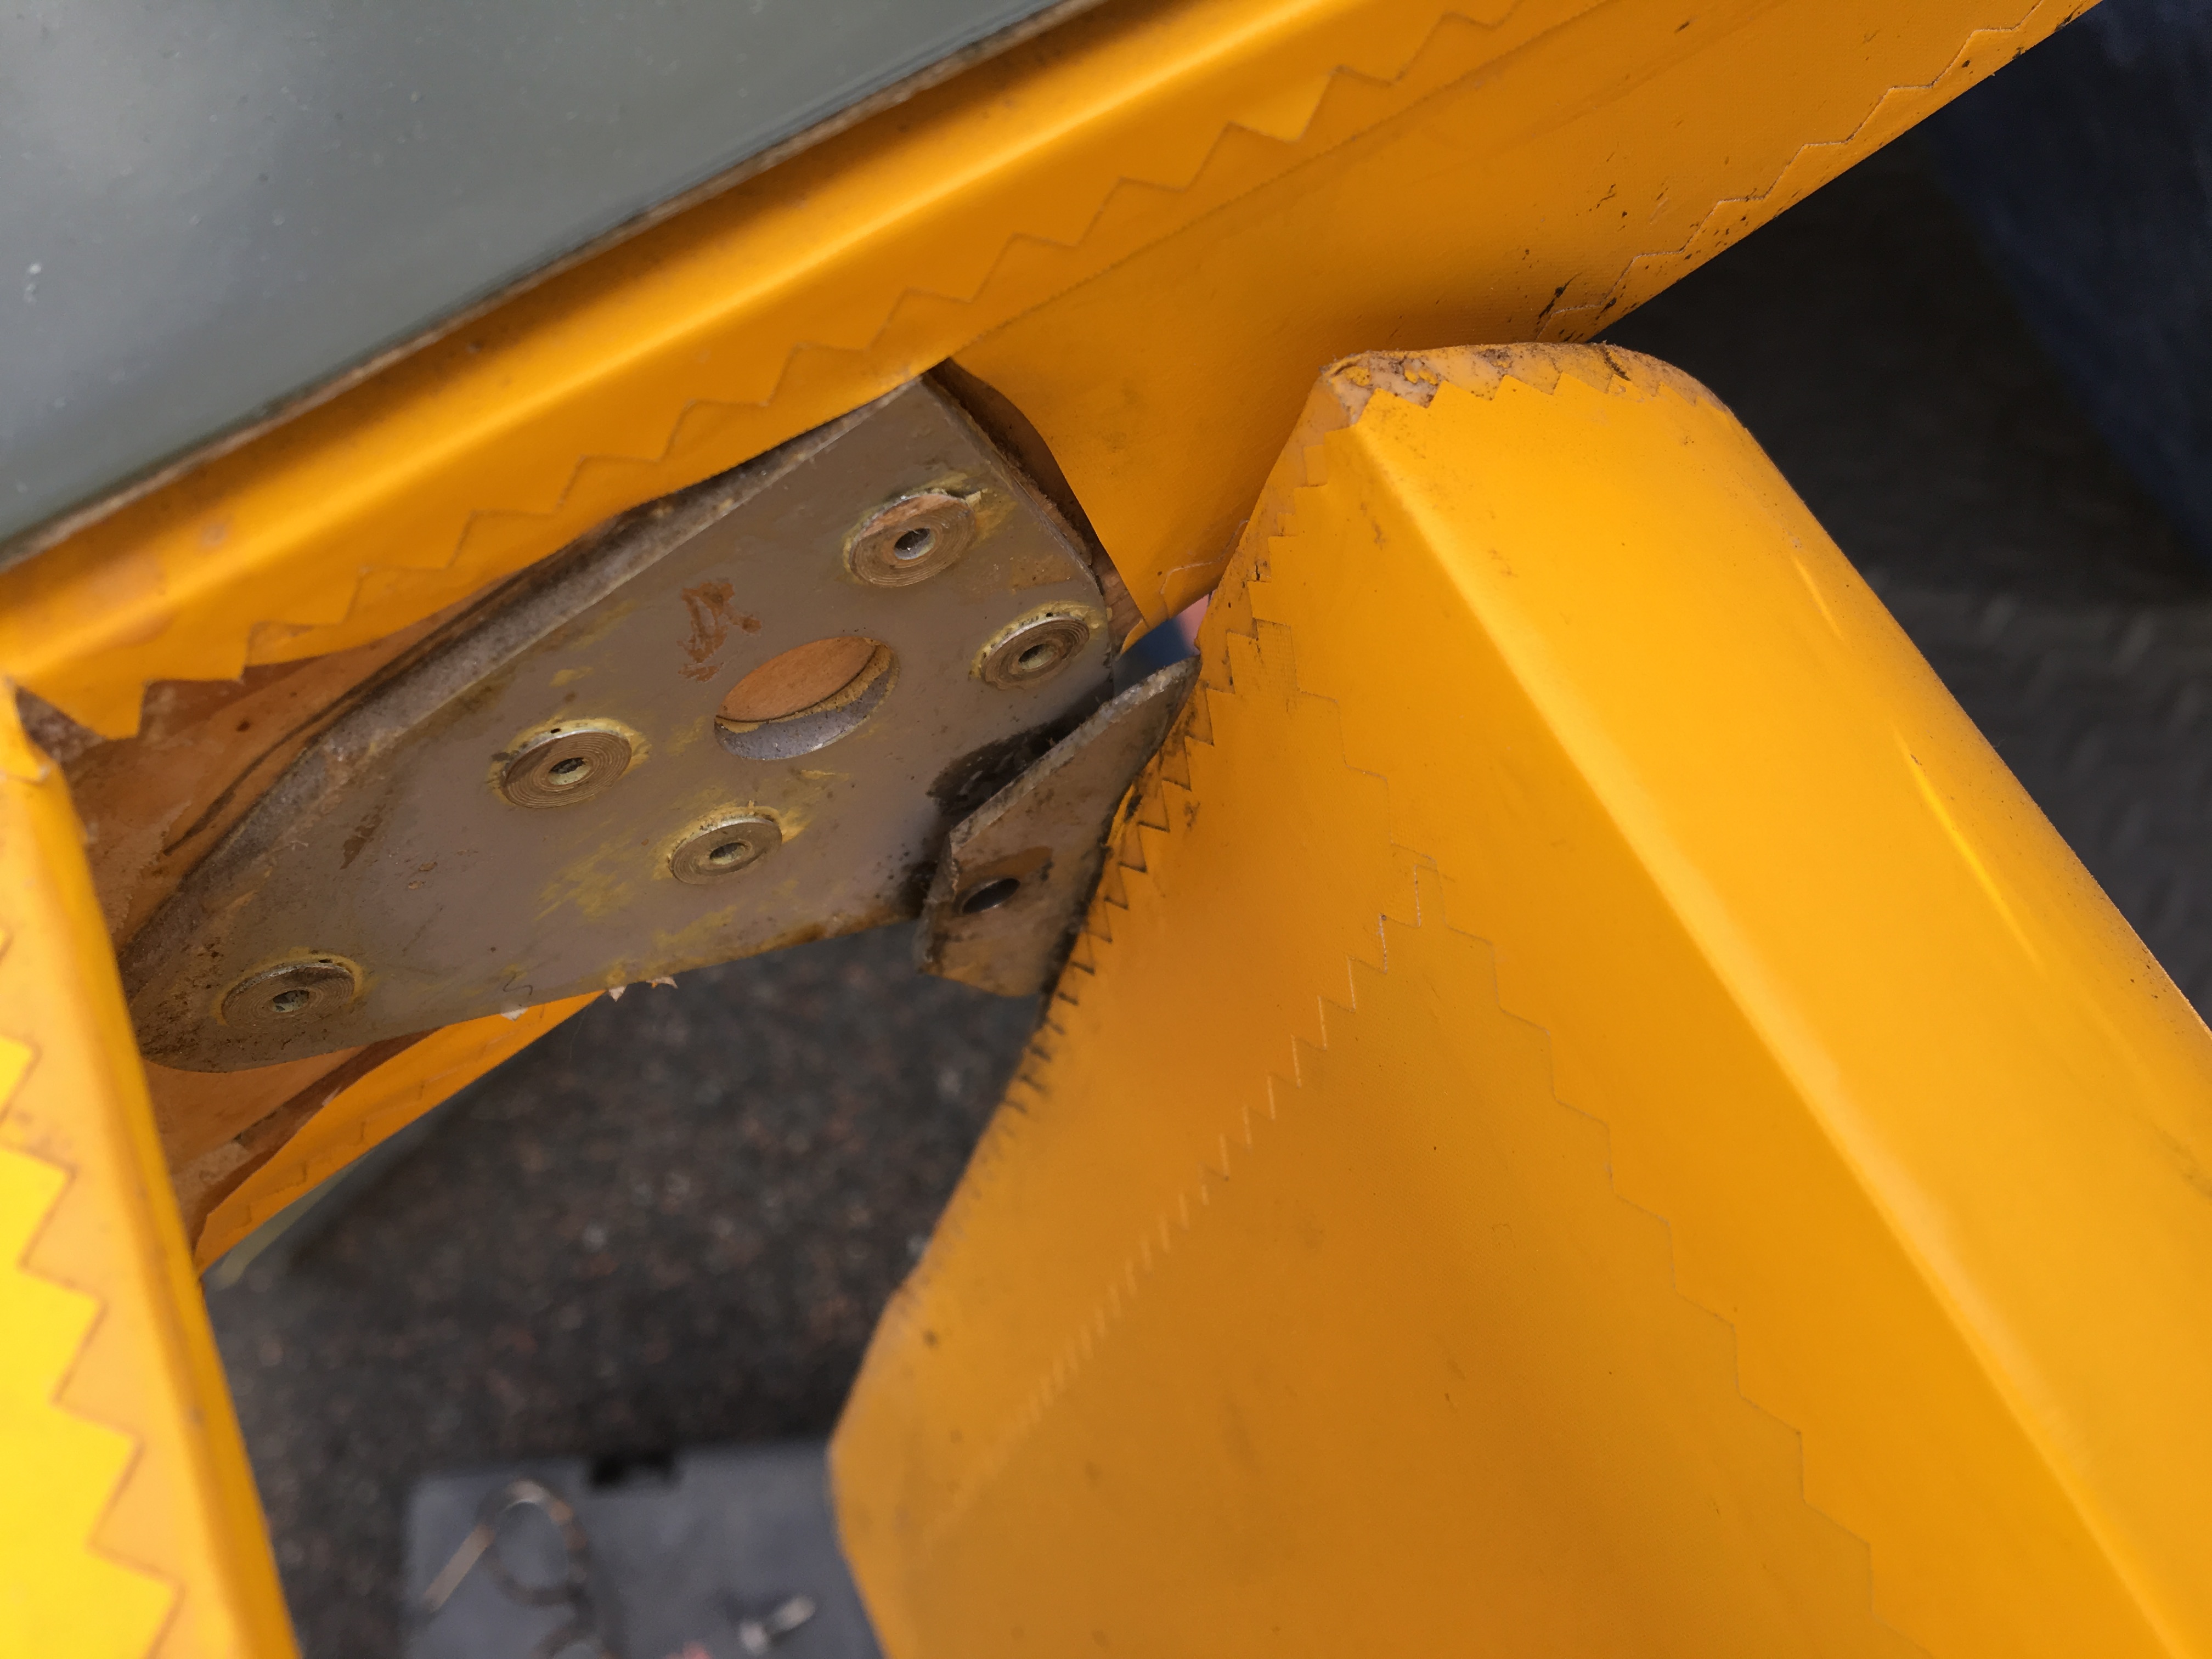
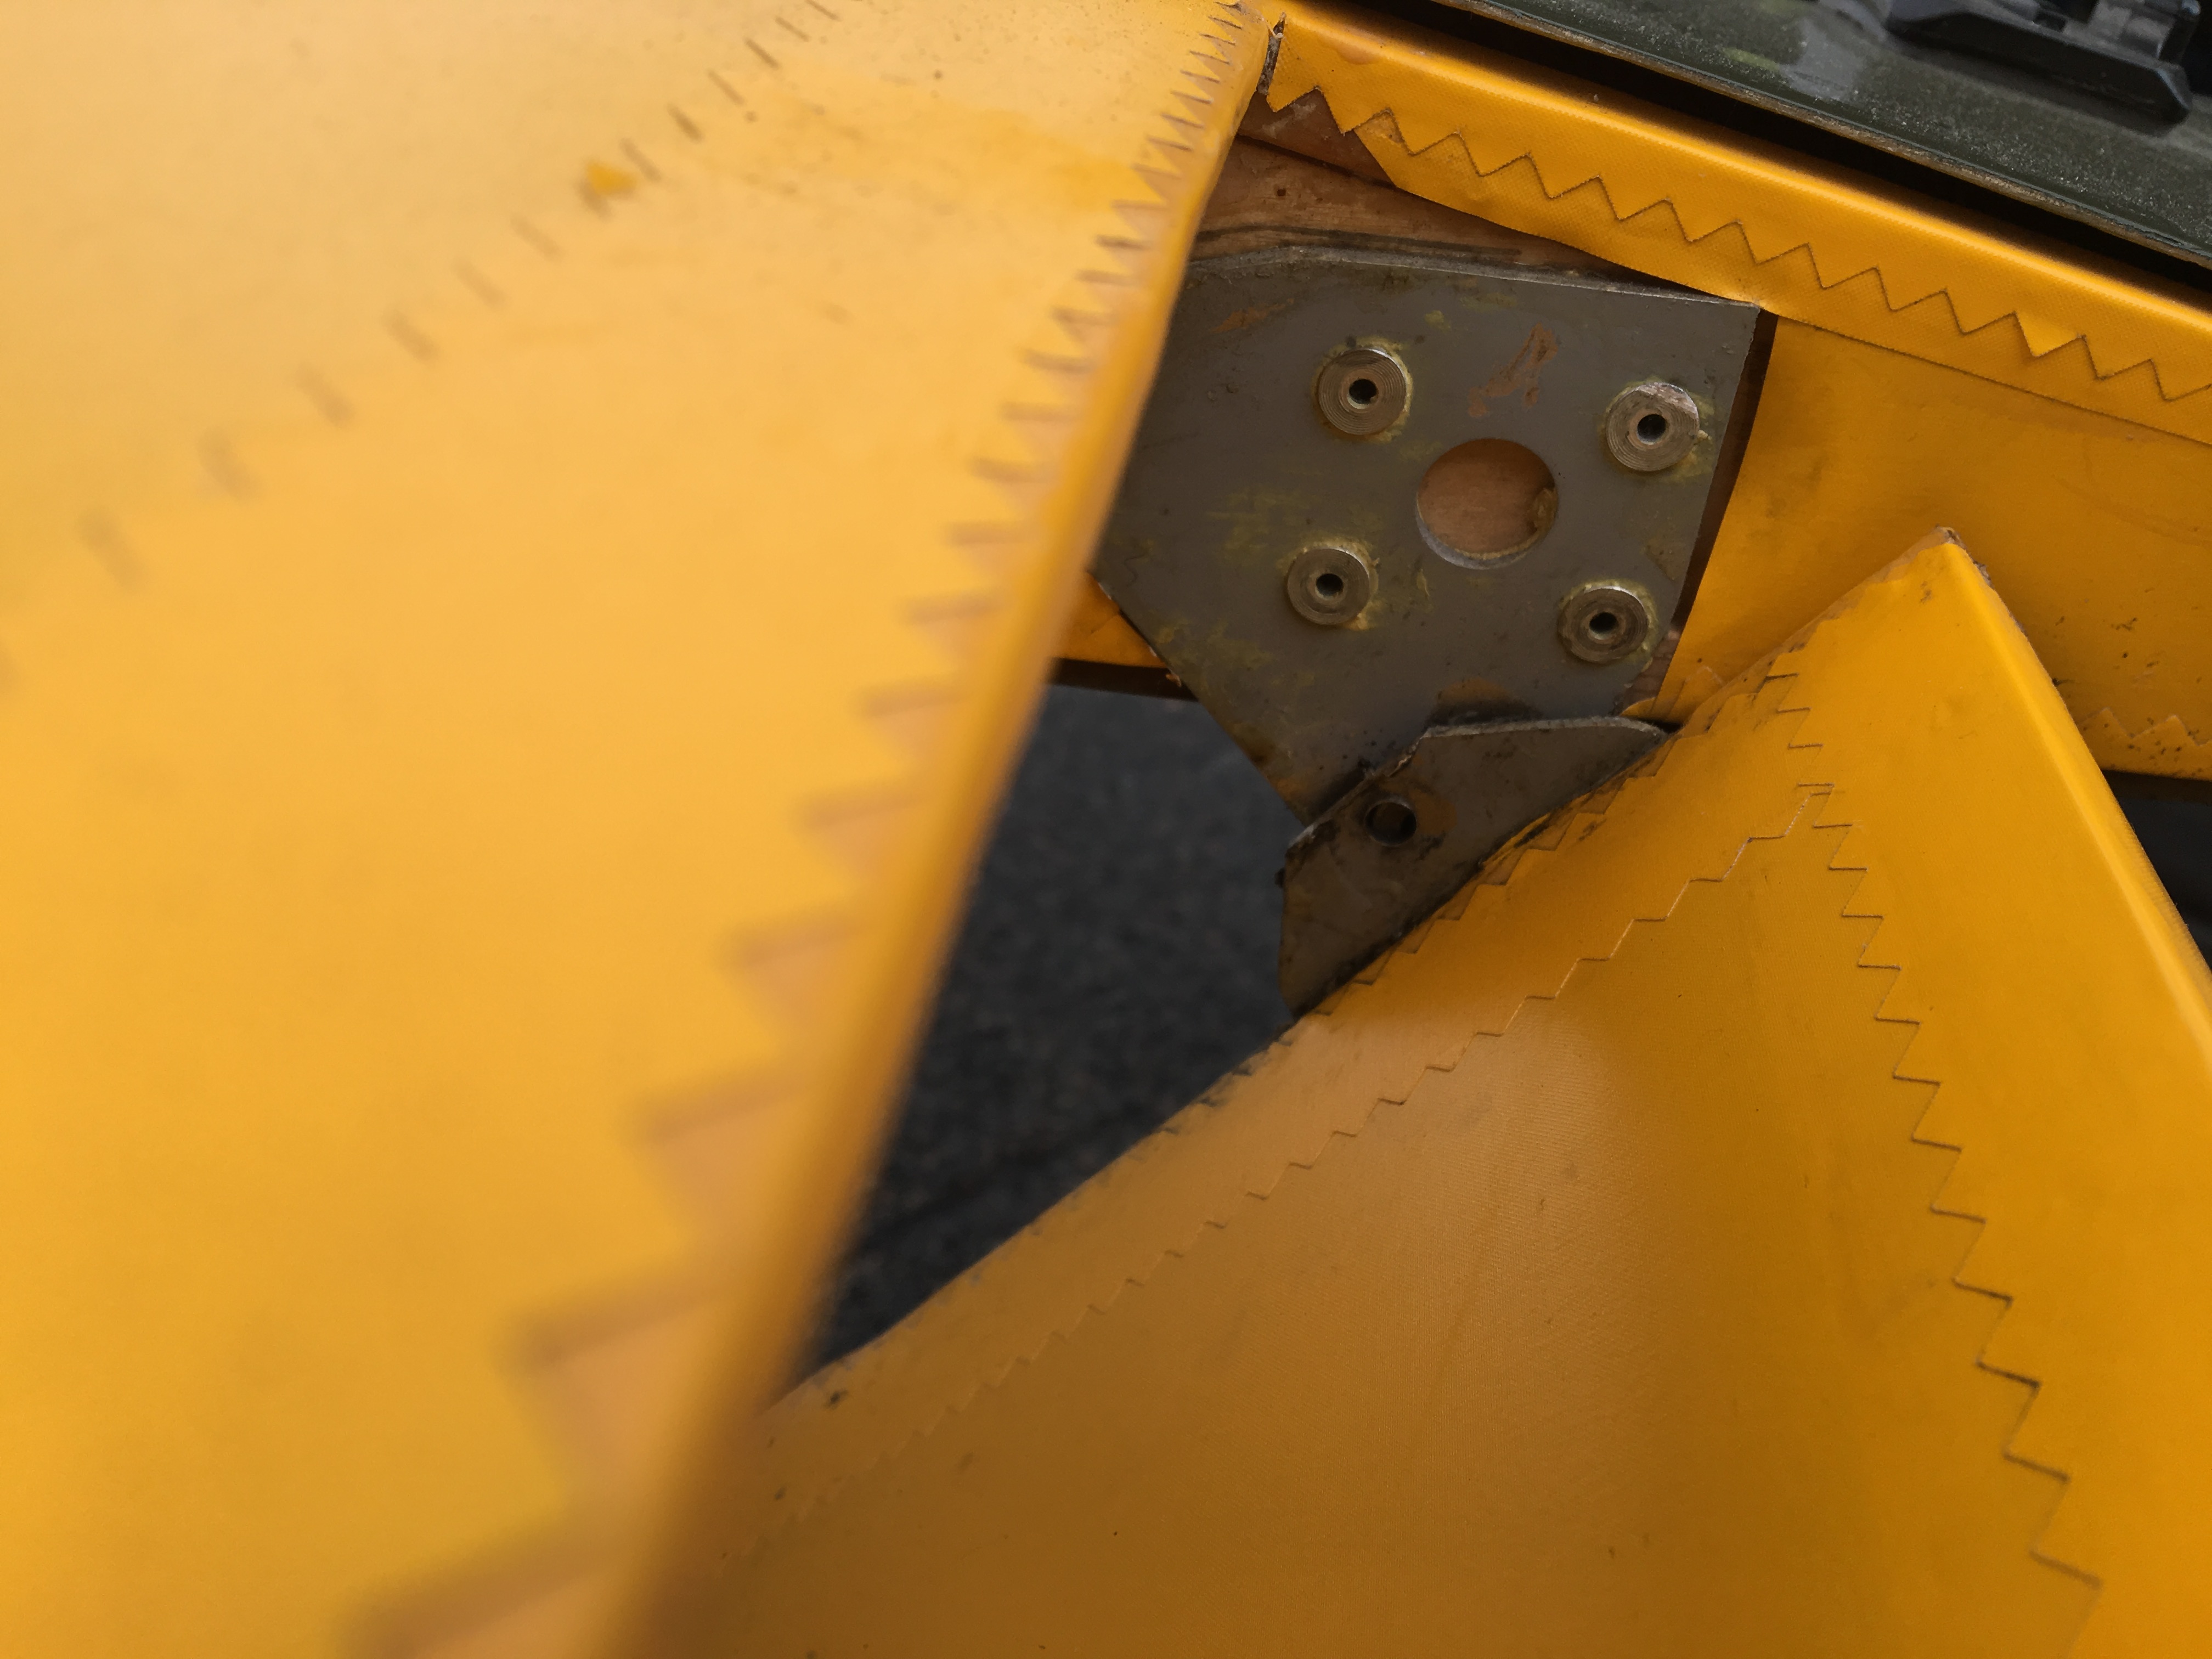
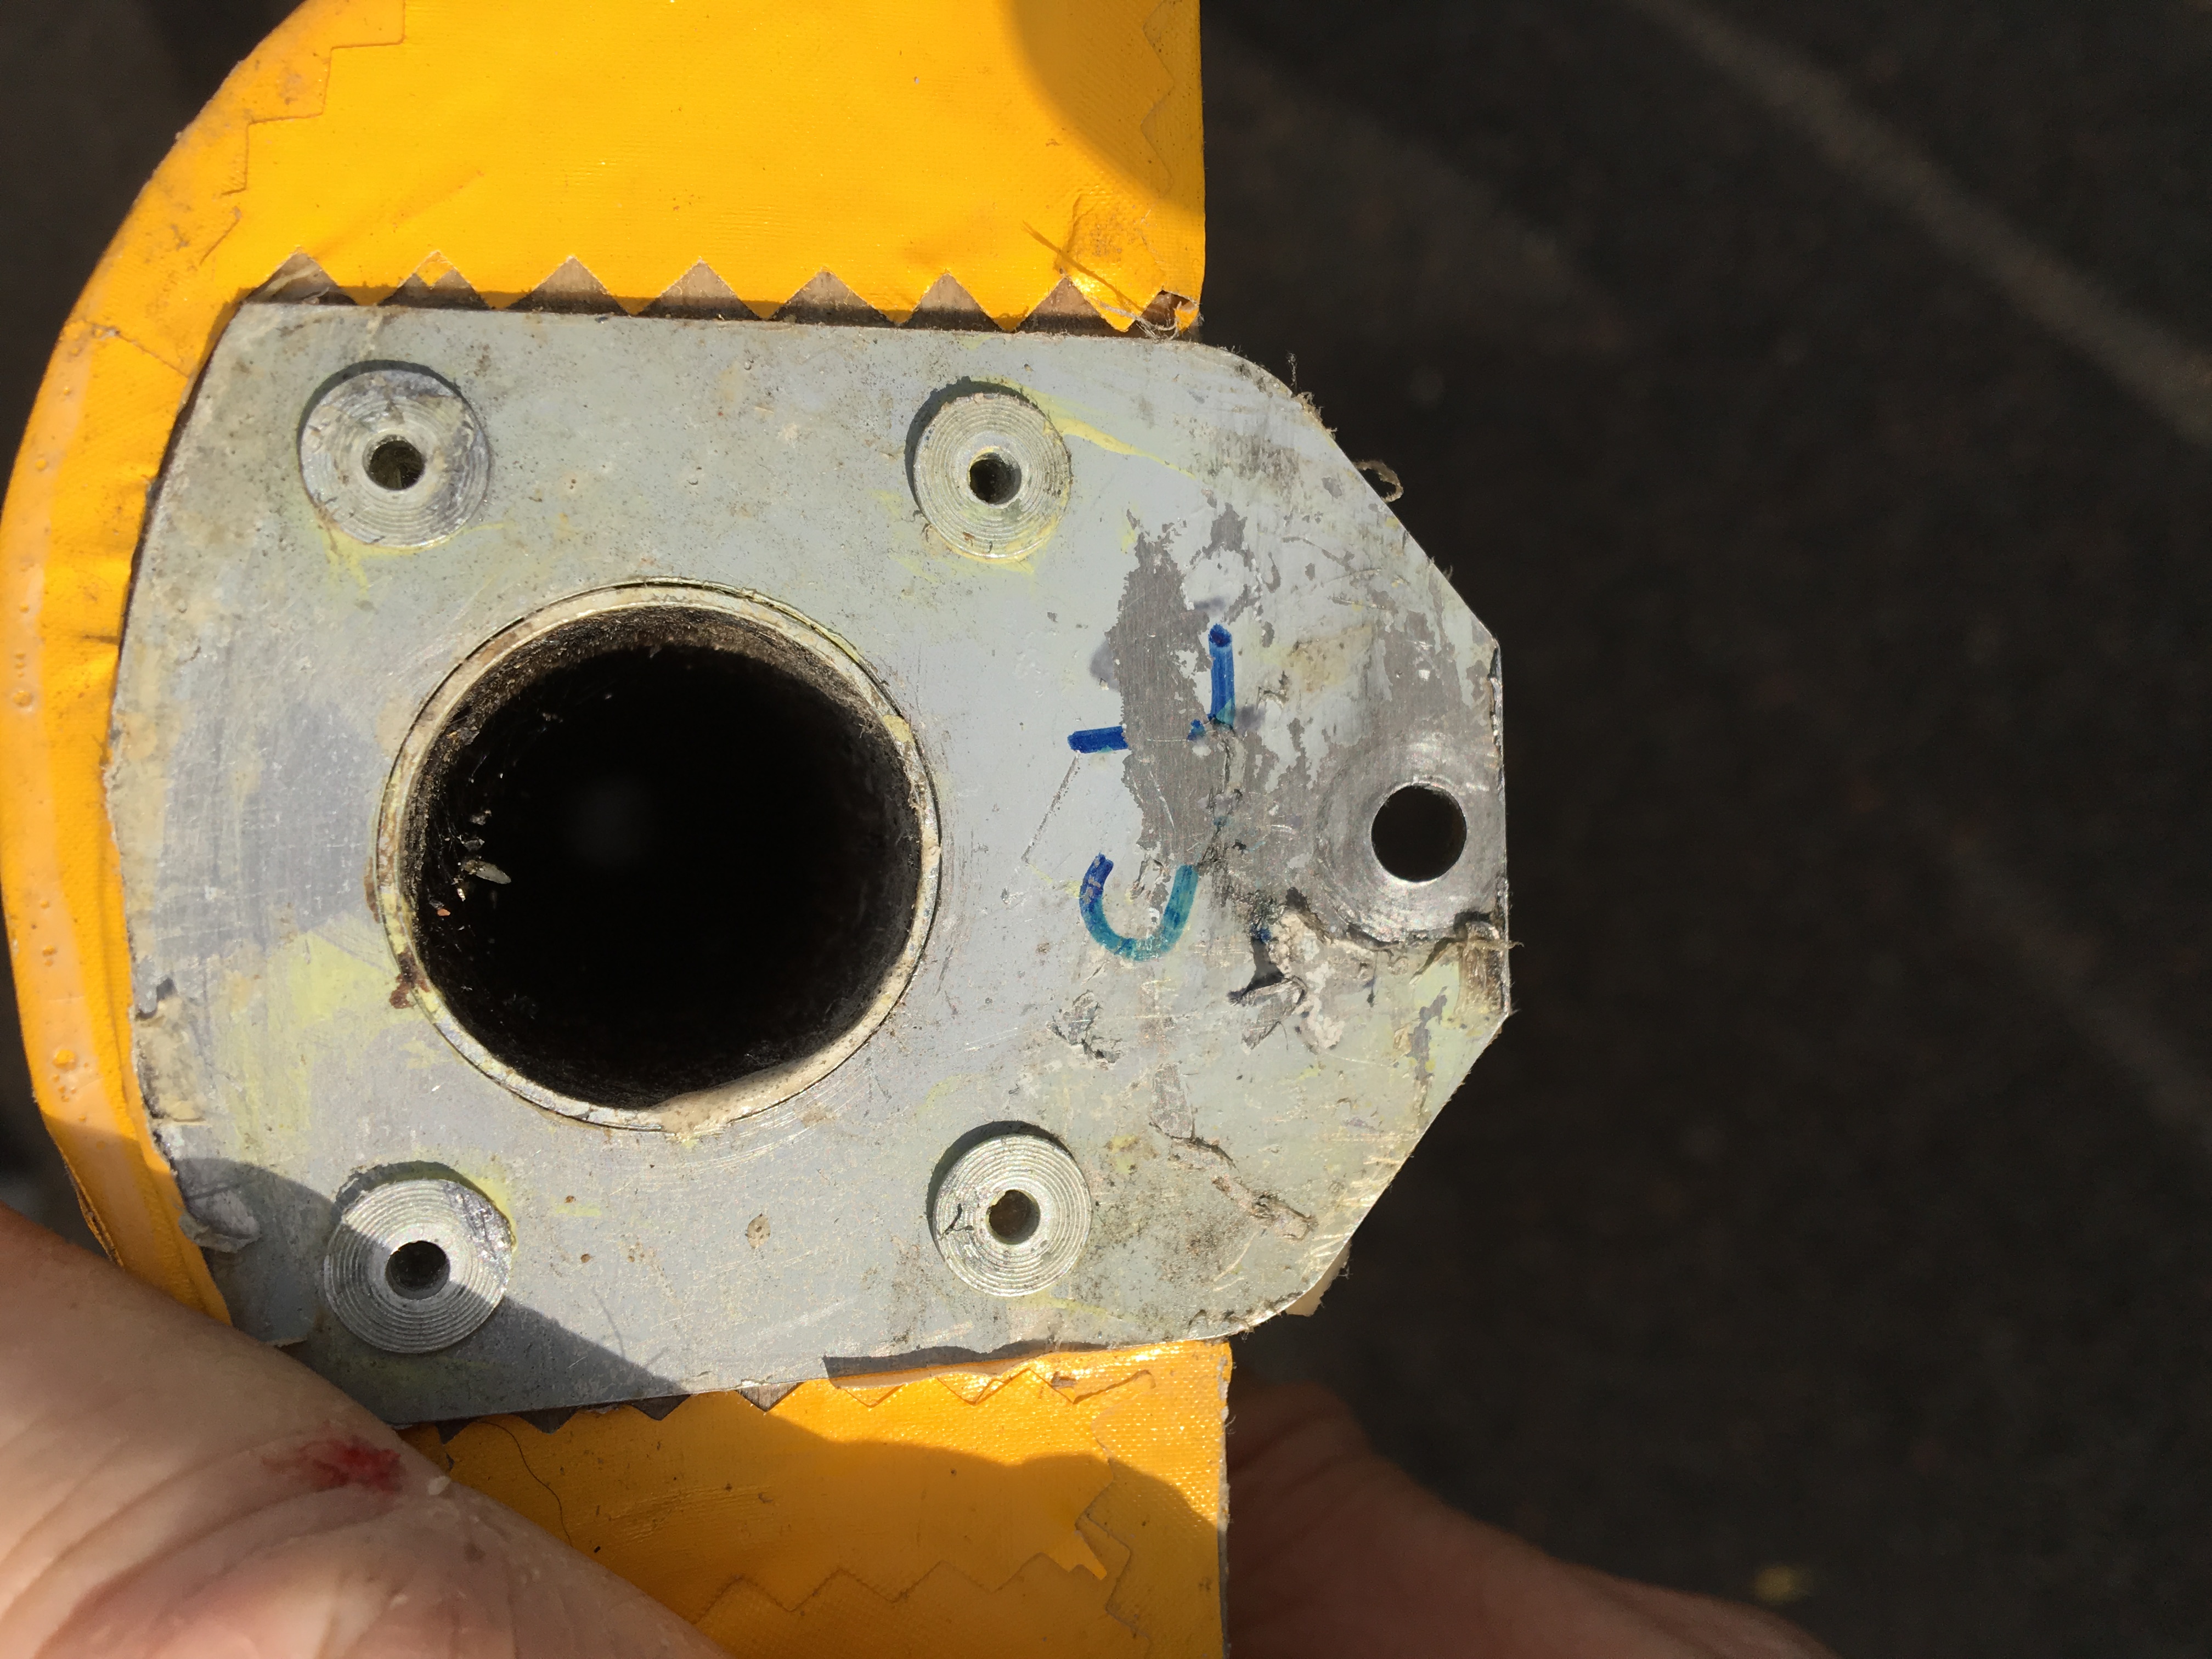
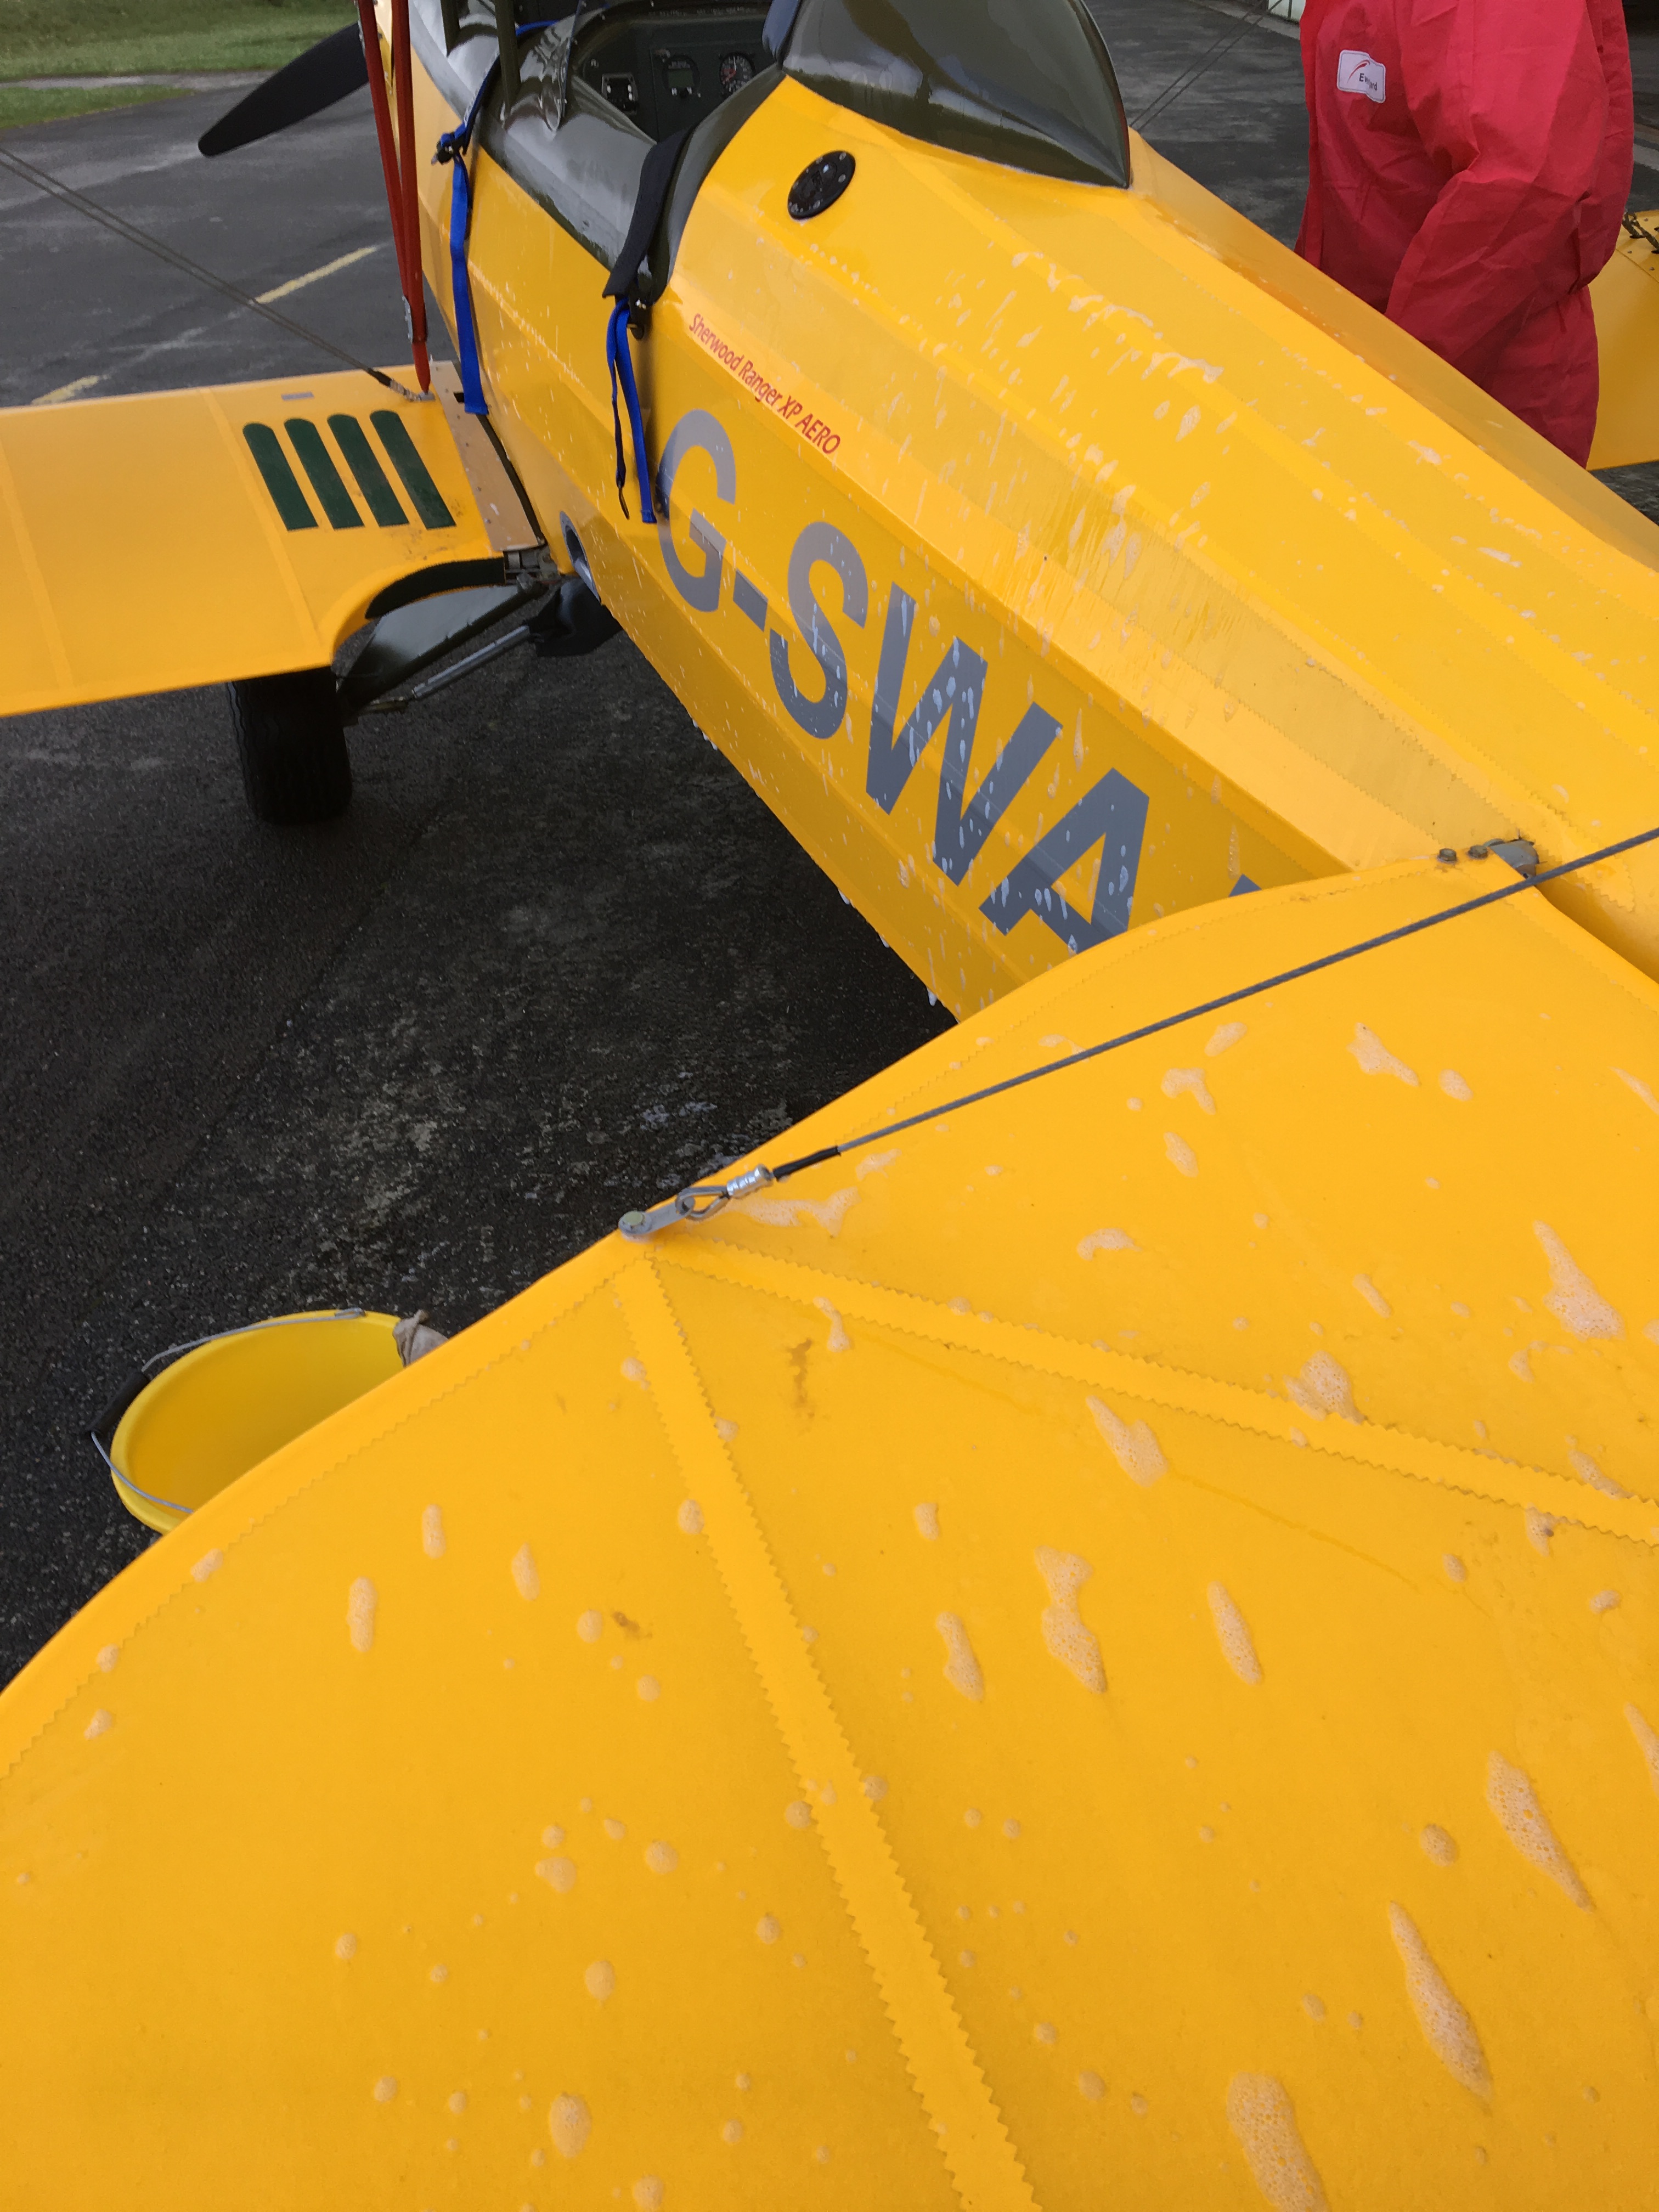
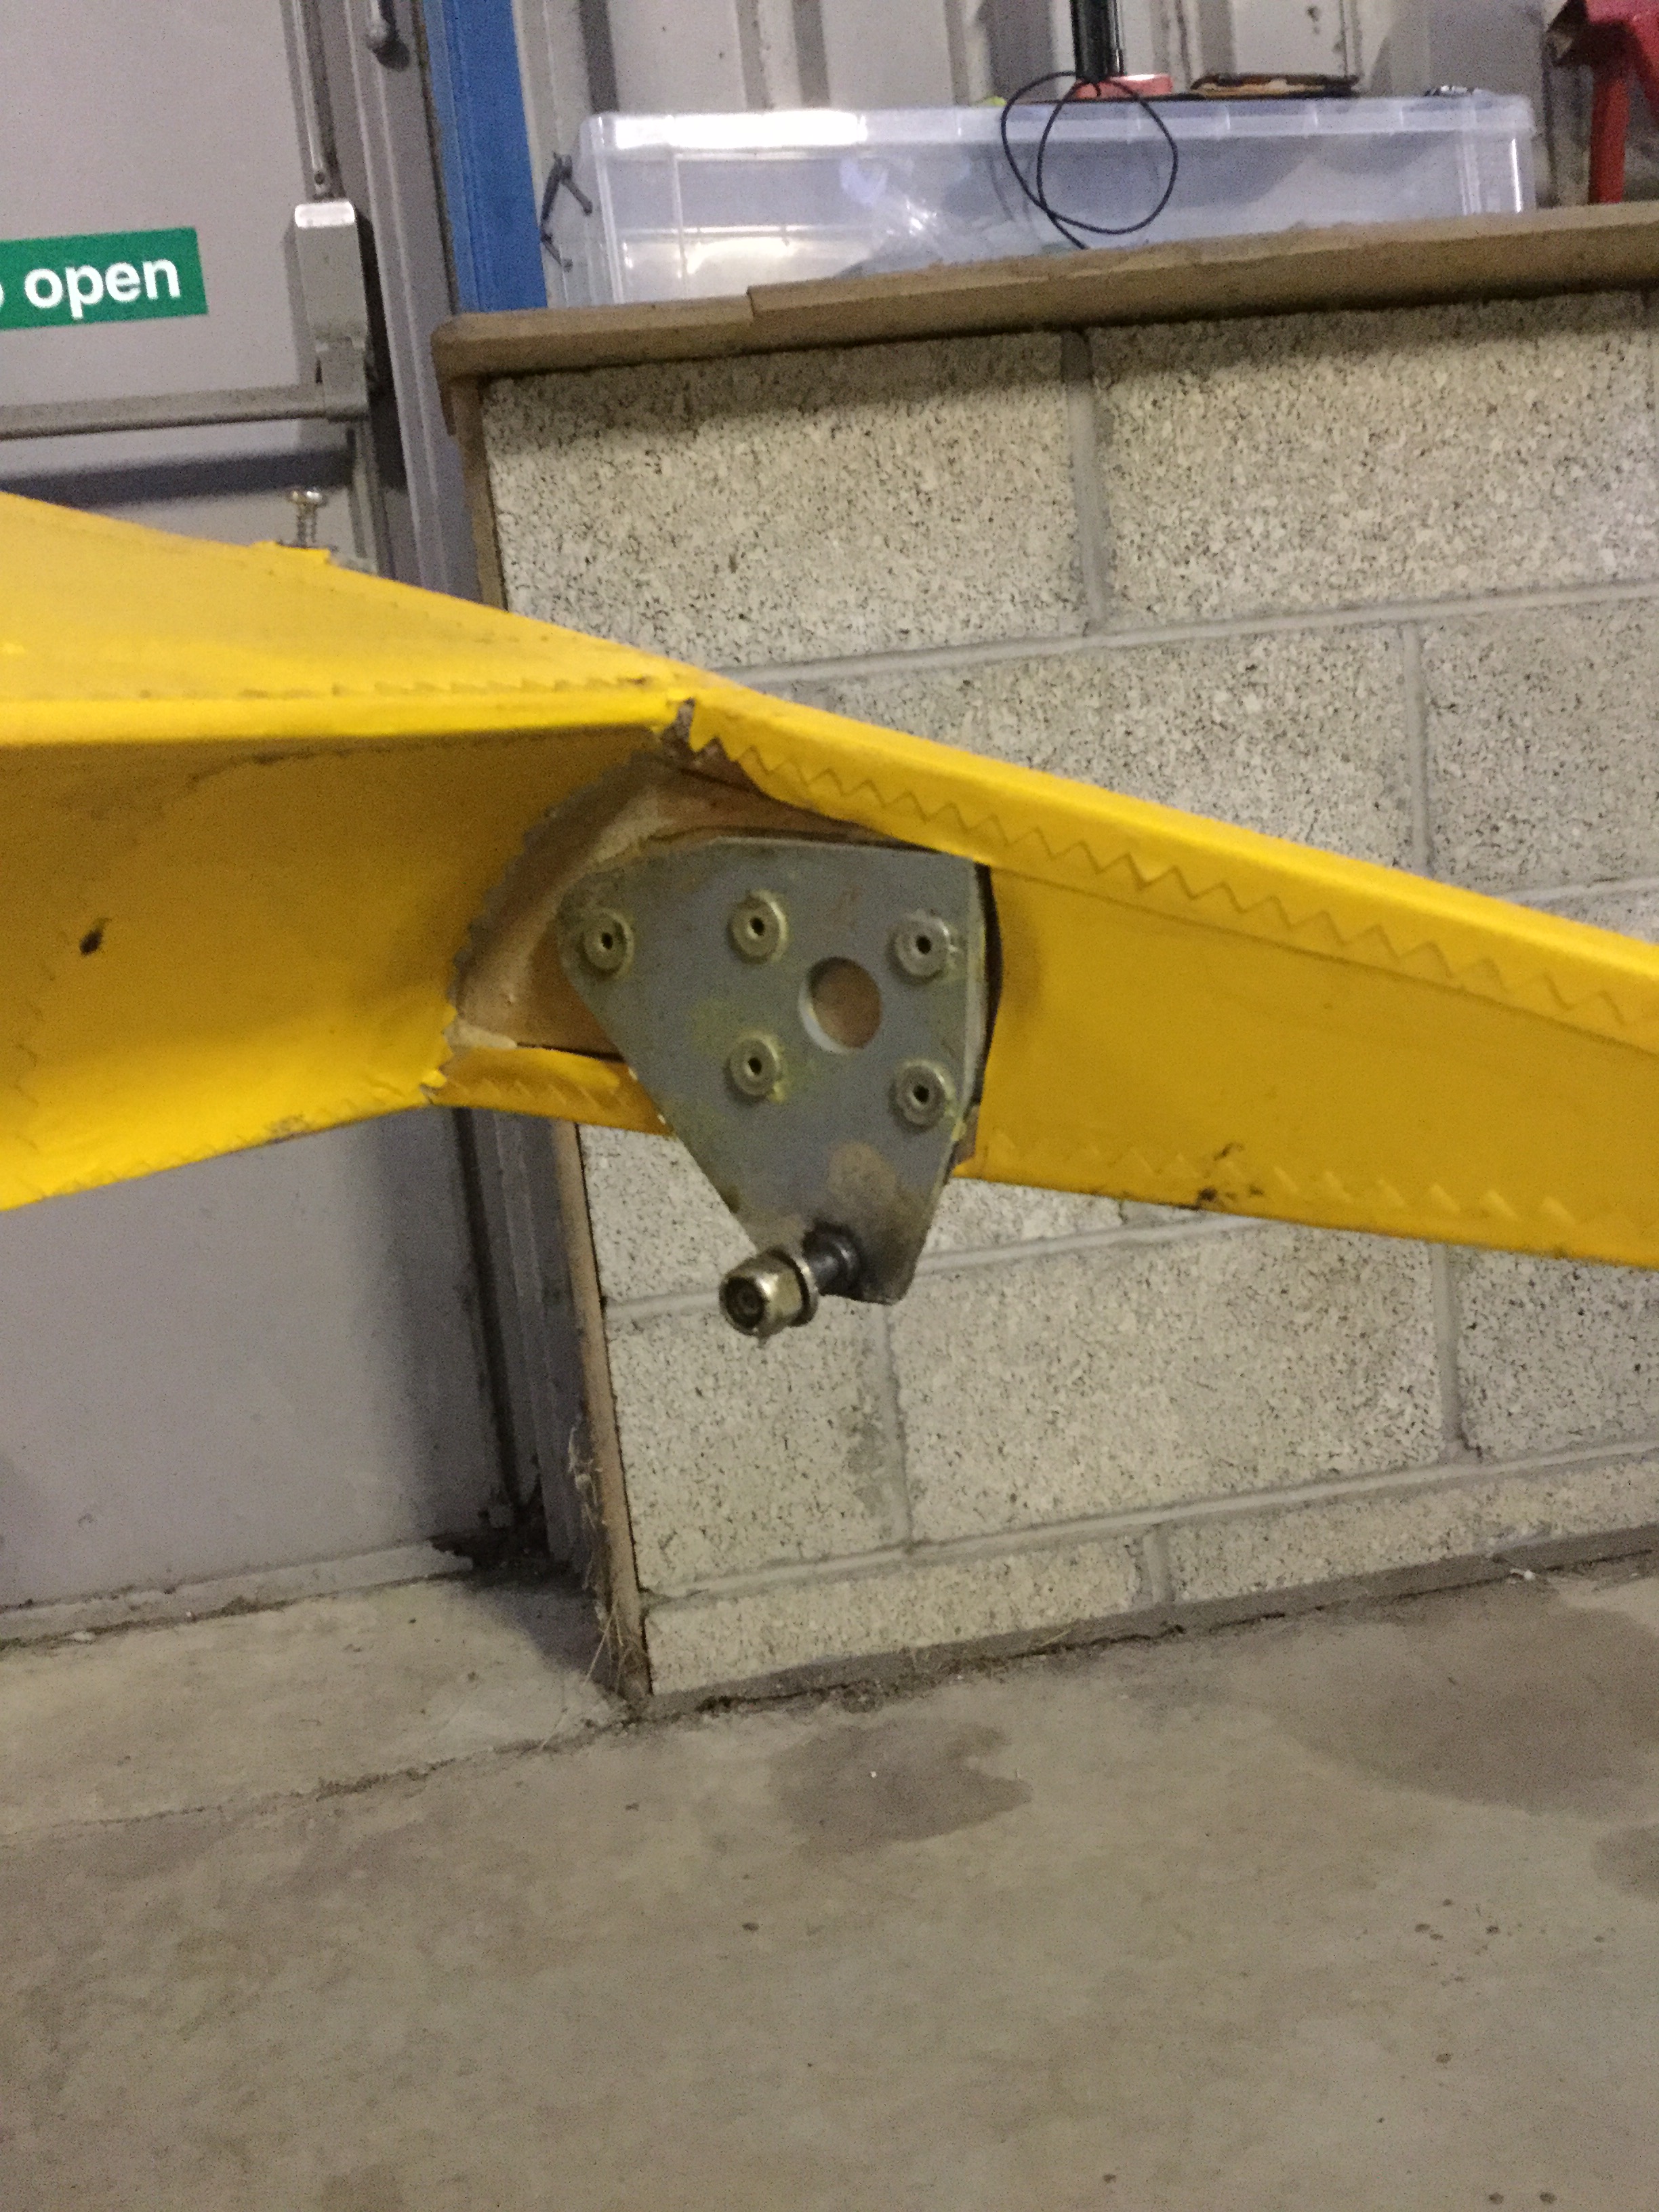
Trying to get the tail down the port wing lifted – into the now slightly stronger cross wind, right wing went down ,. Scrape … at this point you are a passenger and can only steer a bit with your feet.

Left the runway onto the grass .. pulled the throttle right back and stopped the engine .. stick full back … and came to a calm standstill .. just short of the PAPI s

Tower calmly asked if I needed assistance … started first touch and my nice big tyres let me drive her around and off and back onto the runway .. quite a step up to it .. so took it very steadily …

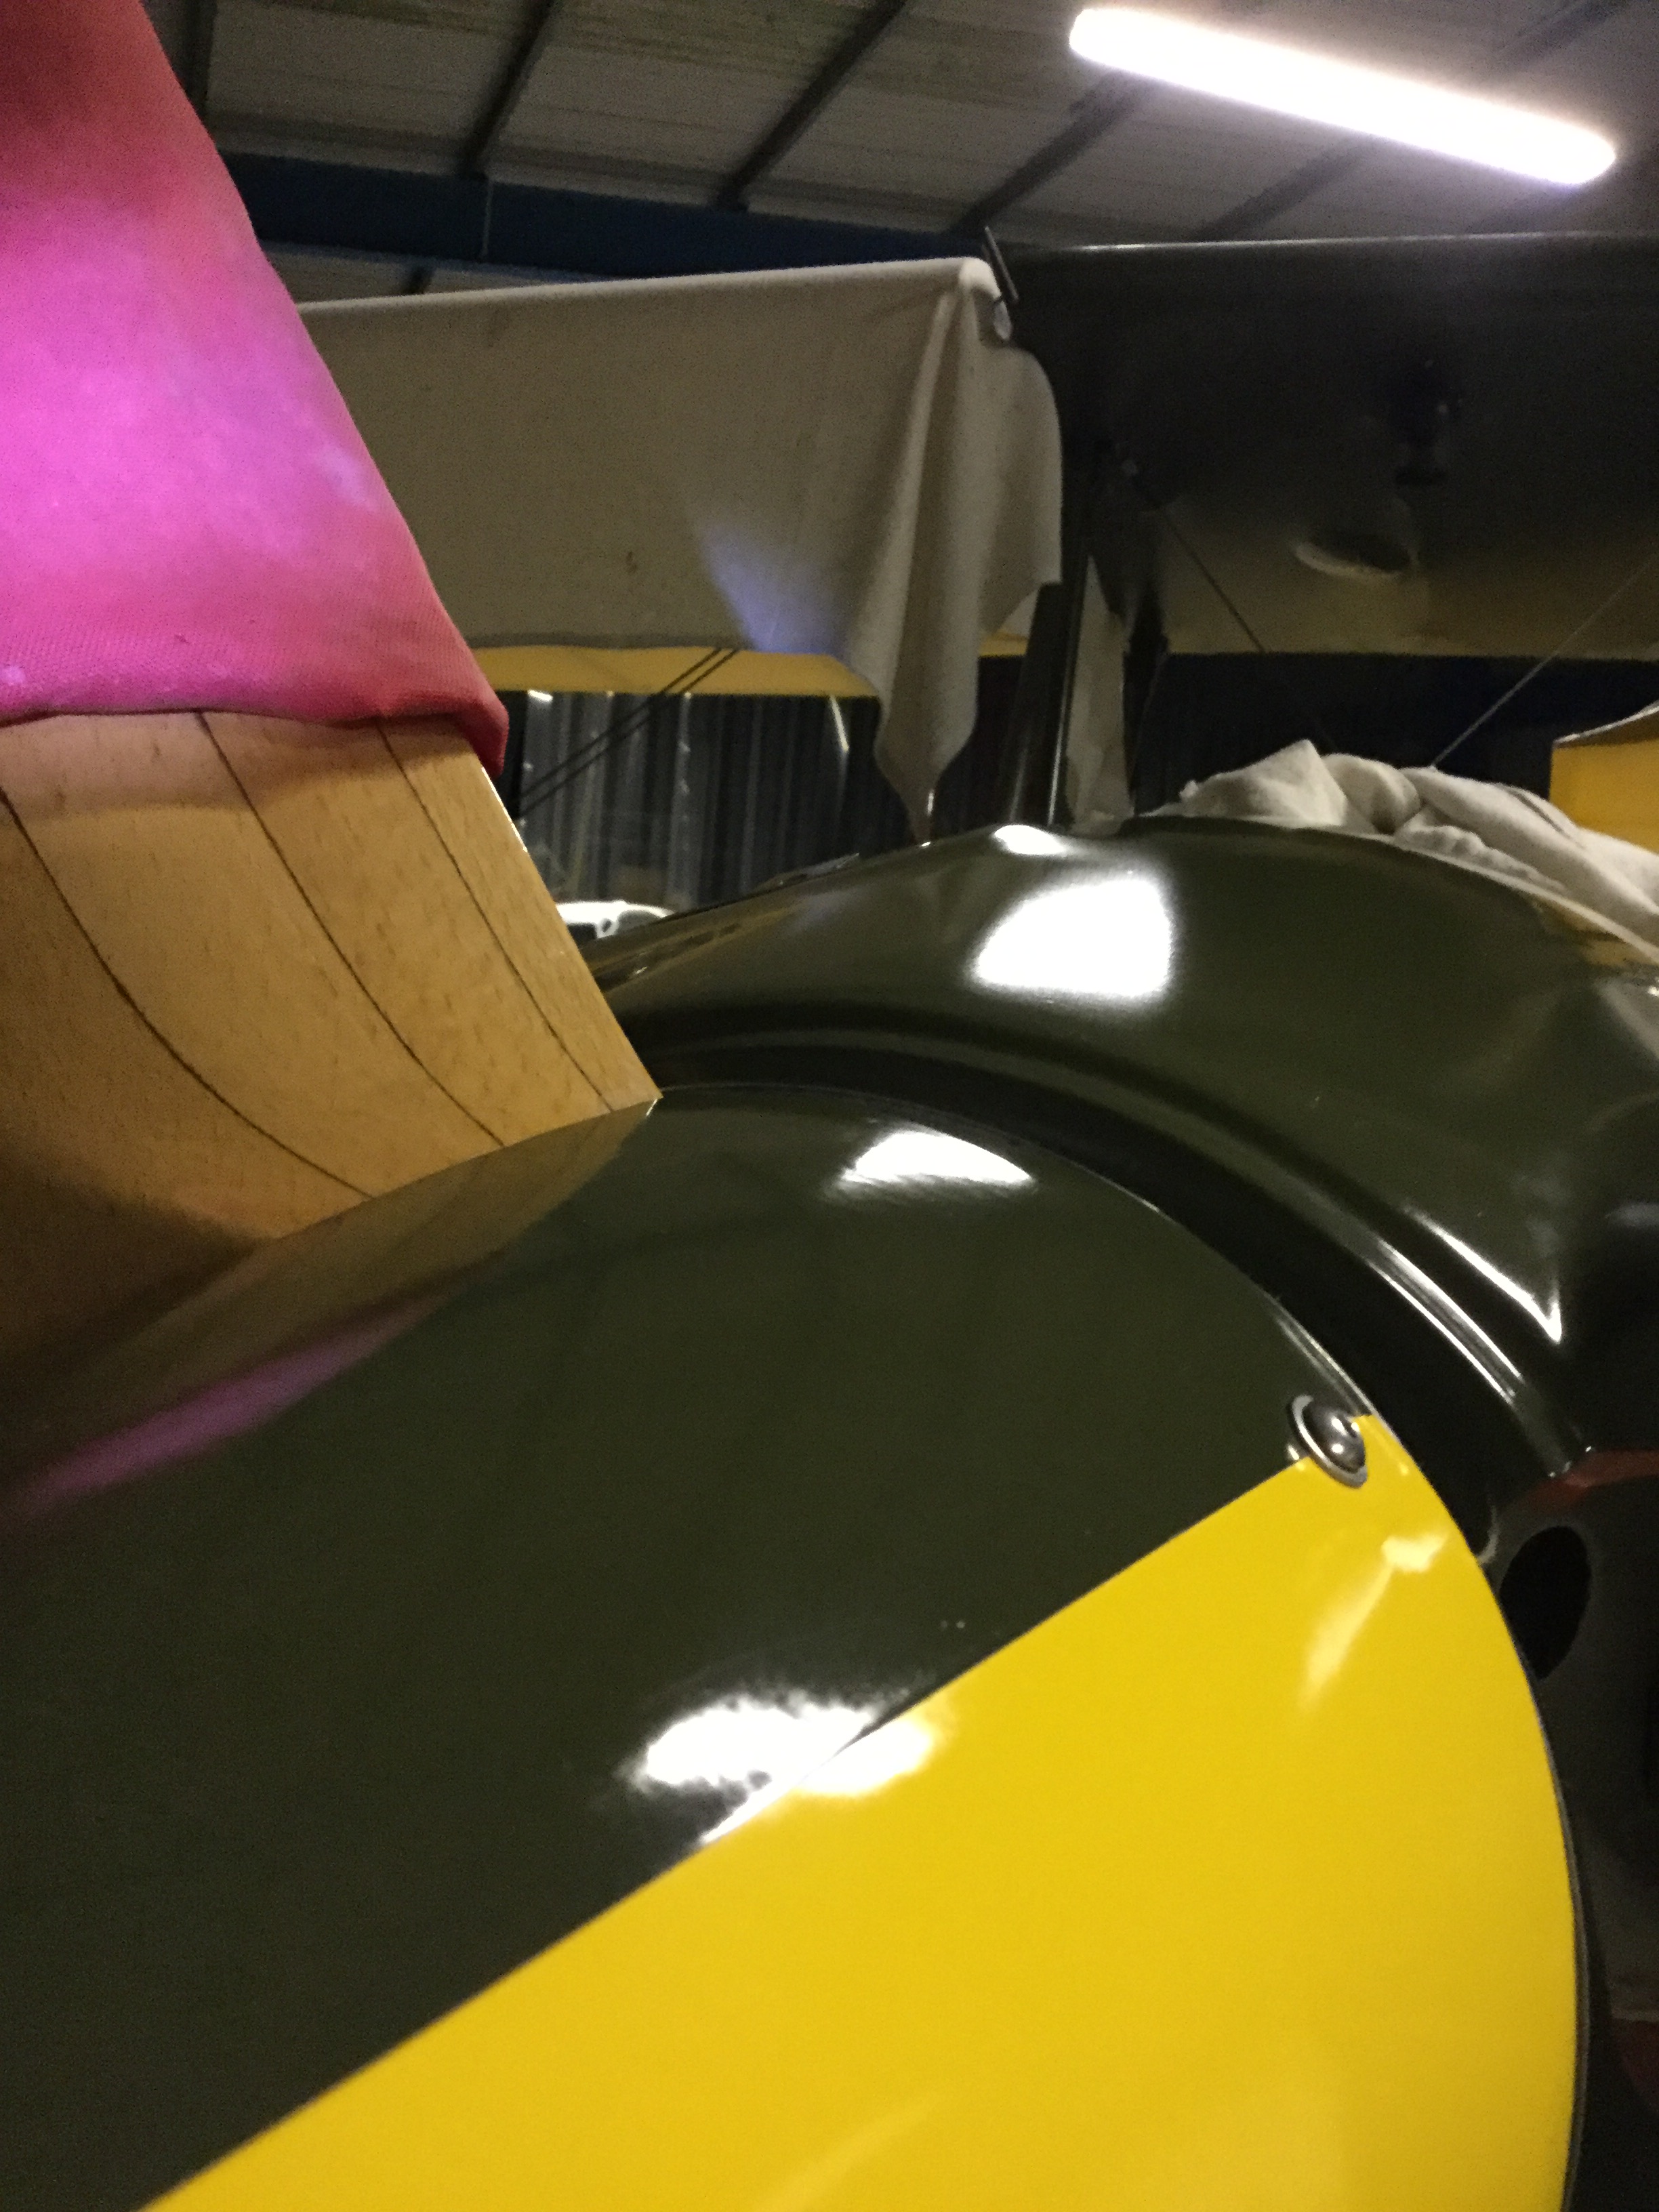
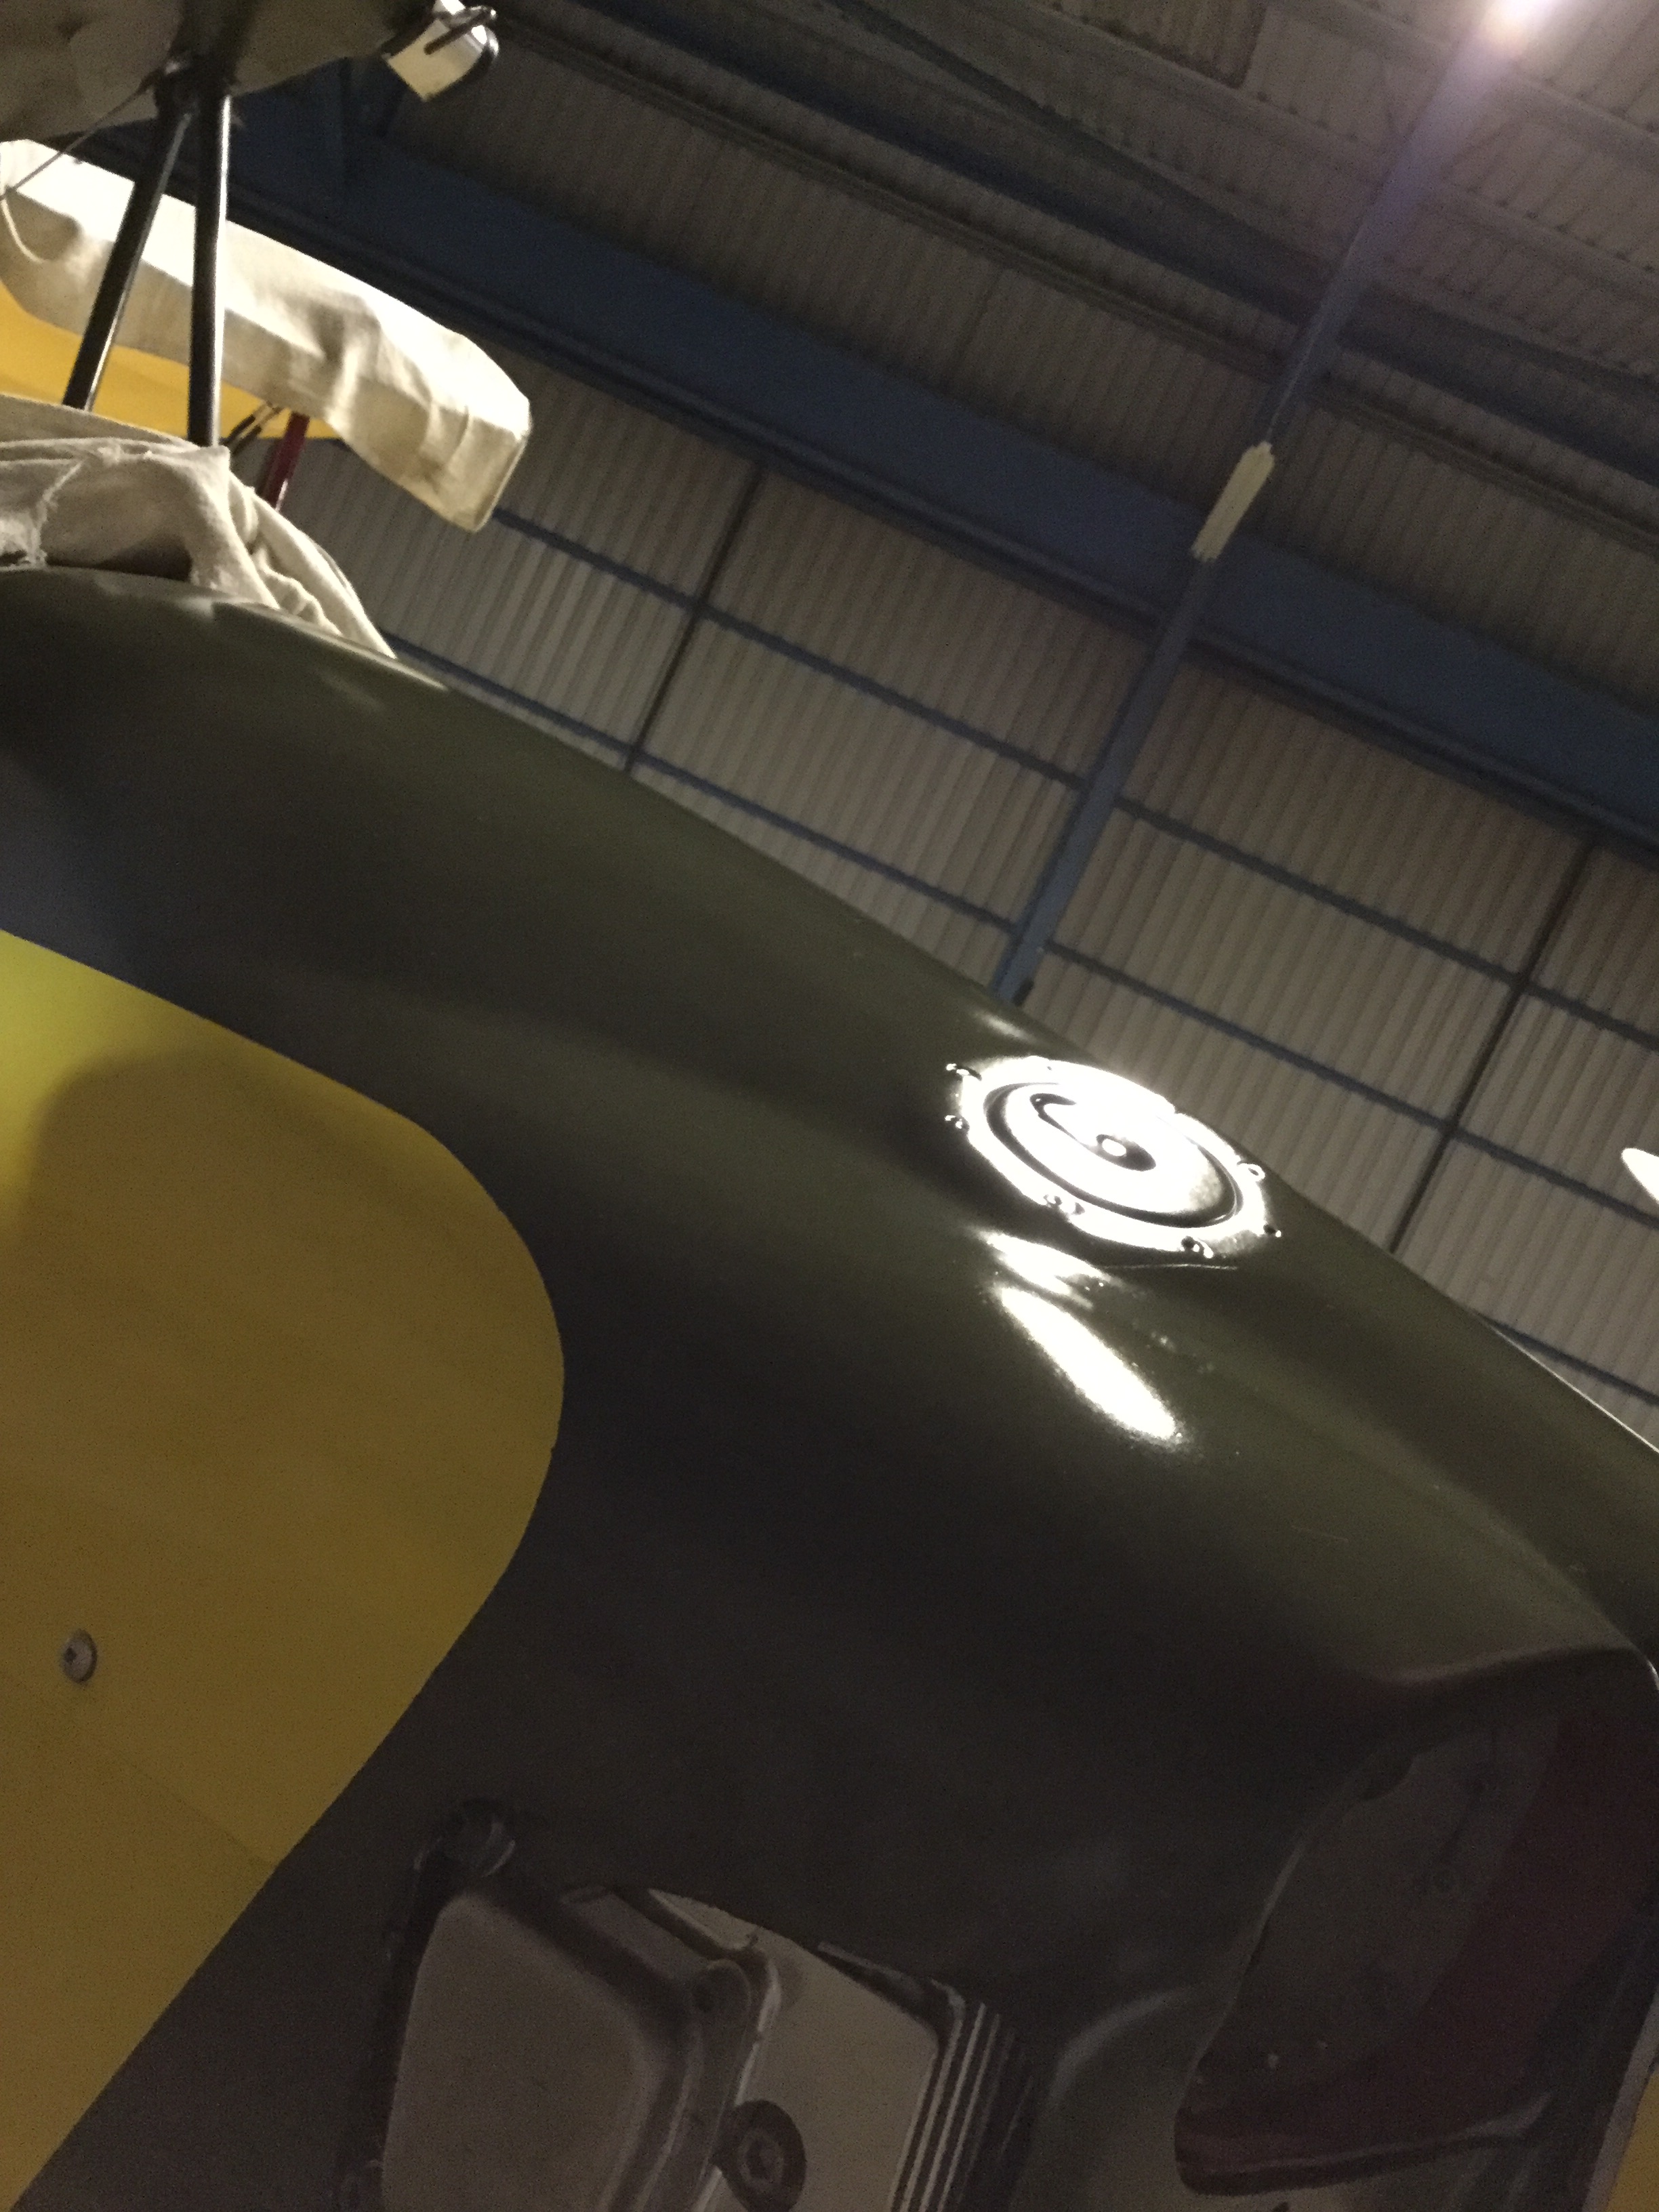
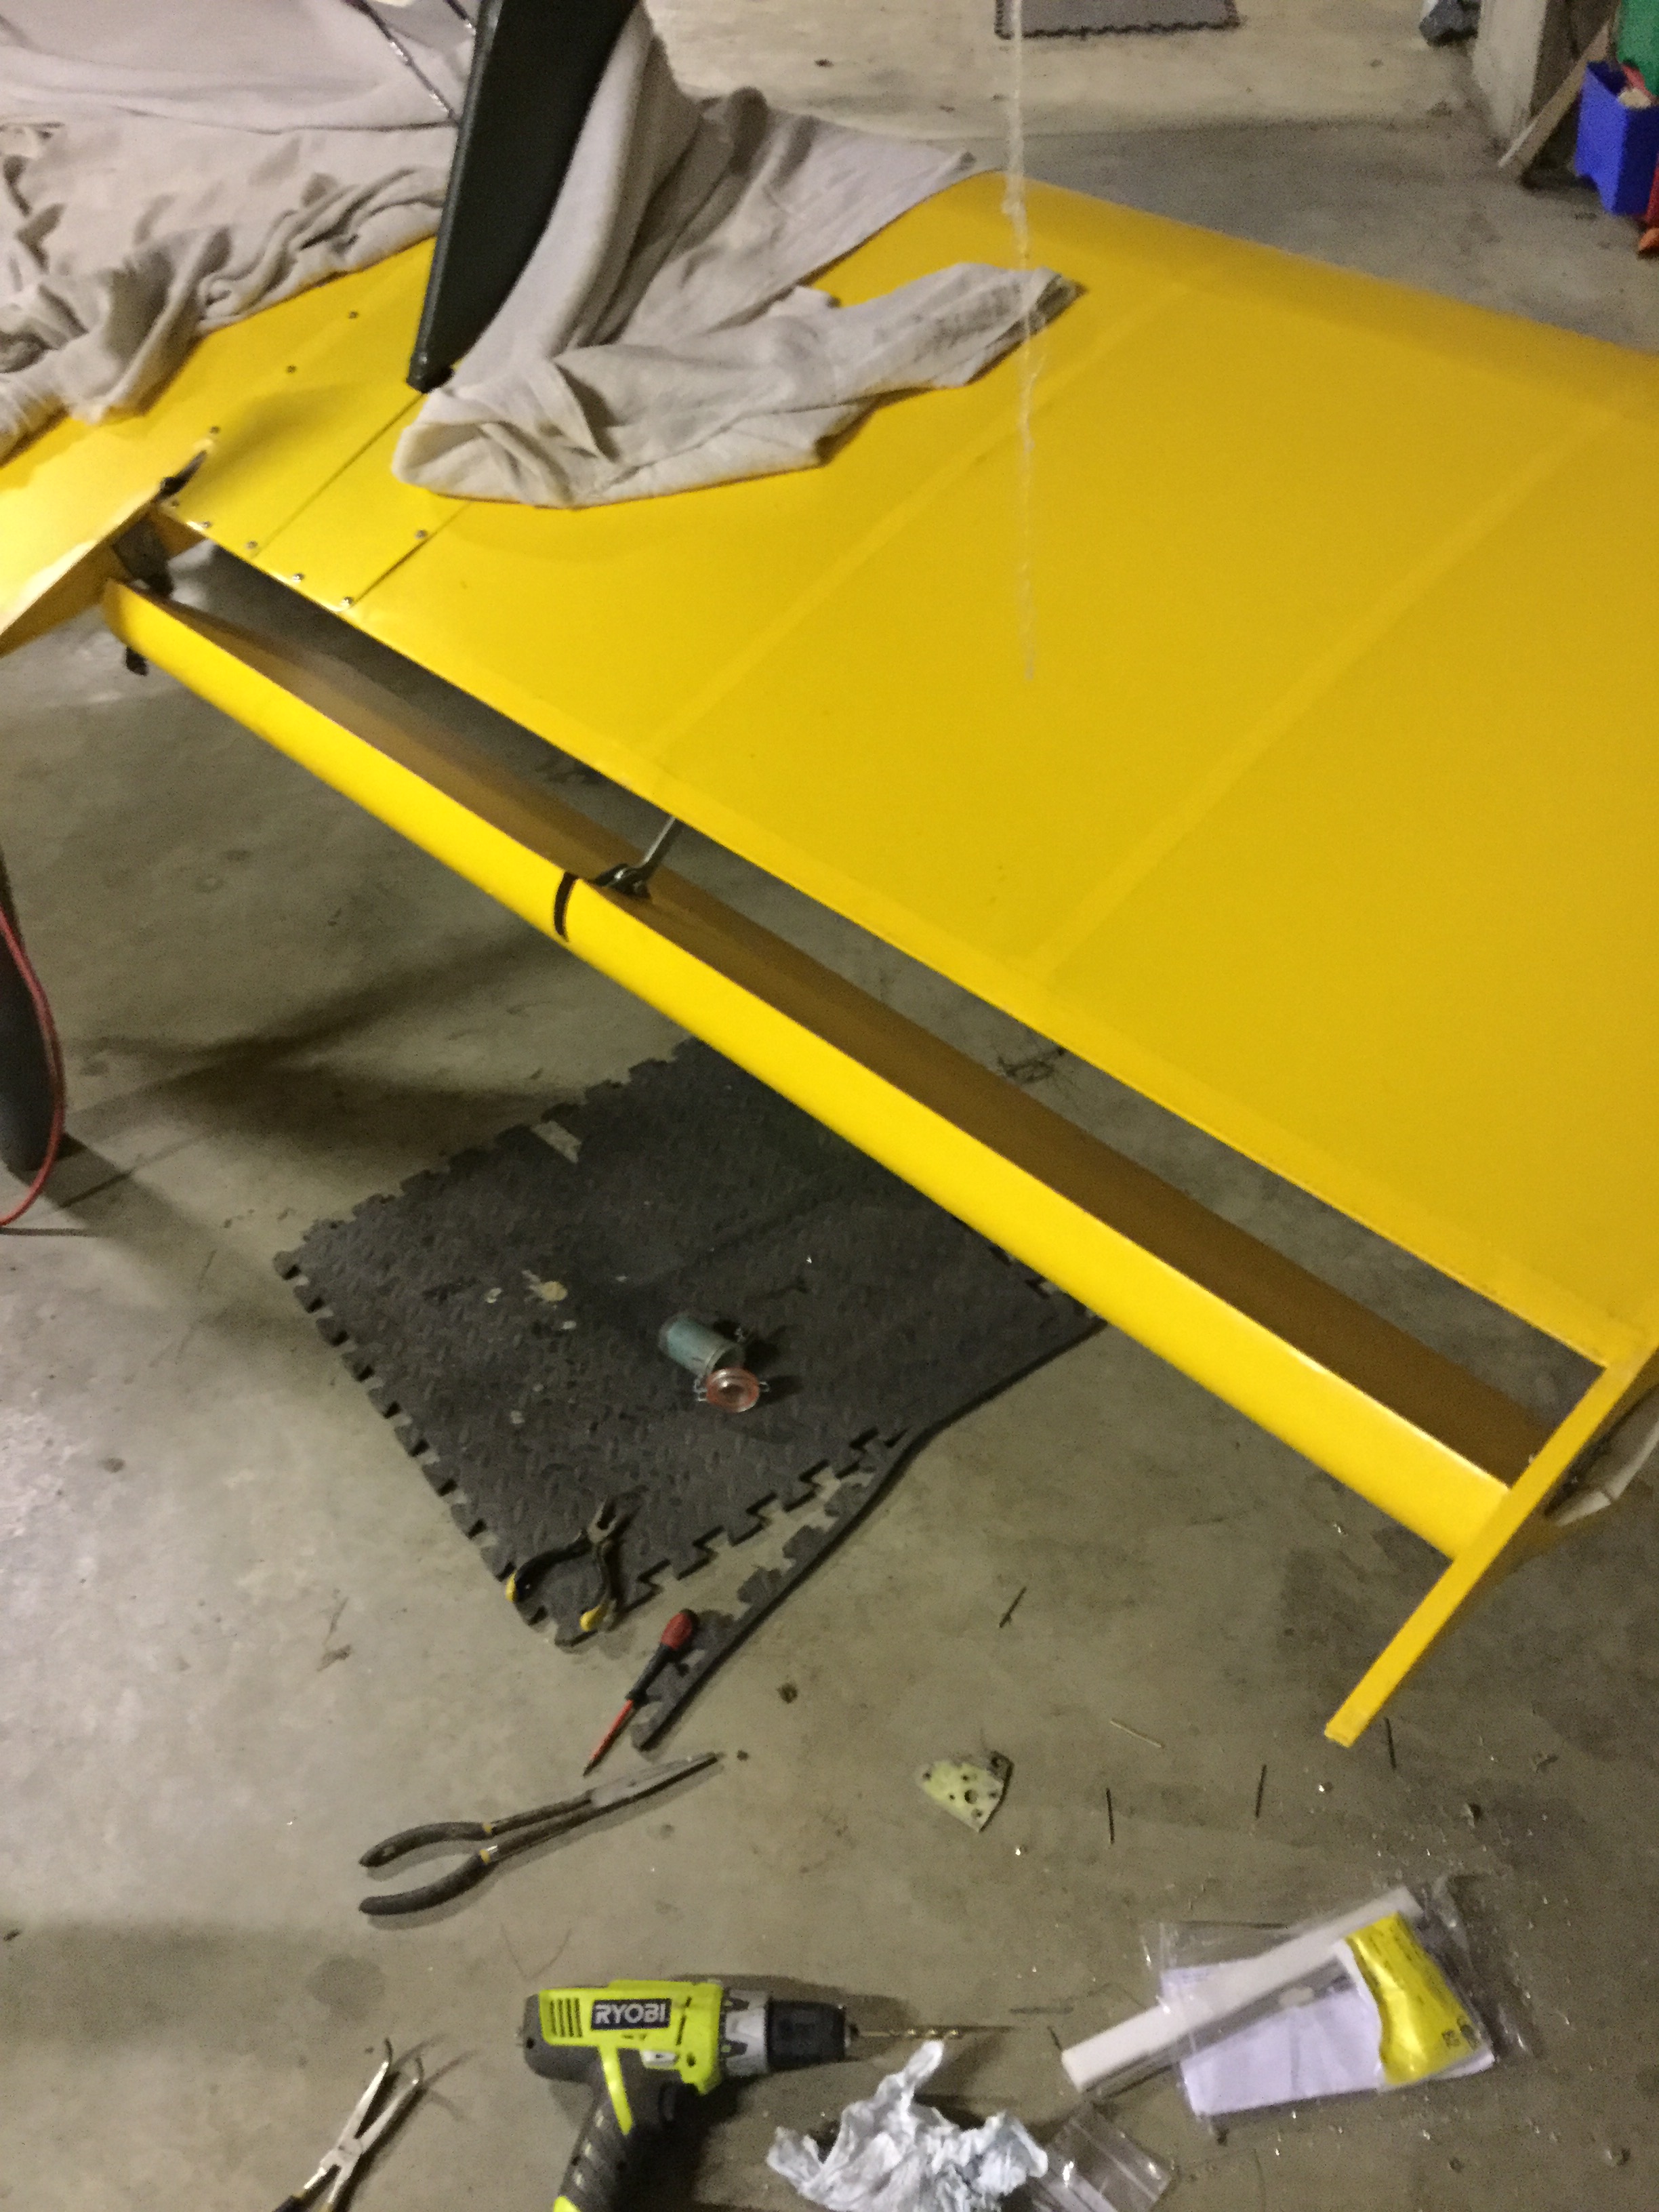
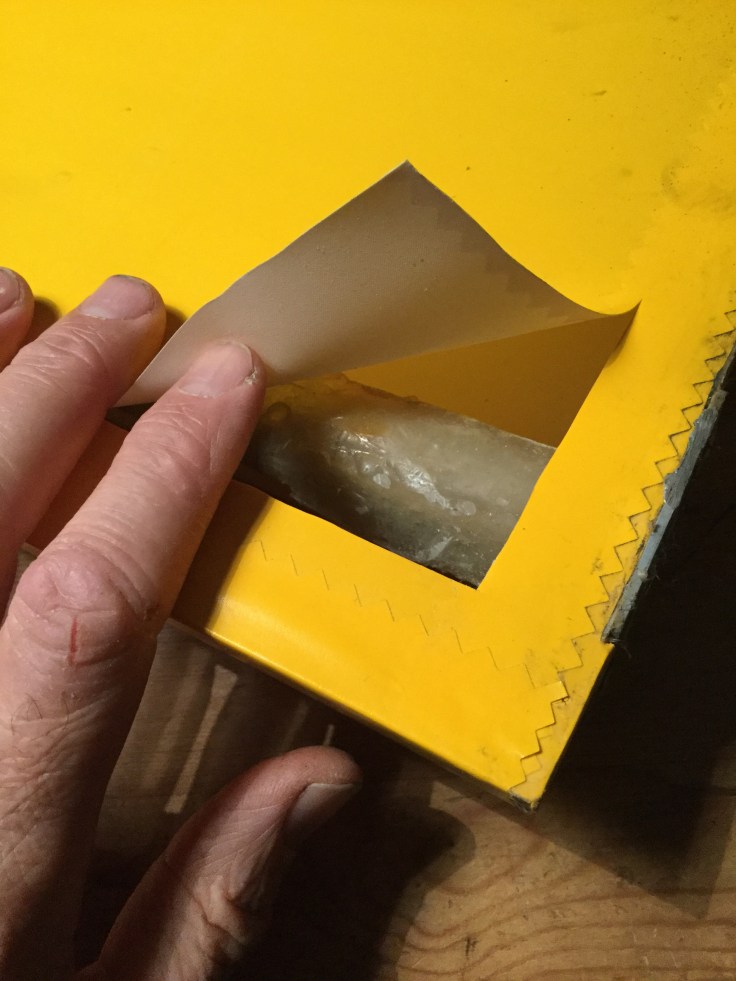
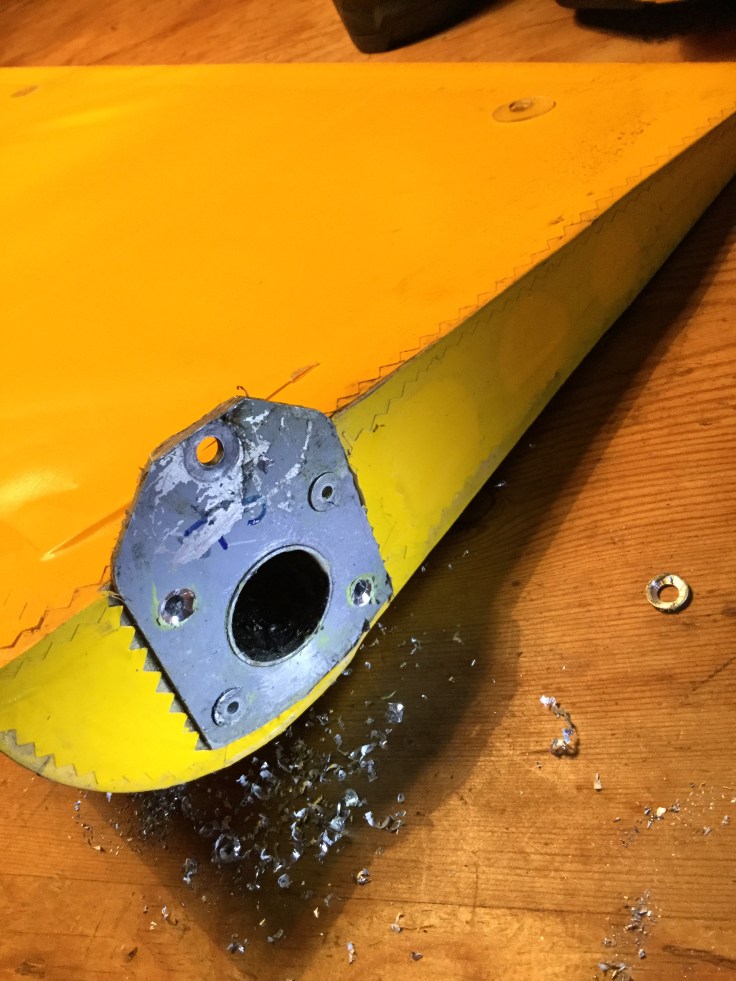
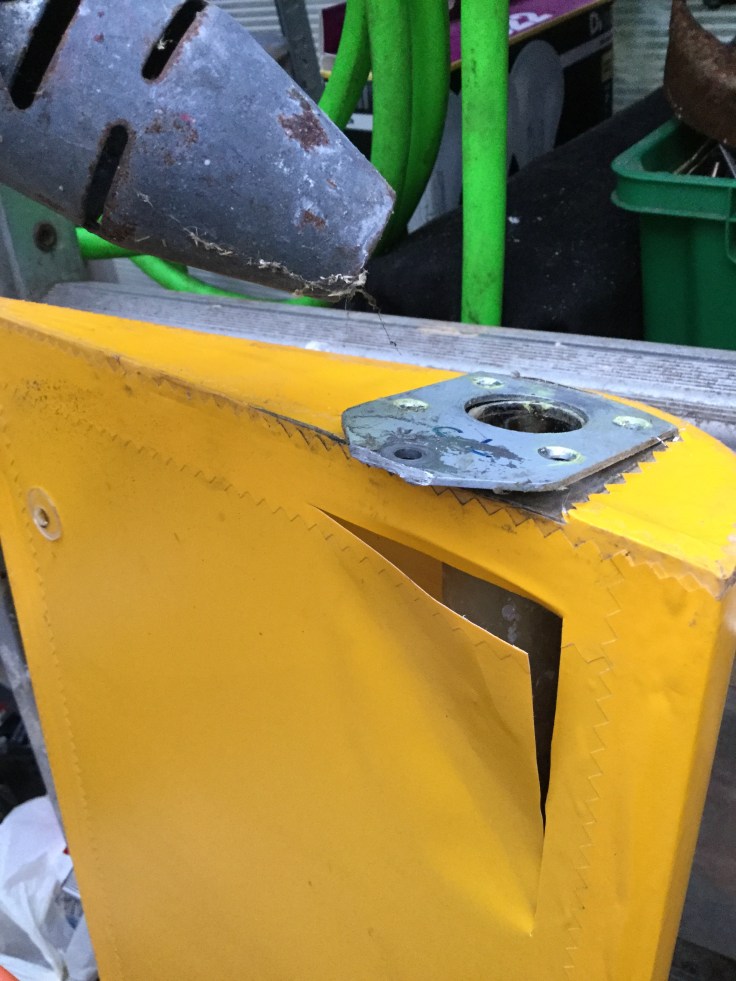
Was accompanied back by the fire crew ! Inspected runway and only a green scrape mark .. brushed the bottom of the aileron and left a smooth mark of about 3” diameter …

lesson learned … get your speed down on round out !

16BC96F0-FF5B-466A-9F68-76C97BC14F2A

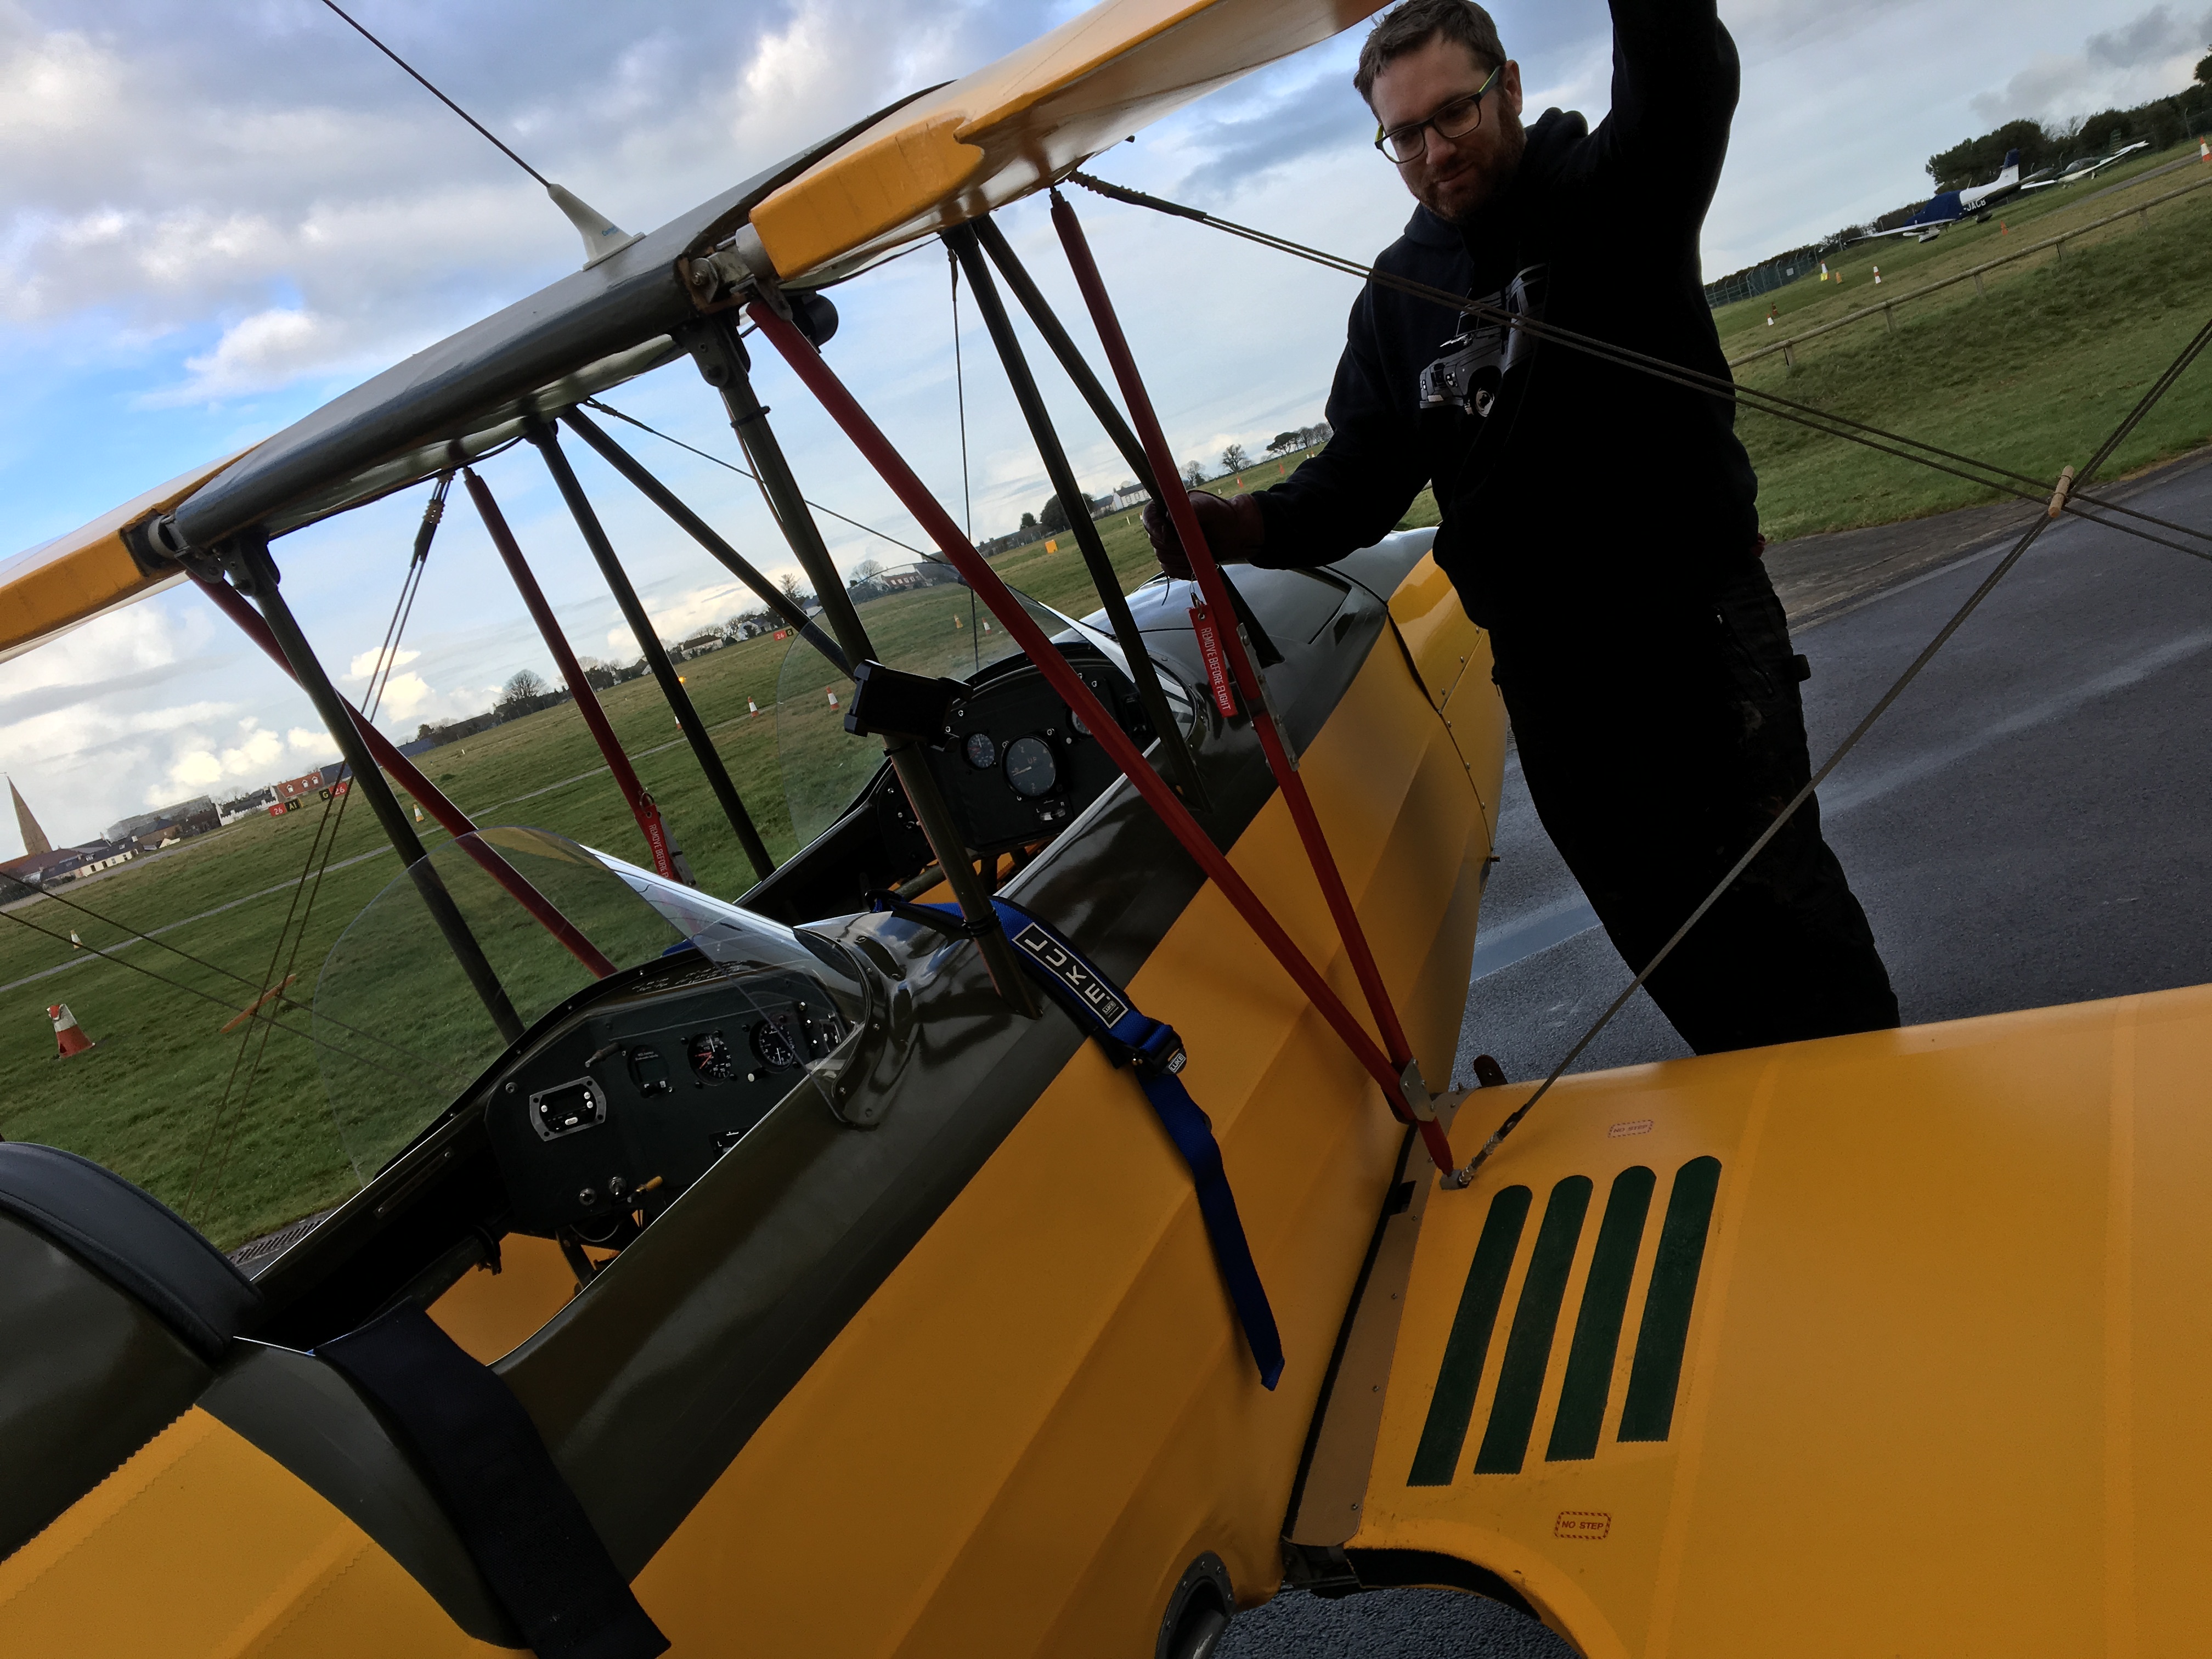
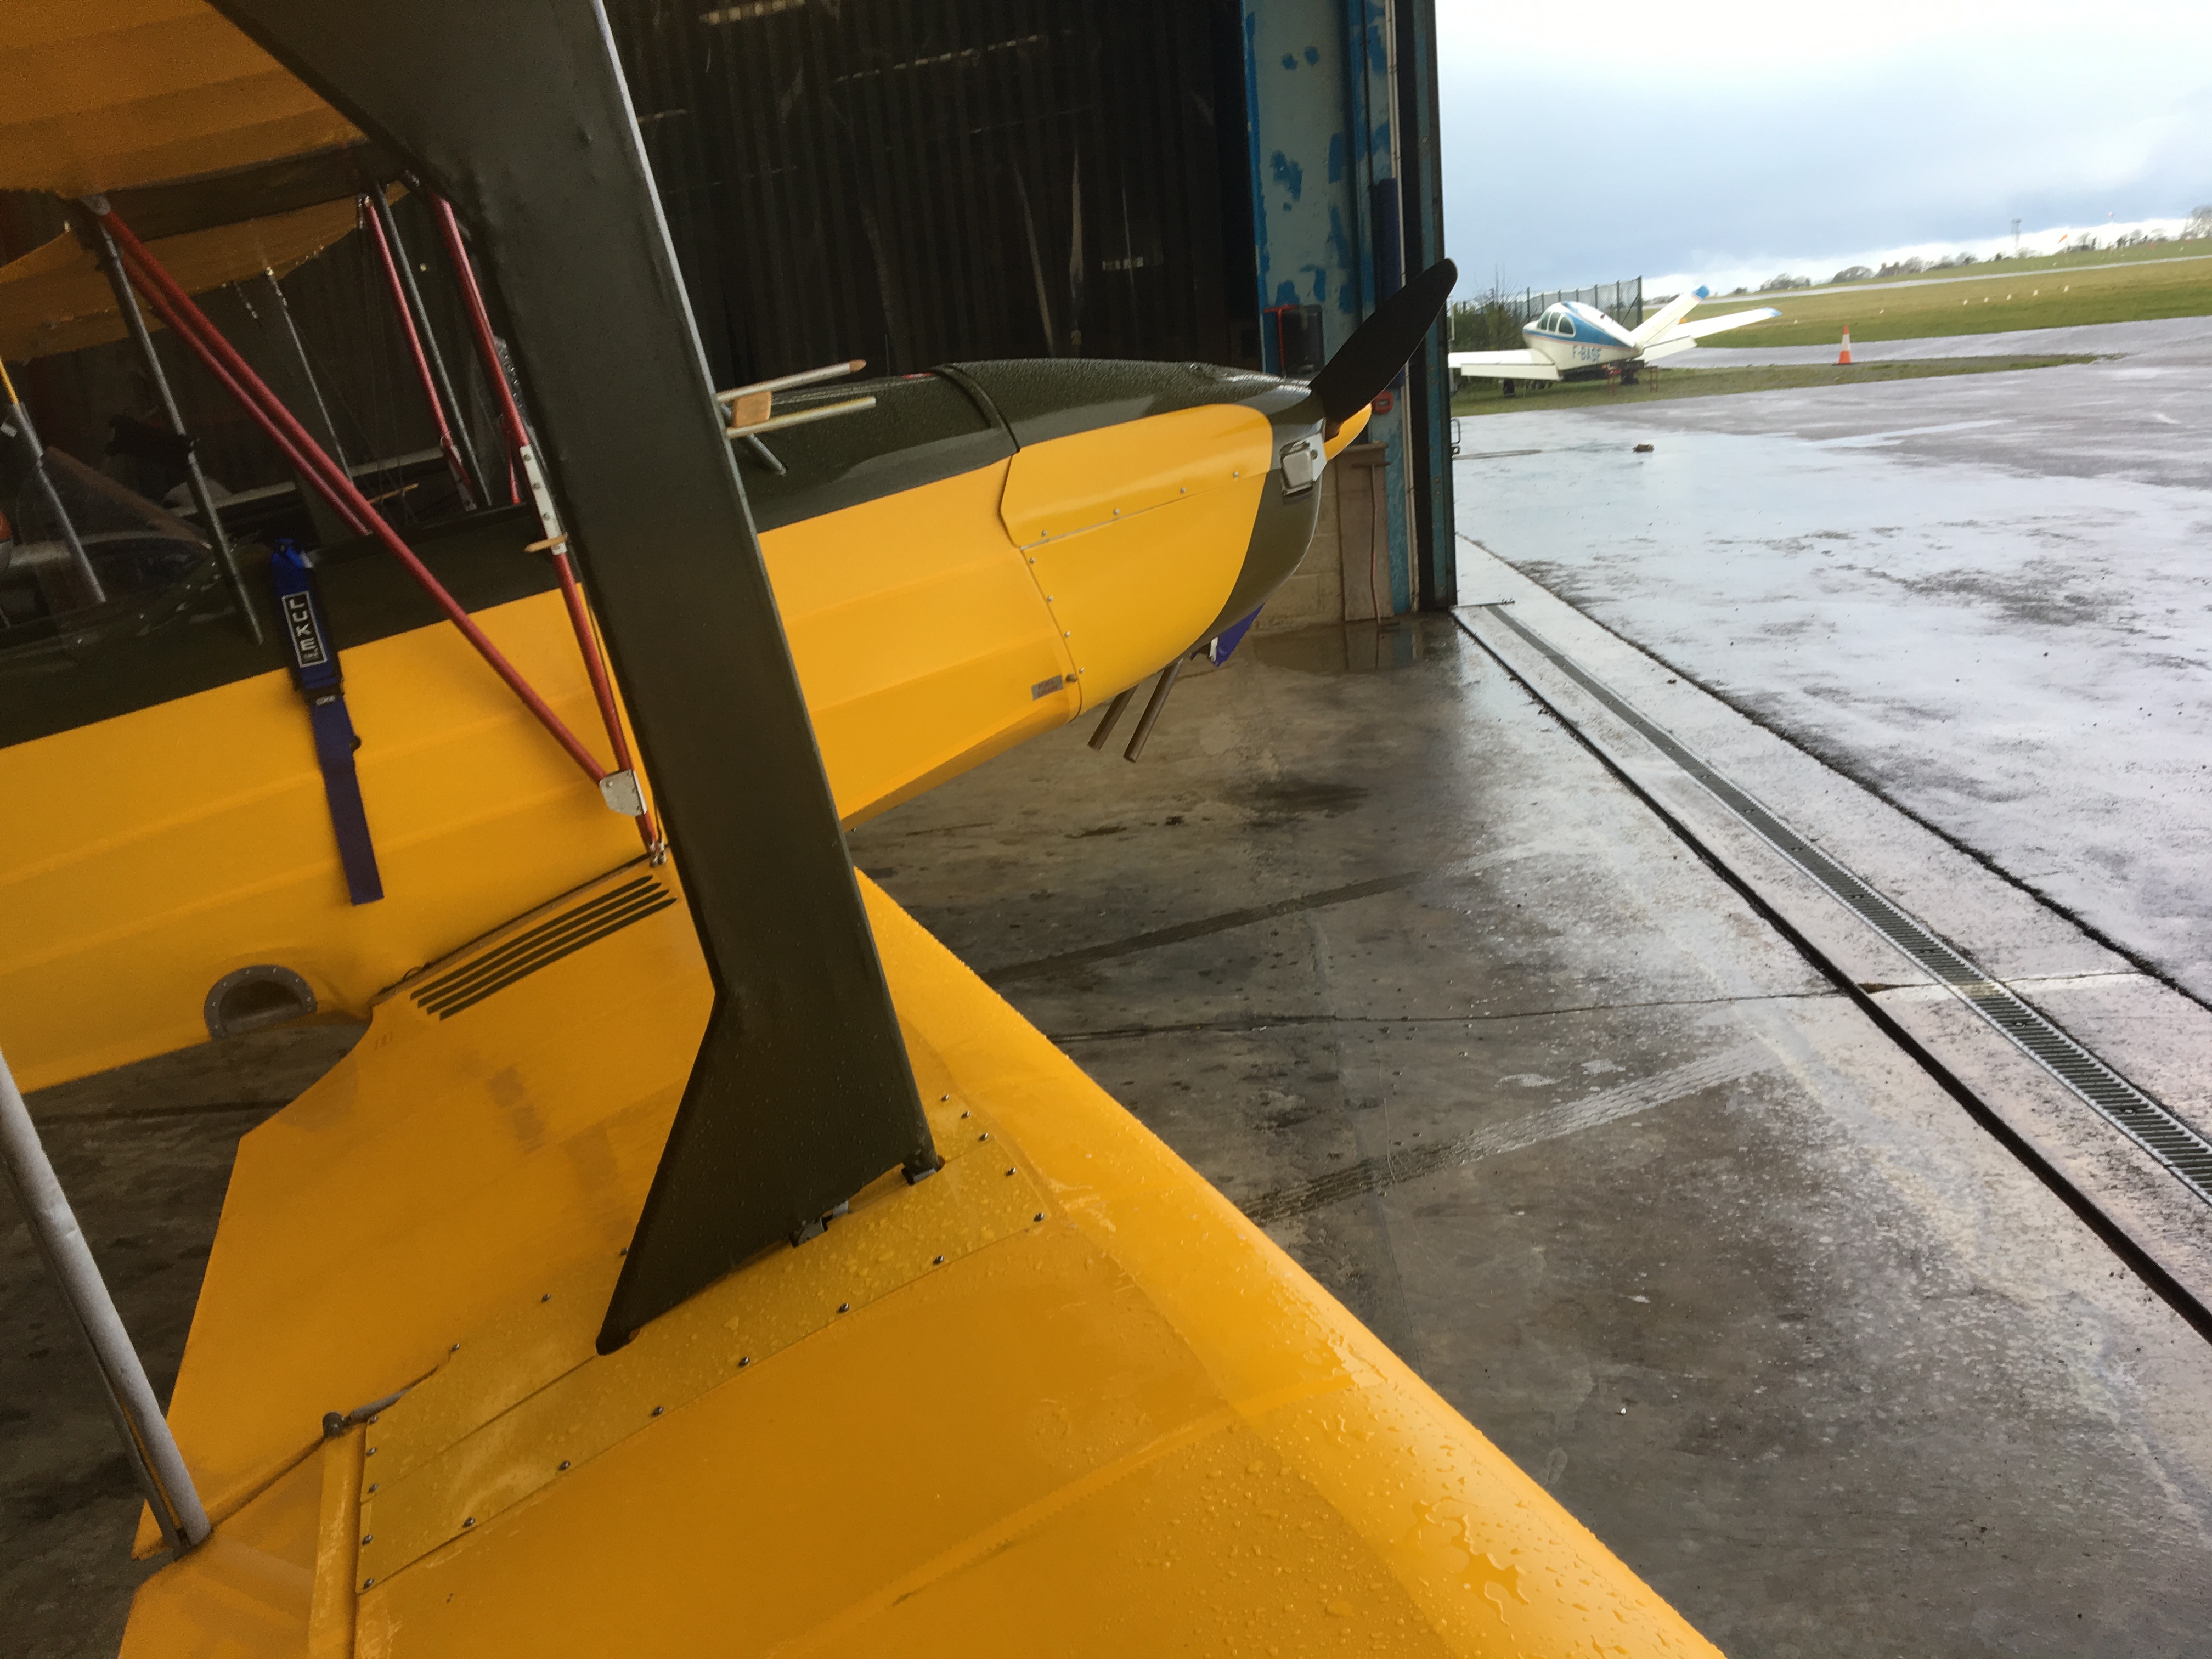
A very good friend of mine once said ..”It’s not over until it’s back in the hanger with the covers on”

RIP Capn Greg Graham

March already and still pants weather

Been hoping that better weather arrives soon .. have managed a couple of short local nips around the island and, best of all, have established a ‘usual starter’ of 2-3 bad weather circuits to start off with each time.

This means that I can get a take off and landing inside about 3 minutes ! Better than the usual 15-20 with the odd ‘position behind the A320 Airbus, recommended distance 5 miles’ which sort of elongates the touch and go’s somewhat

Still Jersey ATC are brilliant and very accommodating and so my now usual very close circuits (inside the airfield perimeter) mean I keep my landing training levels high .. already done around 78 landings since start

Finally .. with Spring allegedly approaching .. I managed to get her airborne before work .. a pull out of the hanger just after 7 and then started first touch in the cold cold morning.

Had planned about 60 mins but had to curtail when the radio went offline downwind ! I’ve had this once before and narrowed it down to a bad crimp … have commented earlier on this .. guess what .. found another similar bad crimp .. may re do the whole panel in the summer !

Duly located, photographed for evidence and sharing my slip up ! And then man handled the loom and couldn’t get it to go offline again

Graham, my (real) engineer cohort reminded me that pretty much every commercially built light aircraft has a radio master override .. ie battery to switch to fuse to radio … have a switch and just ordered another 5A fuse from LAS so will fit that as ultimate fallback

At last !! Less than F7,8 or 9 in Jersey !

Its been a long long wait since November … mostly weather a little bit of Christmas and some work have prevented any flying at all ….

Finally .. a Saturday … F2 .. I’ve never flown it in anything less than 10 knots …

This was easily my best most favourite flying session … Jersey ATC kindly let me do bad weather really close circuits .. so I could do a circuit in around 2 mins vs 15 min of the normal ‘cross country’ …

You also get to do so the ‘Ranger’ style nice curving approach .. just kicking it straight as we rounded out … well nearly 😊

Propellor – Hercules

Passing my old iPad  to my Dad and have around 2,600 images to review and save !

Found this one that Rupert  kindly sent me of the manufacture of my Jabiru 2200 prop


Gorgeous wood 5 laminations and then cut before the amazing finish that Rupert applies

Picked it up in town rather than risk my puppy Labrador chewing on it !


Built up layers glued and pressed

Front panel completion

It’s been so busy at work with lots of meetings and business trips away to London and Luxembourg so good flying opportunities but .. in the middle of all this I managed to get a secondary radio head unit for the Trig ordered and a secondary alternative style RPM gauge for the front P2 cockpit

The front cockpit had been pre wired with spare cables BUT only from the firewall backwards NOT from the rear (radio) forward

I had fitted the Trig Radio and Transponder just behind the pilot seat on a bracket secured to the tubular body framework .. hoping this would be reasonably accessible post build

It turns out – it was ! Easy to get at … TLAC kindly loaned me the super expensive radio pin crimpers again and I added the 4 or 5 additional pins required – should have done this at the start ! But hey .. best laid plans

The additional wires were added and labeled and small handshake tags added and then a new small 4 wire harness was made and run up the starboard side longeron

I added a new power bus bar in the front for the radio and New Rev counter but realised I didn’t need power for the secondary head as it takes 2 POWER feeds from the base radio box .. one power and one ‘power up’

The ‘power up’ connection means you can turn the radio on in the rear (P1) and the front (P2) lights up ! Neat 😉

Having connected it all up and triple checked power and earth I flicked the master on and turned the radio on and bingo ! First time .. I love this Trig kit 😉

Front RPM – MGL

I added a new small 2.25 inch MGL gauge called a Vega RPM

Wondeful instrument and .. mounting it on the front panel on the right hand side .. means I could see it hopefully even when a passenger was in !

Again – wired up and full colour at the touch of a button .. have wired it through a switch on the rear panel


Tappets – Jabiru 2200

Had a bit of a worry when checking through the engine documentation and it noted that the tappets should have been checked and re checked at early intervals

Its sounding very sweet and settled but I printed off the detail and took off the rocket box cover from one cylinder head to check exactly what I needed to do.

I haven’t done tappets for simply ages – not since I rebuilt the head of my 1967 MGB Roadster when I was about 20 !

So I was a bit perplexed when I couldn’t see the adjuster nuts on the pushrod heads ?

I contacted my good engineer Danny Baker who kindly put my mind at rest …

“At the base of the pushrods there are cylinders with springs in, when the oil pressure hits them they expand to a certain pressure which maintains the correct gap, very simple but works great”

What a neat idea !


Blog at WordPress.com.

Up ↑