Seat Belt guides

Sam filed off the burr and edges from the seatbelt guides and then we both smoothed them off with emery. Having previously sat in the seat to get an idea of height for locating these and width we cross checked with photos from the Little Snoring open day and they looked good to go.

Pencil marks duly made, we drilled 9mm dia holes at each end and then used a dremel to trim out the guides. Then filed smooth and set pop rivets in place with backing steel washers.

20140907_122114  20140907_124158 20140907_122059

Trailer – first proper load test

Having got her safely out of the barn and reconstructed we set about checking her alignment on the trailer.

Mike F – my resident genius of all things steel ! came along with a neatly designed cradle for the tailwheel and some door tracking and a small dolly wheel. We temporarily braced it all up and the Sherwood slid neatly down the track.

20140907_155738  20140907_155700

Mike had also got a wind handle and strop. This was offered up to the back end post and would allow an easy one man wind to clip the tail into the cradle and hook on and wind up to the end. What a neat job Mike !

20140907_155654


First attempt at wing folding

Getting ready for the display this coming week I need to be able to fold the wings so that it fits on the newly designed trailer.

20140907_144916  20140907_145348

Once we had the jury struts in place and rock steady we pulled the pins on the first wing and gently supported and eased it back. It swung very freely and easily and tucked neatly under the fuselage and then stopped as it touched the tailwheel. I decided that was too far back so braced the wing struts to enforce a spacing that kept the trailing edges away from the tailwheel.

20140907_145357  20140907_144930

And then back out to prove it all goes back in to one piece

20140907_144258


Out of the barn and reassemble

Big very hot Sunday this weekend. All the wings were in the old barn on trestles having been coated with polyurethane and all the fittings marked and stored up.

20140906_134514  20140907_142057

Got the body out in the sunshine and started the steady re-assembly job with my son Sam.

Minor panic when I had propped the starboard wing slightly and the rigging didn’t connect … slight adjustment to supports and all ok.

20140907_142053  20140907_132230

The wing pins which have been very tight are starting to ease a little now I have greased them as well and they are getting used to coming in and out.

Barn move … wings dismantle

In readiness for the relocation of the aircraft into a barn where I can get the trailer in and out, I have been finishing off all the wing parts. This means its coming up to the time when I can

  • disassemble the wings from the body – Sam helped me de-rig – all that lovely careful work !!
  • give them a good clean/de dust
  • Thinned polyurethane coat

wings off


  • Relocate the body outside similarly blow all the dust away
  • Mike F has sourced a running rail for the rear wheel which we will be attaching to the trailer
  • Then, with a suitable winch added we will be able to trailer mount her in readiness for the Jersey Air Display
  • Then re-attach wings and rigging before …
  • FIRST test load onto the trailer.

James suggested running the trailer tyres slightly lower to give more protection to jarring whilst towing. Good idea on our roads out here !

Turtle Deck support

One of the many little tasks that needs completing is the blocking off of the gap between body framework and the top decking around the nose area. The plans advise on using 1/2″ balsa which is easy to shape to fit snugly into the gap. Once trimmed it is epoxied into position.


Nose block 1   nose block 2

It can be left to harden here before I give all the woodwork (including this) a coat of 10% thinned polyurethane.

New Visitor – and an old dog – new tricks

Had a new visitor last night – a chap who had left the island a short while ago to locate to beautiful Devon. I bumped into Tim Baker at a harbour restaurant in Jersey last month and Tim asked how the ‘plane was going. Having updated him and mentioned the blog he promptly went home that evening and read the entire blog start to finish !! (stamina or what !)

Tim was very keen to visit the build so came along last night just in time for my latest package in the post from TLAC – more M62 rivets .. for the aileron rods and wing strut bracing rods.

Tim Baker

Having shown Tim how great Celco’s are for holding things in place whilst you set everything up I offered Tim my very old (but very reliable and very very well used rivet gun). Tim popped the first rivet in then flipped it upside down and ejected the rivet shaft …..

ADMISSION TIME …. I never knew that was how you ejected the old stem ! I have always tapped the side to get the stem to come through the face edge of the tool – not always with success. Just goes to show you can use a tool (incorrectly for 18 months !) and then working with someone else and a lightbulb moment !

Tim has offered his skills for future help which I am sure will help move things along when extra hands are required – like dismantling in the next week or so to move barns !

Screen base fit

I need to get the top decking completed so we can start to get other pieces in place for the planned static display at this years Jersey Air Display.

Did the dust filled job of trimming the fibreglass screen surrounds last night, then rubbed down with wet and dry to get smooth edges.

screen 0  screen 1

Then epoxied them in place and will leave to set before putting the 12 or so rivets in place.

screen 2

Then I can neaten the edges ahead of painting or wrapping …. the painter suggested wrapping with the stick on heat gun based covering that means I can colour match to the Oratex Olive green and get a good finish in the process. Also, if in 4 years time I want to change it, that should be easier.

Headrest fitting

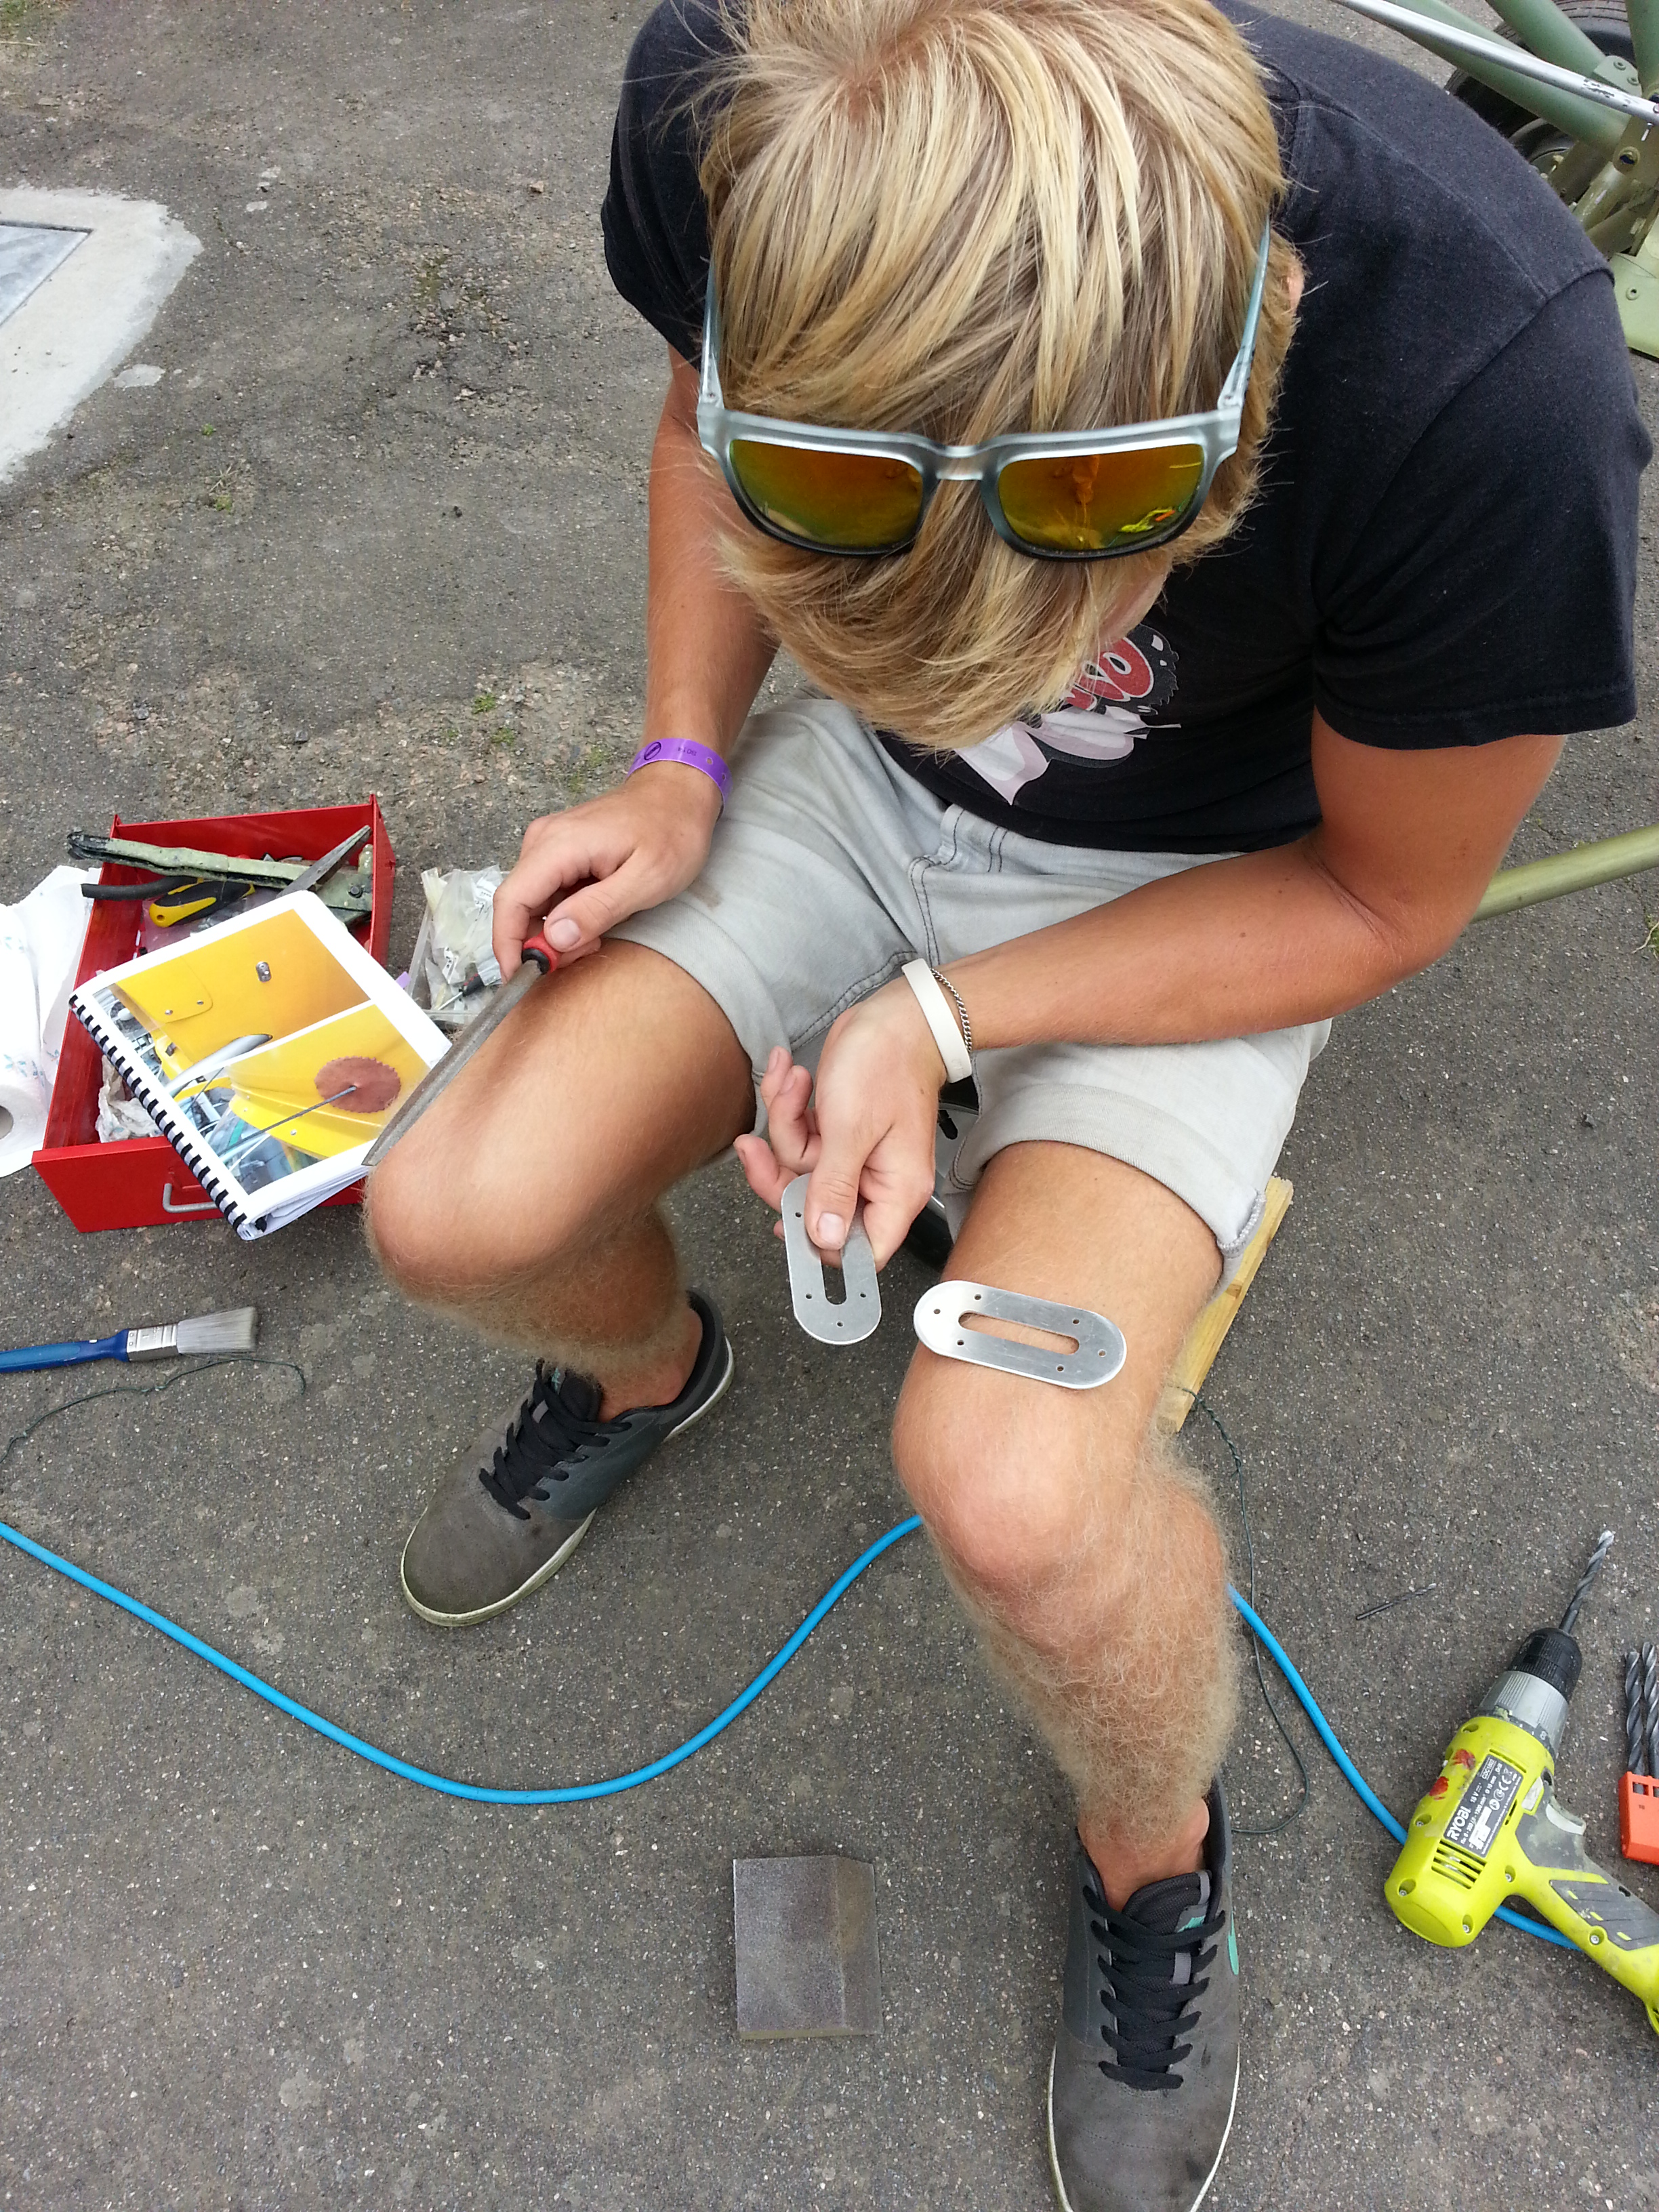
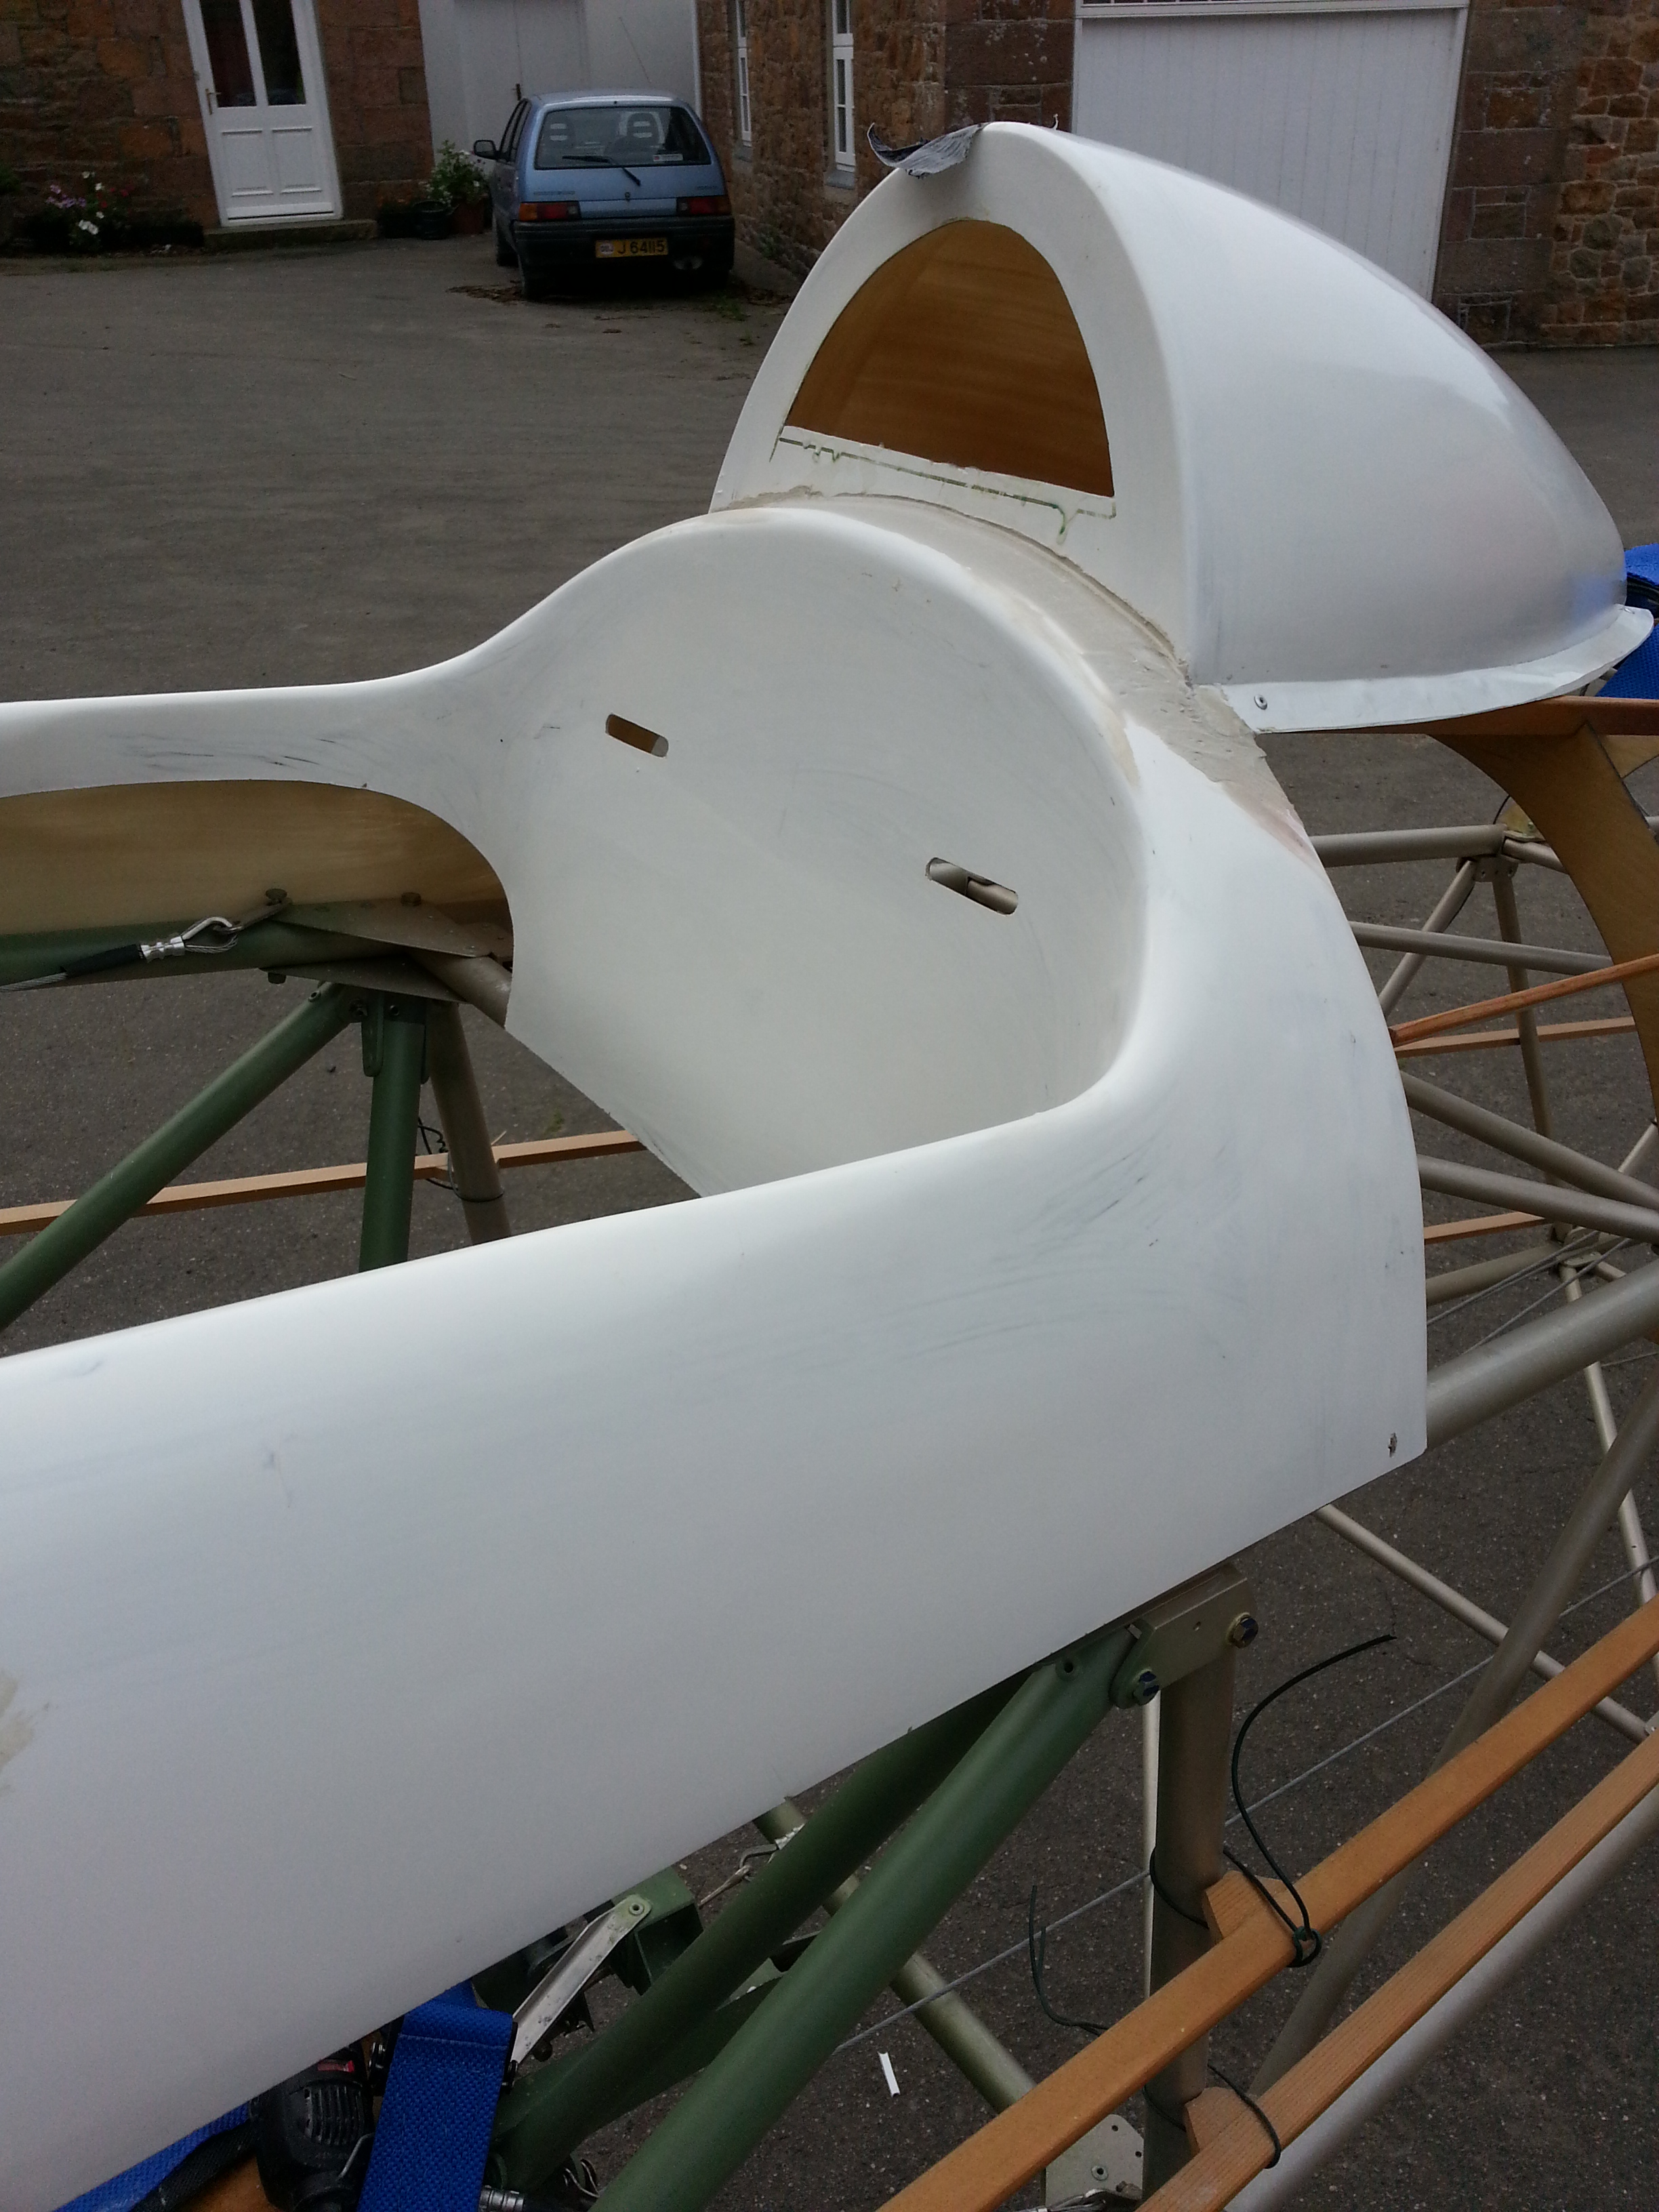
Making up the small alloy brackets for this ahead of riveting them in place and then drilling and riveting in to support in place. The TLAC supplied leather headrest will be fitted to a small wooden panel that will be hinged (If I can locate a small gauge piano hinge). This will give access to the headrest storage area (has a bottom ply base).

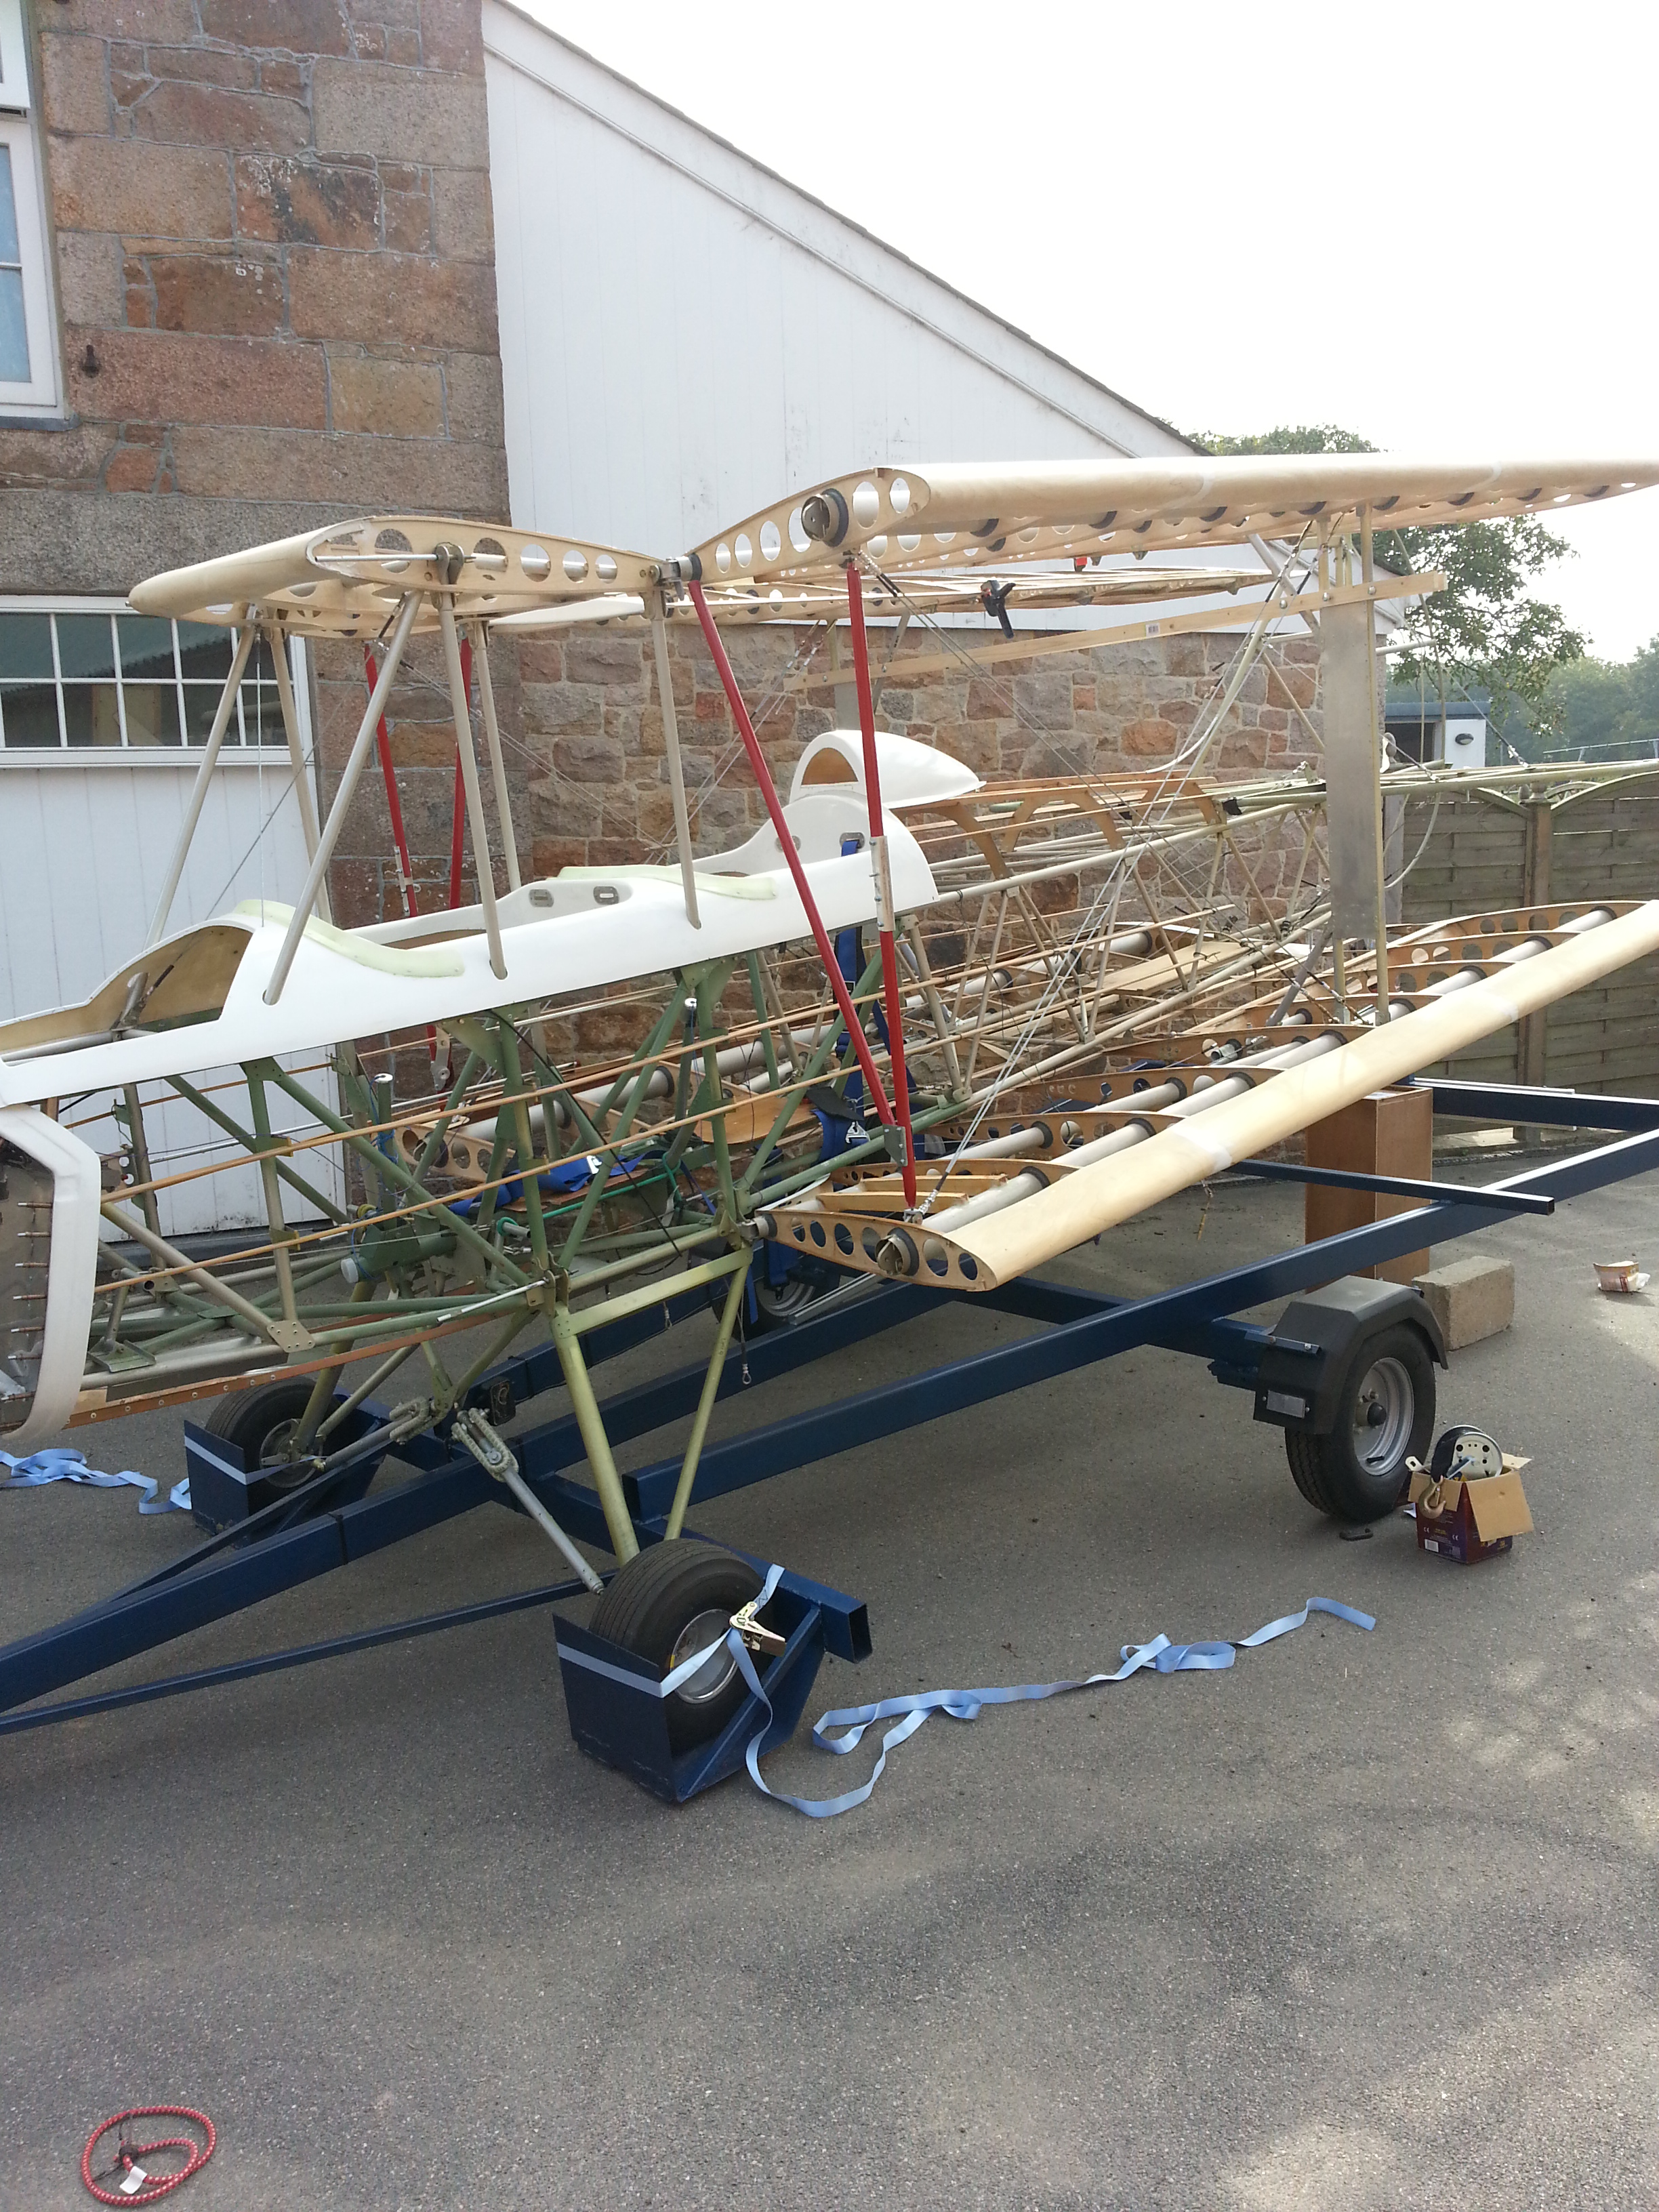
I still need to source a suitable Ariel for the planned Icom units and, from speaking to Alistair on the TLAC open day, this requires a metal under piece to ensure good polar reception (I think that’s what he said ! – so will ask where he got it from)

(update Oct 2019) prompted to update this post as I see someone had read it recently …

Anyway .. didn’t opt for the Ariel in the headrest ..placed it on top of the centre overhead cabane .. with a super ground plane in place .. see the associated blog page …

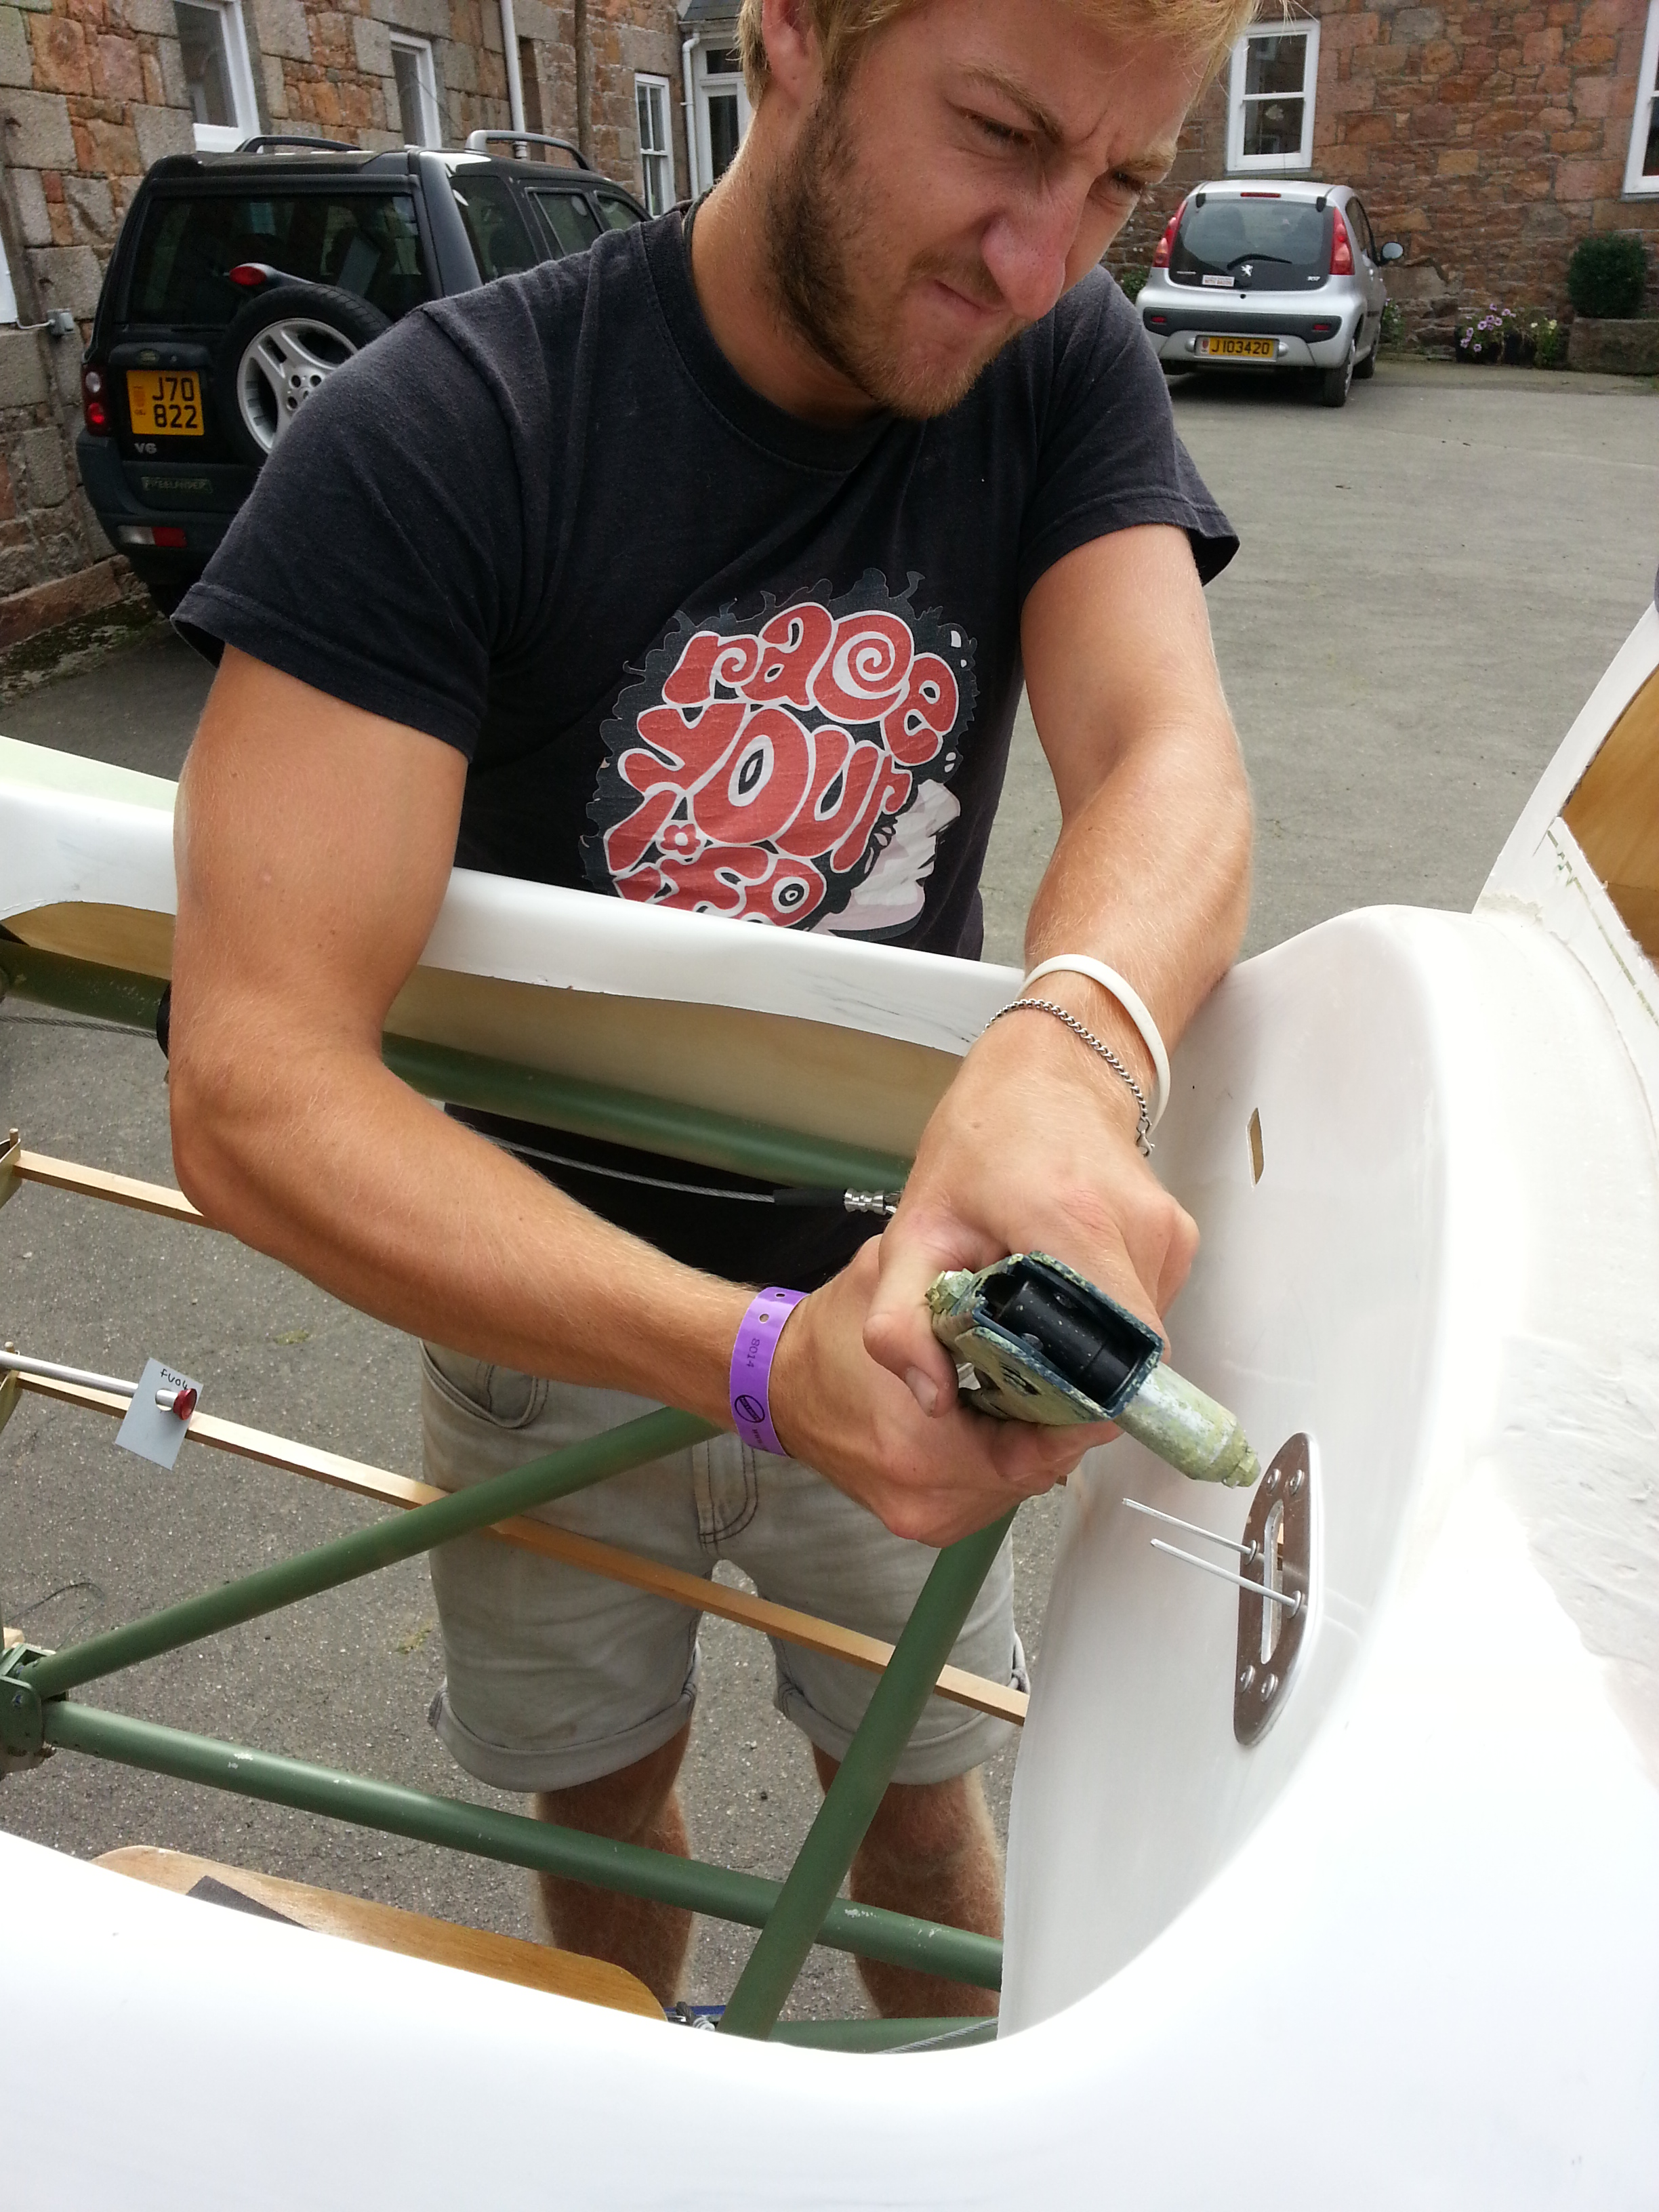
Also .. I made a tiny alteration to the standard headrest .. I epoxied and fibreglassed a 1mm plywood base onto the headrest unit… then cut an access hole in the front … keeping about 5cm around the edge to allow good location and anchor points for the headrest popper studs. This now provides a neat easy access storage unit that can hold the aircraft papers and certificates (mandatory for some French airfields) as well as a small socket set, cable ties, pliers and OF COURSE some gaffa tape 😉

Dashboard

Having created a draft P1 panel for the rear out of hardboard I got Ray and Russell from our locale Marin Fabrication company to cut the template out of thin metal. I have designed a rectangle hole in the centre of this so that we can have an easy to access rear panel for the main gauges.

The initial depth of the panel is deliberately oversized so that we can cut back based on how it sits in the turtle deck. It currently sits exactly level with the top of the stick so this will be cut back to ensure good movement and still be able to get my knees in !

The aim is to have it deep enough to allow up to two rows of the smaller Winter dials and still have room for a row of switches / fuses in the bottom. I have already fitted the two stage carb heat unit which will results in two switches and two lights  and I aim to have the switches on the lower panel and warning/advisory lights above the panel – so they stay more in eye line.

The right of the panel will hold the slightly larger diameter multi unit gauge – again – this has a warning LED so shouldn’t be mounted too low.

Blog at WordPress.com.

Up ↑