Well….BINGO …meaty the help of a couple of very good solid knowledgable friends .. Mike (Fleming) and Chris (Sparrow) we now have a truly neat and robust solution .. And tested it this evening …
The original location of the battery (front centre between the P2 legs !) was moved at LAA suggestion which was
Good – to remove any ballast at all as the aircraft came out spot on with the battery at the tail
Bad – as the cable run to the solenoid so was nearly 5m ! Which .. With a relatively small motorcycle battery turned out to be a real struggle
The solution .. Thank you Mike ! …. Was to reinstall the front battery .. It’s pretty much on the C of G and then wire them in parallel and then review ALL crimped connectors
Then around 1700 this evening mags off, fuel off, throttle set, turns brilliantly !!
Now just need to neaten all cable runs and angles and ensure all booted over joints … Then
GET FLYING AGAIN !!!! Feels like way too long … Good powered engine test first to ensure cooling is in good shape then power climb awaits along with unusual attitude and handling then LAA paperwork off
Crikey .. January has come and is nearly gone but I have tried to get time to work on the starting problem
With the great help of local friends Mike Fleming and Chris ex Jersey Airport we have slowly gone through the system back to front … One quick eliminaton was to connect directly to the front solenoid and effectively jump start her .. This proved that the engine, starter and associated bits were all functioning properly.
It also proved that the problem lay somewhere between front and rear !
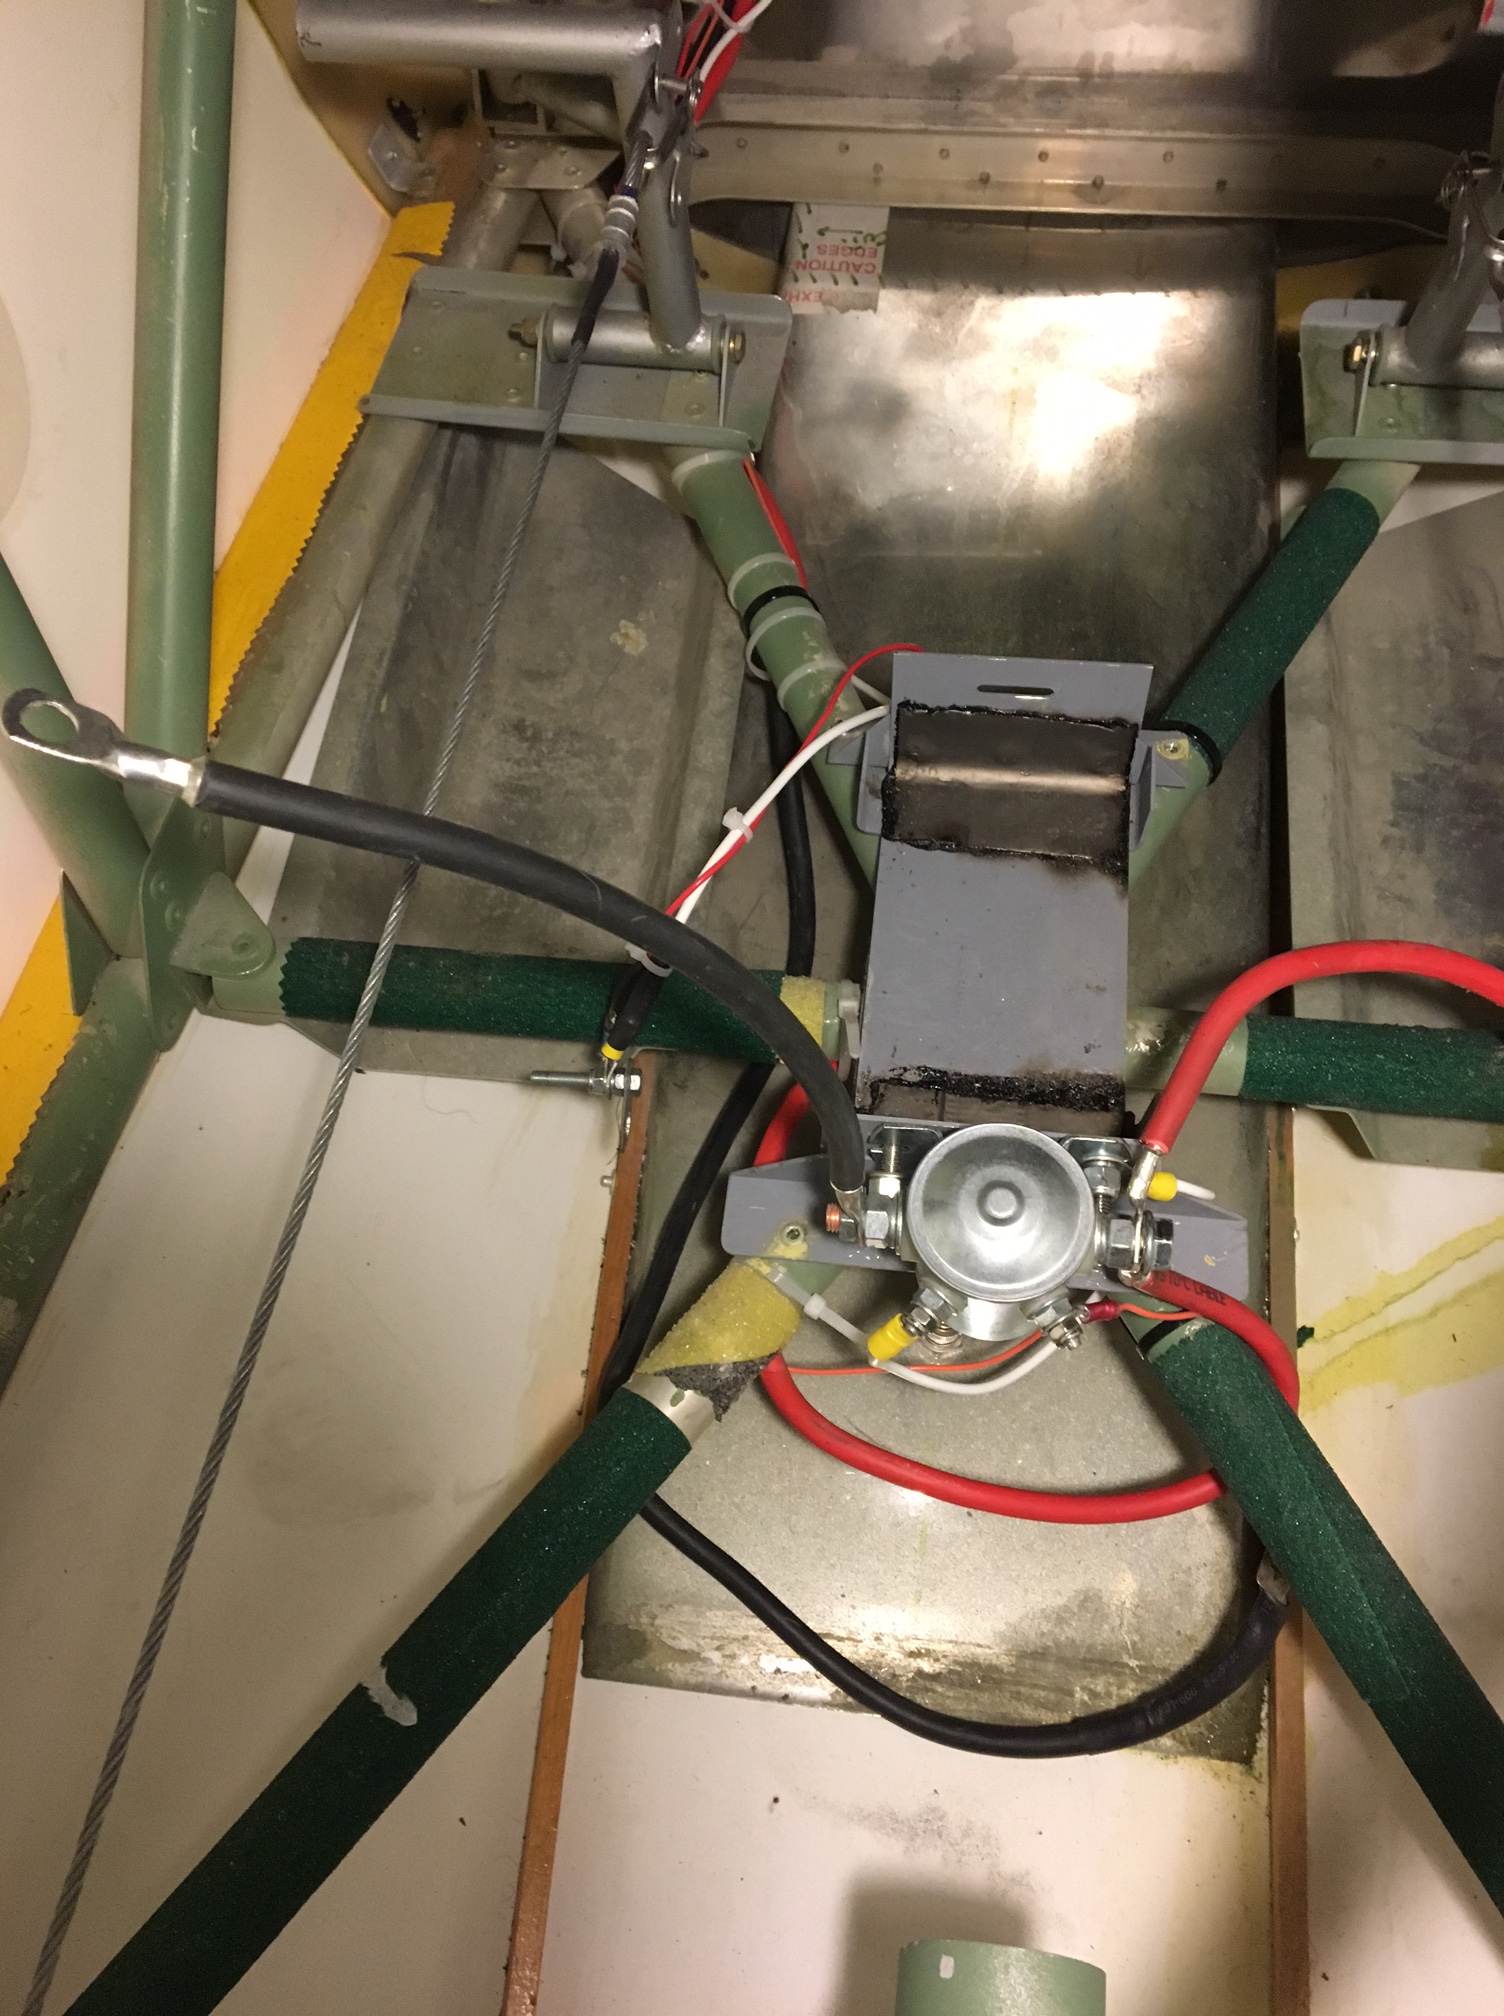
I had worked in two solenoid and so we el inmates rearwards from the front… Having first run a dedicated full length black earth from the rear mounted battery to the rear engine bolt. THis meant we wouldn’t have to worry about any earth connections.
After much tooi g and front and using a booster battery to test we could guess that the power drop over the necessary full length body cables (to pickup rear mounted battery) was too great and so we had to find some way of staining the boost and yet still retain the rear mounted battery.
Mile then hit on the idea of leaving the rear battery in position but also mounting a second battery up front in series. This would have the effect of
Boosting the supply for start and
Providing a high degree of contingency
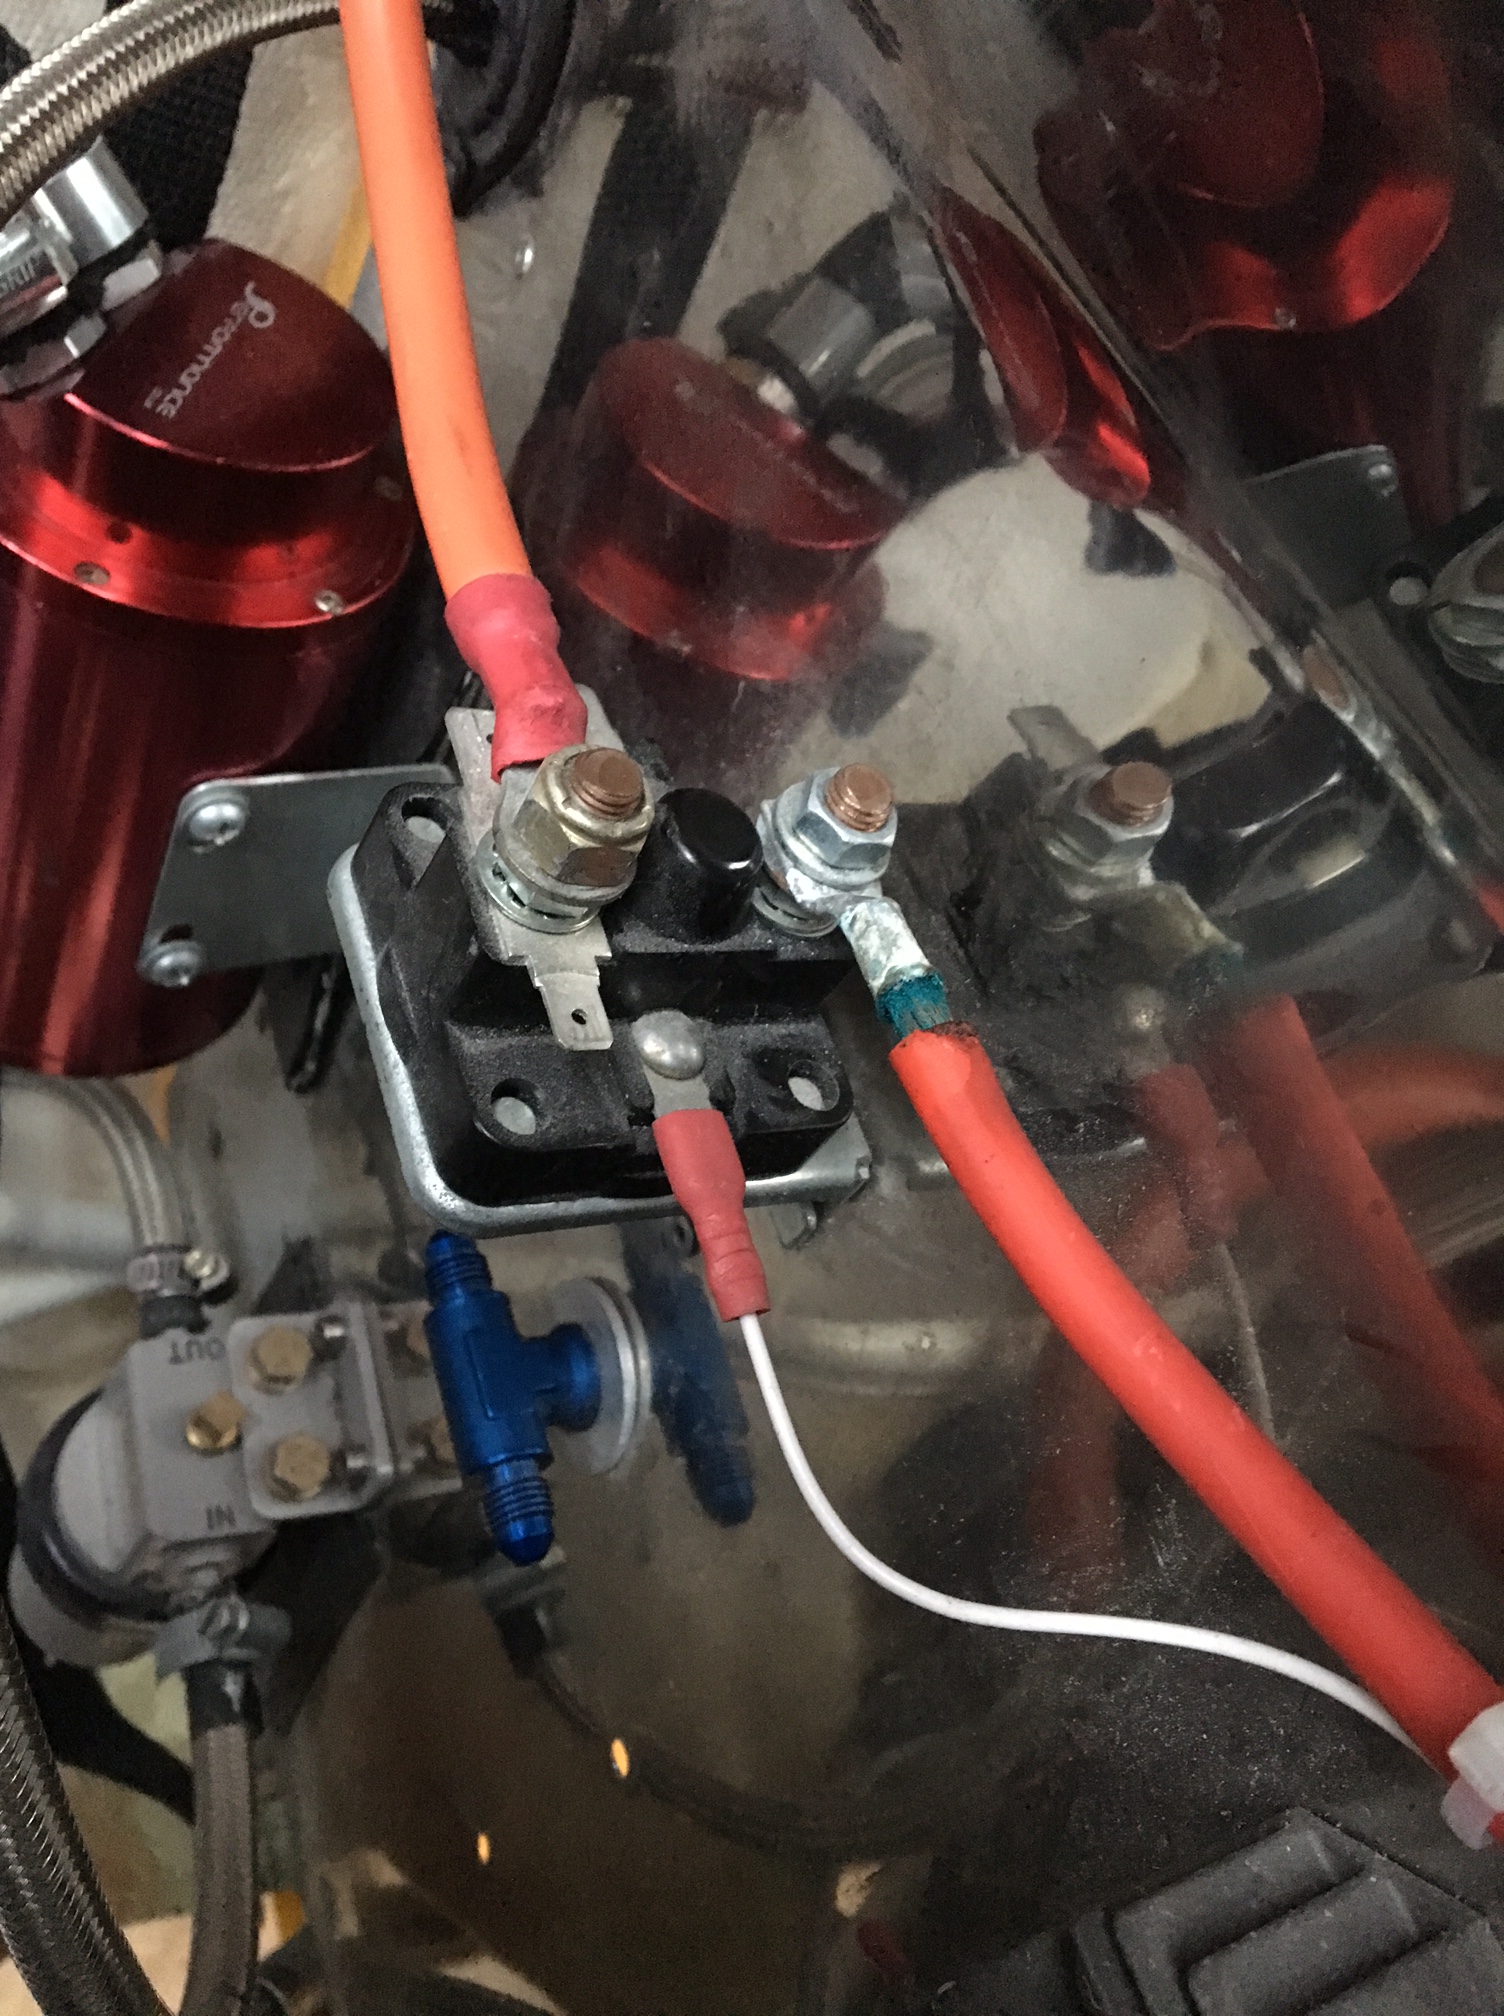
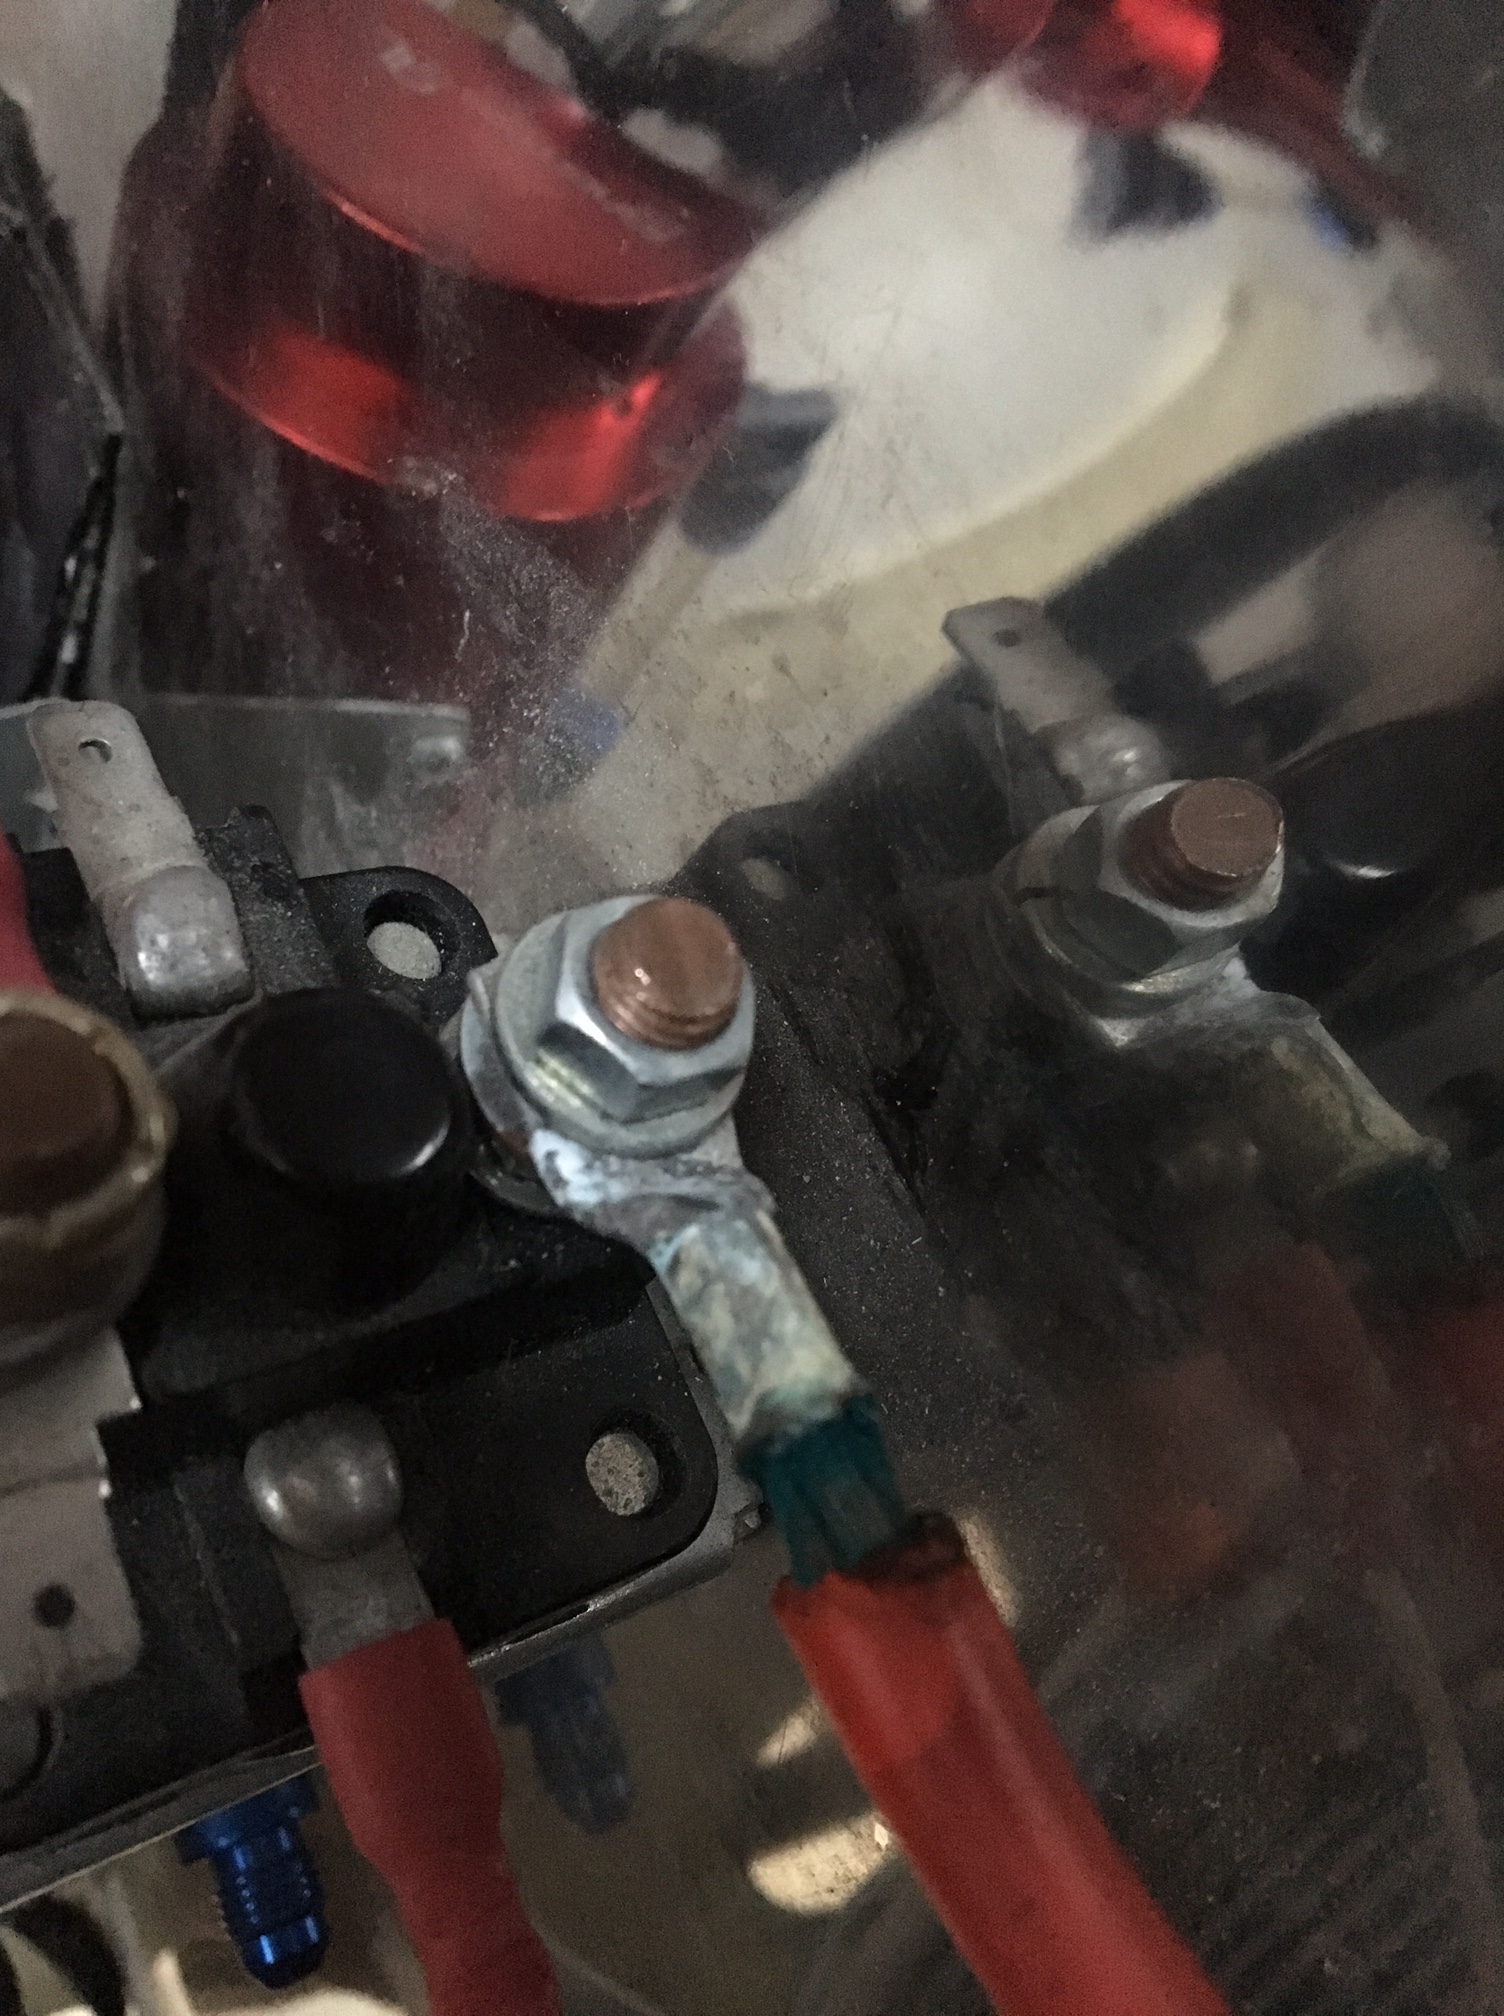
Also .. Having reviewed and re-crimped front to rear we discovered that the very front connection to the engine start solenoid had discoloured and had signs of poor initial connection.
This was cut back until we saw fully clear – non discoloured multi core copper cable. This took about 15mm back then it was fine.
The current plan is to retain the rear battery due to LAA spec and weight and balance. Then put the second battery in the original front mounted tray. This will mean we have only around 1m of cable to run to the starter .. The connection should mean that we have two in situ batteries that charge and provide both start and normal avionics support.
Well .. The plan was to wrap up and do loads of flying over the winter period … But .. So many London trips with work meant that weekends were always squeezed and then ….
When I got up to pull the Sherwood out and get her all ready the battery appeared to have died ! What a pain … Charged it that evening and tried again the next day only to see it go flat almost immediately and not manage to turn the prop over more than a few painfully slow turns
My good mate Mike (Fleming) kindly bought me a mini trickle charg – the sort that can be left plugged in. Did this but then found same turn problems …
Suspected I had a dead cell so cut back open again and removed the battery … Then tried to sort it whilst I had full access to everything at the rear
Graham (from CIAS) kindly loaned me the jump trolley so that I could discount the battery or point to the cabling.
The jump didn’t work … Later found out to be a faulty live jump cable I had !
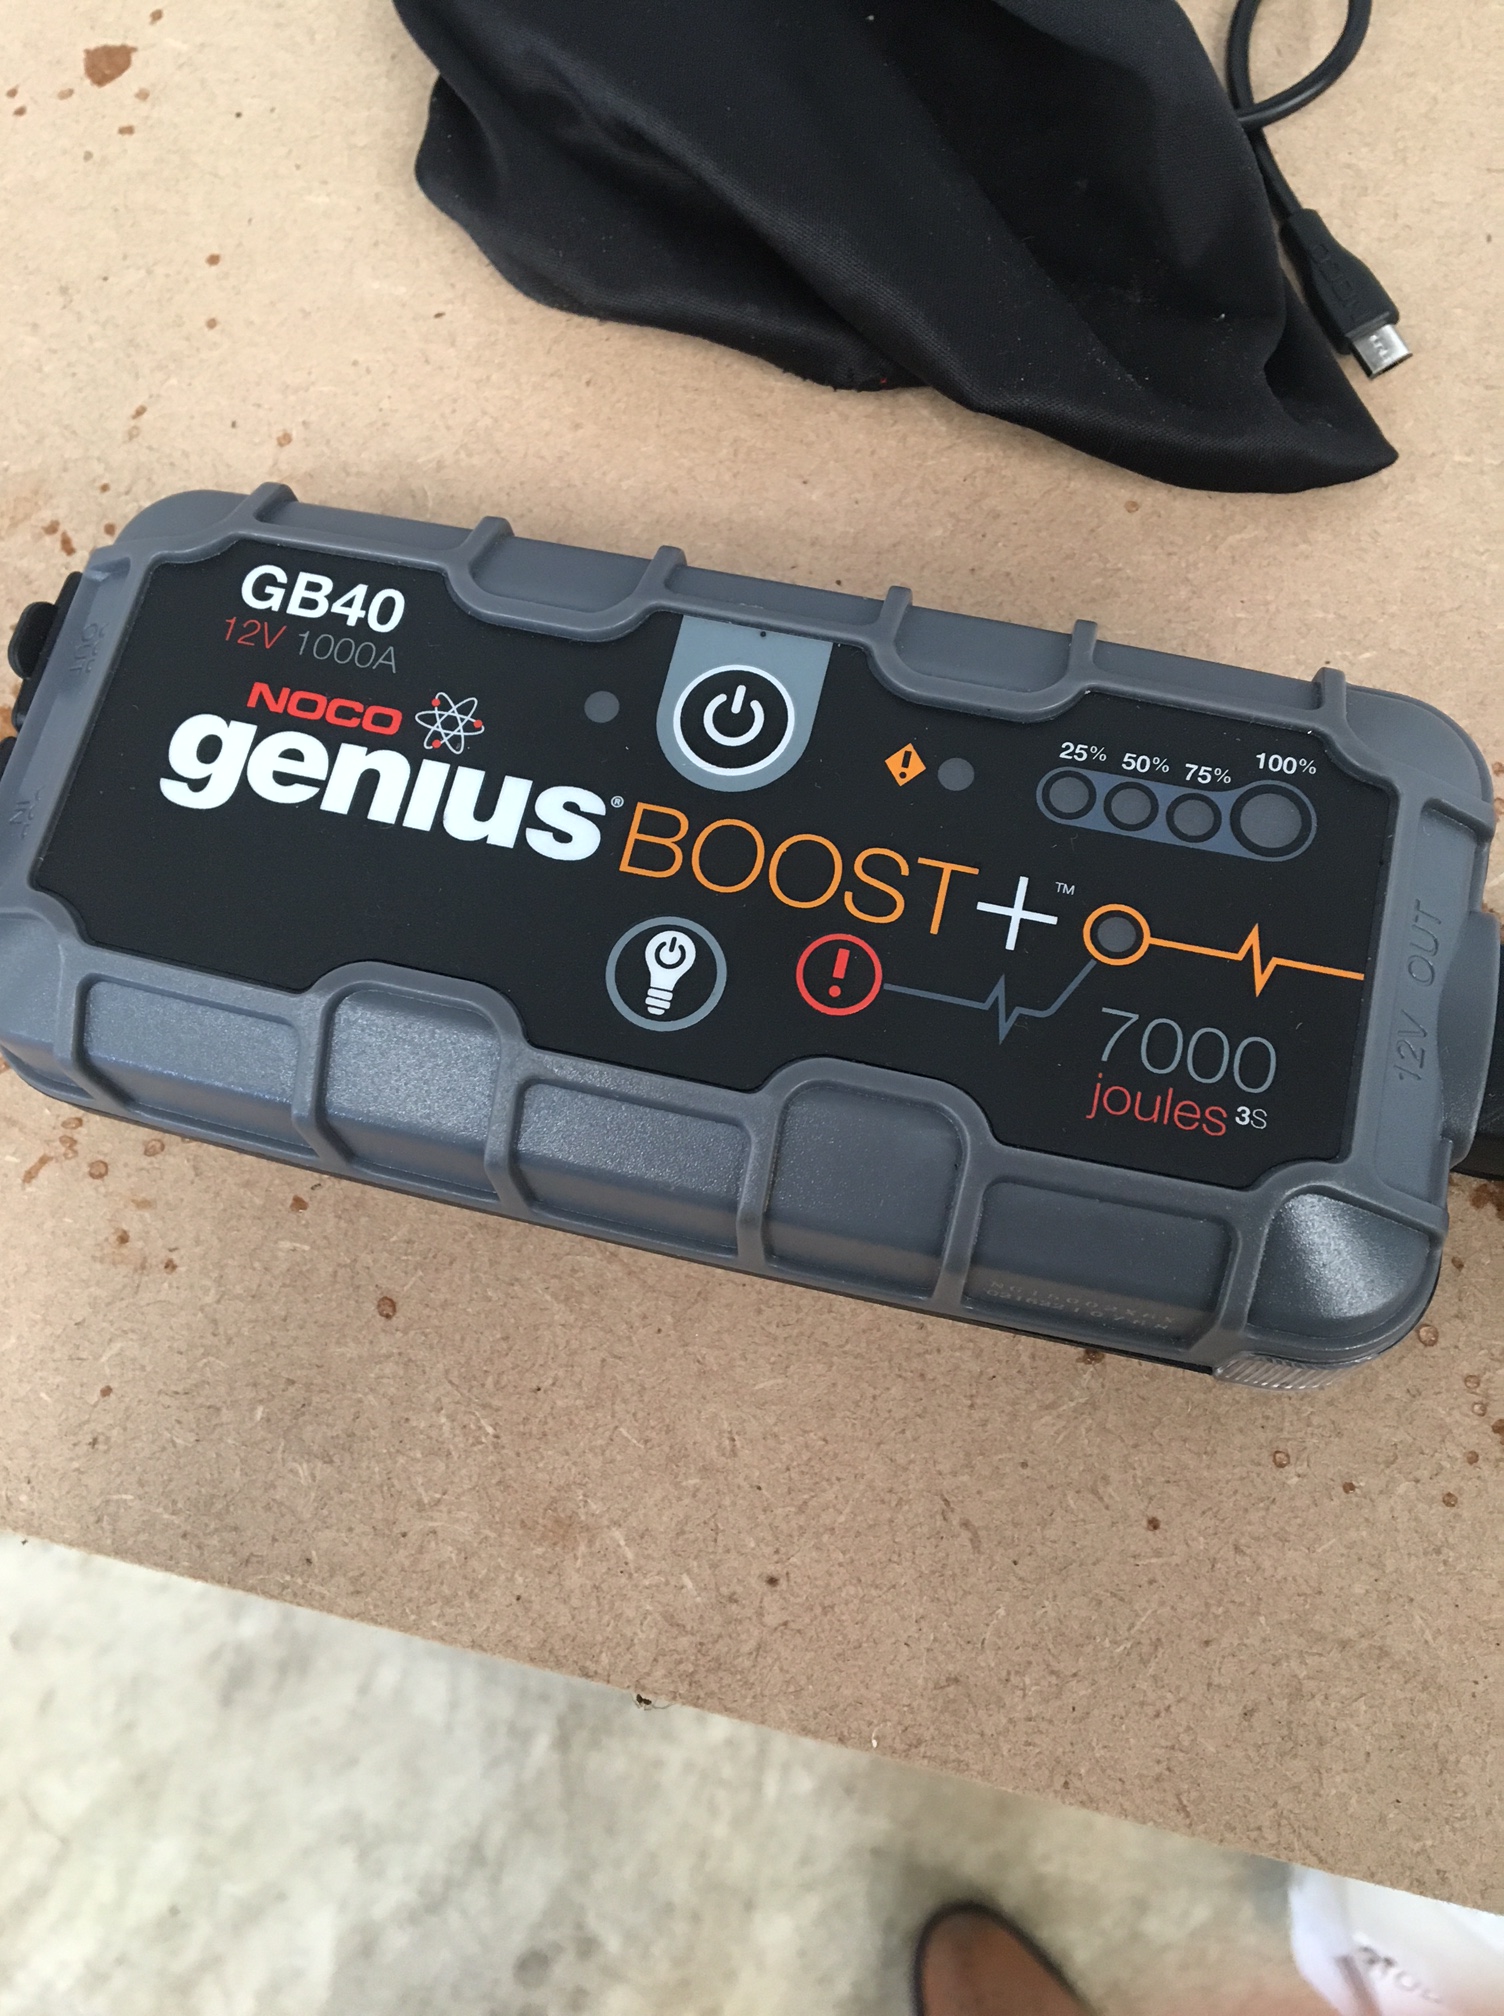
Mike and I then set about running nose to tail checks with Mikes superb incredibly powerful ‘jump pack’ NOCO GB40 Genuis Boost .. WHAT a piece of kit .. Weighs nothing but could launch a moon rocket !
Mike connected at the sharp end and proved that a direct connect at the front solenoid would spin the prop faster than it had ever spun, so we went further rearwards to the second solenoid … This proved quite tricky to reach but again spun really well.
This moved us to the cable between the cockpit and the tail.
We moved to the rear and sure we were getting intermittent good and bad turning. Mike started to break down each element and we certainly felt that the isolator switch might be causing a problem.
In any event we felt that the rear mounted battery and its 4-5m of power cable running to the front wasn’t probably a great way of getting a fat bit of power to the engine from a relatively small puny motorbike battery way back in the tail.
We tried connecting the GB40 booster in series to the existing battery and pow .. Loads of turn power …
Next plan .. Decide the best way to resolve low battery force and get airborne again
Having had a longish (5-6 weeks) layoff with loads of work and lots of bad weather .. I was actually in Jersey AND it was CAVOK ! and calm !
Duly pulled the ‘plane out and got the engine warmed up with a plan to of the powered climb test for the LAA sign off …
As we got up to temps .. All looked well and taxied up to the far end of the runway 08
Just after lift off the oil temp started to climb rapidly … This problem HAD been fixed by opening up the intake and exit holes and had flown a number of times since … What could be wrong ?
Changed my plan for a large clearing circuit to a close bad weather and then elected for a very tight right hander … The training at Little Snoring really came into its own as we turned a nice tight very short base and back for a soft landing …
The tower had already pressed the alarm button and I had talked to them on the tight right downwind to inform them that it was oil temps rising and couldn’t maintain height.
The full crash tender and blues followed me all the way back to the taxiway and parking at the club after I had run some more engine bursts on the grass to see if it was still ,is behaving in the ground .. Which it was …
Suspect a blocked or seized TOCA oil thermostat valve and chatting with PHS from TLAC suspects the same … Will remove it at the weekend and see if I can test it offline before another ground pre test.
(sent an email to the Jersey SATCO as I think it’s important that they are thanked for their calm support – and fire crew – but also know that I will do something about it before we try again 😉
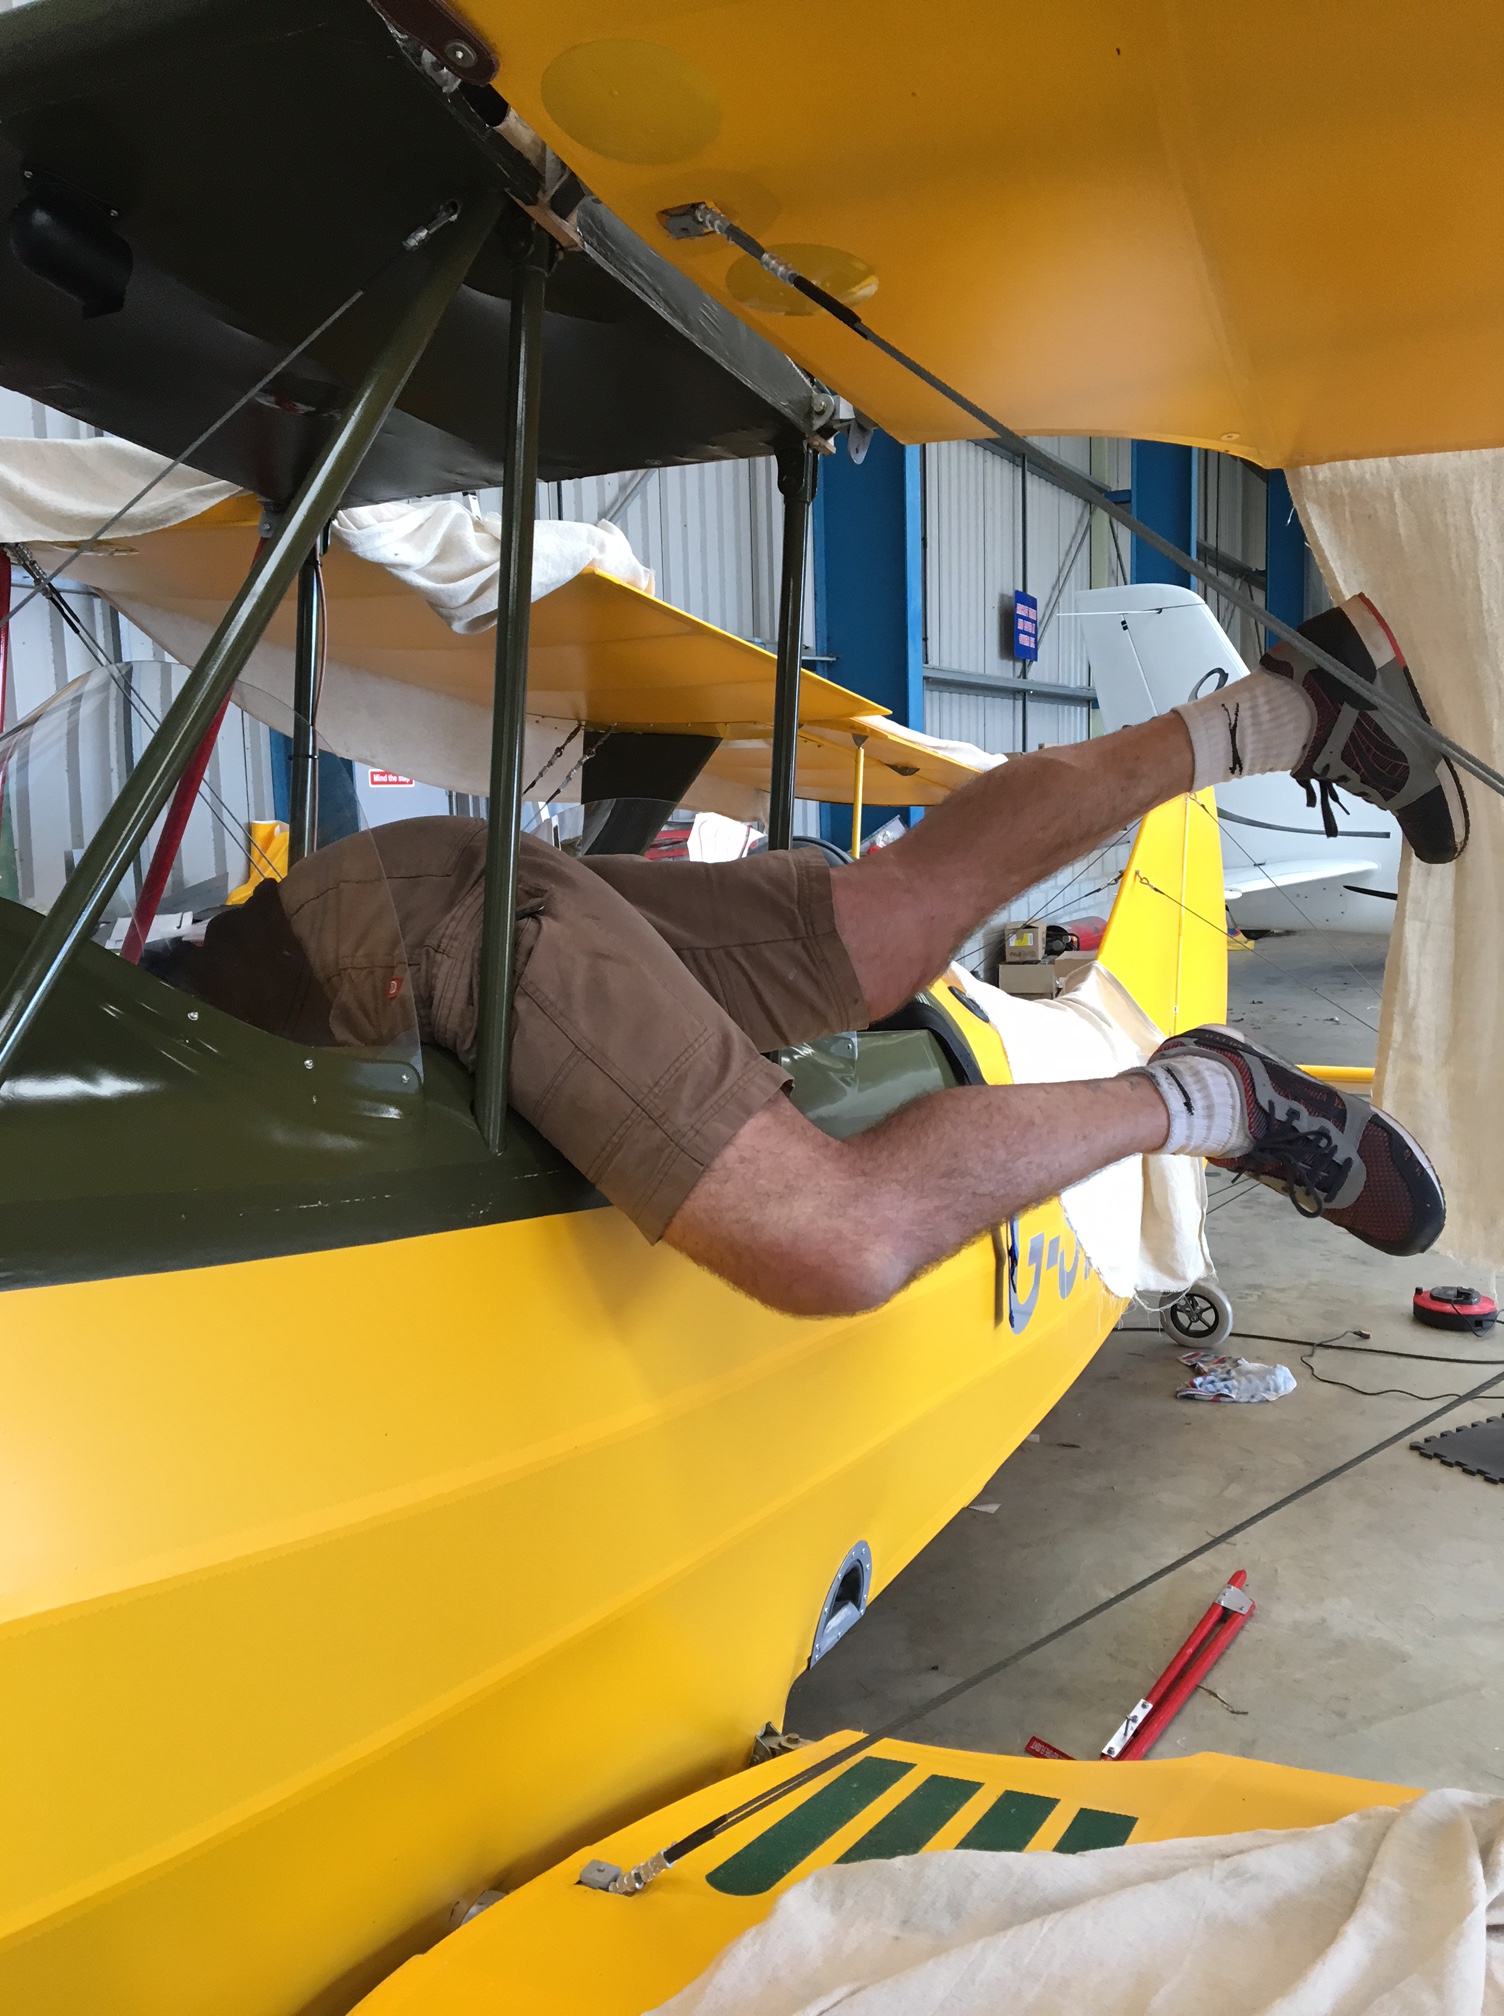
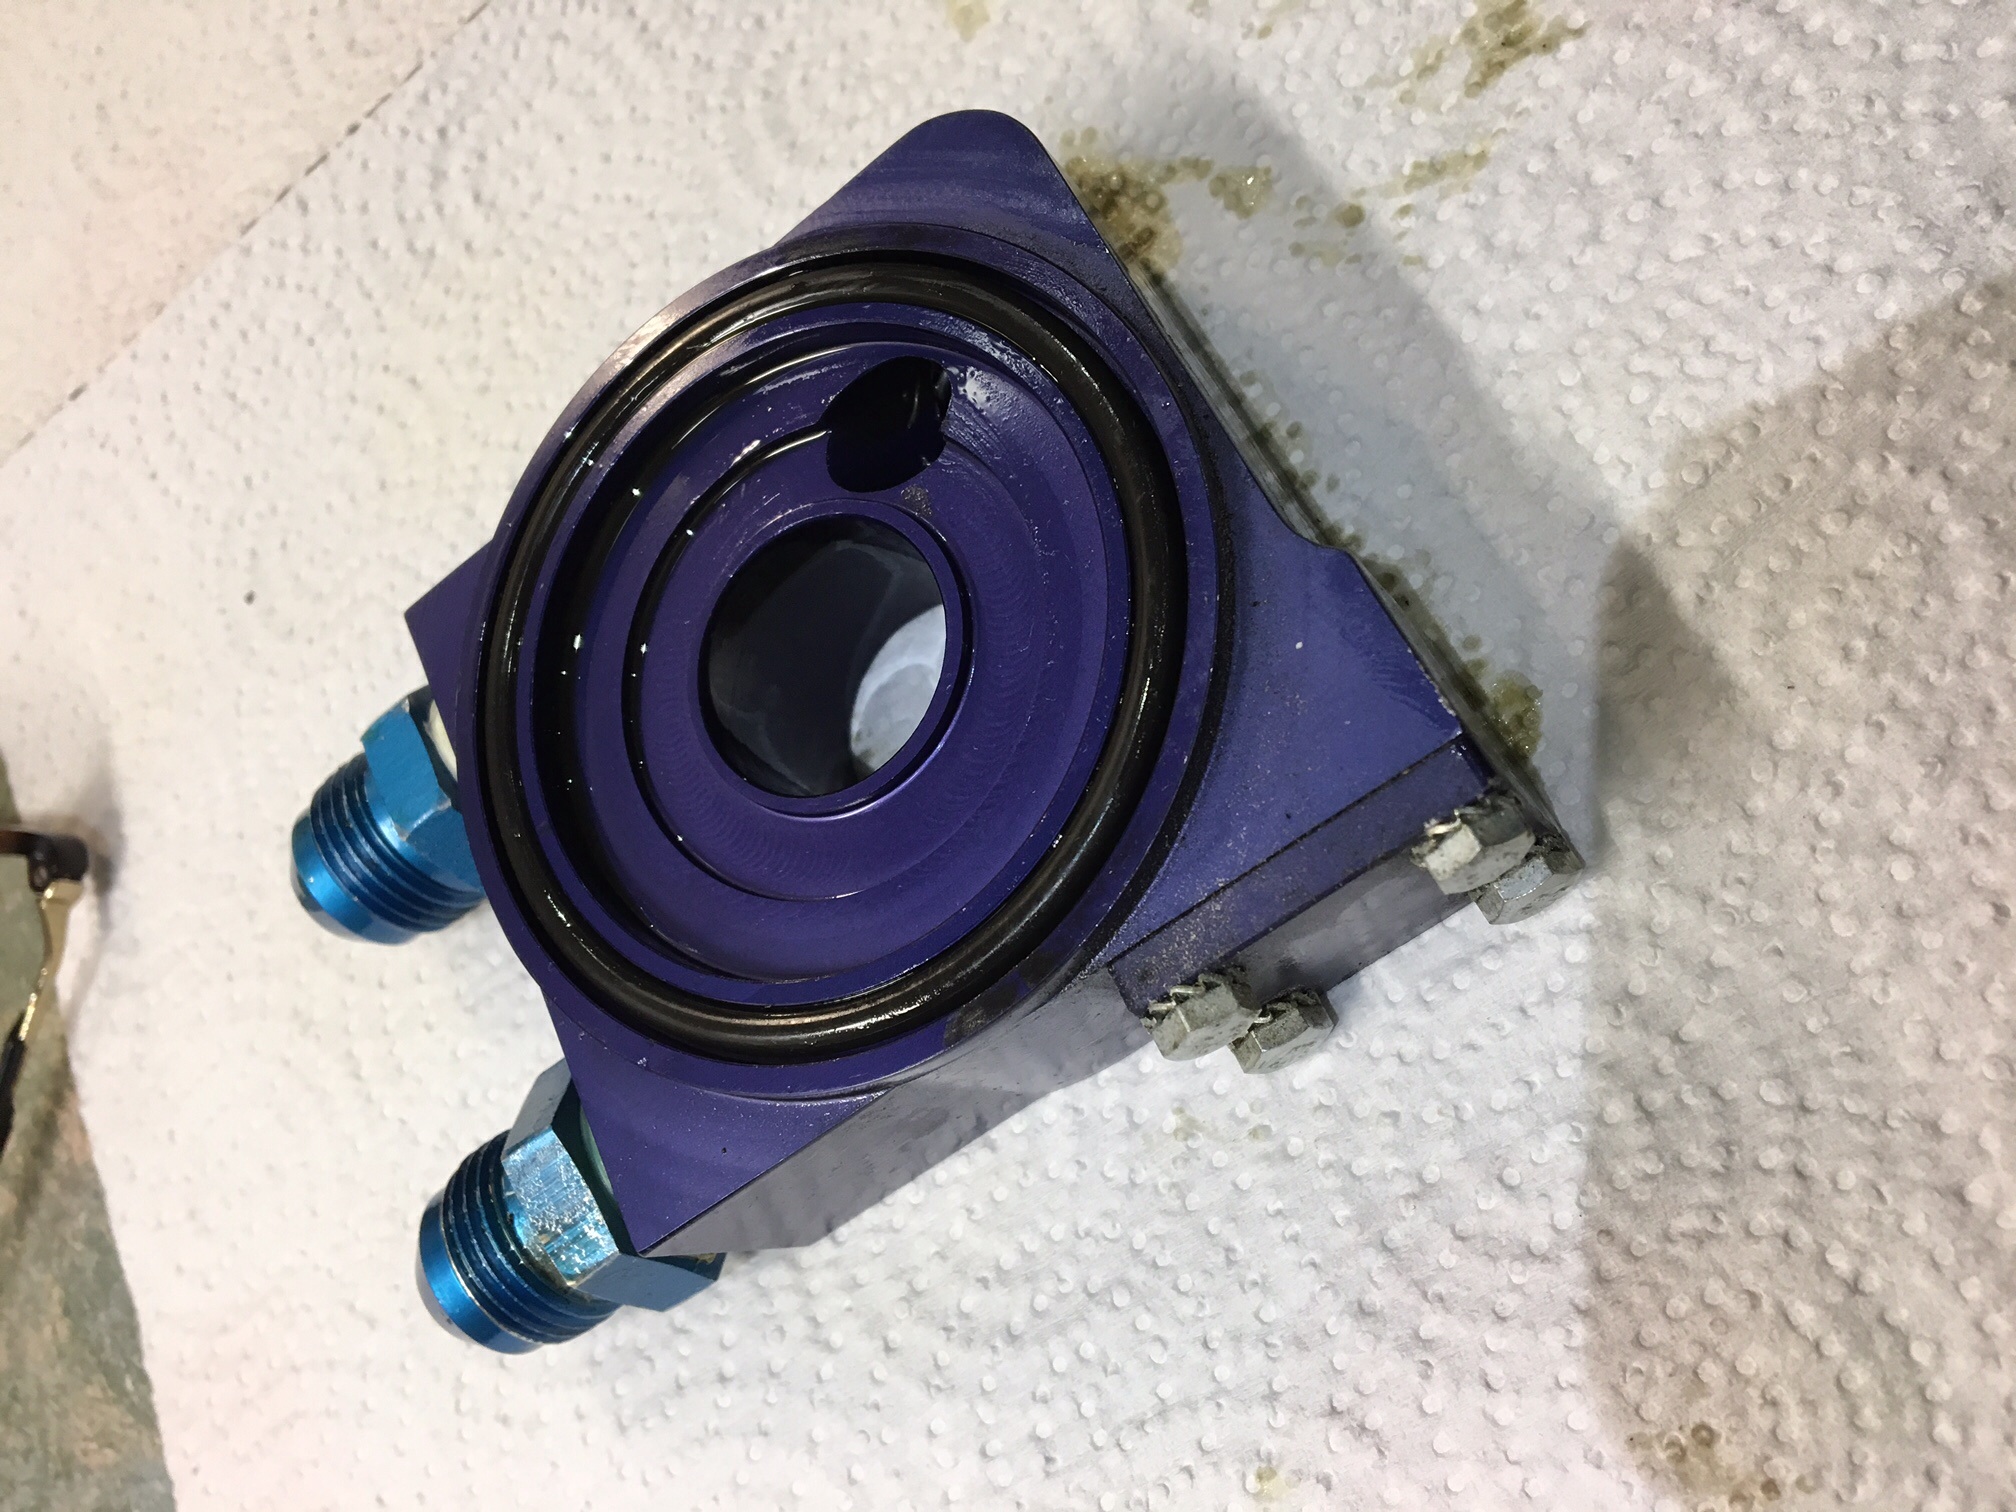
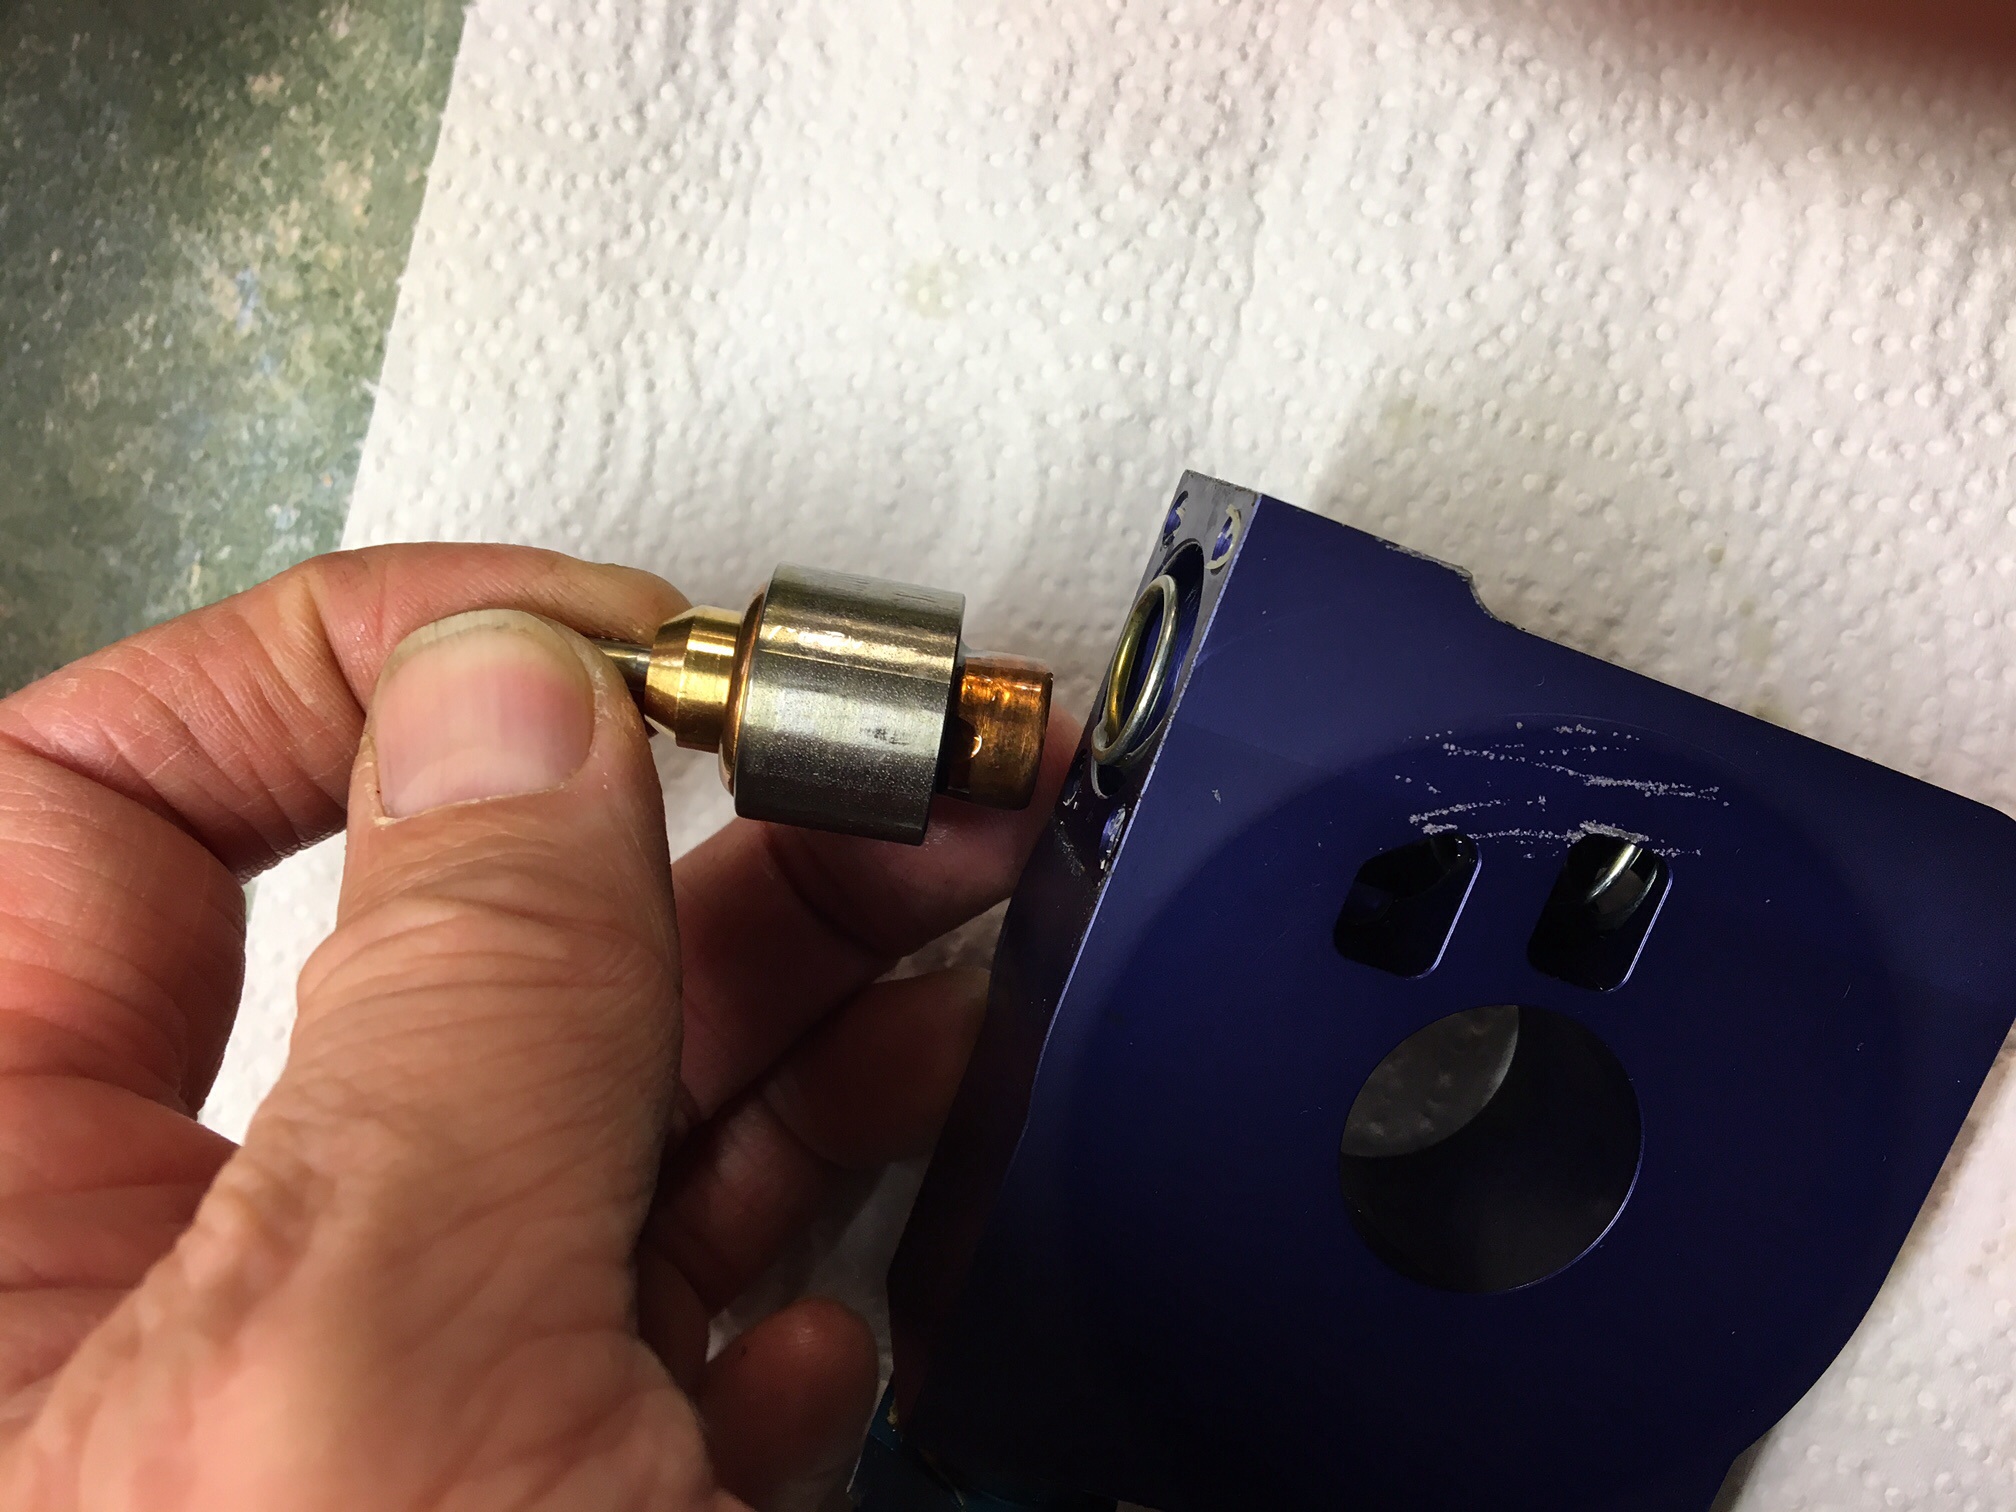
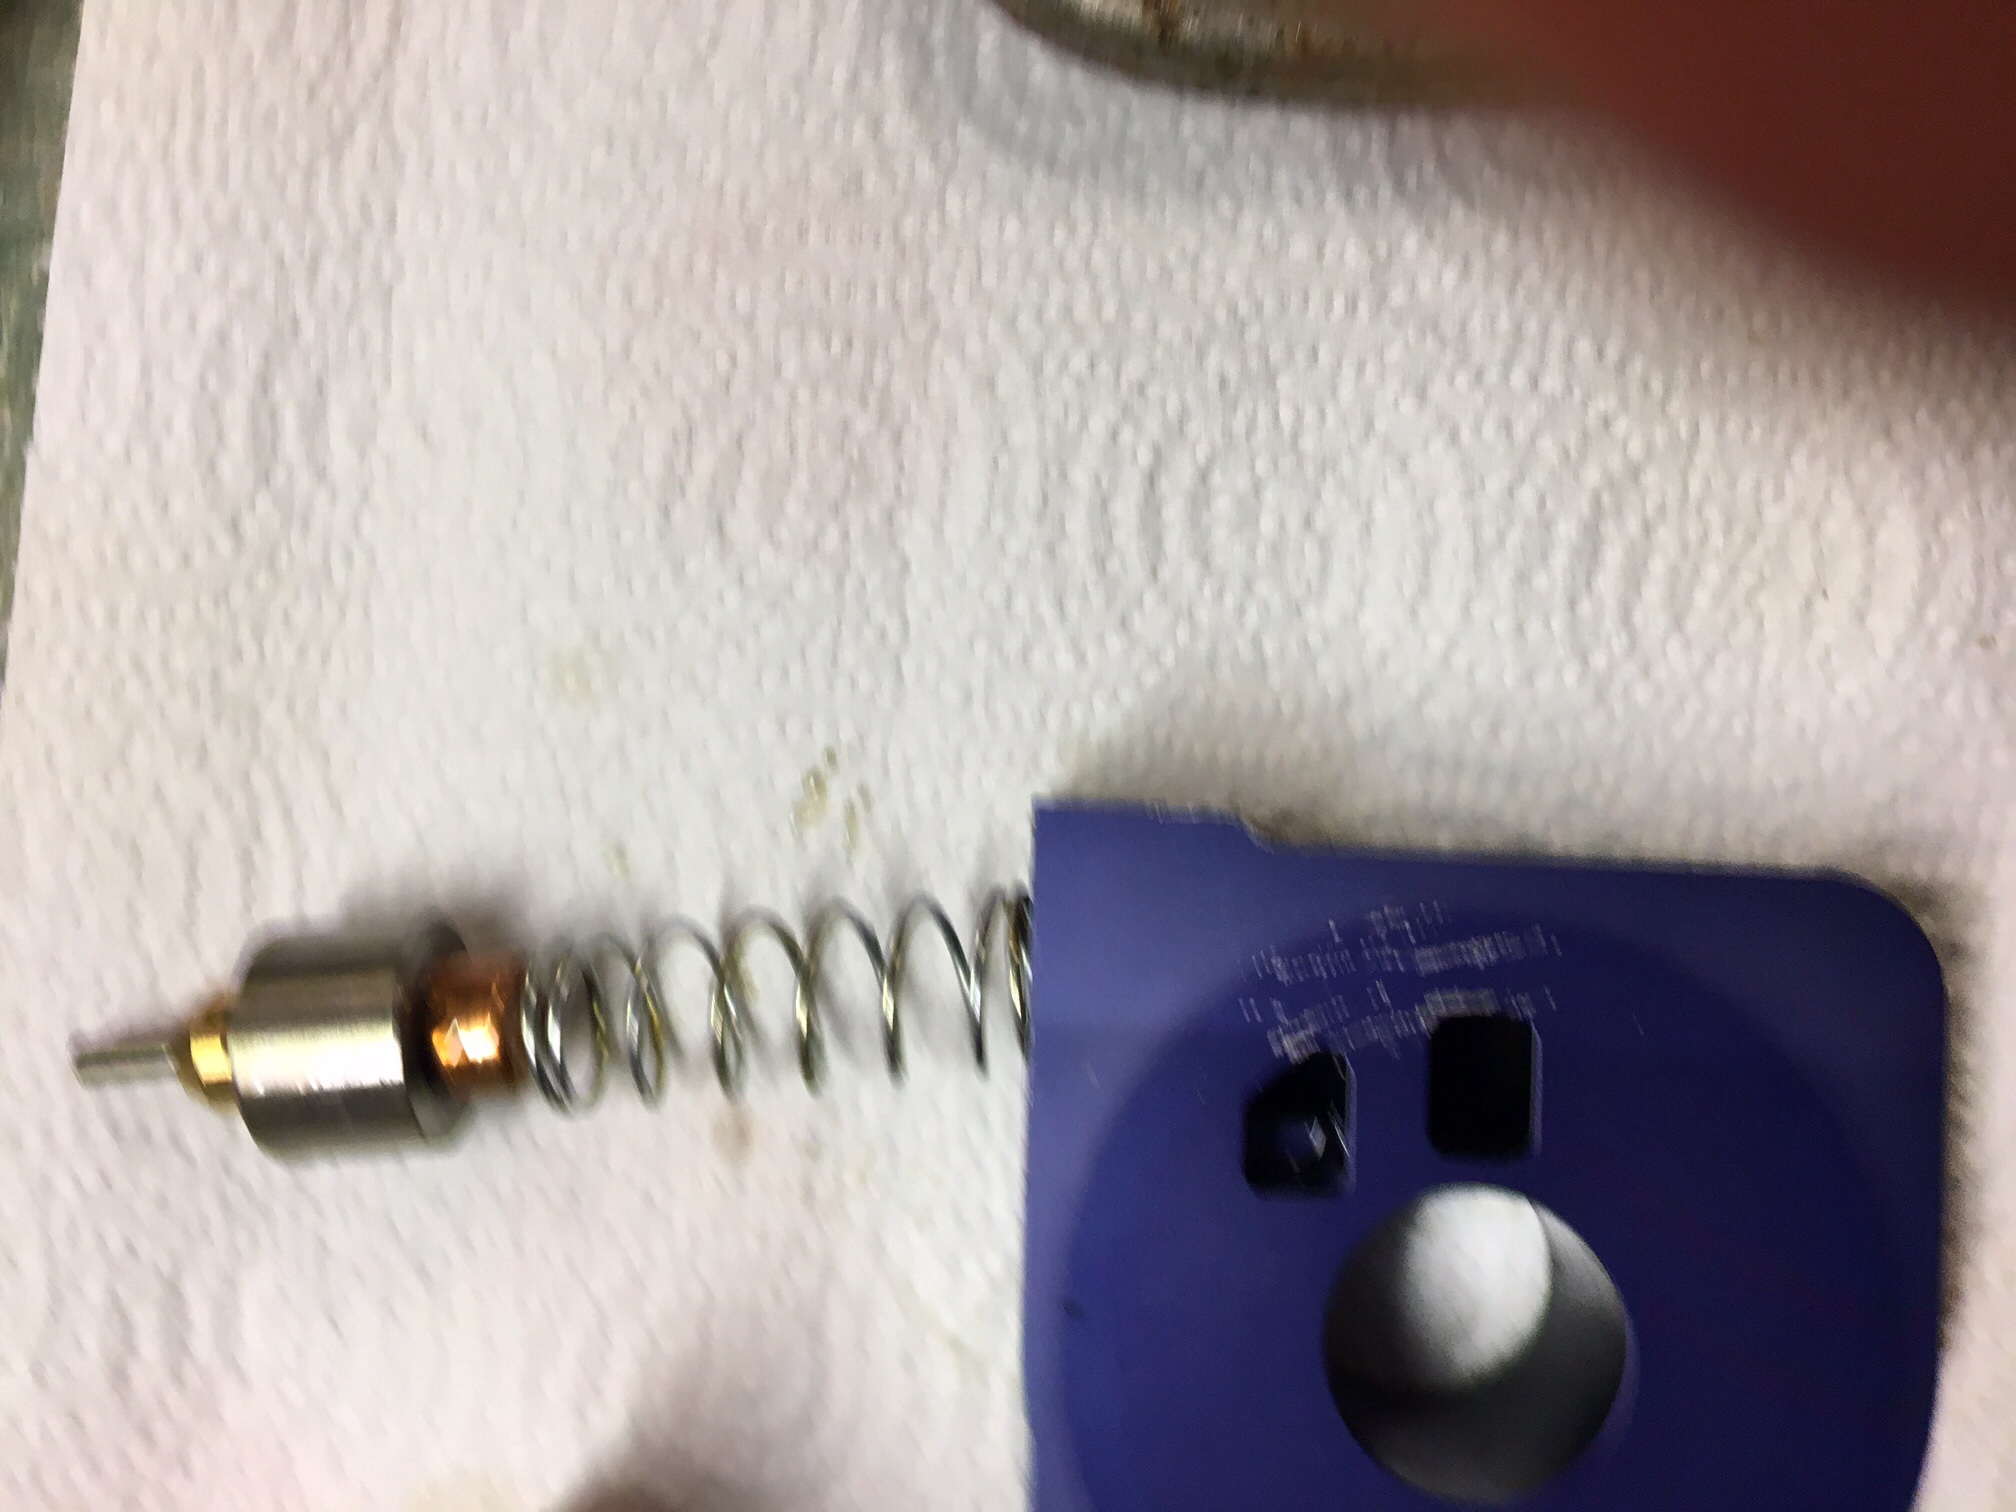
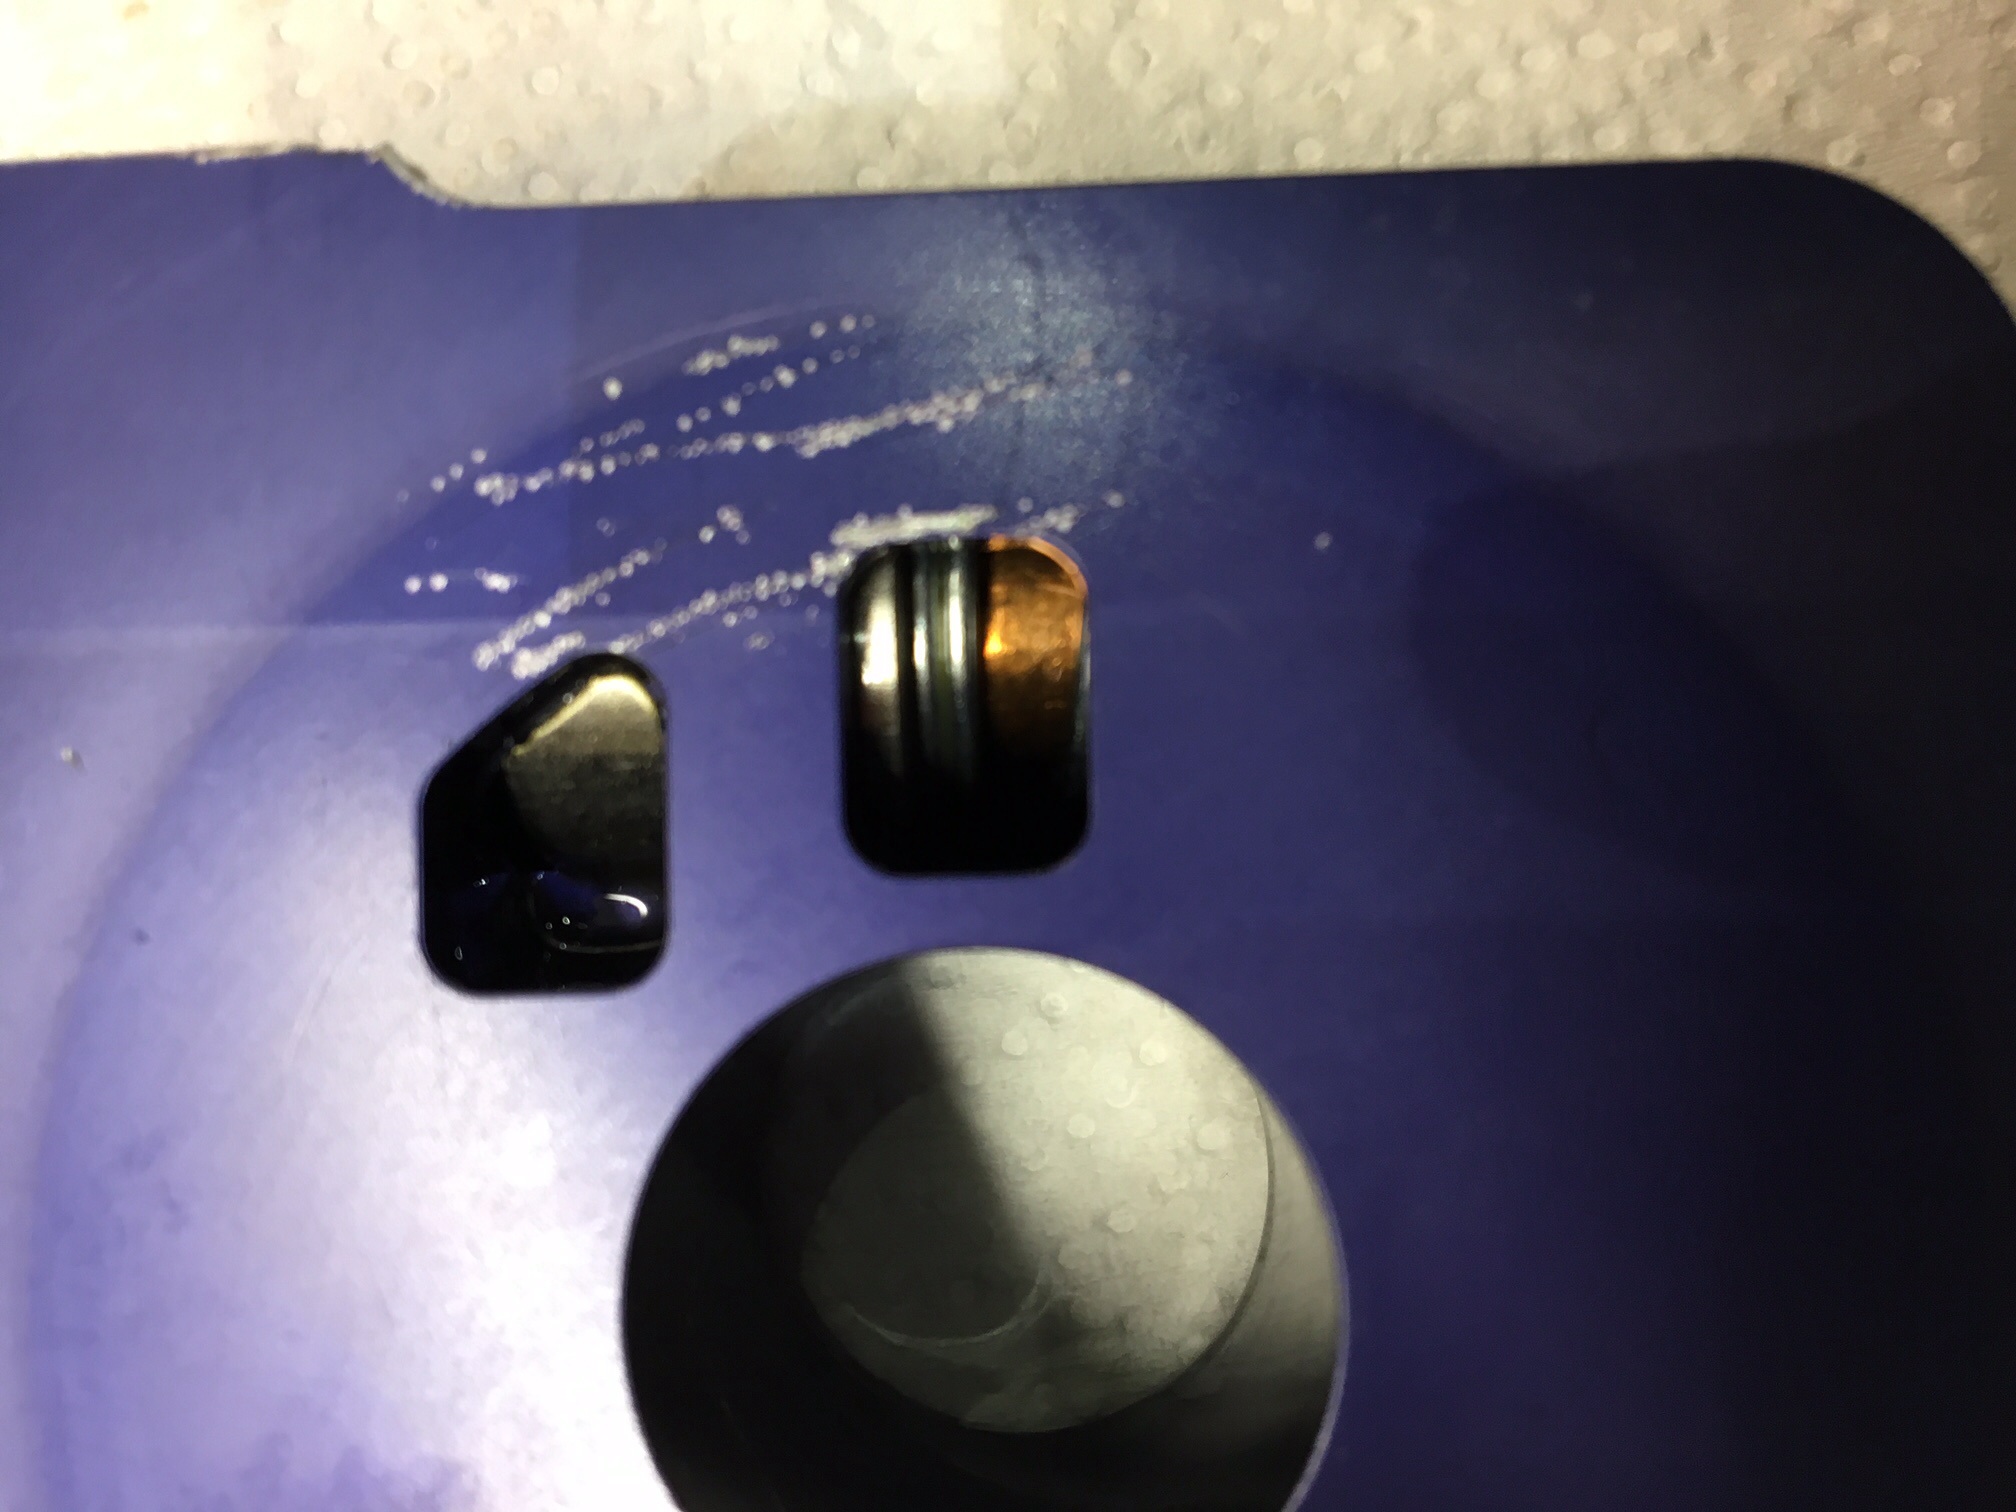
Removed and stripped down the TOCA which is a simple piece if equipment with a bi metallic type unit that, on heating operates an plunger which presses against the small cover plate and pushes the copper looking barrel down the shaft (against the spring) and this then effectively opens up the flow of oil through the now open hole – the hole aligning with the oil feed hole in the engine block.
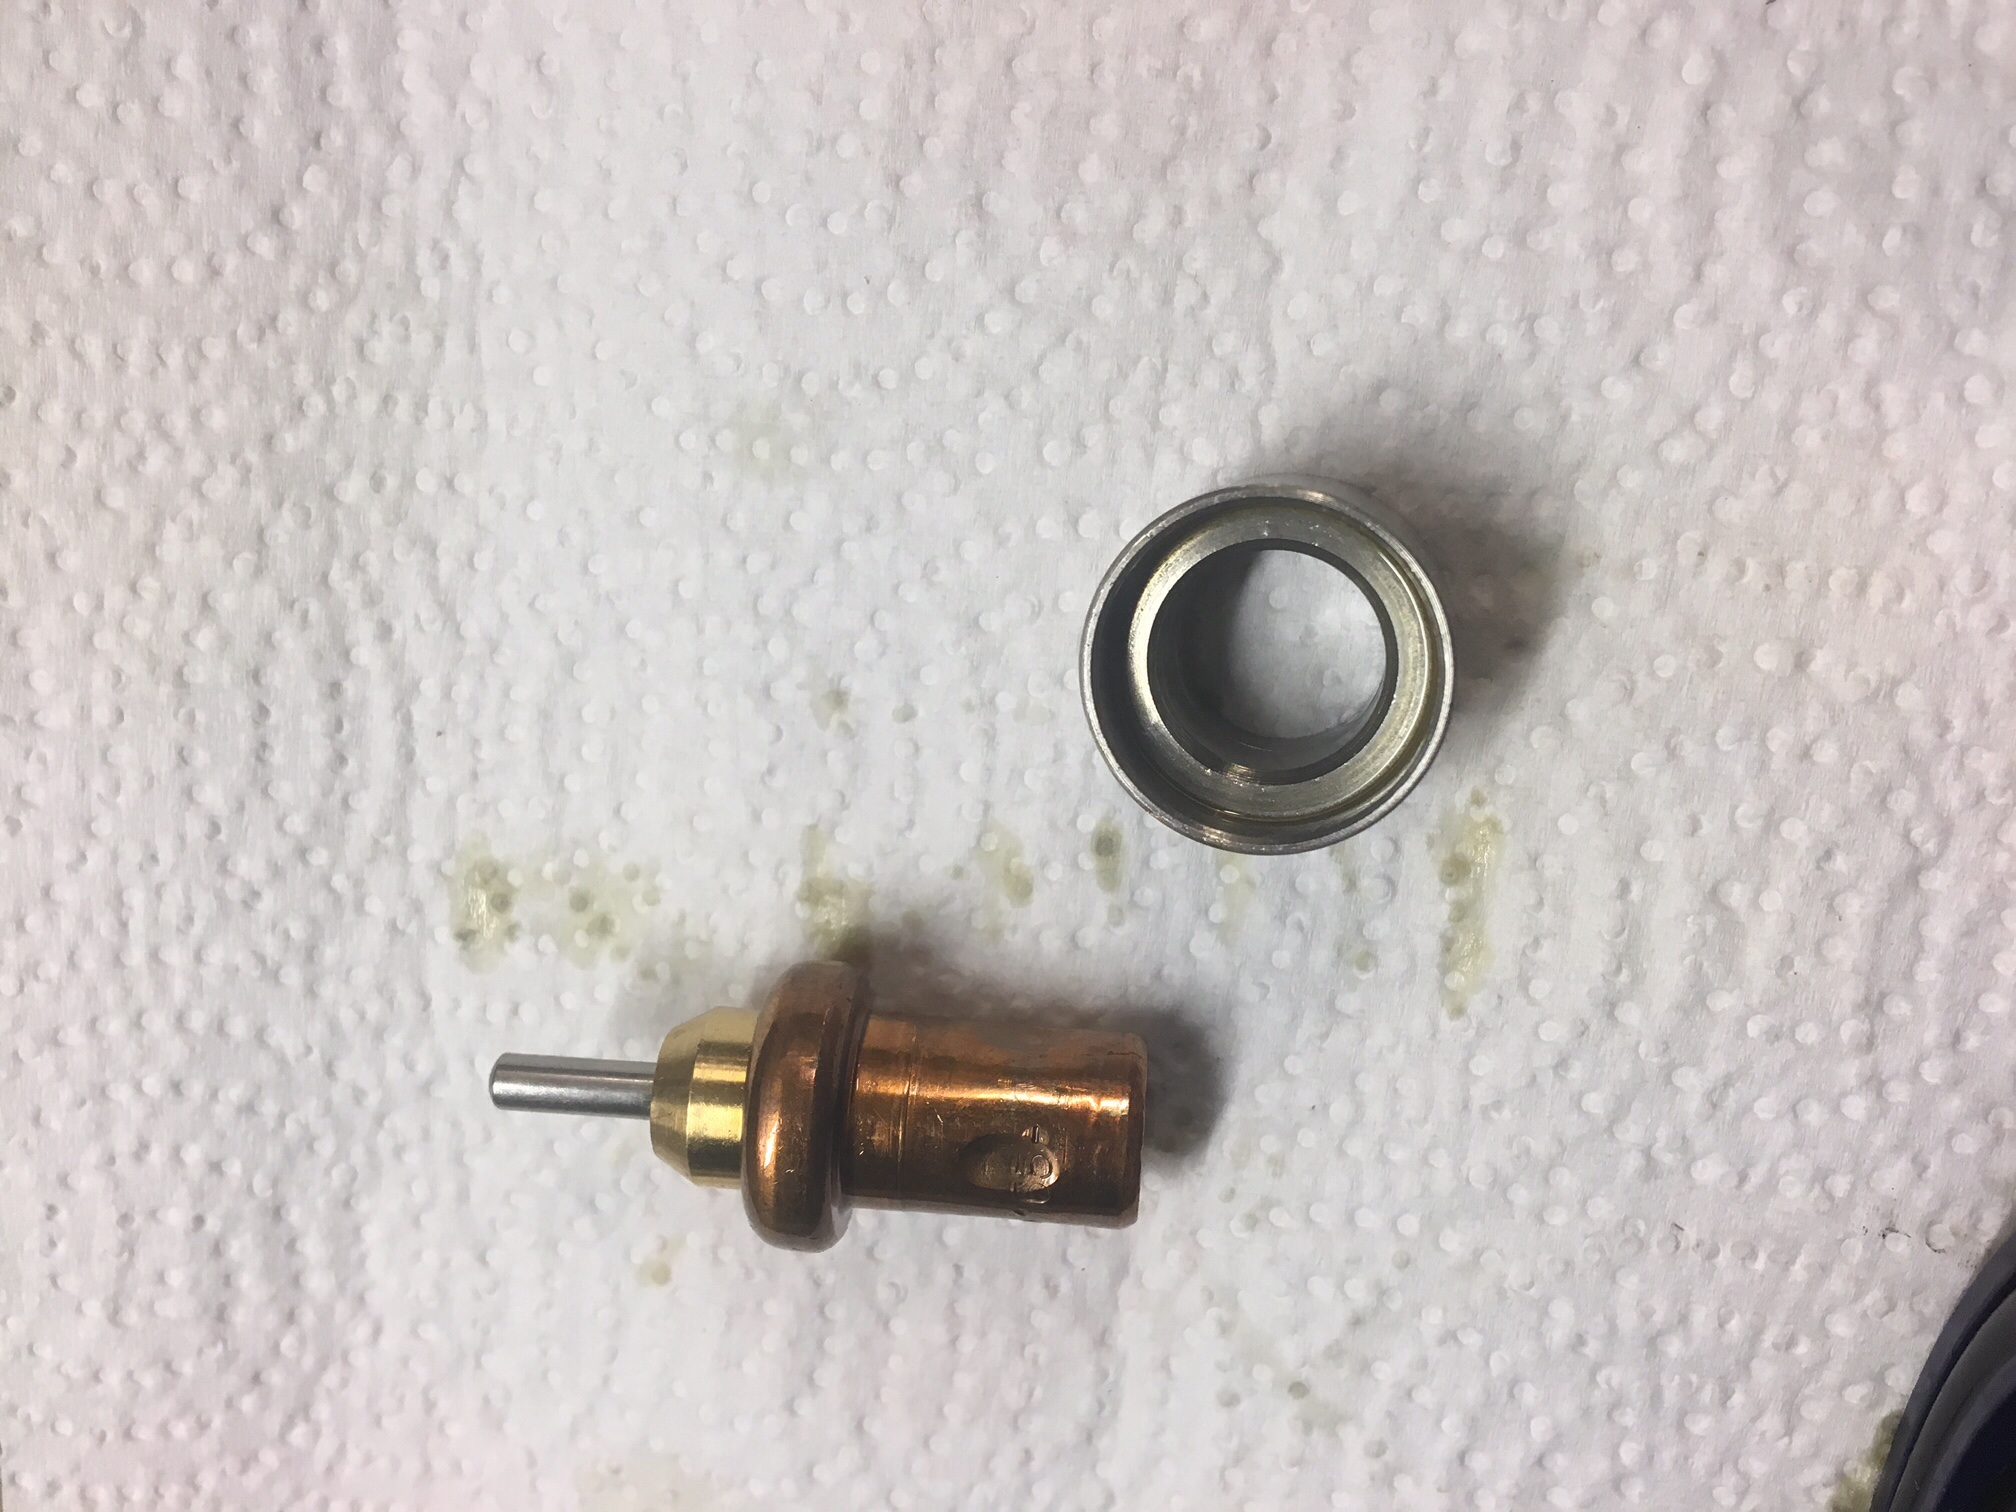
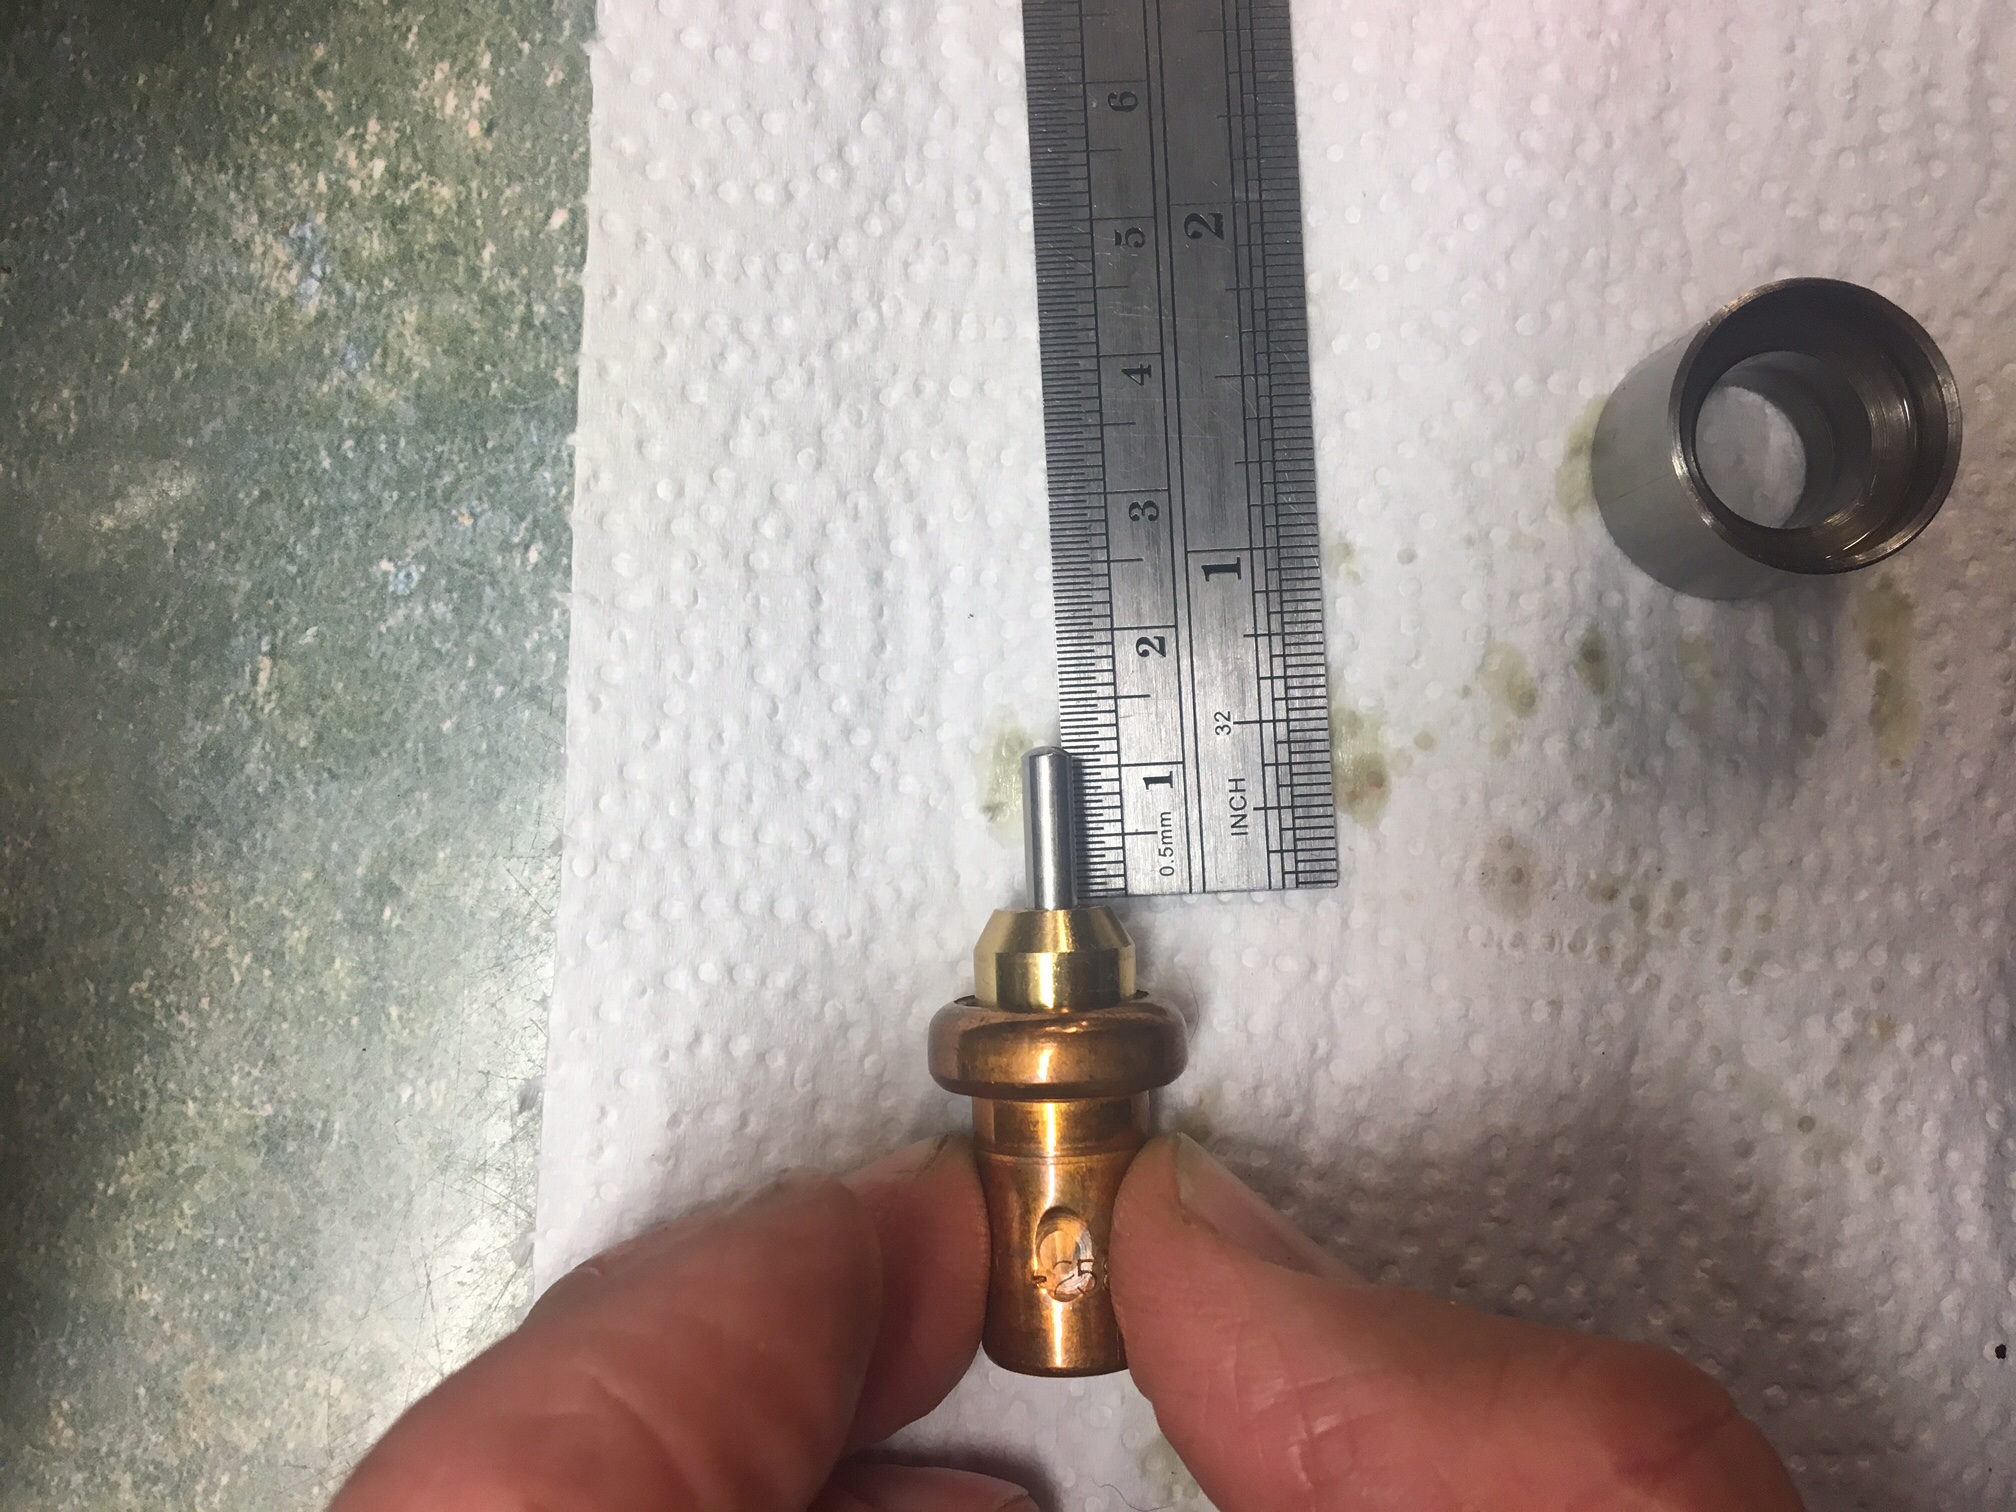
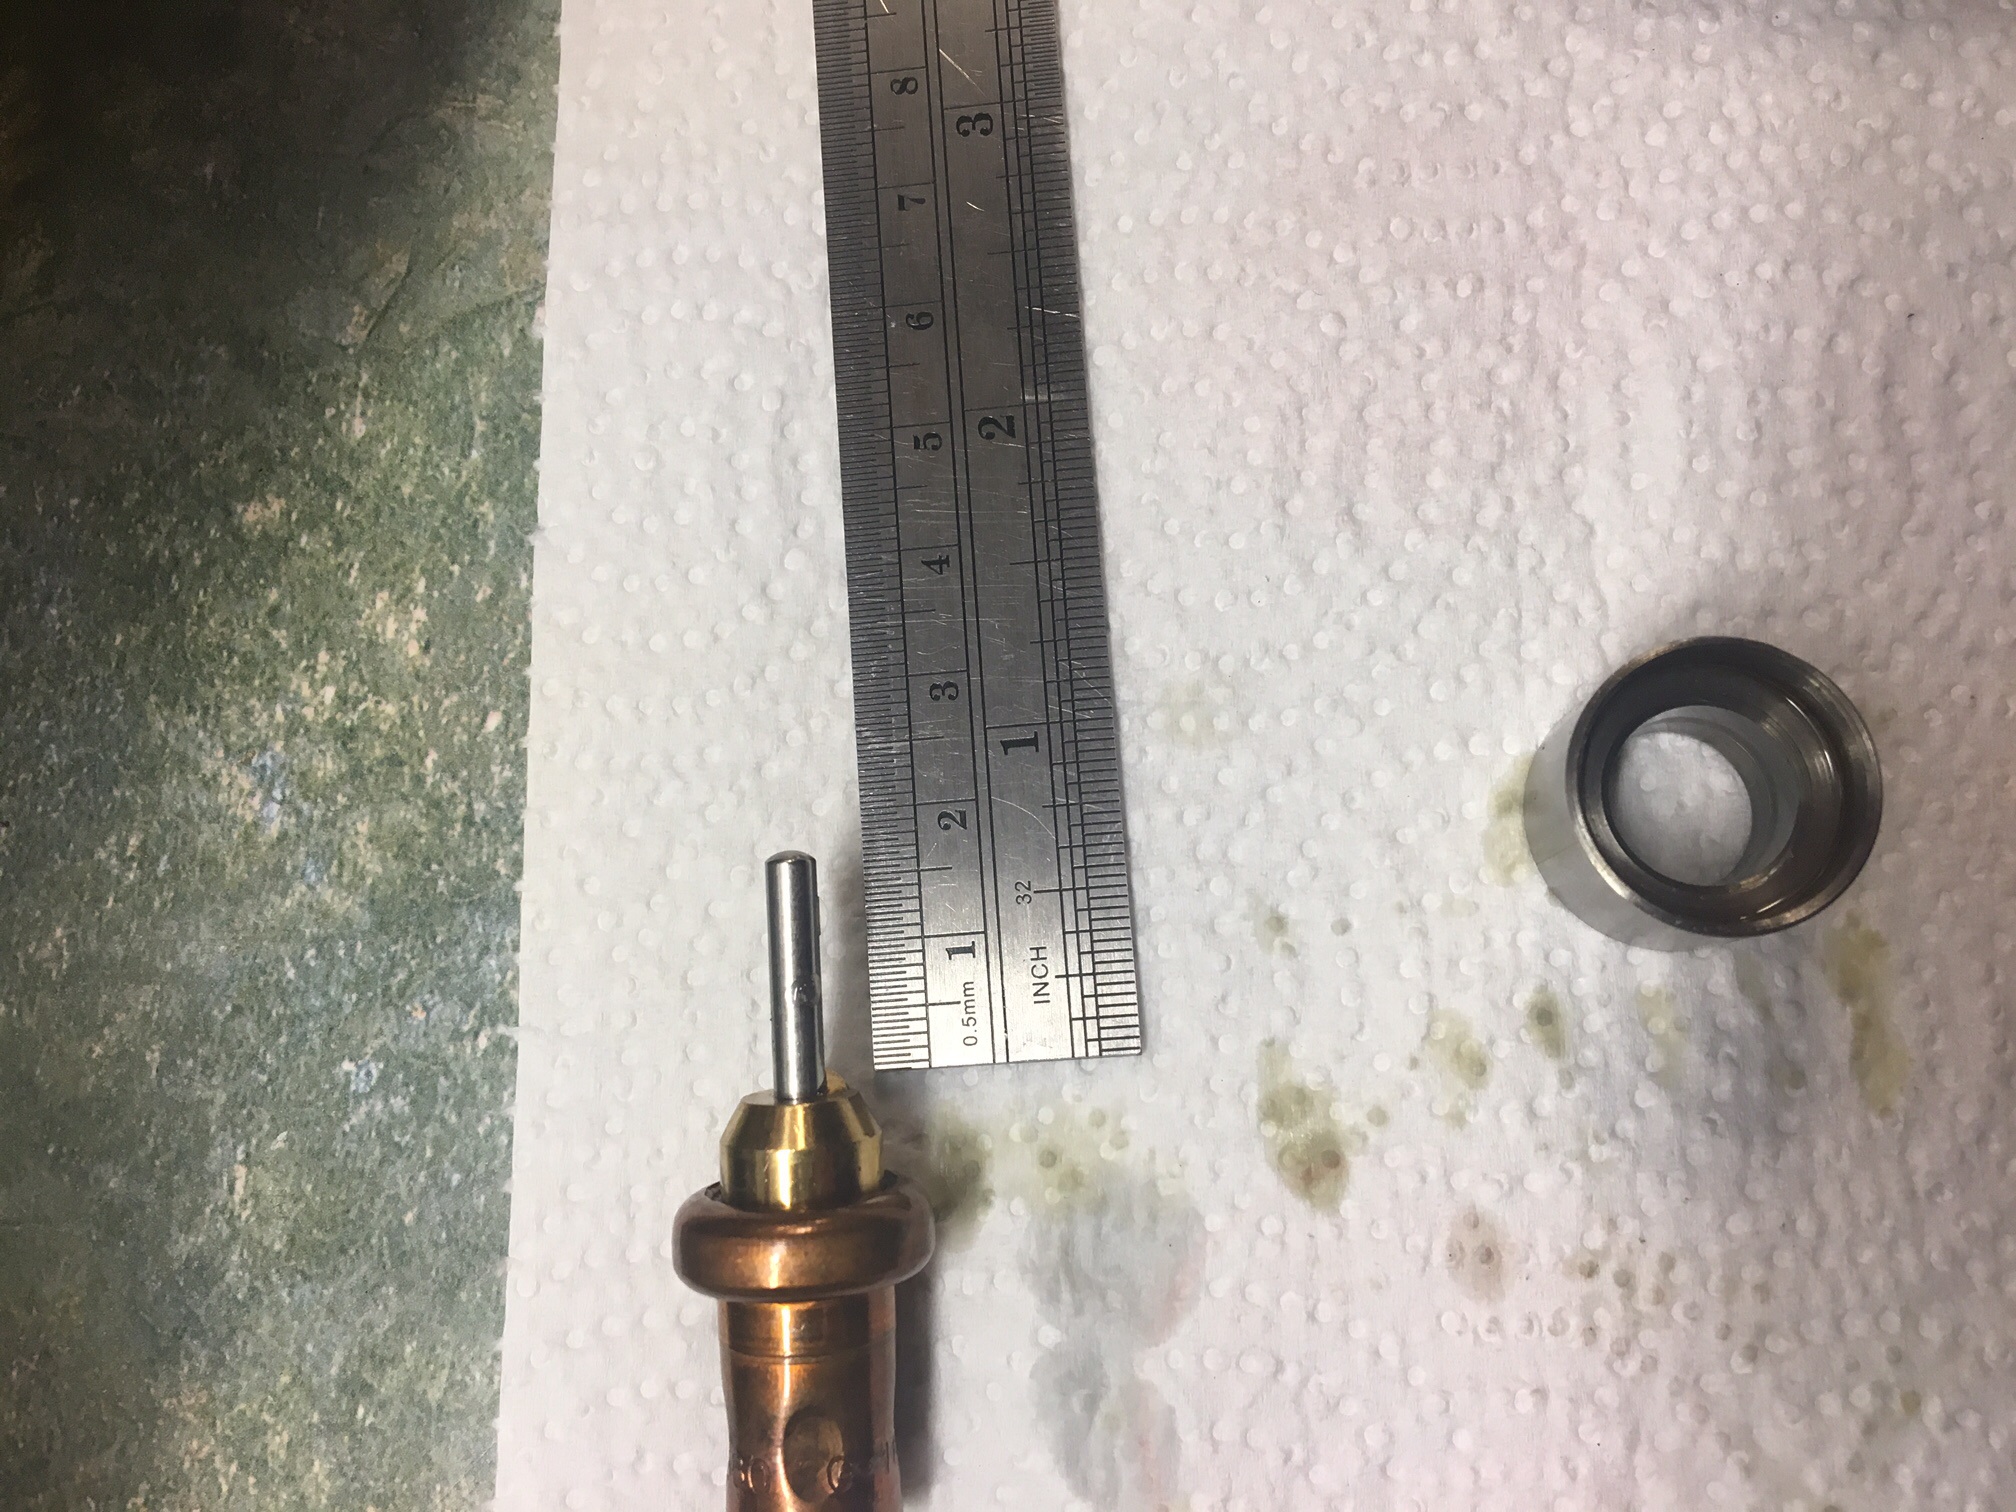
Unit out and placed in a pan of boiling water and sure enough .. The plunger pushed out about 1.5cm
Decided I will try it without this spring and plunger unit in … Simple enough test to fully eliminate it as a problem on extended ground runs BEFORE I try to fly her again.
After my current tally of 5 hours flying and 25 take offs AND landings ! I have a few small snags to complete
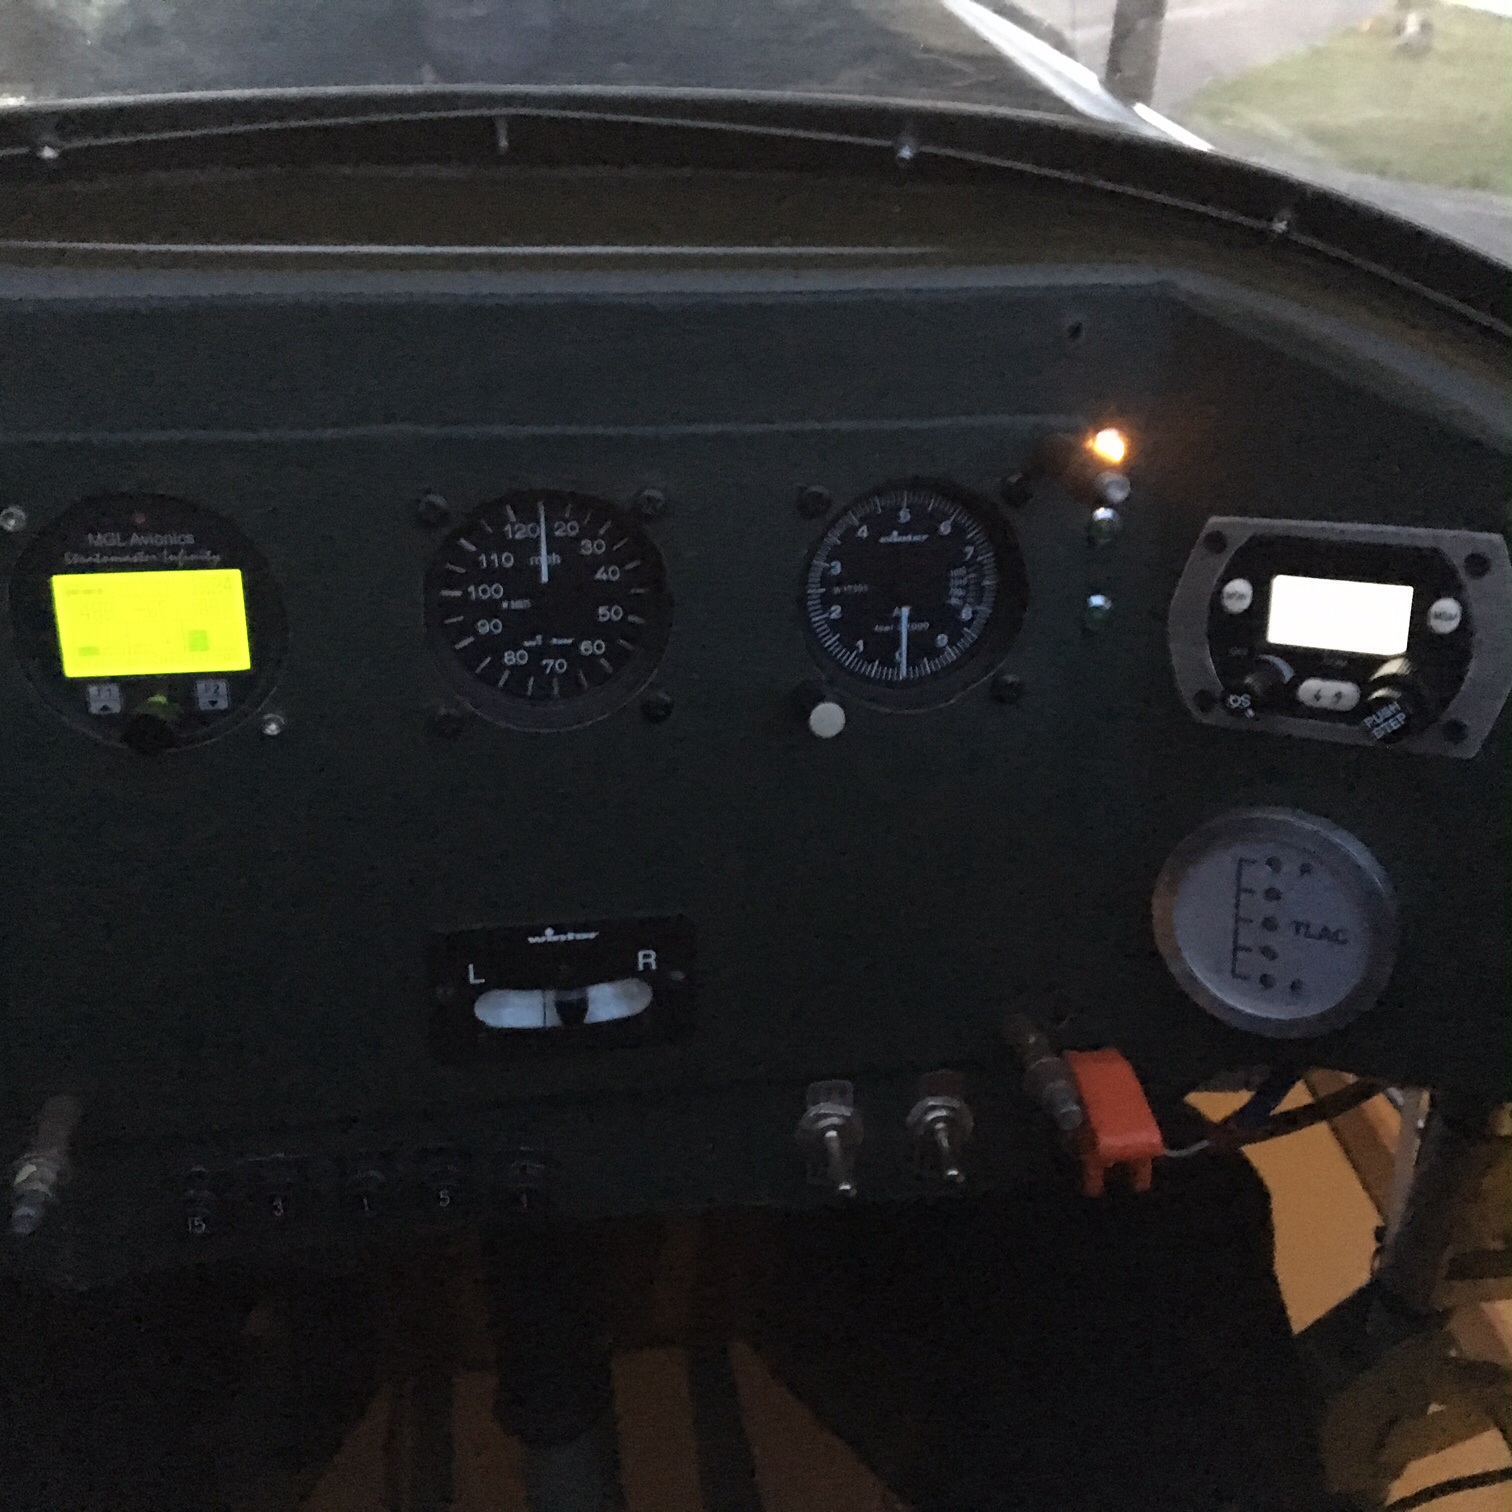
An intermittent loose wire causing the Infinity engine monitor to trip out occasionally and immediately re boot .. It’s fine but disconcerting .. Prob just a bad crimp
Tailwheel flat spot – Now done
Front harness trim down to remove excess – plan to do the tests with ‘human payload’ to get up to weight as it’s more ‘useful’ than just weight
Re check tyre pressures
Re check engine oil – done every flight – but need to check overflows etc
Have re greased all wing bolts and fittings
Probably easier to get a Velcro stopwatch to help on timed climbs
Full ski gear underneath – if it’s going to be nearly 2 hours continuous it’s going to get cold !
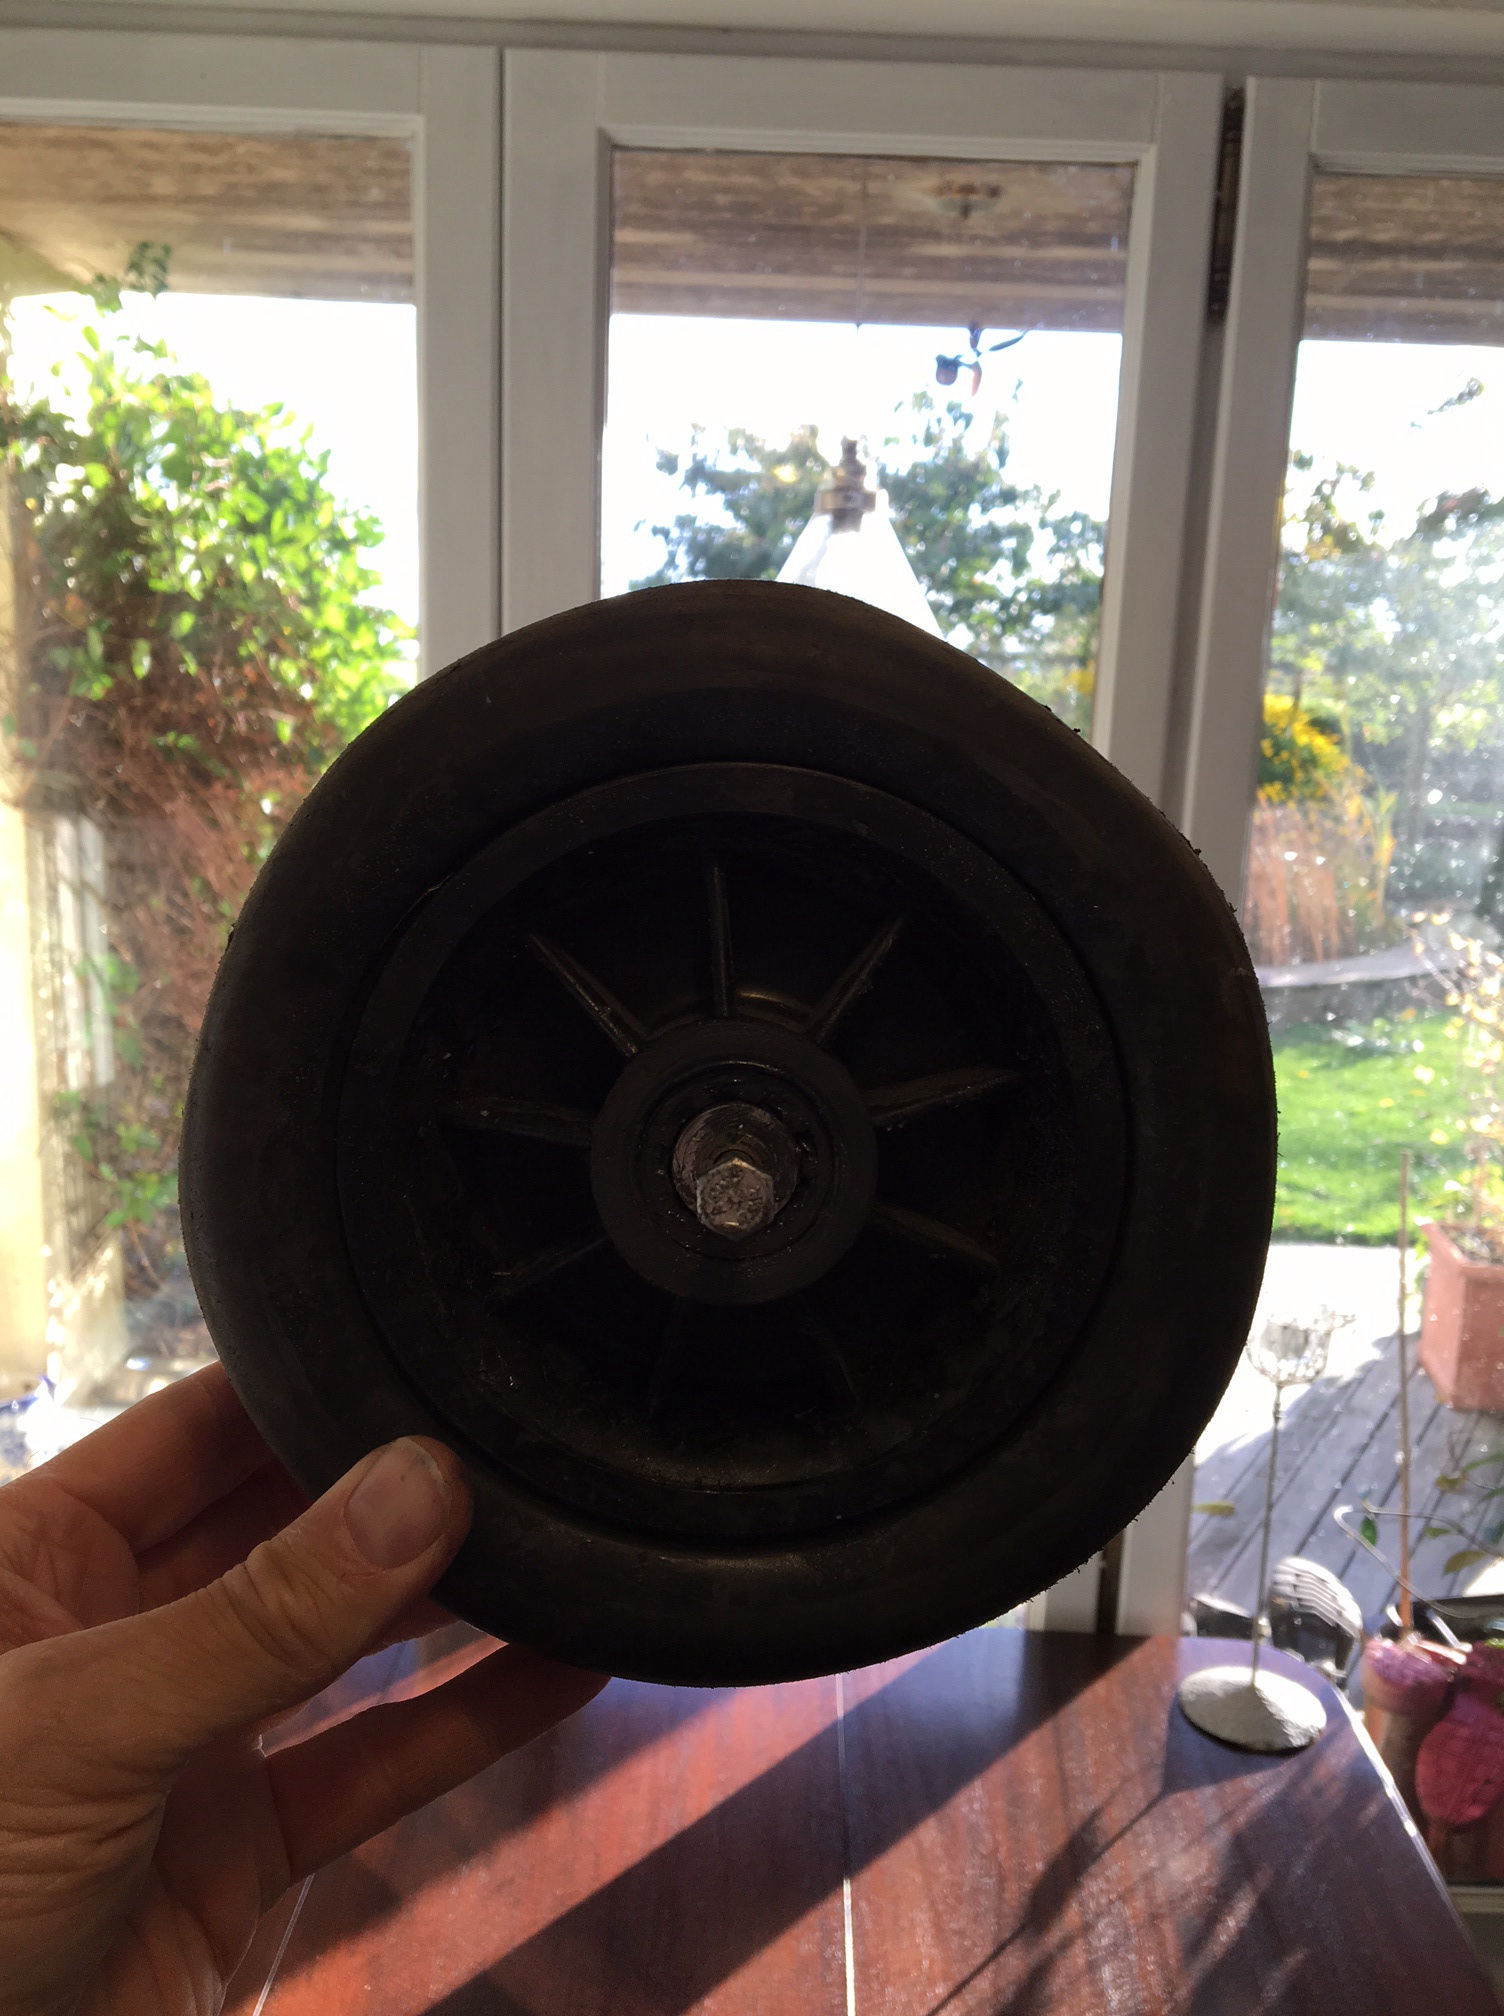
During early taxi checks a couple of months ago I was trying to turn off the aero club ramp and almost back on myself up a short taxi strip to the grass parking – the angle was about 120′ so quite tight … The attached steerable tail wheel went as far as the cables would pull it but not far enough
The net effect was that the wheel skidded sideways and dragged across the Tarmac … Effectively flat spotting the hard rubber wheel.
I tried a heat gun to bring it out a bit back to its natural shape but it was too far gone.
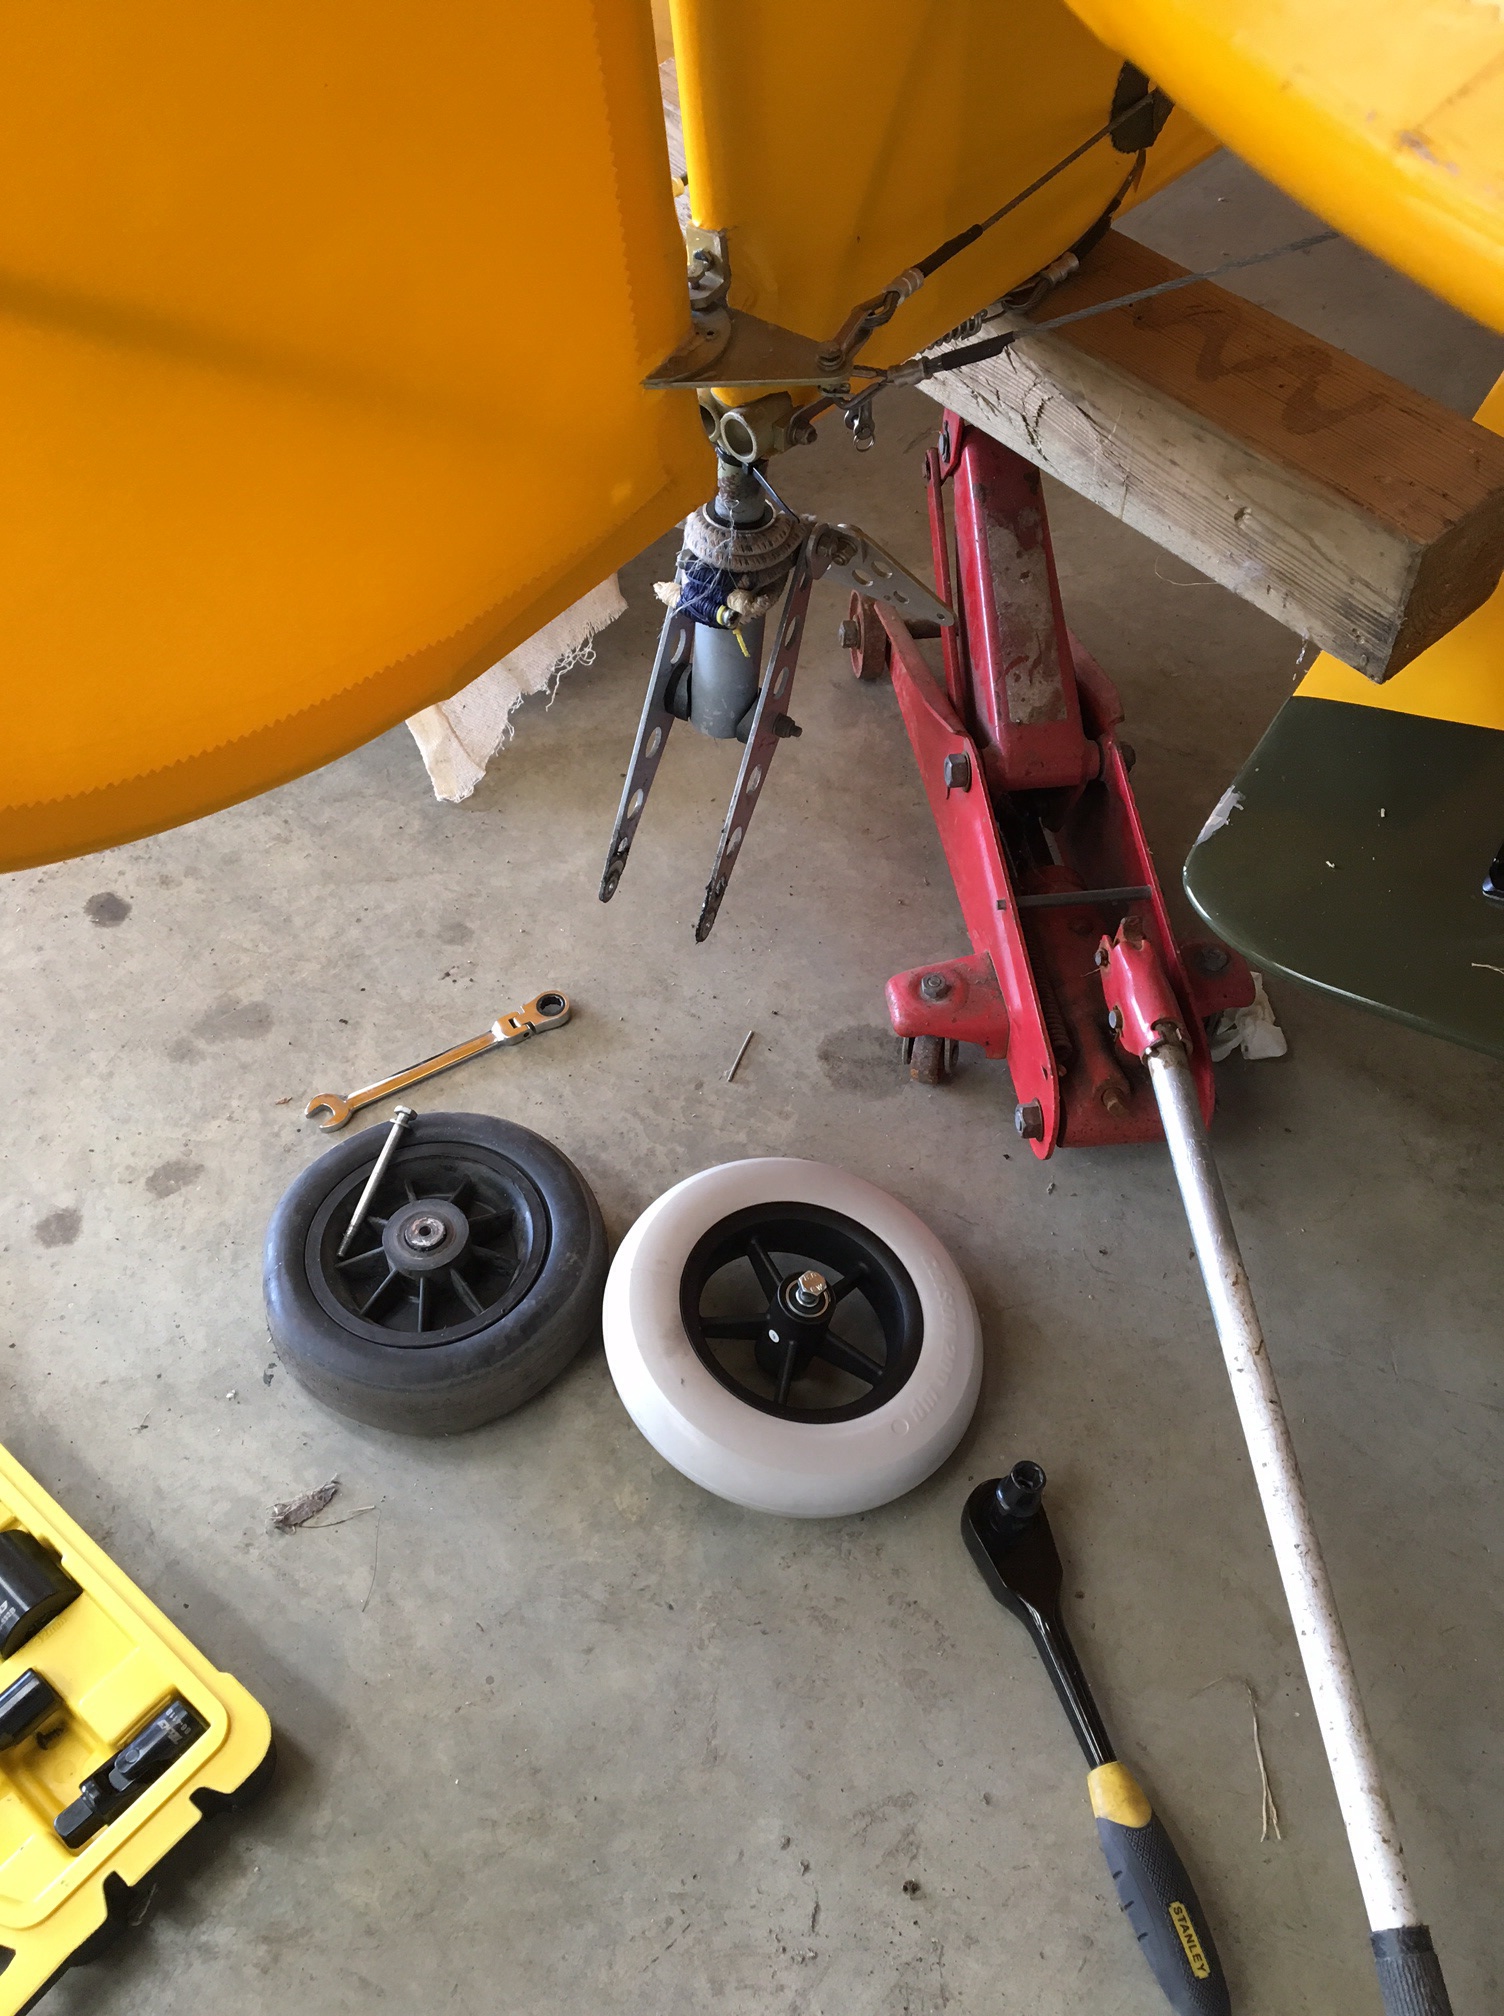
Contacted Paul and Ivor at TLAC and ordered a replacement
This duly arrived last week so jacked up the rear .. Removed the old wheel which was pretty grubby by now but very nicely greased !
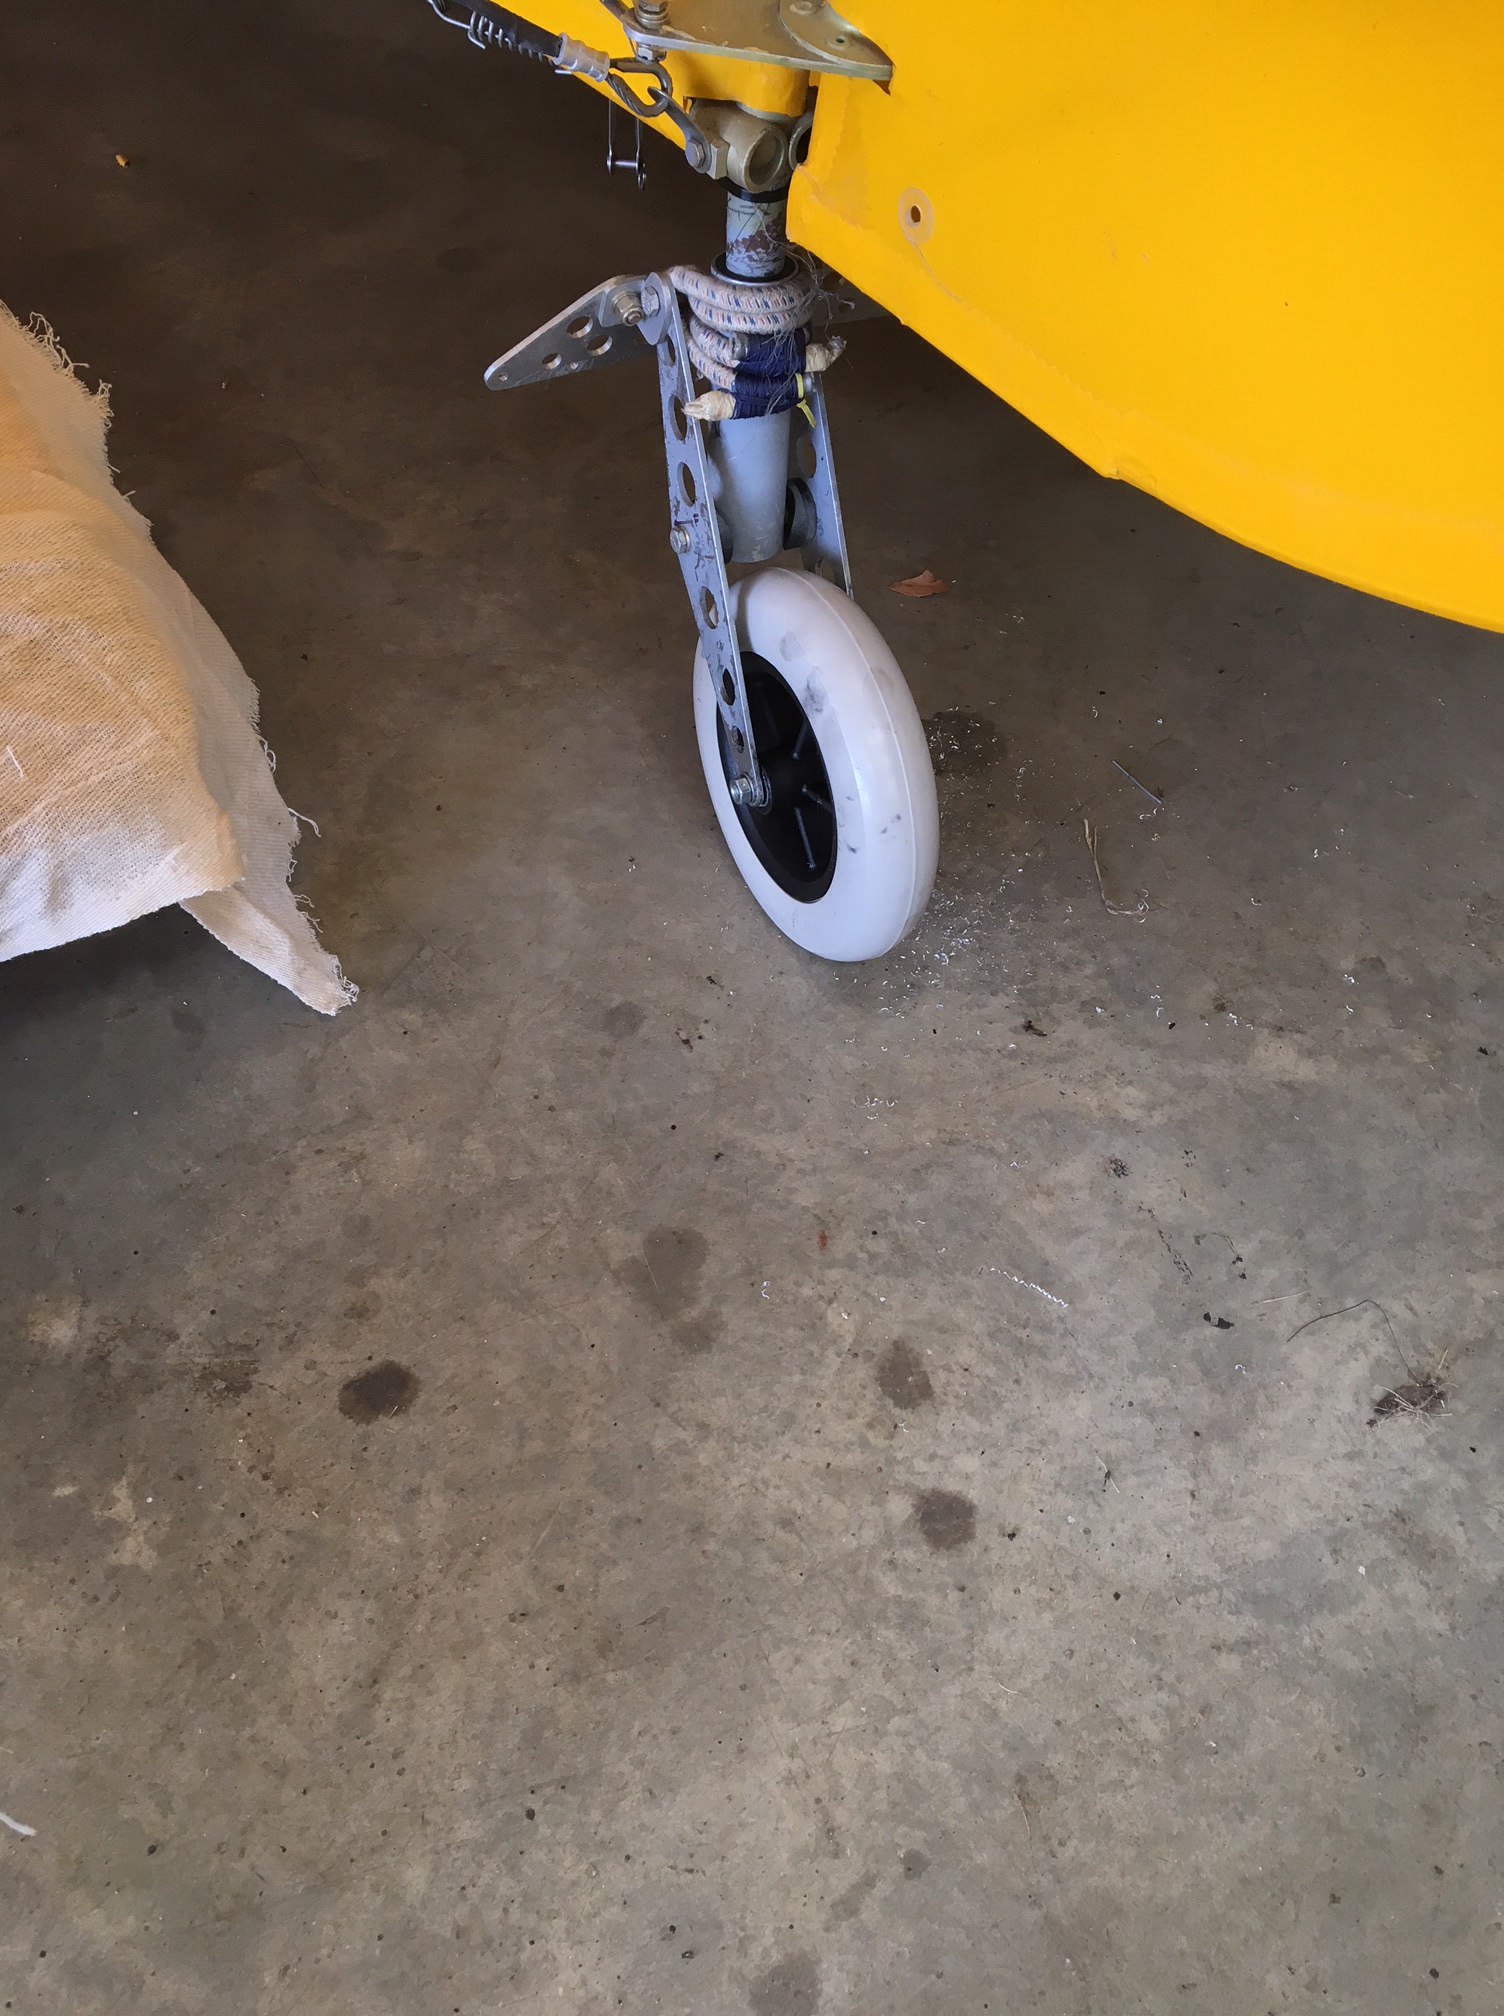
Noticed the new axle pin was somewhat larger diameter so drilled out the Tailwheel support mounts and de burred then greased the new one and in place. All in the space of 15 minutes
One thing I will need to do is add a nyloc or split pin for additional security.
Post the round island flight it was time to add some weight …
The cable ties that have been securing the main straps of the front harness were cut away and the lap straps retrieved from inside the hanger and clipped into place …..
Will had duly arrived in his full flying suit and hat and was busy running around the pre take off checks along with me. We soon found that the intercom switch I had fitted – which had worked – seemed to have packed in – maybe a bad connection .. so we decided on a series of stick shakes and his acknowledgemet by hand as a means of communicating – along with shouting !
Take off with his 11+ stone on the front was virtually identical to lifting off with just me .. the only thing I would add was that with the now slightly gusting 18kt+ the whole thing felt more stable with the gusts having less effect.
Handling equally was great two up and Will flew some gentle (although unbalanced) turns
This is definitely an aircraft that teaches you co-ordinated use of aileron and rudder .. Howards voice ringing in my ears .. get the ball in the middle !
You can ‘feel’ she is out of balance before you look at the ball … but a quick glance down to confirm and then get it sorted … it will take a bit of time to be as instant on this as I would like ..
We went into a normal right hand circuit which involves flying just offshore around the southern cliff edges and then right back over Corbiere lighthouse to land . we opted for a touch and go – tailwheel all the way down.. speed uder control then up and away again.
The tower had asked if we could go into the left hand vs right hand circuit as there was parachute dropping in progress south of the centreline. This gave us an opportunity to ‘say hello’ to the house and neighbours who had been asking to see the plane
What had promised to be a very clear calm day turned out to be certainly clear .. but the F2 was 10 going up to 18+ Easterly. Not a problem down the runway (08) but was going to be interesting taxying …
Having opted to disconnect the steerable tail wheel option very early on in the taxy tests – I could sure use it today to assist in preventing ground looping ! I removed the two cables (spliced into the rudder cables) but only removed at the turnbuckle – leaving me the option to reconnect if I change my mind. I found that the relatively tight manoeuvring area outside the aero club meant the rudder on full deflection didn’t give the same tail wheel angle and so it dragged and flat spotted … I now get a dunk dunk on taxying – if you know what I mean .. new wheel on order from TLAC.
Engine started nicely and the go pro seems to have settled – well I have learned how to use it more like ! This footage is really handy for learning … when you are flying by yourself there is no one to critique you … sharing the video usually invokes a few comments and very useful feedback
I sent a link to Howard Barbour (the very kind gentleman at Little Snoring ) who kindly sat with me for an hour of the most fun, active, banked circuits I have ever done .. everyone should do it .. whether you buy a Sherwood or not
Anyway, Howard said all looked fine but then noted that I wasn’t pulling full stick back on taxying .. he popped a note on the end and said ‘All the way back to the buckle on taxying’ then apologised for nagging !! Not at all … as I said to Howard .. one tip up and the £800+ nice wooden prop would be dust .. nag away Howard .. nag away 🙂
I had decided on this flight to brave the full ’round island .. everything had been settling down and it felt good time for a longer flight.
Duly lined up and the tail was up immediately – 18kt down the line … I had mounted the go pro on the rear of the wingtip this time (a la Little Snoring) so you can now see bothe Elevator and Aileron movement. .. doesn’t move much at all !
I opted for my (now usual) bad weather close circuit .. I have used this technique for the last few flights as a sort of warm up and is everything still ok …. the tower are very supportive and happy to let me do it .. slotting in or widening out for inbounds … this time it was a small one coming in to land vs the Gulfstream jet last time doing touch and go’s
That cleared I opted for a wheeled landing to just start the tail going down then went around to prevent blocking the runway for too long. off and over St Helier and into a full anticlockwise around the island …. hugging the coast and varying between 700′ and 1000′ … quite bumpy crosswind and possibly the effect of the wind over the 300′ cliff edges … mental note for landing on 08 .. keep the speed up over the threshold.
After the full around island I opted to land and check everything over before my next flight which was to include my middle son Will as checker of all things front cockpit and also to see what effect his weight would have ahead of the full LAA checks in a week or so.
Another clear day , temp about 10′ and as per usual around 7-8 knots varying NE/E
Start up fine again and the 7-8 mins to get oil up to around 35′ so good to start the taxi as it’s the opposite end of the runway for 08 from the aero club
Brakes holding well now on power checks .. Was creeping a little before .. Maybe the newish pads are bedding in.
Following some great input and advice from Paul HS at TLAC and Danny’s feedback I re shaped the input holes and also scaled up the exit.
Having a long frustrating wait for both workload – which included a pop from Jersey to Fairoaks and back – such a friendly team at Fairoaks and so helpful .. Where else can you order a taxi 5 miles out ! … Workload AND weather ! Been pretty breezy in Jersey over recent weeks and just too much for early flights.
Friday 21st October .. Planned to finish work early and get up to the hangar … Of course that didn’t work and got stuck in meetings meaning I didn’t get up until pretty late. By the time I had the wings out and pegged (that’s getting easier each time as the pegs bed in) and then climbed aboard after the full walk around check .. Air Traffic advise me that it was 2 minutes to sunset !
It was certainly feeling cool and moist …
I used both carb heat elements on start up and this was pretty un eventful .. And sat .. Whilst negotiating a slot – which Jersey ATC give without hesitation ..
Outside temp was about 10′ so it would be interesting to see how long the engine oil temp takes to come up to 50′ .. Used to be about 5 mins .. Has now extended to 10 mins which is absolutely fine … But THIS evening I hadn’t got too long .. Don’t have lights (yet !)
Started the roll and it was def starting to look dark as the effect of 100’s of runway lights made the sky look pretty gloomy
Pulled away and straight up to 3,200 rpm … And all fine temp wise. Kept a fairly tight (bad weather) right hand circuit off 08 runway at Jersey which put me close to but south of tower… First touch and go .. Waited for tail to settle and speed to come down then up again … The oil temp was now settled at 90′ and stayed put all the way around , regardless of throttle .. HAPPY DAYS … As Paul says .. Don’t get cocky 😄 As if !
seriously though .. This means I can take the next steady step … And run a few more circuits like this and then plan for another over the runway power climb test .. See next blog entry …
On landing the tower very kindly said “Looking great” which is nice .. I then slowed her down and managed to mess up breaking again … Done this twice now .. So she suddenly starting heading left as I couldn’t get right breaking.. Managed a full ground loop .. Embarrassing but calm, settle .. Turn her around and get off the active runway back to base