Rudder Connected

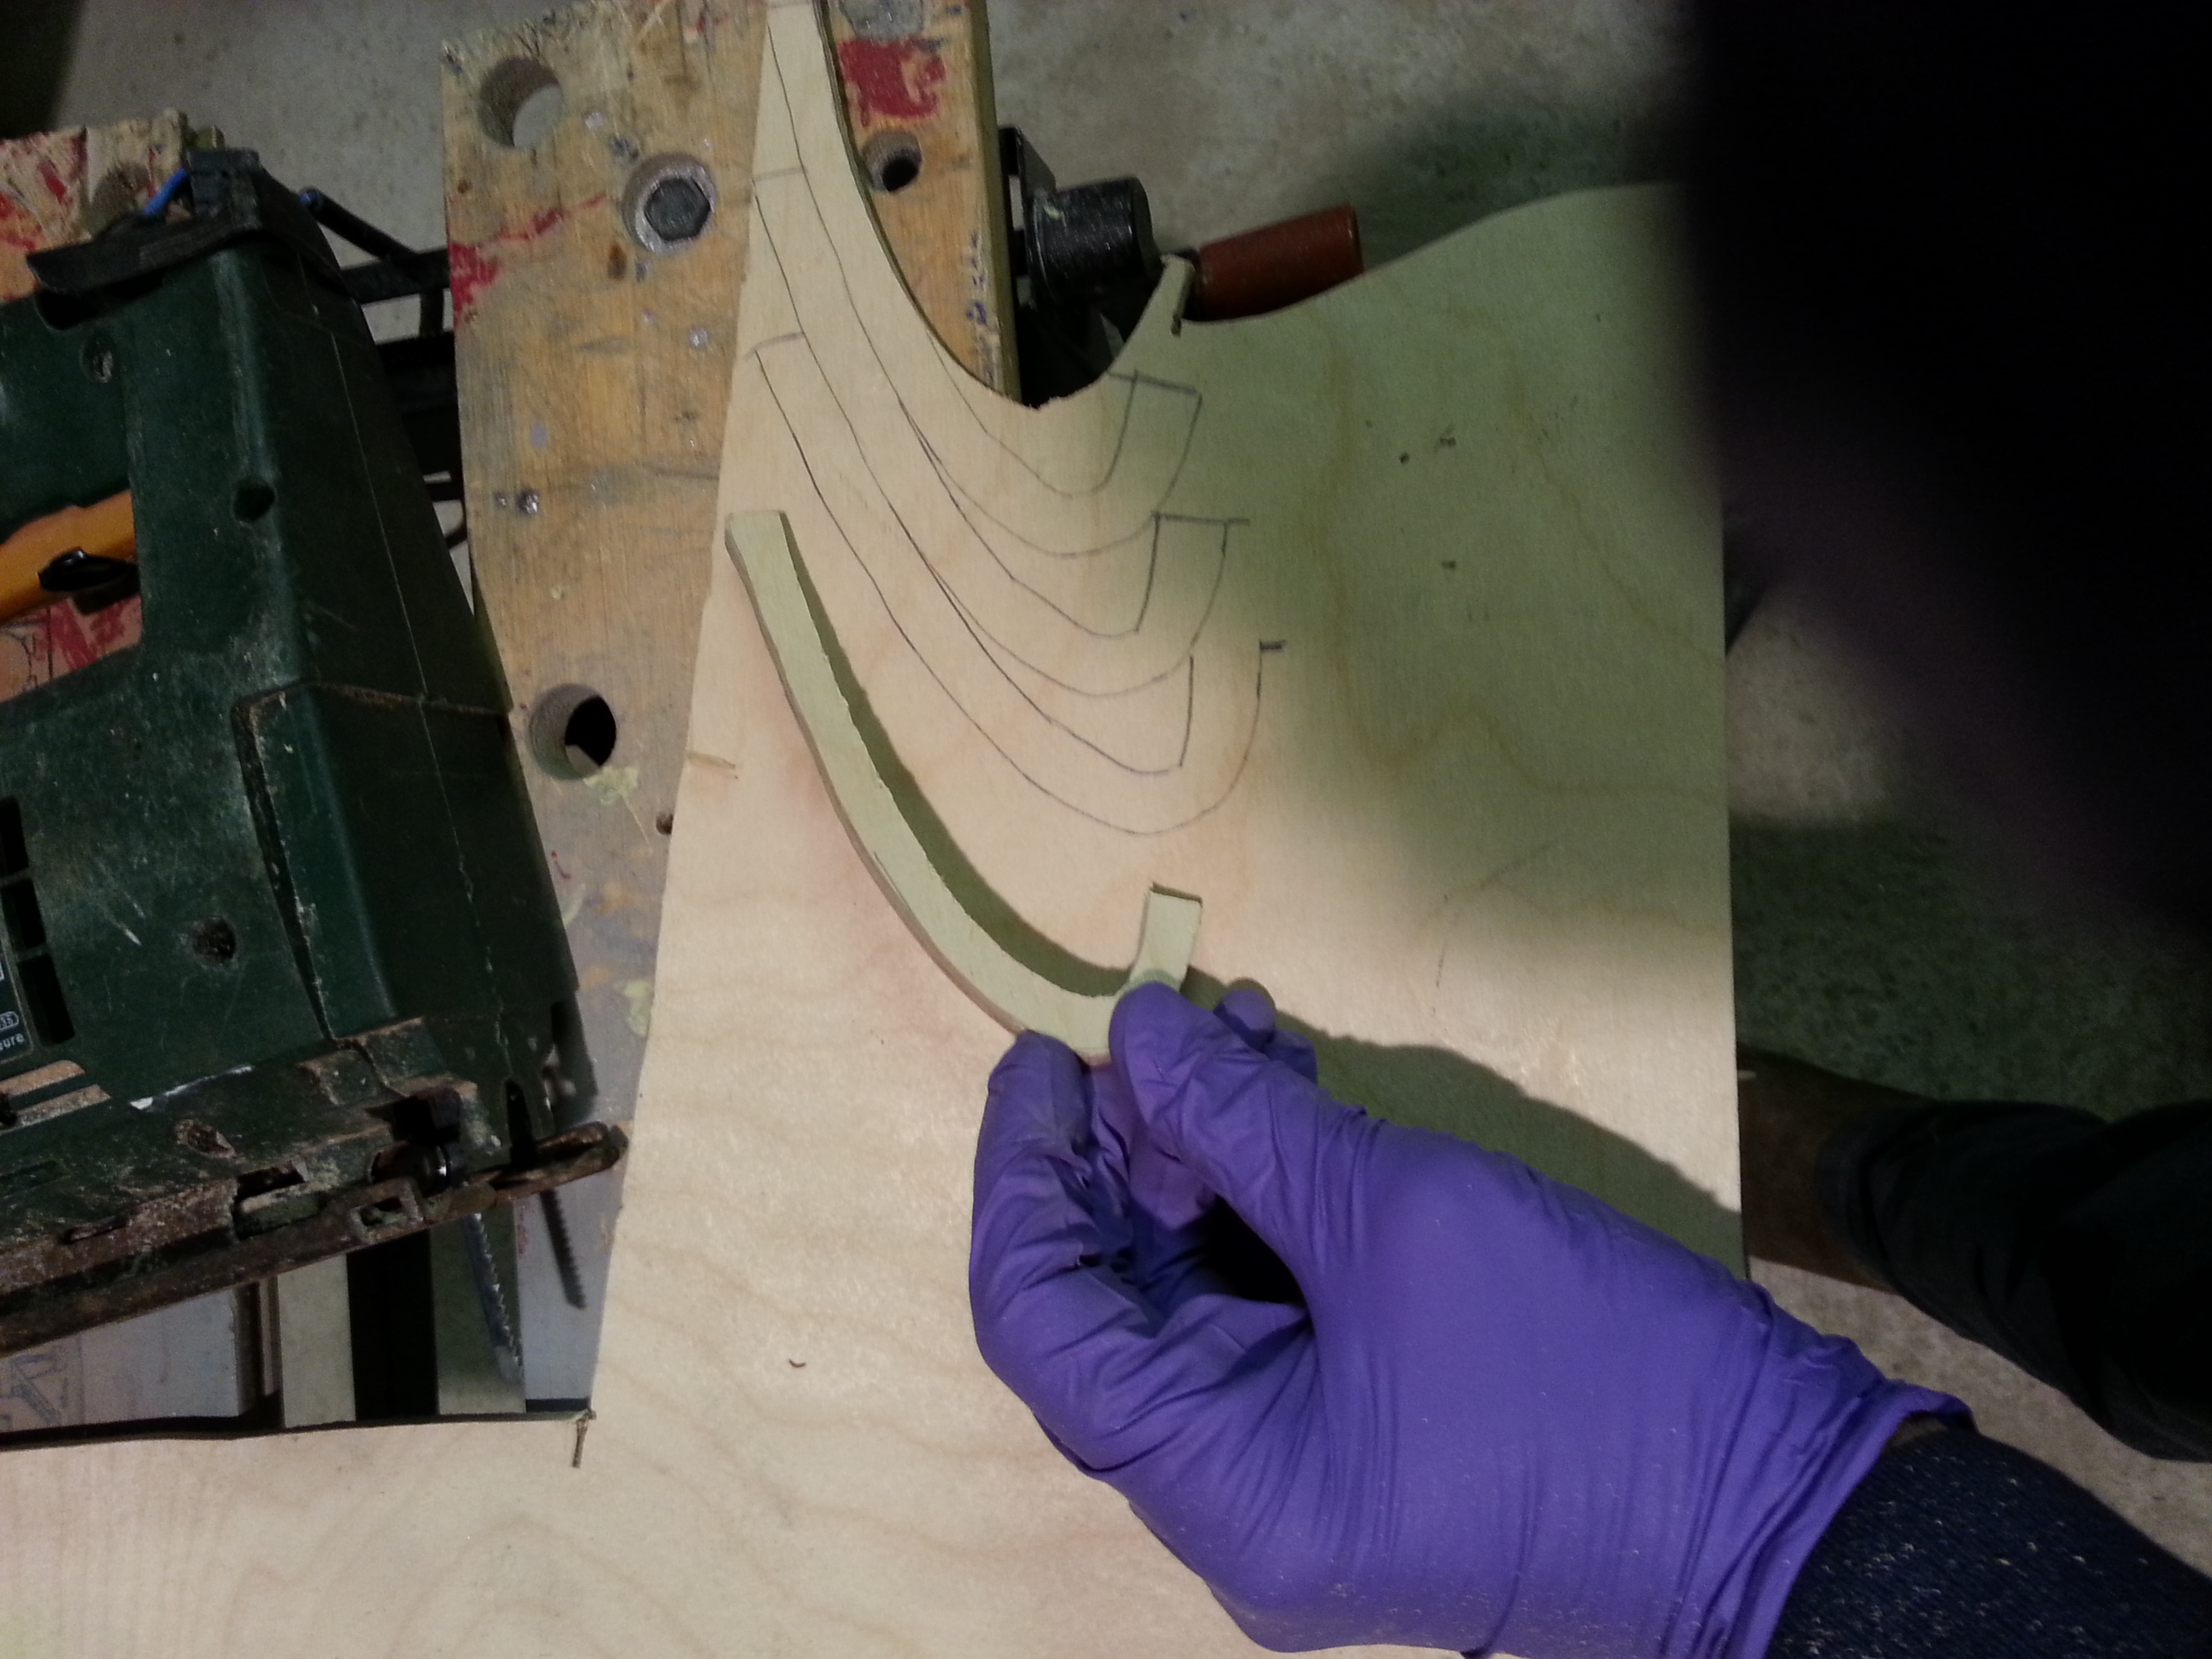
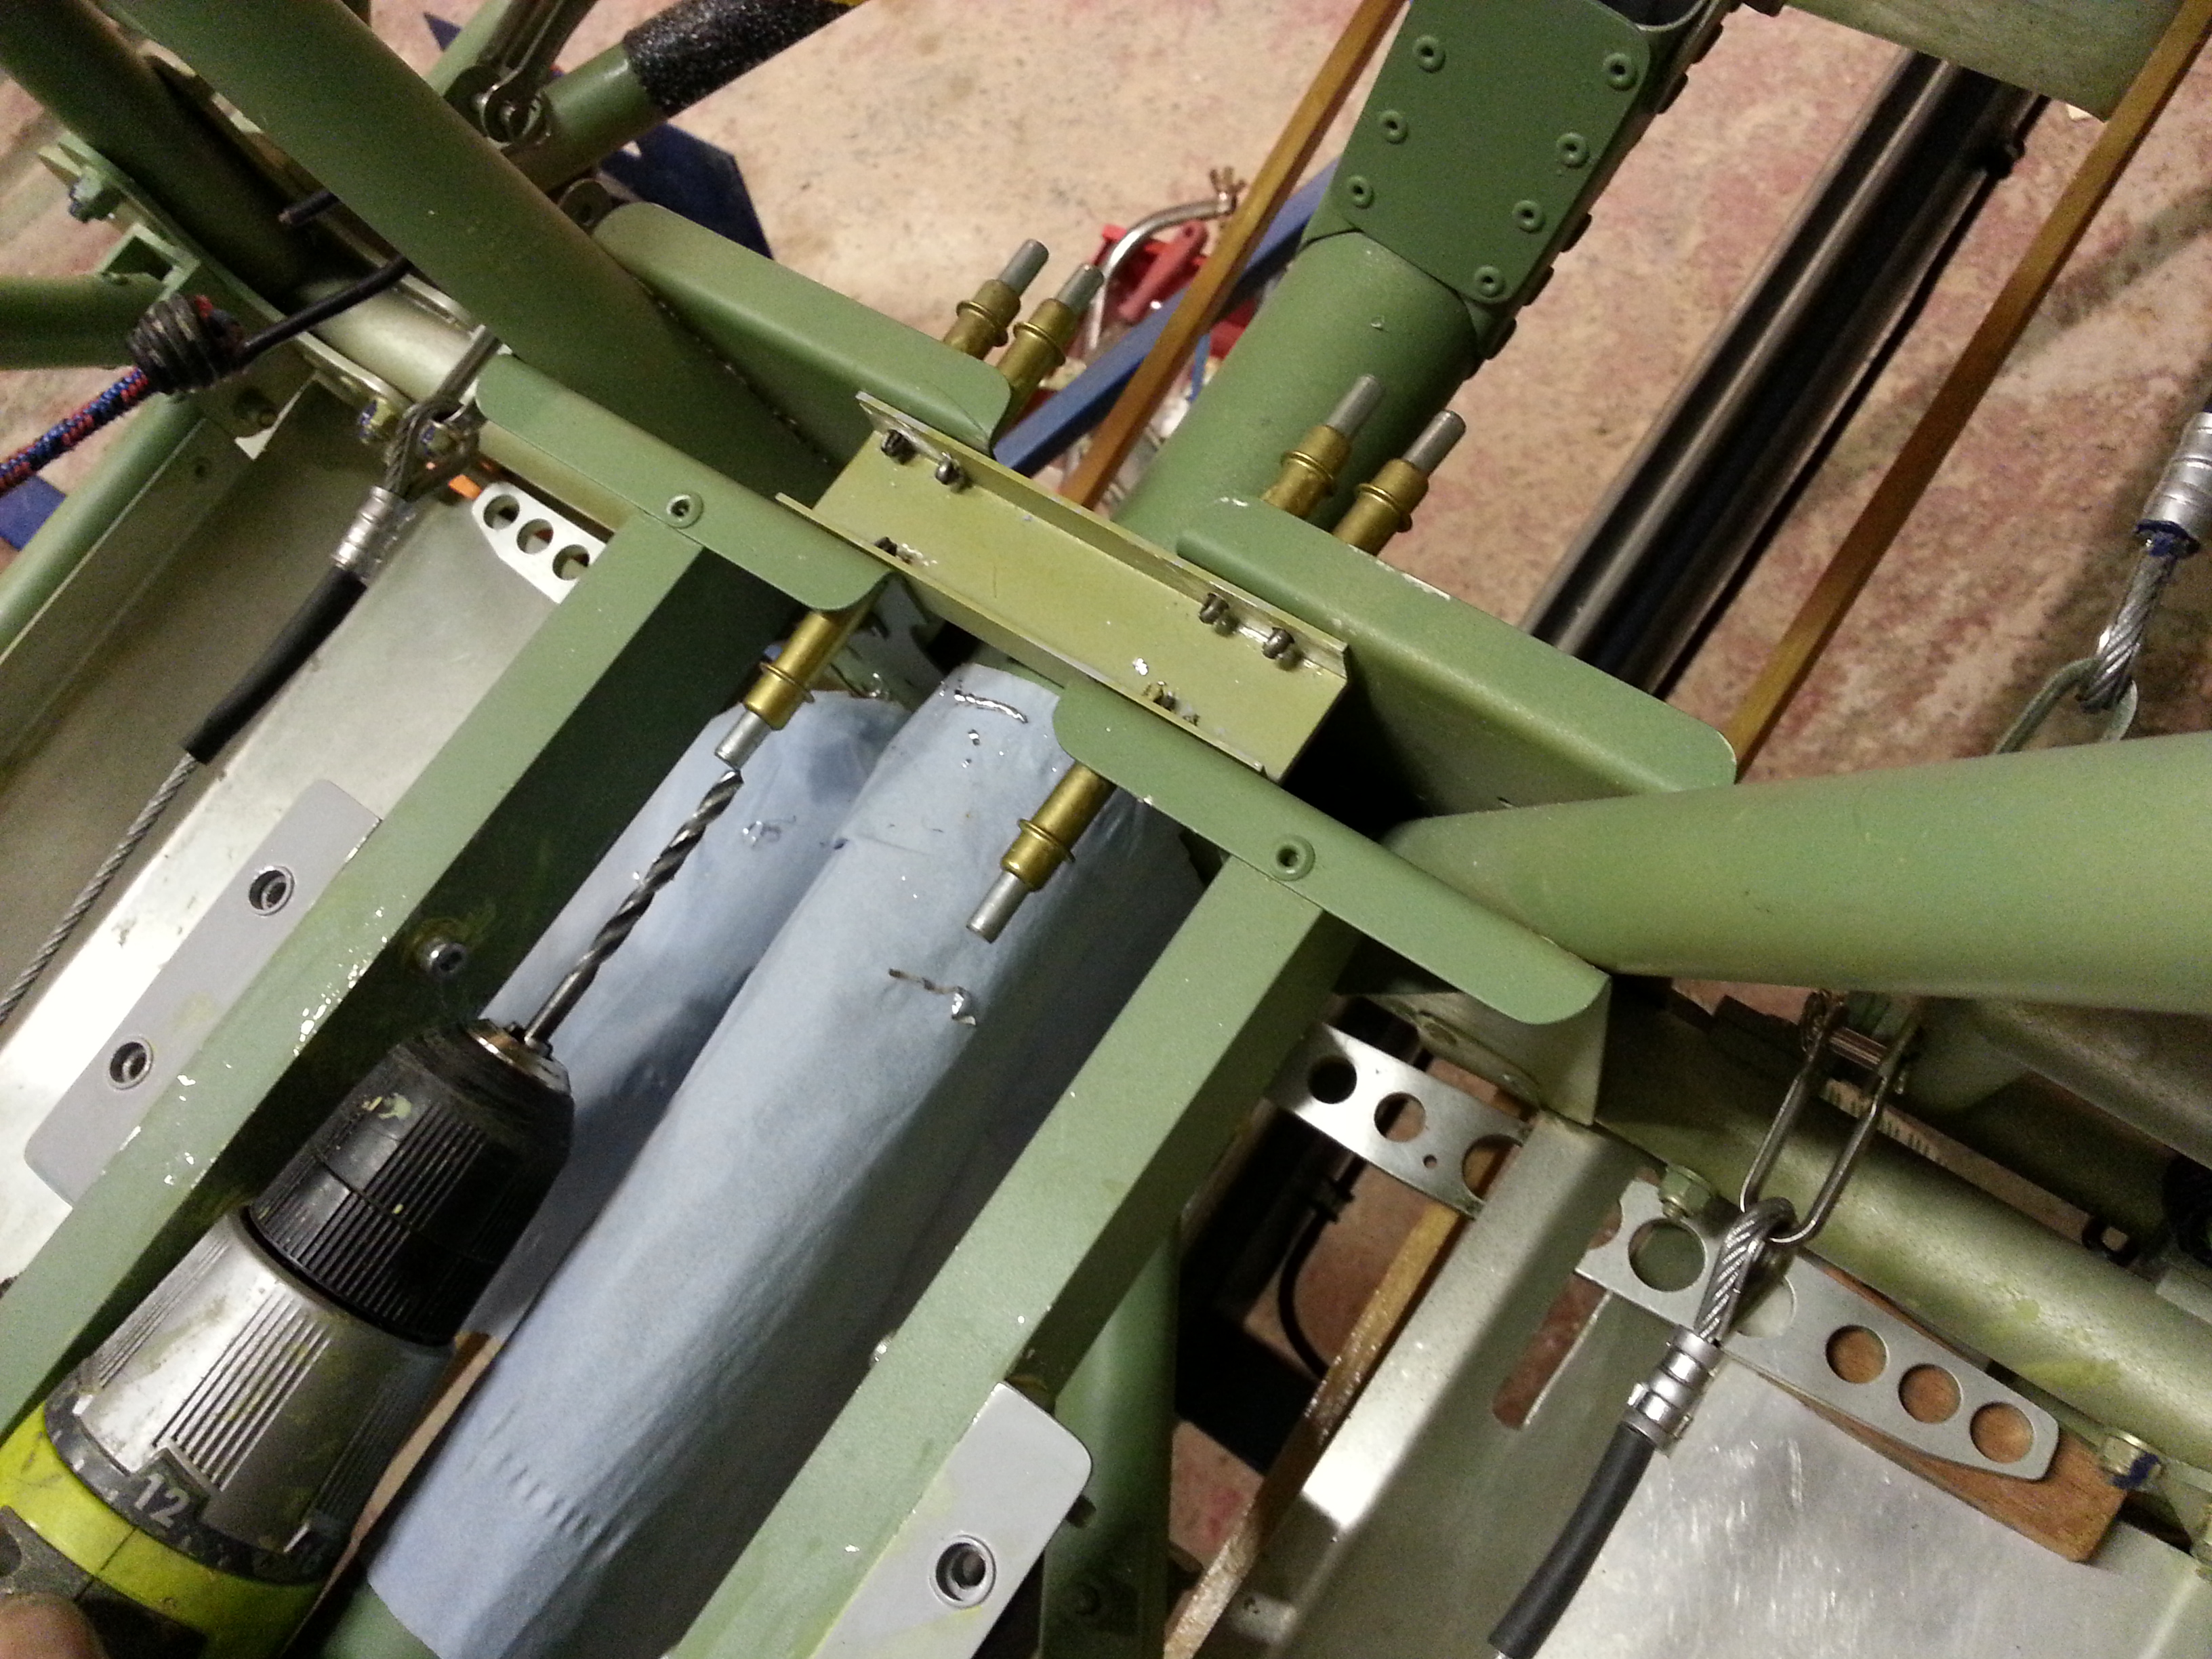
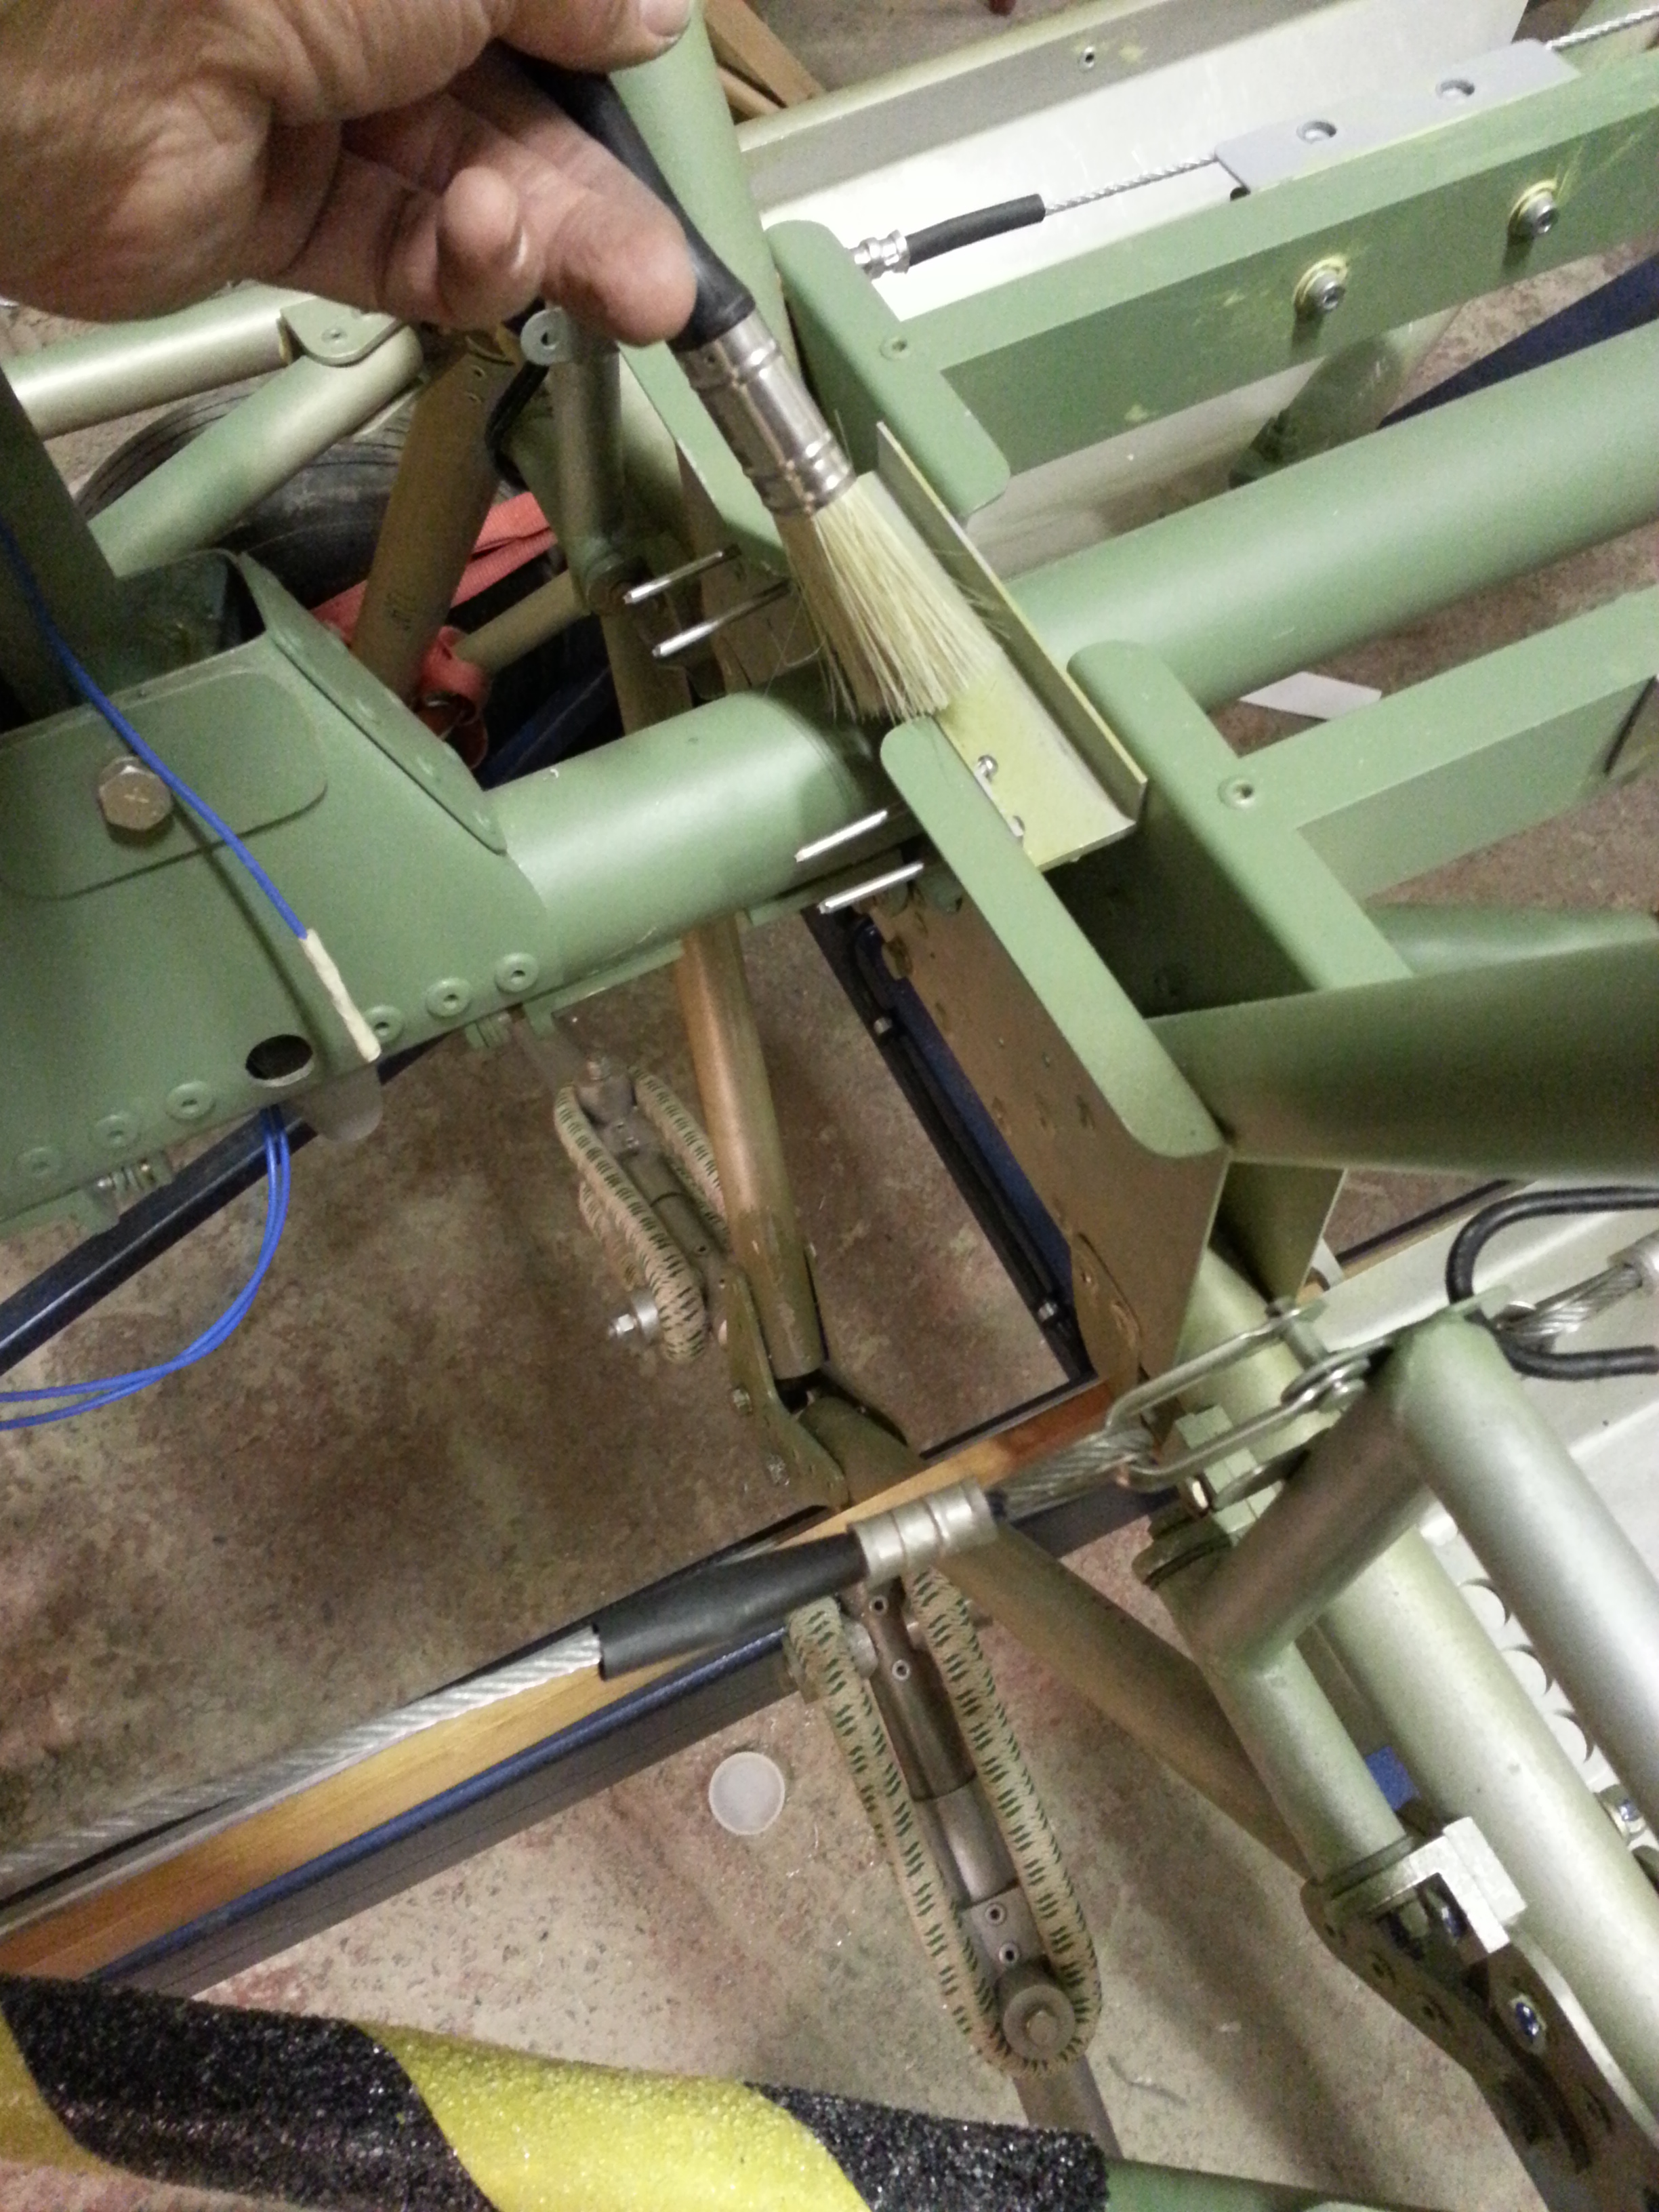
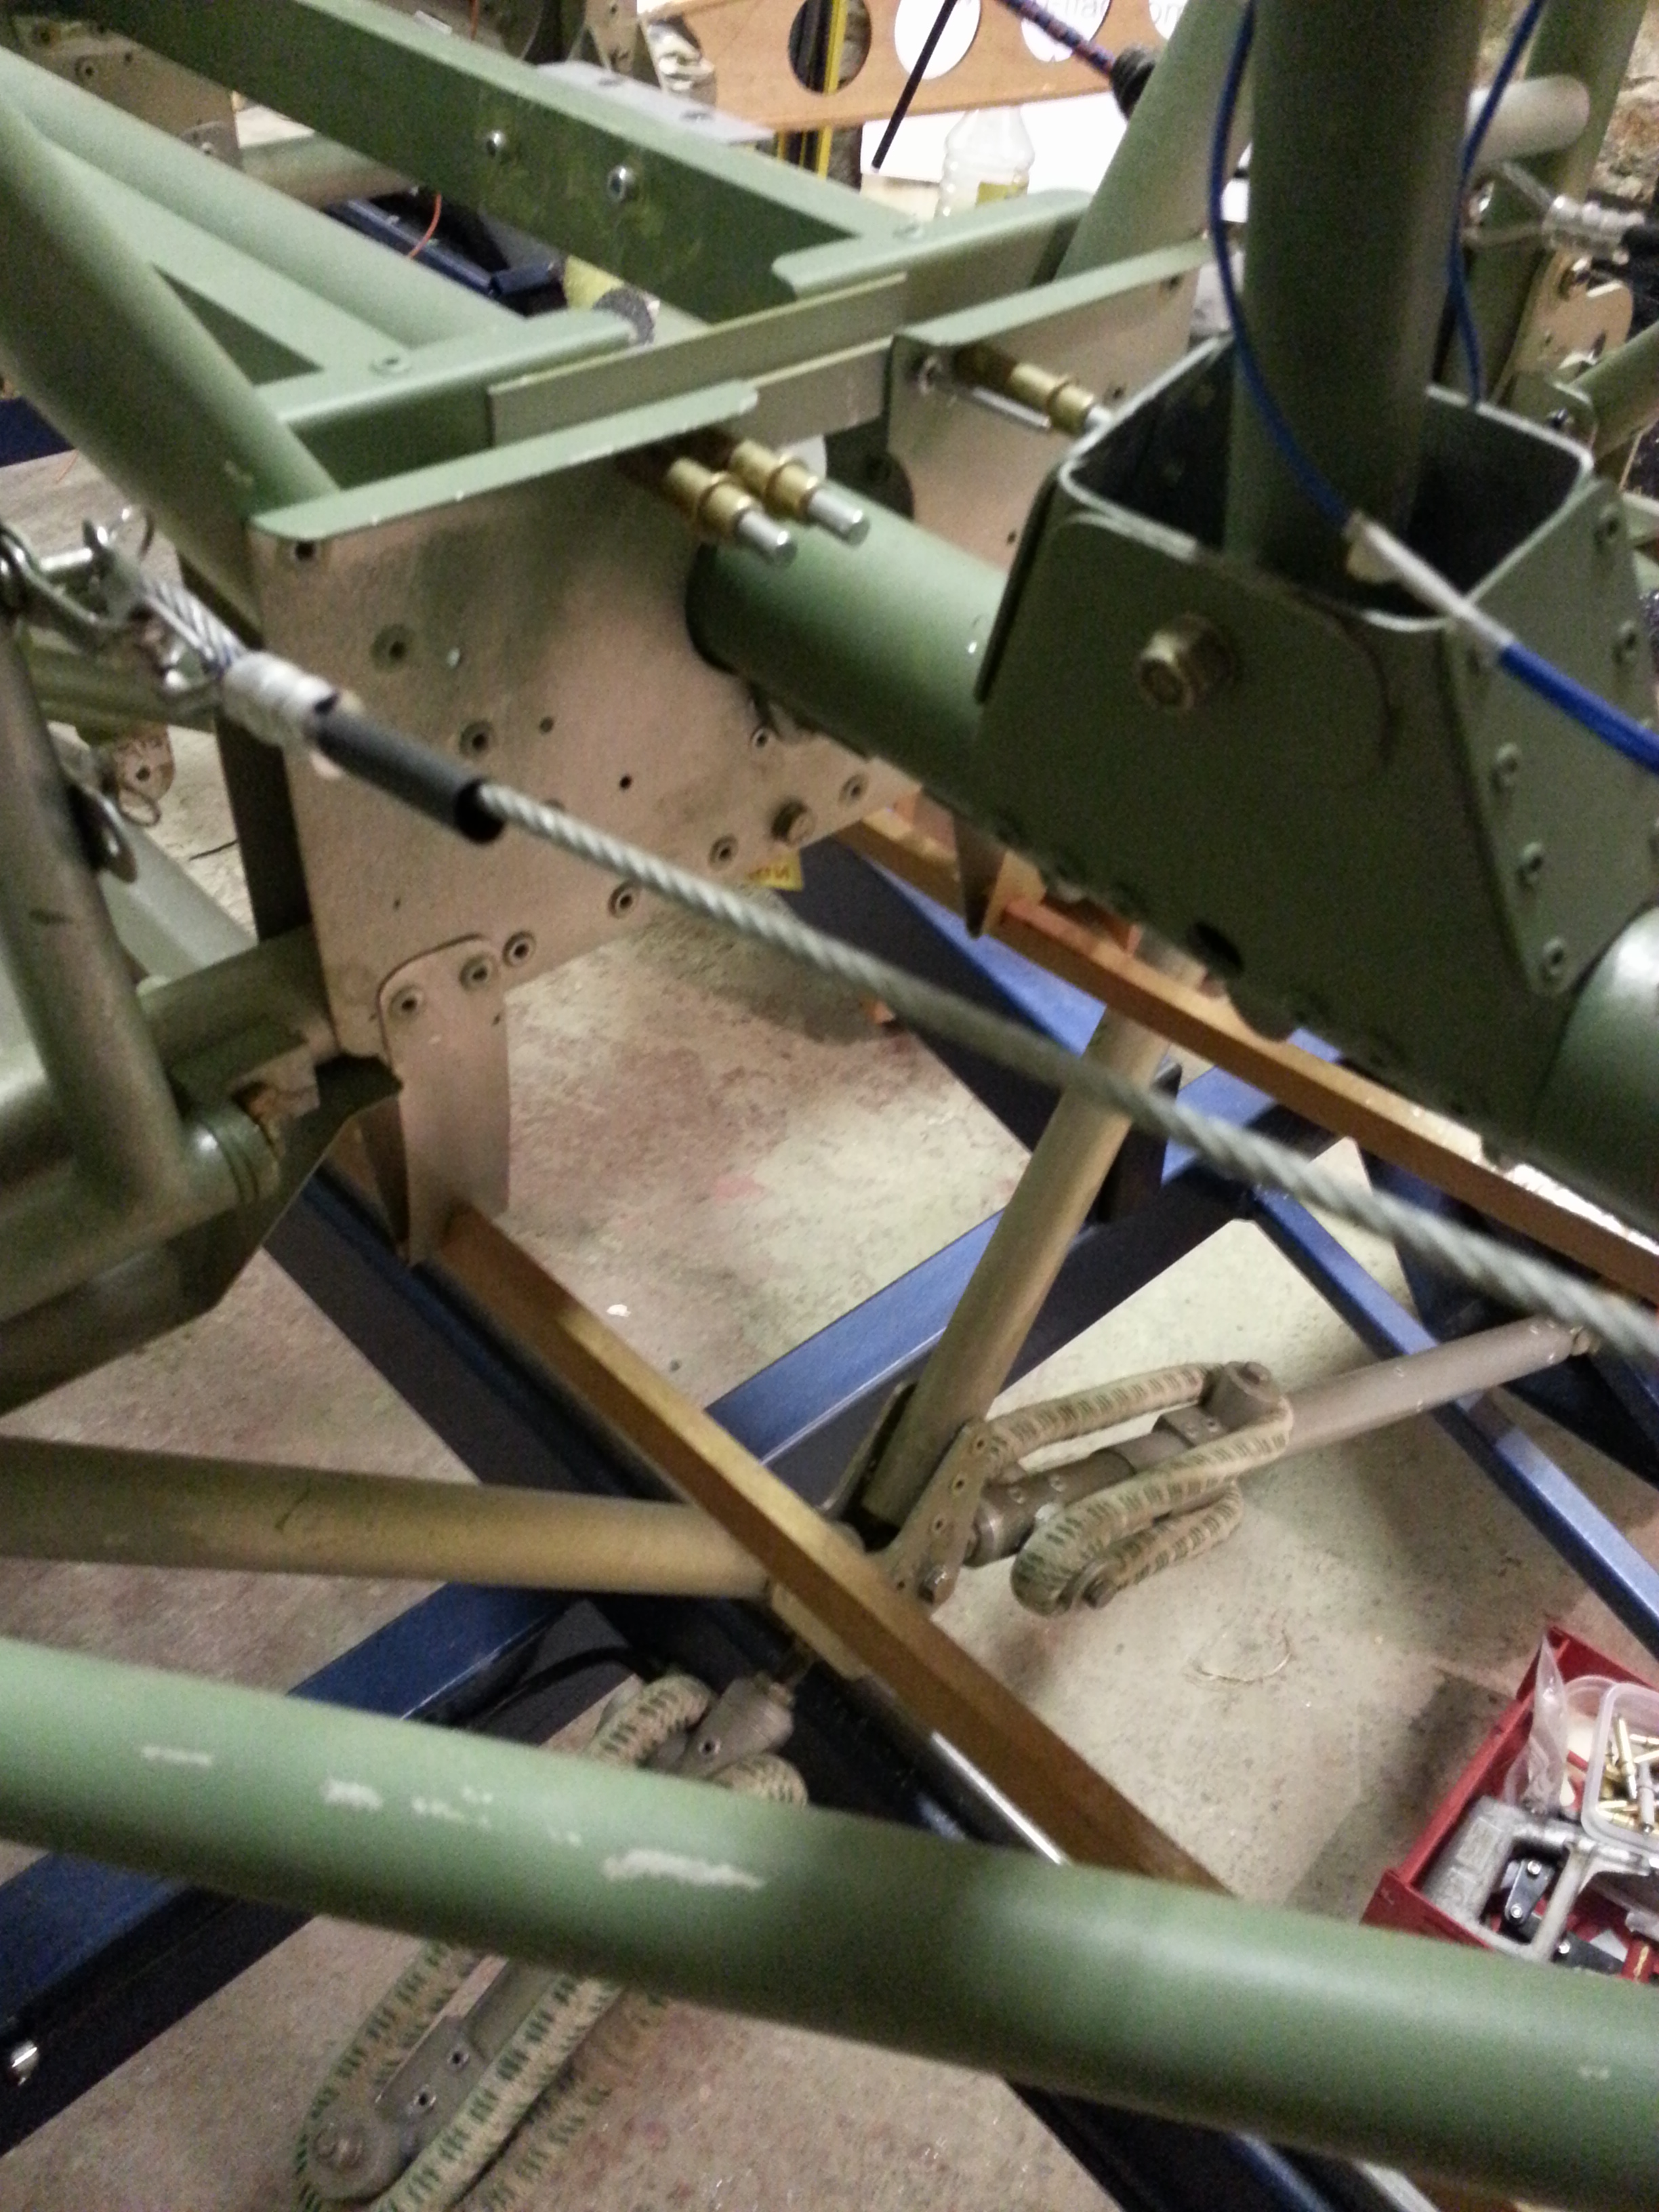
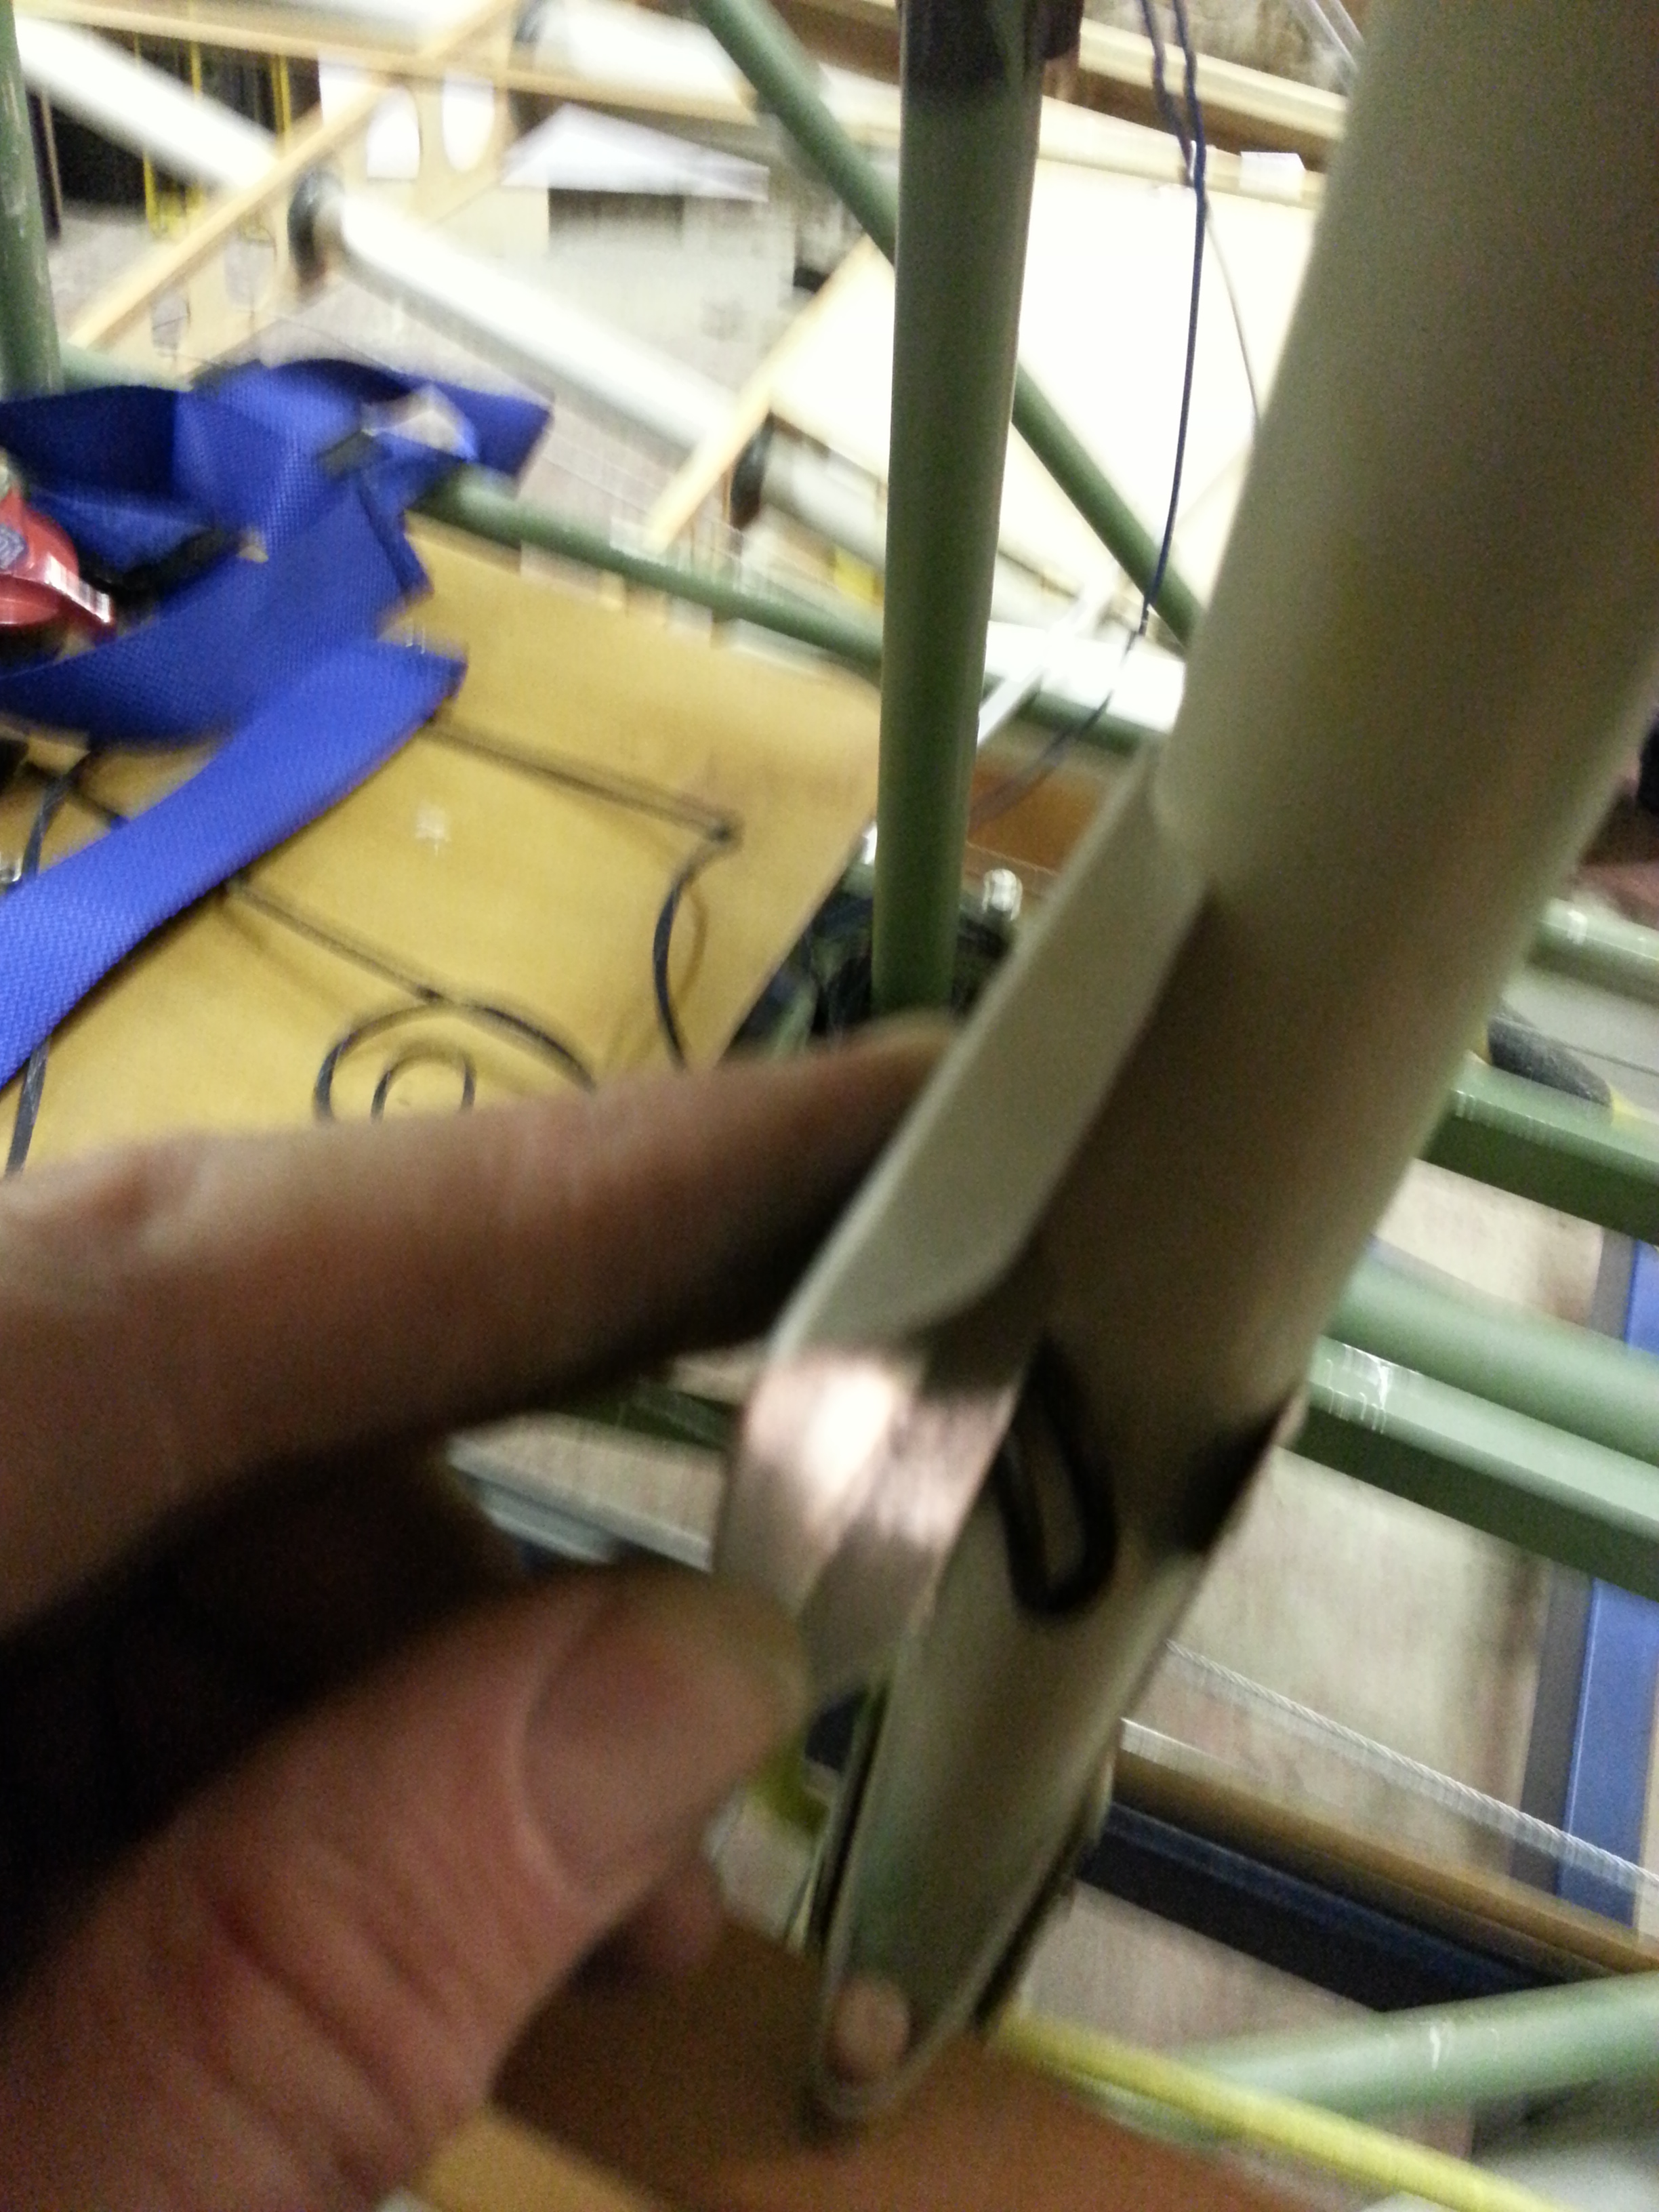
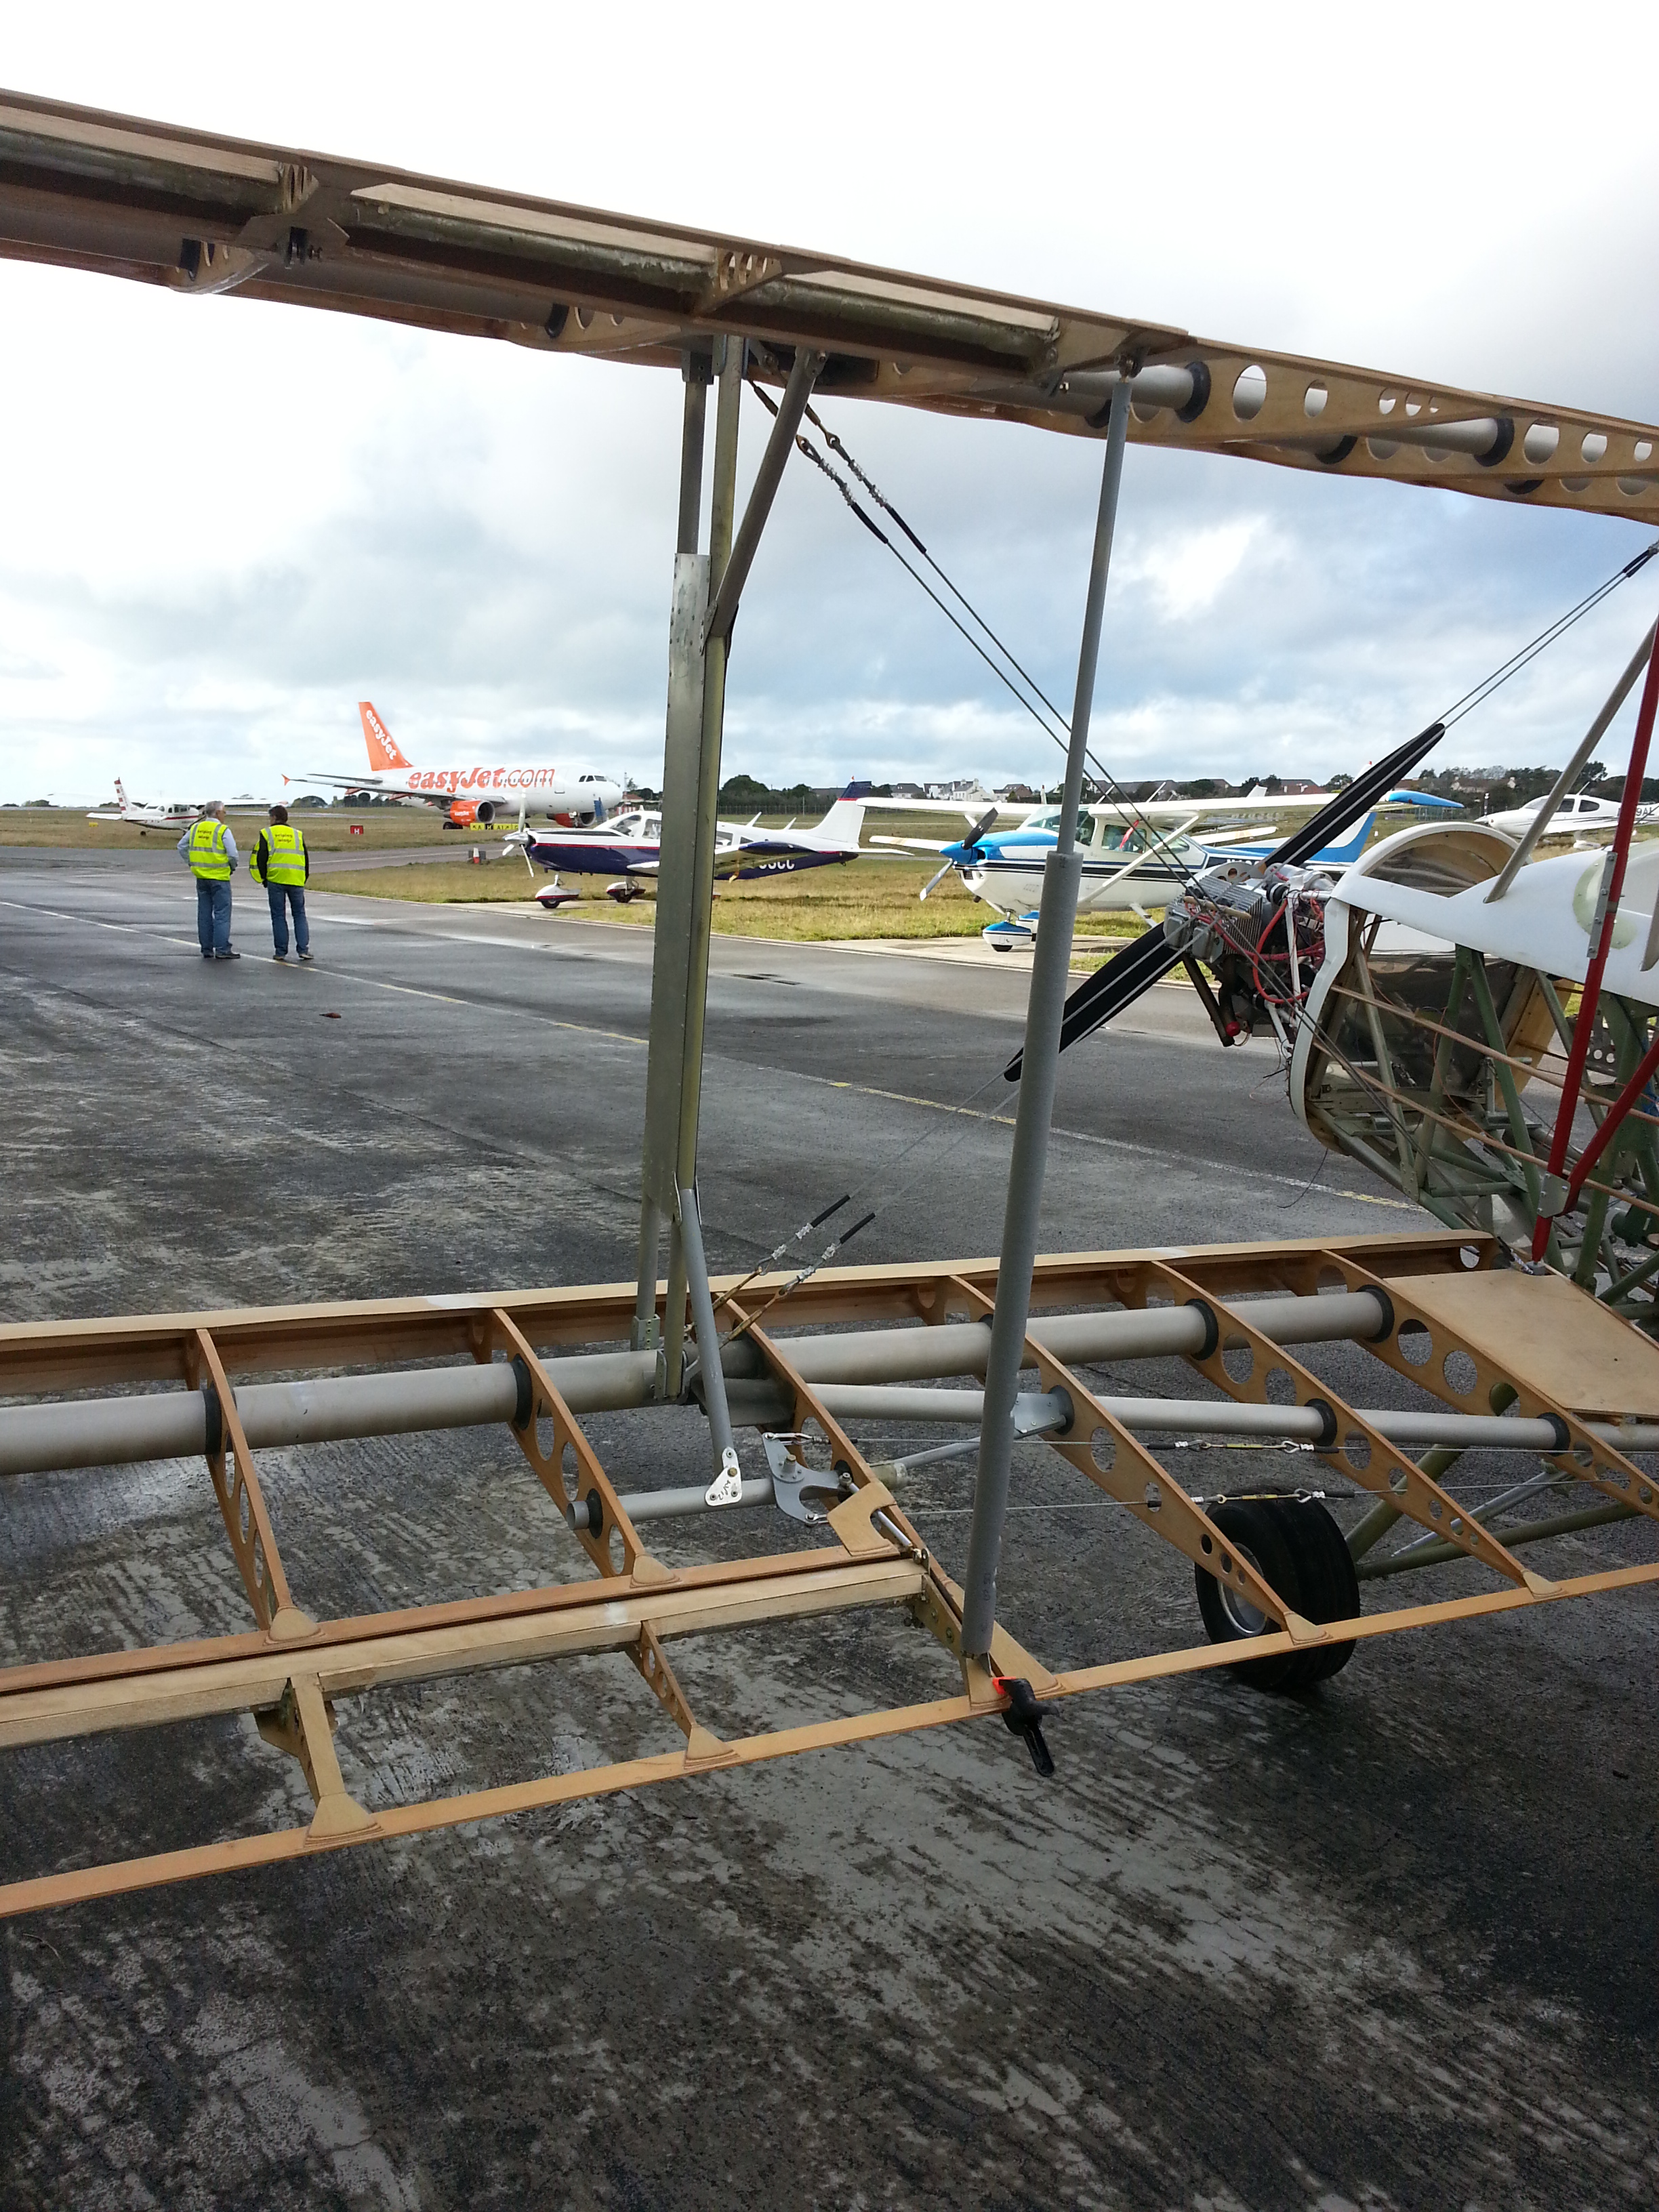
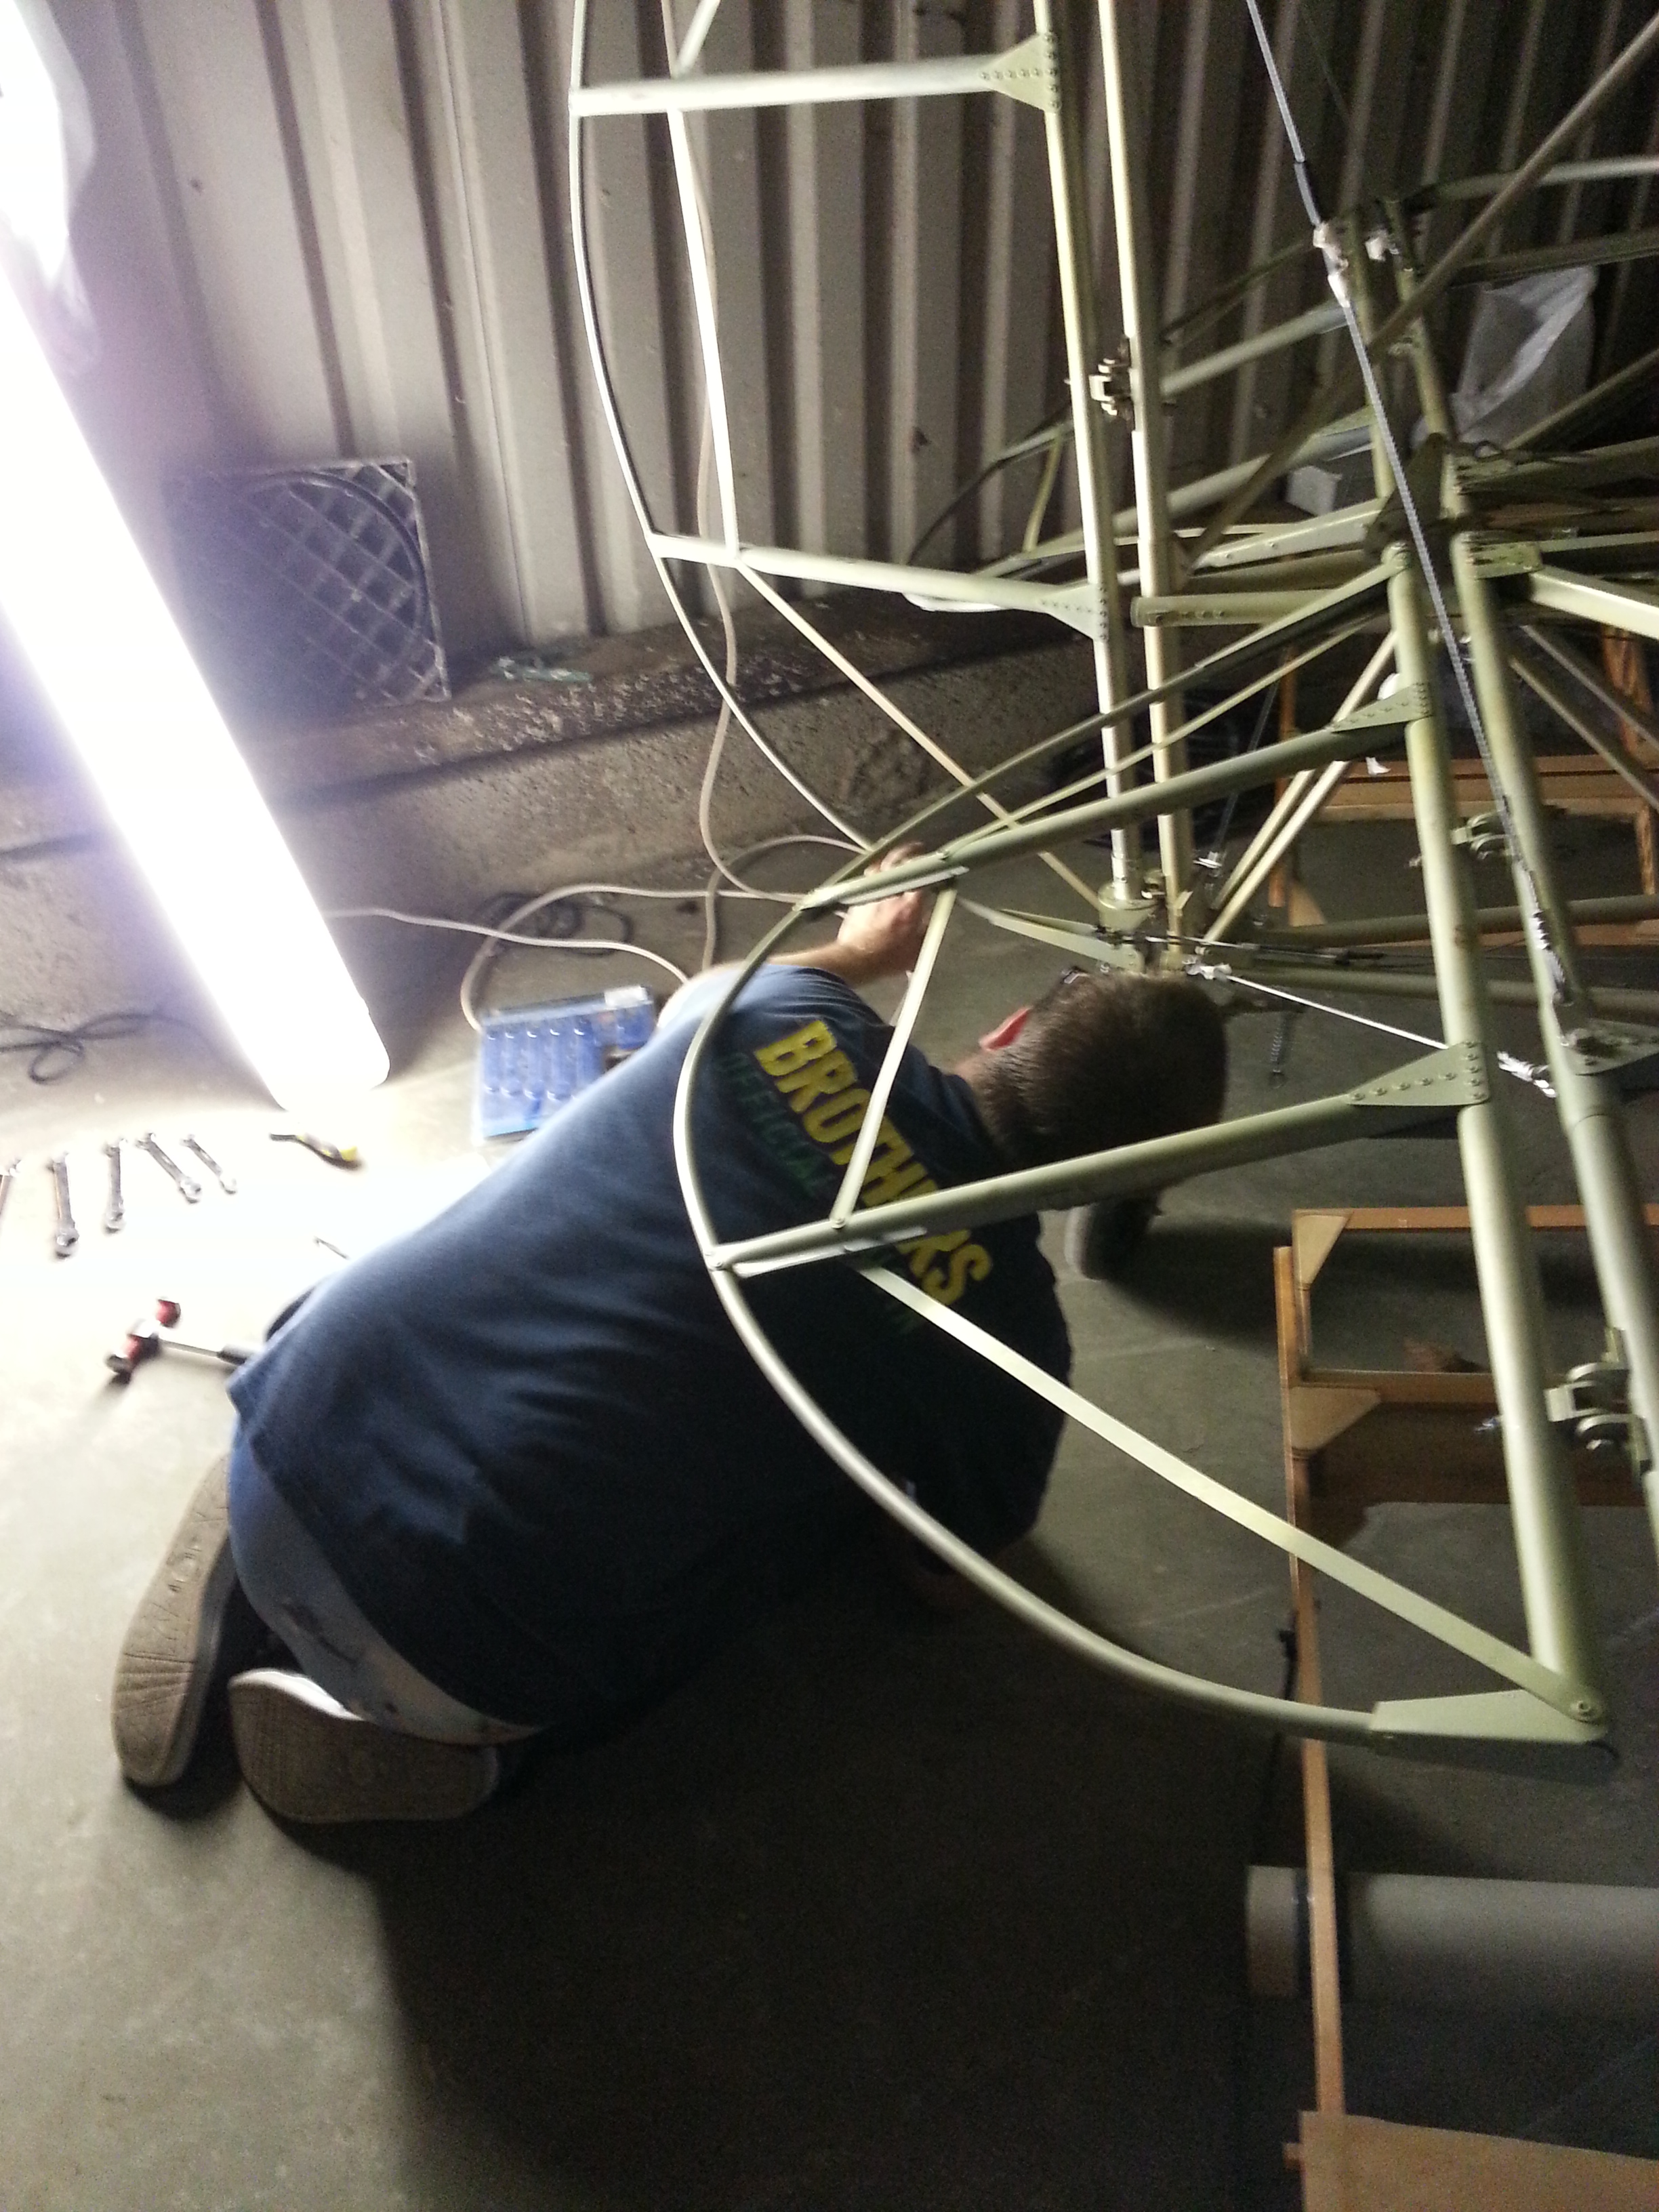
Big night last night – as I finally got around to connecting the rudder. The cables were set in the aircraft some time ago but I had left as I wanted to double check the splicing of the steerable tailwheel.

With the correct number of ferrules in place before swaging I set the rudder pedals in the neutral position and pulled the cable taught through its paxolin running guides.

20141026_204513

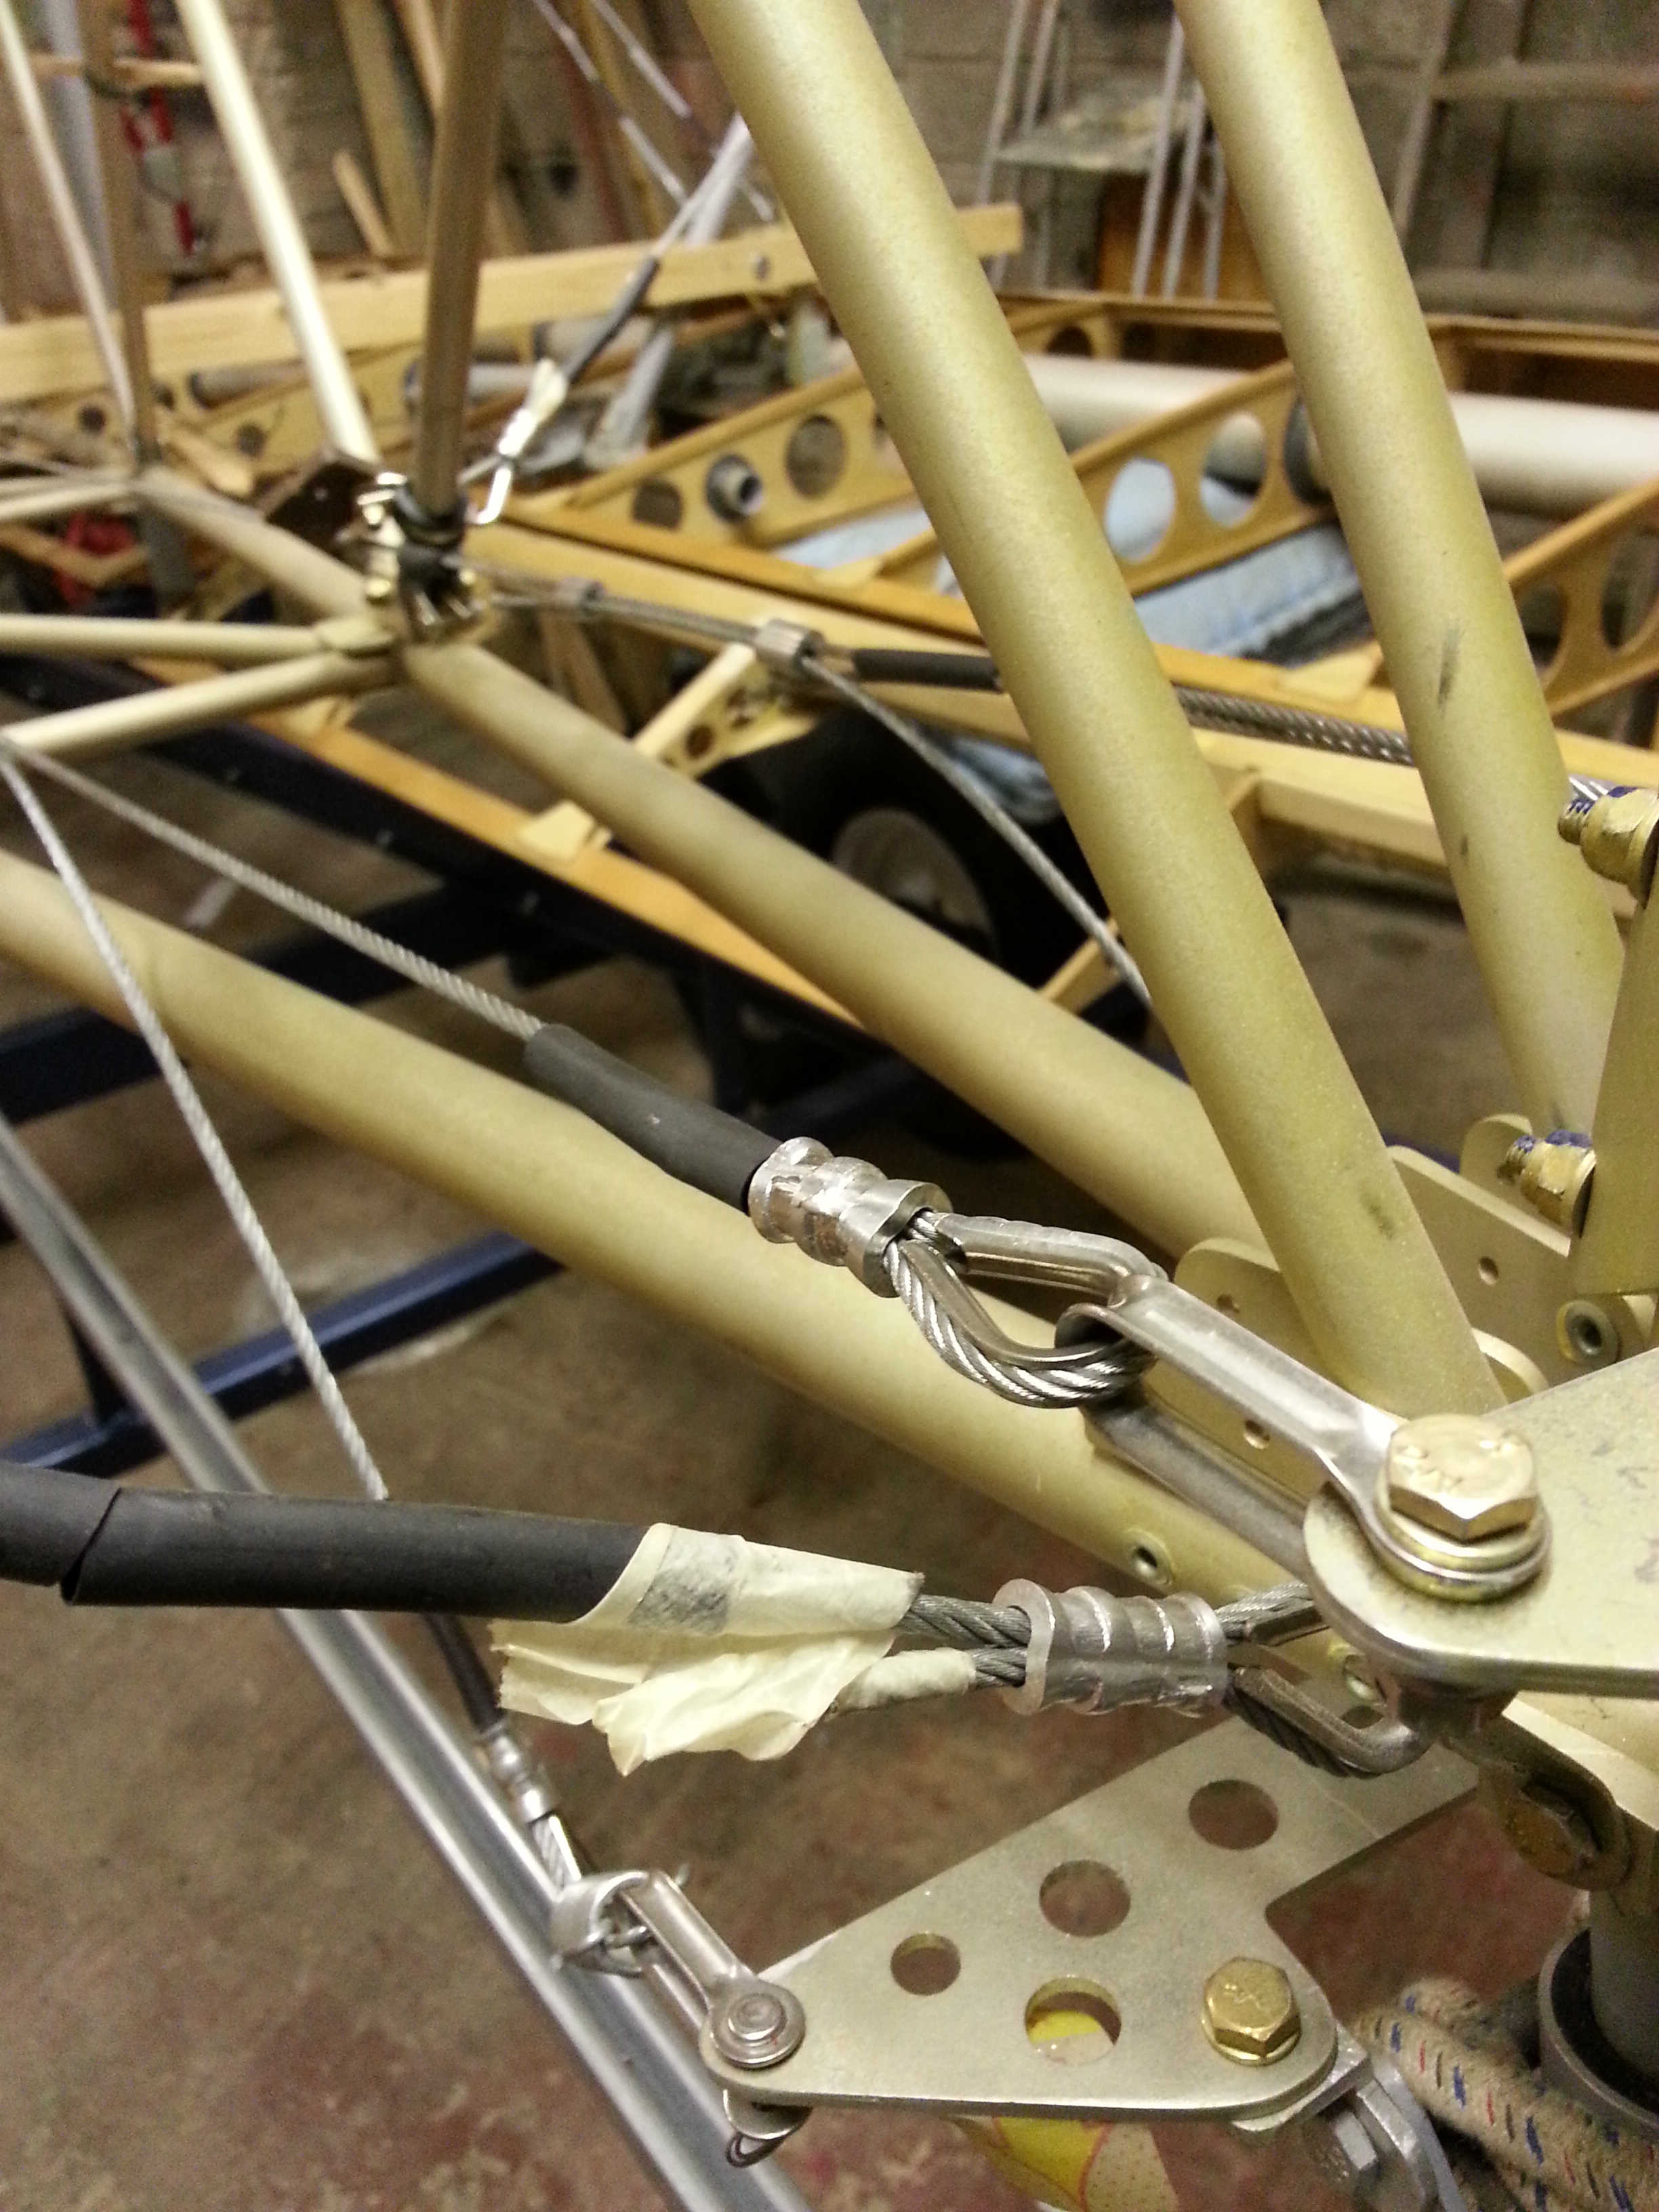
The operation of it was fairly smooth although I think it could move a little more freely. I suspect its the pedals that are a little tight, although I greased them I think the pinch bolt may be one turn to tight.

Starboard wing – rigging

This weekend I plan to get the ‘plane out of the barn – weather permitting and get her fully levelled outside with wings open. I have not been happy with the starboard wing rigging as the wing is sitting slightly low on the trailer when folded. Its a fraction of a degree but I cant seem to adjust with the rigging and having fought slackening and tightening, Mike, my engineer and I, realised that one of the rigging wires may be a fraction too short.

Ordered more cable and ferrules and plan to re-manufacture and new cable to help getting it right.

Wooden evening

Last night was a very blustery evening in Jersey with the remnants of the US hurricane giving us a F8 most of the day and F9 at some stages… cancelled my hop from Jersey to Guernsey and Cherbourg and then back … have been in the circuit at Guernsey before with a 50 knot headwind and boy is it slow .. then they tell you to turn downwind … once you top 150+ ground speed it makes the base leg turn an interesting juggle !

Anyway, last night was a predominantly wooden evening – getting all the material landing plates template and then onto the ply and then cut out and sanded. Becks – our new temp assistant at work kindly did the cutting out of the templates for me – takes a nice steady hand – thanks Becks !

20141021_201141  20141021_212449

All marked onto the 1.5 mm ply and cut, trimmed and sanded. Just need my 1/2″ balsa packing to arrive then I can get onto the fuselage. I also created 8 leading edge gussets for the wings (root and tip) from 6mm ply. This is in readiness for the aluminium root fairing that will eventually cover most of this area.

20141021_215507  20141021_214122

20141021_222529

Part of the problem, living on an island .. you cant get balsa ! – shipping that massively heavy weight of 4 lengths of 4″ wide x 36″ (cost of wood £9) .. cost of shipping £30 !! .. Cost of an Easyjet ticket to Southend – £29 …. the world has gone mad !

Anyway – shipped to my son in Oxford so hope to get a sensible shipping cost and the wood shortly.

Torque tube bracing bracket

One thing that has been outstanding for a while , and I cant really rivet in until my next inspection has been signed off is the torque capping brace brackets.

You can see that I added a piece of covering paper roll to catch as much of the swarfe as possible and then, as my engineer guru noted one time, a brush on hand to get rid of the bits as soon as you have drilled the part. Not good to have these bits floating around control fittings.

20141012_221457 20141012_220733


These are quite awkward to drill with everything else in situ and you need to make sure its seated in a suitable position to allow the rivets to come through at the right level.

20141012_220938

These have been cleco’d for now and will be M62 riveted once sign off is achieved. Another step nearer


Propellor Bolts

Checked the Jabiru manual and realised my temporary fir of prop bolts were the wrong way around ie hex head pushed in from the front leaving the nylocs on the rear !

The challenge was then to work out how I could possibly get the long prop bolt through from behind …. after a few minutes checking I realised that thy must have designed it such that there is one place ONLY that this is feasible … just above the oil filter …

20141012_193729

Very slowly turning the prop to reveal each successive hole (the engine still only has delivery oil in it so need to be careful until we get some proper oil in)… on the 3rd bolt there was a huge pop as an upgoing piston pushed air out and one of the exhaust stack bungs travelled the full length of the barn !

Fuel cut off added

Following my visit to Norfolk and seeing their neat fuel cut off, I made up a bracket last night from offcuts from the footstep (got to go on soon when I work out how the covering will fix on later).

20141012_230520  20141012_224539
This simple neat arrangement lets you create a really positive fuel lock on fitting. Next step will be to check the valve install is smooth and operates in the correct sense (ie open is open !) then connect up my new steel braided hose through the firewall.

There are a few parts to the fuel system that are new to me .. the bowl, gascolator etc …. but have identified where most parts will locate. Need to get my broken rivnut mandril back and get more holes through the firewall.

20141012_234154

Jersey Aero Club – Helping Hands day – Saturday 4th October

Every year Jersey Aero club hold a charity day for children to come and visit the aero club and, wether permitting, get near to and fly in a local aircraft around the island. All the pilots give up their time and ‘planes to do this and its a great success and such a bit hit with the kids.

I promised to take the Sherwood along so they got a chance to see some real wood and metal close too and they certainly seemed to enjoy the ‘touchability’ of the whole experience !

Airport firecrew were on hand to retrieve her when the end gate was locked on the Sunday preventing me from getting out !

20141005_105840  20141004_151405

20141005_162313

Yes, thats an Easyjet airbus in the background .. that s the sort of think I will e in the circuit with every day … let me see, wake turbulance gap of 6 miles between a 320 Airbus (Medium) and a Sherwood (Mightily light !)

Barn move and Pre Inspection updates

Carried on last night and finally vacated barn number 1 of nearly 2 yeasr worth of bits ! Trying to get organised in the new barn and plan to put wall mounted peg board to store all tools and bits.

Then, had no. 2 son on hand to help – Will.

He started checking all the rudder and elevator fittings to plan and spotted I had missed two small washers … the problem was they were on the back end of hinge supports (the top two) and although the nut end had a washer on , the head end didnt.

Because of the positioning – this meant the rudder had to come off. This came of pretty easily and we corrected my faux pas. My second tin of Duralac is getting a bit crustacious ! not sure I have much more need for more at this time.

20141002_204447   20141002_211714

With the ‘plane being out of the barn for 24 hours whilst the new barn concrete floor dries, working at night was a challenge but finished the washer repair/adds by 22:30

Fuel connection

The fuel connector I purchased has been temporarily strapped in to check length and ultimately fitting at each end. At one end (the Pilot) I need it securing and TLAC provide some parts to do this at the other end I need a clevis to form around the lever arm of the on/off valve.

On my last visit to TLAC I saw an amazing quality build going on and the neat little finishing touches are well worth cribbing here !

Instead of a fiddly securing bracket Alistair (I think that was his name – great guy !) had made a keyhole arrangemnet and slot to allow very positive On/Off valve control

20140705_110956   20140705_103253


20140705_103249

Thinking ahead …..

As well as thinking ahead to a single order for engine parts I was thinking about the covering. I am pretty set on the colour scheme which I think will look good and work with the design. But, I have always felt it a shame to cover the work that has gone into this, the TLAC cut ribs, the brackets, the gussest, the work that went into making sure that one 25mm dia tube blended into another even at some odd angle. I could easily mount the rudder on the wall at home … it is such a beautiful design and classic shape !

So ….

Looking to blend old (design) and new (technology), I aim to get suitable phtos of the key parts, tailplane, elevator, fin, rudder, body, wing ribs … use the cub yellow of the Oratex I will be getting as a backdrop and then get that made into part ‘wraps’. These can then be layered on top of the Oratex to show through and provide a slighly skeletal (but secure) view of exactly the parts underneath !

May leave one side of the ‘plane ‘normal’ ie just covered but say the port side could have these partial ‘see through’ views applied. Will be speaking to a local ‘wrapper’ shortly. Watch this space.

Blog at WordPress.com.

Up ↑