Jersey Aero Club – Helping Hands day – Saturday 4th October

Every year Jersey Aero club hold a charity day for children to come and visit the aero club and, wether permitting, get near to and fly in a local aircraft around the island. All the pilots give up their time and ‘planes to do this and its a great success and such a bit hit with the kids.

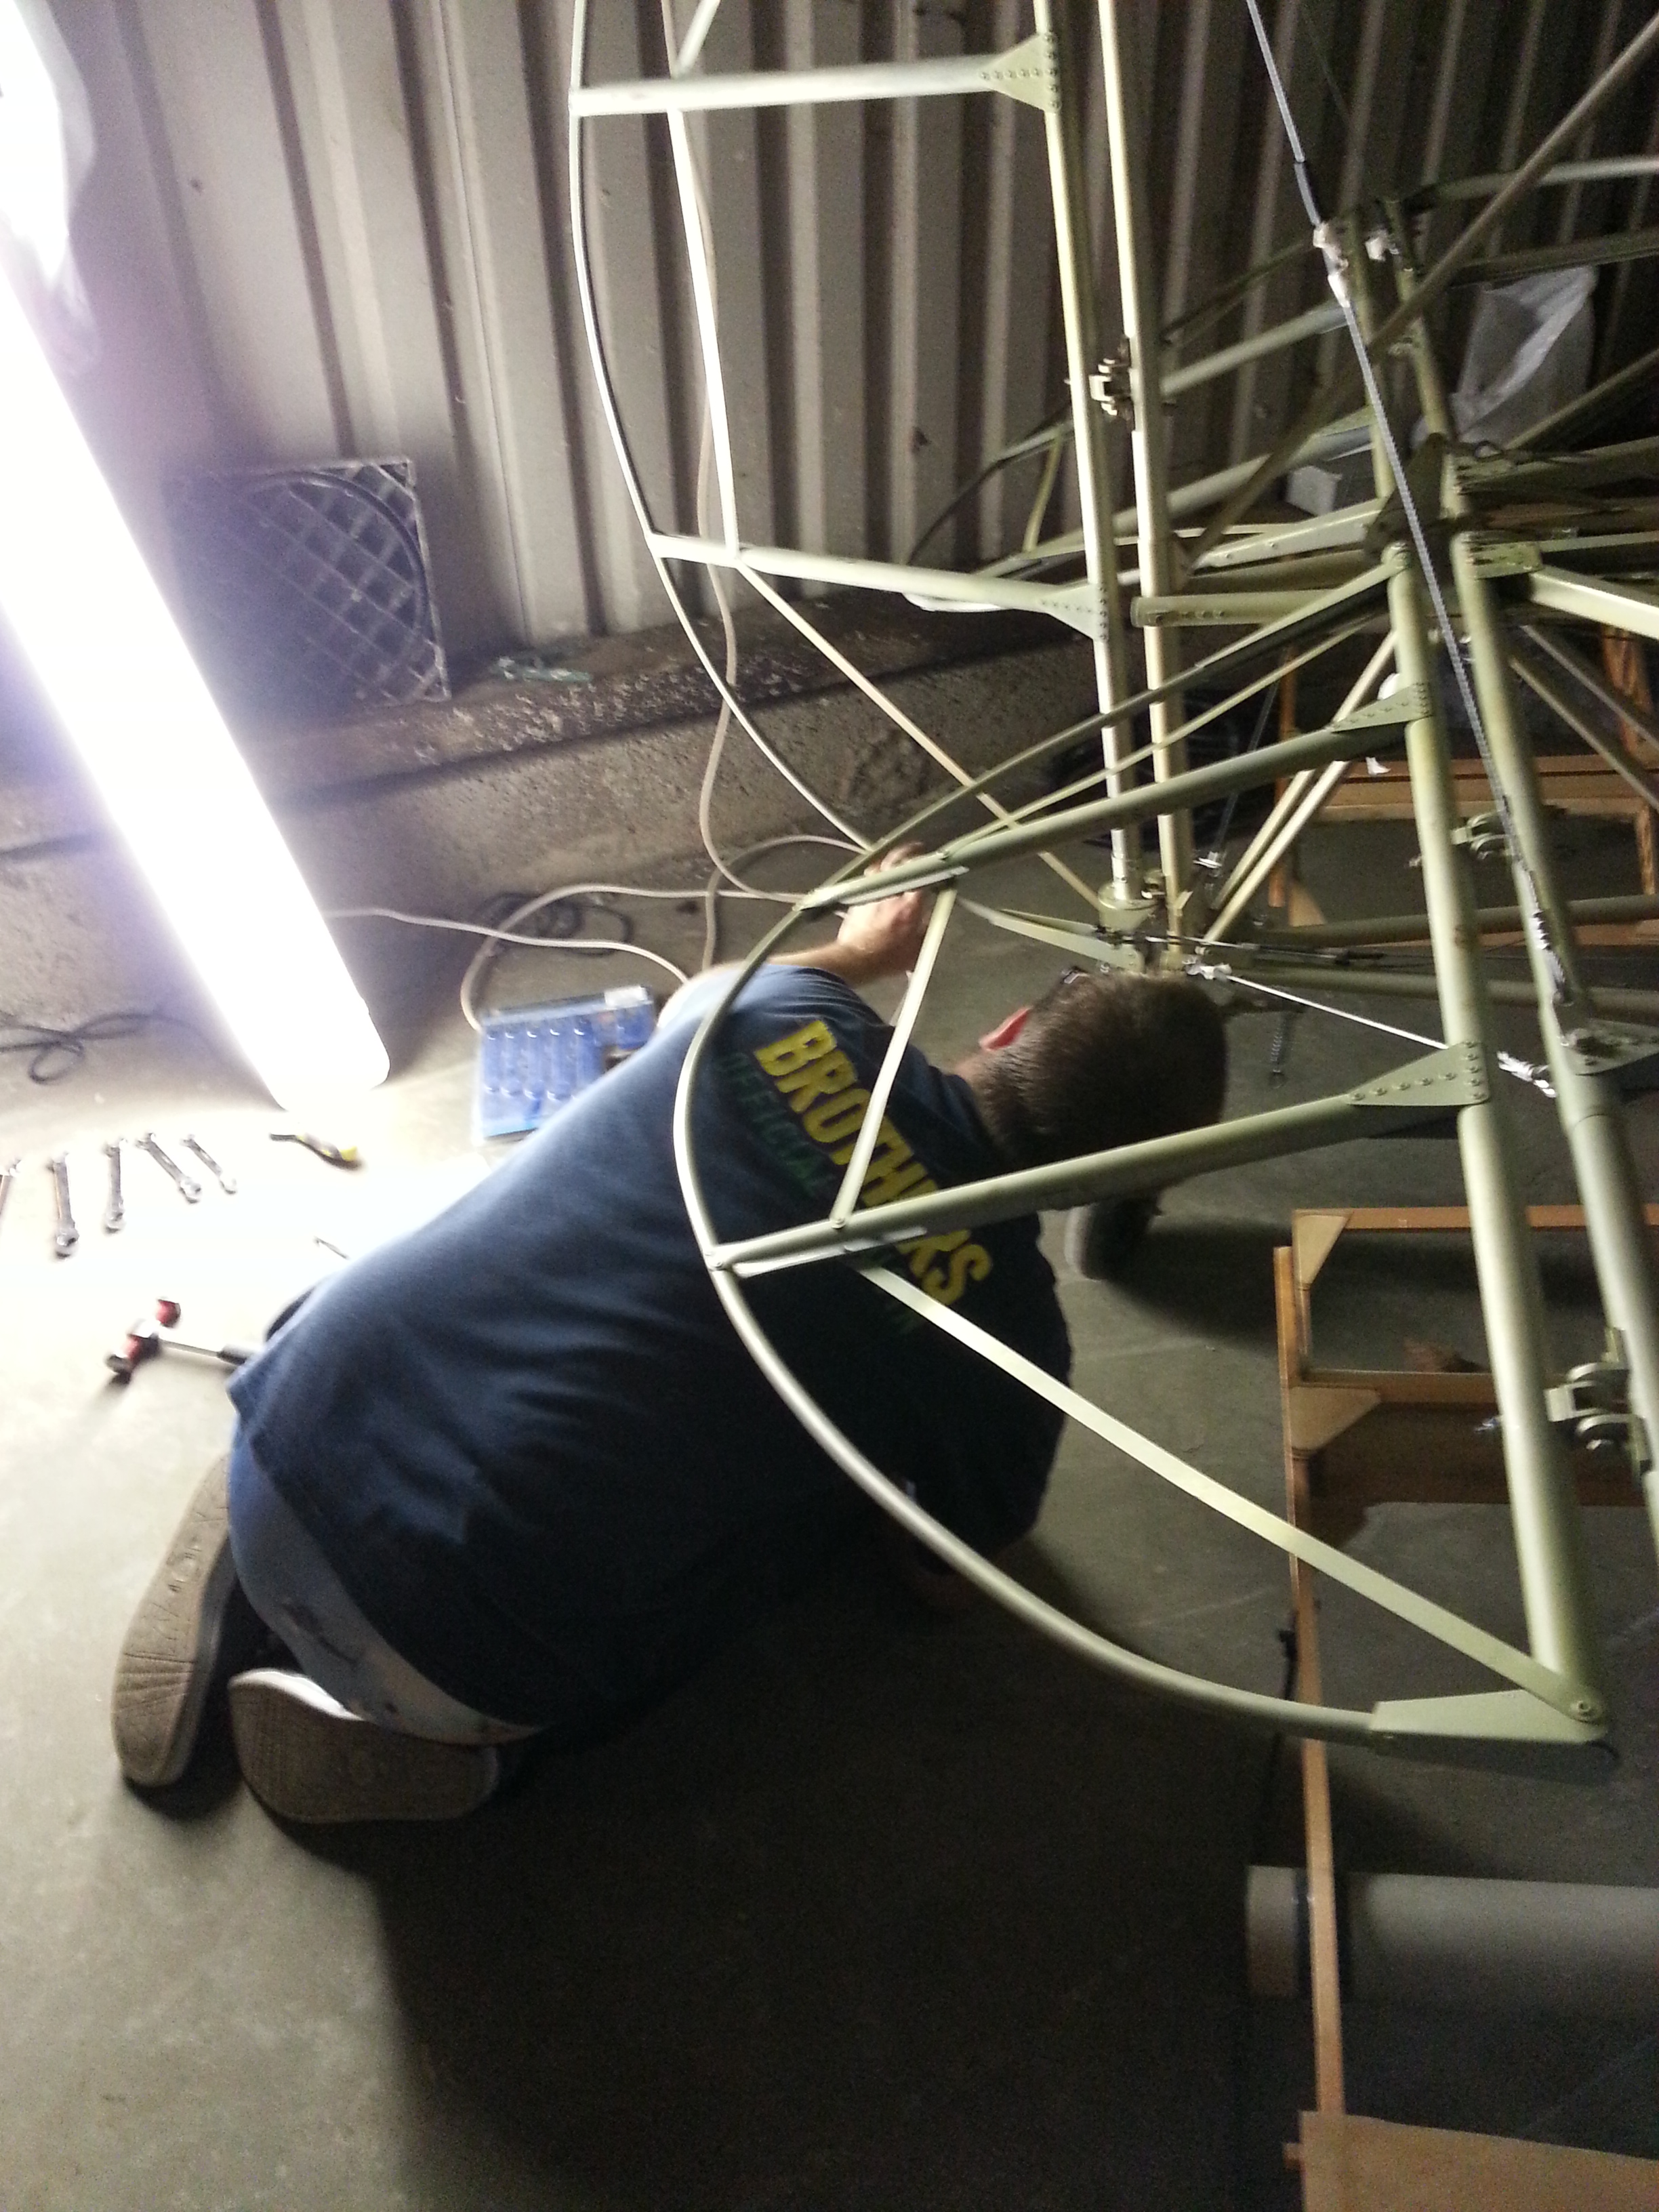
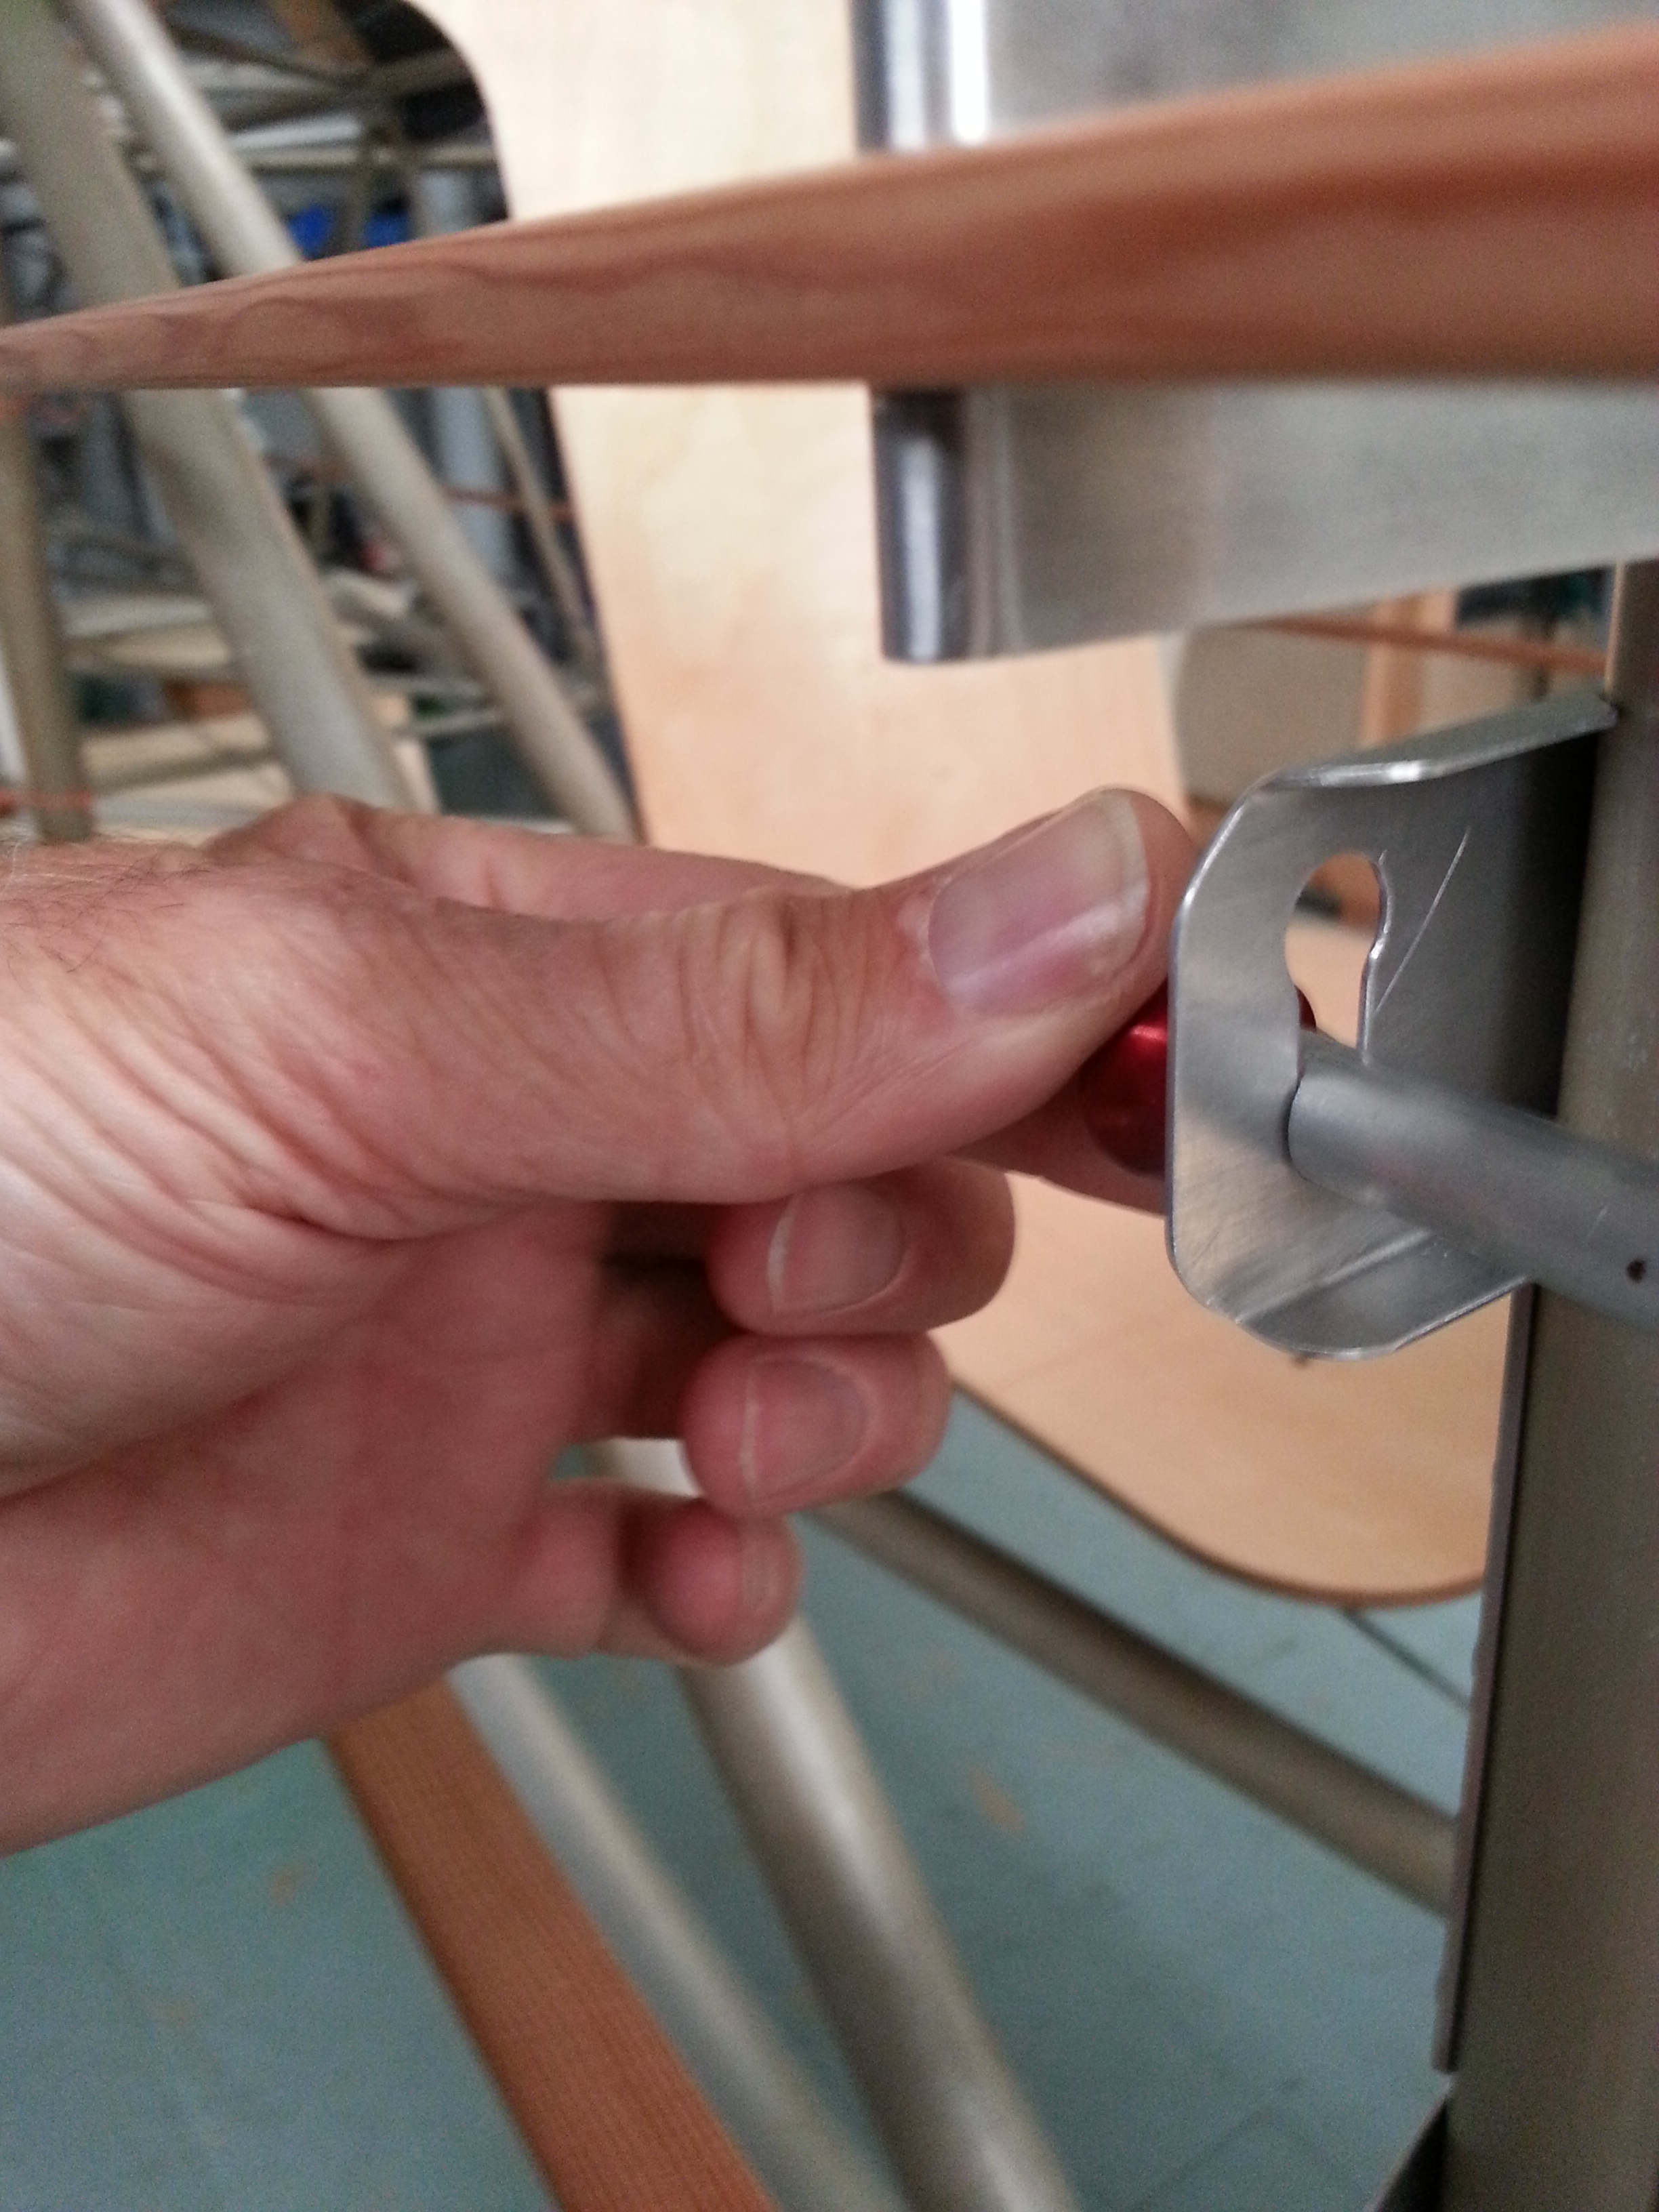
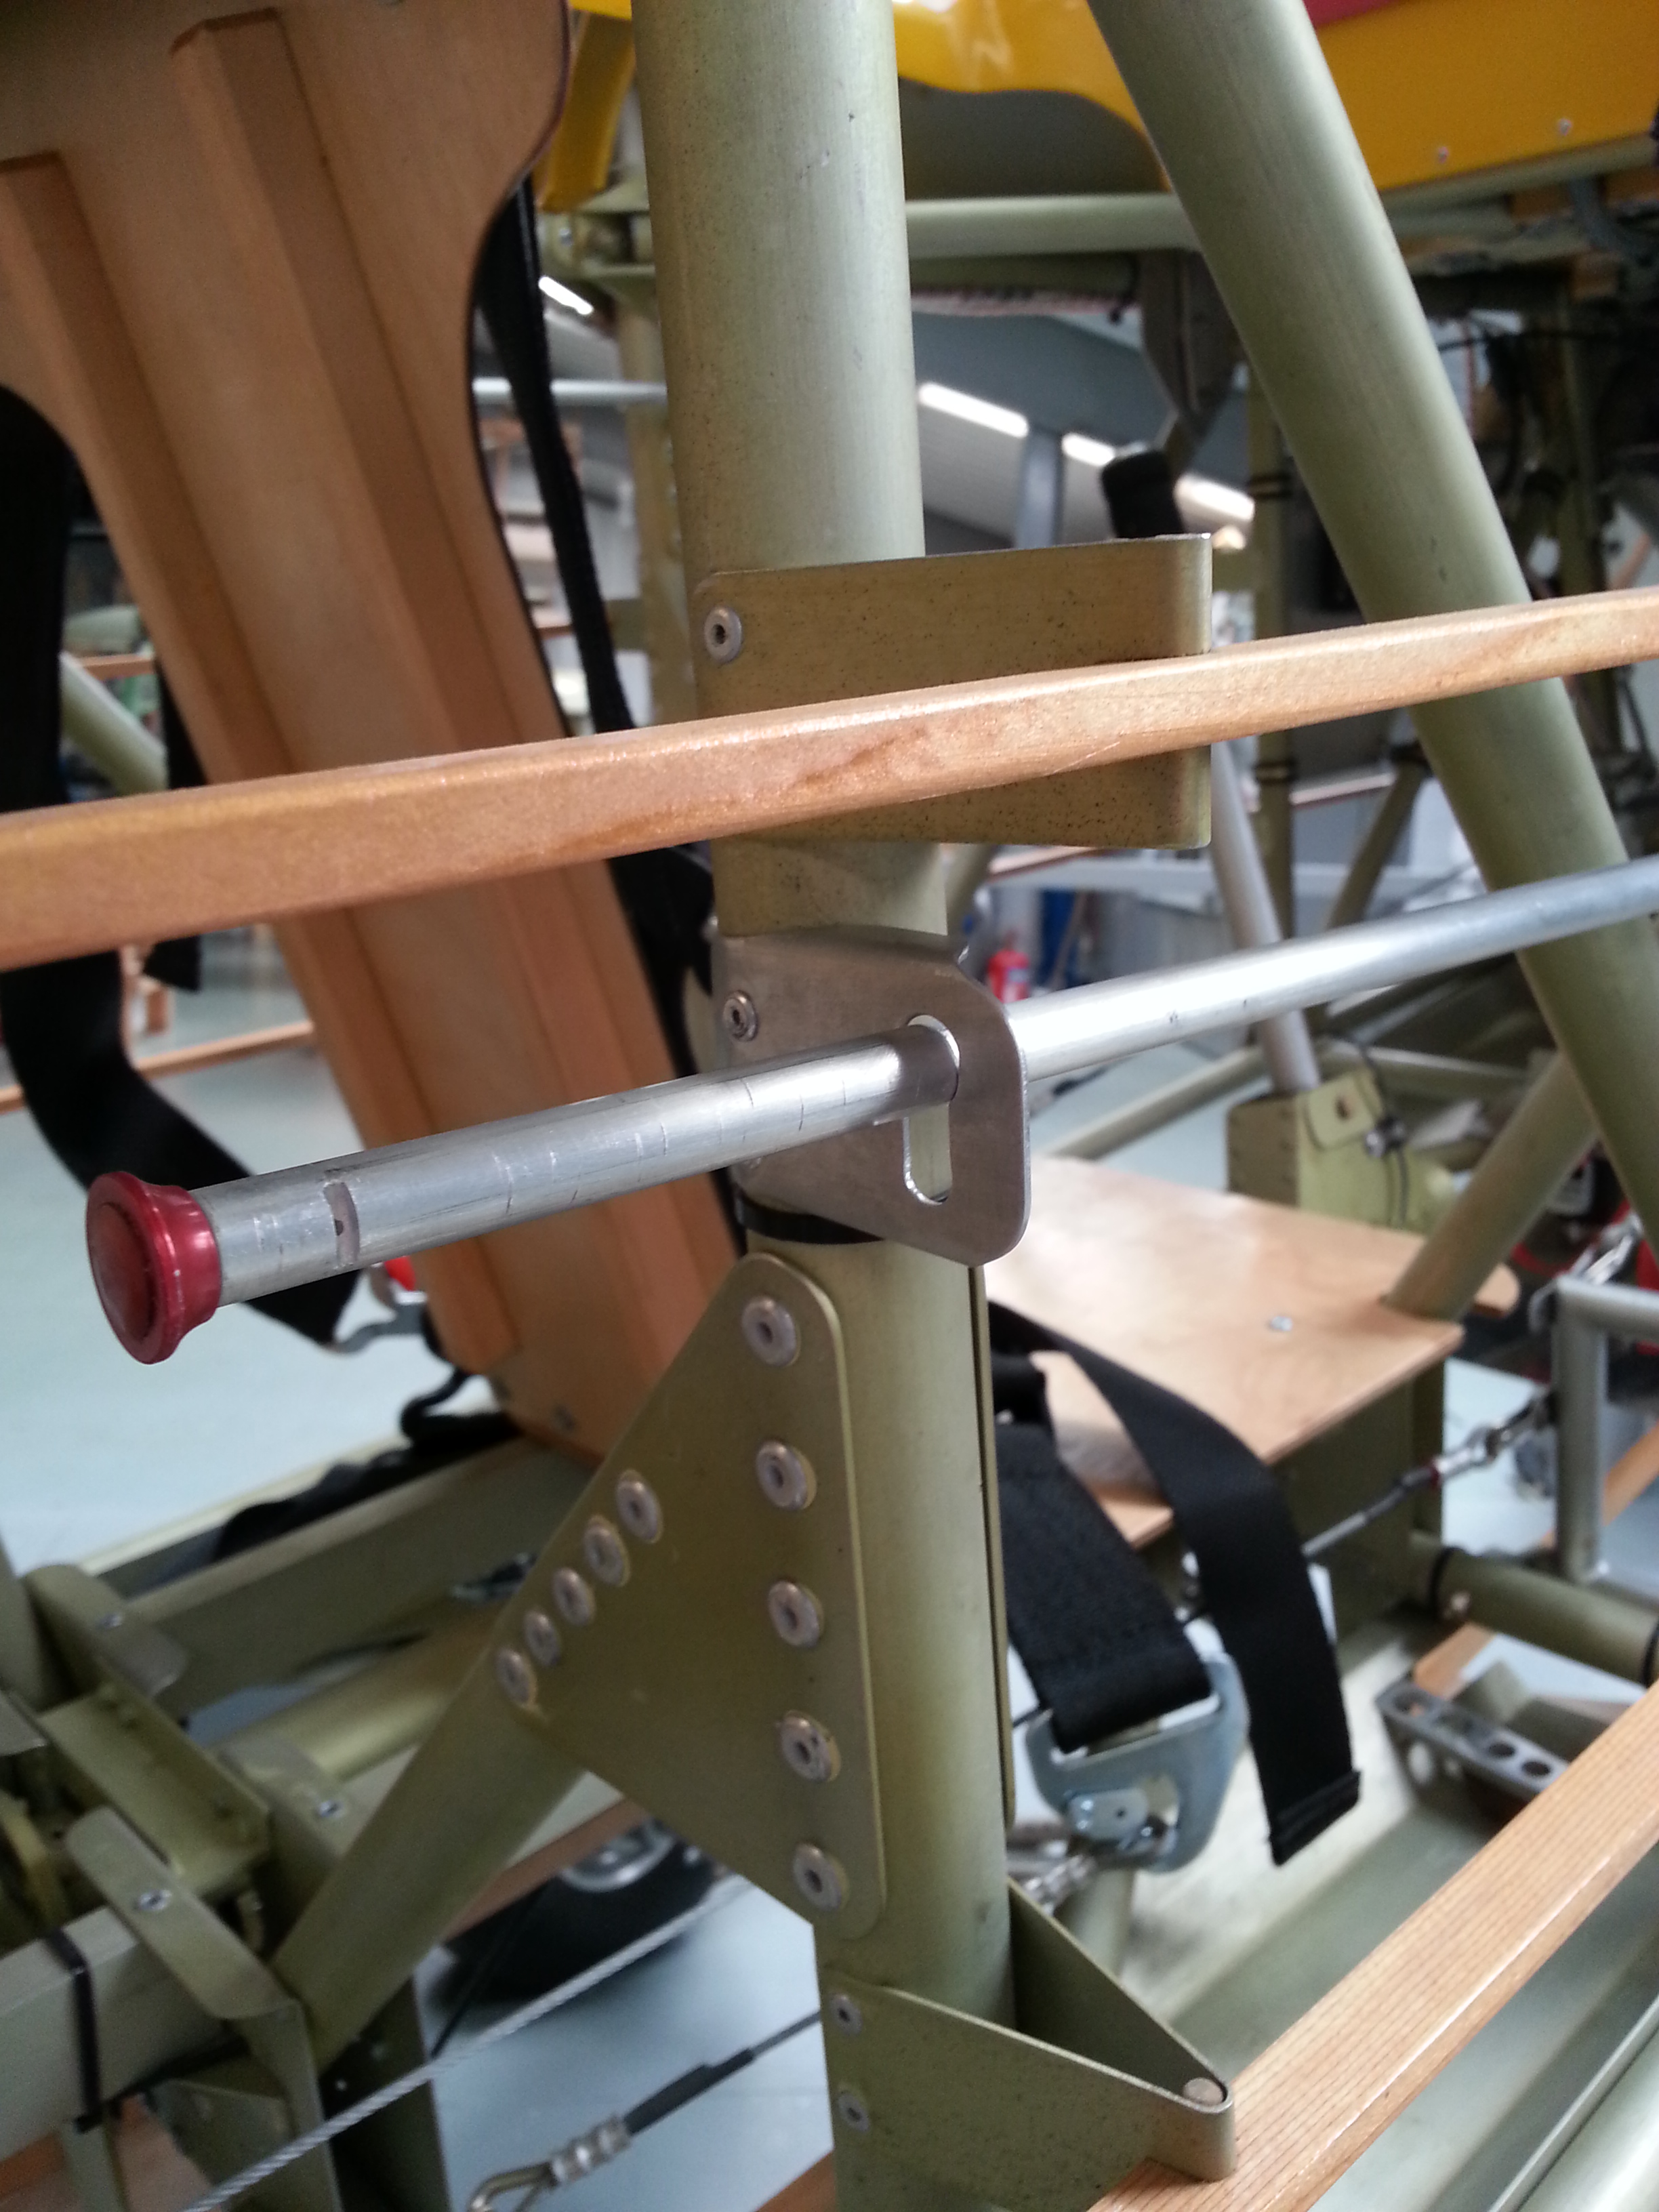
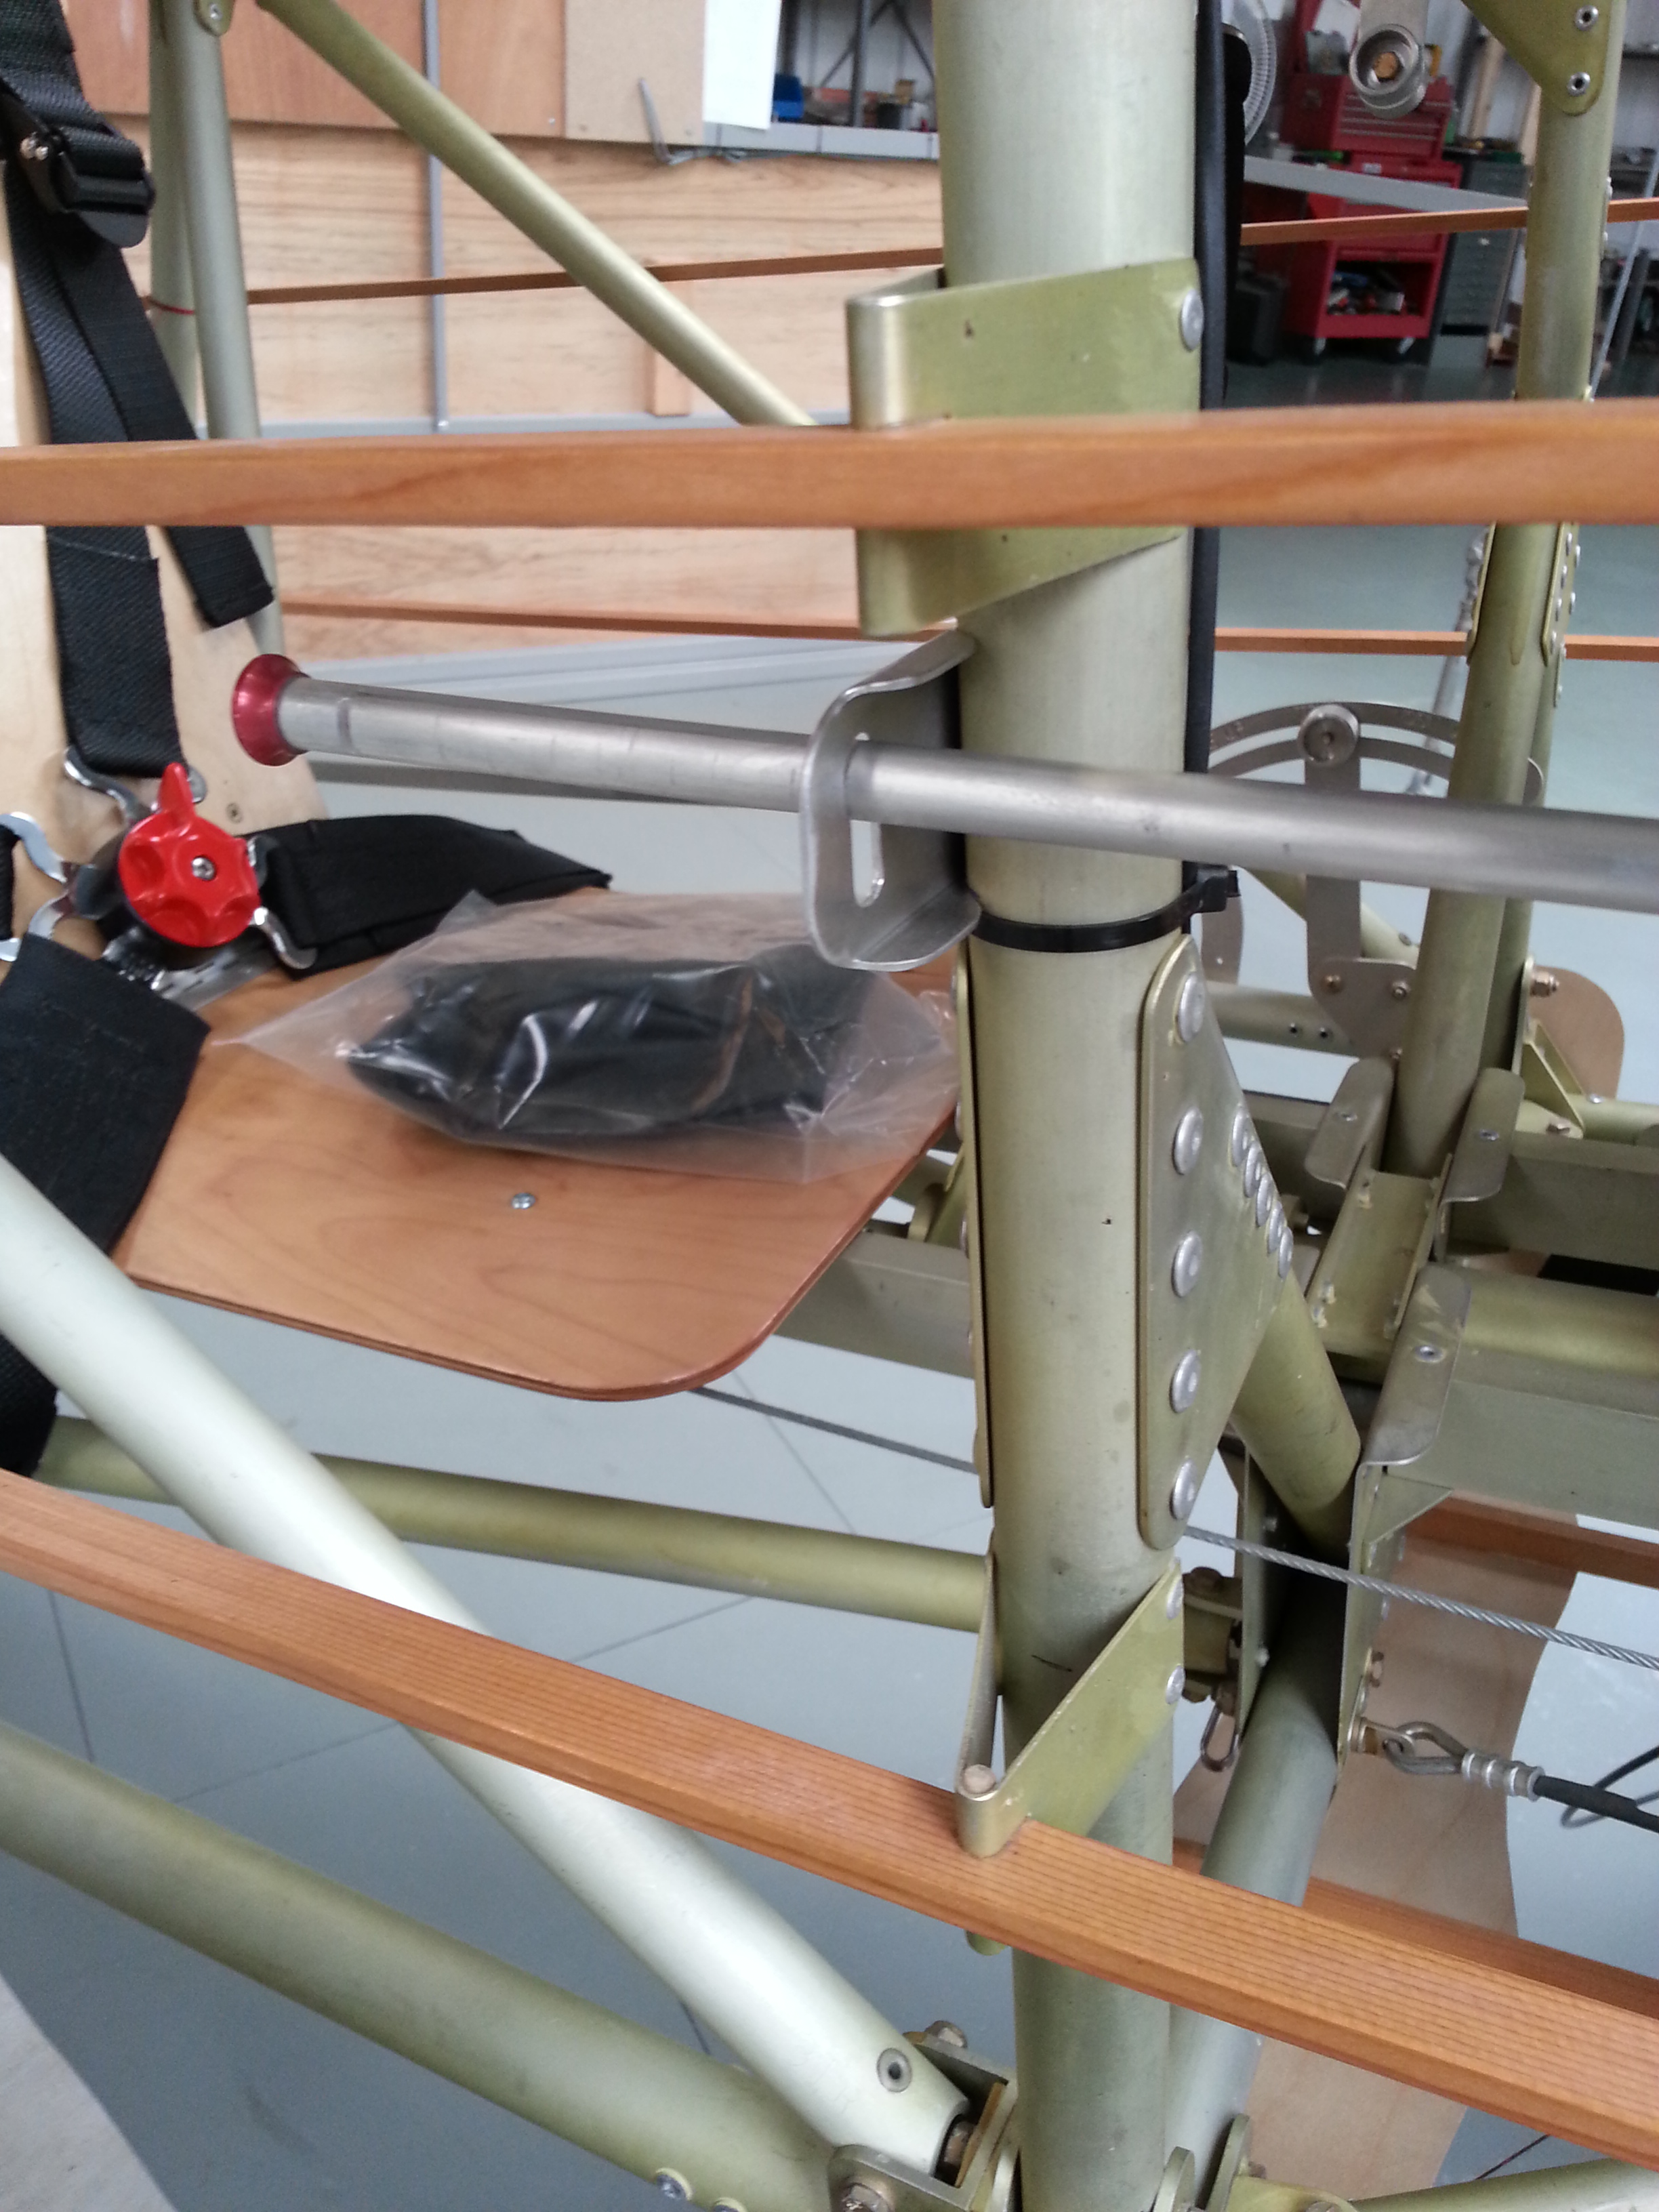
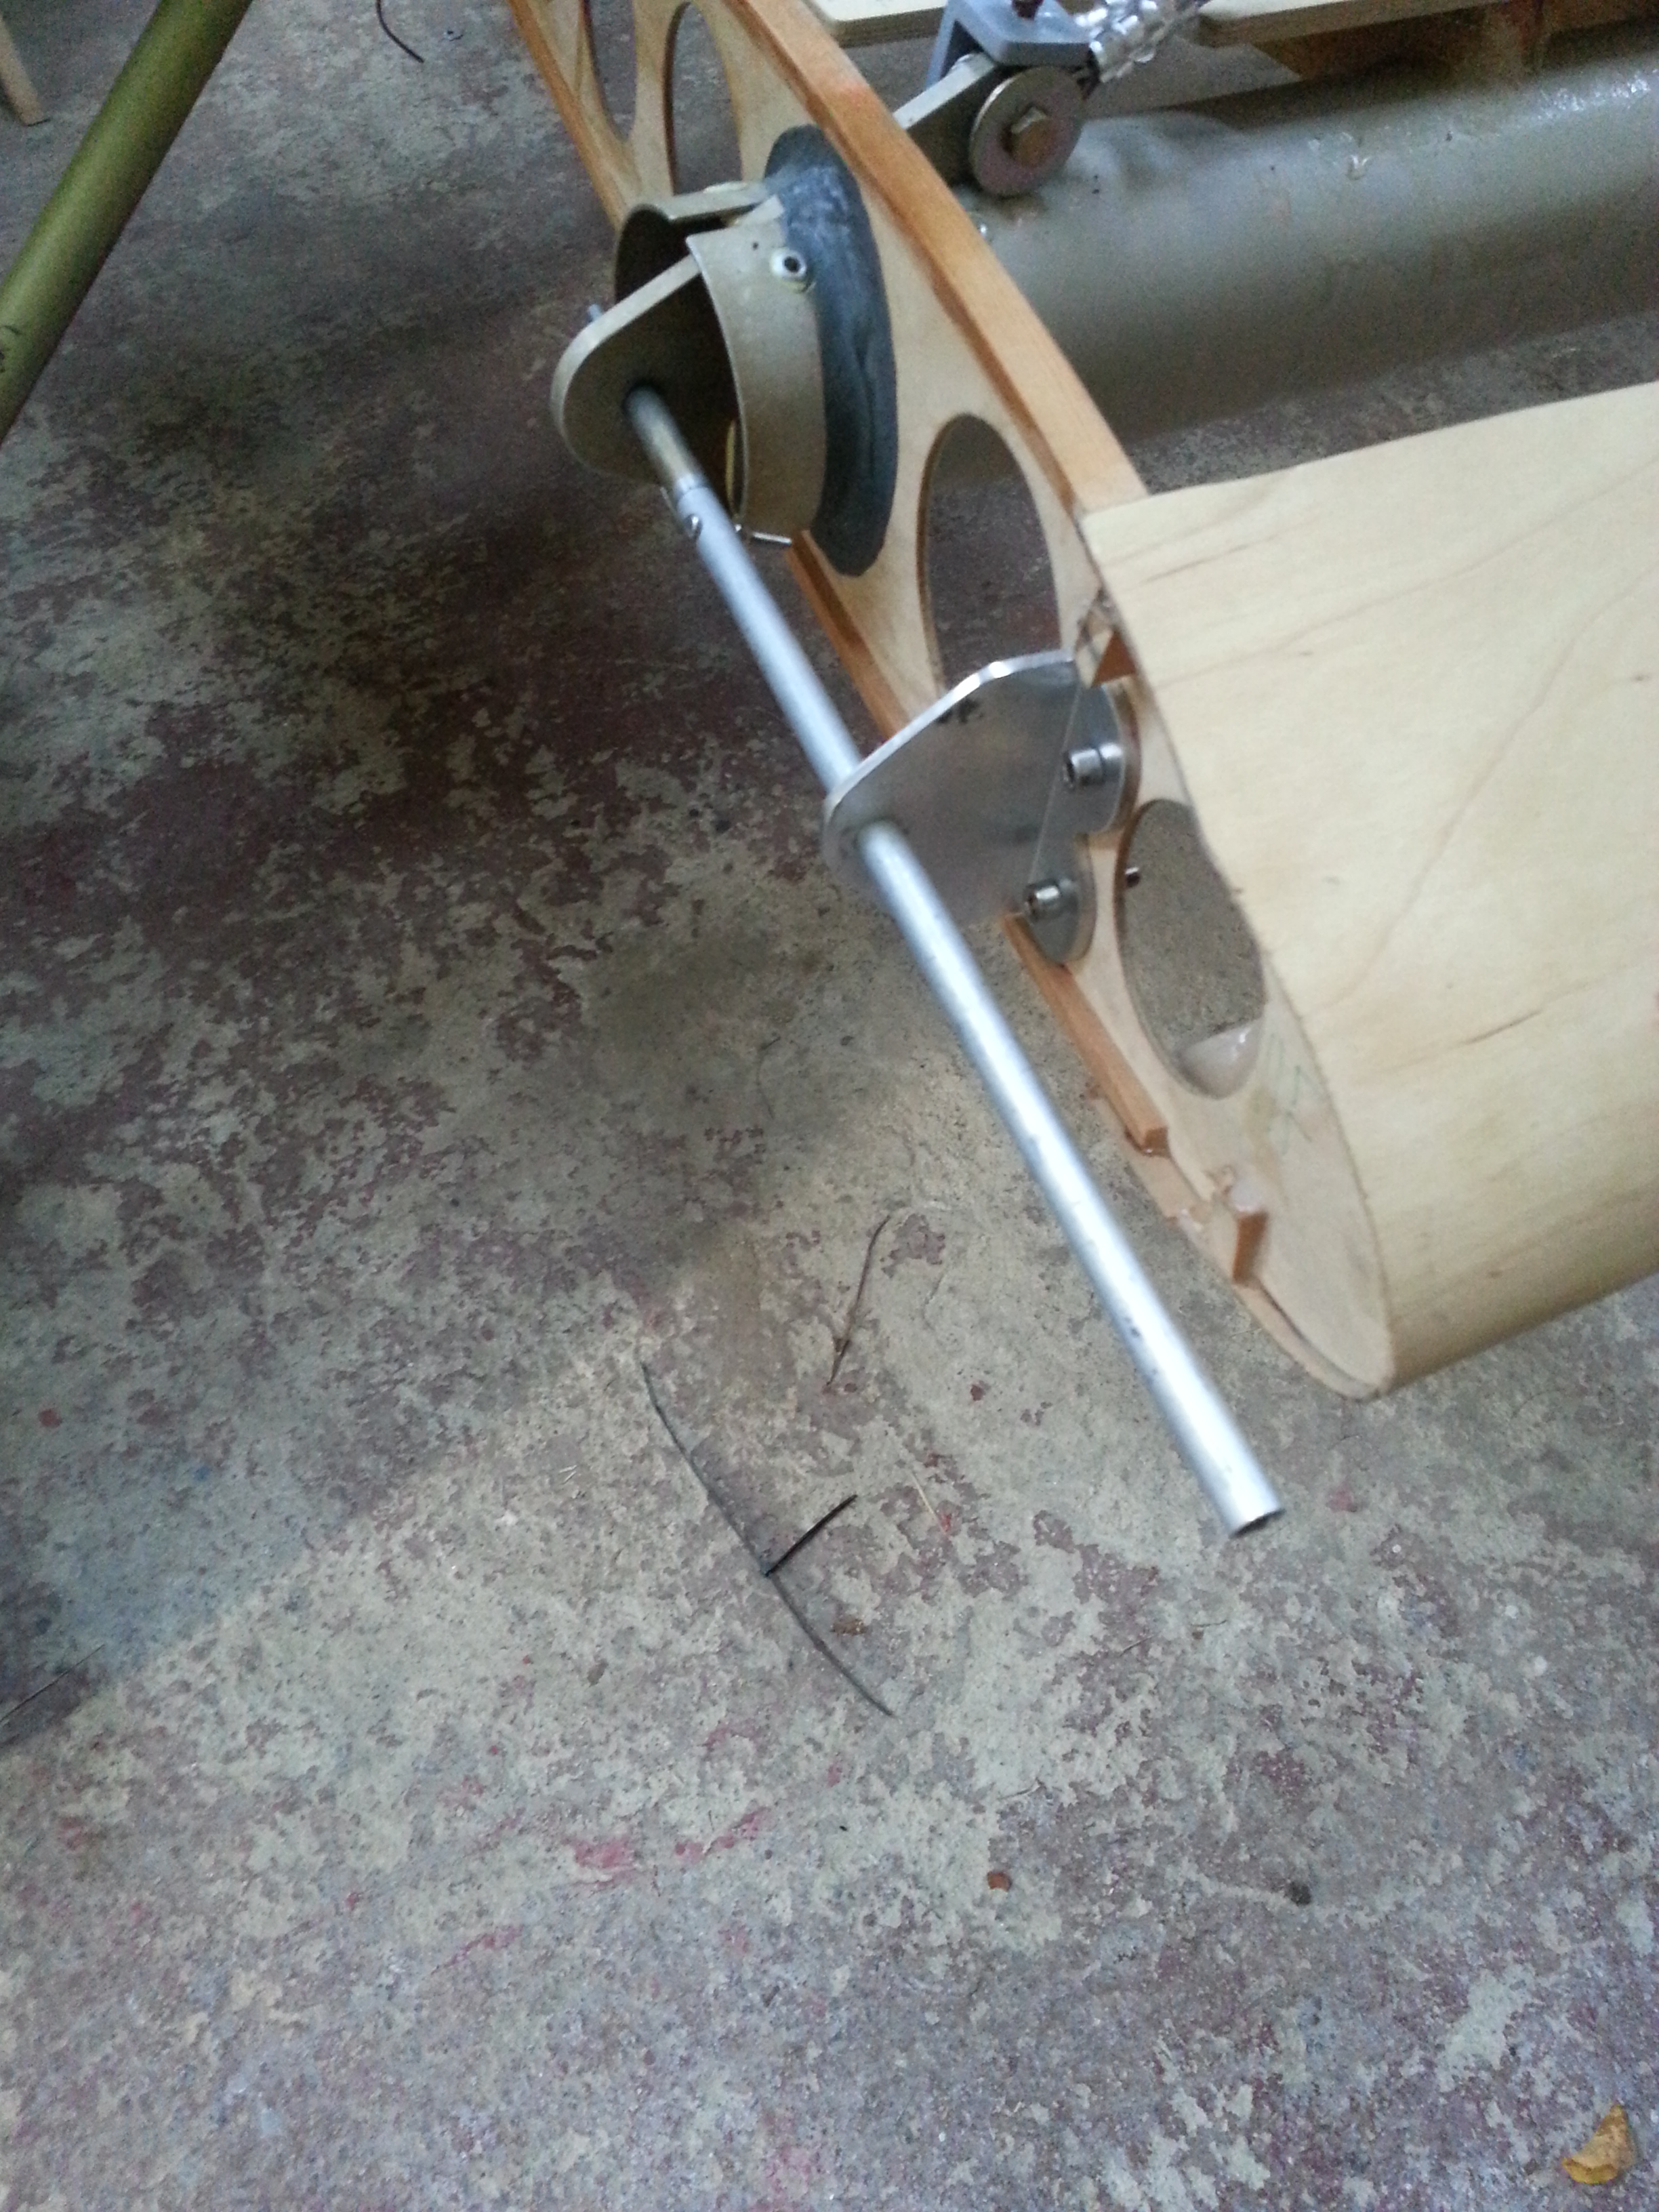
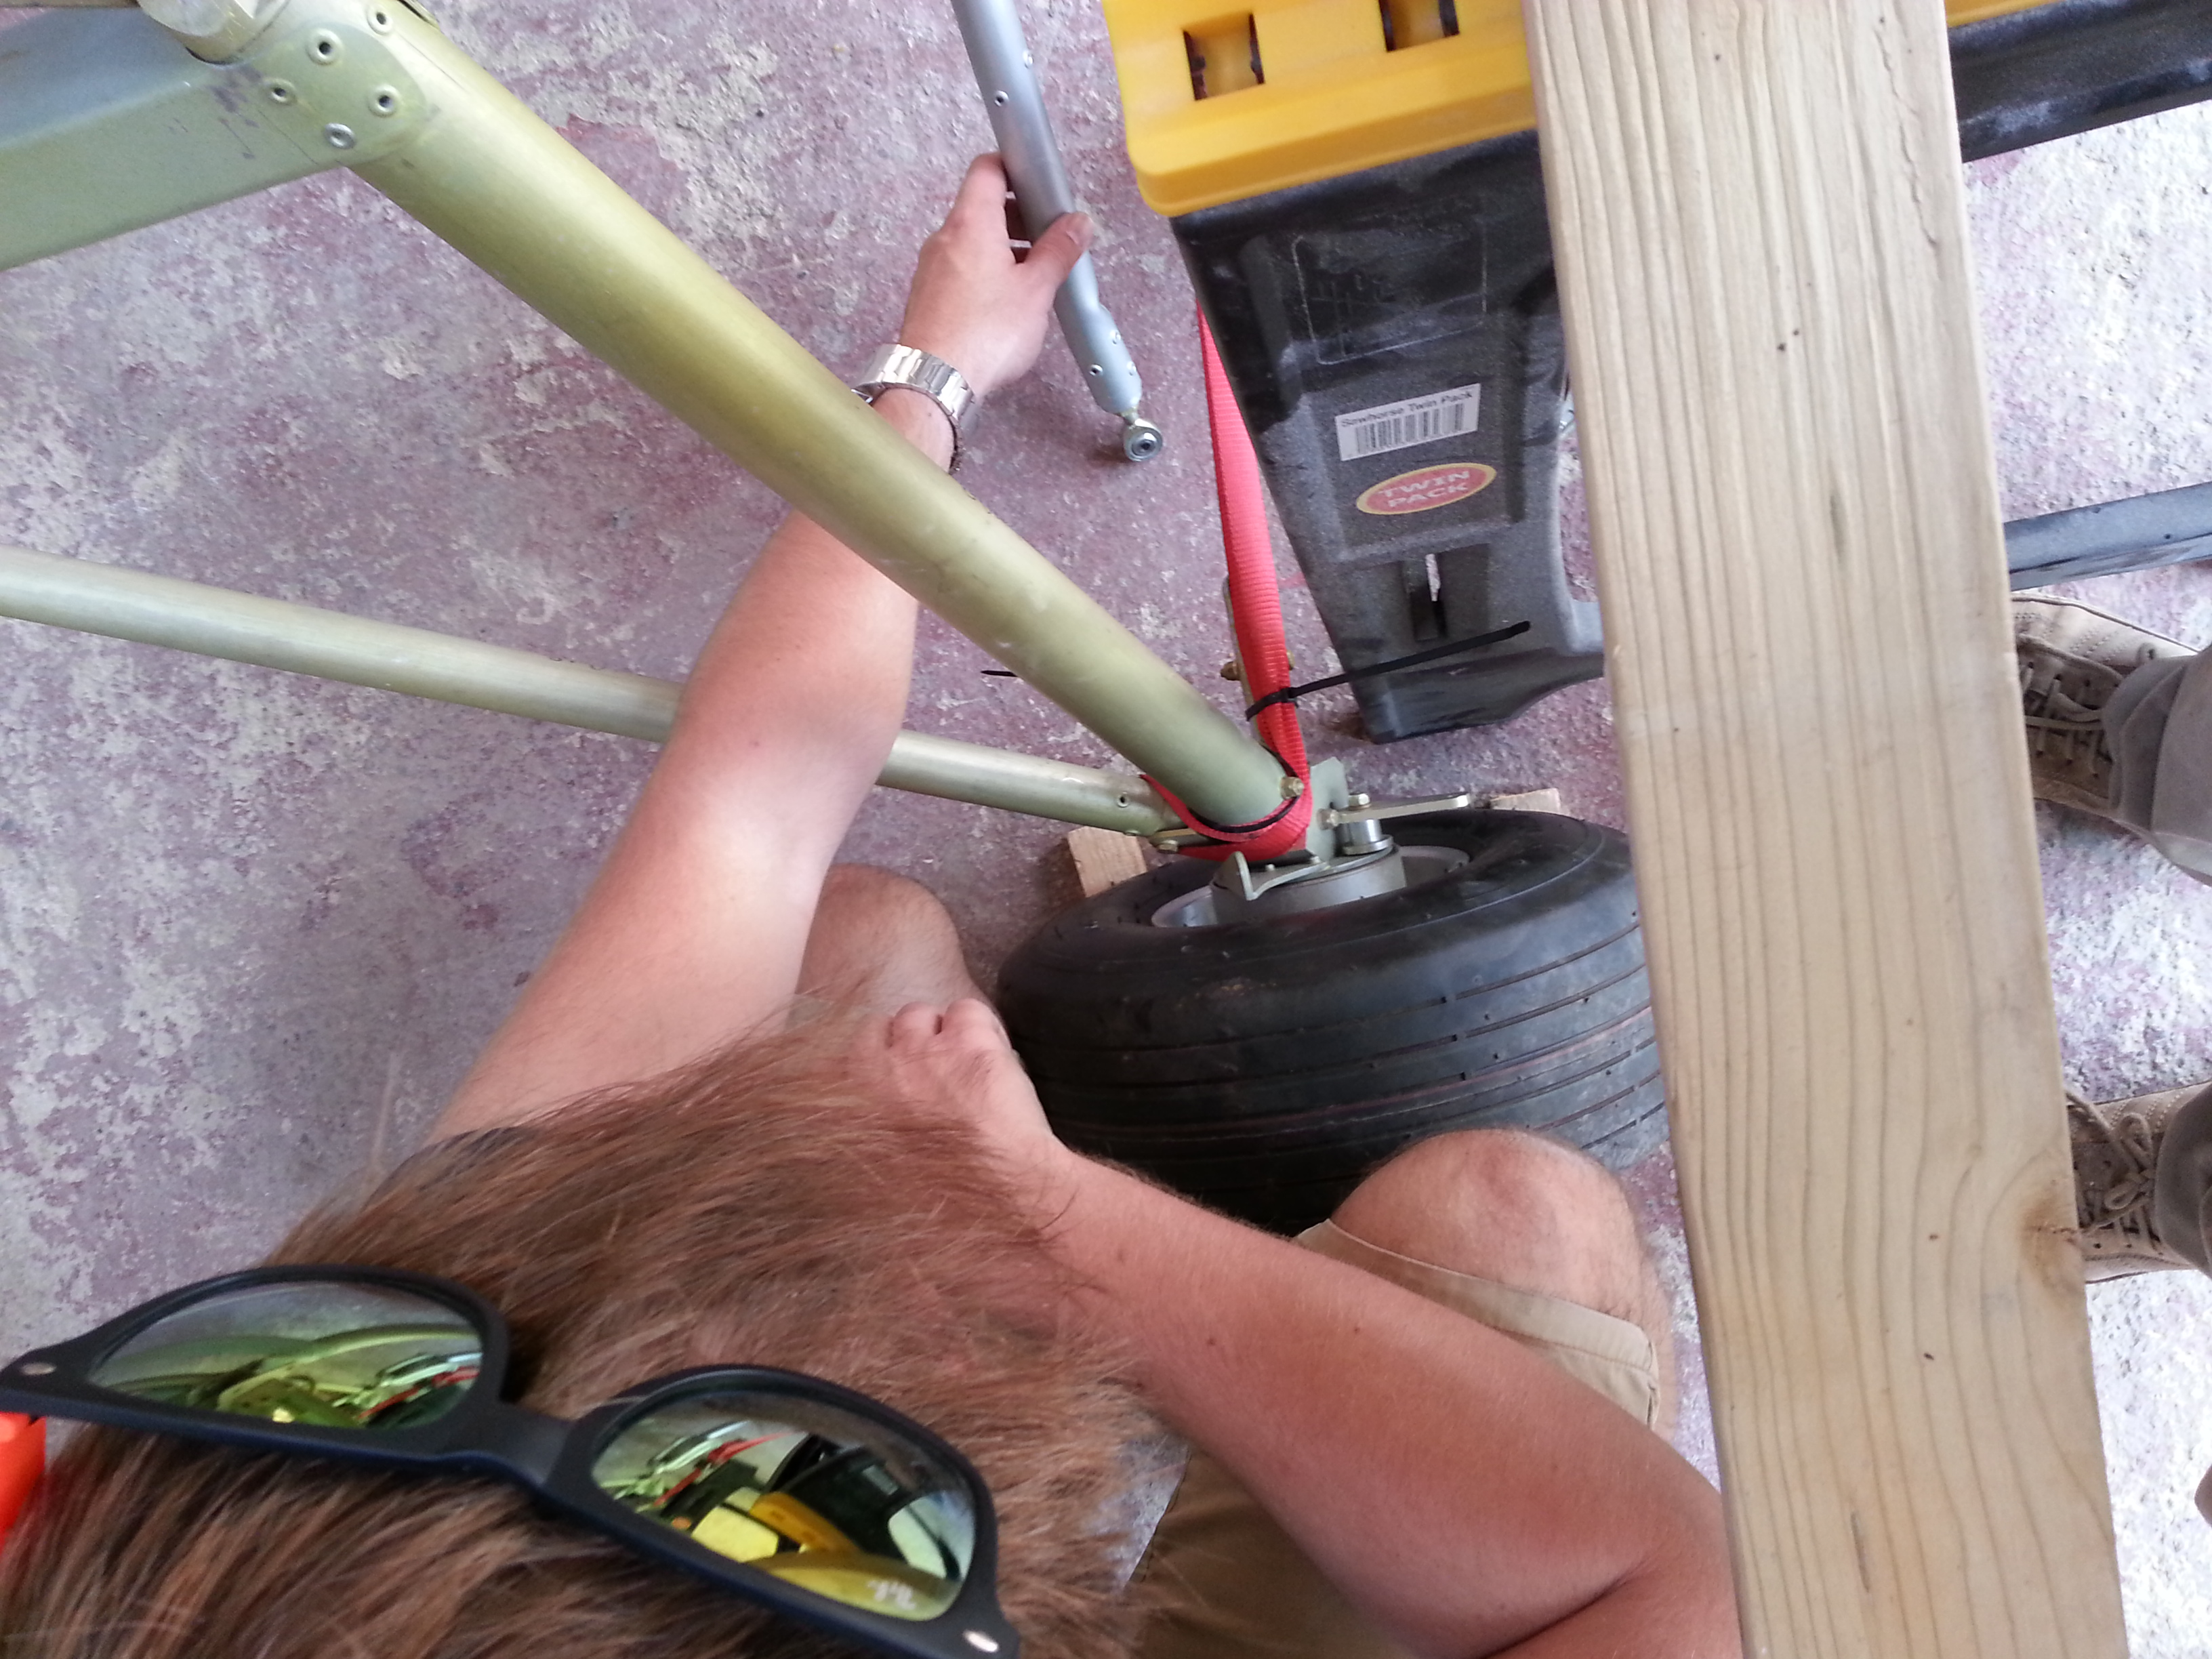
I promised to take the Sherwood along so they got a chance to see some real wood and metal close too and they certainly seemed to enjoy the ‘touchability’ of the whole experience !

Airport firecrew were on hand to retrieve her when the end gate was locked on the Sunday preventing me from getting out !

20141005_105840  20141004_151405

20141005_162313

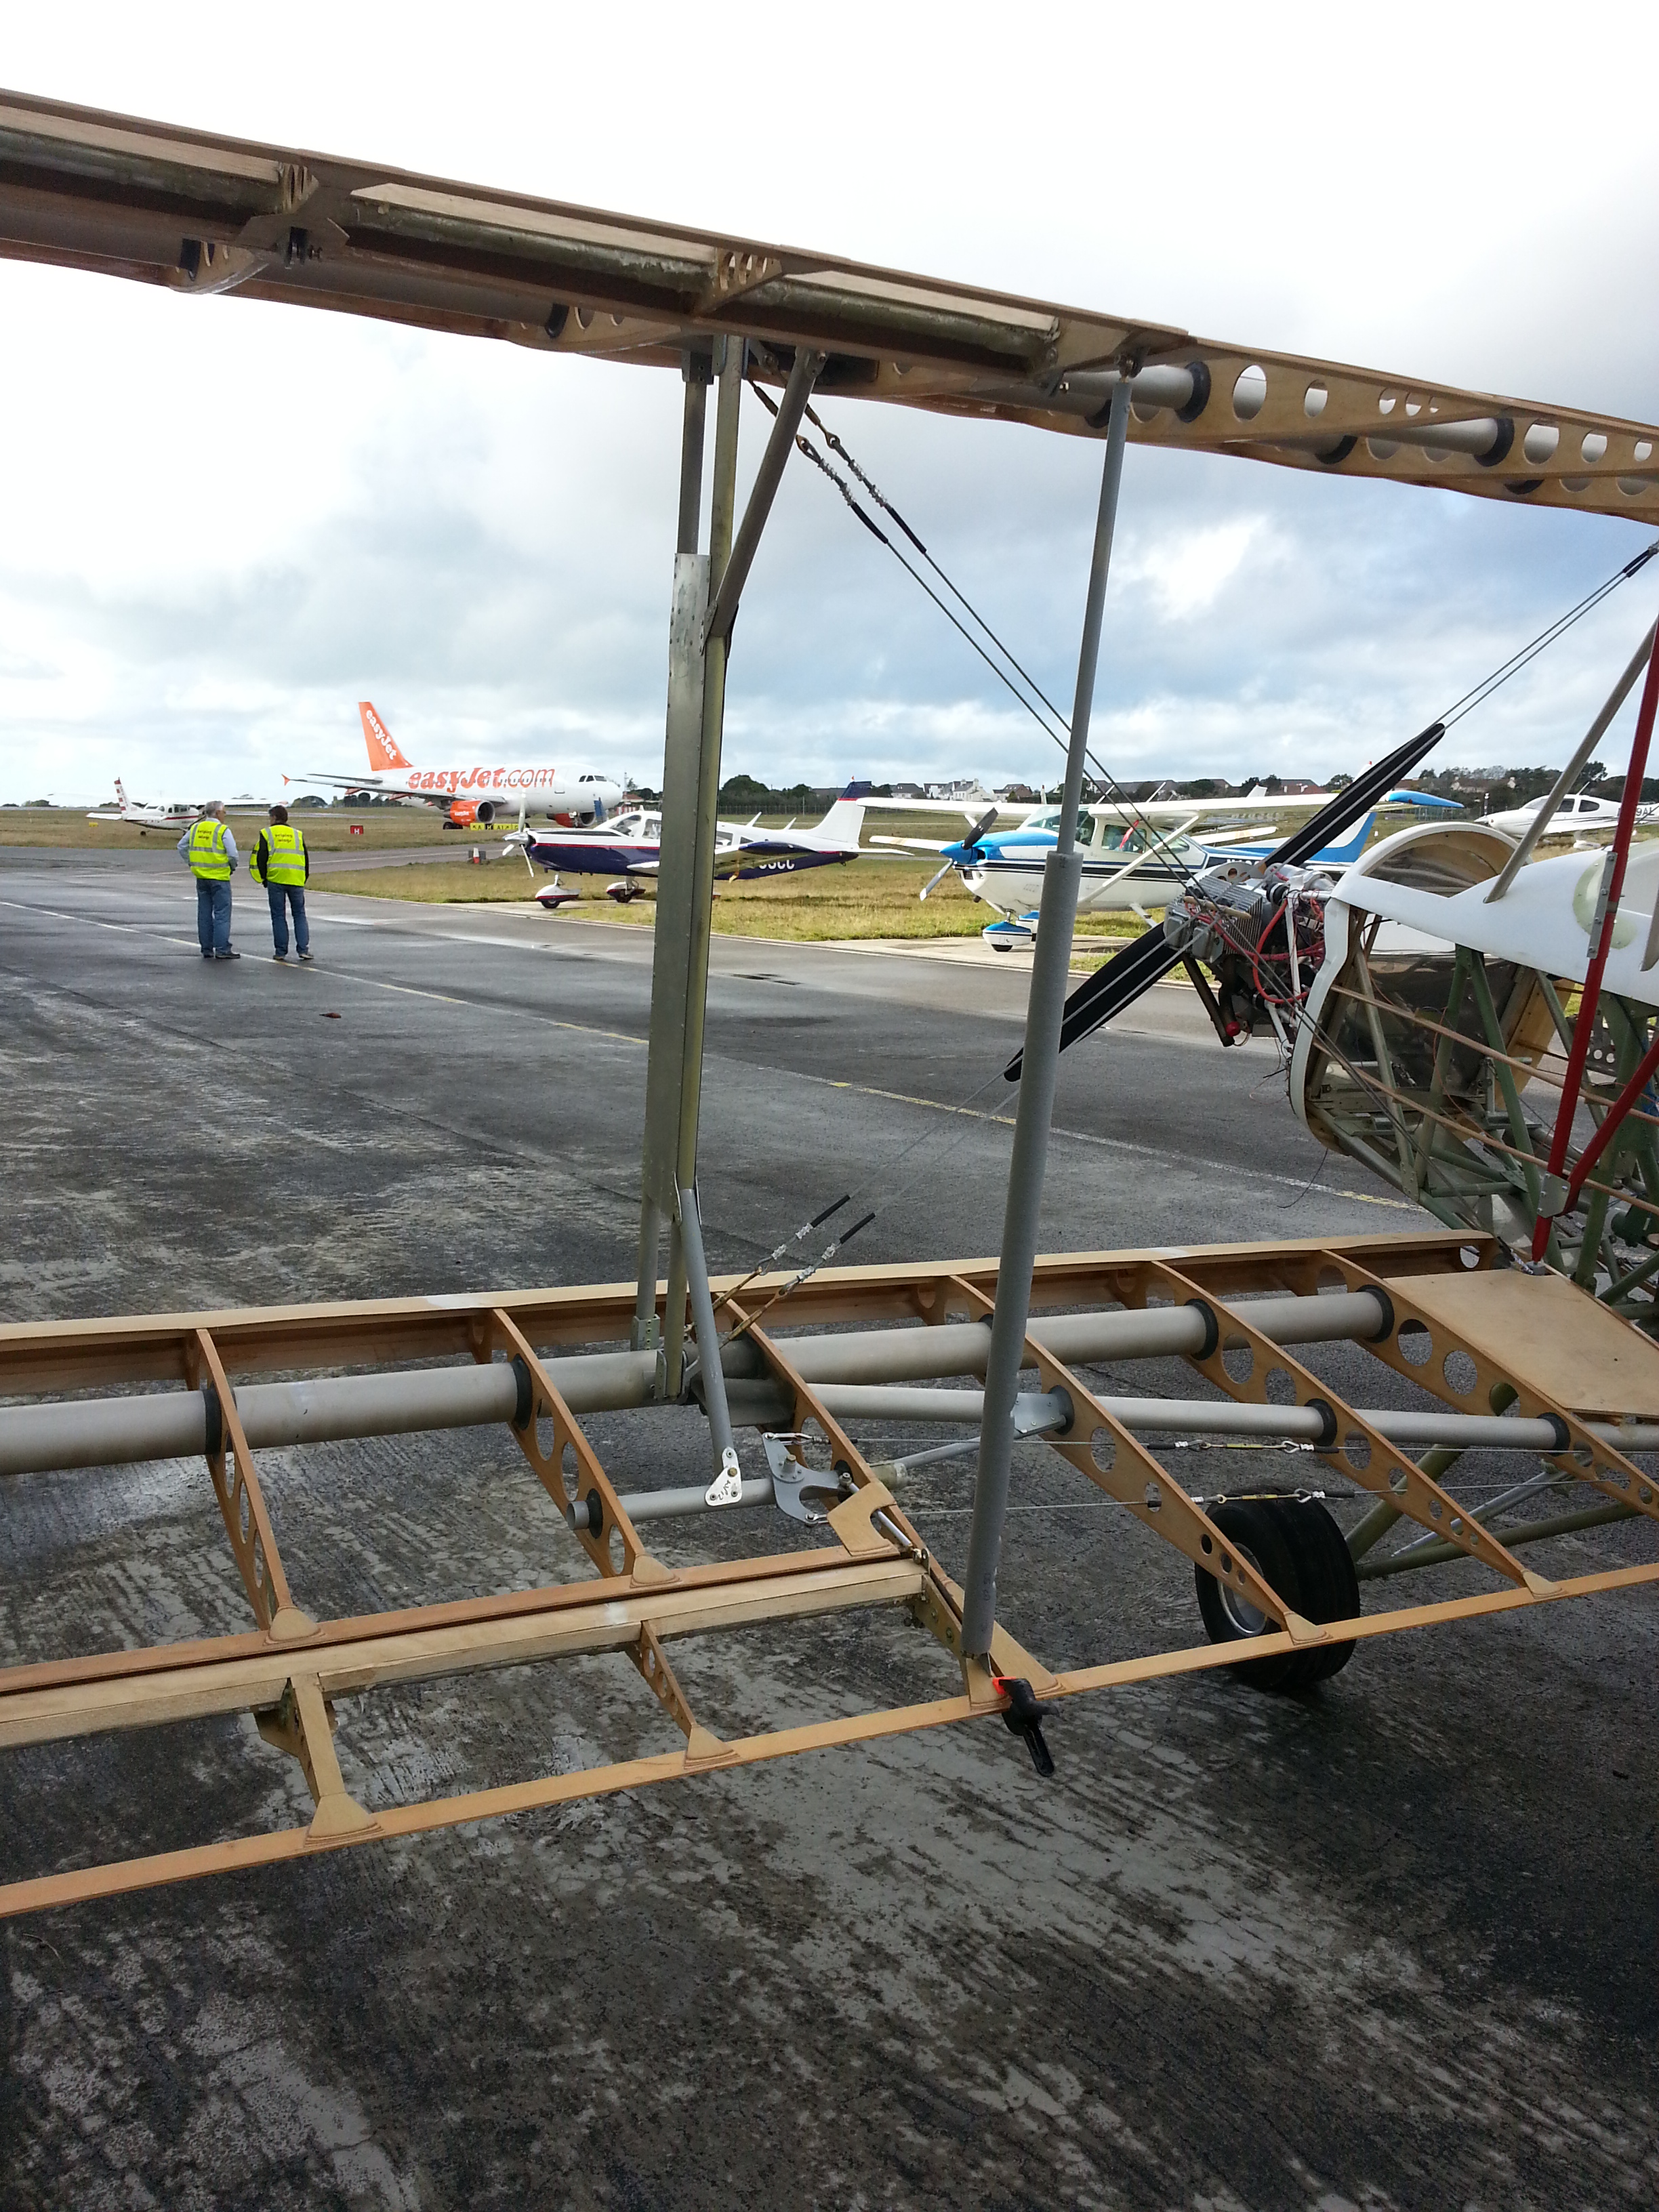
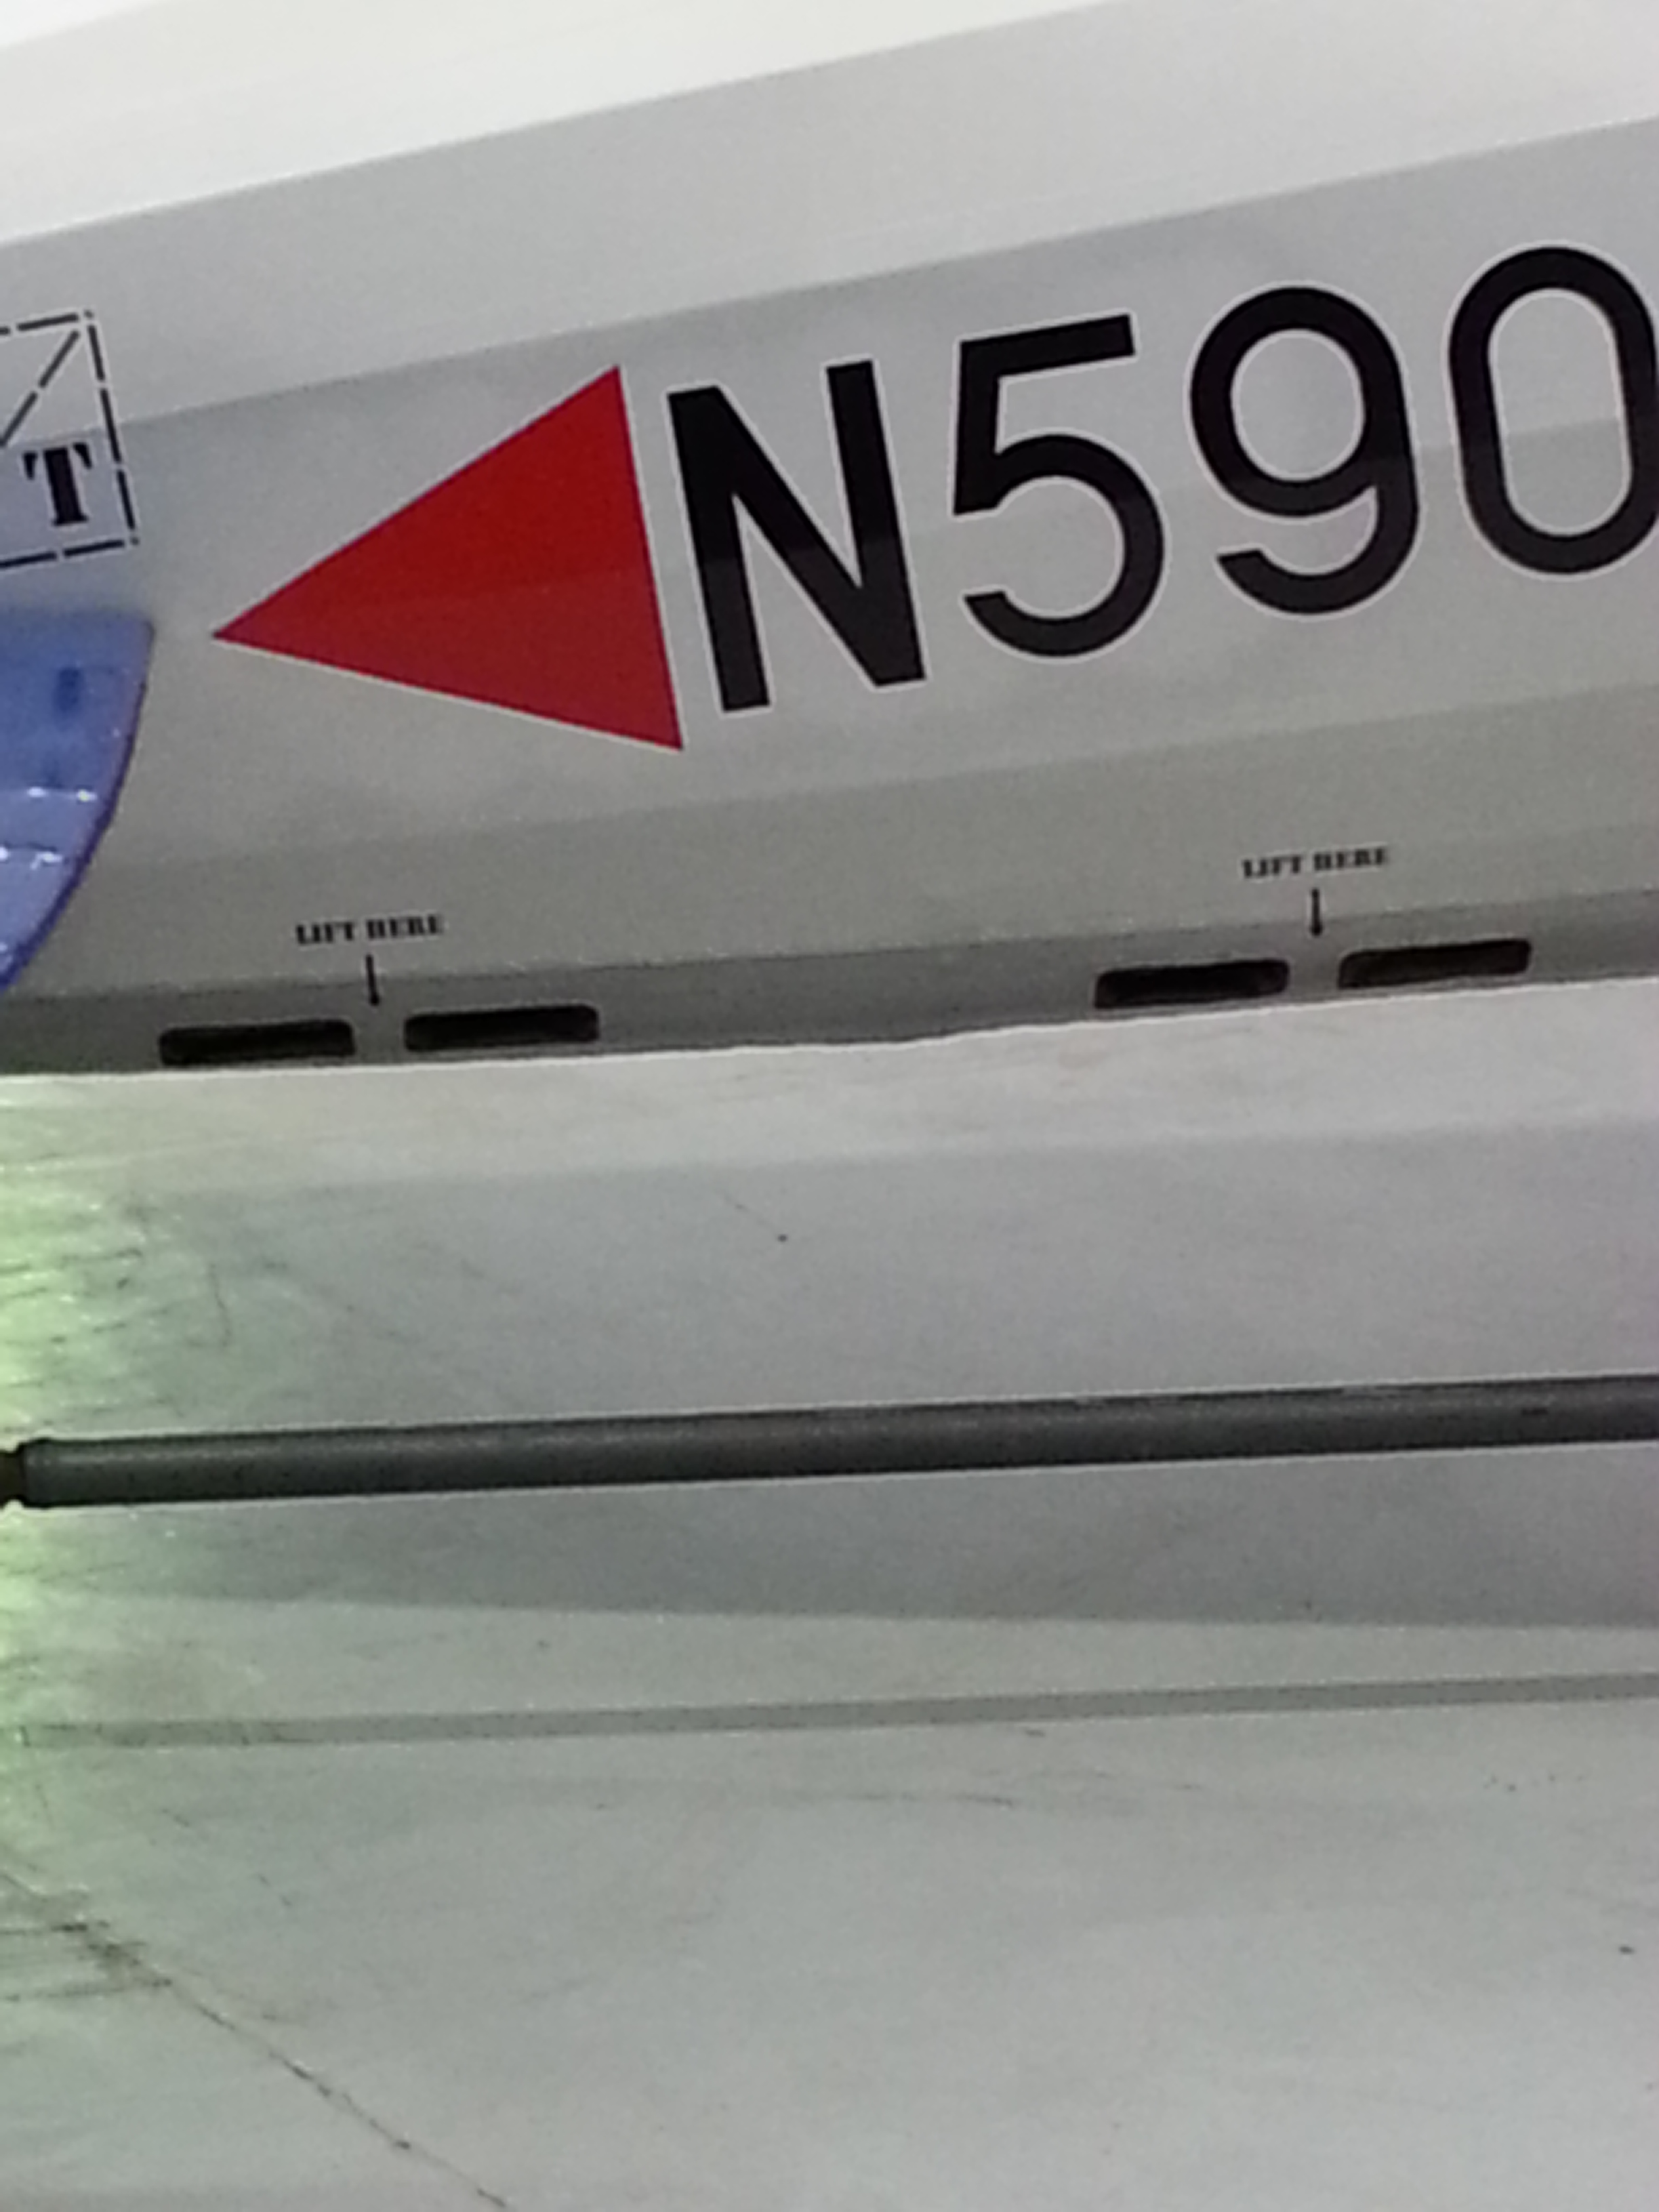
Yes, thats an Easyjet airbus in the background .. that s the sort of think I will e in the circuit with every day … let me see, wake turbulance gap of 6 miles between a 320 Airbus (Medium) and a Sherwood (Mightily light !)

Barn move and Pre Inspection updates

Carried on last night and finally vacated barn number 1 of nearly 2 yeasr worth of bits ! Trying to get organised in the new barn and plan to put wall mounted peg board to store all tools and bits.

Then, had no. 2 son on hand to help – Will.

He started checking all the rudder and elevator fittings to plan and spotted I had missed two small washers … the problem was they were on the back end of hinge supports (the top two) and although the nut end had a washer on , the head end didnt.

Because of the positioning – this meant the rudder had to come off. This came of pretty easily and we corrected my faux pas. My second tin of Duralac is getting a bit crustacious ! not sure I have much more need for more at this time.

20141002_204447   20141002_211714

With the ‘plane being out of the barn for 24 hours whilst the new barn concrete floor dries, working at night was a challenge but finished the washer repair/adds by 22:30

Fuel connection

The fuel connector I purchased has been temporarily strapped in to check length and ultimately fitting at each end. At one end (the Pilot) I need it securing and TLAC provide some parts to do this at the other end I need a clevis to form around the lever arm of the on/off valve.

On my last visit to TLAC I saw an amazing quality build going on and the neat little finishing touches are well worth cribbing here !

Instead of a fiddly securing bracket Alistair (I think that was his name – great guy !) had made a keyhole arrangemnet and slot to allow very positive On/Off valve control

20140705_110956   20140705_103253


20140705_103249

Thinking ahead …..

As well as thinking ahead to a single order for engine parts I was thinking about the covering. I am pretty set on the colour scheme which I think will look good and work with the design. But, I have always felt it a shame to cover the work that has gone into this, the TLAC cut ribs, the brackets, the gussest, the work that went into making sure that one 25mm dia tube blended into another even at some odd angle. I could easily mount the rudder on the wall at home … it is such a beautiful design and classic shape !

So ….

Looking to blend old (design) and new (technology), I aim to get suitable phtos of the key parts, tailplane, elevator, fin, rudder, body, wing ribs … use the cub yellow of the Oratex I will be getting as a backdrop and then get that made into part ‘wraps’. These can then be layered on top of the Oratex to show through and provide a slighly skeletal (but secure) view of exactly the parts underneath !

May leave one side of the ‘plane ‘normal’ ie just covered but say the port side could have these partial ‘see through’ views applied. Will be speaking to a local ‘wrapper’ shortly. Watch this space.

Next inspection planning

Starting to knuckle down for the next inspection. Controls, wings, ailerons, body etc

So all thos temporary fittings of bolts, some had washers in place for alignment, some had nylocs, some castelated … now I need to re-check all plans and get the rights fitting, right number of washers, all in place for the inspection.

I have ordered some spares as I dont think a nyloc that has been on and off a few times is particularly good. And they will ALL be off again once I can think about covering.

Paint – Oratex

As I was in the UK I had a chance to bring back the paint that it is yet another item that is tricky to get shipped to the Channel Islands. I now have some Olive Green and Cub Yellow for completing the tips (green) and the top decking (Olive) and the cowls (top Olove, Bottom Yellow).

This means that I need to finish the wing tip brackets, all ply gussets in and treated with polyurethane, ready for making up alloy brackets. Gone for 3 top and 3 bottom on each top. This will mean they are quite quick to remove – secured by self tappers through to the alloy brackets.

It also means I need to complete the wood packing under the turtle deck to get that fully secured. I had almost completed the front cockpit cross bracing bar when my hacksaw slipped last week and managed to take the top off my index finger .. amazing how much blood these things deliver !!

Plan to gusset the alloy bracing bar in front with spare alloy gussets I have. Then finalise the bolting of the cross bracing bars so that the turtle deck can be finally riveted in place.

There is some cleaning up of excess epoxy that secured the windscreen mounting fillets in place before a final clean up and rub down in preparation for painting.

Started to cut the cowls but need to make up a nose block to ensure good alignment.

Leg back on

TLAC did a great job turning around my damaged leg and its now safely back in situ. I had made a temporary prosthetic leg out of 10mm square steel tube which forms a solid link between the centre brace and the axle. I will paint this red and keep to one side for any other time I need o work on the undercarriage.

One thing I have spotted is that the brakes (probably the first thing I made) arent actually working ! To be fair, they were manufactured some time ago and have not been used in anger (ever !).

I guess like most metals, the inner steel drum will have a surface of light rust and need cleaning down with brake cleaner. I will also take the opportunity, once jacked up with the wheel off, to re check all backplate fittings and tighten bolts and re-grease the spindles. Then get the brake biting at a suitable pull point on the bracket.

Wing pin – supports

I made  a start on these a few weeks ago but then ran out of time to finish due to Air Show preparation.

The aim is to produce 4 wing pin support brackets to support the longer alloy tube guide.  I prepared one of these I created a short length of alloy tube to allow me to line up the exact position. Unfortunately the shorter stem allowed for some movement which, extrapolated up, mean that I had drilled the hole about 2mm out. This left the wing pin impeding the leading edge and so was no good.  A quick email to Ivor at TLAC and a replacement is in the post along with a  replacement aileron turnbuckle (I managed to cross thread one on the 3rd de-rigging).


Now I have a better more reliable method of aligning holes and have done 2 of these brackets now.

wing bolt

Just need to insert the right angle steel handles so checking with Mike the best way of doing this into the alloy tube. Then I can trim to length and plan to wrap the alloy wing root fairing around.

UK Trip – Amazing Duxford

Had a suddenly planned trip over to visit my very ill mother and take my Dad out for a well earned break. Try to visit Duxford at least every two years … what a simply amazing place .. been 20+ times but it never ceases to amaze.

(I can also admit to crashing a Spitfire here – a Mark 1a … turned to sharply on approach and tip stalled .. ok .. it was a Brian Taylor model ! – from my time when I was a member of the South Cambridgeshire Model club who flew at Duxford)

20140920_124908 20140920_124649

Notice the Mustang is in my planned colours of Yellow and Olive Green !

Look at the joints holding this fin on above

20140920_12425220140920_124203]

Nice 3 point cable support on cross wired Gladiator (I think ?)

20140920_124143 20140920_130030

Above – Steel braced with turnbuckles – makes it easier than washer packing !

Above – Just like the Chipmunk I used to fly ! G-APLO

20140920_125919 20140920_125605

Above – so miss flying the old Stampe – this looked quite sporty and forgot how raked the wings were

Jersey resident – Martin Willings Fennec in the background

20140920_12531720140920_125249

Beautiful Puss Moth folding wings – with a 150 hp engine – swift !

20140920_125128 20140920_123553

Above – Mocked up gun my boys say should be on the Sherwood !

Above – Deck landing and 1″ dia bolts are all that support this folded wing !

20140920_123529 20140920_123748

Above – Sea Fury with all her bits around her … a bulkhead to die for

20140920_135131

You look at the rivets on the Sea Fury and can just wonder on the skills of manufacture … the wiring and bracing on the early models .. the folding wing mechanisms and bolts holding hugely heavy wings .. post Sherwood, I never look at ANY engineering in the same light ! It really does open your eyes !

Crack on …wing tips … and repairs

Knuckling down to completing bits ahead of next inspection ….

I have decided to keep the wingtips removable and so have made some ply gussets up so that I can mount small alloy brackets to secure the tips with steel self tappers

20140915_074249

Repairs started – Benjamin was over from the UK so he kindly got under the ‘plane and helped secure it for the startboard leg removal.

20140914_131302  20140914_131932


Looks even more bent when its been taken off ;-(

Blog at WordPress.com.

Up ↑