Didn’t realise just how many rivets go into these things ….
All drilled and completed and last 20 or so rivets went in on Birthday morning
I am really not happy with the slots I have cut for the pitot tubes so will re-do these before covering.
A mile of runway can take you anywhere

Didn’t realise just how many rivets go into these things ….
All drilled and completed and last 20 or so rivets went in on Birthday morning
I am really not happy with the slots I have cut for the pitot tubes so will re-do these before covering.
")
Well … another year comes …. turns our Paul H S and I share the same Birthday (he being the fresh faced junior – by 1 year !)
Many happy returns Capn ….
Reluctant as I am to embrace all the new technology (I have been an IT specialist and programmer/change manager my entire career) but refuse to be dragged (kicking and screaming into the unstructured Facebook world ! I have, nevertheless resorted to a birthday ‘selfie’ .. my first and possibly my last …..
I have had the Sherwood two years in October and have refused to sit in her until the moment was right ! Last night was that moment…. Off the trestles that have had her in flying pose whilst all the setup is completed, she was sitting on her tail and I just had to finally sit in ….
OK – Its not the normal selfie you might expect … but hey …. what has been built isn’t run of the mill !
The picture tells me other things of course .. got to put stiffeners on the rear of the front seat back panel and also must get the PTT switch bevel in position !

Thanks to a sterling job by Ivor turning around my request for replacement strut bracing tubes, they arrived in Jersey on Friday evening. Re shaped these to fit the top supports on Saturday and then waxoyled the tubes (and the aileron pushrod connection tubes at the same time).
Sunday afternoon saw the brackets completed and pilot holes drilled, remembering to put the stiffener plates in position. Then the drill ran out of battery ! argggh …
Sunday evening, post charged drill, saw the top strut brace supports in position and looking good. Very strong with the rivets in place and bolted up.

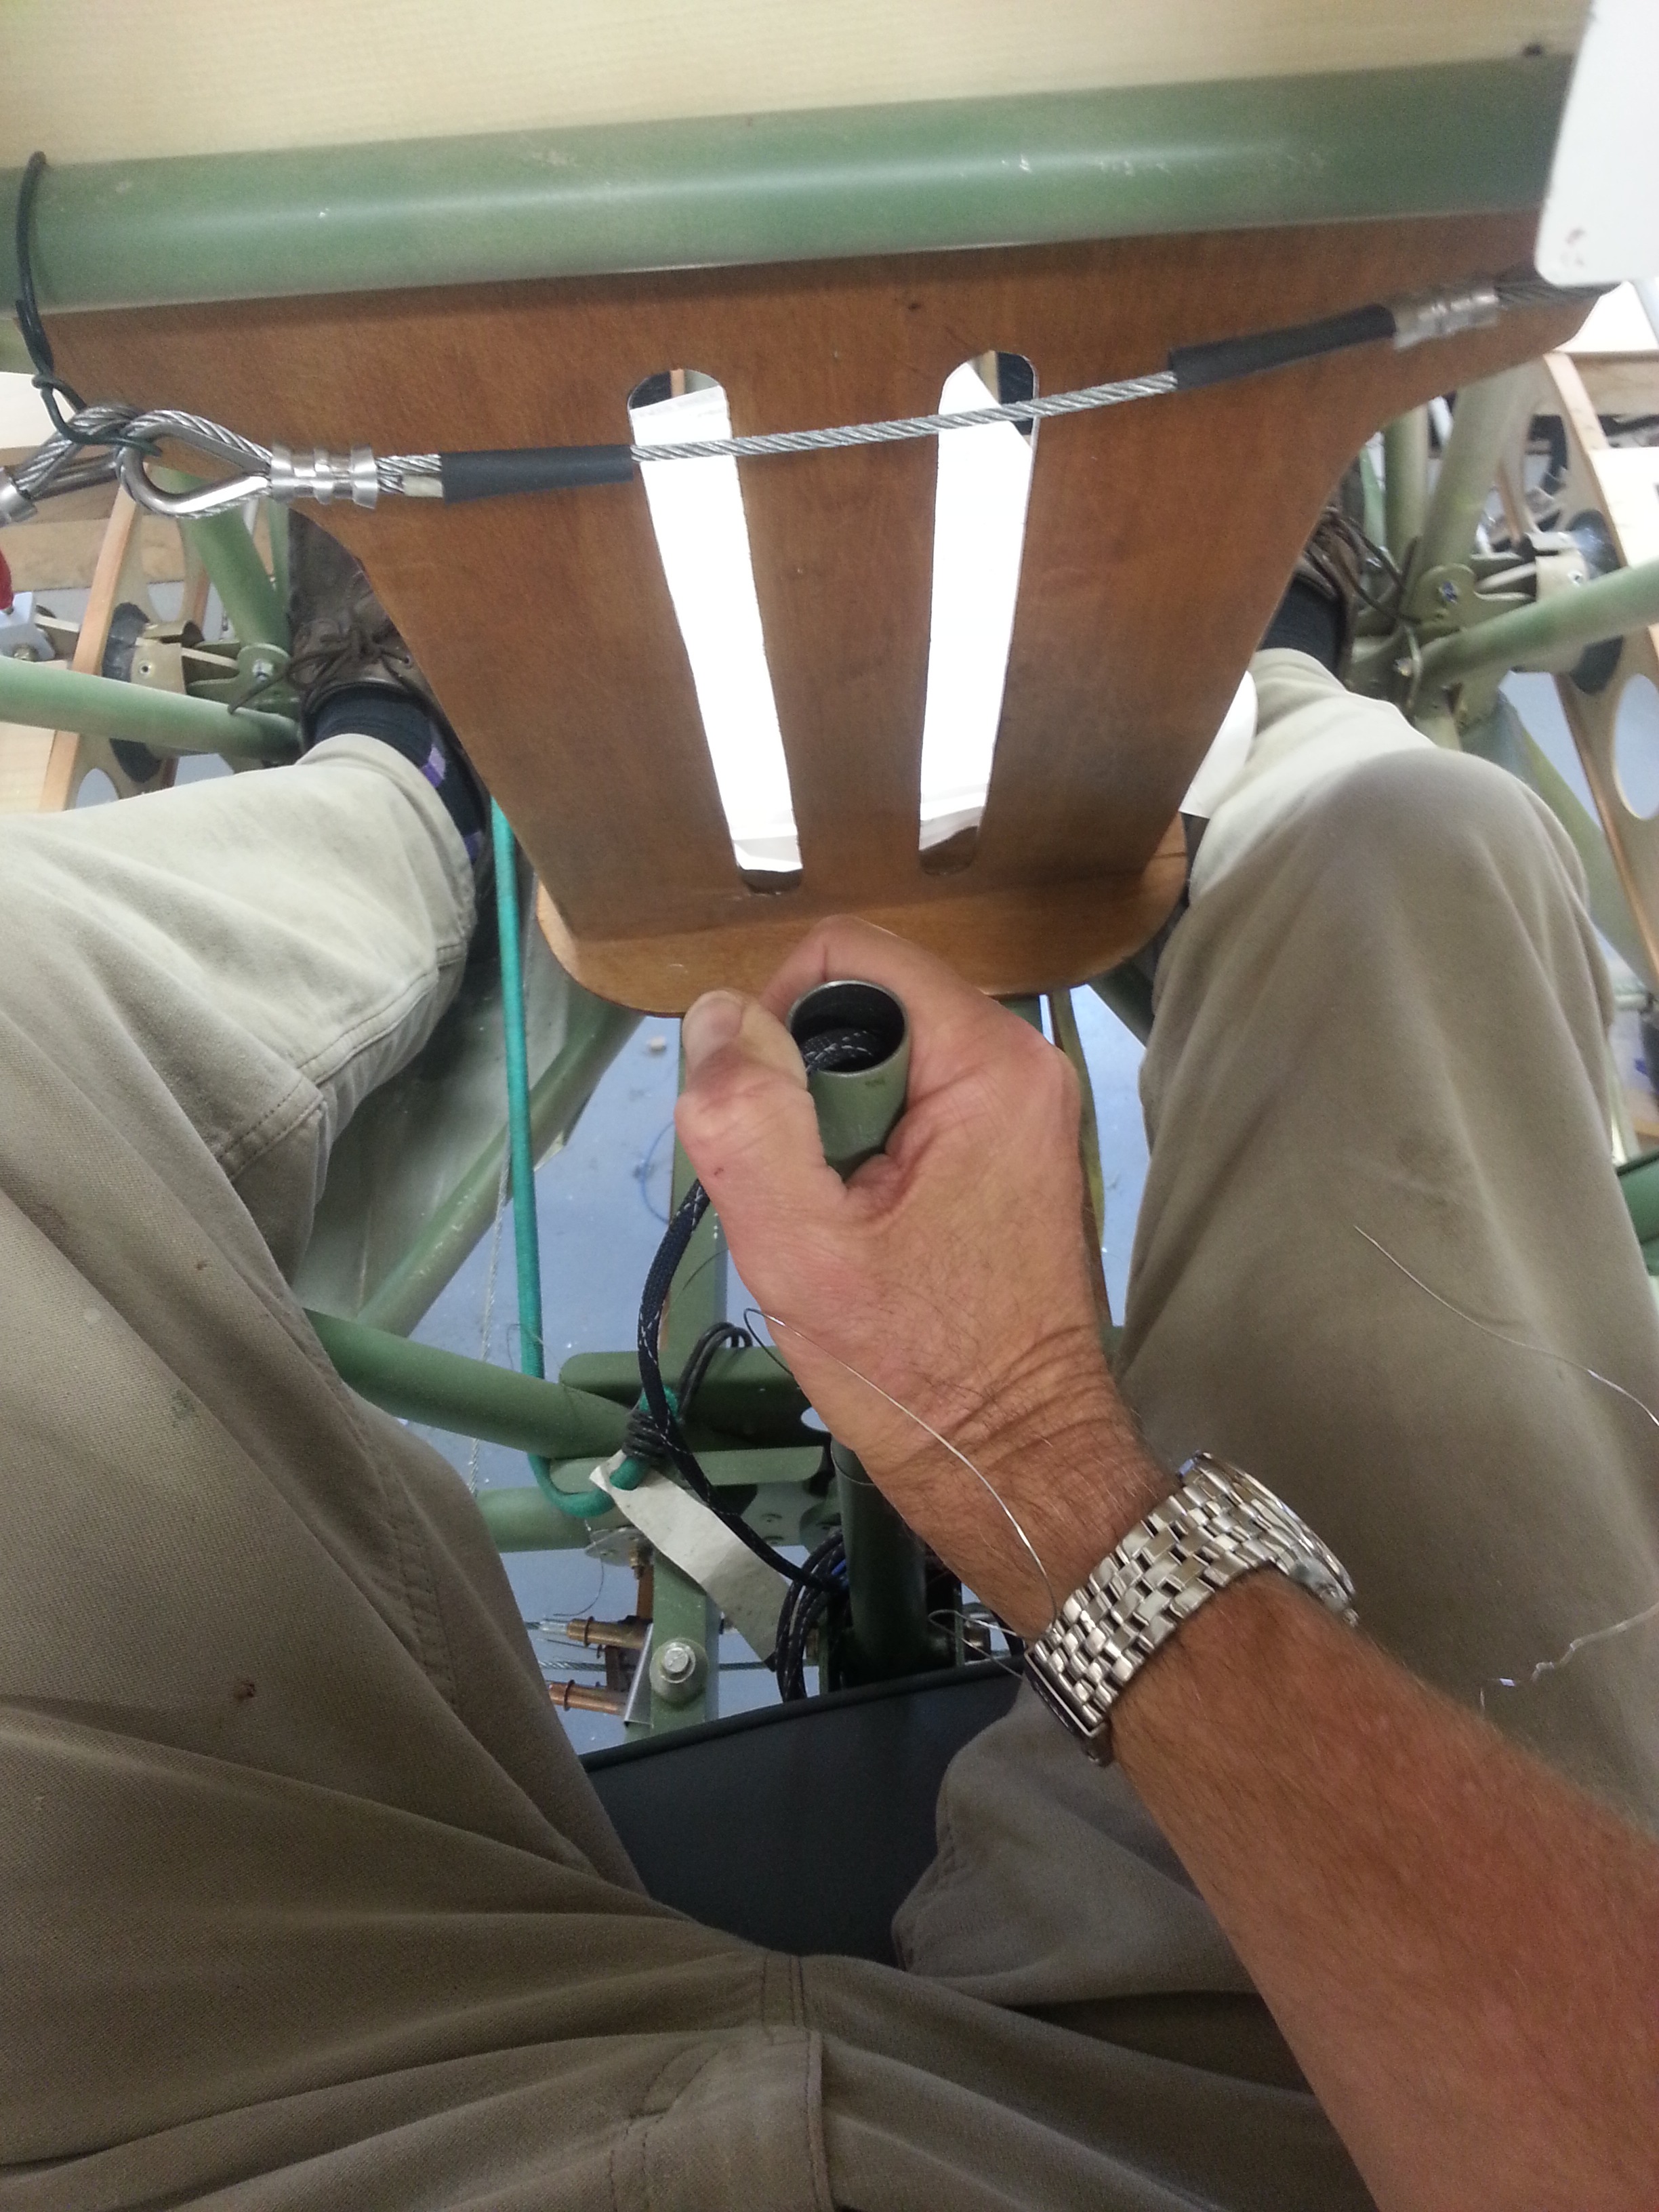
Last night was a busy evening, scalloped leading edges then completed the closed loop on the aileron system.
Still not 100% happy with it as I need to get the ‘straight line’ runs from the bellcranks to the bottom of the joystick completely ‘rub’ free. At the moment its slightly rubbing on the last rib .. I have elongated the rib lightening hole, just need a fraction more off.
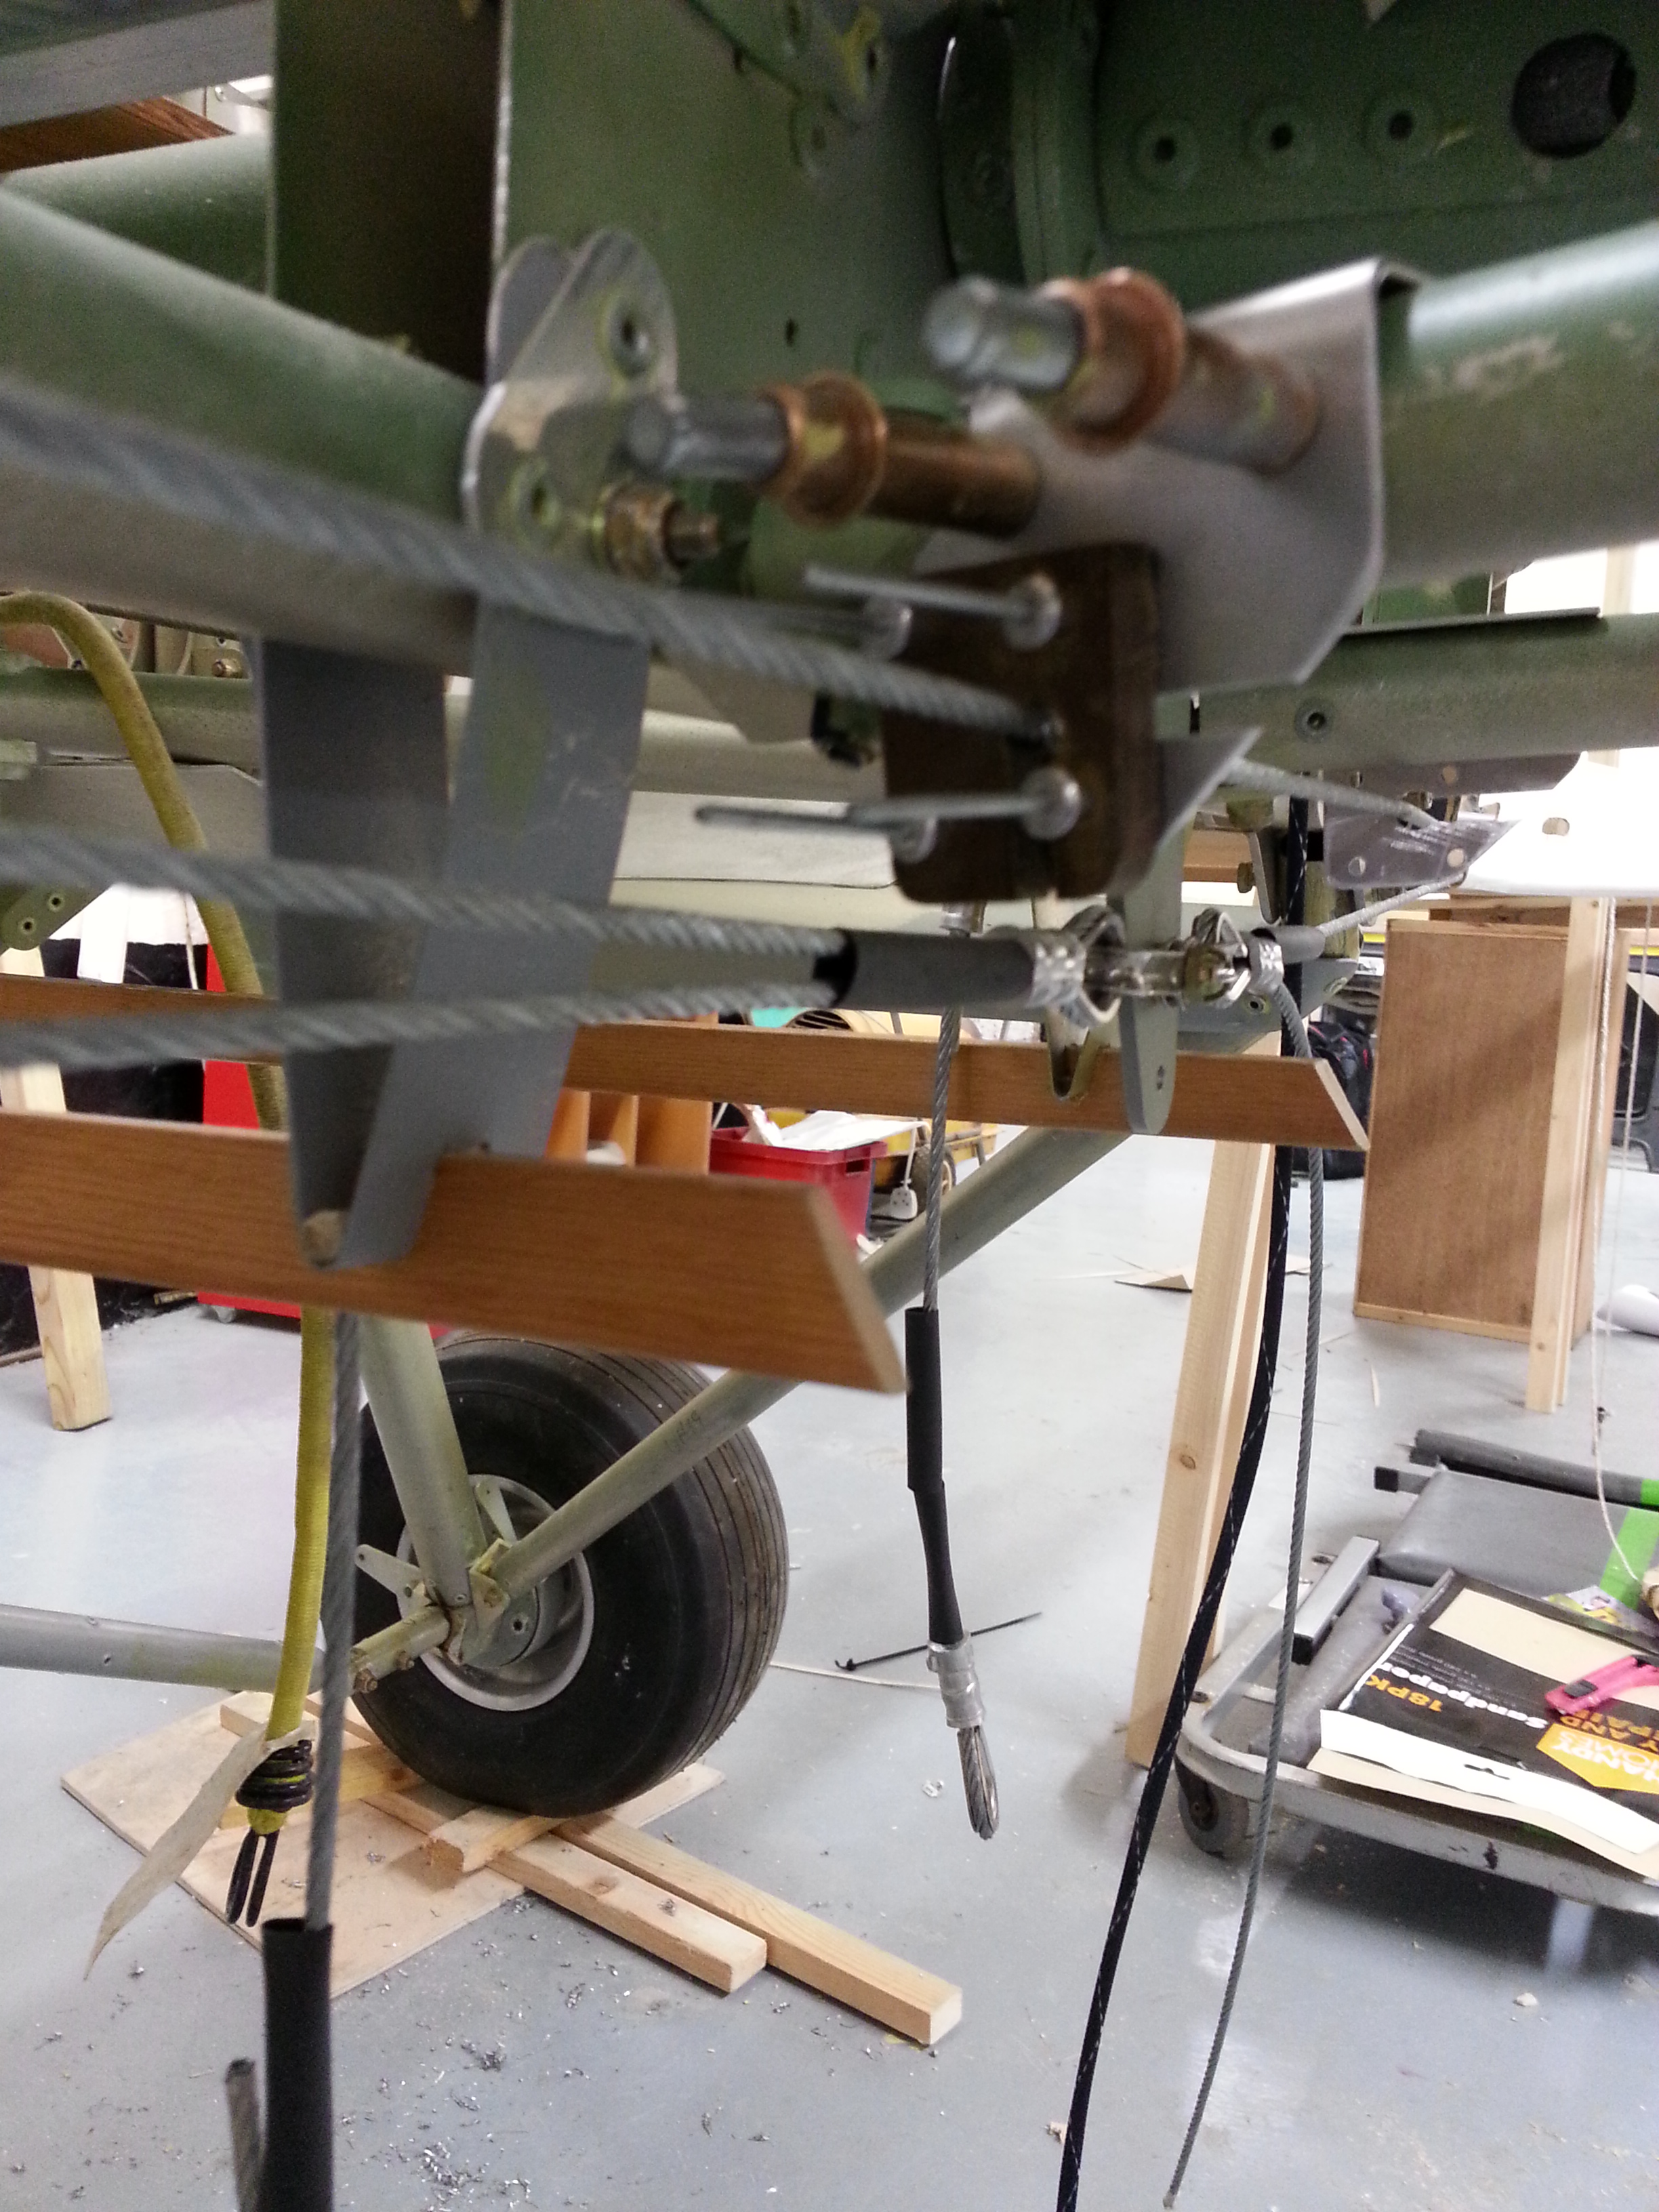
The picture above shows quite an excess on the cables as I didn’t want to cut these too short. This will be taped off, cut and then the heat shrink set once I have had it all inspected.
Also need to make sure that the fibreglass wing root fillet is cut away sufficiently to not touch. At the moment this has the cables missing each other by over 25mm so I have got separation … just need to get the exits clean.
Seem to be getting the required 25′ up and 15′ down though. I have to finalise the bottom to top aileron interconnecting rod, but push fit test has them working very smoothly.

When I visited the factory last month I met a fantastic builder called Alistair (I think that was his real name as everyone kept calling him moggy or something like that !) … He is building a Sherwood and has such fantastic detail to follow.
I noticed his wings, which were hanging up above the body had scalloped all the leading edge sheets between the ribs. This gives the material a better lie when covering rather than having an abrupt square/flat edge.
So, like Moggy, made a metal template and set to work on the lower starboard to see what it would look like.
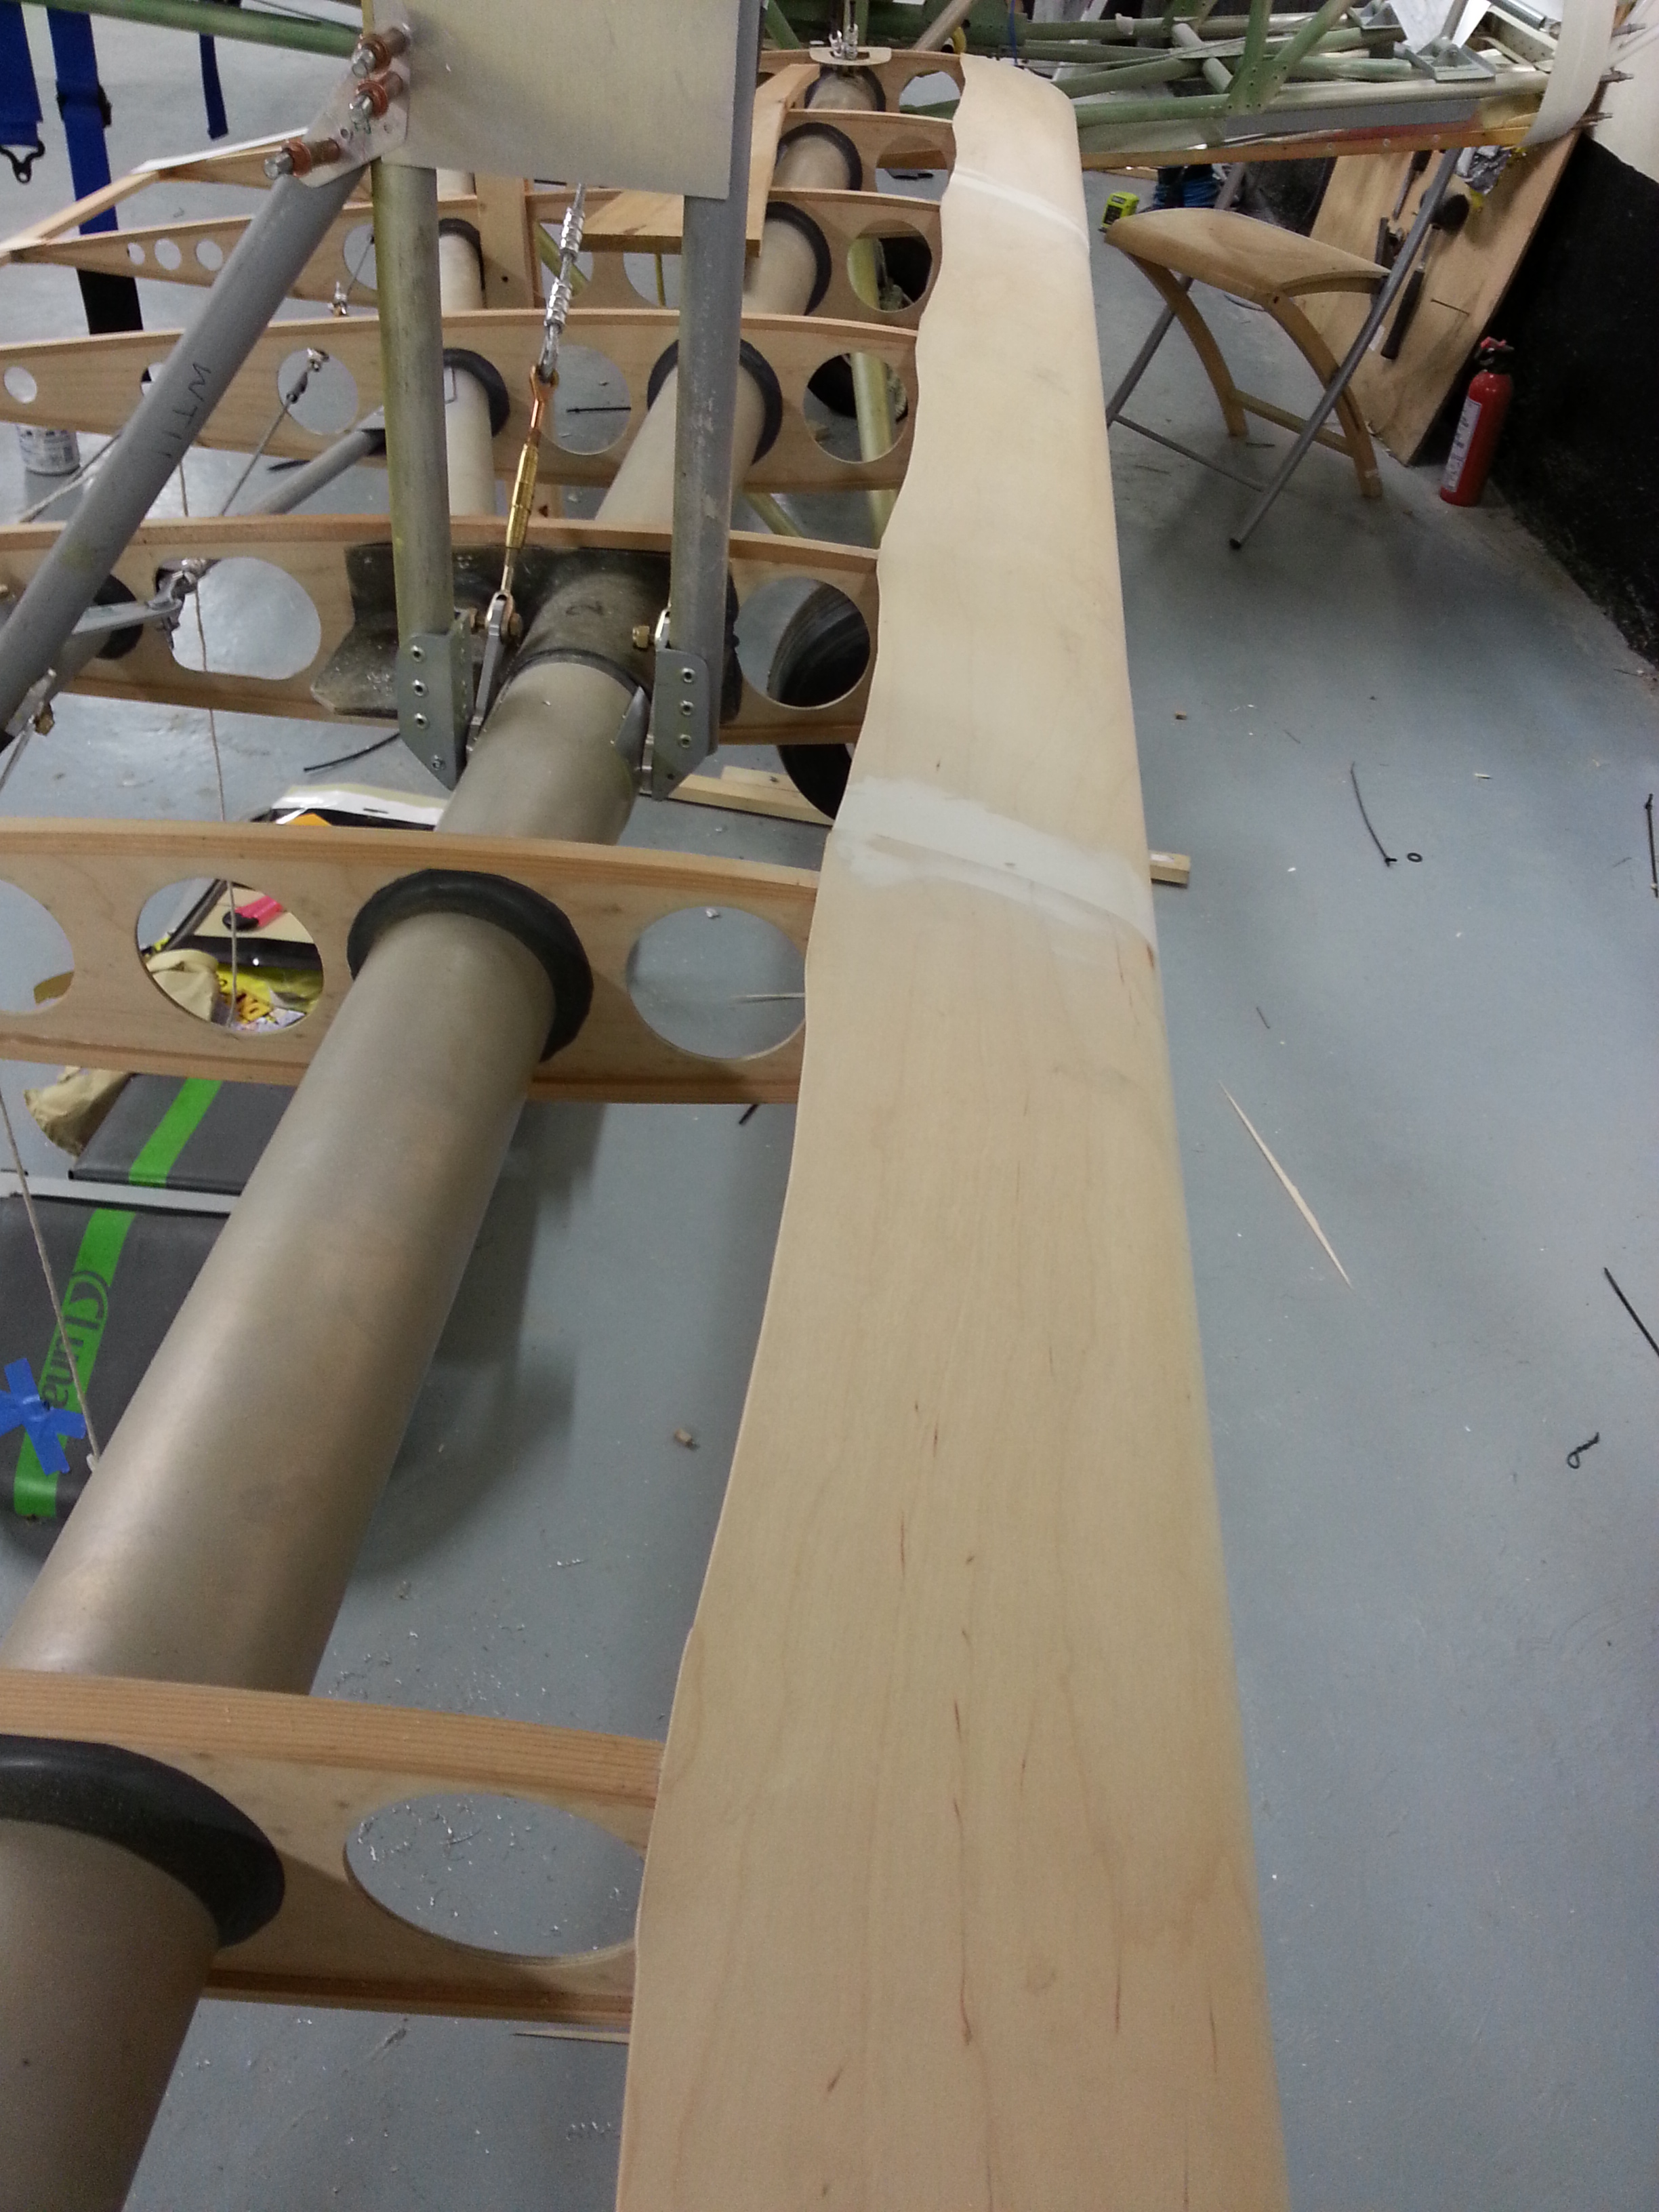
Nice effect … be tricky to get the tops done without taking the wings back off …

Having decided the Jury’s seem good size for supporting the wings I have removed them for painting. Opted for wood manufacture as its easier to get the parts out here .. ie normal 1″ dowel !
Removed all the brackets and sanded down before first coat of varnish/wood sealant. Then applied a first coat of Red ….

Will now source a vertical Remove Before Flying sticker before spray varnishing the whole lot.

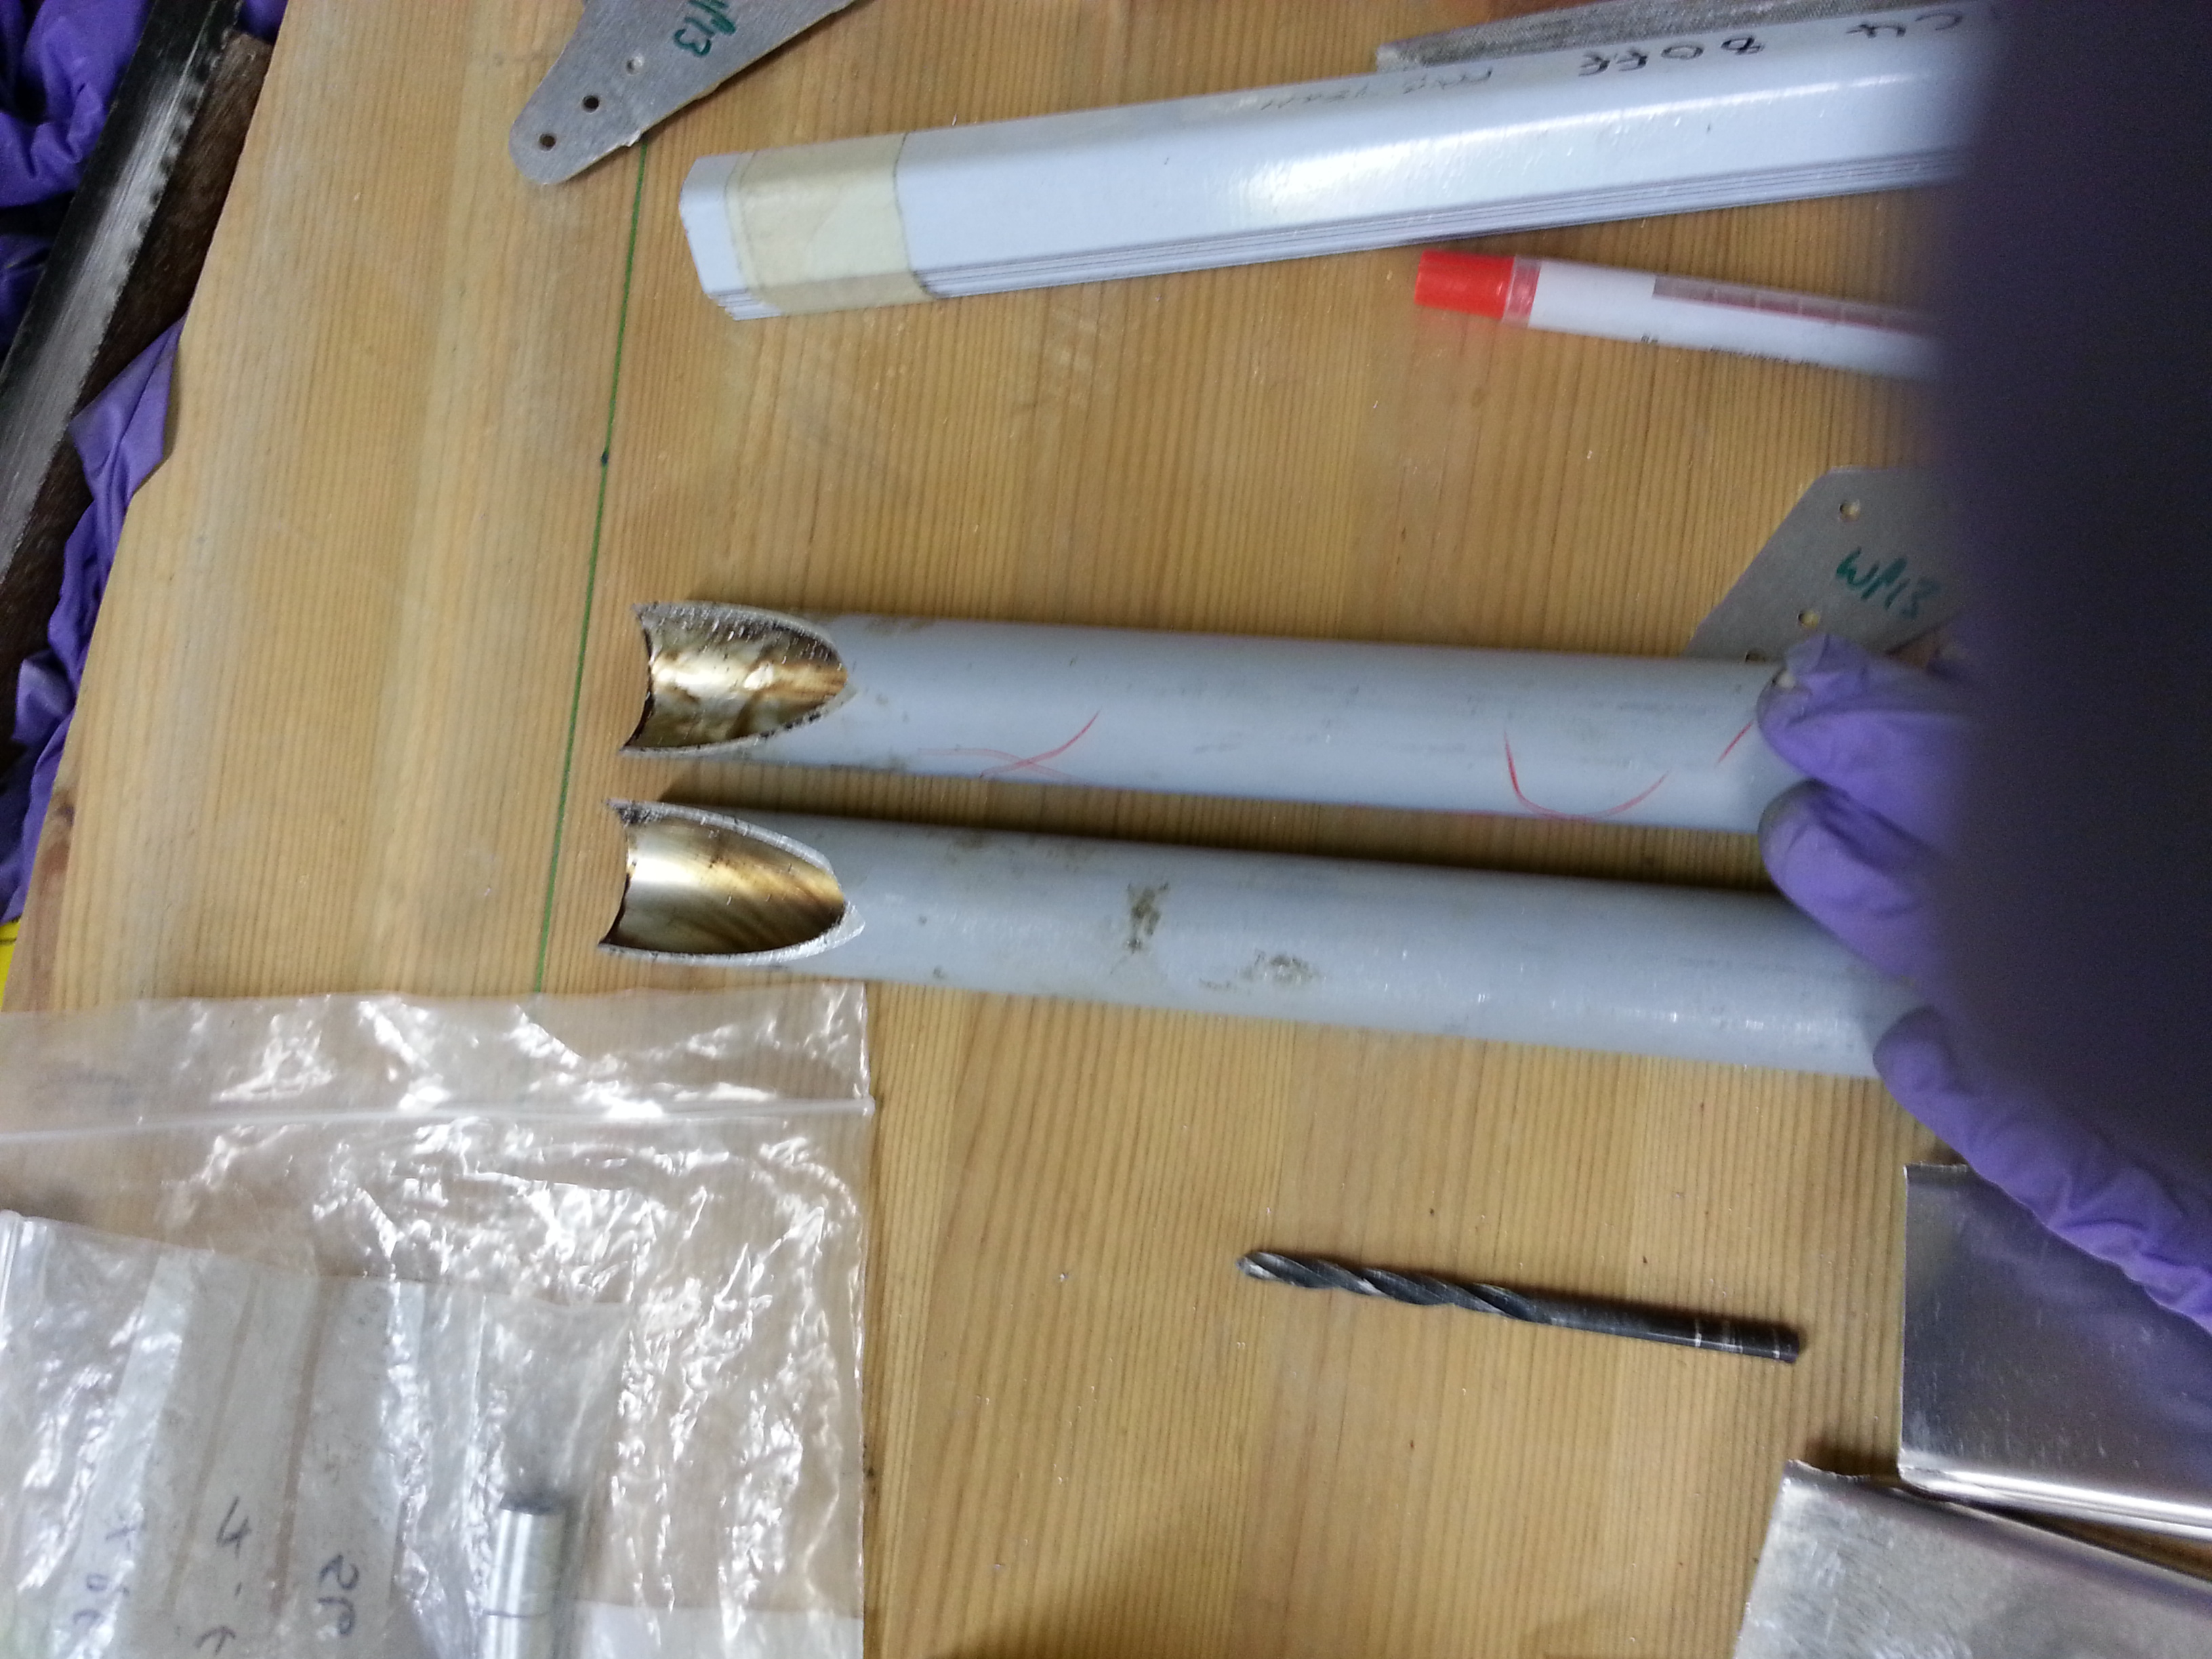
Due to the enforced stop on the wing strut support brackets I started to cut the pitot tubes. I had these bent by a local boating supplies shop. They had a natty little pipe bending tool which had a curved boss that you wound in with a socket set and simple .. no kinks just a neat bend.. we went slightly over the 90 degrees as the natural spring brought it back.

Now just need to cut an access hole for the tubing to route through, then pass through ribs lightening holes to trailing edge root before fitting to frame and passing to the rear of the P1 panel.

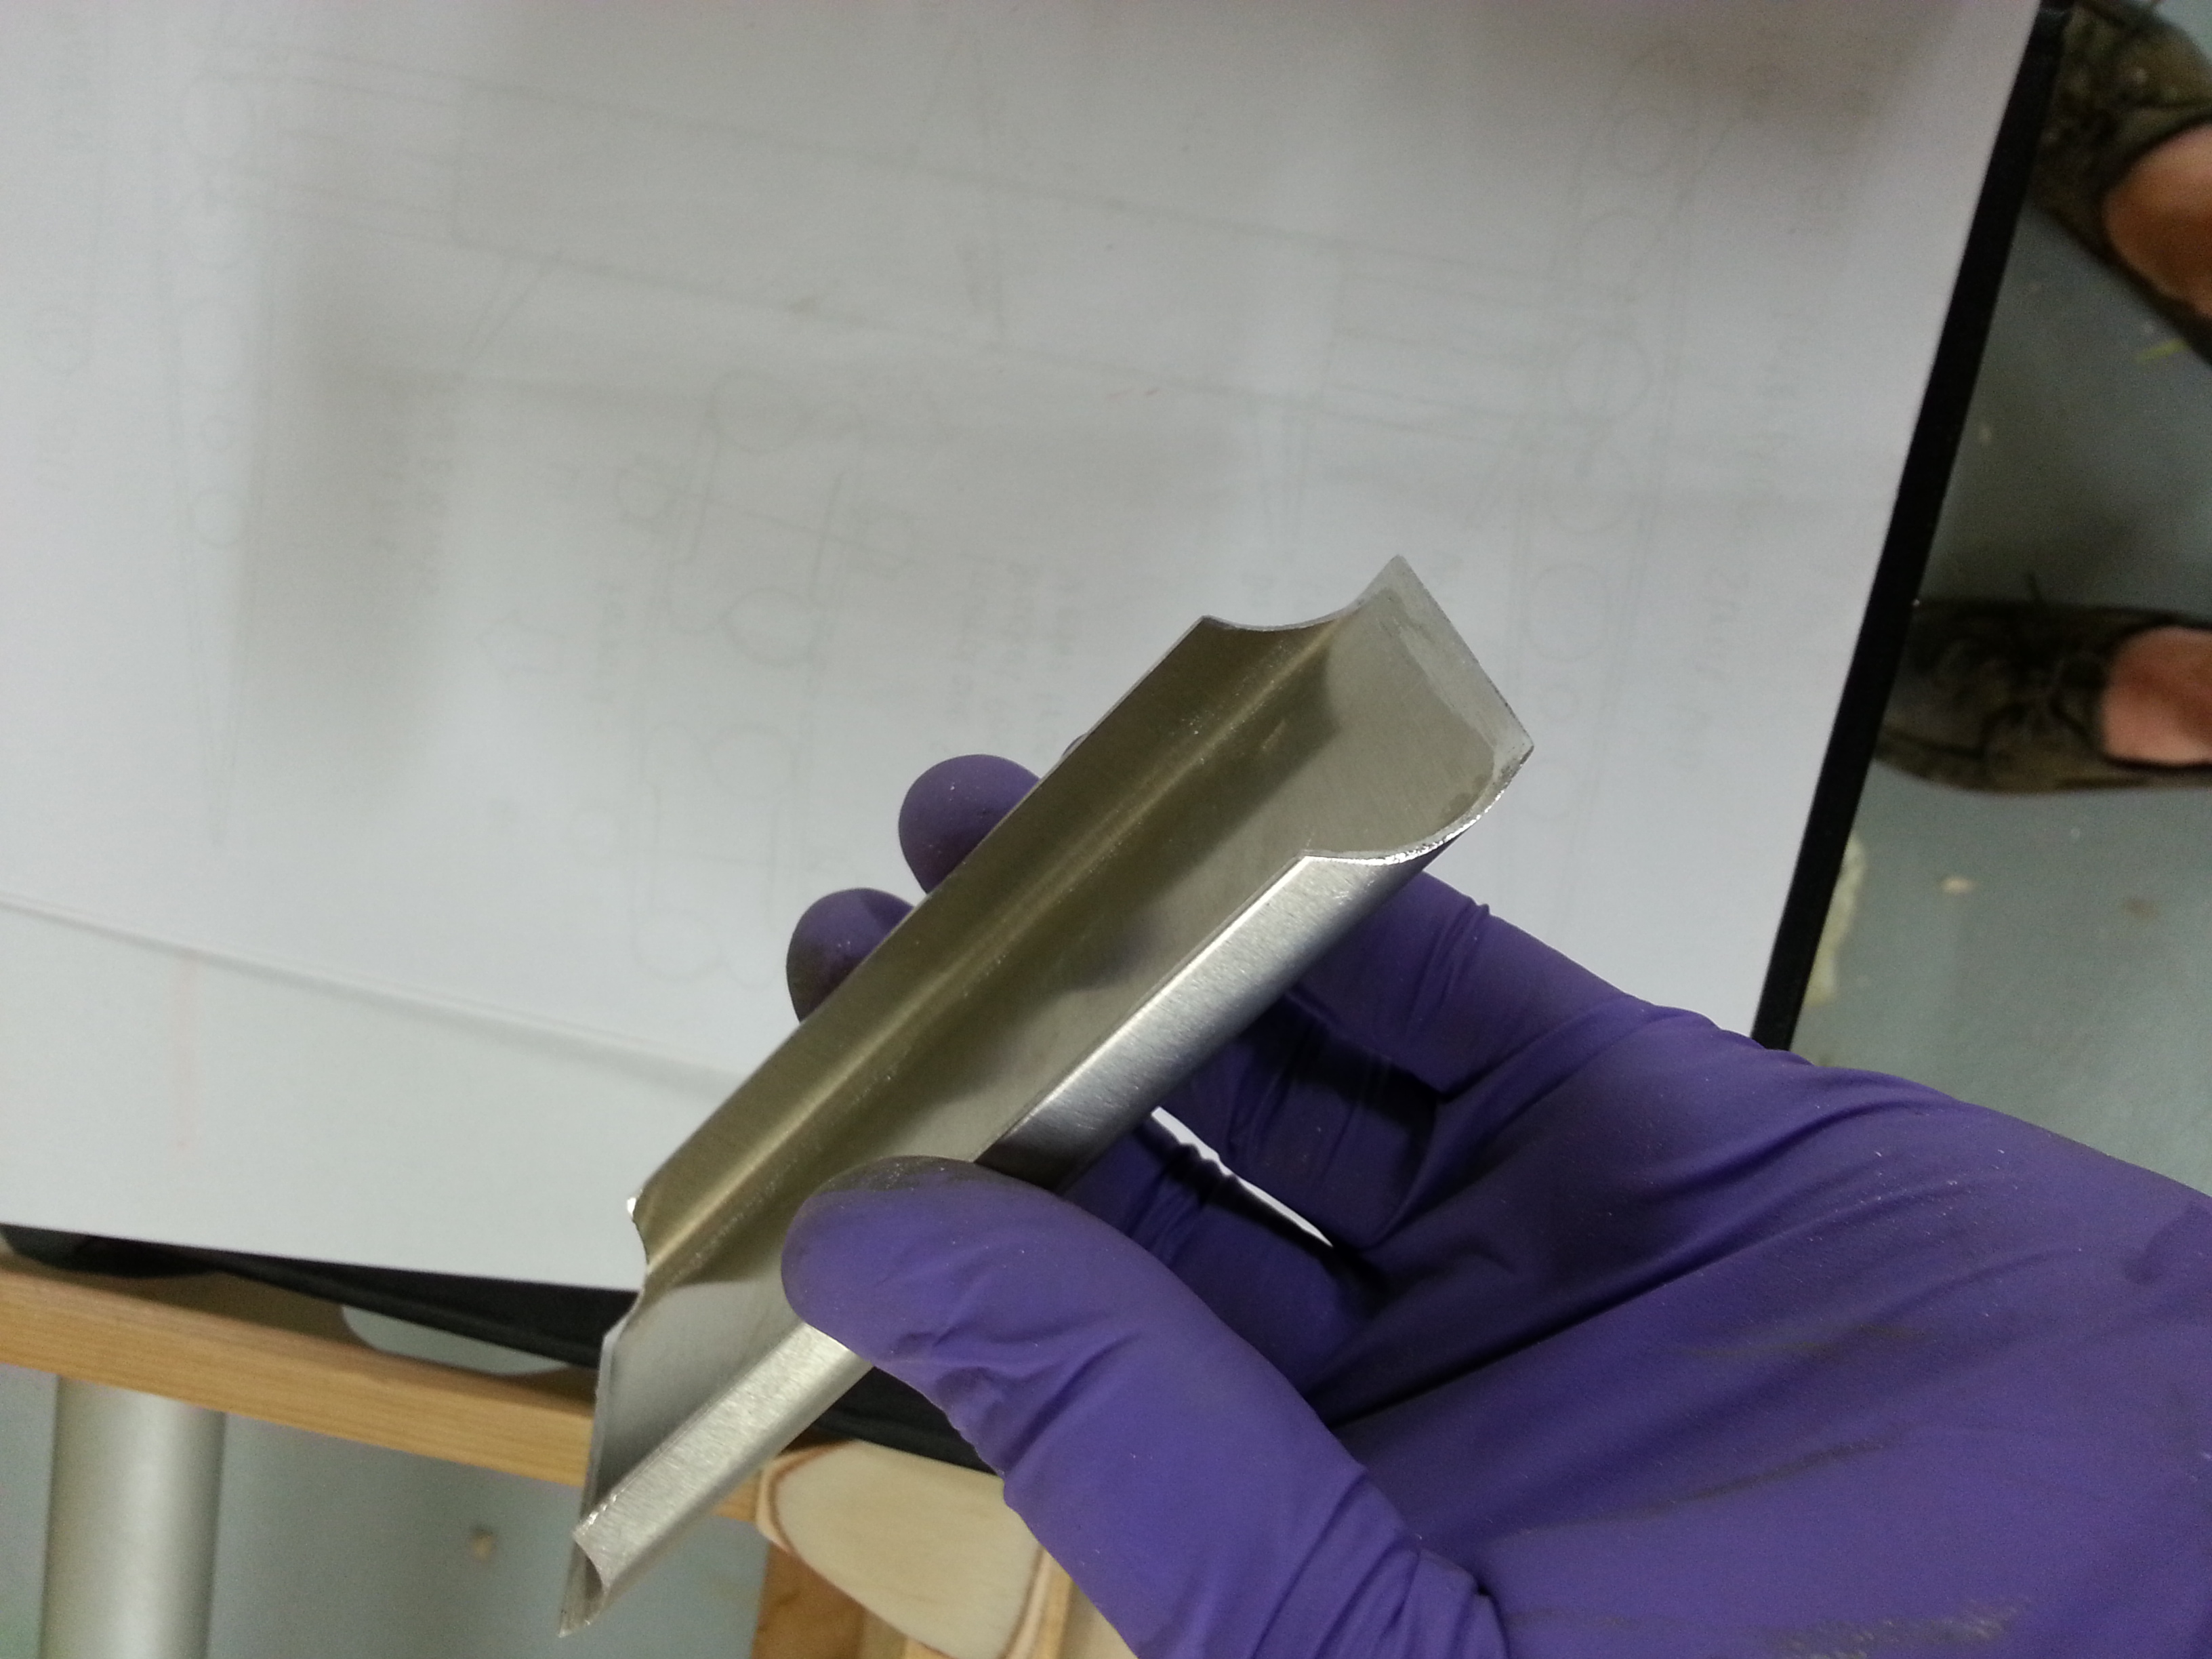
Yes, things do go wrong …. I was on a roll with the wing strut support brackets … get organised, lay out the tools, 4 support brackets to shape and prep and chamfer both ends, 8 doubler plates to do likewise, 8 saddle clamps to shape and finish….
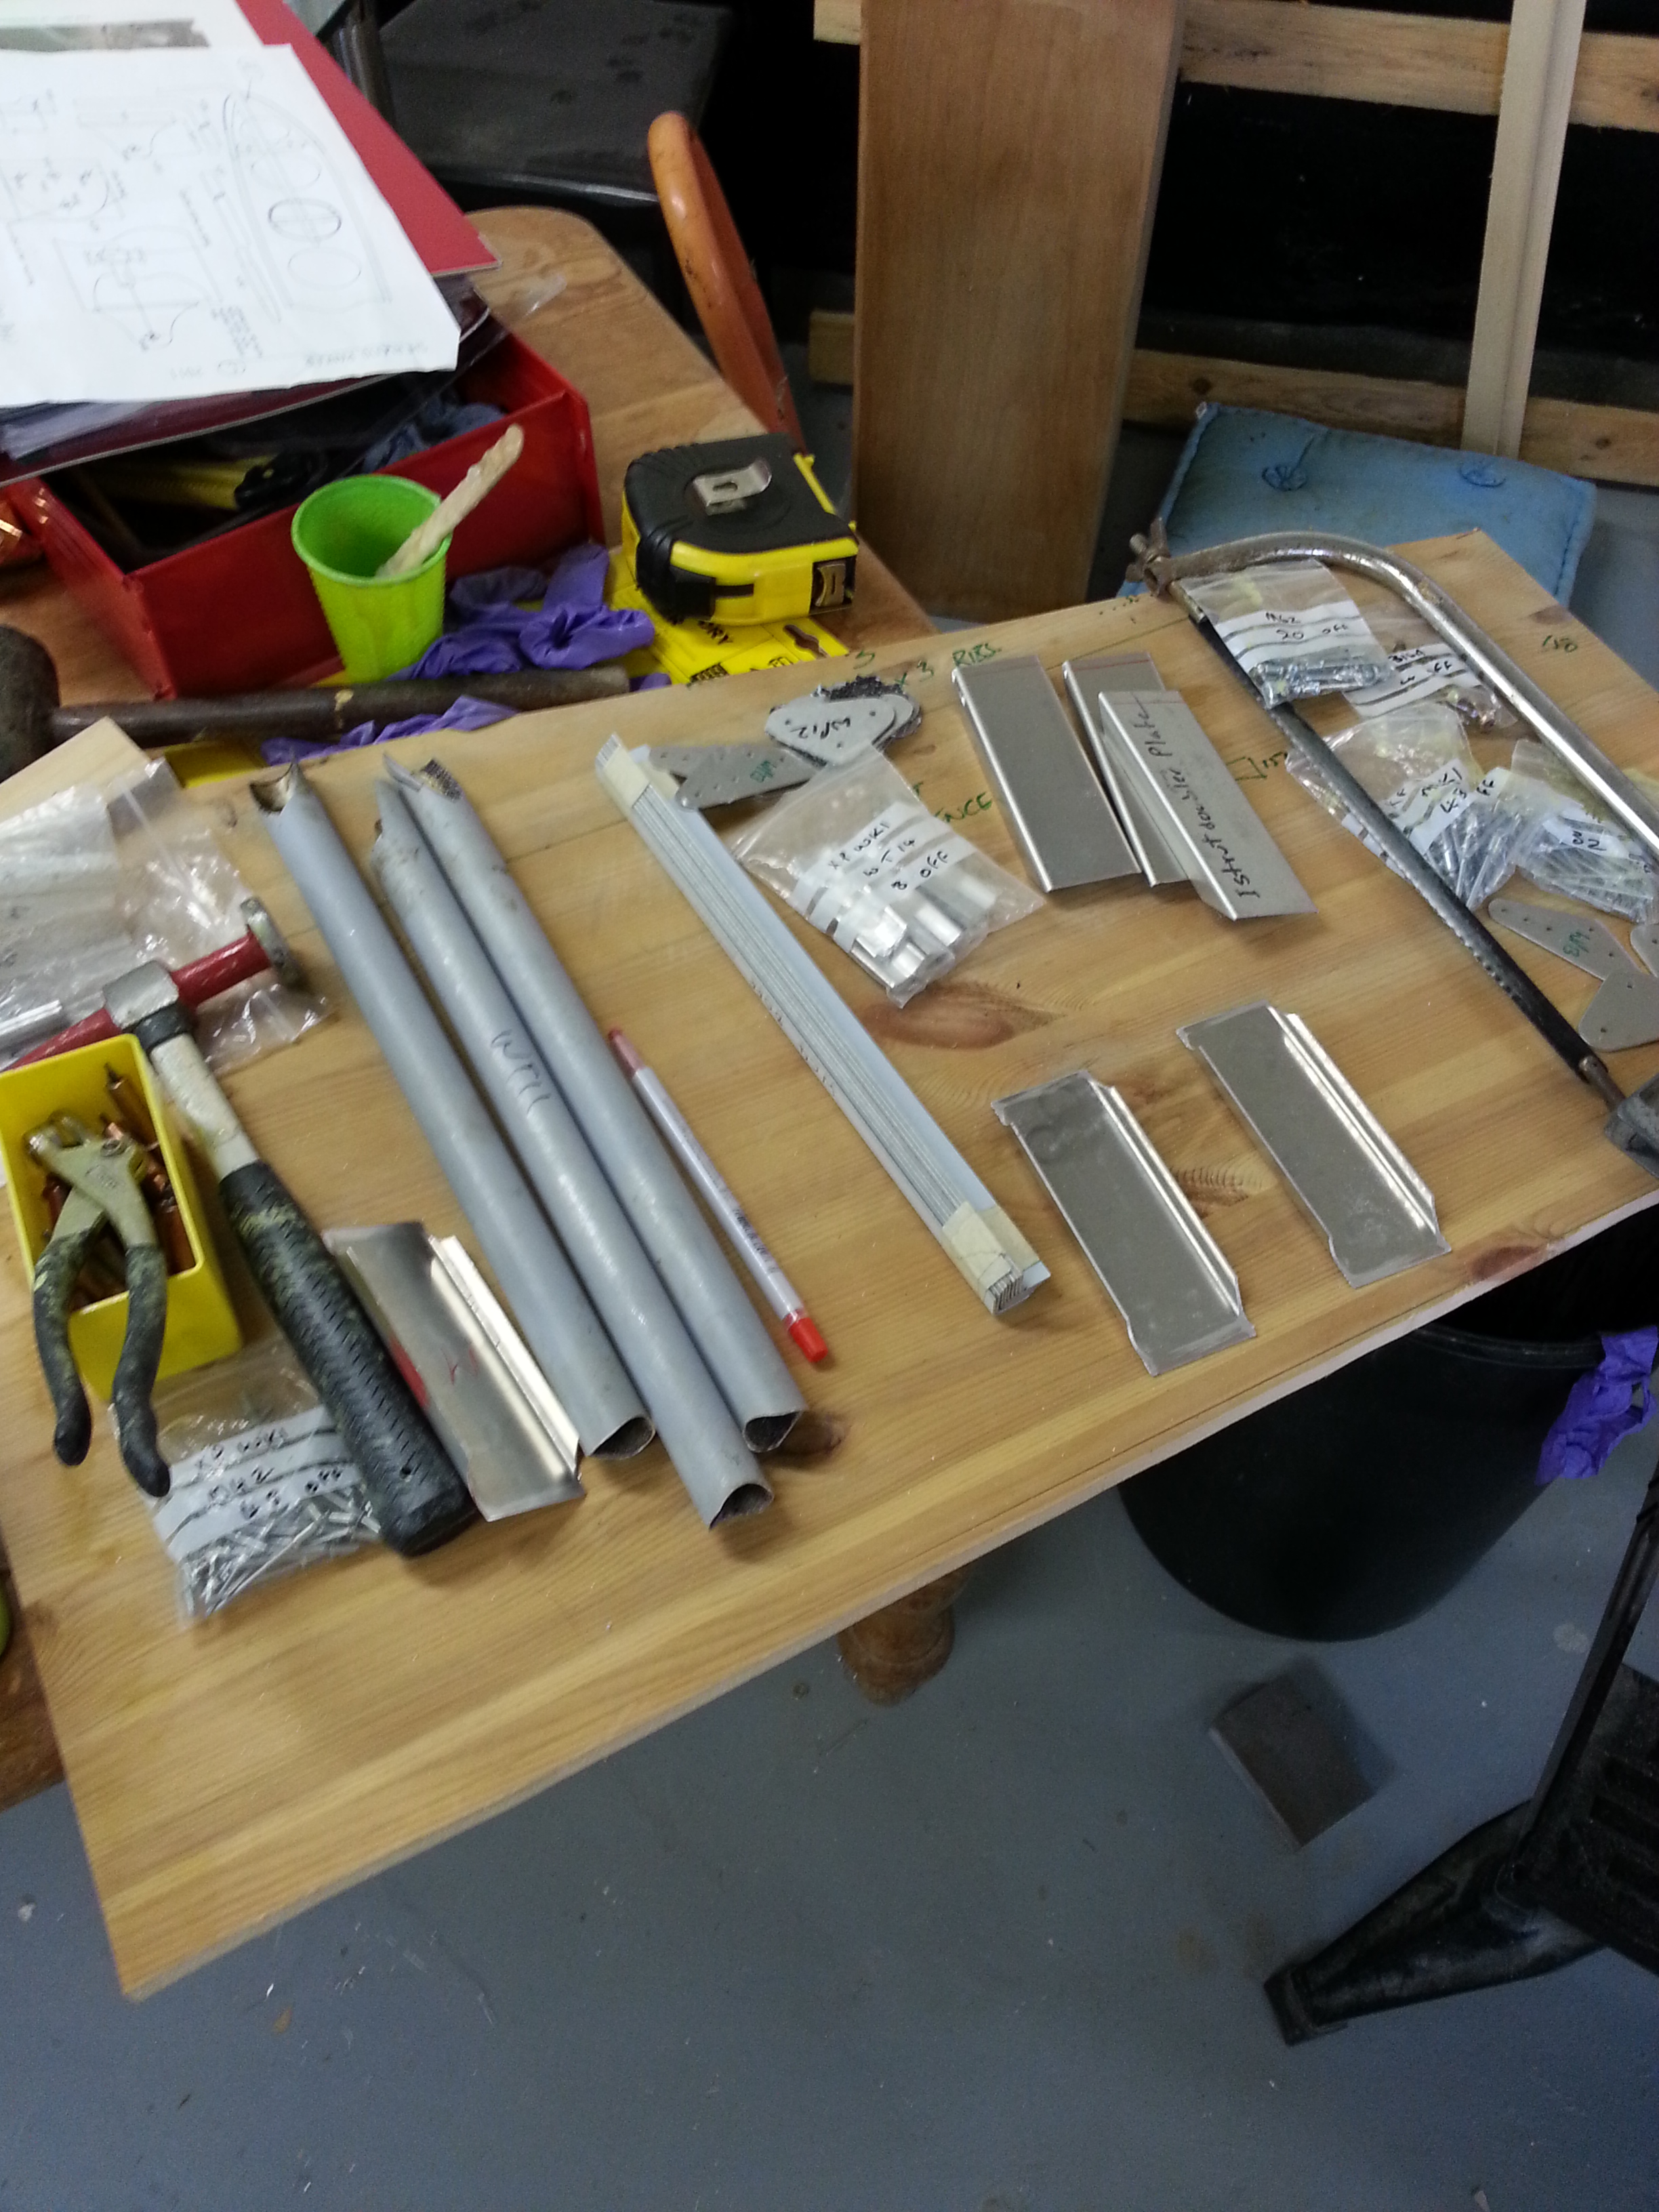
So started by waxoyling the inners of all 4 tubes (WT14), then triple measured the angle and cut all 4 the same…
Oops, came to finish the first lower one last night, all saddles and chamfers complete and sitting exactly as per plan (with the 2mm gap at the bottom spar connection).. then offered the top one up ….
As the top support strut sits at a slightly different angle the chamfer I had cut was too acute …. and you cant put metal back !
Yes, it could probably work as the doubler triangular brackets still pick up the large majority of the pipe … but it leaves a gap that is too large and I will ALWAYS know it is there !!
One of those ones you cant sleep on … emailed Ivor at TLAC and asked him to bill and ship two more tubes … they cost pence and the time to prep is very short .. just not worth even contemplating making do !
UPDATE: – Within 12 hours Ivor had emailed to say replacement parts were in the post – what a team ! Thanks …..

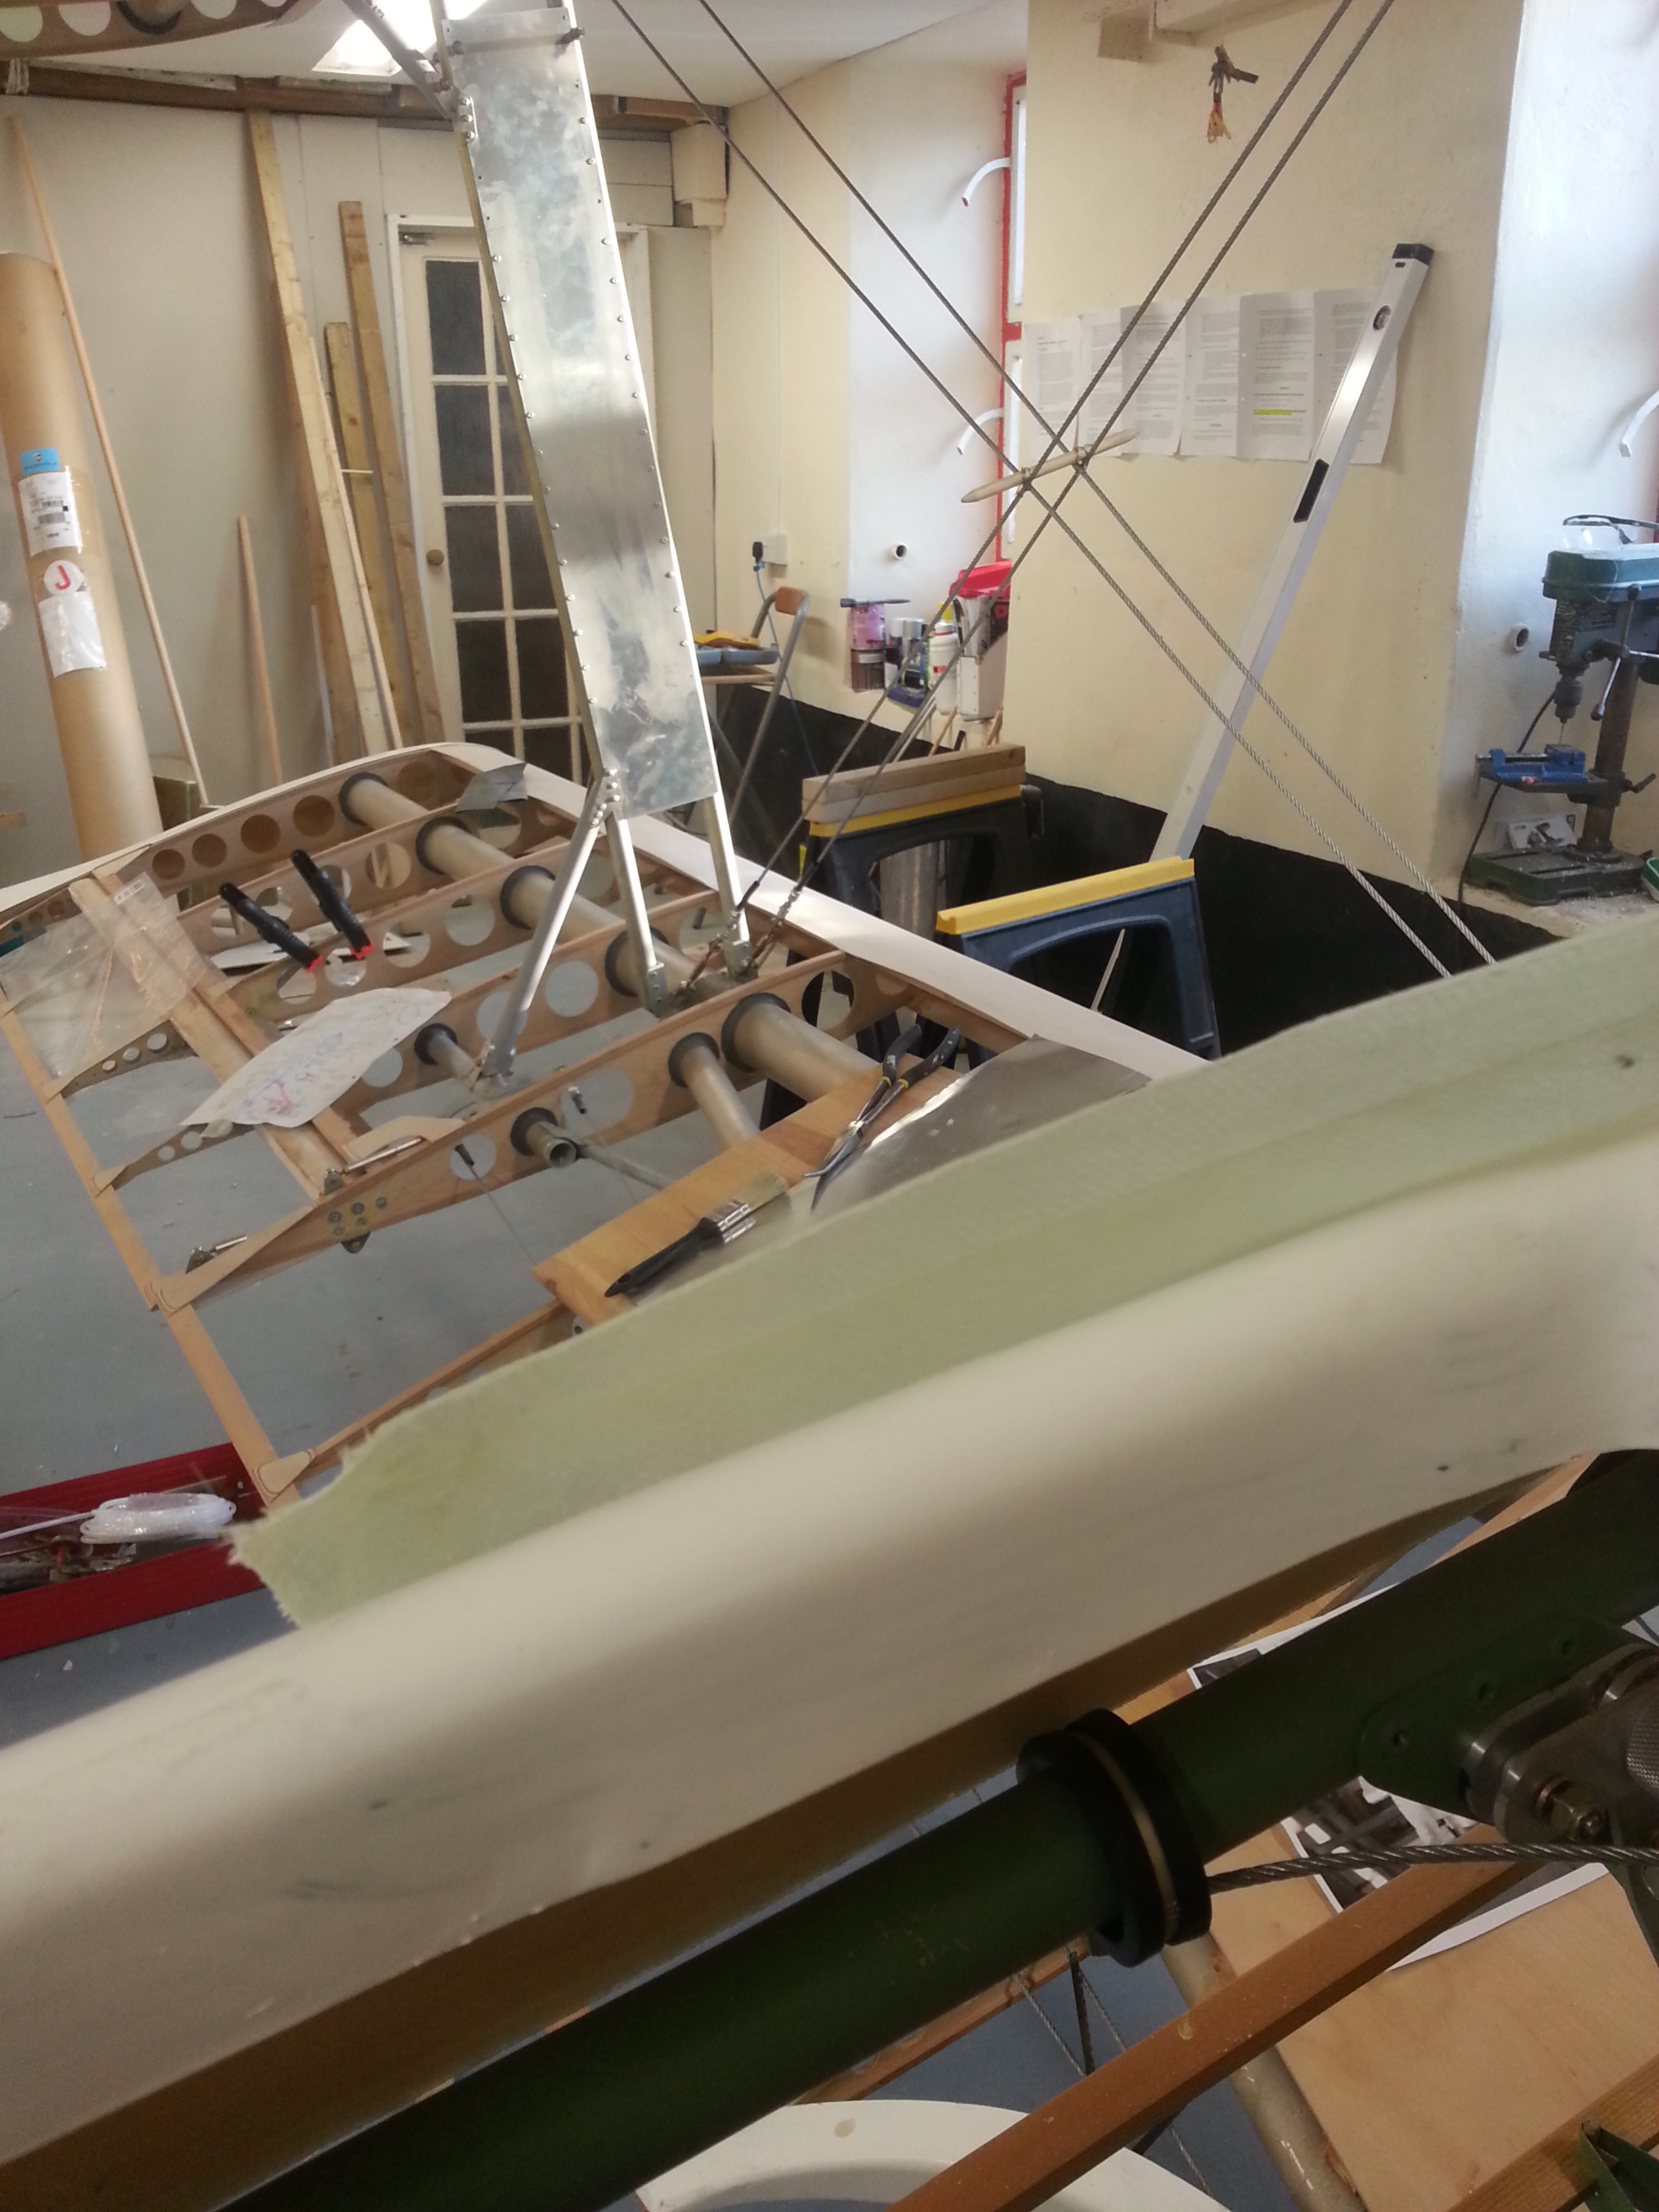
Its a time for completion now ! … having focussed heavily on the wing bolts and alignment I am now in catch up to get all the other little bits completed and tidied up.
We have a major air display over here in early September and I am hoping to show the Sherwood on static display – uncovered .. so want to get all the ailerons connected and completed (just aligning the return closed loop cable this week), all hinge points completed (last night) and then I can go for scalloping the leading edges (as per the model in Little Snoring). This will mean the material lies better.
Then, when all the woodwork bits have been completed I need to treat the wood with 10% thinned polyurethane to protect.

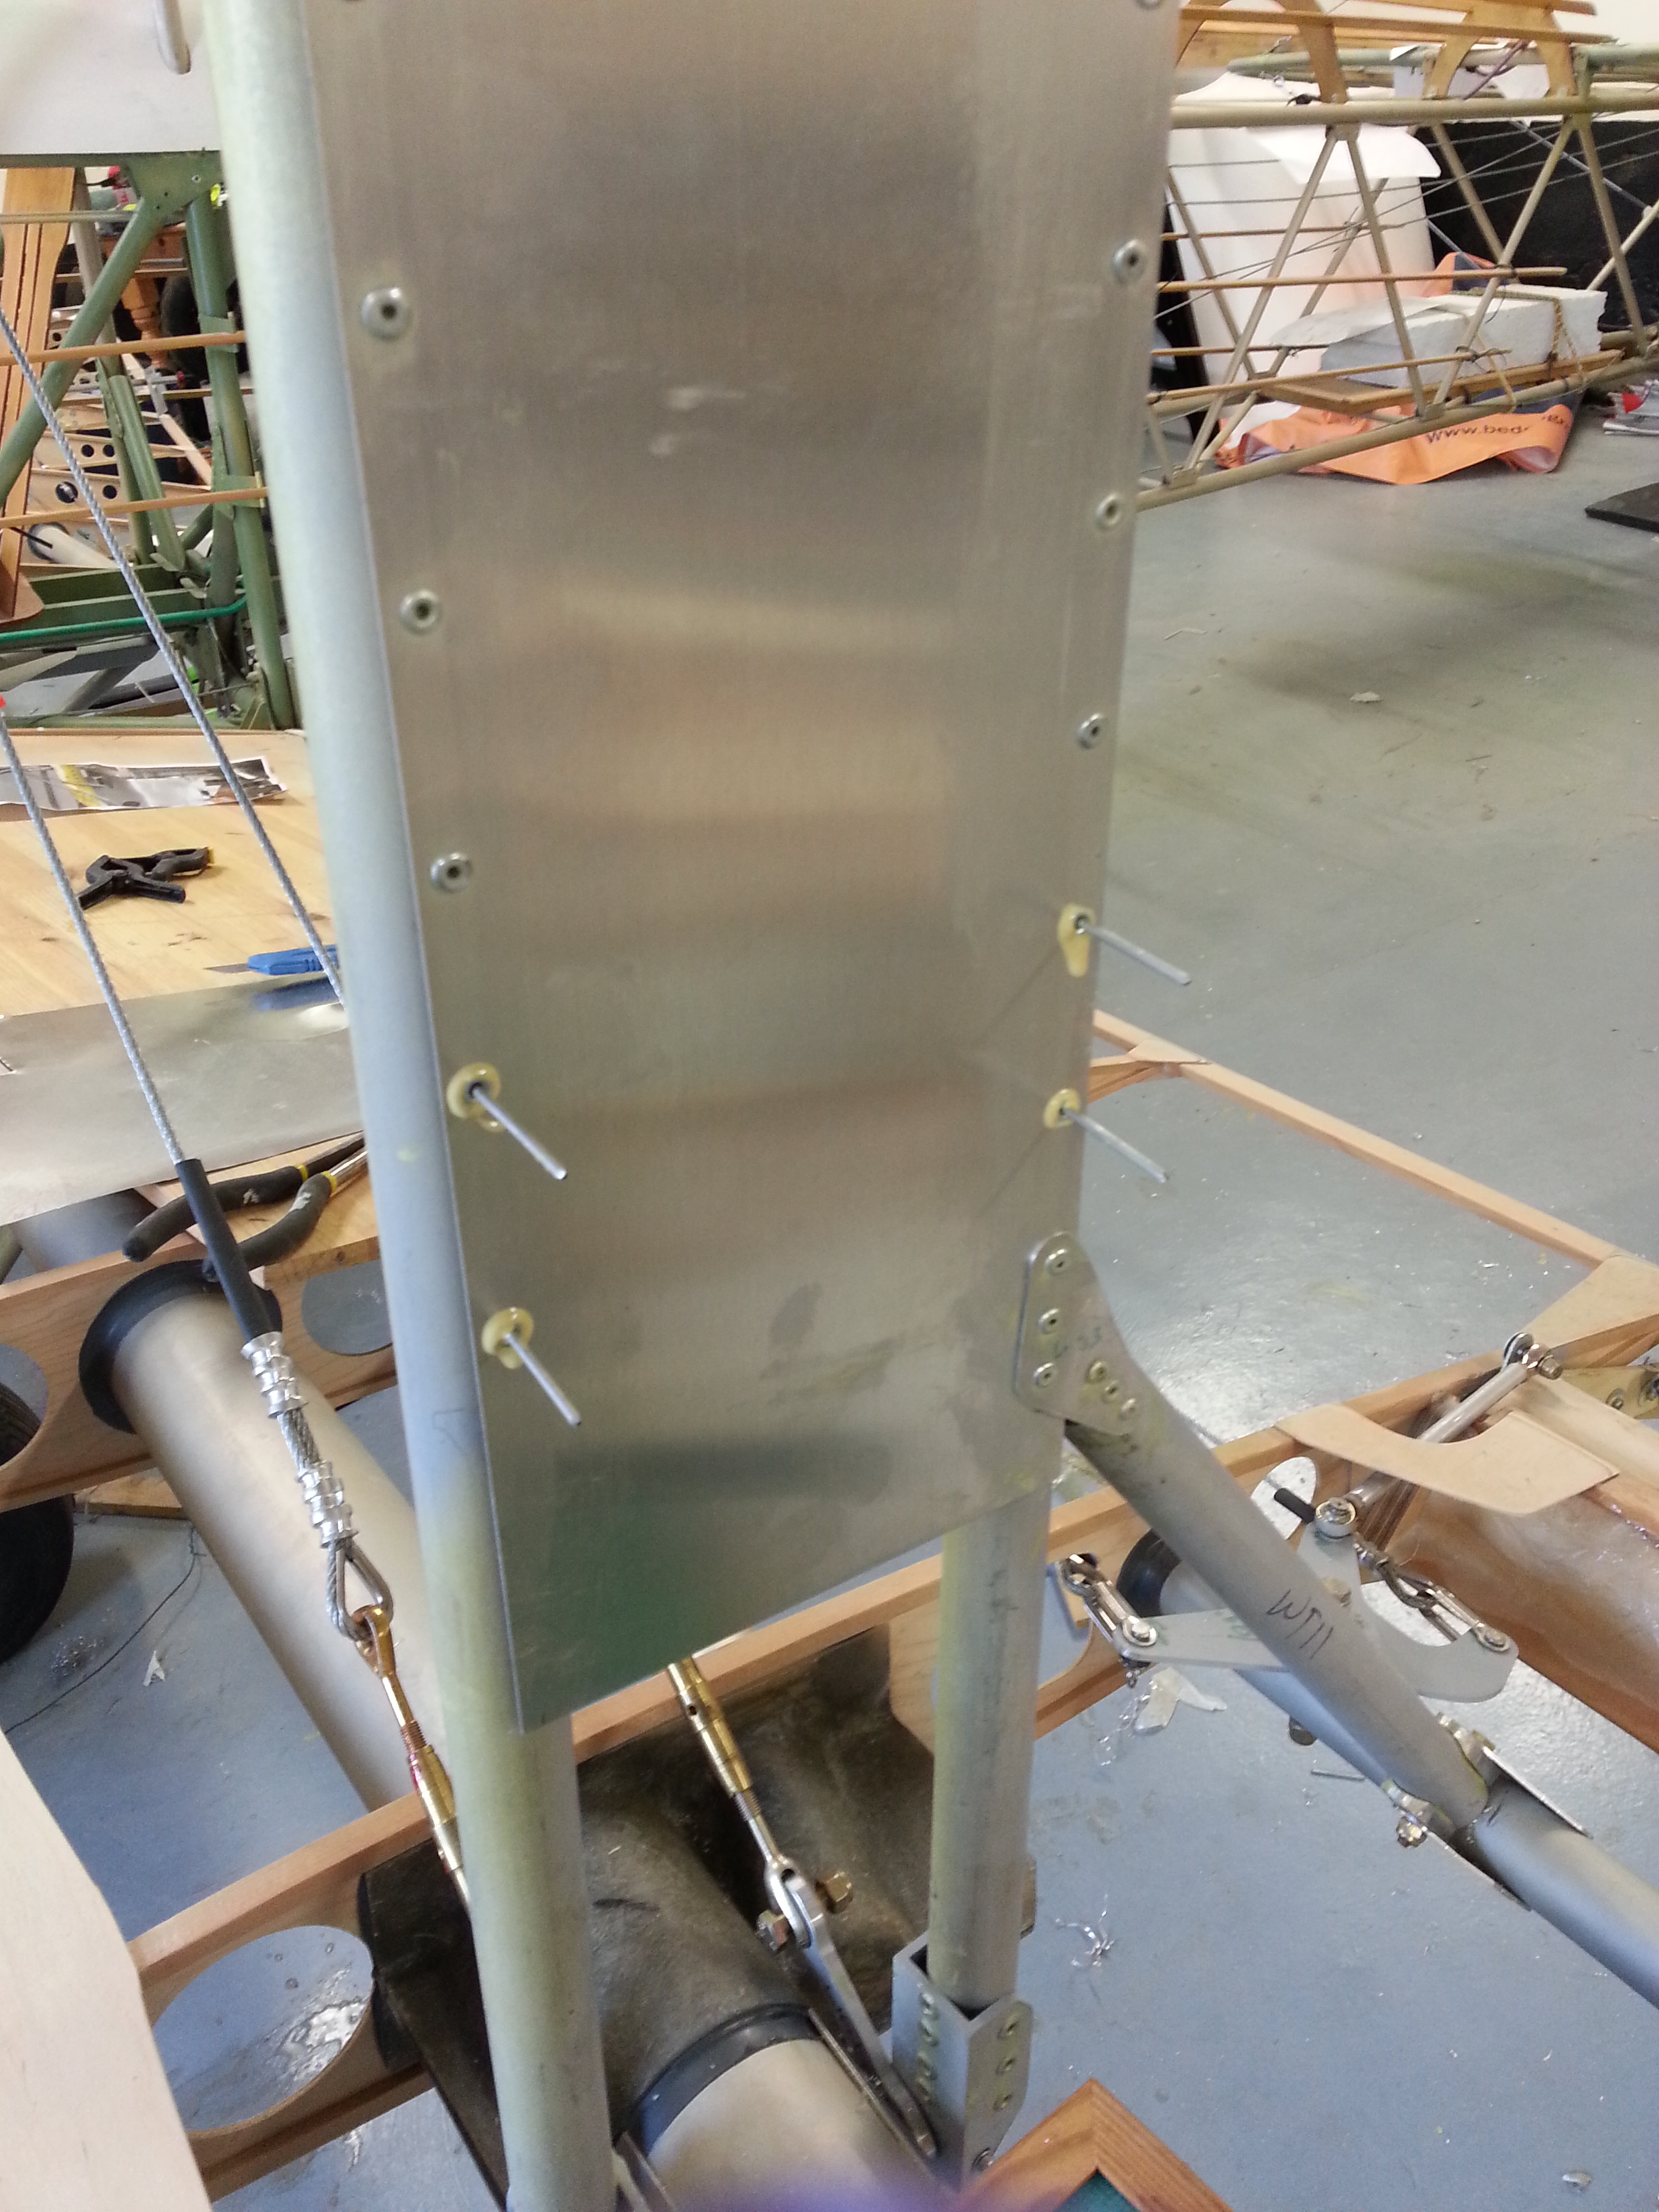
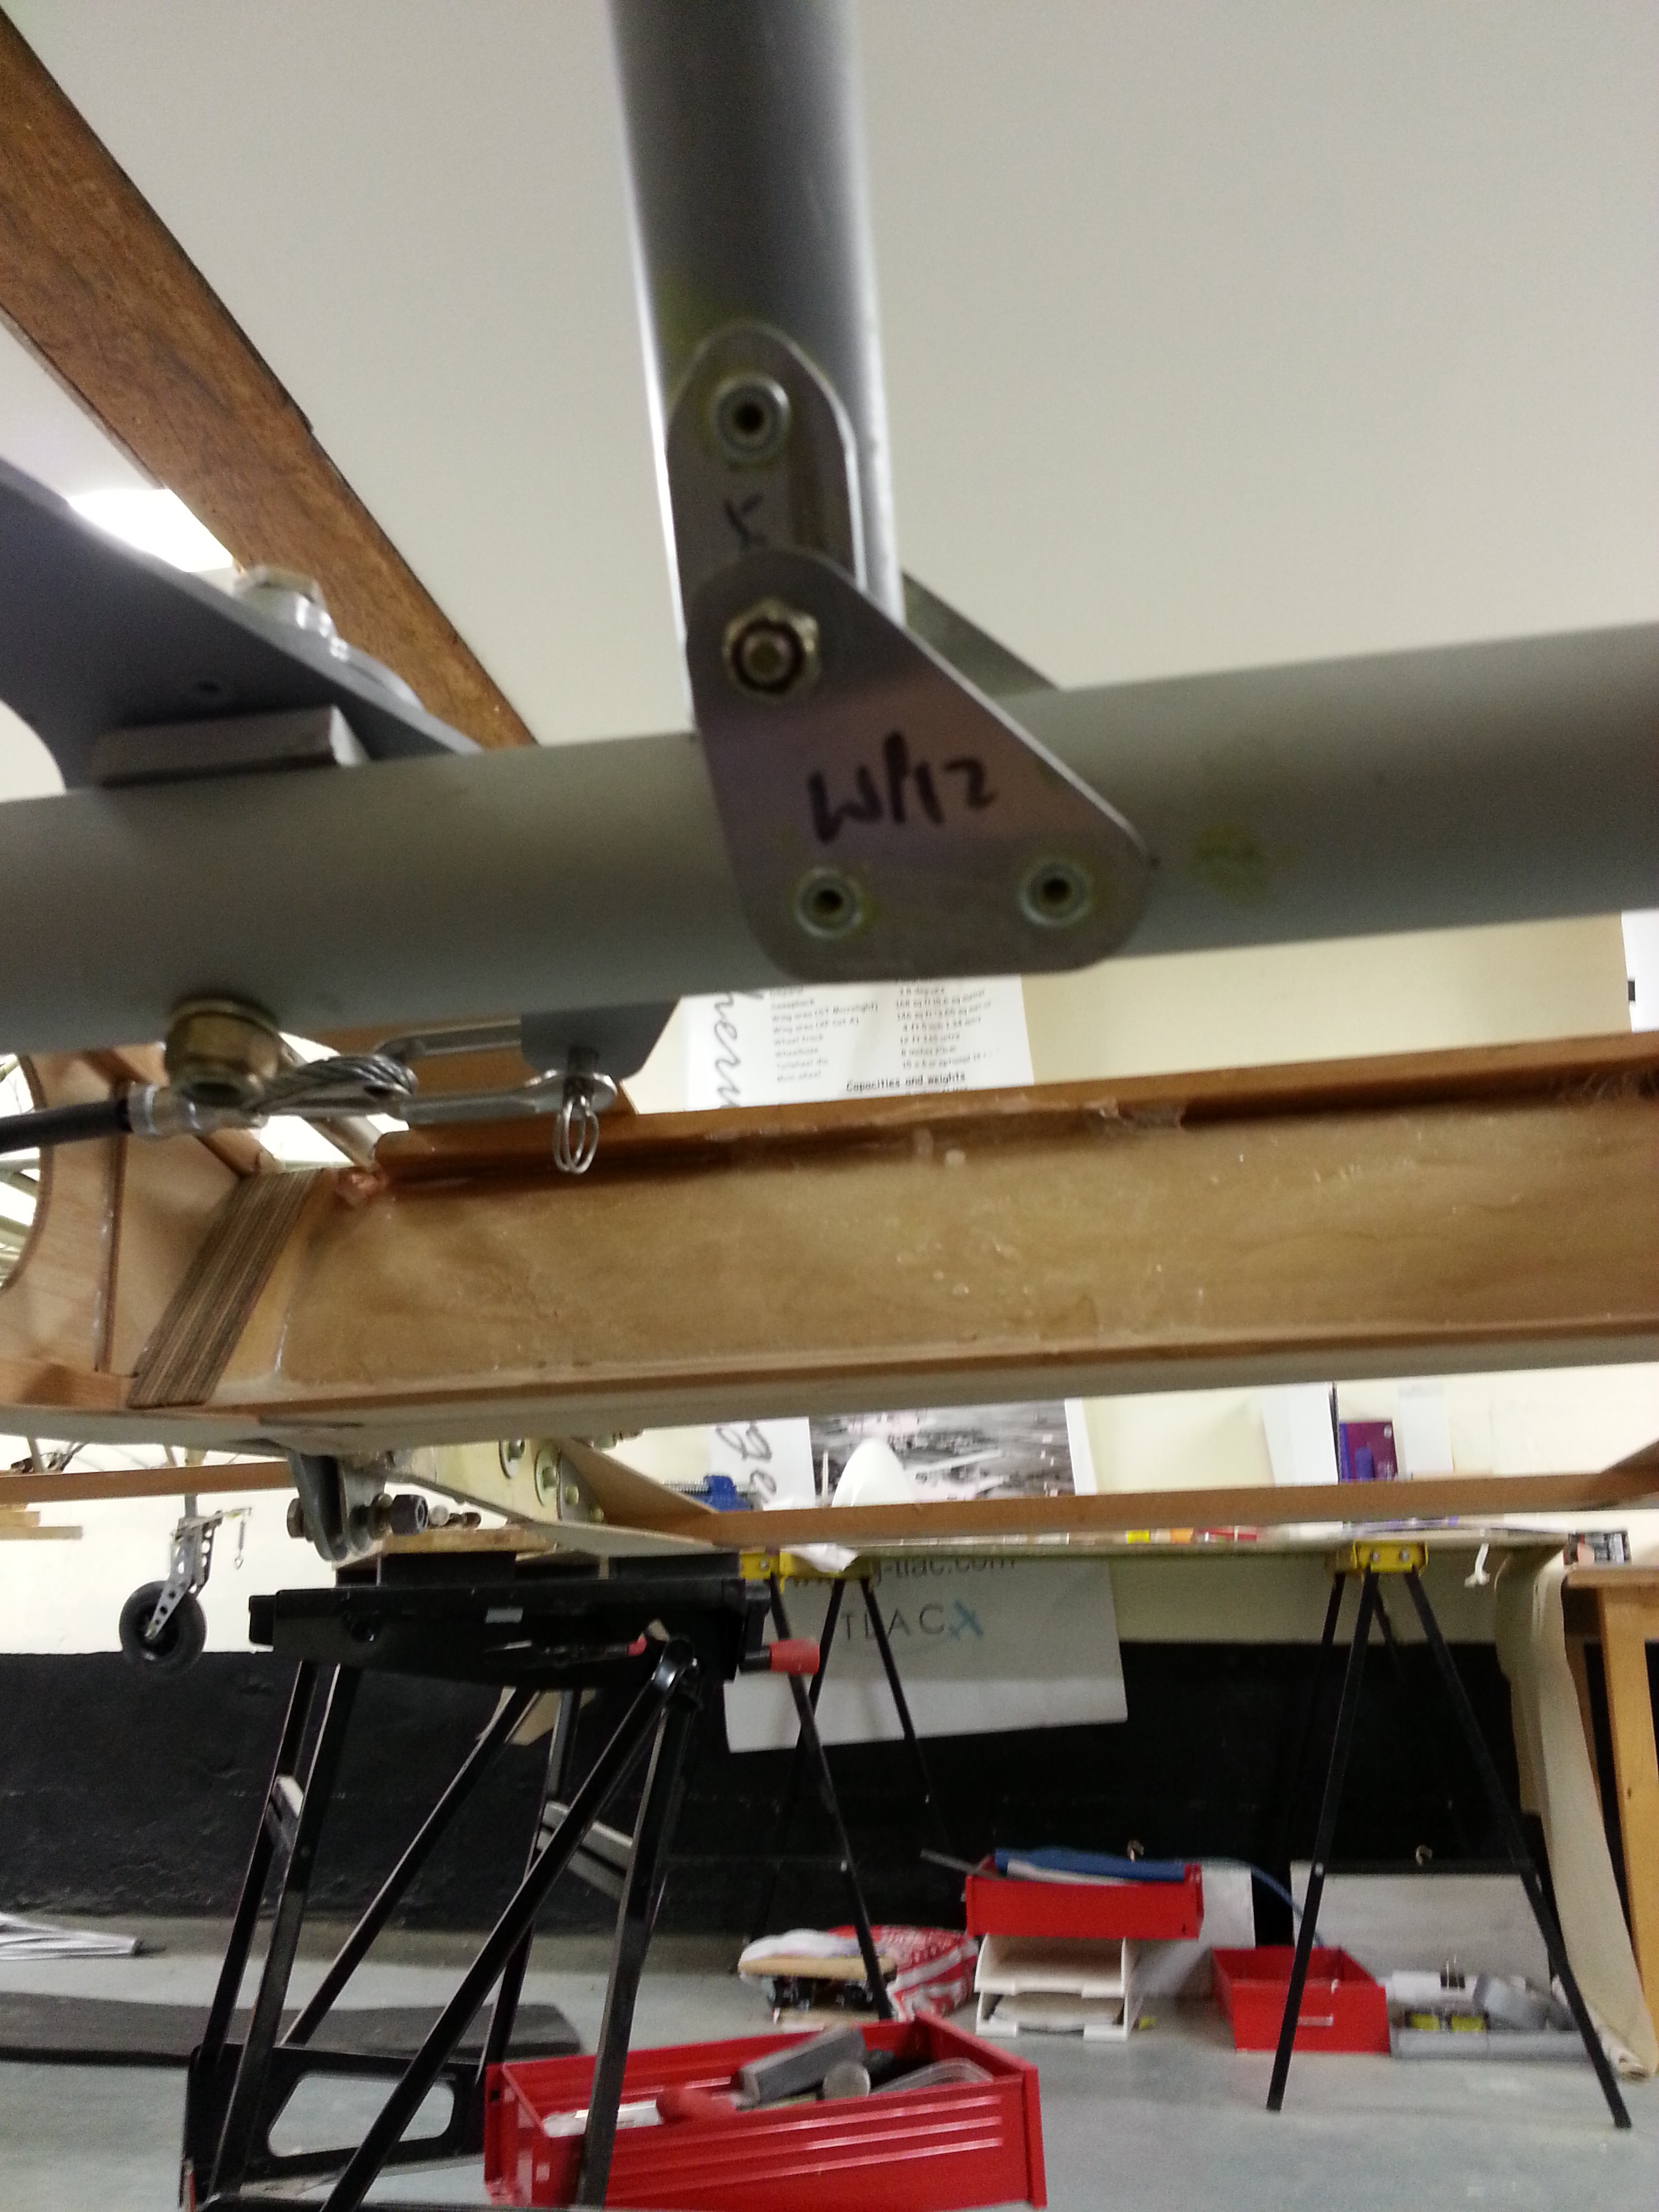
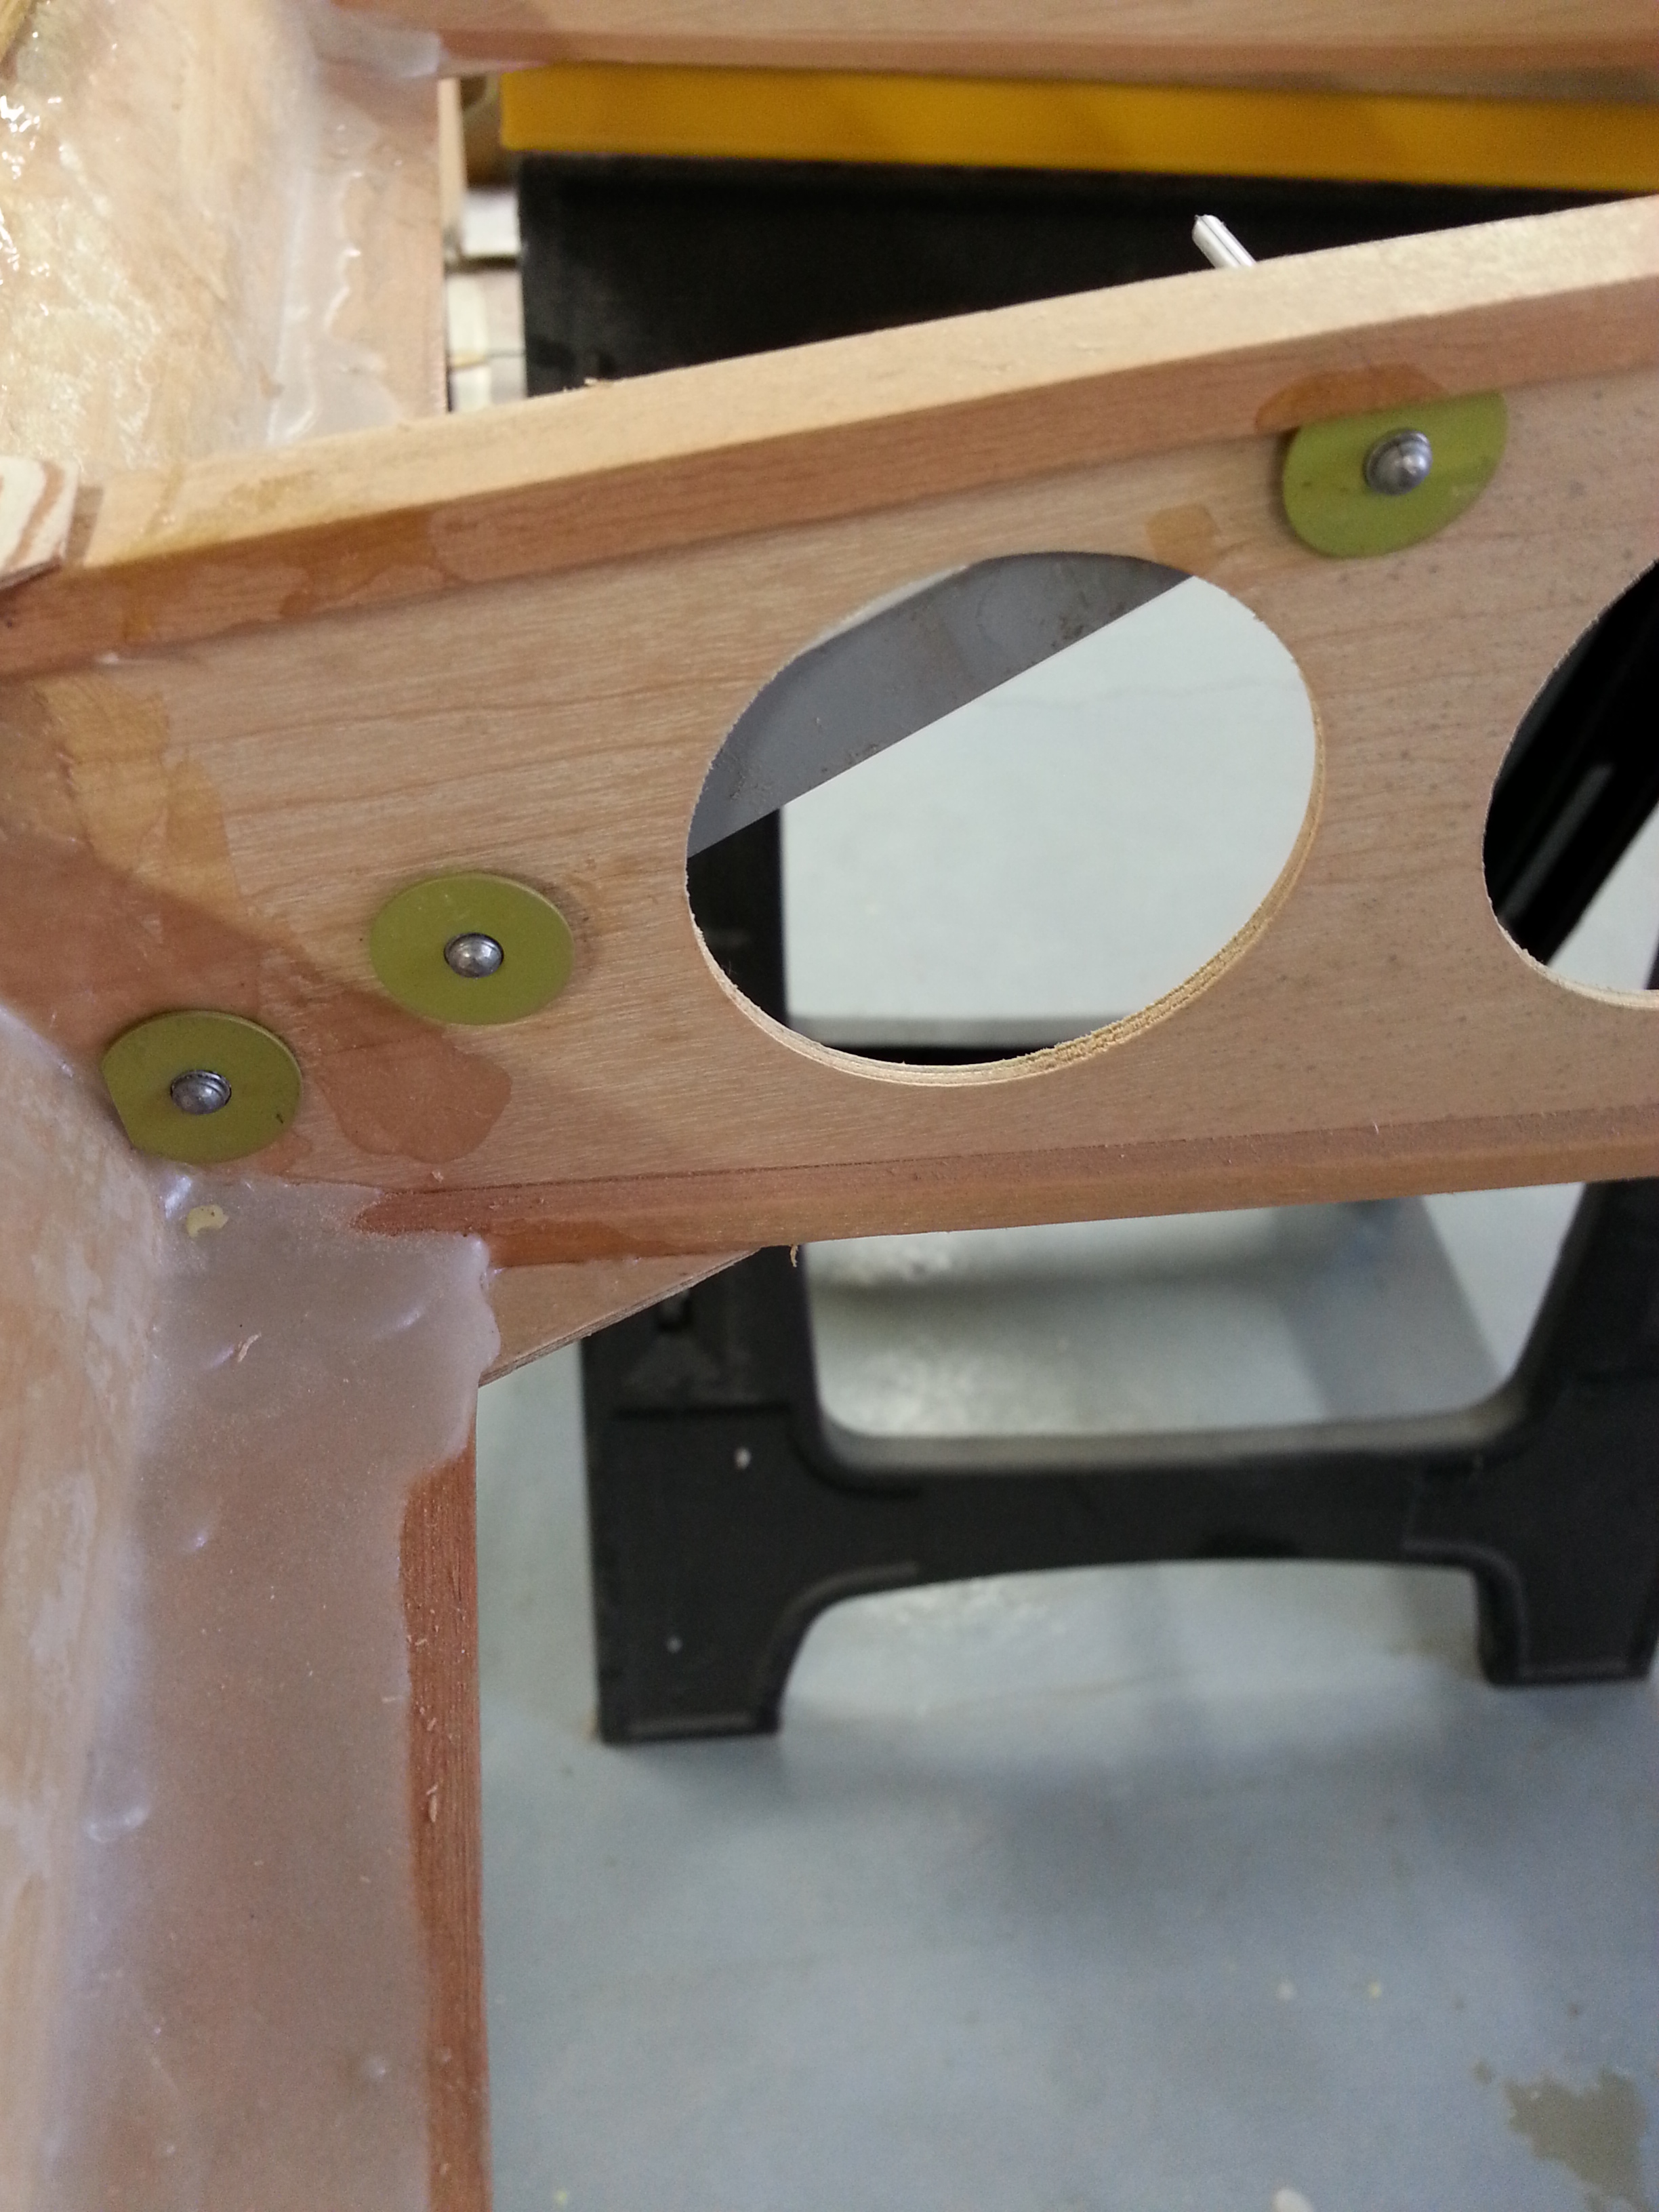
The wing struts (now in position) have rear mounted support brackets that brace against the short rear spar that the aileron bellcrank is mounted on.
The doubler plates need to be cut down slightly so they don’t protrude beyond the centreline of the vertical strut, then curved to take the shape of the strut then finally hammered over the edge to curve it slightly to follow the contour smoothly
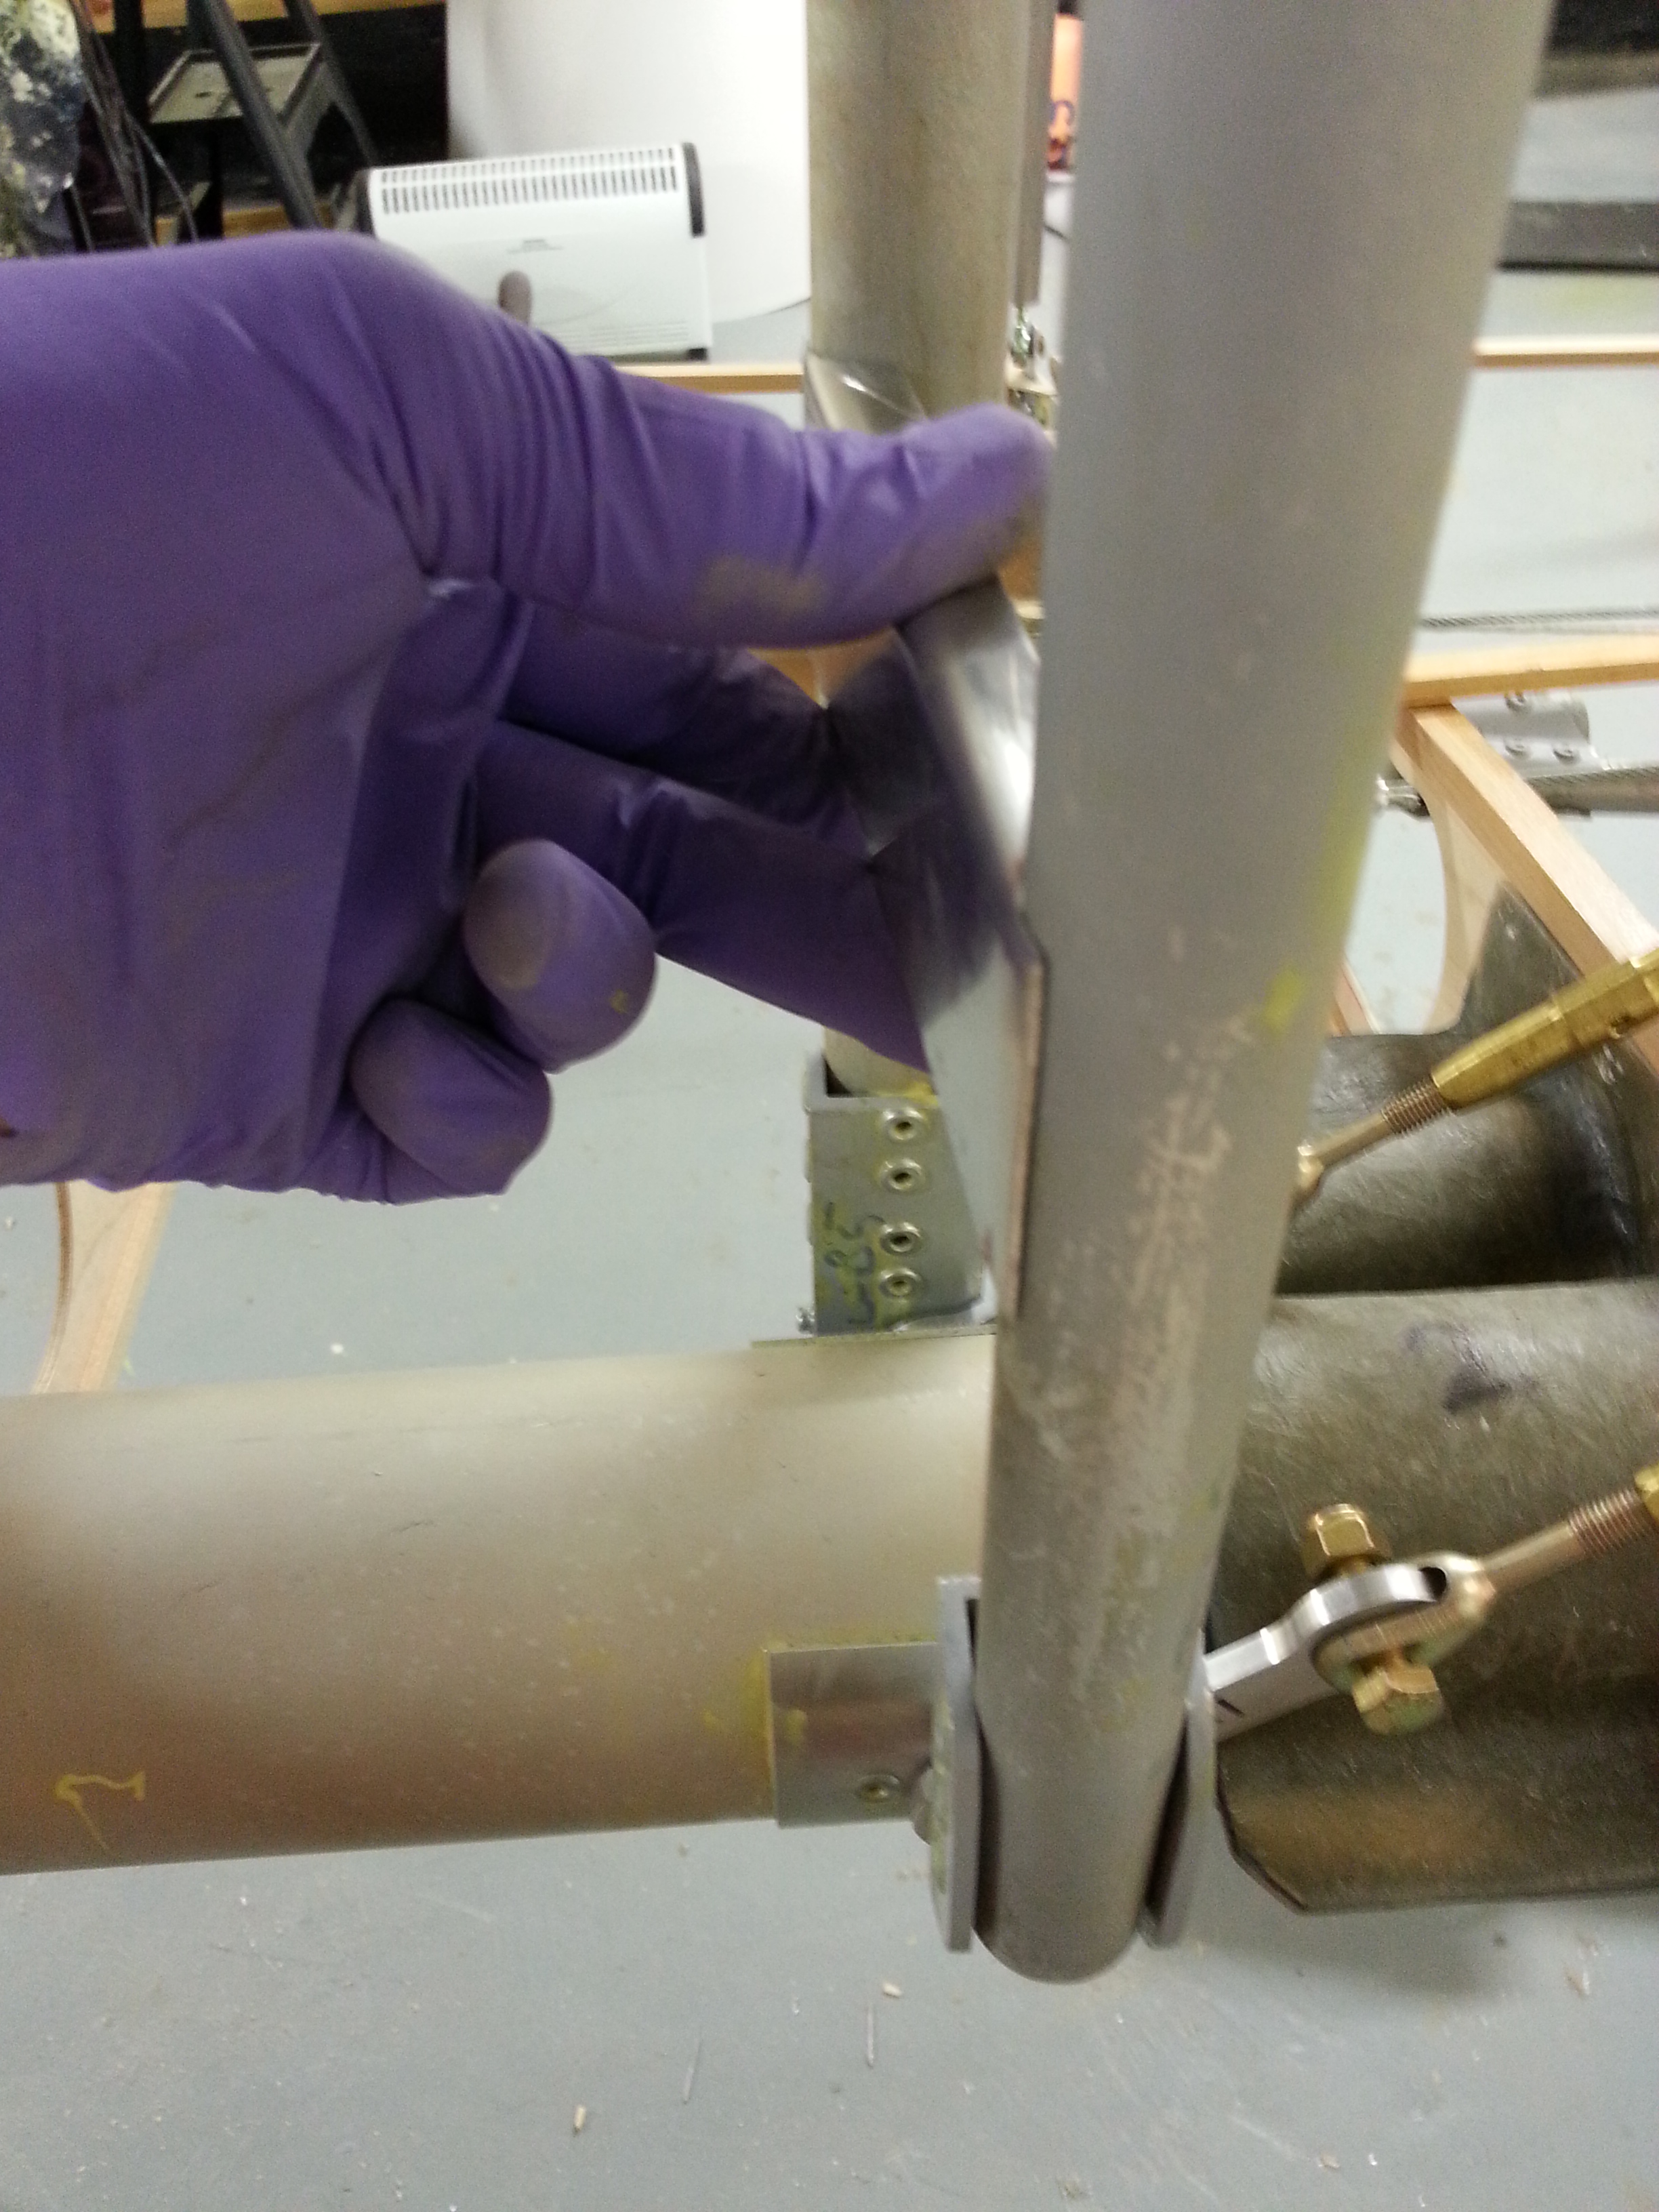
Then the triangular support plate is prepared and smoothed before being offered up and cleco’d


Note the bracket requires a small bend inwards to pickup the support bracing bar (see above)
